Large Tic Tac Toe Board
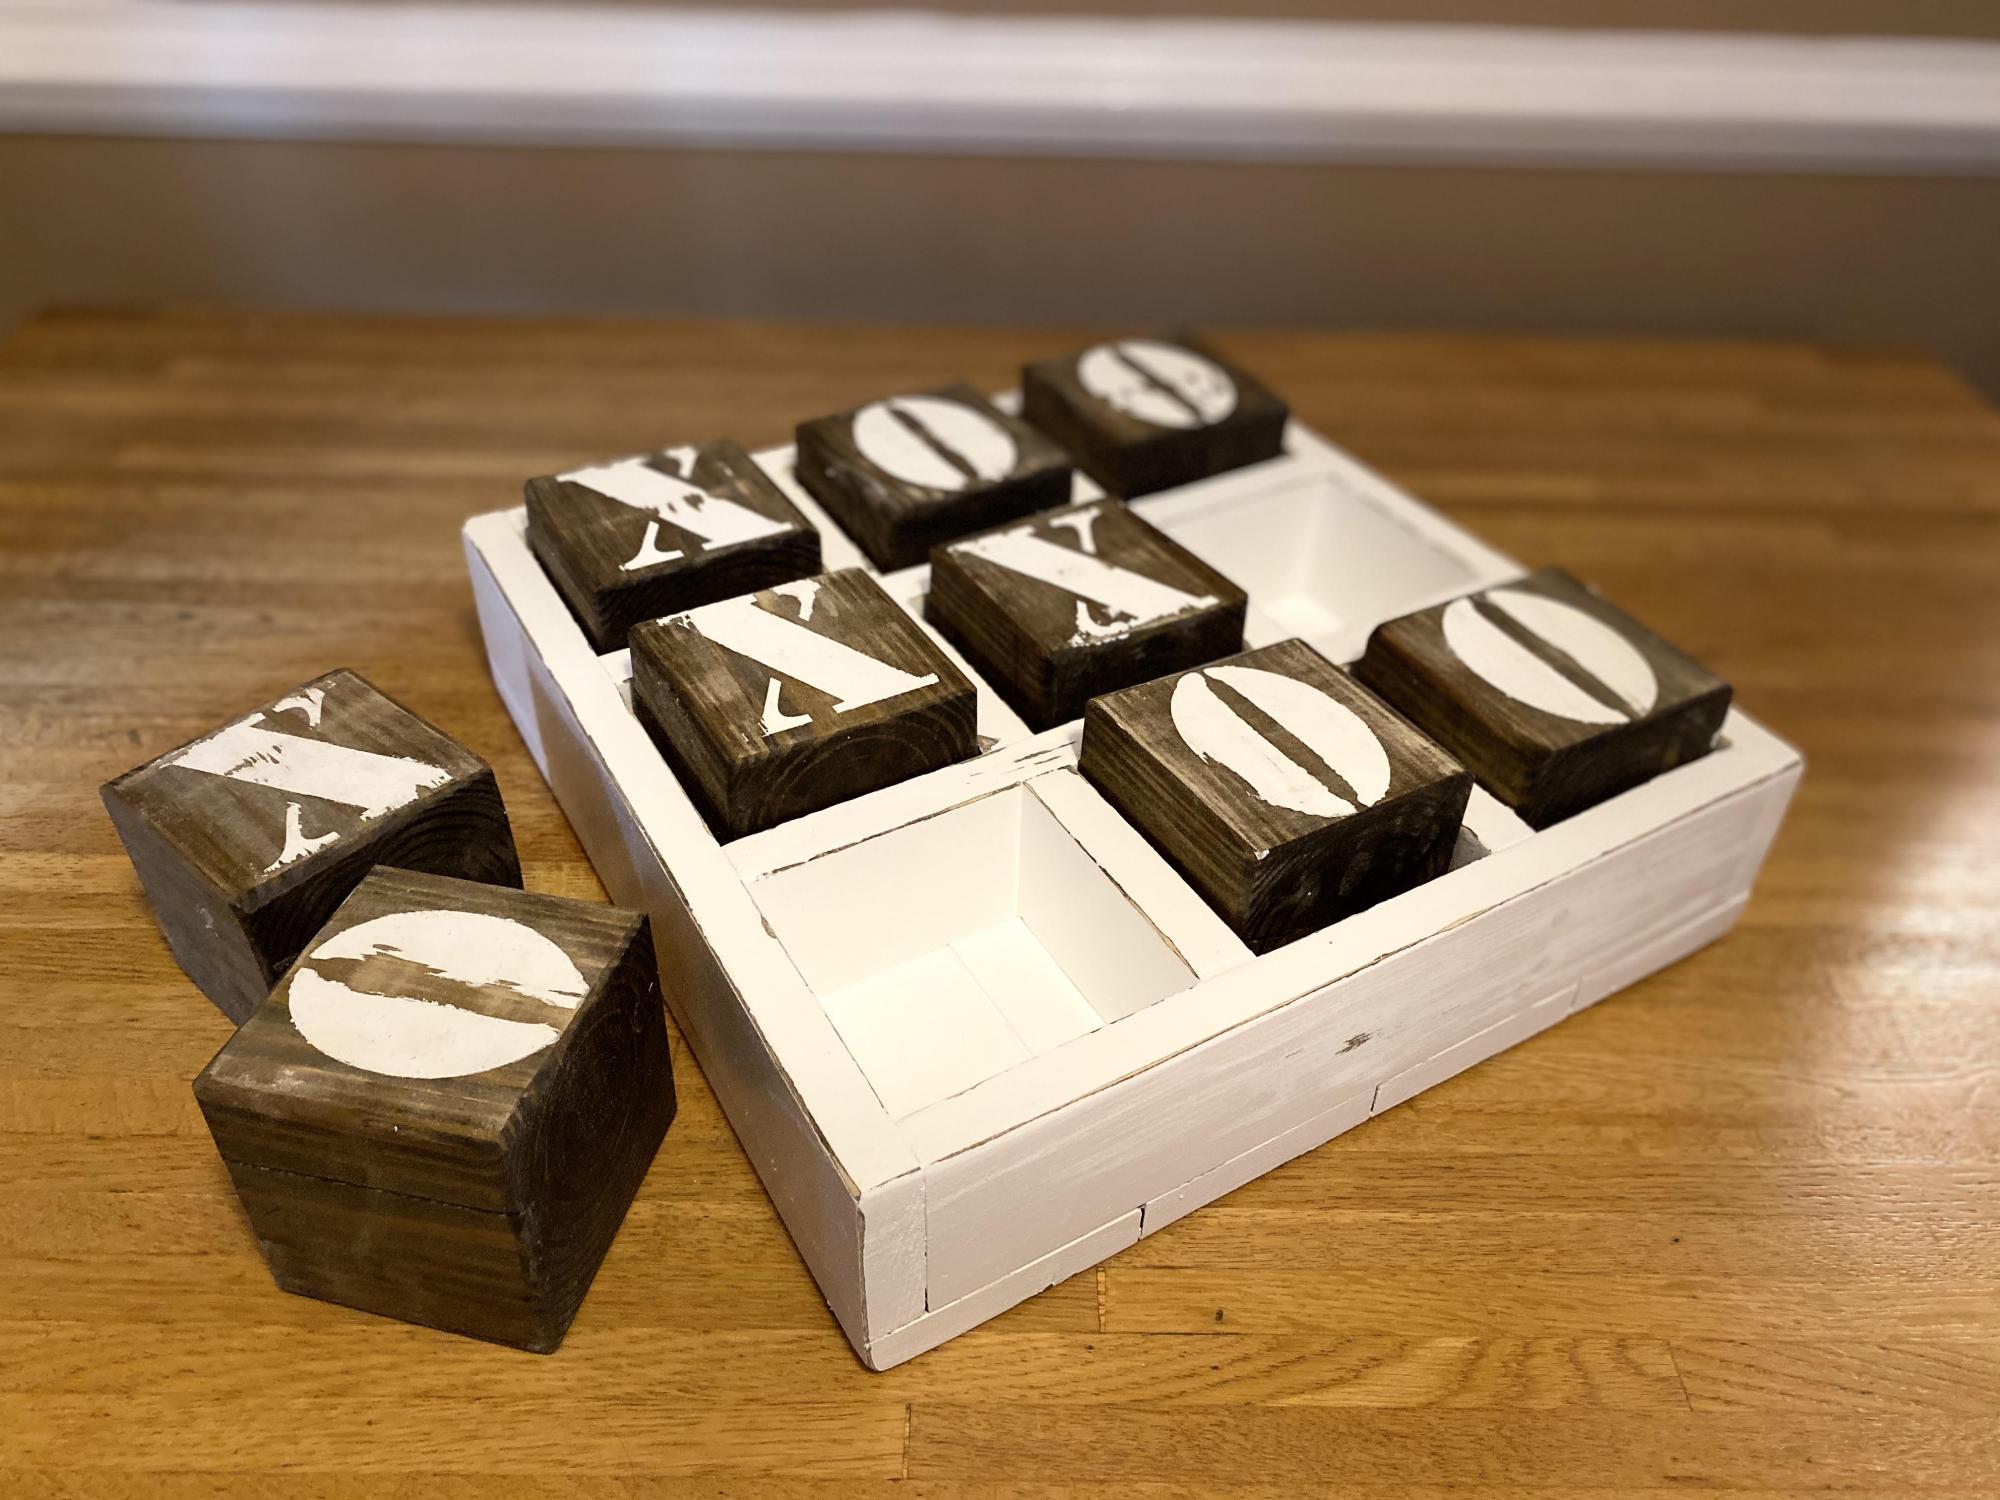
Took some liberties with this one and combined with another plan. My first stencil project.
Built from Plan(s)
Estimated Time Investment
Day Project (6-9 Hours)
Took some liberties with this one and combined with another plan. My first stencil project.
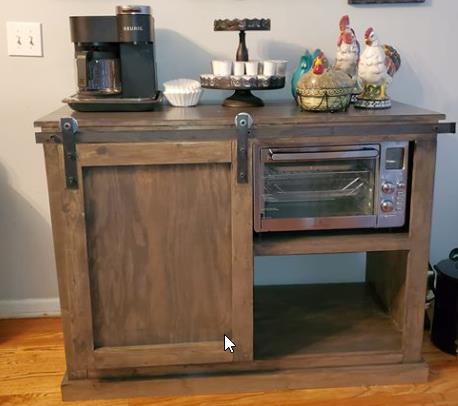
I built this from the plans on this site My wife wanted a coffee bar and I saw this plan and she fell in love with it. I love the Barn door hack and how everything came out.
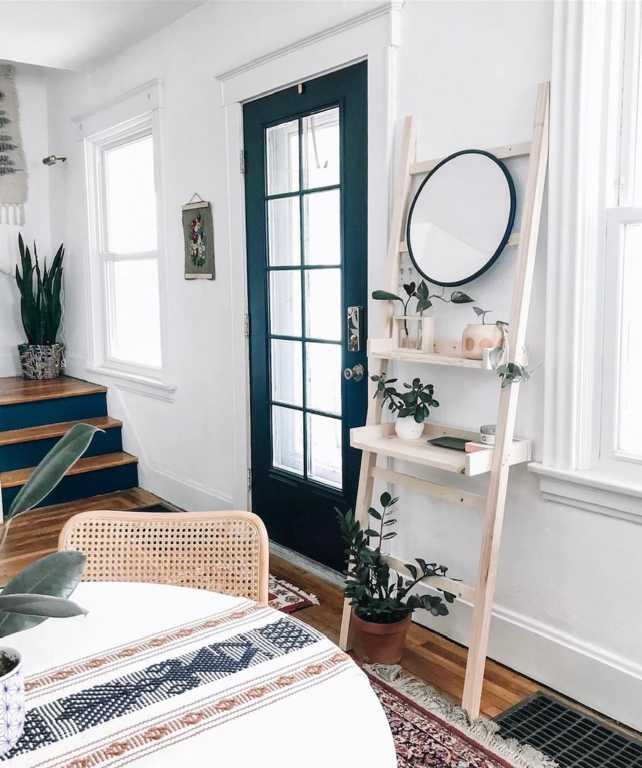
PErfect for smaller spaces or homes without mudrooms. Love the minimalist style!
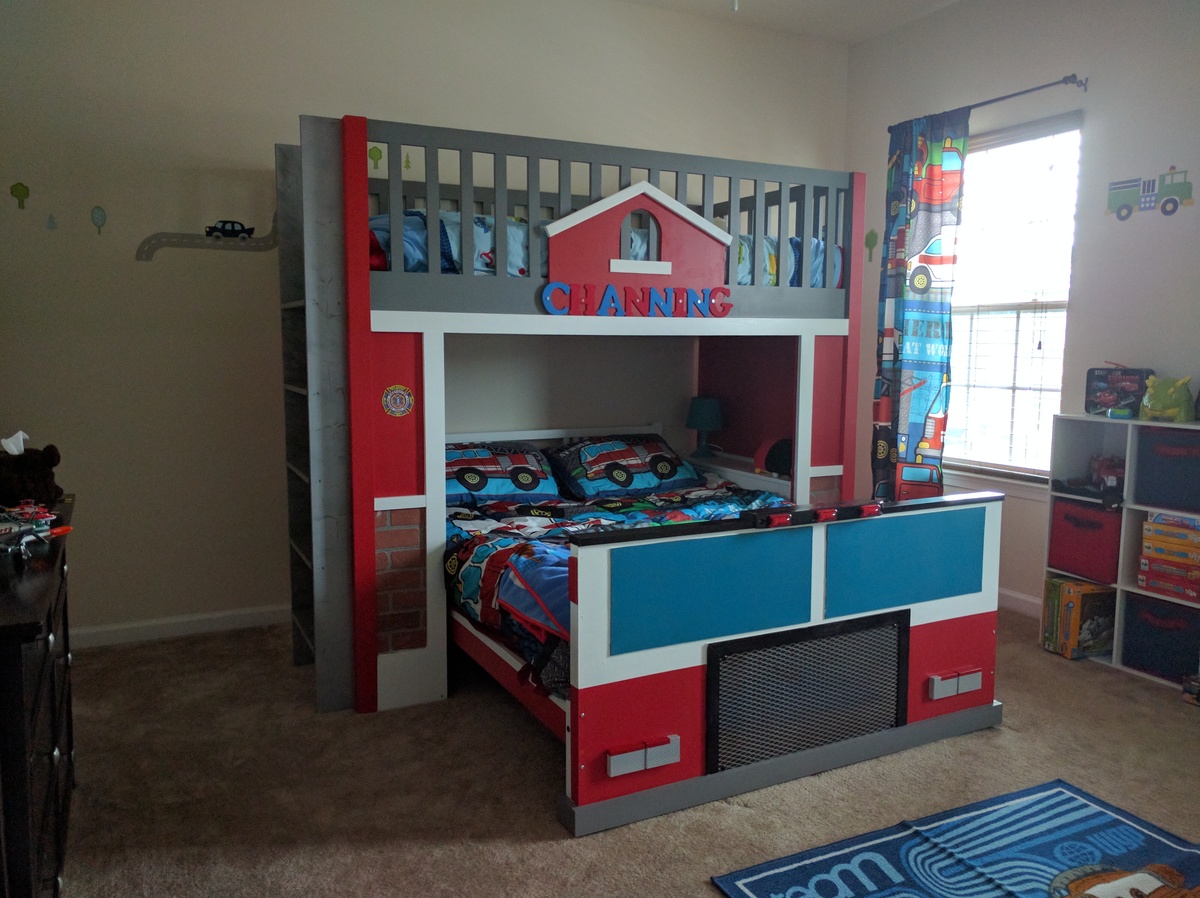
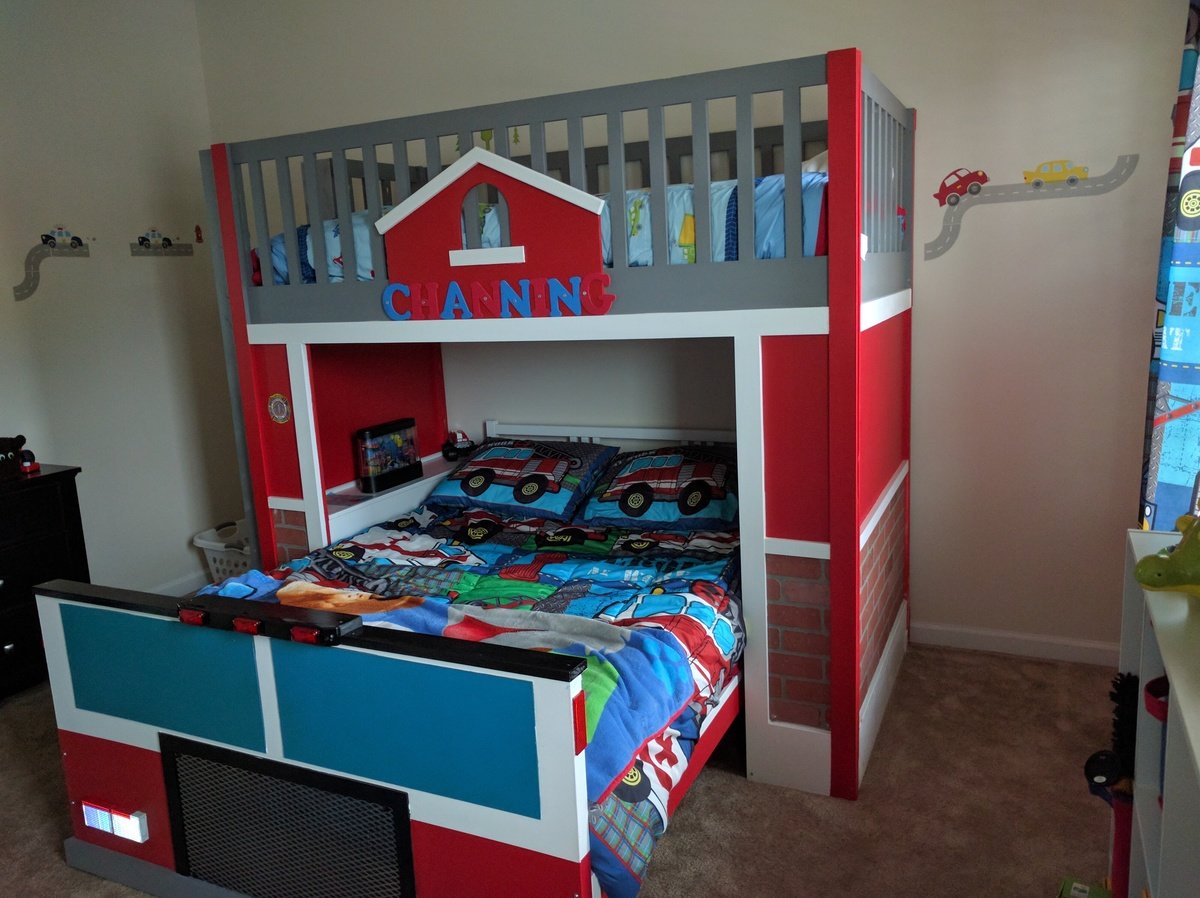
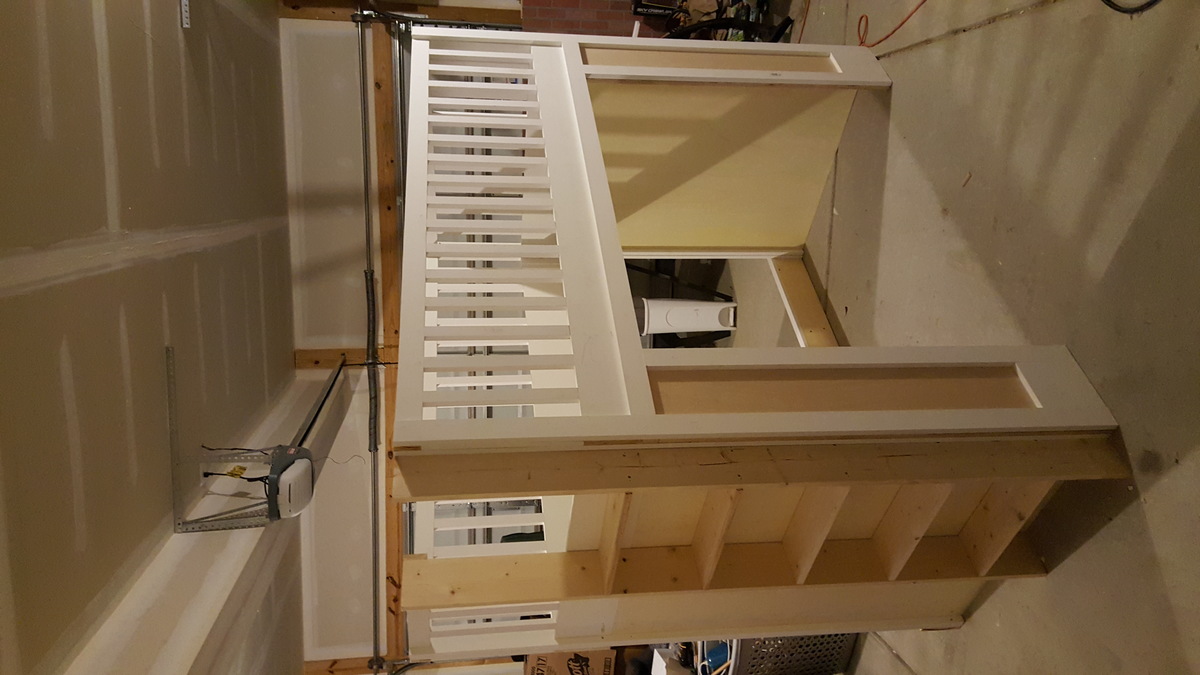
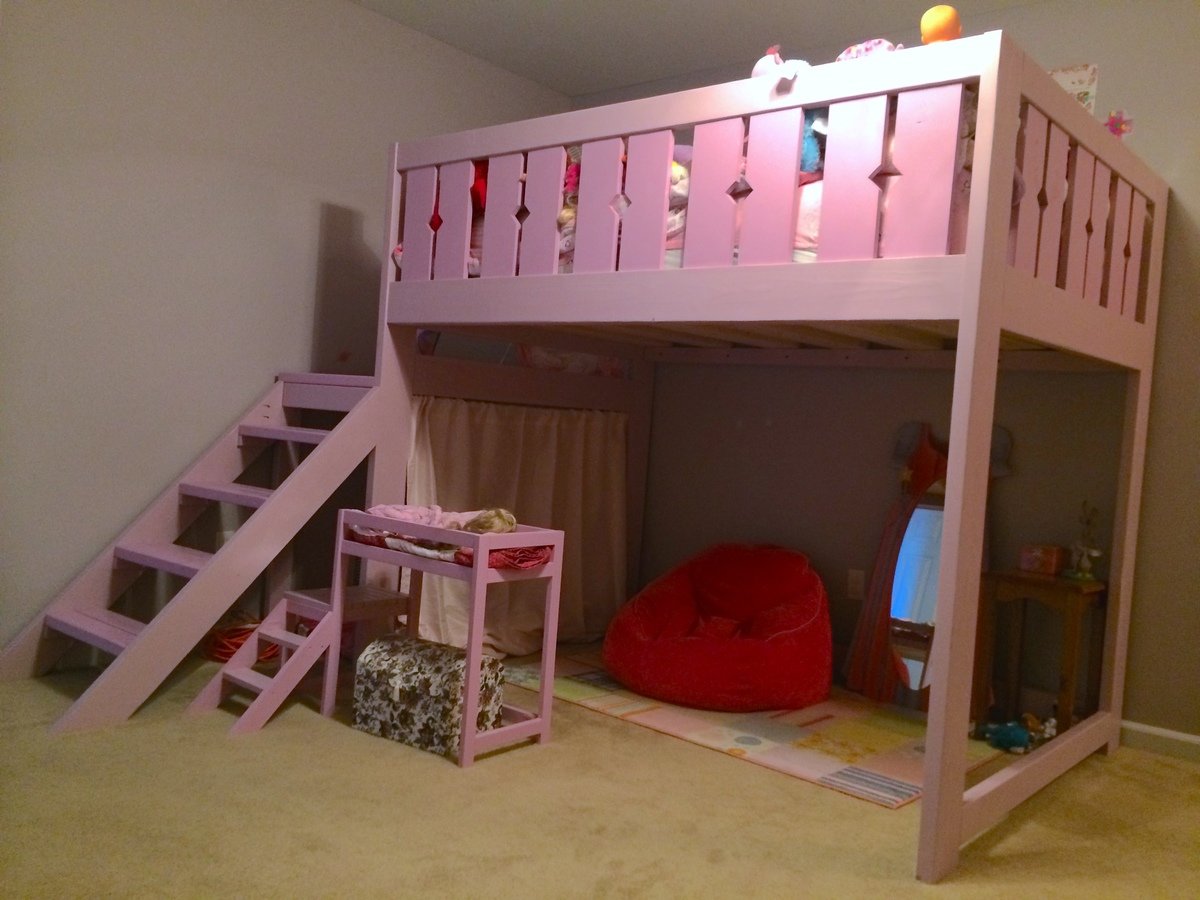
From the Fire Station Loft bed, this was modified to accomodate a full bed underneath; essentially making it a bunk bed. The bed underneath is an Ikea Fjellse. The footboard was made to look like a fire engine backing into the fire station.
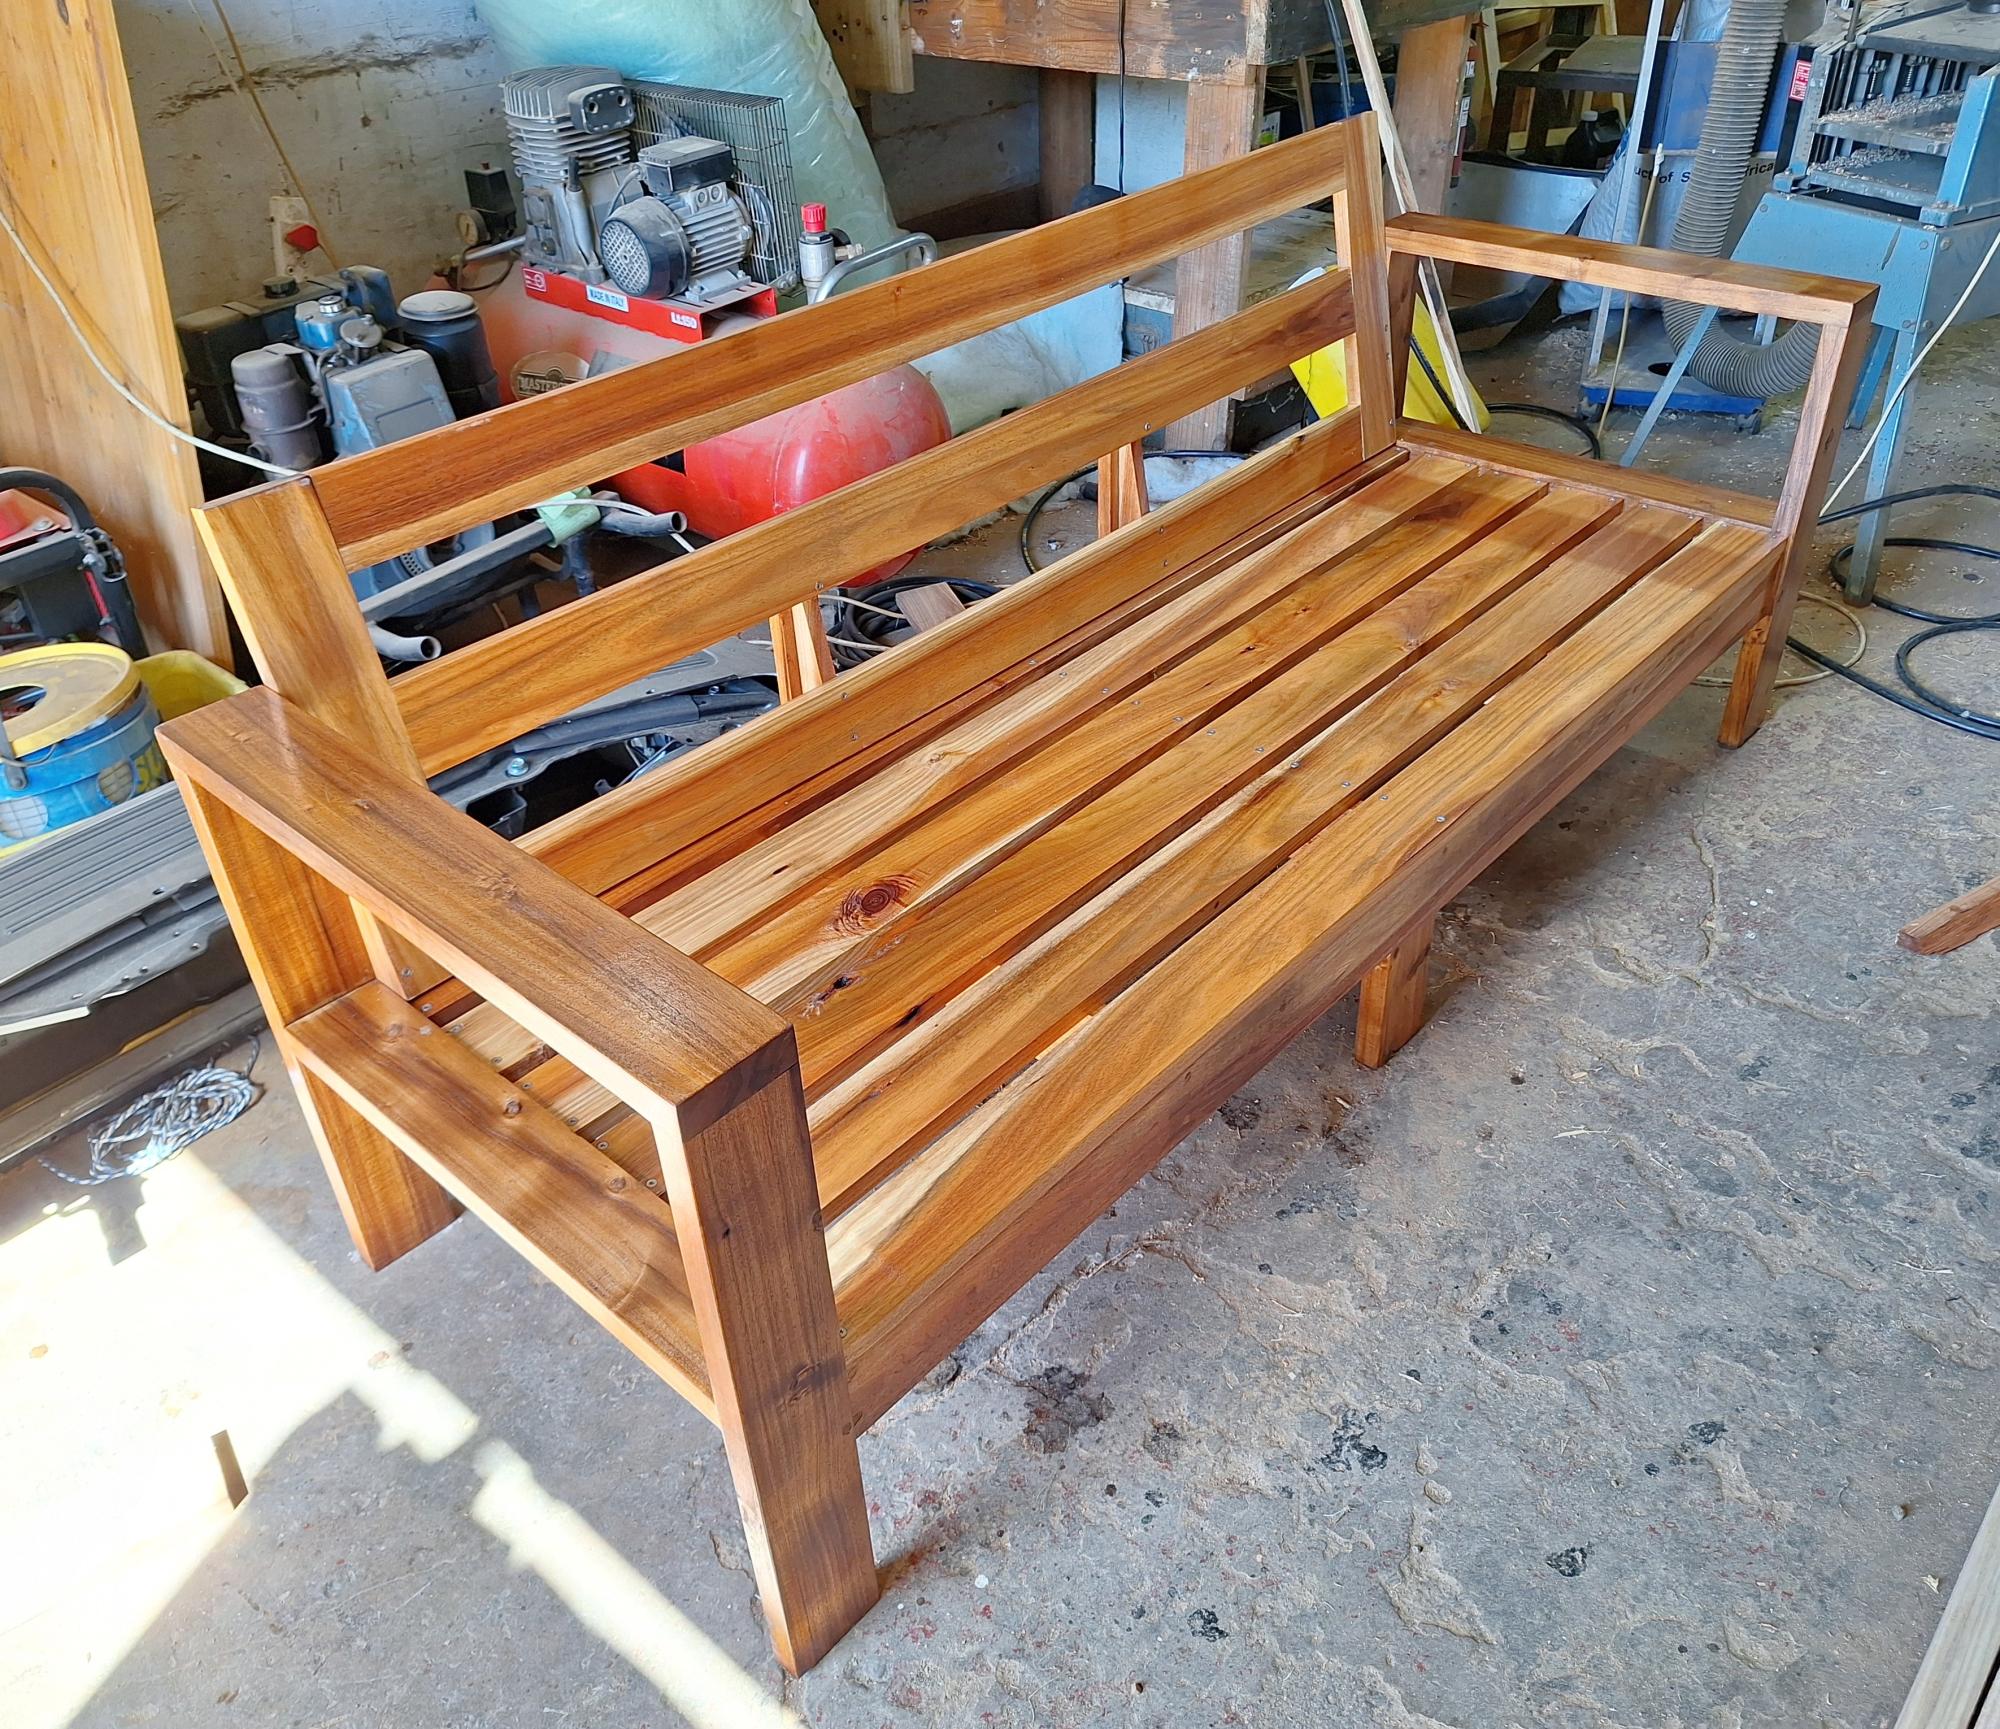
I built this outdoor sofa out of Blackwood. I tweaked Ana's plan to include a backrest and a support in the front, as my planks are only 23mm thick.
Gordon Smith
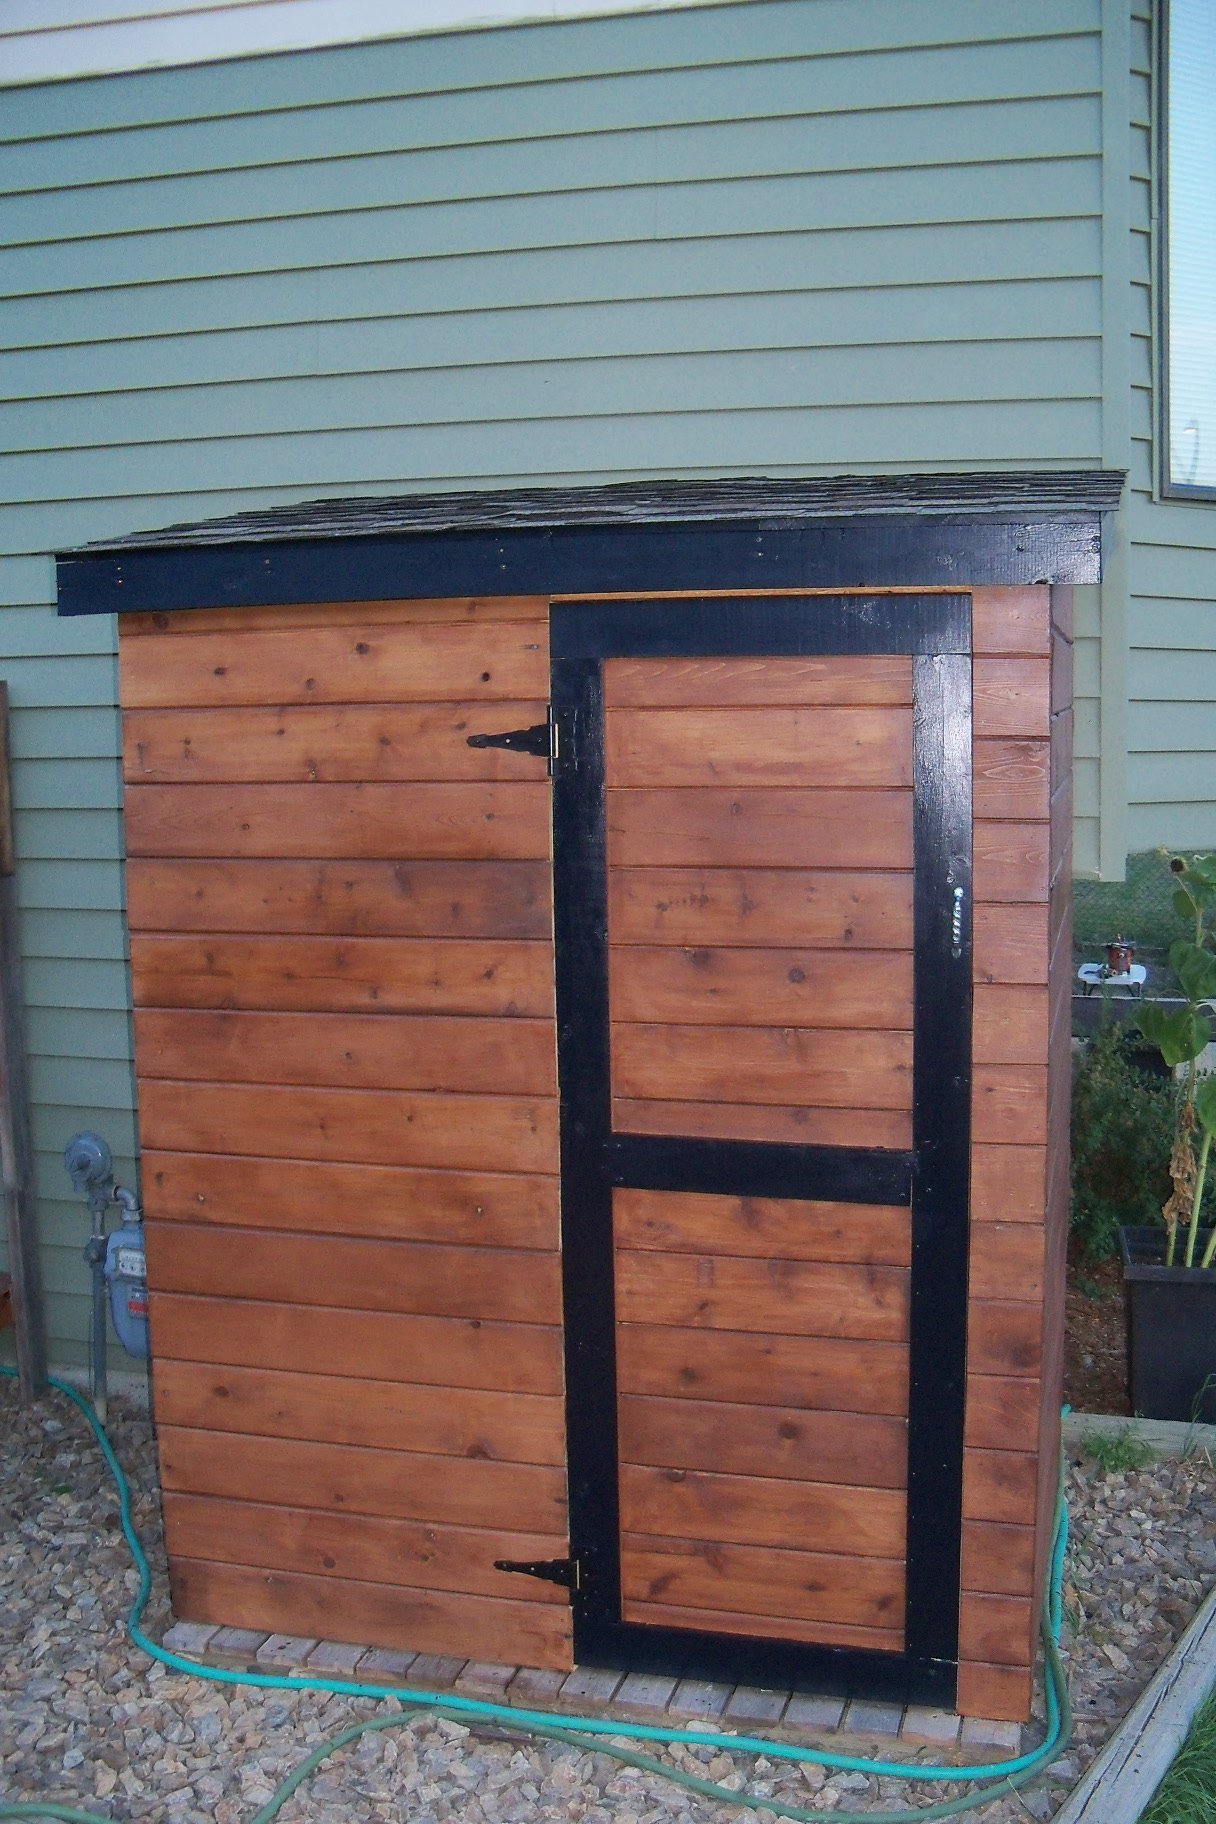
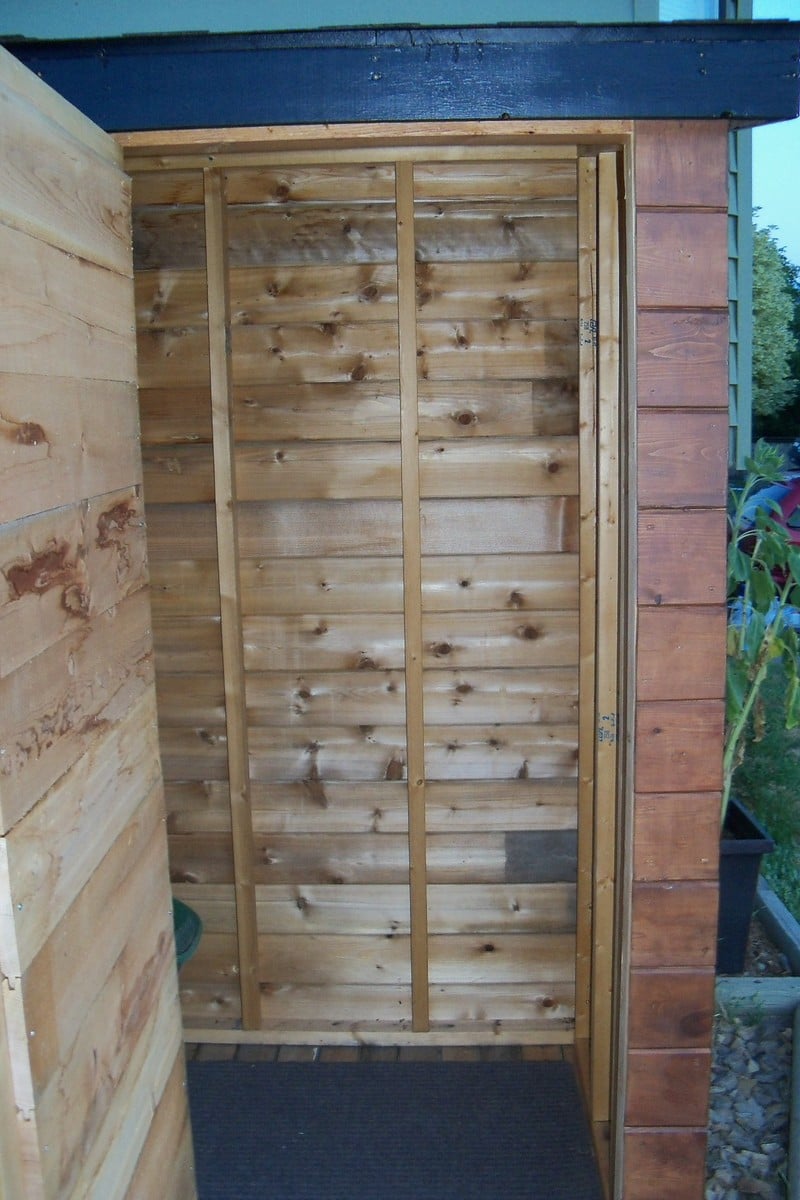
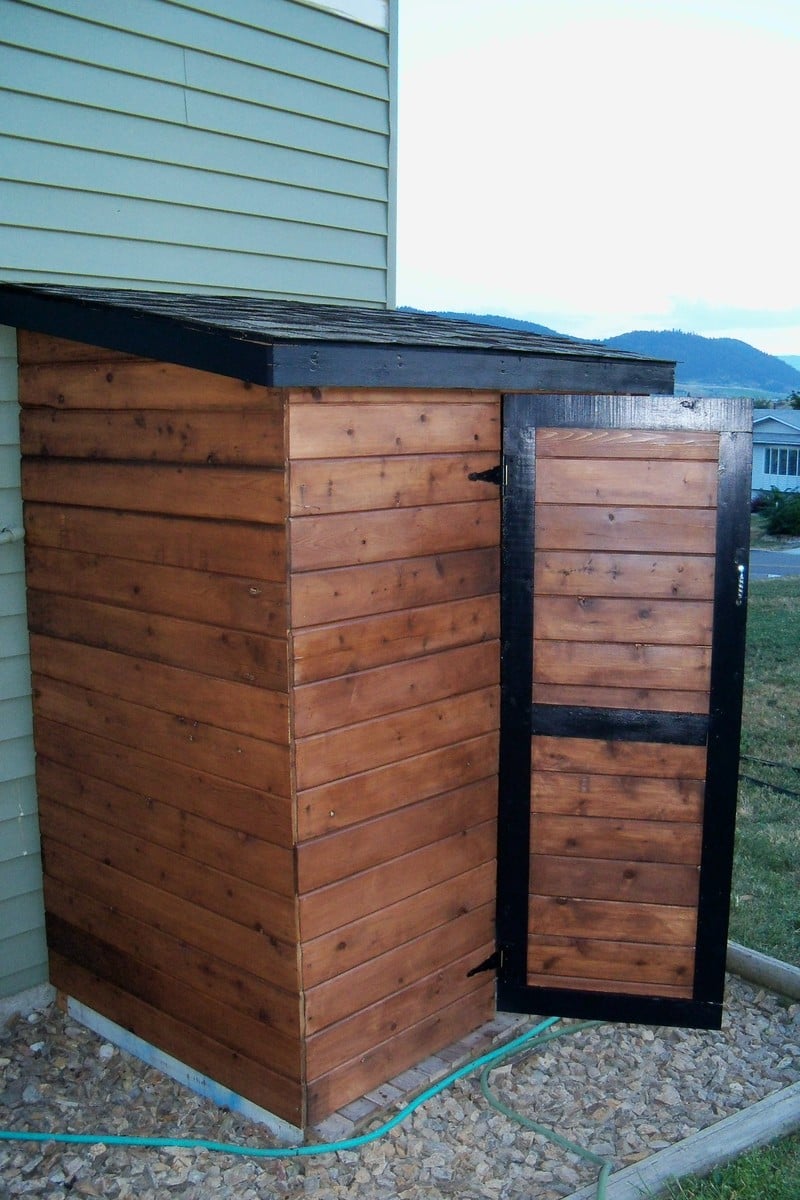
Built this as a garden shed so I had to modify the front into a small 26 inch door.
My shed size was 5 x 4 as I had limted space.
My roof is angled at 10 degrees.
I used my new Kreg jig for the door that was fun!
Frame is from 2 x 3's.
The total cost for me was under $70 as I salvaged the cedar, 1 x 4's, roof felt, and shingles.
Paint for the trim was a $5.00 oops.
I am more than pleased with the outcome.
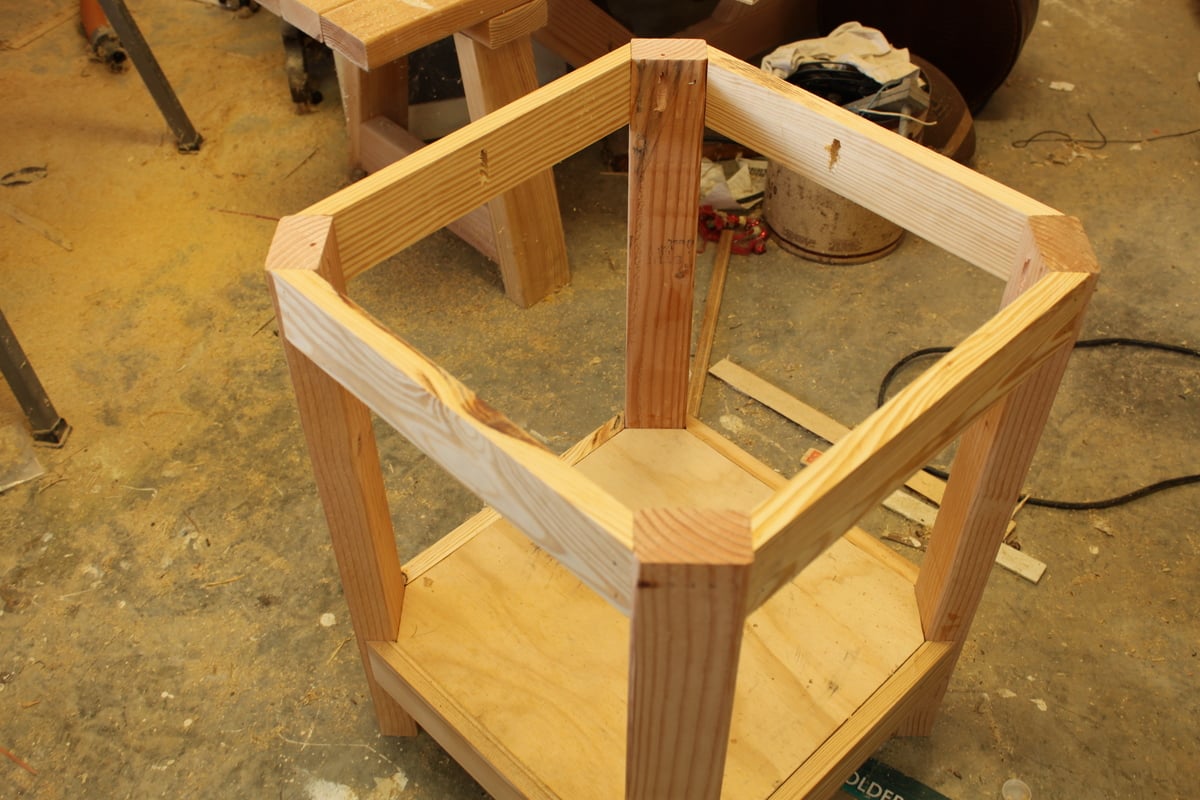
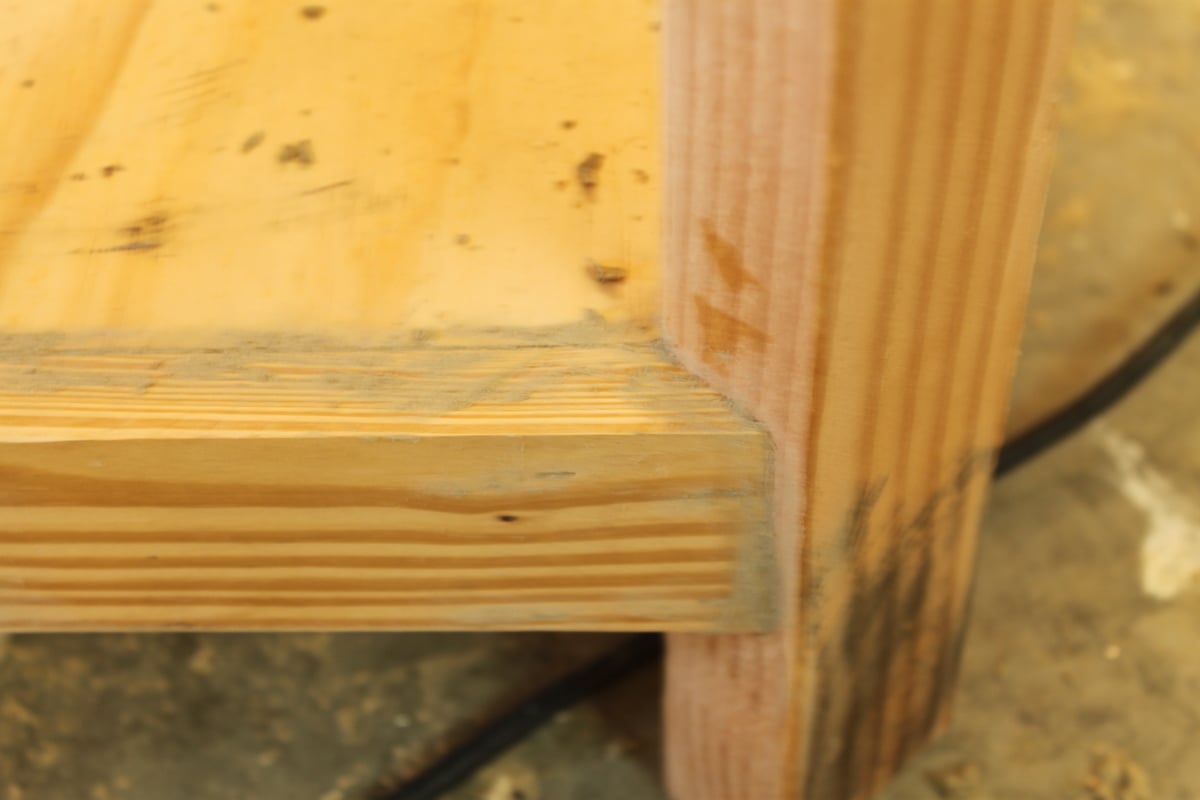
I built the potting table first before this.
So this was my second item to build and I really enjoyed it.
Can't remember much more about how I built it as I started it a while back.
This site is really amazing.

These chairs are fairly easy to make. The side boards were the hardest part.


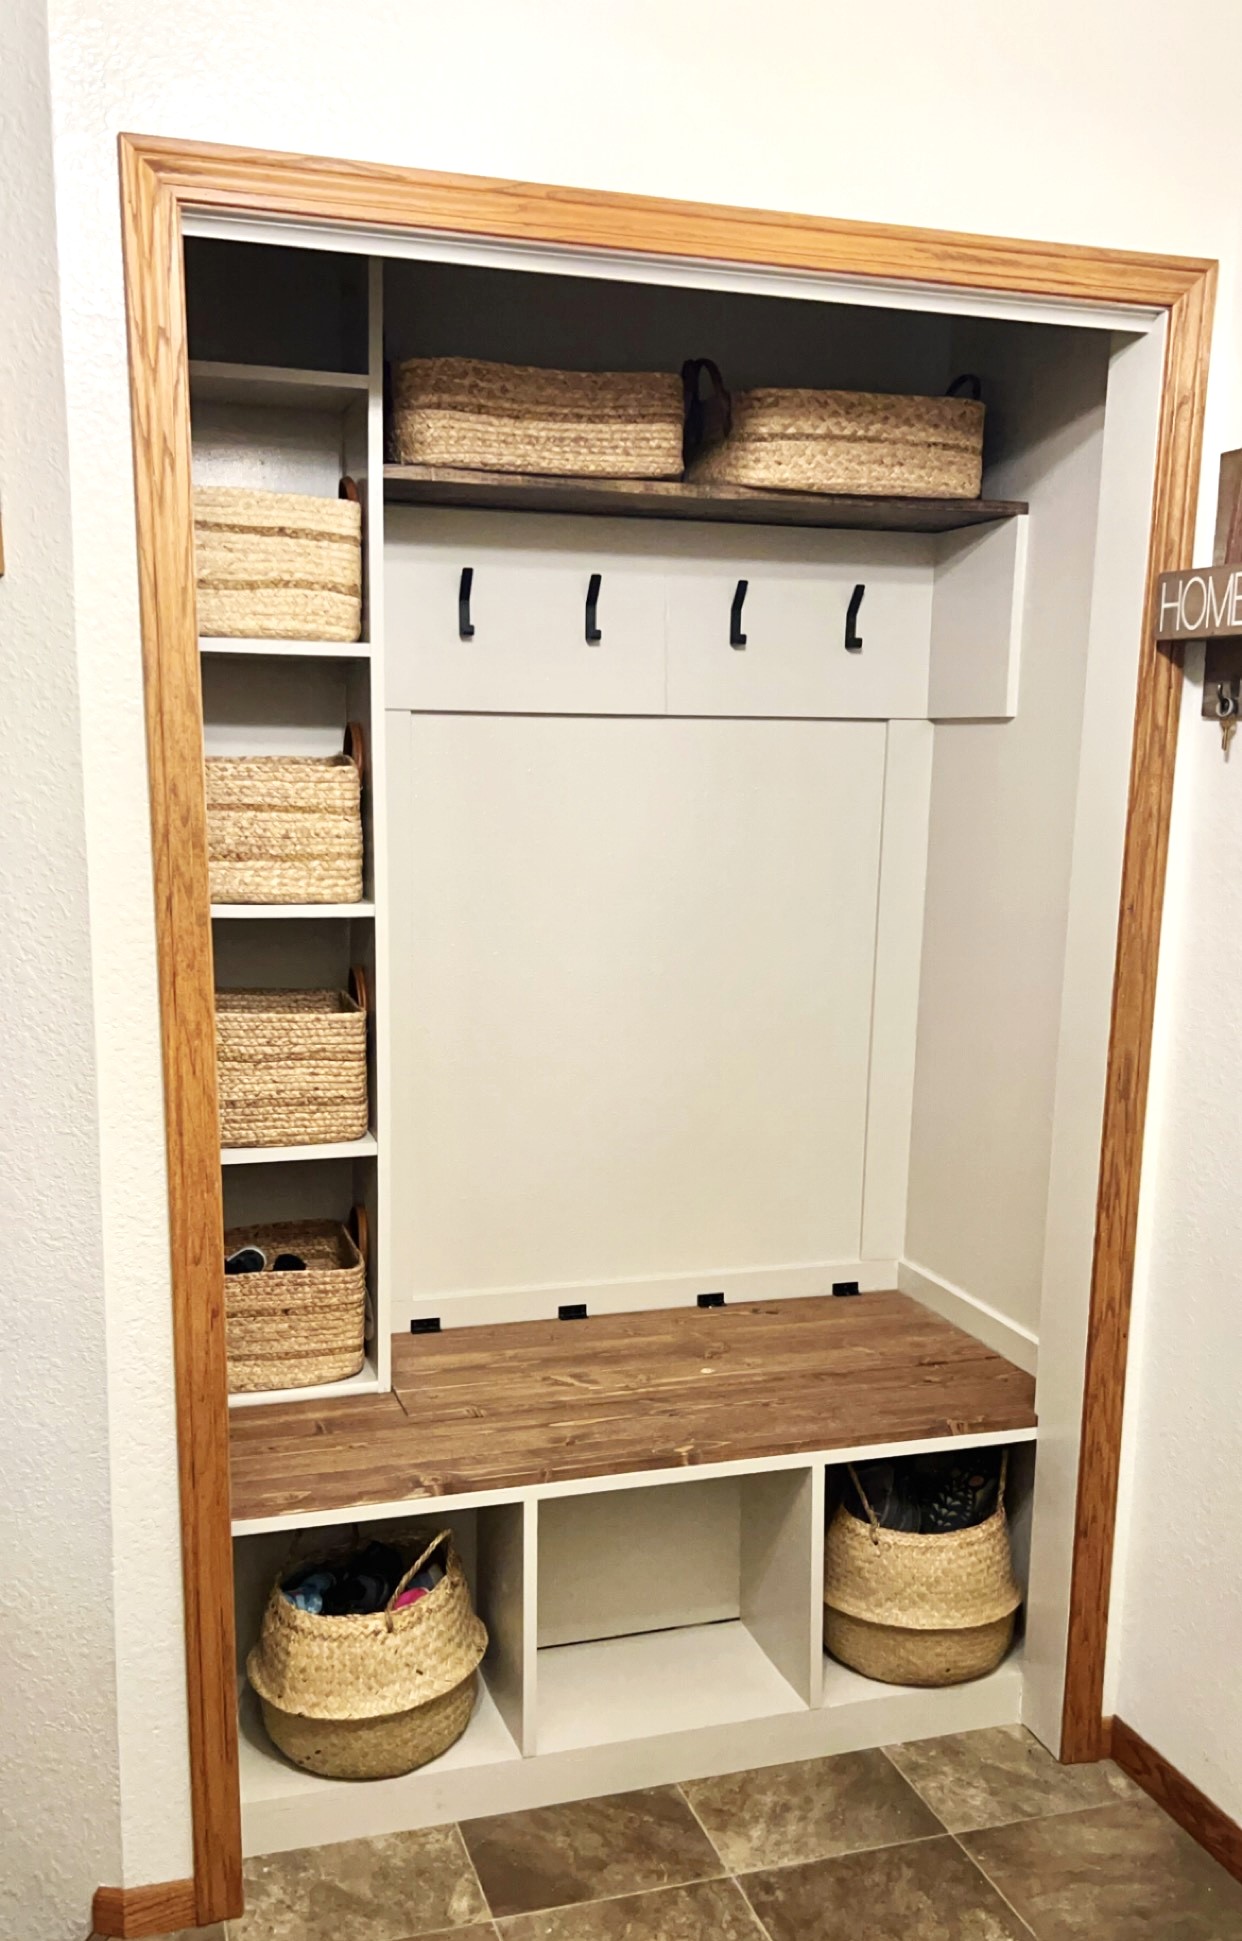
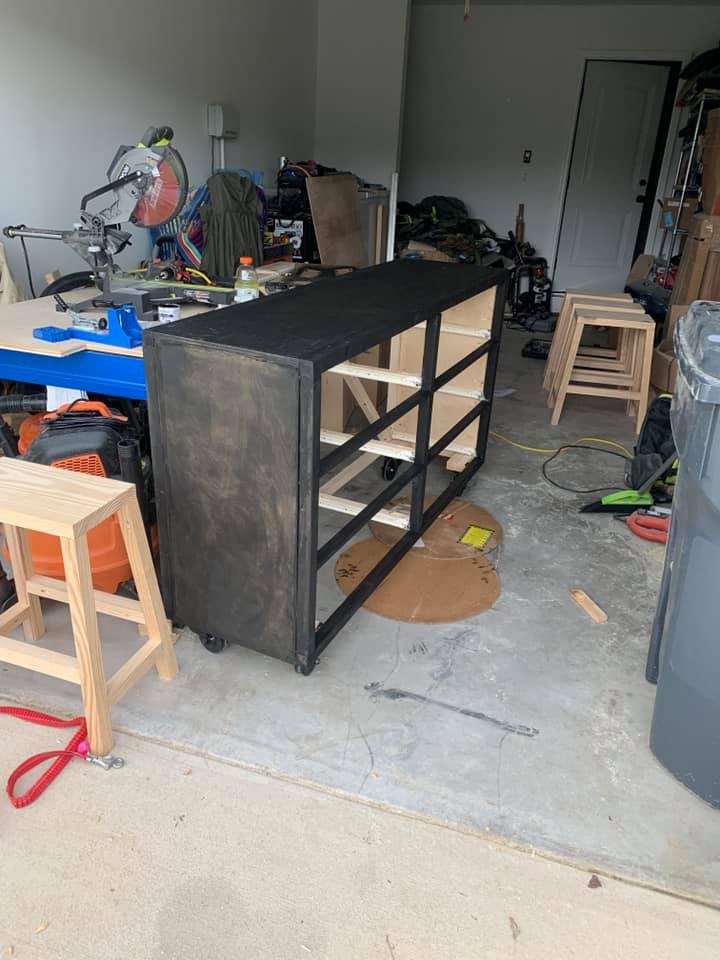
DIY Home Closet Upgrade
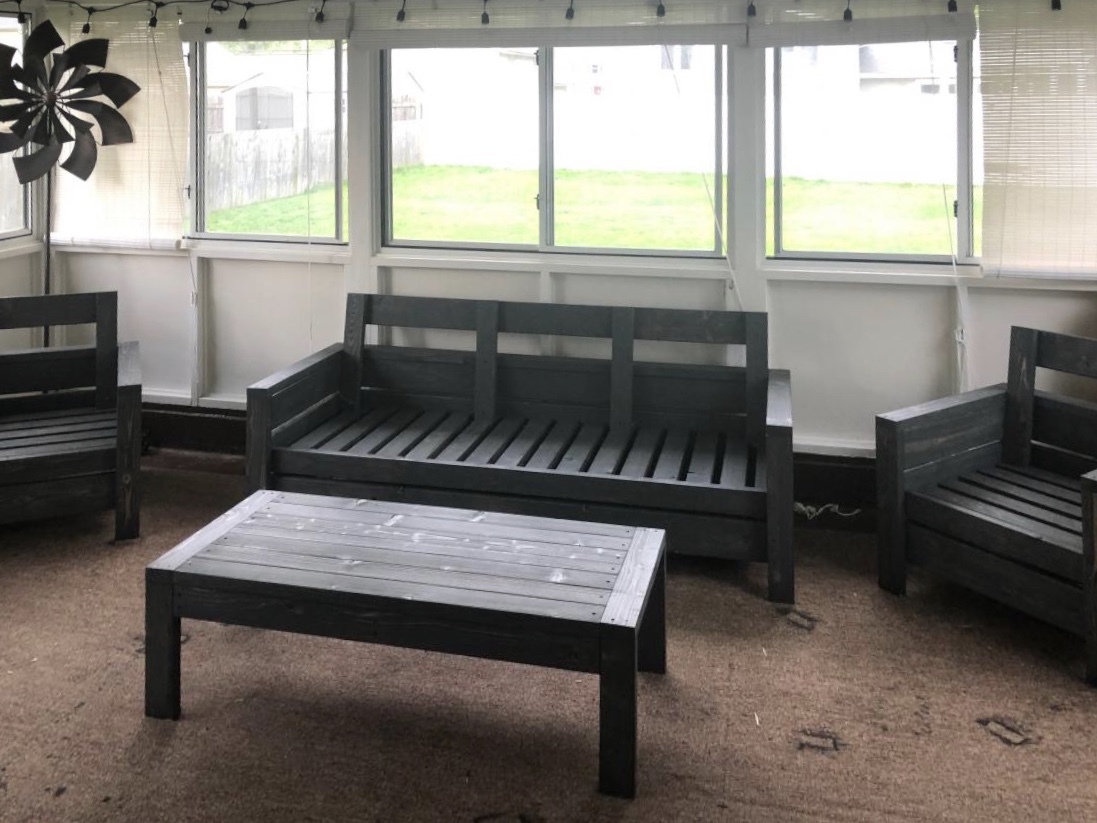
At the start of the COVID situation, I decided to make a furniture set for my three seasons room. I figured, i had all the tools, so why not. We used the Modern Chair and Modern Love Seat ( but extended the love seat for 3 seats). I added a middle support on the couch to accommodate the longer length. I also added the backs, because we found out that the cushions we ordered liked to fall off the back. I just made a 10 degree cut on 2x4's and added a 2x6 piece for the top of the backs. I also ripped a 2x4 down to make the table top close to seamless ( I did not properly join the 2x4's) It was a great project, my wife and i enjoy doing these projects together. We cant put a children's play set together, but we can create things from scratch.

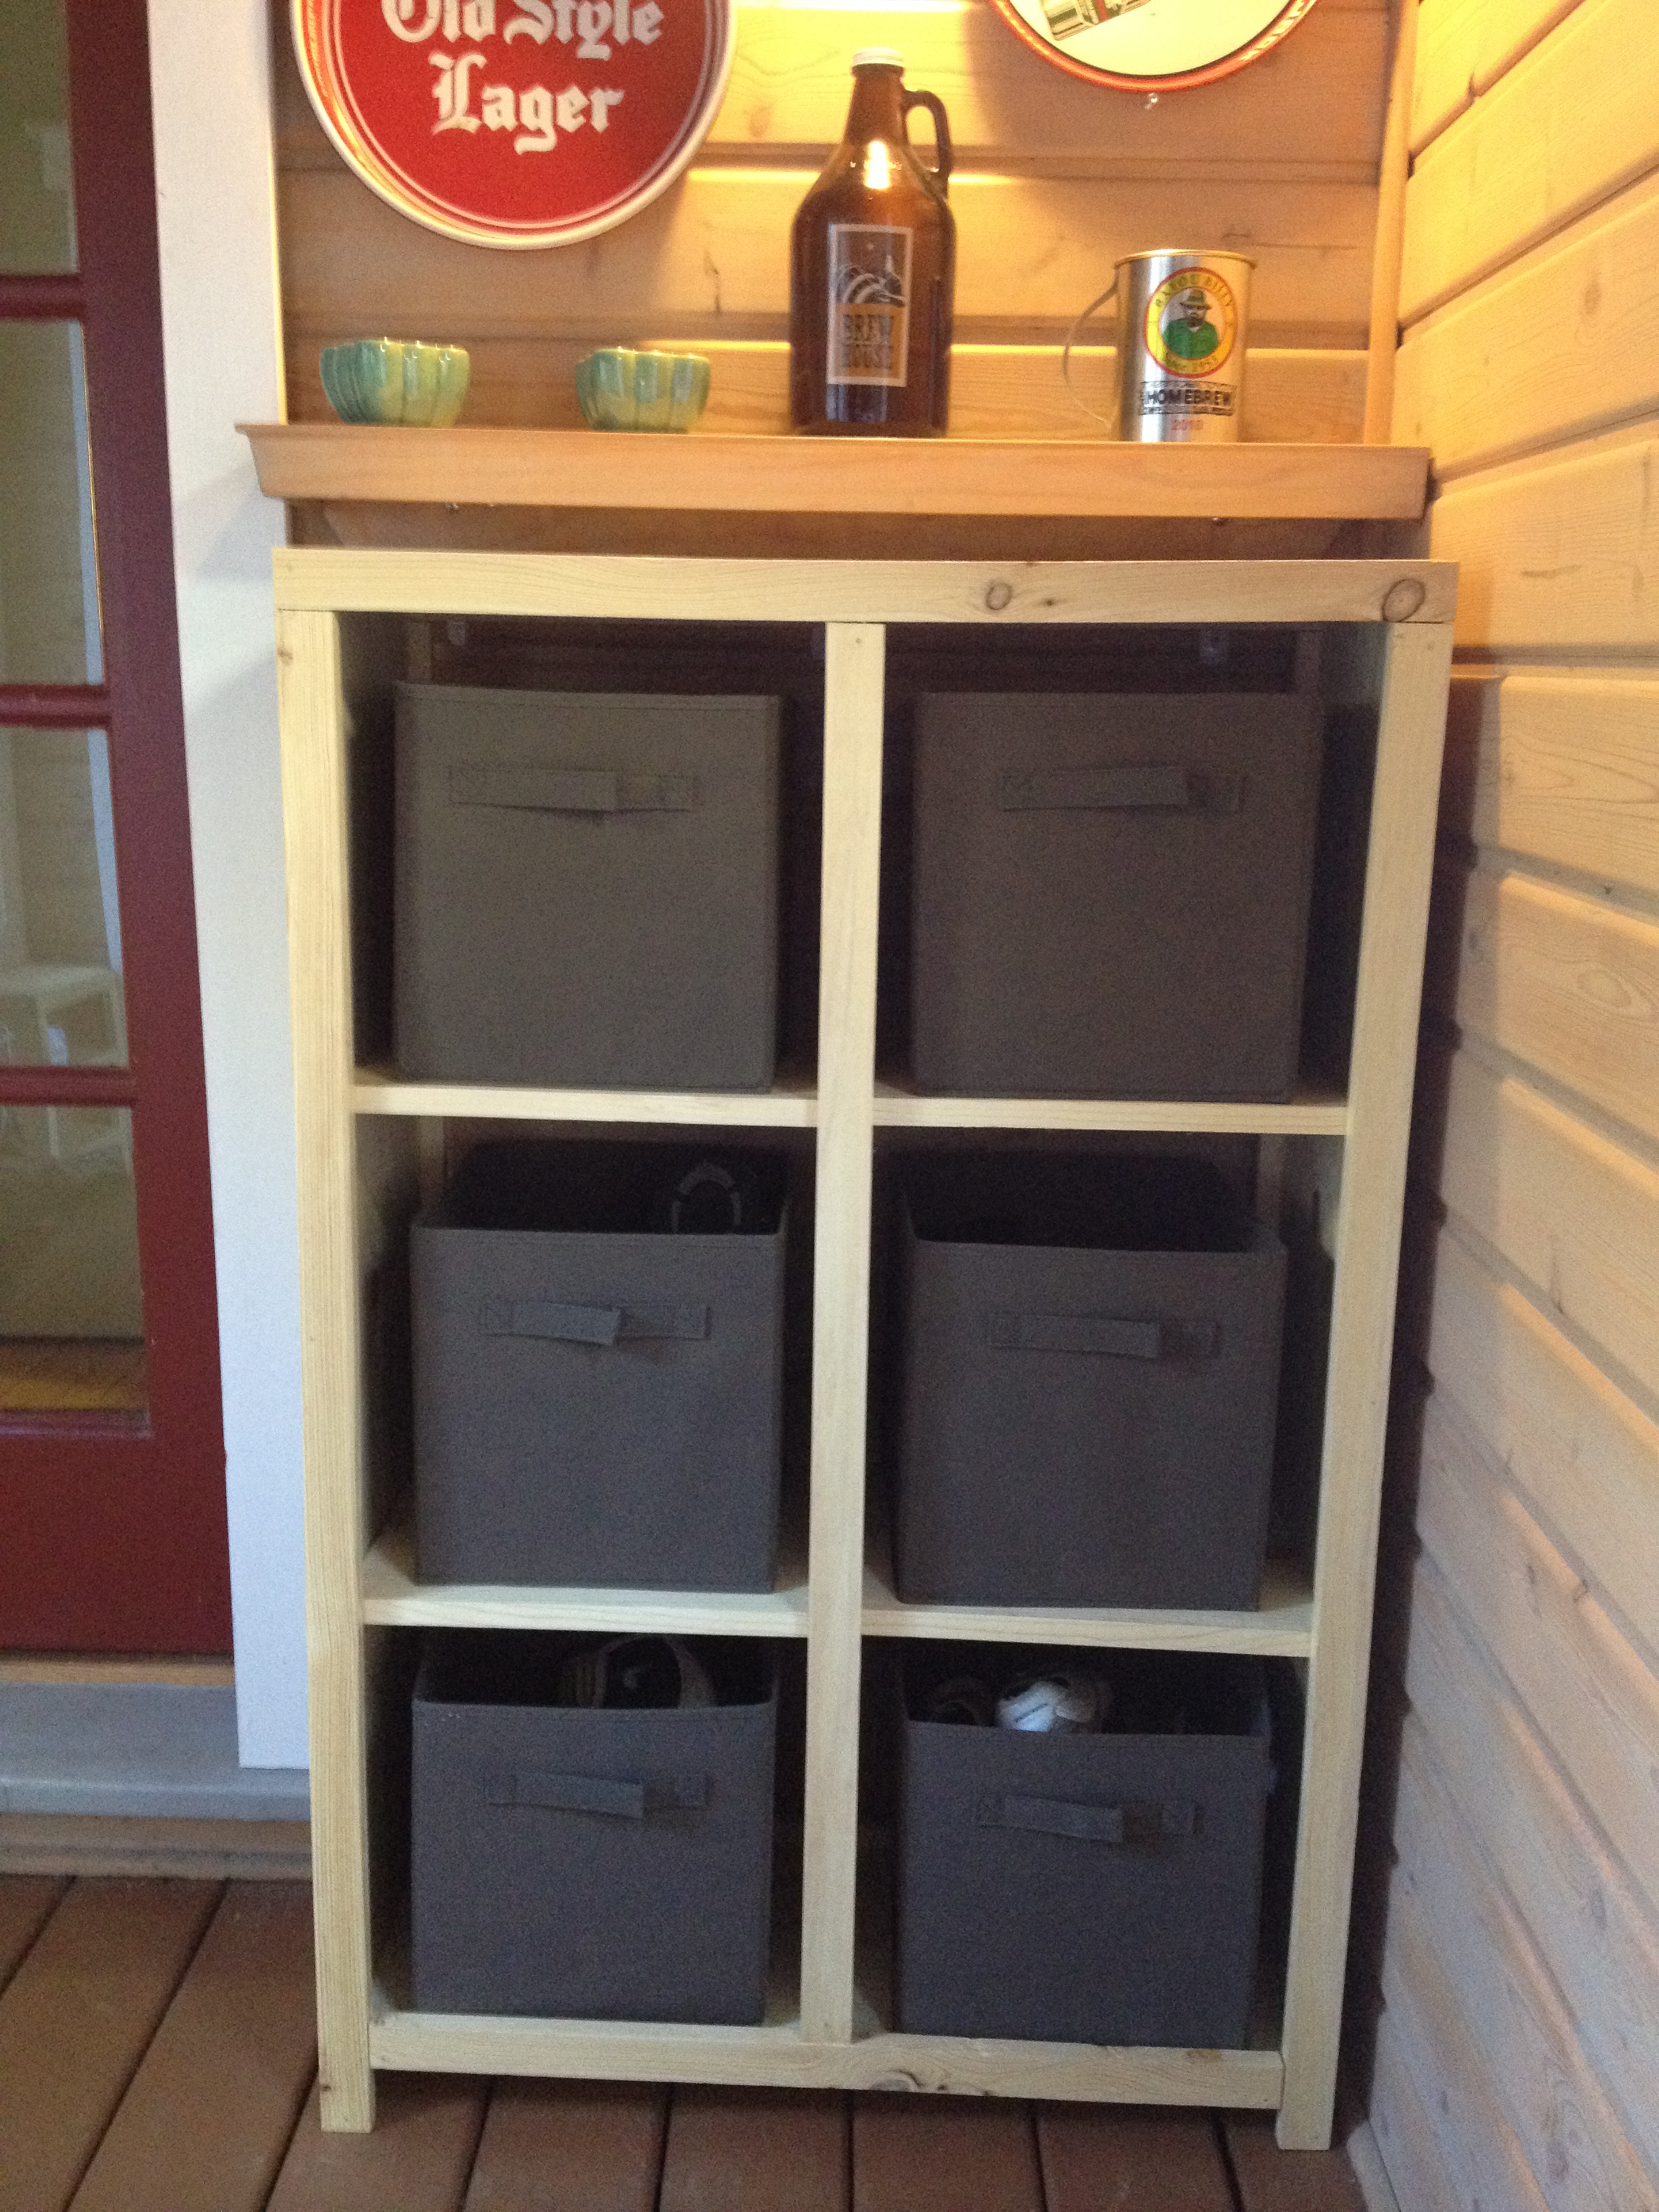
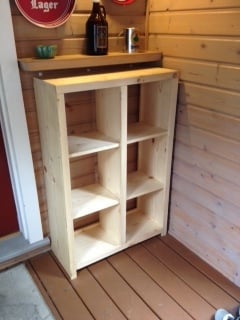
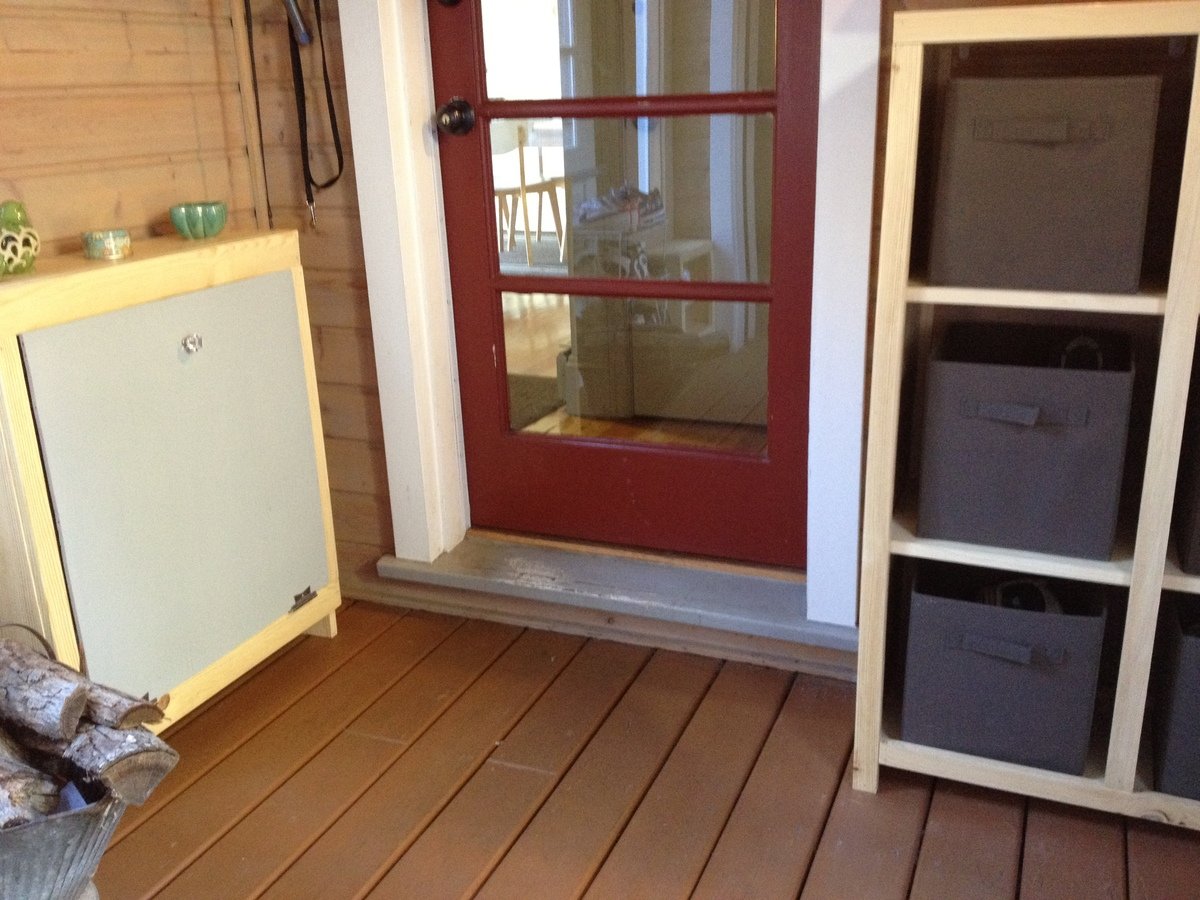
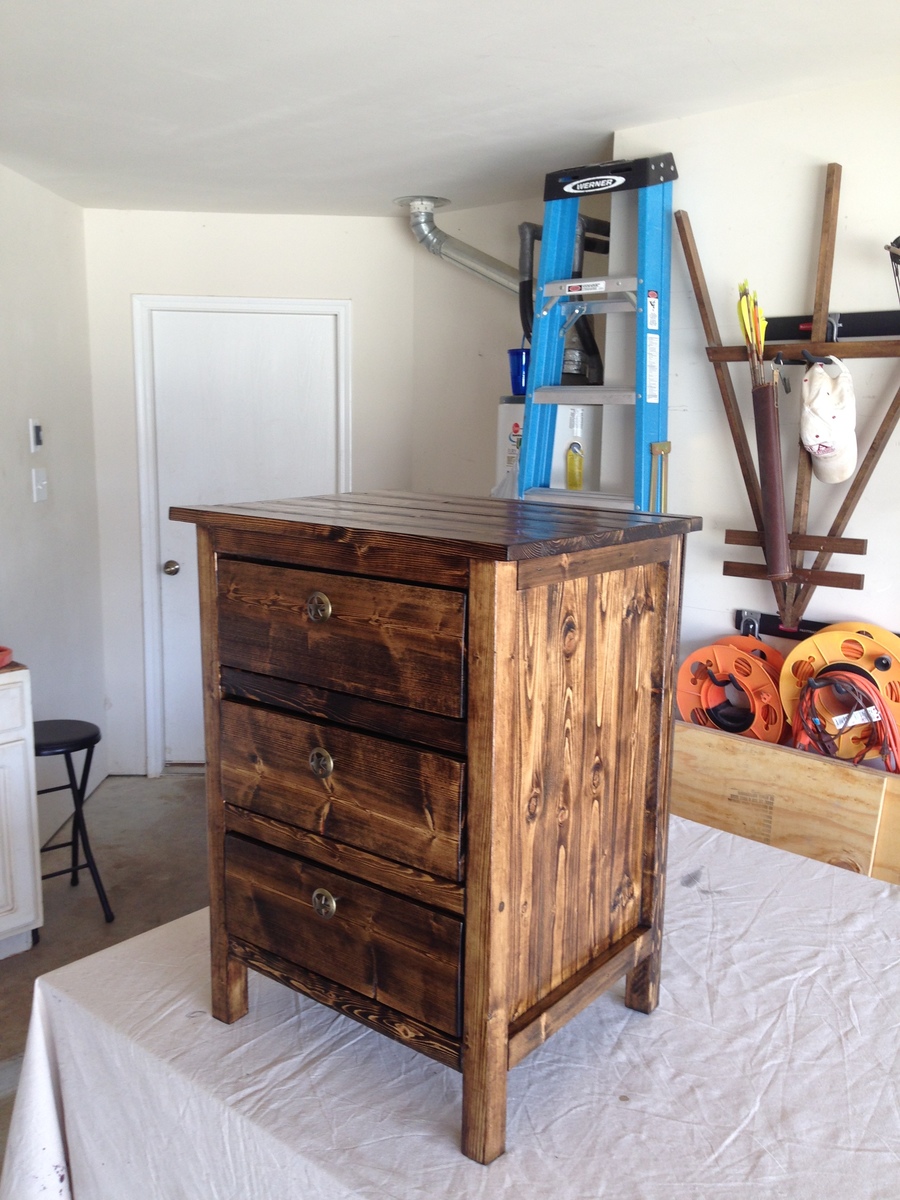
This goes into the mud room next to the recycling unit that I just completed the other day. My first project out there was a wooden bench with re-claimed wood. Very simple. I finished all three pieces similar. I painted grey paint on parts of the pieces (two coats) and then used a clear polyurethane (two coats with sanding before and in-between) on the rest of the projects.
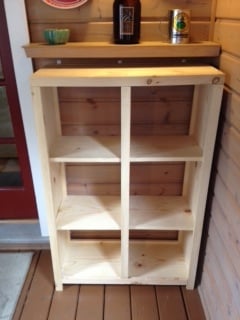
This project was easier then I expected, and I love the look. I almost bought one like this at Ikea last year. So glad I held off as this was way cheaper to build and now has more sentimental value instead!
I was able to find brown bins to fit at target.com for $6.50 a piece, and can't wait for them to ship here. 4 of the 6 will be used for shoe bins, and the other 2 will be used for hats and mittens (live in Minnesota). So much neater looking than the plastic shoe shelves we had before.
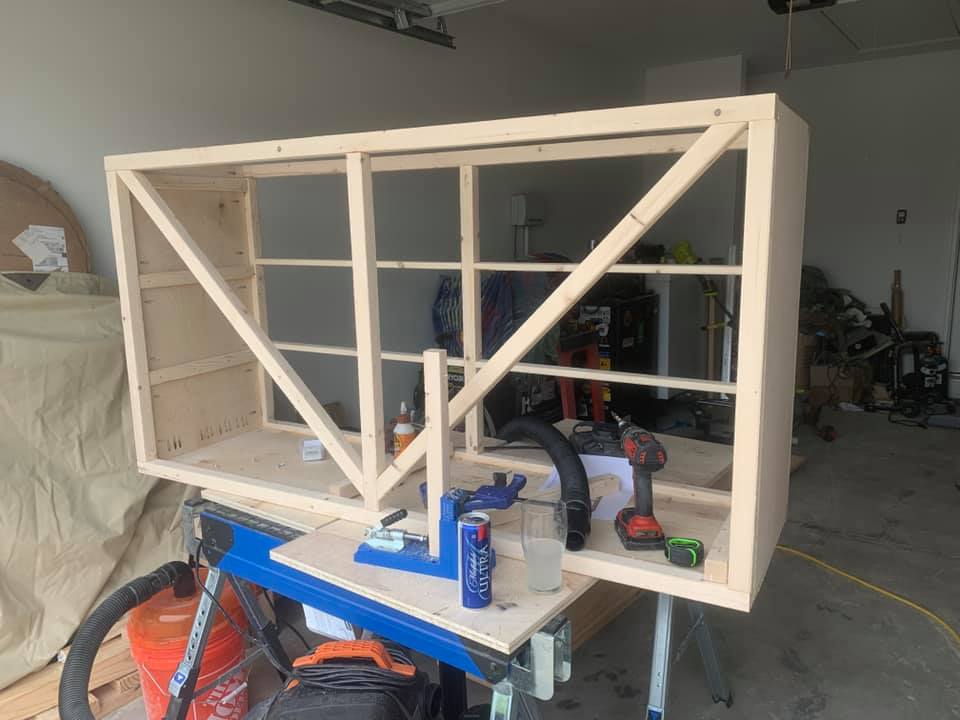
FYI: there is a cut missing on the cut list: It is the bottom piece. The cut is 28 3/4" and is not mentioned on the list or in the diagrams....
Thu, 05/19/2016 - 15:33
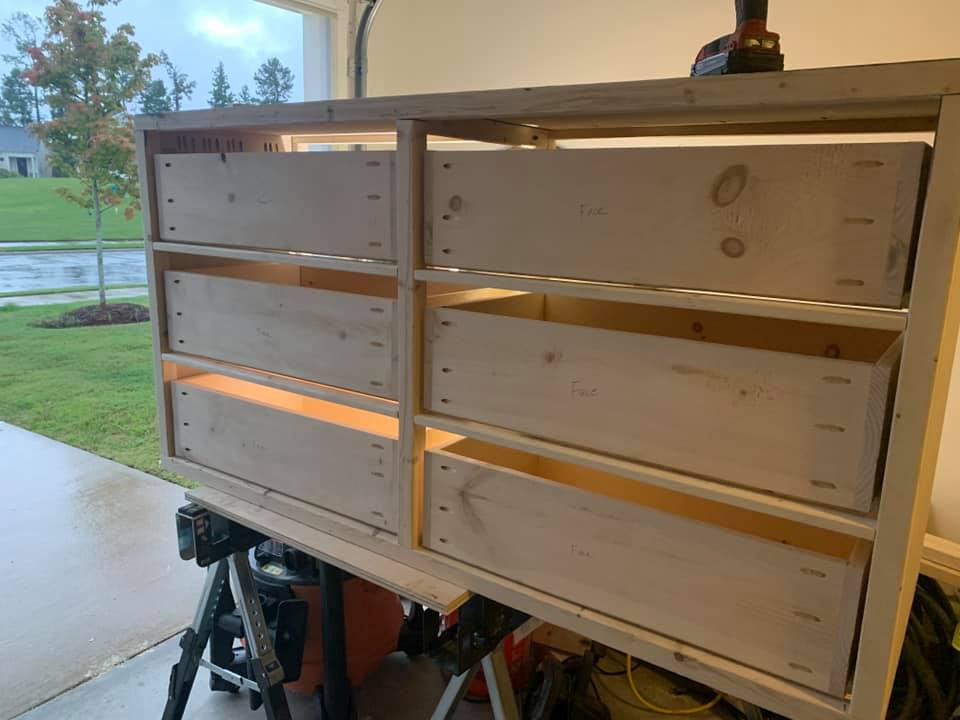
Hello! I'm new to woodworking. I recently purchased an 8v lithium-ion drill by Ryobi. It's taking forever to build my cabinet with six cubbies. I keep having to stop to charge the drill. Do you think a 12v drill/driver would suffice?
Thank you for your help! :)

Thu, 05/19/2016 - 16:33
Hi Suzanne - this is a great drill. The ryobi One + drill/driver uses an 18v battery which fits interchangeably onto the other One+ tools. This one is on sale as a set from Home depot, which comes with a battery and charger.
http://www.homedepot.com/p/Ryobi-ONE-18-Volt-Lithium-Ion-Compact-Drill-Driver-Kit-P1811/205651590
Also you can get extra capacity spare batteries to switch out with:
http://www.homedepot.com/p/Ryobi-ONE-18-Volt-High-Capacity-LITHIUM-Battery-2-Pack-P122/204321540
I love mine and have purchased several other One+ tools and the extra batteries as well. (I especially love the AirStrike 18 gage finish nailer which doesn't need a compressor). Happy building!
:) Joanne
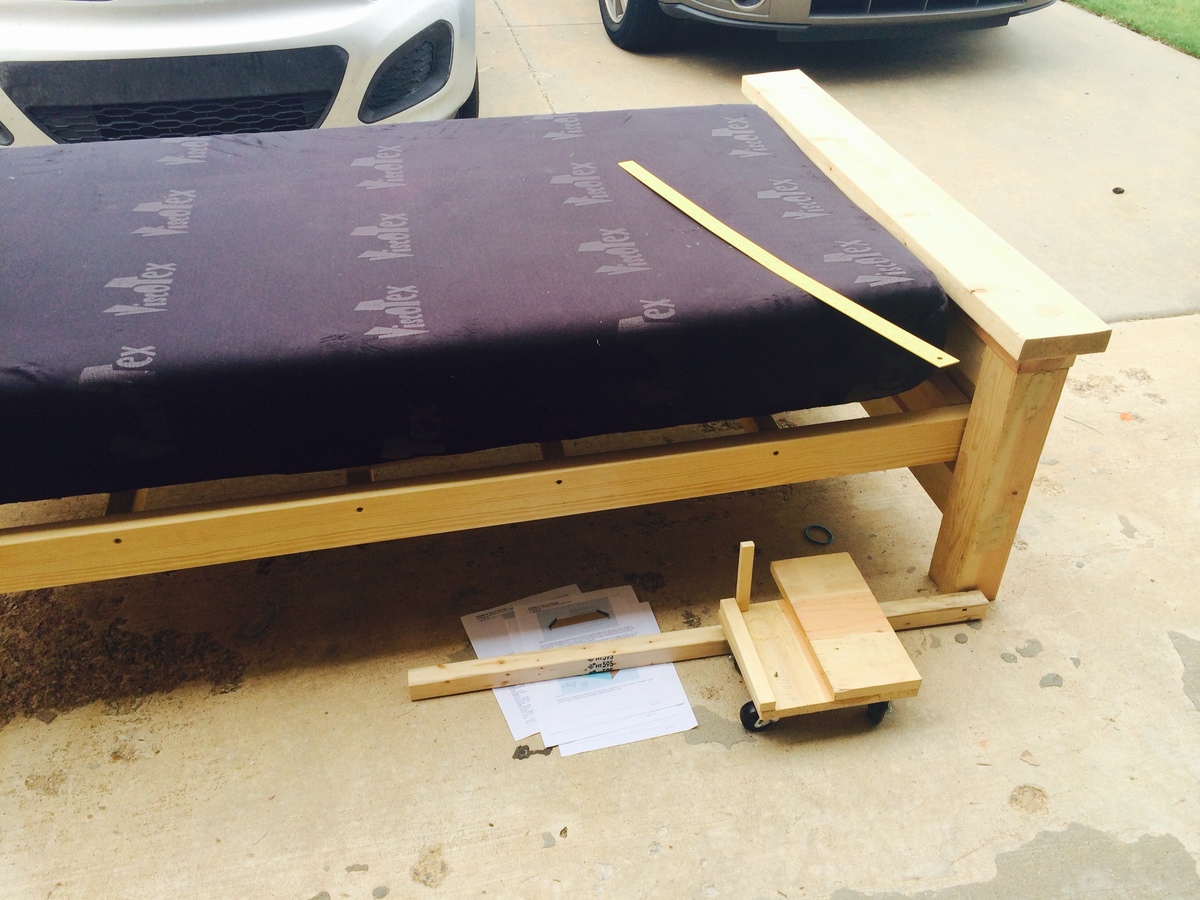
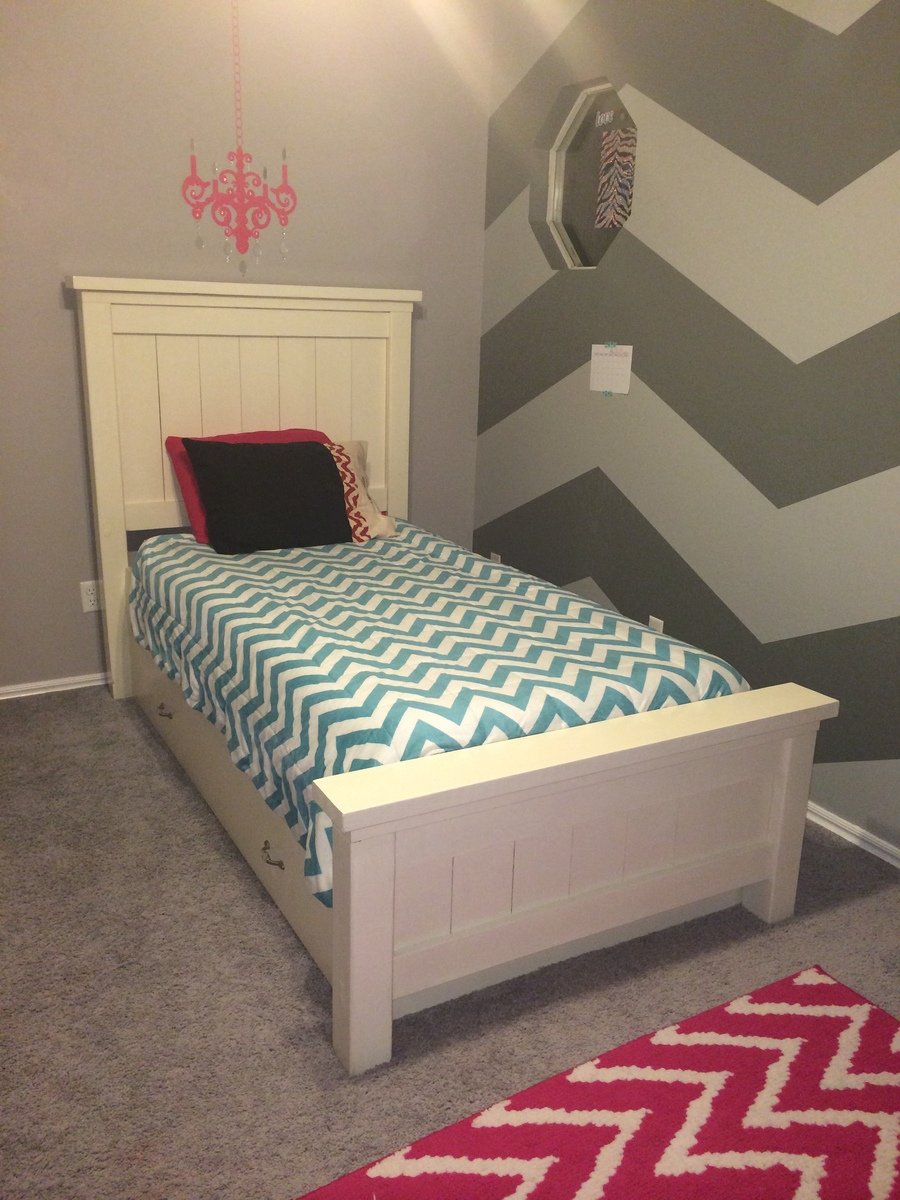
We built two of these beds for our daughters and modified the plan for their full size mattresses. Also modified the rails for a different look. Of course their dolls needed matching beds as well :)
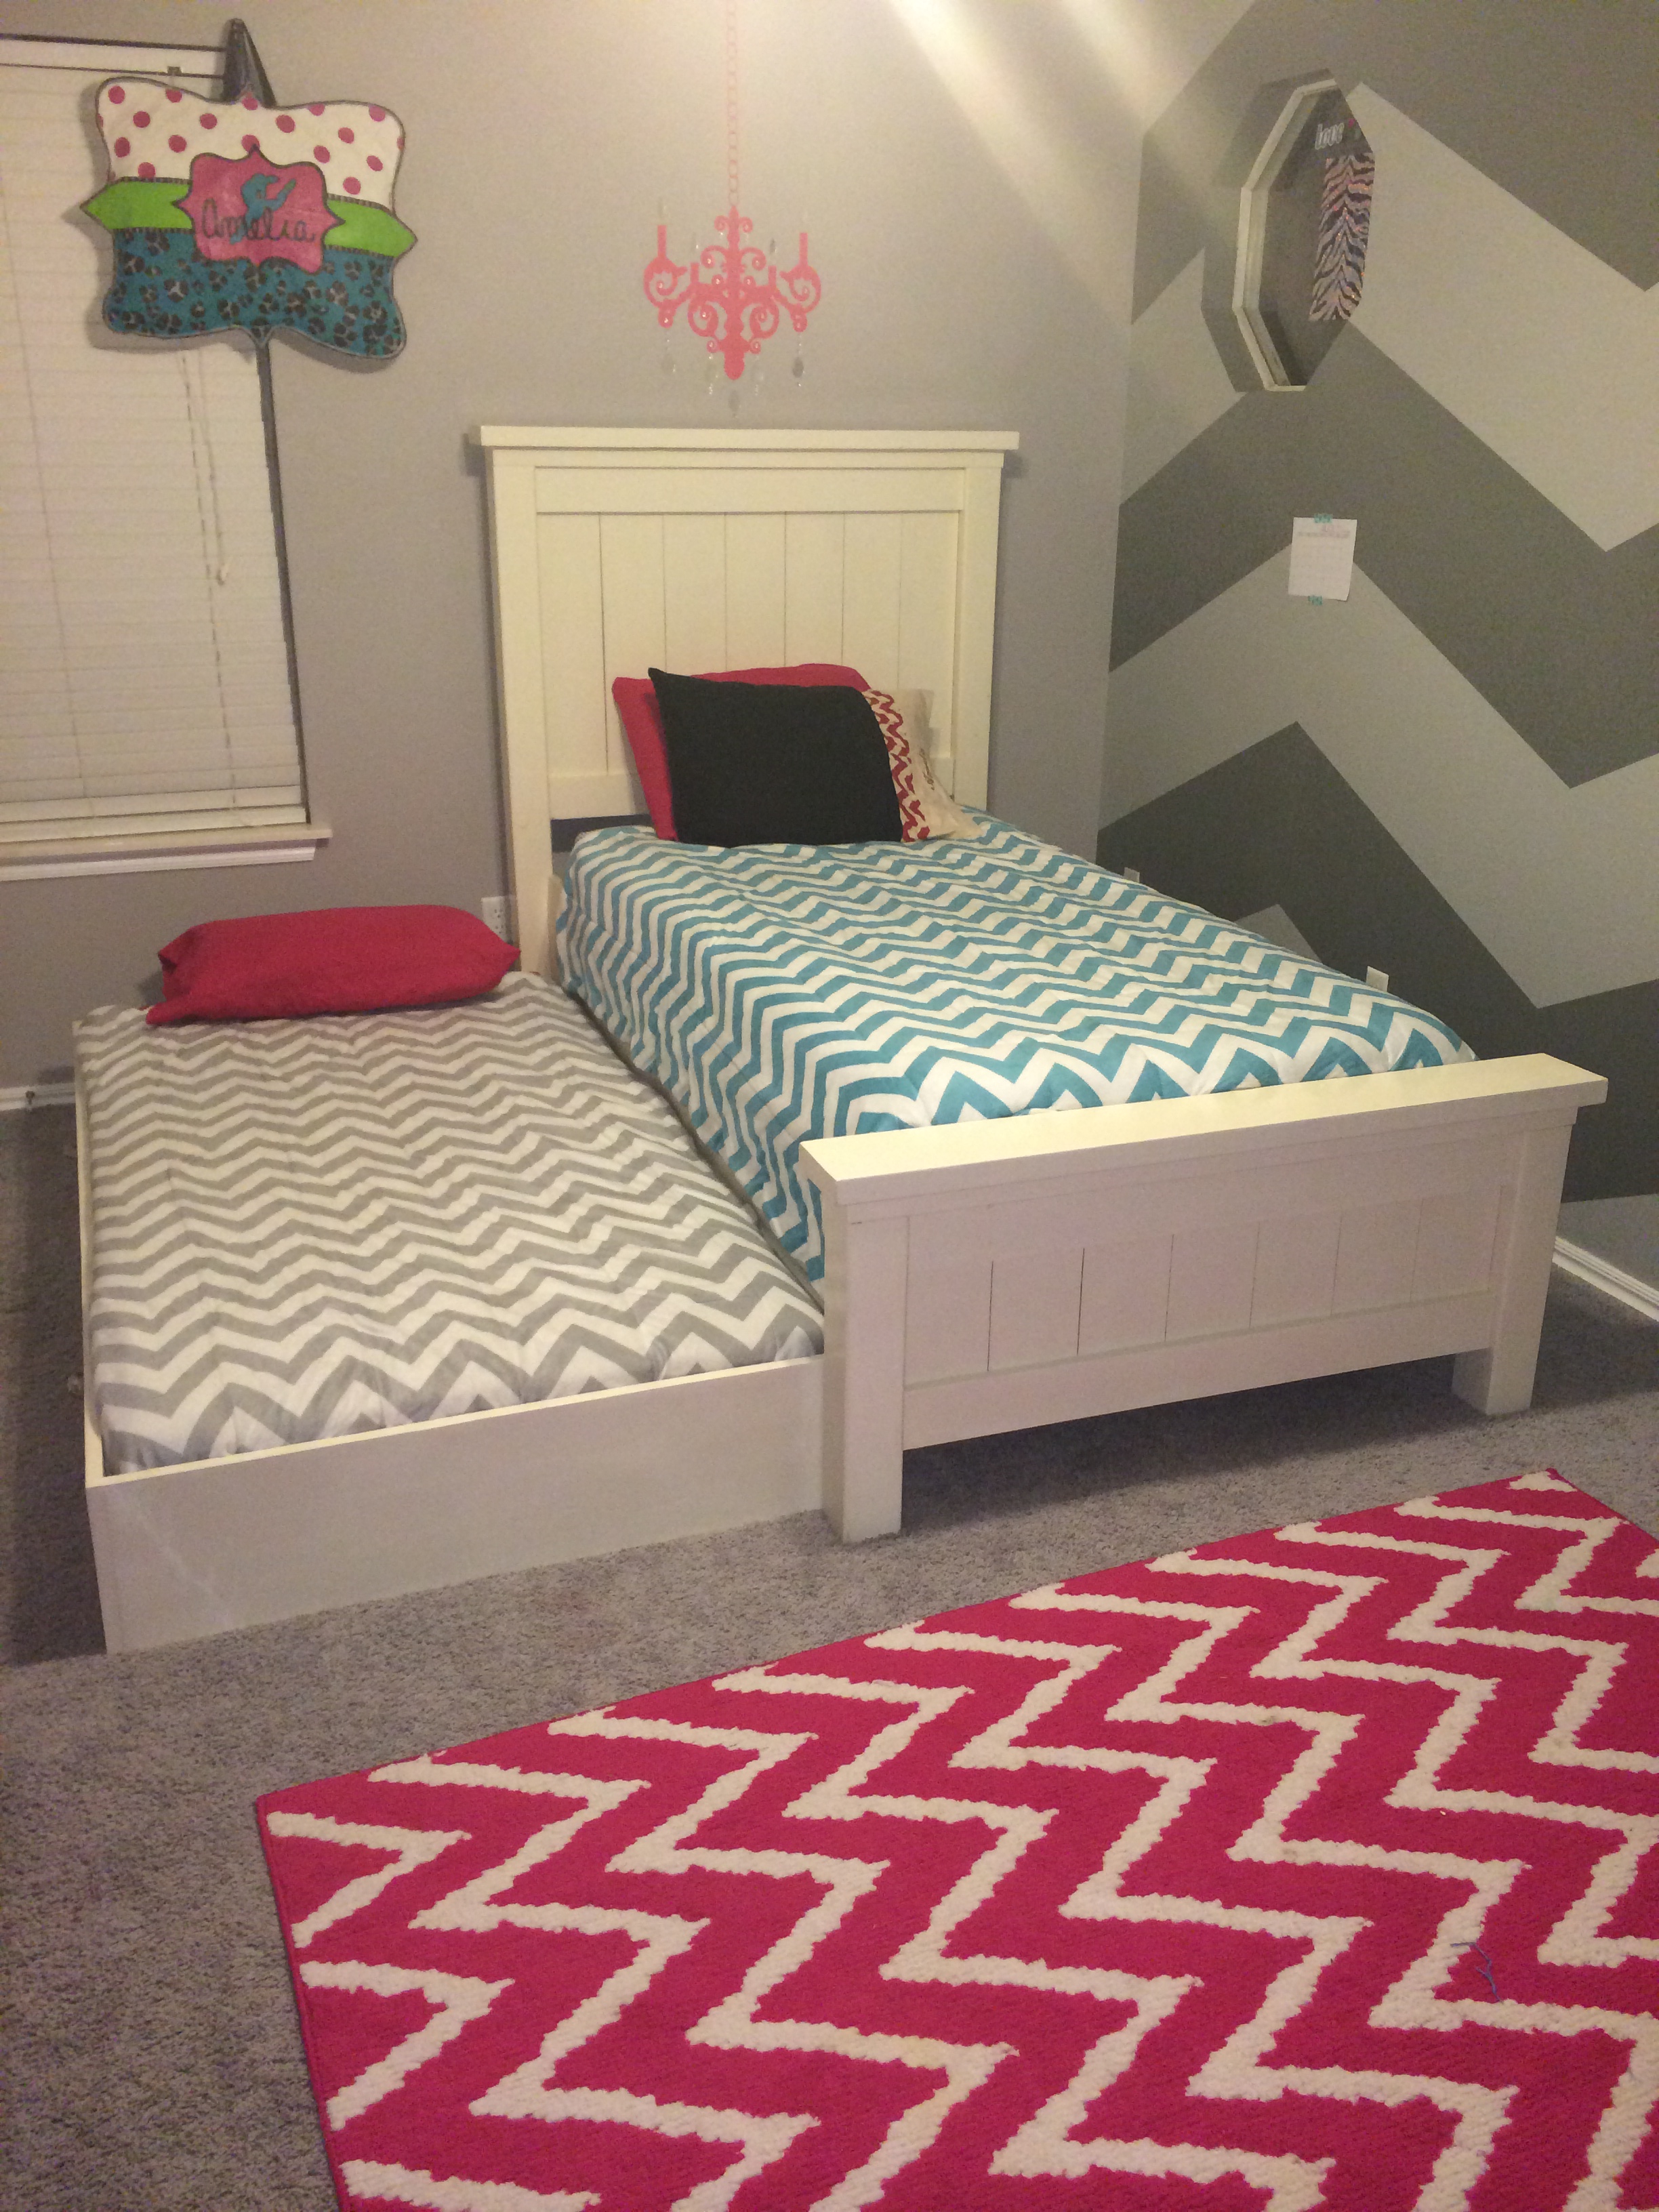
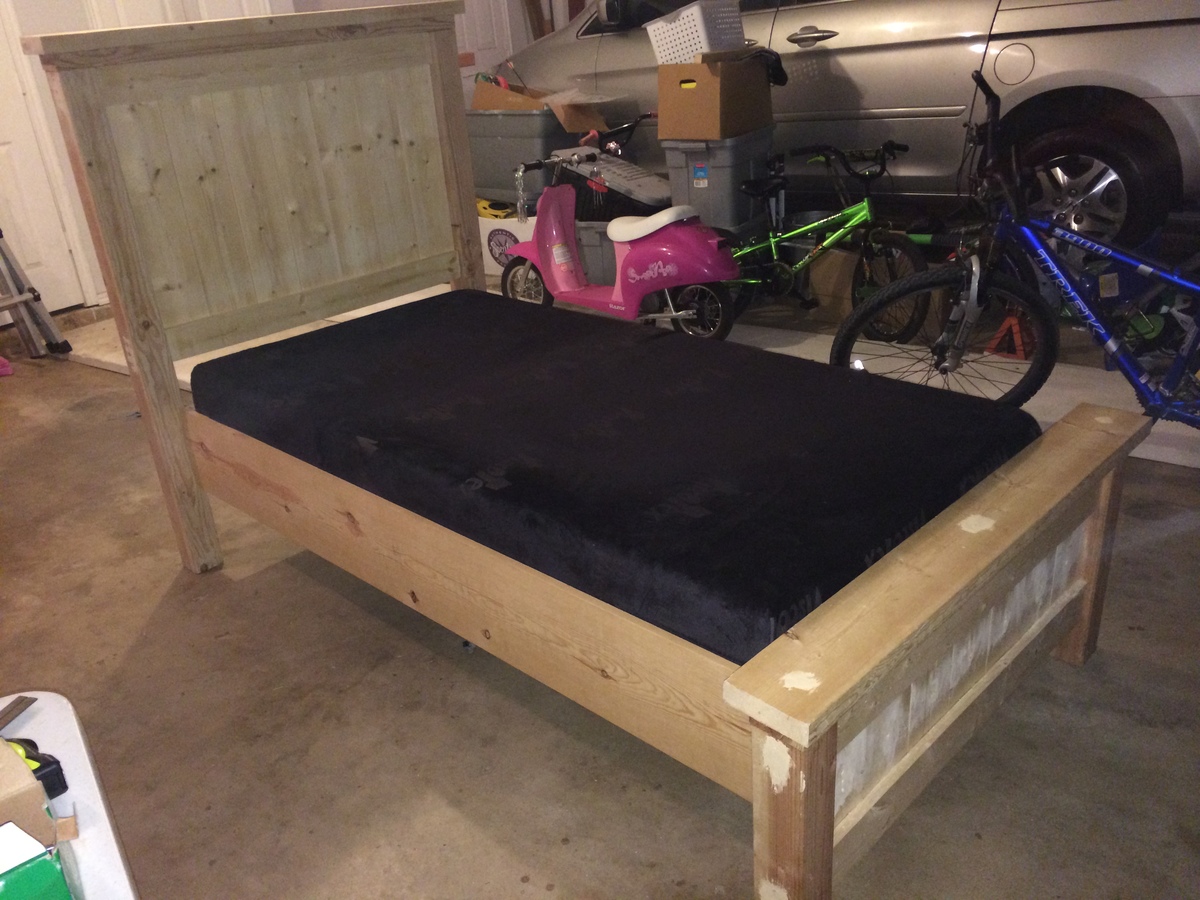
We made the traditional Twin Farmhouse bed using Ana's plans. We did modify the height of the headboard and foot board in case we decide to move the bed to under her window.
I was very particular about the sizing and placements of the sideboard/trundle. I did not want a big gap between the mattress and the trundle. Also, did not want the actual bed mattress to sit down too far into the 1X10 and look like a crib.
Very happy with the results. Thanks so much, Ana!!!
Mon, 08/18/2014 - 05:01
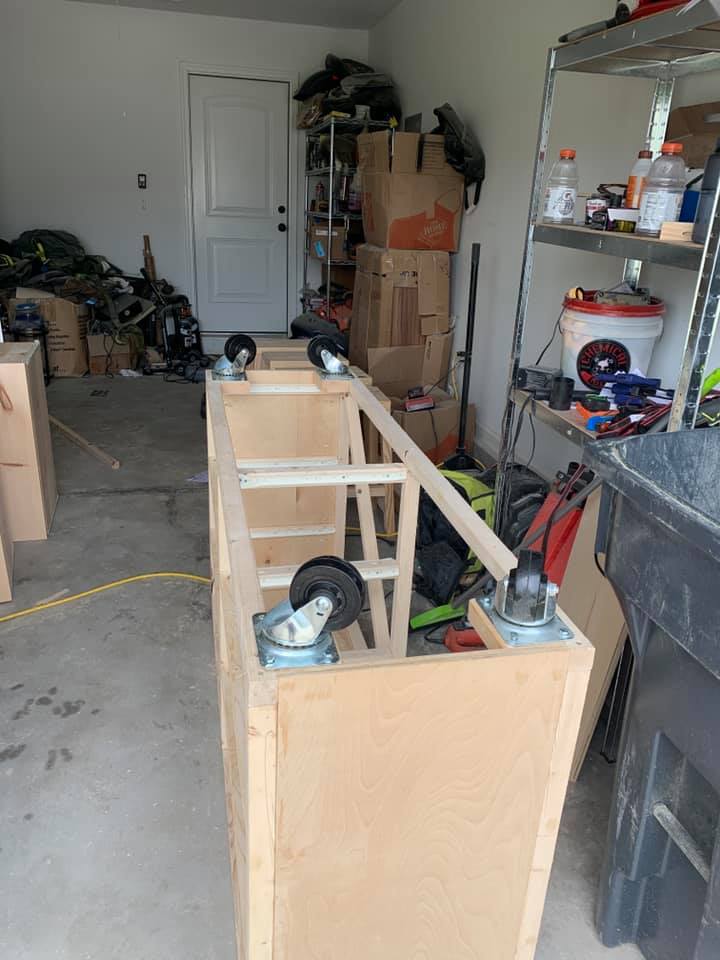
This looks great! I see you have carpet (as do I) did you use caster wheels? It looks like it's resting on the floor. I want t build but, I'm concerned about the ease of sliding. Tips appreciated.
Thanks in advance.
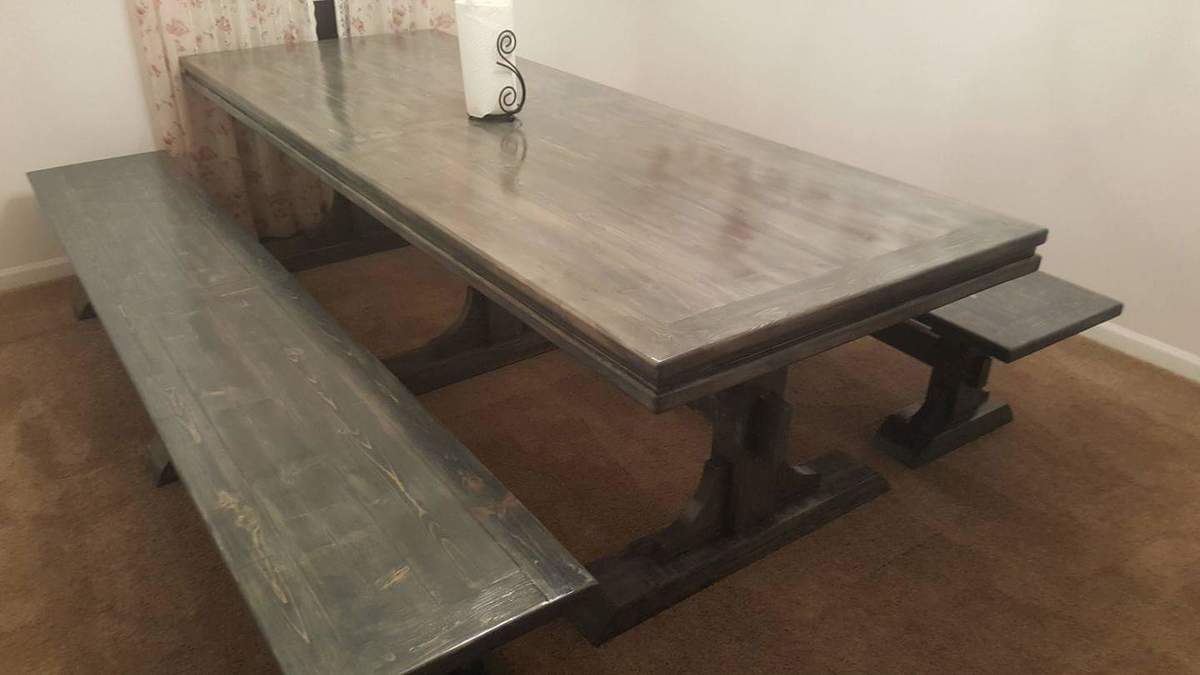
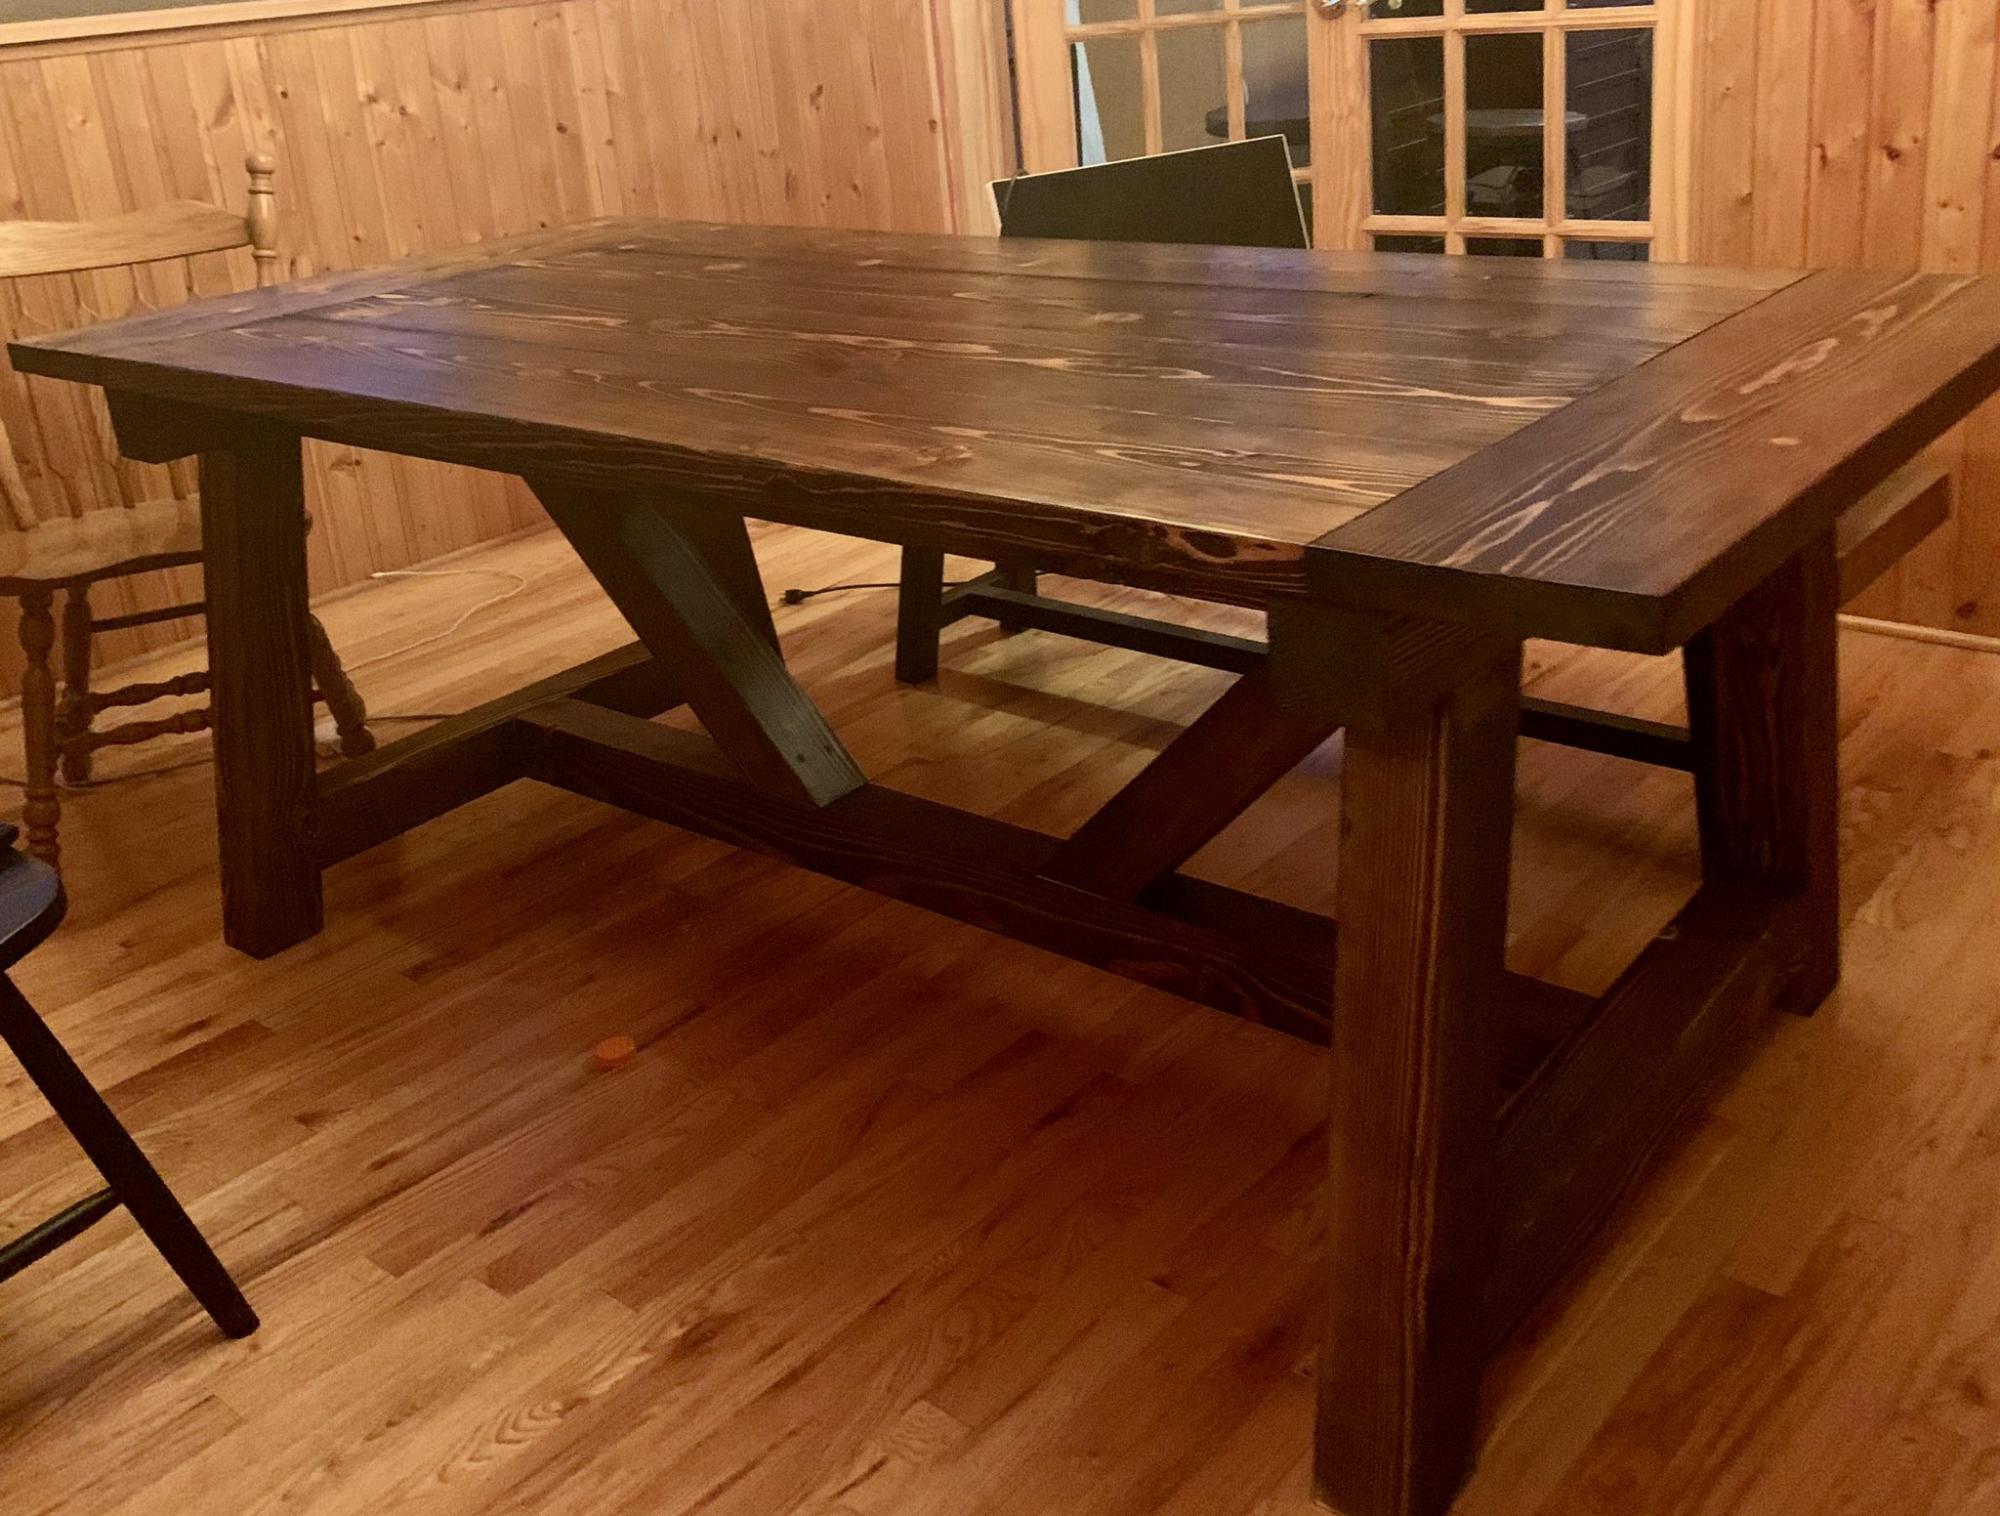
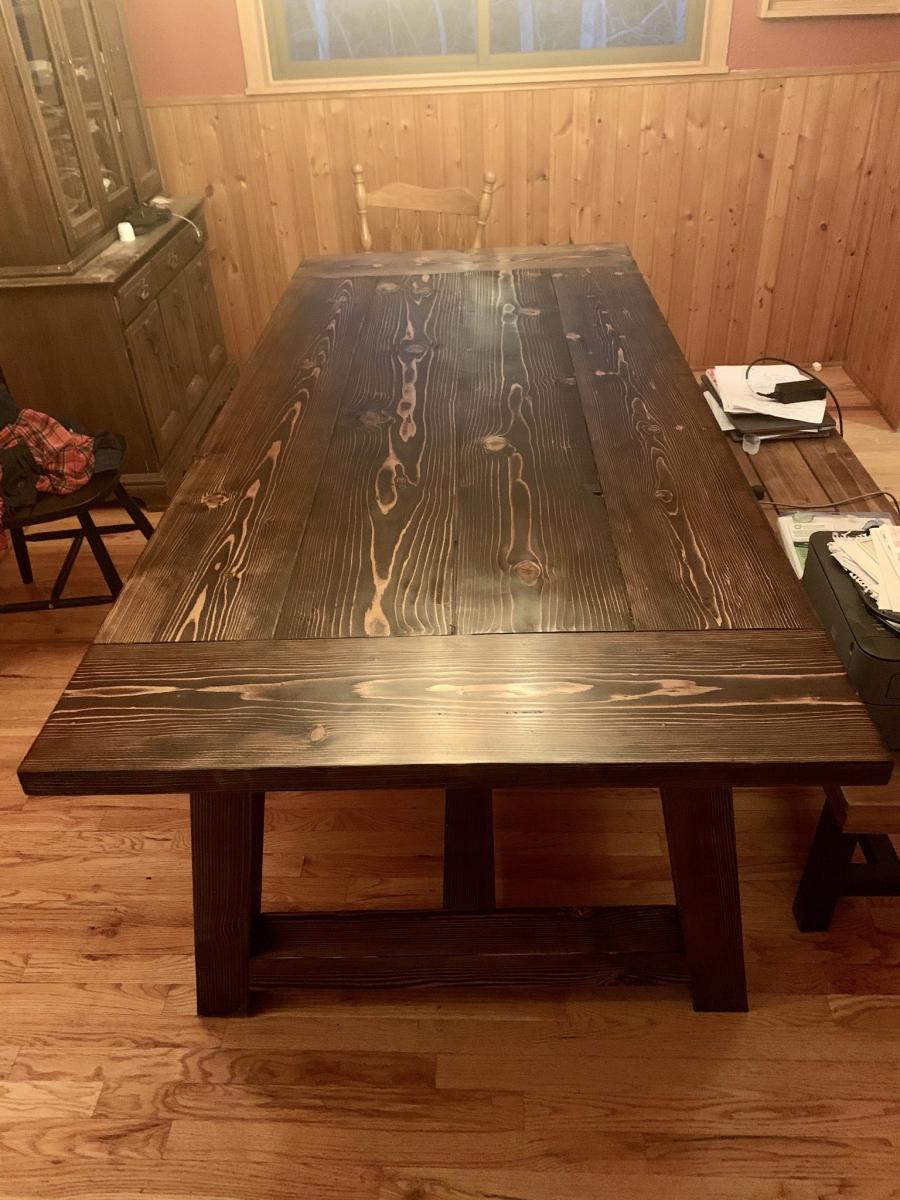
My dad was a lot more particular with this than a farmhouse table is intended to be. Lol
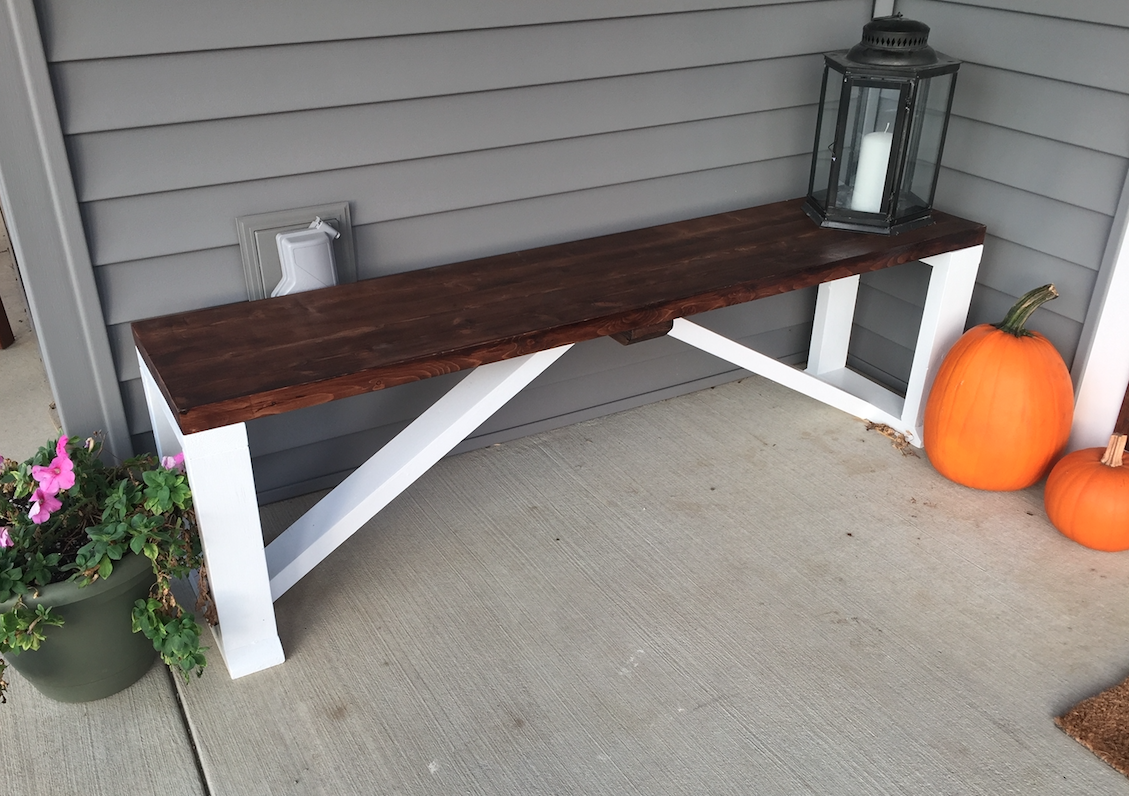
My wife has been asking me for quite some time to build her a bench for the front porch. I finally found some time to make one. I looked at a lot of different benches on Pinterest, YouTube and other websites and I presented the options to her, and she liked this design the best. She only had one request and that was for the top to match the front door and the frame to be white. I have a step-by-step video of how I made the Farmhouse Bench (Click Here) to see the video.
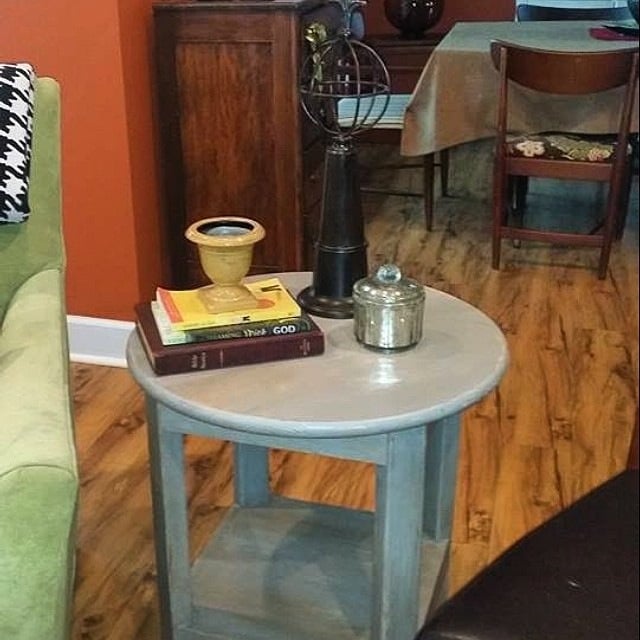
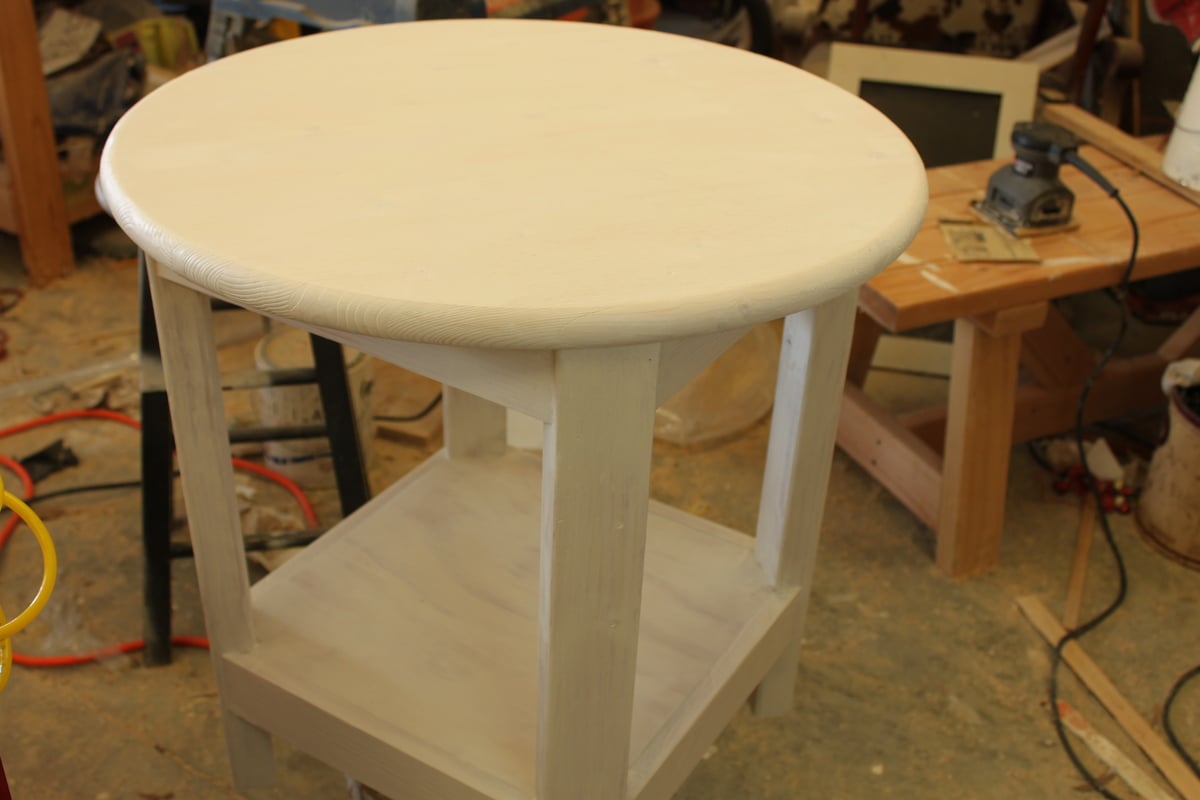
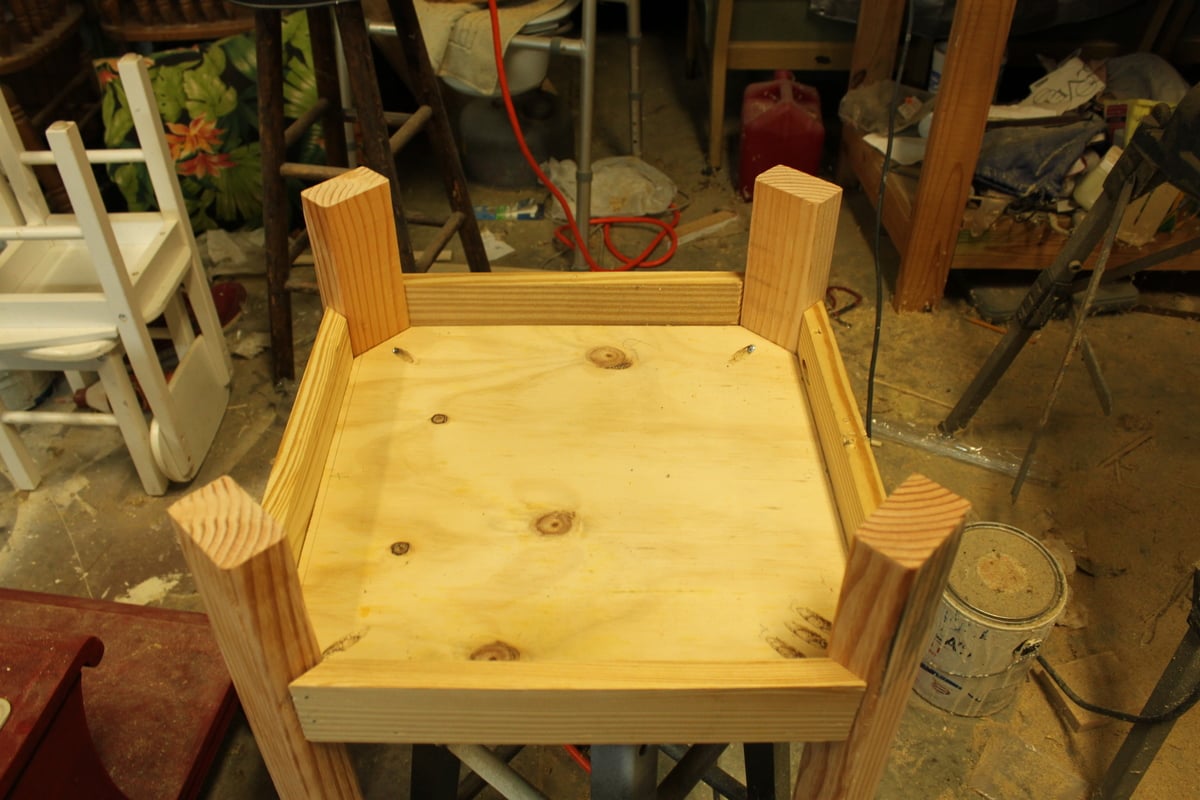
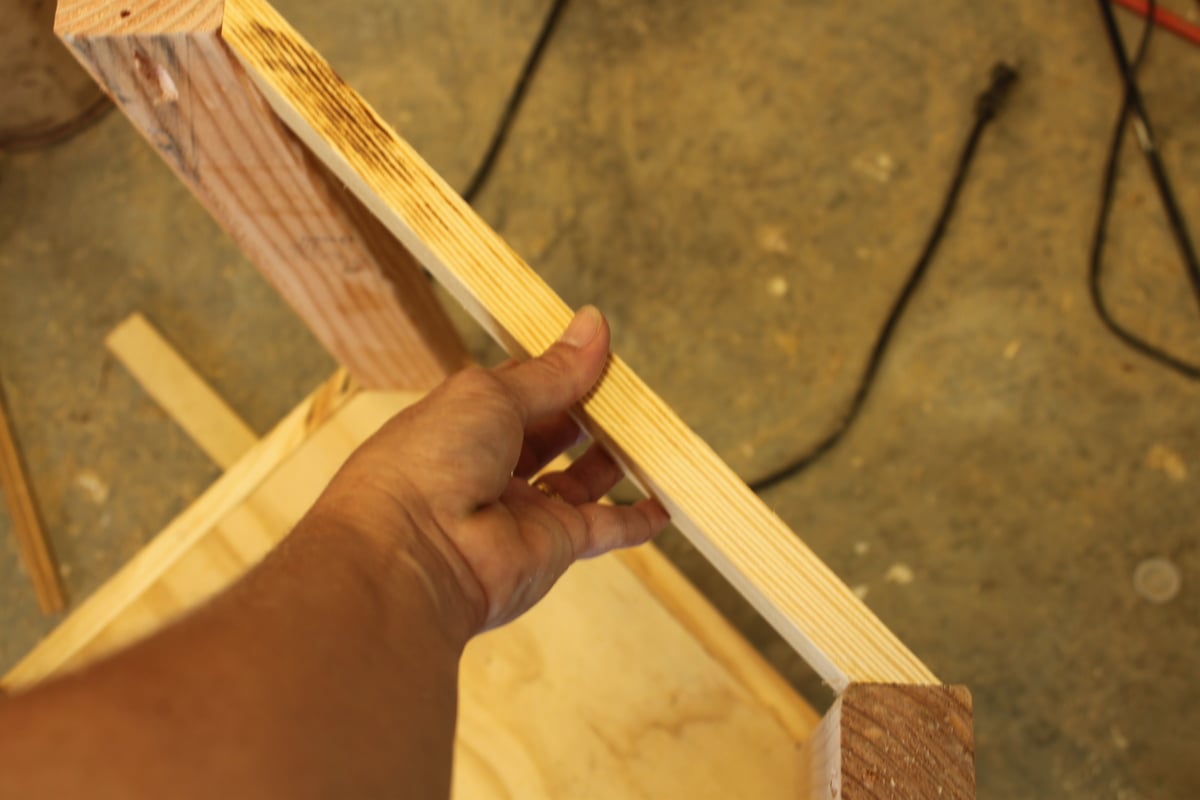
This is the third time I built this table. Everyone who has it loves it because it is the "perfect size". This last build was someone not as rustic, so I opted a premade round table top. This probably added $15 to the project but saved at least an hour.
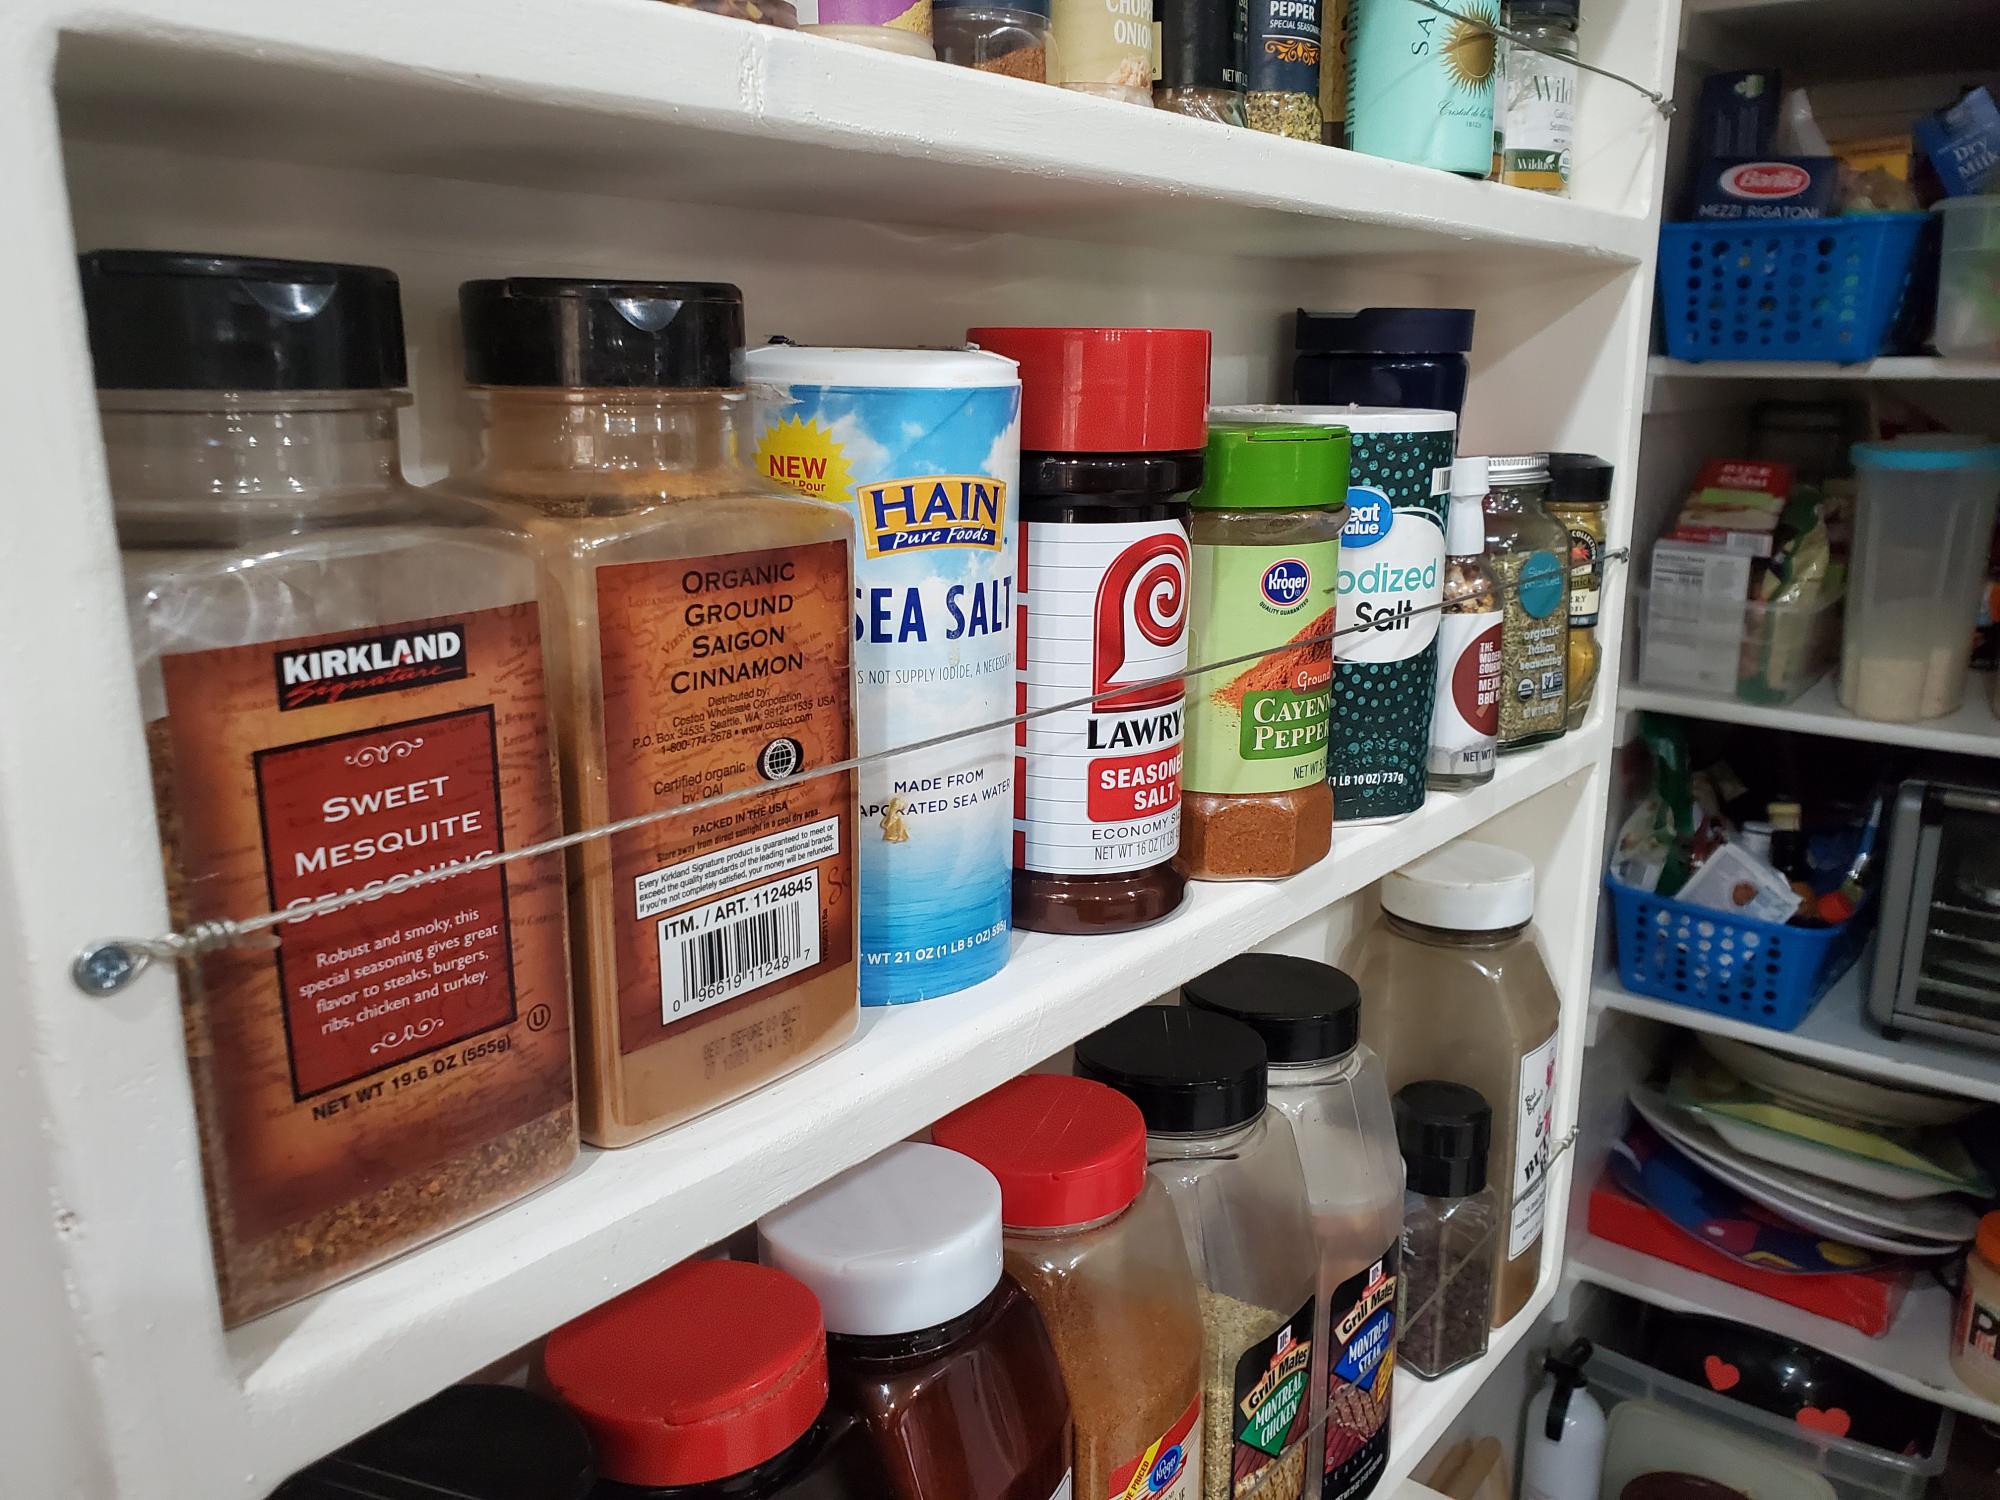
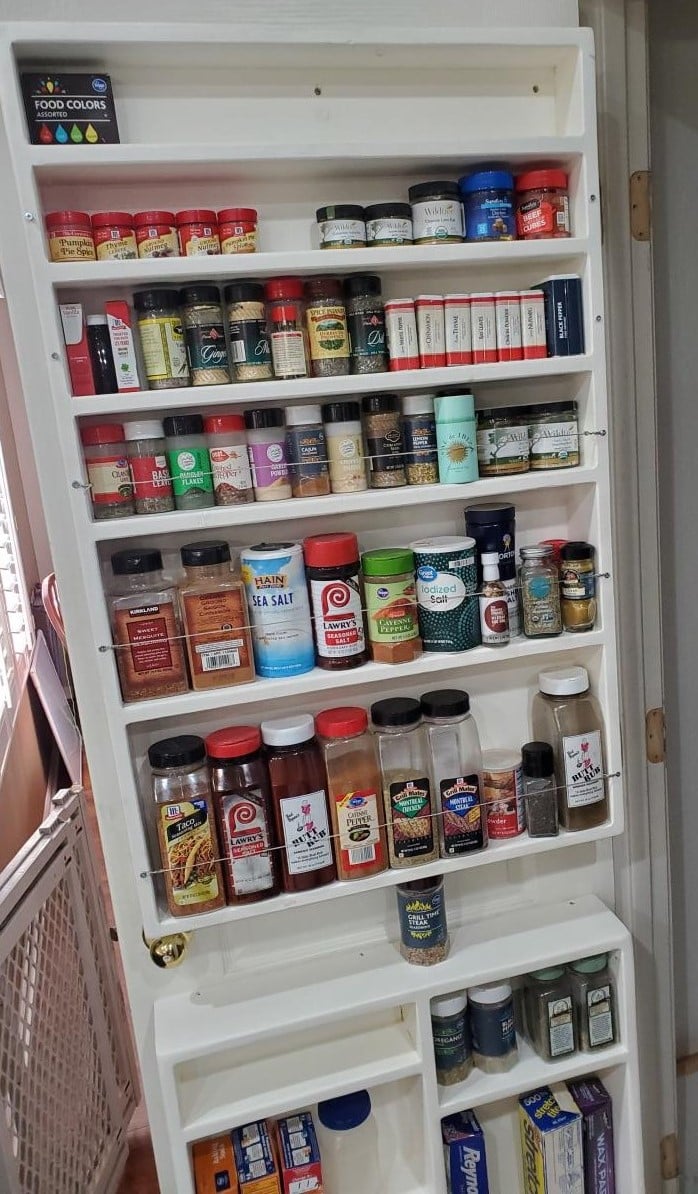
First I had to flip the pantry door from opening into my small pantry to opening out. Doing this allowed me to utilize back of the door for this spice rack. Frees up quite a bit of space in our cabinets, drawers and pantry for other items. Substituted braided picture frame wire for the wood dowels; still keeps all items secure on the shelves but also allows for more flexibility when dealing with canister sizes that are very close to the amount of space in between shelves. Already had the paint from doing some baseboards as well as quarter inch ply. So, final cost was for 1x4's and 1x6's coming out to about $30
My first build! Came out great, my daughter loves it!
draft

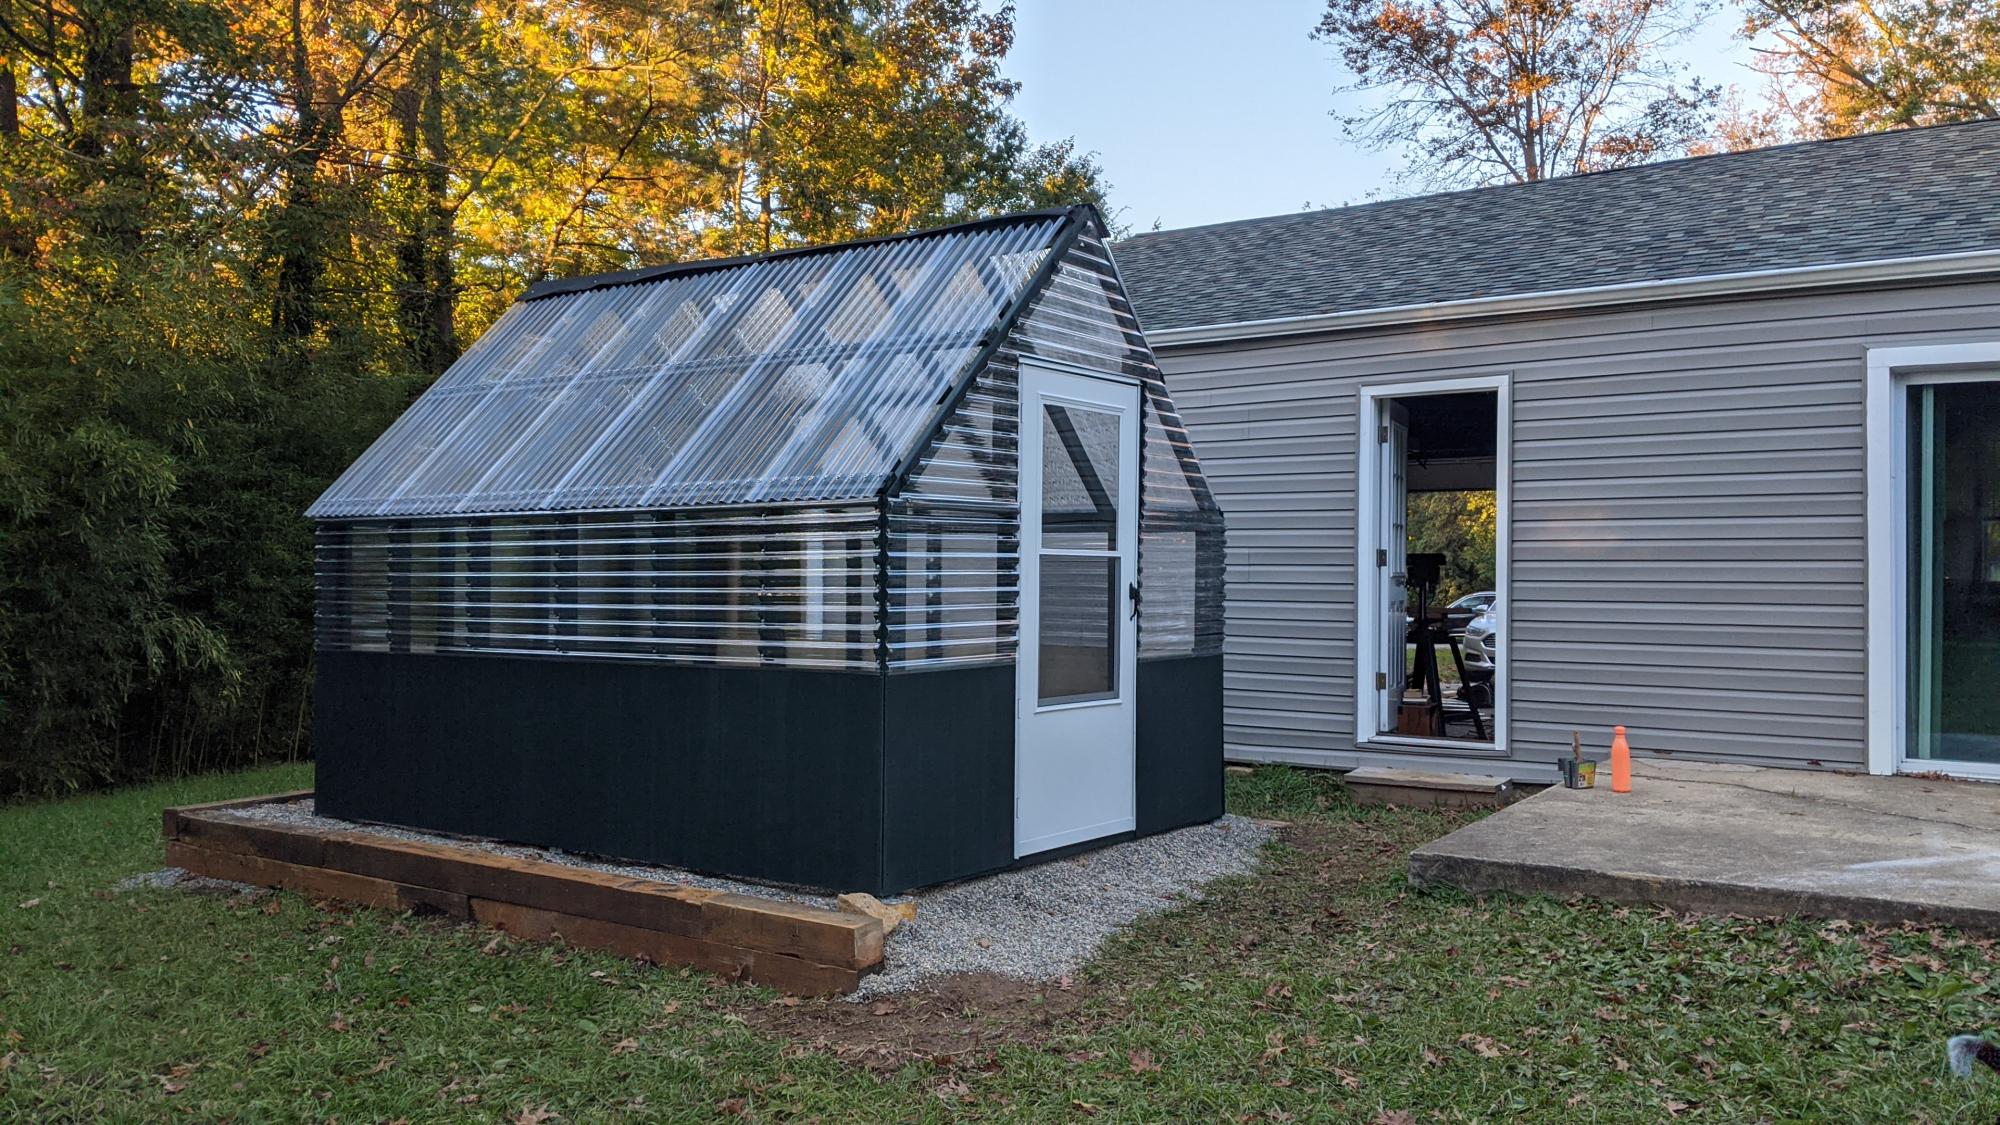
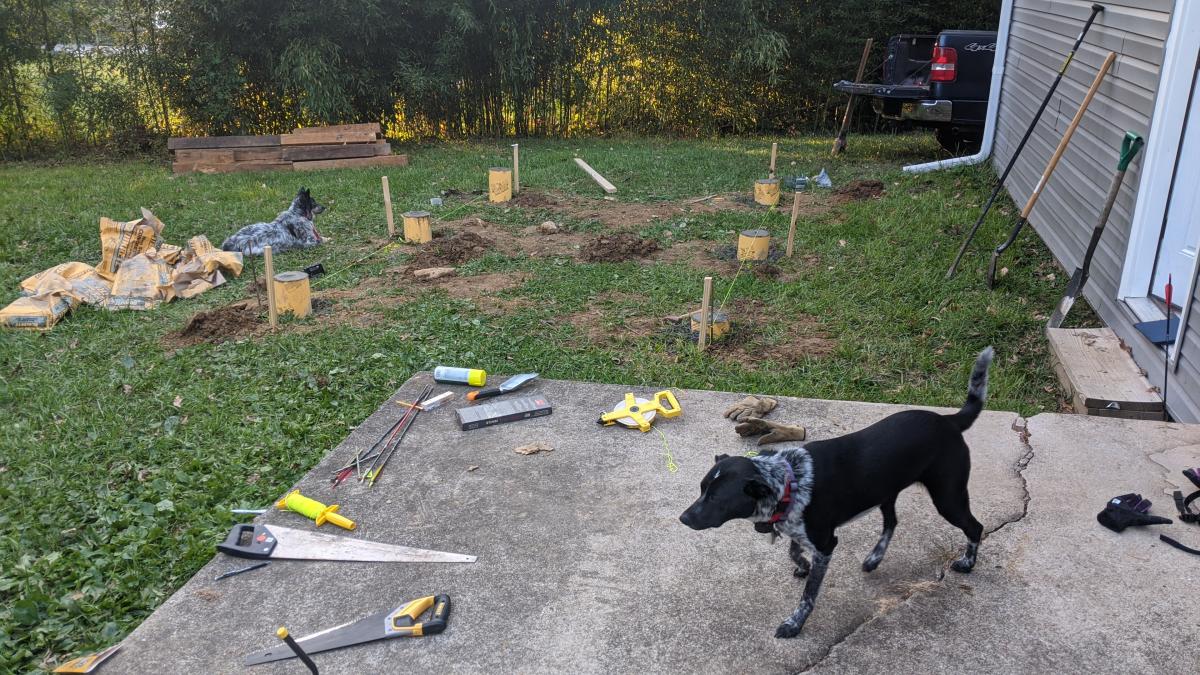
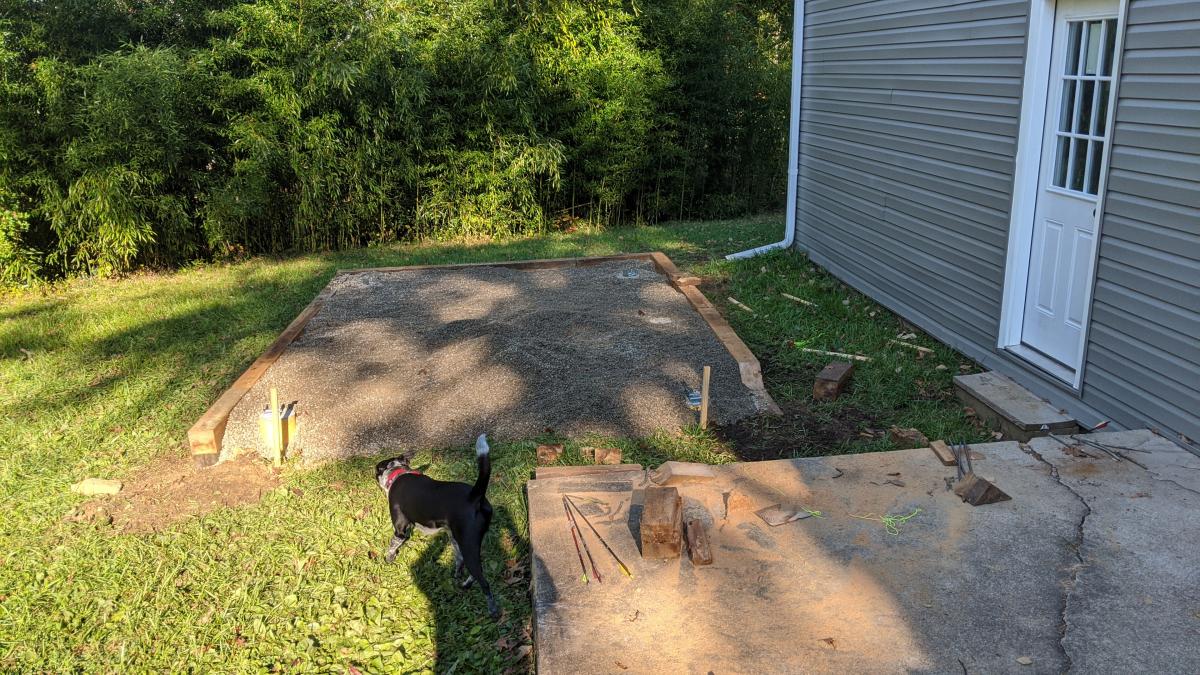
With the help of friends and family, we managed to build this greenhouse rather easily. We had to start with the foundation since the spot we chose was not an even grade. We did this by filling sono tubes with cement and leveling each off so the greenhouse would have a solid place to sit. We then built out a frame around the outside of the cement tubes with some reclaimed 6x6's. After that, we filled the space with 5 tons of river rock and then got to work! After the foundation was ready putting the rest of the house together was a piece of cake. The frame was so easy to put together. We had a few minor kinks to work out here and there, I won't say this house came out 100% perfectly, BUT I am so happy with the end results. We chose to paint it a deep green color as a final touch. So far we just moved a few potted plants from our deck to the greenhouse for the winter. It has been working very well to keep the plants cozy during the colder days we've had. Eventually, I plan to build a potting station, shelving, and most likely a garden bed for winter harvests.


Mon, 11/09/2020 - 09:52
The foundation looks great the greenhouse looks amazing! I'm sure fun was had building it too:) Thanks for sharing.
Followed the plans pretty closely other than making it a tiny bit shorter to fit in the living room. The hardest part was just smoothing out the top because I could not find straight boards. ended up using a hand planer and a ton of sanding after it was put together.
Feels very solid.
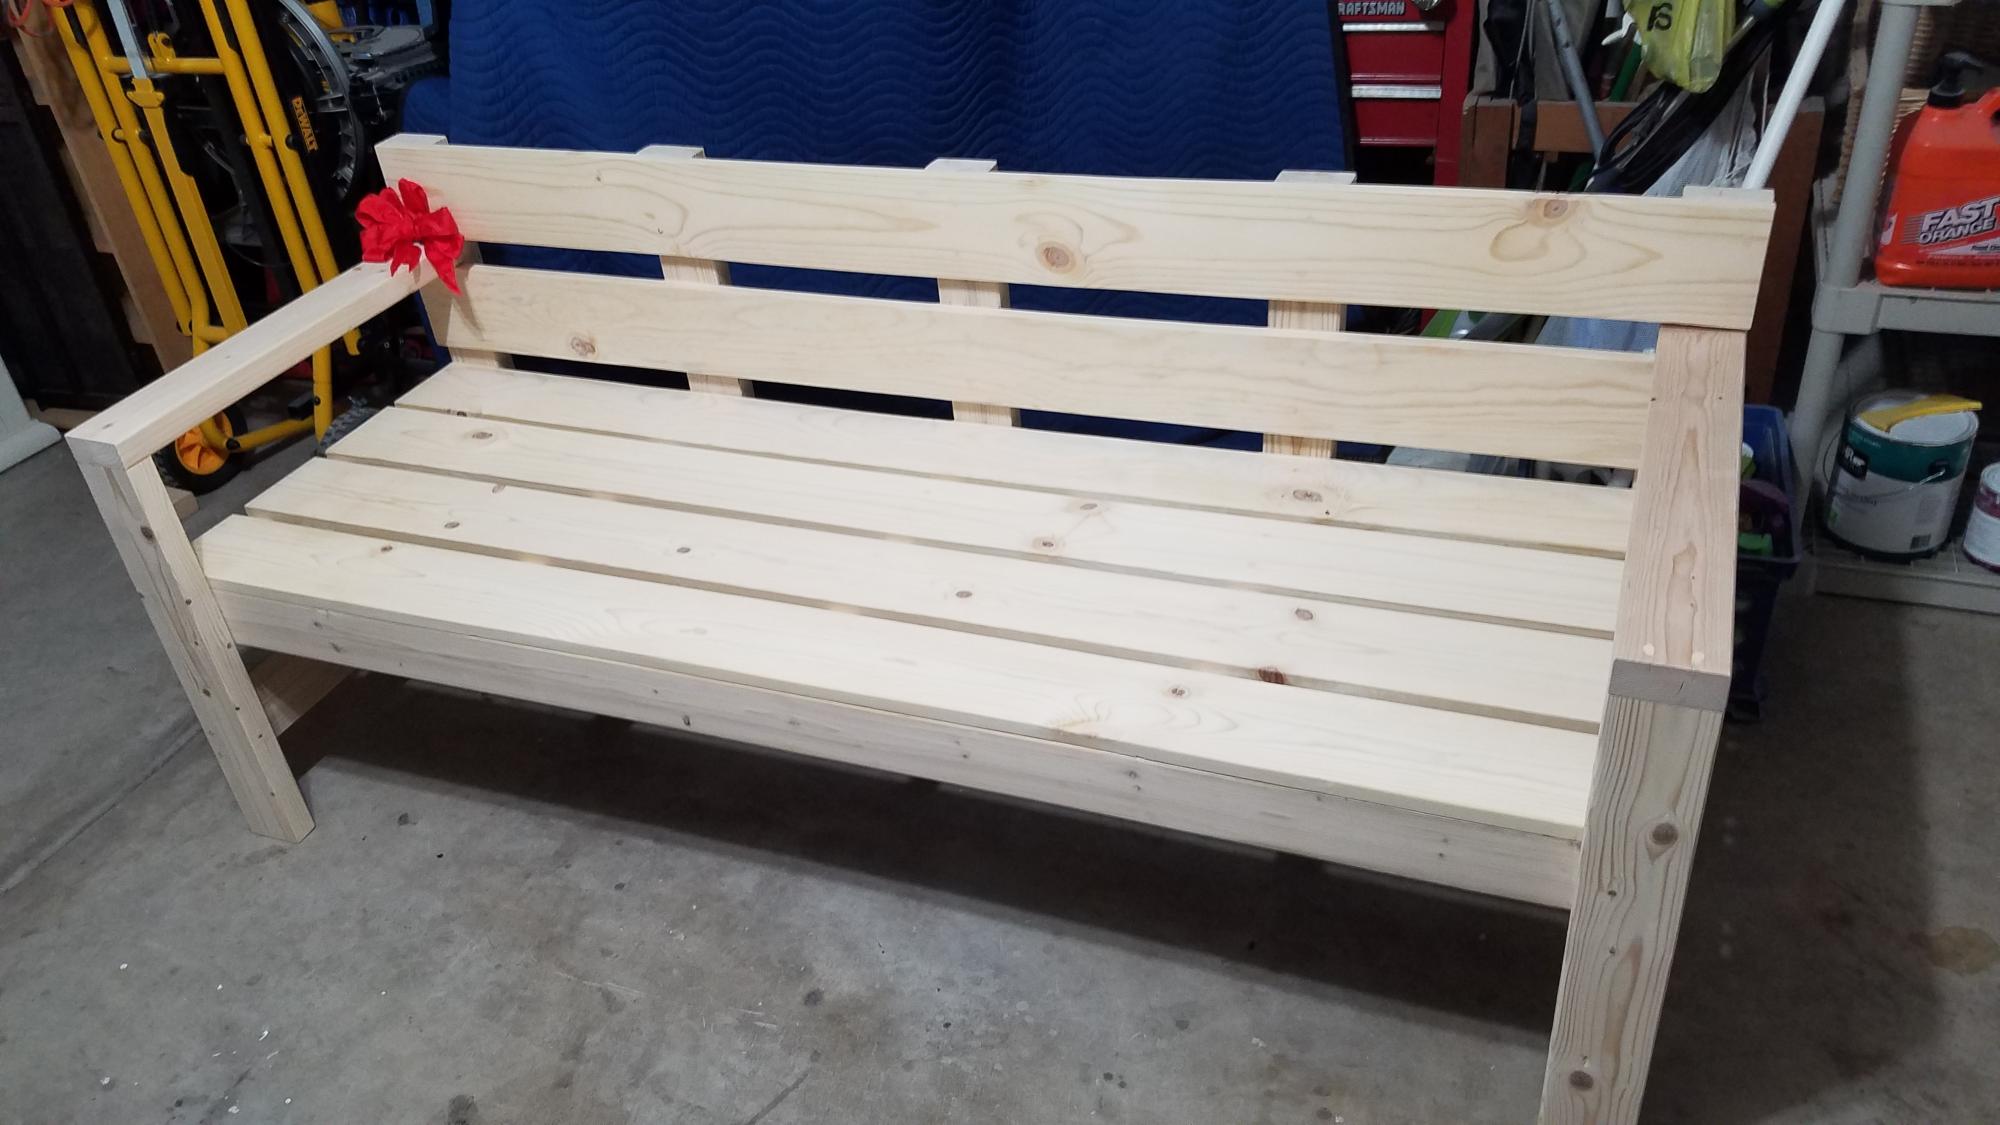
A first for me in many years, over 40+. Not really since basic wood shop projects in Middle School. Anyway, my son (and daughter in-law, but she doesn't know) had asked for a backyard patio bench for Christmas this year (2020) so what could go wrong. Anyway, the plans are straight forward in this design. He saw the picture of a stained version on YouTube and said that would be perfect. The project took me three late afternoons/evenings as my day job took priority. After making all the cuts and beginning assembly I could really see this coming together nicely once the four legs were attached. Between wood fill and sanding I asked what finish they preferred and was told he would finish that part. So I sanded the exterior on it and glad for having him finish the coatings as I was just finished it that point on Christmas Eve Day. The red bow is also first for me.
Comments
Myron3
Wed, 05/27/2020 - 08:28
Great Job!
I love this. Functional but also decorative. Would you mind sharing the plan for your version?