Simple Adirondack Chairs
Built by Chuck Hughes
"I've made 10 of these chairs so far."
Built from Plan(s)
Recommended Skill Level
Beginner
Built by Chuck Hughes
"I've made 10 of these chairs so far."
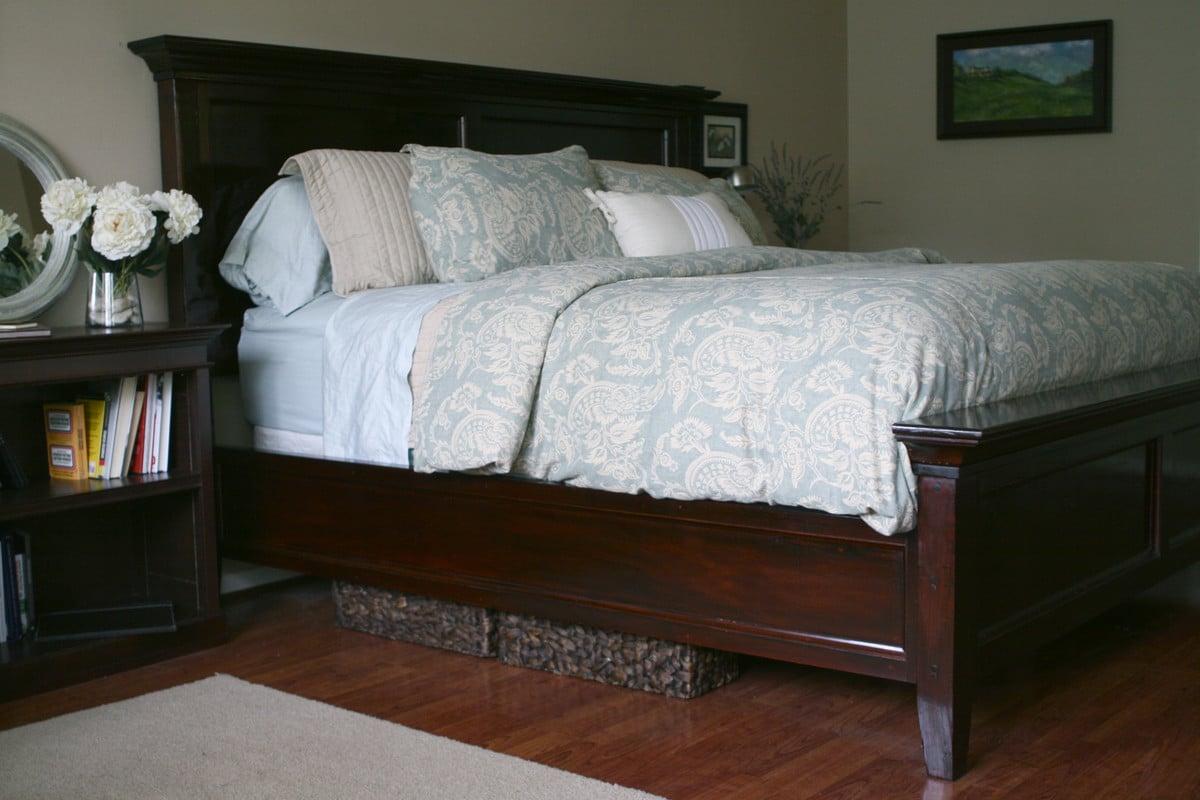
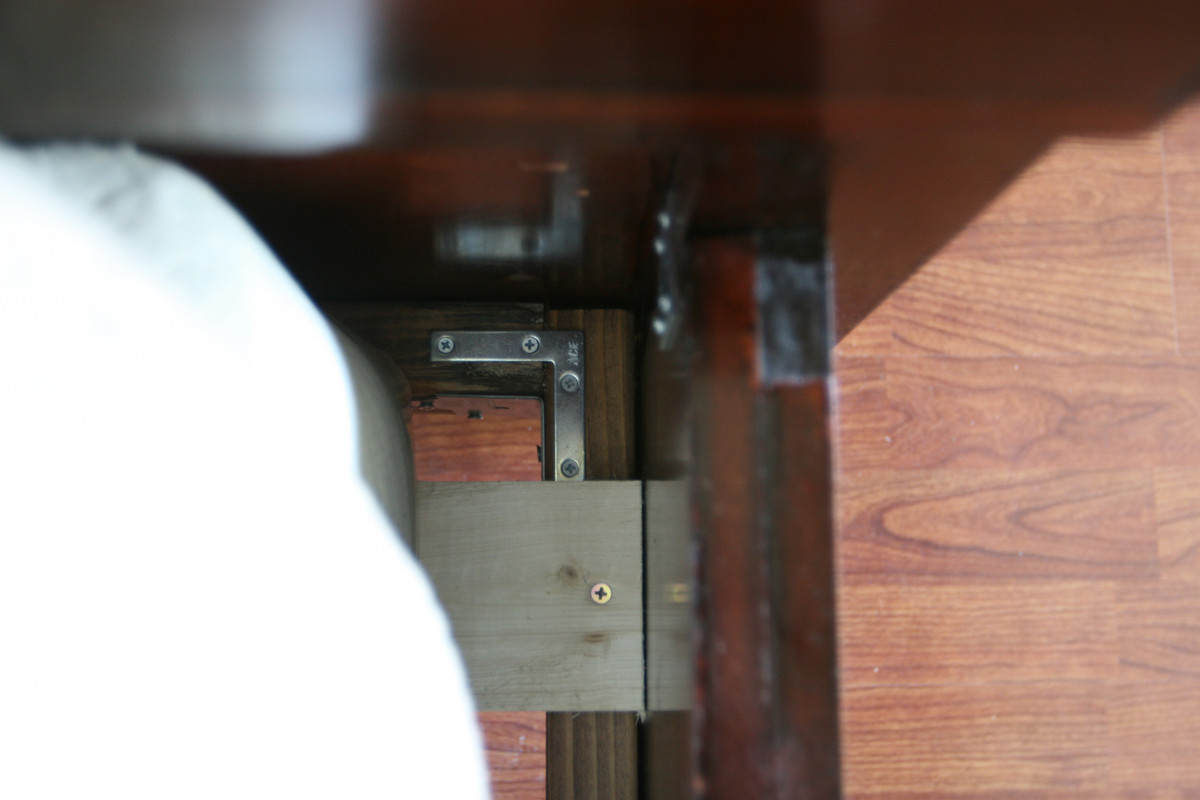
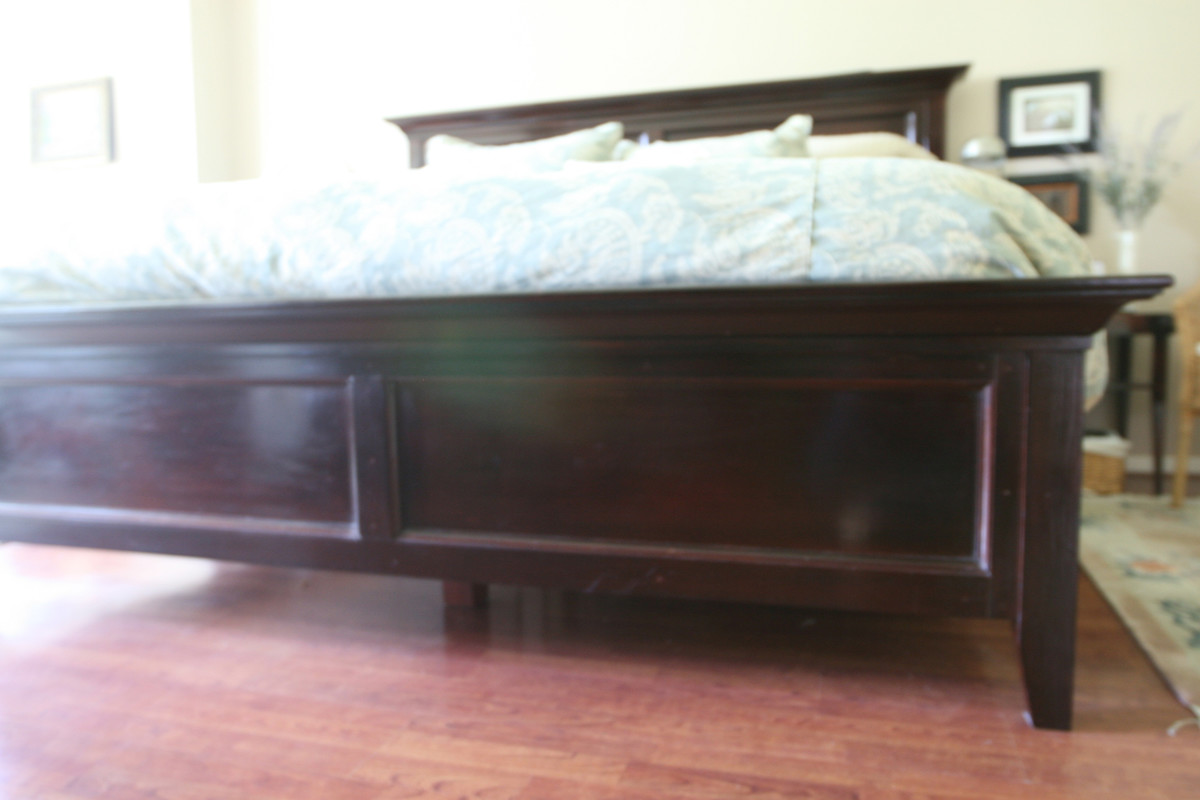
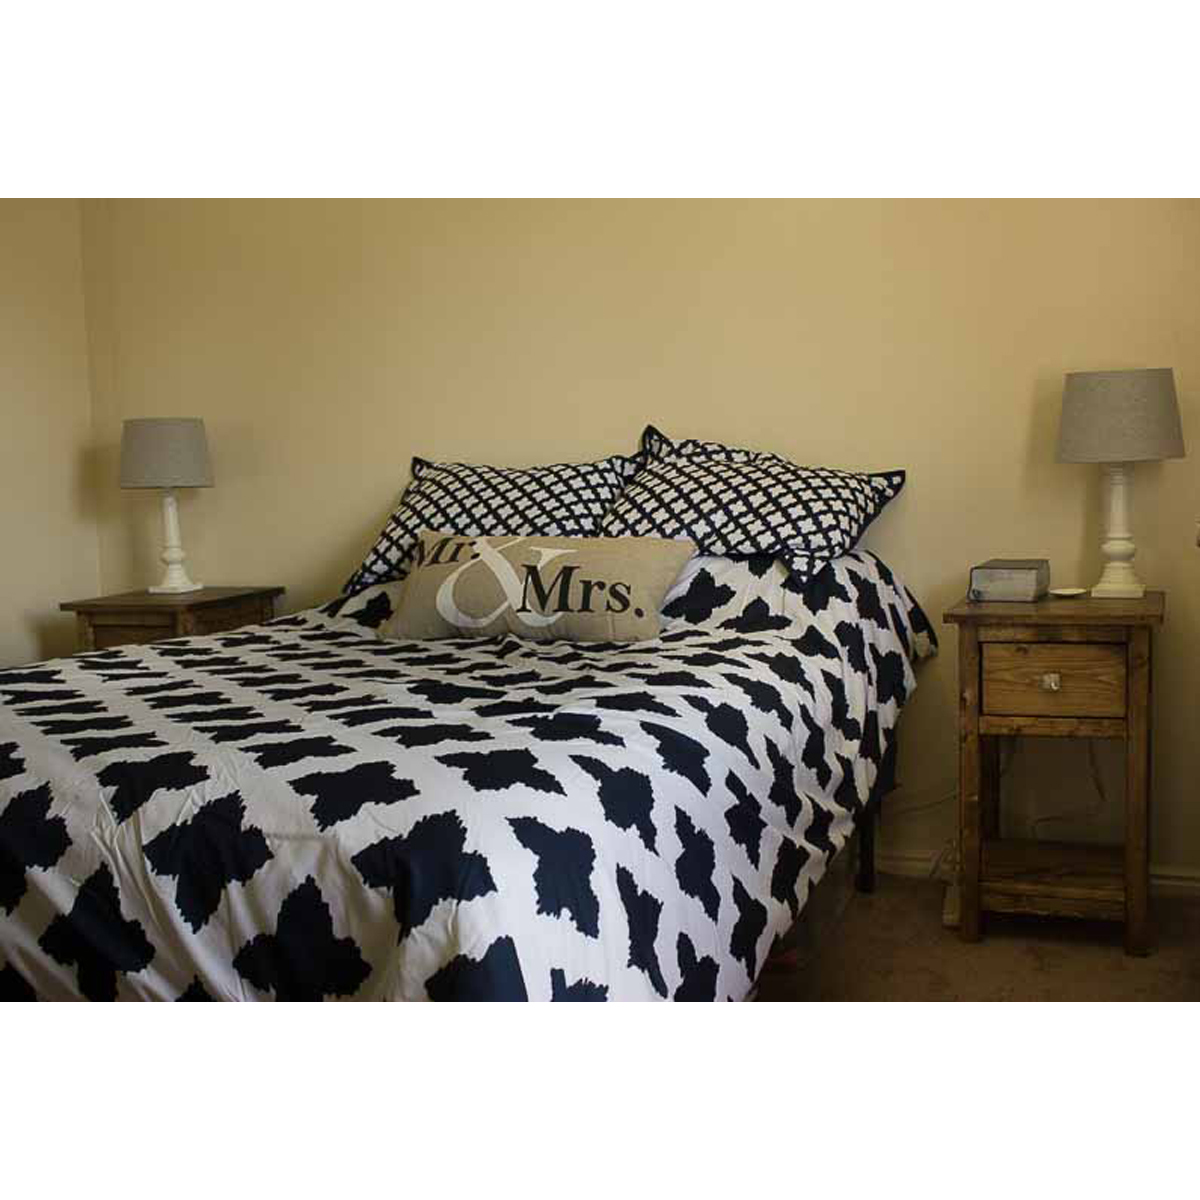
This was our first project. My husband and I took the Farmhouse bed plans and modified them to look more like the Hudson Bed from Pottery Barn. This is a King size bed with removable side rails and under bed supports so that it can easily be collapsed for moving.
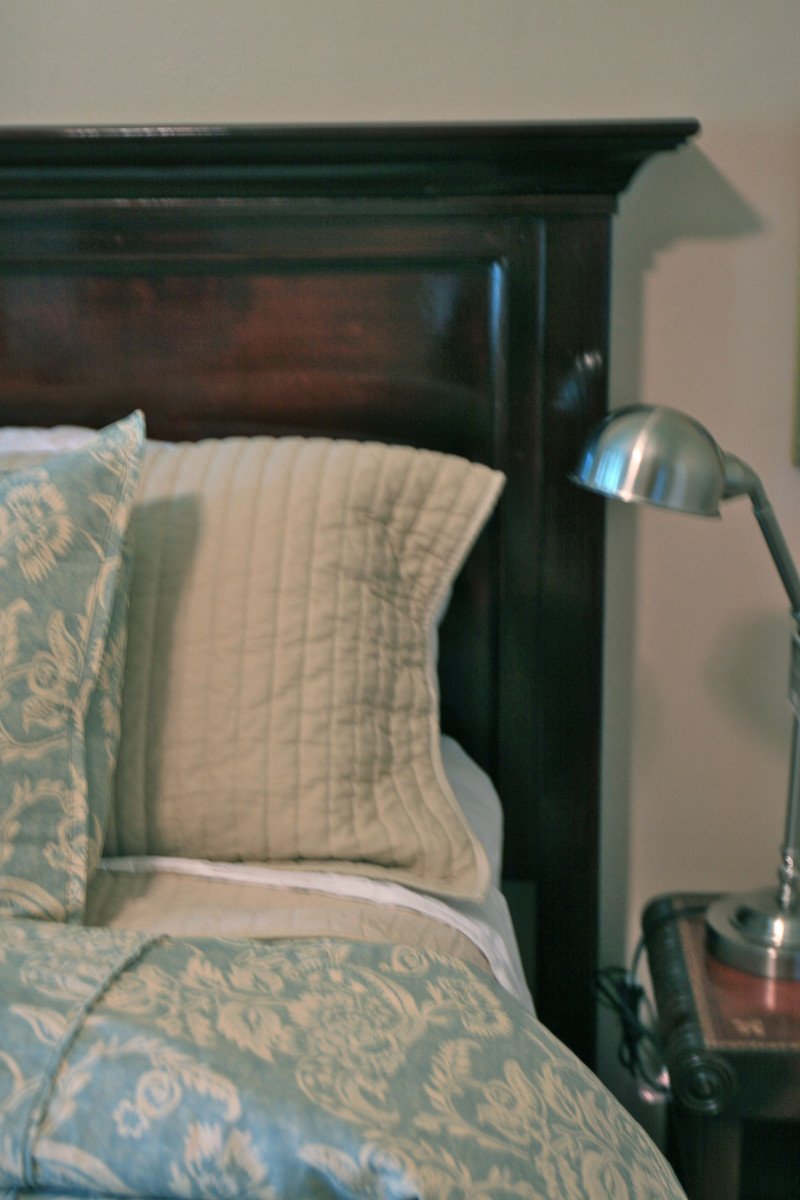
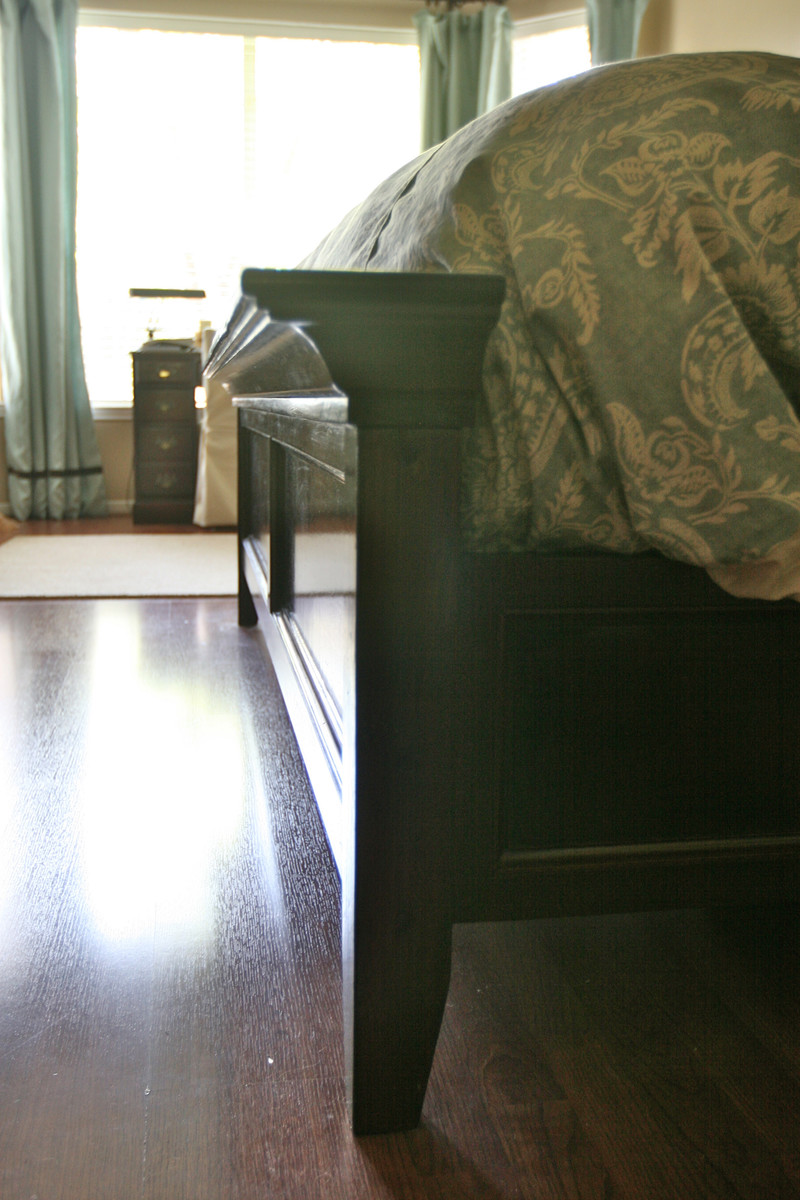
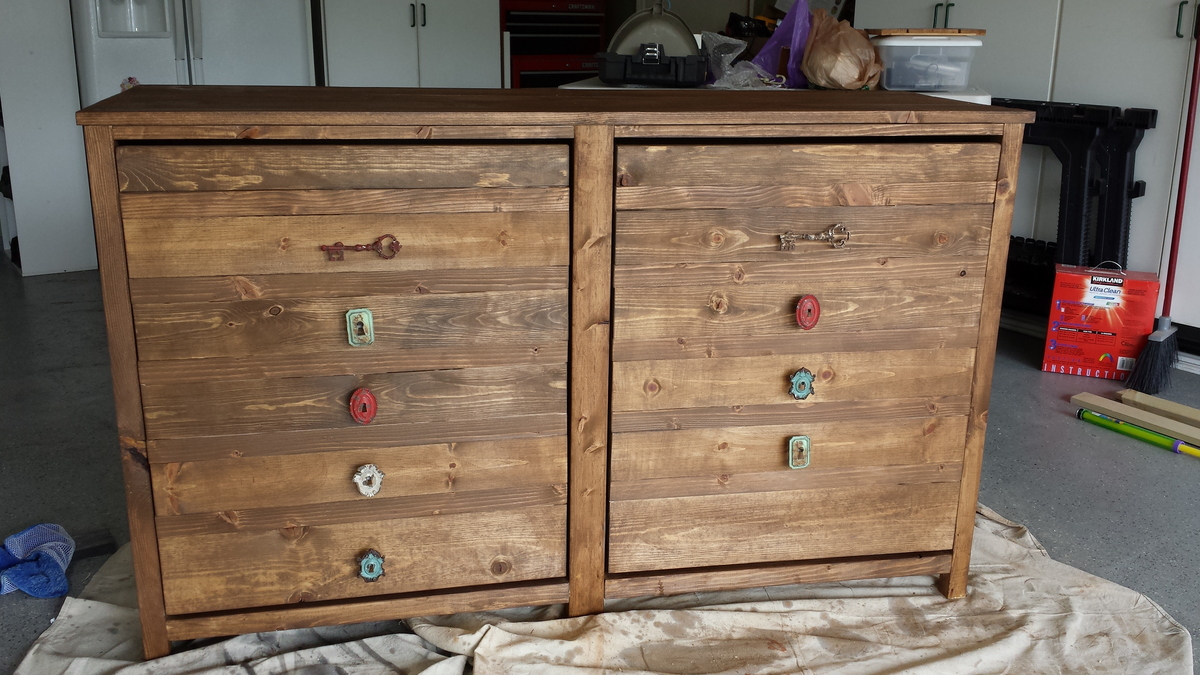
There were a few misprints in the supply/cut list but if you read through the comments section it helps. I ended up making a list of the supplies and adding a column next to it with the cuts, that helped. Oh, and the store I bought the knobs from didn't have enough but the last one is coming! Pretty happy with the end result. Thanks Ana!
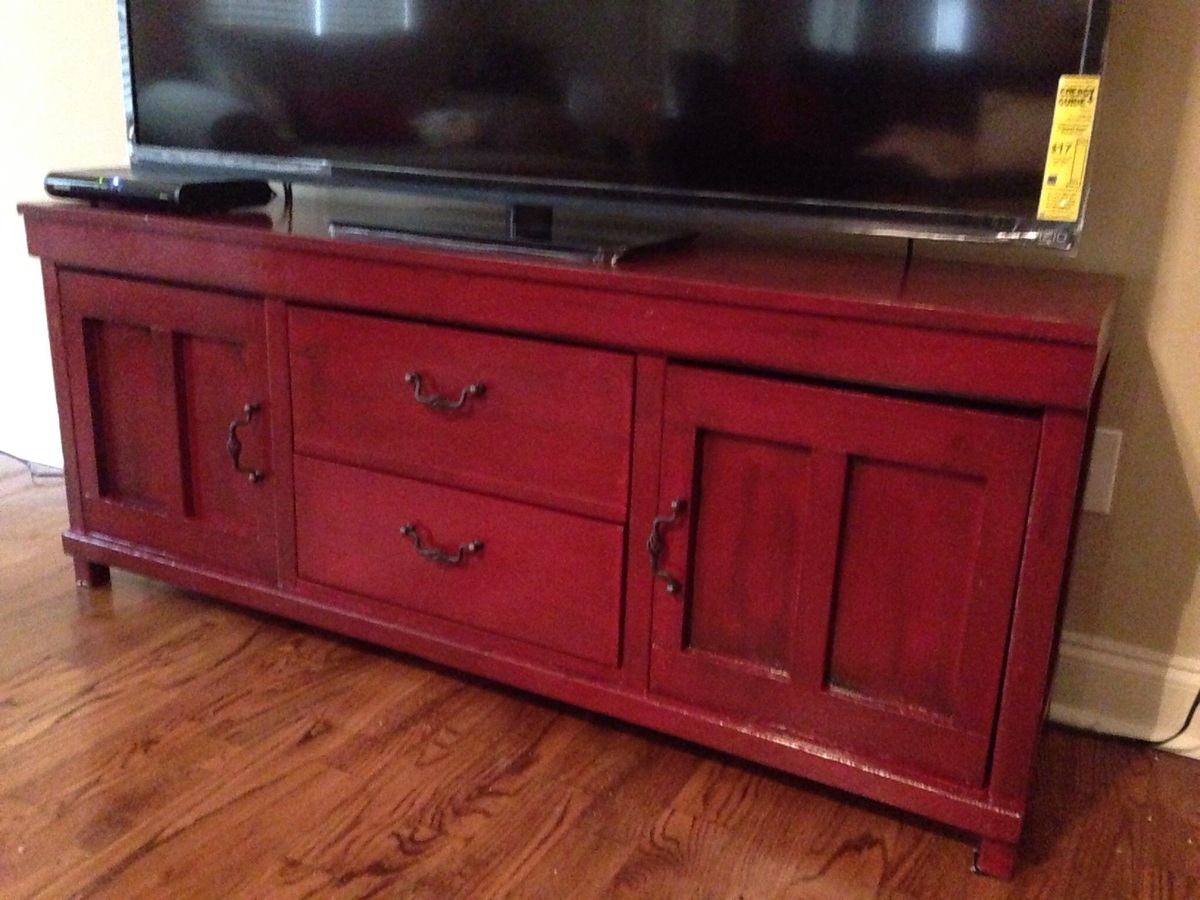
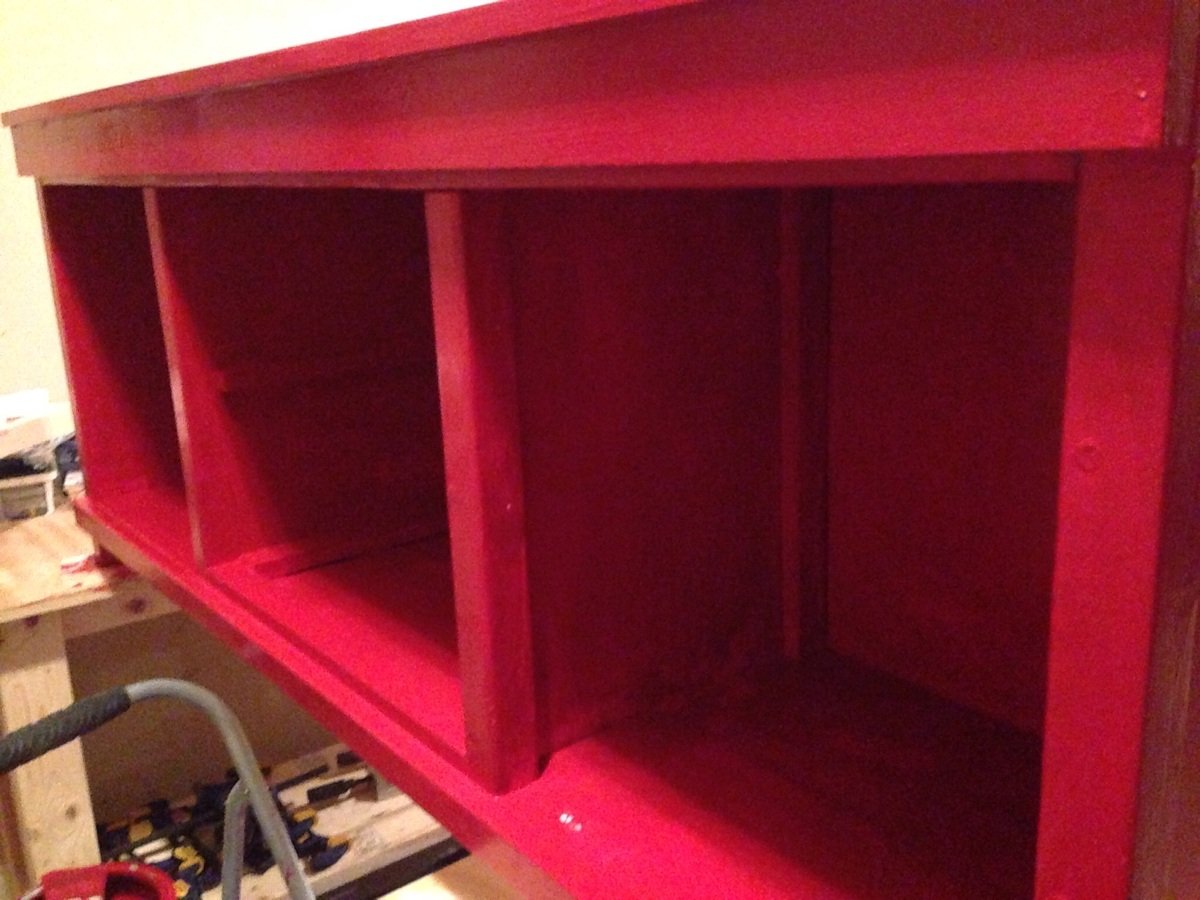
Beautiful and functional. Nobody believes I built this :)

Wed, 05/13/2015 - 14:19
What a gorgeous build! Absolutely love the color too! I was just trying to picture a red like that today, and now I know it looks wonderful!
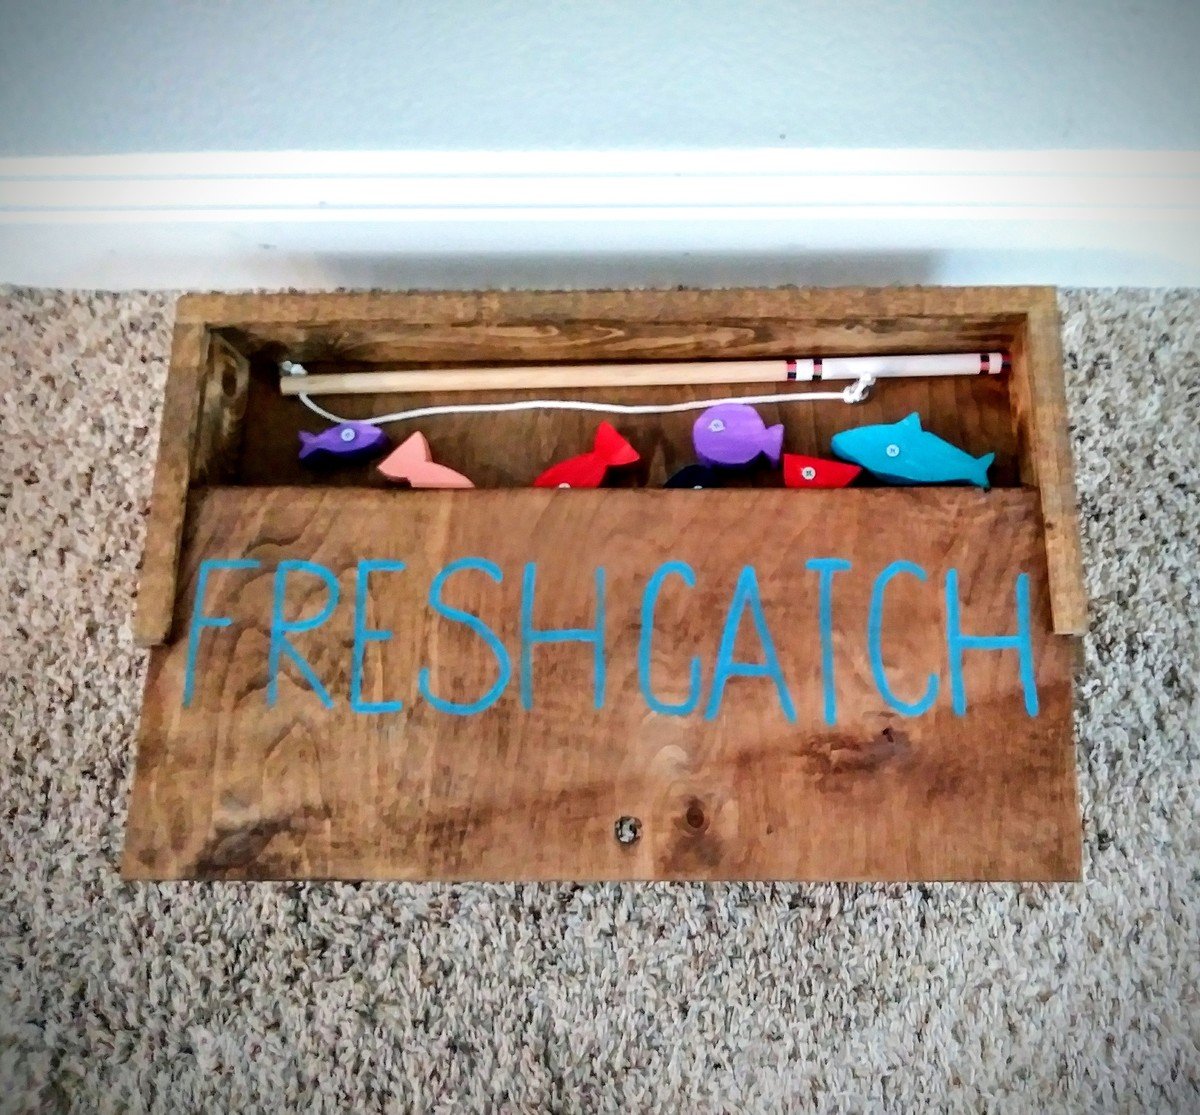
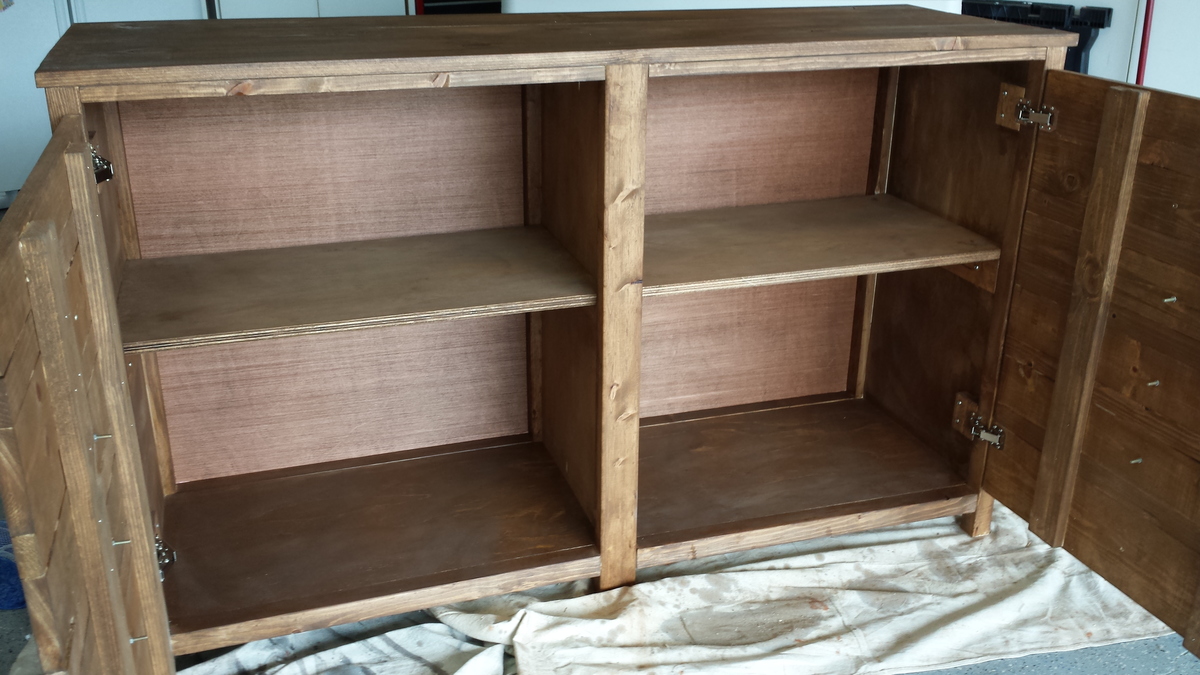
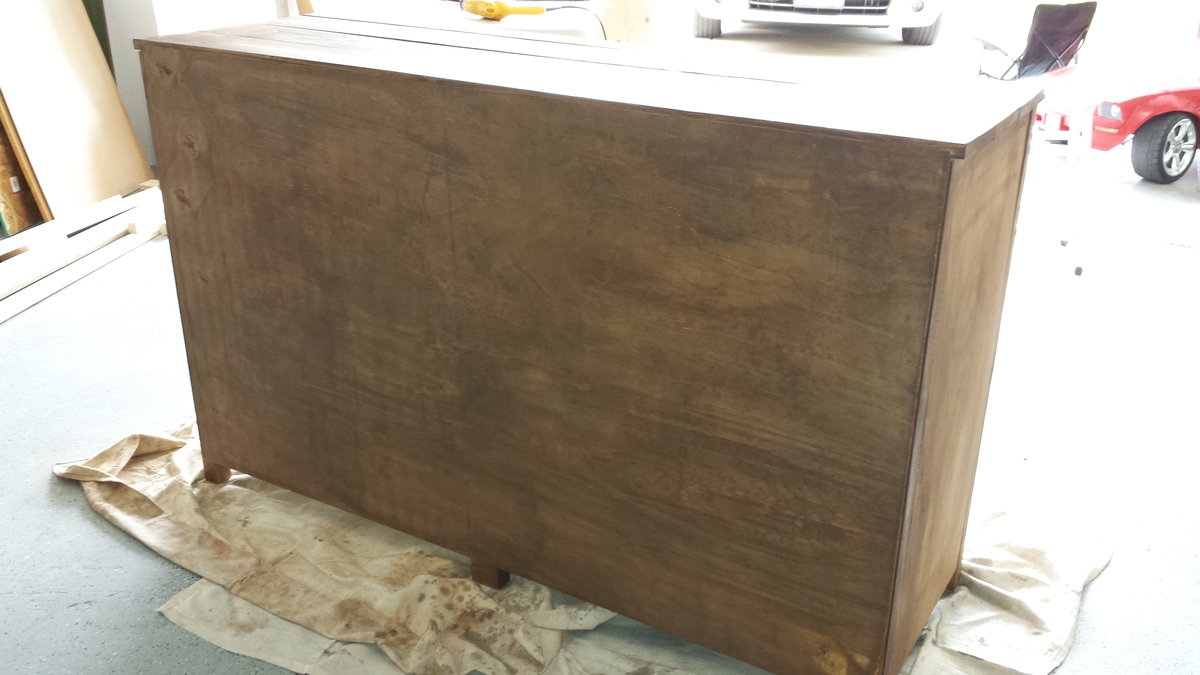
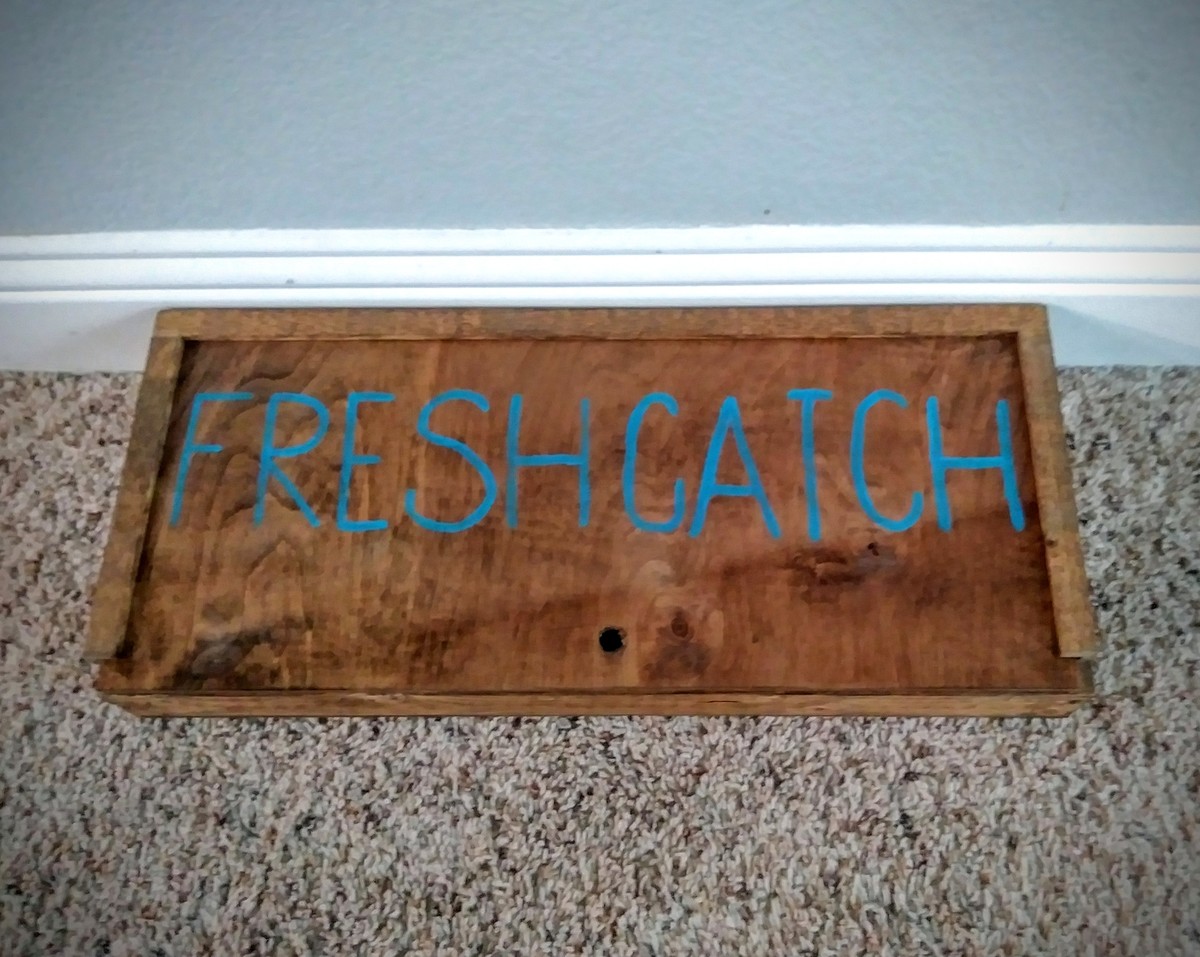
This was a very easy project from scrap wood I had leftover from previous projects. I modified the box a little. I cut slits in the box so the top slides on nicely. I also stained the box and sealed because I love the look of stained wood. I used early American wood stain.
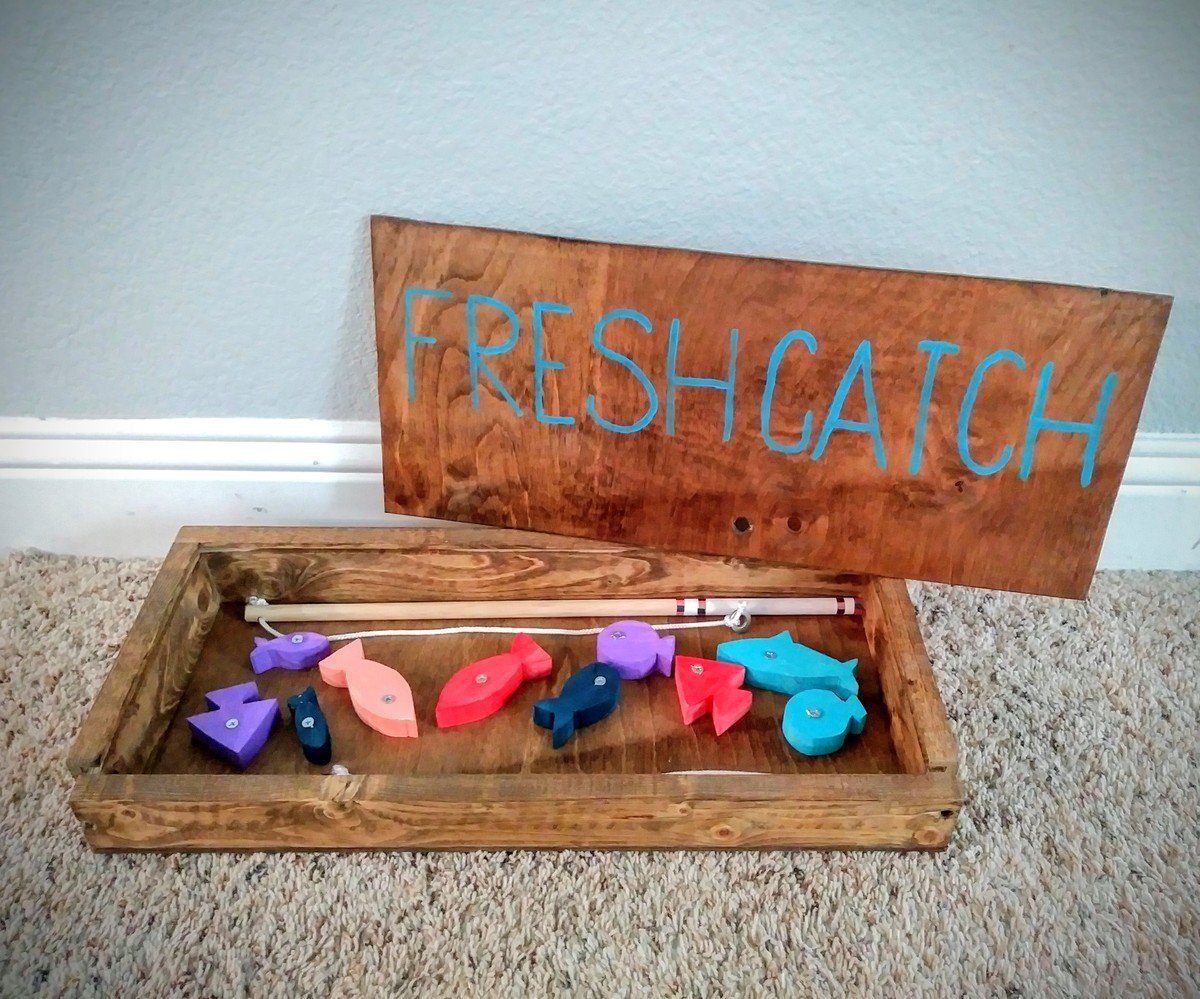
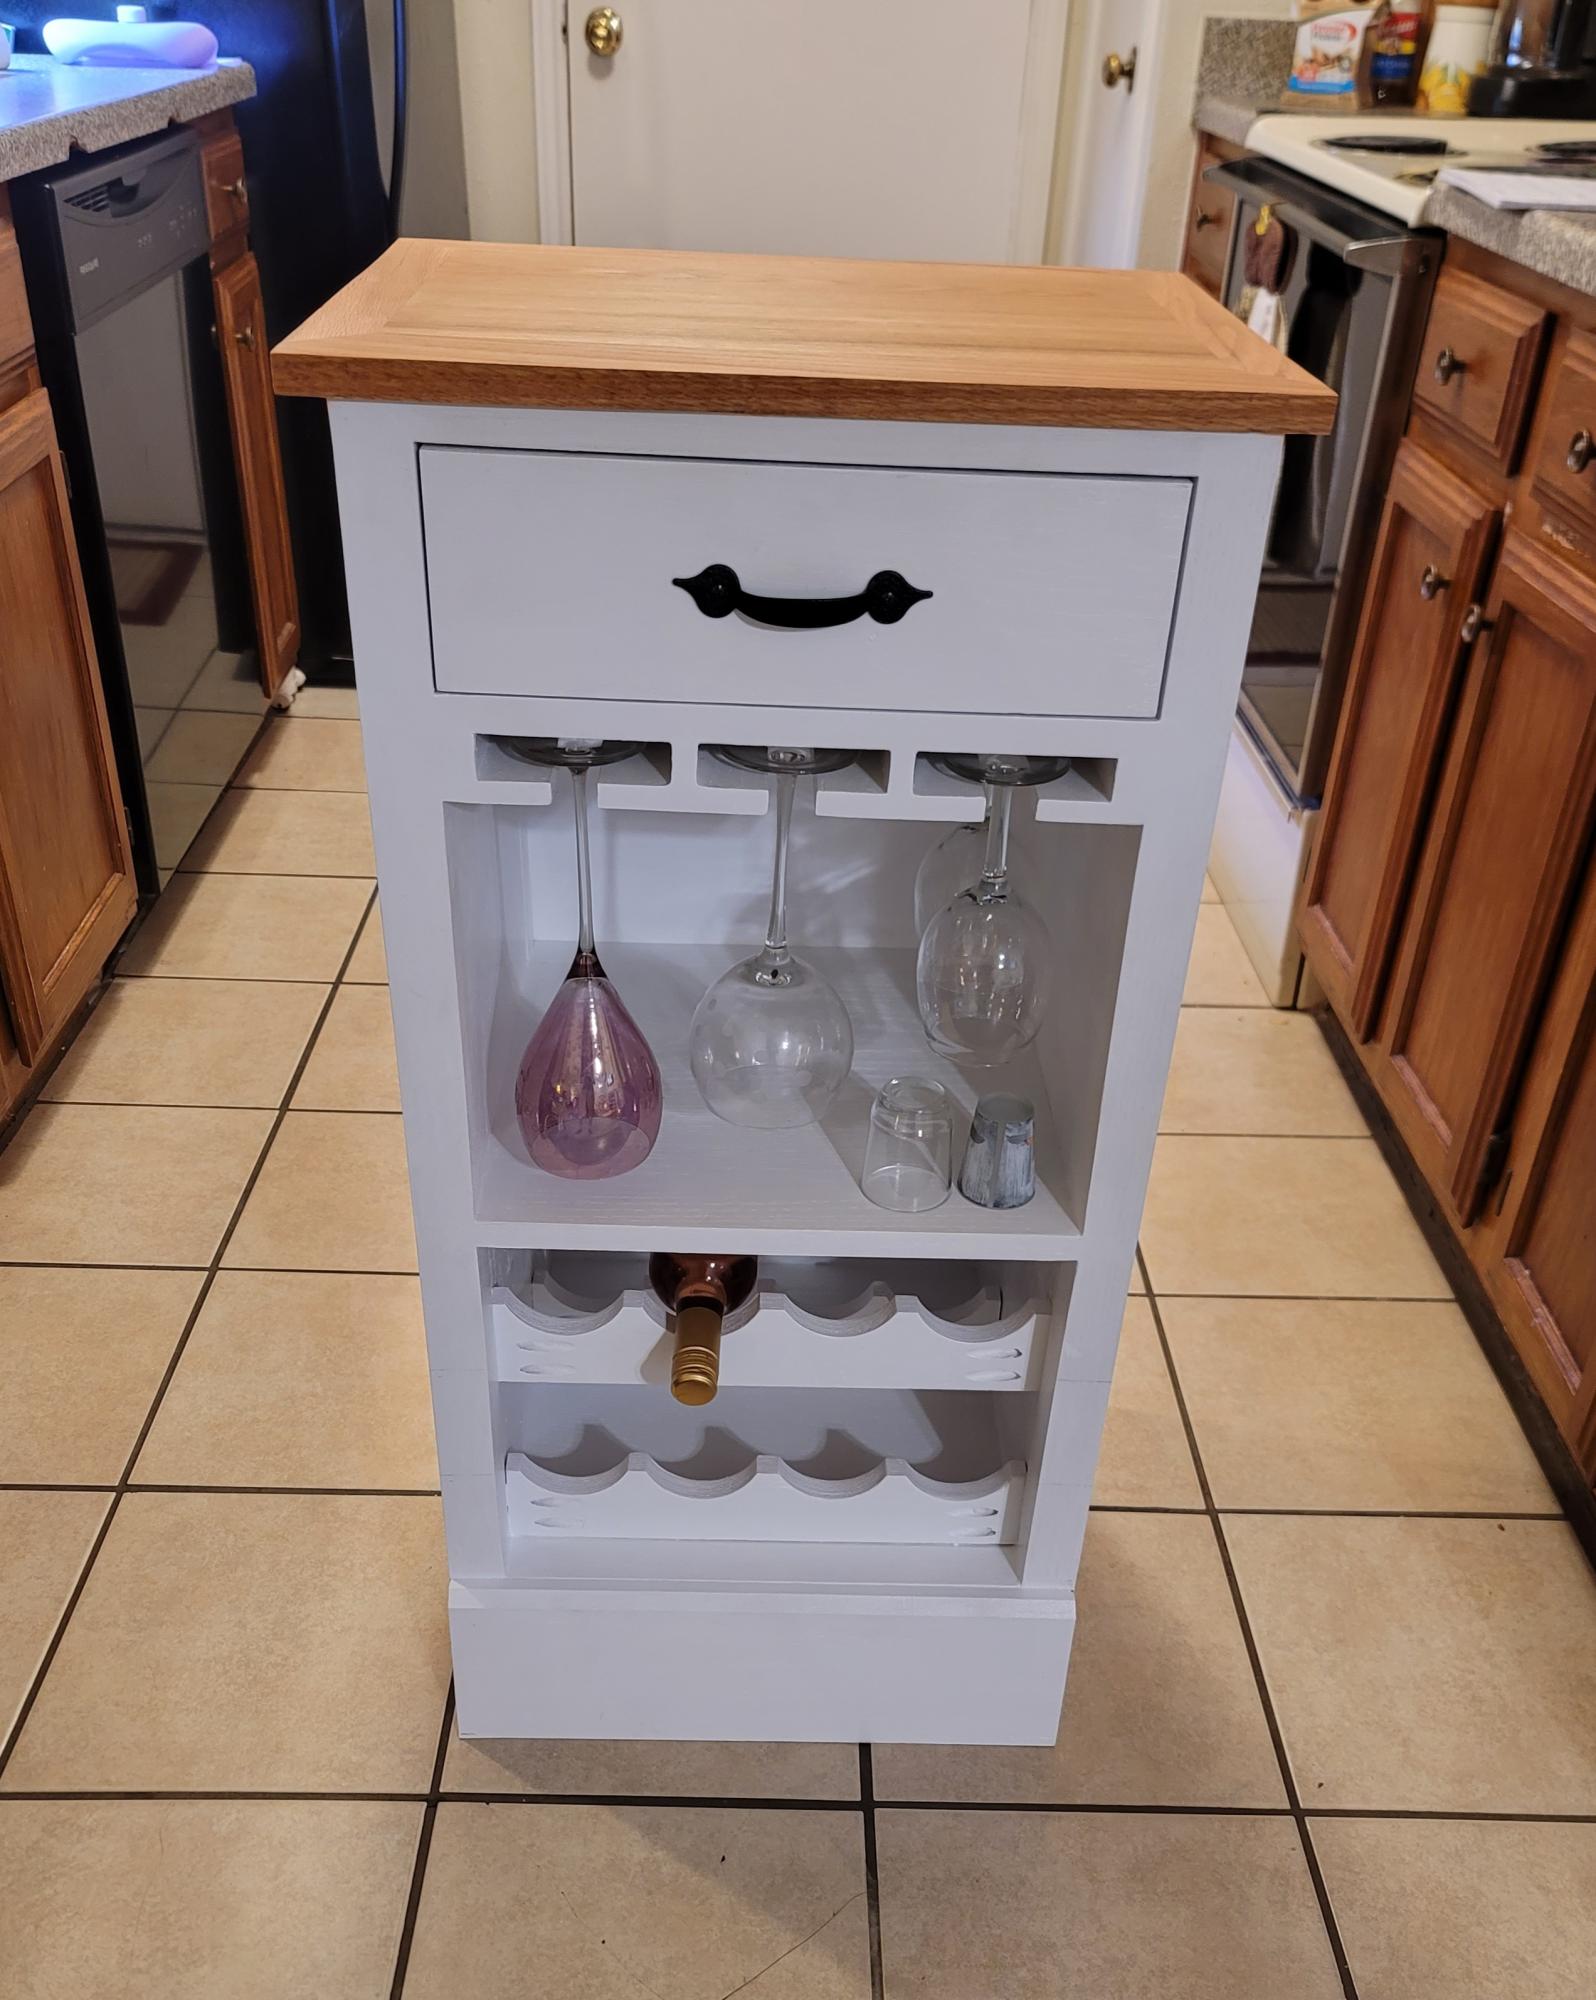
This was a really fun project. Thank you to Ana White for the awesome plans to make this wine cabinet possible. It's much loved, and is a beautiful new additions to a new home. I enjoyed making it, the plans were very easy to follow.

Sun, 11/07/2021 - 09:14
Super cute, love your finish and hardware choices!
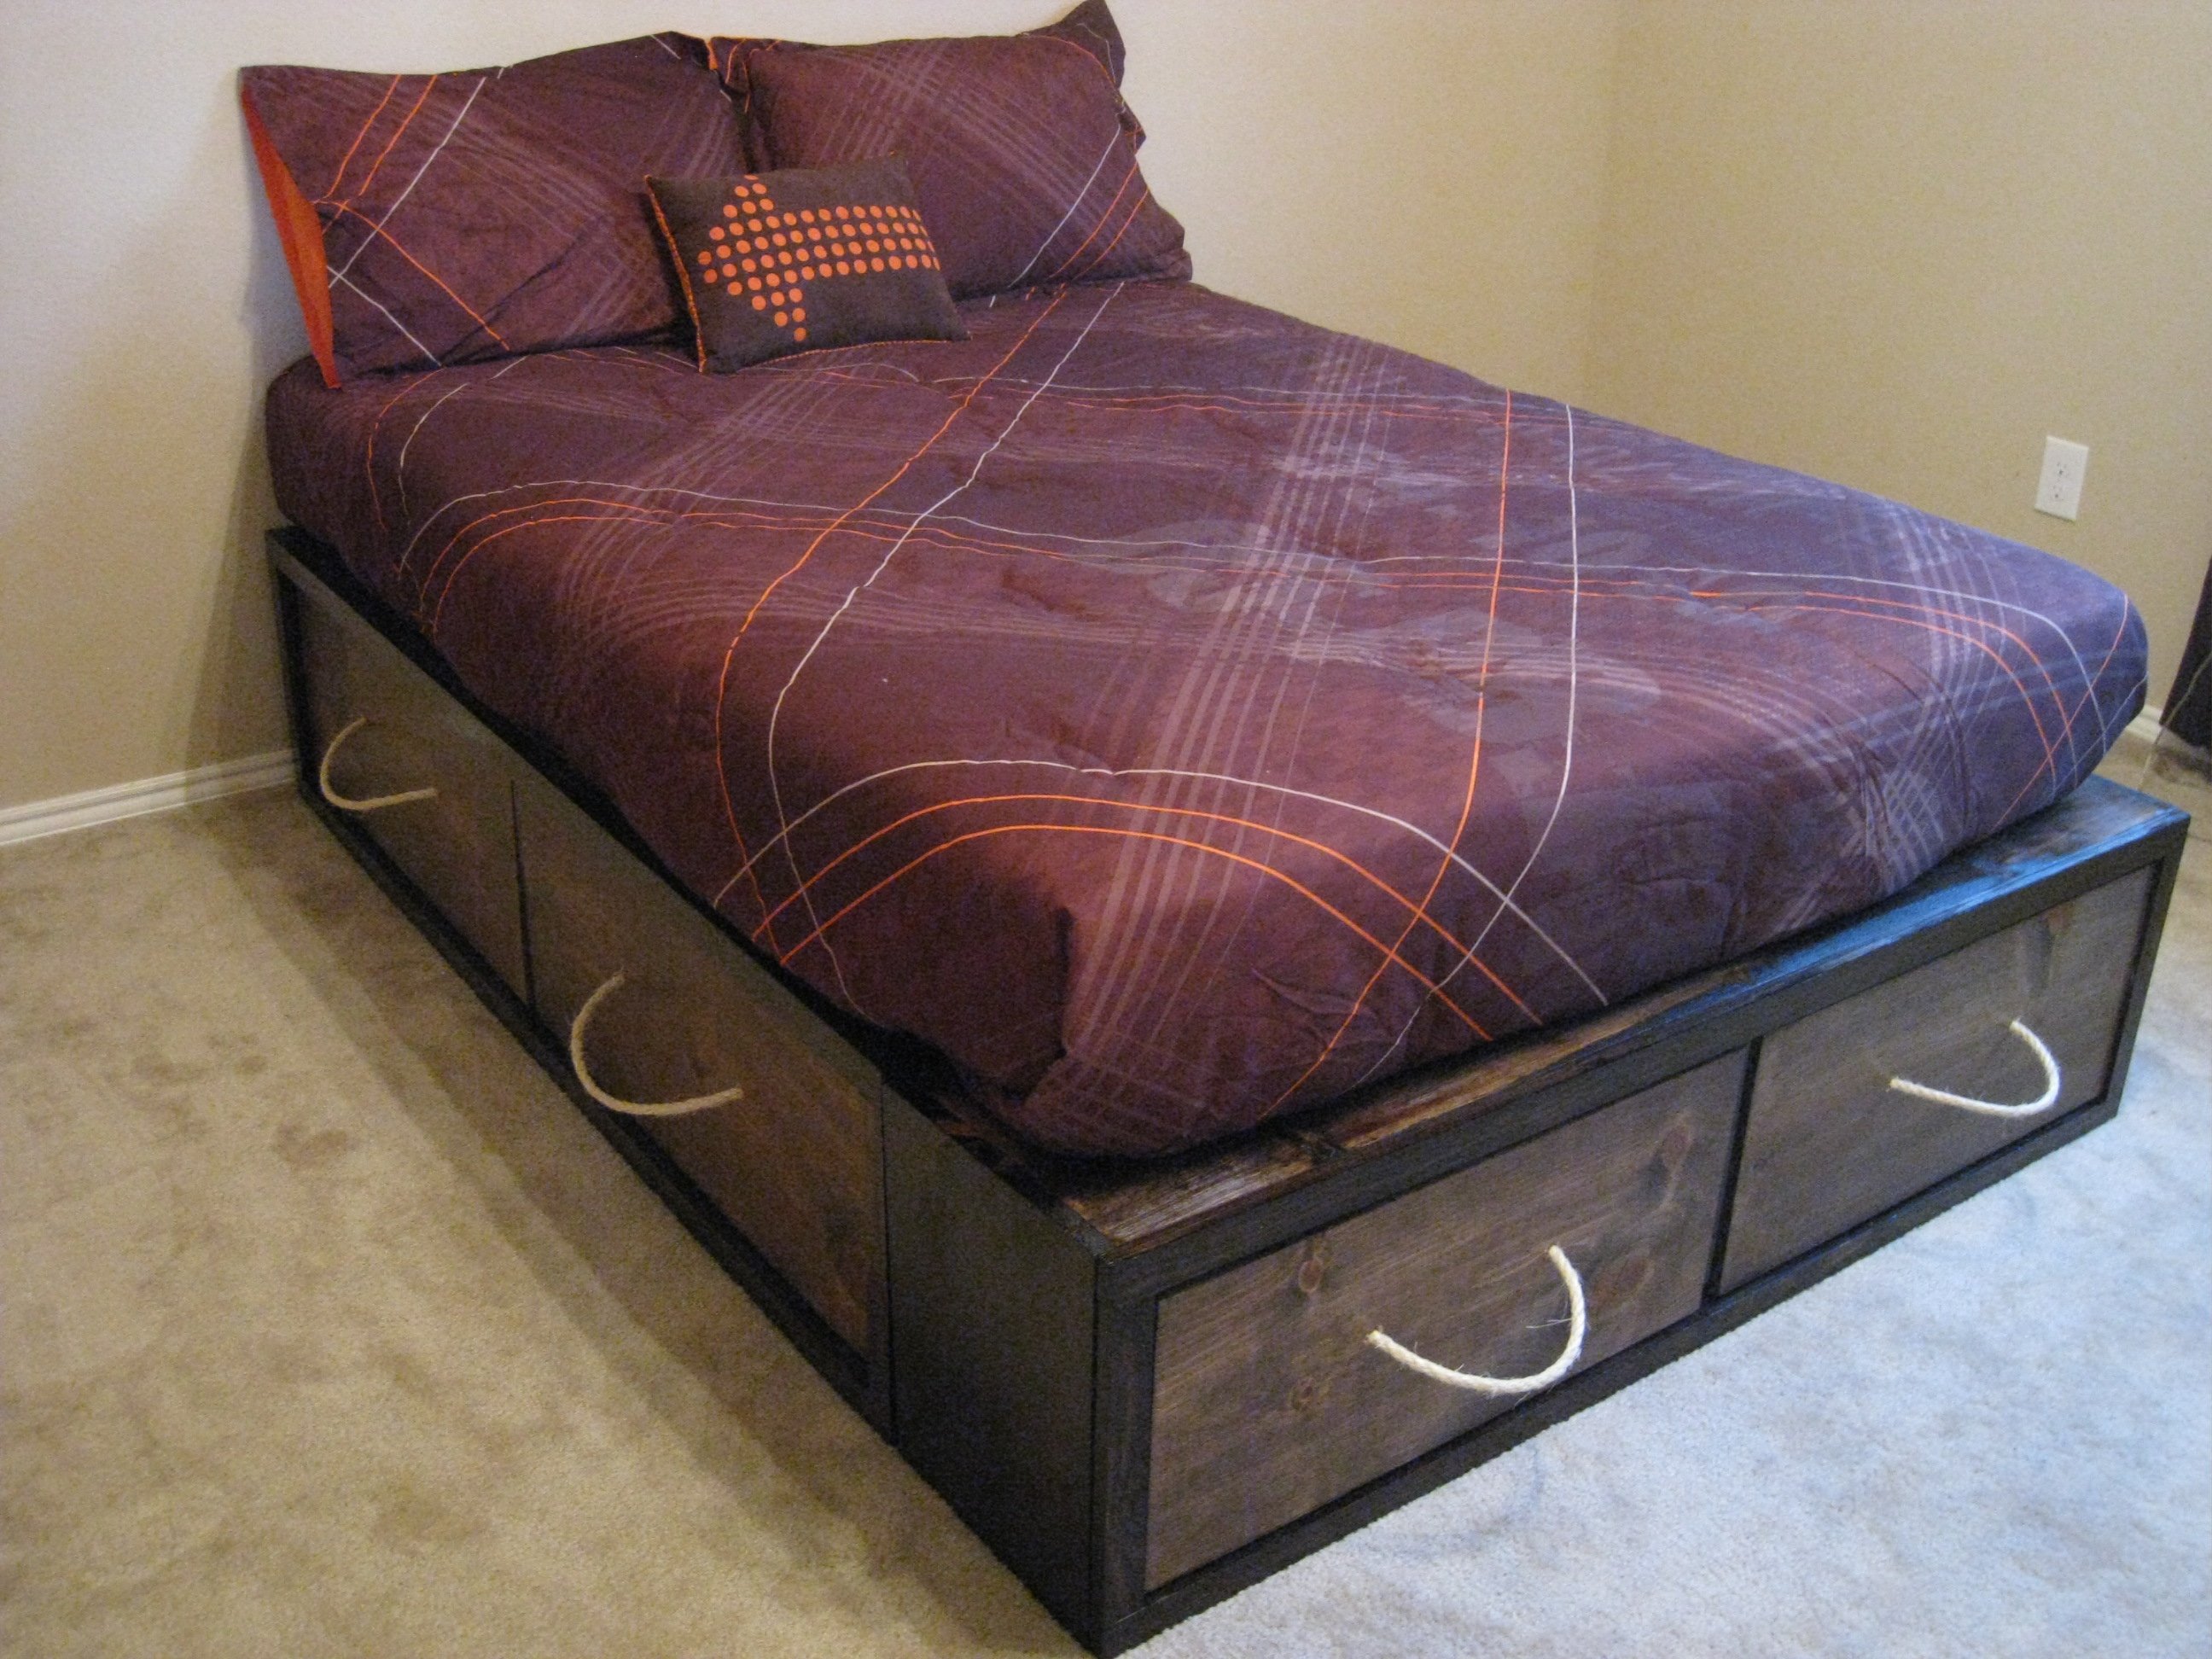
I built the Full Storage Bed using Ana's plans! It was very easy and I love the storage space! You can see it and my modifications at our blog http://www.shanty-2-chic.com/2011/03/crates-for-storage-bed.html
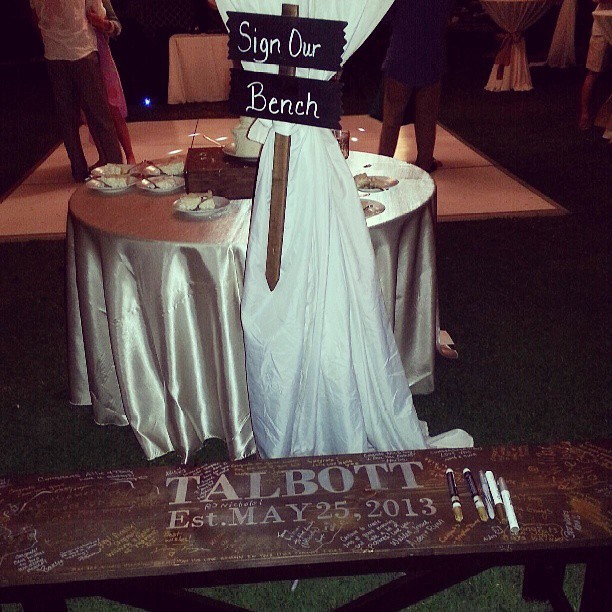
I stole this idea from another brag and had to have it at my wedding. The Bench was fairly cheap to make and took about 4 hours total. I hand made the stencils using cardstock, shipping tape, Xacto knife, and alot of tedious cutout work! I used a sharpie silver paint marker to fill in the stencil. Turned out great and now its at the foot of our bed and we get to look at all of our guest comments everyday!
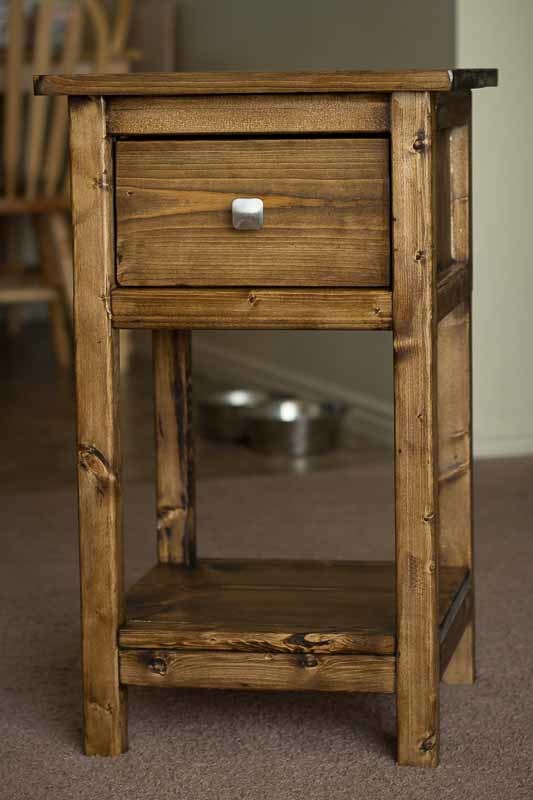
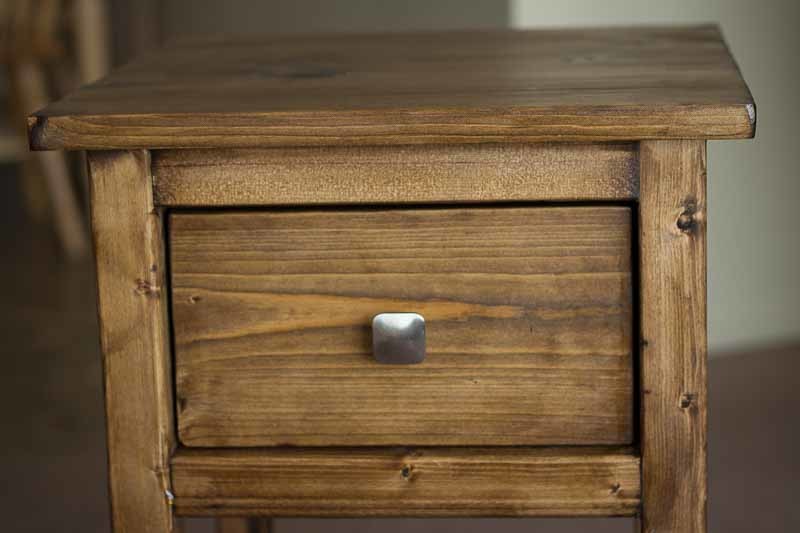
This was the first furniture DIY project for my wife and I. We loved the look of the original farmhouse bedside table plans but they were bigger than what we needed at the moment and didn't want to try to cram them into our room. The mini plans were exactly what we needed. For a first time build, I am pleased with the results and we ended up spending about $75 plus the cost of stain for the two tables. Similar, all-wood night stands run around $200 per table so it doesn't get much better than that. We opted for the Minwax Dark Walnut stain.

Sun, 05/17/2015 - 19:43
I built my mini farmhouse beside table last year as my second build. Did you use a brush or rag while staining? Every time I use dark walnut I get a much darker color, and yours came out perfect for a project I'm going to start soon.
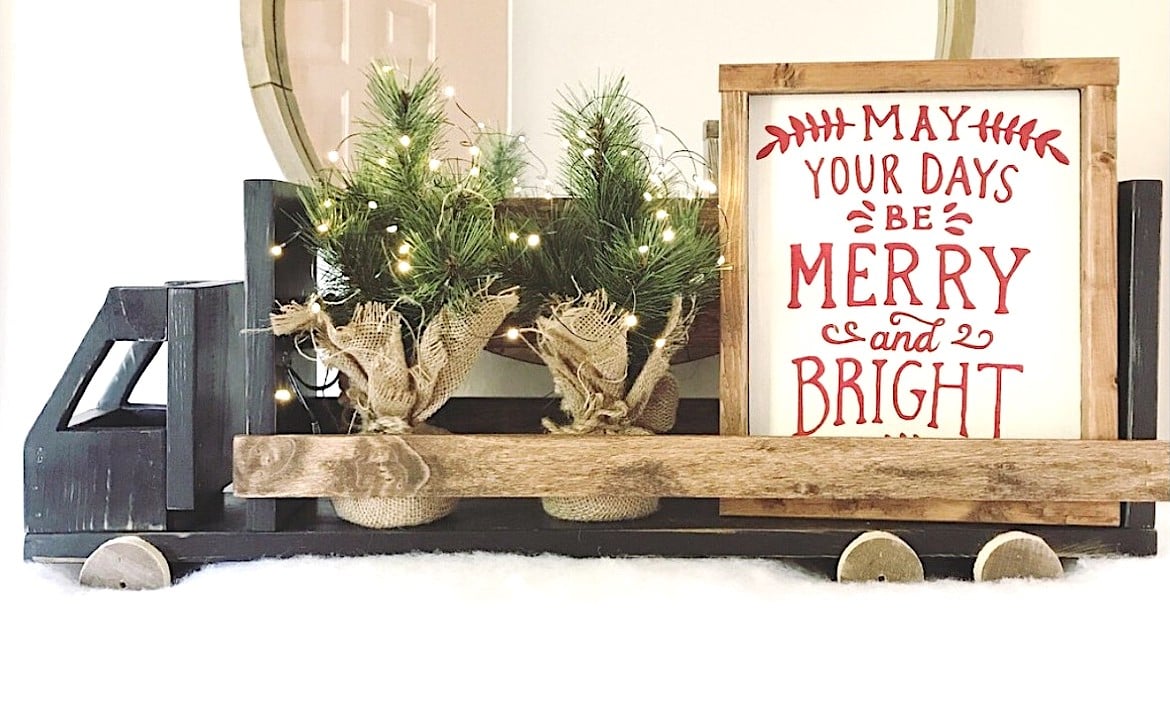
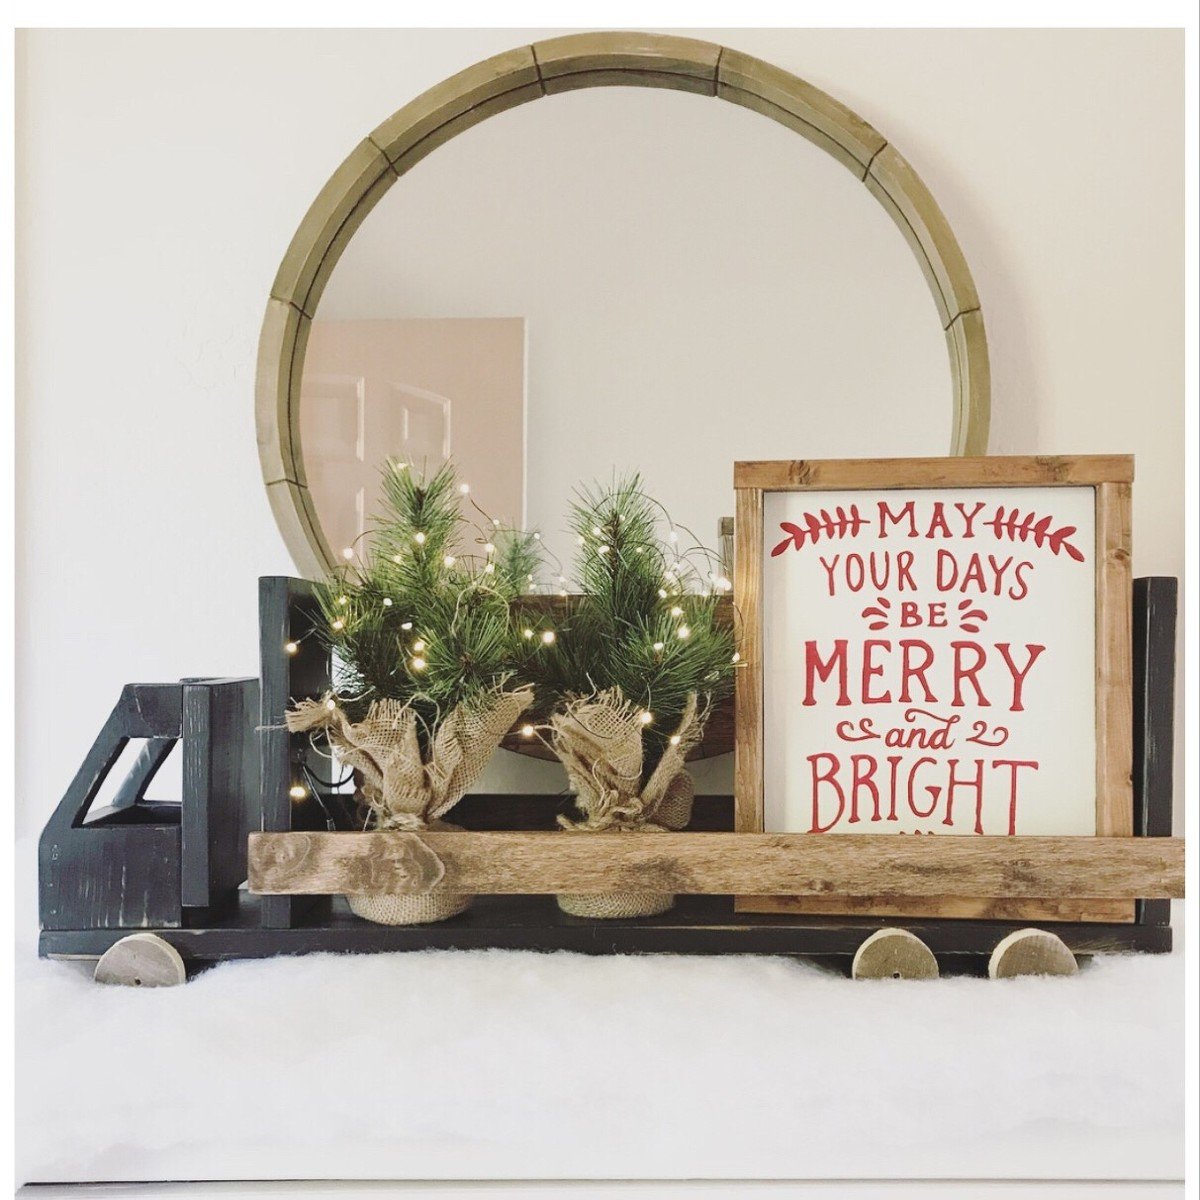
I built this truck to give to my son for a Christmas gift. It came together really fast. It took about 2 hours including sanding, painting, staining, waxing, and assembly. I really love the finished product! I have a lot of pictures of the process on my blog.

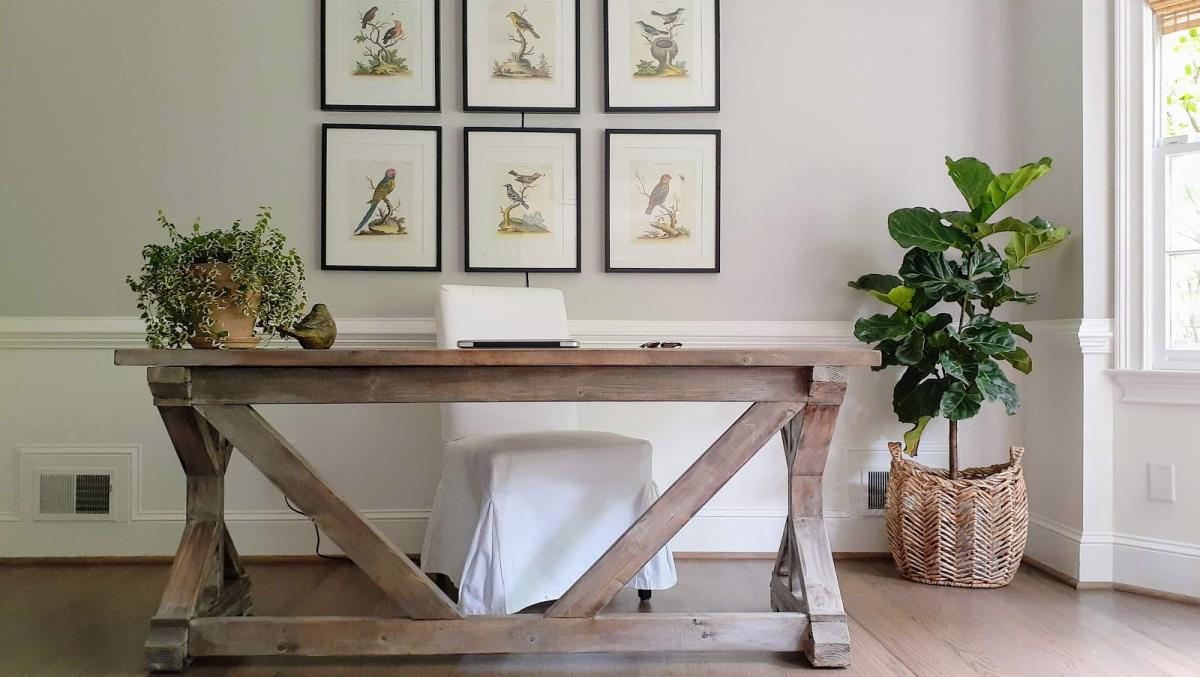
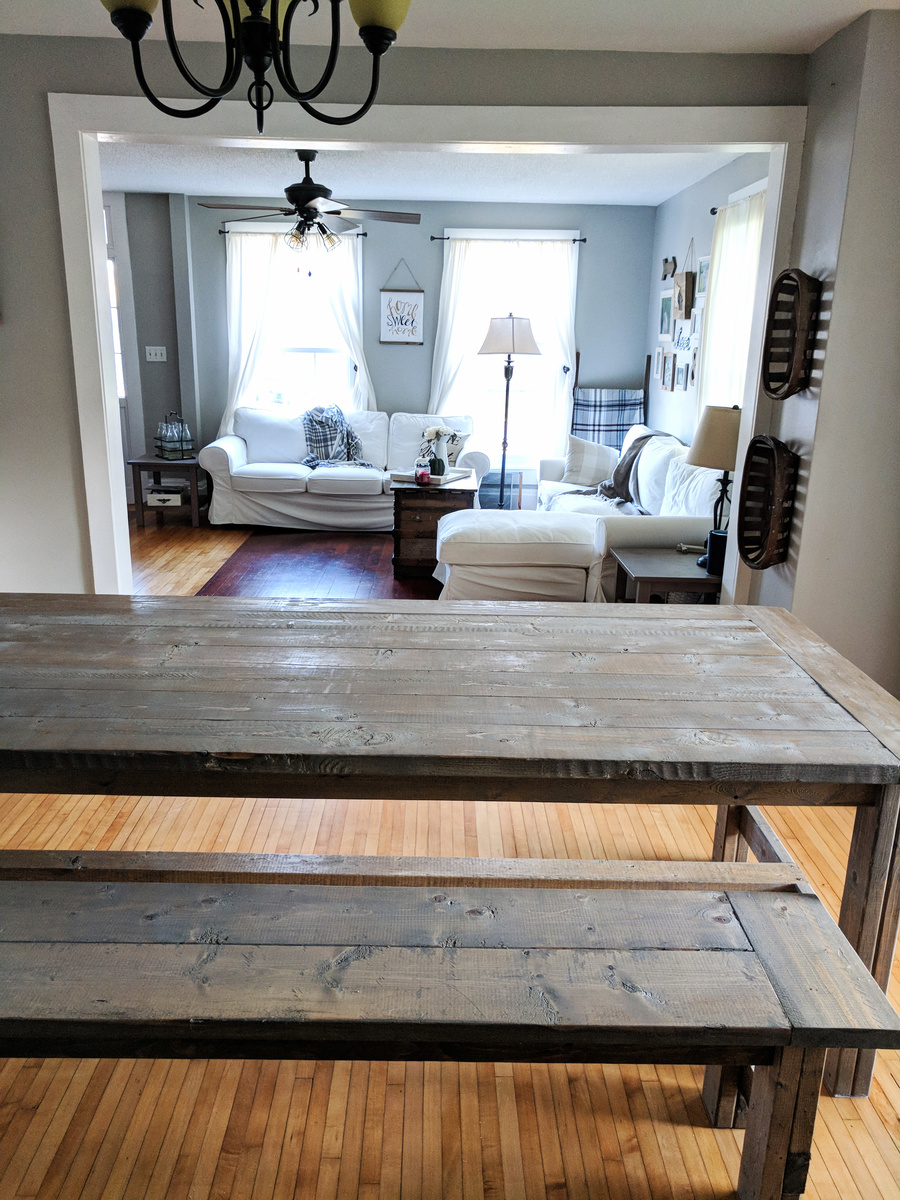
We love the style and finish on this fancy farmhouse desk, for more details visit Oak House Design Co.
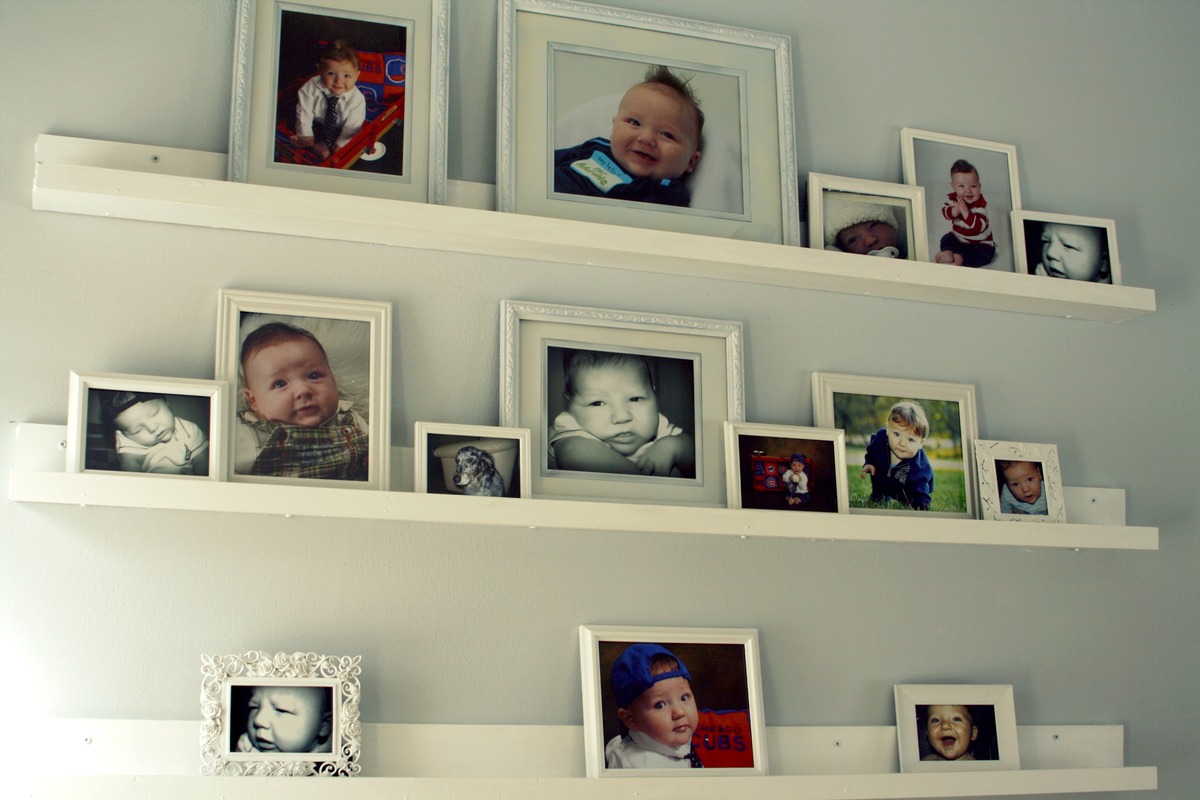
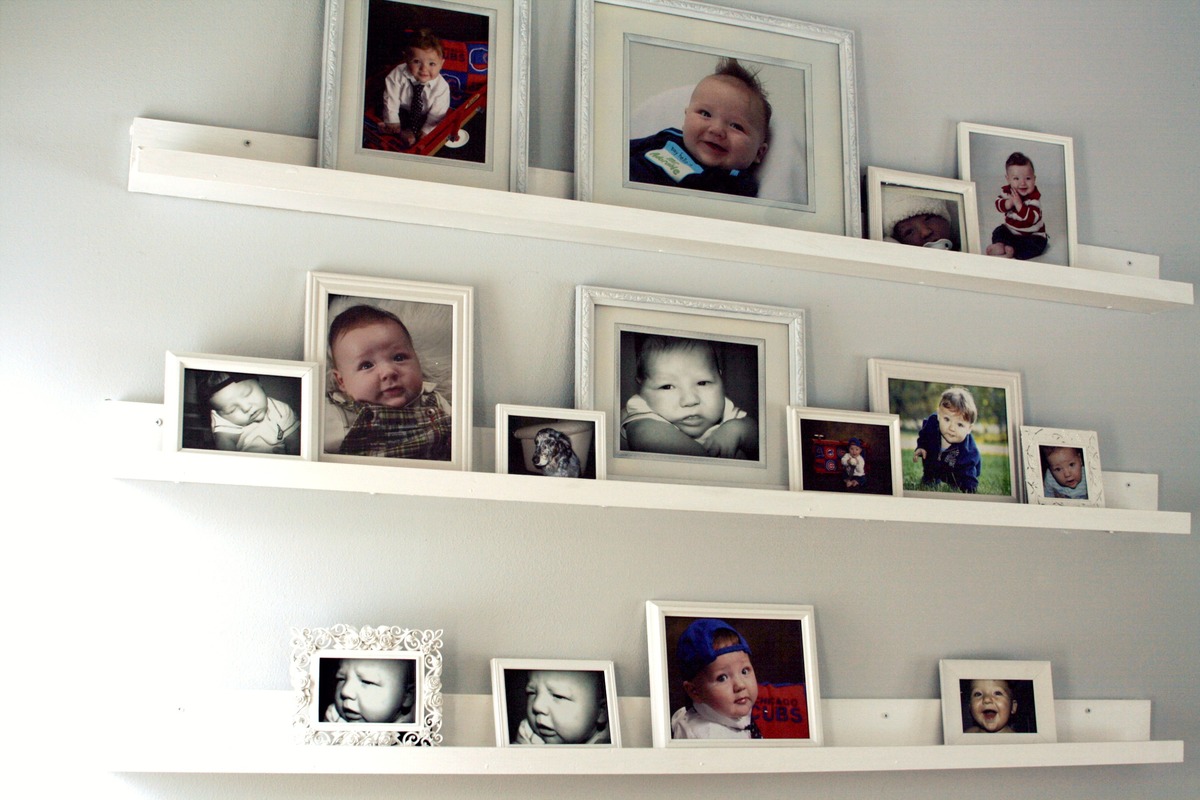
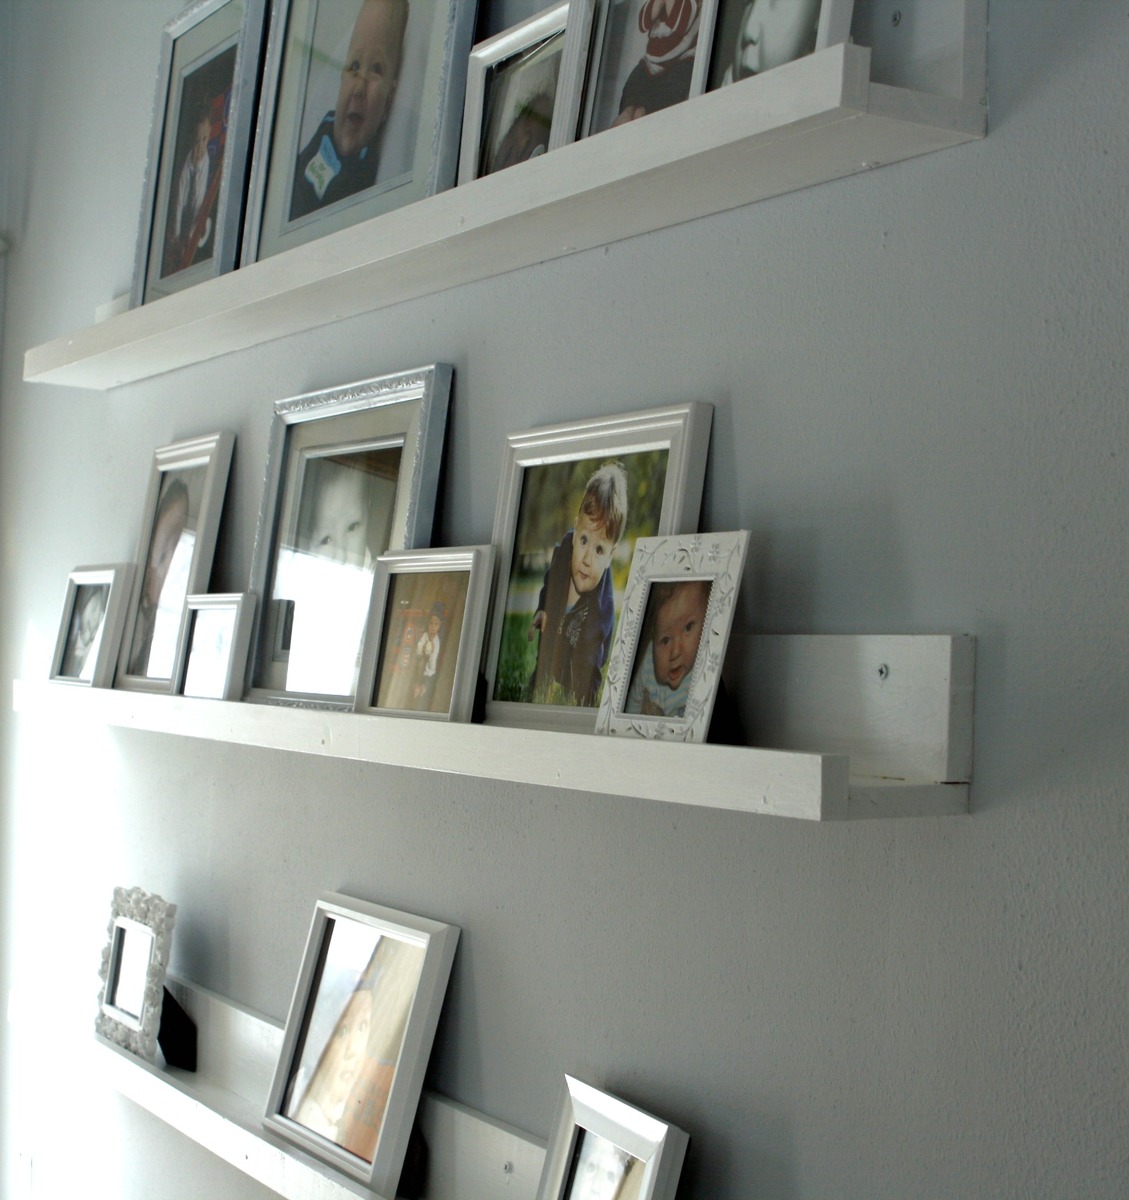
These cost about 10 bucks a piece as she said. This was my first project. Not too bad.... obviously not perfect. But I learned a lot while doing this...
These took me a weekend to do... probably 6-8 hours.
When I took this I was still working on filling the ledges with photos... dont mind the craziness! :)
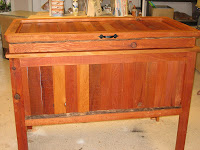
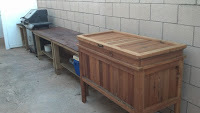
I do a lot of family gatherings and my daughter gave me a huge white cooler to accommodate all our different beverages. It's great to have, but its basic appearance didn't add much to the "party" atmosphere!
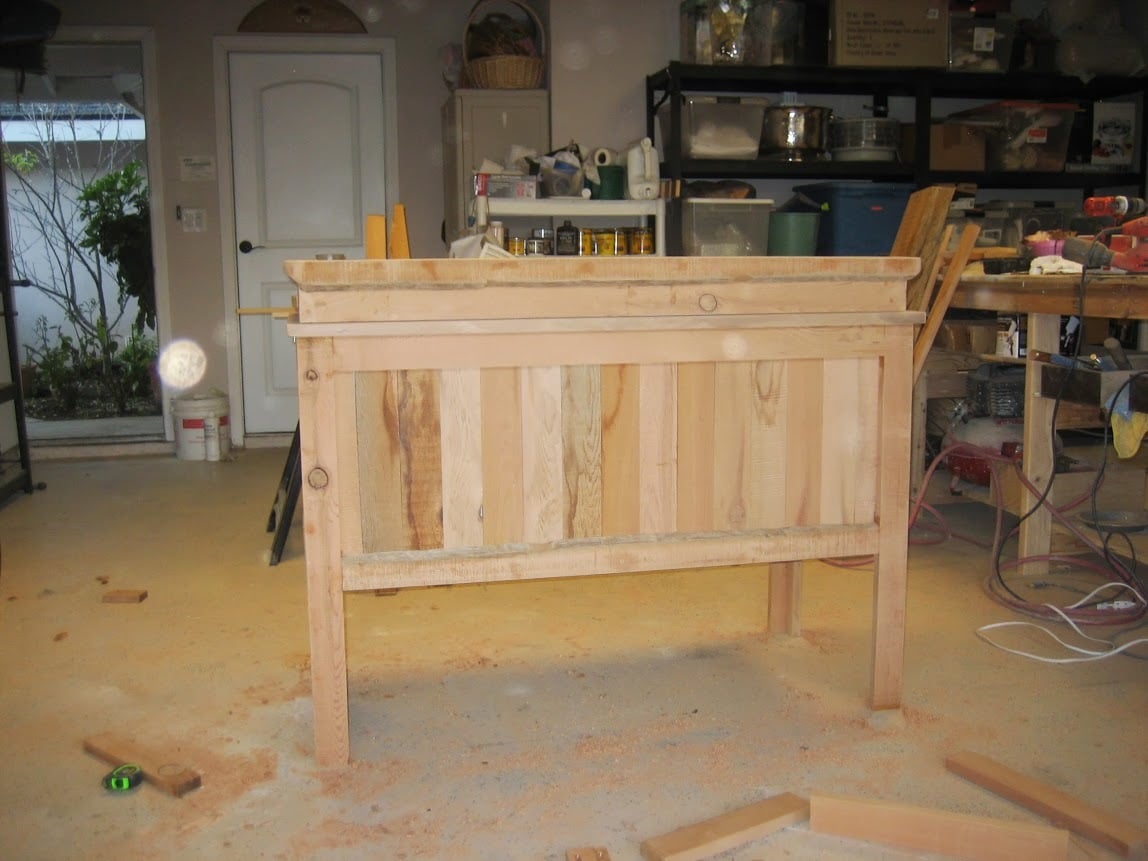
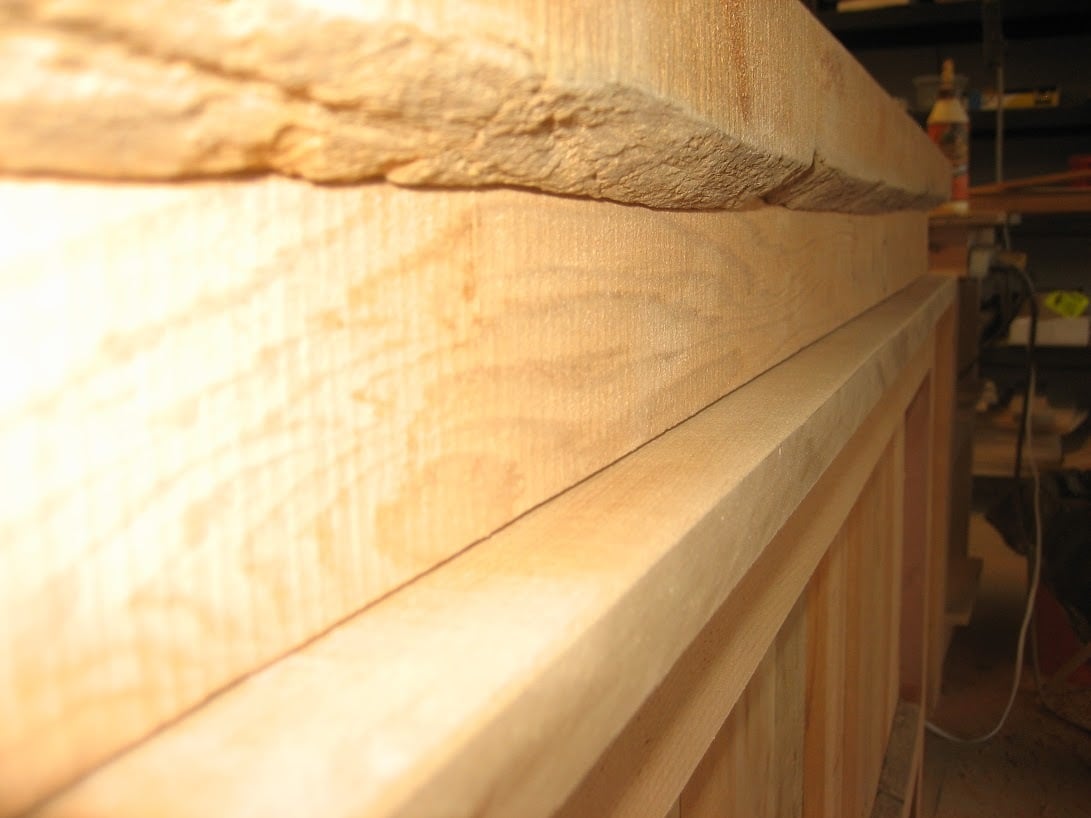
My son-in-law has a small mill and after a recent visit he had sent me home with a trunk load of beautiful cedar. At that time I had no idea what I'd do with it. But, after seeing so many rustic coolers I decided that would be a perfect project to build with my cedar.
I built this before the cute blue ice chest was posted by Birds and Soap, but that would be a great plan to follow!
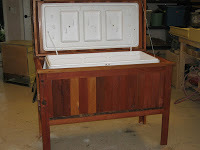
My cooler had handles that were molded into the body of the chest, so the shape was a bit awkward to work with-especially considering that I'm really short on math skills! But, with a bit of trial and lots of error I made it work. I worked on it over several days, but if I'd buckled down and worked continuously I might have finished it in one day.
I love how it turned out, and after the 1st family gathering I had orders for 4 more (smaller) cooler chests!

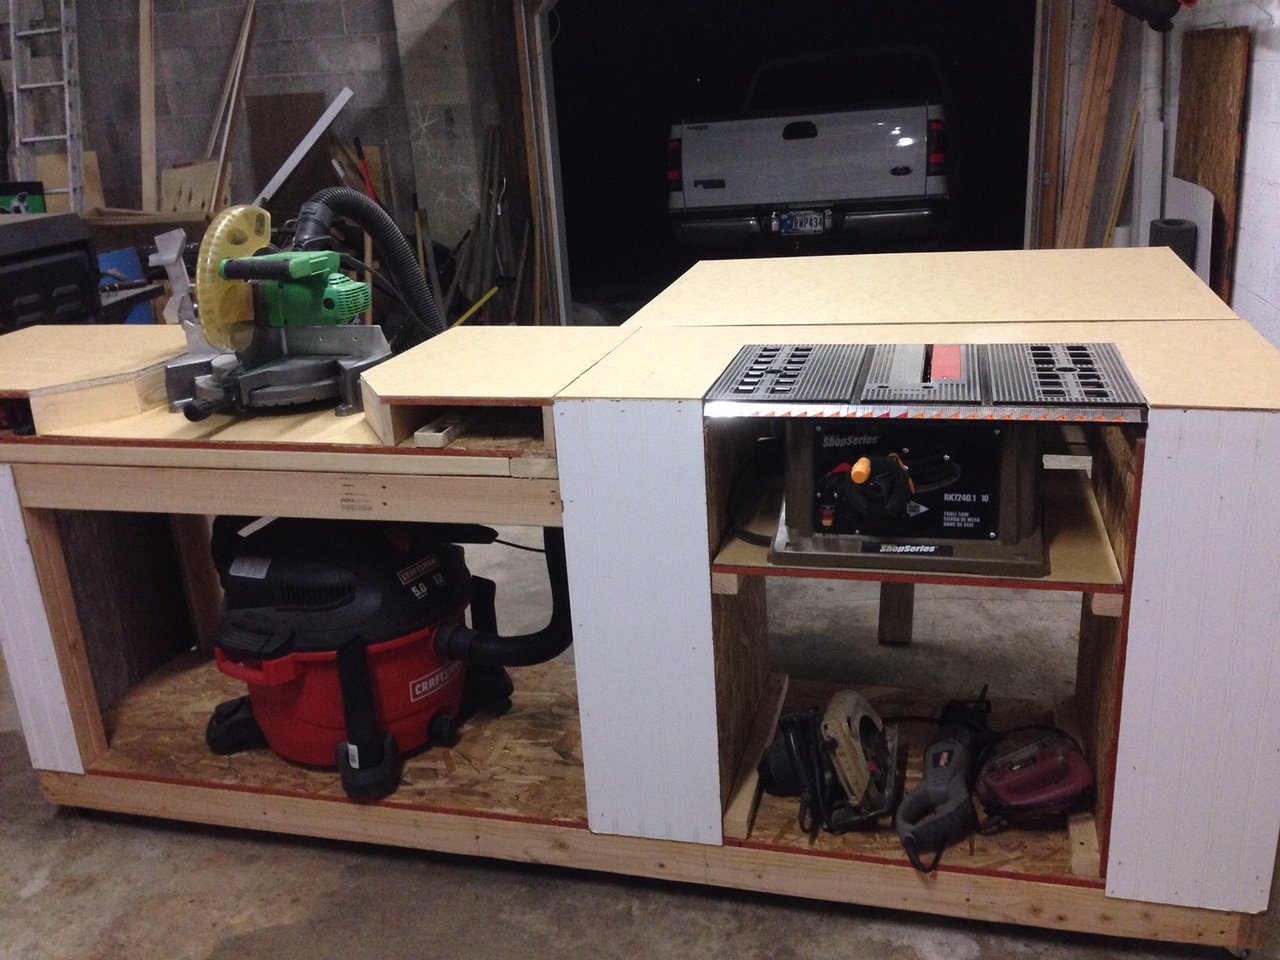
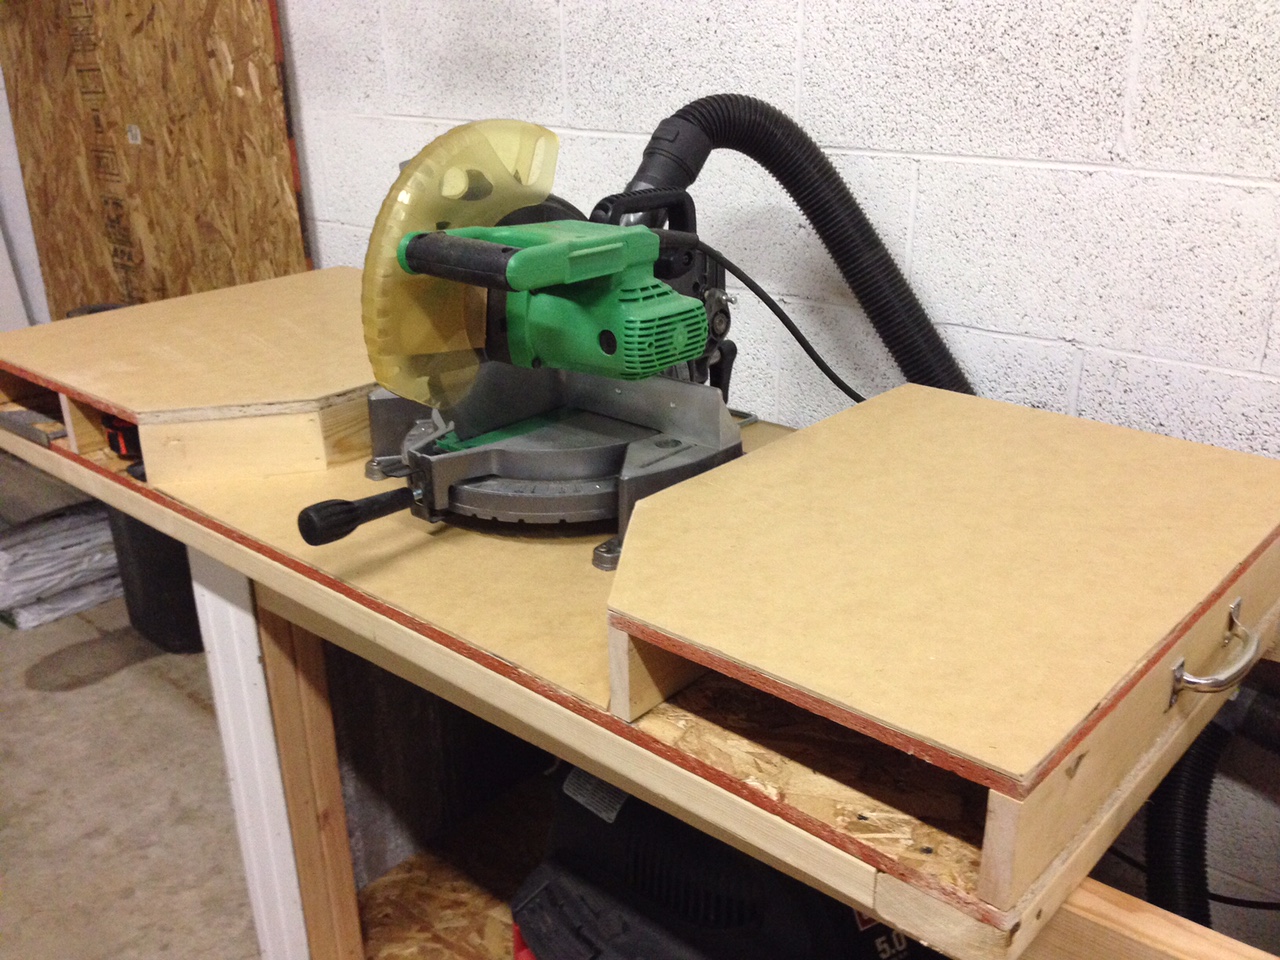
I was looking for a plan to build a miter saw cart but also wanted to include my table saw.
I was leery about making a permanent station for the miter saw in case in needed to move the saw for an inside trim job so I made the miter portion of workstation portable.
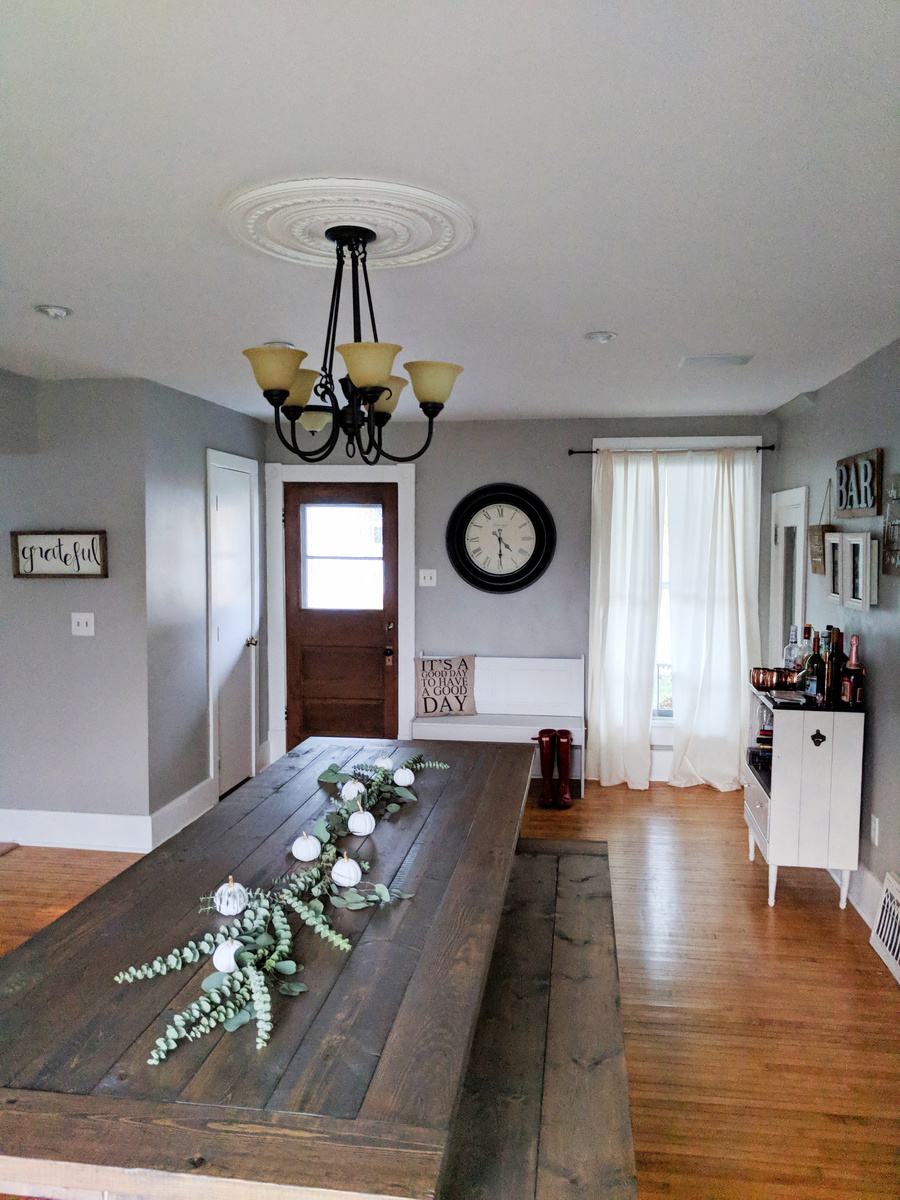
This was my first attempt at building a big project! I invested in a table saw a couple months ago since I sell handmade signs, but all I had tried to make were the signs and some very simple projects. I had been wanting a big farmhouse table for the longest time, but was so intimidated by such a big project!
I finally got up the nerve and tackled it over the course of a weekend, and made the whole table by myself! I decided to buy a pocket hole Kreg Jig, which made the project go pretty smoothly. Ana's plan was easy to follow and I followed it to a T, other than using 2x6s instead of 2x8s for the tabletop, 2-2x4s instead of 4x4s for the legs, and extending the length a bit (my table is about 8.5 feet long!) It took me longer than it should have, I'm sure, but even as a beginner I finished the table from start to finish in a weekend.
The finish is my favorite stain color, a half-and-half mix of Mixwax Weathered Oak and Espresso, topped with a coat of Varathane Triple Coat Matte Poly.
I built a matching bench the next day because I couldn't resist! I did accidentally put the end pocket holes on the wrong side of the end aprons, so they're facing outward (oops!) but I still love how the table turned out! I posted more photos of the process and finished product on my blog if you'd like to see more!
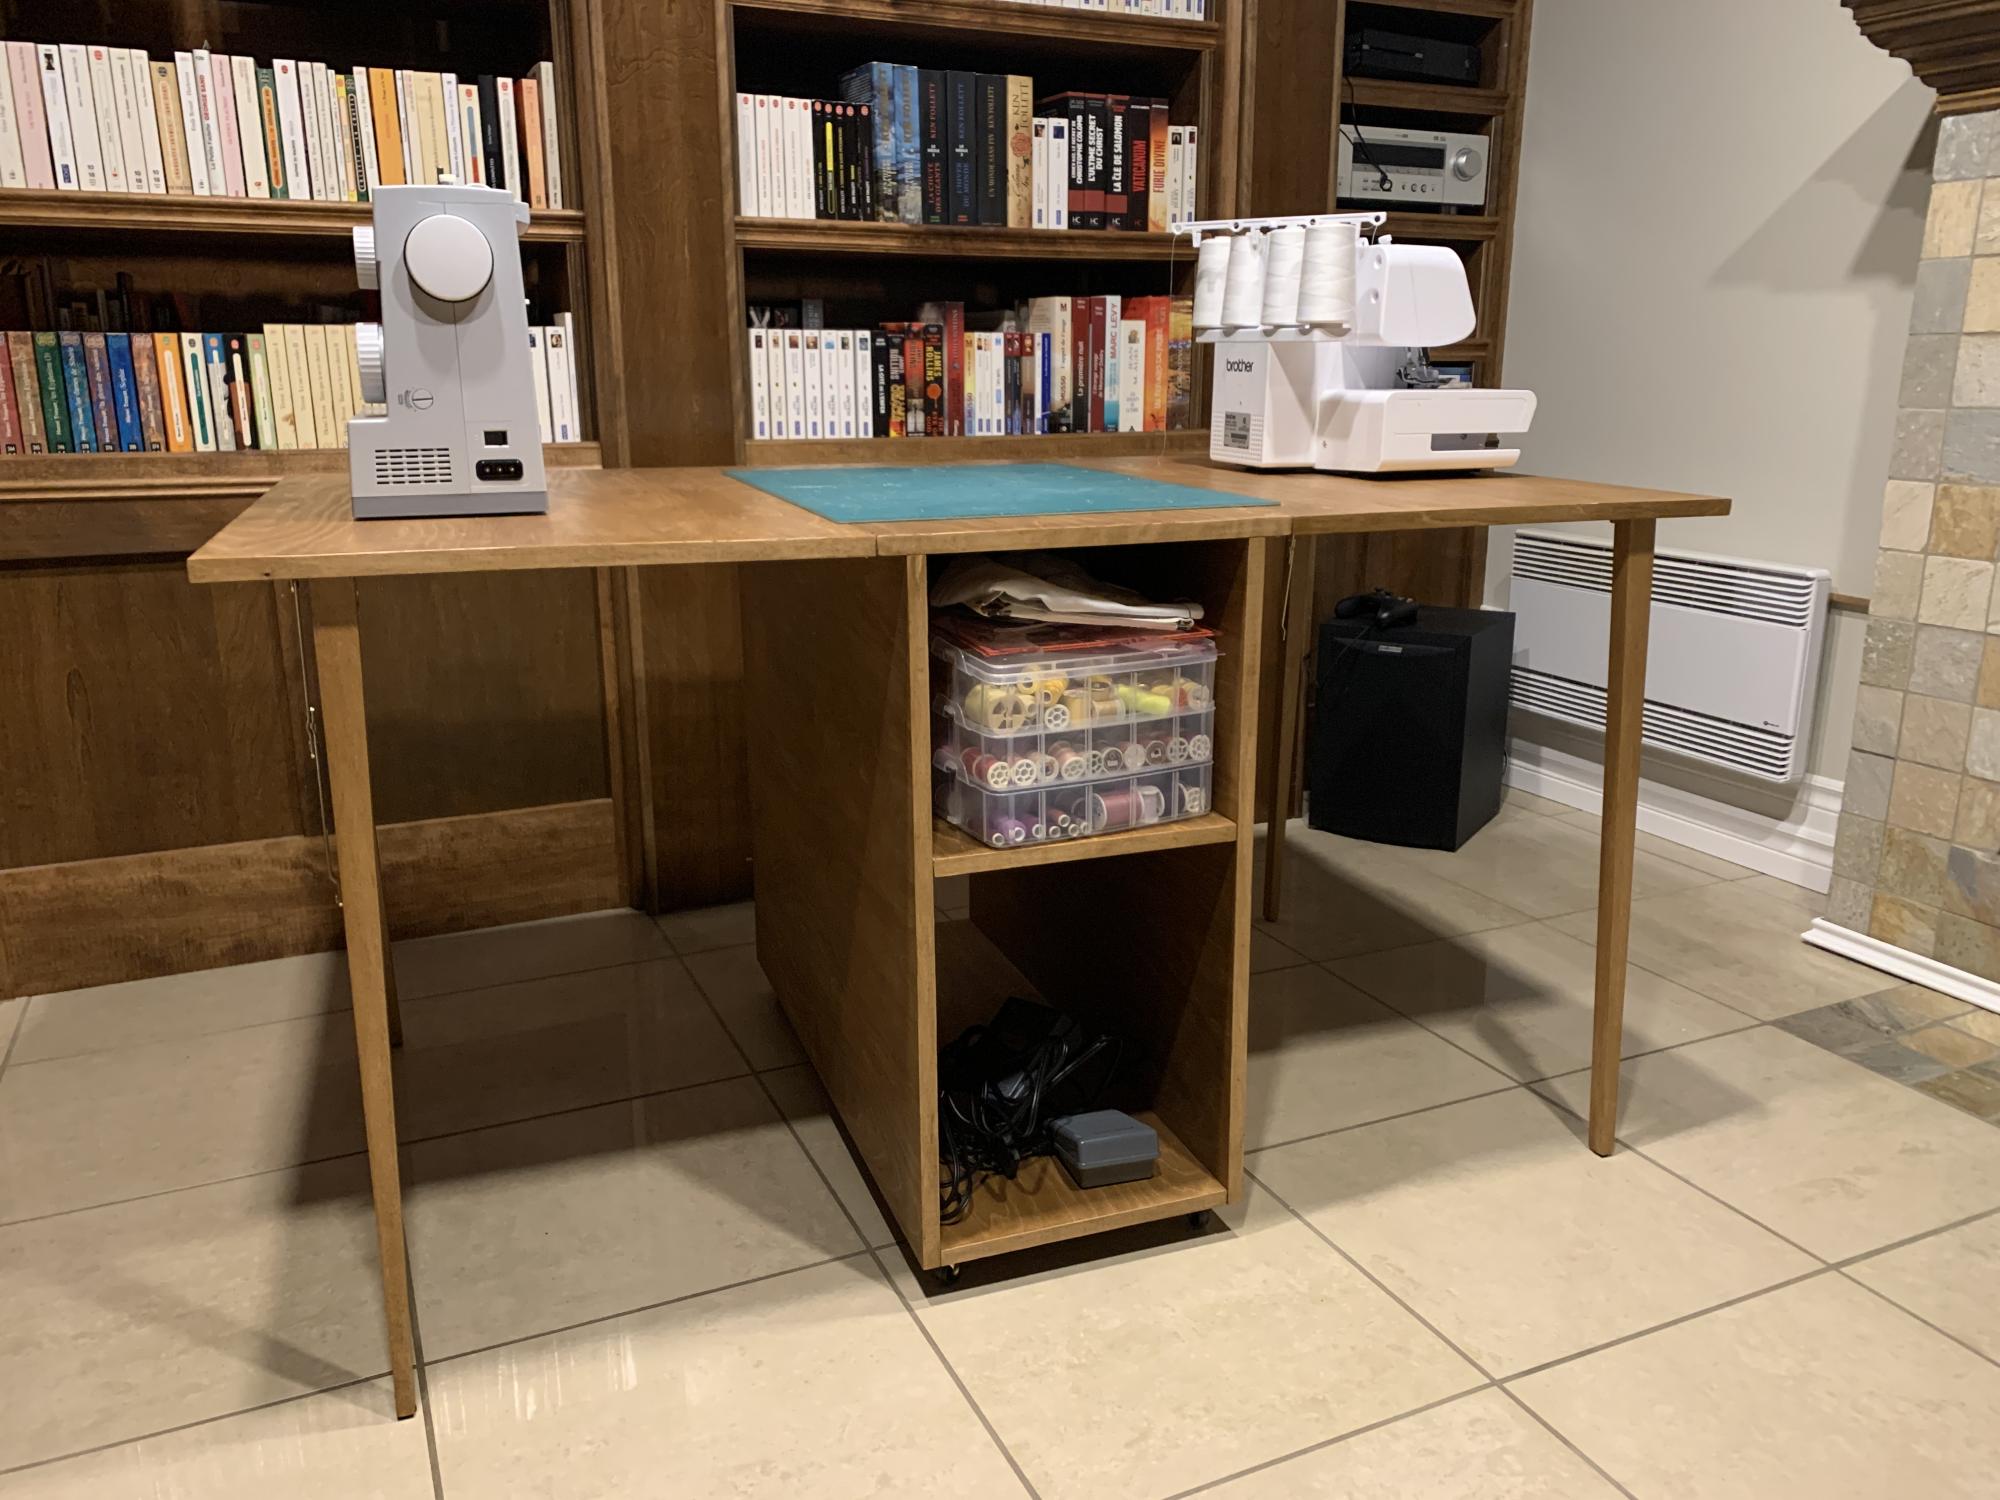
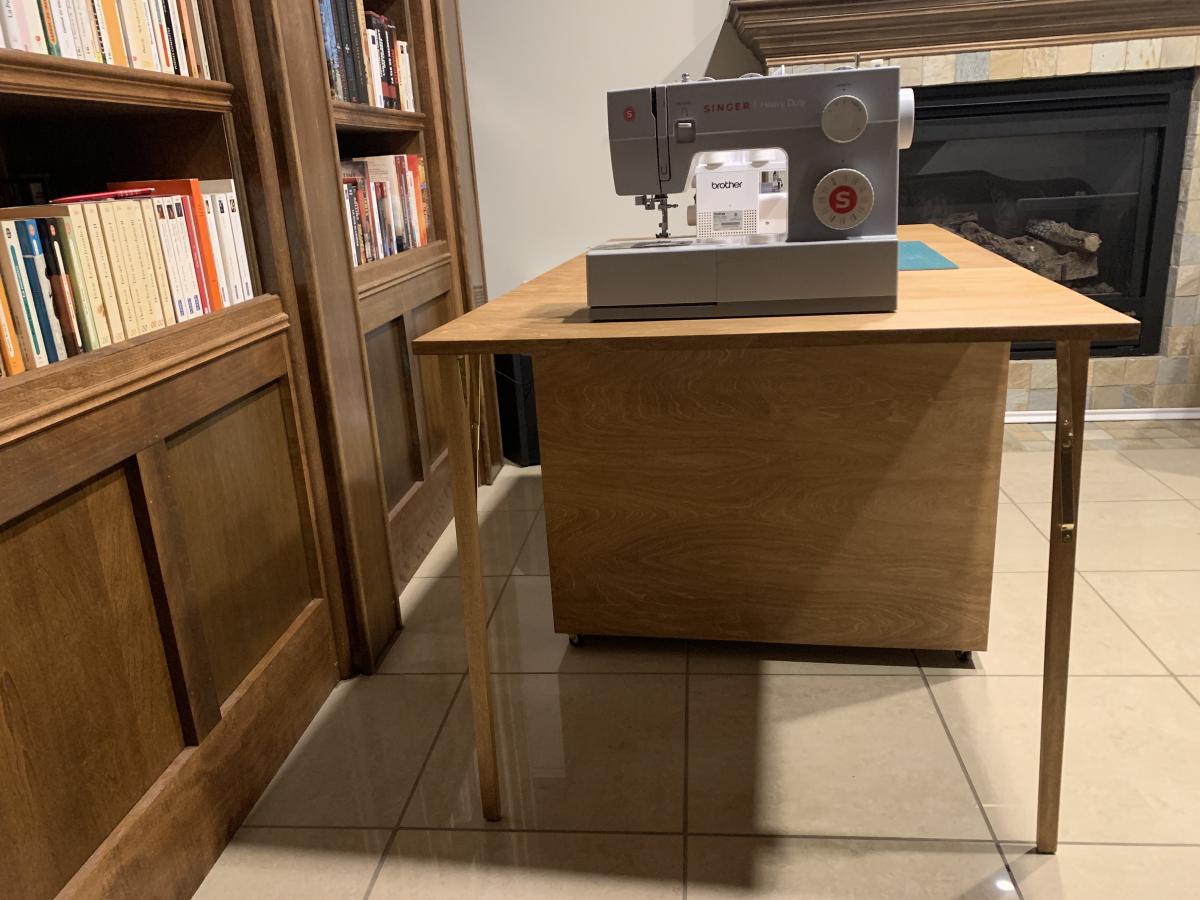
Built this Folding Sewing Table for my daughter.
- 18 mm Baltic Birch
- Birch leds
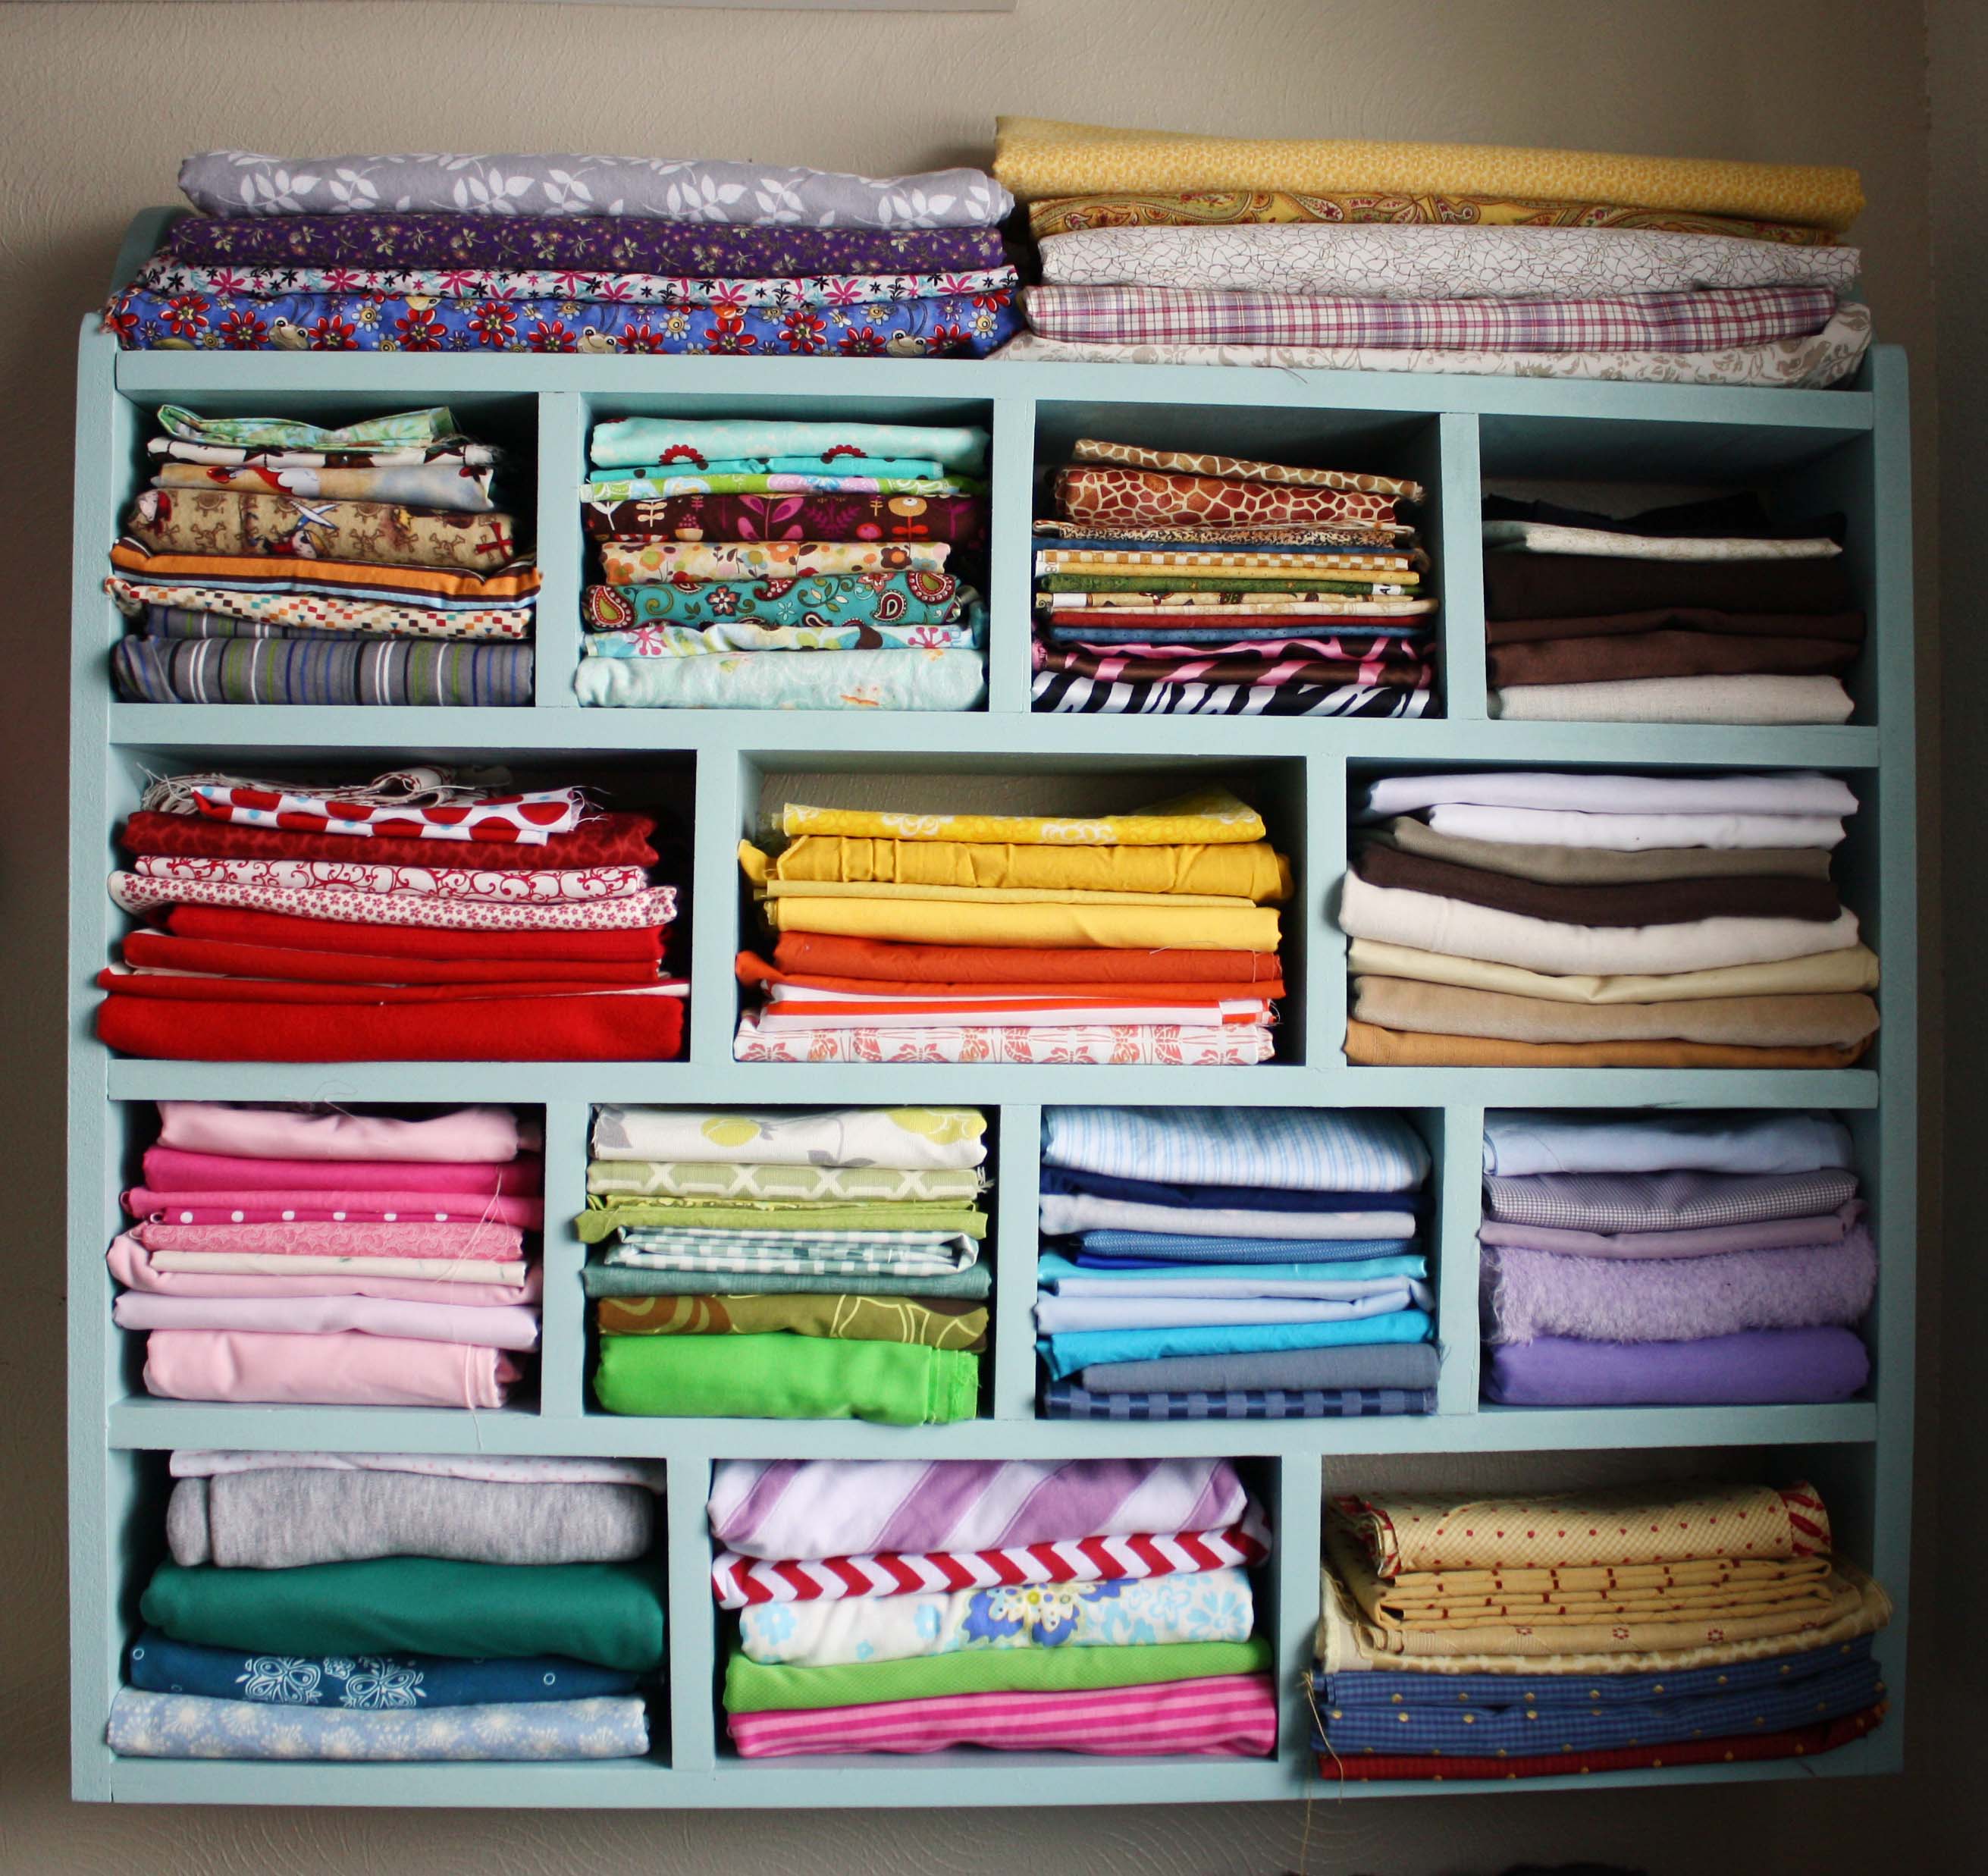
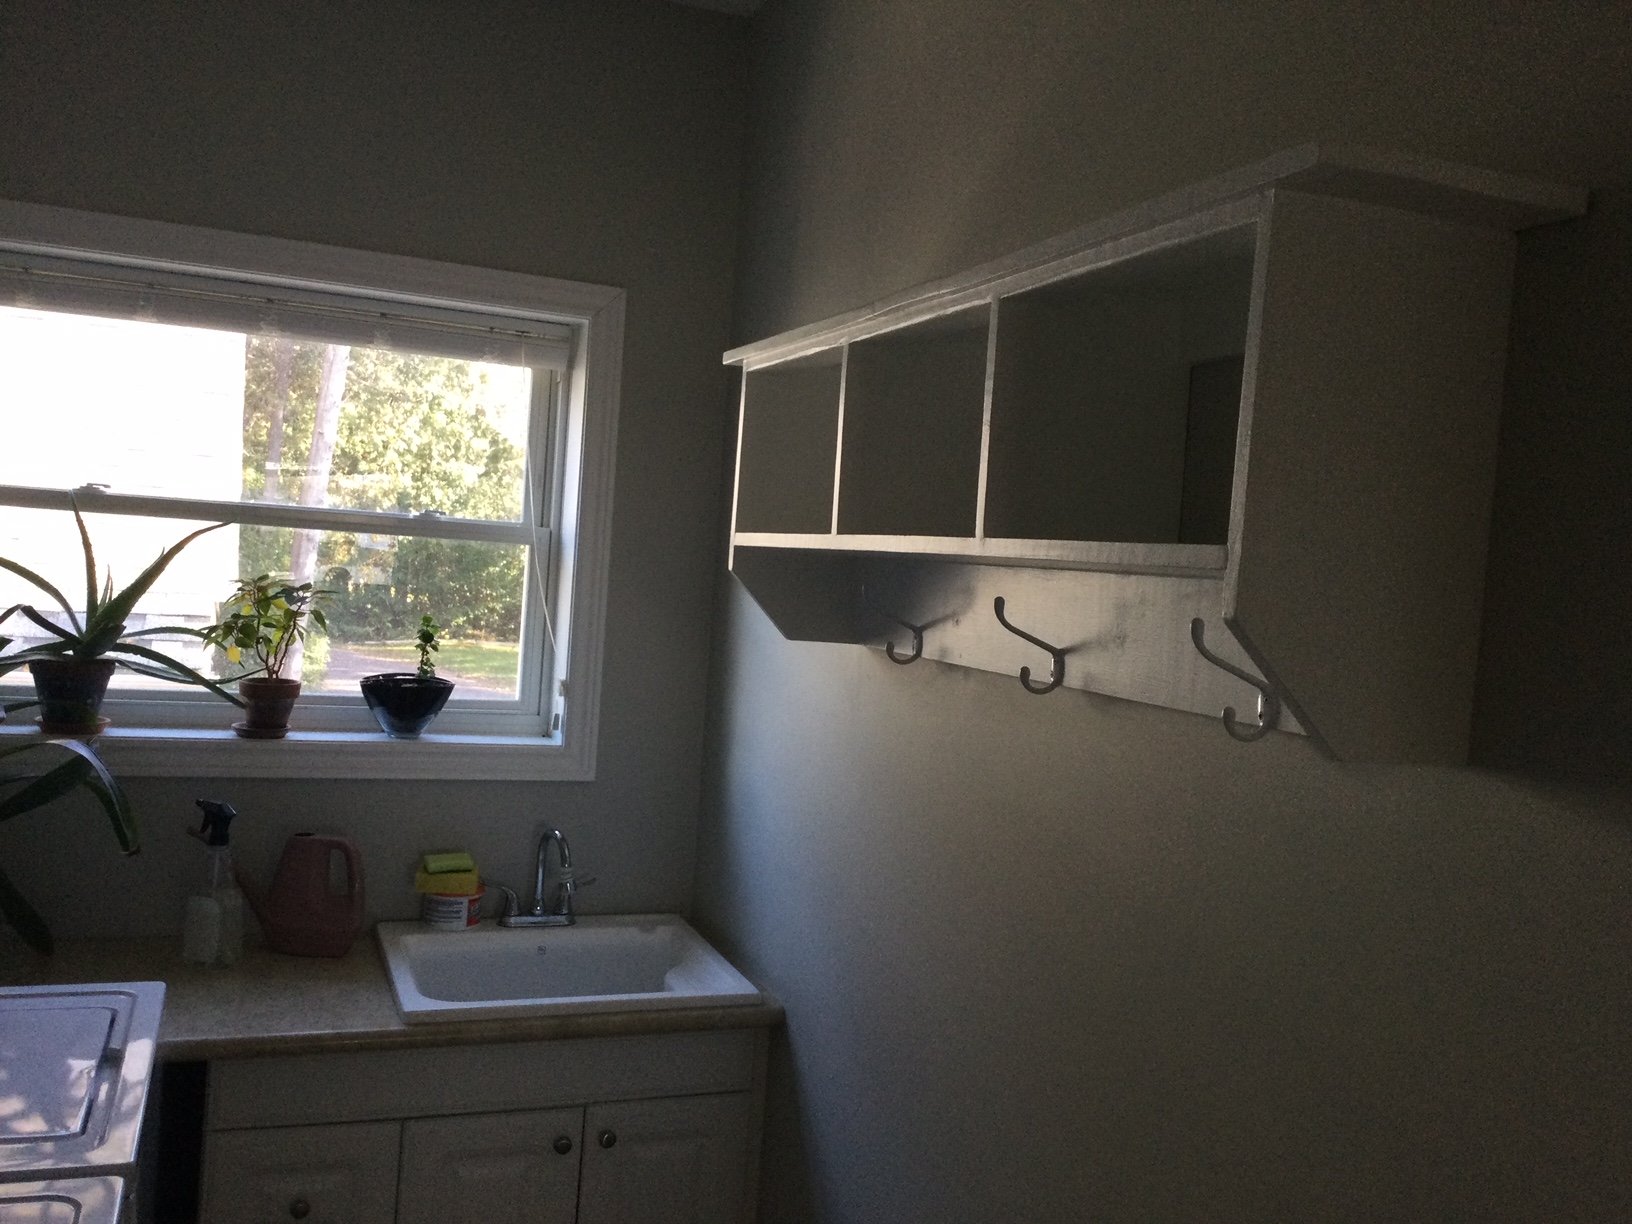
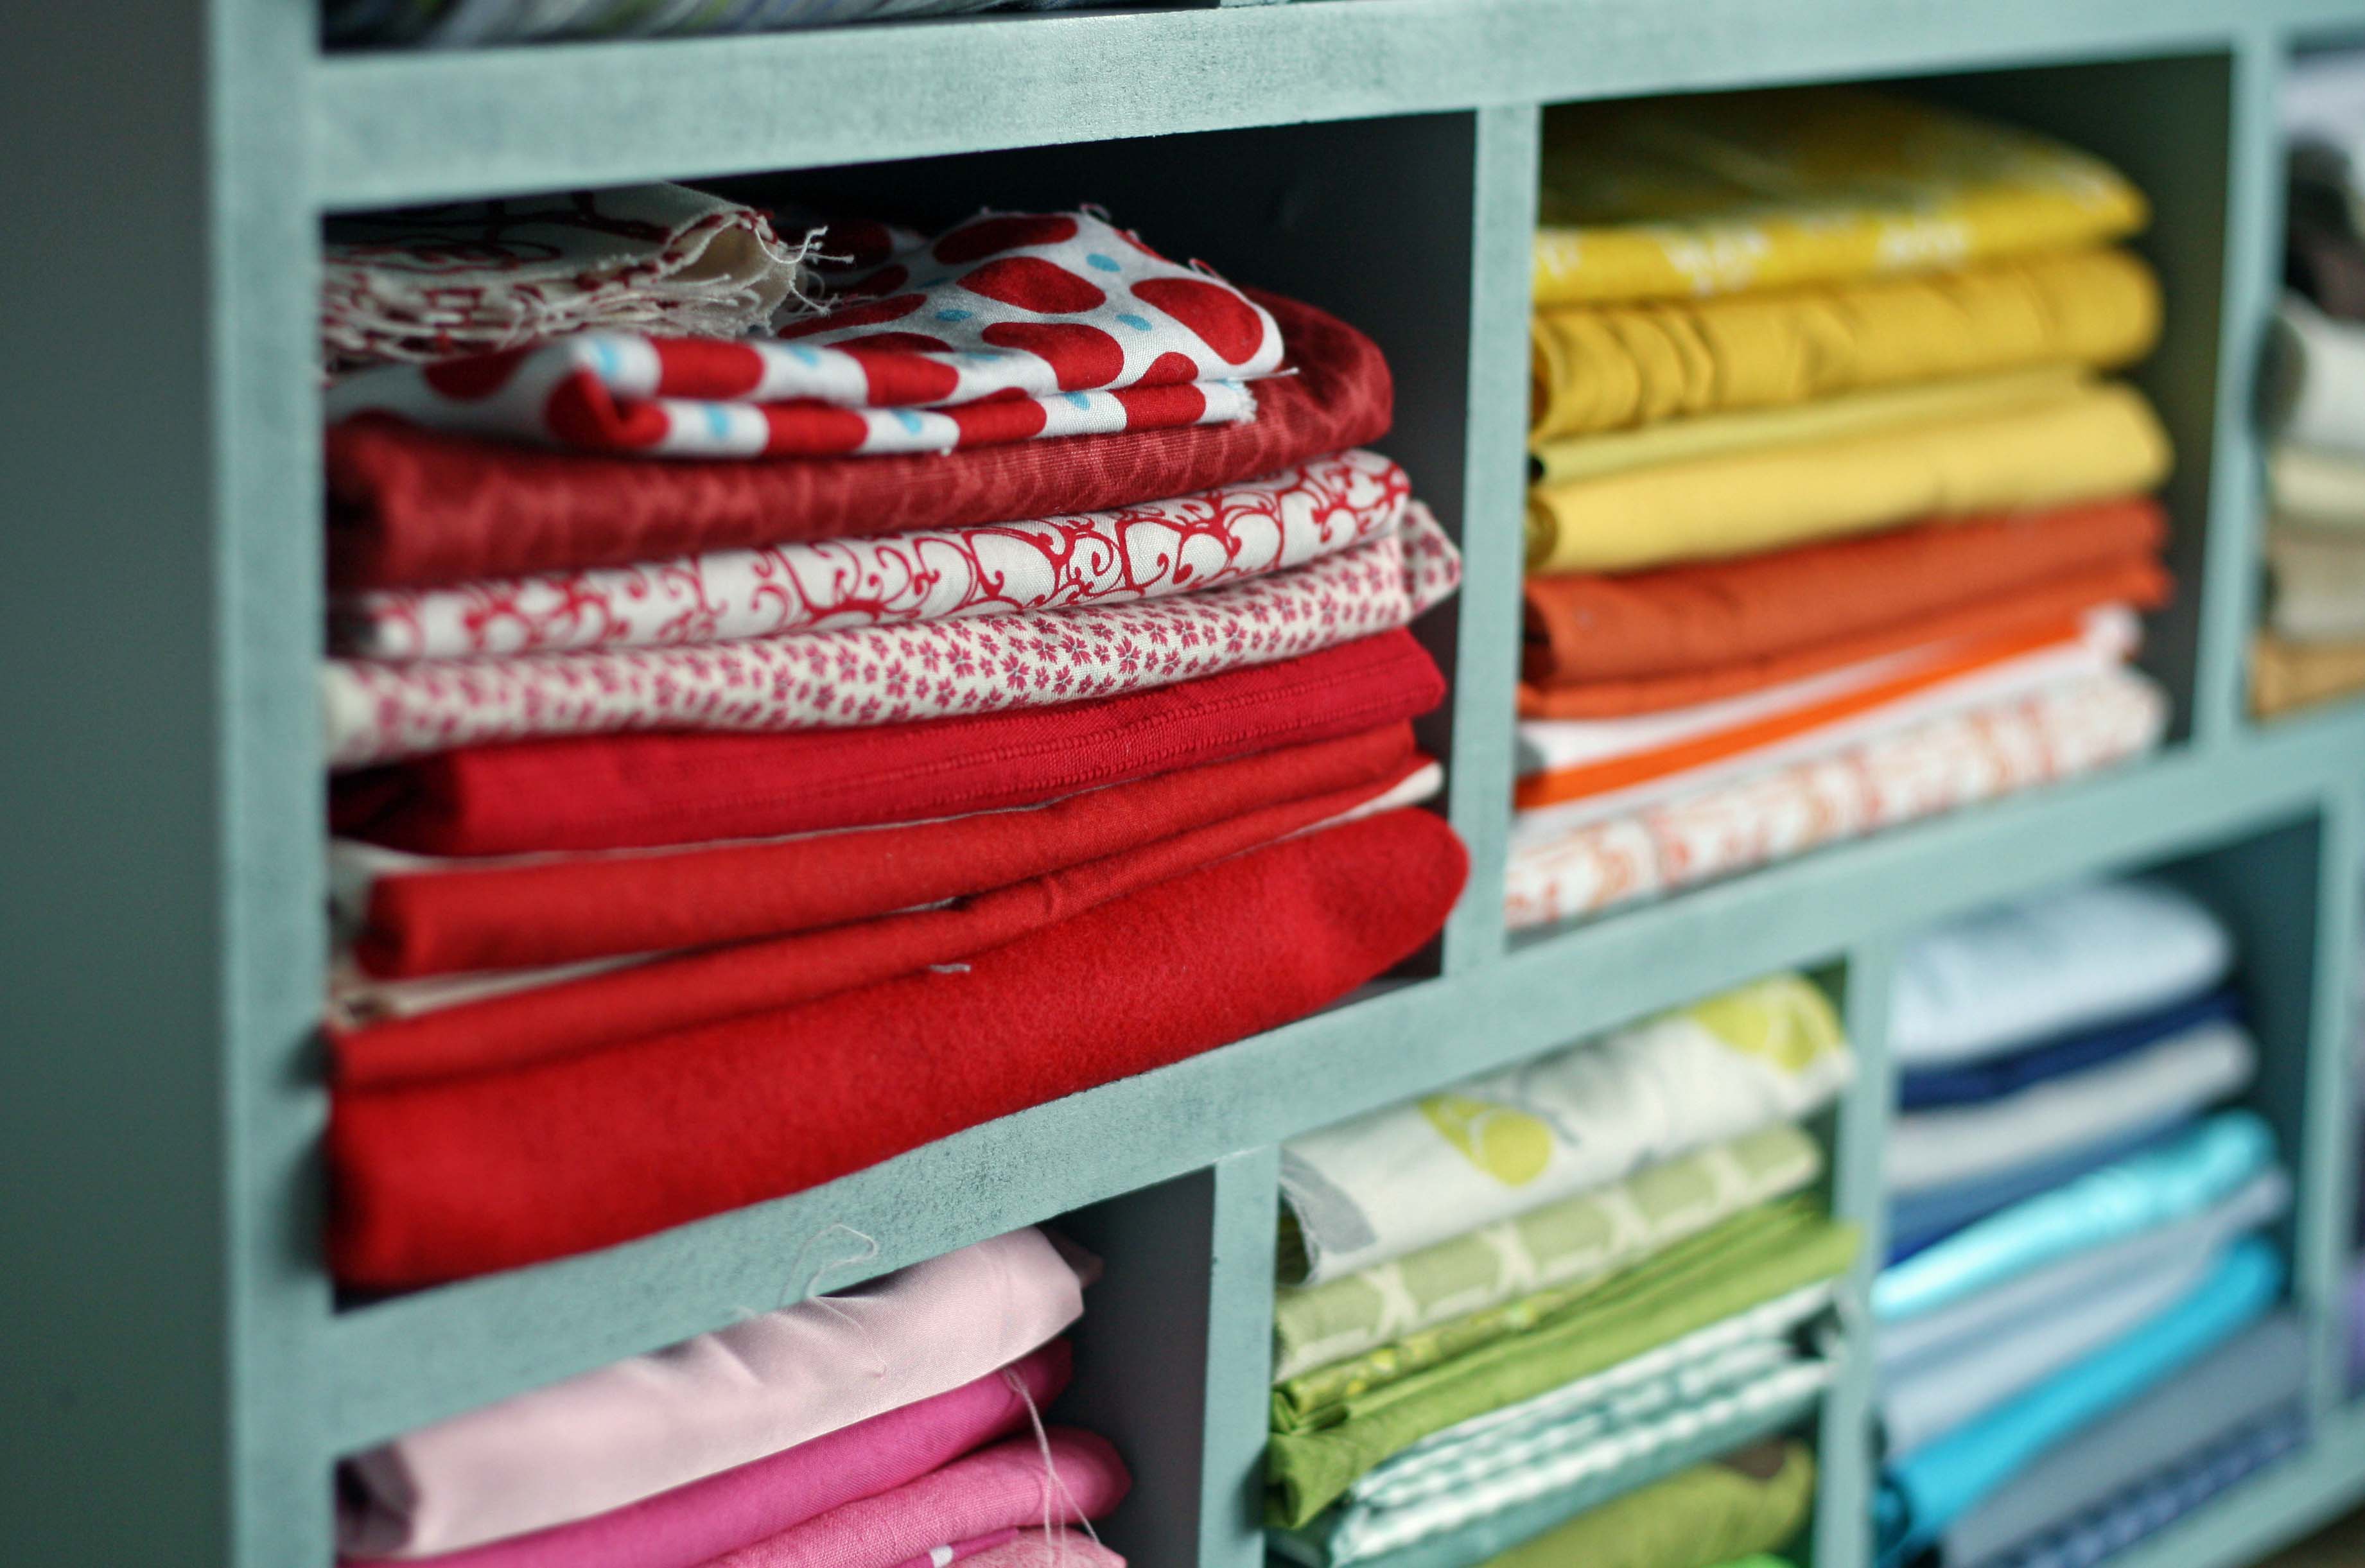
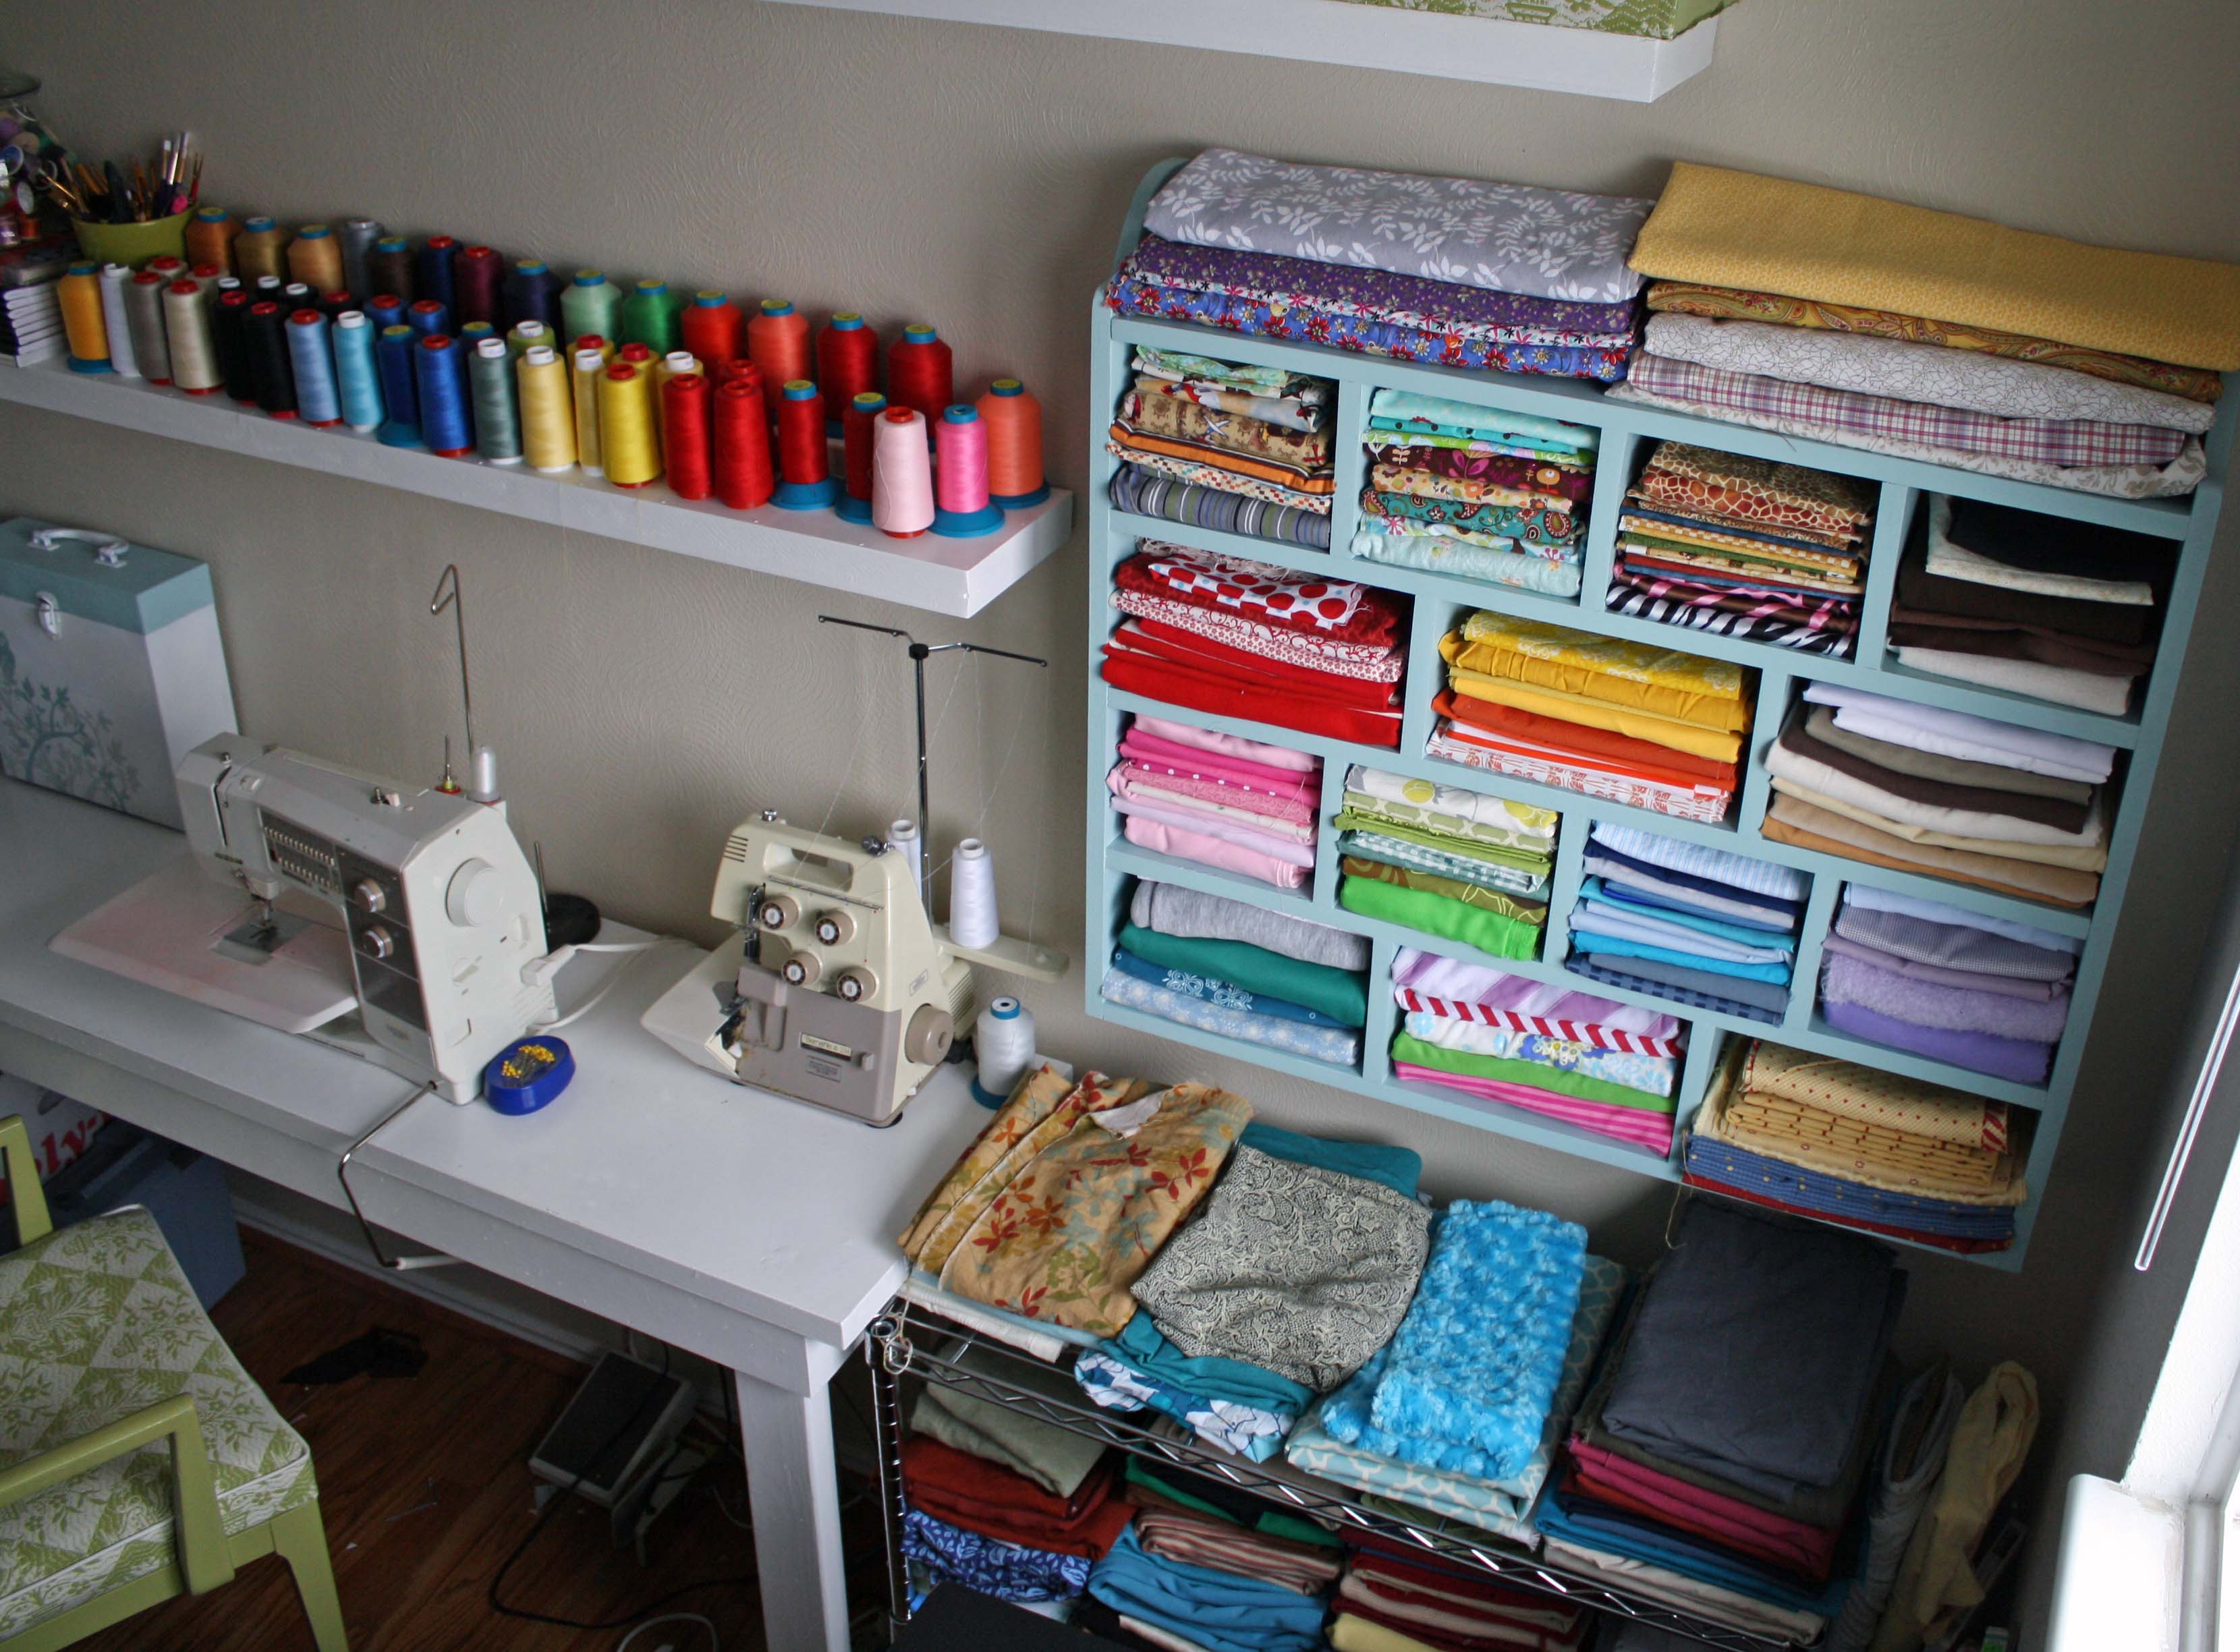
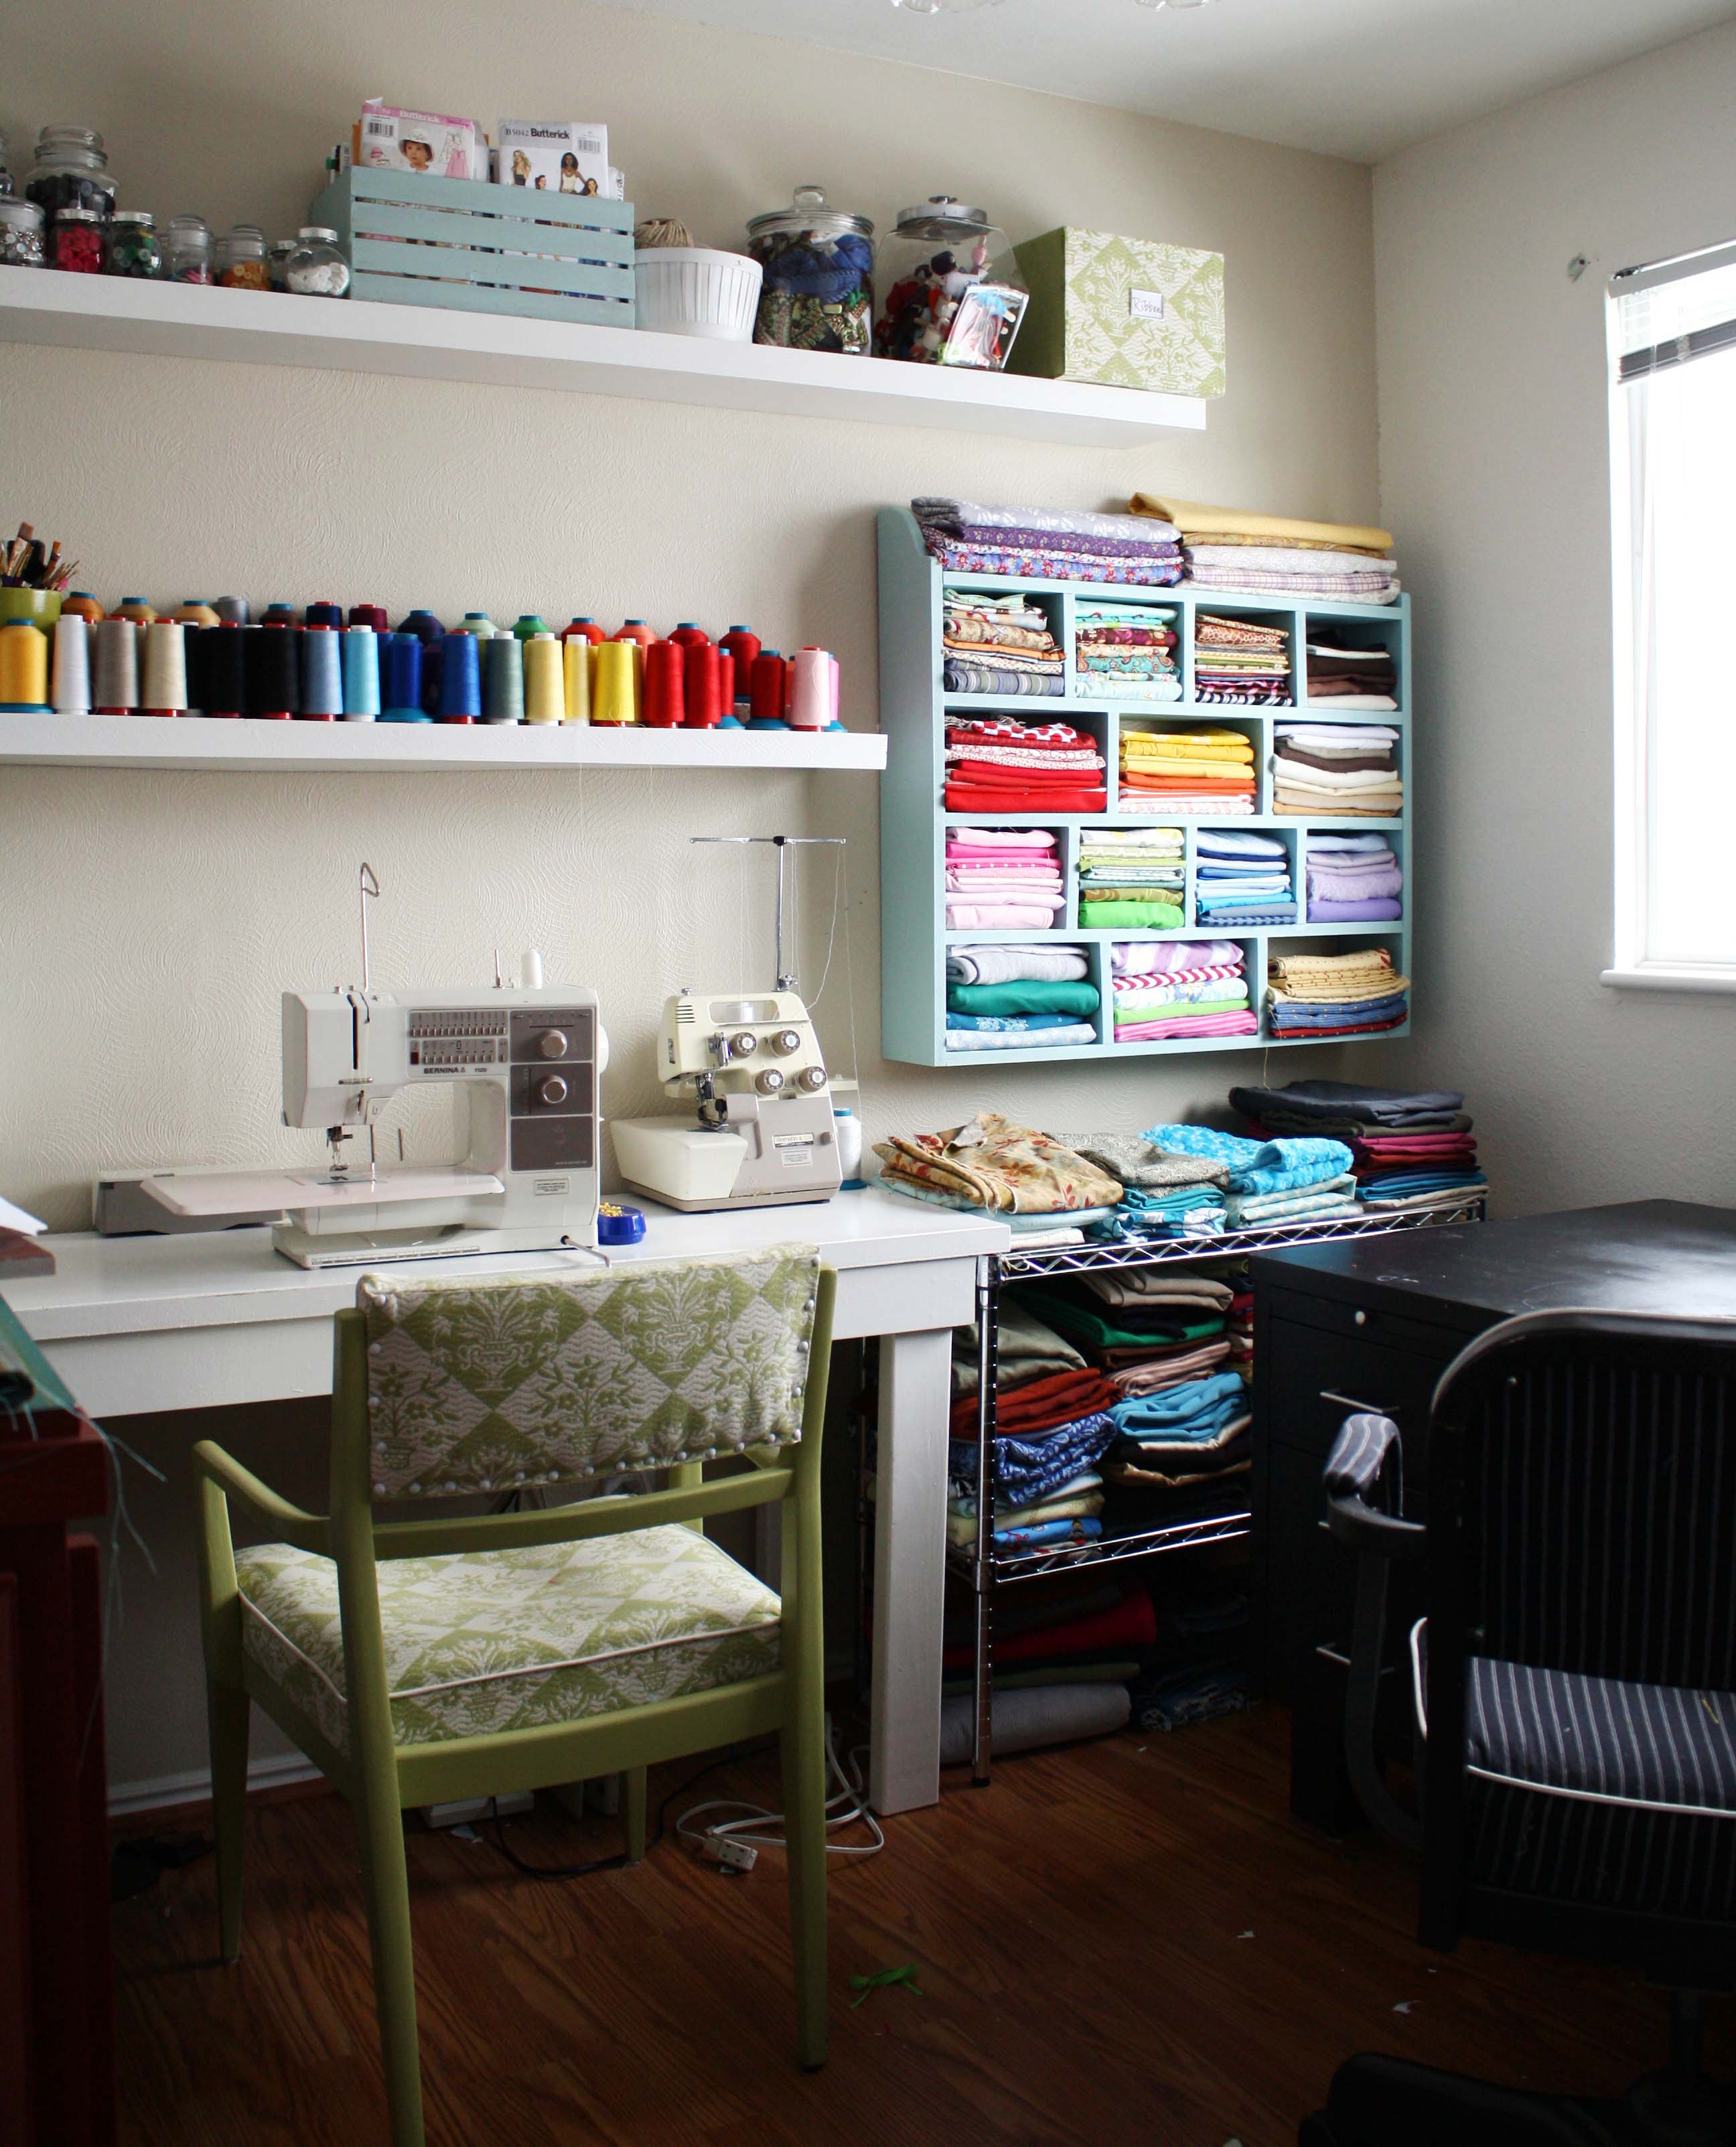
I made the Pottery Barn knock off cubby wall organizer for my craft room to store my smaller pieces of fabric. I modified the dimensions from the plan to fit the specific area it would hang, it ended up being wider and not a square. I also used half of a 4x8' 3/4" MDF sheet cut 6" tall rather than 1x6 boards. I also made 14 staggered cubbies rather than the 25 so they could be larger for my fabric storage, and it made it so each divider could be nailed from the top and bottom. I also was lazy and didn't add a back to it, so you could see the wall if the cubbies weren't full.
My First Project
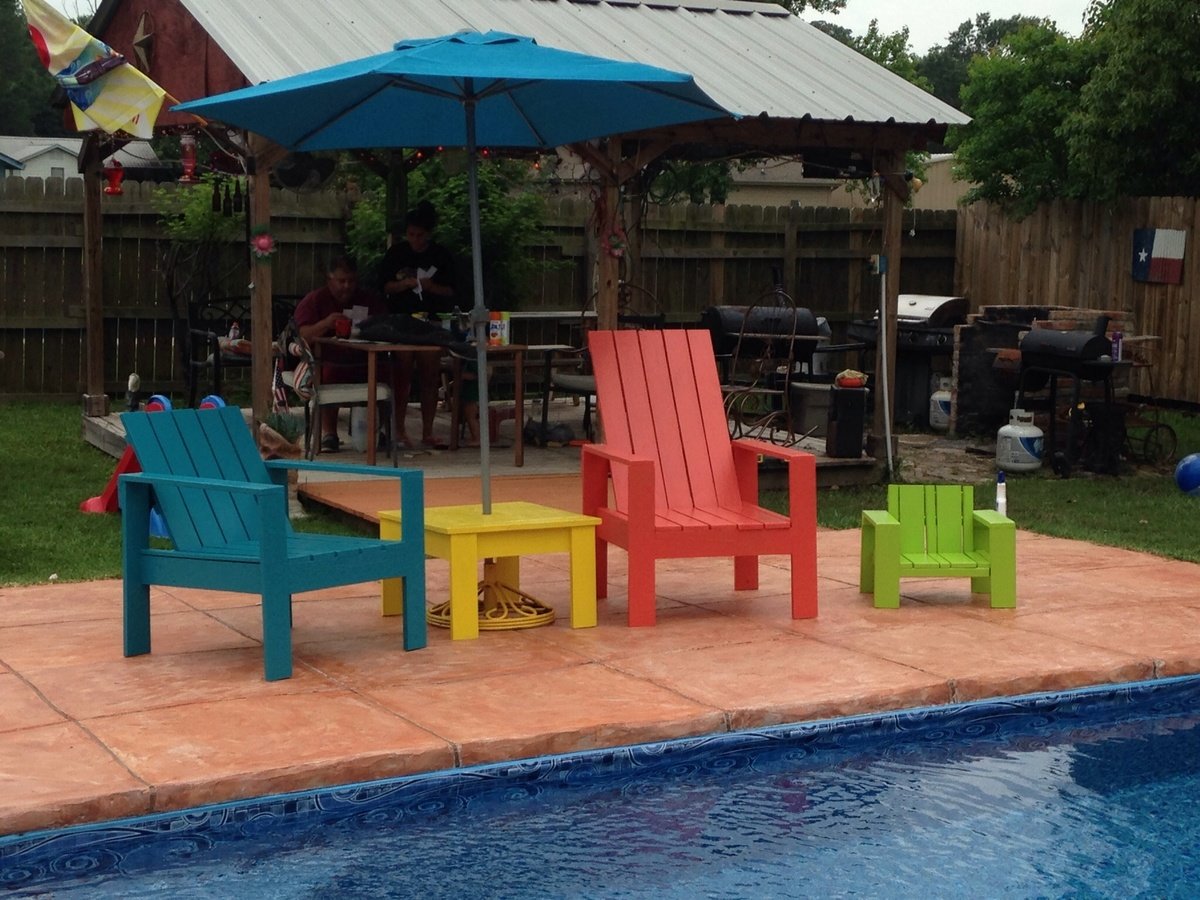
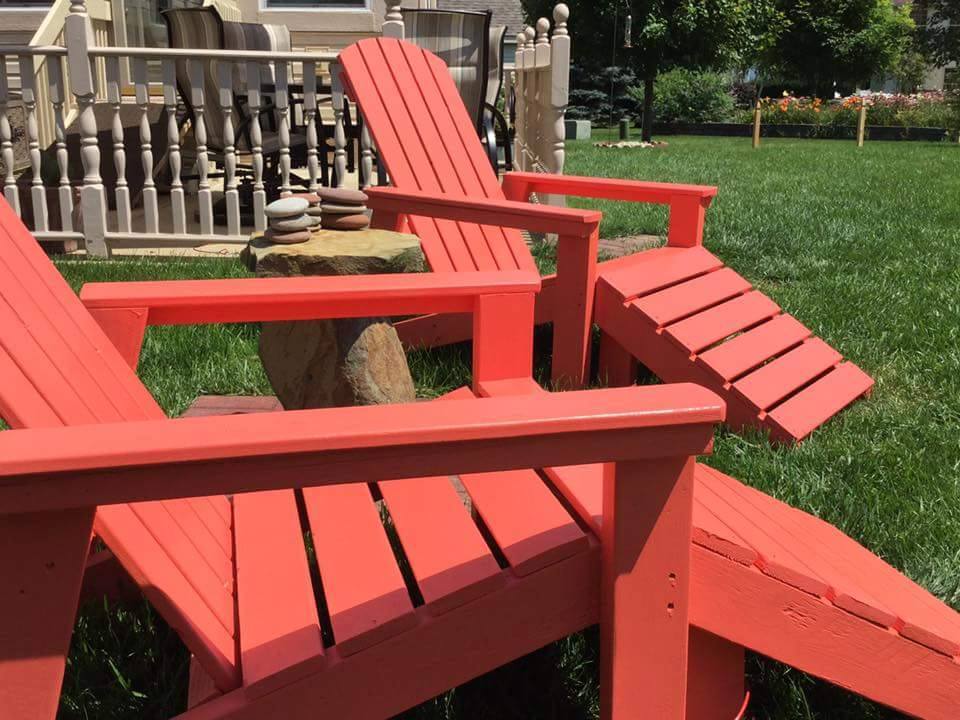
I made the back slats taller on the second chair (salmon colored one) so I could just lay my head back. They were so easy and I can't believe I did this myself! We made the baby chair with the scraps and our grandbabies love it!
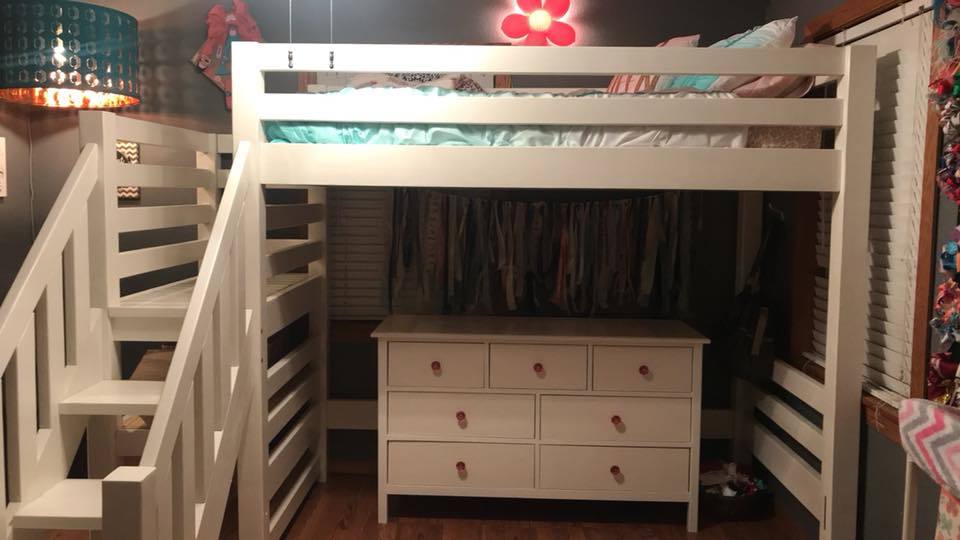
Modified the Camp Loft bed with Stairs plans slightly so that the dresser would fit under the bed without banging your head for access. The heght is taller creating the need for railings to be added to the platform. Conversion to bunk beds was considered so all bottom boards save the front rail were installed. If bunk beds are needed, just add the 2x6 front rail. The mortise slot is already cut. Went with mortise and tenon joints instead of pocket screws. Cubby storage area created under the platform accessed from left side.