Doll baby beds
![](/sites/default/files/11123687_651047718372804_600560531_n_0.jpg)
My Grandaughter wanted a Baby Bed for her dolls. I made one for her. and one for a little friend of hers. I just used 2x2's and plywood, then used rattle can spray paint to finish.
This was my first carpentry project. I made a few mistakes of course, but I am very proud of myself for building it.
I love the fact that I painted this such a vibrant red! It adds a great pop of color to our family room. This bookcase is a great stand for our new TV, and the shelves are so nice and big, they will be great to hold toy boxes and craft supplies.
This the recent remodel of our guest bedroom. Its a modified plan from a fancy farmhouse bed that allows room for tubs to be stored underneath, three of the ledges, and the nightstands are old wooden crates that have been sanded down, painted, and mounted to the wall. We decided to do vinyl stickers as the "headboard" and felt the birds on a wire made for a good look. The lamps we made from wine bottles with labels we liked using westinghouse lamp kits. Thank you Ana White for these plans and ideas!
I built this table in about 3 hours with 5 2x4s yellow pine for the total cost of around $17 total...thats not including the kreg jig screws or stain. I deviated from the original plans for the top to try something different with the 45 degree mitre cuts. It came out great but I had to review a youtube video on making the kreg pilot holes at the 45 degree angles to attach the corners together. I then cut the (4) 2x4s to fill out the top and used kreg jig screws to attach. Very nice instructions by Ana and after posting to my FACEBOOK page, I'm getting orders! :)
Easy to make 4x2 Patio Seating with Ikea style cushions.
Added the diagonal designs on the back.
Wed, 10/06/2021 - 10:40
Looks great, love the added back design element! Thanks for sharing!
First of all...I need to talk to my photographer sister (kaylajphoto.com) and learn how to take better photos! Our two girl's 3 and 5 share a room and I could not finish these beds fast enough!
They are higher because we have yet to build trundle or storage for underneath. I also made the little chair (just kind of winged it and modified as I went), and shelving that is by the footboard.
With a repurposed side table, new curtains, and a chandelier, I couldn't be happier with the end result! My next task is a cute vertical chalkboard piece above the table. :-)
Took no time at all - 1 hour start to finish on a rainy day. Built it for the little kids but kids came out of the "woodwork" from all over the neighbourhood. Easy, fun and cheap! May add some old rubber bike tires beneath the seats to protect the wood that comes in contact with the ground. Didn't bother with a padded seat - an off-cut of plywood, with sanded edges works just fine and will be easy to replace if it starts to weather.
Built from the King Farmhouse bed plans
Tue, 11/08/2016 - 10:48
do you have a boxspring on your bed as well? I am curious how high a mattress and boxspring will sit if i make the side rails and frame
Tue, 11/08/2016 - 10:49
Did you use a metal bed frame or did you make the side rails and frame? i am curious how high my mattress will sit above the footboard because I want to make the side rails and use slats. I have a boxspring that I will be using.
I love Ana's plan for lockers! This project is so rewarding and was very straight forward to build. I added a fourth locker and a shoe bench to accomodate my children. I also added a toekick behind the face frame so things won't get lost underneath. Instead of using 1 x 12's, I ripped plywood into 4 equal strips. They came out to be slightly less than 12 inches each as you have to account for the saw blade. Each locker has three hooks, a place for shoes, and a bin for winter gear. I made the fabric bins and bench cushion following online tutorials. I set the hooks according to the height of my children, so even my youngest can hang up her things. This project took me about a week and a half to complete, including the sewing portion. It is very sturdy and the 1x4's along the back allowed me to attach the unit to several wall studs. I placed the 1x4's(with hooks) low enough that the heavy backpacks will also have the shelf for support. The shoe bench measures 48" in length at the longest point. It is the same depth as the locker unit and fits perfectly behind the locker face frame. Thank you so much for your wonderful plan!
This was my very, very first woodworking project. My daughter and I needed beds, but decided to start small. I’d been scoping out Ana’s plans for weeks or maybe months, and finally, finally worked up the nerve to tackle a project. Everything worked out beautifully. Somehow, I’d been intimidated about the idea of learning how to countersink screws, but with Ana’s directions it was easy! I did get a measurement wrong somewhere and after cutting all the wood, the 5 1×3′s for the panel were too wide for the panel top, so instead I spaced out four of them. My daughter has never liked dolls, so I made the bed thinking that it would be a gift for someone else, but my daughter really, really liked it and wanted to keep it. Now the doll bed lives at the foot of the full-sized bed that we made as our second Ana White project! Now if I could only figure out how to sew a doll-sized pillow… Thank you Ana for making this simple.
I used a pallet I found in a burn pile, cut it down, added a bottom piece from one of the other cross pieces, painted, stenciled, and covered it with a coat of poly. I then added potting soil and herbs, and screwed it into the studs of our porch. It's off the ground so my dogs can't get into it and my chickens won't sample the plants!
This is a customized version of a farmtable that my wife found here!
Sun, 04/12/2020 - 10:51
how do I get plans for this table? it is the customized farm table, thank you
I felt a little bold deviating from the plans when this was my first project. But I saw another version of this desk with the breadboard ends, and I really appreciated the added craftsmanship this gave off. Other than the top, I followed the plans to a T. For the top, I made this from 2x6's with the 4 lengthwise pieces cut to 61" and the ends to 22" (I think I ended up trimming the ends down to match better, but 22 was a good starting point). As for the finish, I layered stains starting with Minwax's Classic Grey followed by Minwax's Jacobean. I made two of these desks to put in our home office. If I think of it once the office is complete and decorated, I'll add another pic!
I wanted a kitchen island that would match my farmhouse table and would fit in my small kitchen.
I needed a way to display some old pictures... I just love the look of old pictures and and wanted something different than an ordinary frame.This is one of the easiest and cheapest picture display project you can do.
A full tutorial can be found at www.AHouse-2-Home.com
Feel free to leave a comment on our site, we greatly appreciate them!
I built this Workshop Step Stool as part of the #GetBuilding2015 #BuildCave challenge. It was a very easy build. I had all the needed supplies in my scrap wood. But if you did need to buy the wood, you could do it for under $10.
I found the plan here. http://www.familyhandyman.com/workshop/ridiculously-simple-shop-stool-p…
If you want to see the steps I took to build mine, as well as more pictures, please stop by my blog at http://jaimeofalltrades.blogspot.com/2015/04/diy-workshop-step-stool.ht…
My husband calculated the dimensions to extend the plans from a queen to a king size bed. It was our first project together and we're both really excited about how it turned out!
Those are the first projects that I try to make. Thank you Anna White .
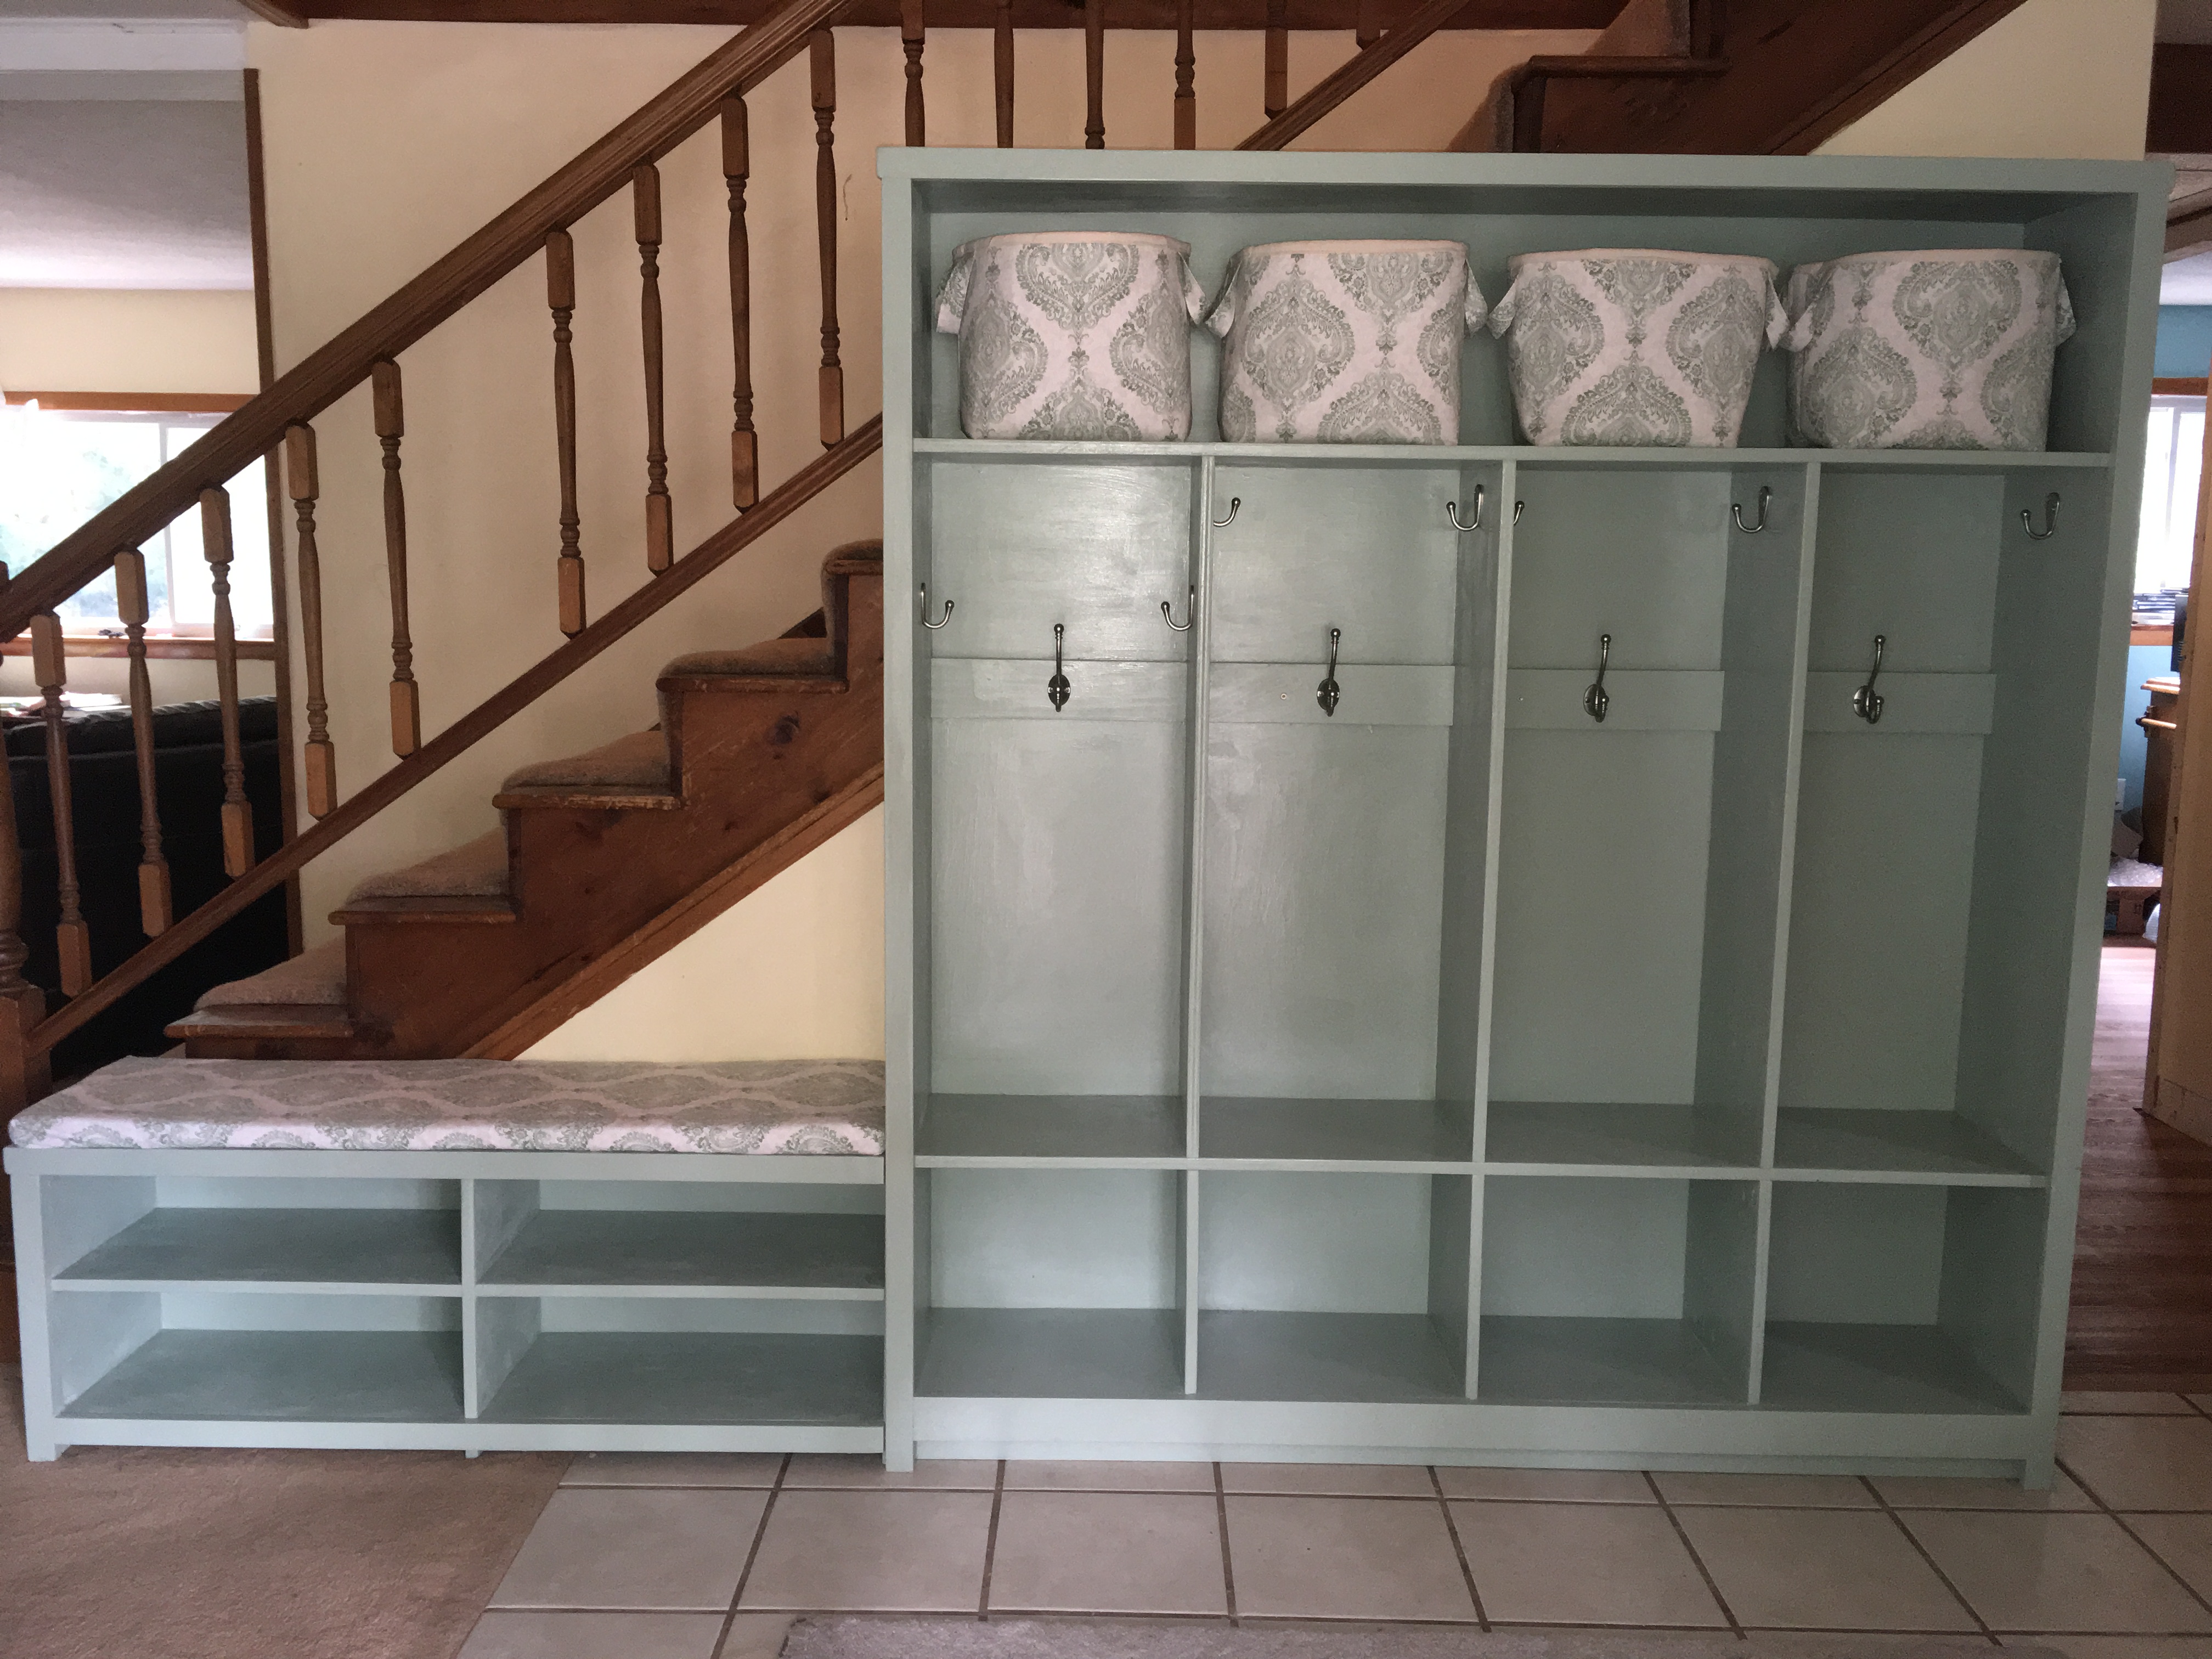
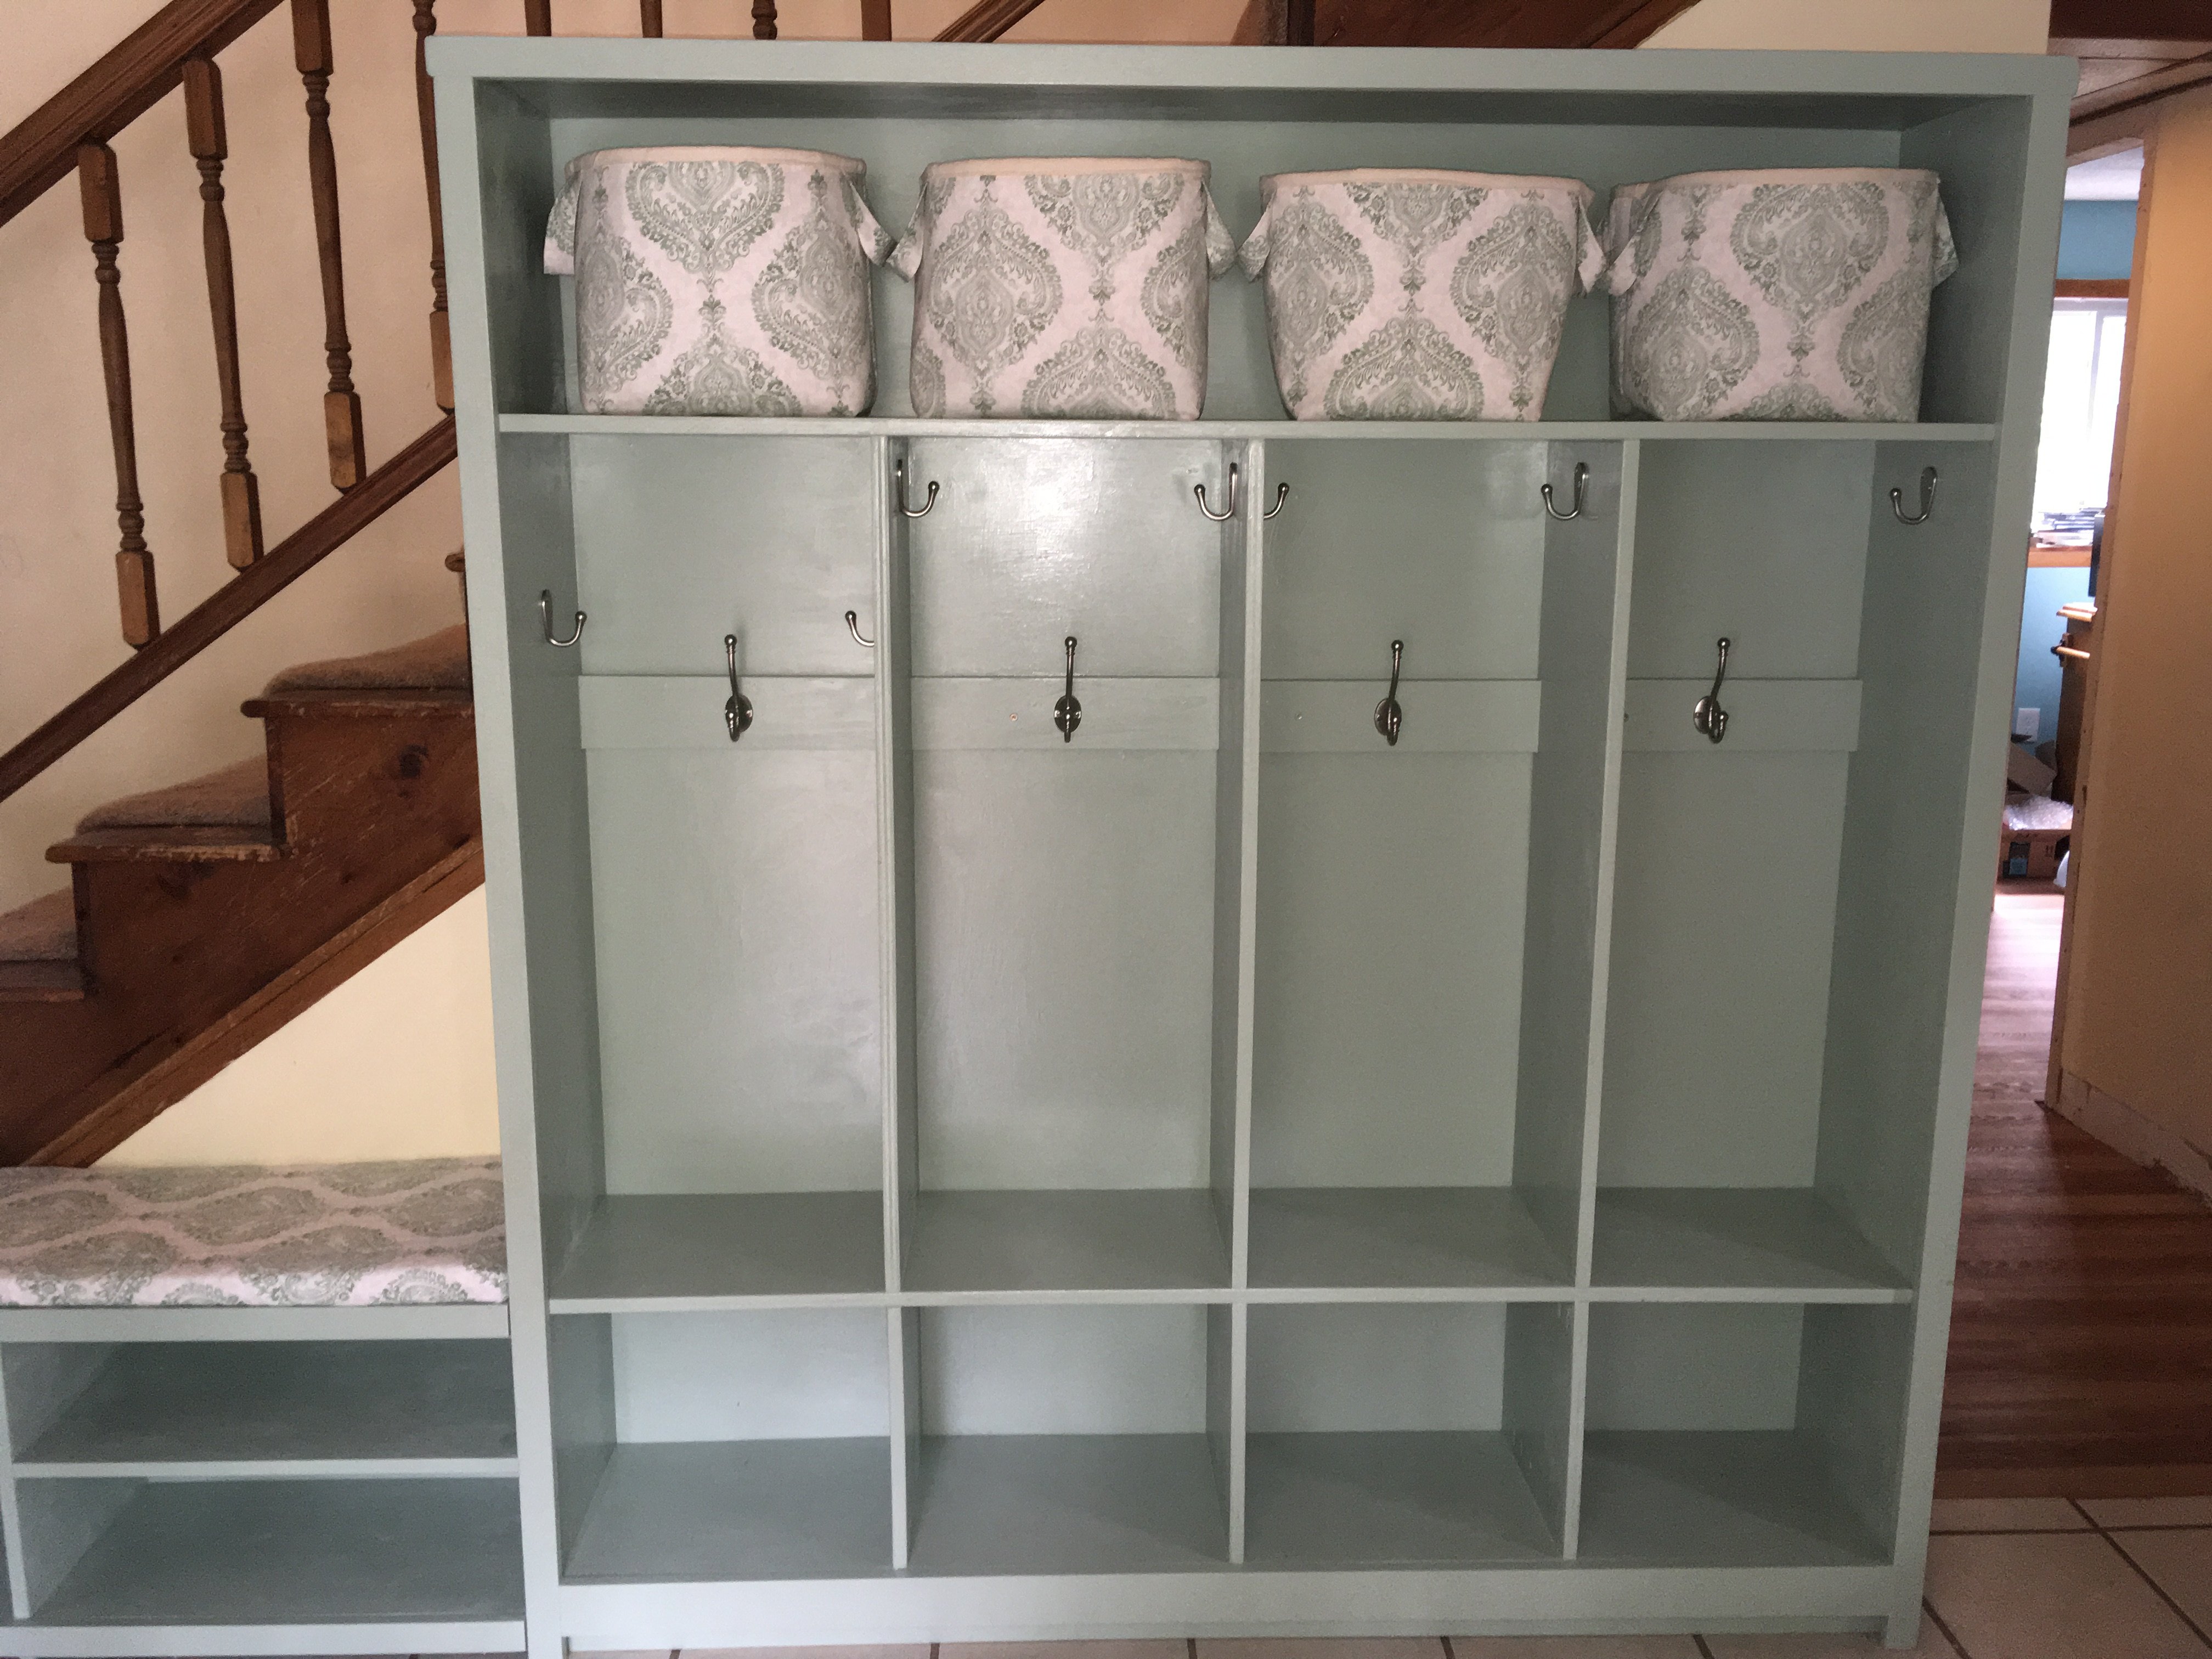
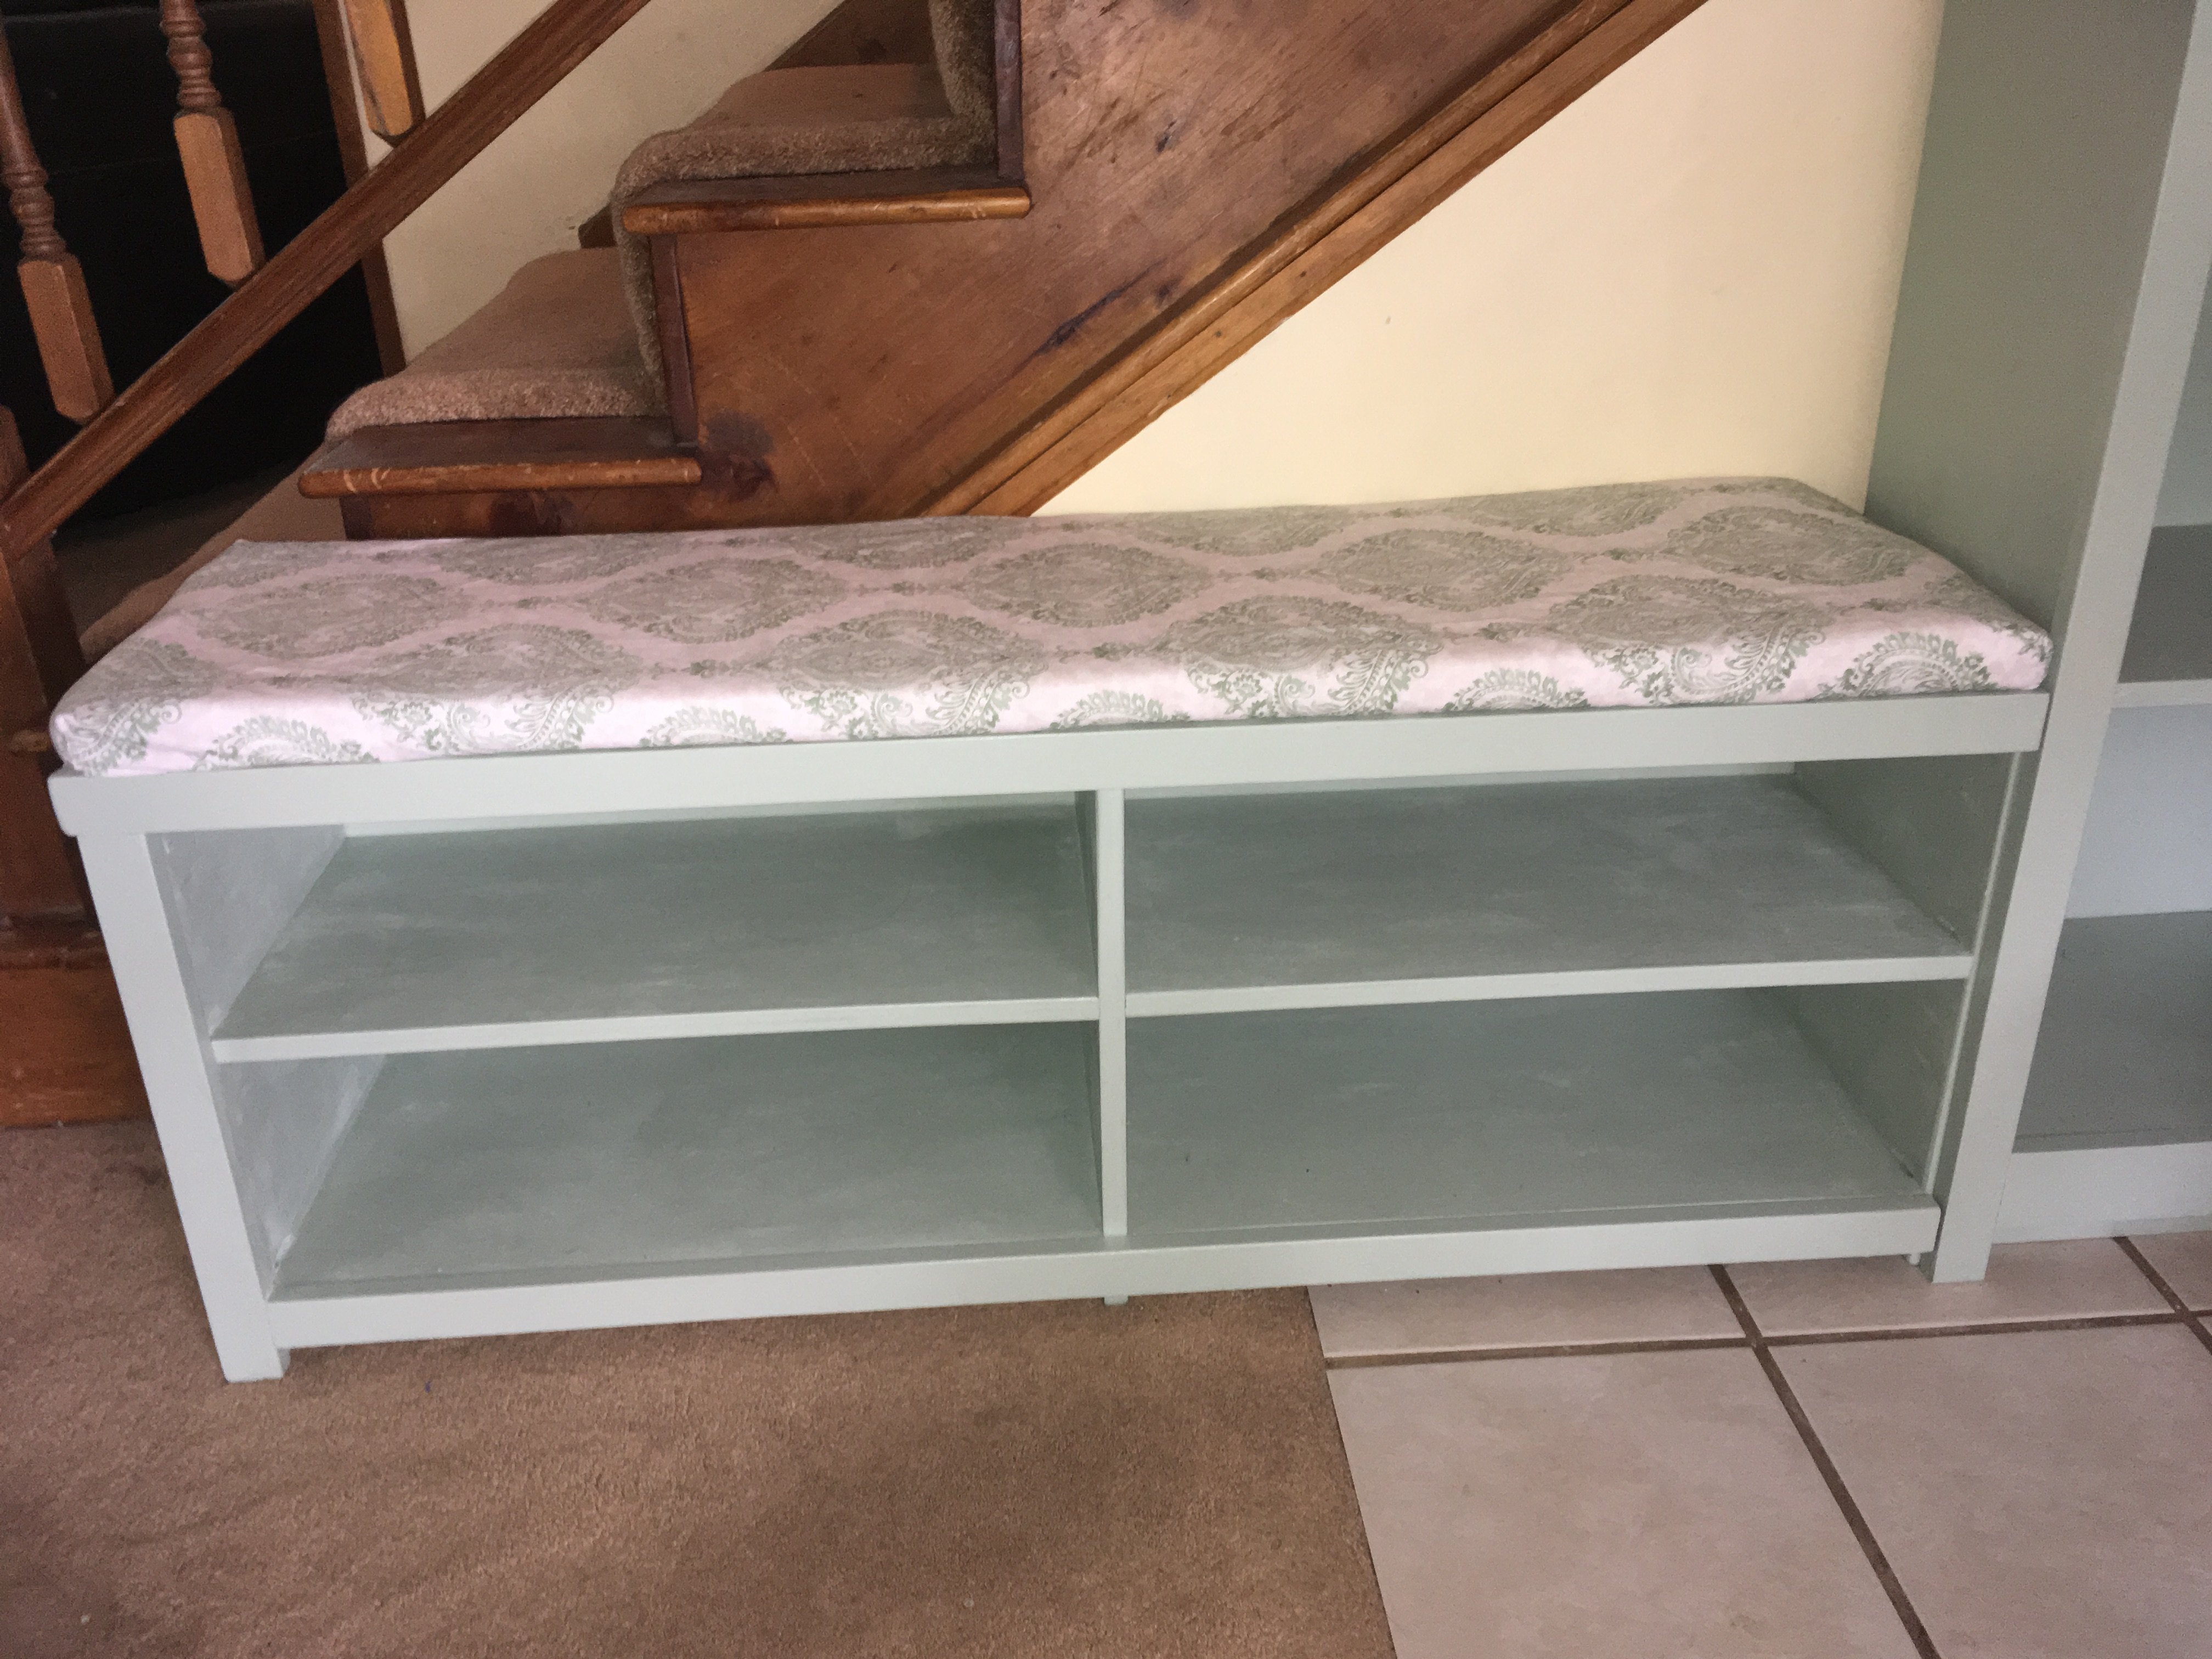
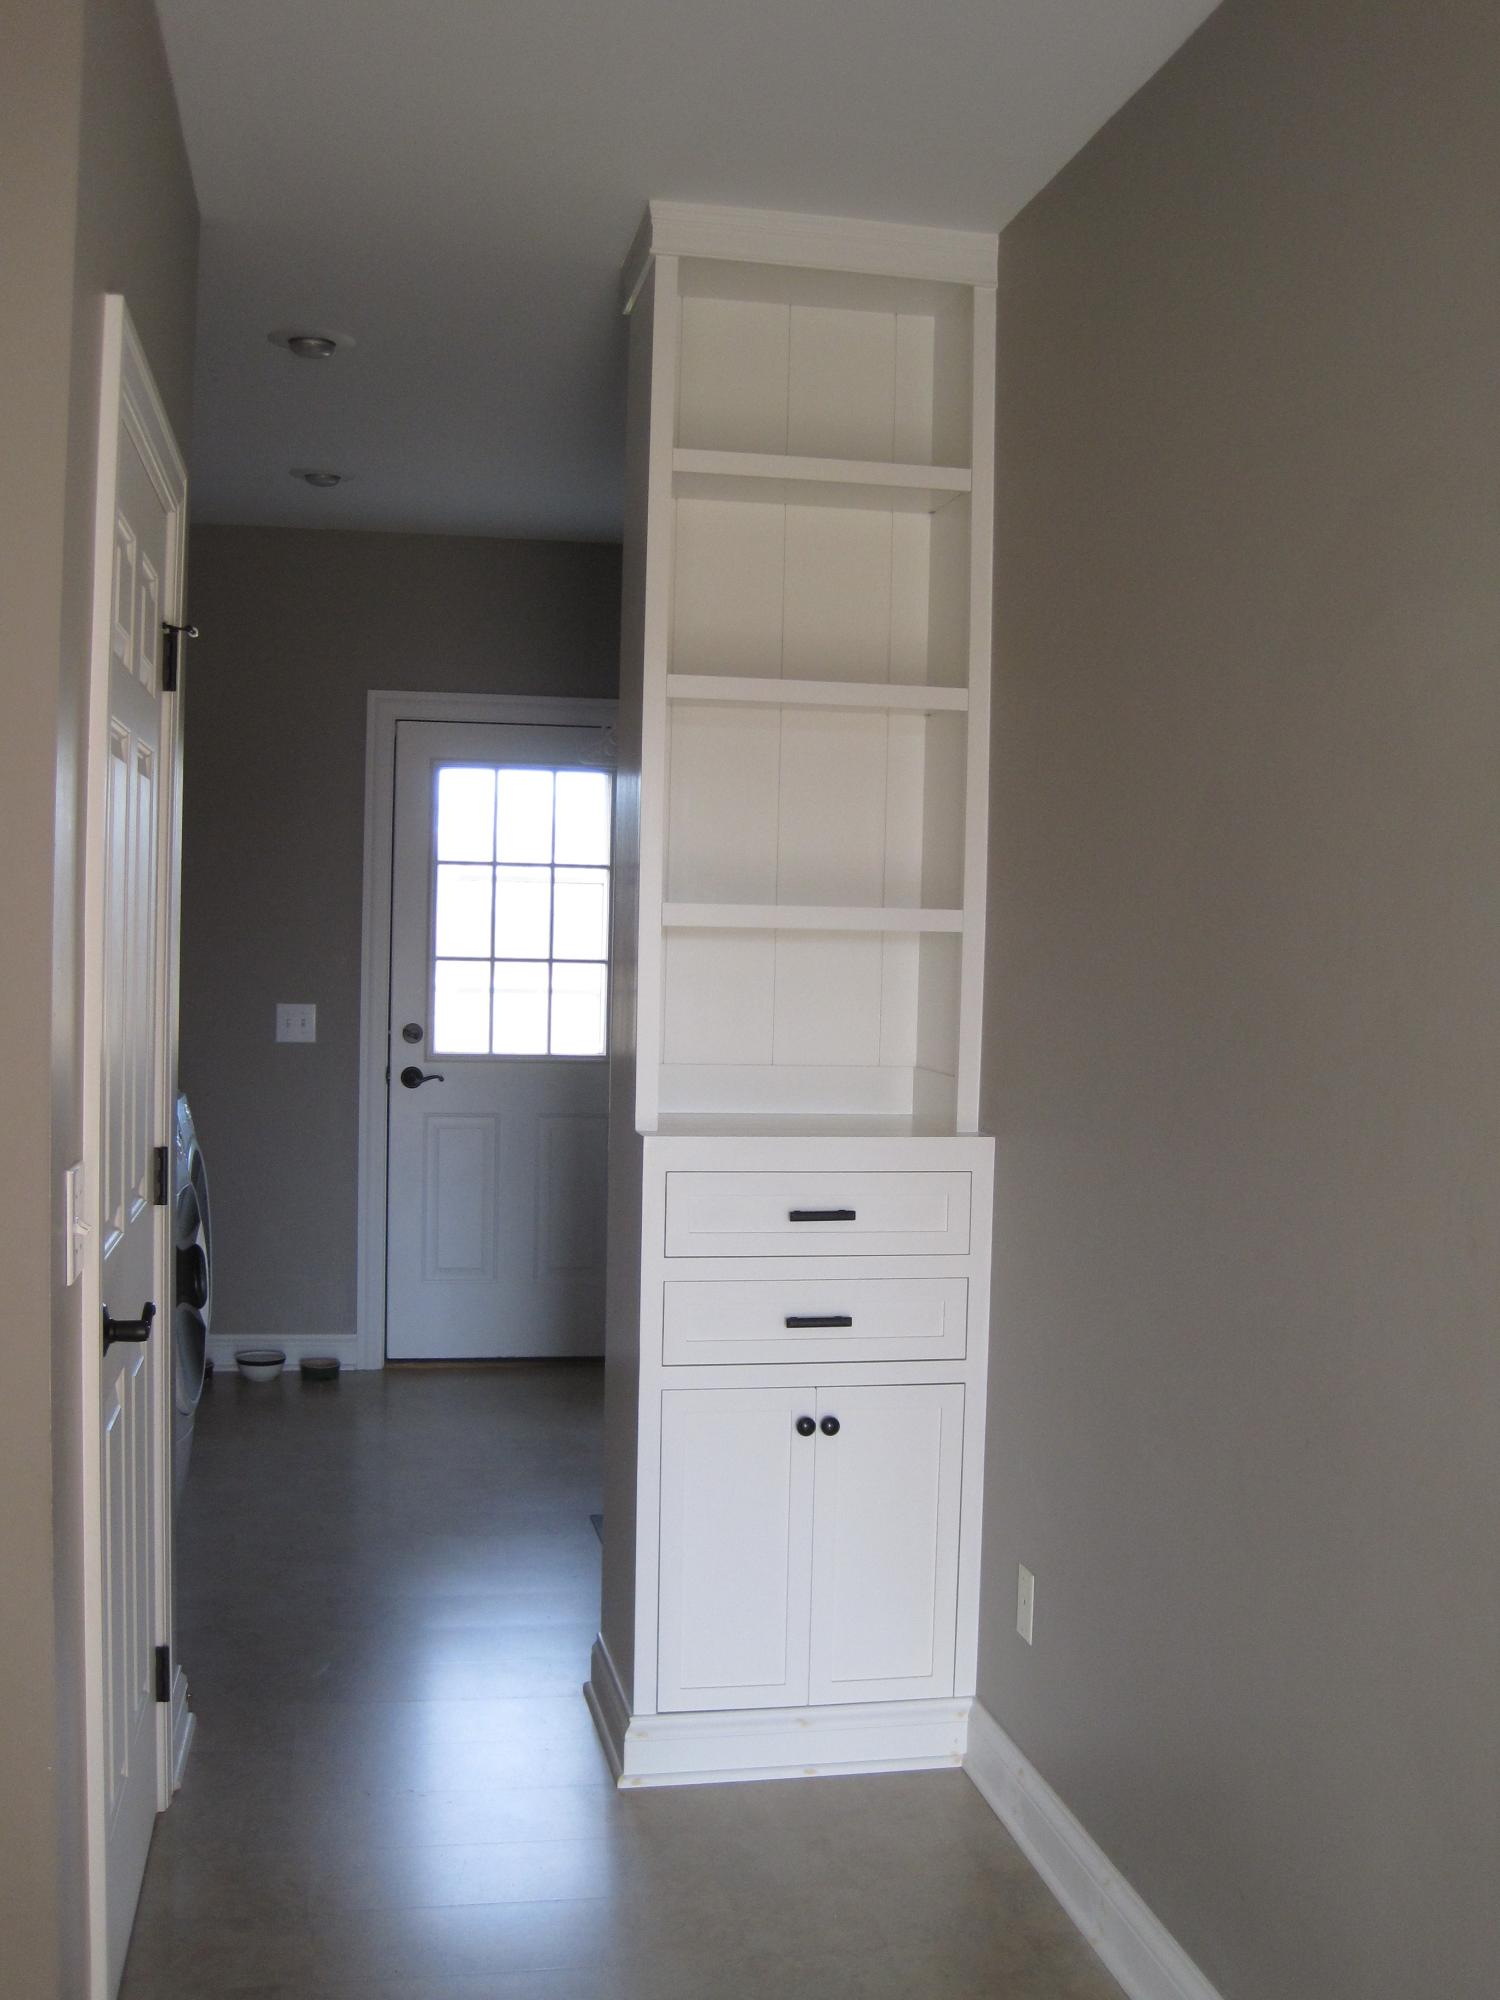
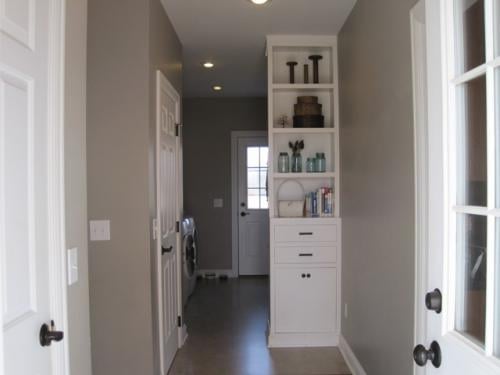
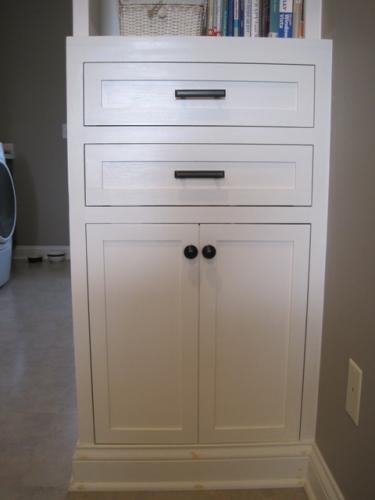
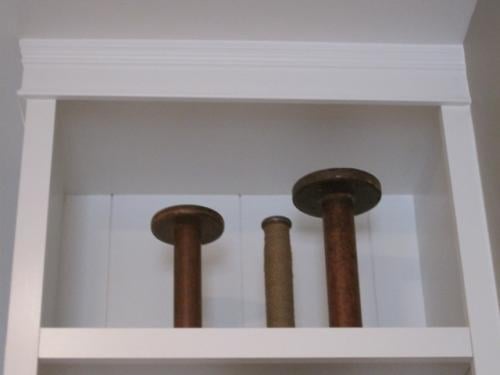
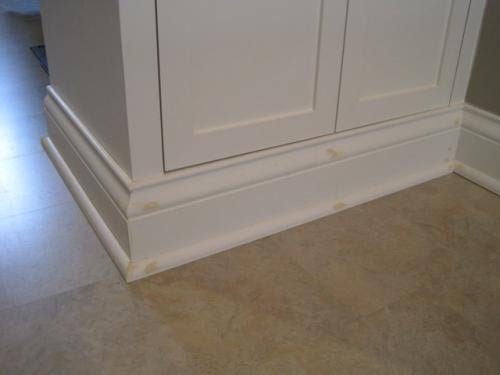
This is my third Ana White project and I modified it quite a bit from the plan. I was inspired by the PB Logan Collection that Ana has a knock off plan of called the Classic Storage Wall and Hutch. You can read more about the whys and hows of this project on my blog pinktoesandpowertools.wordpress.com in the Cabinet and Hutch-laundry room category under woodworking (there are currently 17 posts about this project--yowza!). But the modifications that I made from Ana's plans were that I had to make it less wide, I added two drawers in the cabinet, and I put a back on this that mimics the PB picture (which happens to be the wall behind their open-backed units, not an actual back). The base also hides a cat litter box behind it, so the back is open and the doors do NOT open--they are a fake front. No need to peek in at a litter box and it eliminated the cost of hinges. I learned A LOT during this build! First experiences were: using a circular saw, making a straight cut jig for a circular saw to cut plywood, using a jigsaw, using a compressor and nail gun, cutting crown and base molding miter cuts, tearing out base molding to fit the cabinet, cutting out an electrical outlet in the cabinet and extending the outlet, learning how to remove pneumatic nails that find their way out to the front of your project, and probably more that I can't think of now! The back isn't quite done, but it won't be too much prettier than what the picture shows, and you can see how the litter box looks. I might turn it sideways and cut out a hole in the side--haven't decided on that yet... I am really pleased with how this turned out and I'm excited to start on my next Ana White plan (probably modified, knowing me!).
Using Ana's plan as a guide, I built two of these sofas to fit an outdoor cushion I already had. I used wood from our old deck -- a great way to re-use and save money, too!
Comments
Ana White
Mon, 04/20/2015 - 15:33
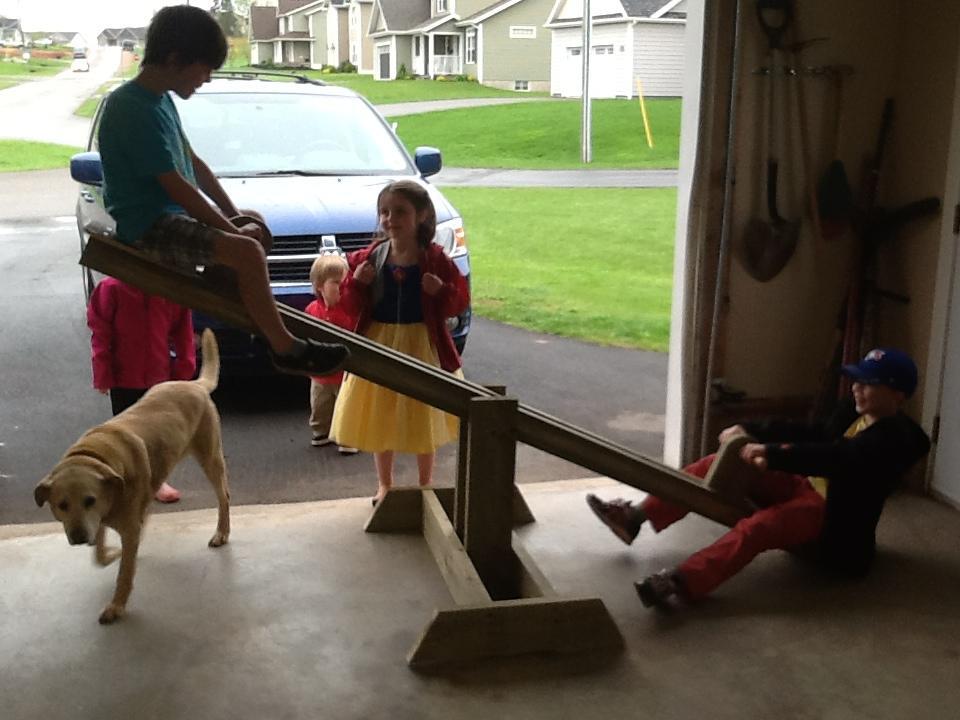
Cute! Happy kiddos!
Cute! Happy kiddos!