Community Brag Posts

Teen Loft Bed

Submitted by KailuaGirl on Fri, 03/15/2013 - 12:59

Aloha!
I was inspired by what I saw on Ana's website. My daughter was obsessed with the PB Teen version of the loft bed, so I tweaked the plans here to make it more like the $2500 bed from the catalog!!!!! Yikes and don't even get me started on what the shipping to Hawaii would be....It was well worth the effort! My daughter loves her new loft bed...Now if I can just figure out a way to get the dog to love the high bed!!!
Cheers, Tina

Built from Plan(s)
Estimated Cost
$250 because I added a glass top to the desk
Estimated Time Investment
Weekend Project (10-20 Hours)
Finish Used
white glossy paint
Recommended Skill Level
Beginner

Comments

DawnL

Sat, 06/22/2013 - 02:57

Aloha Tina!

You did a great job! I was wondering, how high is the bed, room and clearance? We also live in Hawaii and my daughter's room is small. Any feedback on what modifications you made would be greatly appreciated! Mahalo!

KailuaGirl

Tue, 06/25/2013 - 13:35

Hi Dawn,
Yes, my daughter's room has low clearance, so I tweaked the loft bed height.
I determined what top clearance I could maximize that would allow my daughter to sit up in bed comfortably, but it will be tight as she grows. She's 5 feet now...
Then I tweaked the desk area height as well to maximize without too much of a struggle to get into the area.. I hope this reply is helpful..
Floor to ceiling height is 96 inches. desk area has clearance of 56 inches and from the top of the mattress to ceiling has a clearance of 28 inches.
Aloha, Tina

hansje01

Tue, 12/17/2013 - 16:06

Im having a problem finding the plans for the teen loft bed shown above. any direction would be appreciated! Thanks!

KailuaGirl

Tue, 12/17/2013 - 16:59

HI! There are no plans for this loft bed.. I used the plans on this site and just literally DIY'ed to fit my needs.. Sorry I know this doesn't help you much…
If you have a specific question, maybe I could help…
Aloha, Tina

Farmhouse Table Squared

Submitted by sraper2 on Sun, 04/07/2013 - 20:53

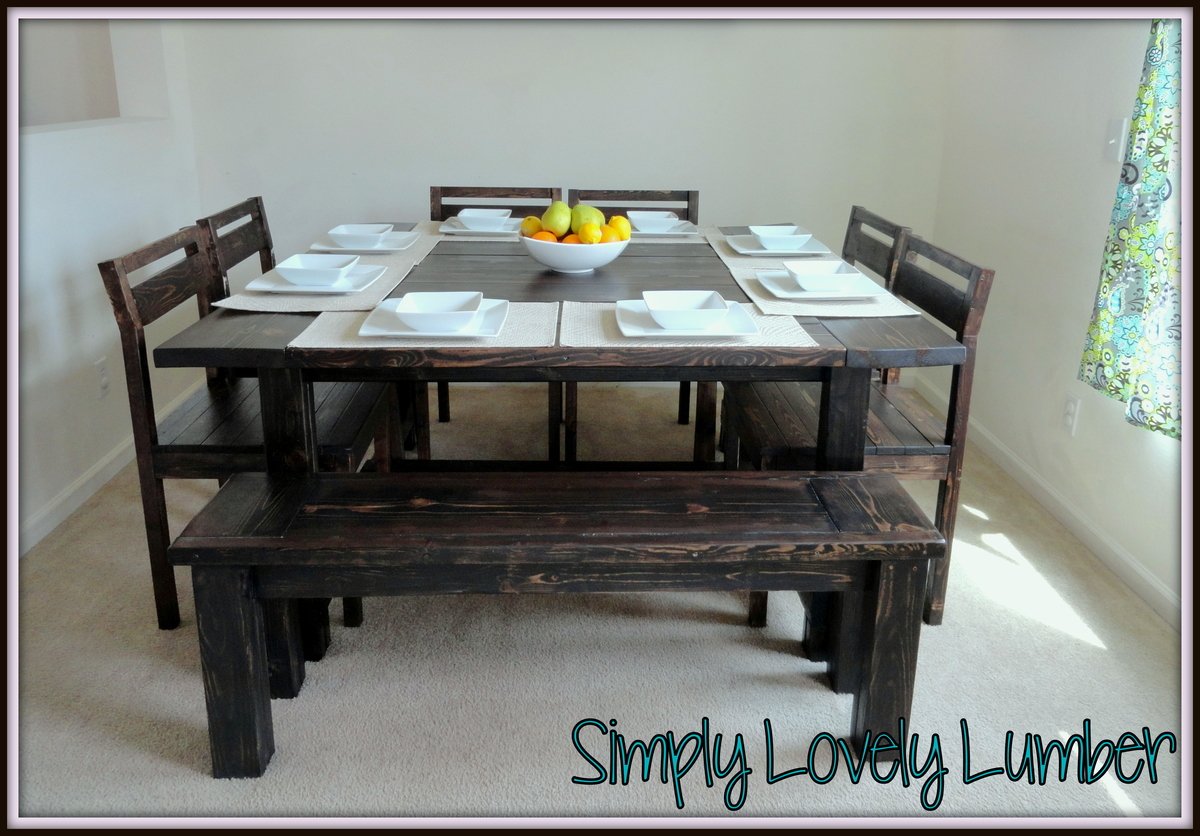
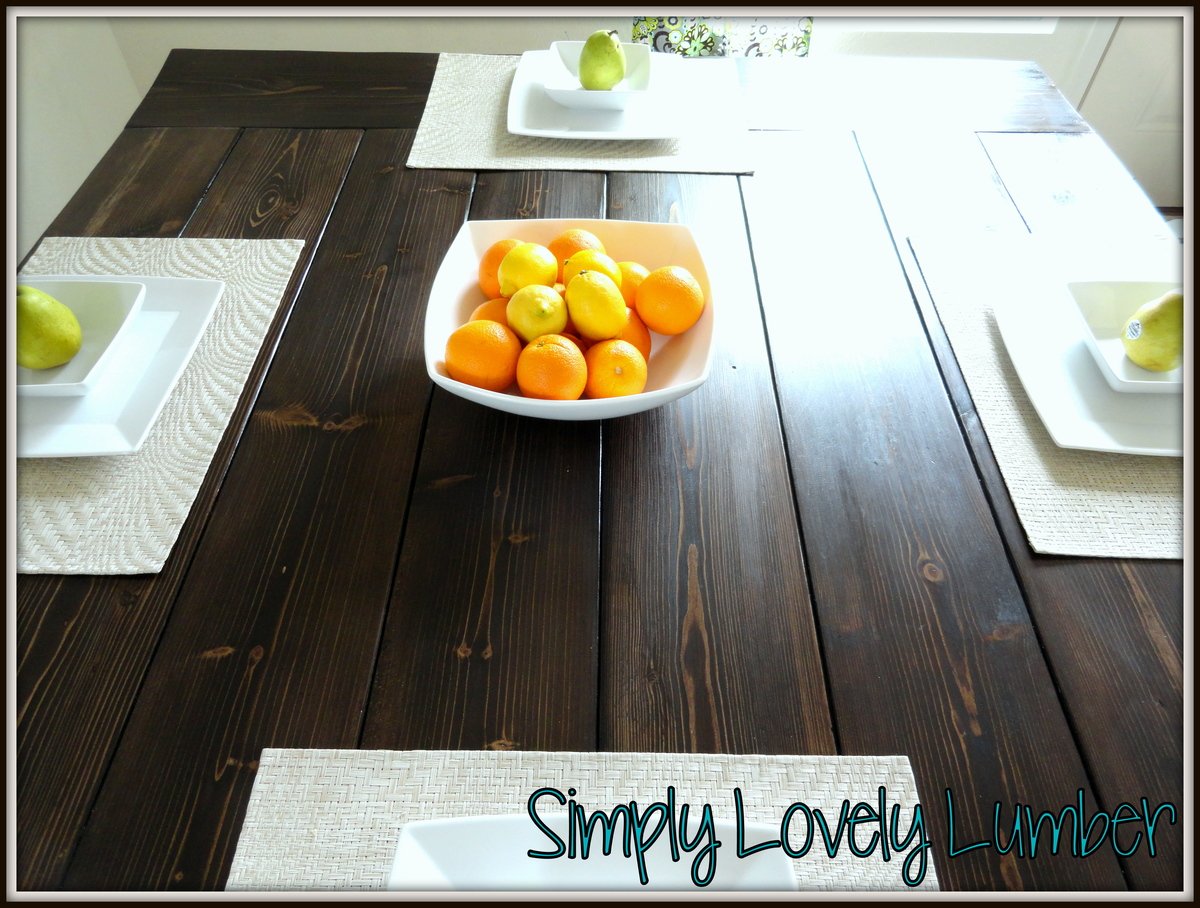
I used your plans for the table but changed the table dimensions to fit my space. My table is square and measures 58"x58". I also changed the chairs to have a straight back and then the top is is cut at a 6 degree angle. I love them so much!!!

Estimated Time Investment
Week Long Project (20 Hours or More)
Recommended Skill Level
Intermediate

Triple Pedestal Farmhouse Table

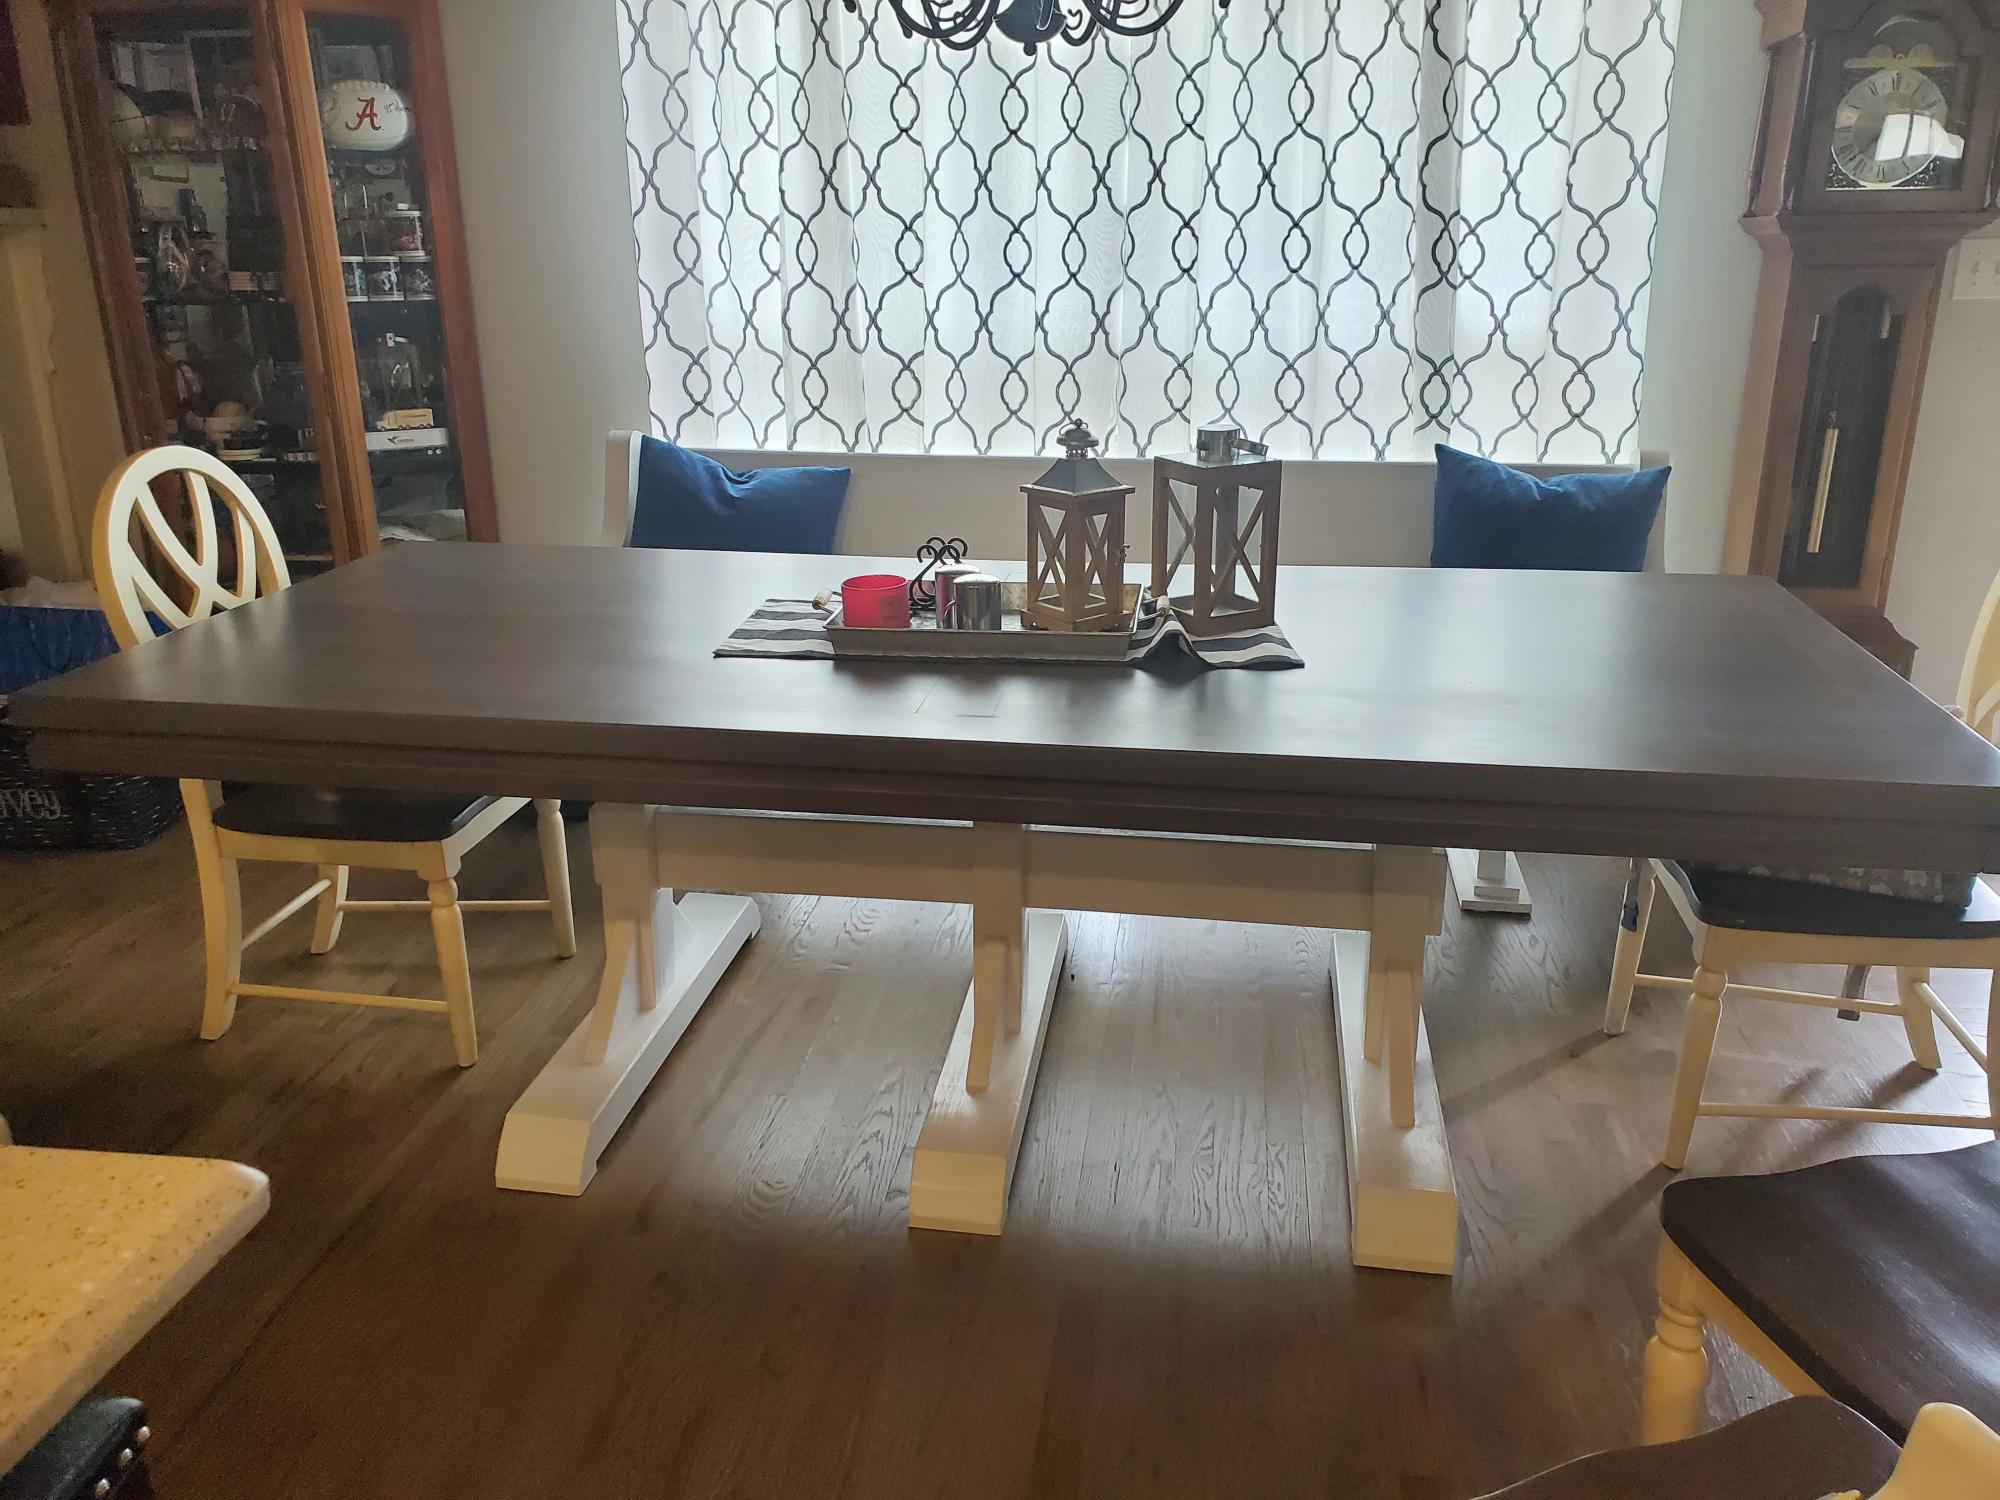
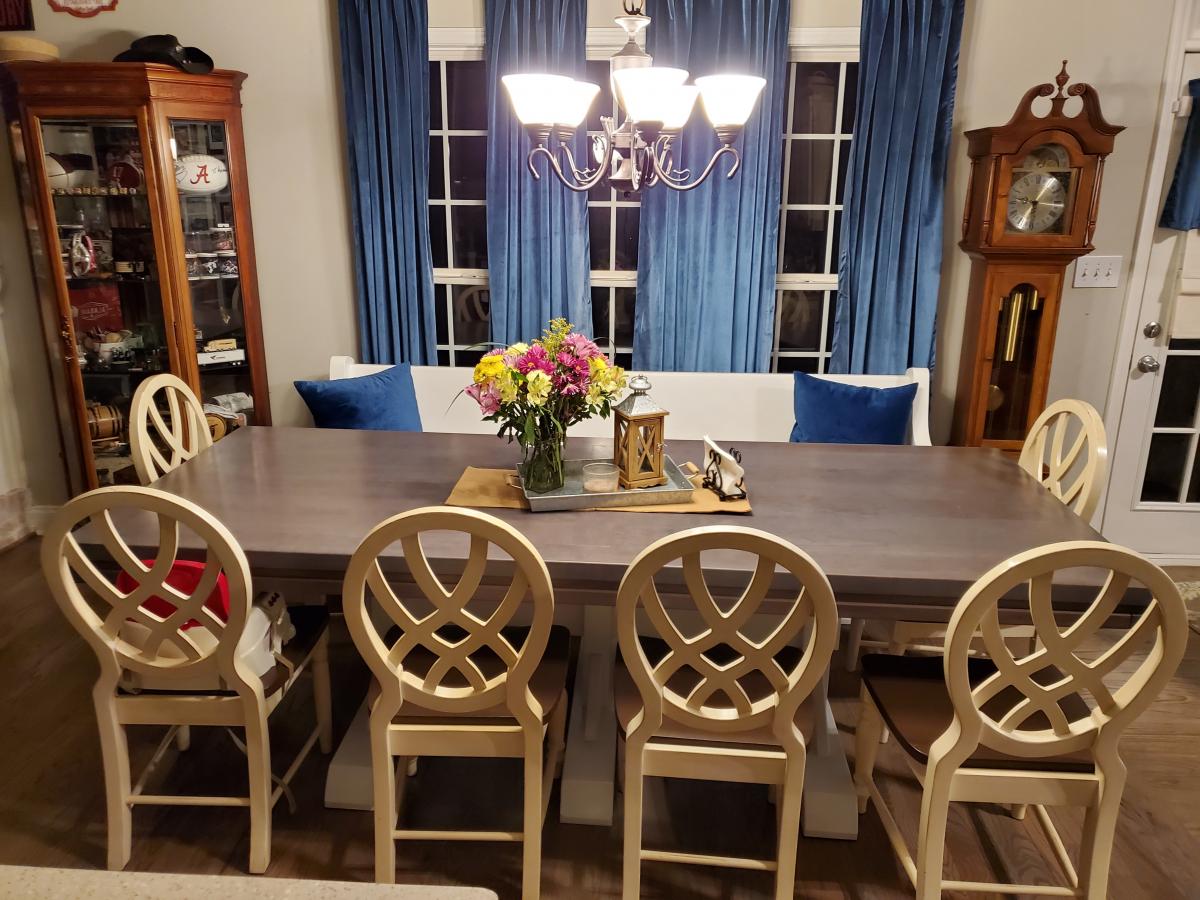
I did many 2020 (Covid projects) and this was my favorite. My wife has an 8' church pew that she wanted a farm table to go with it. The table ended up being 8'10" long. The most time was spent on sanding, painting and finishing. Enjoyed this project.

Built from Plan(s)
Estimated Time Investment
Weekend Project (10-20 Hours)
Finish Used
Satin Poly
Recommended Skill Level
Intermediate

Comments

Clara Table and Chair

Submitted by Kdew on Wed, 04/17/2013 - 14:26

I was searching for a table and chairs for my son's playroom, and I could not believe the prices! I had just purchased a new saw for some moulding projects around the house, and then I found this site. This table and chair was my first wood working project, and they turned out great! I followed the plans for the Clara table, but used a combination of the 4 dollar chair and modern angle chair. I loved how the chair turned out. I am currently working on the second. I used poplar instead of pine which increased the cost. I wanted a weathered finish, I ended up using water-based walnut stain over a white wash. I am so happy I found this site, my next project is patio furniture.

Estimated Time Investment
Afternoon Project (3-6 Hours)
Finish Used
Minwax white wash followed by Minwax water-based walnut
Recommended Skill Level
Beginner

Comments

Pudding or Jello Box Dispenser

Submitted by efmolly on Wed, 03/11/2015 - 13:01

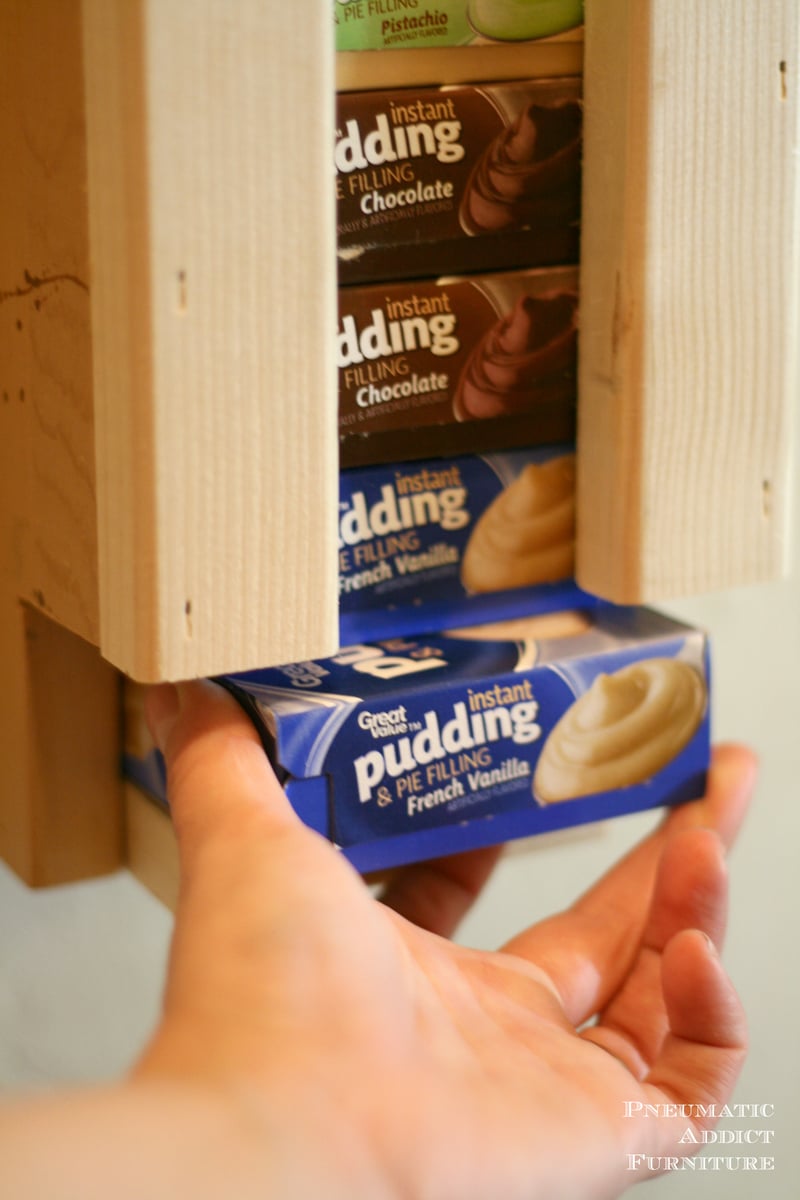
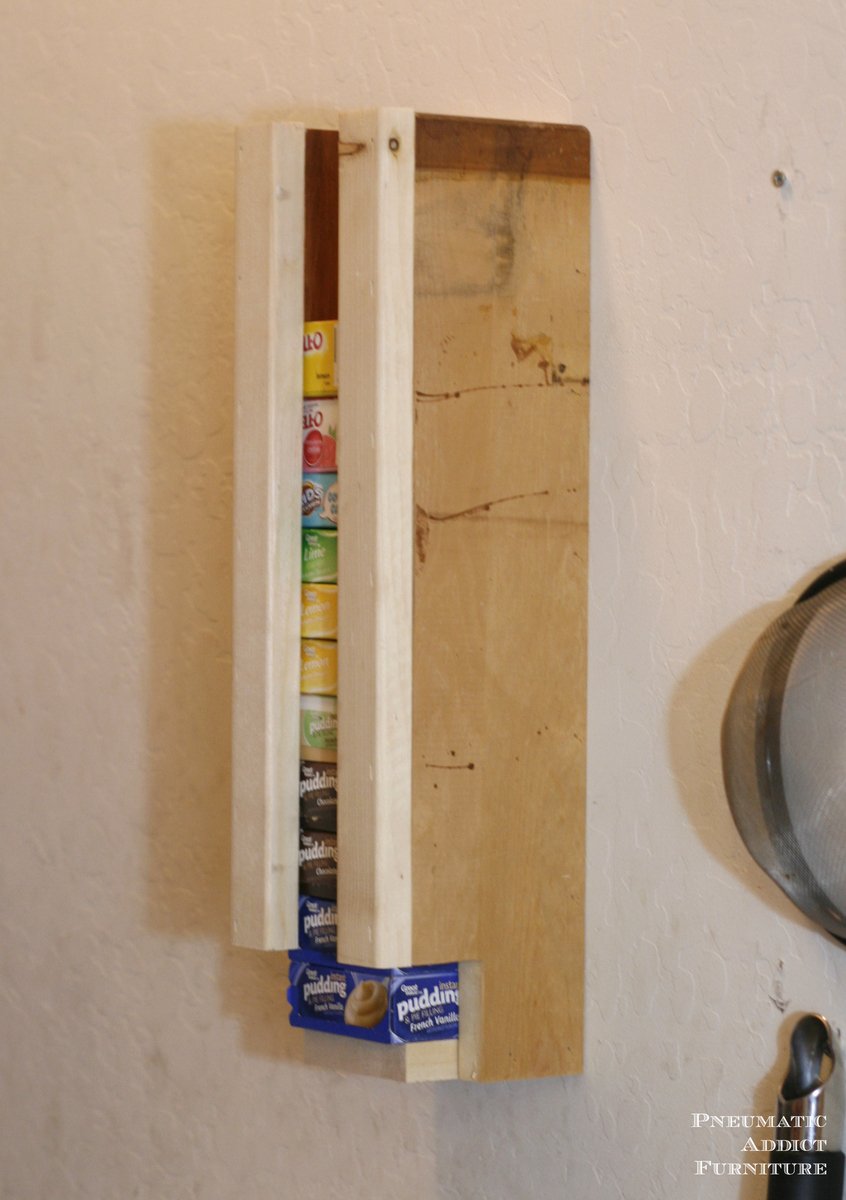
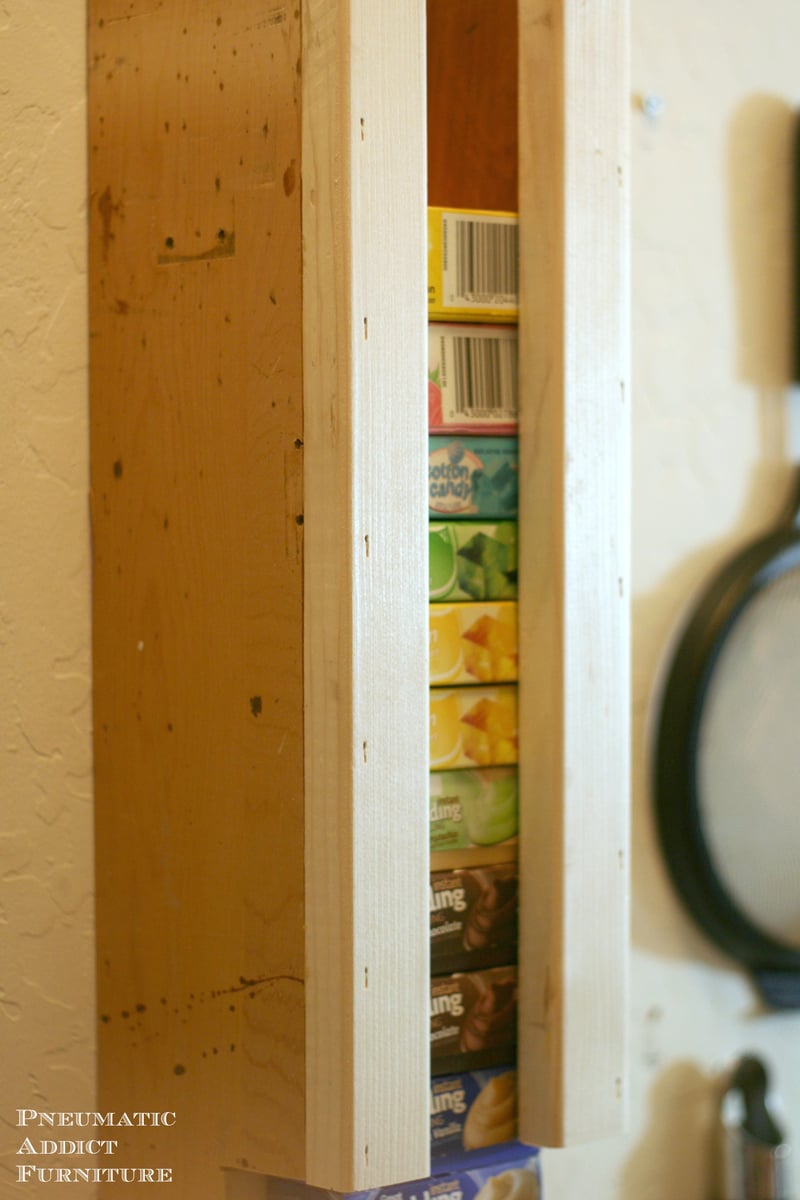
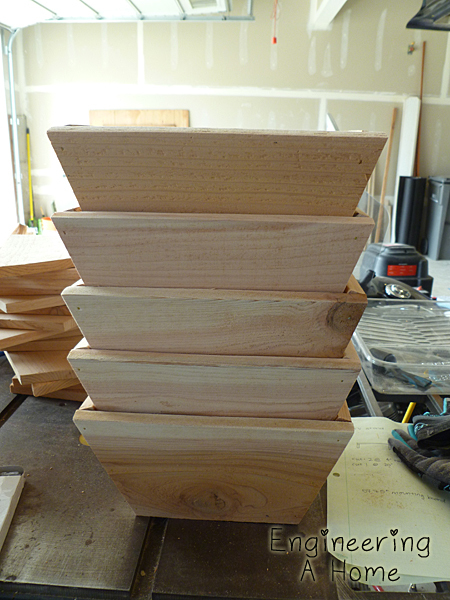
I love to build, but I also love to bake. I happen to have several small boxes of pudding and jello mix that clutter up the shelves of my pantry. Using a single 1 x 4 pine board and some scrap 1 x 2's, I came up with a simple dispenser to keep the boxes organized and out of the way. A really simple project, good for a beginner. The link to my blog contains building plans and step-by-step tutorial. 

Estimated Cost
$5
Estimated Time Investment
An Hour or Two (0-2 Hours)
Finish Used
I left mine unfinished, but you could stain or paint this dispenser whatever color you could think of.
Recommended Skill Level
Beginner

Writing Desk - Modern farmhouse collection

Submitted by SofiaTaz on Wed, 09/08/2021 - 22:25

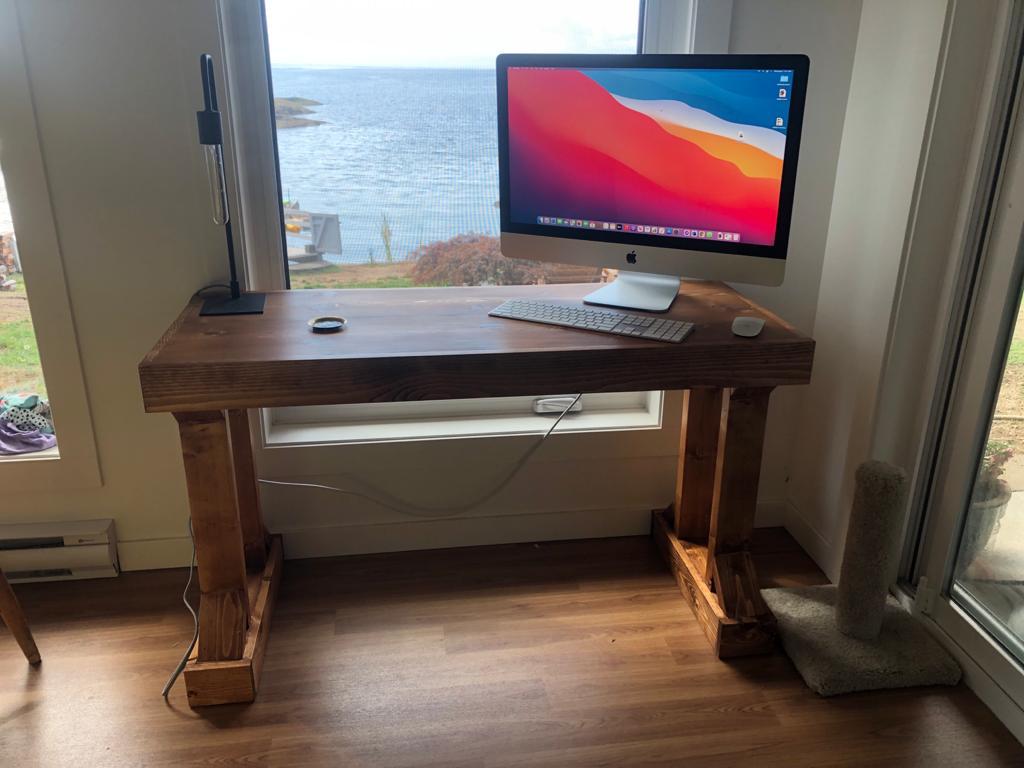
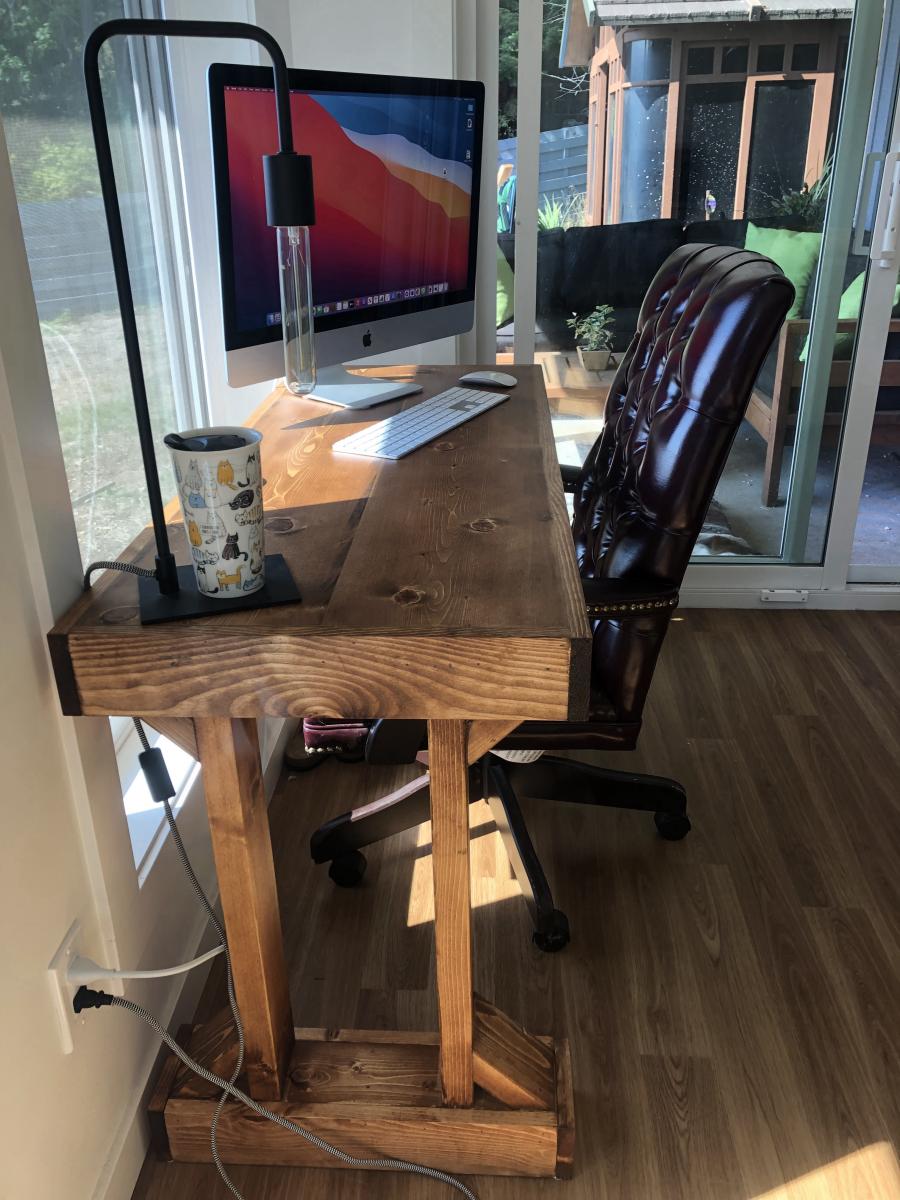
I love how this desk turned out. I haven't had corner brackets catch my eye yet, but I may still add them. This was the first real Brad Nailer project I have completed. It is stained in a dark walnut. Thanks again for another great plan and tutorial video!

Comments

Child Workbench

Submitted by jennavila on Tue, 04/30/2013 - 15:00

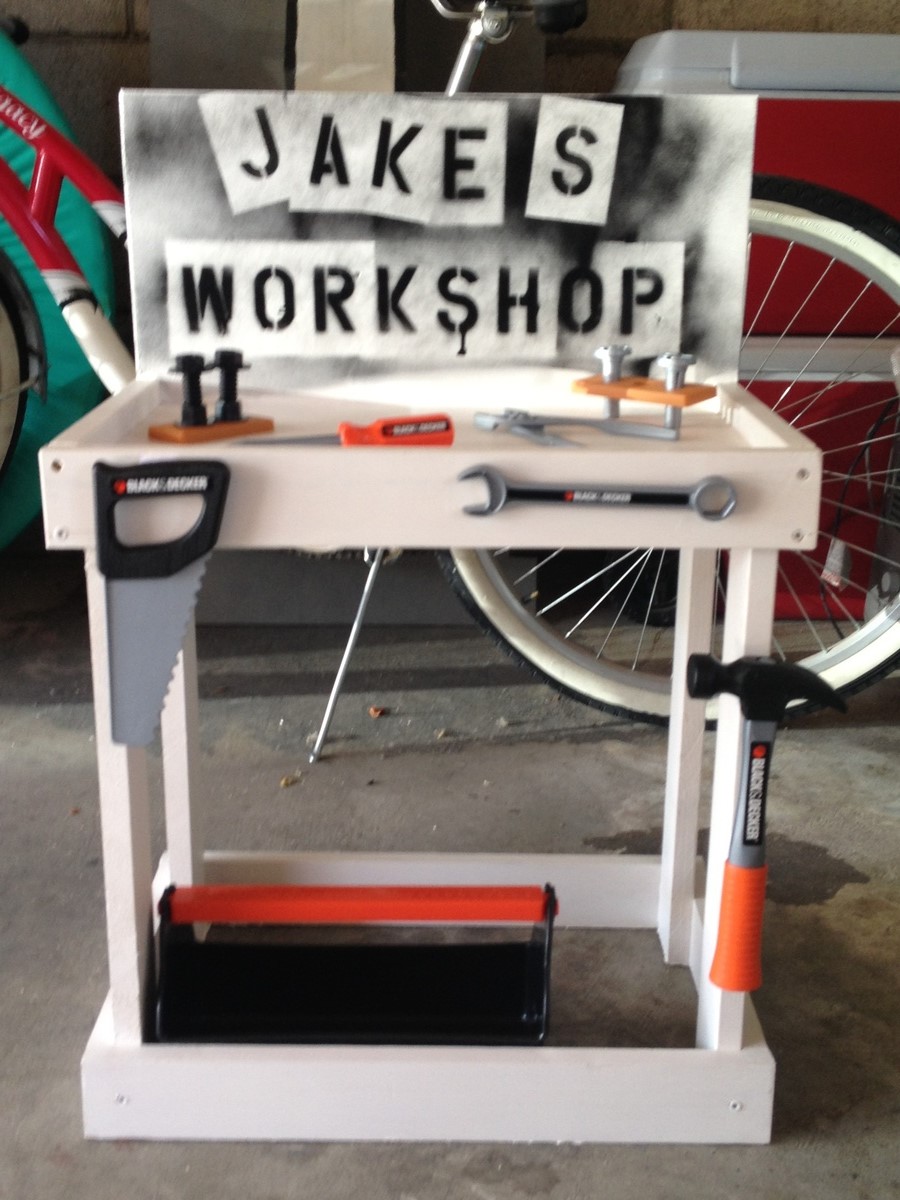
Super easy gift for a toddler

Recommended Skill Level
Beginner

Comments

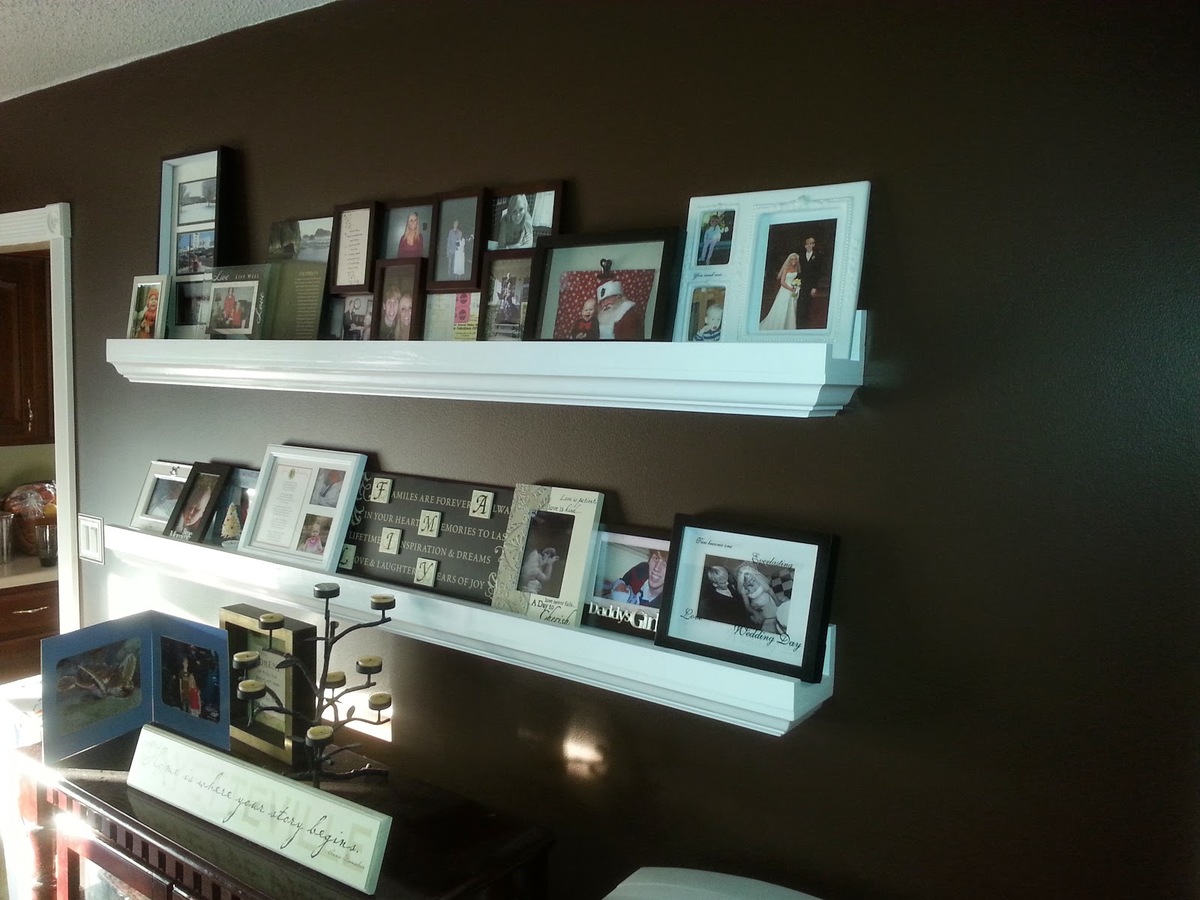
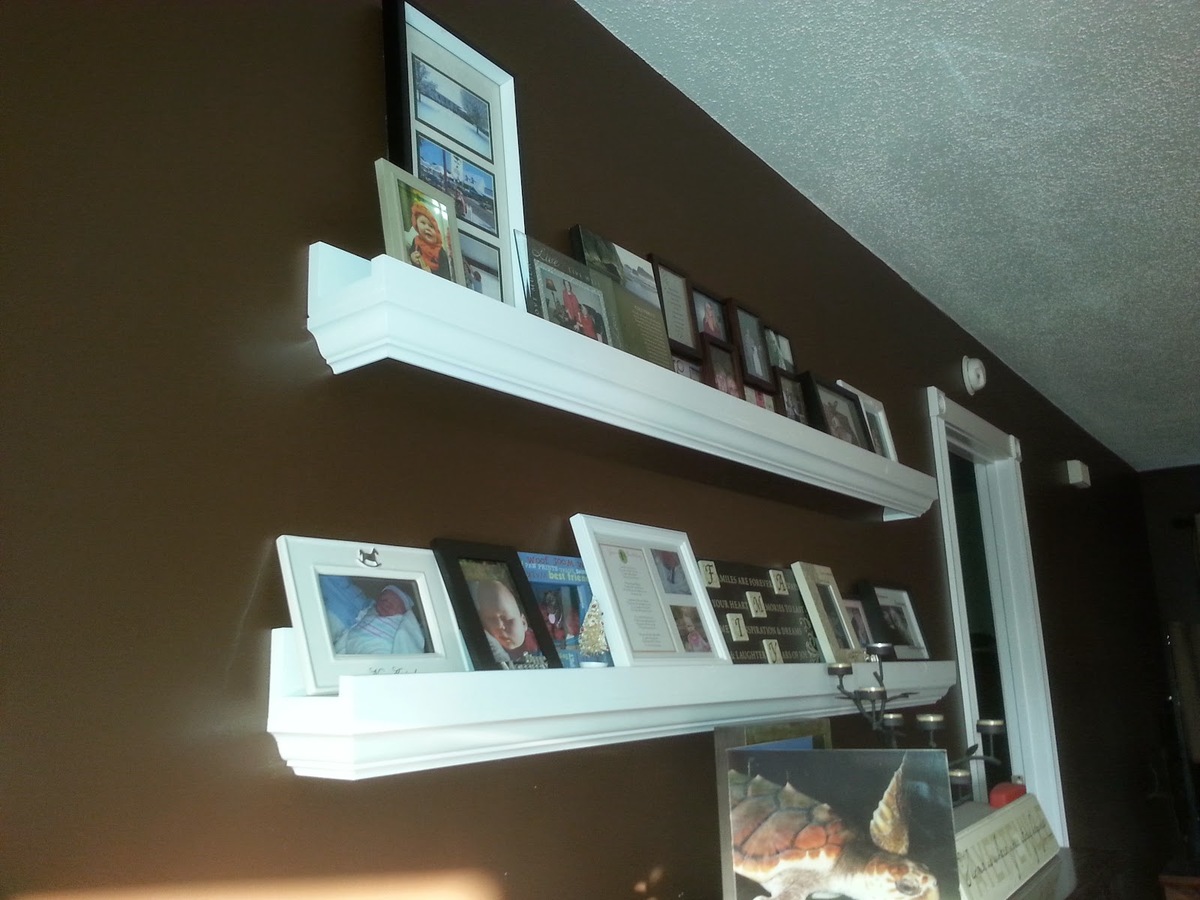
Photo ledges (with crown molding)

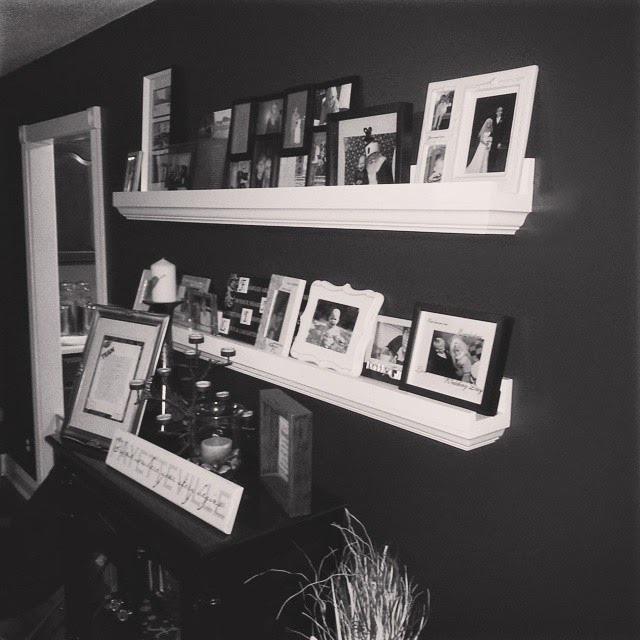
This is a set of photo ledges built for a friend!


Website article: http://www.lanebroswoodshop.com/2015/02/photo-ledges.html

Video: https://www.youtube.com/watch?v=k6jwfhwJQ-g

Built from Plan(s)
Estimated Cost
$50 per
Estimated Time Investment
Day Project (6-9 Hours)
Finish Used
High Gloss White
Recommended Skill Level
Beginner

Comments

One arm sectional with table from scraps

Submitted by Anonymous (not verified) on Fri, 07/14/2017 - 00:28

We built the one arm sectional but 8 ft cedar was all we could buy. So with the scraps left over we built the coffee table to match. Couldn't be happier with it. 

Estimated Cost
$250 without cushions
Estimated Time Investment
Weekend Project (10-20 Hours)
Finish Used
None
Recommended Skill Level
Beginner

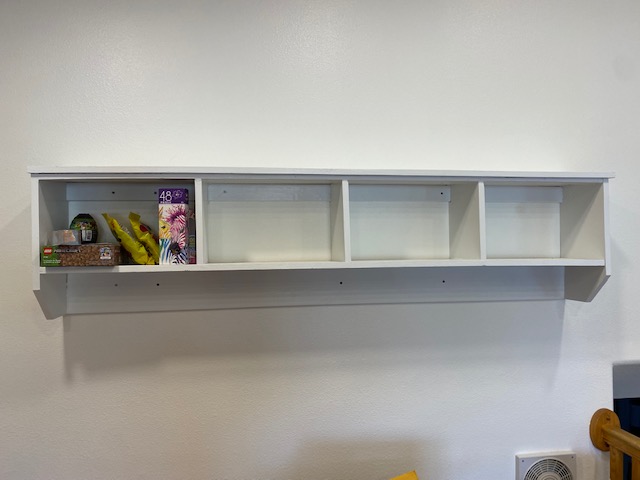
entry way shelf

Submitted by Anonymous (not verified) on Mon, 10/04/2021 - 14:49

Hey Ana! I just finished the Entry Way Shelf and will be staring on the bench soon. I love your projects and especially that they are free! I'm so cheap I have a hard time parting w/ my money when I don't know something will work out, but yours always do!! I can follow a blueprint and create things based on a model but I don't have the creativity to come up w/ them myself, I'm sure glad you can! LOL! Thanks SOOOO much for sharing and I continue to look forward to the next thing!
Thanks again!
Patrick

Comments

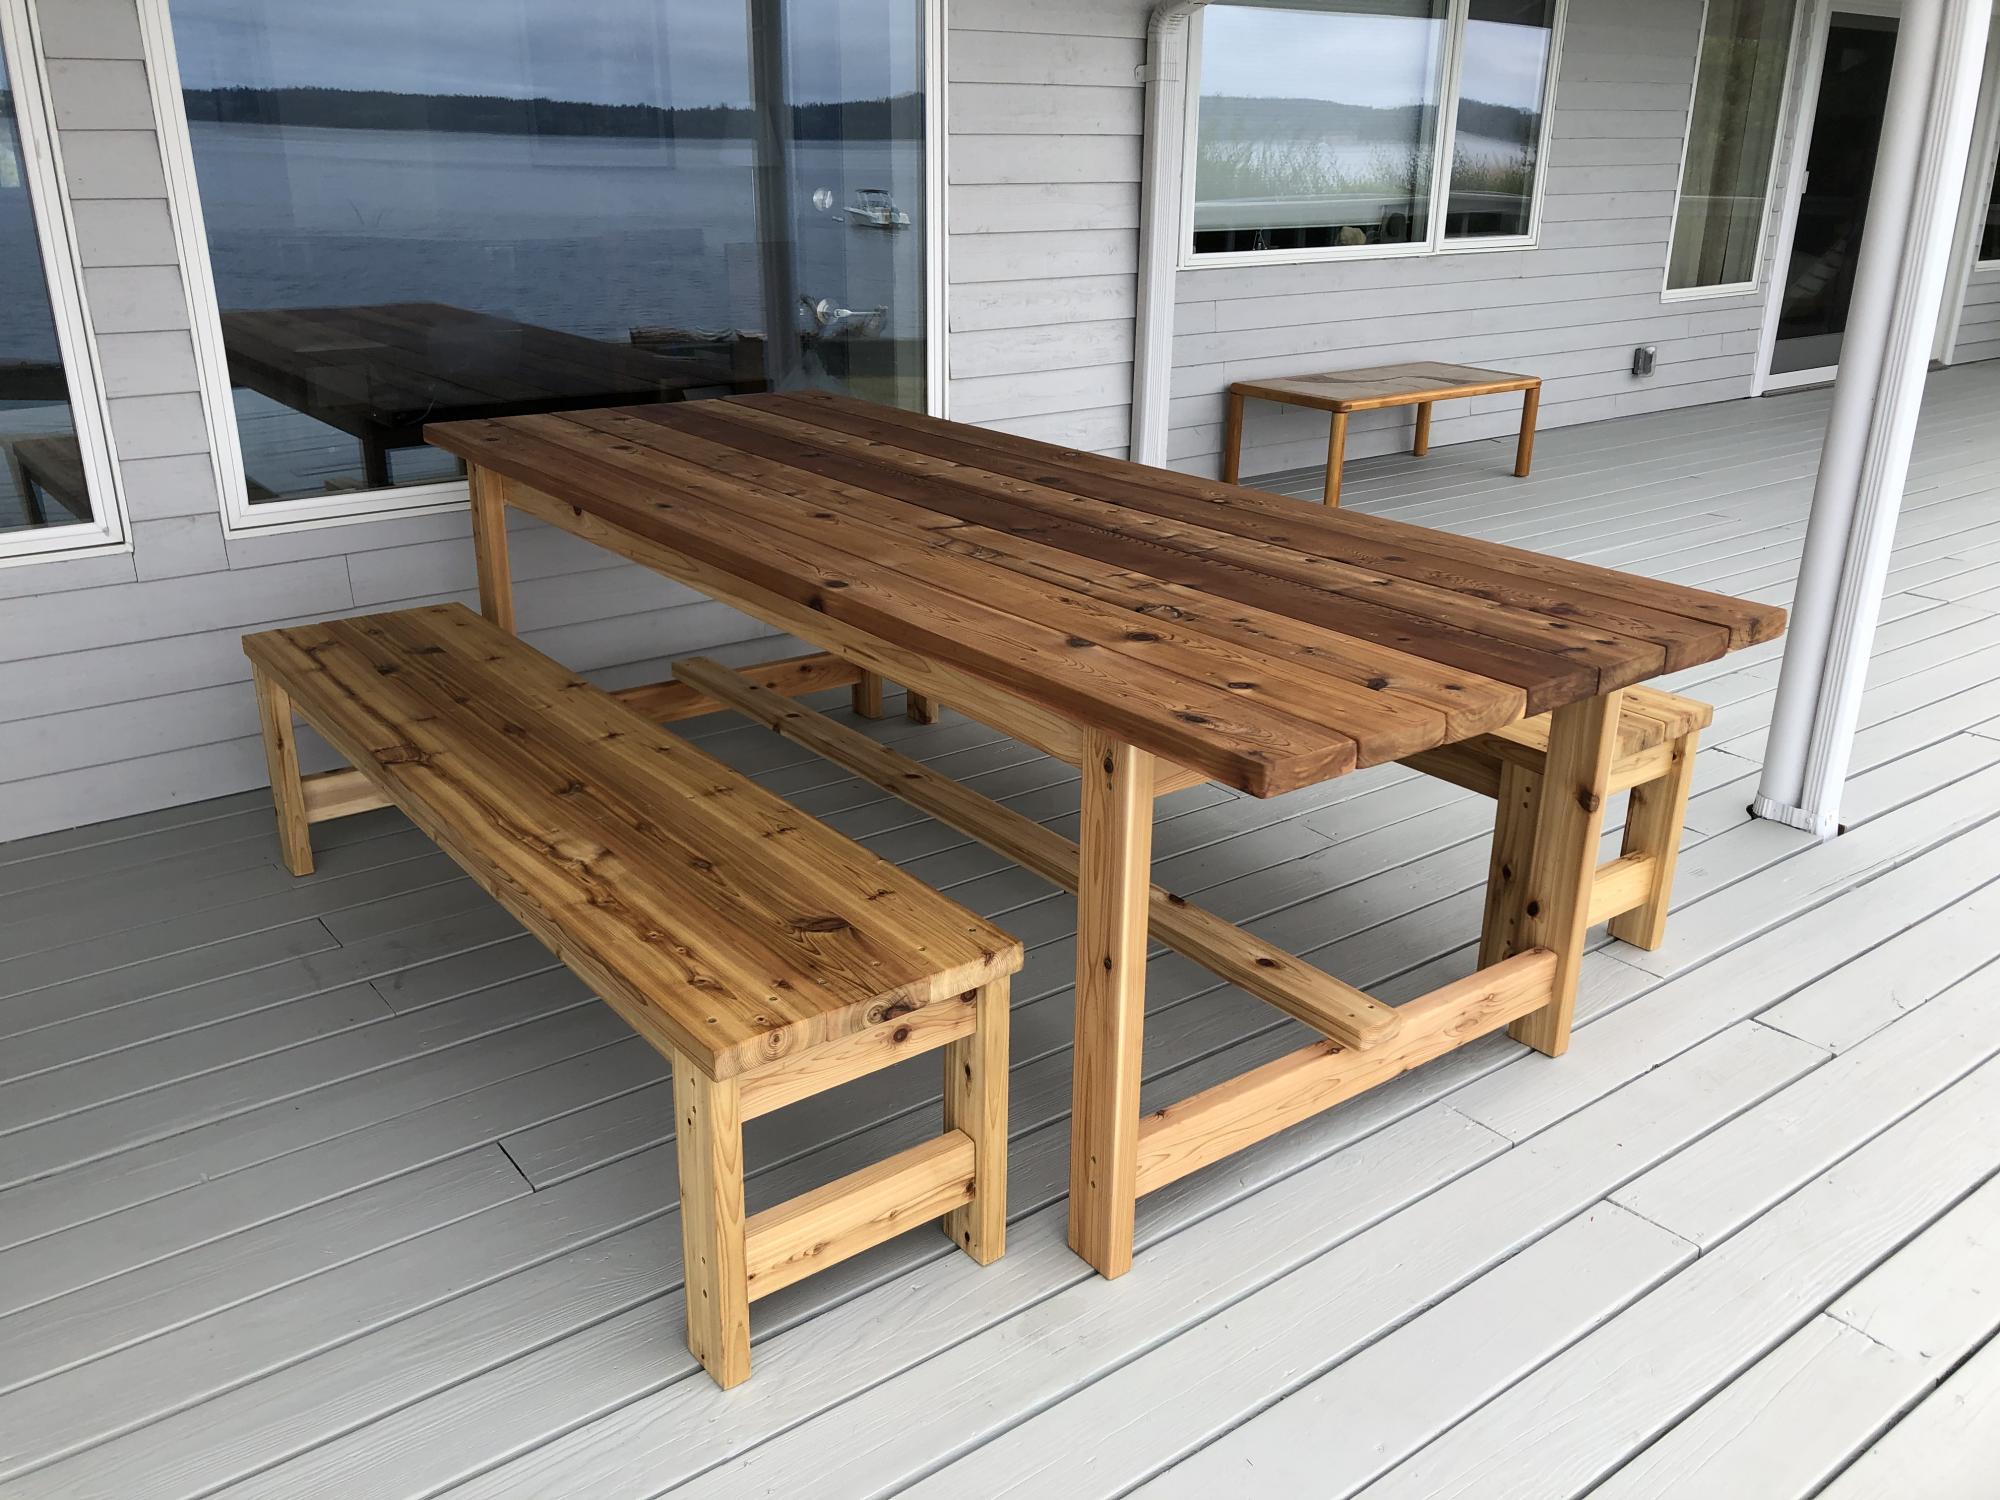
Amazing Farm Table and Benches

Submitted by Anonymous (not verified) on Mon, 10/04/2021 - 19:55

Built this deck dining table and benches from Lowes cedar, and the results way exceeded my expectations! The plans were so well written, it was easy to slightly modify (made both table and benches wider and longer) and the build was very simple. The clear directions helped give me the confidence to do this and we have got so many nice compliments. There was nothing this sturdy and simple even available to buy. I even built a coffee table and bar table after modifying the plans a bit. Thank you Ana!

Comments

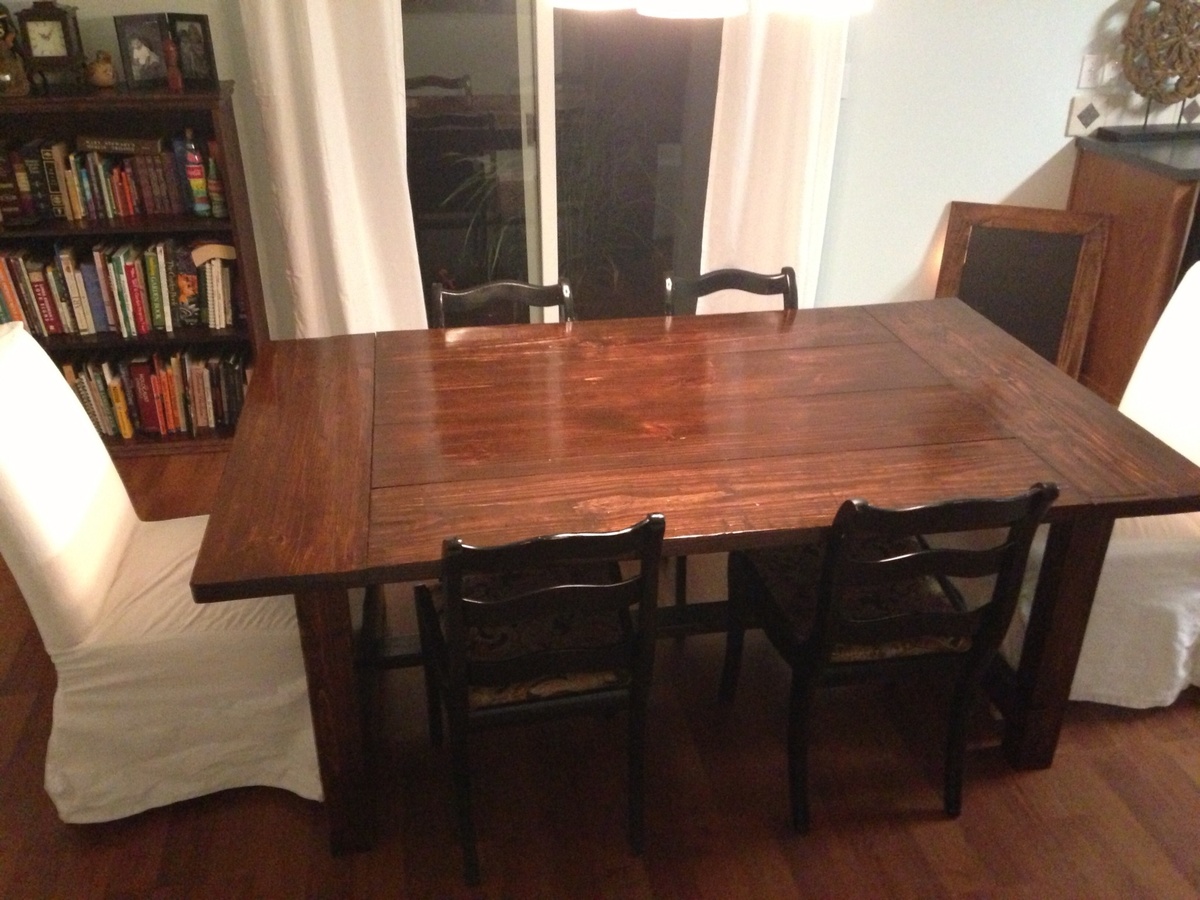
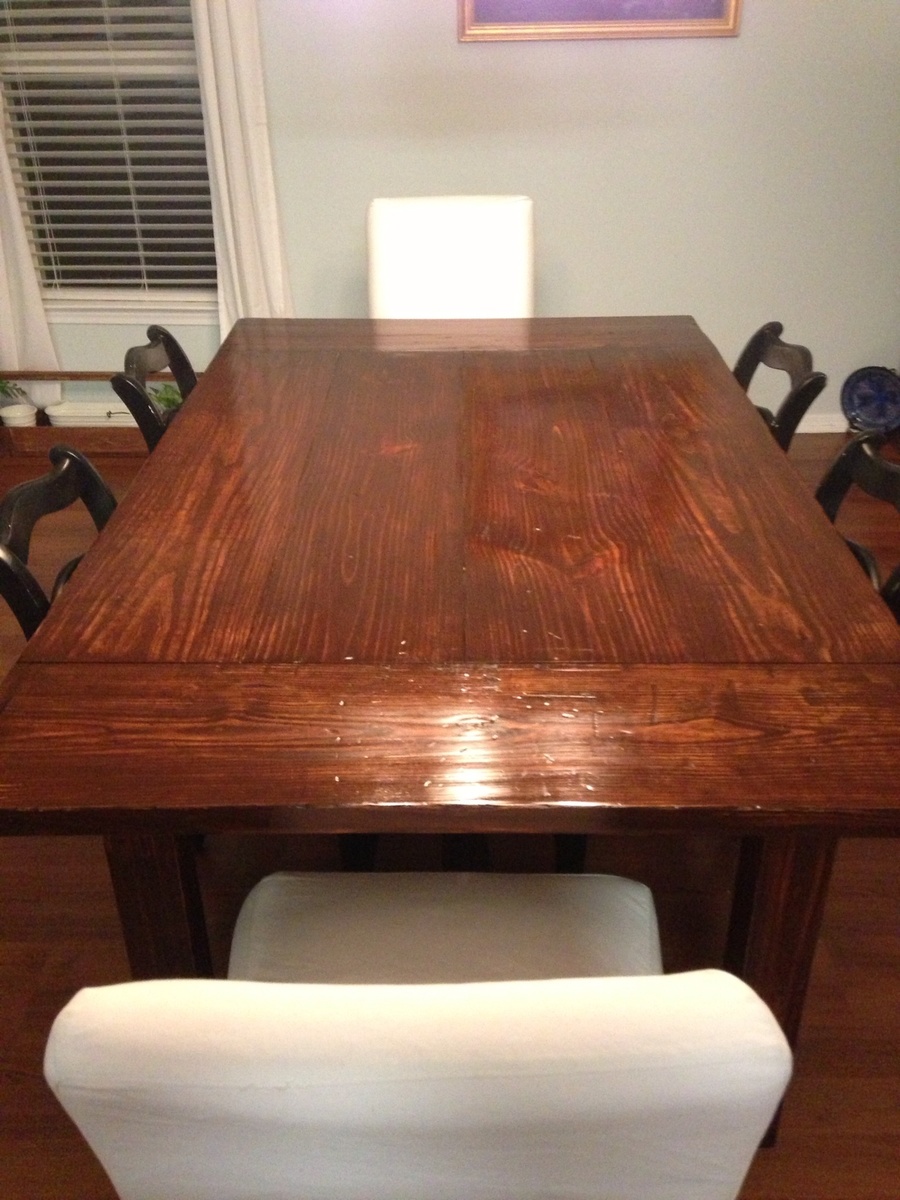
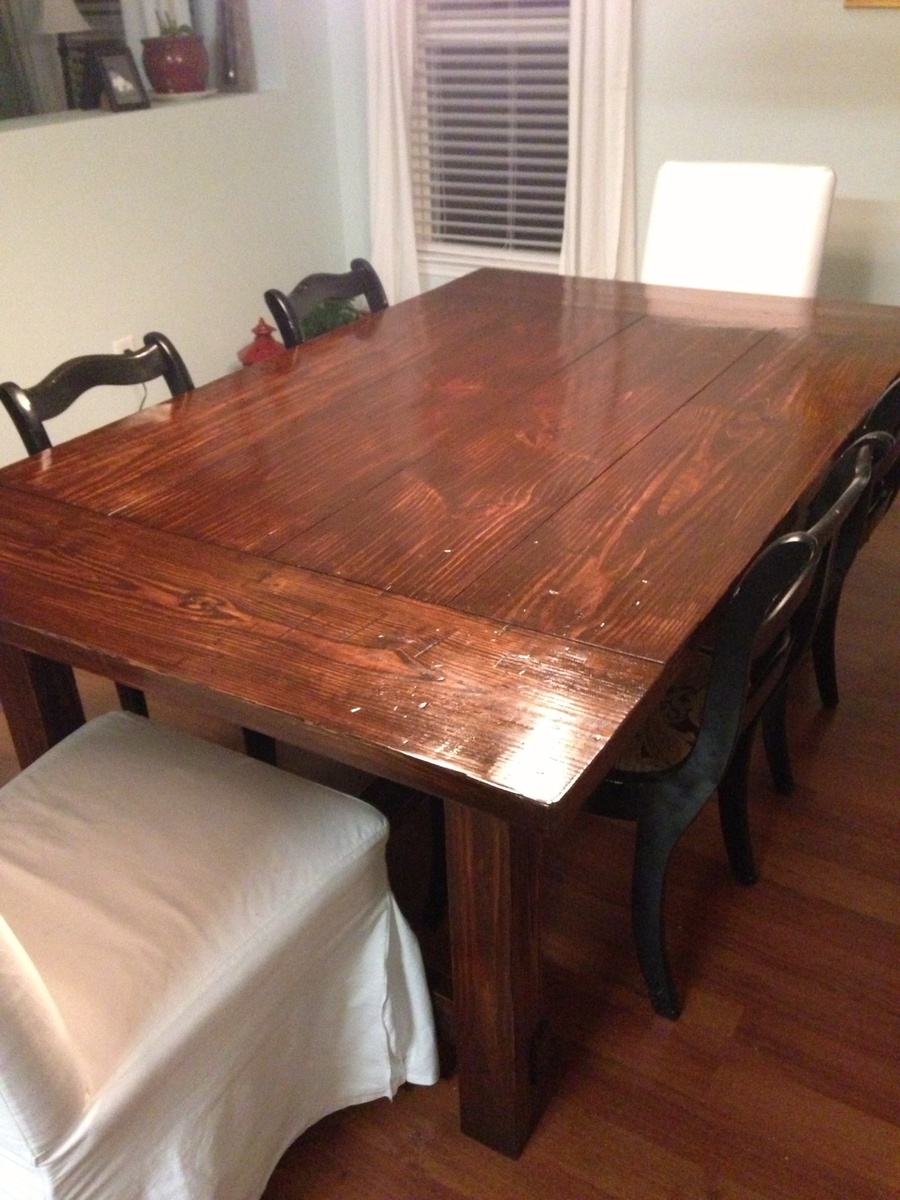
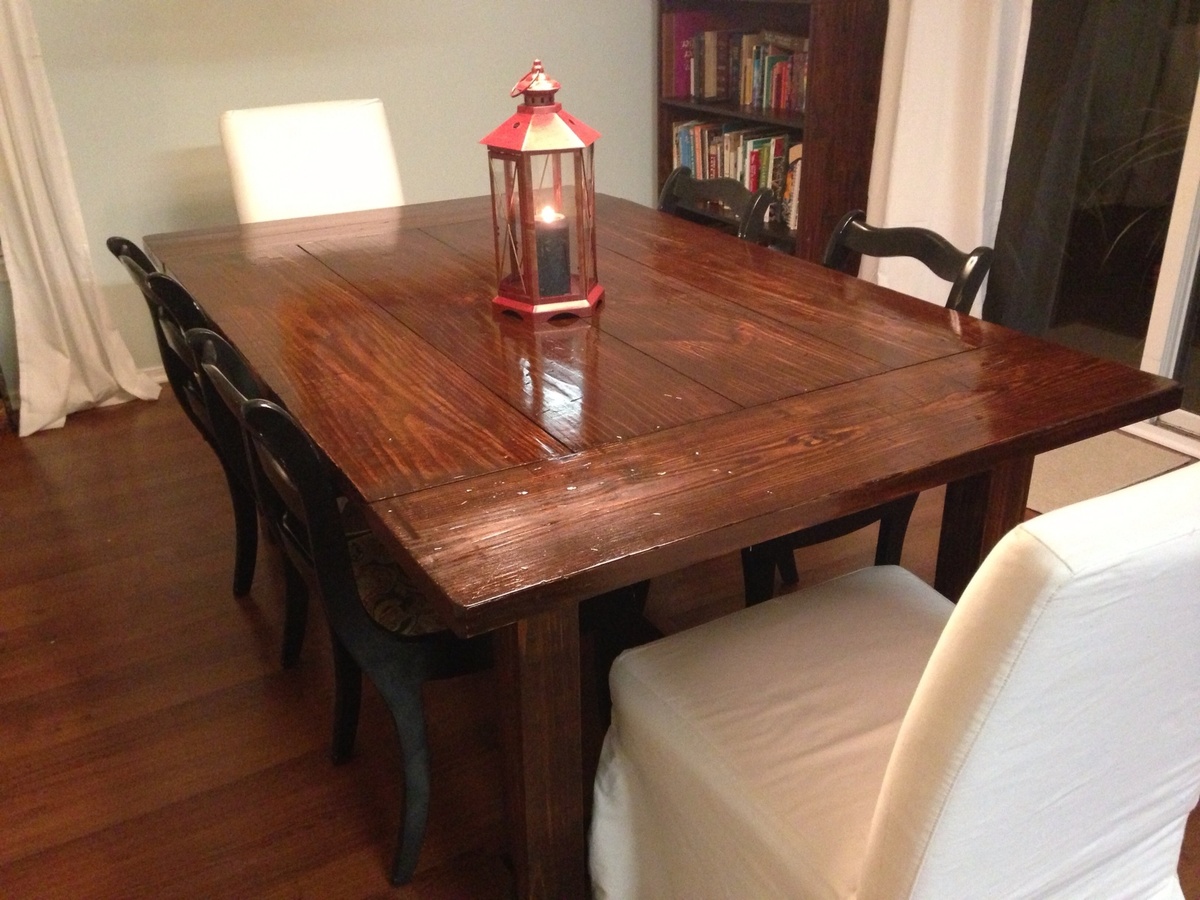
Farmhouse table modified

Submitted by Podgirl on Thu, 05/30/2013 - 21:16

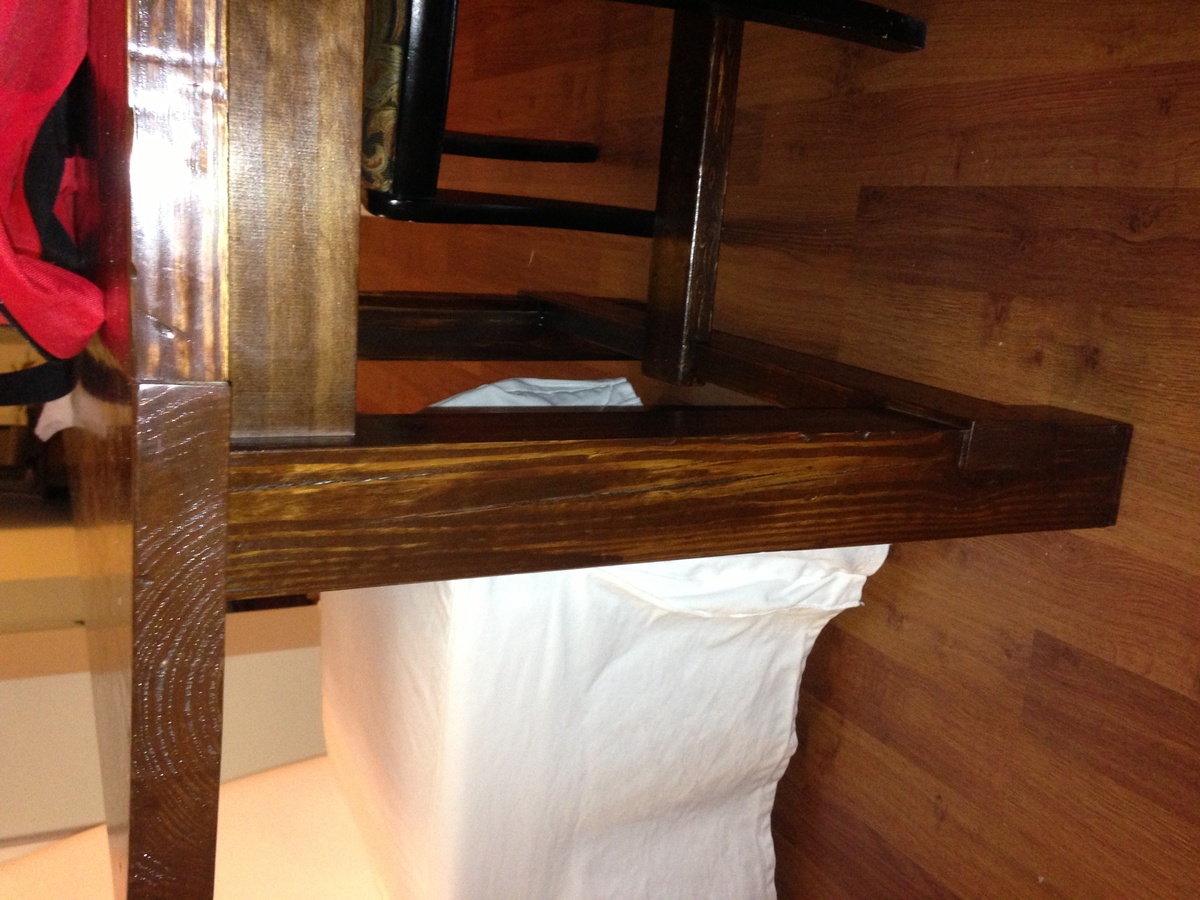
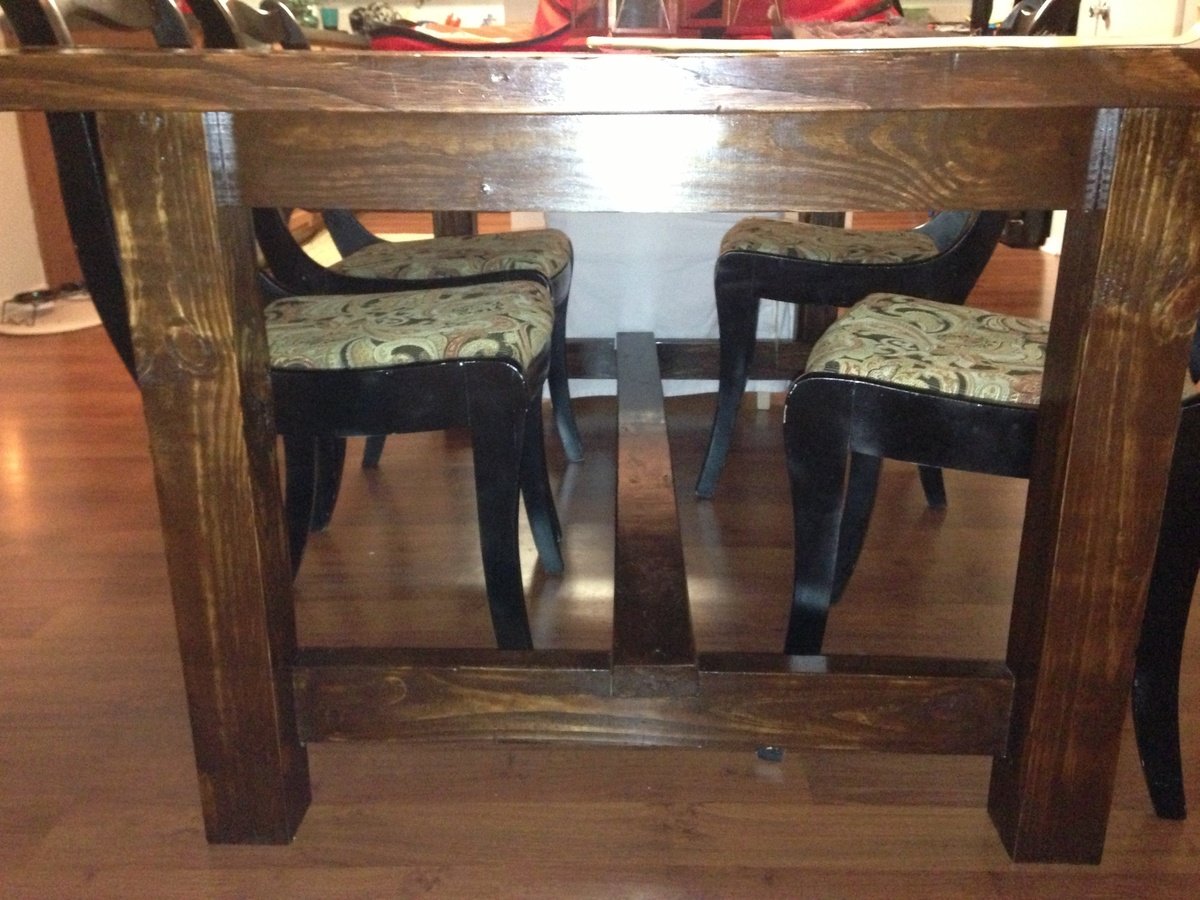
I used the basic plan by Ana, but modified it for the size I needed. Its 2x12 pine with english chestnut stain and tung oil (formby's) finish. I did use 4x4 posts for the legs instead of 2- 2x4's. notching out was the most difficult part. (Should have watched the video by Ana 1st. Lol). I did want some over hang so I cut the leg notches 1/4 shallow so there would be detail. I regret not using the kreg jig on the top, as I have much bigger gaps than I like! But I started buying better tools during this build when I realized mine were not getting the job done. And it definitely makes a huge difference!!! I still have to finish the benches. Just trying to find the time. I can't wait to start the next project!

Estimated Cost
$200
Estimated Time Investment
Week Long Project (20 Hours or More)
Finish Used
English Chestnut with some walnut added. 10 coats of formby's tung oil first in high then low gloss.
Recommended Skill Level
Intermediate

Rustic Burned table

Submitted by Malka on Wed, 09/13/2017 - 00:59

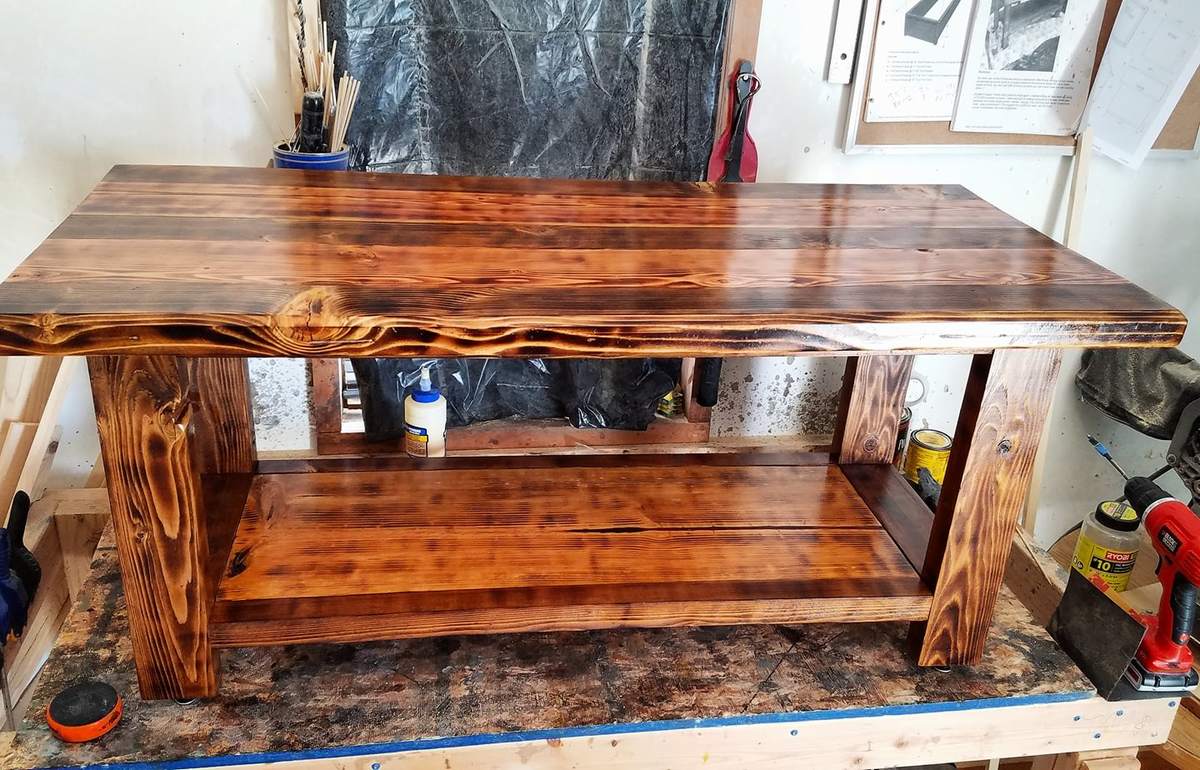
Used the plans for the Rustic X coffee table as a starting point. Left out the X's as they don't appeal to me. Took a butane torch and burned the base and tabletop before staining, and stained the table in alternating stains to give it a really unique appearance. Stains used were Rustoleum Summer Oak, and Minwax Early American, finished with Minwax Semigloss Poly.

Built from Plan(s)
Estimated Cost
$85
Estimated Time Investment
Weekend Project (10-20 Hours)
Finish Used
Rustoleum Summer Oak, Minwax Early American, Minwax Fastdry Poly
Recommended Skill Level
Intermediate

Farmhouse Dining Bench

Submitted by danicarby on Thu, 09/14/2017 - 07:01

Hi there!  This is Dani from The Project Lady!


I wanted to share my building plan and tutorial for these dining room benches!  Total cost is about $20 for lumber per bench!


Head over to my website for step-by-step instructions and pictures!


Happy Building!

Estimated Cost
$20 for lumber
Estimated Time Investment
Afternoon Project (3-6 Hours)
Finish Used
General Finishes Brown Mahogany Gel Stain, Ceramathane Clear-Coat
Recommended Skill Level
Beginner

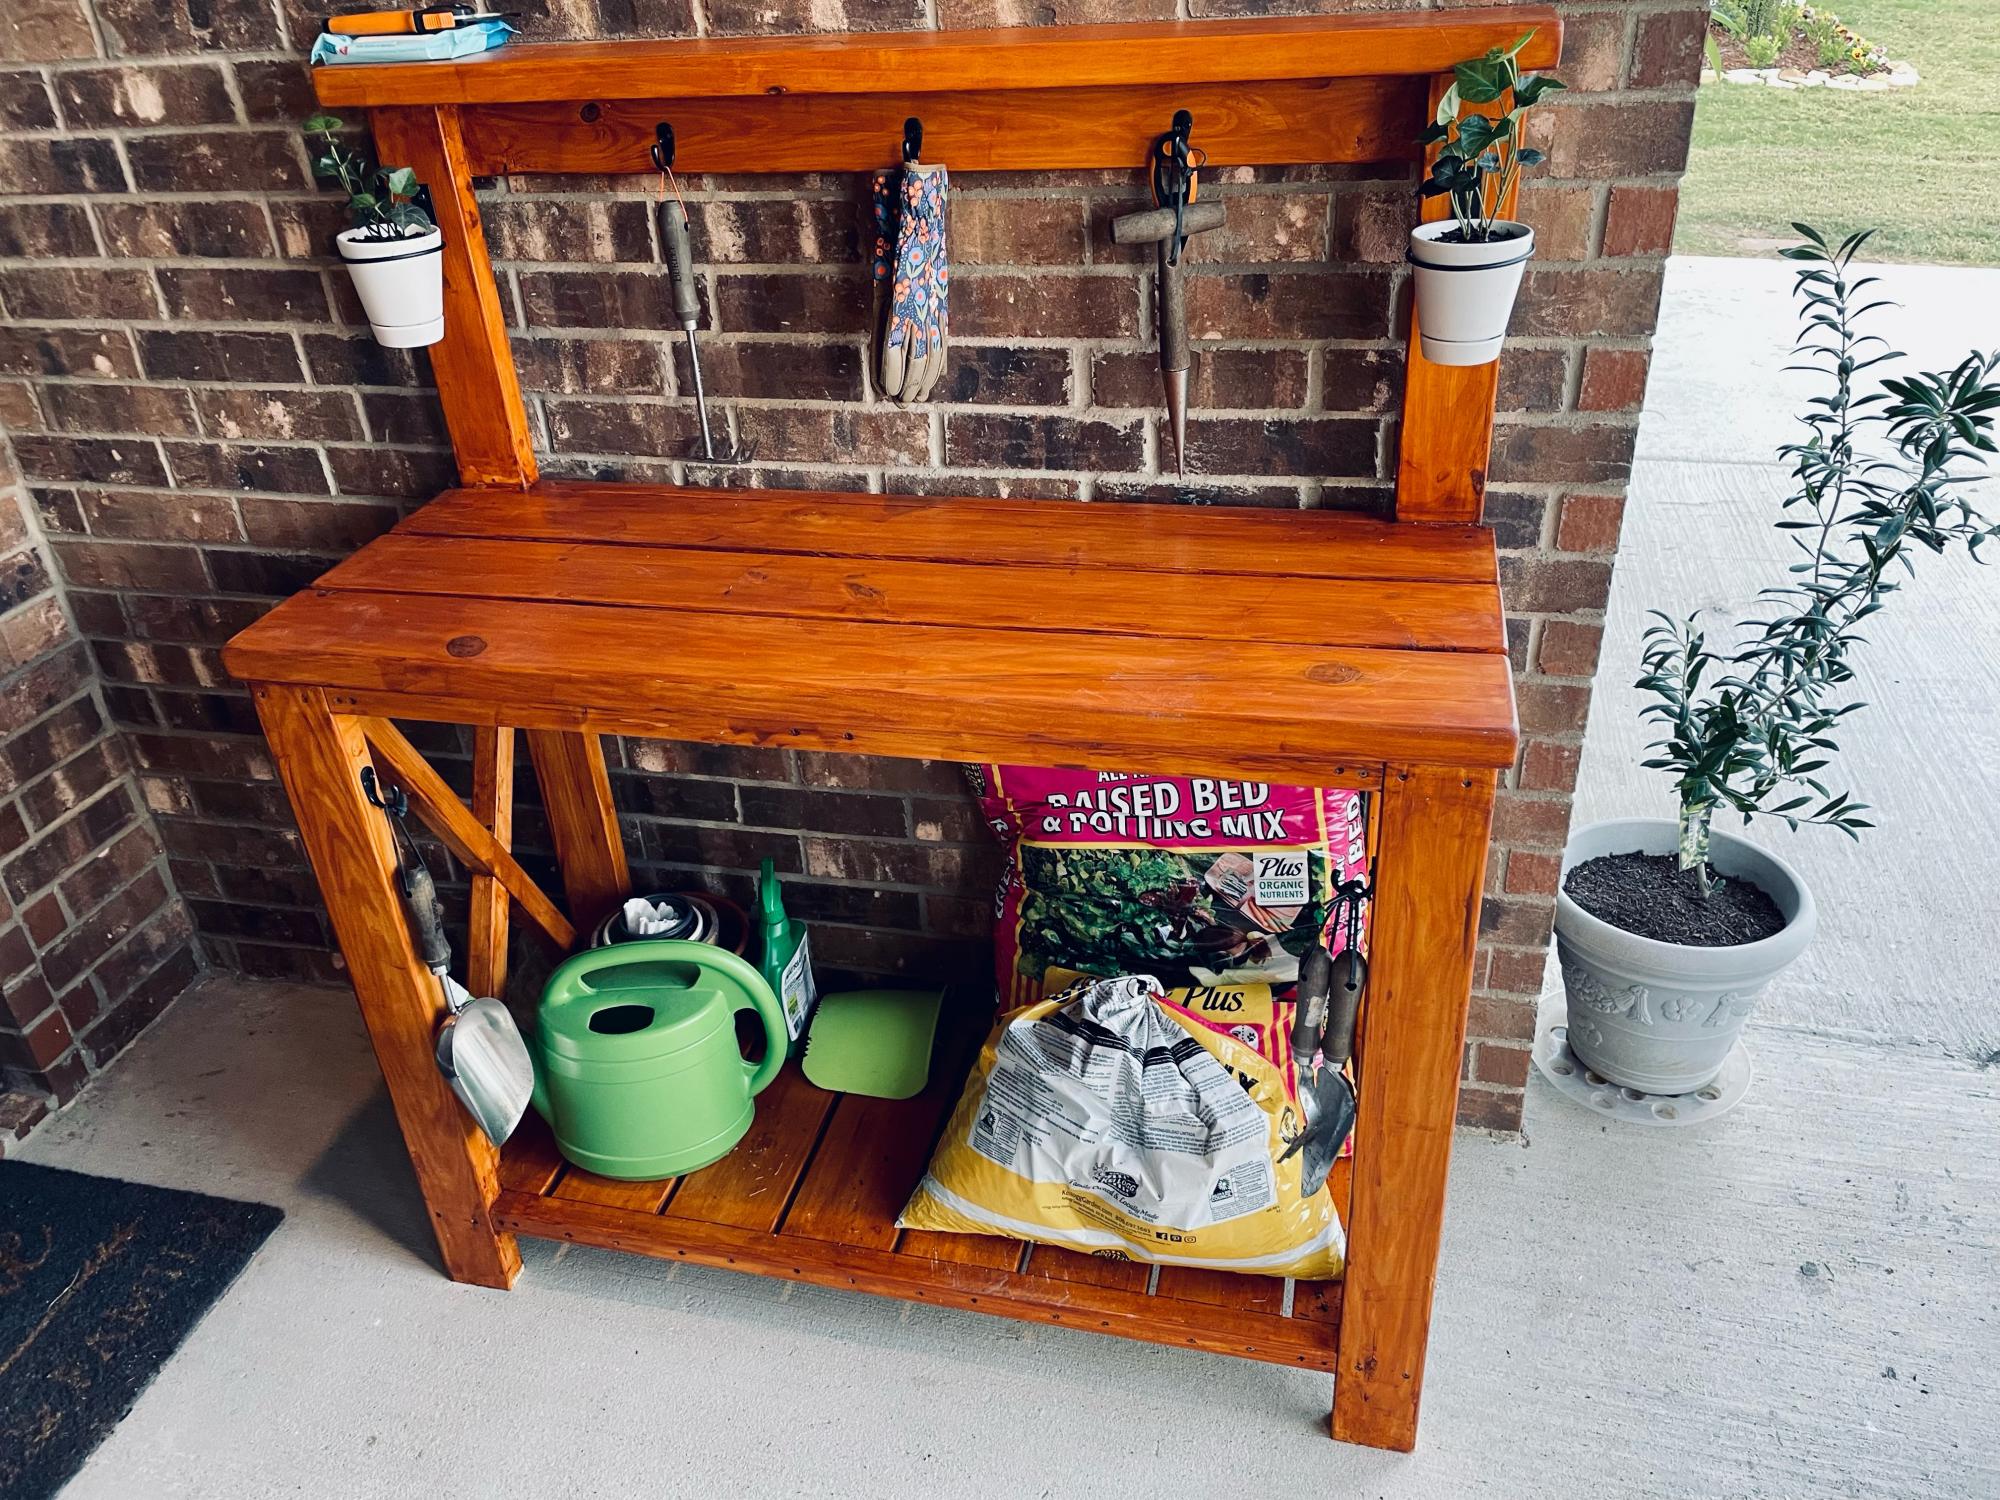
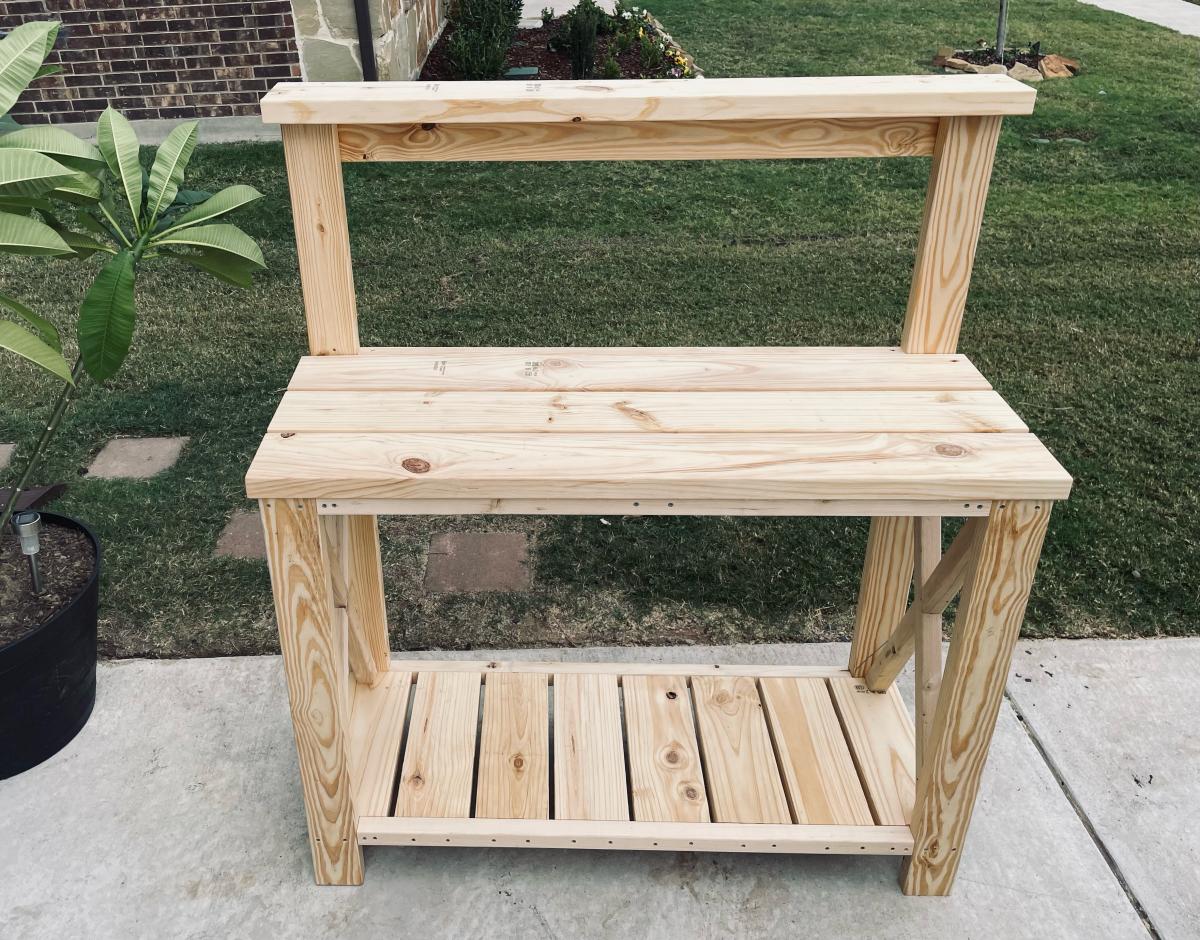
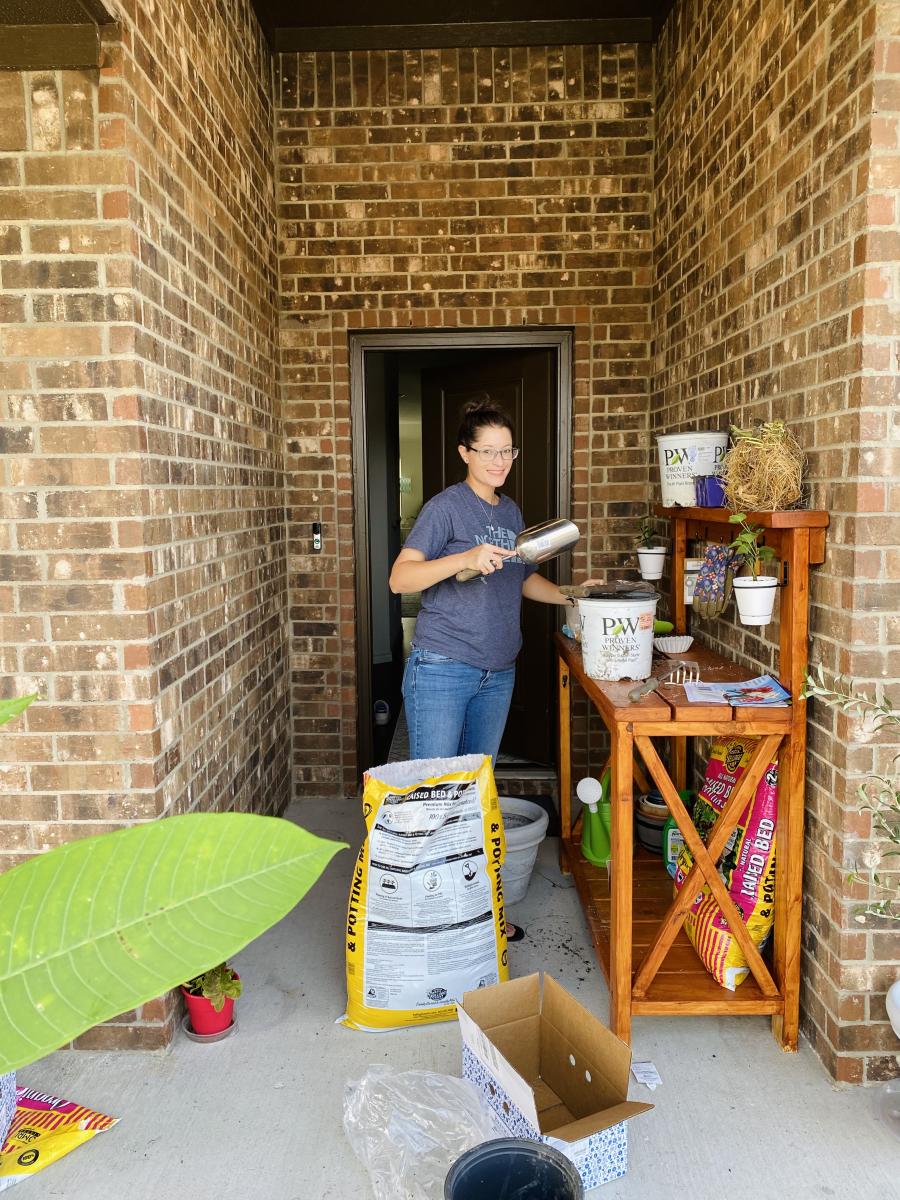
Farmhouse potting bench

Submitted by mbaylis on Mon, 10/18/2021 - 19:14

Birthday present for the fiancée. I think it was a hit! :)

Thanks for the plans!

Comments

Garage Pegboard Storage Wall

Thecreativityexchange.com did such a great job with the original project, so of course I had to give it a try! I had only a few minor adjustments in size. I made this one 8ft X 8ft and only using one sheet of pegboard. My amazing wife stained it too with English Walnut!

Estimated Time Investment
Afternoon Project (3-6 Hours)
Finish Used
English Walnut Stain
Recommended Skill Level
Beginner

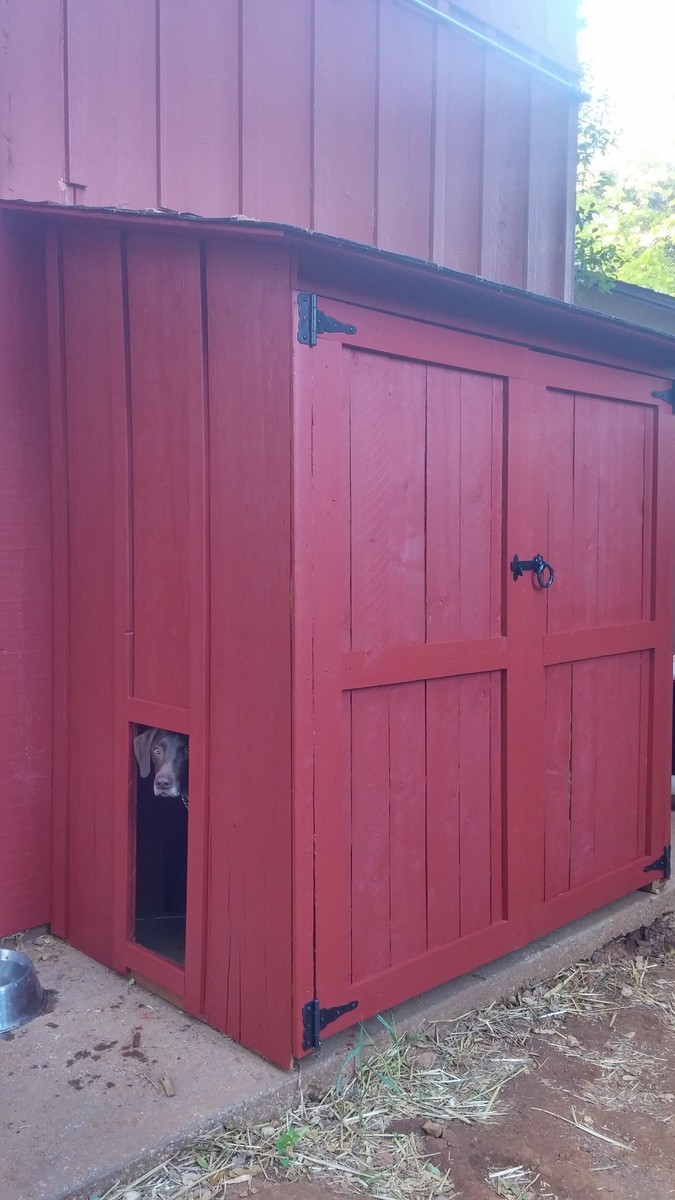
Modified garden shed for a combo dog house

Submitted by CDH906 on Mon, 05/18/2015 - 09:49

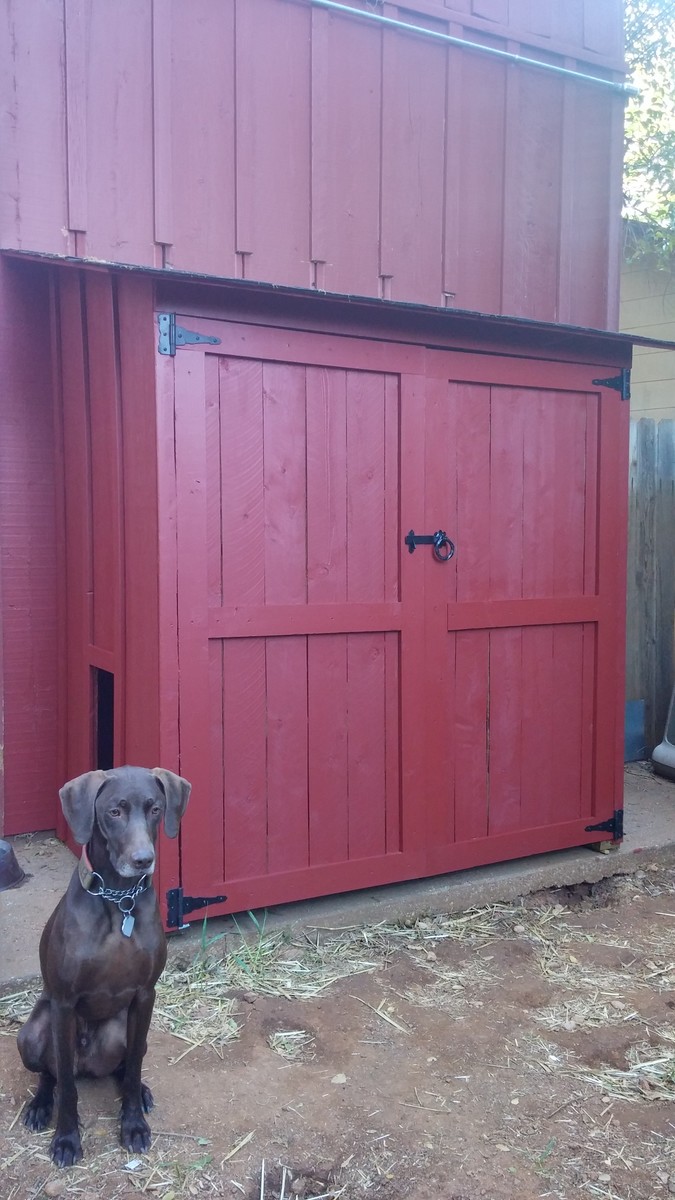
I needed a garden shed (for potting supplies) and a dog house, but I wanted it to look good. I started with Ana's plans, but screwed up a cut and was too lazy to go to the store, so I modified the plan a bit - also we didn't want a lot of venting off the roof.

OUR MODIFICATIONS:
NO BACK WALL - I did not build a back wall, as we pushed it all the way up to the house. (You need to check your codes for this if it's allowed. The way I'm integrating mine w/o breaking the exterior waterproofing of the house and it's unconditioned made mine OK)

DOG HOUSE- I cut away a hole for our dog between the battens. And as you can see - he loves it. He's got his Coolaroo dog bed inside. We also added a 'ceiling' to the lower dog house half, that divides the gardening storage from dog house. The large shelf inside that acts as a dog house ceiling, and above are my un-used pots, hand tools etc. (no worries no chemicals with the puppy)

PAINTED EXTERIOR- I painted it red to match the house, and will also be putting garden pavers in front of the doors.

ROOF- We did put an underlayment down on the roof before the asphalt shingles.

LESSON LEARNED- If your dog is a Mama's boy like mine, he may try to climb a ladder to remove you from a roof which he has determined is not OK for you to be up there.

*One concern is - most sidewalks slope away from the house, so we had to shim the sill plate so front of the shed doesn't lean outward causing the doors to pull open constantly. As you can see from the photo I still need to flash at the roof where we cut back our houses' battens.

COST- We live in CA - and this project was more expensive than anticipated, our lumber/roof shingle costs were around $270 alone, and keep in mind we didn't build a back panel. I have very little scrap left over too. When I was nearly done the hinges were an additional $15 a piece, $10 for the latch. And we had the primer and paint in the garage. Underlayment for roof, I already had in the garage too.

TIM-: I started this project on a weekend, but it ended up taking longer; probably because I didn't block out the weekend just for this project. I spread it over the course of a month, so hours wise it probably wasn't as bad as it felt... You do need two people though, and that's where I ran into some trouble, I kept trying to work on it when my husband wasn't home. Probably 24hrs, 3 easy going days. Could probably be done in a weekend if you were dedicated and didn't get distracted (or screw up a cut like I did, which sent me to the drawing board to fix my mistake)
Built from Plan(s)
Estimated Cost
$350
Estimated Time Investment
Week Long Project (20 Hours or More)
Finish Used
Exterior house primer and paint
Recommended Skill Level
Intermediate

Comments

Ana White

Mon, 05/18/2015 - 11:52

Great mods, love how you incorporated the dog house! Thank you for sharing!

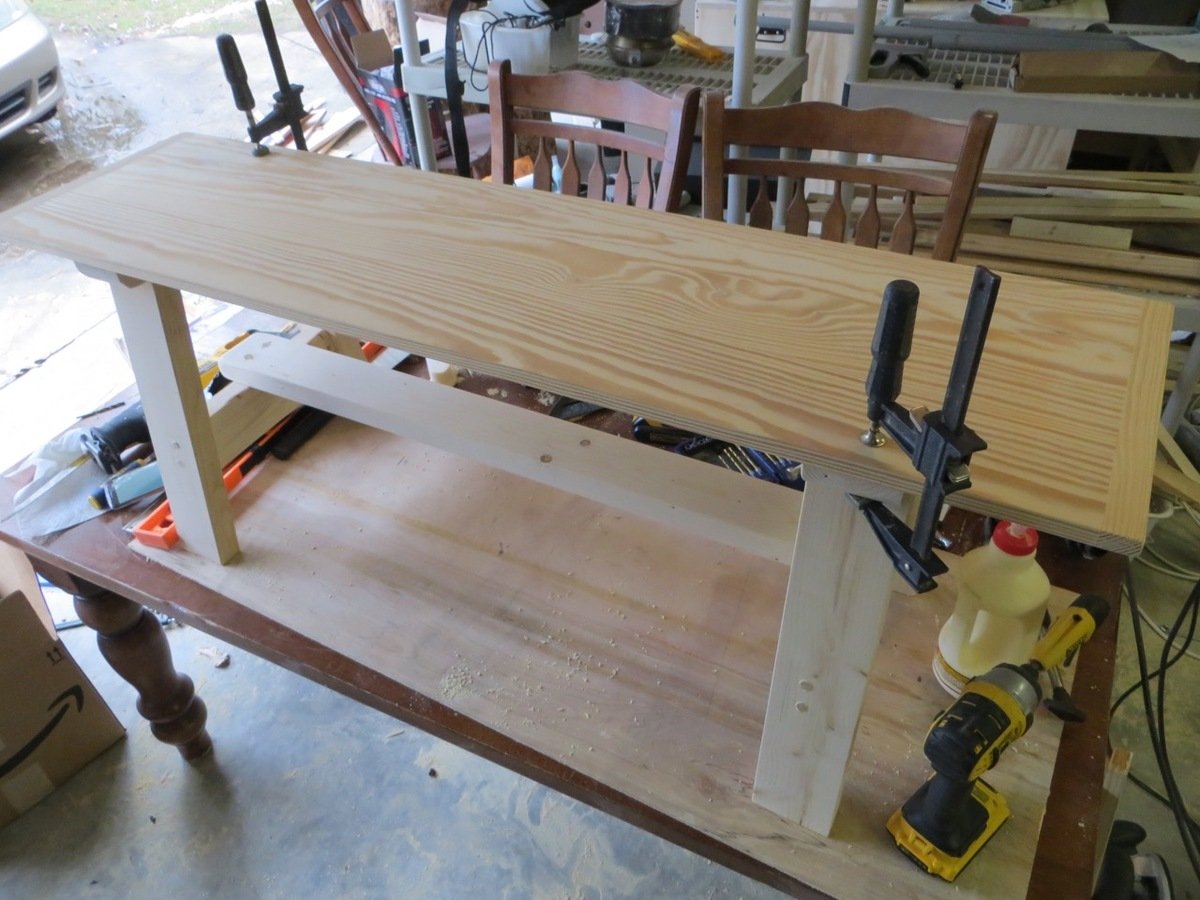
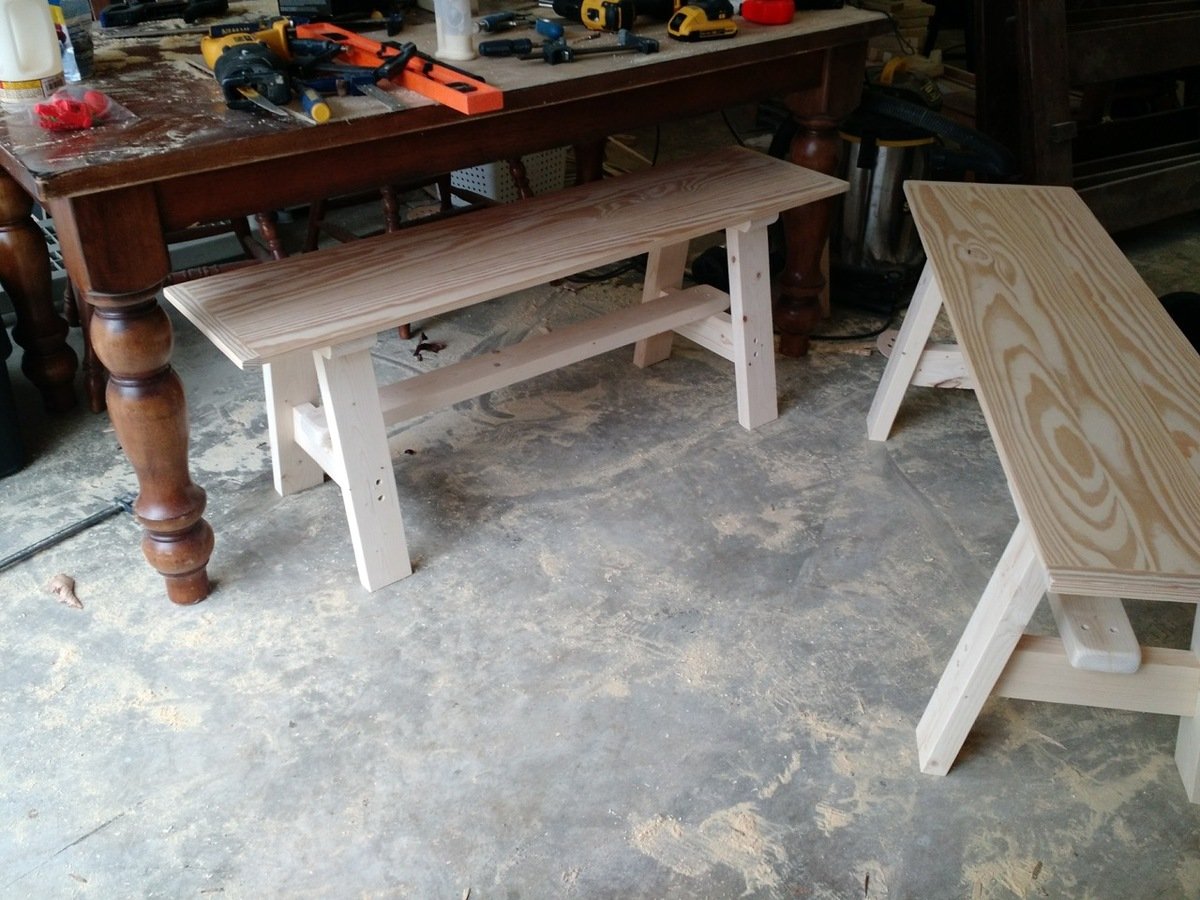
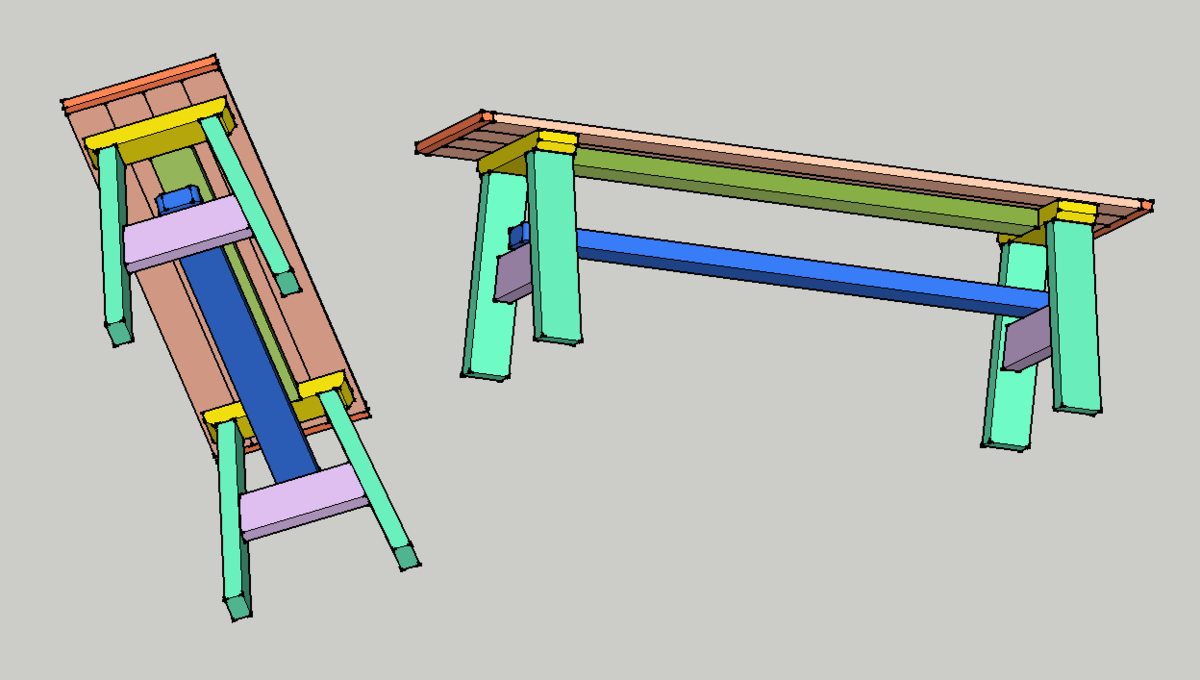
Triple Pedestal Farmhouse Bench - Modified to 2 pedestals

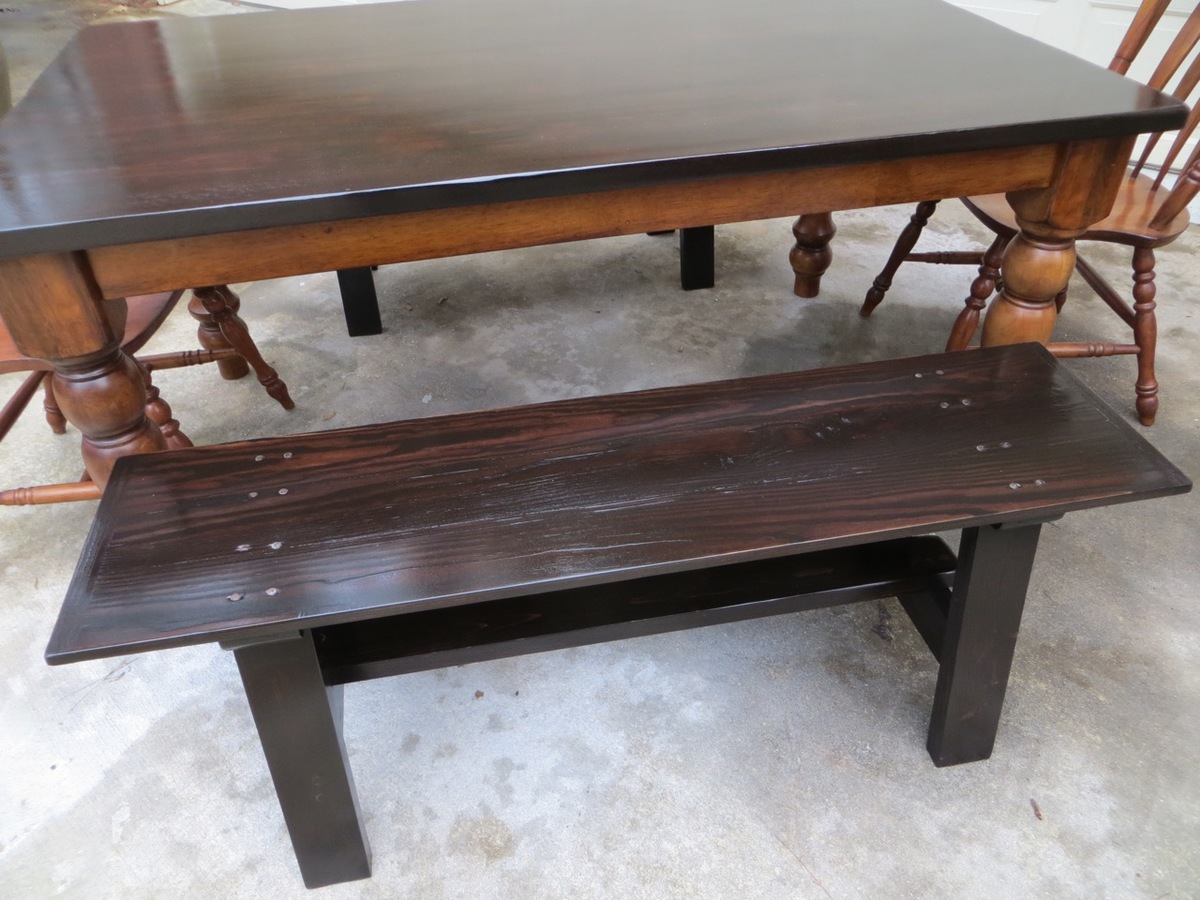
Needed a two seat bench for an existing table.  Used biscuits instead of pocket screws to manufacture the seating surface.  Cut 1/4" from each edge of the 2x4  (original 1.5" x 3.5" => now 1.5" x 3.0") so the premilled humps would not be evident on the seating surface.  The surface now has 6 layers of boards for 6x3=18" width instead of the plans 5x3.5 = 17.5"  Great plans, easy to modify!
Built from Plan(s)
Estimated Time Investment
Weekend Project (10-20 Hours)
Finish Used
Will be stained to match rest of table later
Recommended Skill Level
Intermediate

Craft Table

Submitted by KlumziMom on Tue, 06/25/2013 - 09:05

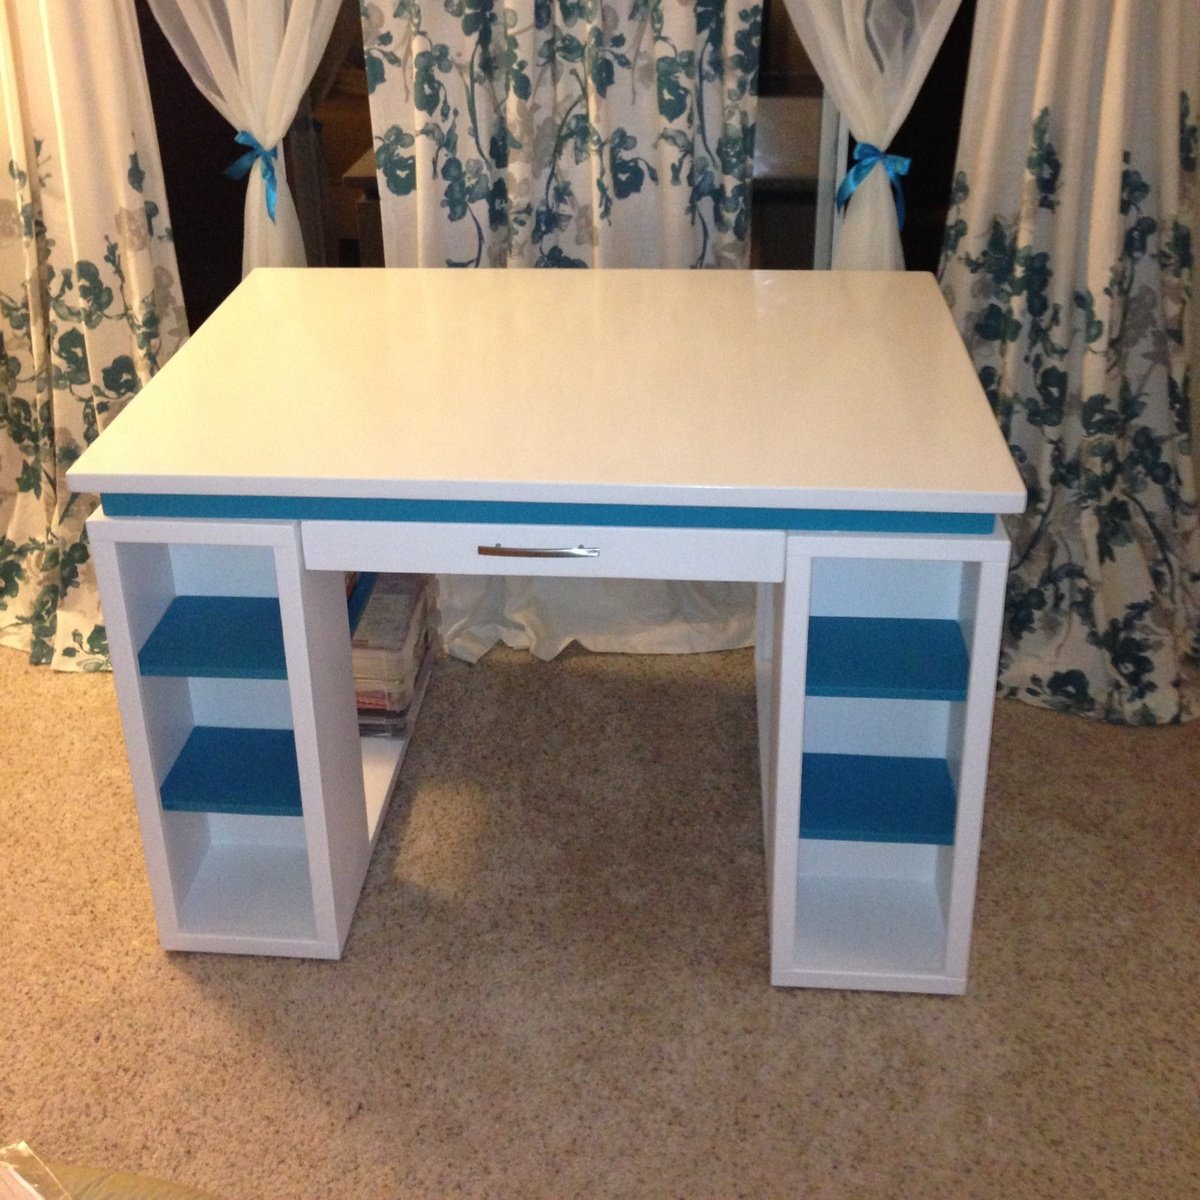
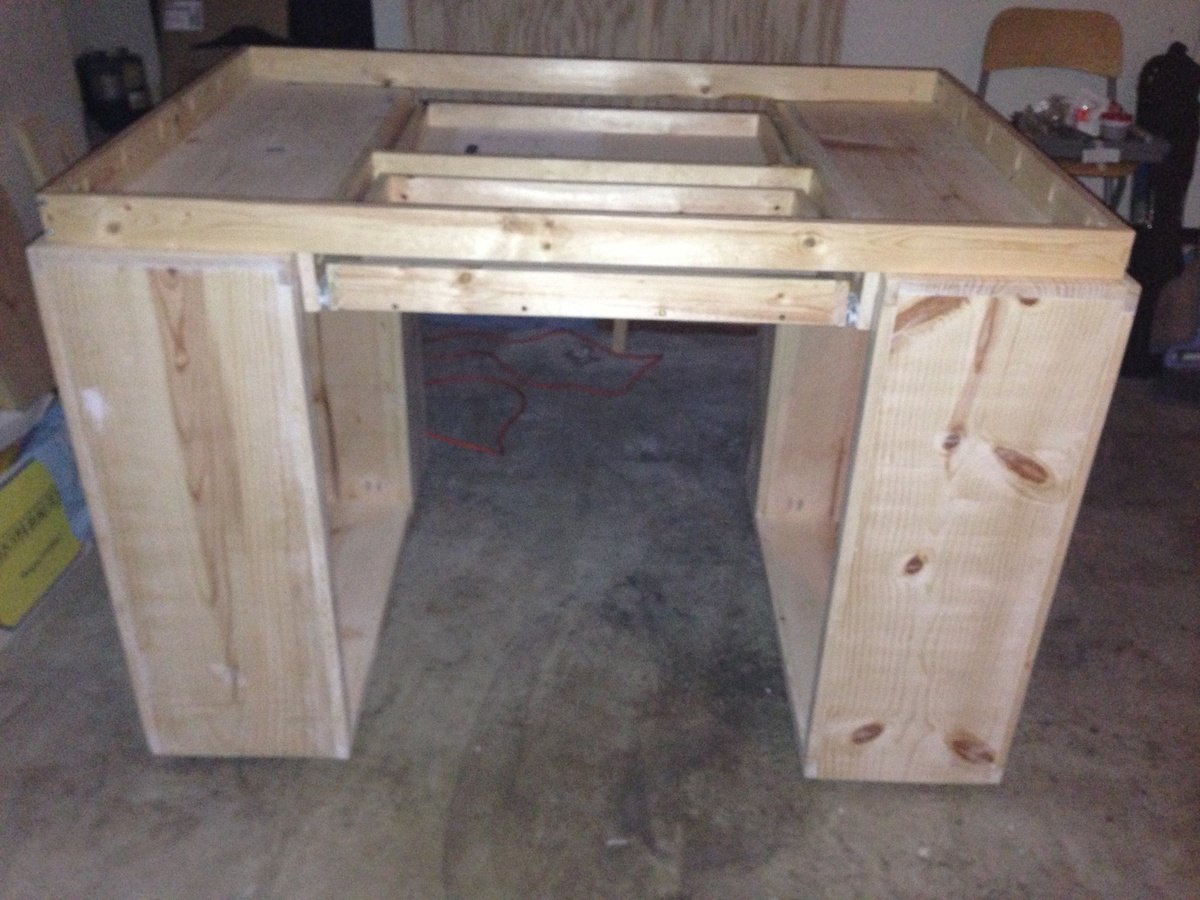
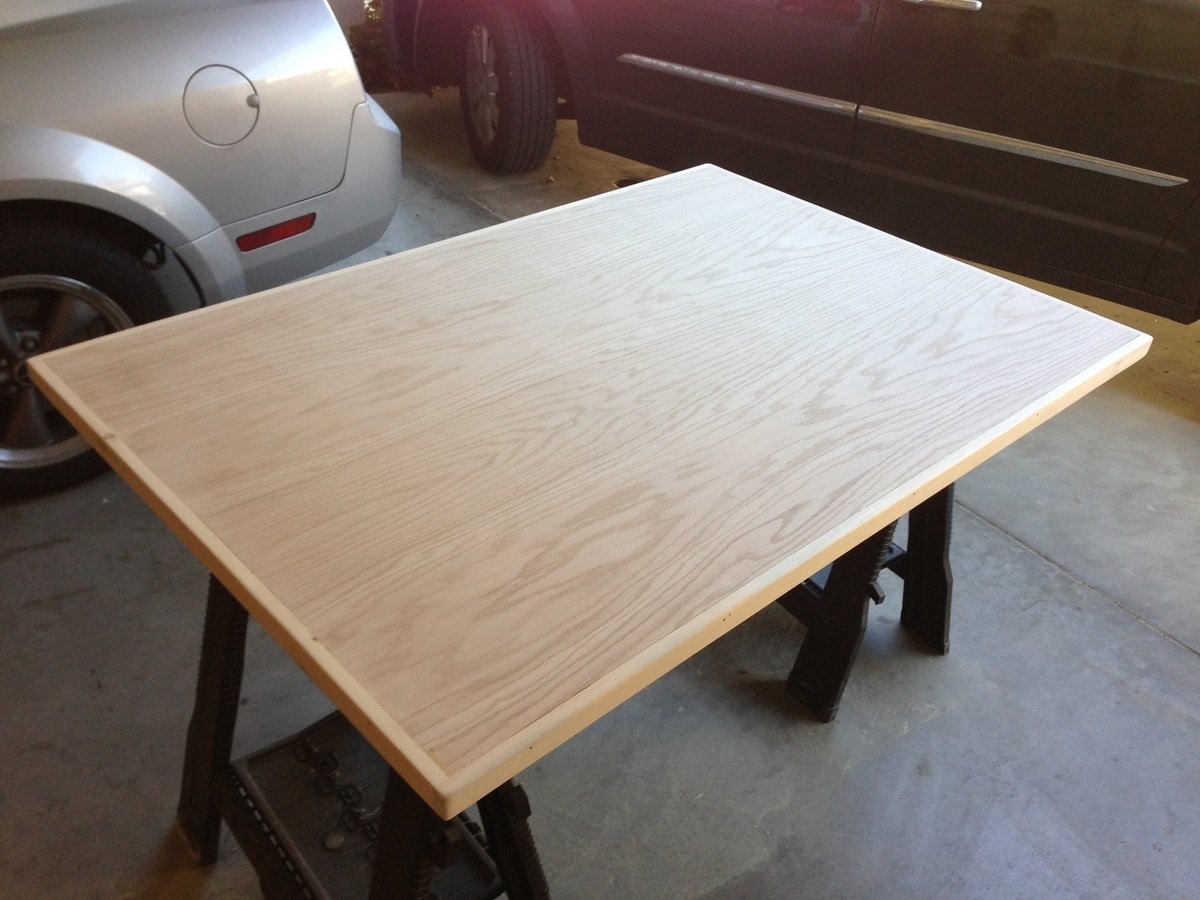
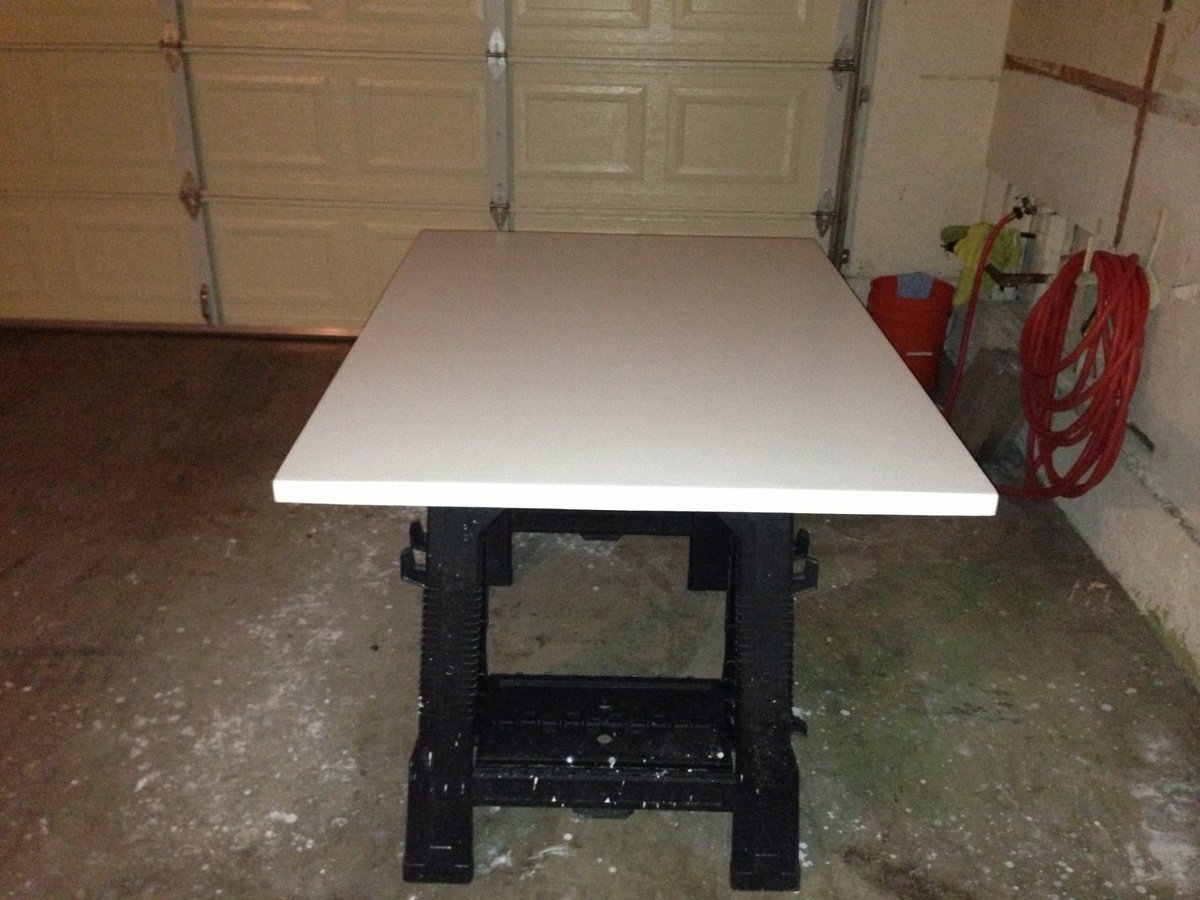
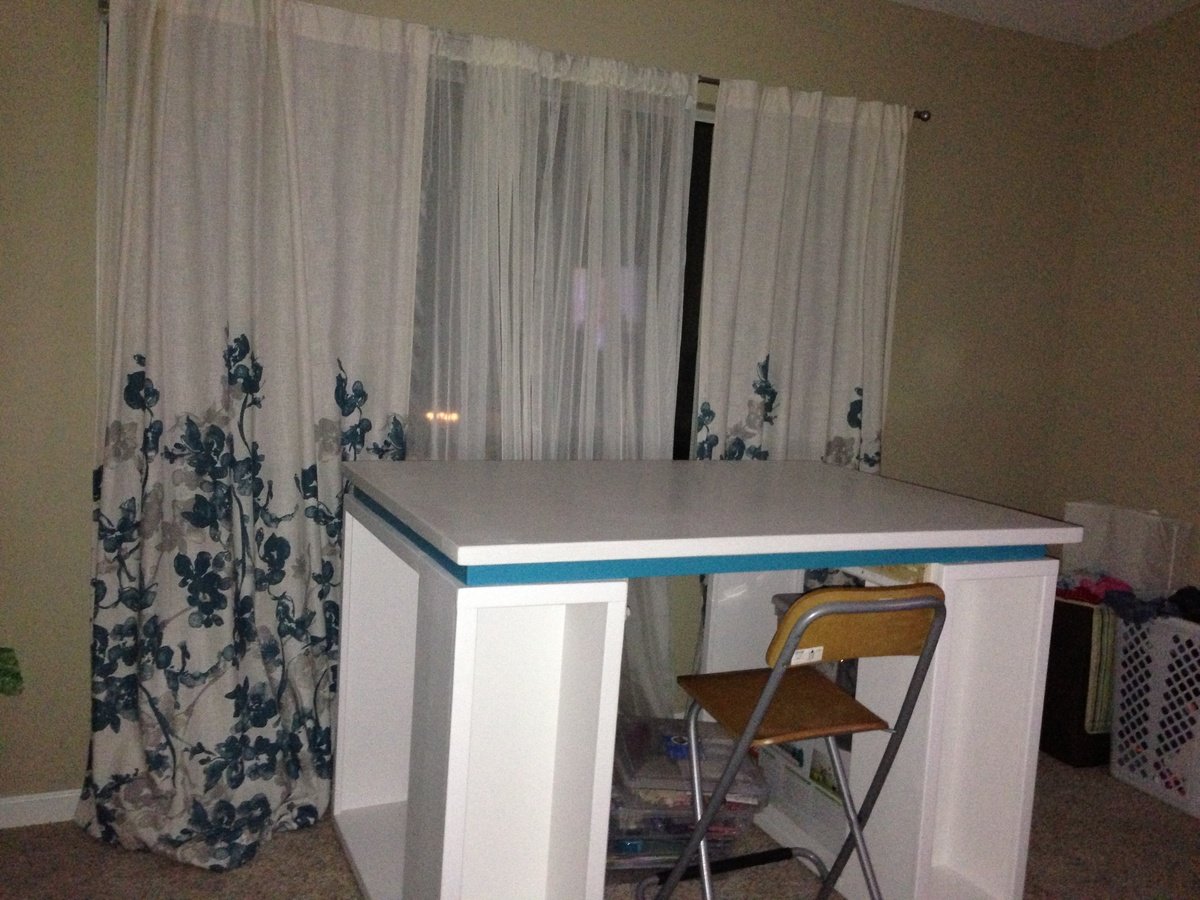
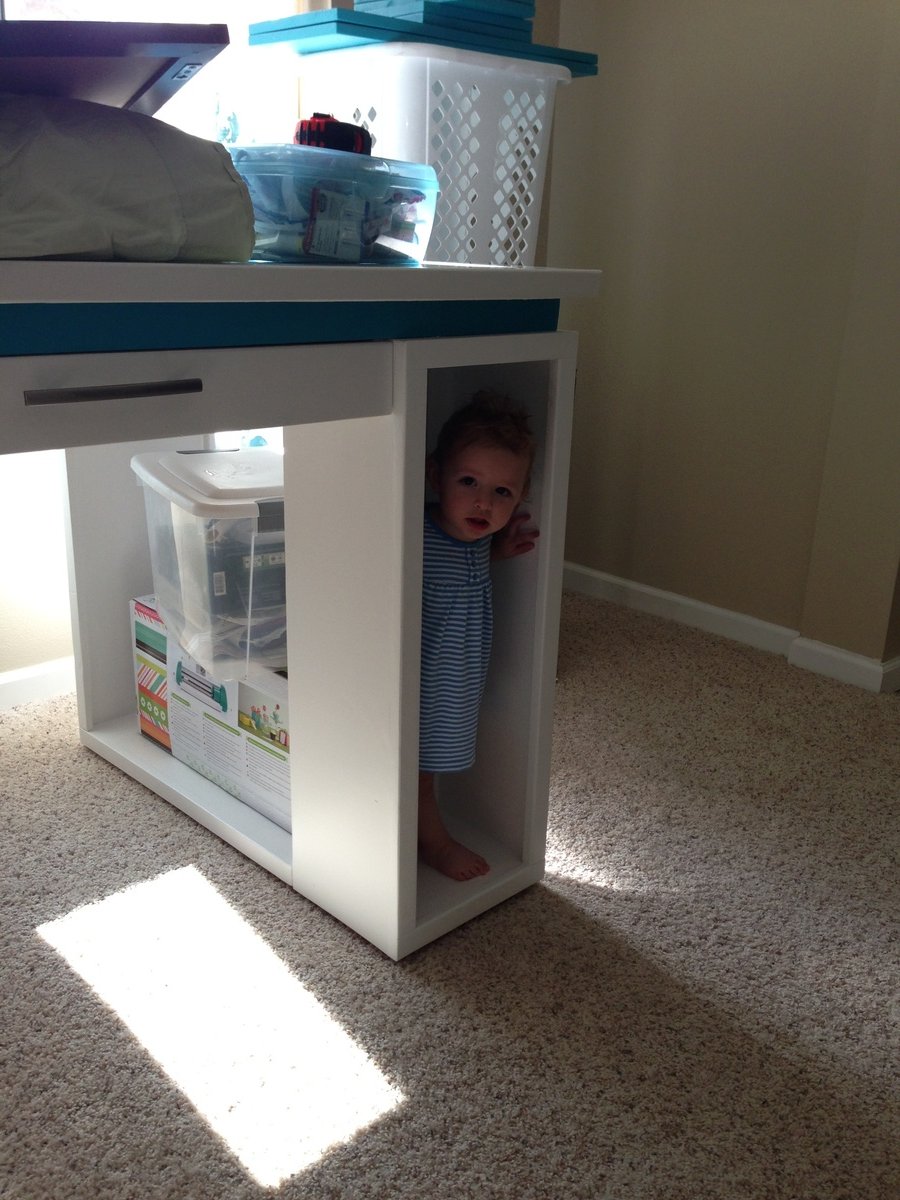
My new Craft Table I built from Ana White's plans. I combined her plans from her Modern Craft Table (http://ana-white.com/2010/09/modern-craft-table) and the desk drawer from her Craft Tabletop for the Modular Collection (http://ana-white.com/2010/02/plans-bedford-project-table-top-with.html). I modified the plans slightly, I added 1x2's aroung the tabletop instead of edge banding or nosing to give it a nice decorative finish. I also used 1 x 3's instead of using 1 x 2's for the floating base for the tabletop so you could see more of the floating base since the 1 x 2's around the tabletop covered up the majority of the floating base from view. I also created a frame for the table top to sit on which also helped stabilized the 2 bookshelves in place, as well as adding support to the frame of the drawers.

Estimated Cost
$200
Estimated Time Investment
Weekend Project (10-20 Hours)
Finish Used
I used wood filler to fill the holes in the wood and the Kiltz primer as a base. I used Valspar's Swiss Coffee for the white and Valspar's Cool Rain for the accents. On the top of the table I made my own Chalk Paint with 1 cup of paint and 2 tbsp of unsanded grout and a little bit of water recipe from Diane Henkler @ Momtastic (http://www.momtastic.com/home-and-living/home/172917-diy-chalk-qstyleq-paint). Followed by 4 coats of Polycrylic matte finish (making sure to sand each layer eith a 320 grit sand paper. I finished with a small layer of wax buffed on to make it shine.
Recommended Skill Level
Beginner

Comments

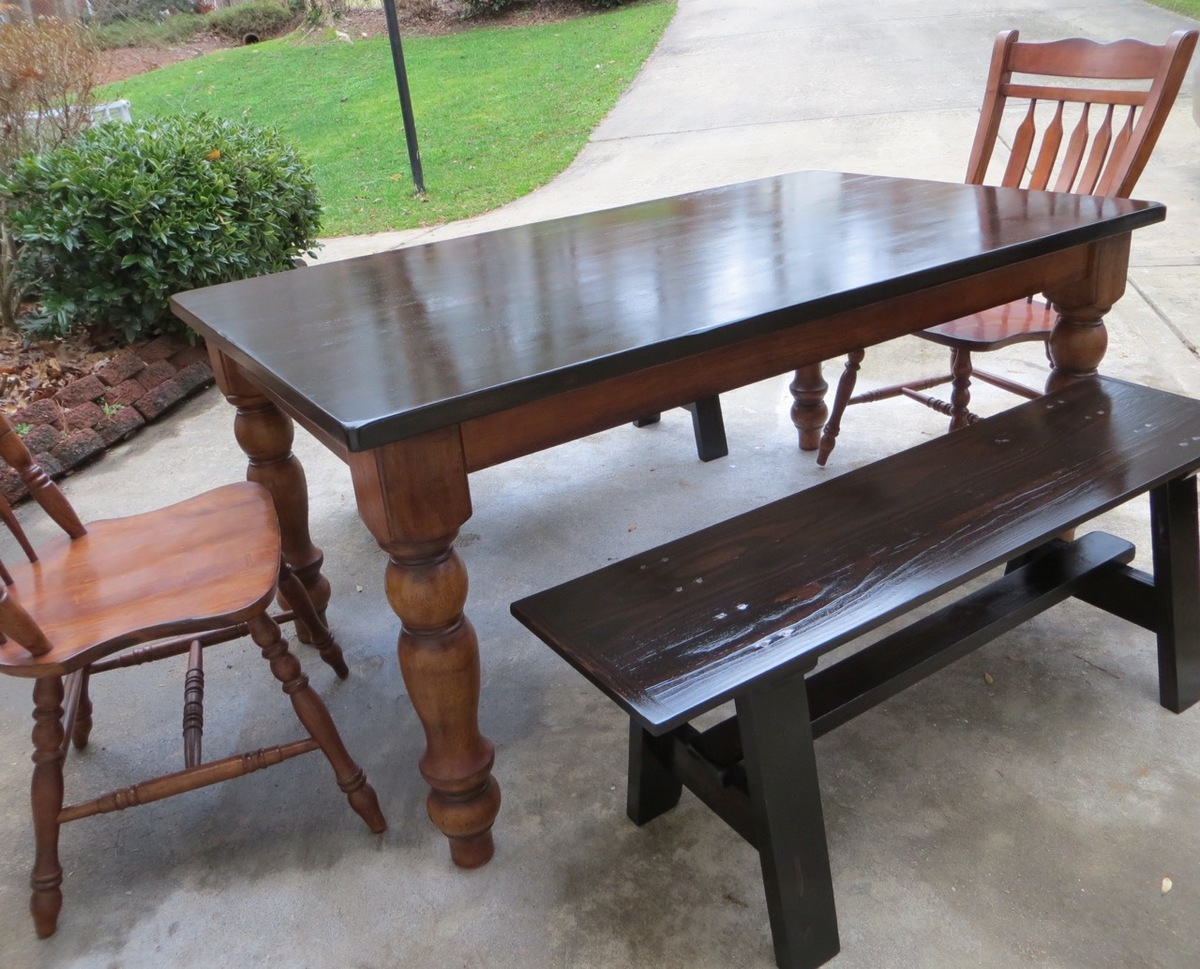
Farm house table and bench

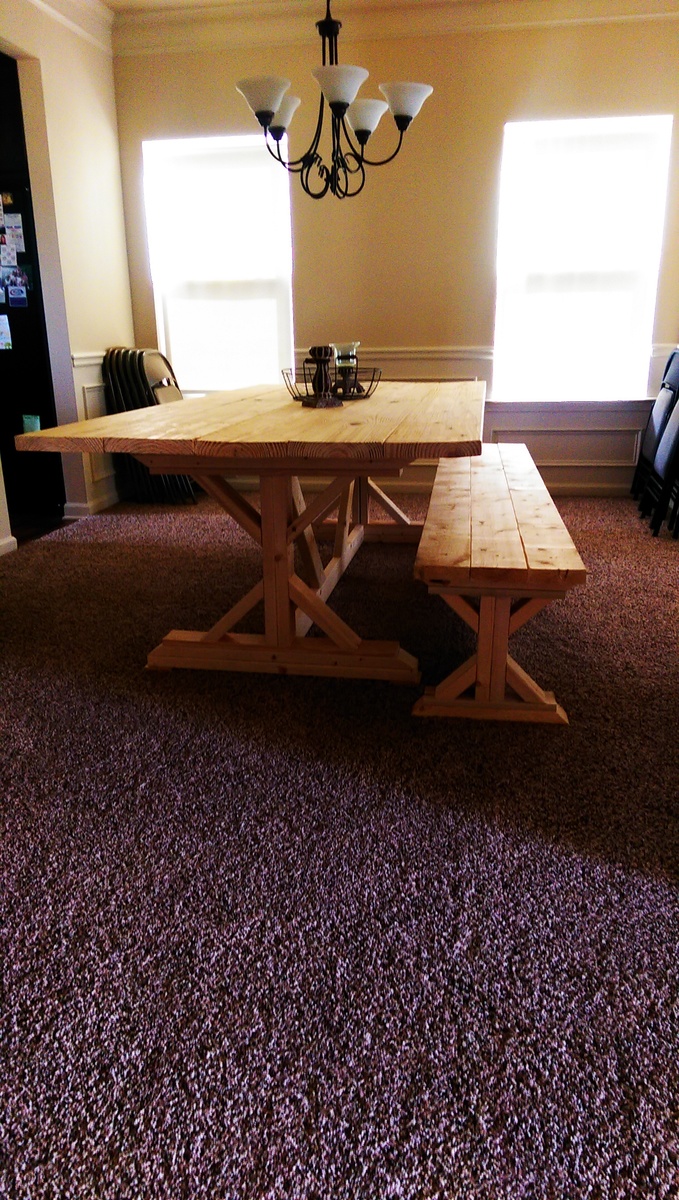
Table and bench before we finished it

Recommended Skill Level
Beginner

Comments