Community Brag Posts

Wedding Gift for my Brother

Submitted by mkwsrt4 on Thu, 06/05/2014 - 03:03

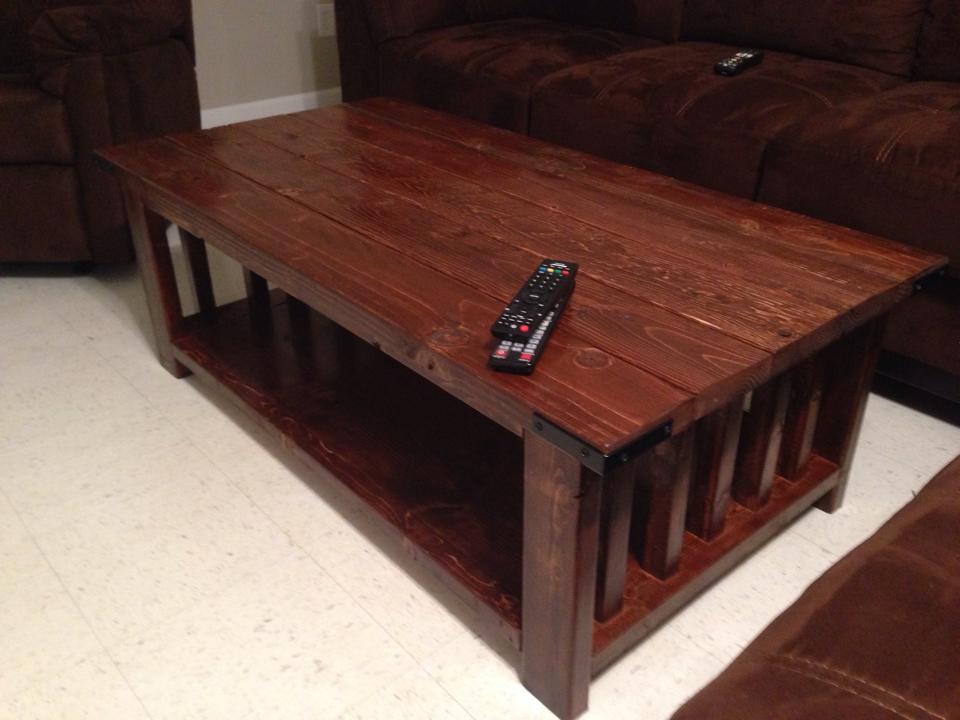
This is the 2nd Rustic X Coffee table I built. This I built as a wedding gift for my Brother and His wife. Instead of the X posts on the ends I opted for a column design on the end. It was actually a little more time consuming but I think it looks great.

Built from Plan(s)
Estimated Time Investment
Weekend Project (10-20 Hours)
Finish Used
I sanded the table and used a coat of pre-stain. I then used a light stain, and I applied 2 coats. I used two coats of polyurethane sanding after the first coat.
Recommended Skill Level
Beginner

Modern Storage Benches

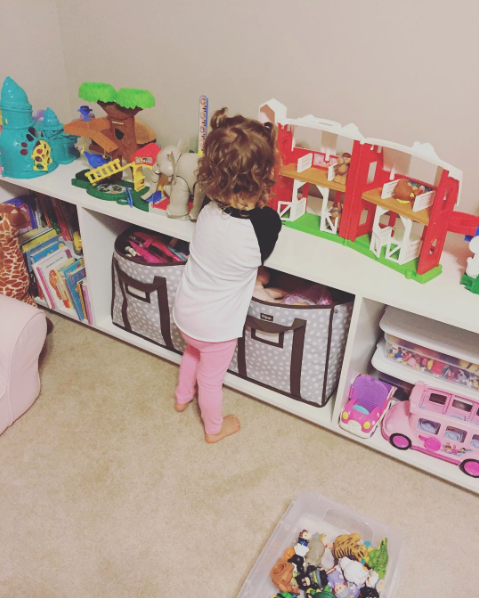
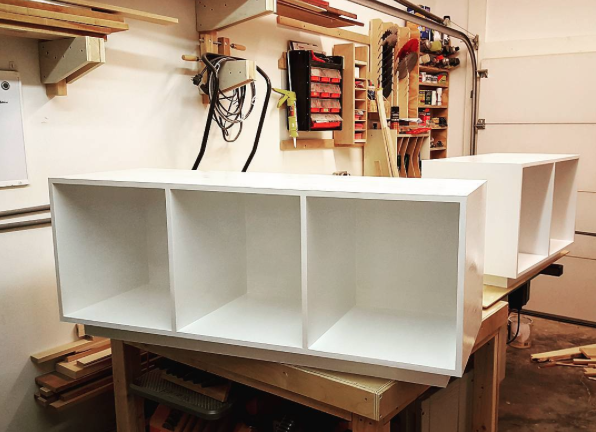
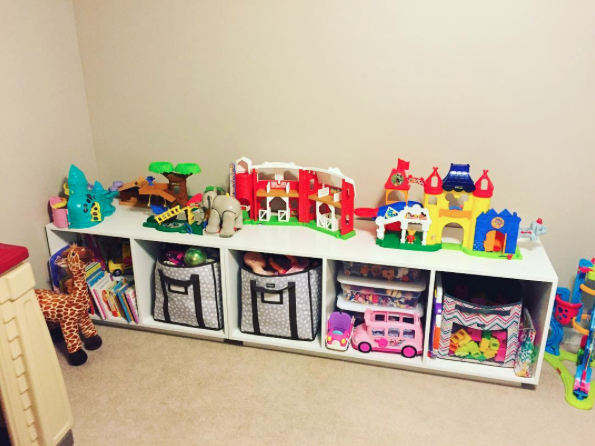
I built these modern storage benches for some friends of ours. They needed some space to store their little girls toys. They planned to use some wicker baskets they had. I took the measurements for the baskets and built the storage spaces around it. 

Estimated Time Investment
Week Long Project (20 Hours or More)
Recommended Skill Level
Intermediate

Modern Loveseat with Slight Modification

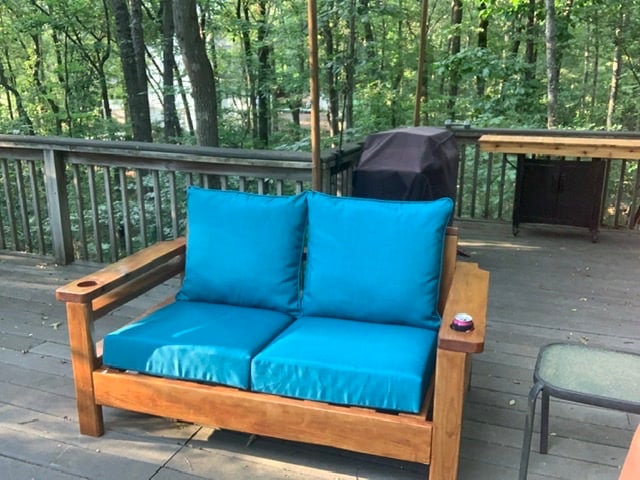
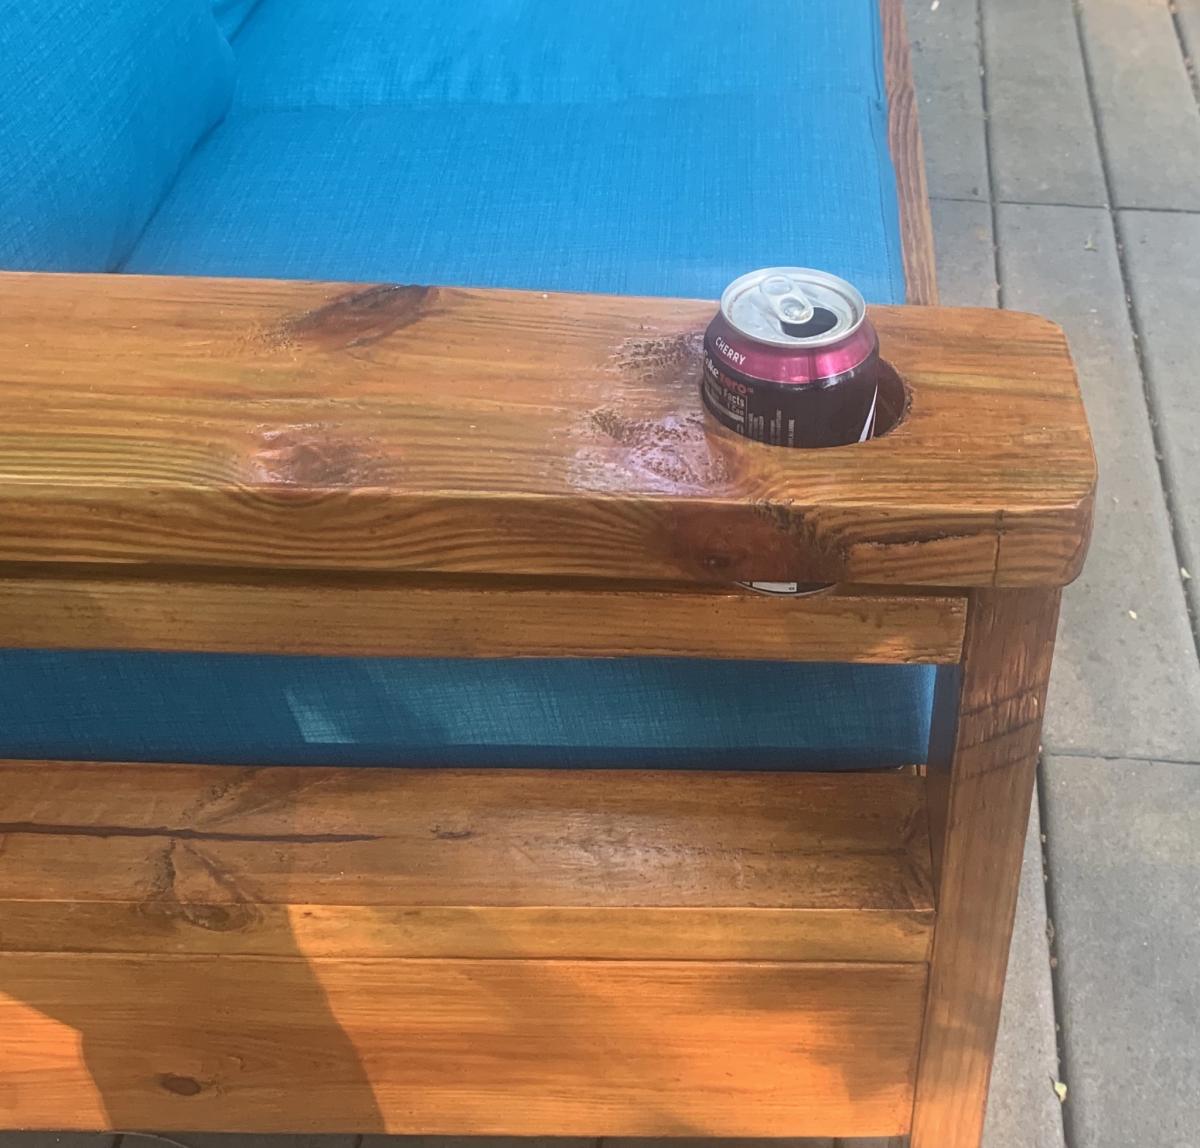
Thanks so much for this plan. I modified it slightly by using 2x6 For the arms so I could cut out a hole for a glass or bottle. I also added an additional 2x4 underneath to keep the glass from falling through.

I spent a lot of time sanding and putting the first finishing coat on each piece prior to assembly to make final finishing easier. Extended elapsed time but I think it made actual time shorter.

Estimated Cost
$150
Estimated Time Investment
Week Long Project (20 Hours or More)
Finish Used
Coat 1: 70% Teak Oil 30% Cabot Gold Sunlit Walnut
Coat 2: Cabot Gold Sunlit Walnut
Recommended Skill Level
Intermediate

DIY Outdoor Chaise Lounge

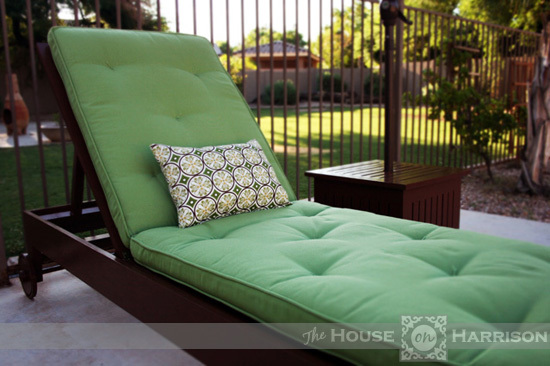
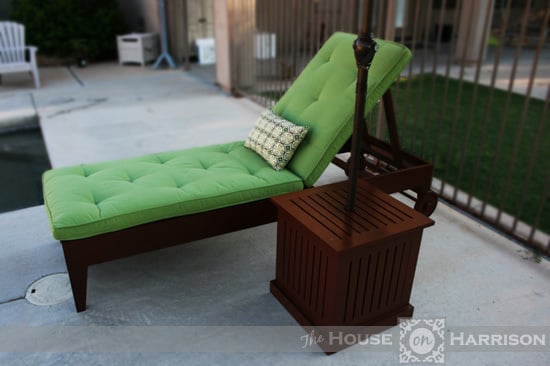
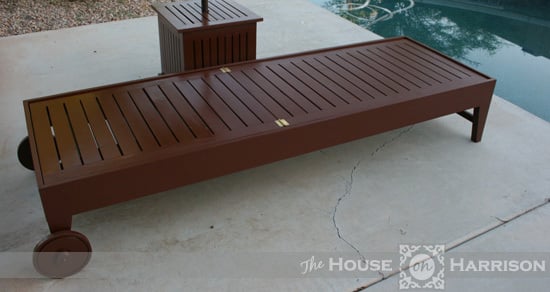
My husband and I made this outdoor chaise lounge using a combination of Ana's plan and another we found on the Internet. We wanted to be able to move this easily, so we added wooden wheels that we turned on our table saw. All in all, this project took us about two weekends. We are hoping the next one goes a little faster.

You can see more pictures of the build process on my blog.

Built from Plan(s)
Estimated Time Investment
Week Long Project (20 Hours or More)
Recommended Skill Level
Intermediate

Comments

Patio table

Submitted by Matt Shane on Sat, 06/07/2014 - 19:30

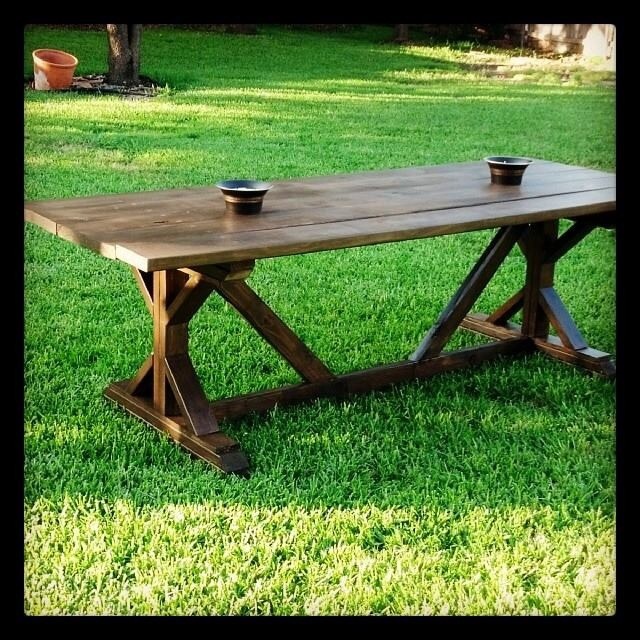
Needed a patio table for this space and decided on this plan. After the build portion, the stain finish really made it complete. Now time for some summer get togethers.

Built from Plan(s)
Estimated Cost
120
Estimated Time Investment
Weekend Project (10-20 Hours)
Finish Used
Behr Premium Wood Coatings Semi-Transparent Weatherproofing All'-In-One Wood Stain and Sealer
Color-Coffee (ST-103)

2 coats
Recommended Skill Level
Beginner

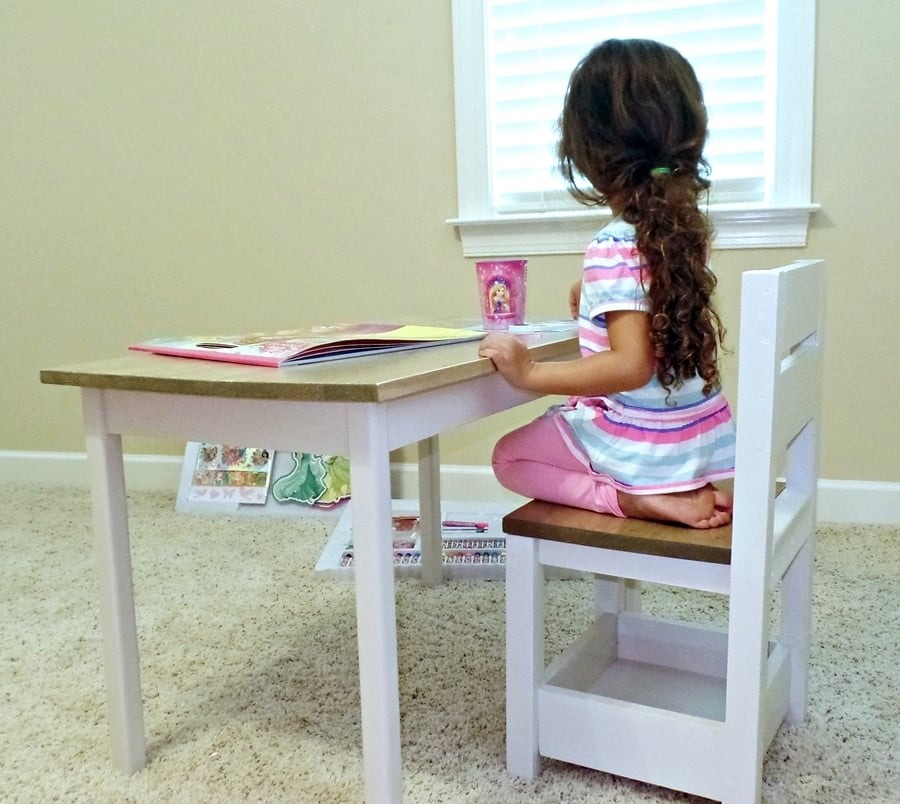
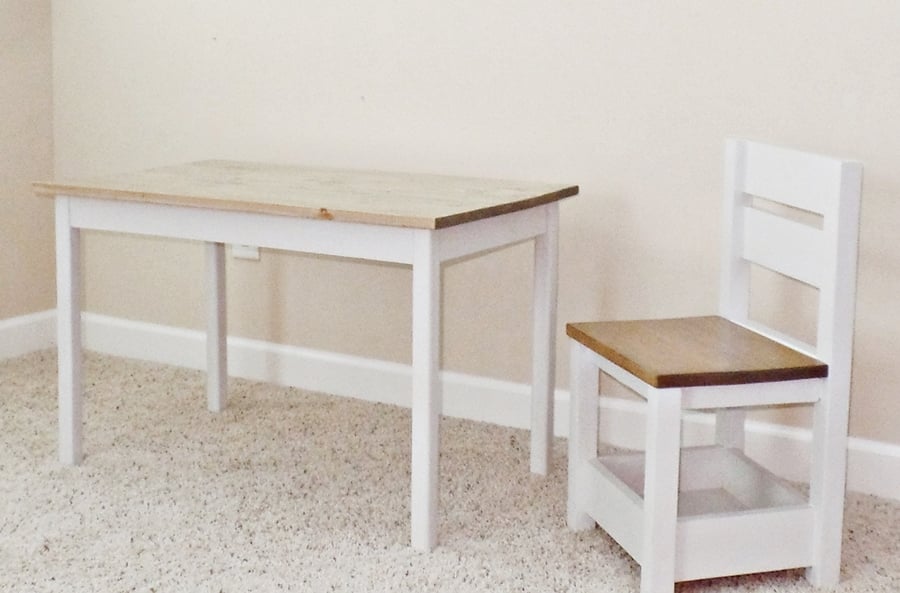
Storage Chair and Clara Table for Granddaughter's Homeschool

This was my first venture in building furniture. My granddaughter needed a new table and chair and insisted I could make it myself since I built her a playhouse (from a kit.) That's when I googled and found Ana White's amazing site and all the easy to follow plans.


I chose the Clara Table and Childrens Storage Chair. They reminded me of school - and my granddaughter who was 3 at the time loved playing school. Plus, since her parents plan to homeschool, I thought this would be a great starter setup.


I started with the chair. I did struggle with screwing it together, so it's not perfect. But it is sturdy; the storage box helped with stability too. After struggling with the chair, I decided to buy a kreg jig like Ana suggests - and boy did that make a difference! The table went together so fast and easily, I was literally in shock. And it's so strong I can sit on it. I'm sure if I had tried building it with just screwing the regular way, it would have been wobbly.


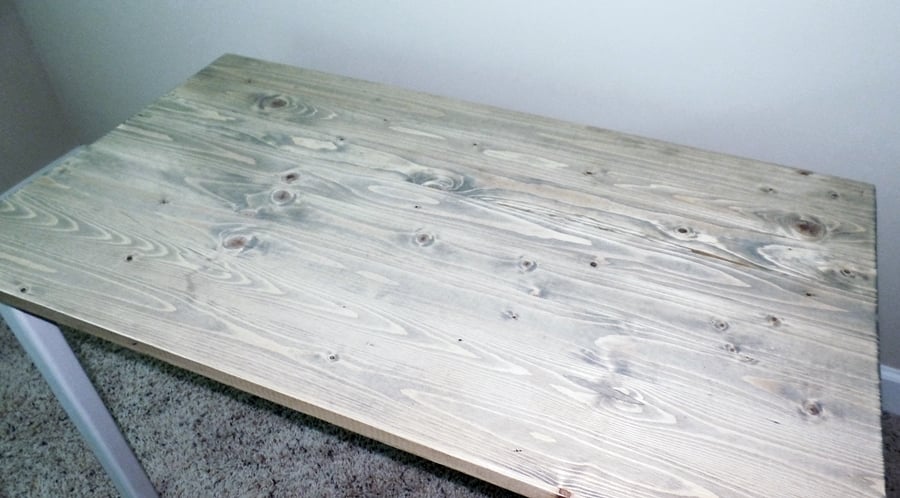
I bought a 24"x36" tabletop instead of using the 3 boards joined together and so had to adjust the measurements of the apron pieces accordingly. I thought it would make a smoother writing surface. I originally intended to paint it all white, but the grain on the top was so gorgeous, I decided to stain it - and I stained the chair seat to match.


This project was so much fun and came out so nice, I decided to build a toddler bed from Ana's plans. You can see that project here: Toddler Bed
Estimated Cost
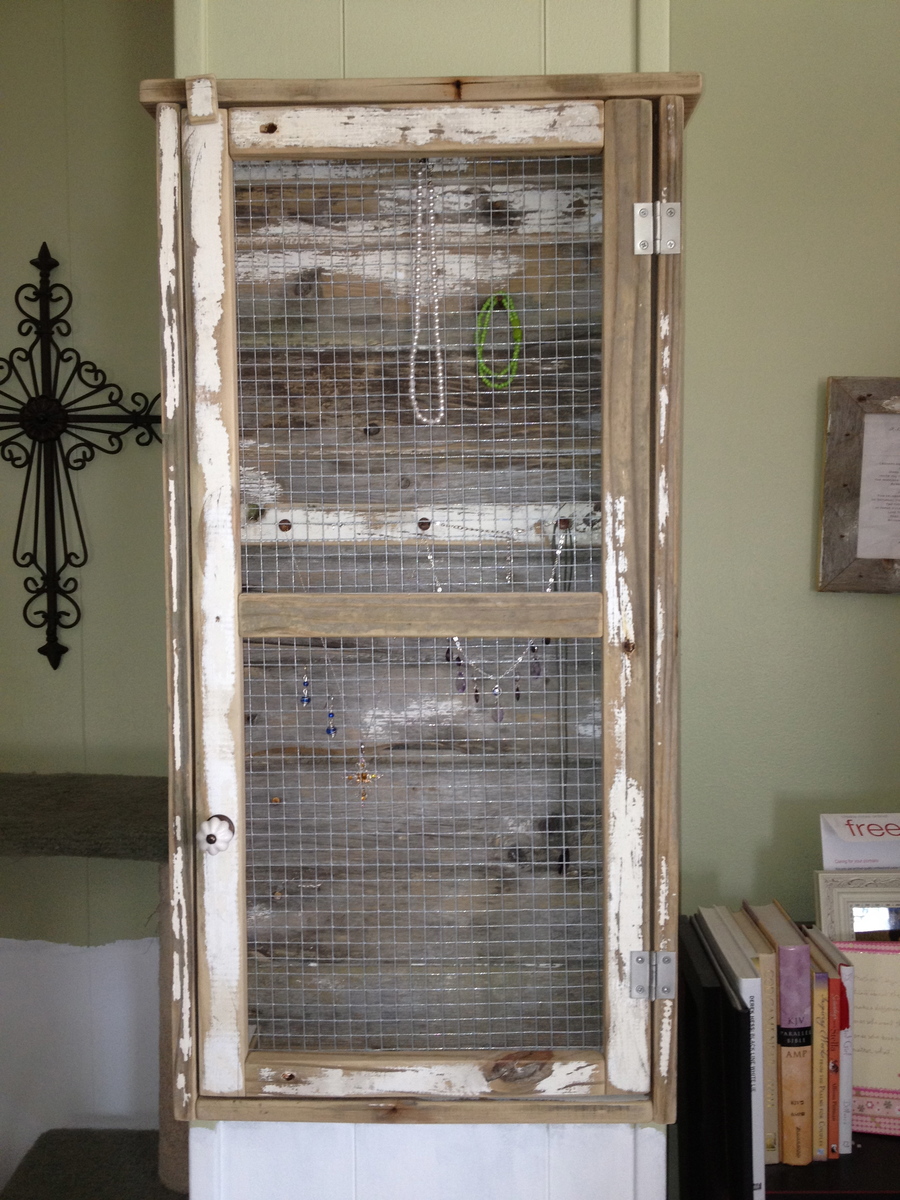
Table: $22 (spent a little more for the table top)
Chair: $6 (had a scrap 1x10 that I used for the seat)
Estimated Time Investment
Weekend Project (10-20 Hours)
Finish Used
Minwax Weathered Oak Stain for table top and chair seat.
Glidden Satin Endurance Plus in Canyon Echo.
Minwax Polycrylic in Clear Satin over all - paint and stain.
Recommended Skill Level
Beginner

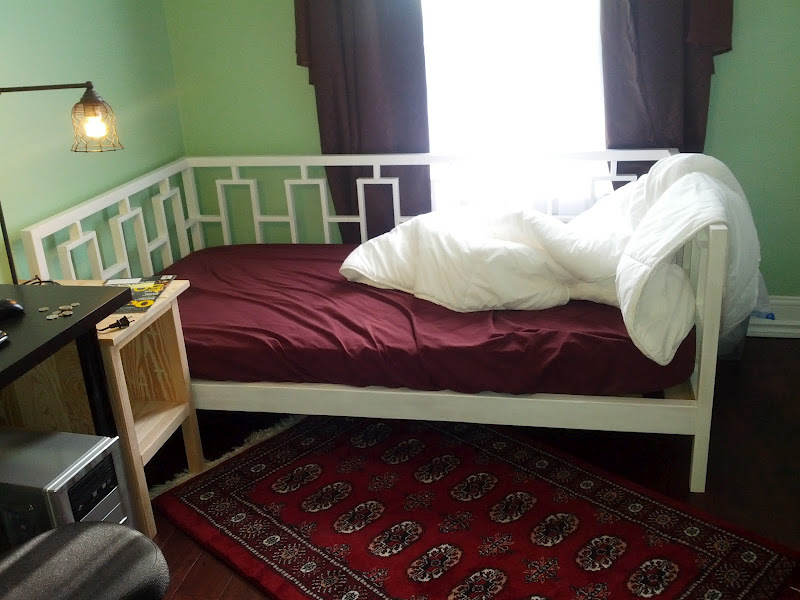
Rectangles Daybed

Submitted by ethidda on Mon, 08/20/2012 - 10:12

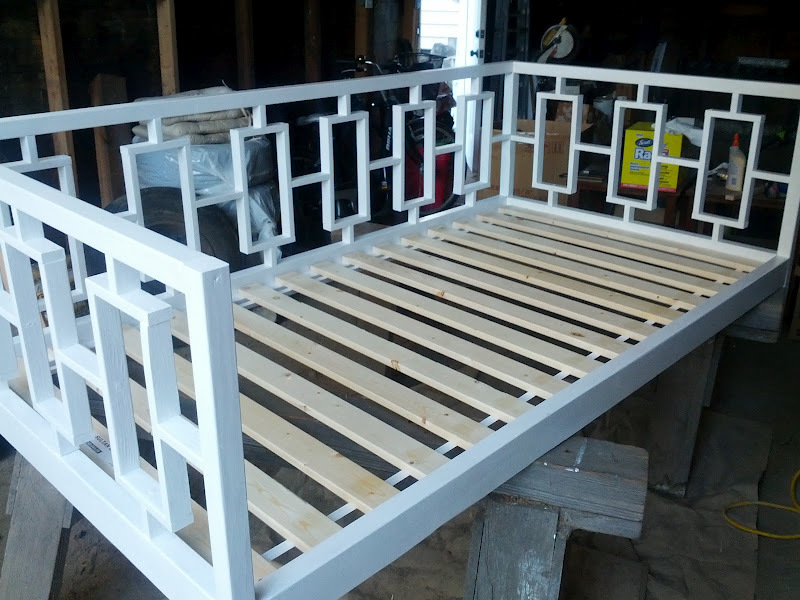
For my first woodworking project ever, I decided to make the Rectangles Daybed. I have not handled a power tool before, except the drill. So, over all, I'm quite happy with the result.

I got odd lot fir, which was more expensive, but prettier and easier to work with. I would probably not do that if I had known I was painting it. I also decided to put in IKEA slats instead of making my own.

I put more details in my blog posts.

Built from Plan(s)
Estimated Cost
$230
Estimated Time Investment
Week Long Project (20 Hours or More)
Finish Used
One coat of primer, one coat of white paint (with very small amount of blue).
Recommended Skill Level
Intermediate

Comments

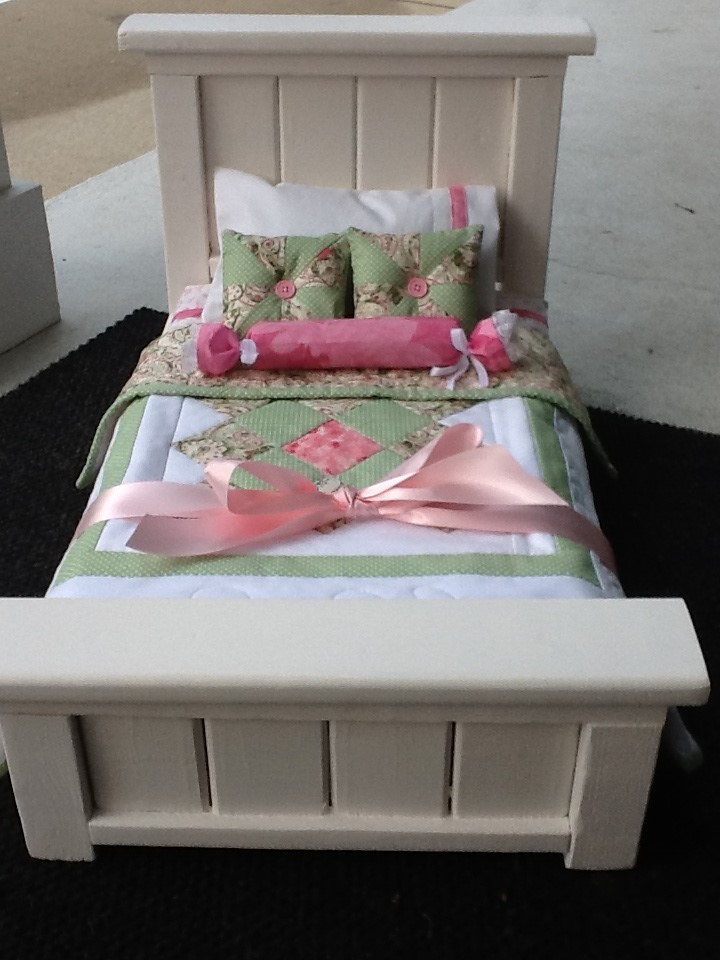
Doll bed

Submitted by Anonymous (not verified) on Sat, 09/10/2016 - 19:25

Can't believe I forgot to share this.  Fixing to make two more!

Recommended Skill Level
Beginner

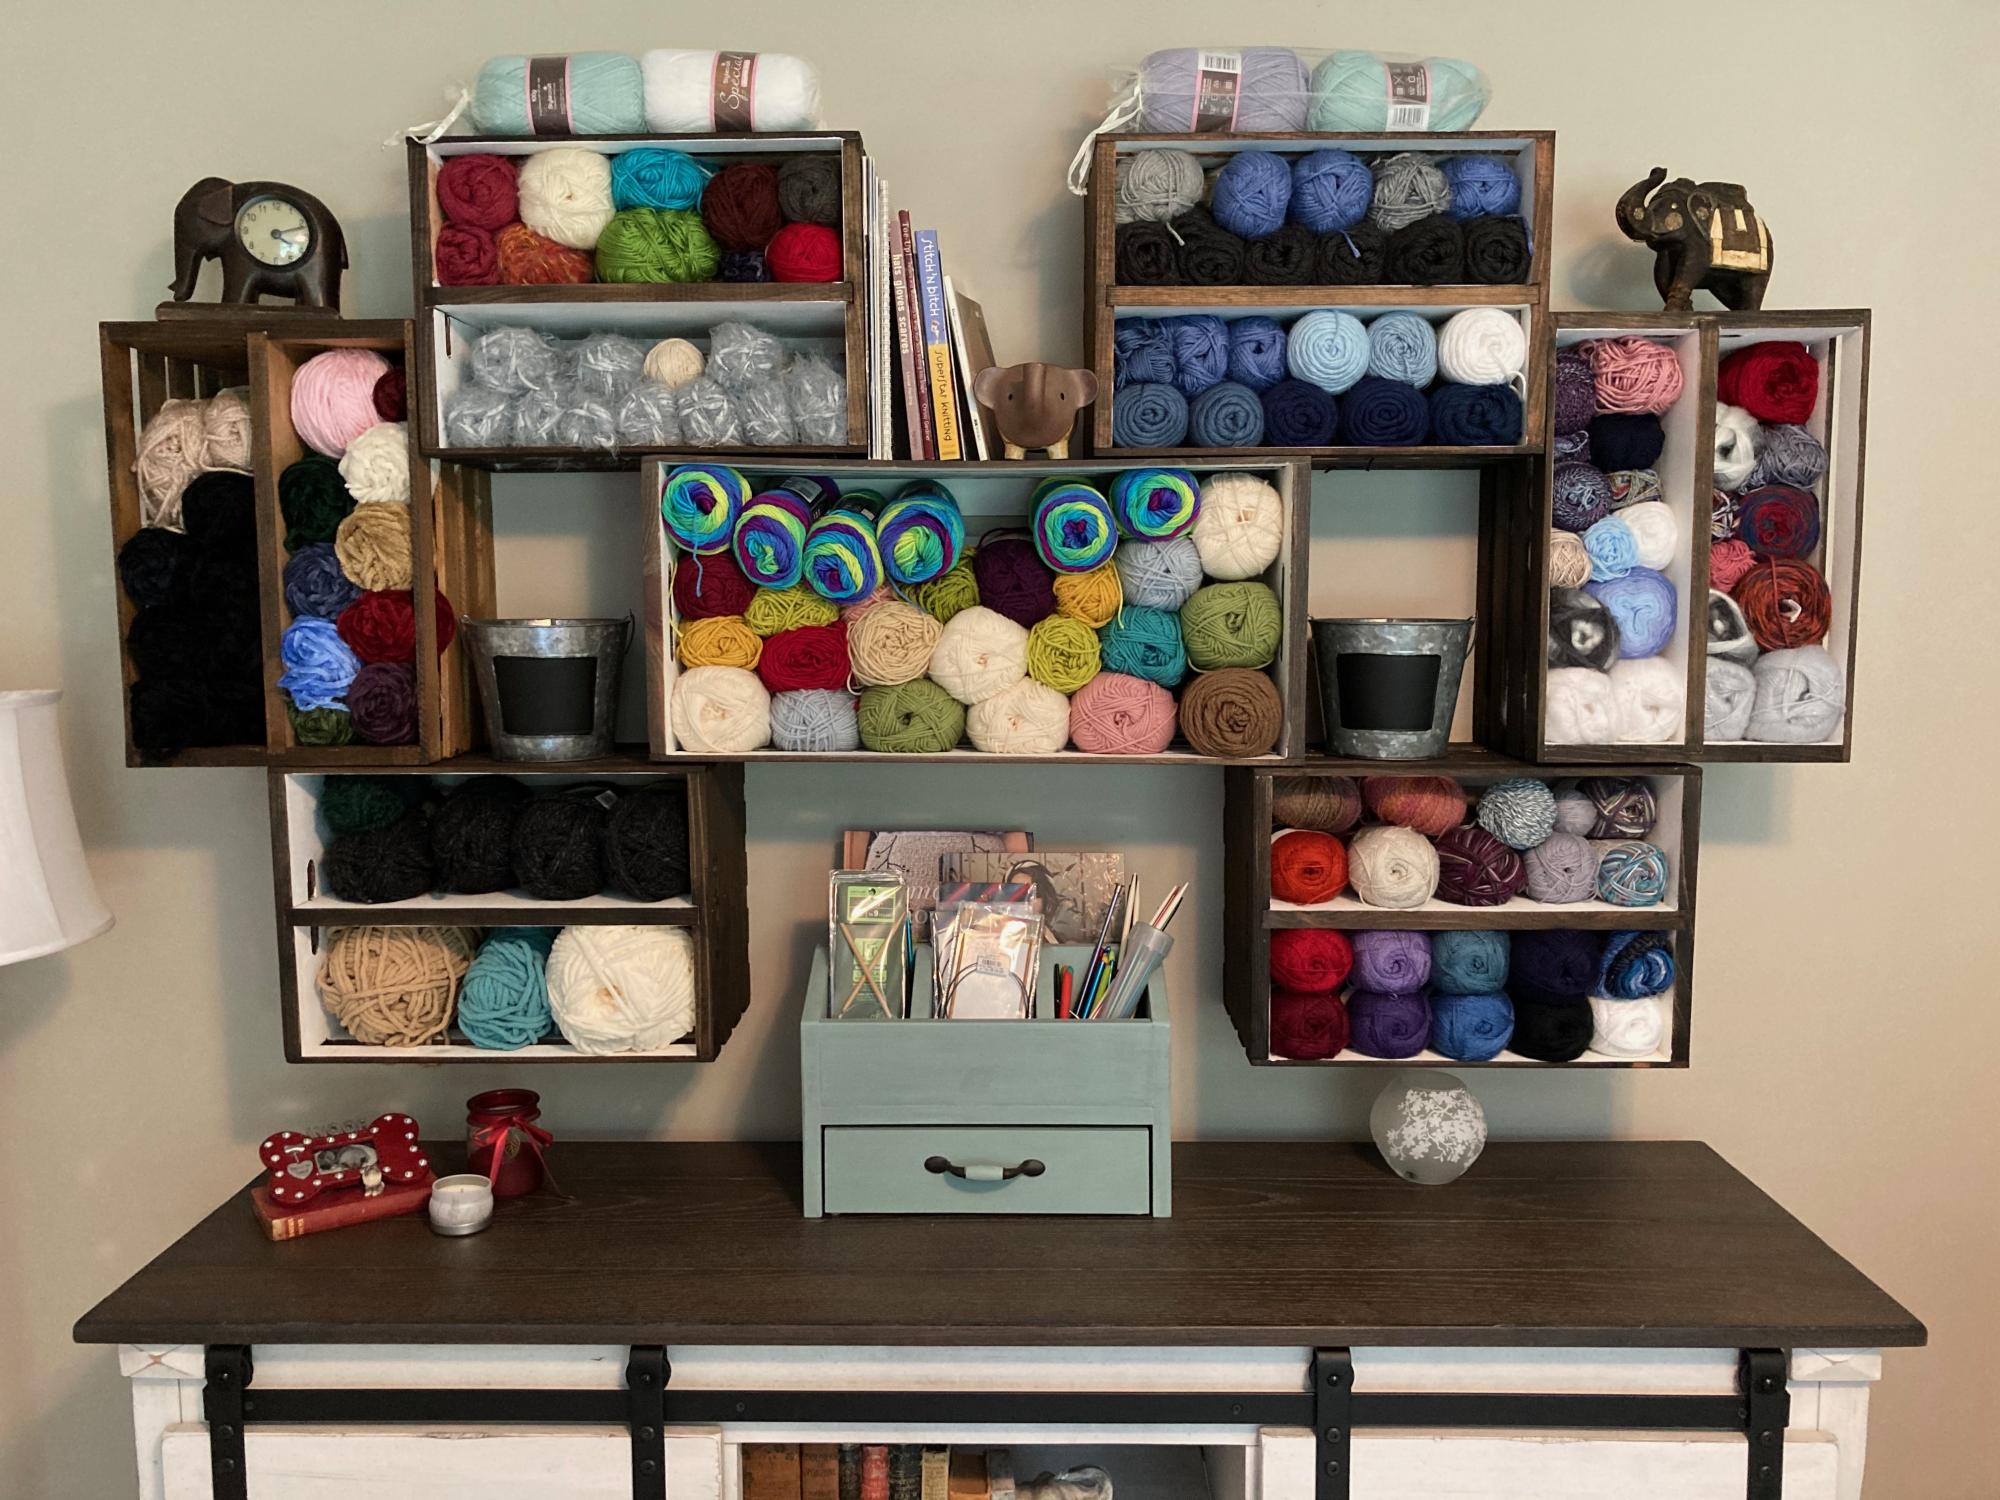
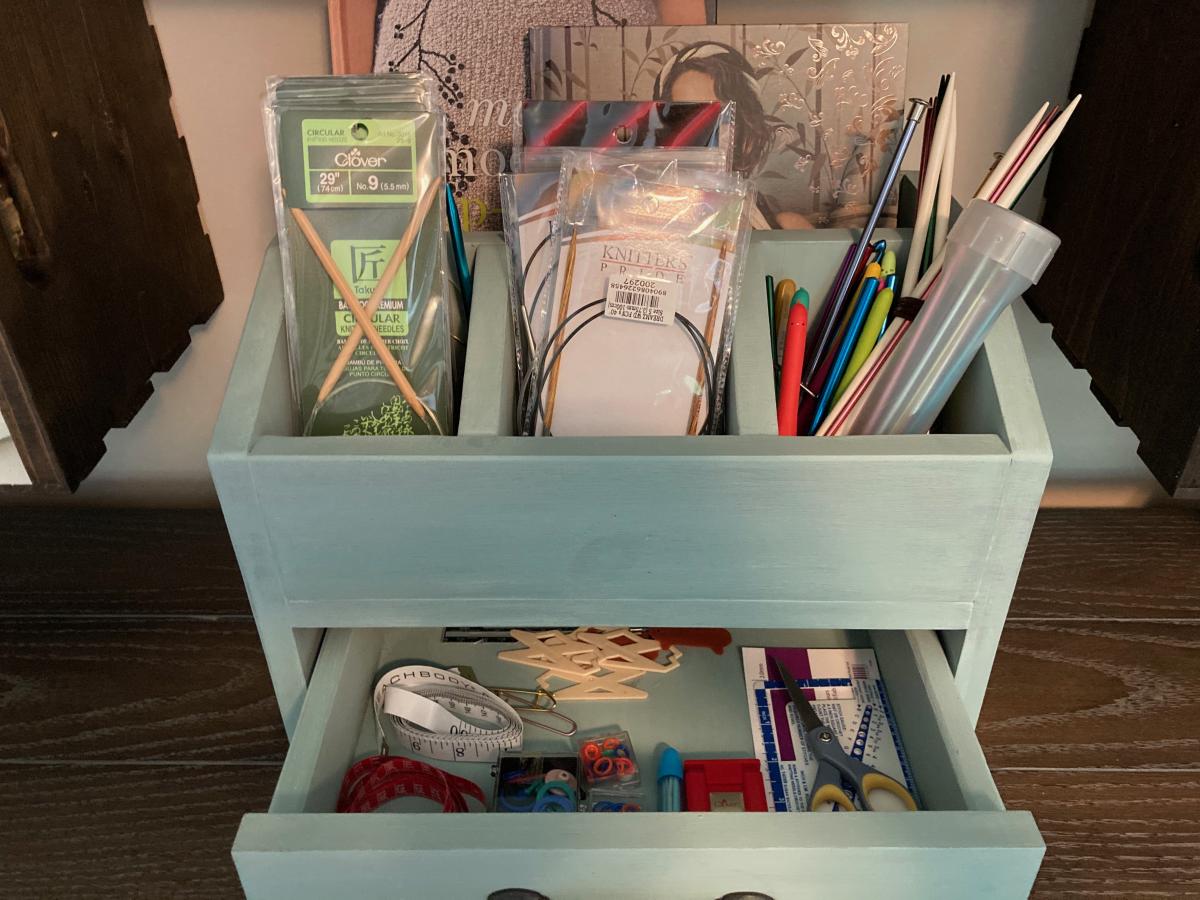
Organizer for knitting needles & crochet hooks

Submitted by Wendy KT on Wed, 06/24/2020 - 13:47

I used Ana and Jaime's desk organizer plans to build this, but I'm using it in my craft room instead for my needles/hooks/small accessories. This plan was part of Ana's Handbuilt Holiday plans found here: https://ana-white.com/woodworking-projects/desktop-office-or-vanity-bea…

Estimated Cost
10.00
Estimated Time Investment
Afternoon Project (3-6 Hours)
Finish Used
Duck egg blue chalk paint and clear wax.
Recommended Skill Level
Beginner

Farmhouse Table

Submitted by jwerne2 on Thu, 08/23/2012 - 09:37

We decided to build the Farmhouse Table after our 30 year old dining table began to crack and just wasn't working so well for our family of 5. This was our first project, so we made a lot of mistakes but also learned a lot. One of the hardest things was finding decent lumber that wasn't warped or split. We also made two Farmhouse Benches but they aren't included in this photo.

Estimated Time Investment
Weekend Project (10-20 Hours)
Finish Used
Minwax Special Walnut
Recommended Skill Level
Beginner

Pottery Barn benchwright TV stand

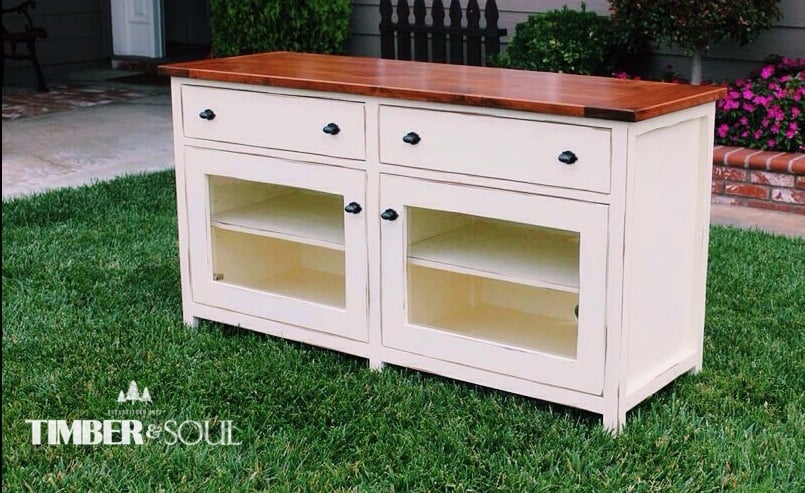
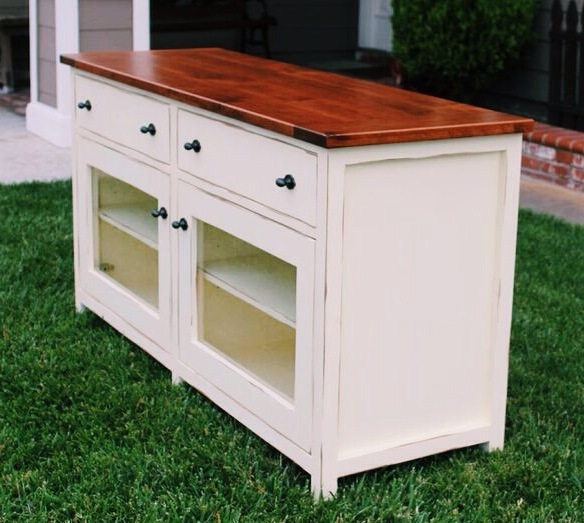
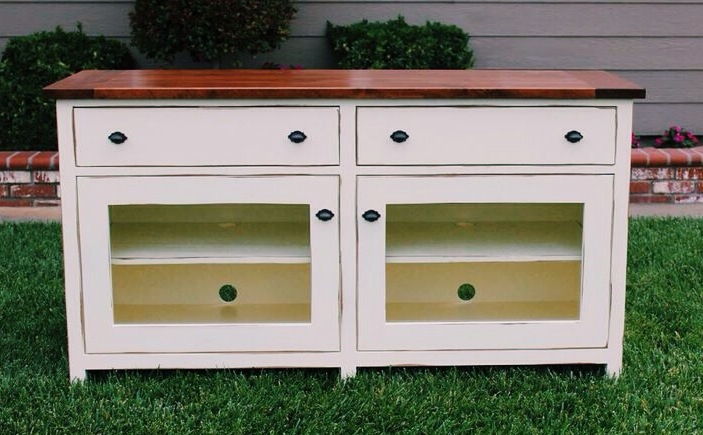
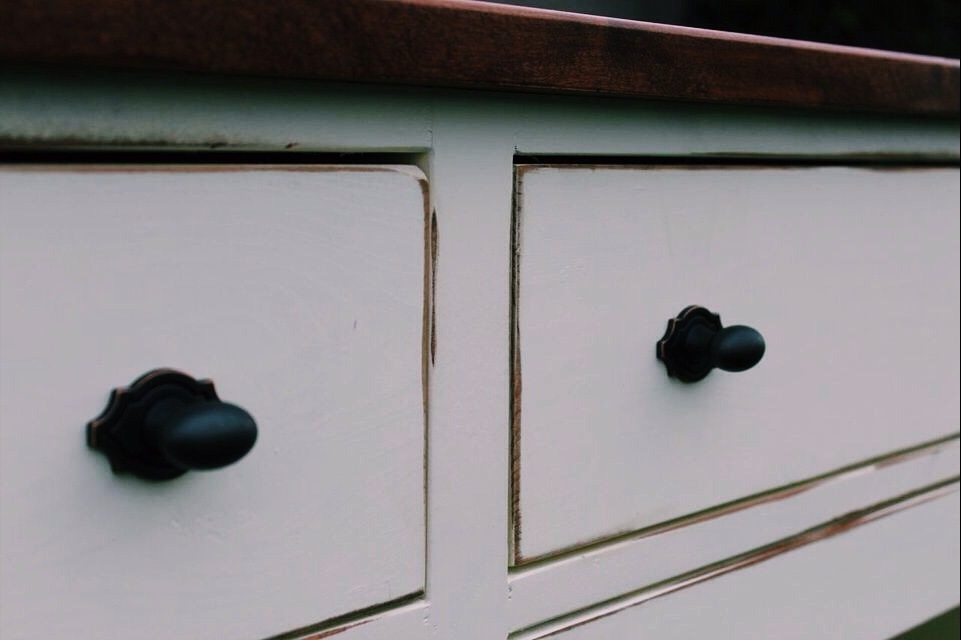
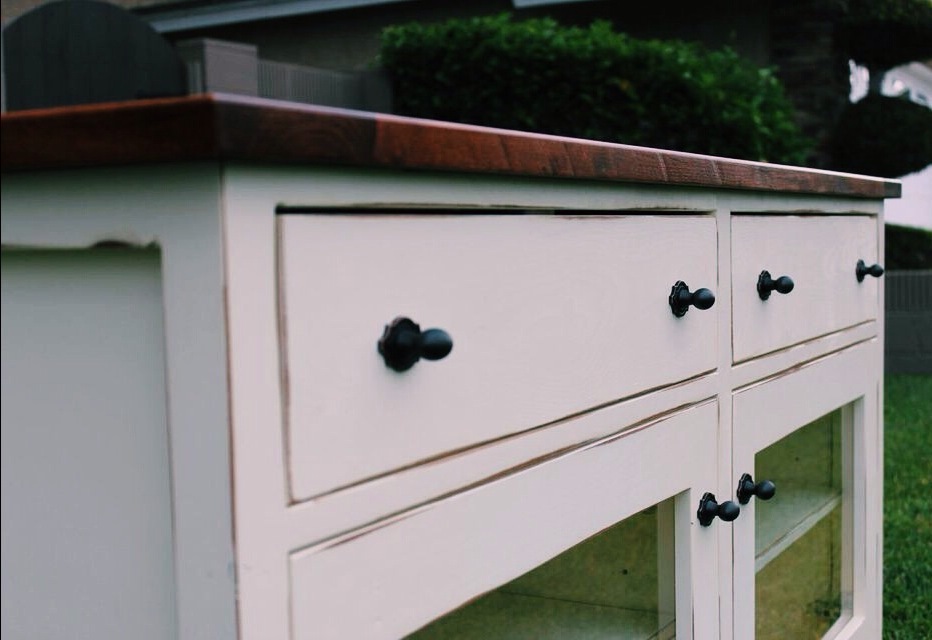
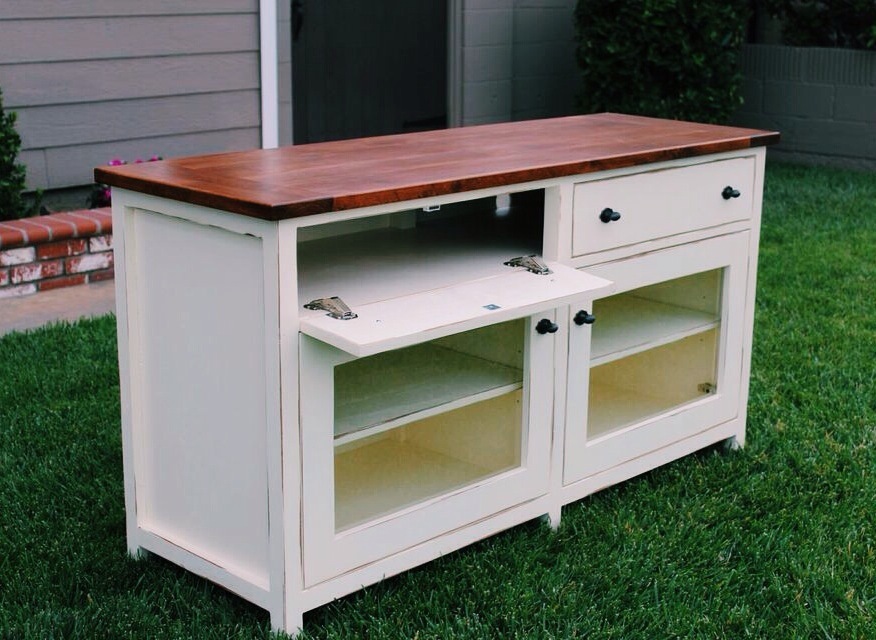
I altered the dimensions from the plans slightly to meet my needs. I added self-closing, heavy duty hinges for the doors because a basic euro- hinge from home depot would not hold the weight of the doors with glass. For the finish, I sanded the edges slightly after painting and used a minwax stain maker to stain the sanded areas giving a clean, distressed look. I used gel stain for the first time on this build. Softer woods such as pine or alder are prone to blotchy finishes when stained. I built the top out of Alder and stained it with gel stain from general finishes. I am very happy with how the top turned out after using the gel stain. I did not have to use a pre-stain conditioner either.

Built from Plan(s)
Estimated Cost
$230.00
Estimated Time Investment
Week Long Project (20 Hours or More)
Finish Used
Crème brulee by Behr, Nutmeg gel stain by General finishes
Recommended Skill Level
Intermediate

Grandy sliding door console

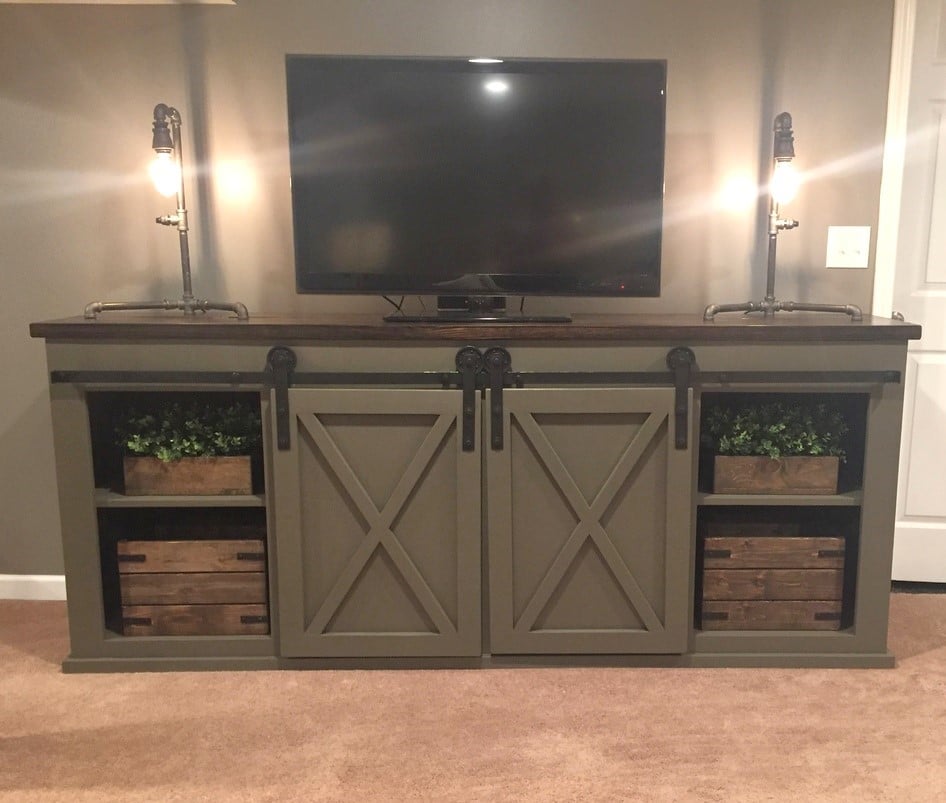
We needed a new TV stand, so me and my boyfriend picked out this plan. We worked on it together. It took us about a week. Barn door hardware is pricey, so we made our own hardware with steel stock and garage door pulleys.

Built from Plan(s)
Estimated Cost
$250-300
Estimated Time Investment
Week Long Project (20 Hours or More)
Finish Used
Dark walnut top
"Porpoise" by Sherwin Williams for base
Recommended Skill Level
Intermediate

Comments

Inspiring First Woodworking Project

Submitted by WomanPower on Sat, 06/27/2020 - 21:52

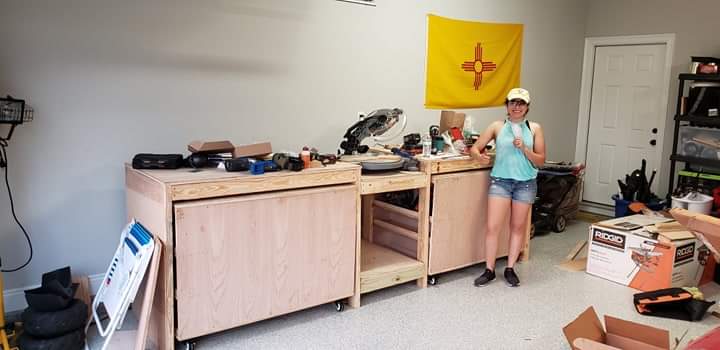
**From a Woodworker First Project Perspective**

Power Tools: I used a circular saw (Ridgid, lifetime warranty) for all of my cutting because it was the easiest tool to use once I got into a rythem for cutting plywood and other materials.

Other helpful tools: I had 2 height adjusting saw horses that made it easy on my back made by Kobalt. There were some mistakes in the beggining with keeping the lines straigt but a circular saw track (kreg) easily fixed that problem for most of the cutting. After awhile it got easier to steadily cut following a drawn line with no track (hubby was impressed). Overall, this project was a process of trial and error but I learned from every hiccup along the way. Next up, chicken coop... :D

**How It All Started**
While deployed I had a lot of time to imagine my very own personal workspace to complete DIY projects and when I saw this design I could not wait to get home and begin my new hobby. This project inspired me to really get serious about woodworking. Never in my life had I ever built anything from plywood and 2x4s, much less had I ever used a circular saw. I'm proud of myself for completing this from start to finish as a first project. Thank you Ana!

Peace and Blessings,
WP

Estimated Cost
420
Estimated Time Investment
Week Long Project (20 Hours or More)
Recommended Skill Level
Beginner

Wall Jewelry Cabinet

Submitted by jlabis on Sat, 08/25/2012 - 08:57

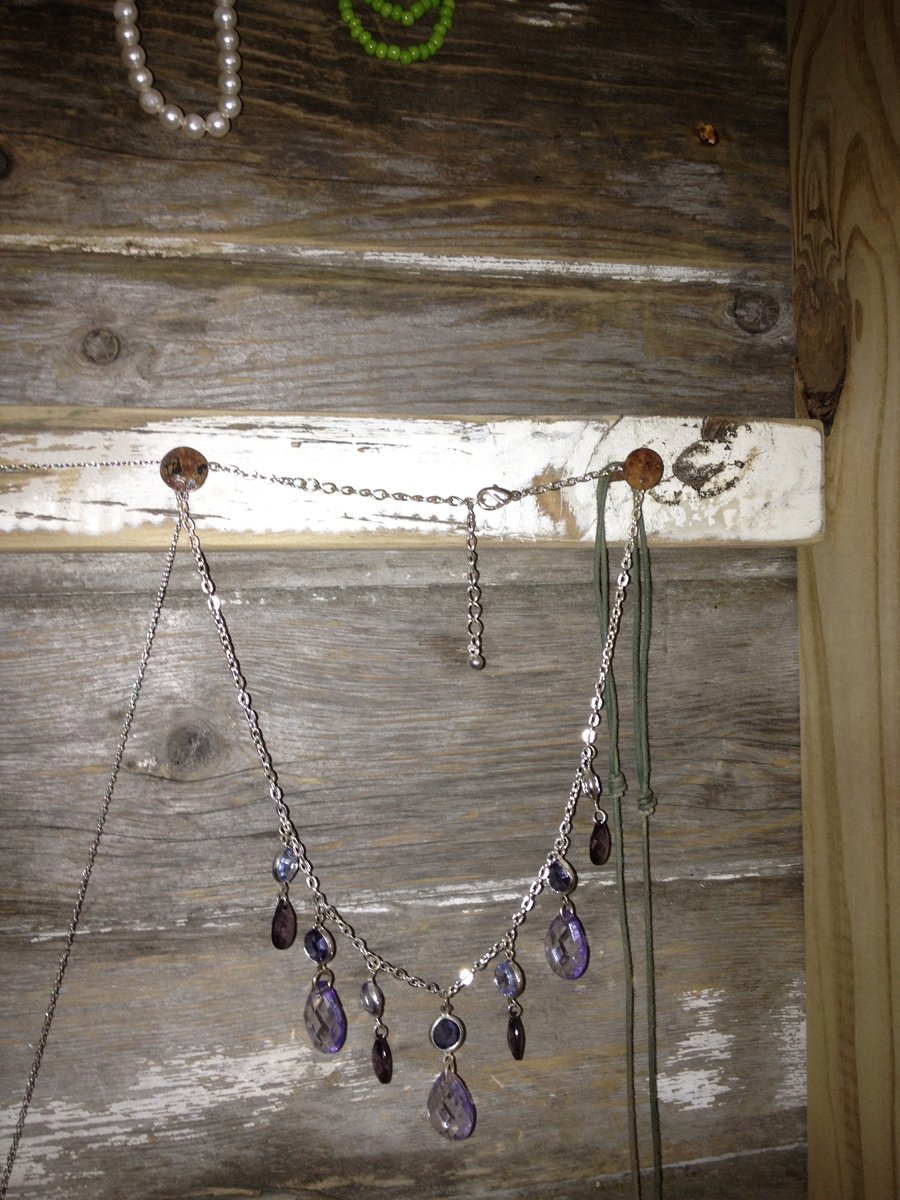
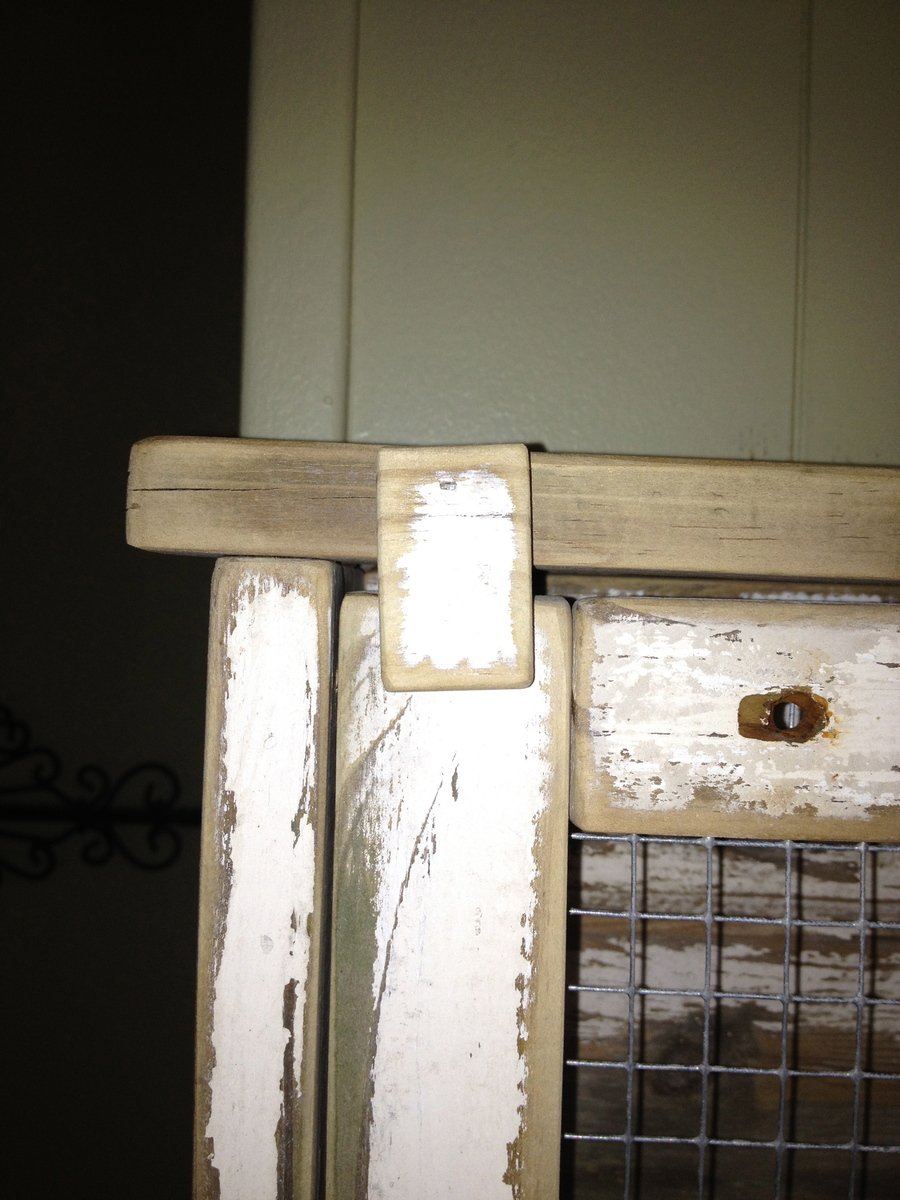
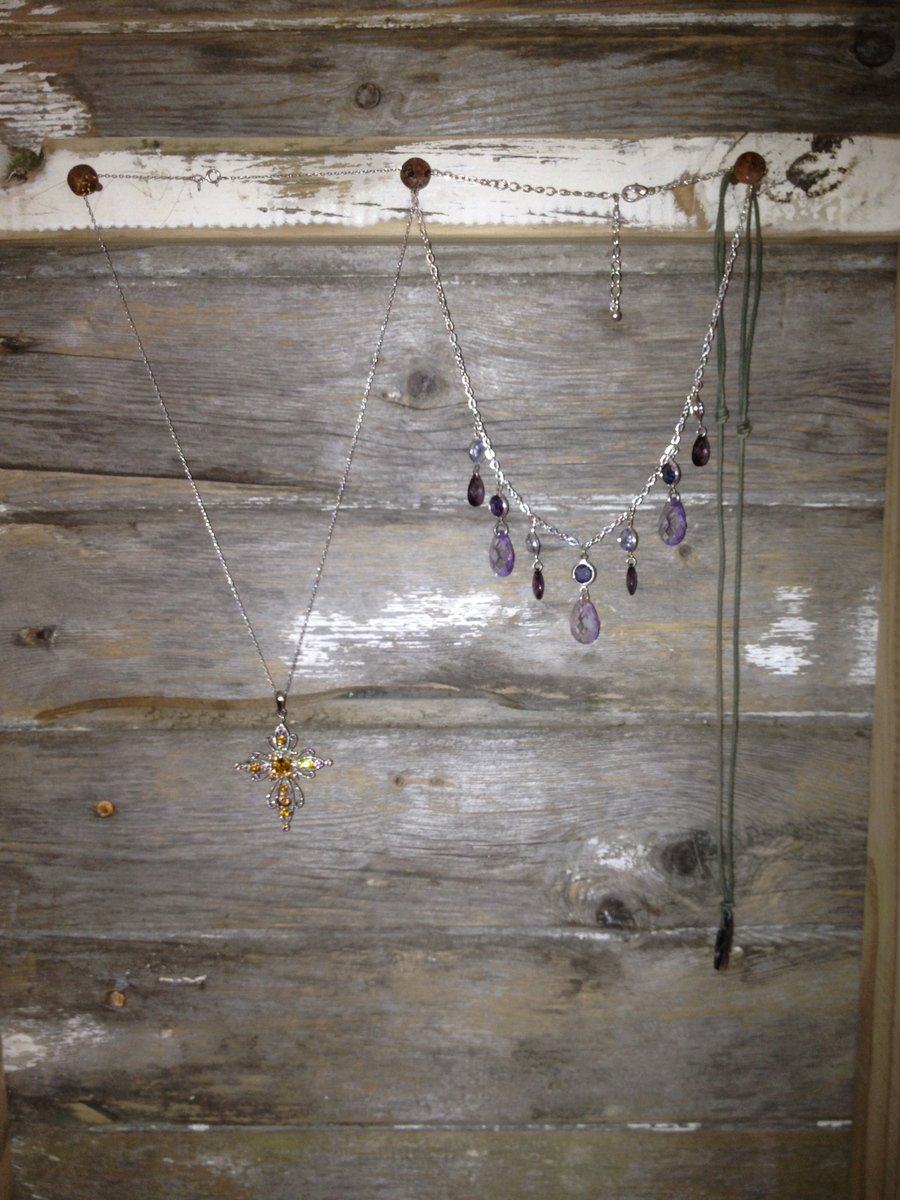
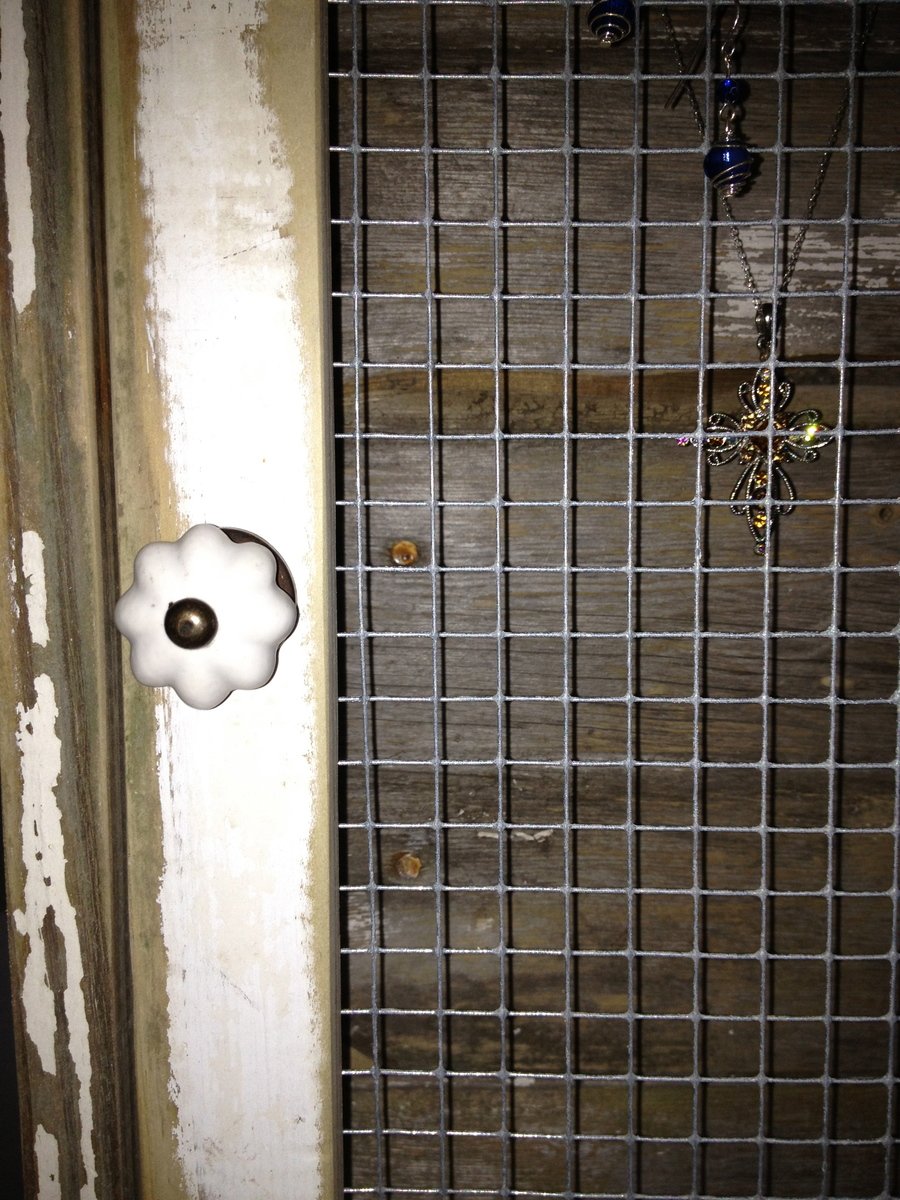
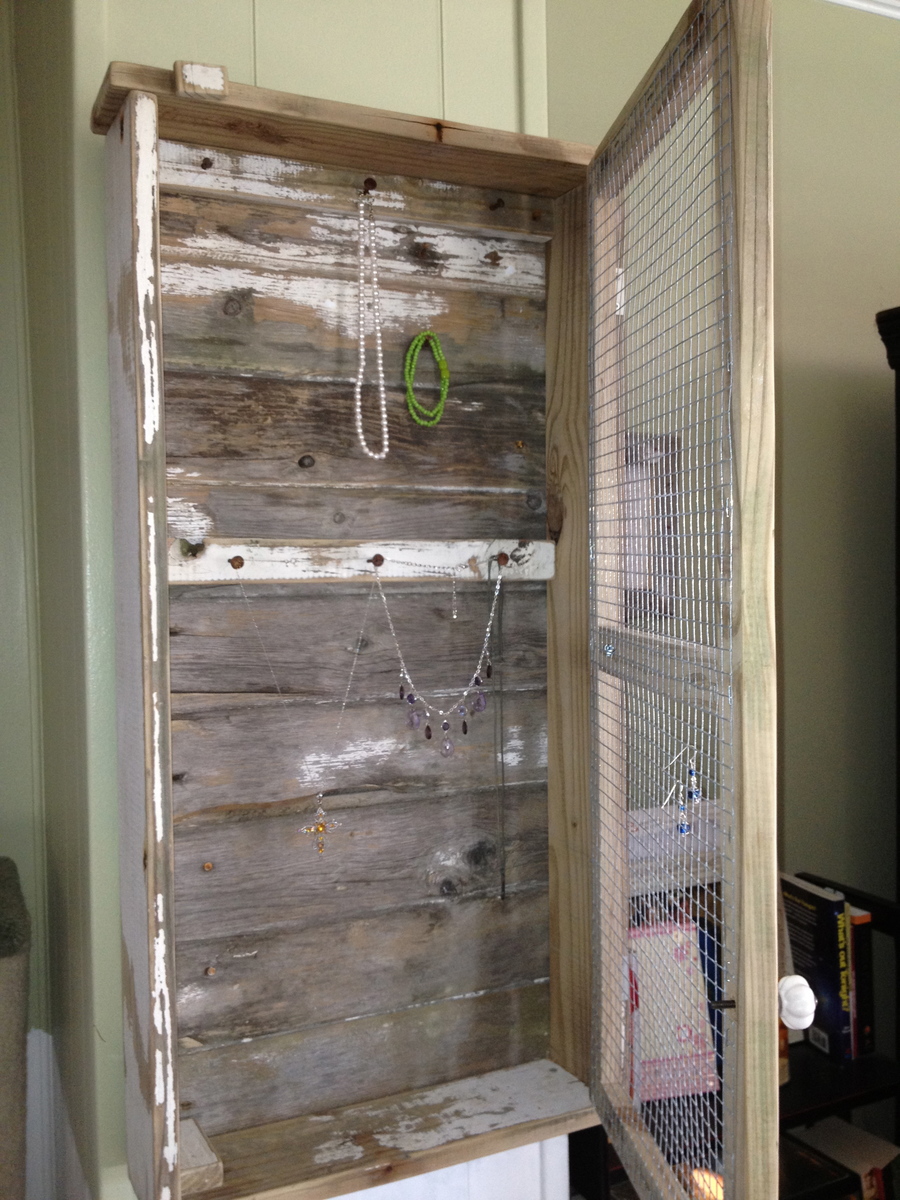
I used the wall jewelry cabinet plan and modified it a bit to fit the materials that I already had in the garage. The whole project was built using salvaged barn wood and siding that was built in the 1800's. It took a little longer to square up the boards and sand them to a friendly feel but I had little to no finishing time in the end. The plans were so spot on that used them almost exactly.! I just added another cross support to the door and used old barn wood tongue and groove for the back. I also fastened a little piece of wood at the top of the door with one brad nail. I did this to keep the door shut in a more attractive way then a clasp or hasp. The little piece swings out of the way with ease. I bought the knob at hobby lobby for 2 dollars and the hinges were less than 2 dollars. The hardware cloth came in a roll that was 24 inches by 25 feet long for 10 dollars. Basic wood working knowledge and tools are super helpful with this project and as is stated in the original plans... a kreg jig makes it so much faster and easier.! Thanks so much for sharing!!

Estimated Cost
about 14 dollars including the hardware cloth.
Estimated Time Investment
Afternoon Project (3-6 Hours)
Finish Used
Just cleaned the wood with compressed air and sanded to a friendly feel being carful not to kill the old look. Thats the only advantage to using old wood... the finish time is short but the prep time is a little more involved.
Recommended Skill Level
Intermediate

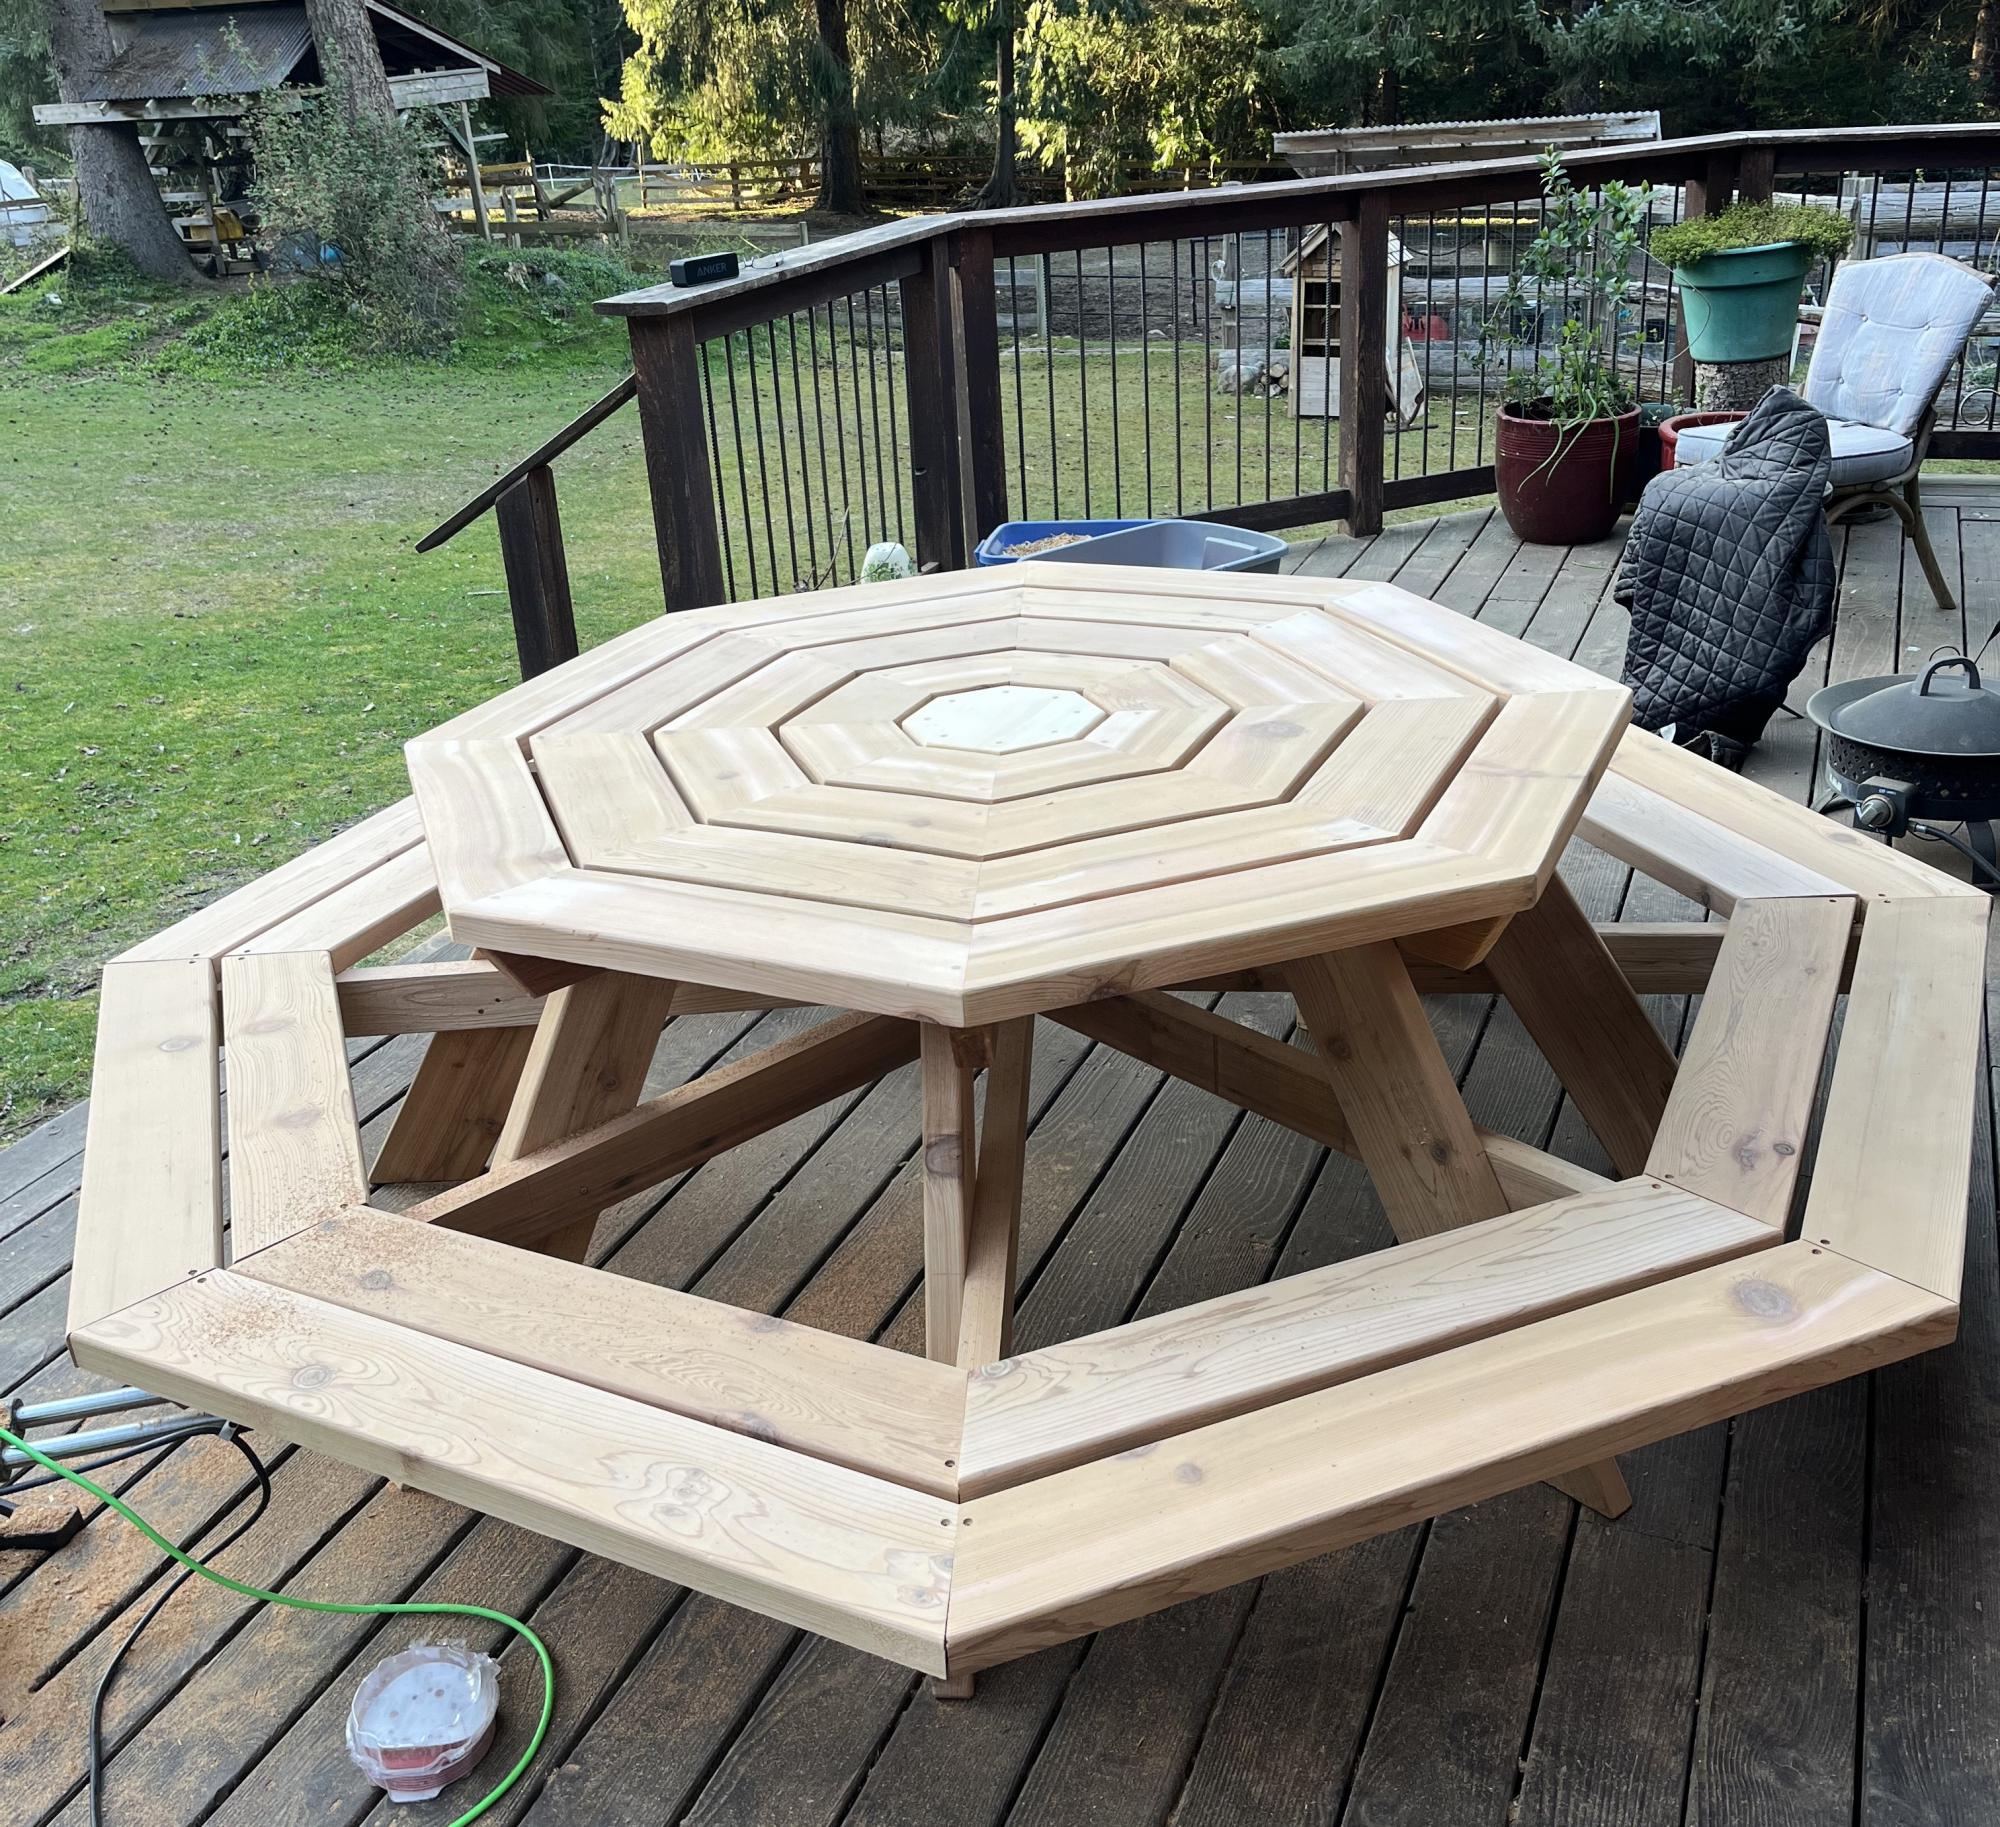
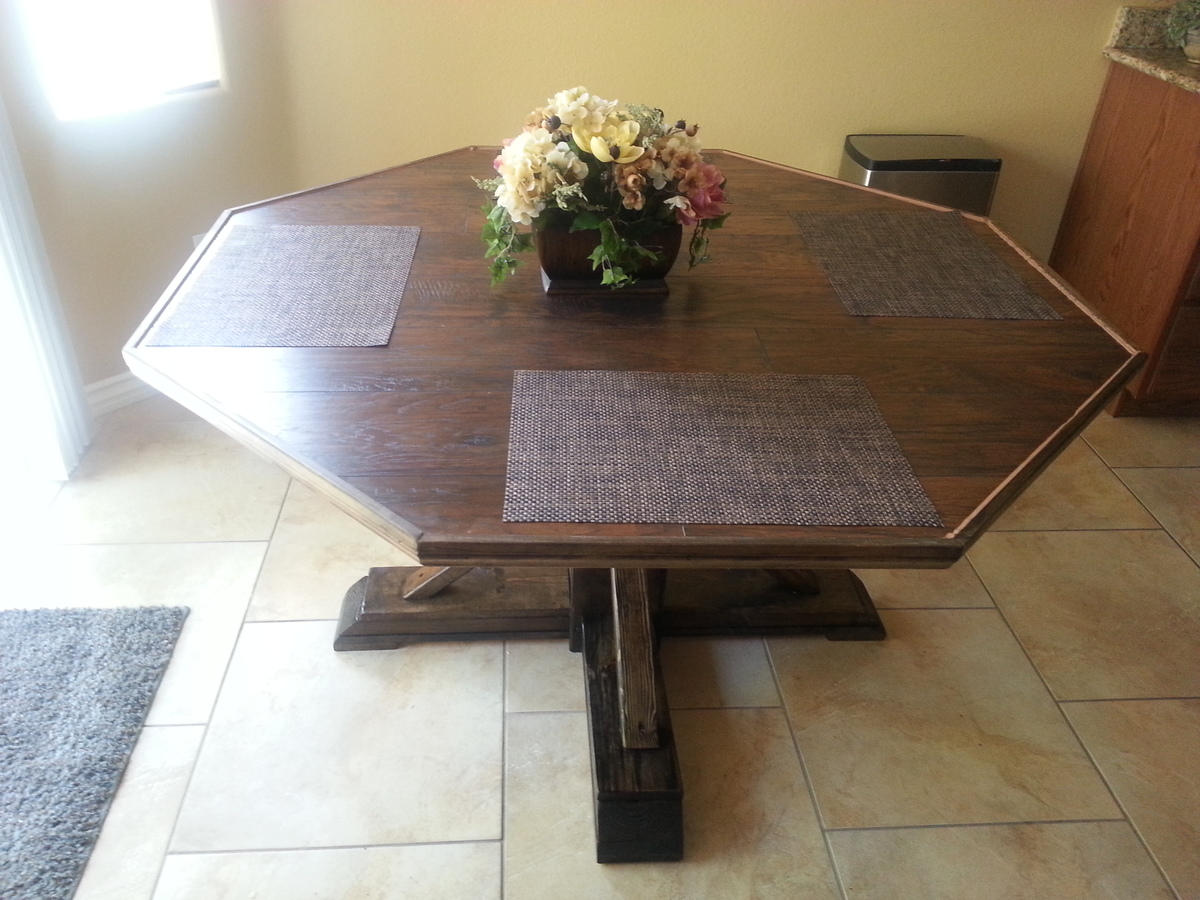
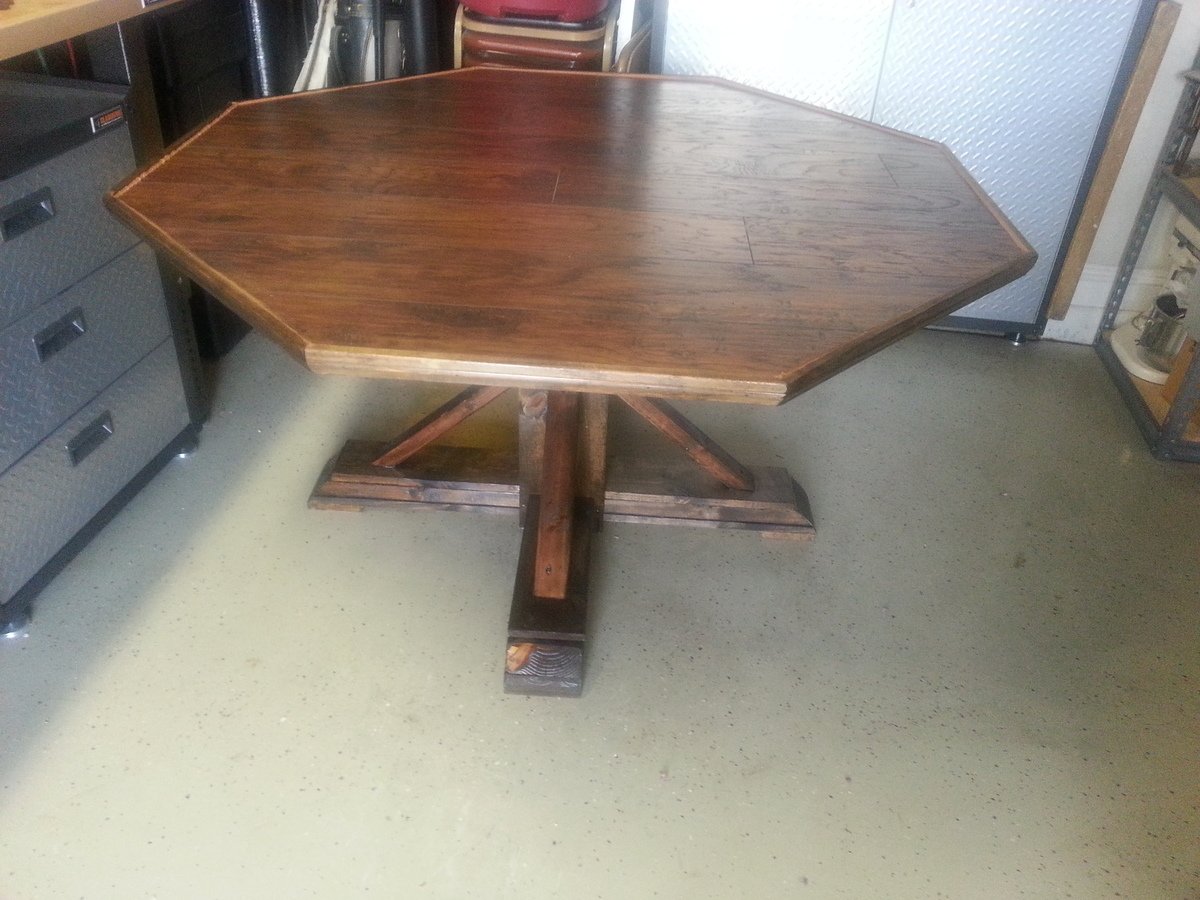
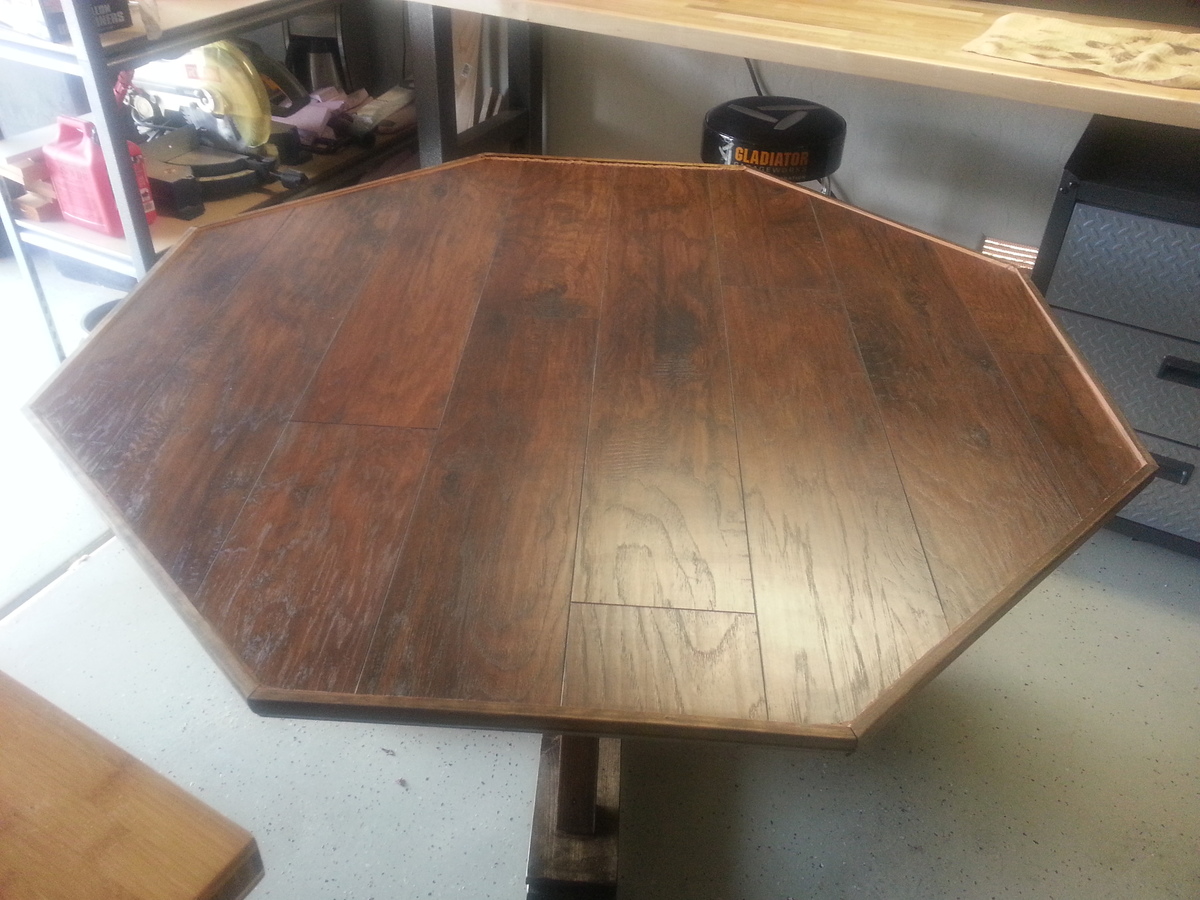
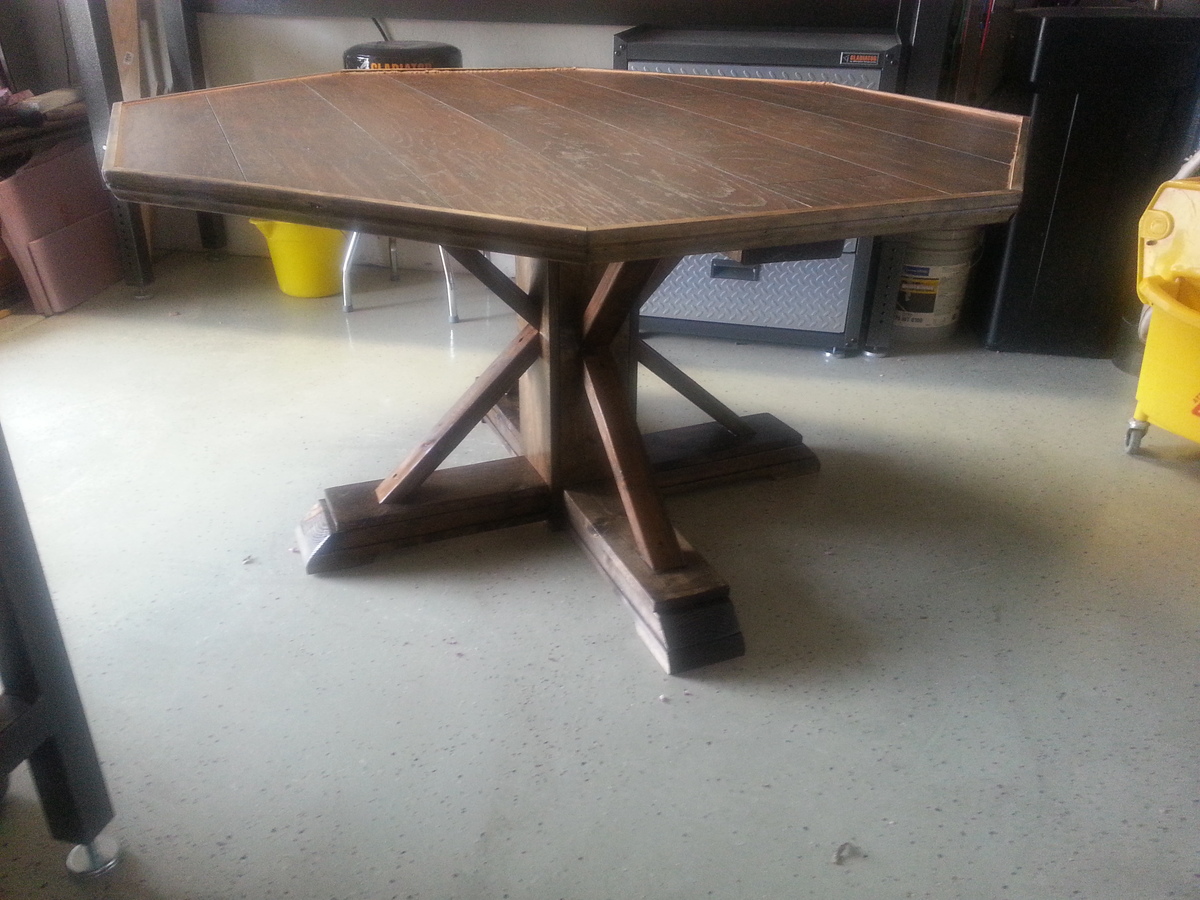
Octagon Kitchen Table

Submitted by rmaenza on Tue, 06/17/2014 - 22:44

I used Ana's plans and modified the top, I used 3/4 MDF with hardwood flooring. I then used 2" door casing for edging.

Estimated Time Investment
Week Long Project (20 Hours or More)
Finish Used
Minwax Dark Walnut with a Spar Urethane finish.
Recommended Skill Level
Intermediate

Comments

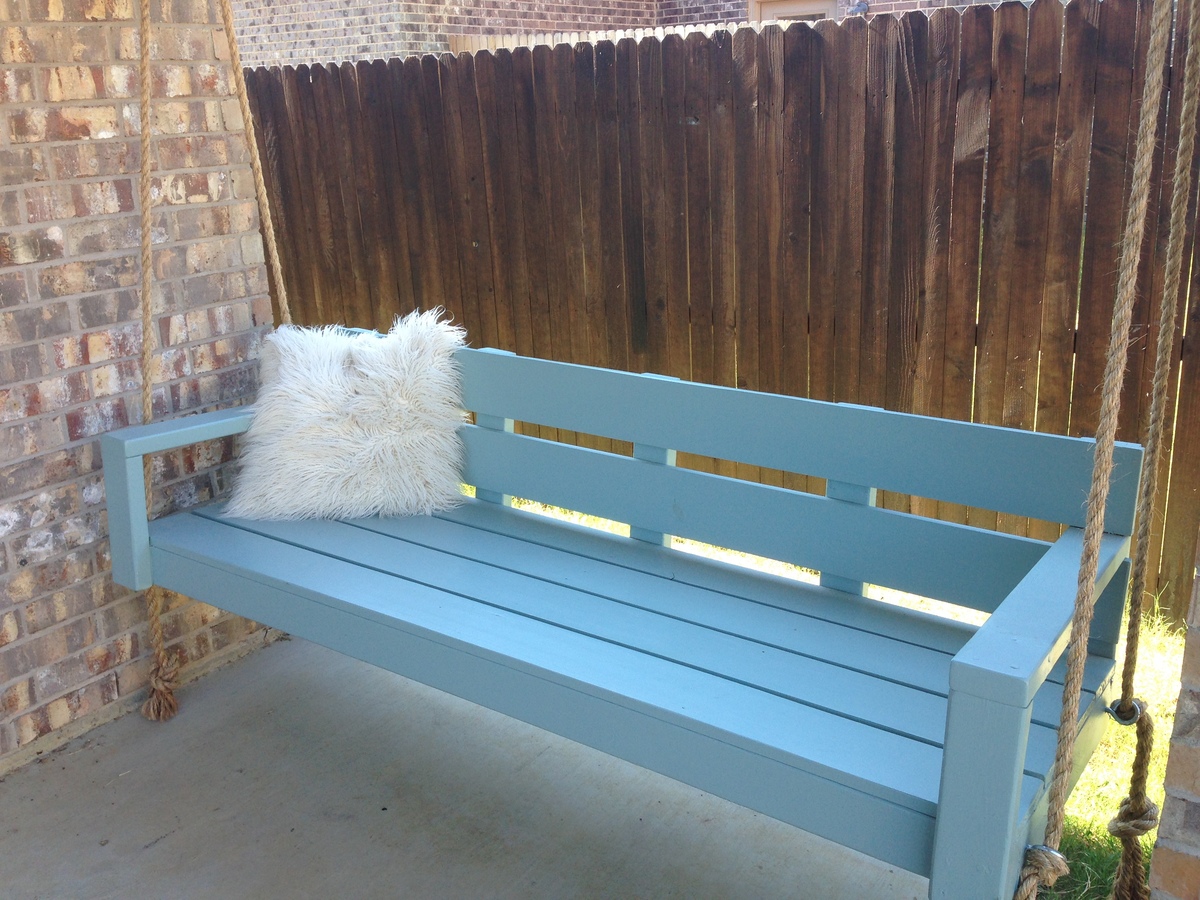
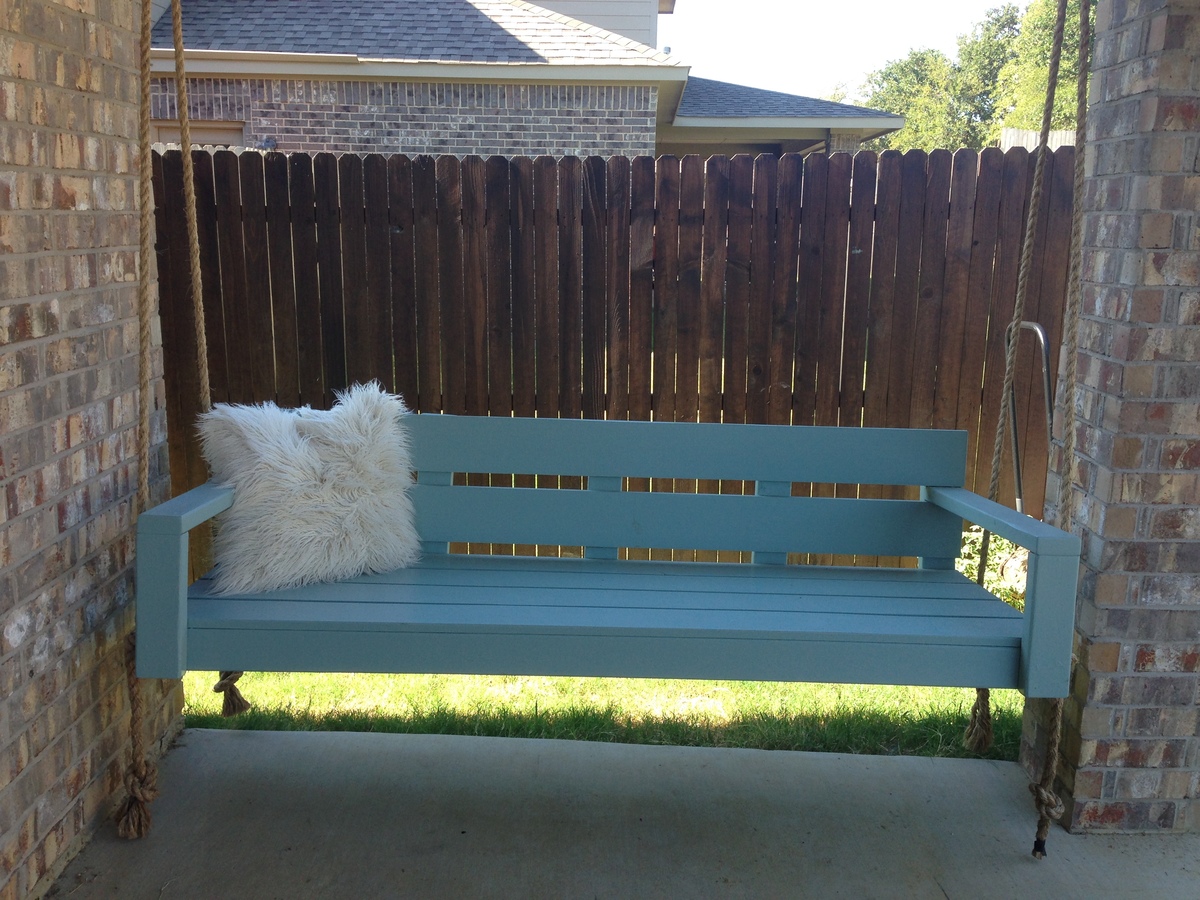
Modern Porch Swing squeezed into suburban porch

Submitted by Anonymous (not verified) on Sat, 09/17/2016 - 08:24

This is a super easy build, but it cost us WAY more than the estimate. By the time we painted and hung it the total was closer to $150. 


We we squeezed the swing into the crack between the pillar and wall of my back porch. It barely fit, but we are a family of six so I wanted it to be as big as possible. 

Built from Plan(s)
Estimated Cost
$150
Estimated Time Investment
Day Project (6-9 Hours)
Finish Used
Paint
Recommended Skill Level
Beginner