Community Brag Posts
Upholstered bench
I loved working on this easy upholstered bench. It was so much fun and so simple. I followed the plan except I raised the bench to 20 inches, because my husband and I are quite tall. I also wrapped the fabric underneath about 1/2 inch and stapled it so it has a tighter look. Thanks for the plans Ana!
Comments
Wed, 10/26/2011 - 05:57
That is so cute, you picked a
That is so cute, you picked a tricky fabric with the lines!
Media Center
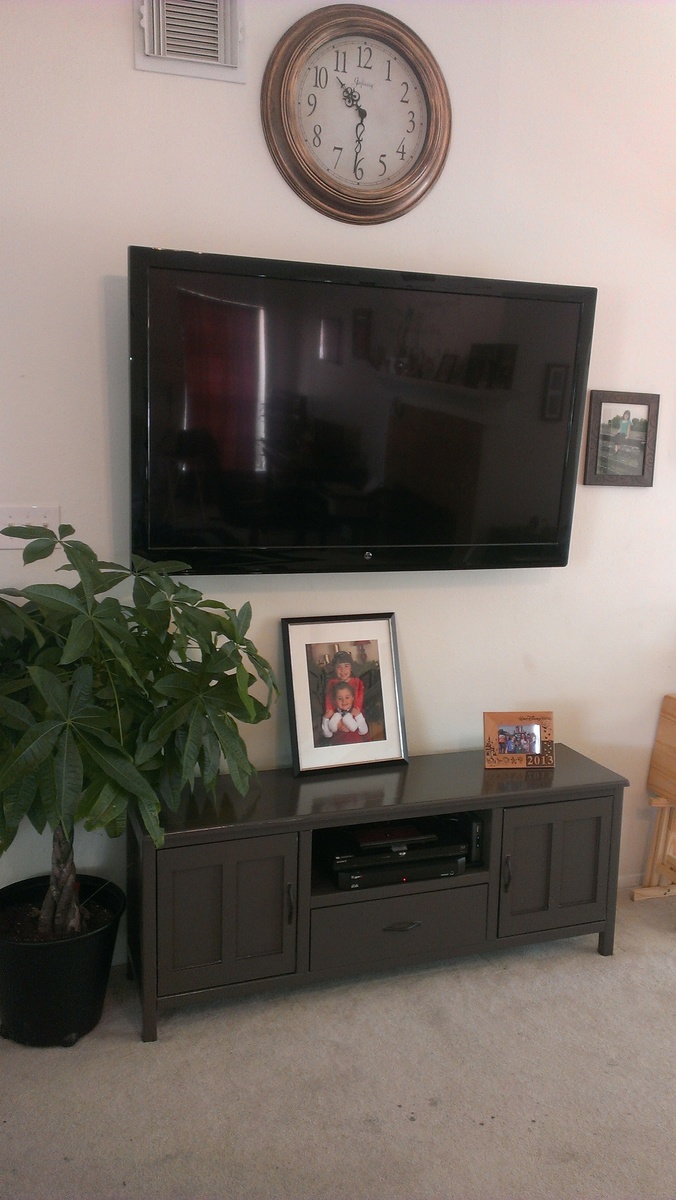
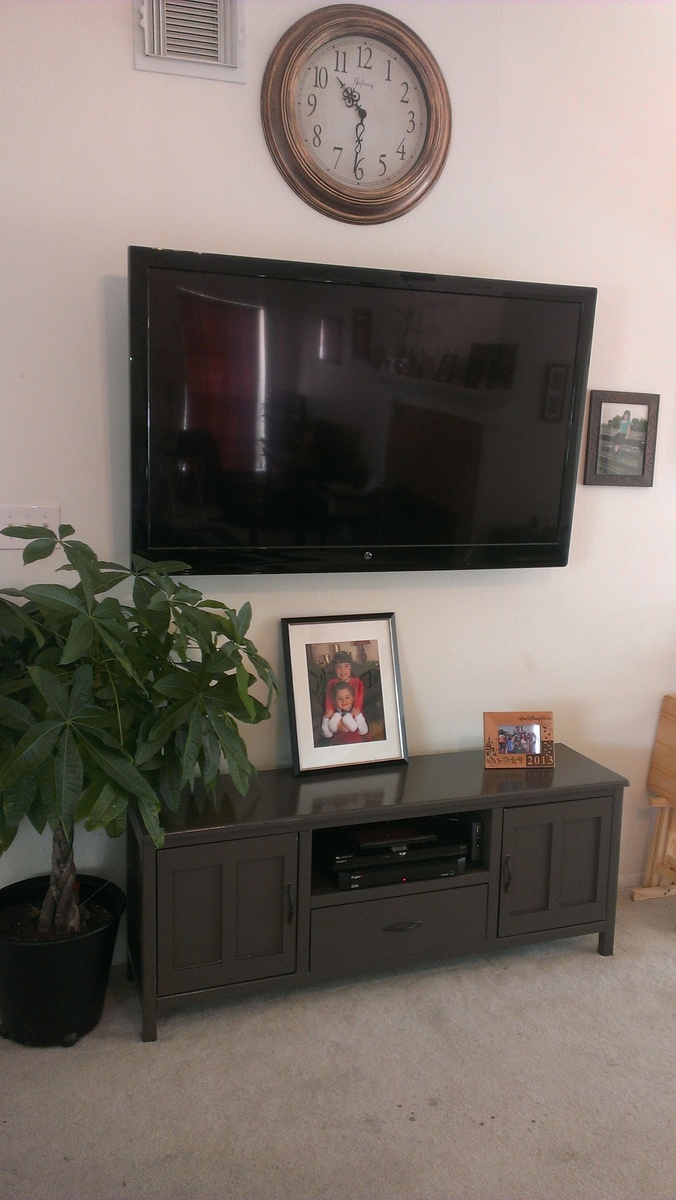
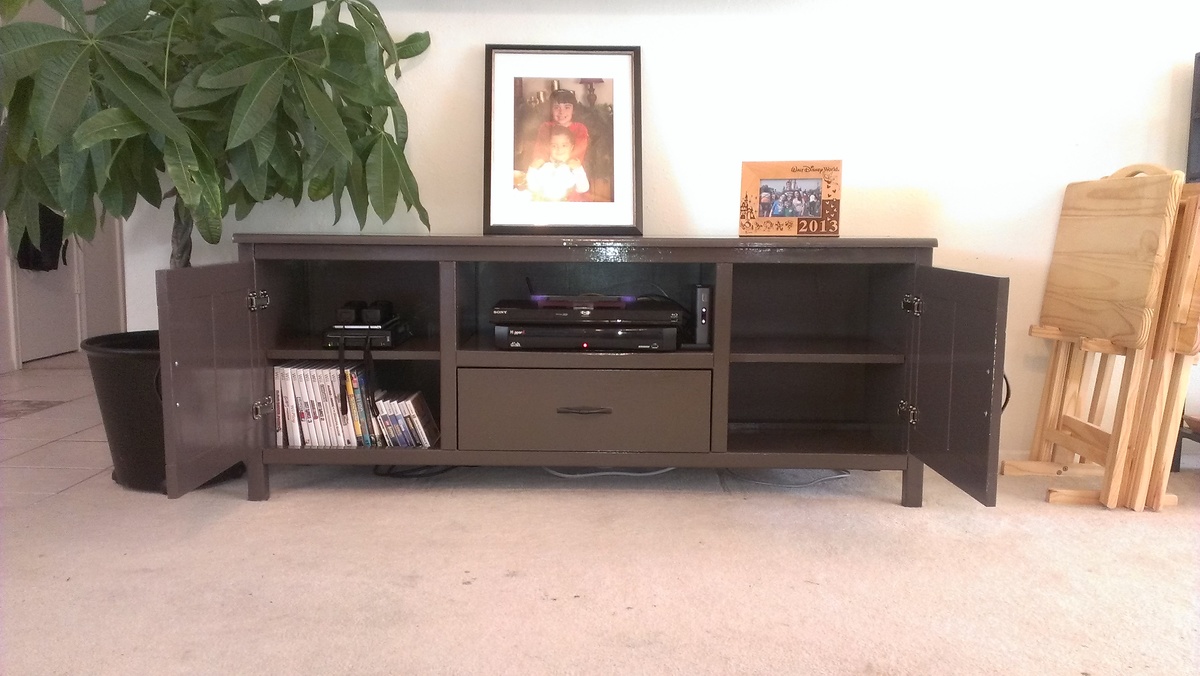
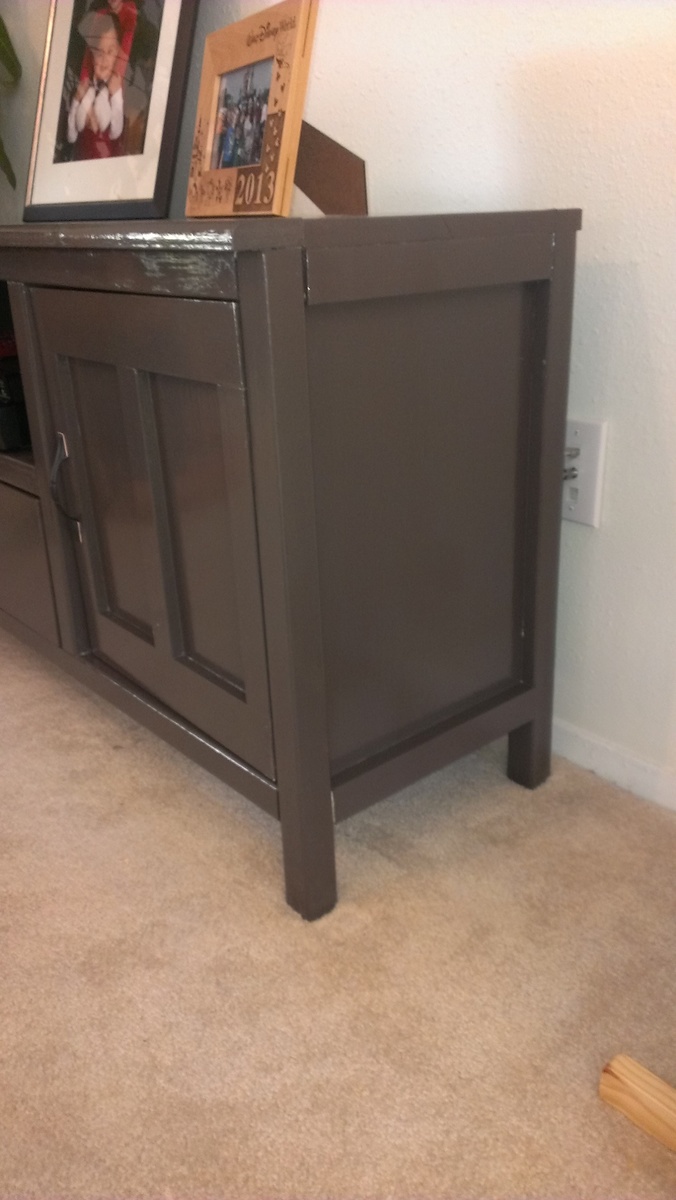
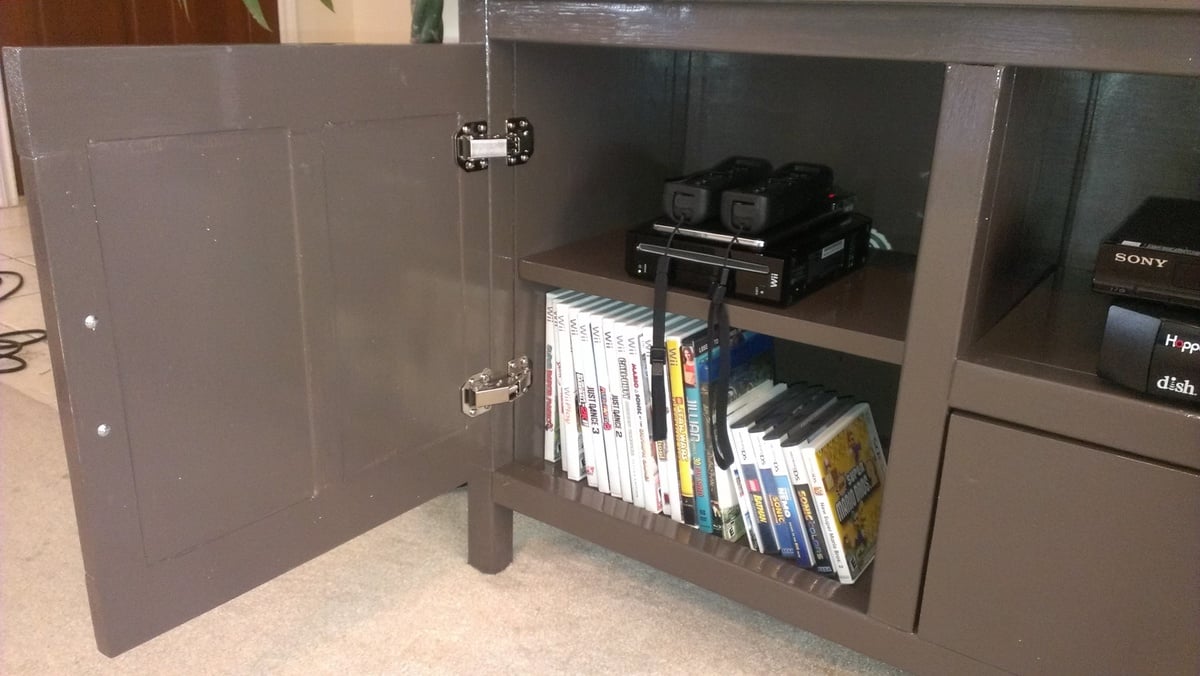
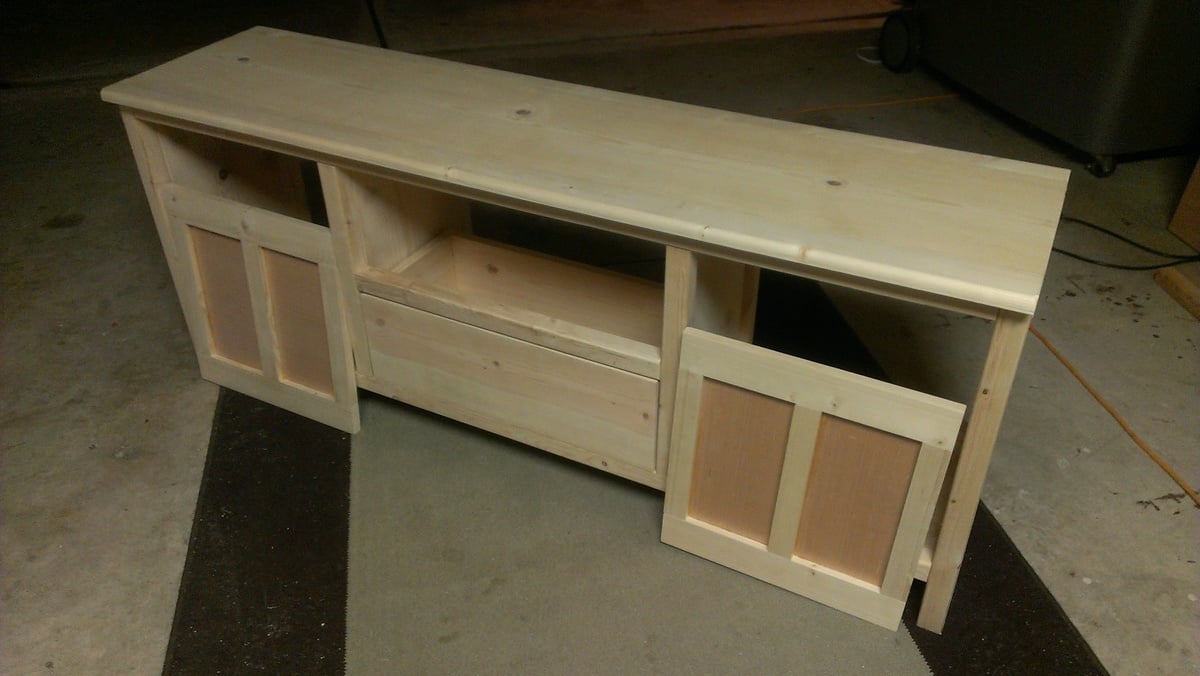
I had a ton of fun making this media console! It is my second big project, and I would still consider myself a beginner, but I paid very close attention to detail and I think it turned out great!
I stretched the console out by about 4 inches, so that if I ever decide to put my TV on it, it will fit.
Thanks Ana for your great website!
Sliding Barn Door Media Cabinet
Thank you so much for the plans! Very excited for how it turned out!
Comments
Sat, 01/06/2018 - 18:52
Mini barn doors
I have built the cabinet part of the sliding barn door cabinet. I am trying to build the doors out of the 1/2” plywood for the back as suggested. The plywood is warping and I am not sure what options I have to salvage the plywood.
Rustic shelves
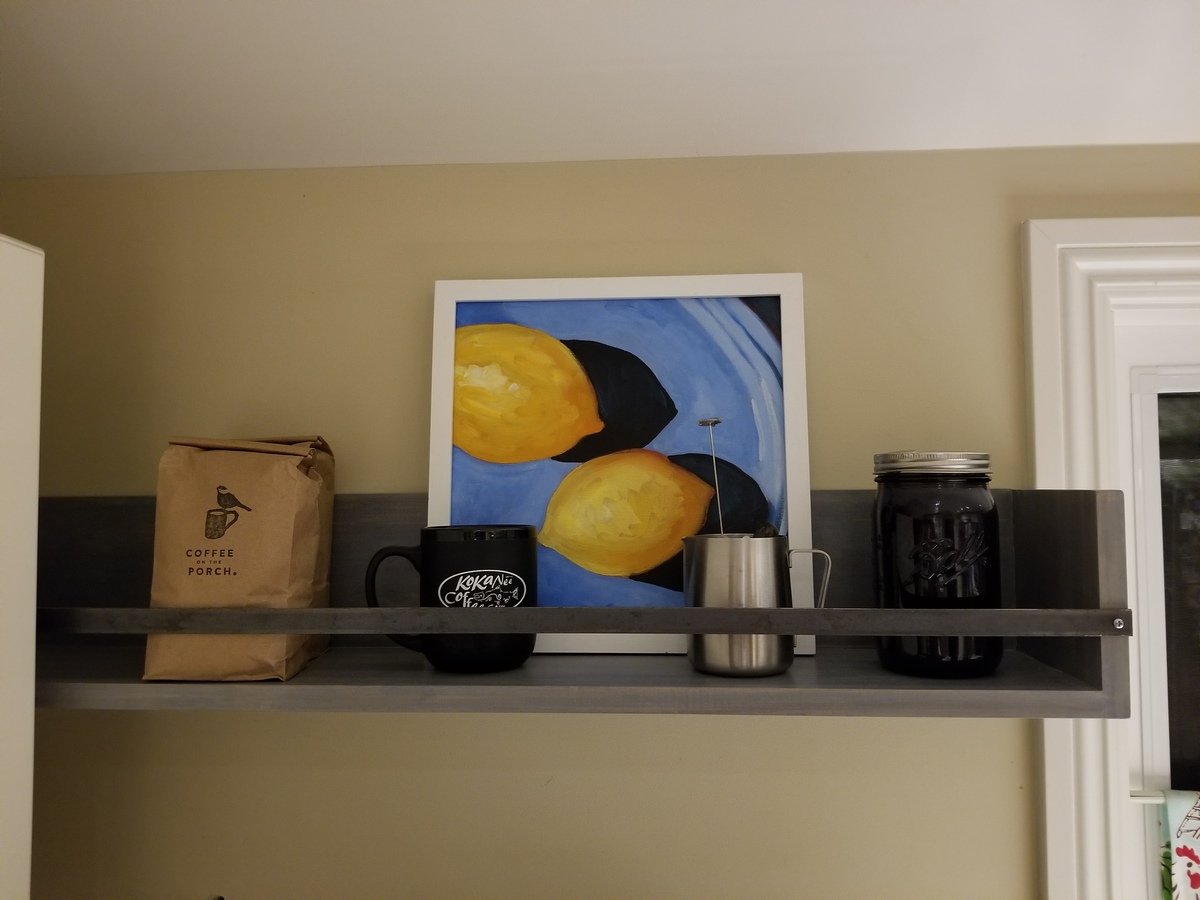
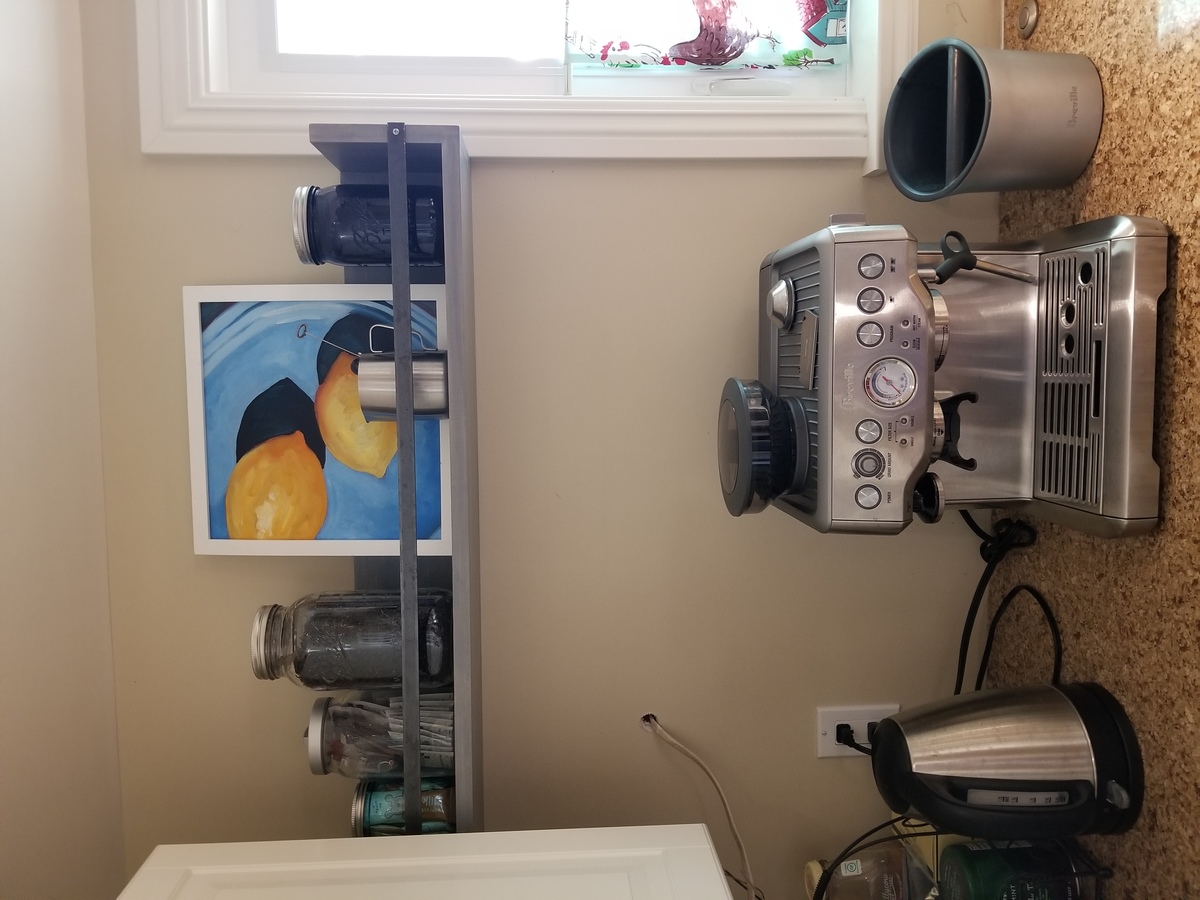
I love the look of these shelves. I needed something for the wall space to either side of the kitchen window and sink. The ceiling slopes down at least a foot on that wall so there's less space for cabinets and putting up cabinets that fit the space wasn't working. Shelves were the answer. The pictures show only the left side of the window/sink, but I did put up a matching shelf on the right side. I used a 1x8 for the shelf and 1x6 for the back.
Upholstered Farmhouse Bed - Modified Plans
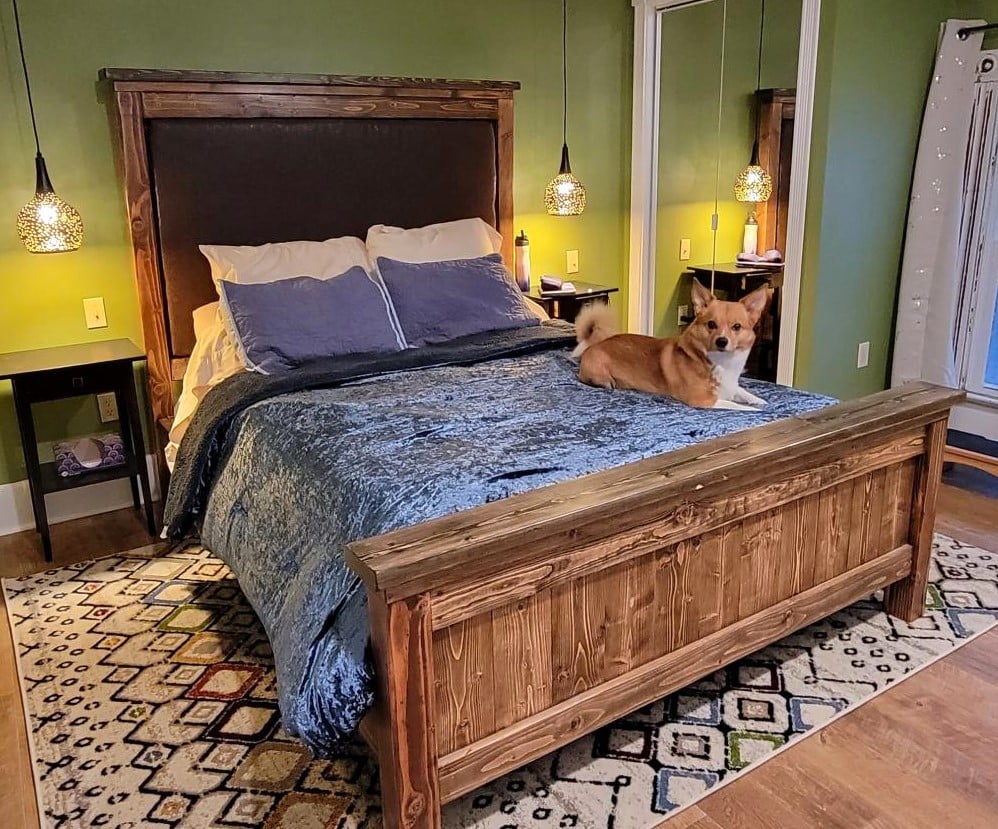
Apologies if the photos are upside down - they were rightside up when I uploaded, but flipped on me ????
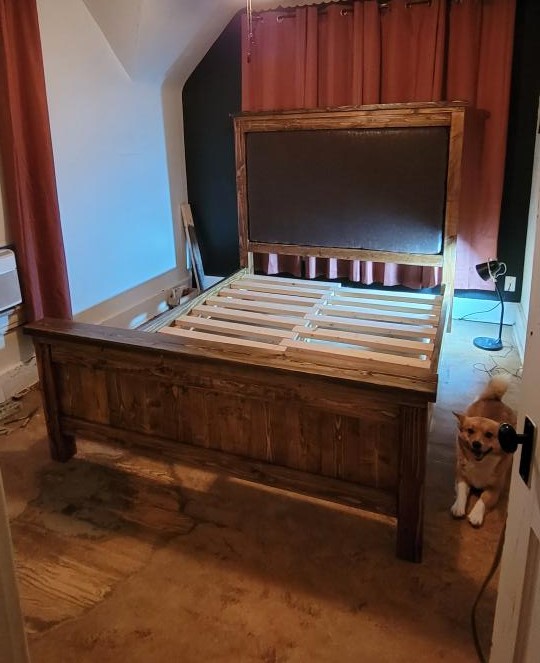
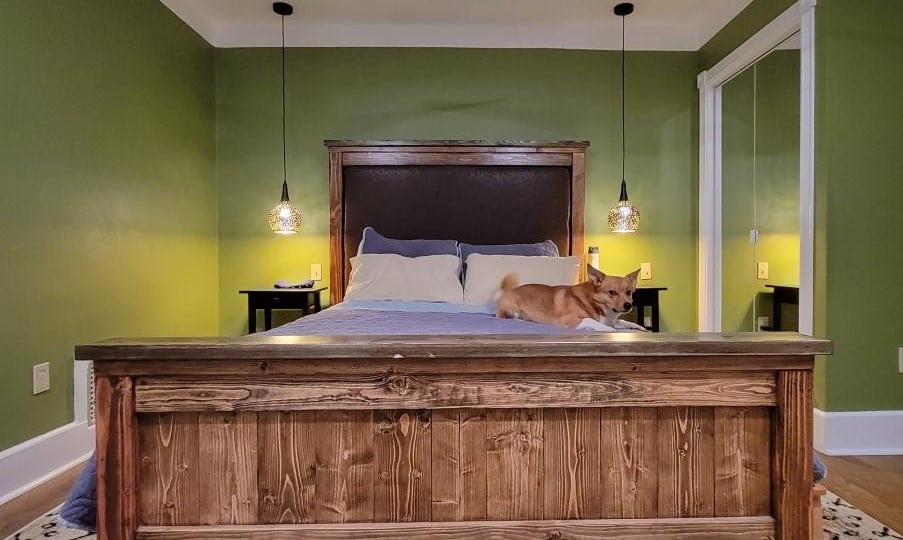
I wanted an upholstered headboard, and my house is 121 yrs old, so a farmhouse vibe fits.
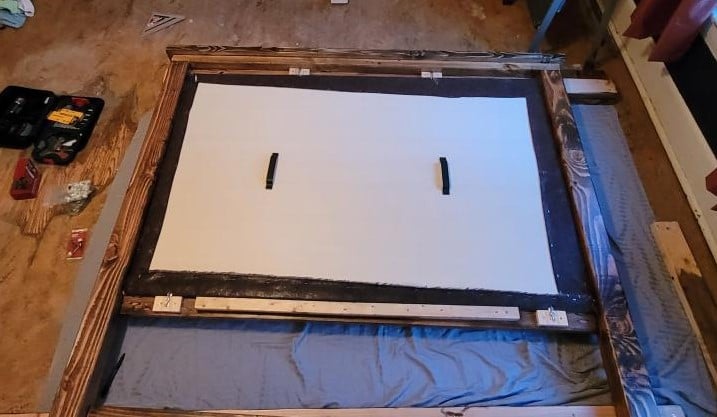
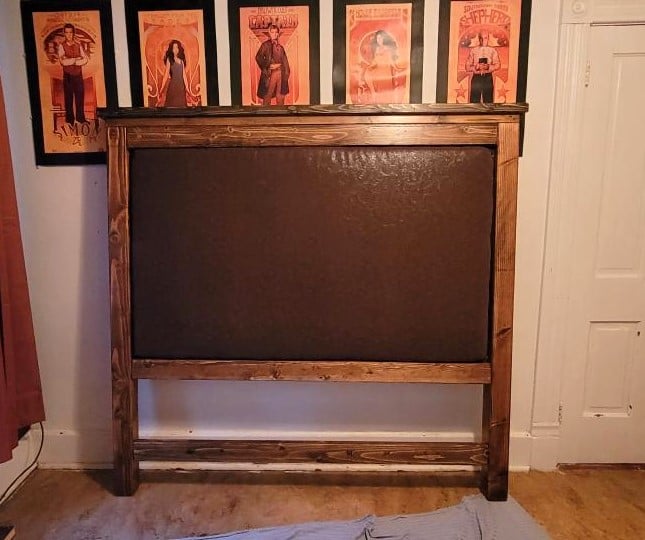
I modified Ana's Queen Farmhouse Bed Plan so that instead of mirroring the footboard design for the headboard, I created a foam-and-upholstery-covered plywood panel that inserts from the back, like a picture frame. It's held in place with storm door toggles, with a support cleat on the back, and and low-profile handles to make manhandling it easier. The insert comes out so it can be re-upholstered easily enough if ever desired. I made the entire unit 3" taller than Ana's plans so that when sitting up against the headboard, my skull is supported by foam instead of wood. It's also anchored to the wall with anti-tip hardware for safety.
The entire bed comes apart into 6 pieces for moving: Headboard frame, upholstered panel, footboard, center support, and the side pieces. The slats are screwed only to the side boards, and fit together like combs across the top of the center support beam. The sides are attached to headboard/footboard with standard bed frame hardware, and I had some joist-hangers from another project that I used as cleats for the center support beam to connect it to the head/footboard.
I designed the modifications in SketchUp, and my mum and I built it during our weekends over about a month using tools borrowed from other family members. Total cost, including the lumber, upholstery foam, fabric, hardware, etc, was about $350 in 2019.
Comments
Tue, 02/21/2023 - 08:52
So pretty and clever!
Love this and the way you framed it out to easily change the look with the upholstery portion! Thank you for sharing, I got those photos fixed for you:)
Coffee table
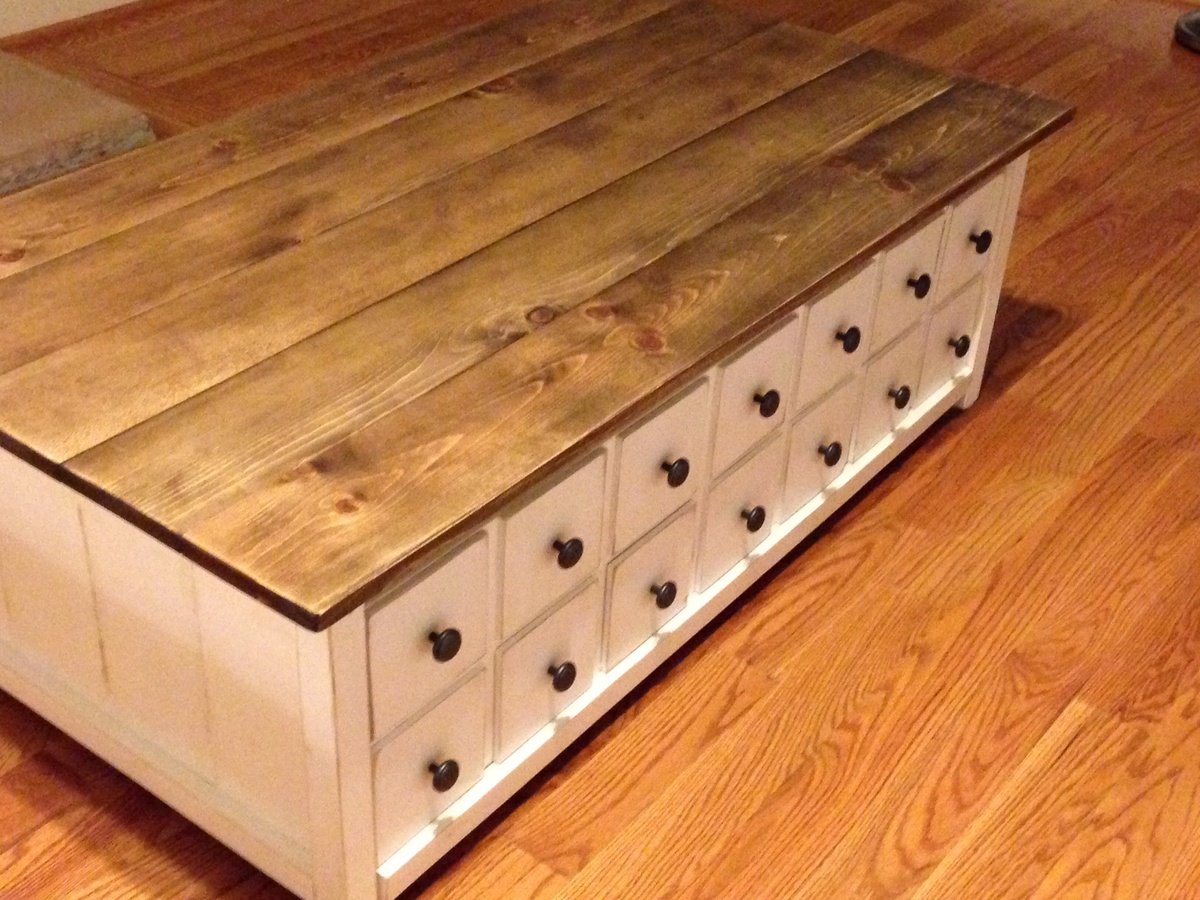
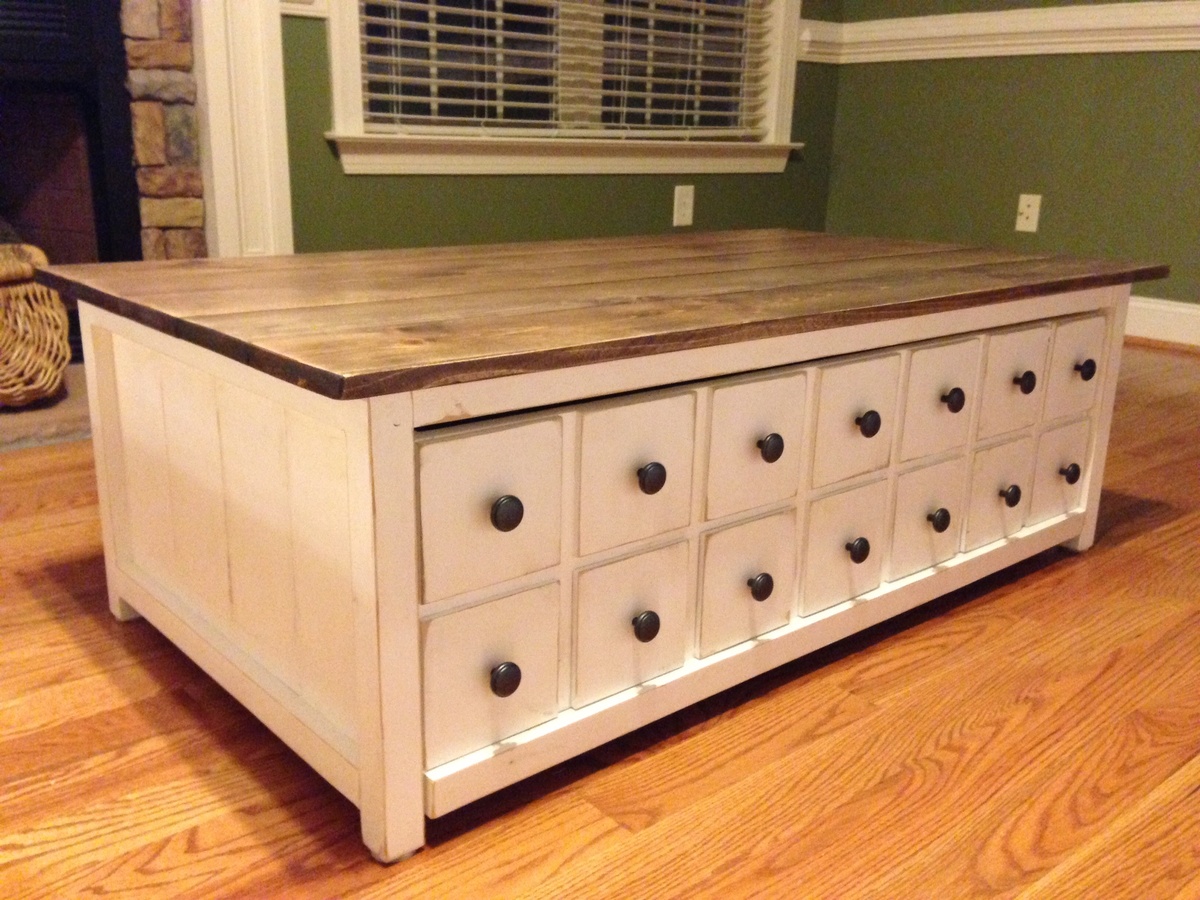
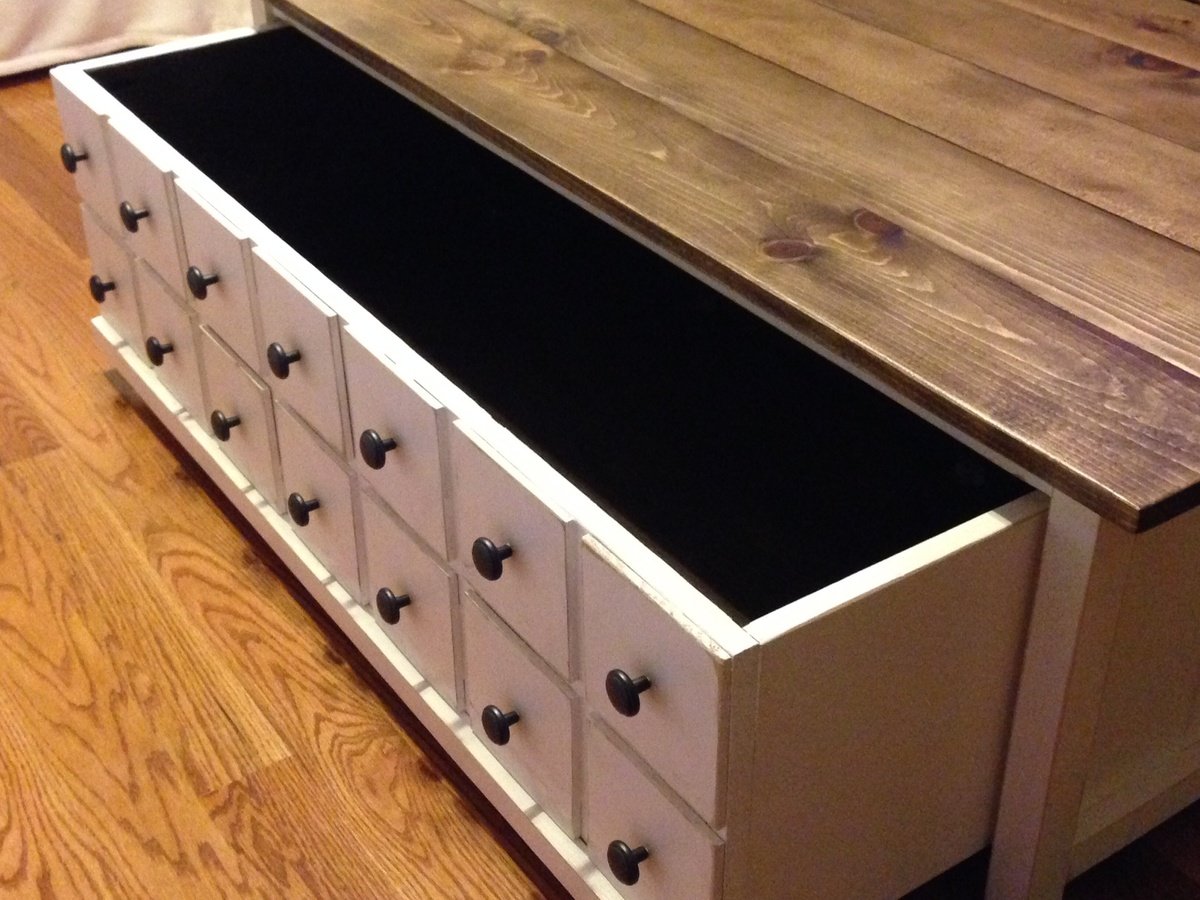
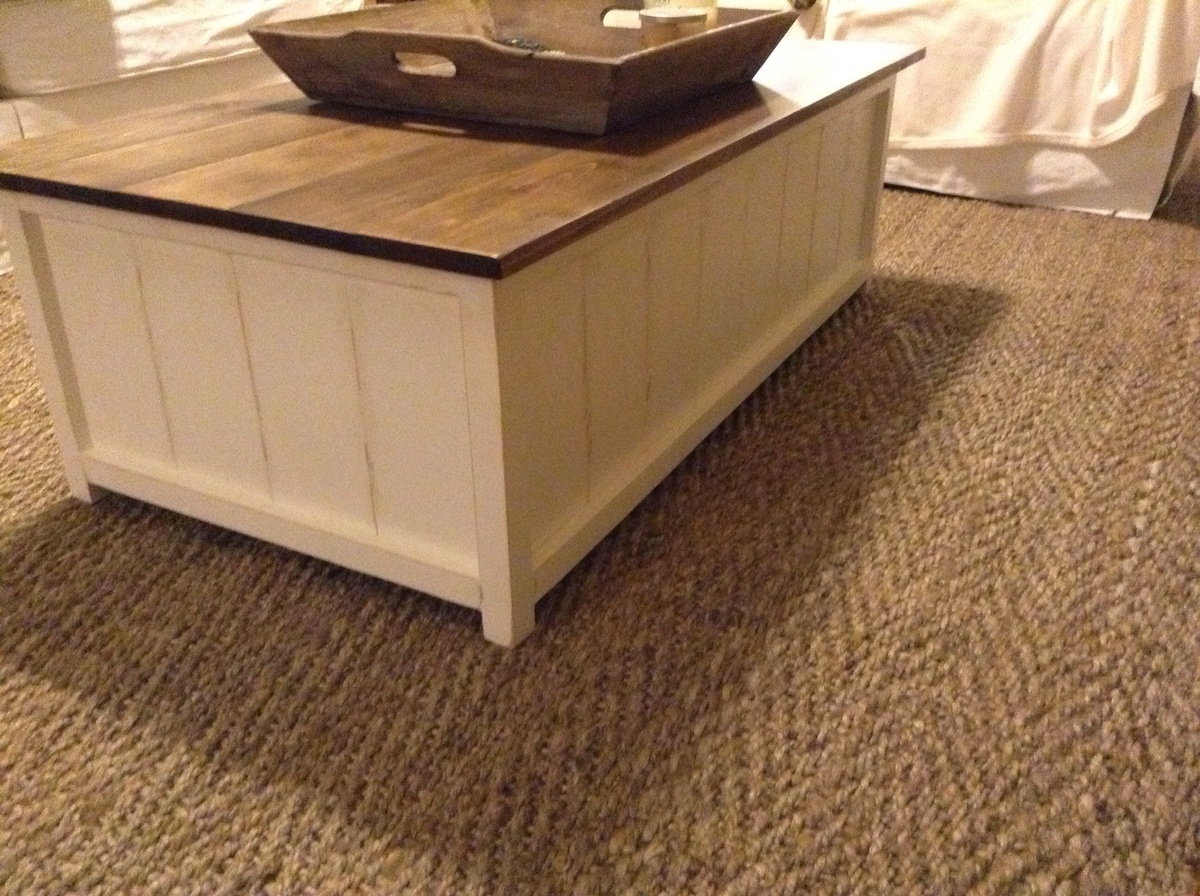
Love how this turned out! Great build, added a back to the table. It looks awesome in our living room.
Comments
Wed, 10/23/2013 - 17:48
Nice Finish
Really nice finish. I am planning on building a table and I want the tabletop to look just like yours. I have never stained, but when you say rub stain and wipe immediately, what do you use to rub? Also what type of wood did you use for the top? Again, great job.
Farmhouse Table soon to be desk
I built a narrower version of the farmhouse table with a few modifications to be used as a temporary dining table, and eventual home schooling desk. I used 5/4 boards for the top and for the apron in order to get a smooth top and have a beefier support. I used a 4x4 for the cross brace with a half-lap to give more support to the stretcher and to stabilize the legs.
Easy Three Cube Benches
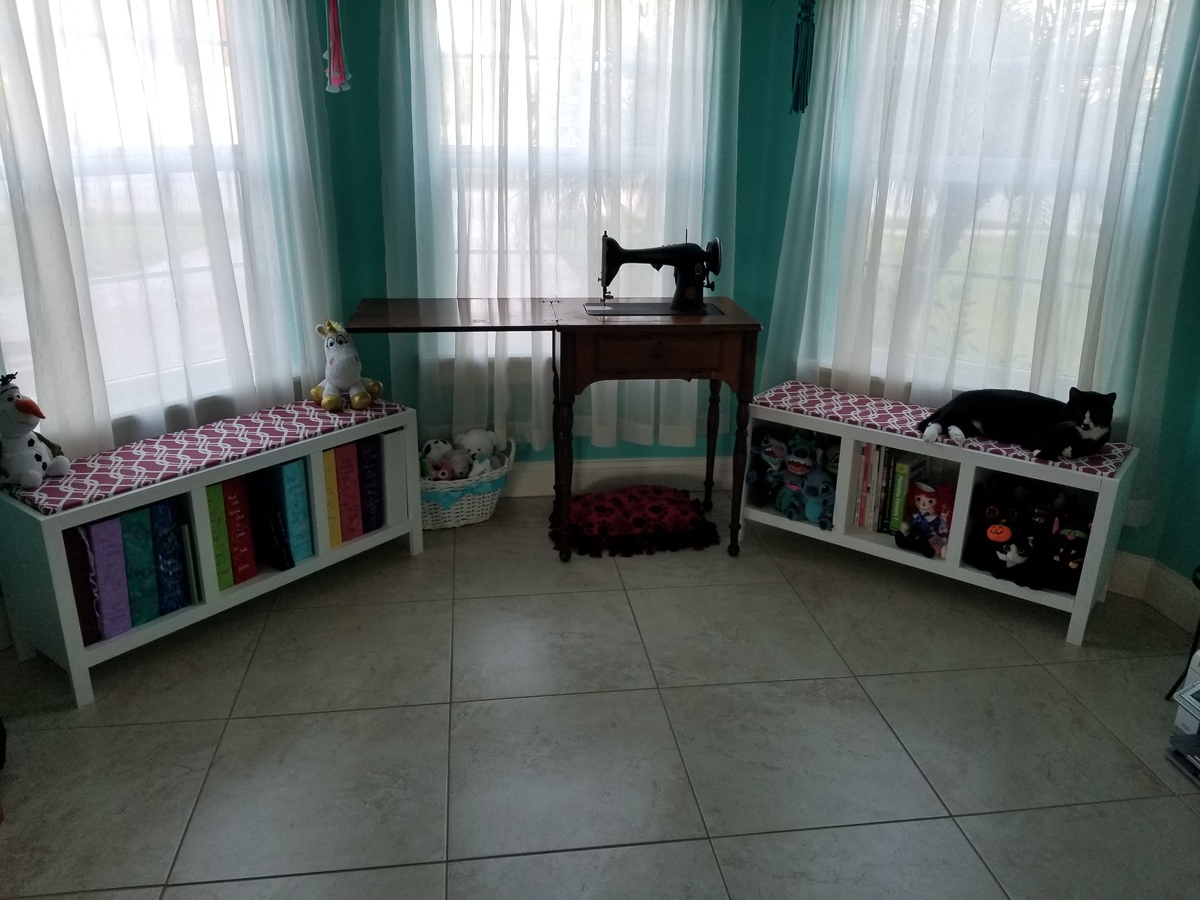
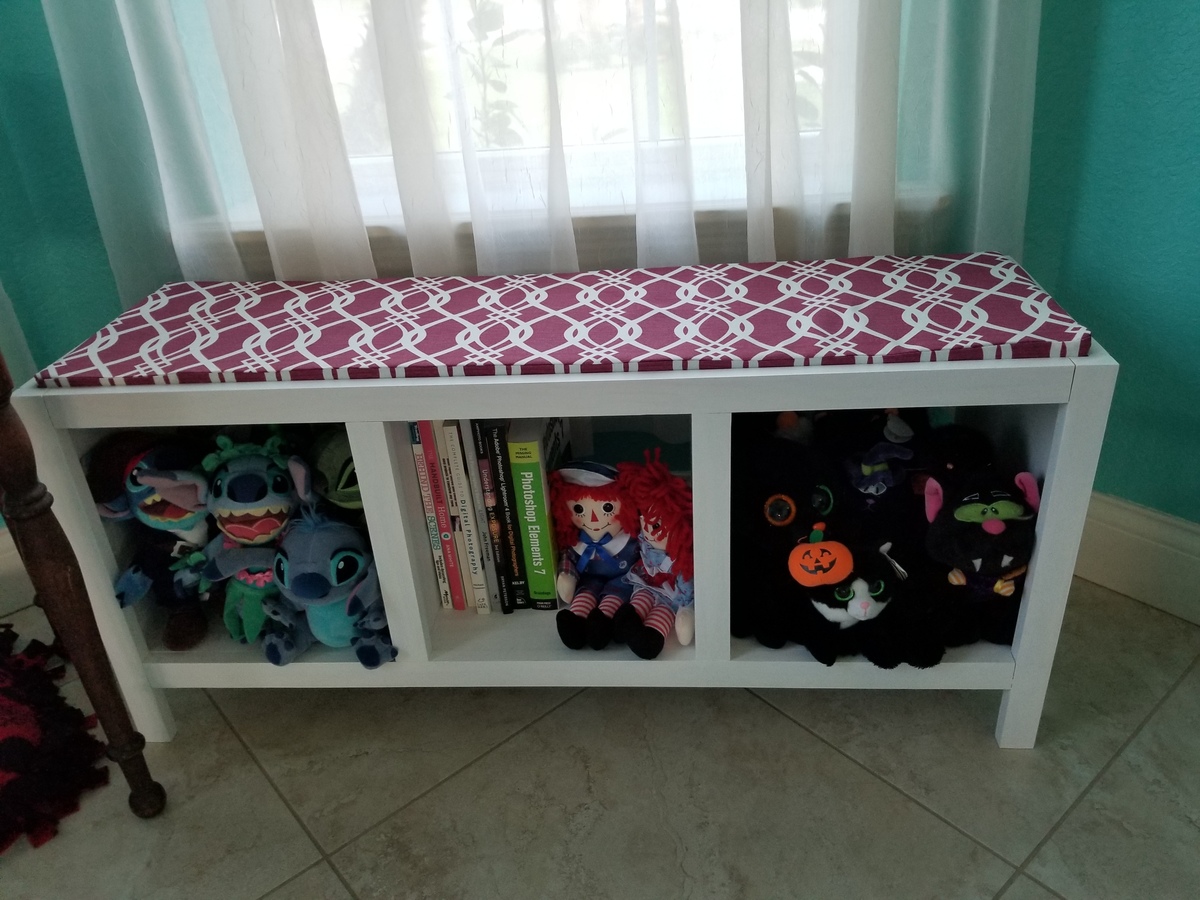
These Easy Three Cube Benches were my first project from Ana White's plans! I love how the plans are broken down, making them easy to read and understand and I learned so much from the concepts! The "build the box" concept is how I gained the confidence to build all of the furniture in my craft room myself! I started with these Three Cube Benches, then designed and built a printer stand using the concepts I learned and, after that, finally finished an corner office/crafting desk.
Adirondack chairs UK style
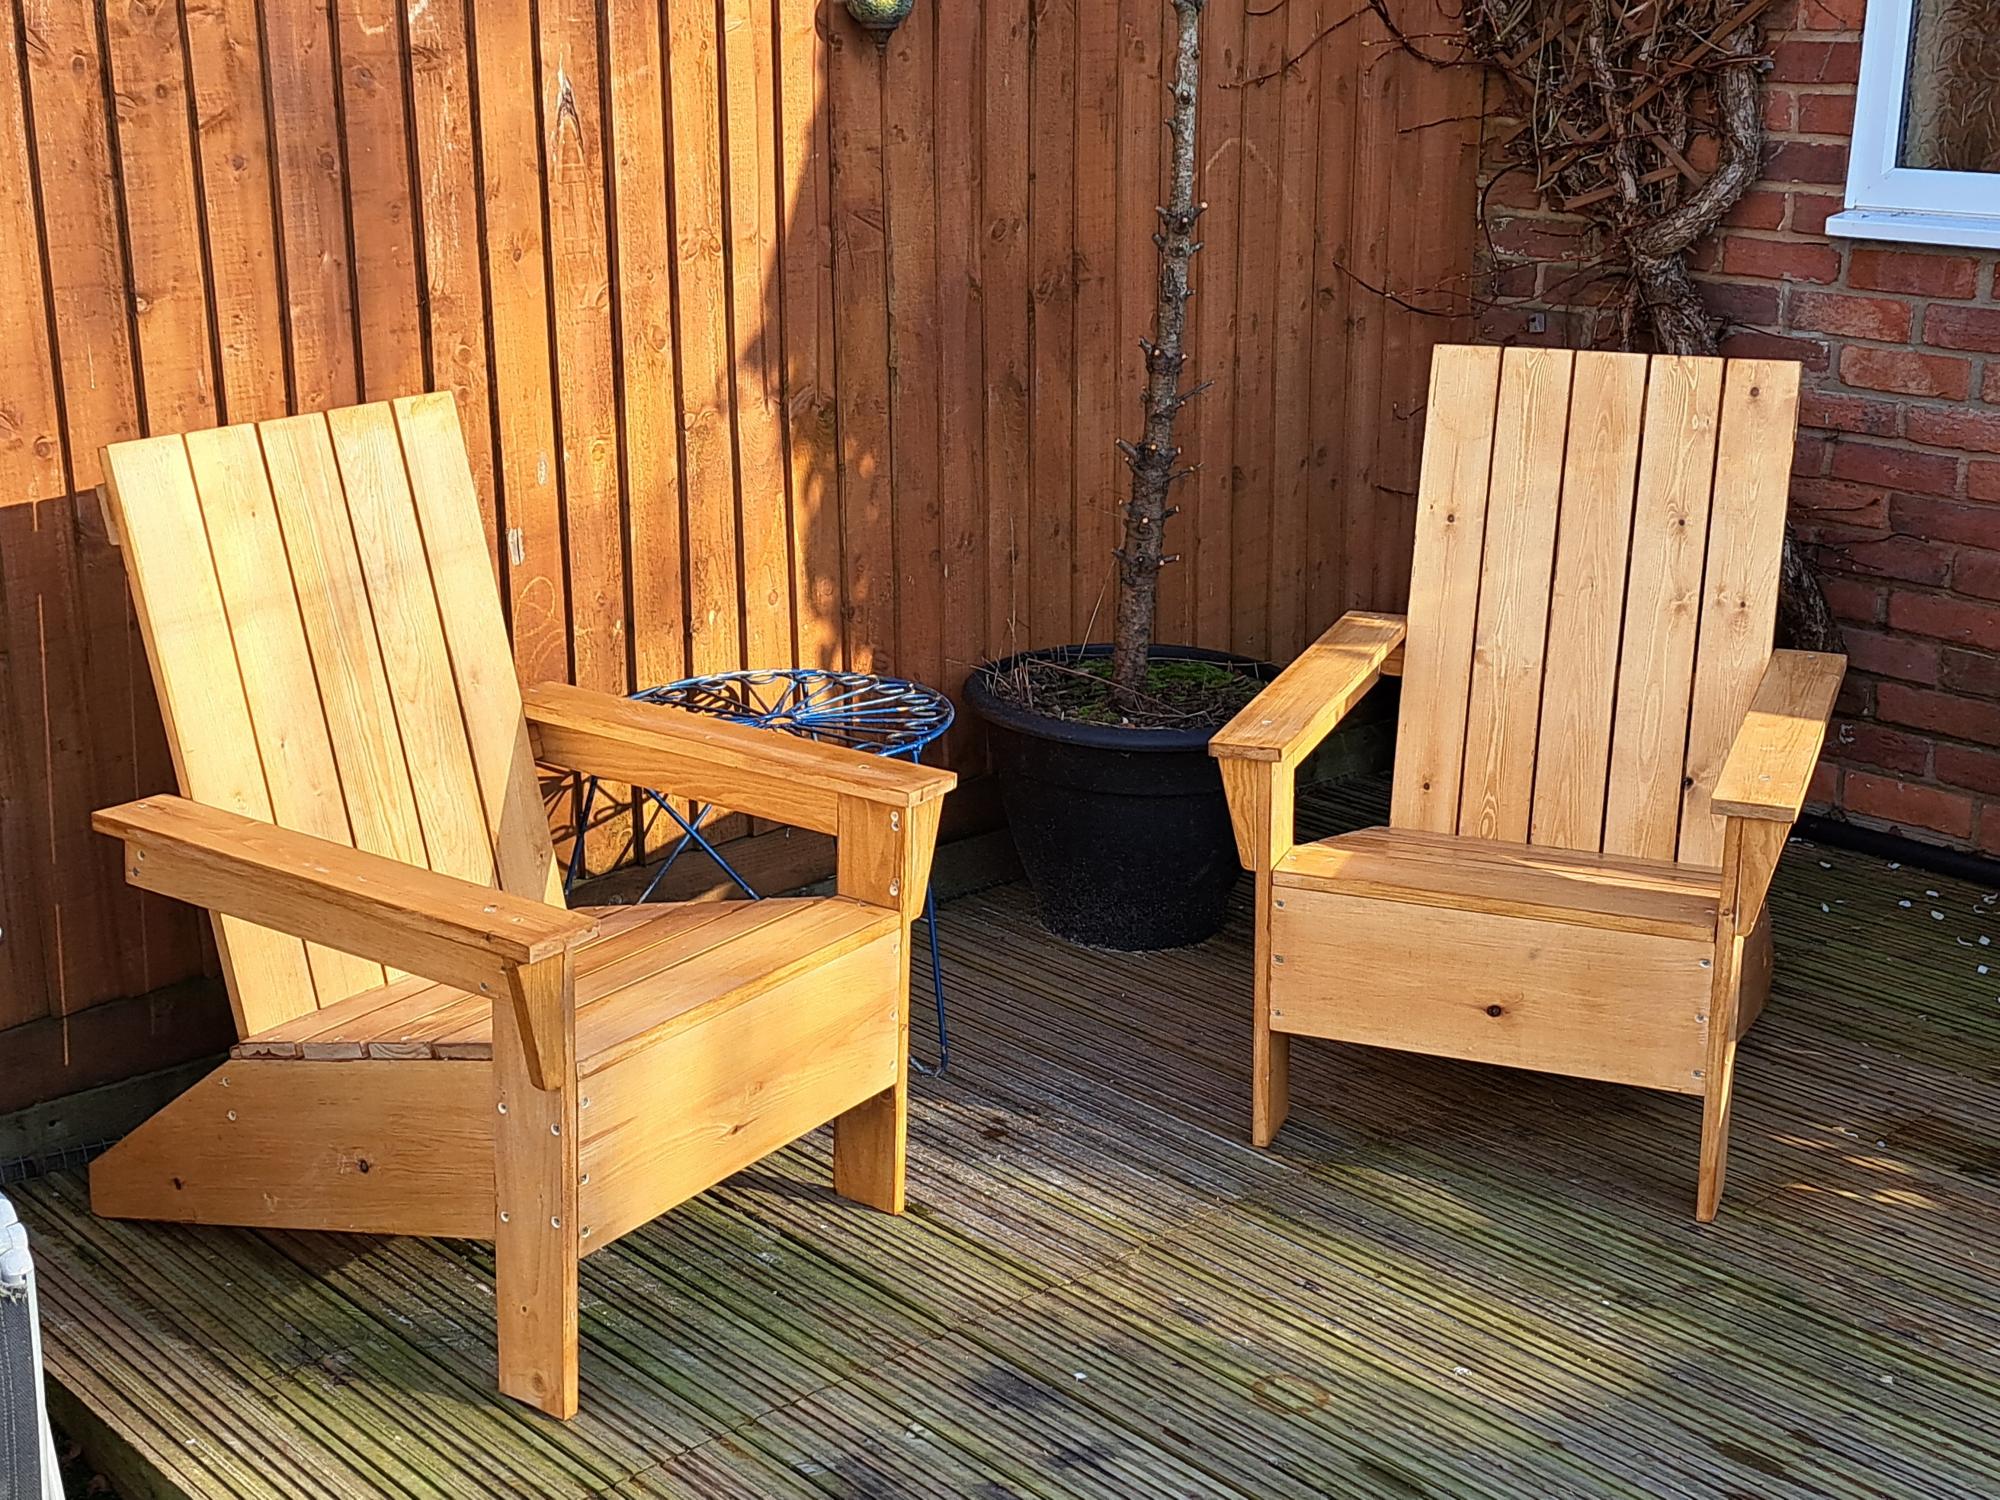
Used your original plans for these. I'm very pleased with the result. Carpentry is not really my thing, but I'm inspired to do more now.
Comments
Sat, 02/25/2023 - 11:59
Great start!
These look fabulous, thank you for sharing! Can't wait to see your next project.
Front Hall Armoire
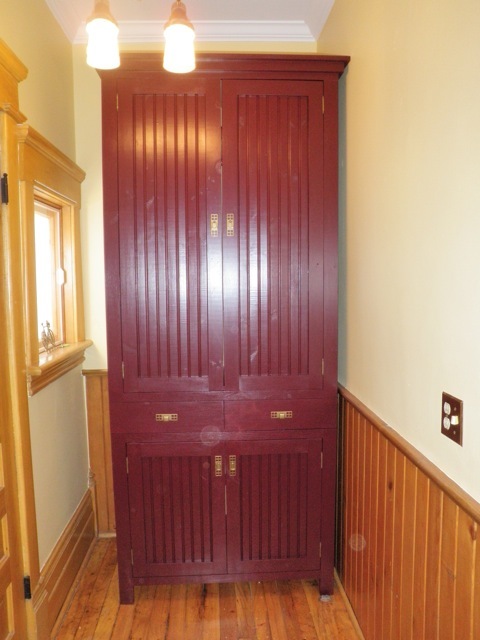
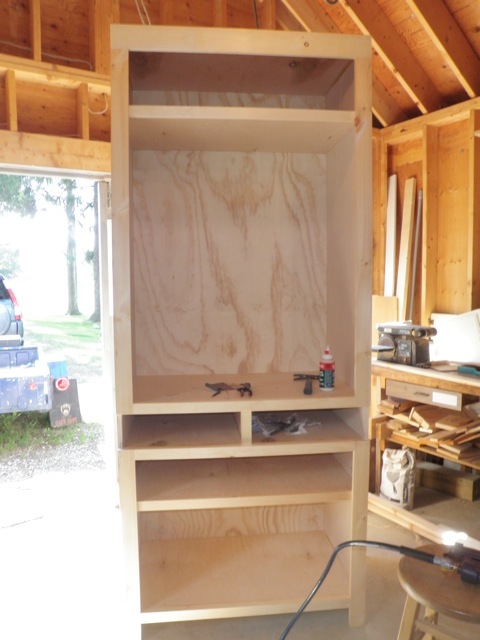
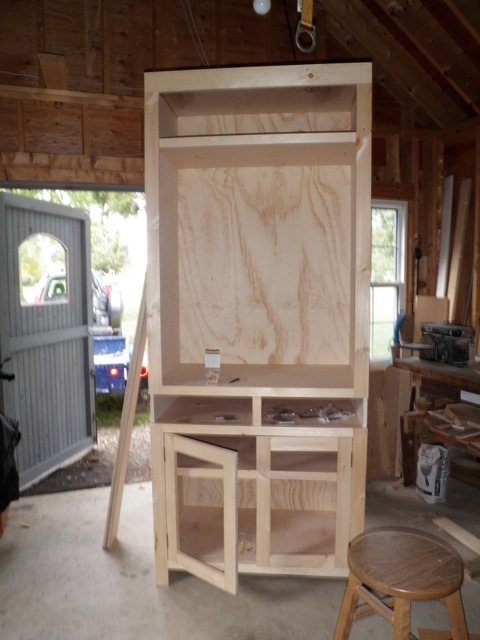
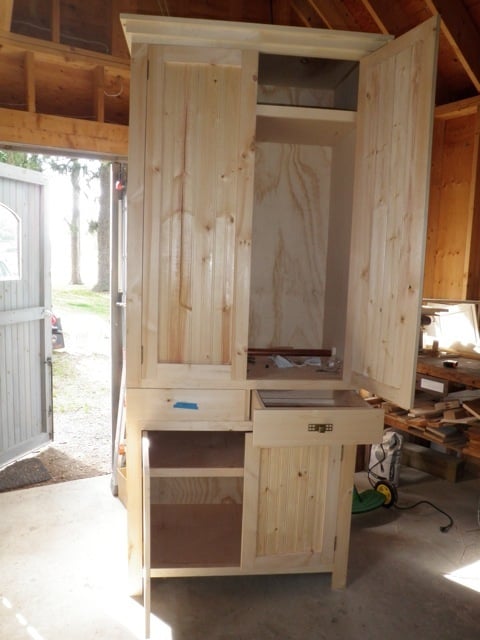
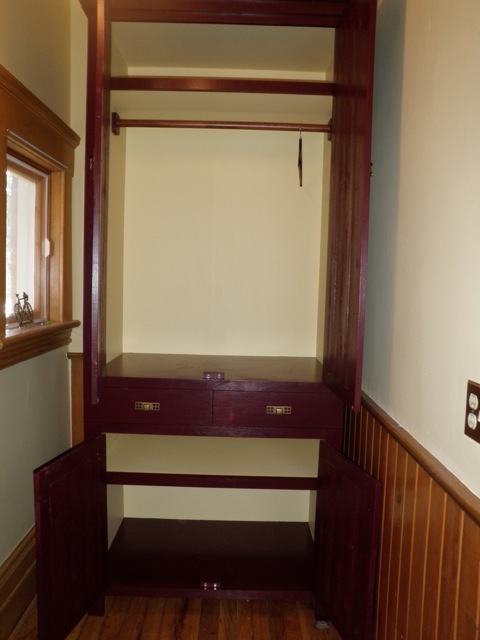
Our big old house doesn't have a front hall closet, so I decided to make the Nursery Armoire for our extra coats and shoes. Since our ceilings are so tall I decided to make it the full 96" that I could get out've the sheet of plywood.
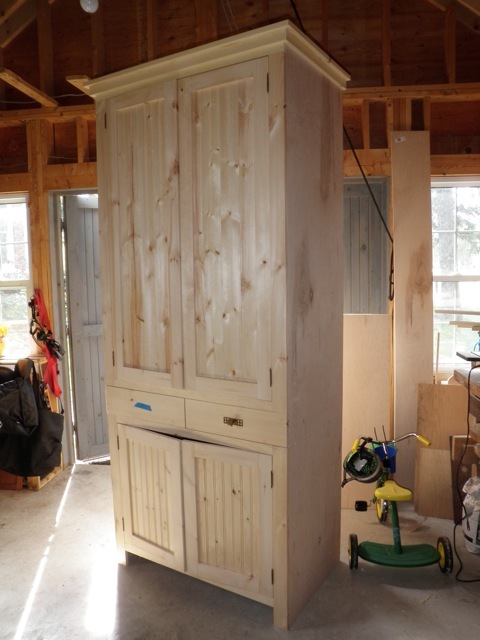
I also modified the plan to adjust the door heights so that the top would make good coat hanging and the bottom can be used for shoes and boots. I also changed the drawers to be on the outside instead of behind the upper doors.
I used 3/4" plywood for the box and pine for the doors and trim.
For the doors I pocket holed the frames and then routed an edge on the backside and stapled pine paneling to fill out the middle. This matches doors I made previously to make cupboards in our full-wall brick fireplace (and the hardware matches too).
I did the top trim as in the plan, and I decided to leave the bottom plain.
It's quite large! But in the space a smaller one would've looked silly, so I'm glad I went with the height.
I decided to paint it so that I didn't have to fuss with staining, but went with the same paint as the walls for the backs and undersides of shelves to lighten it up.
Can't wait to fill it up! ....just have to give the dark paint one more go-over....
Comments
Mon, 11/07/2011 - 22:32
That's really nice!
And it will add so much function to the space. Don't you love old houses ;)
Coat Rack with a Cubby
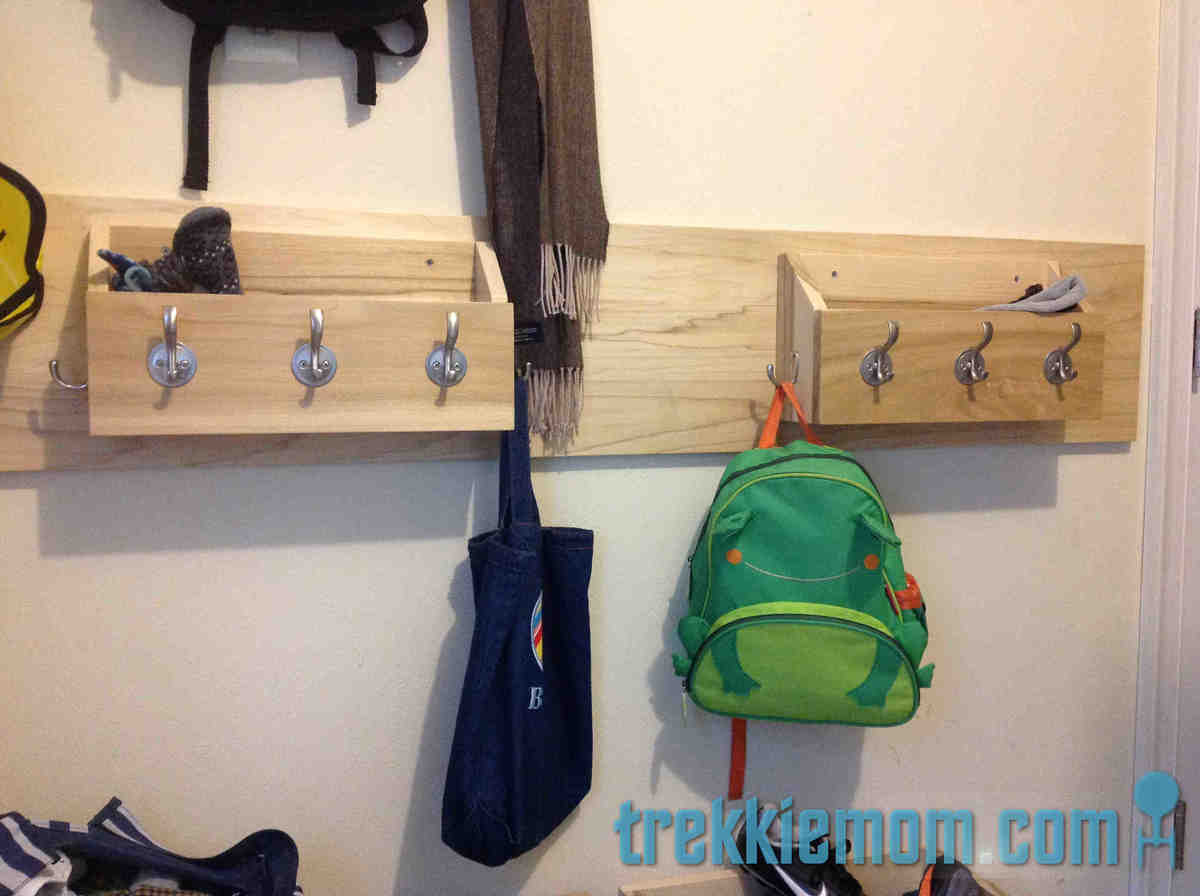
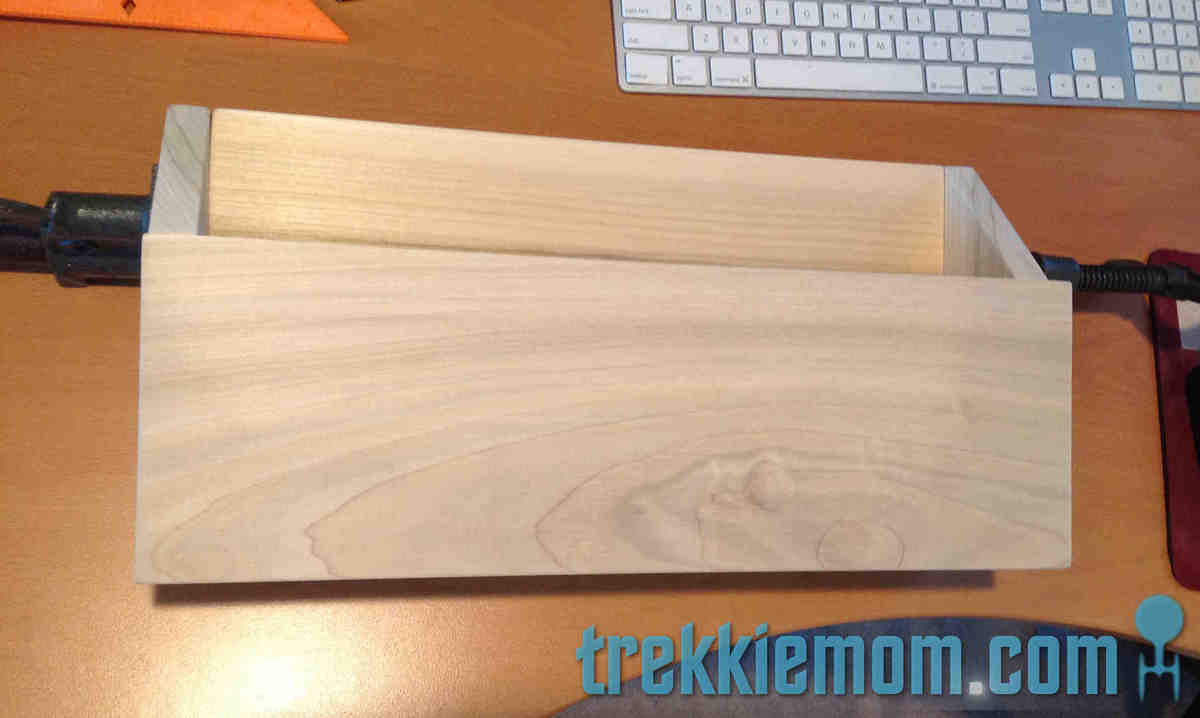
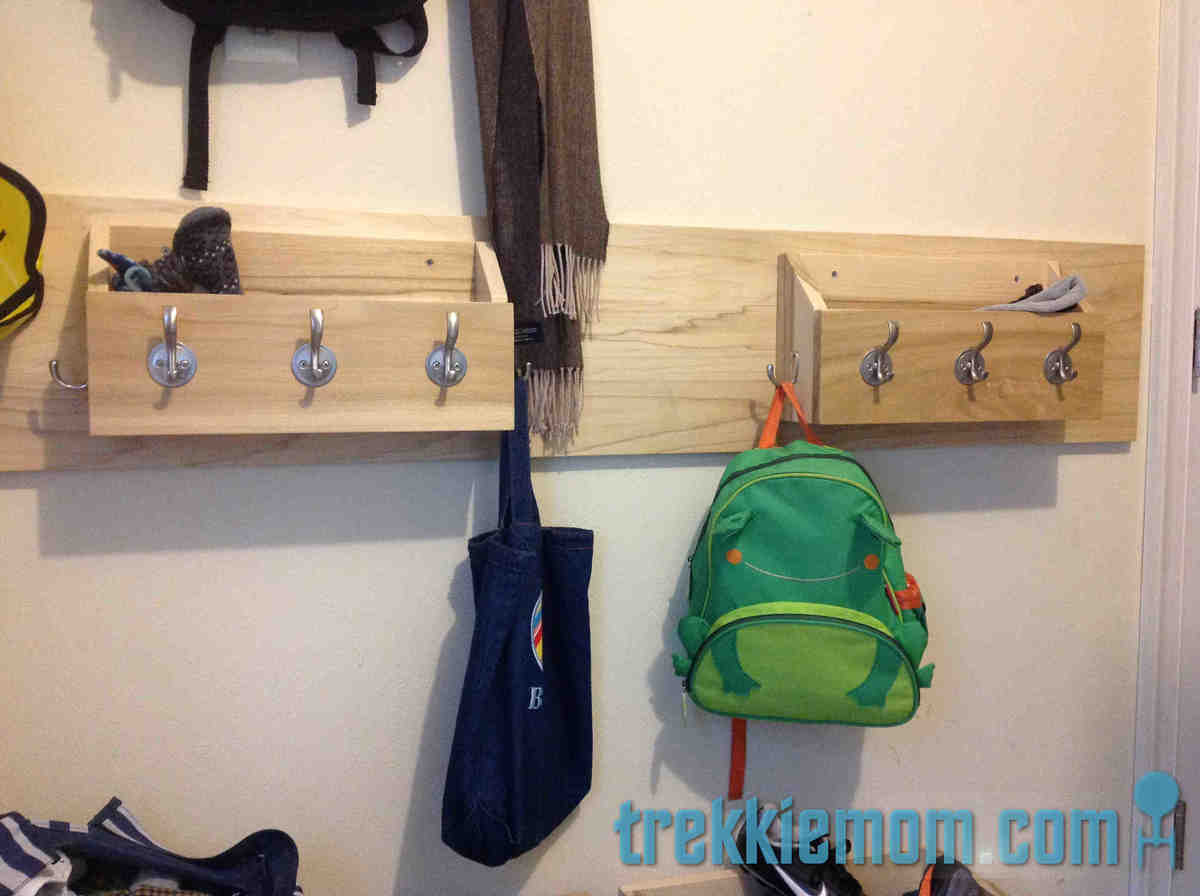
Our mud room/laundry room is very busy with 2 boys and 2 adults. Scarves, gloves and hats are generally tossed here or there, usually far and wide when it comes to my boys.
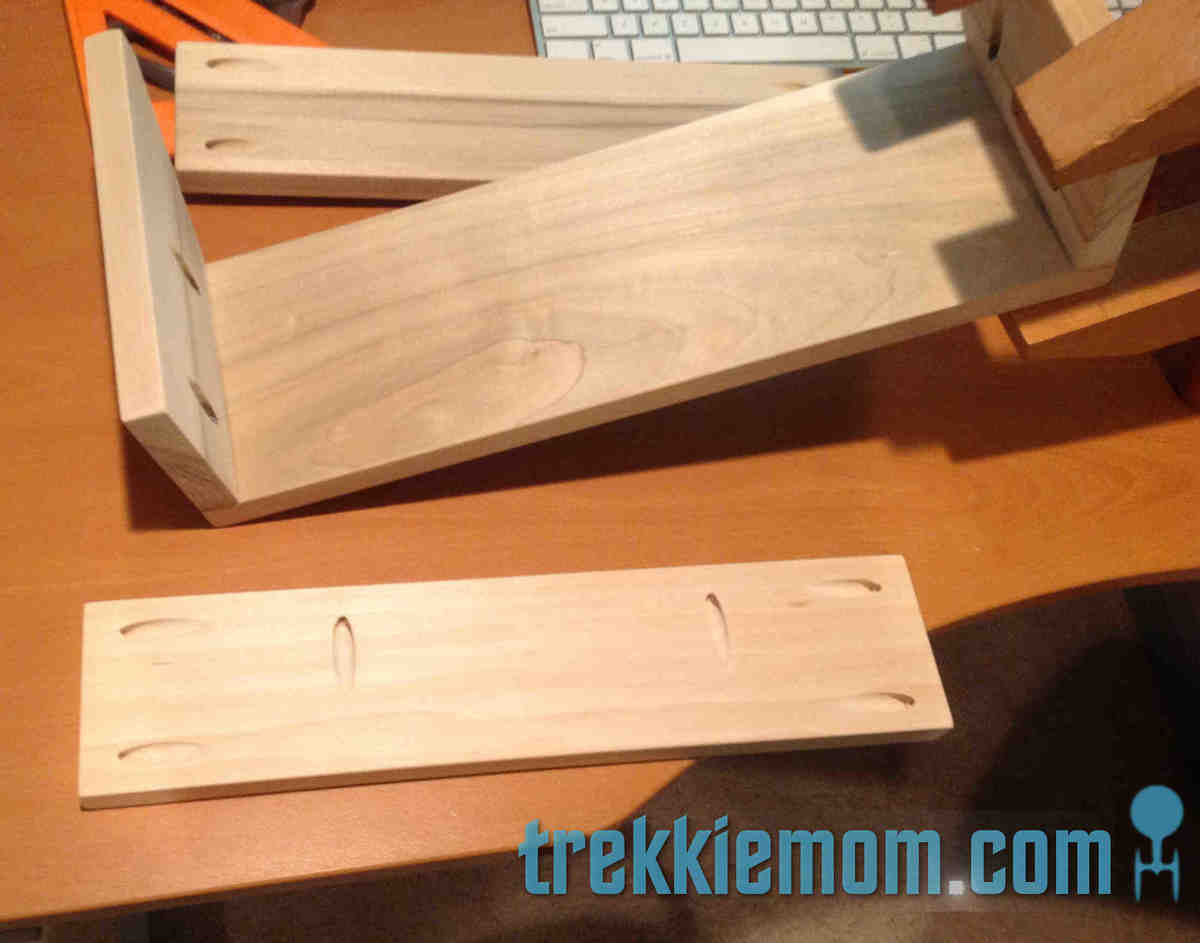
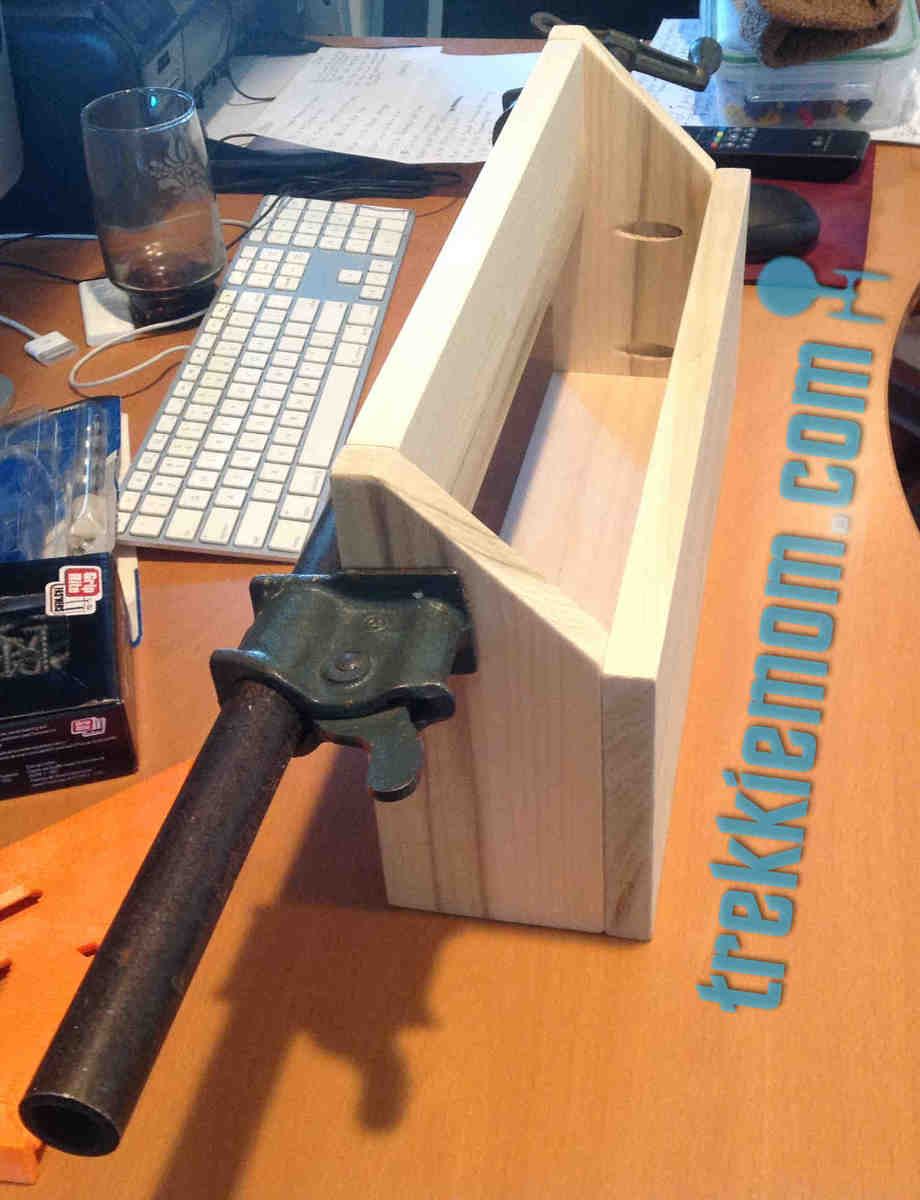
My solution was a coat rack with cubby. Like most of my creations, it is a Kelley Special, all up in my head. I don't have plans, although I will make some when I make the next ones for me and my husband.
I used poplar 1x4's for the sides, bottom and back attachment and 1x6's for the front where coat hooks will be mounted, 2 small coat hooks on the sides, wood glue, and pocket holes to construct it.
If you add the time I spent on it, it didn't take too long, but it took a while since it was a few minutes here and a few minutes there. I am very happy with the final product, and we are starting to test it out now that the weather is cold again.
If you want to see more pictures take a swing by my blog: www.trekkiemom.com
4x4 truss beam table
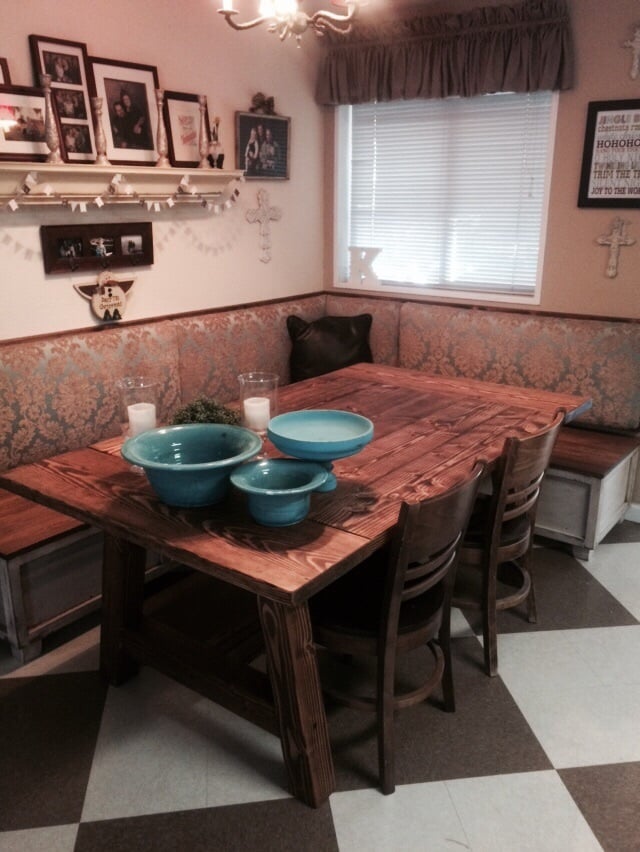
Great instructions, easy weekend build.
Roller Vertical Pantry
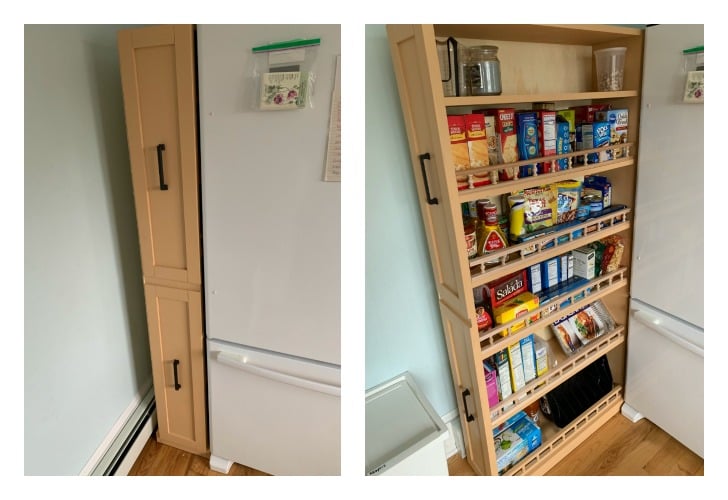
Made my wife happy!
Comments
Mon, 05/06/2019 - 10:22
Hi Mike this is a fantastic…
Hi Mike this is a fantastic project! Just fabulous!
Modern Craft Table *tweaked*
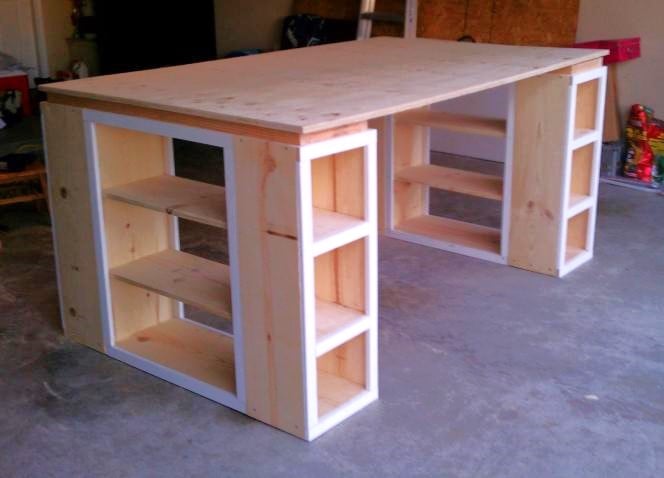
Completed Modern Craft Table! We tweaked the plans a bit because I was looking for a larger table top. The top now measures 48" x 76". We simply did this by adding an extra set of cubbies to the other side of the shelves. Absolutely LOVE how this turned out! All I need now is 4 counter height stools built and lots of shelves to complete my craft room! Will be sure to post those once they are completed!
Comments
Thu, 11/17/2011 - 01:10
Darn I was so excited to see
Darn I was so excited to see you craft table! I apologize that your brag post did not show images. If you can send me images at knockoffwood(at)gmail.com I'd be happy to post. Thanks so much for submitting a brag post. Ana
Sun, 03/04/2012 - 07:31
Craft Desk
I LOVE LOVE LOVE your craft table. I want one! Looks like my husband wil have to get busy! Thanks for sharing!
Kristina
Houston, TX
Tue, 05/29/2012 - 00:05
Question about Middle support
This is great!! I am planning something similar, but what is your idea or the plan you used for the middle support to keep it from sagging over time? My idea is to run another cubby in the middle from side to side. What do you think?
Mon, 01/21/2013 - 09:54
I love the modern craft
I love the modern craft table, just what I have been looking for, do you share instructions, dimensions, etc.? thanks, Laura
Thu, 05/12/2016 - 15:14
Are plans for the tweaked version?
I'm loving this and would love to have FIL build it for me but the plans look like its for the regular modern craft table but not the tweaked? Also is there support for the middle? Can you send me a link for the tweaked supply list please, can't seem to find it. Love what you do!
Children's Zoo
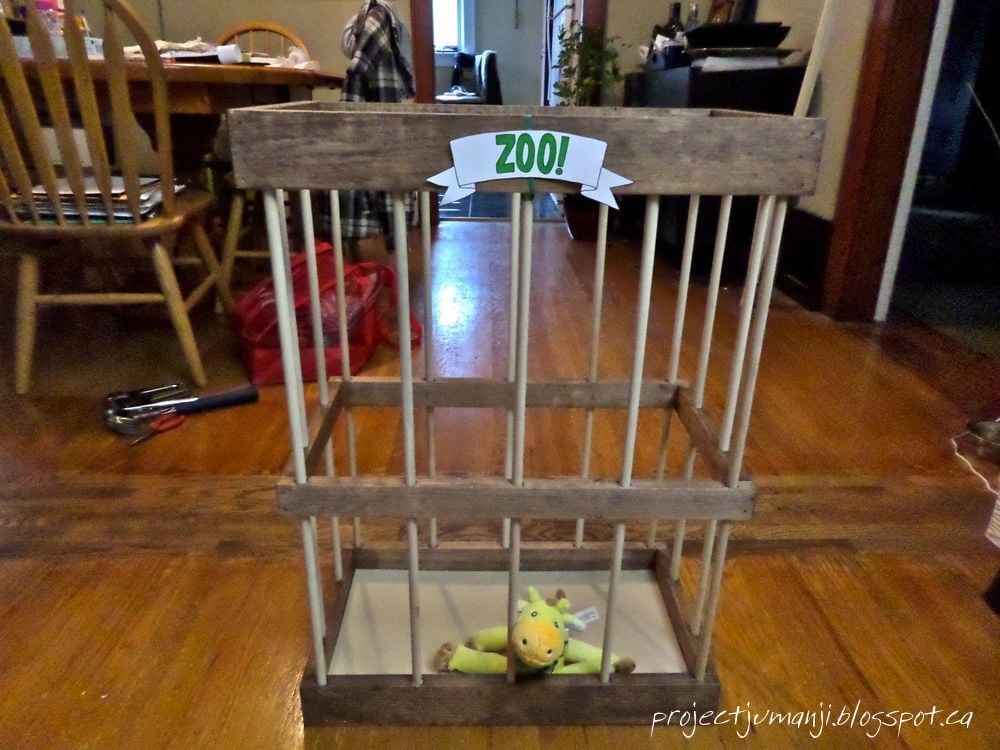
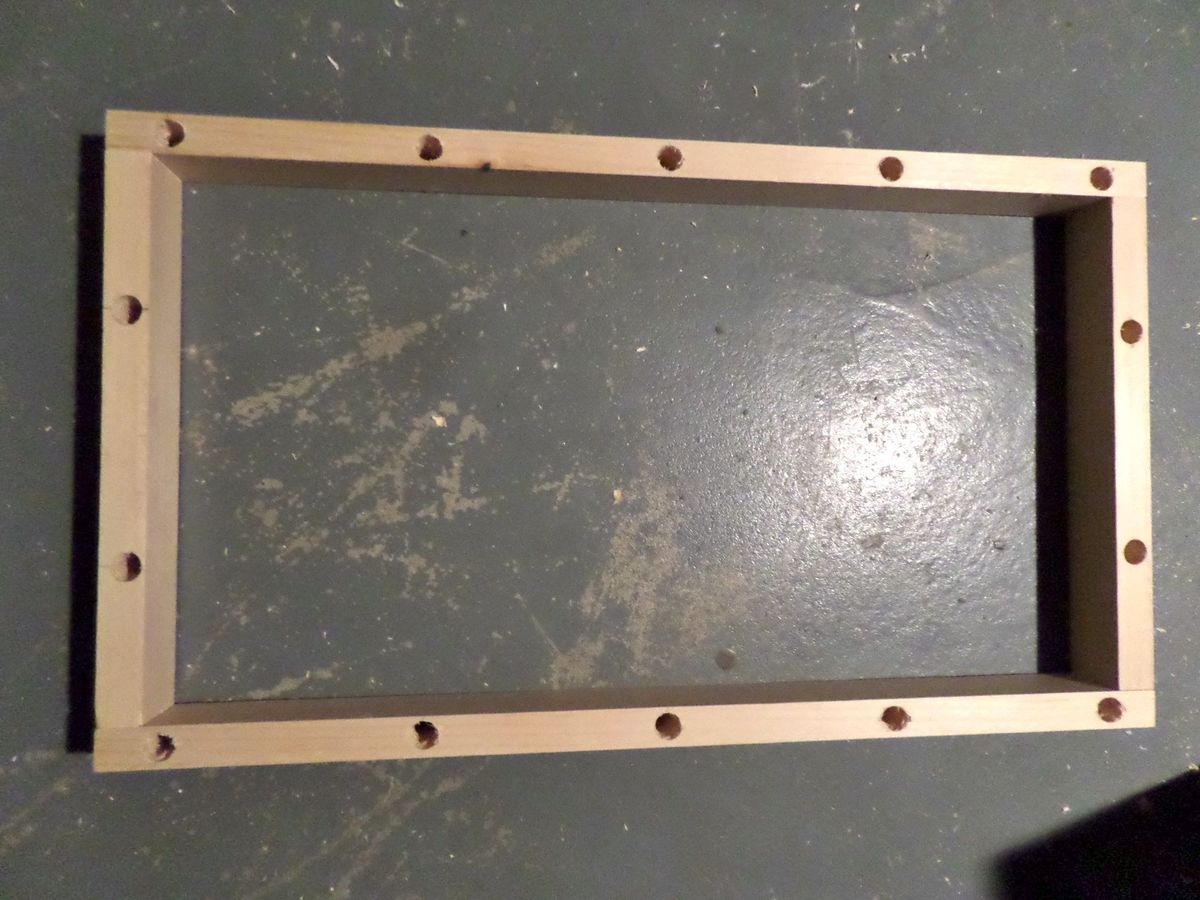
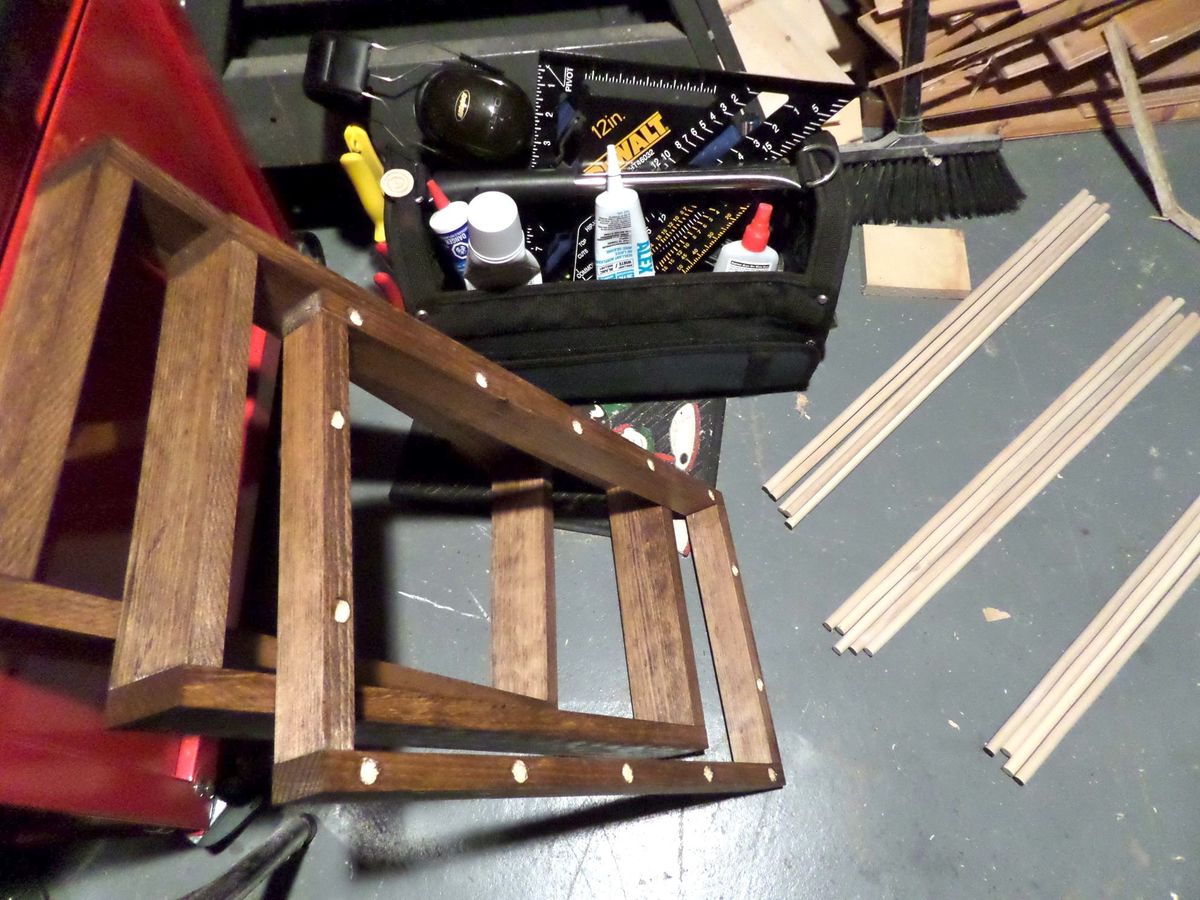
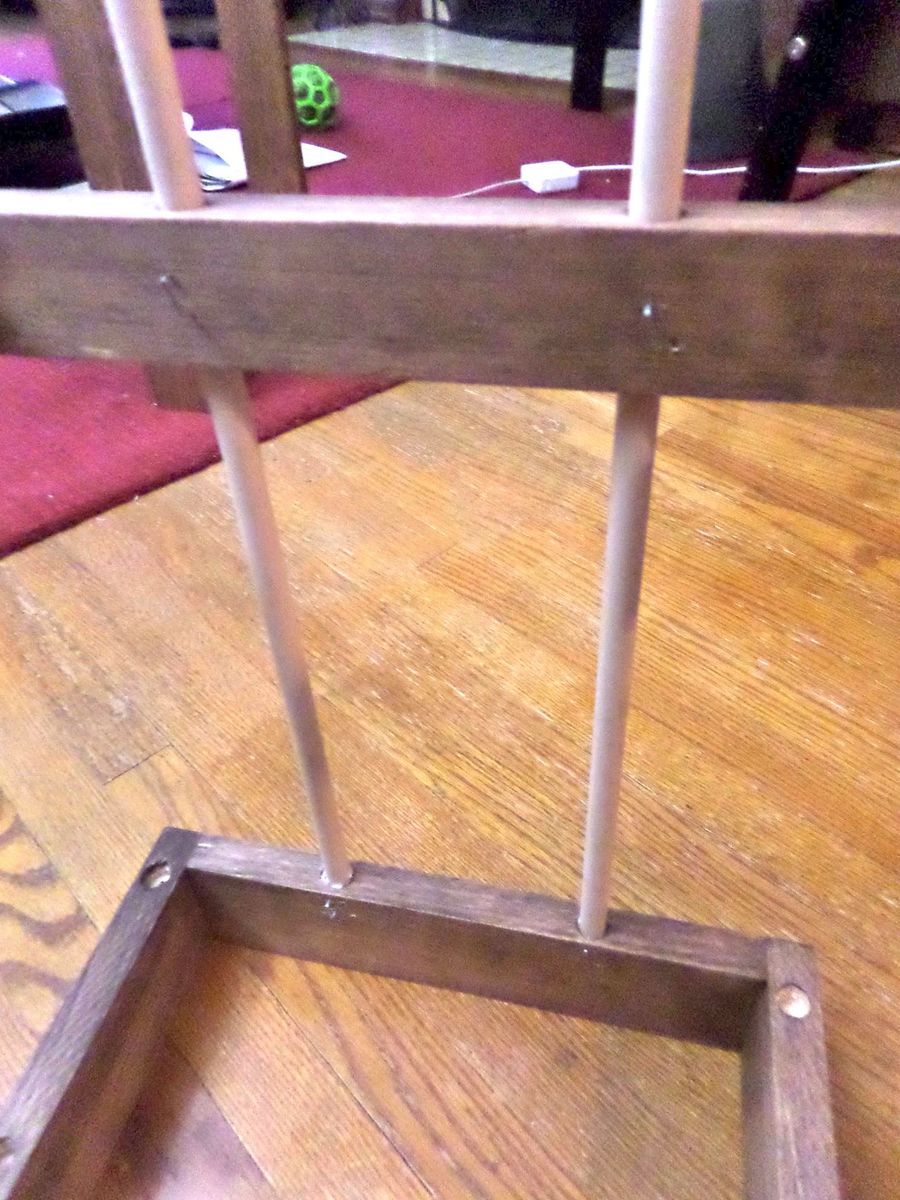
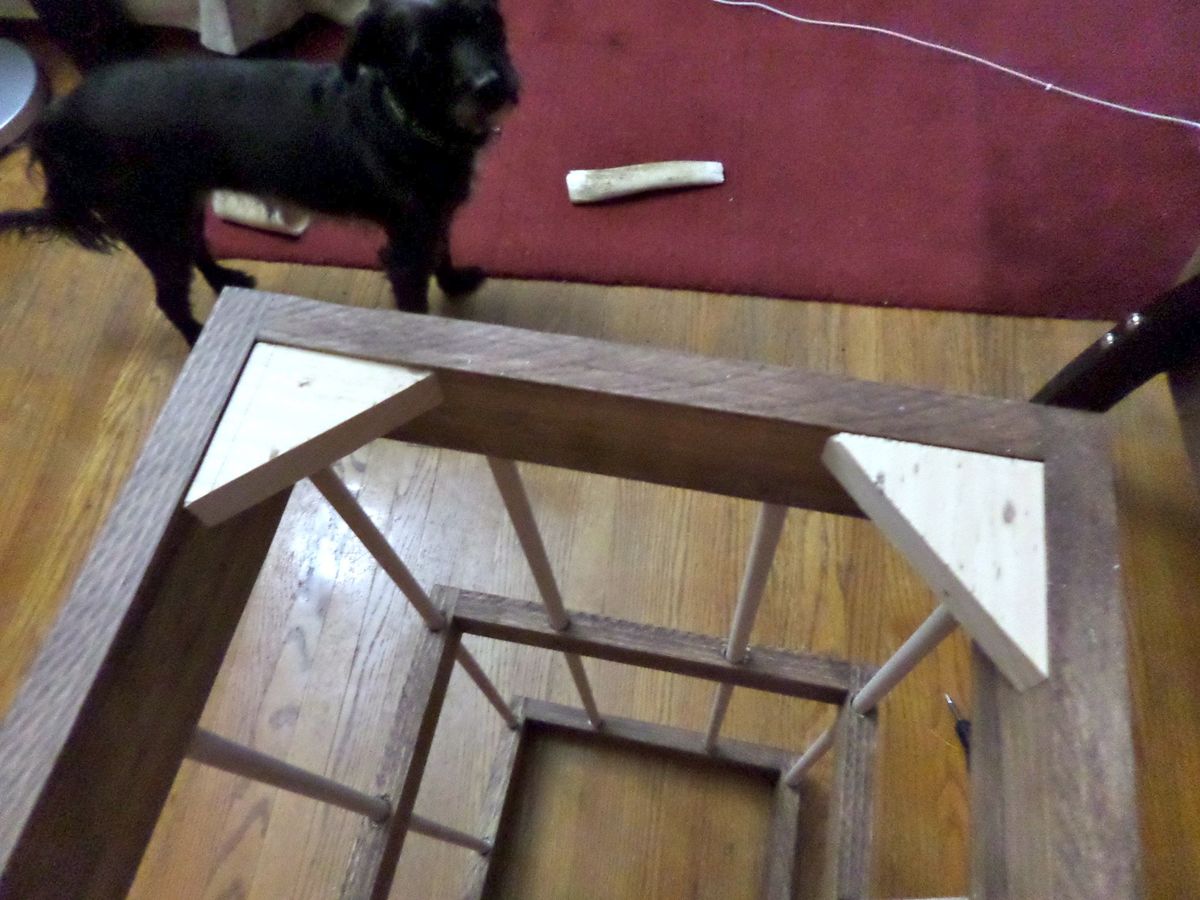
I made this as a gift for a friends Baby Shower. It's meant to mount on the wall and hold Baby's stuffed animals. After the Shower yesterday, it's half full of animals already!
I used pine, and a "walnut" stain by minwax. We only stained the structure part so the bars would look like they were a different material. I also used glue, a staple gun and my Ryobi Airstrike automatic nailer - it's a new toy for me, but one I'm in love with already :)
Please feel free to click over to my blog for details on how to help build yours! ---> http://projectjumanji.blogspot.ca/2013/10/what-ive-been-up-to.html
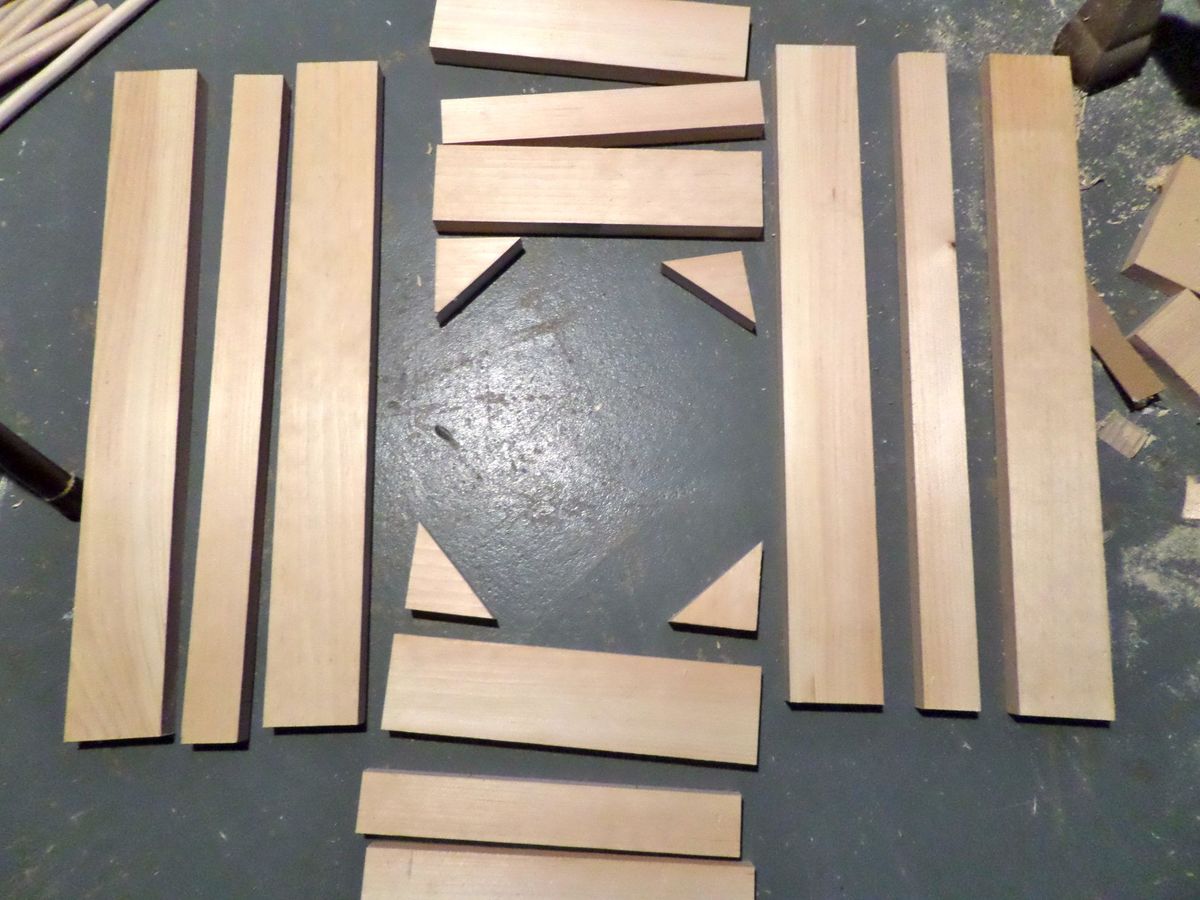
Printers double console
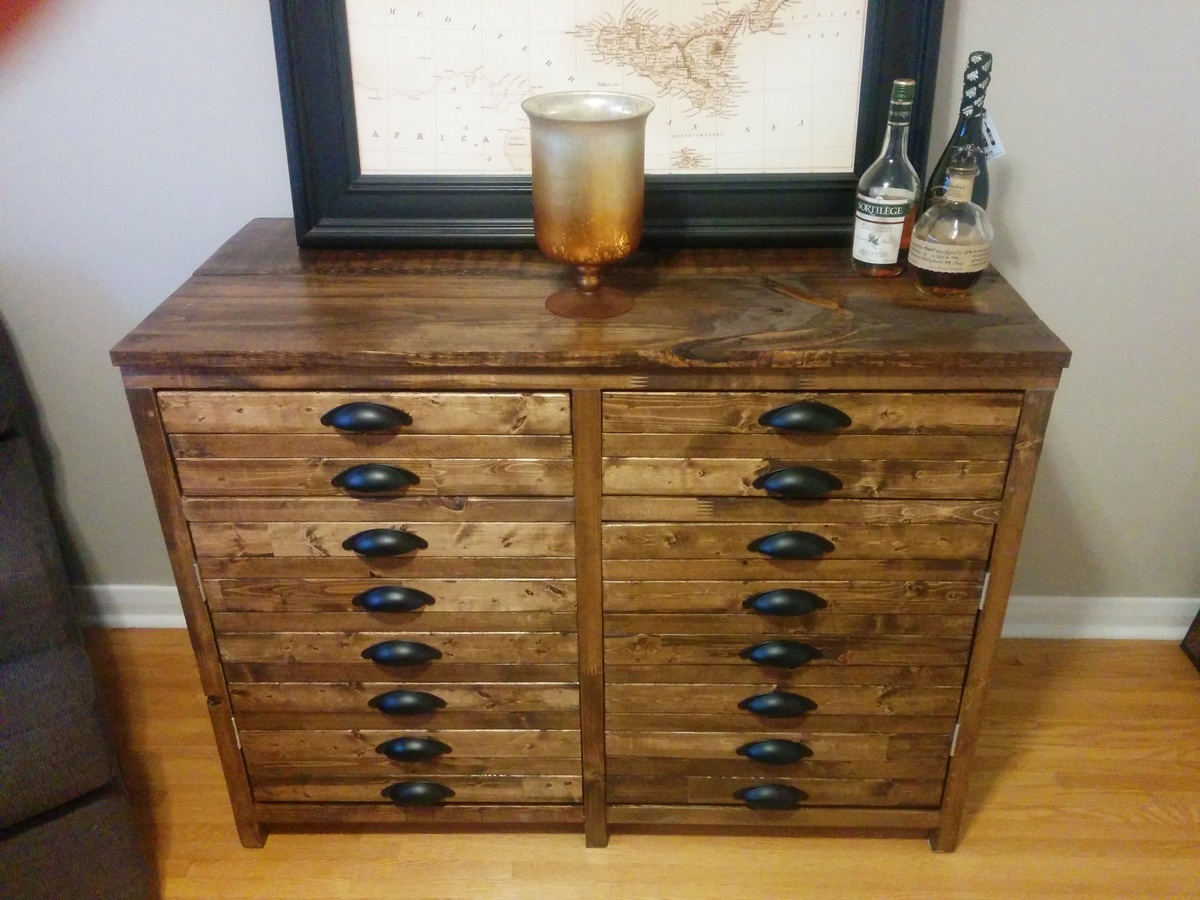
Conceal litter box make from plan http://www.ana-white.com/2012/10/plans/printers-triple-console-cabinet
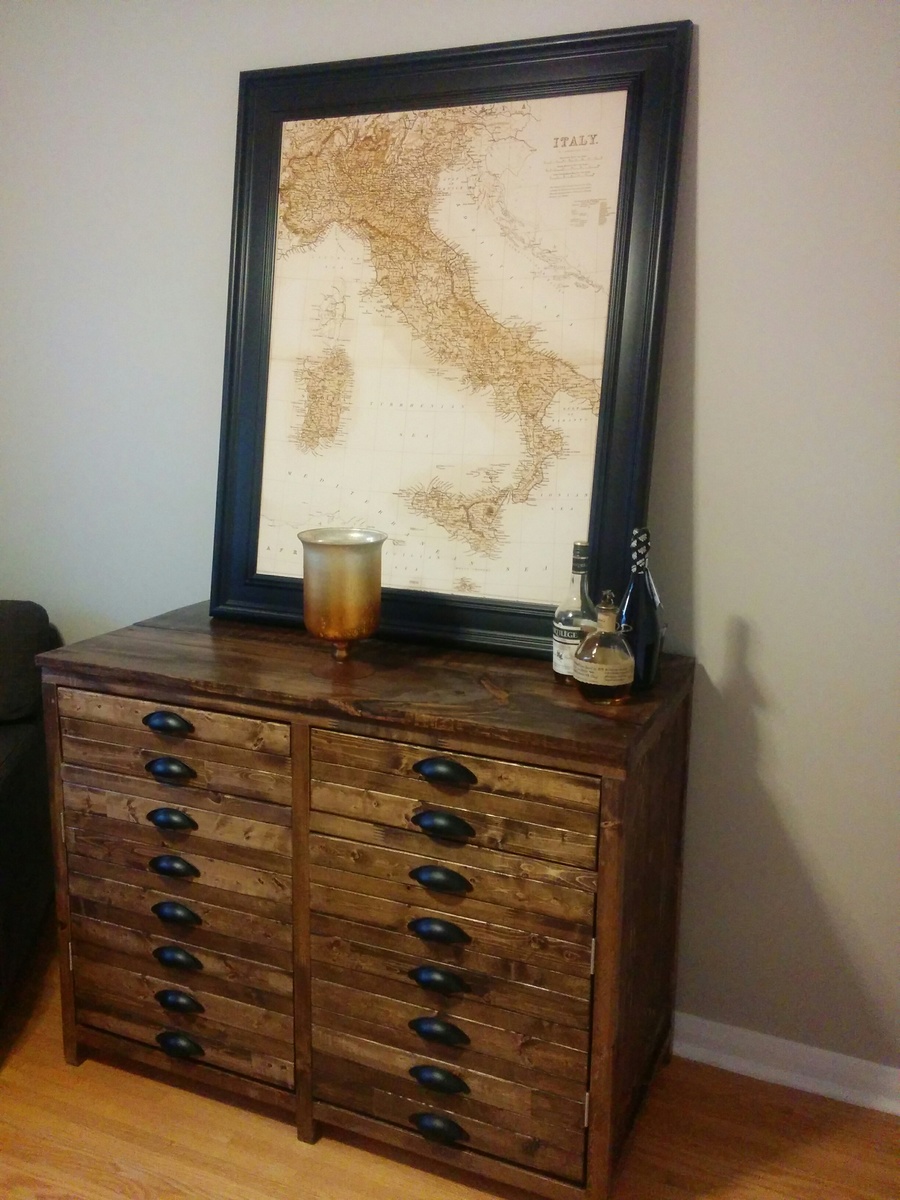
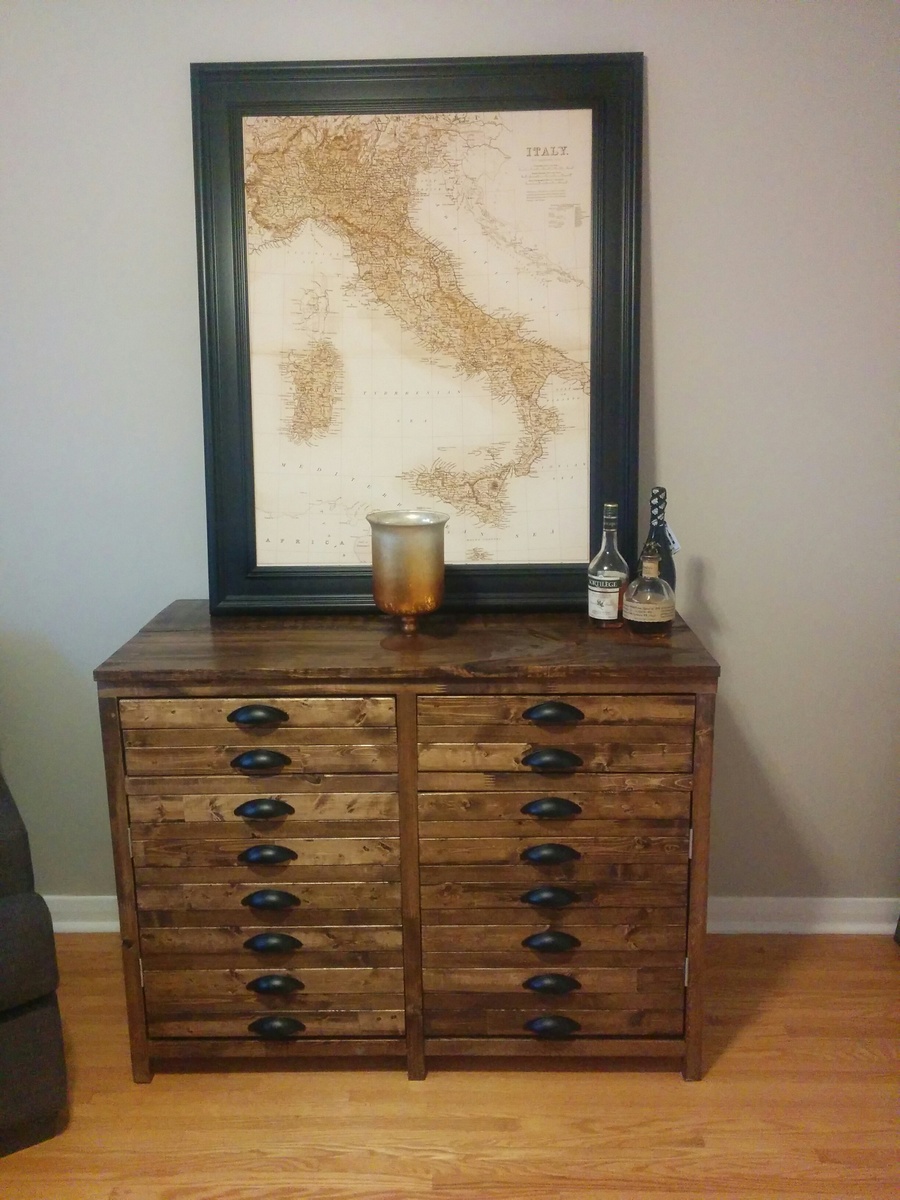
Minwax special oak 224
Varathane diamond wood finish semigloss
Small Flower Planter
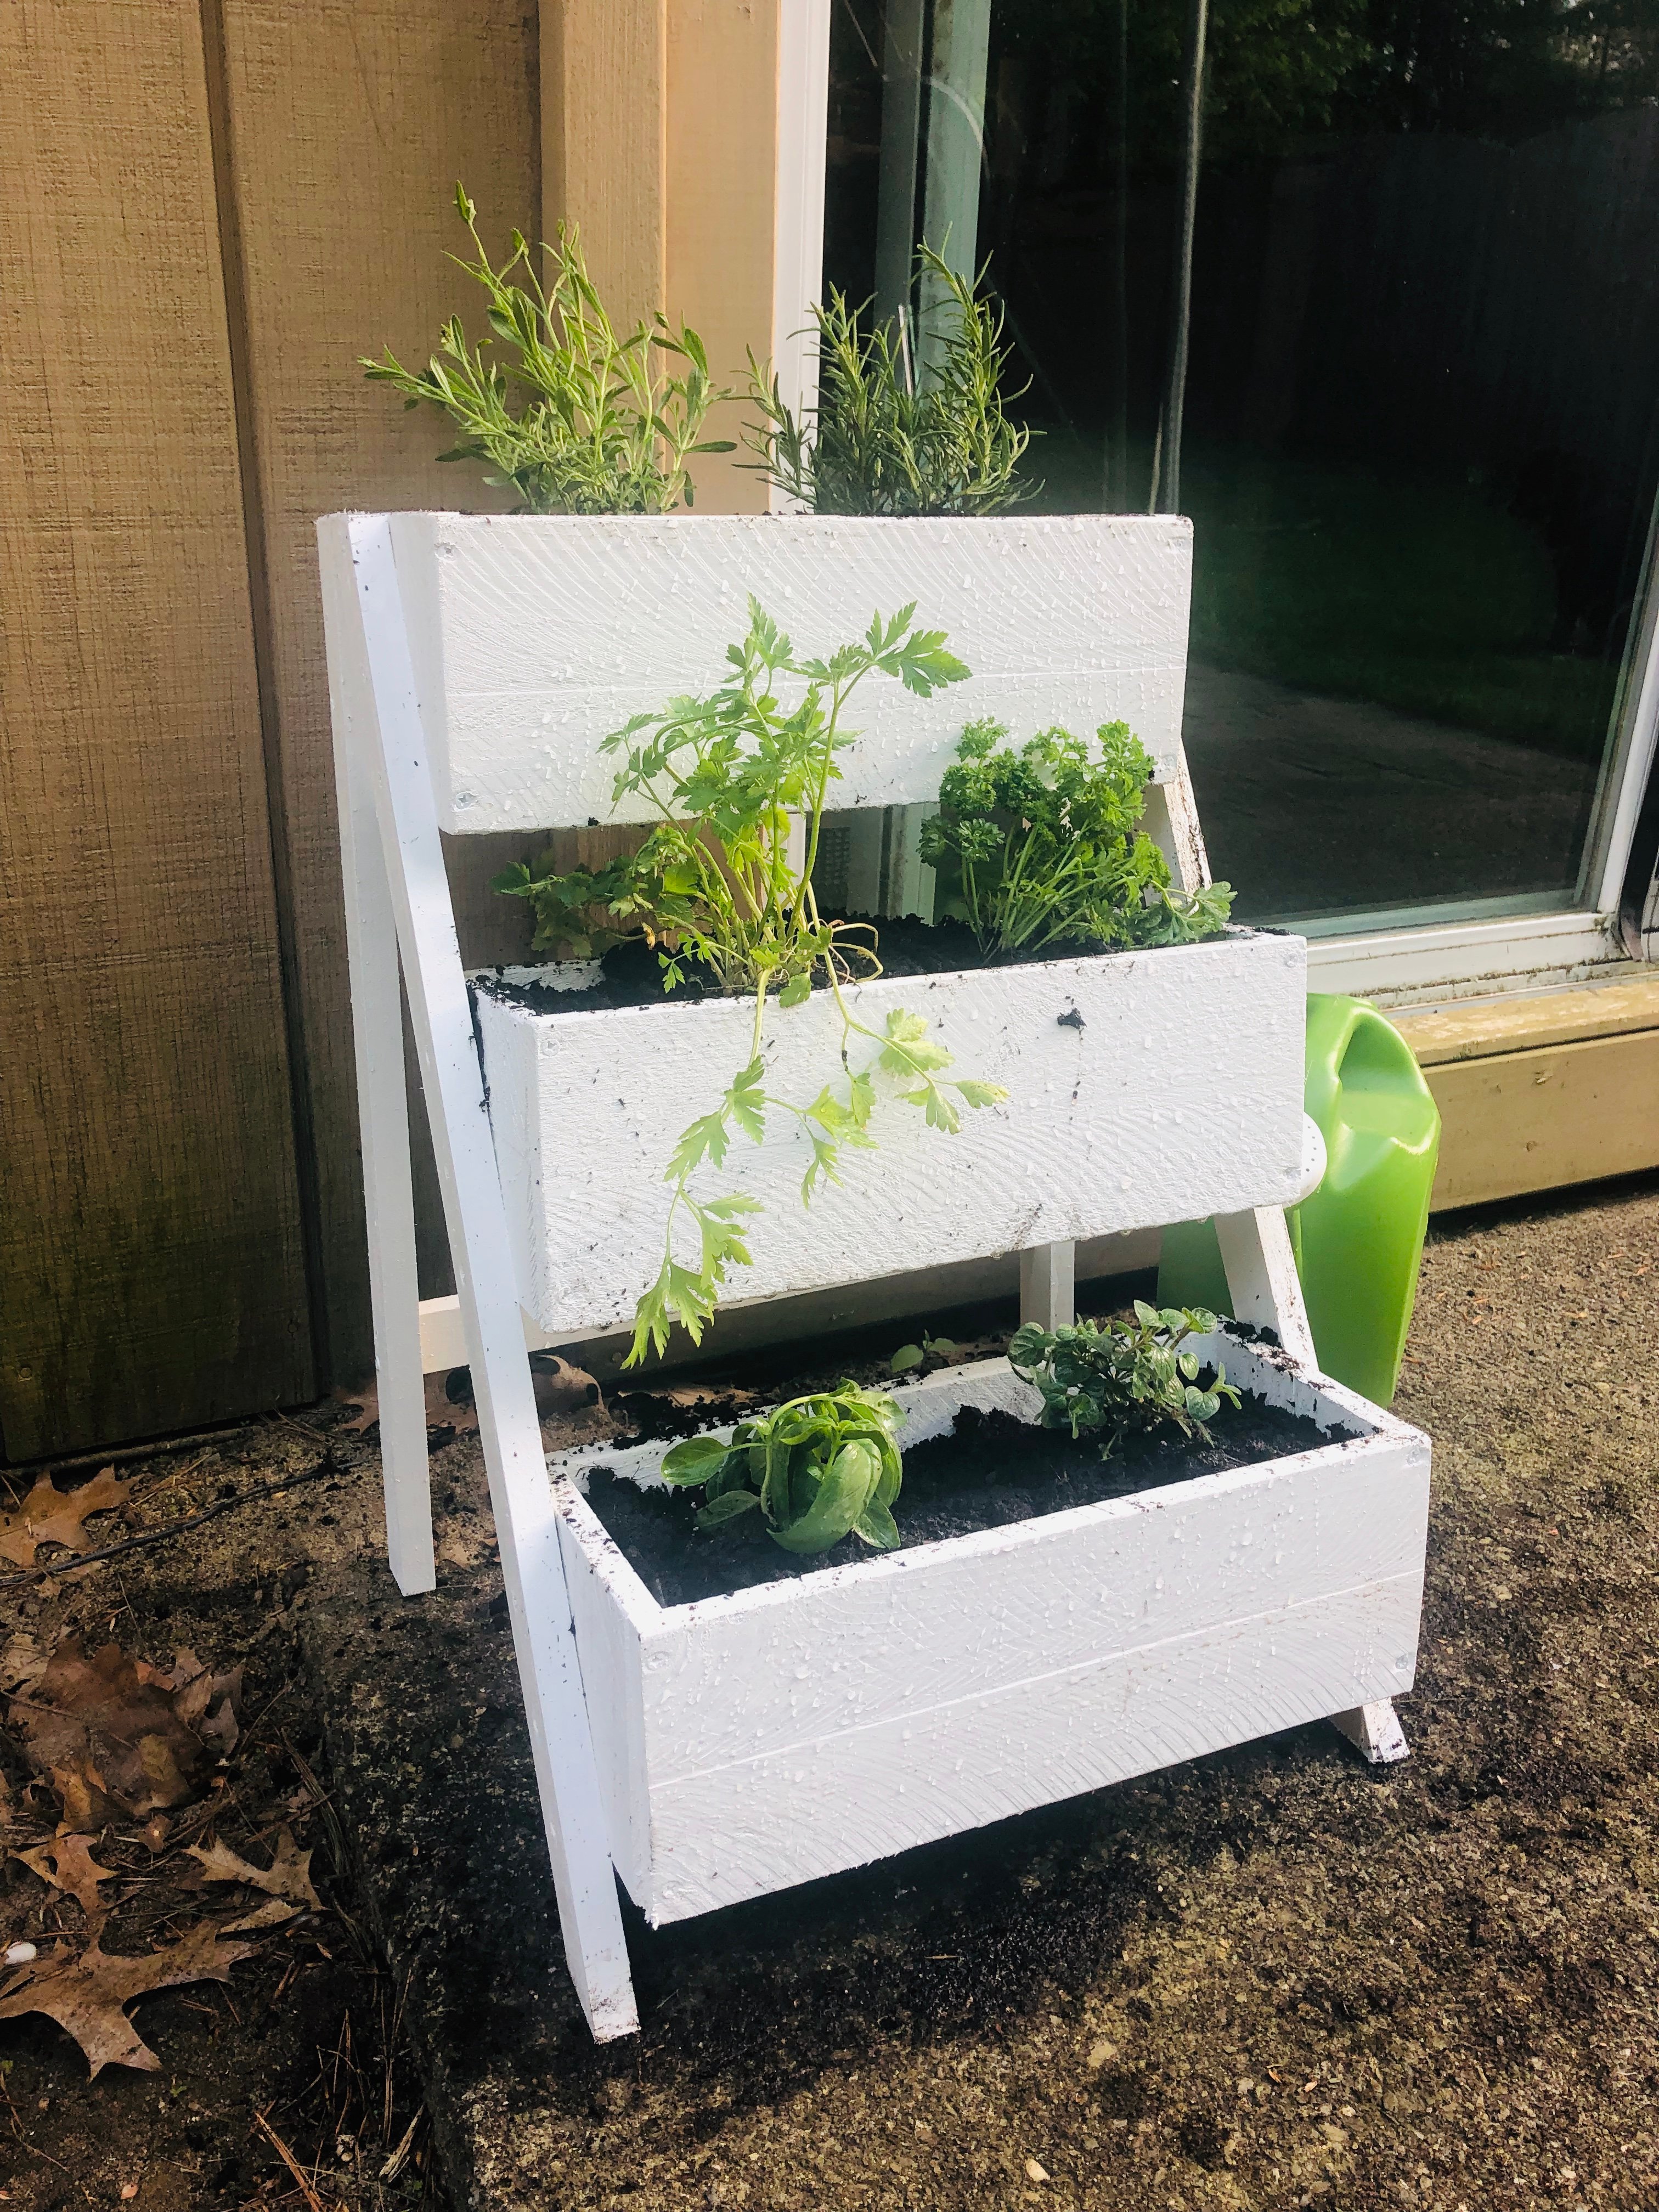
This is my first project in years. It turned out exactly as I wanted. I decided to paint it after with some white paint That I had laying around. This whole project cost about $15 and 2 hours.
Bar stool
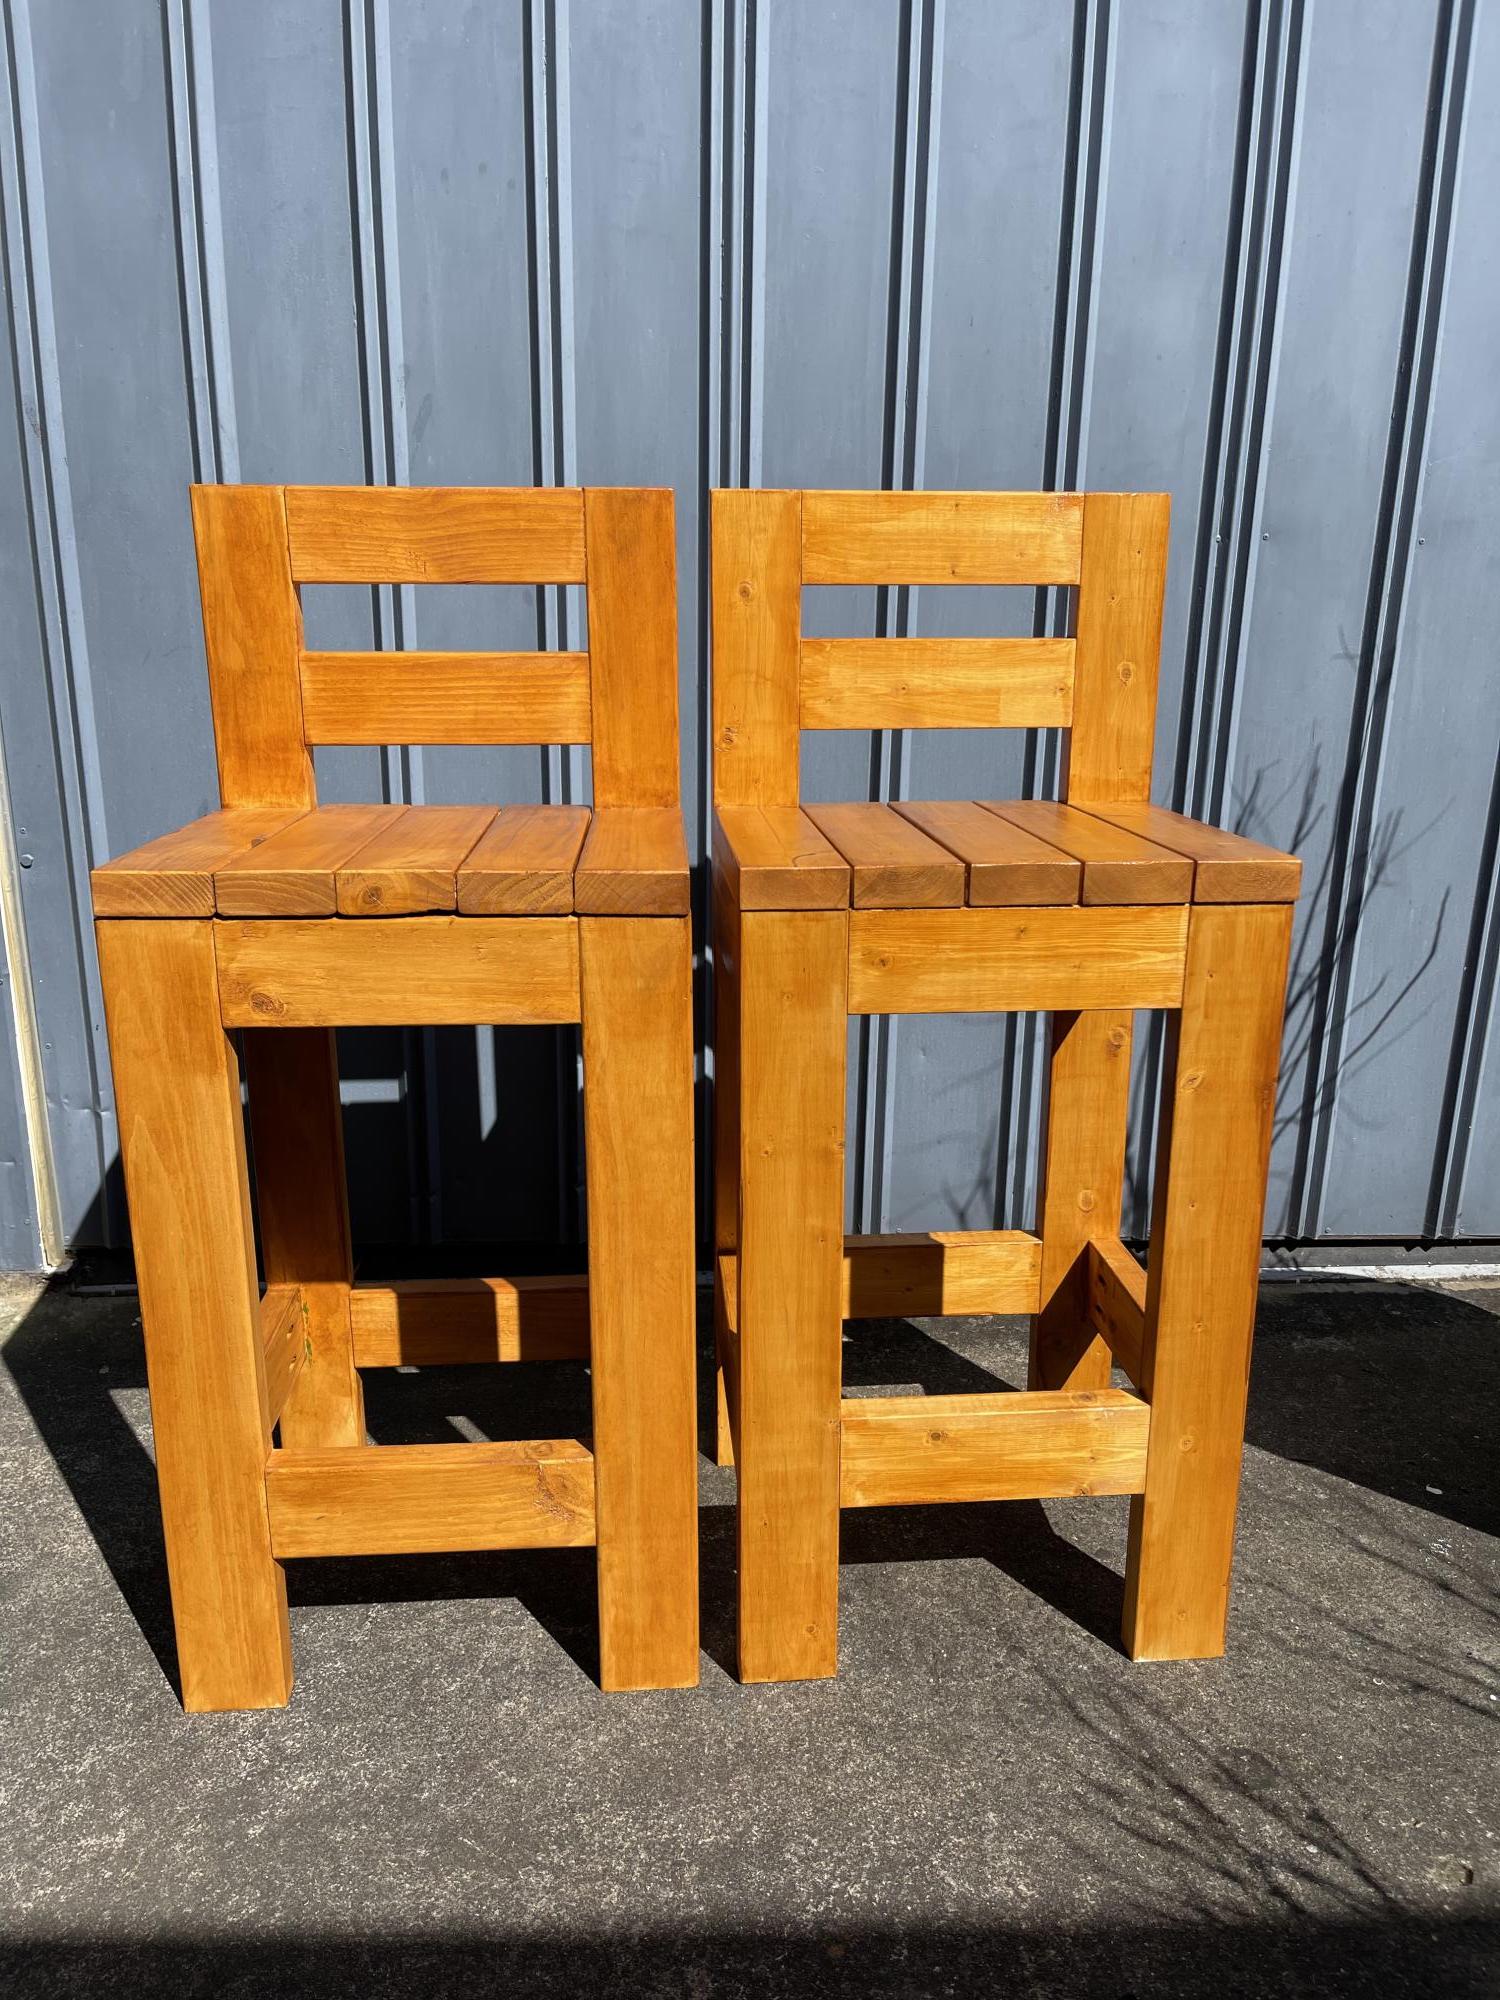
Hi Ana,
Using the bar stool plan and I built two bar stools for my man cave in Australia. Thank you so much. Cheers
Ricky
Comments
Ariel's Coffee Table
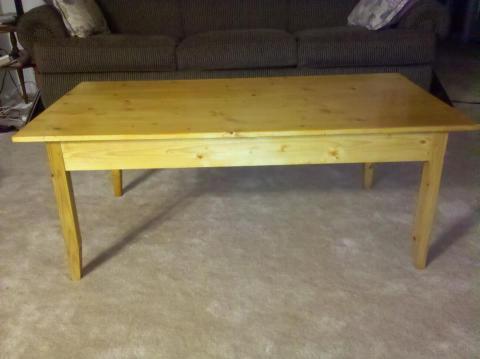
I built that table for a friend using primarily hand tools. The only power tools were a table saw to rip the legs from a scrap 2x12 from another project, and a drill for draw-bore holes.
The table is made from pine, so that it is light enough for a woman of small stature to carry it up to a third-floor apartment. The frame is made with mortise and tenon joinery for strength, and the joints are draw-bored to make sure it doesn't fall apart in our lifetime.
The top is a glued-up panel from five other boards. This was my first panel glue up, so it was a little bit exciting in the same way that a kitchen fire is exciting. The surface has a rustic texture, made by planing it smooth with a cambered jack plane. The texture isn't visible under normal lighting, but with a raking light you can see it. It's very interesting to run your fingers over this table because of the texture from the plane, and the strong grain of the white pine.
Wood Trug - Kit Form
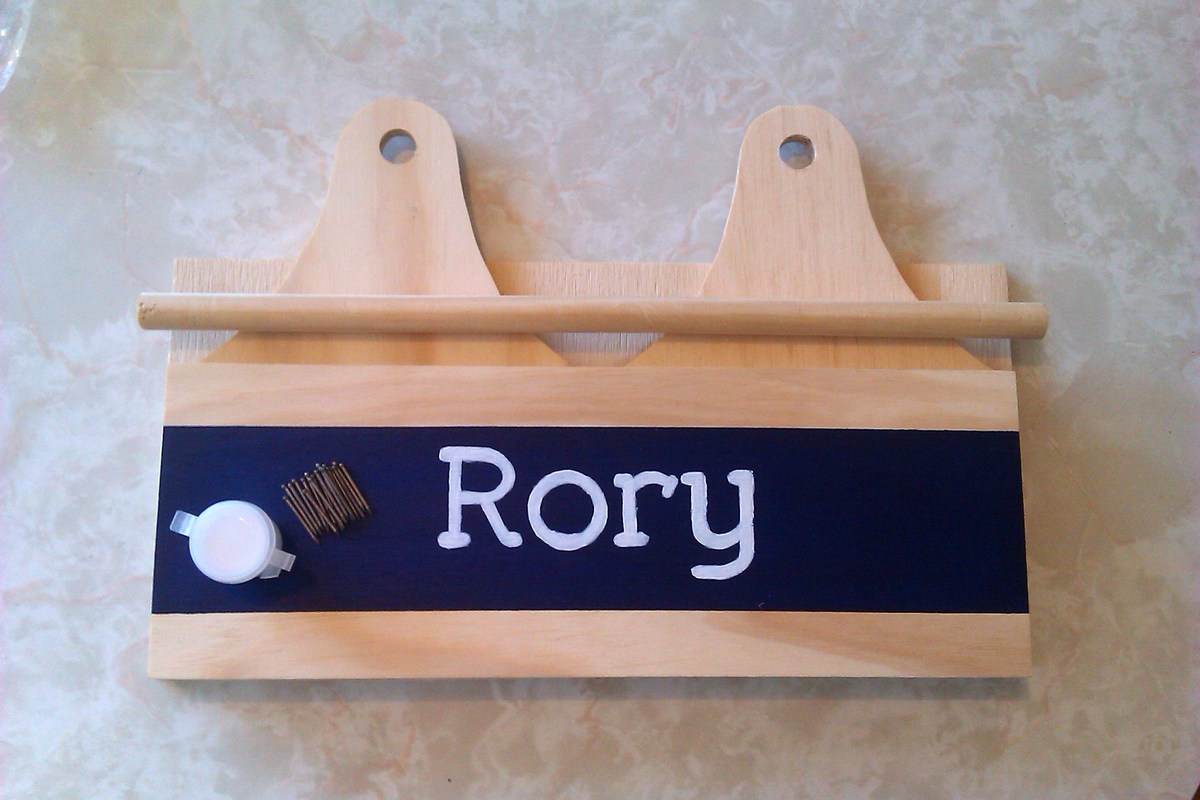
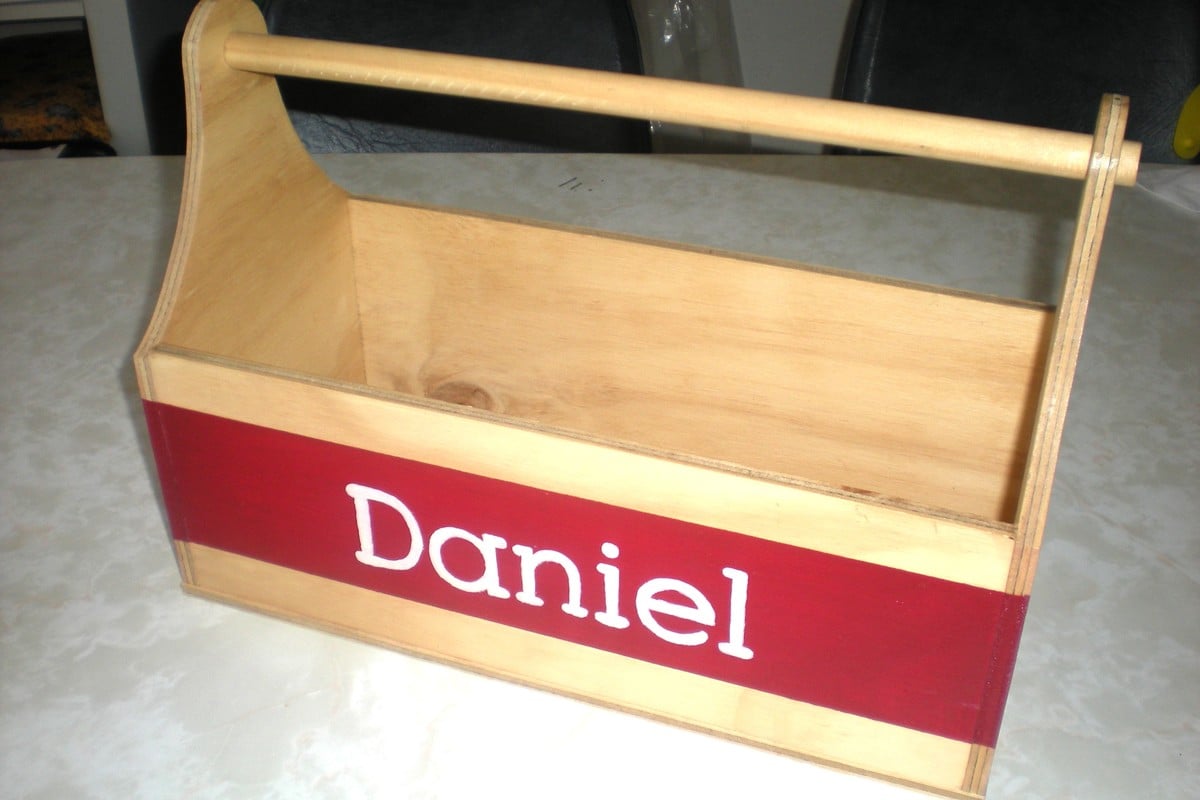
I made these back in February. I came across this project on Jamie's site (http://thatsmyletter.blogspot.com.au/2012/10/t-is-for-trug-naked-versio…) earlier in the year and thought that it would make a fantastic birthday gift for my 6 year old nephew. I gave it to him in kit form complete with nails and glue so that he could assemble it himself. I predrilled the nail holes. Of course I then had to make one for my own 6 year old so that they could build them together. I adjusted the size to accommodate some tools my dad had given them for Christmas. Time indicated includes personalisation time.
I've had a bit of practice painting names since this project. Each time I get better at it.
