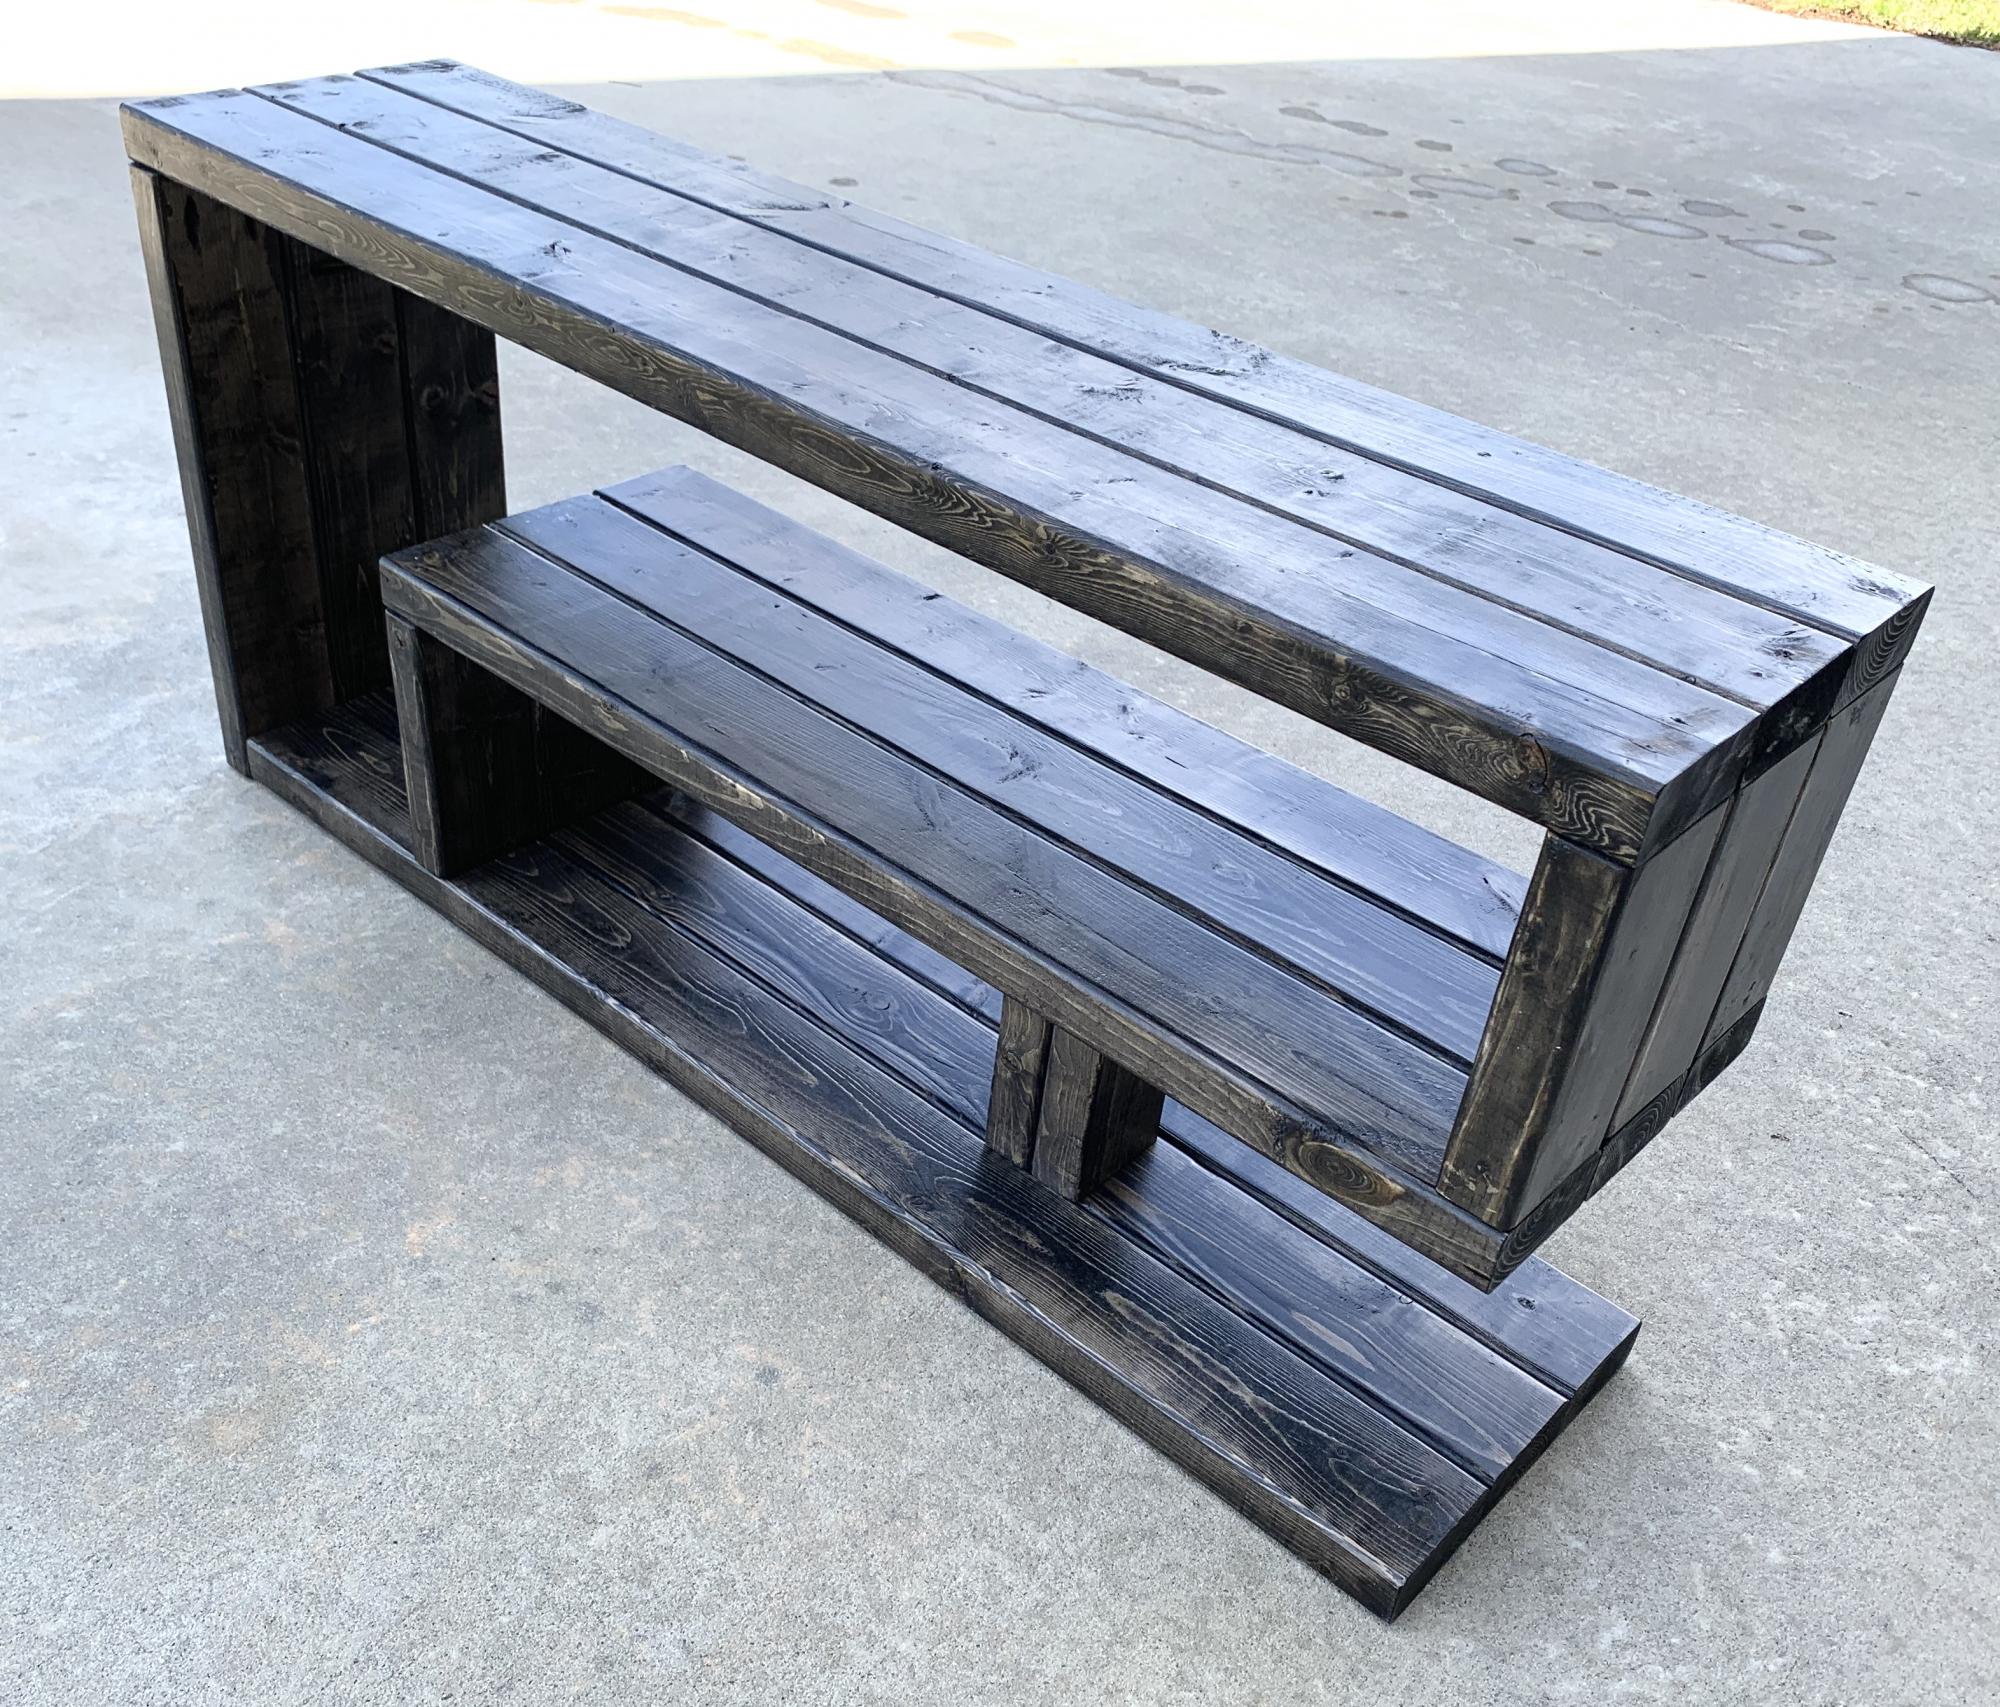
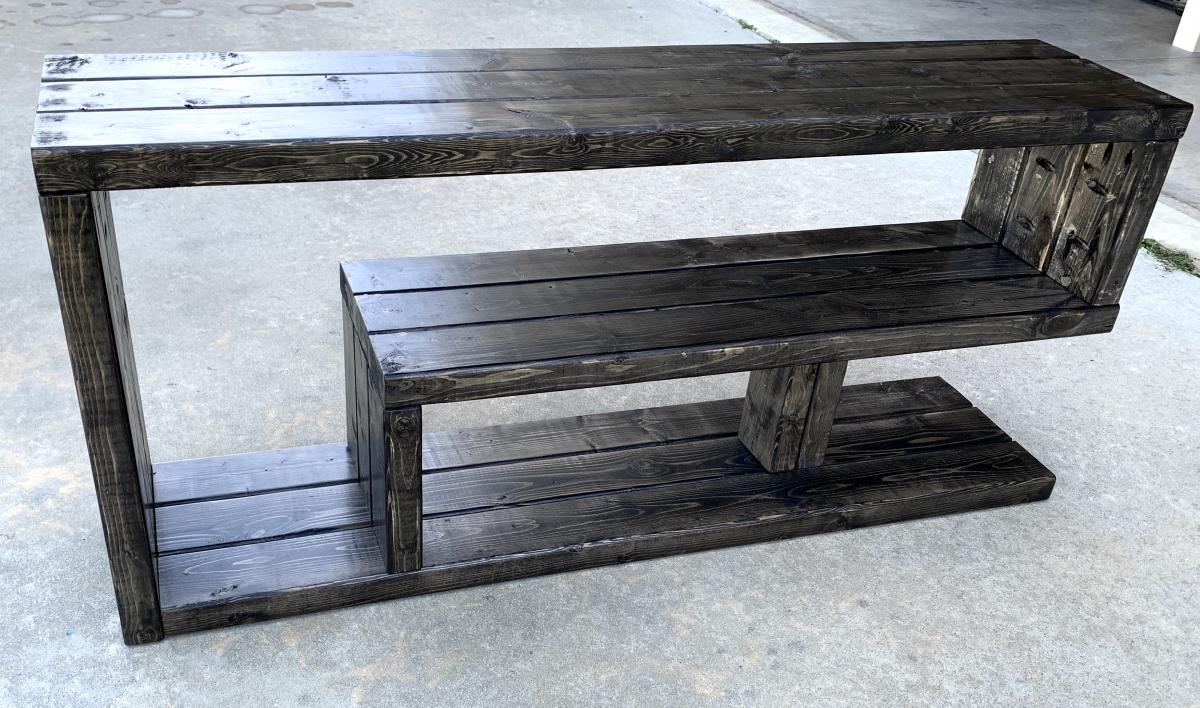
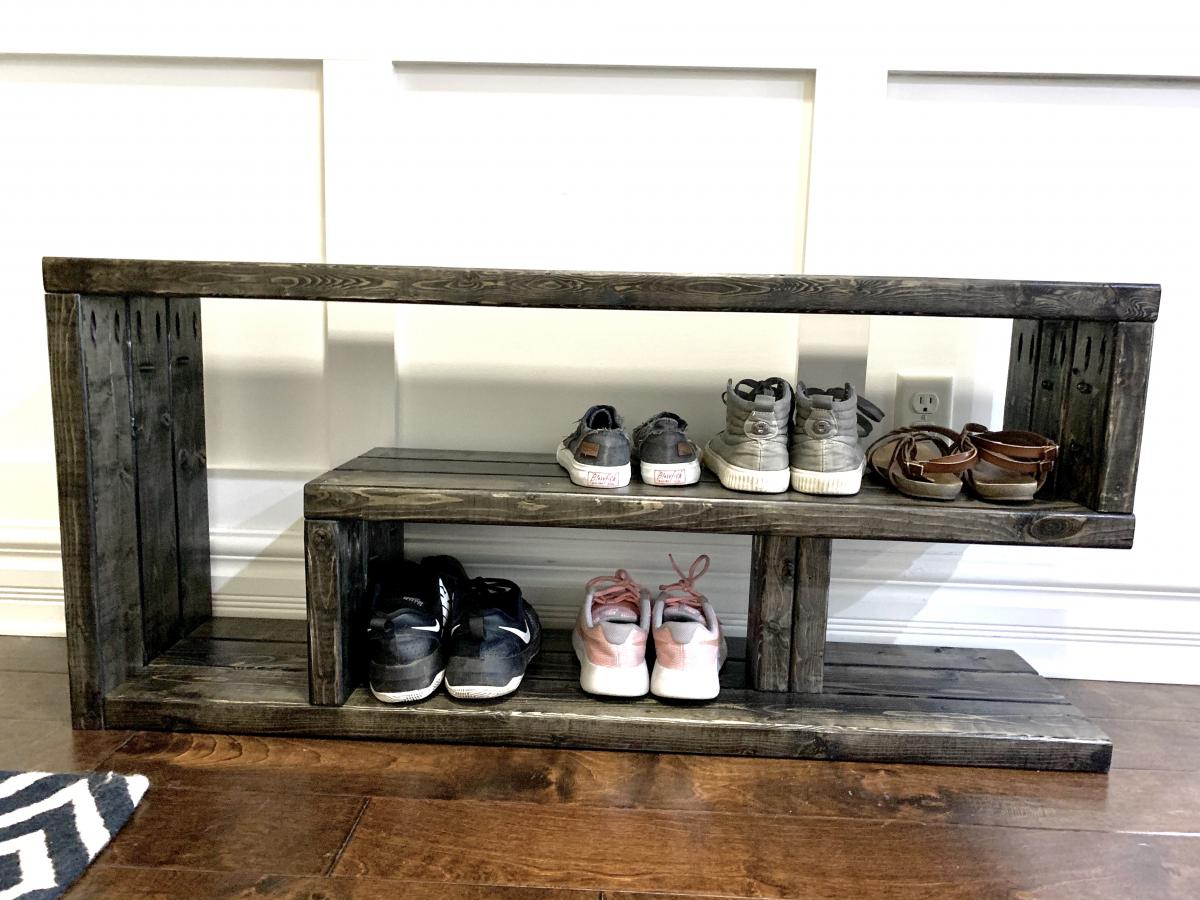
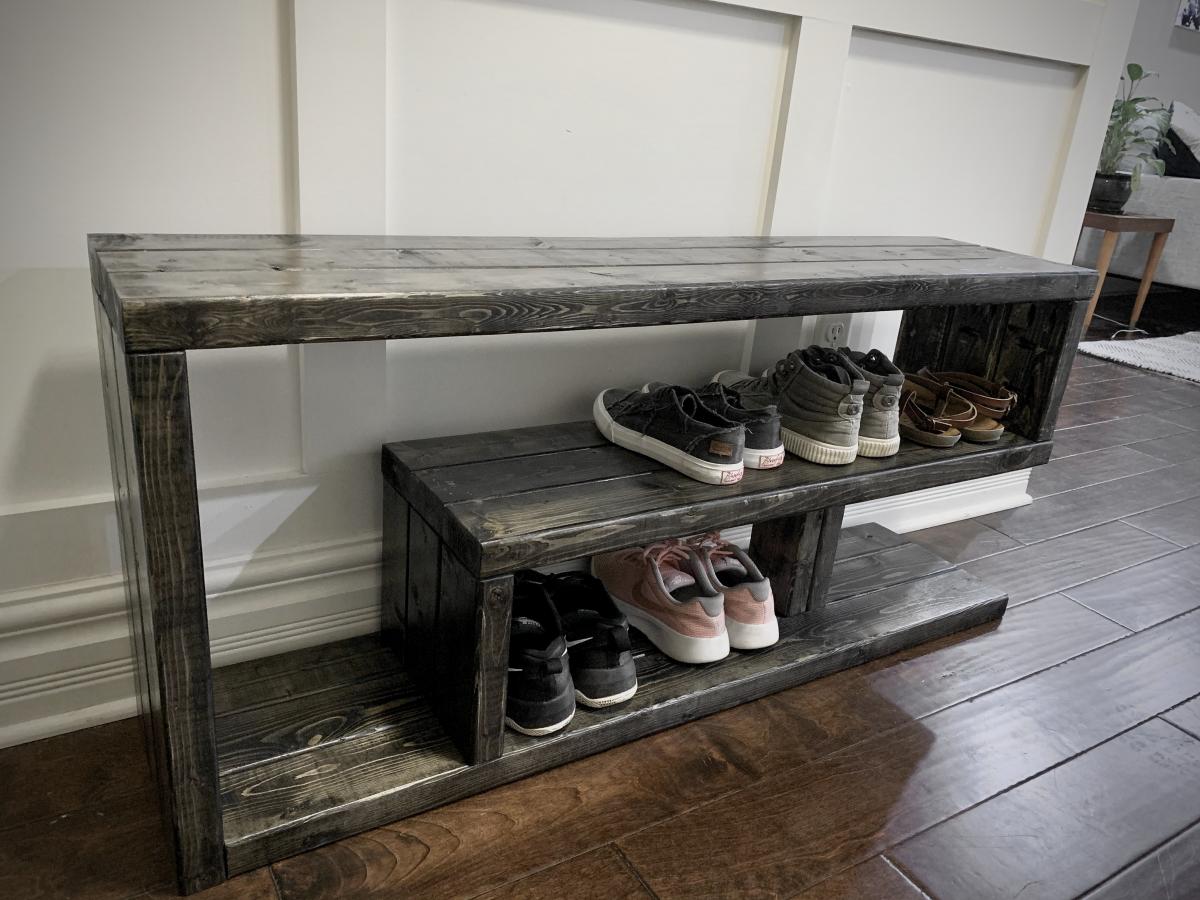
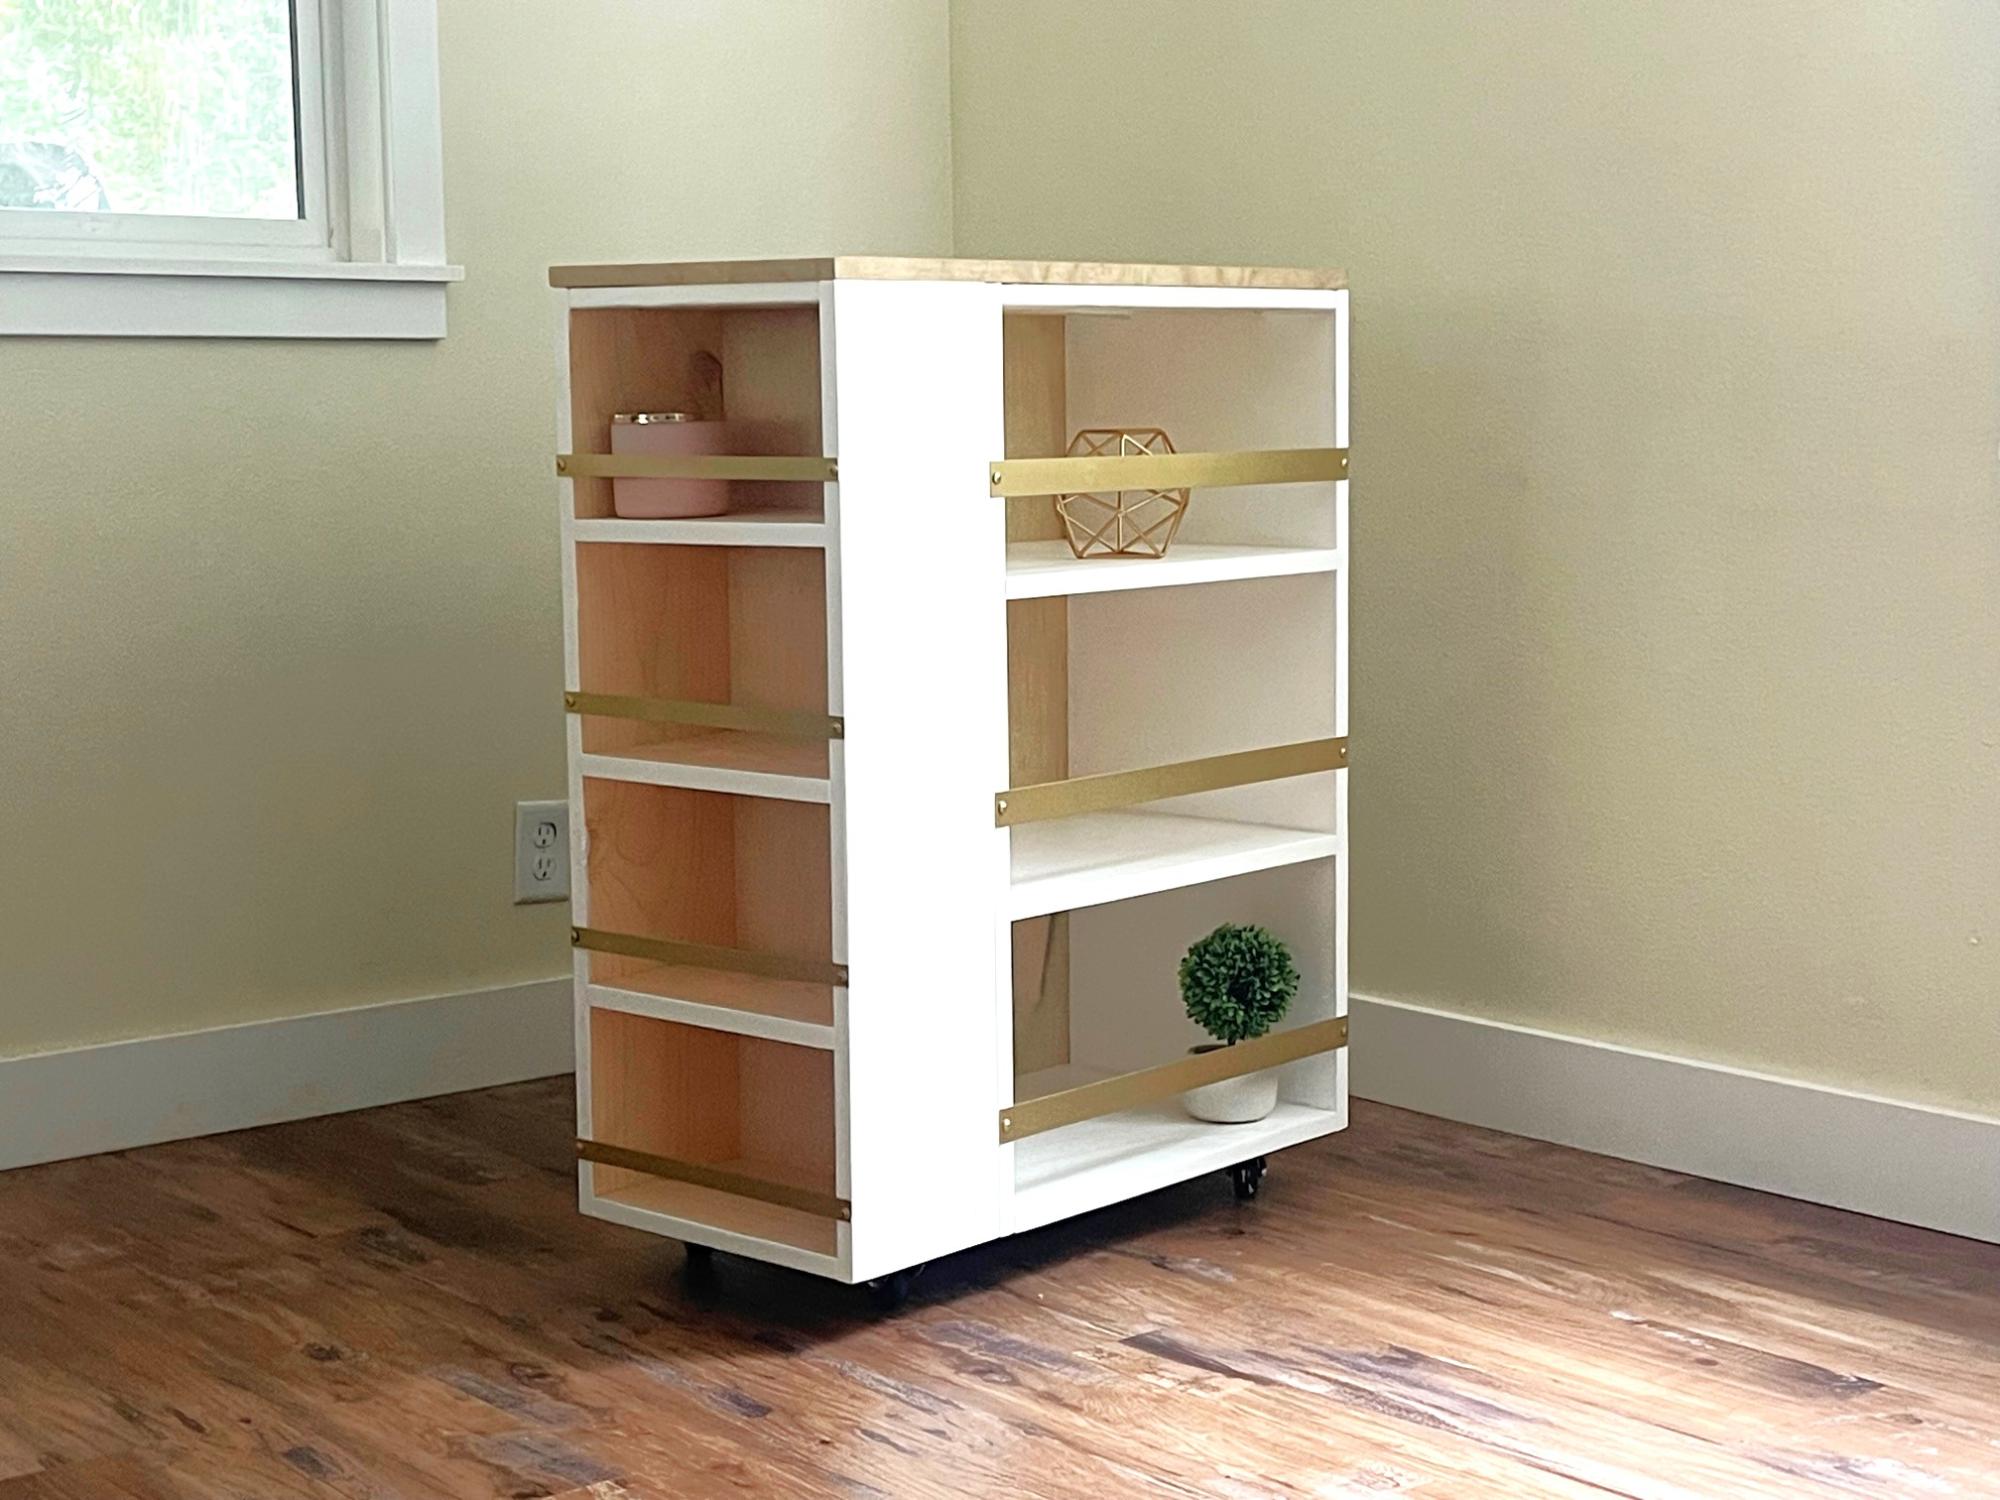
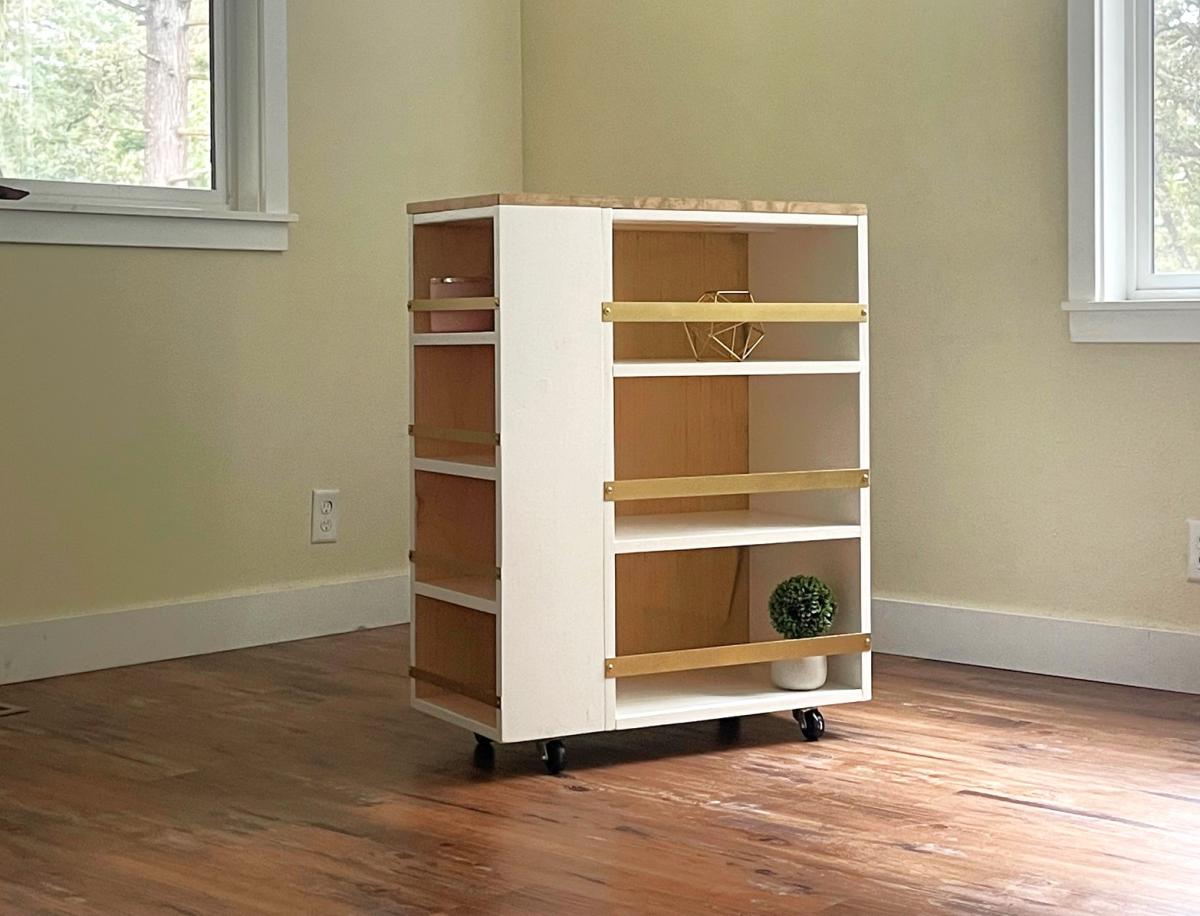
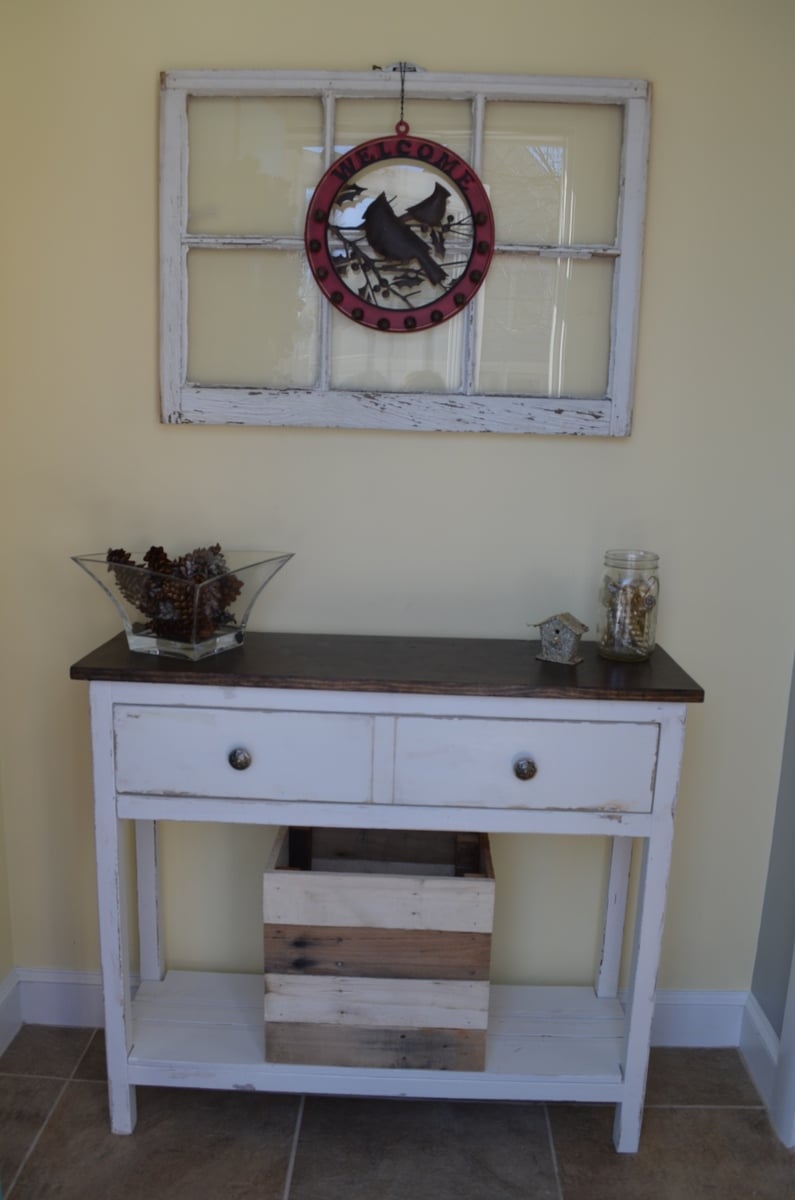
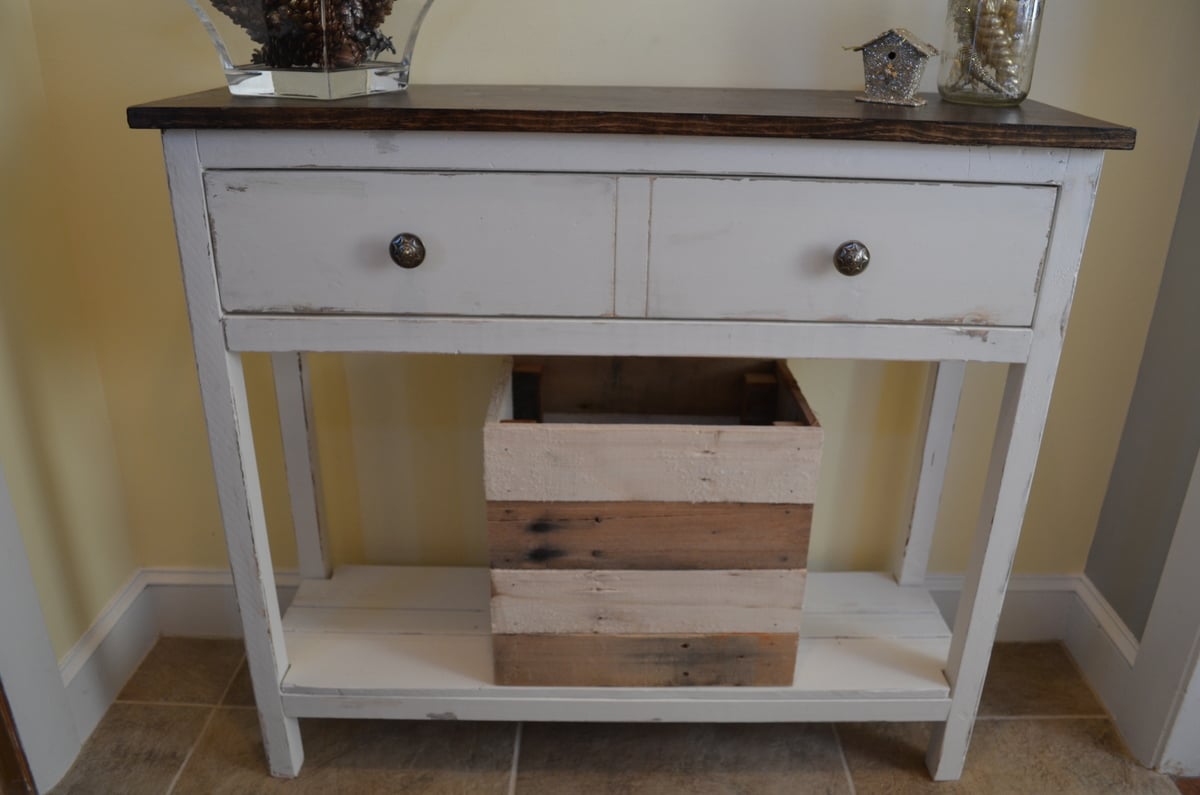
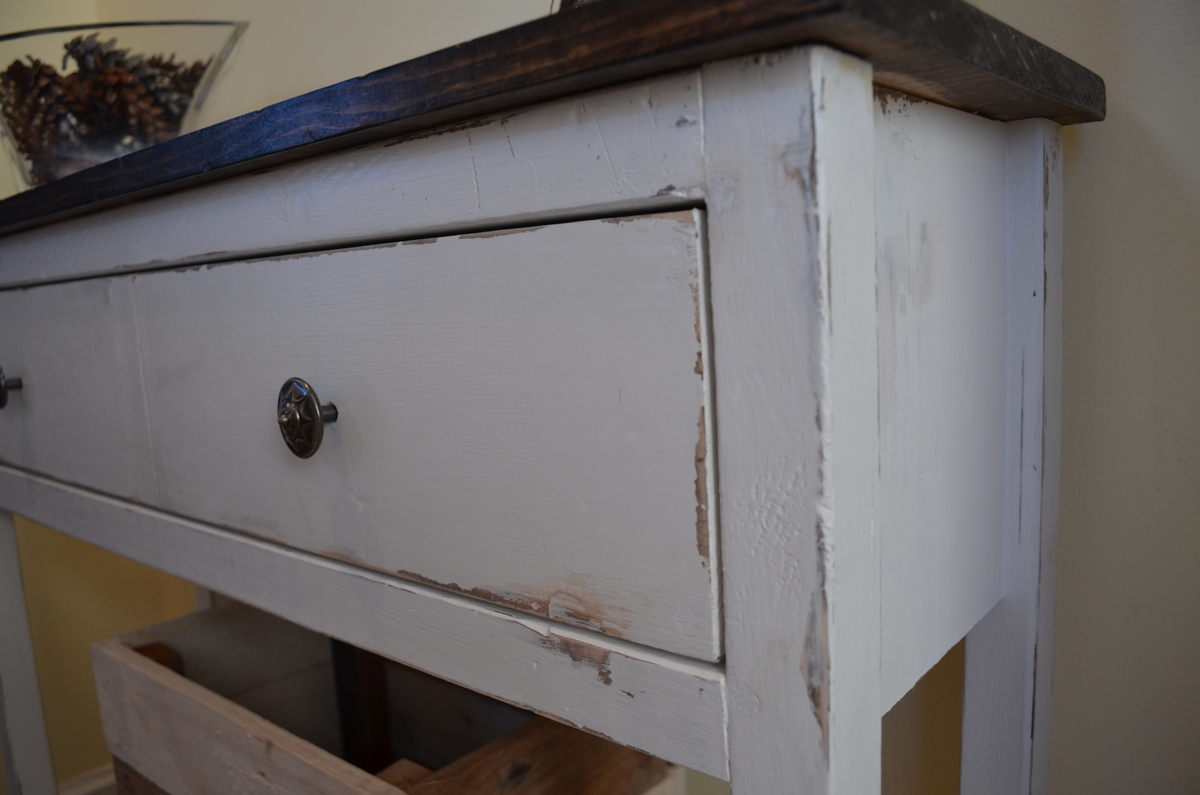
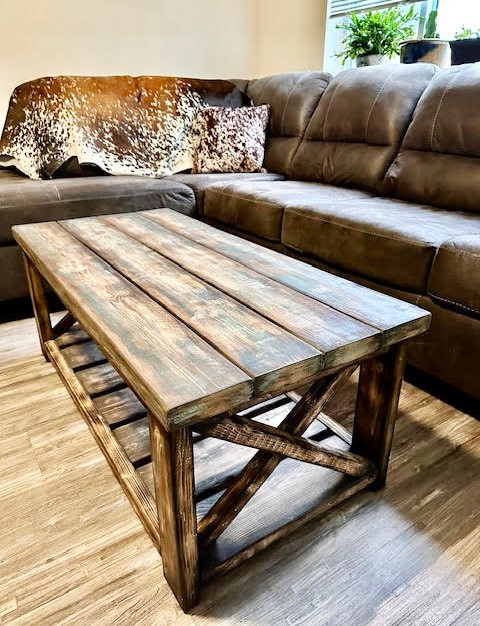
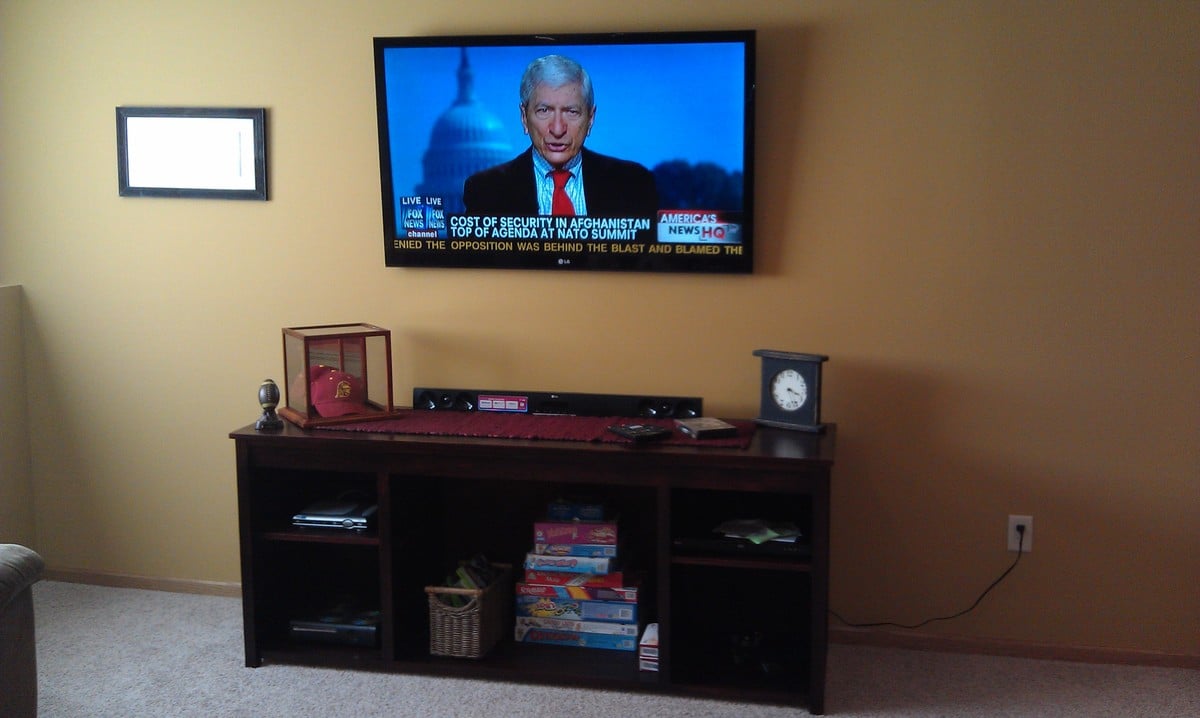
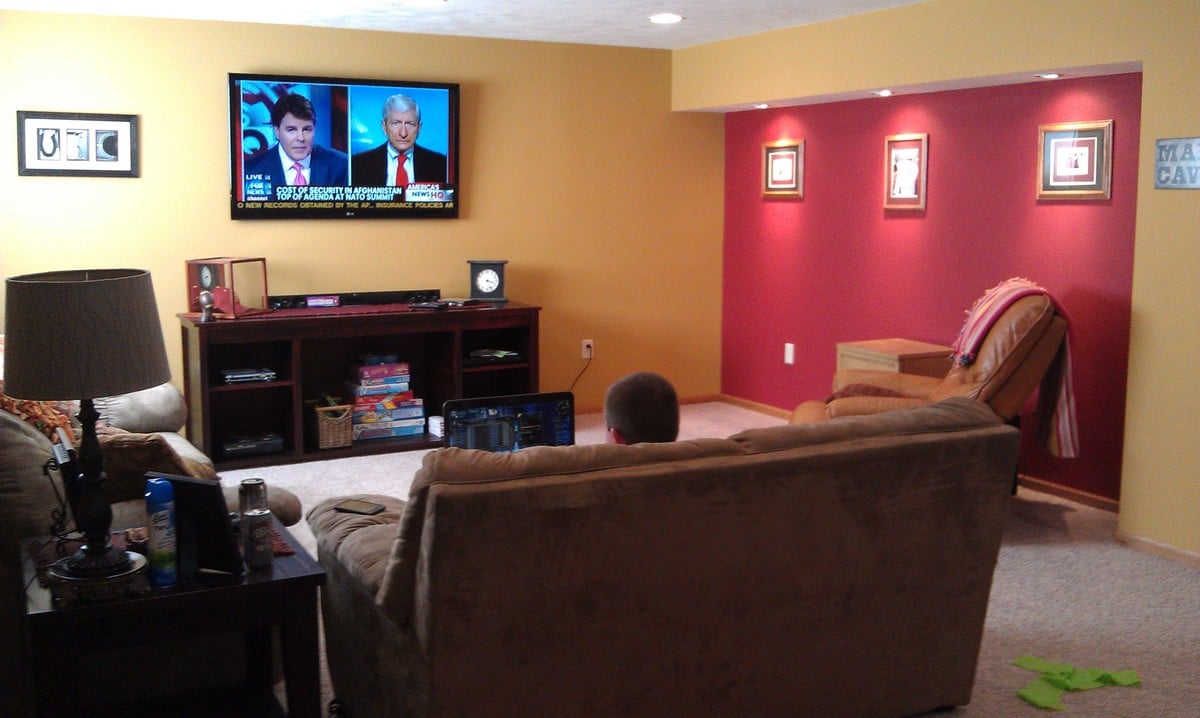
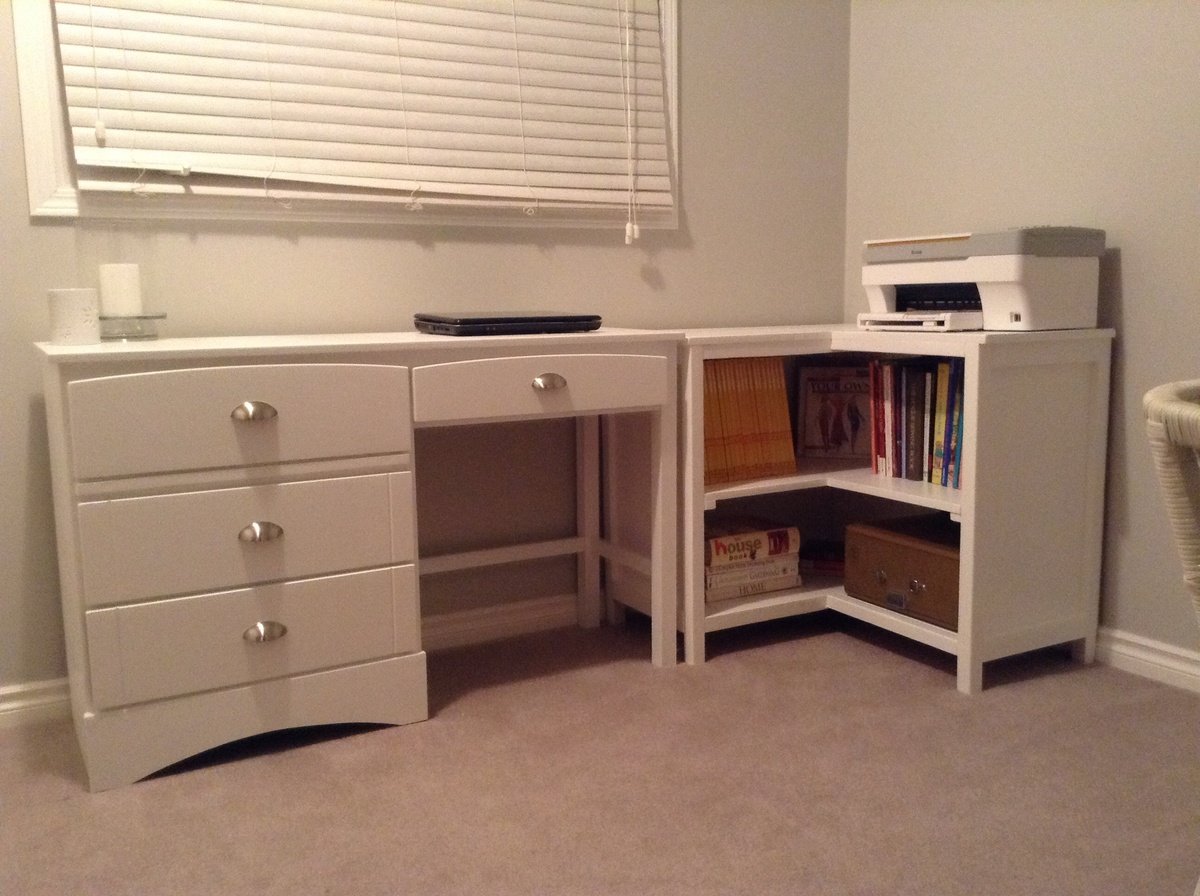
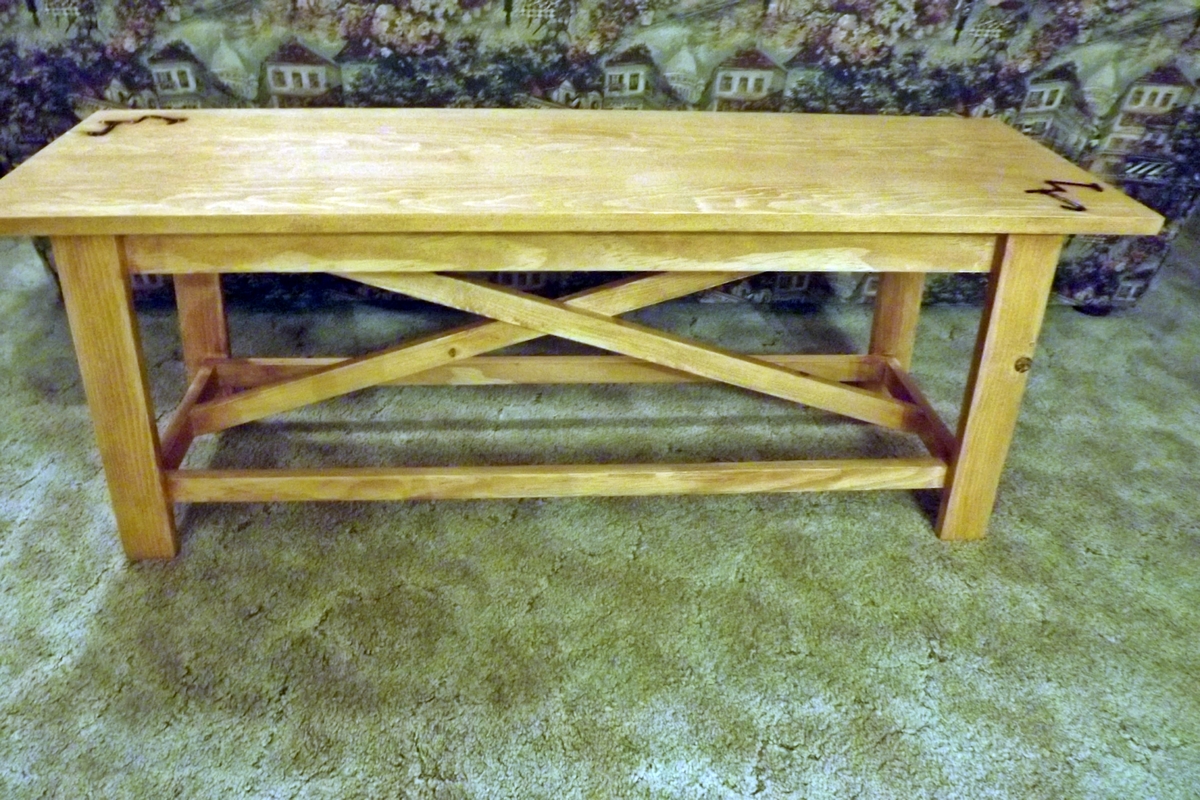
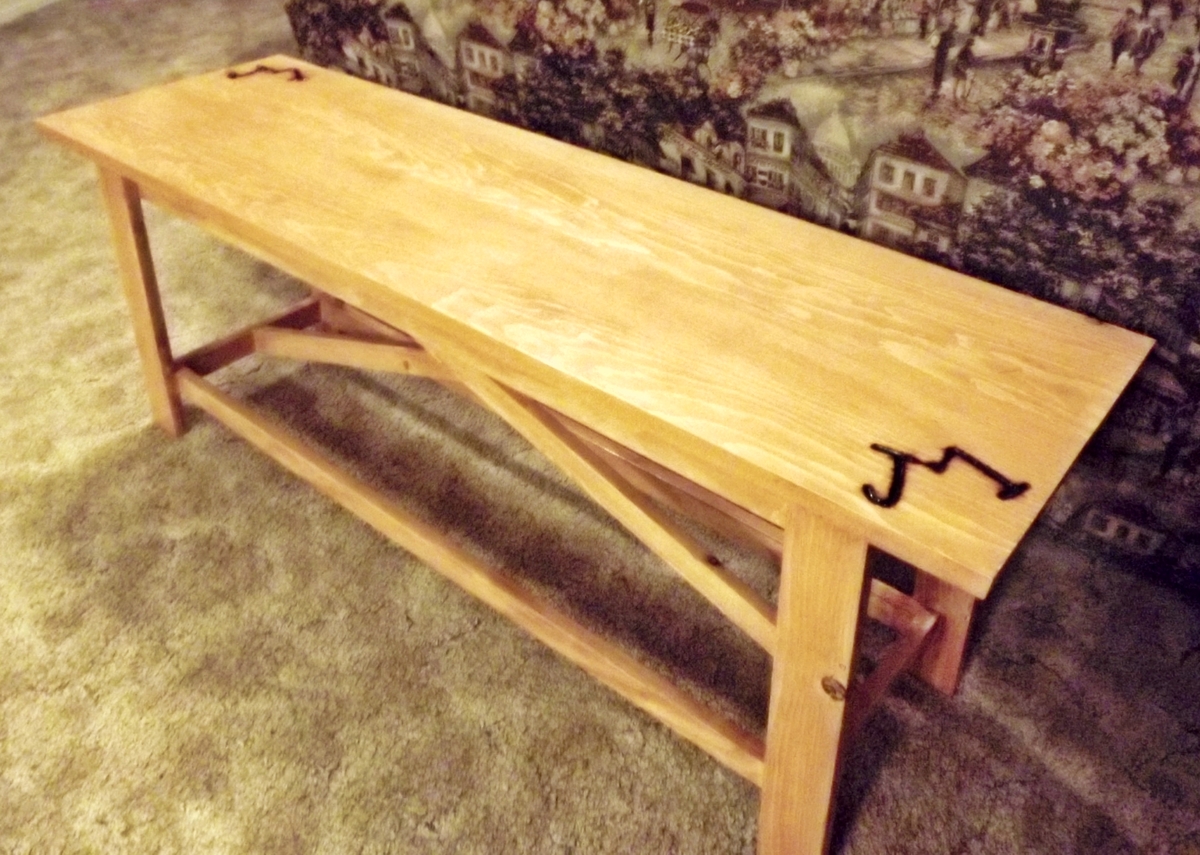
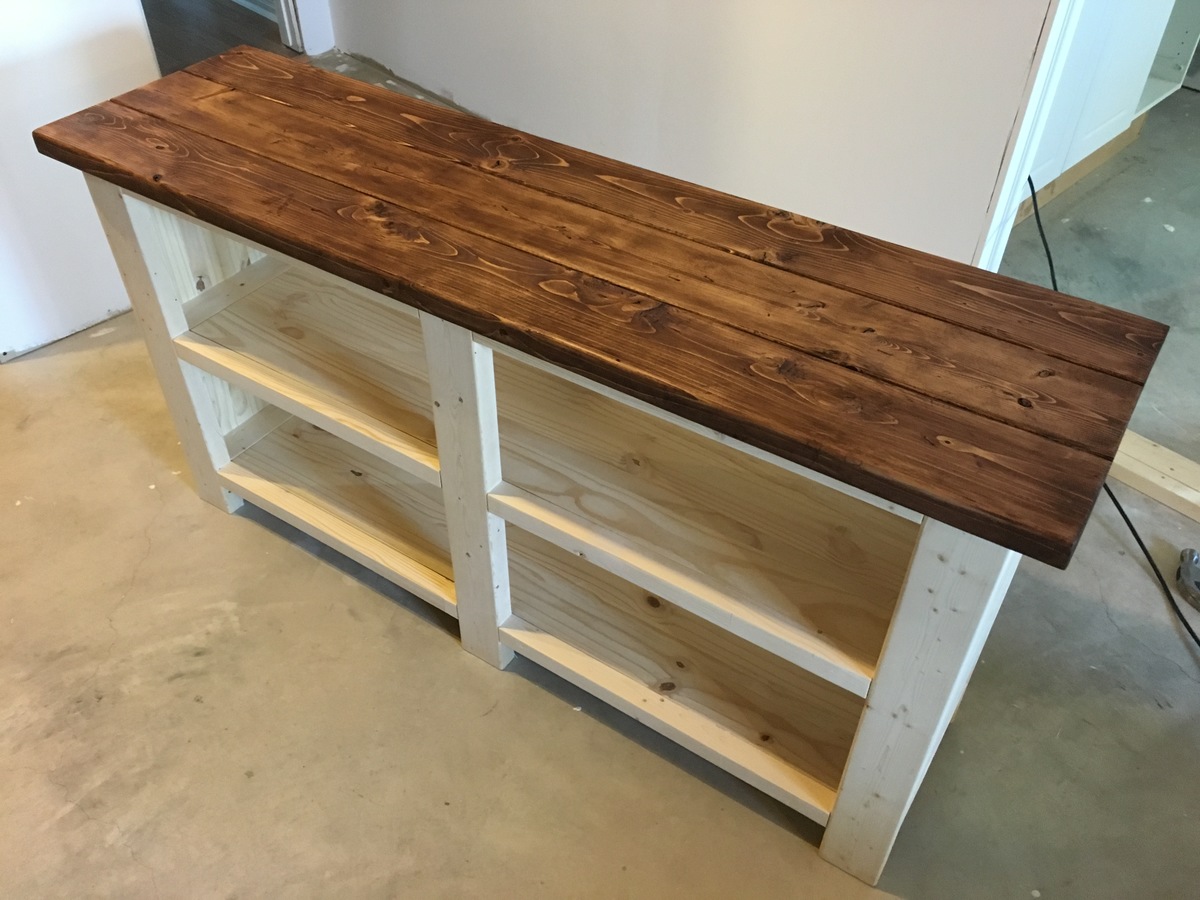
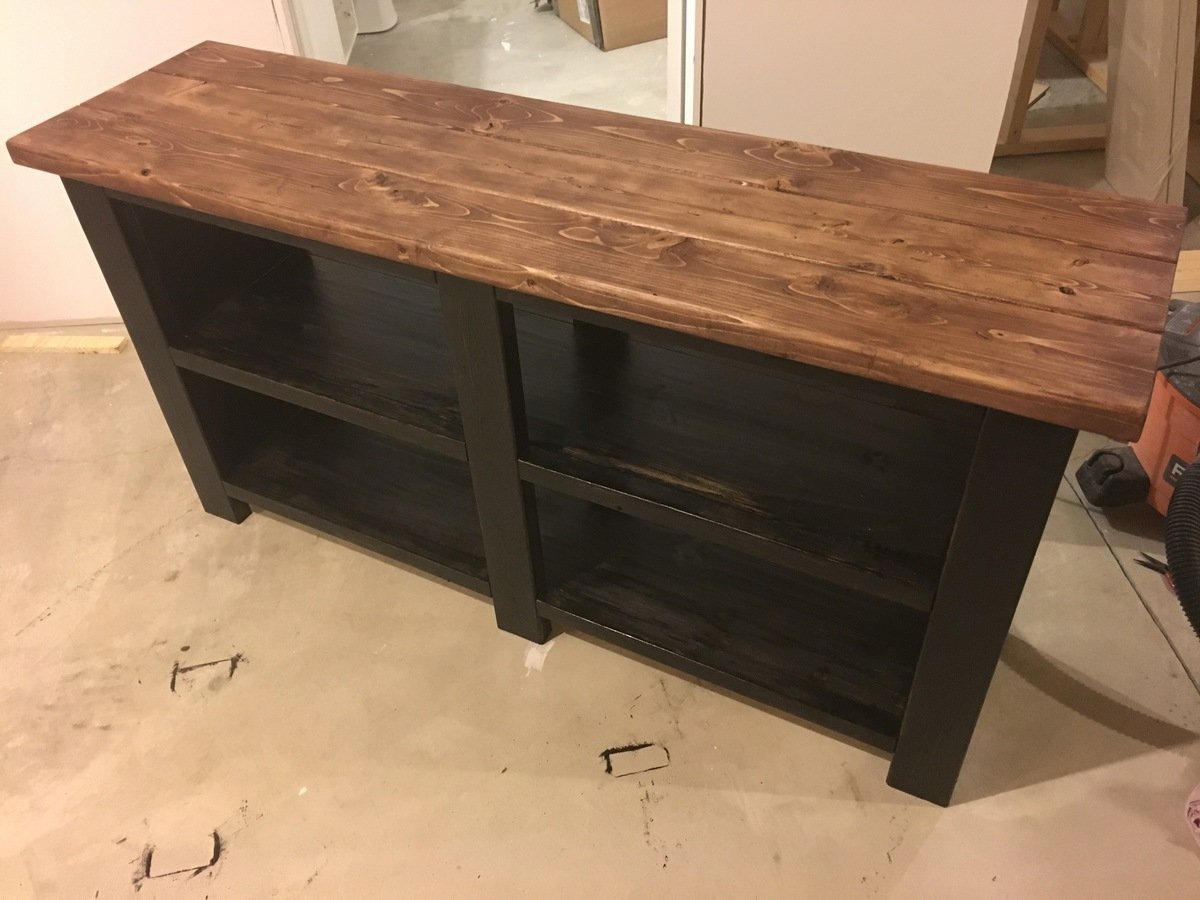
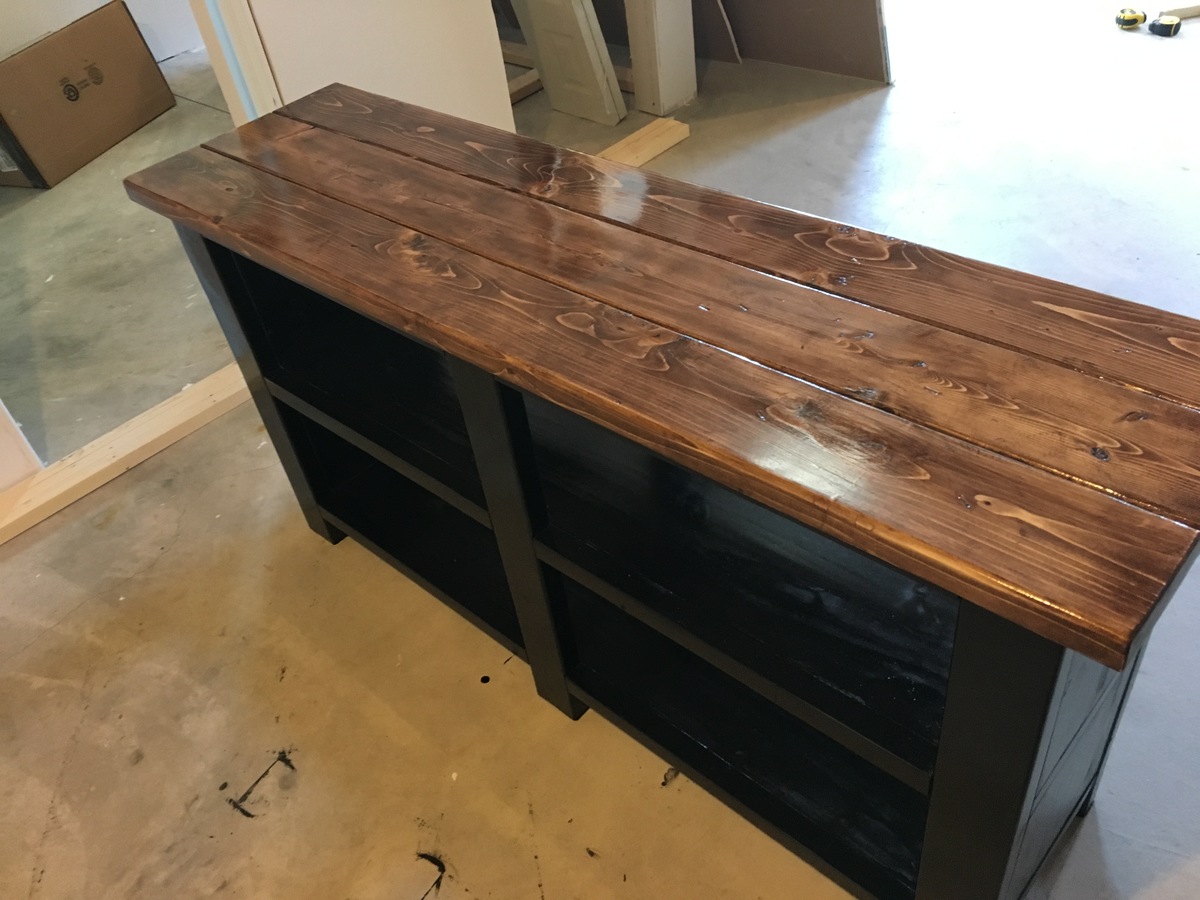
Custom X Console
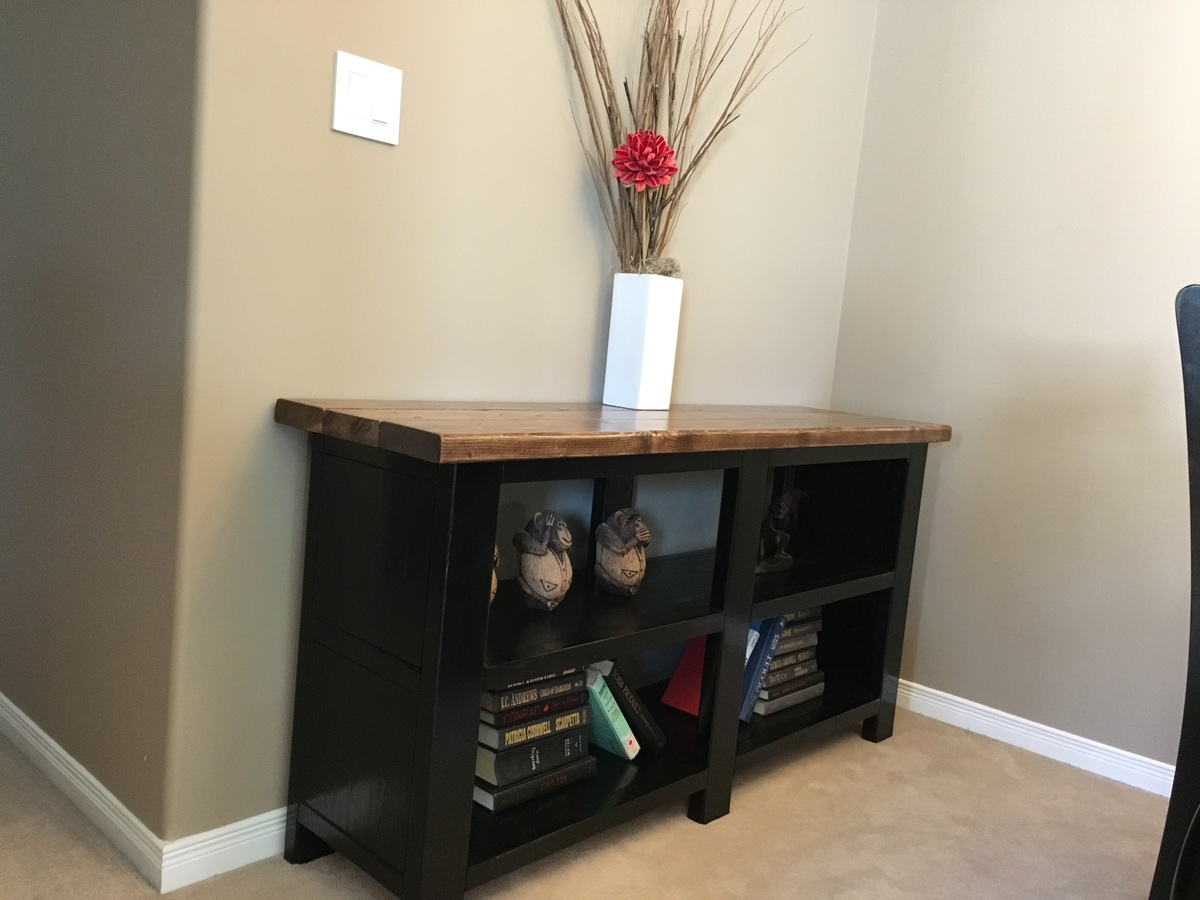
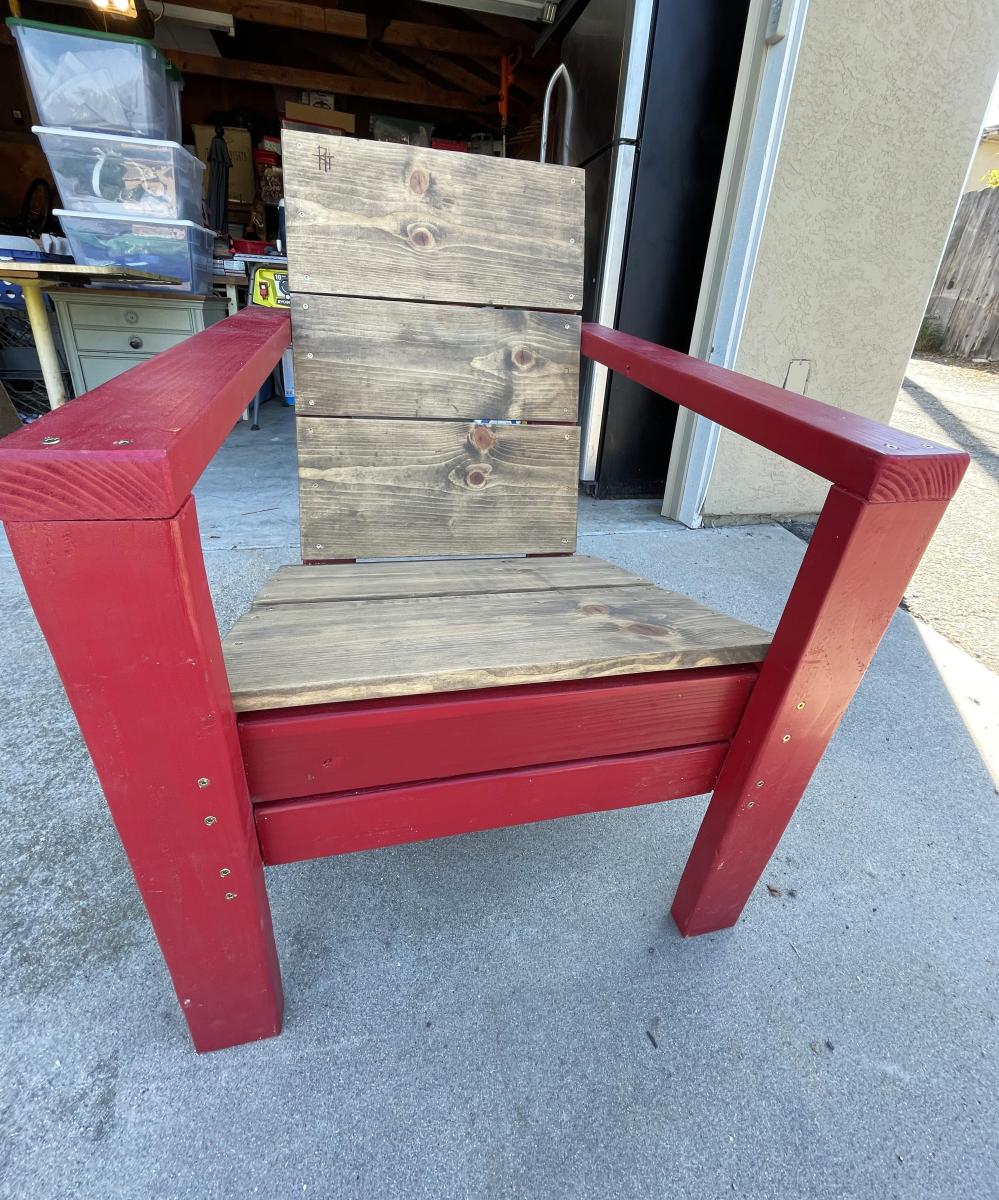
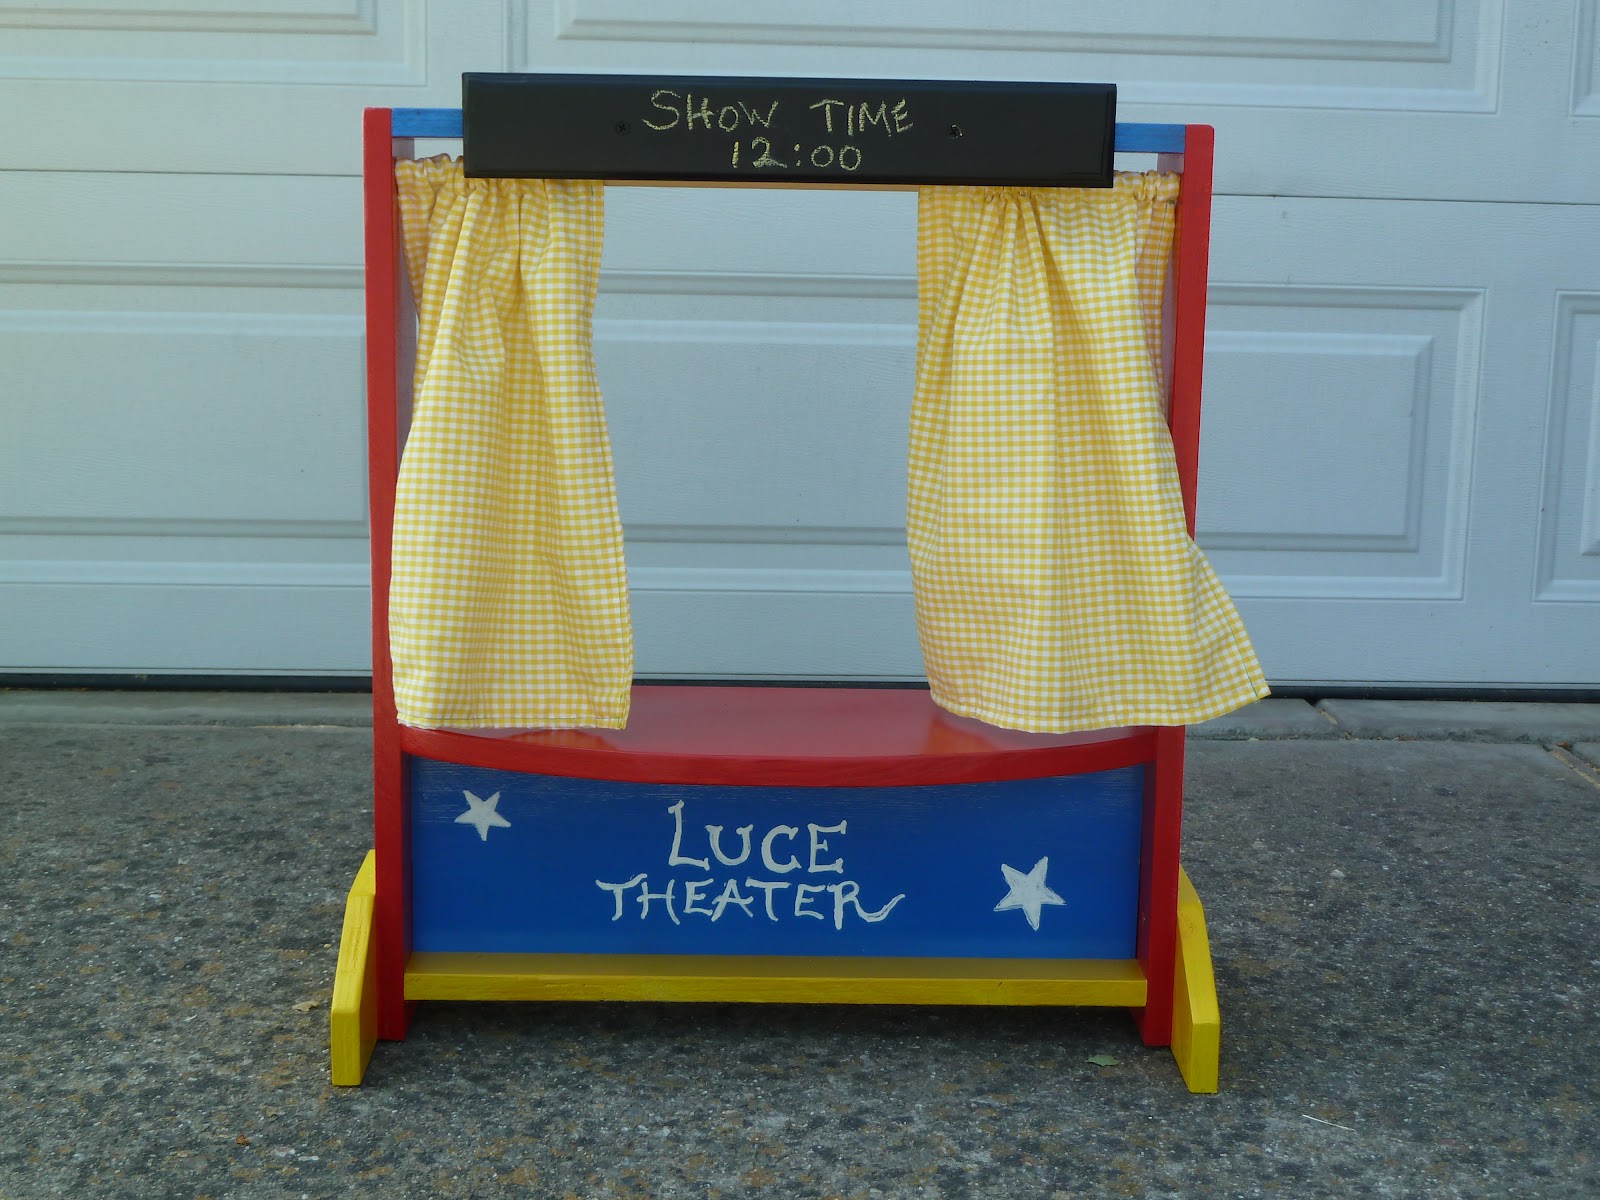
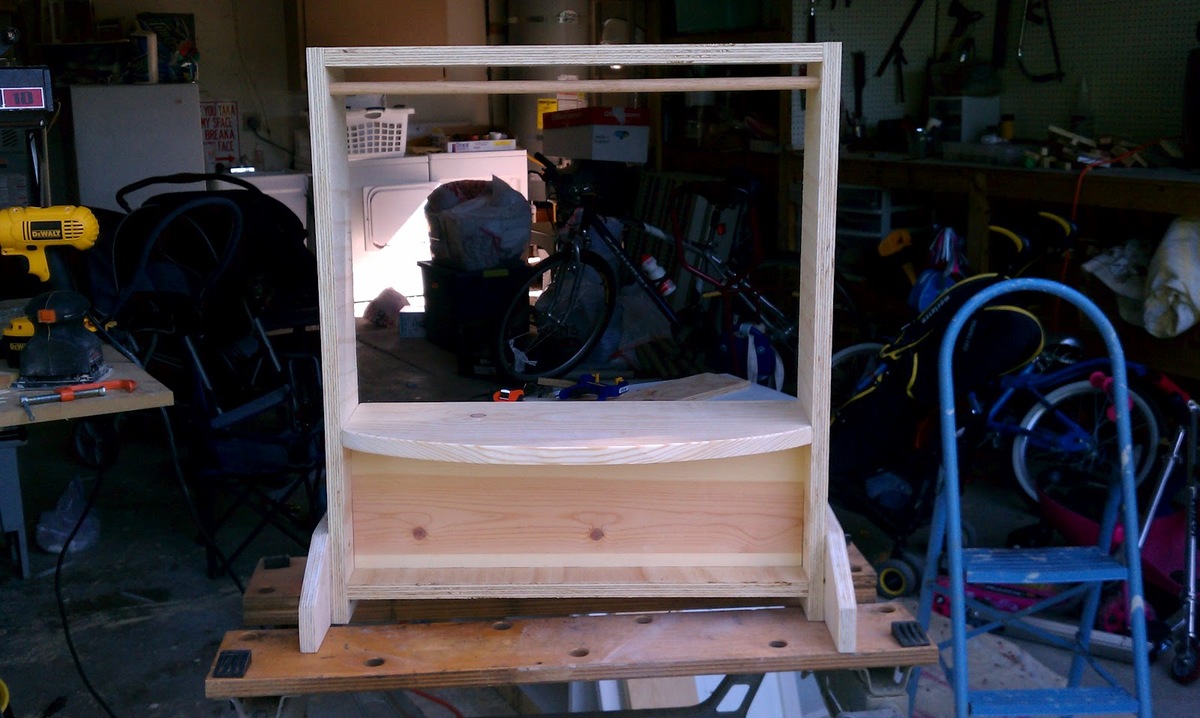
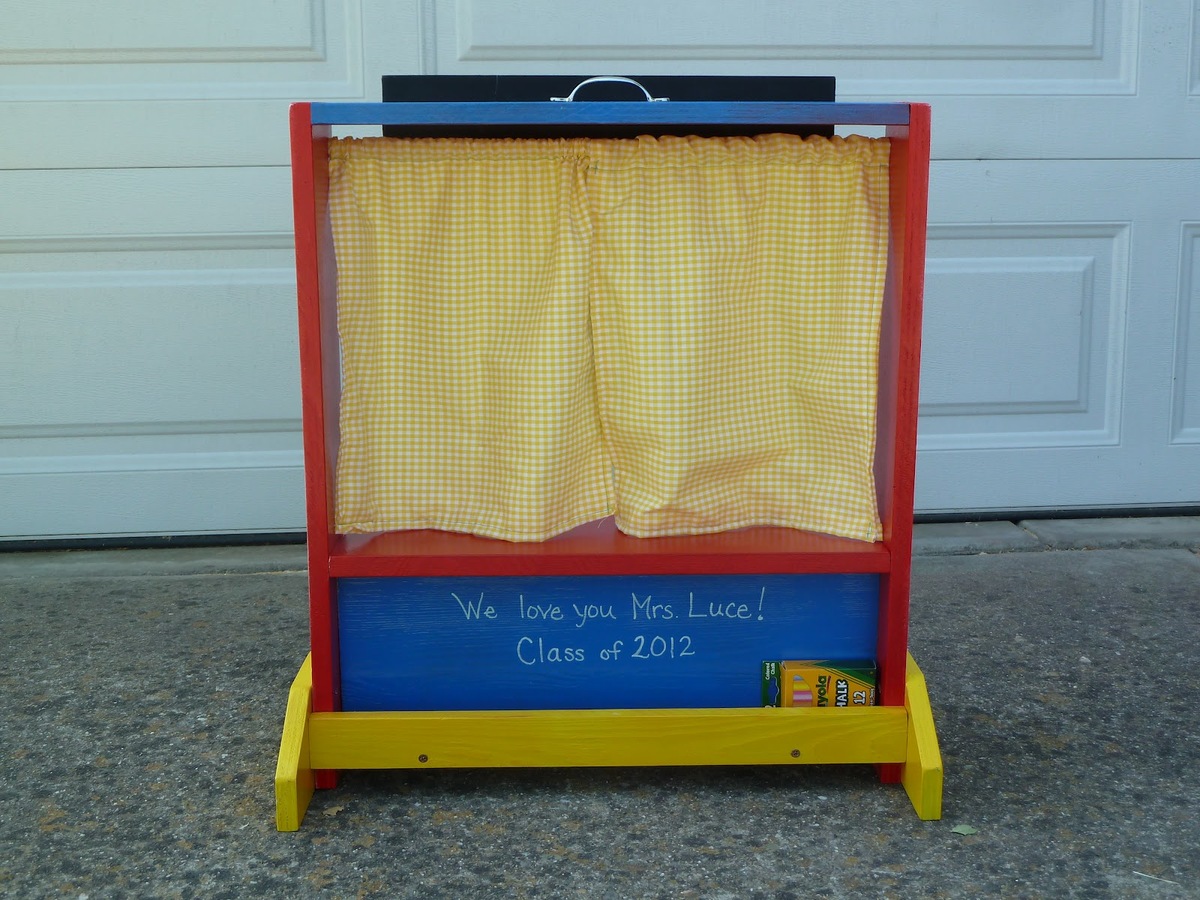
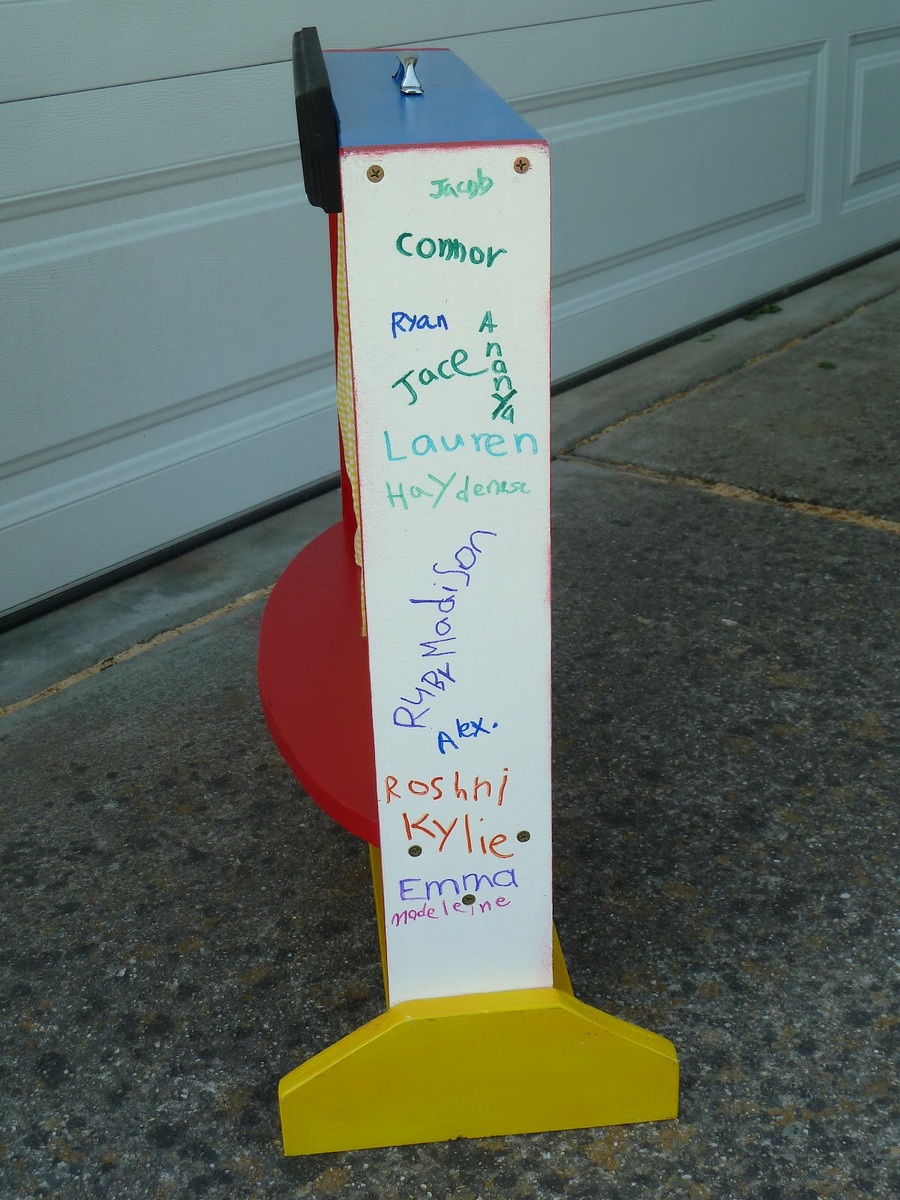
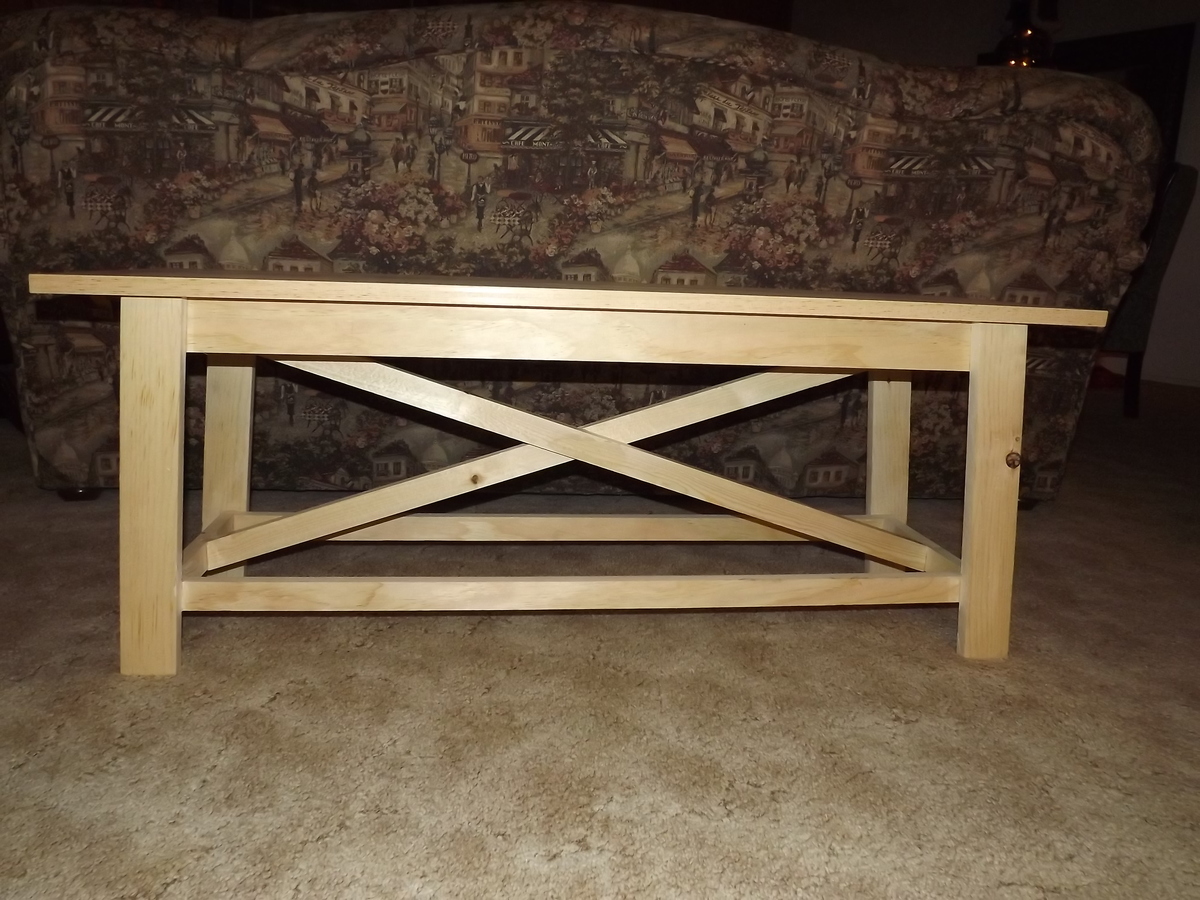
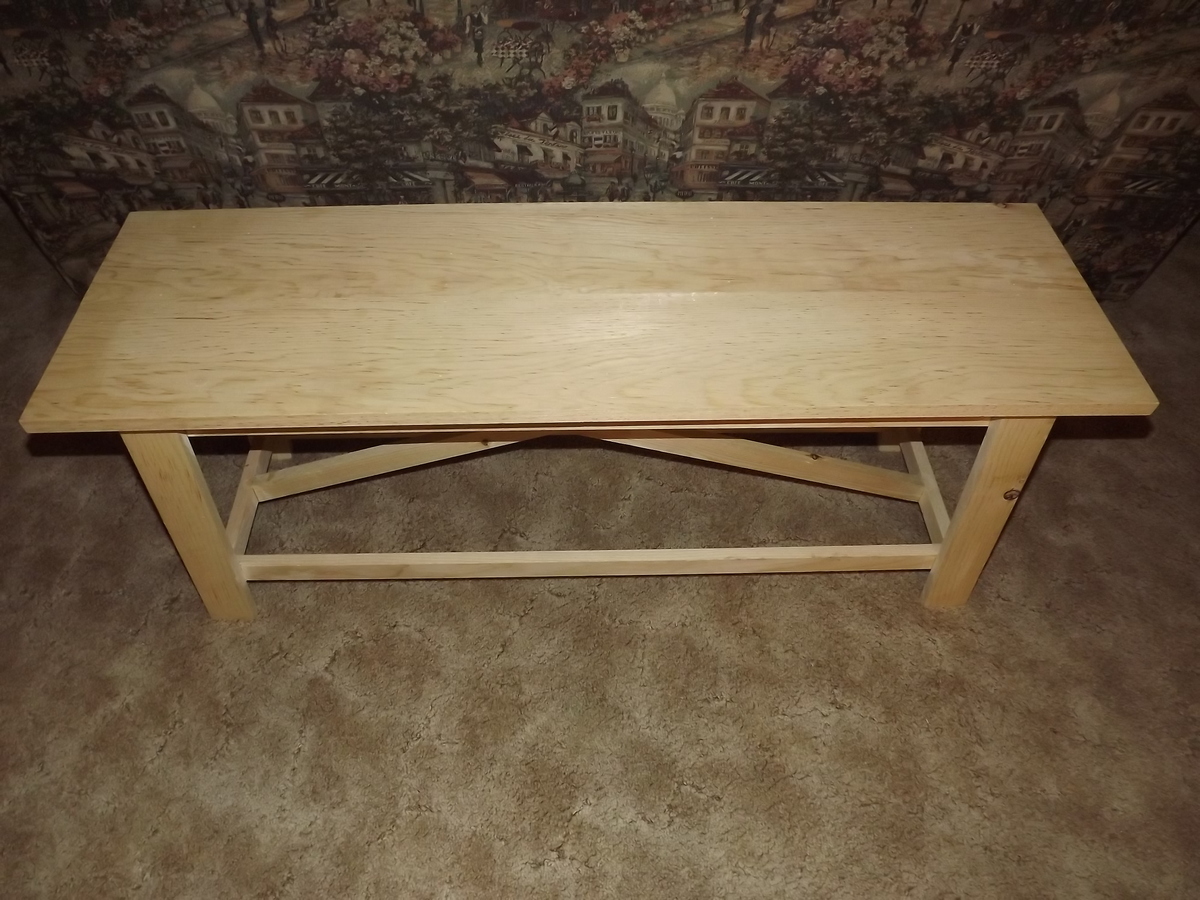
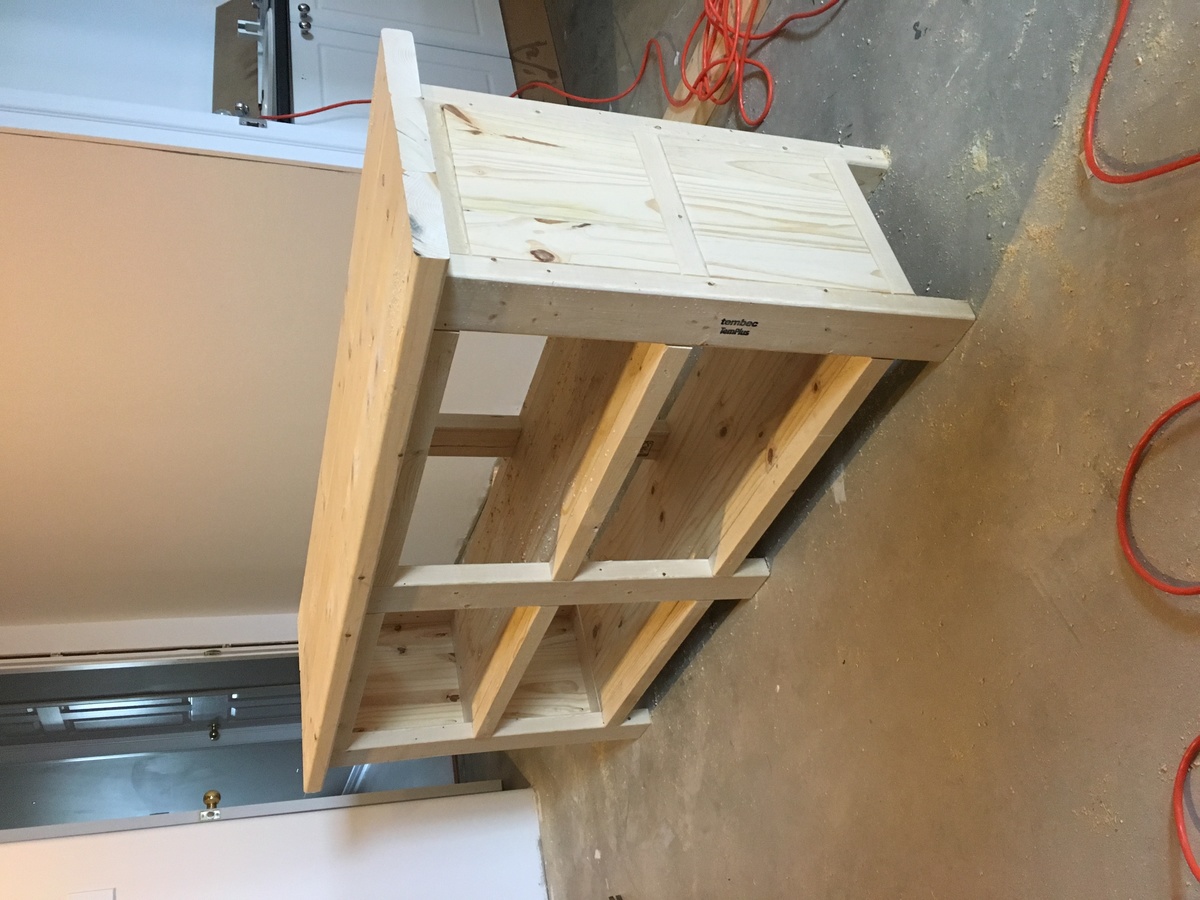
Thanks for the plans Ana! Here's what I came up with.
Built from Plan(s)
Estimated Cost
$100 CAD
Estimated Time Investment
Weekend Project (10-20 Hours)
Finish Used
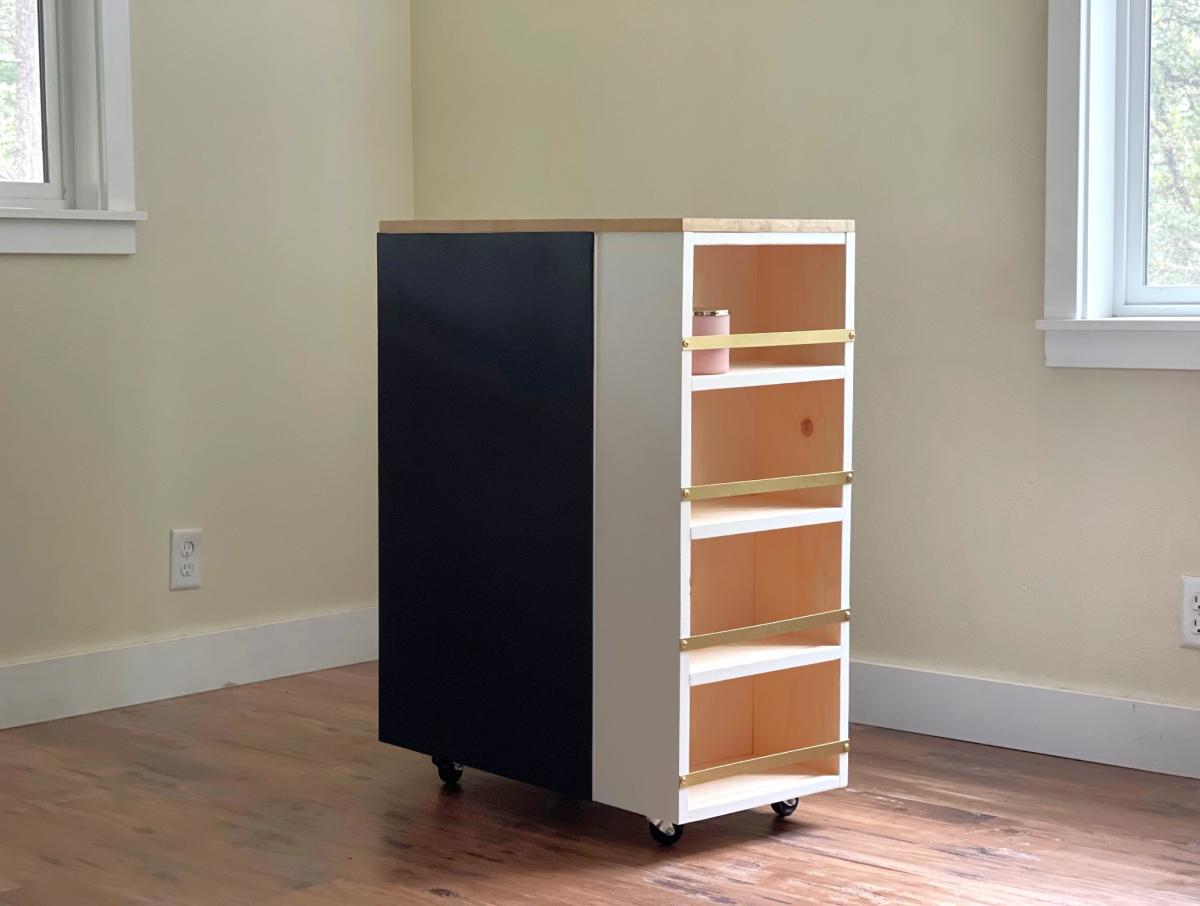
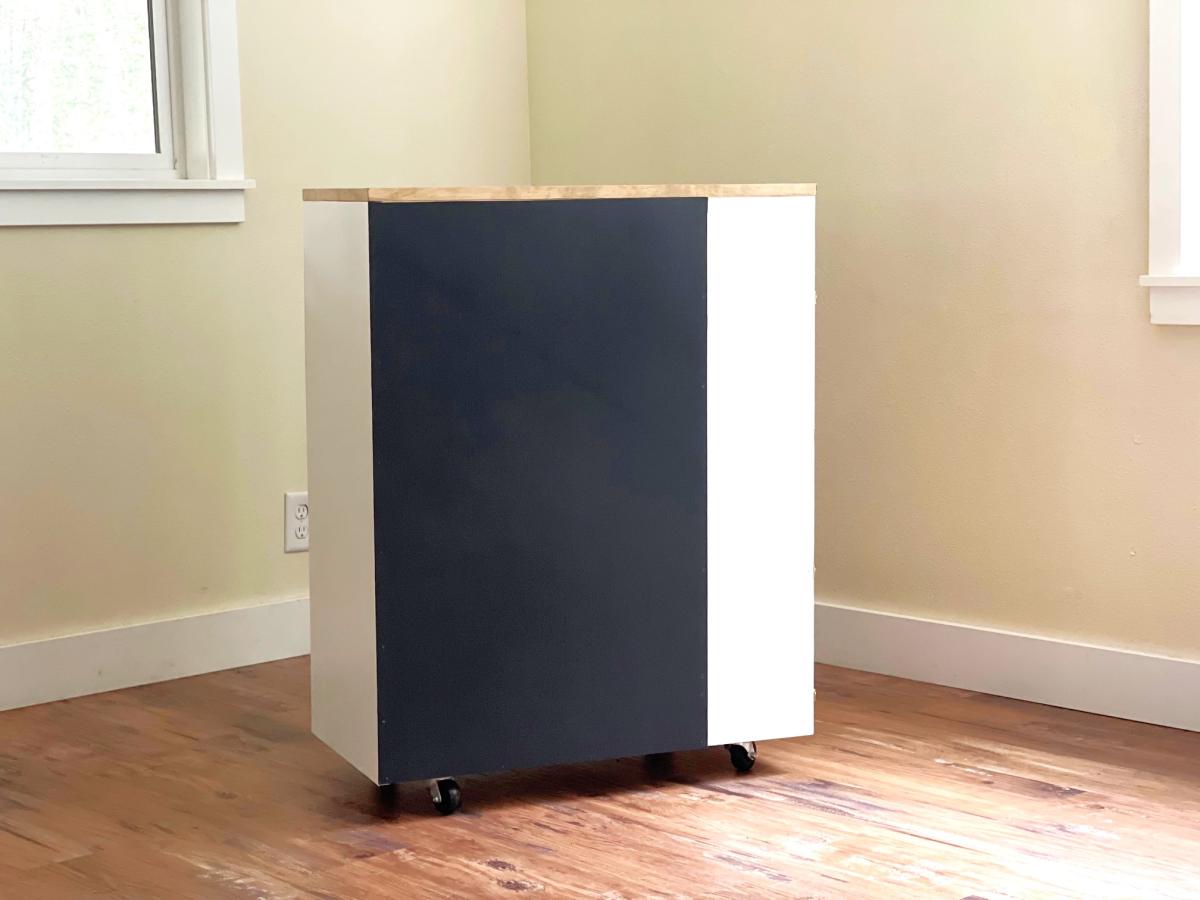
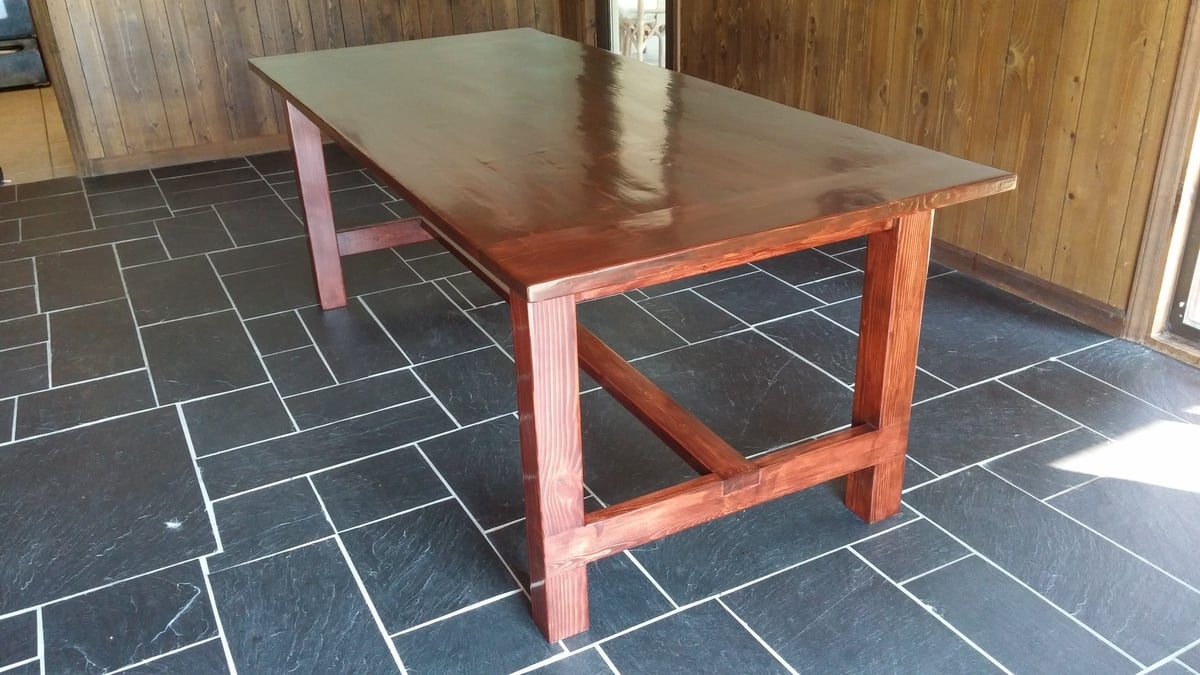
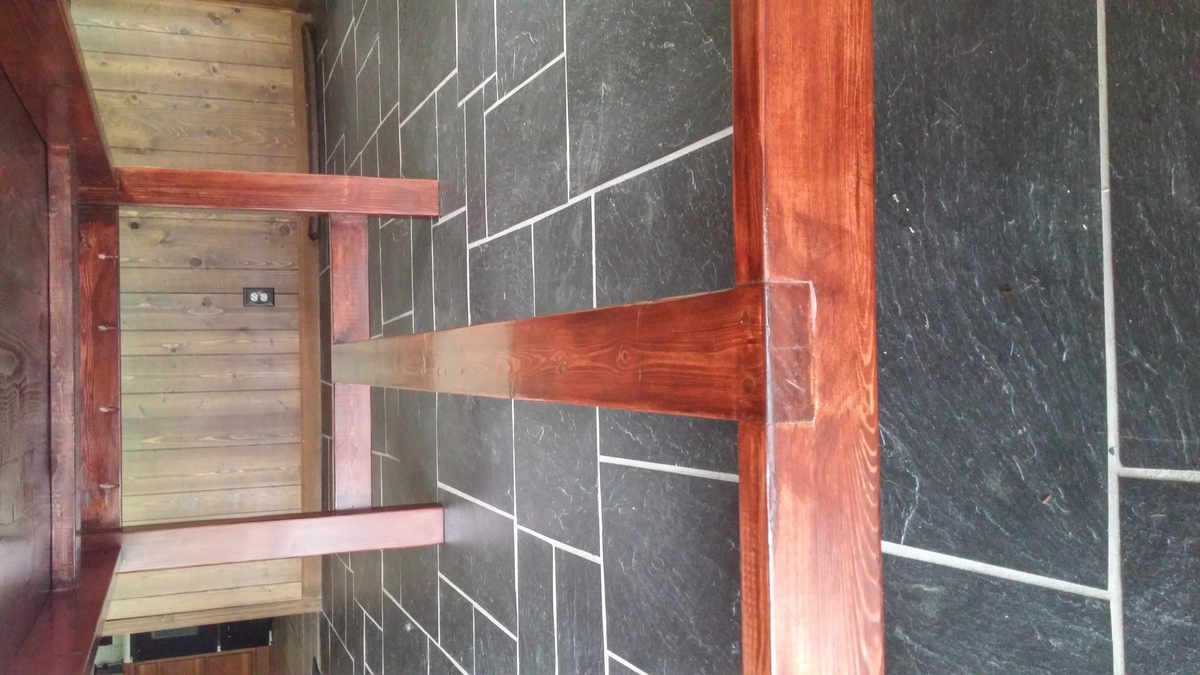
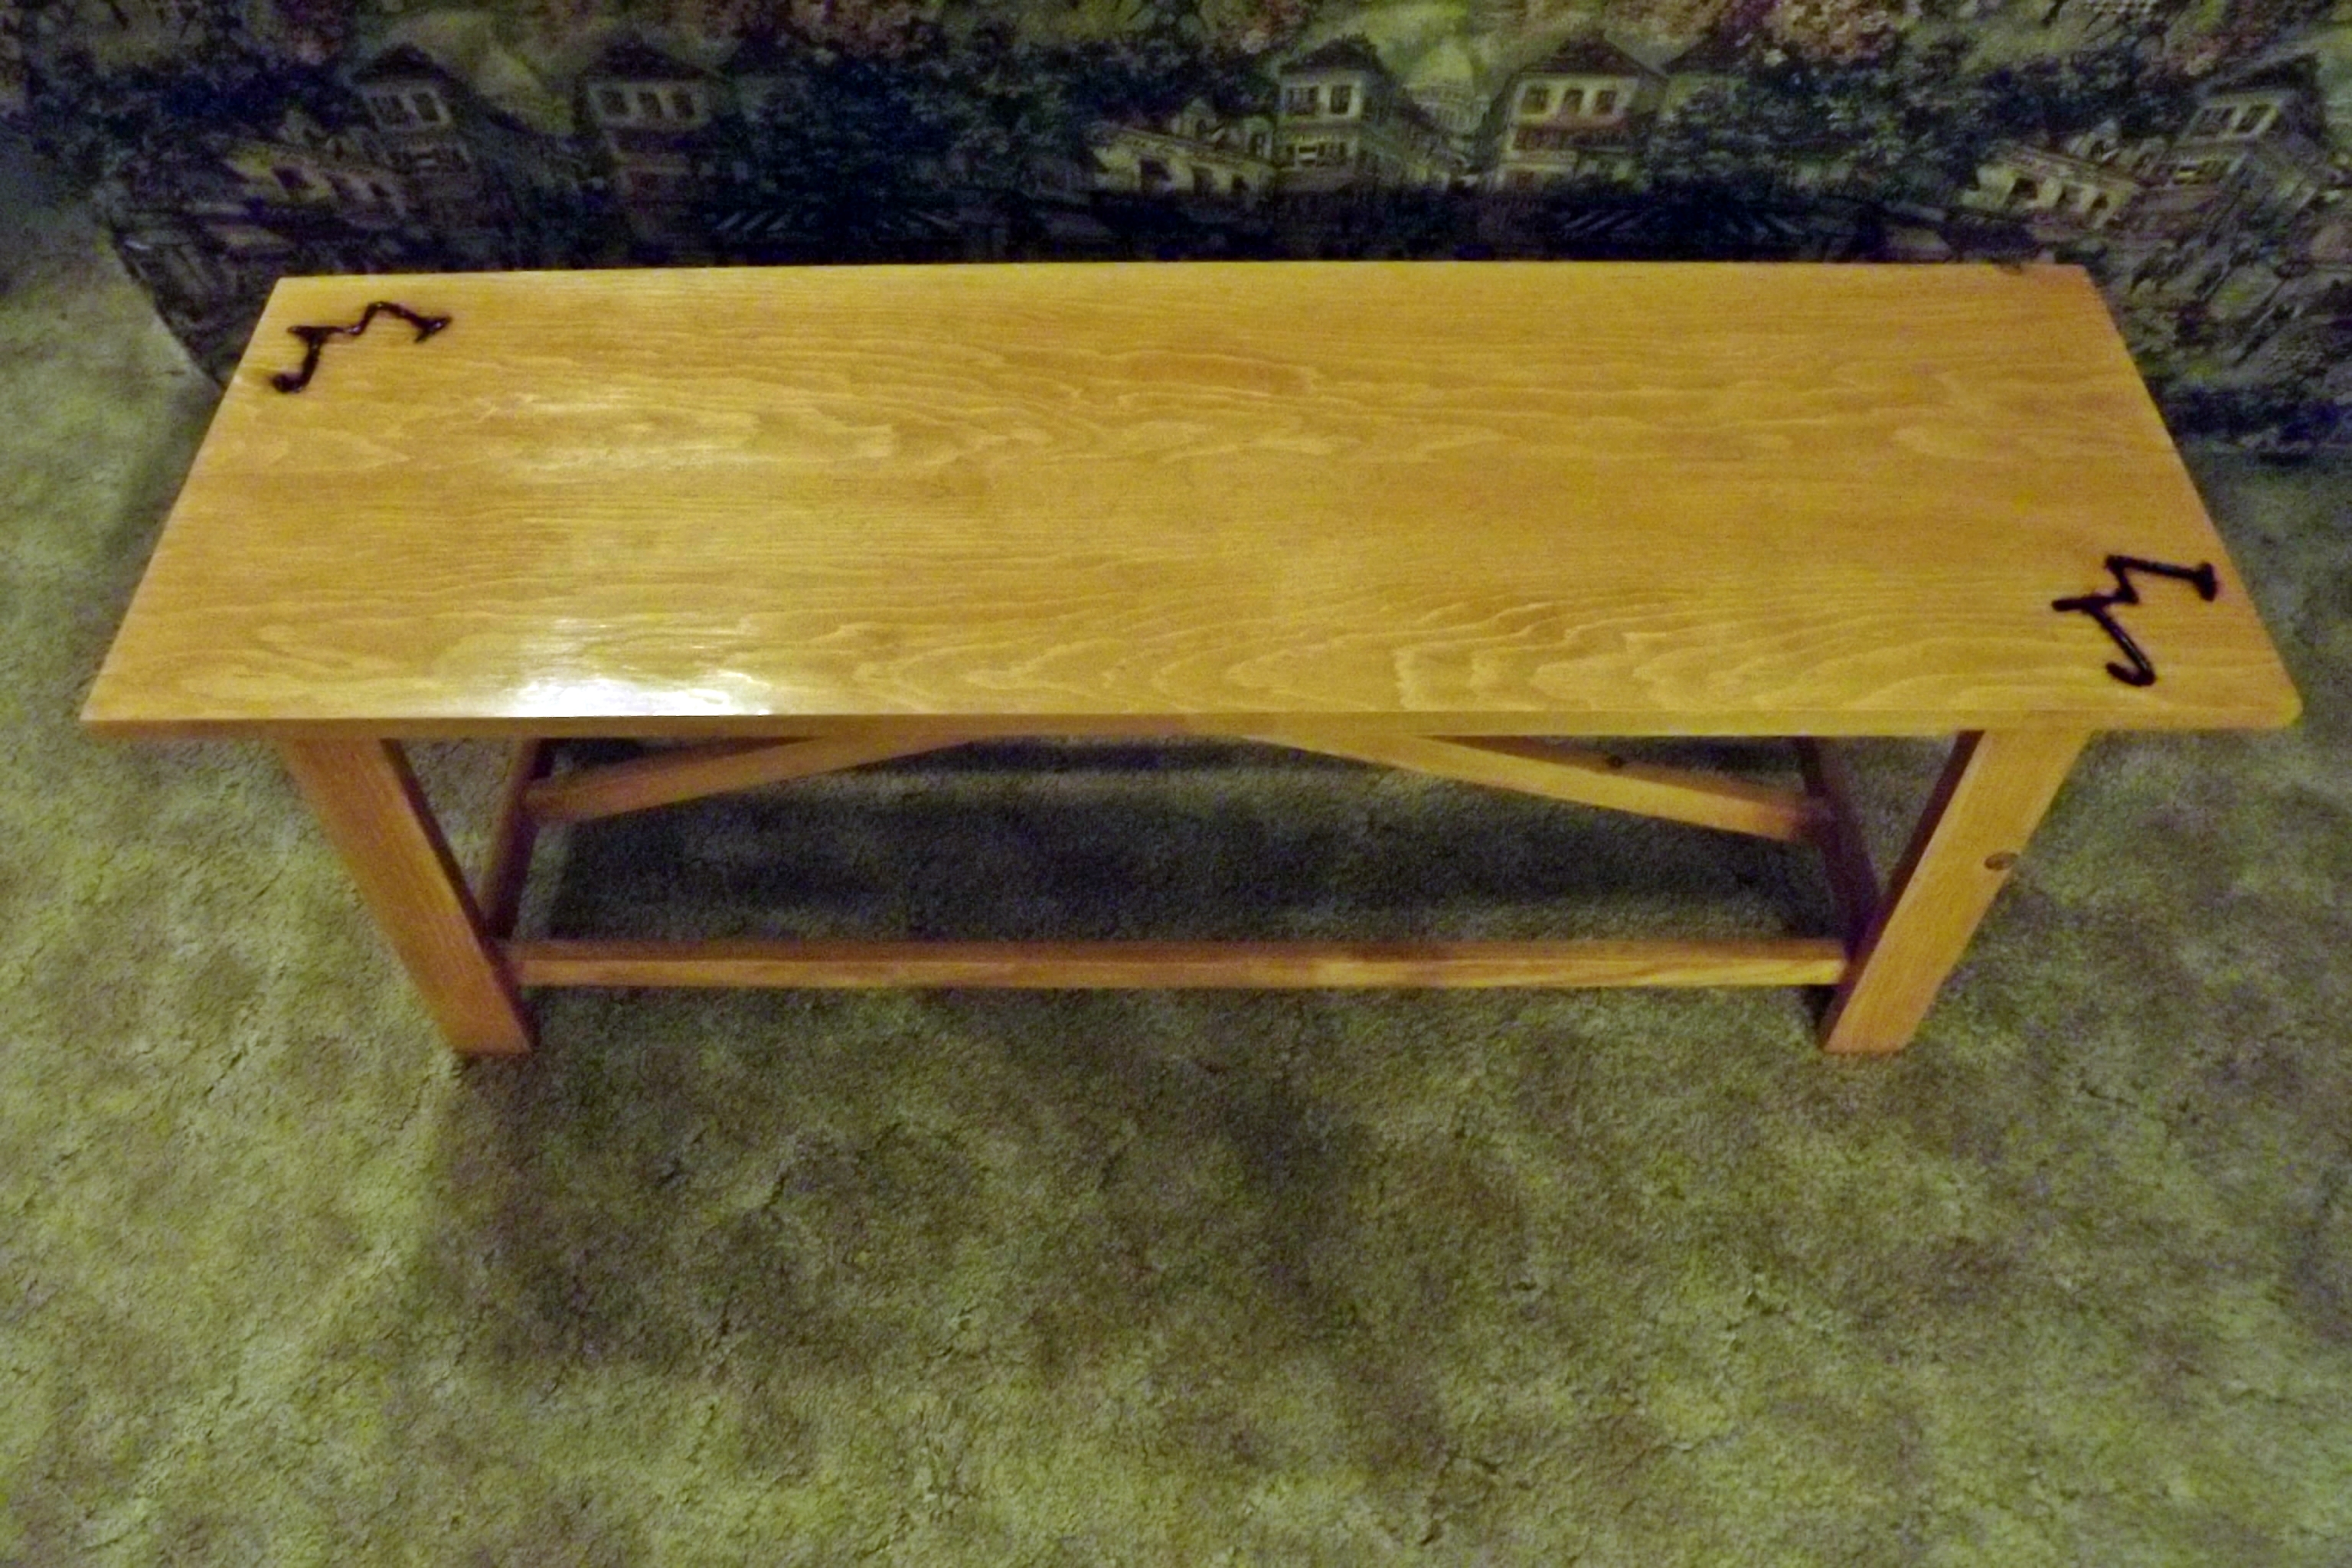
The top has Mini wax walnut gel stain with 3 coats of Miniwax water base polycyclic semi gloss. The bottom has 2 coats of Classic black polyshades.
Recommended Skill Level
Intermediate