Community Brag Posts

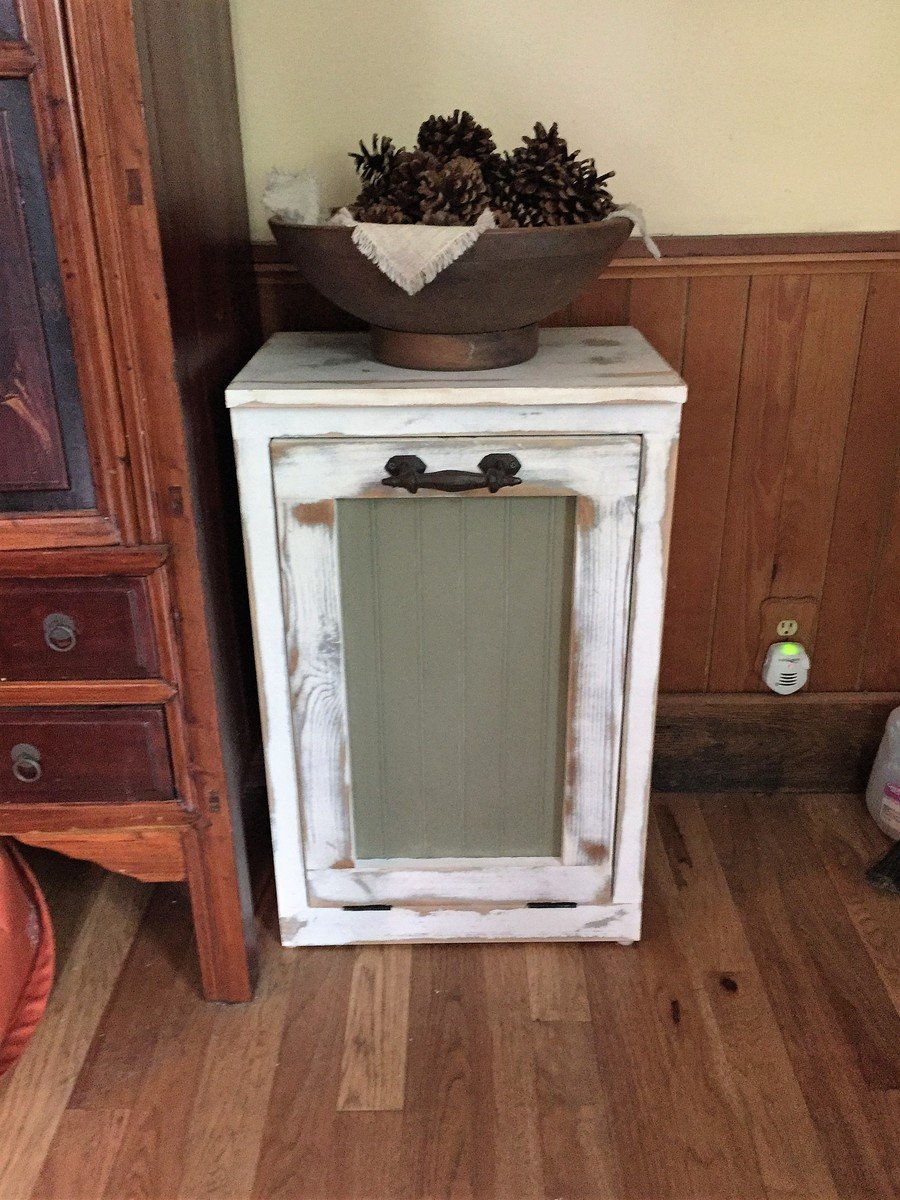
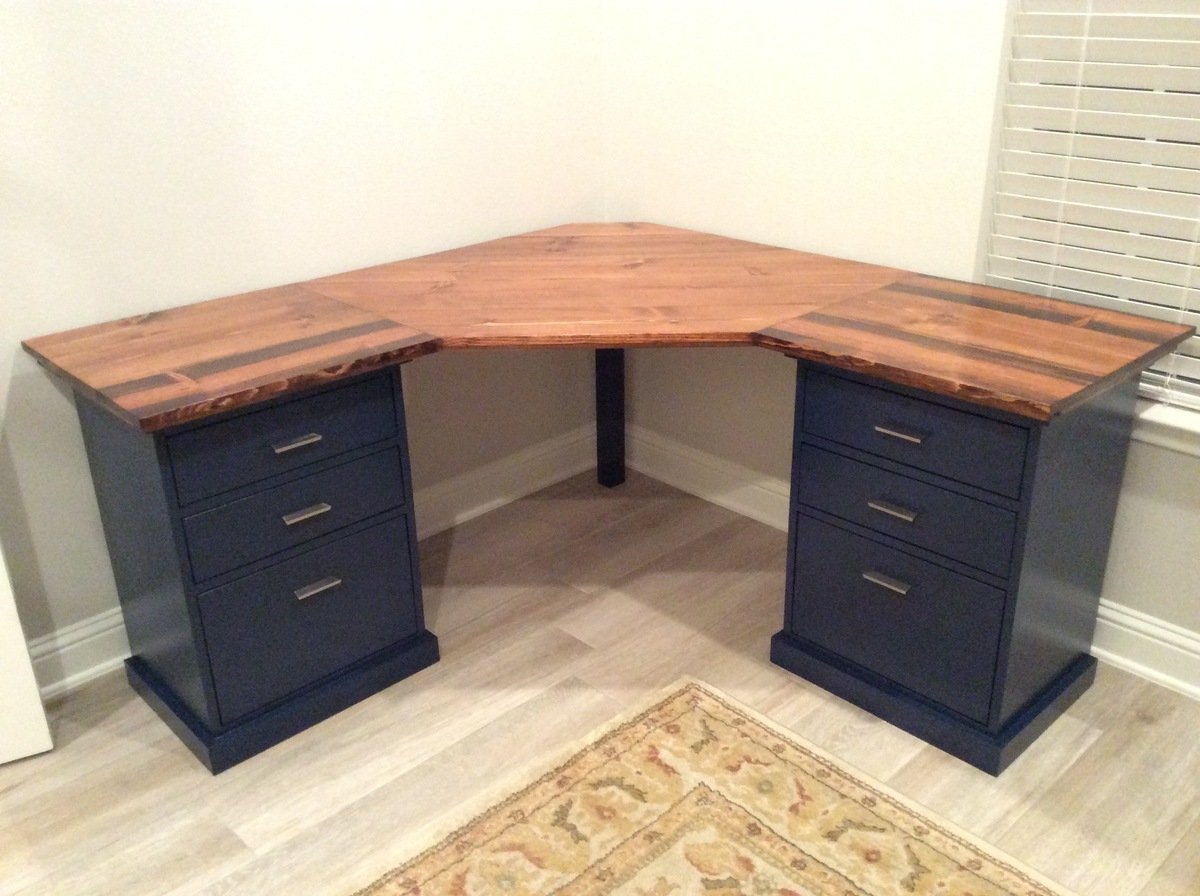
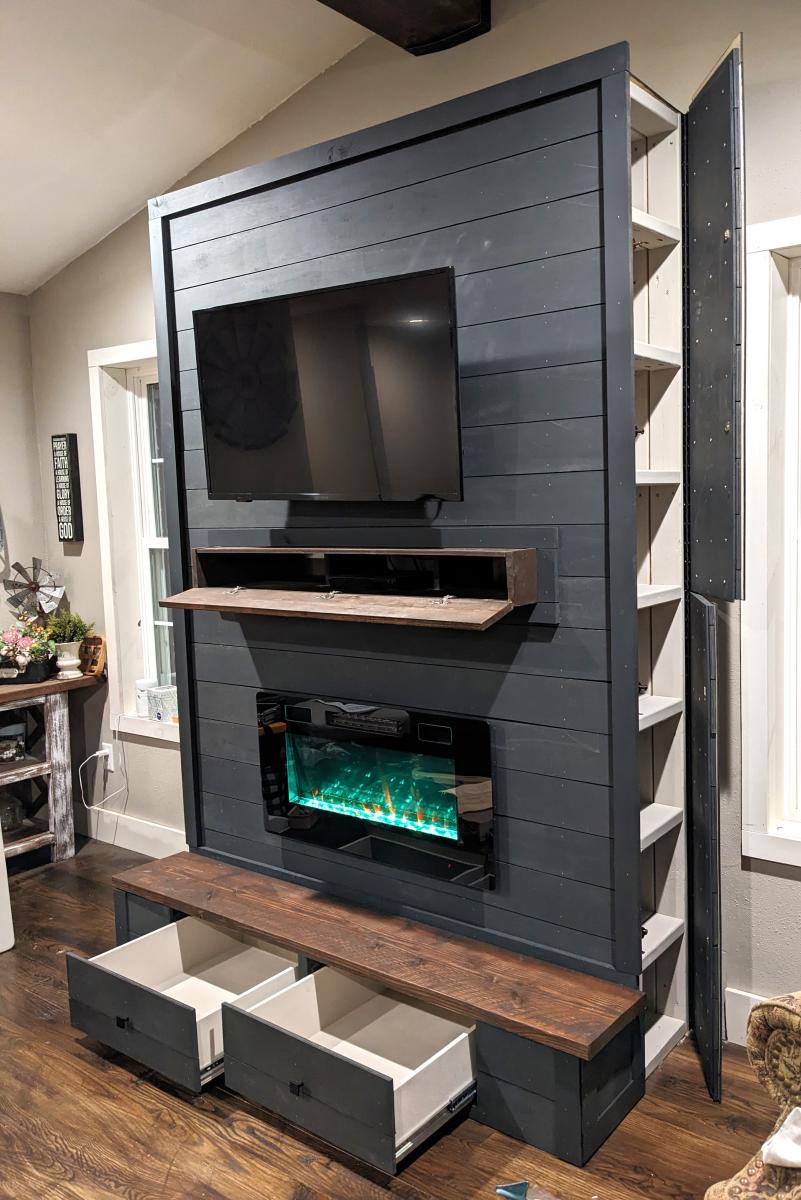
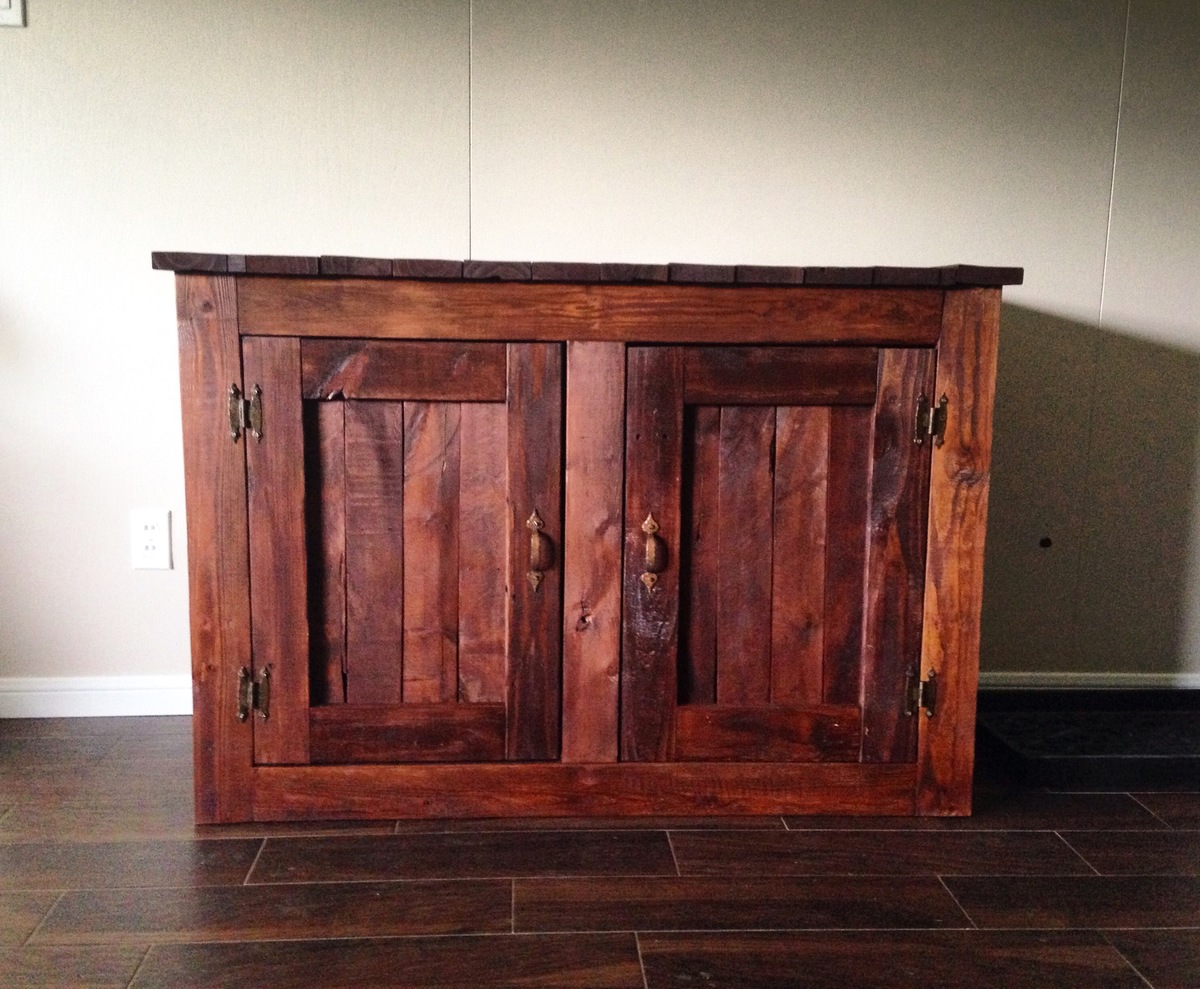
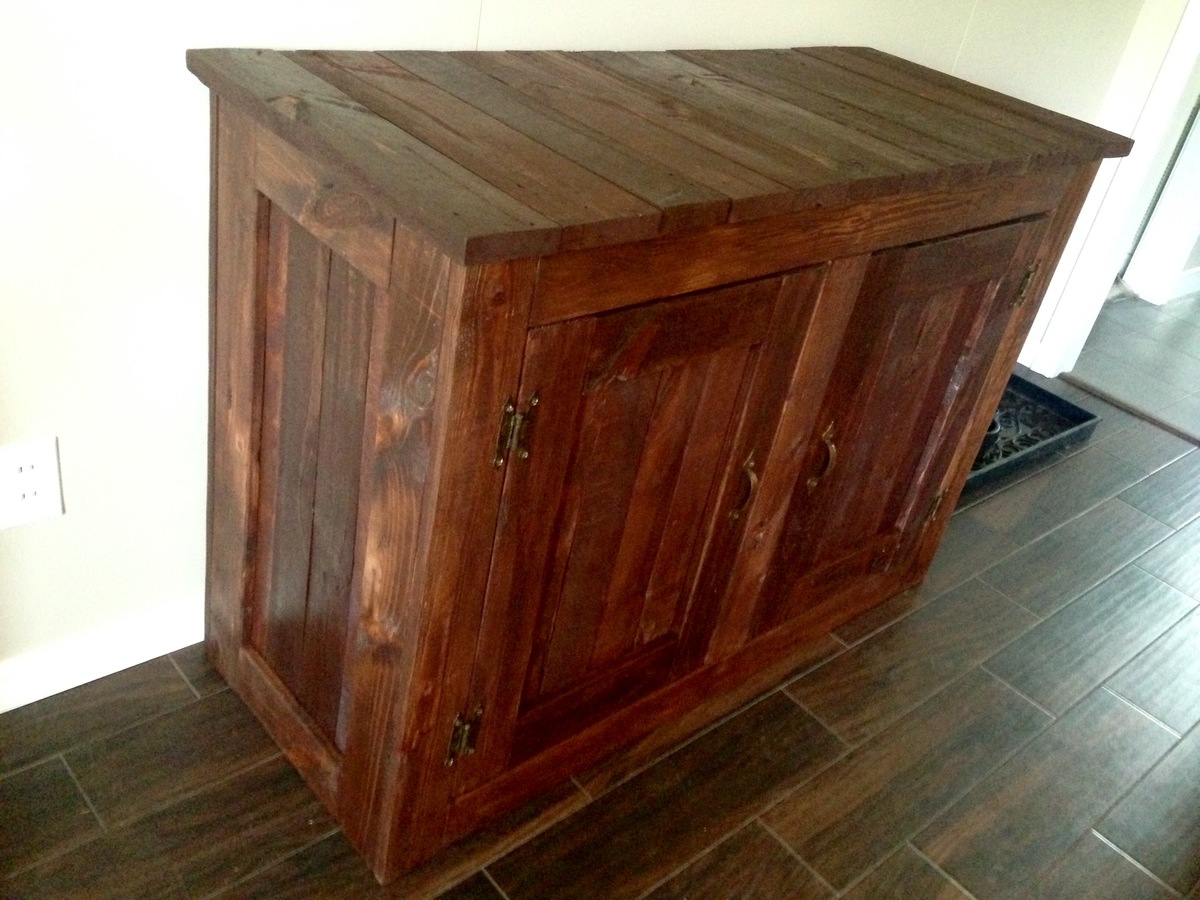
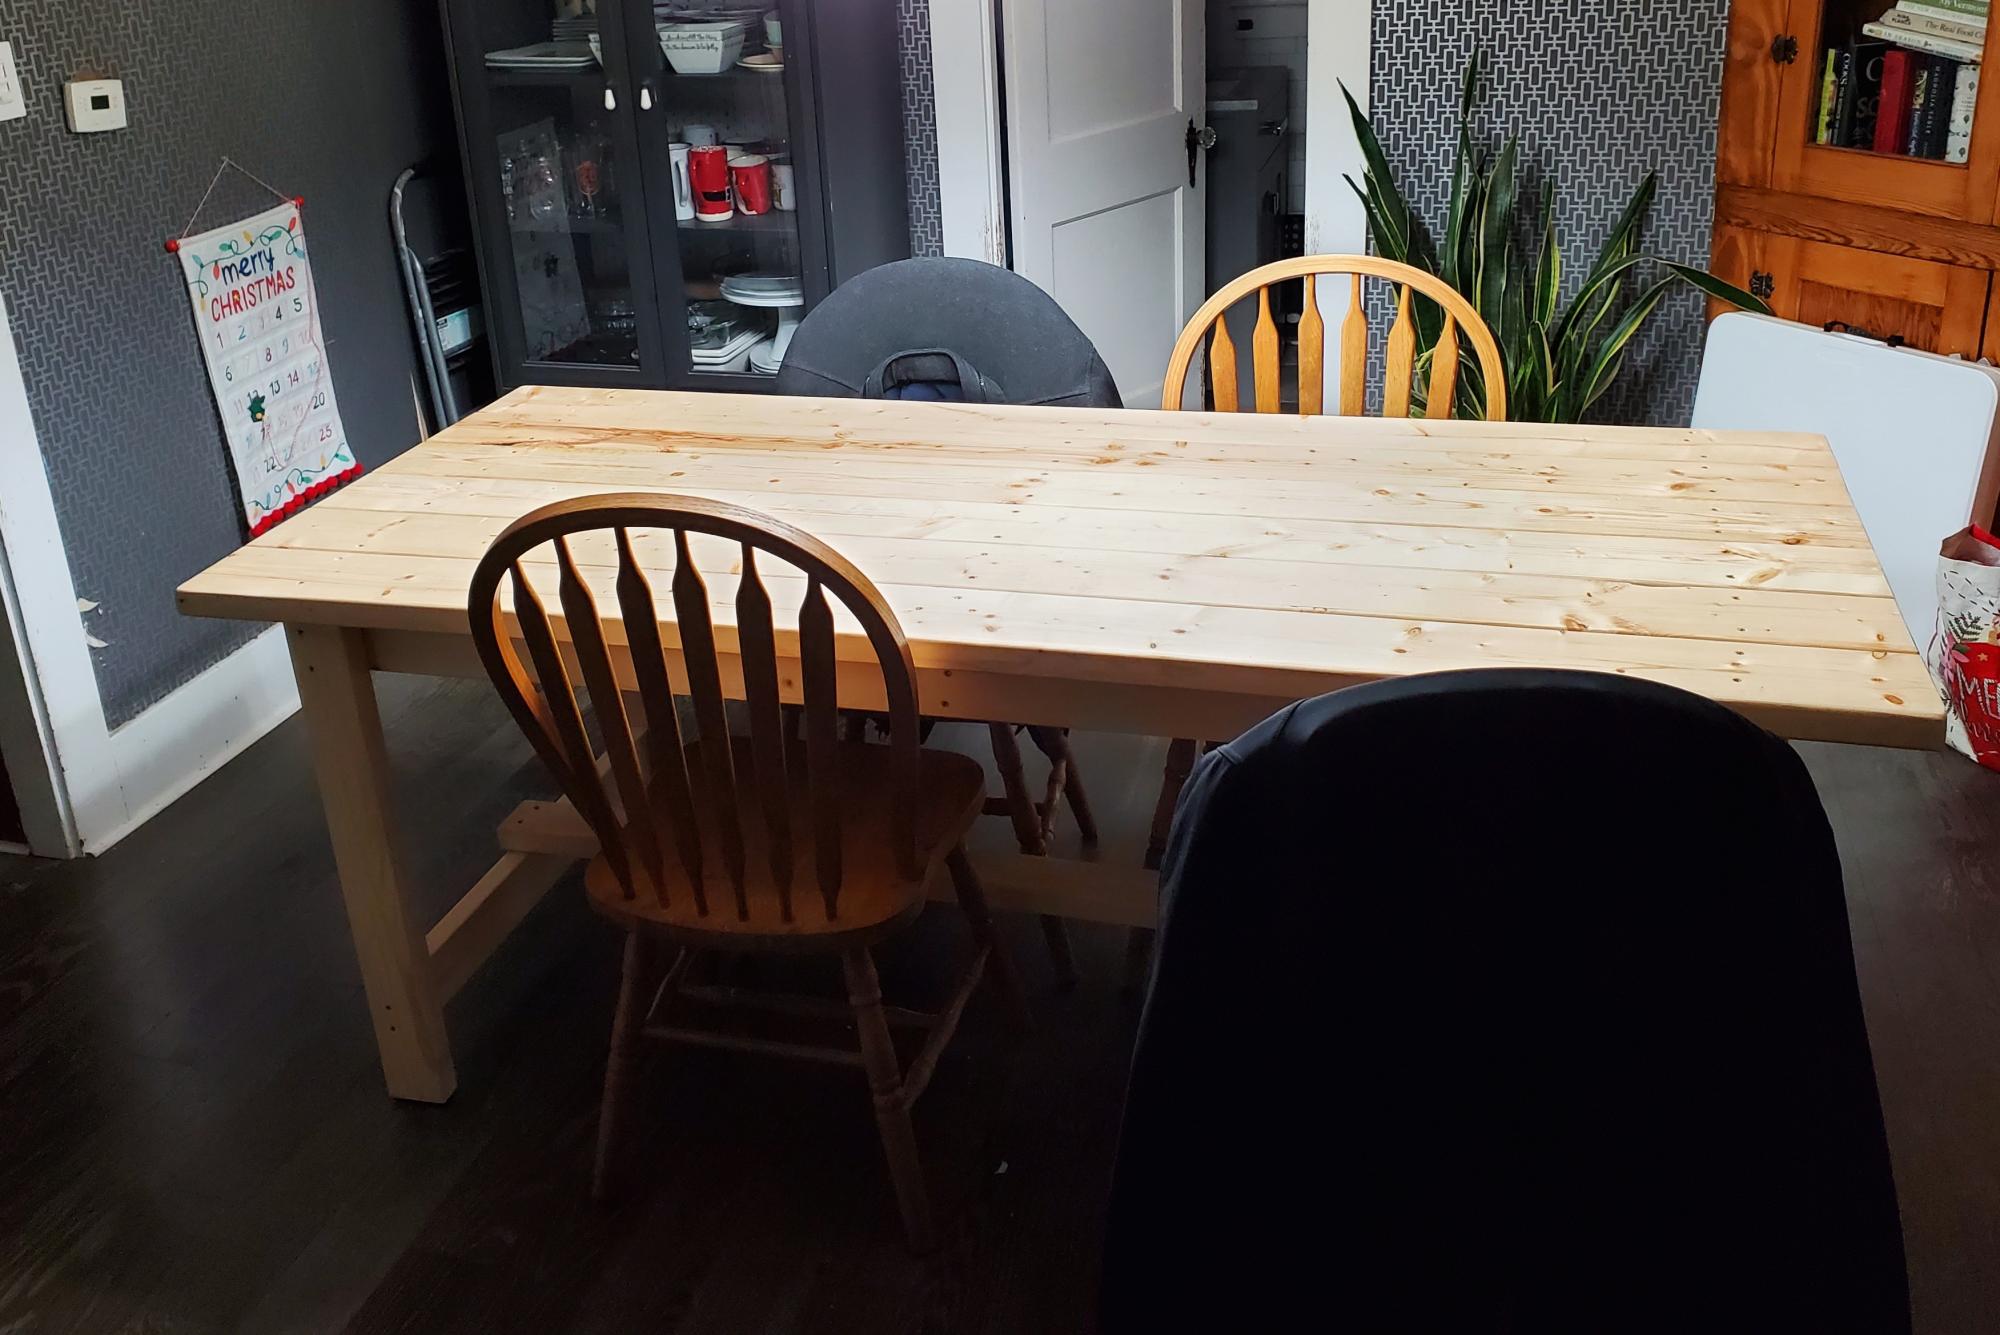
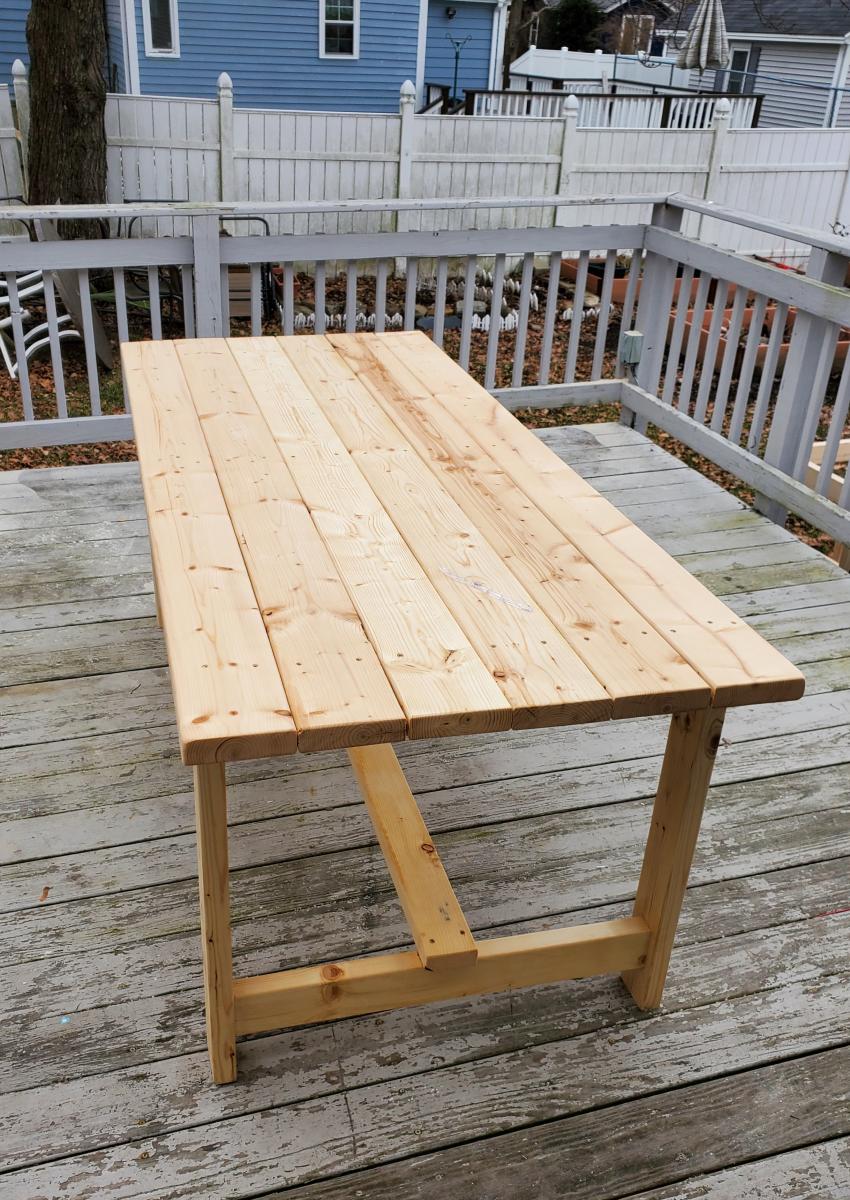
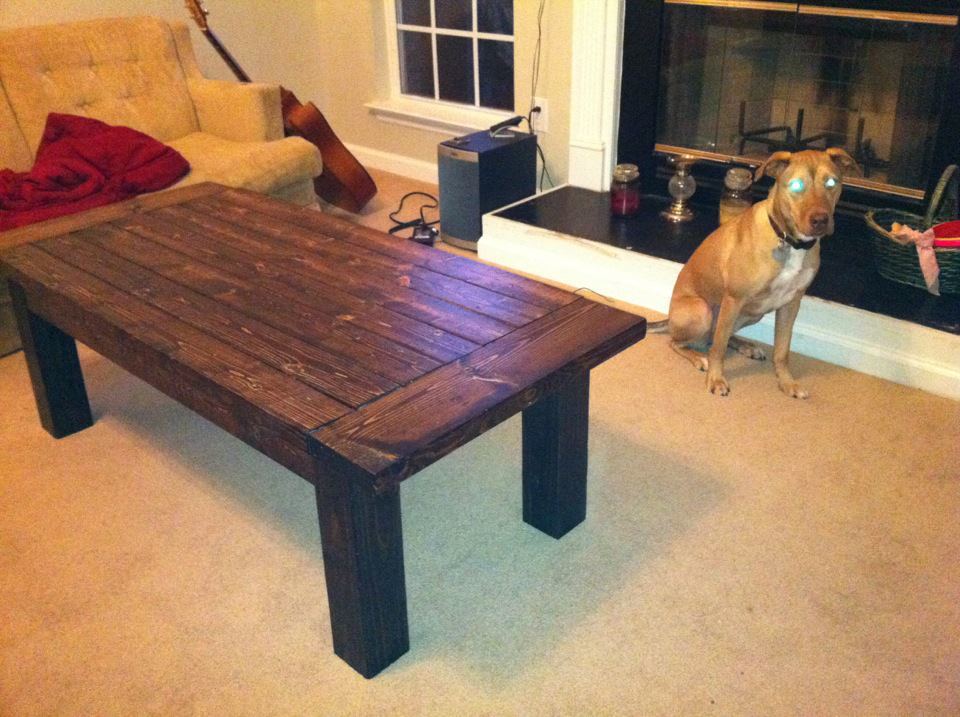
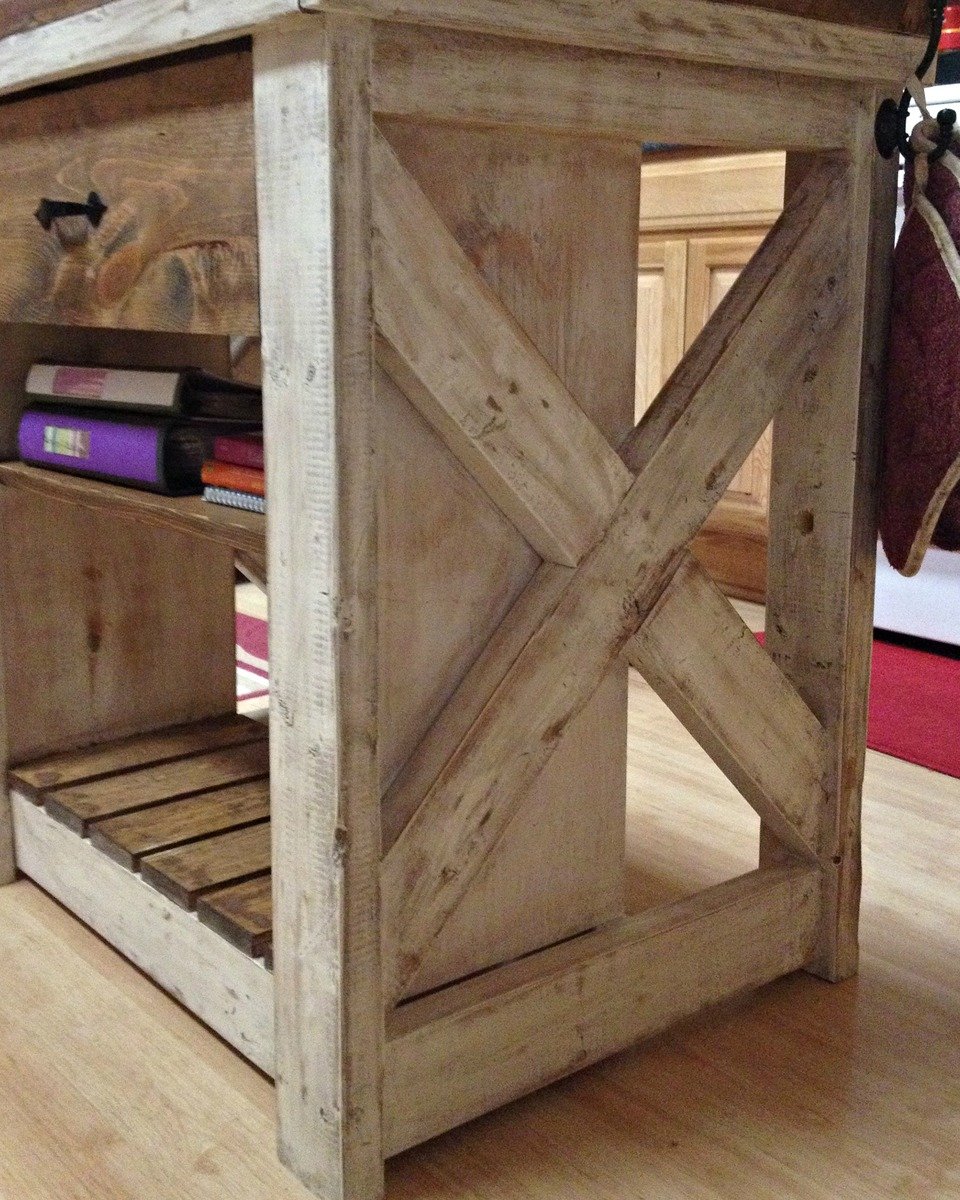
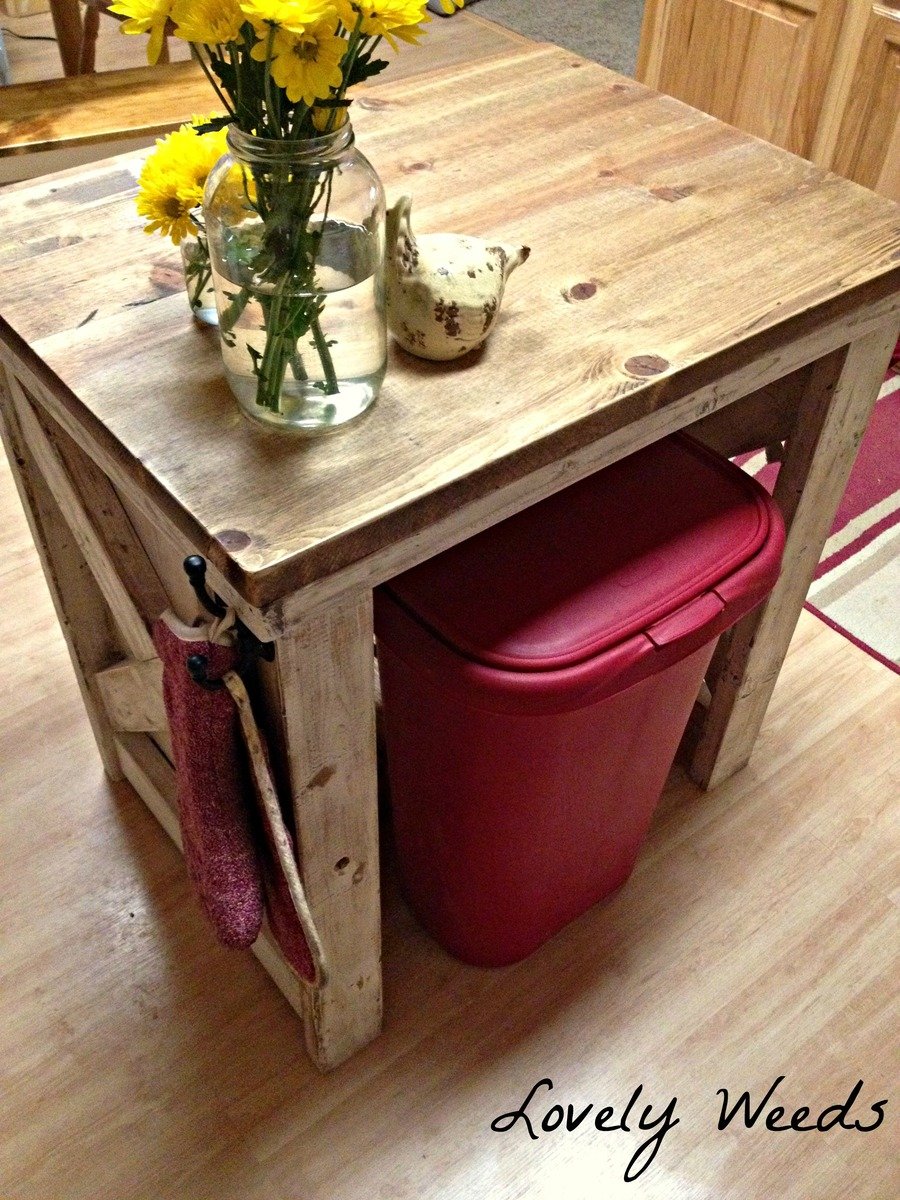
My Rustic X-Side Kitchen Island

Submitted by cassiet717 on Sat, 03/22/2014 - 05:53

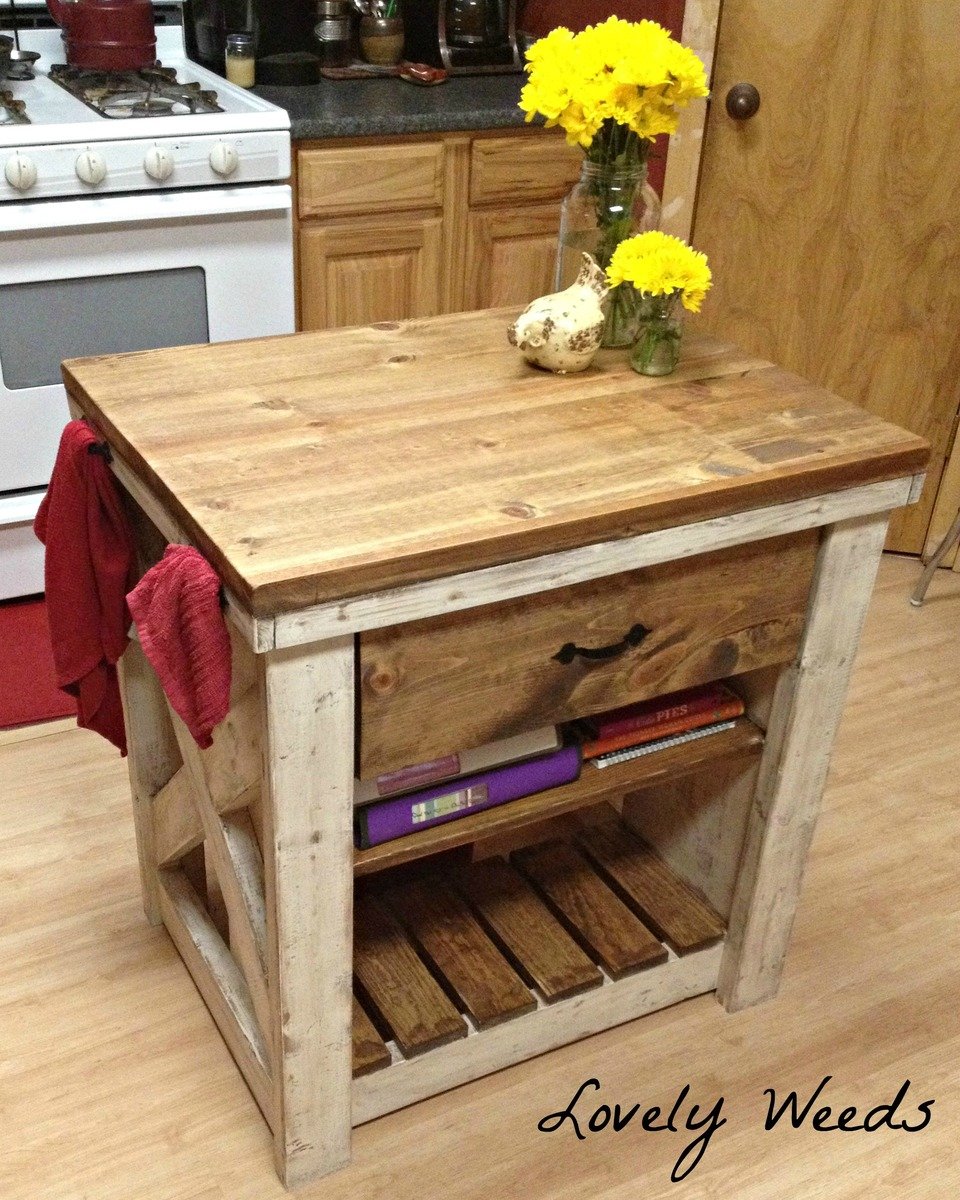
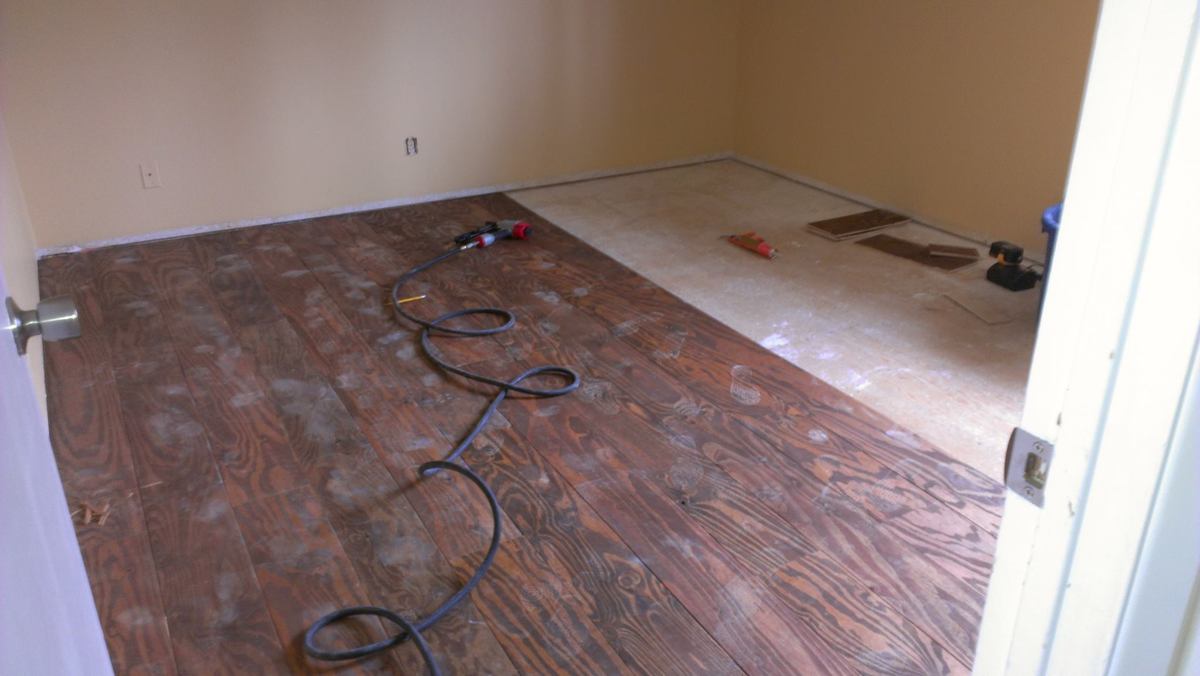
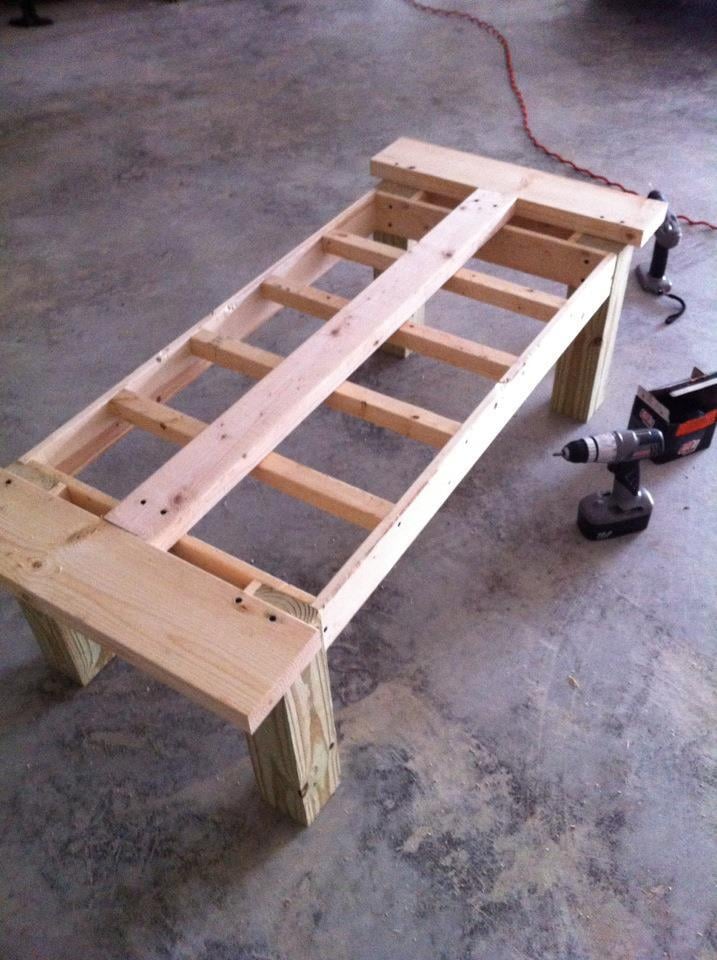
I’ve been hoarding my scraps for the past six months or so hoping to build this as soon as possible. I paid roughly $34 for it!
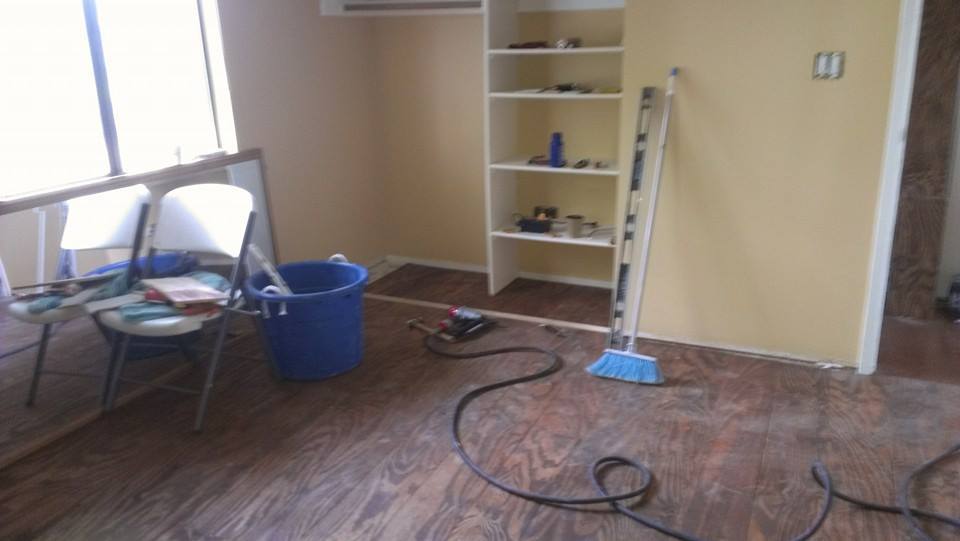
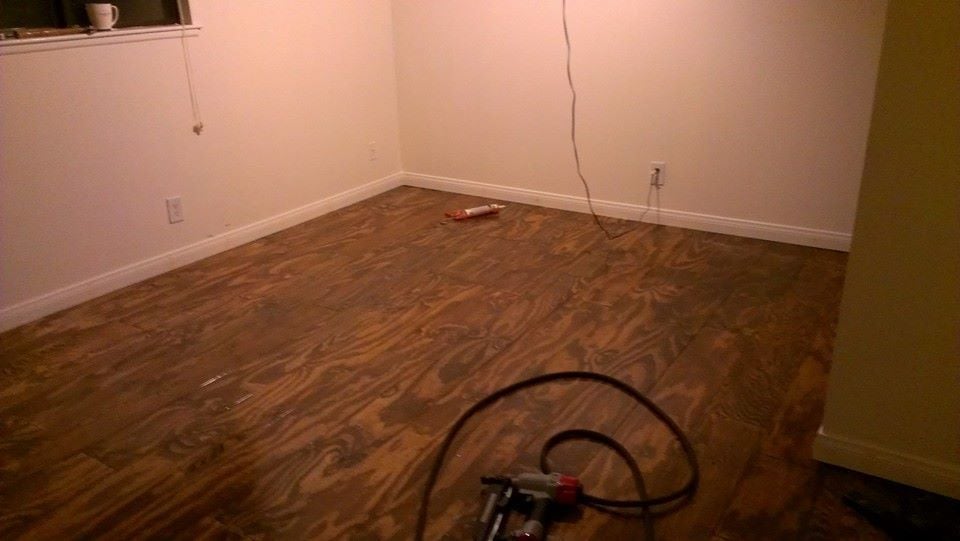
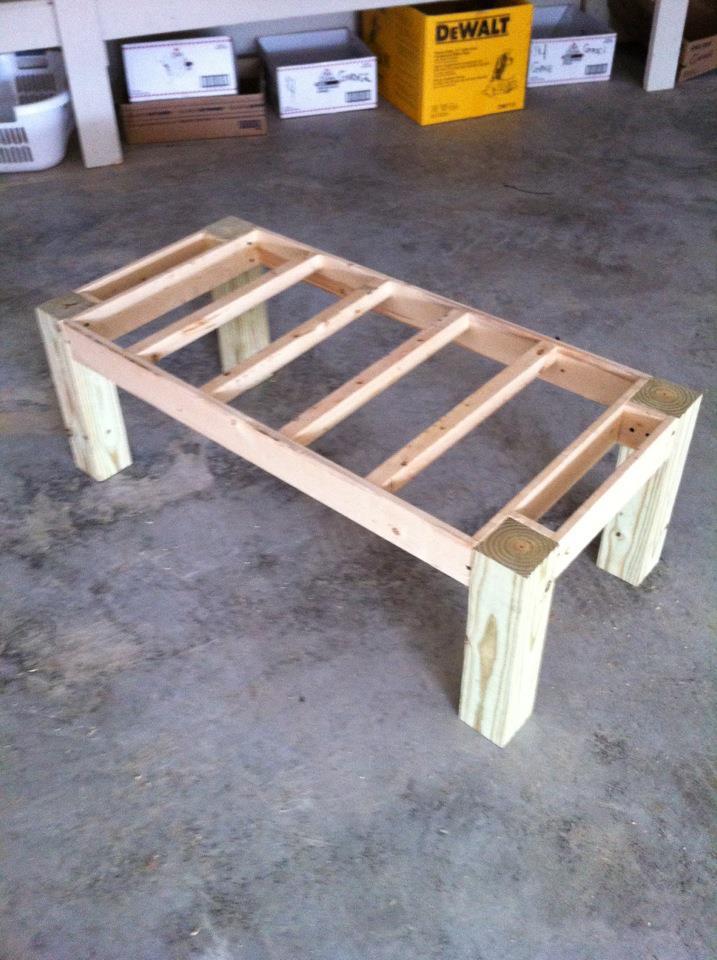
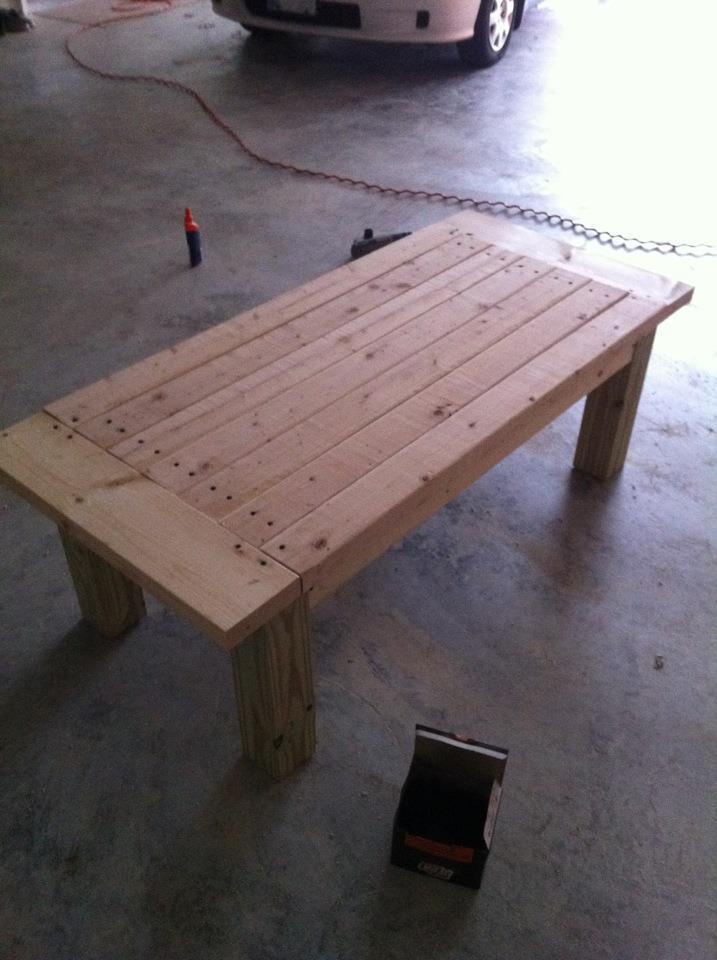
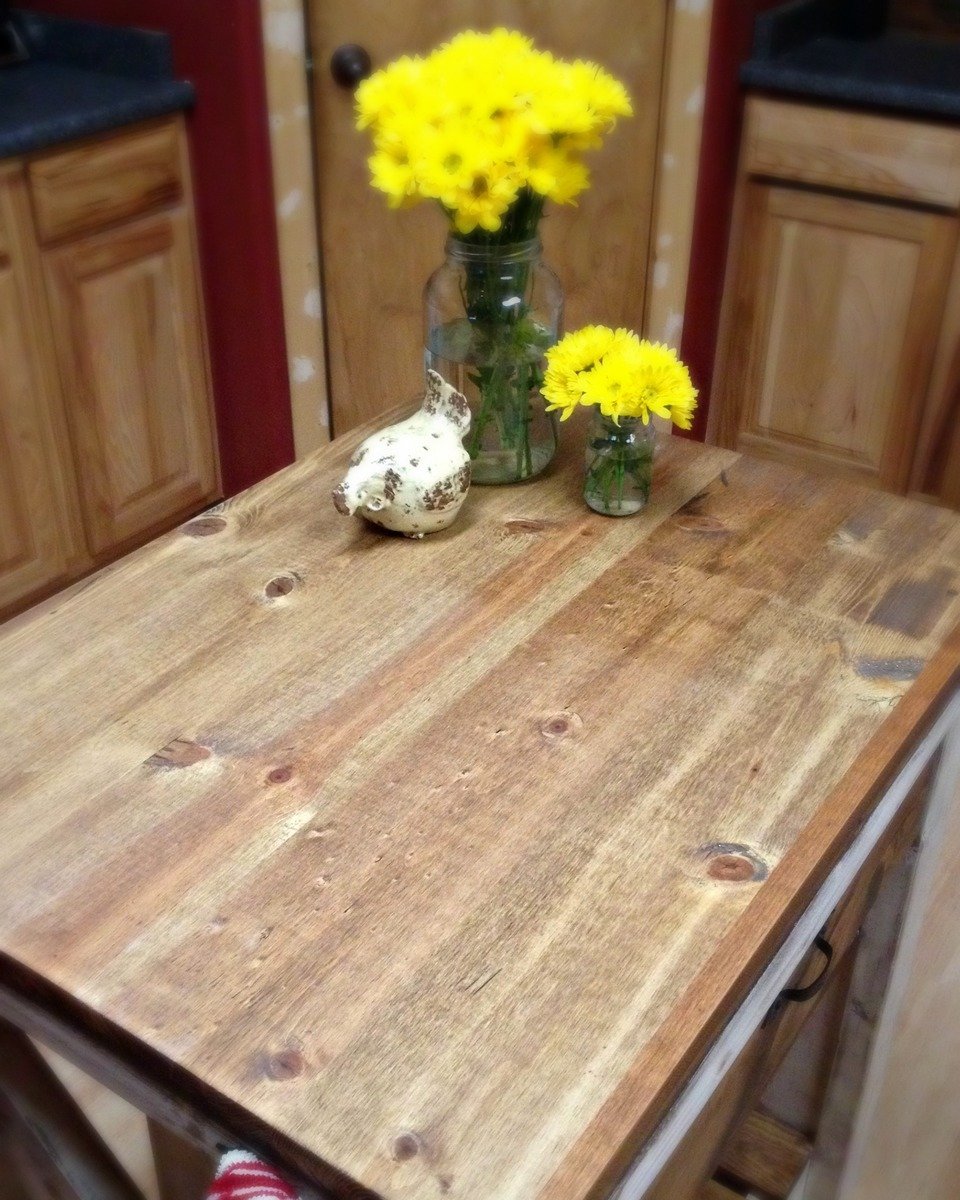
Everything but the 1”x8” drawer face and the project panel top came from my scrap pile. My aunt and uncle’s renovation dumpster provided the missing 2”x4”s. There are nail holes, dings, and some general bruising, but who says that’s a bad thing?
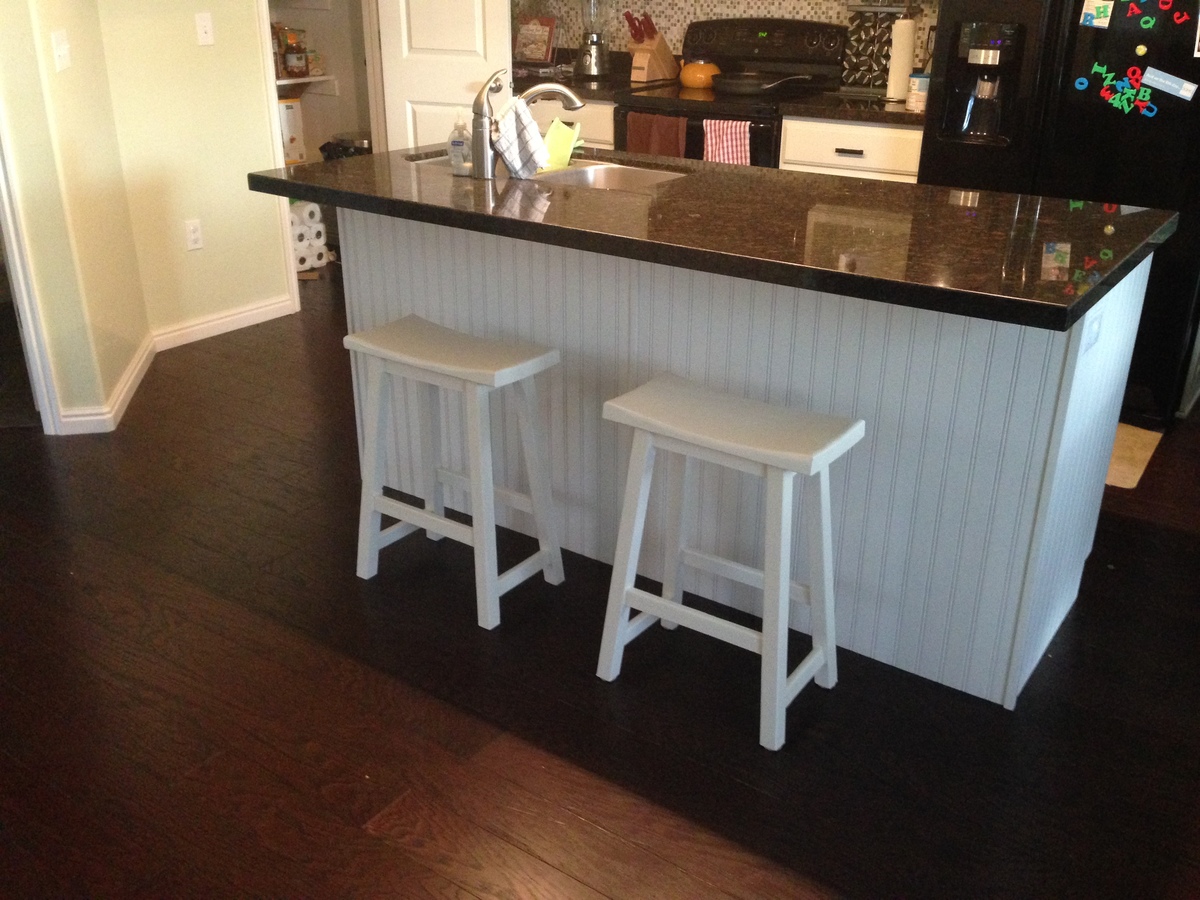
I omitted the piece of trim beneath the drawer to allow more room for storage on my shelf. I absolutely love my island, and as usual Ana's plans were flawless!
You can see details on how I built and finished on my blog here: http://lovelyweeds.blogspot.com/2014/02/island-paradise.htmlit
Thanks for taking a look!

Estimated Time Investment
Day Project (6-9 Hours)
Finish Used
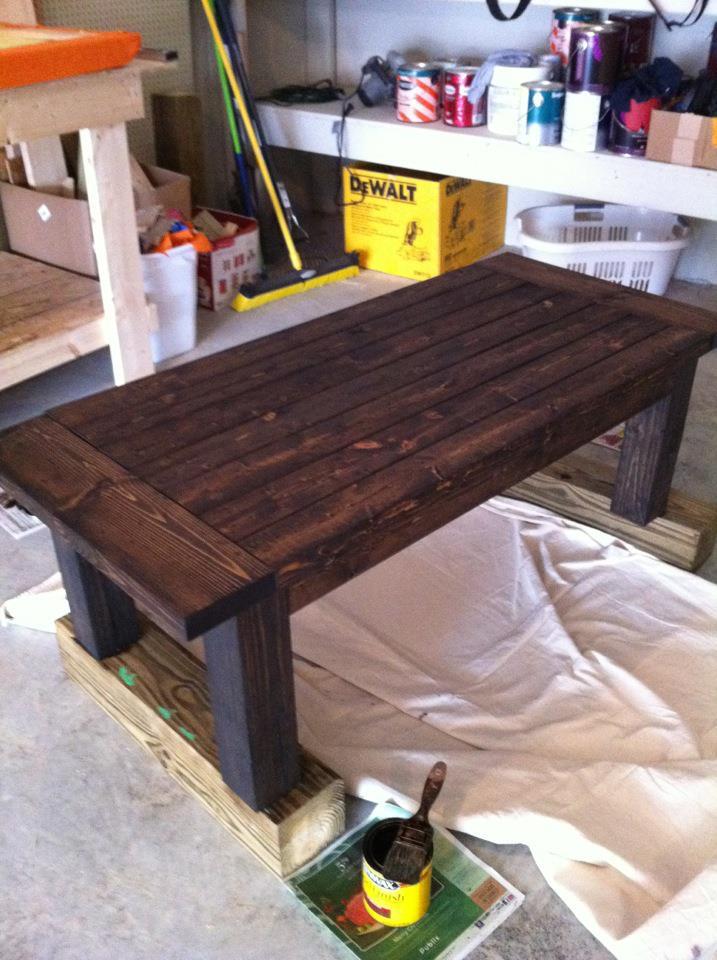
Olympia latex paint, Minwax Special Walnut stain, Minwax Finish Wax (body), Polyurethane (project panel top)
You can see tips for recreating my finish here: http://www.lovelyweeds.com/2014/03/island-paradise-part-2.html
Recommended Skill Level
Intermediate

Thank you for making my first furniture DIY project so easy!

Submitted by Anonymous (not verified) on Wed, 06/22/2016 - 10:07

I've been looking for a way to hide my ugly garbage can in my kitchen for a while now.  I figured it would cost way too much to buy something like this and was so excited to find Ana's plans online.  This was my first furniture attempt ever.  The plans provided made the entire process so easy.  I used some leftover beadboard for the door and some odds and ends we had laying around for the hardware to keep the costs down.  

Estimated Cost
about $30
Estimated Time Investment
Day Project (6-9 Hours)
Finish Used
The cabinet was first painted with Americana Decor chalk paint in Vintage then topped with Americana Decor chalk paint in Everlasting and distressed with my random orbit sander. The bead board in the door was painted with some leftover Annie Sloan Chateau Grey. To protect the finish I topped it with Annie Sloan clear wax (3 coats on the top).
Recommended Skill Level
Starter Project

DIY Garden Bench

Submitted by Anonymous (not verified) on Wed, 11/29/2023 - 07:37

Garden Bench Project. Christmas Gift for my daughter-in-law. Cost of materials $75 and invested about 5 hours into the project. I modified the length to fit their porch. I sanded all the material and slightly rounded over all of the material edges. Recommend installing the seat BEFORE you install the arms as it is much easier to fasten. I extended the arms by an inch because I thought it looked better than cutting it flush to the leg. We will paint it in the Spring after the material dries out and can accept paint. It was fun to build. I have seen similar benches on Etsy for over $500.

Built from Plan(s)

Upholstery Bench

This is my second build and i really like it. I used pine and Waverly Cross Section Green to cover the foam. The plan is realy easy to follow and i used killer B method for the upholstery part. http://ana-white.com/2011/03/upholstered-bench. With two kiddos, it took me a couple of weeks to finish it but its a day project if your have more time than me! The only problem i had was to find high density foam. I finally find it at an upholstery shop but it cost me more for the foam then for the rest of the project. I used varathan oil base stain in light wallnut. I will finish it with a coat of vanish soon. Sorry for my bad english, my first language is french! Genevieve alias MadameG

Built from Plan(s)
Estimated Cost
120$ (85$ for foam only!)
Recommended Skill Level
Beginner

Comments

Pam the Goatherd

Wed, 06/06/2012 - 09:32

Genevieve, I always enjoy your posts. Your English is good - better than some people who grew up speaking it here in the US!
I have a daughter named Genevieve. Her father thought Genevieve Bujold was beautiful and wanted to name his little girl for her.

Changing table

Submitted by Aerohawk on Tue, 04/01/2014 - 20:25

This was my first project so I stuck mostly to the original plan. The only change I made was to make the width 16 1/2 instead of 15 1/2 to fit the pad. I was going for a driftwood finish to match the crib we got.

Built from Plan(s)
Estimated Cost
150
Estimated Time Investment
Weekend Project (10-20 Hours)
Finish Used
Very light gray minwax stain followed by two coats of satin poly.
Recommended Skill Level
Beginner

Christmas Tree Cup Shelf

Submitted by Anonymous (not verified) on Mon, 12/04/2023 - 08:50

Hi Ana,
I just want to thank you for sharing your projects. My father is 92 years and was always a "maker." For the last three years he is living with and being cared for by my sister, but while he no longer has use of his basement workshop, he still gets up early each morning and goes to his small work area in her craft room where he does small projects like bird feeders. He had made and given away so many bird feeders that we were searching for another small project he could take on. I came across your Christmas Tree shelf. My husband cuts the pieces to size and then my dad completes the projects. He has made enough to give his six children and 10 grandchildren each one as a keepsake. Pictured is the way one of the grandchildren has recently used the shelf he was given. So thank you for being so generous with your ideas and plans!

Mary Beth Sharp

Built from Plan(s)

Comments

Seasonal And Holiday

Caitlyn's Reading retreat

This was not built using one of Ana's plans. I have a book of 2X4 projects that my daughter gave me and actually got me started woodworking. This beauty was one of the projects. It was easy to build and easy to put together but not easy to paint. The lattice was the cheapest she could buy and was "furry". I tried sanding which took forever but it was still a mess to paint. I am including the link to the plans: http://woodtools.nov.ru/projects2/WoodPlan/lattice-bower.pdf
If you build this be sure and sand and paint before putting together-it's so much easier.

It looks amazing in her backyard and she is loving it.

Estimated Cost
$150-$200
Estimated Time Investment
Weekend Project (10-20 Hours)
Finish Used
I used 2X4s and lattice. If you can afford the better lattice-do it! We just painted it with an exterior flat paint.
Recommended Skill Level
Beginner

Comments

fancy x barn house table and benches

Well this is a project I made from plans from this site and we love it ! Is my first peace of furniture I've ever made and I think it was Farley easy my wife saw the pictures and ask me if I would make it & I was like I'll try and it turned out beautiful everyone who's seen it love it very sturdy actually it was completed right on time for thanksgiving day. I want to thank Anna and whoever posted those plans we love our big table and matching benches : )

Estimated Cost
about $200
Estimated Time Investment
Weekend Project (10-20 Hours)
Finish Used
Minwax pre-stain conditioner and minwax wood finish dark walnut 2716
Recommended Skill Level
Starter Project

Comments

Colorful Custom Bedford Corner Desk with Live Edge Desktop

Submitted by Anonymous (not verified) on Fri, 06/28/2019 - 20:41

I followed the plans pretty closely. I added dividers to make 3 drawer units but I didn't find it necessary to have the top shelf go all the way to the back since it would never function as a shelf. I used scrap pieces for that and they weren't big enough to be full shelves.

I used 1/2" MDF for the bottom, sides, and backs of the drawers to cut down on weight, cost, and general bulkiness. I used this free app called Cut List to figure out the easiest way to have the guys at Home Depot cut all the drawer panels after I learned I'm not that good with a circular saw. I used a hack saw to cut aluminum bars for hanging files and used scrap wood to make the little brackets to hold the bars upright in the drawer. The full extension drawer slides are functionally and asthetically better but it would have been so much easier to put in basic bottom mount slides. 

I wanted a wood grain top and ended up with common pine boards over more expensive poplar or oak and I would use pine again without hesitation. I used Google SketchUp to figure out the widths of boards I needed to make the top with minimal cuts. Then joined them with glue and mending plates and sanded the hell out of them. I altered the dimensions slightly to make it the same size desktop as the Bedford desk. My two wing sections are 23" x 23" but I should have made them 23" deep by more like 24" or 25" long. I had to hack the bottom bracing to make a spot for the drawer units to slide into. If you alter the dimensions make sure you can secure a brace between the main body and the wing of the desktop and still have room for the brace at the edge of the wing. 

My cost includes things like a Kreg jig, saw blade, clamps, paint brushes etc. so you may be able to do this for less. I could have gone with a middle of the line paint I think. This project was a beast for me because a) I'm not a furniture maker b) I don't own a table saw which would have been amazing c) I picked the hardest way to make the desktop and d) I modified some of the dimensions from the basic plans. I worked on this thing for weeks (granted sometimes I didn't touch it for several days or a week). But it was a fun and rewarding project. 

Estimated Cost
$500-$600
Estimated Time Investment
Week Long Project (20 Hours or More)
Finish Used
Behr Marquee, Minwax wood conditioner, stain (honey) and stain poly
Recommended Skill Level
Intermediate

Comments

Garden Work Bench

Submitted by mrsberg on Sat, 04/25/2020 - 11:53

This was my first building project and I needed help with the assembly. Also, I used an oil based polyurethane that changed the beautiful blue color to a dingy yellow. So after it was assembled, I sanded it down, giving it a rustic look, and sprayed two coats of Rust-oleum over the entire bench. We also added an extra shelf.

Estimated Cost
$250
Estimated Time Investment
Week Long Project (20 Hours or More)
Finish Used
Wood water based stain, oil based polyurethane, sanding, Rust-oleum

Fireplace Mantle with Drawers and Hidden Storage

Modified plans to include game storage drawers, a flip open mantle for DVD player and hidden charging port, and hidden cupboards on both sides for DVD storage. I scoured the Internet for months before drawing this up to fit my space and tackling all on my own! I love it and all of my other Ana White inspired projects!

Casey O.

Seasonal And Holiday

Chloe's Purple Playhouse Bed

Saw this plan and knew I had to make it. This is her first BIG GIRL bed. Her reaction made it all worth it, "Daddy I am going to sleep in this bed FOREVER!" We stuck with the hinged storage under the first two steps but turned the space under the top step into a little closet for her dress up stuff. We also strung rope lights in the playhouse section for added fun lighting.

Estimated Time Investment
Week Long Project (20 Hours or More)
Finish Used
Olympic Interior Latex Paint
Recommended Skill Level
Beginner

Comments

AnneP (not verified)

Fri, 11/23/2012 - 22:19

I'm going to build this for my granddaughter. She will absolutely love it. I'm having trouble figuring out the exact steps - which I need before I venture on this project. Trying to find accurate step by step plans for the stairs on the right side -- and all the walls too.
THANKS

Plywood farm plank floor

Submitted by ooupla2 on Sun, 04/06/2014 - 10:20

I was inspired by Ana to DIY and save a lot of money. I bought $17 plywood which was the cheap stuff. Lots of knots and rough. I sanded the plywood and cut it into 8 inch planks. I rounded the edges and stained it one time. I nailed it directly to the subfloor and used liquid nails as a second bonding agent. After the floor was nailed in I re stained it and applied 9 coats of flooring poly. It turned out so good im doing the entire 1400 sq feet upstairs of my home! I plan on making many of Ana's furniture projects to fill the rooms once its all complete!

Estimated Cost
$1.25 sq foot
Estimated Time Investment
Weekend Project (10-20 Hours)
Finish Used
Varathane diamond floor finish. semi gloss applied with Varathane Water Borne Applicator, reapply after 2 hours
Recommended Skill Level
Beginner

Comments

Pallet Cabinet

Submitted by Anonymous (not verified) on Sun, 07/03/2016 - 08:55

All of the wood is recycled from pallets. The hardware is also recycled from old kitchen cabinets. All sides of the cabinet are paneled with planks of pallet wood. The plans were awesome to follow! After a certain point though, I had to go rogue because I was using different wood. 

Built from Plan(s)
Estimated Cost
maybe $25 because I had to add to our supply of stain & shelac to finish
Estimated Time Investment
Week Long Project (20 Hours or More)
Finish Used
Zar oil-based Rosewood
Recommended Skill Level
Intermediate

Beginner Wood Table

My wife and I had been talking about buying a new dining room table for some time and we are just so sick and tired of paying good money for cheap, particle board furniture from Wayfair or box stores. And solid wood furniture is expensive AF! So, I decided to build a table myself, even though I'd never built a single piece of furniture in my life. When I found the plans for this table I realized that I could do it myself. The plans were straight forward and easy to follow. I had to size the length down to fit in my smallish dining room (and it is still a little bit too big), but I am so proud of what I was able to build by myself in a weekend. Thank you Ana!

Shawn in New Hampshire

Tryde Coffee Table

My first project! Luci looks like a demon.

Estimated Time Investment
Day Project (6-9 Hours)
Finish Used
Jacobean stain and polycrylic by Minwax
Recommended Skill Level
Beginner

Counter Stools

Submitted by bencorless on Tue, 04/08/2014 - 15:08

I slightly modified the plans to give them more of a "Saddleback" style. I used a 2x10 for the seat, then belt sanded for an hour to give it the concave shape.

Built from Plan(s)
Estimated Cost
$10
Estimated Time Investment
Day Project (6-9 Hours)
Recommended Skill Level
Beginner
Back