Community Brag Posts

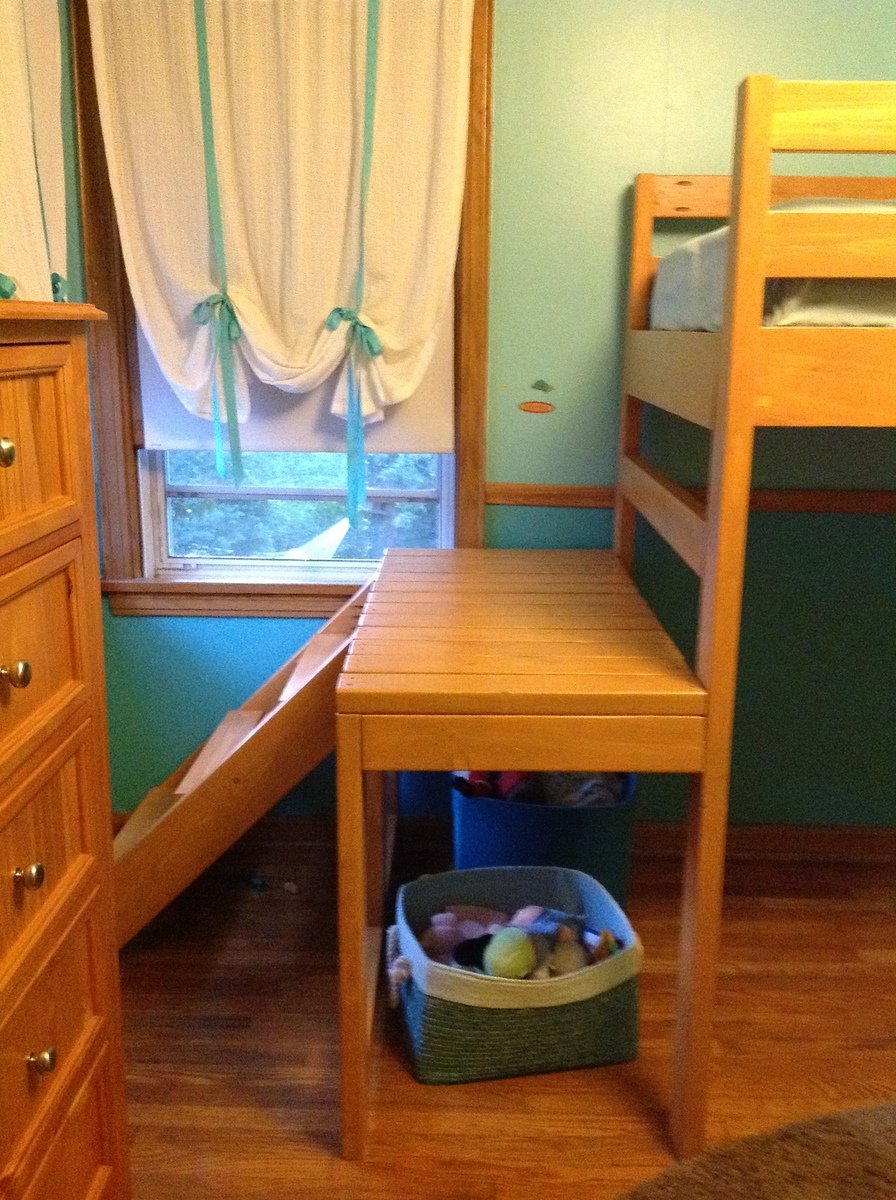
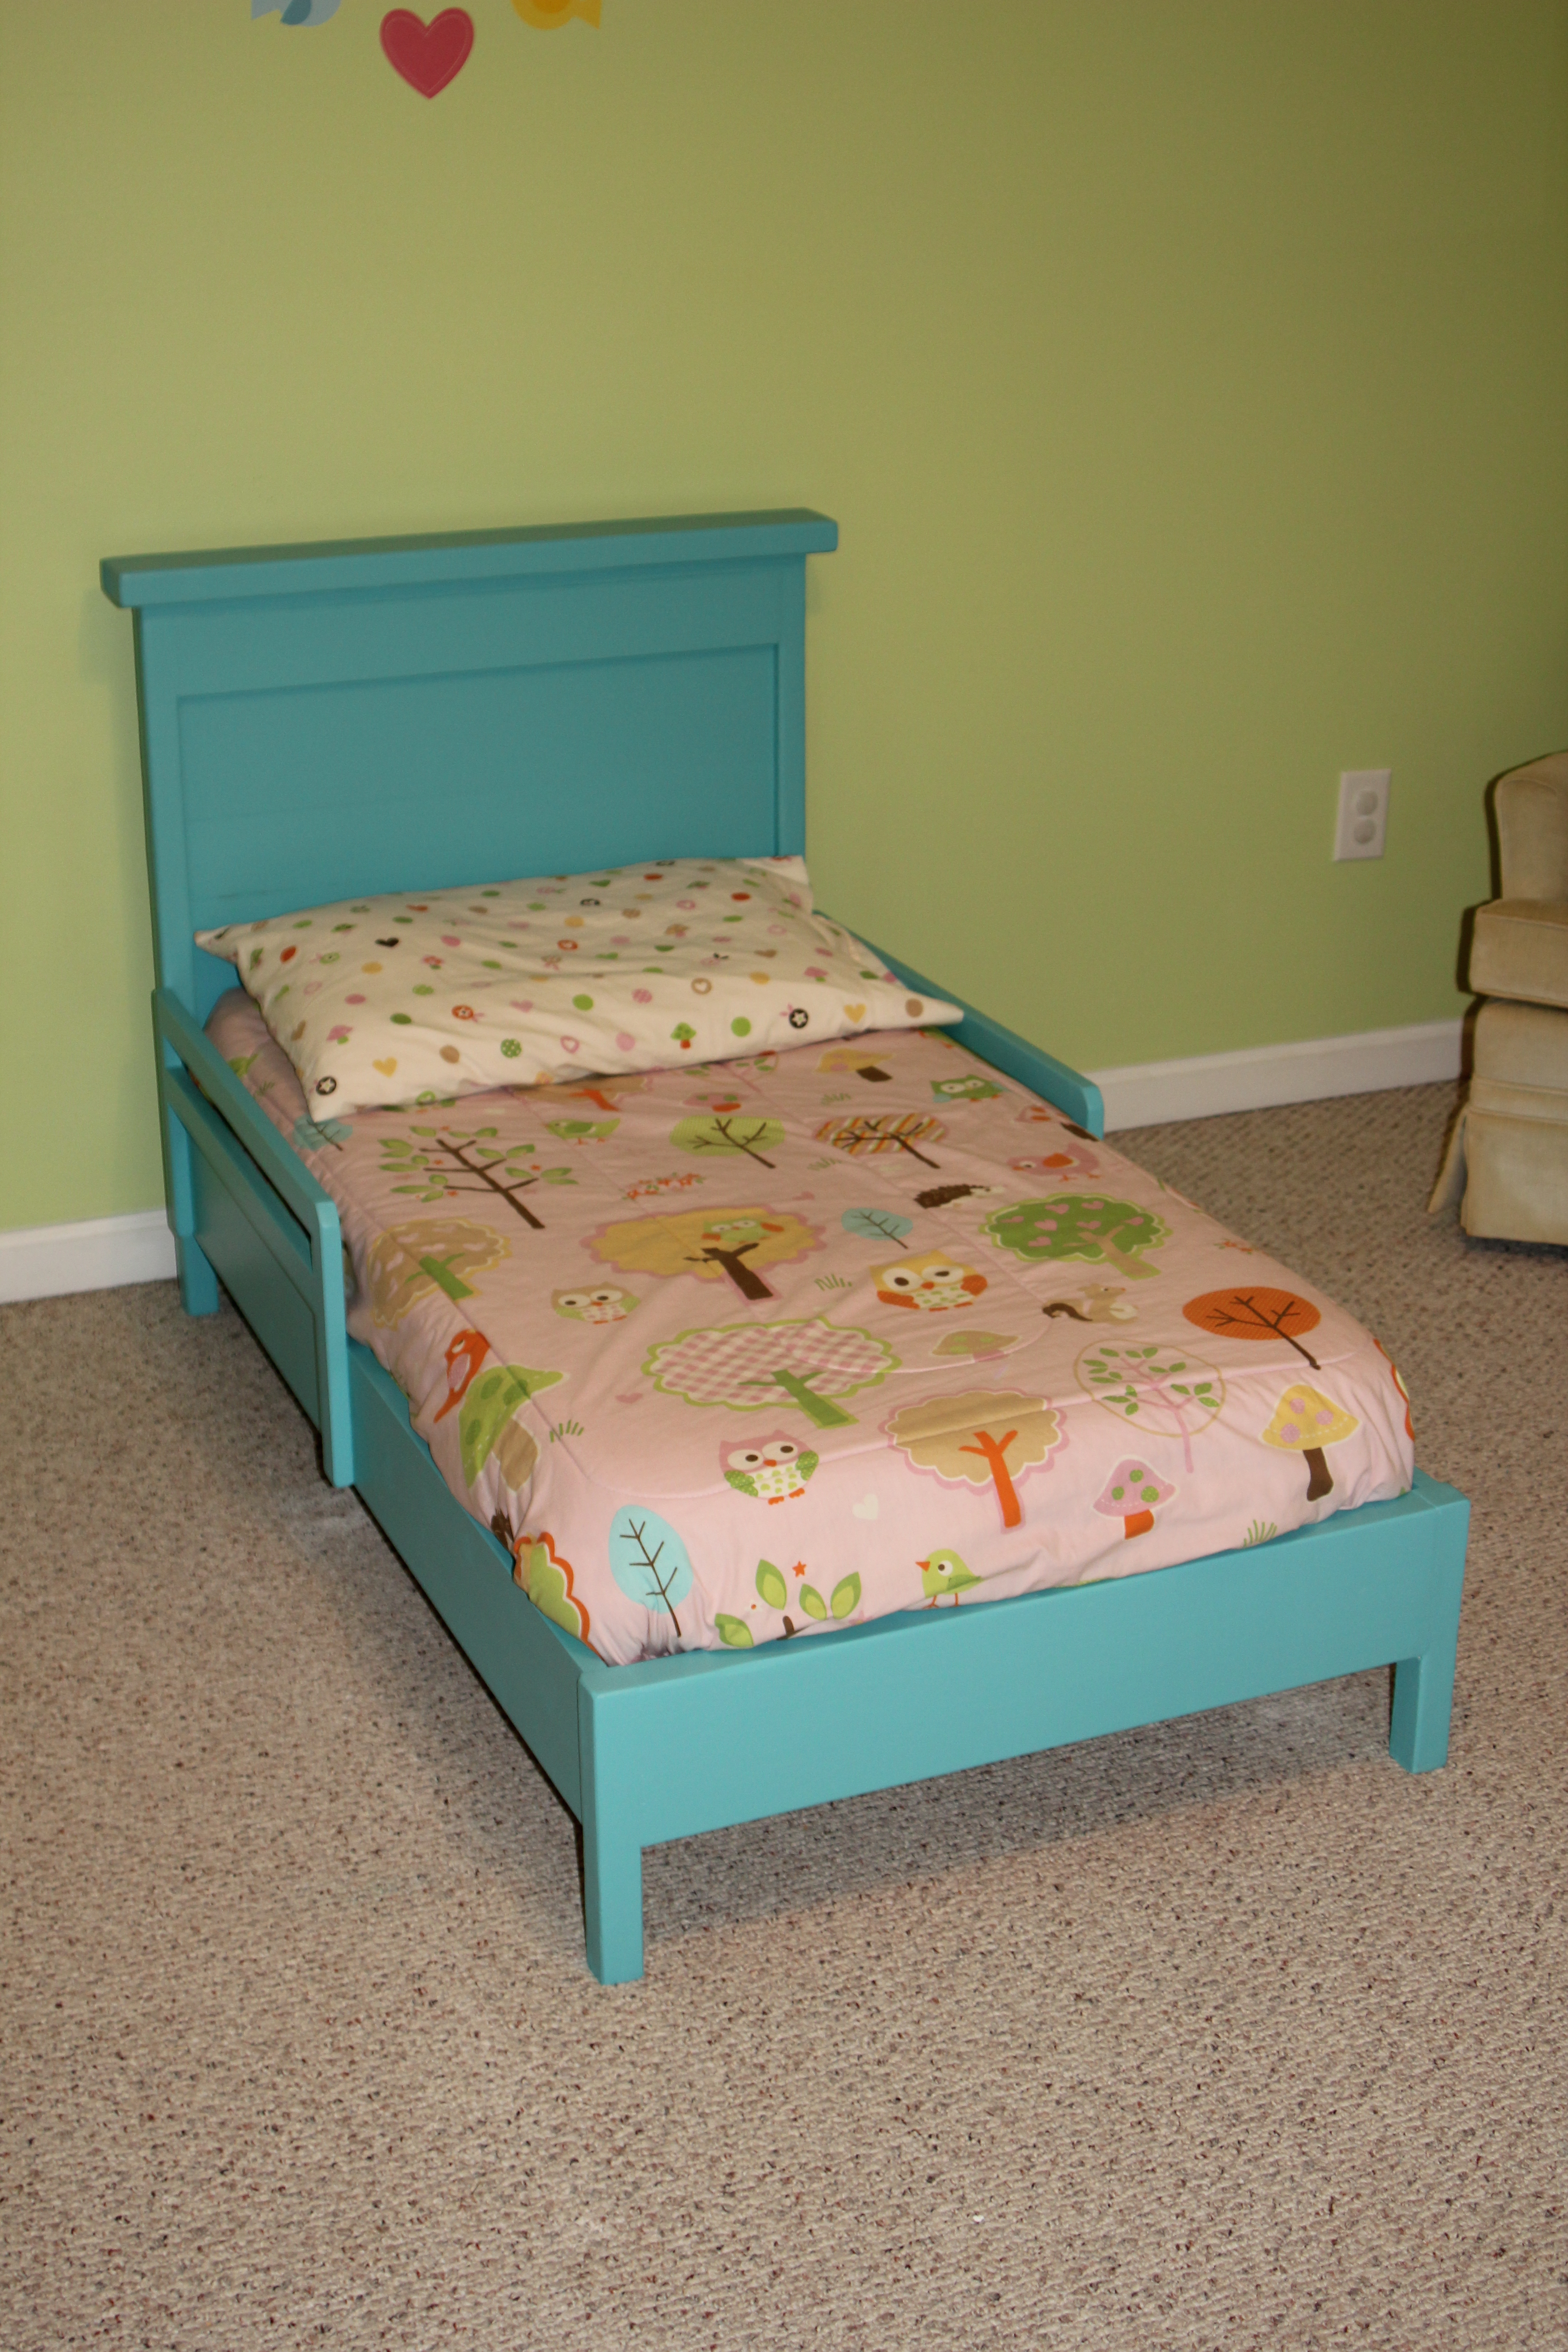
Camp loft with side stair

Submitted by Theresa W on Mon, 08/27/2012 - 16:15

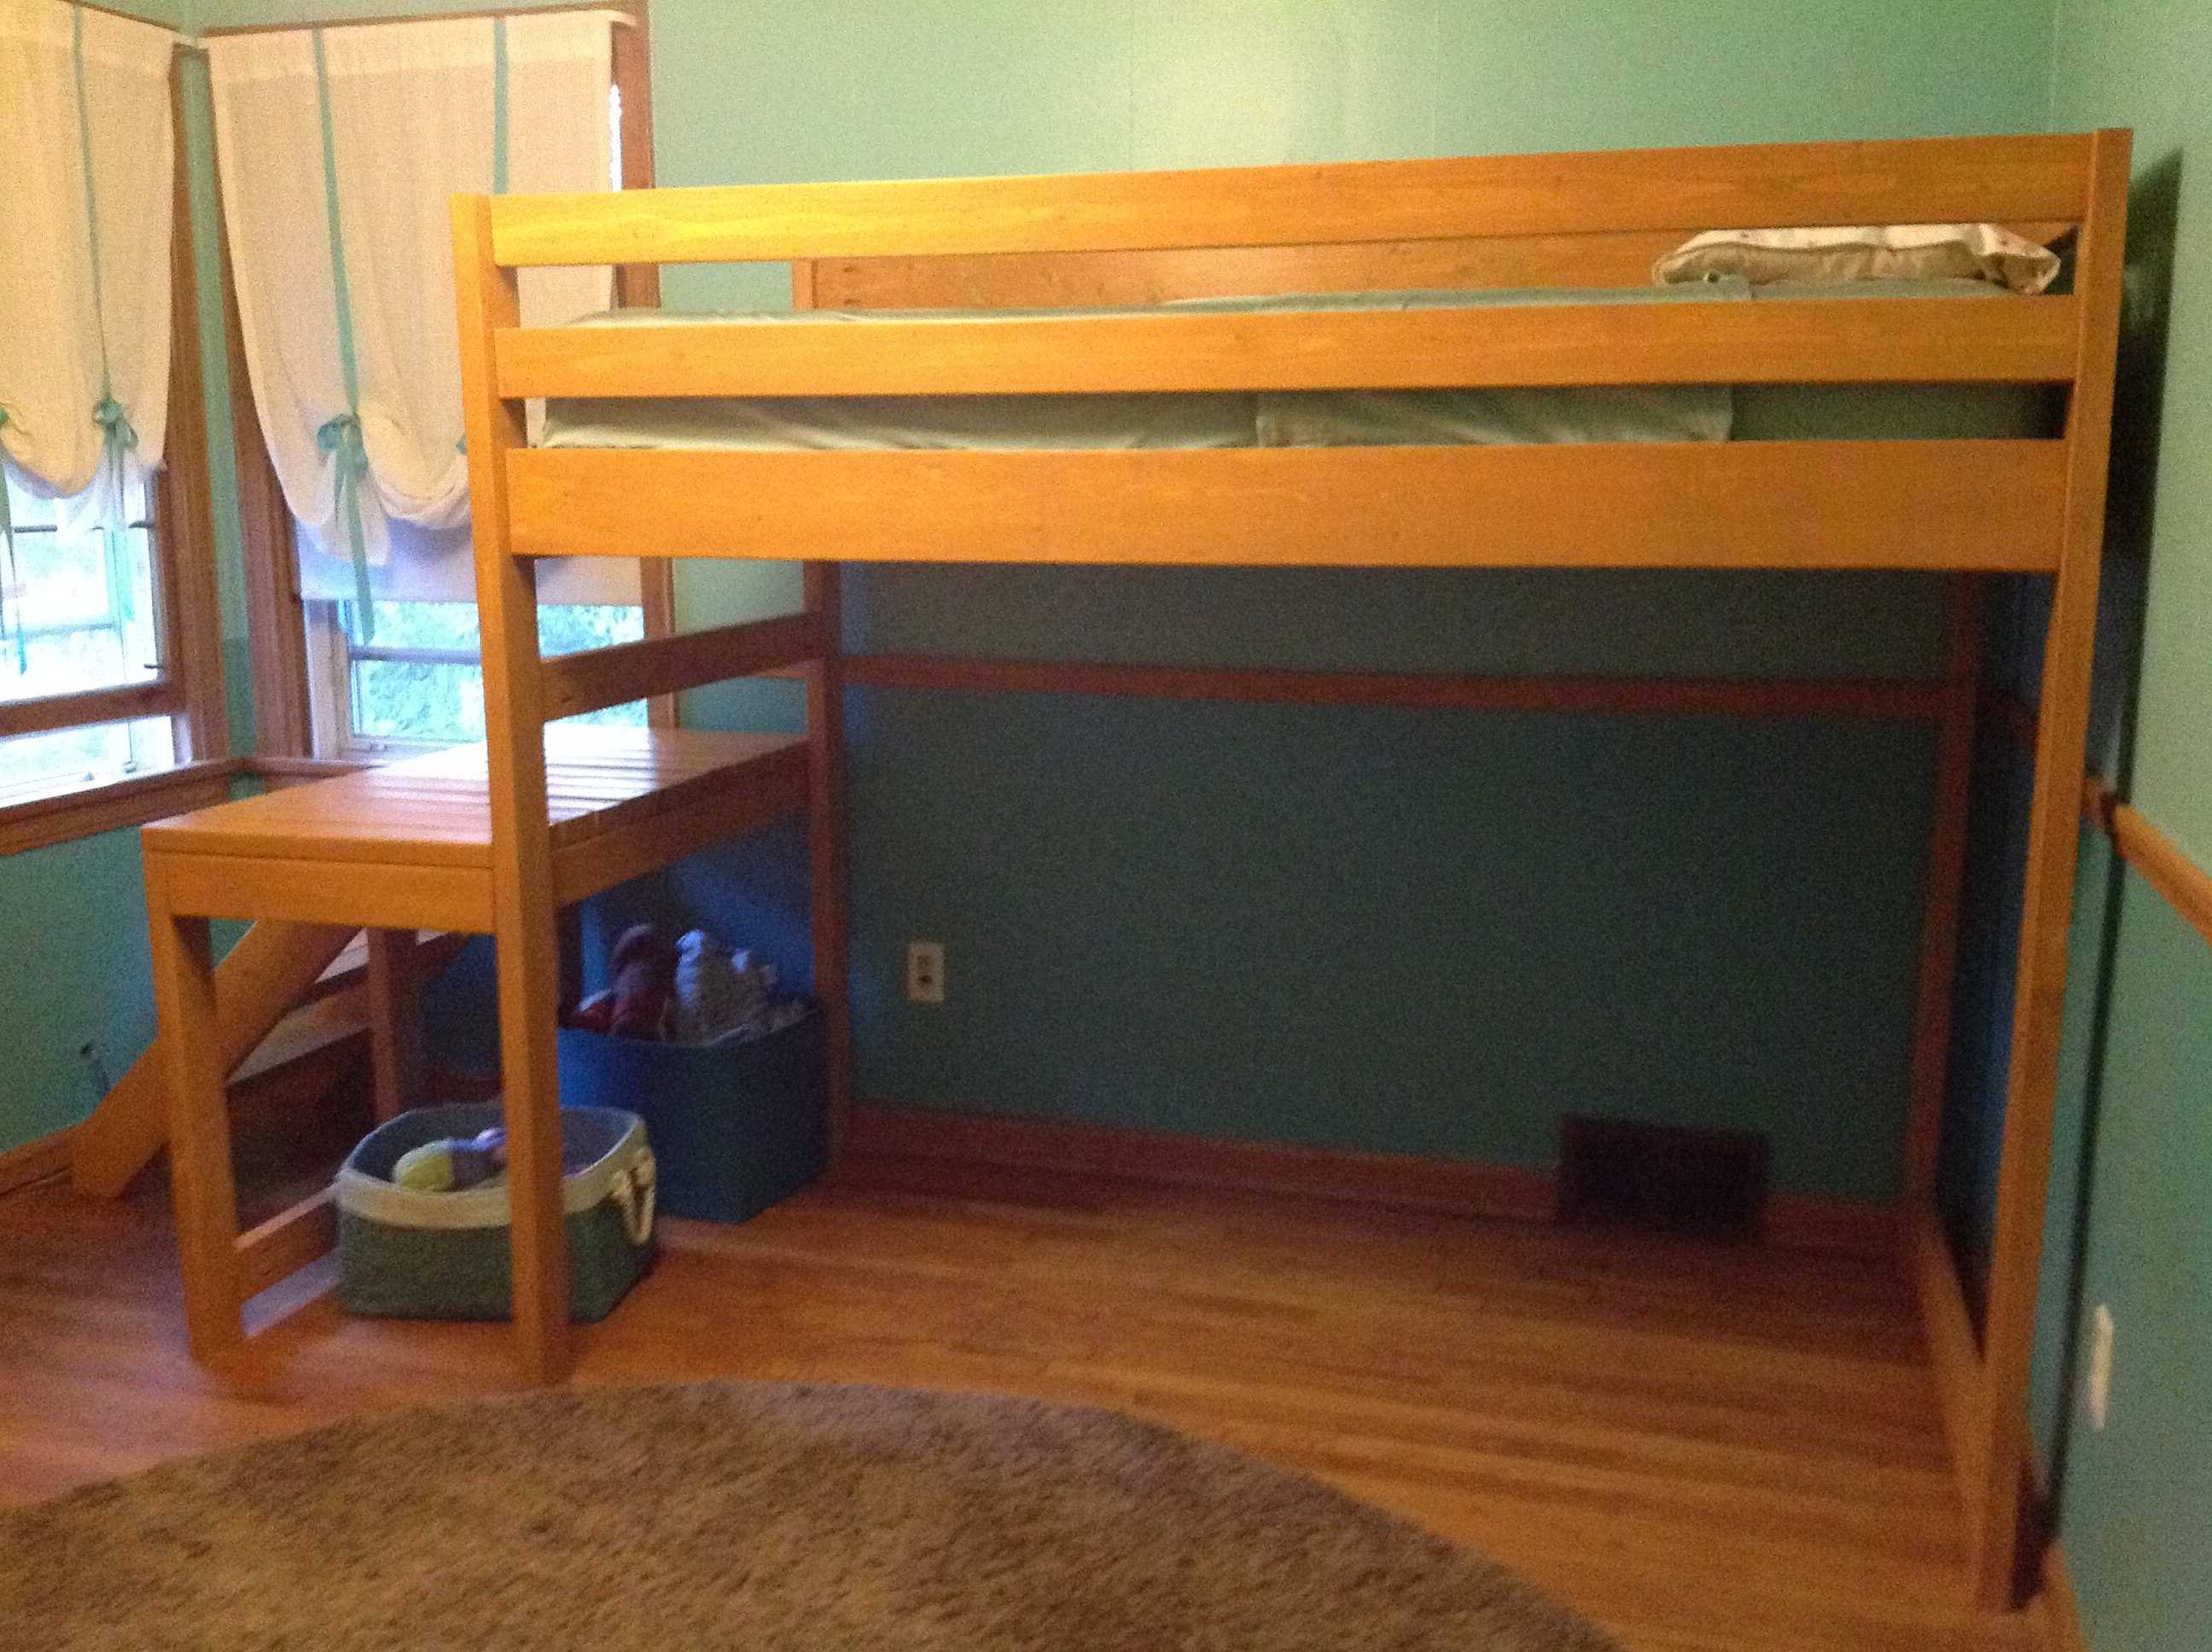
I finally decided I was going to make the fort bed for my daughter and was about to print off the materials list to take to the lumber yard and the junior height camp loft was front and center on the webpage. Though significantly more bed, it looked perfect my little girl. We really wanted her bed high enough to avoid the only heating vent in the room and didn't want to lose the floor space for play, this seemed to be an ideal fit. When I finally put the bed together I realized that keeping the staircase as in the original plans resulted in a bowling alley sort of space left over. It was awkward and really shrunk the room as the 'alley' wasn't usable for much of anything. I played around a little bit and my husband and I decided that we would put it on the side. It fit perfectly to the wall and was much more space efficient for the room. I am a little nervous about the new openness of the deck portion, but both kids have found it a fun place to read and pretend fish. It was my first project of this size and I did everything until the final assembly by myself and I am so glad to have done it. It took more time than I imagined, but again I am a true novice.

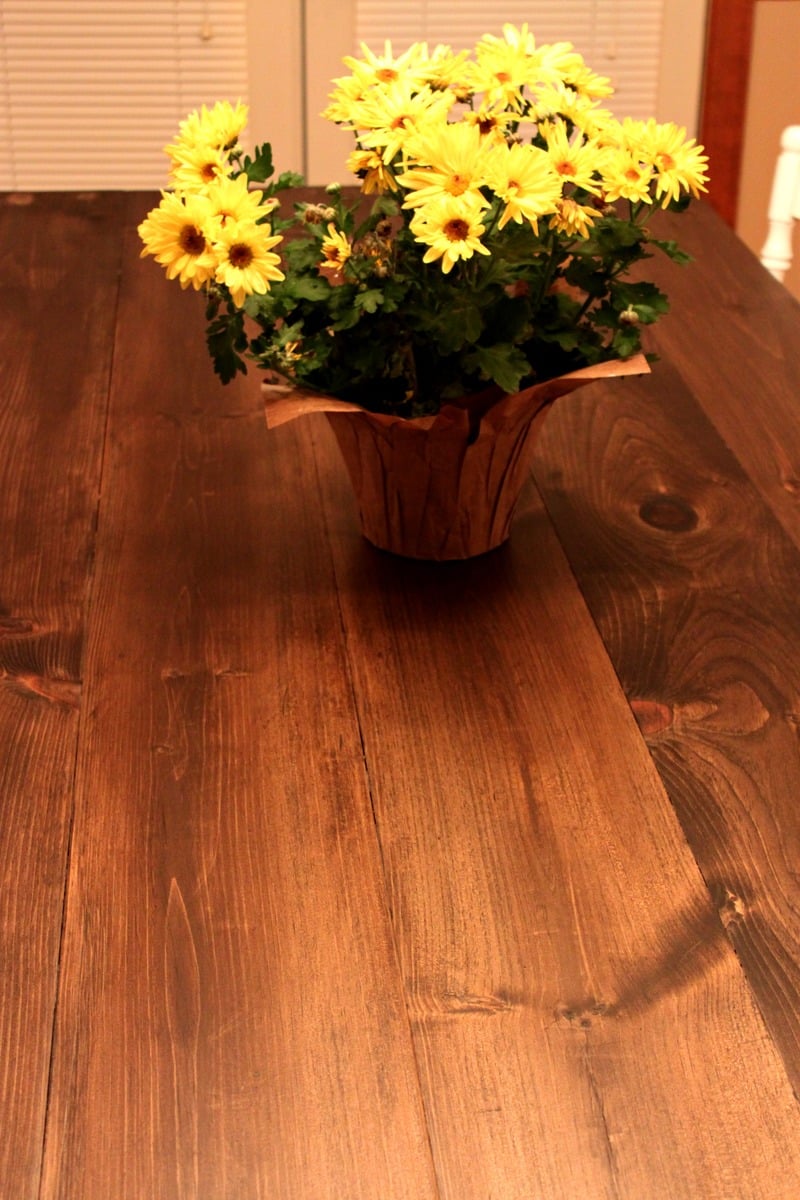
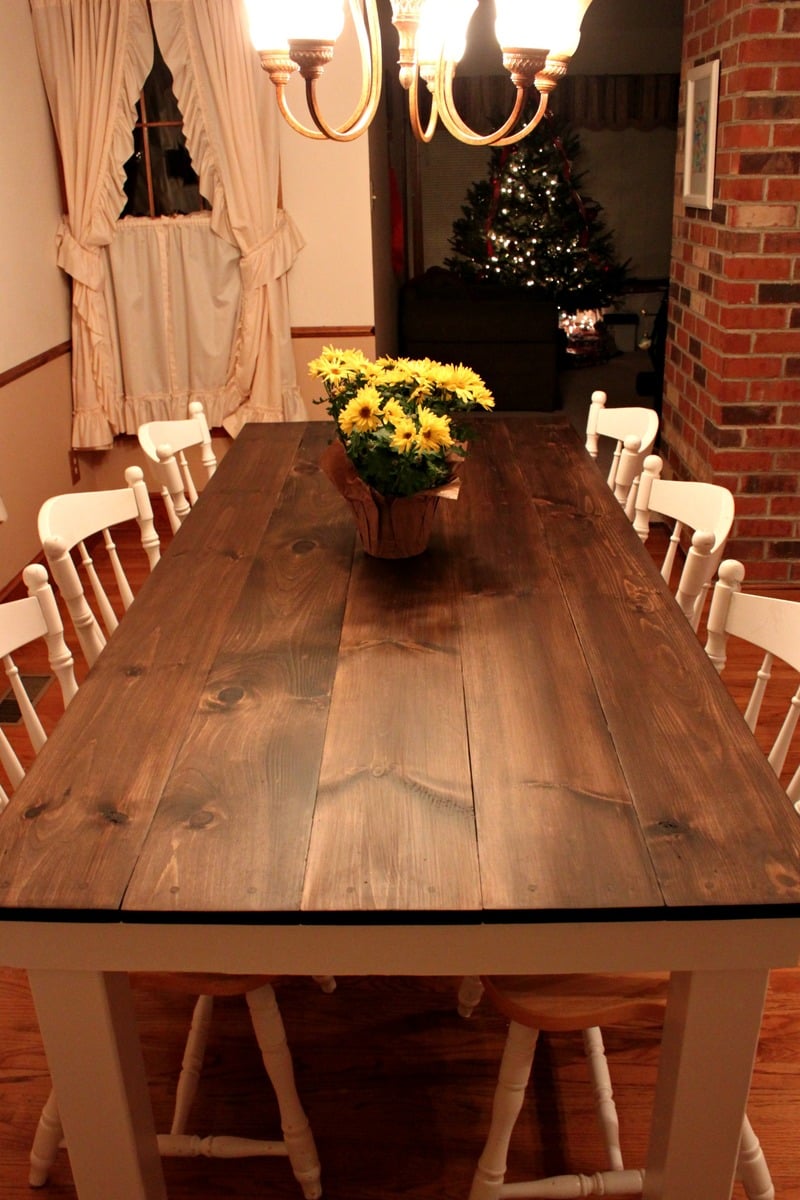
I really wanted it stained so that it would camouflage the wear a little better, but I had a great deal of trouble finding a low VOC stain in my town. I used the lowest I could find and a low VOC water based poly. It matches her dressers and trim nearly perfectly. Her older brother likes the bed so much that nearly everyday he tries to convince her that she wants to switch beds with him.

Estimated Cost
$100-$120
Estimated Time Investment
Week Long Project (20 Hours or More)
Finish Used
Zar UltraMax low VOC stain in Golden Oak
Recommended Skill Level
Beginner

Comments

Surfboard bench

Modified the sofa design and created a surfboard bench

Estimated Cost
£30
Estimated Time Investment
Afternoon Project (3-6 Hours)
Finish Used
Dark Oak woodstain

Double X Bench

Submitted by Anonymous (not verified) on Sun, 10/09/2016 - 18:00

This was the second double x bench that I made.  It was very simple to make.  It took me around 3 hours to build it and another 2 hours to sand, stain and paint it (this does not include the  1 hour between coats that I allowed them to dry).  I used Annie Sloan Old White Chalk Paint and General Finishes Java Gel stain.  Annie Sloan Chalk paint does NOT need a topcoat if it is being used outside.

Built from Plan(s)
Estimated Cost
$15 - i already had the stain, paint and screws.
Estimated Time Investment
Afternoon Project (3-6 Hours)
Finish Used
Annie Sloan Old White Chalk Paint
General Finishes Java Gel
Recommended Skill Level
Beginner

Comments

Picnic Table for 2 People

Submitted by Anonymous (not verified) on Mon, 06/03/2024 - 08:53

2 person picnic table from work in progress to end product. Thank you Anna for the inspiration and the plans. With my dyslexia I had a few challenges, but in the end it finished up nicely. Perfect for me and my daughter.

Jack aka Teci Teacher

8 Foot Picnic Table

Submitted by milleall on Wed, 07/22/2020 - 12:07

My teenage son and his father took over the bulk of the building duties this time. We chose to use treated lumber as untreated lumber with finish applied doesn't do well in Michigan weather in my experience. We made it more beautiful by using the treated lumber in cedartone. We used pocket holes to attach the top and seats to the supports to make for a smooth appearance. This is one large and heavy table! The plans were accurate and the build was fairly simple, but having many hands made working with the large piece easier.

Built from Plan(s)
Estimated Cost
$150
Estimated Time Investment
Afternoon Project (3-6 Hours)
Finish Used
None
Recommended Skill Level
Intermediate

Comments

Seasonal And Holiday

Modern wood dresser

Submitted by Anonymous (not verified) on Thu, 12/08/2016 - 08:07

We didn't paint it, but I think it turned out well. We followed the plan almost exactly and it came out great!

Built from Plan(s)
Estimated Cost
150
Estimated Time Investment
Weekend Project (10-20 Hours)
Recommended Skill Level
Beginner

Traditional Toddler Bed with Rustic Headboard

Submitted by jenmac75 on Tue, 11/27/2012 - 17:42

After my daughter started escaping from her crib I knew it was time to build her a new bed. I didn't think she was quite ready for a full size yet so I thought a toddler size would work for at least the next year.

I started with the Traditional Toddler Bed plans and scaled down the size of the Rustic Headboard and incorporated that. The biggest thing I learned in the process was to measure your mattress first! I don't think I realized the size variation in crib mattresses and ended up having to recut my slats and rails to accommodate my larger mattress. Also, our mattress is 5 inches deep, which means that the safety rails only extend about an inch over the top of the bed. This seems to be fine for my daughter and she hasn't fallen out - yet - but I think if you have a very restless sleeper or just want to play it safe, you might want to add an extra inch or two to the height of the guardrails.

I also used a 2 x 6 for the foot rail as this allowed the legs to be inset further and gave it a more solid look on the bottom.

Estimated Cost
$60
Estimated Time Investment
Day Project (6-9 Hours)
Finish Used
Valspar Primer and 2 coats of Olympic Premium in Caruso
Recommended Skill Level
Beginner

Comments

Outdoor planter steps or benches

Submitted by Anonymous (not verified) on Tue, 09/15/2020 - 00:45

A very enjoyable project. I'm relatively new to diy woodworking projects but these plans make it so much easier.

Thanks.

Estimated Cost
$250
Estimated Time Investment
Weekend Project (10-20 Hours)
Recommended Skill Level
Intermediate

Comments

Modified Chicken coop

Submitted by Anonymous (not verified) on Tue, 01/10/2017 - 00:20

We live in a termite infested area and as such were nervous about putting wood in contact with the ground. We modified these plans to sit on top of a welded bar frame that is moveable and stands a meter high. The measurements are custom to our welded frame but the shape was based on these plans as was the construction process followed. We dont have a worry about predators so have used a design that doen not have a closed floor - our girls can simply fly or walk up the ladder to the roost and are able to leave the coop when ready in the morning without us opening doors. We are also in a warm environment thus an enclosed coop is not needed.

So far they are happy and are happily laying in the two egg boxes (We left the remaining space closed internally so that we can use it for storage) and as there is no bottom to the coop they poop straight into the run and onto the sand floor.

They are not free ranging yet as we are nervous of our dogs chasing them but once we are happy to let them free range we will use the gate built into the welded run.

Thank you Ana and lady goats for this design - I spent hours (and hours) researching and reading and looking at coop designs before deciding that this cute number was the one we wanted.

From me and my happy hens, thanks again!


Estimated Cost
$250
Estimated Time Investment
Weekend Project (10-20 Hours)
Finish Used
Exterior was painted with a water based exterior paint over wood primer
Inside was varnished
Recommended Skill Level
Beginner

Farmhouse Table

My husband and I love entertaining, but our small kitchen table was just not cutting it for both our space and our hosting abilities. We decided that instead of searching for the perfect table and spending a ton of money, we would just build our own table. We found that Ana's Rustic Table plans best matched what we were looking for, but my husband being the detailed person that he is didn’t just want to take her measurements and run with them. So we taped off the floor around our old table to decide how large we wanted our own table to be.

We basically followed Ana White’s plans to a T. Until it got to the legs. Ana White used 2×4′s for her legs, but we decided we liked the look of chunkier 4×4 legs instead. We also did things in a different order, like attaching the legs to the apron before attaching the table top. This did make everything way easier when it came to painting, no tape needed. We also stained the bottoms and sides of the tabletop boards before attaching them to the apron. After the top was attached I stained the top side and applied about 3-4 coats of Matte polyurethane. I like the matte finish because it doesn’t add any sheen and makes things look even more rustic; however, we’ll have to add a regular coat of poly as well because the matte is too soft for something that will see such rough use over the years. And now for what you’re all wondering about, how much did this project cost us?

  • Wood – $86
  • Stain (Dark Walnut) – $7.77
  • Paint (Olympic Snow Storm) – $11.97
  • Polyurethane (Rustoleum Matte finish) – $11.93
  • If that is all we needed to buy then our total would have been: $117.67.
Built from Plan(s)
Estimated Cost
$300
Estimated Time Investment
Weekend Project (10-20 Hours)
Finish Used
Dark Walnut
Recommended Skill Level
Beginner

Comments

mistyclinton

Mon, 12/31/2012 - 09:43

Your table is gorgeous! You did an amazing job.

I am getting ready to attempt my first two projects, bookshelves and a buffet table. I had a couple of questions about how you got such a consistent stain.

1) The Stain - What kind of stain did you use? How many coats did it take? Did you use a conditioner first?

2) Wood filler - How did you get the wood filler to match the stained areas so well? What kind did you use?

Thanks for the advice! I was thinking I would have to paint the buffet but after seeing your table I think I may actually attempt the stain.

Extra Long Bed

Submitted by Lumi on Fri, 10/24/2014 - 16:36

My hubby is 6'5'' tall. Since most matresses are 80 inches long, he mostly ends up with his feet hanging out of the bed (since you don't lay your head down at the very beginning of the mattress, right?). So I tried to solve this problem by making the bed 4'' longer than the plans suggested. I added 2'' of foam on each end of the bed, so now its 84'' long and my hubby fits perfectly!

Thanks for the great plans, I had a blast building my own bed!

Estimated Time Investment
Weekend Project (10-20 Hours)
Recommended Skill Level
Beginner

Rocketship Bookcase

Submitted by Anonymous (not verified) on Sat, 10/31/2020 - 17:27

Pretty much followed the steps as outlined in the rocket bookcase plans. Googled astronaut and spaceship stencils and free hand drew those on construction paper. This bookcase is heading to my 3 year old son's room and he's pretty excited to fill it with toys and books.

Built from Plan(s)
Estimated Cost
$70
Estimated Time Investment
Day Project (6-9 Hours)
Finish Used
Semi gloss blue and red paint. A sparkling orange spray paint for the fire, metallic gray for the fins and stencils. Covered it with spray poly for a protective coat.
Recommended Skill Level
Intermediate

Comments

6 cube bookshelf

Submitted by lindsay on Thu, 01/24/2013 - 04:27

This was my first project that I've built and I feel really great about how it turned out!

Built from Plan(s)
Estimated Time Investment
Day Project (6-9 Hours)
Finish Used
White paint
Recommended Skill Level
Beginner

Comments

ACM

Thu, 01/24/2013 - 14:25

Great job! Your bookshelf looks solid and the color is crisp against the darker wall. Love the frames too!

Kid's Country Bench - stretched

Submitted by Bk32 on Sun, 01/27/2013 - 18:17

We needed a bench to hold shoes and bags on the foyer, and this plan fit the bill. I stretched the bench one foot so 3 kids could sit on it and to add one more cubby. I used pocket holes everywhere I could, so I had to modify the assembly order. We're excited to start using our new bench!

Built from Plan(s)
Estimated Time Investment
Weekend Project (10-20 Hours)
Finish Used
I started with minwax pretreatment and used minwax Red Mahogany stain. I finished with varathane tube water-based poly, since it didn't require sanding between coats.
Recommended Skill Level
Beginner

Combination of the Emme Twin Bed and Farmhouse Storage Bed

Submitted by Anonymous (not verified) on Tue, 03/07/2017 - 20:25

I used elements of both the Emme Twin Bed and Farmhouse Storage Bed to create this perfect bed for my daughter. Thank you so much for your fantastic plans Ana!

Estimated Time Investment
Weekend Project (10-20 Hours)
Finish Used
We used a soft pink paint/primer in an Eggshell finish. I applied two coats of paint and sanded between coats.
Recommended Skill Level
Beginner

Simple Modern Outdoor Sectional

Submitted by jdwarns on Mon, 12/08/2014 - 13:03

So glad these plans were posted so that I could build my own outdoor sectional.  I built two armless and two corner/end pieces.  I used cedar with American Walnut stain and clear/satin spar urethane.  I purchased the cushions online.  They only had 24x24"; so for the back cushions, I used a seam ripper to open the cushion, cut the foam and extra fabric, and re-sew.

Estimated Cost
500 including cushions
Estimated Time Investment
Week Long Project (20 Hours or More)
Finish Used
American Walnut water-based stain
Clear/Satin spar urethane
Recommended Skill Level
Beginner

Comments

Back