My wife found this design on your site and set about convincing me that it would be a good idea to replace the (new) IKEA loft beds that we had recently bought.
The loft beds were not such a great idea as they were 7 feet tall in an 8 foot tall room. Needless to say, i didnt need all that much convincing that replacing them was a good idea...so the first step was to list the loft beds on ebay to fund the builds. They sold for nearly 2/3rds what we purchased them for so we were very happy with that!
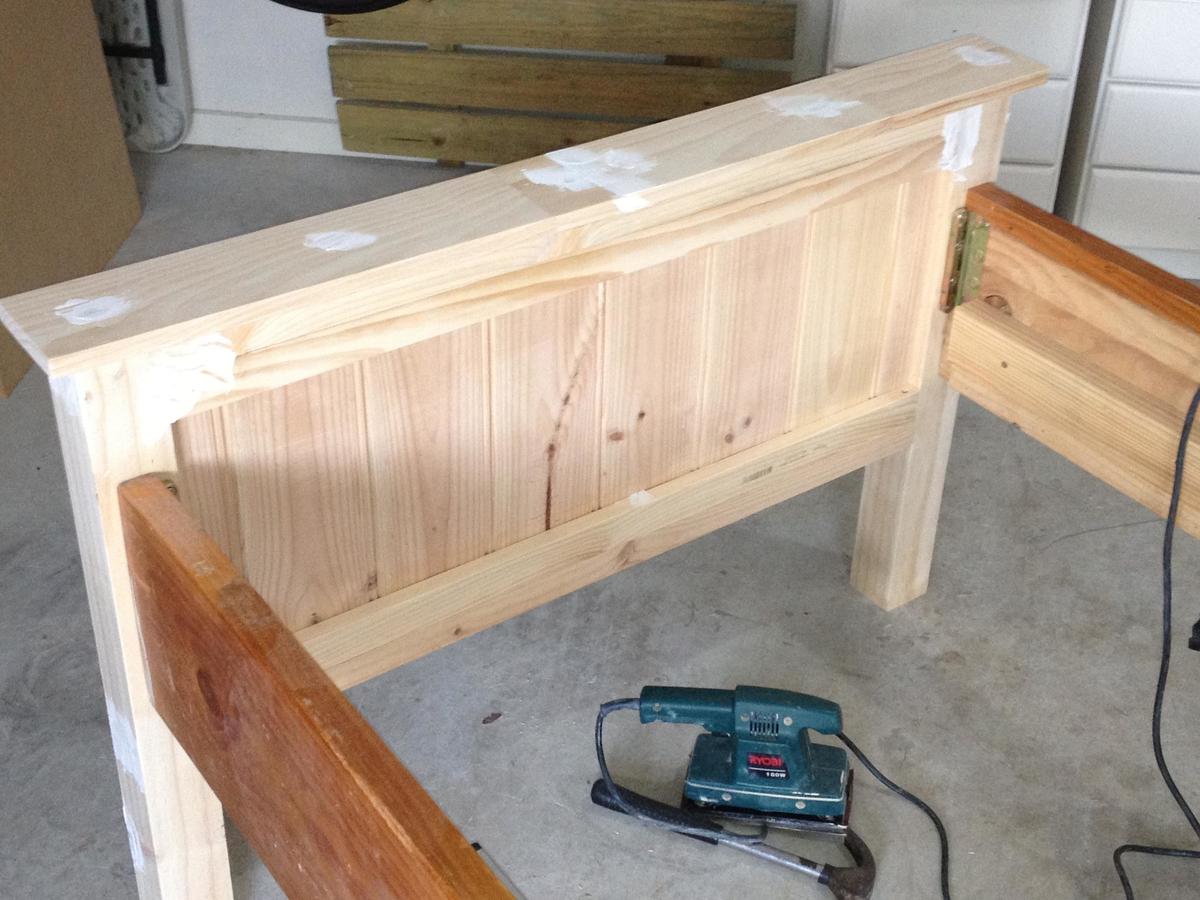
Armed with our cash we set off for the Hardware store to pick up our timber, drop saw and coach bolts. We purchased all the timber that we needed and the screws and (i dont know what they are called but) the things that you screw onto the post and the rails to allow them to slot into one another and be pulled apart relatively easily (see the image titled Foot).
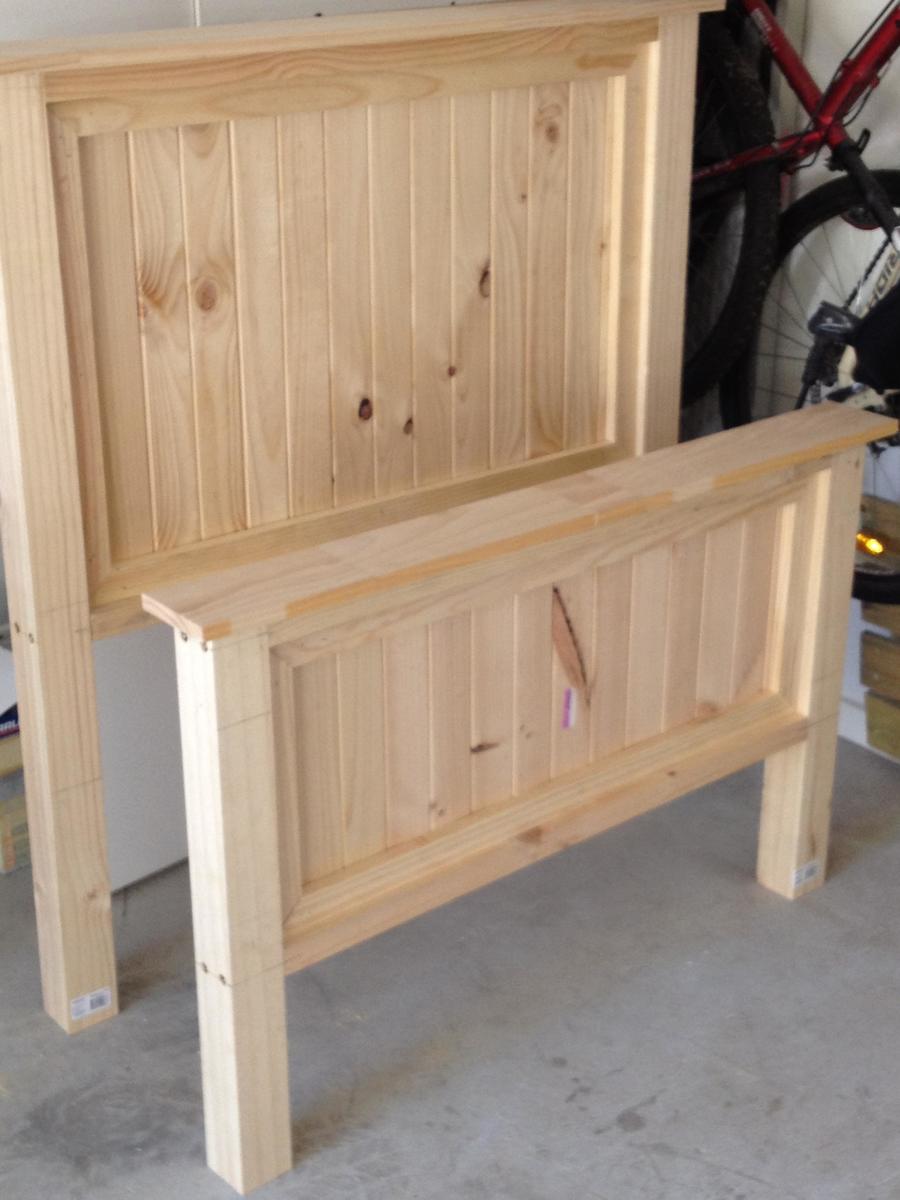
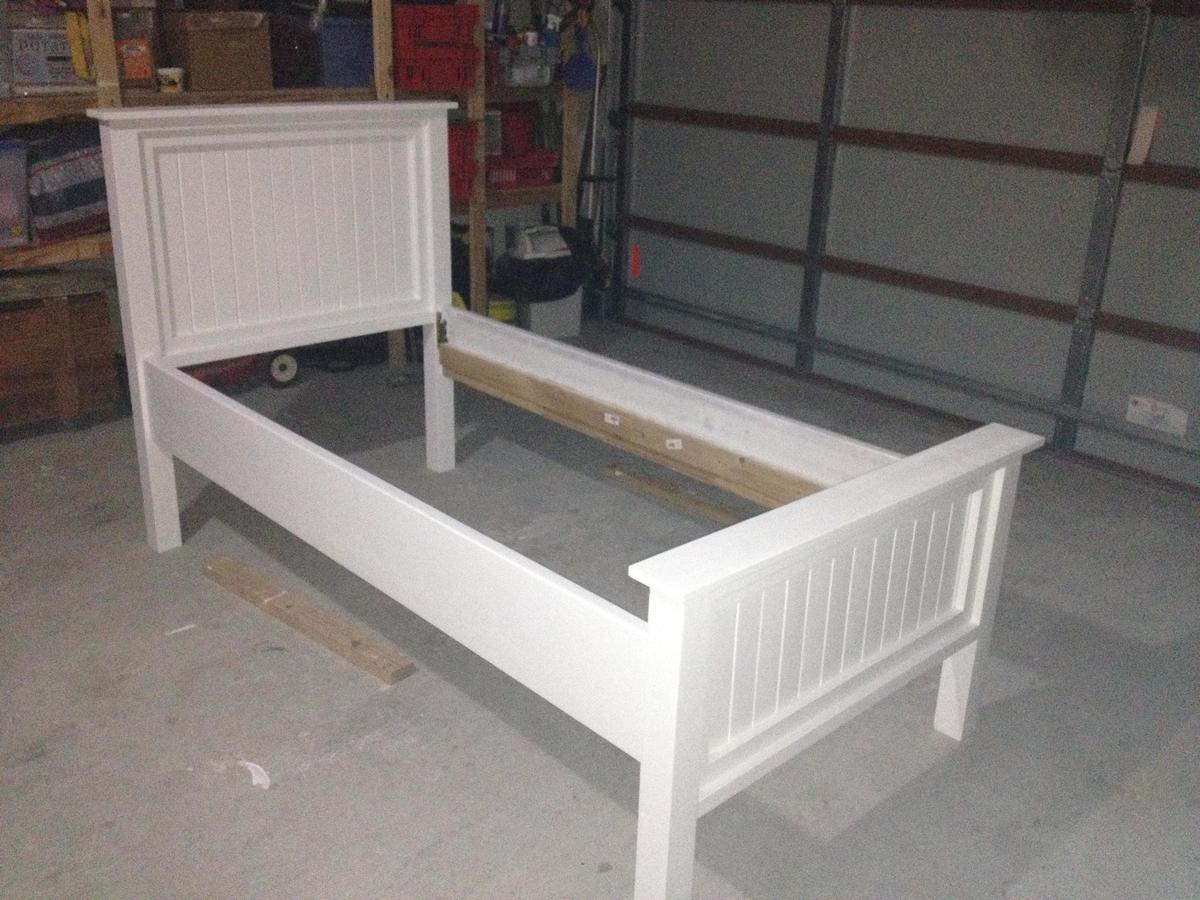
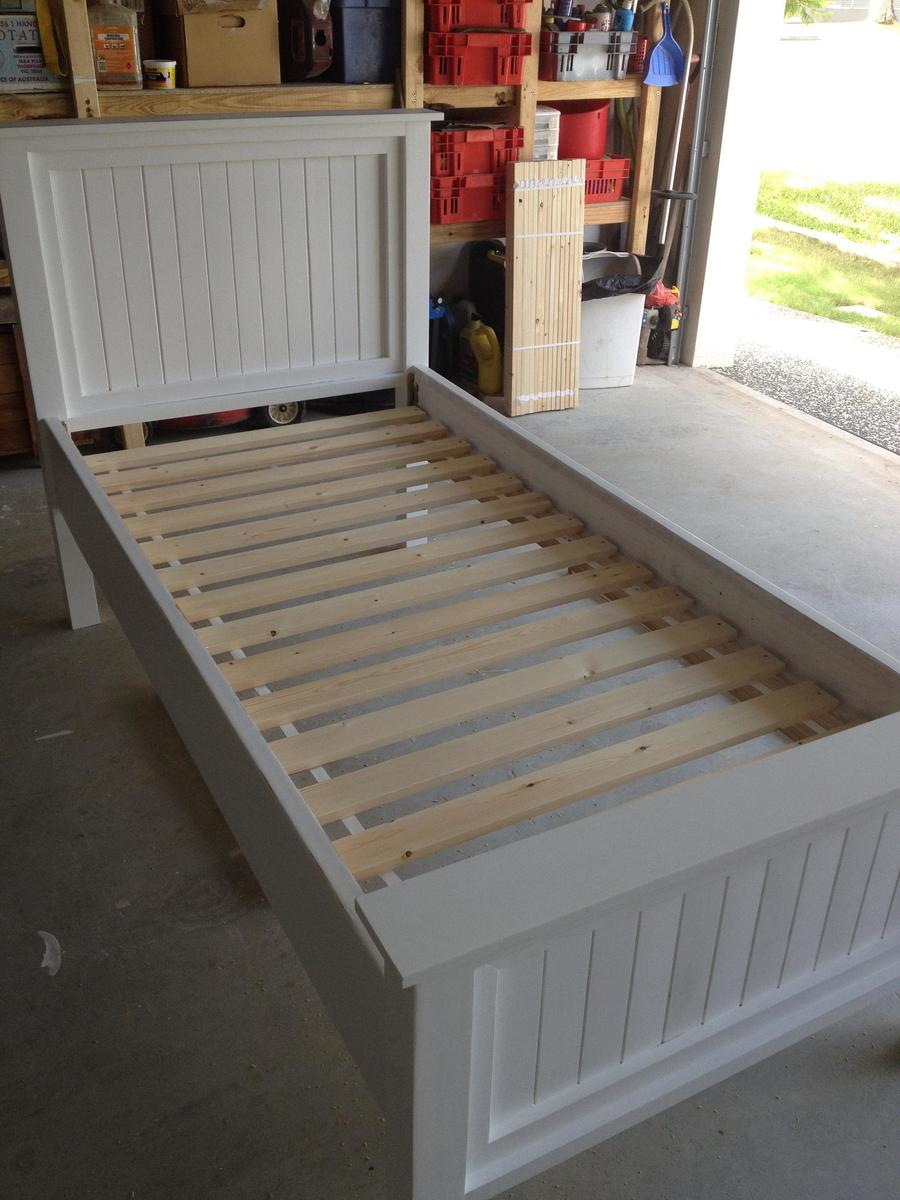
We made the bed head slightly lower than the plan calls for and made the foot exactly half the size for uniformity (1200 high and 600 high respectively). We recycled the side rails from an old 1980's waterbed (which saved us considerable money and gave the bed the nice chunky feel we were looking for. Additionally, we raised them 350mm off the ground so that we have space for the future trundles that will be built (watch this space!).
To give the slats in the bed head and foot a little more of a framed appearance, we mitre some 19mm x 30mm beading timber to fill around the slats in either end. You can see this from the pics. We then added some non structural pine to the inside of the rails for the bed base to be affixed to.
After some research, we discovered that it was in fact cheaper and easier to purchase the slats already done and tied together with the polyester strap from ikea...(its called the sultan lade bed base if anyone is interested). I then drilled holes in either end of the slats and screwed them to the rails. This helps with both Rigidity and mattress support as it stops the slats from sliding around the place.
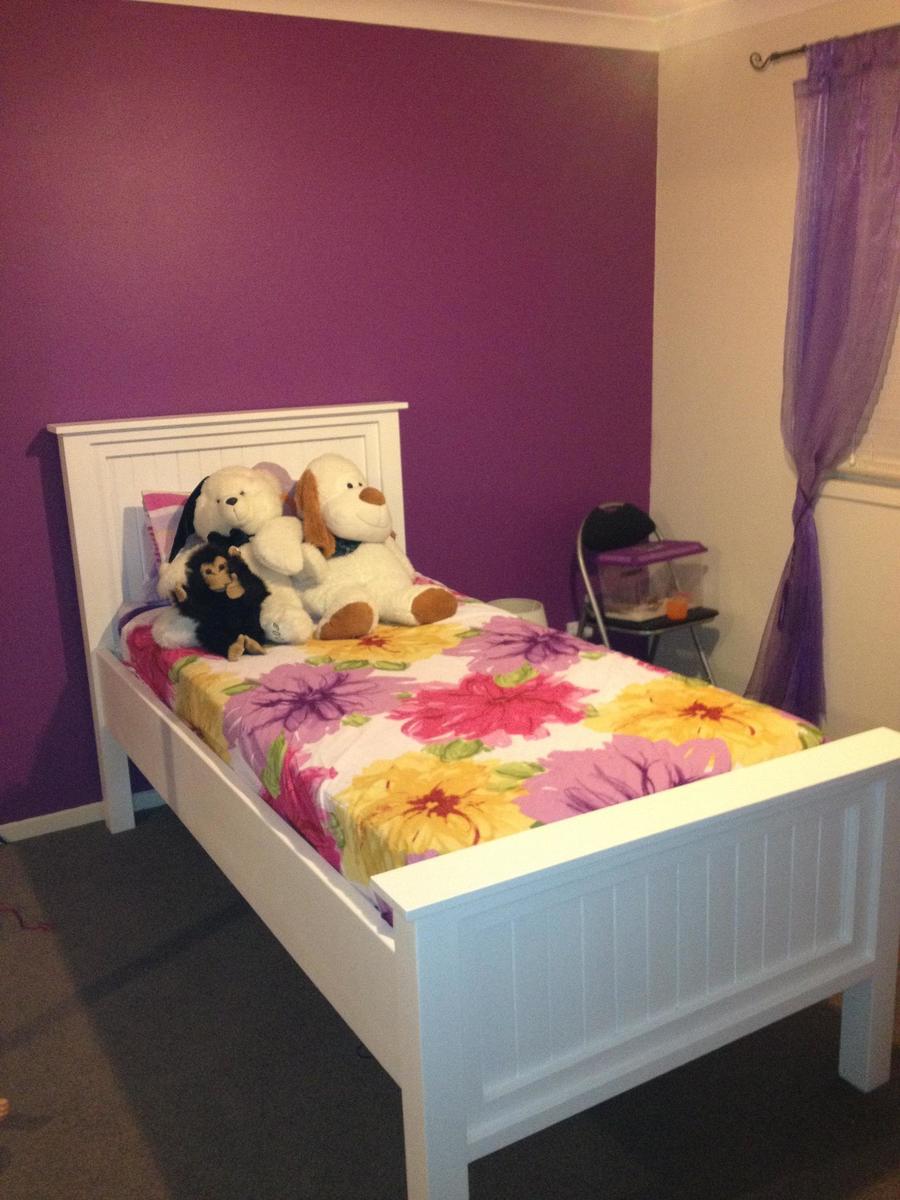
The bed was then filled with putty in the knots, cracks, nail and screw holes, sanded, then painted. I used a water based undercoat followed by 6 coats of semi gloss acrylic applied using a mini (100mm) roller. This has given a lovely silky texture to the paint that has to be felt to be believed.
All up we spent a little over $140.00 on material (but if we needed to buy the rails it would have been over $200.00...still a bargain considering we have seen a very similar bed in the retail stores for over $1000.00!
Just yesterday I won a second hand (donor) bed on ebay...watch out as I start my next build.
Thanks Ana, without you putting this out there, my wife would never have found it and I would never have built it.






Comments
KeithMatthews
Wed, 05/13/2020 - 06:38
Angle of back?
Like the changes!
What is the angle of the chair/sofa back 110 degrees?
Thanks
In reply to Angle of back? by KeithMatthews
KeithMatthews
Wed, 05/13/2020 - 06:39
Angle of back?
Oops just saw it at the top, sorry.