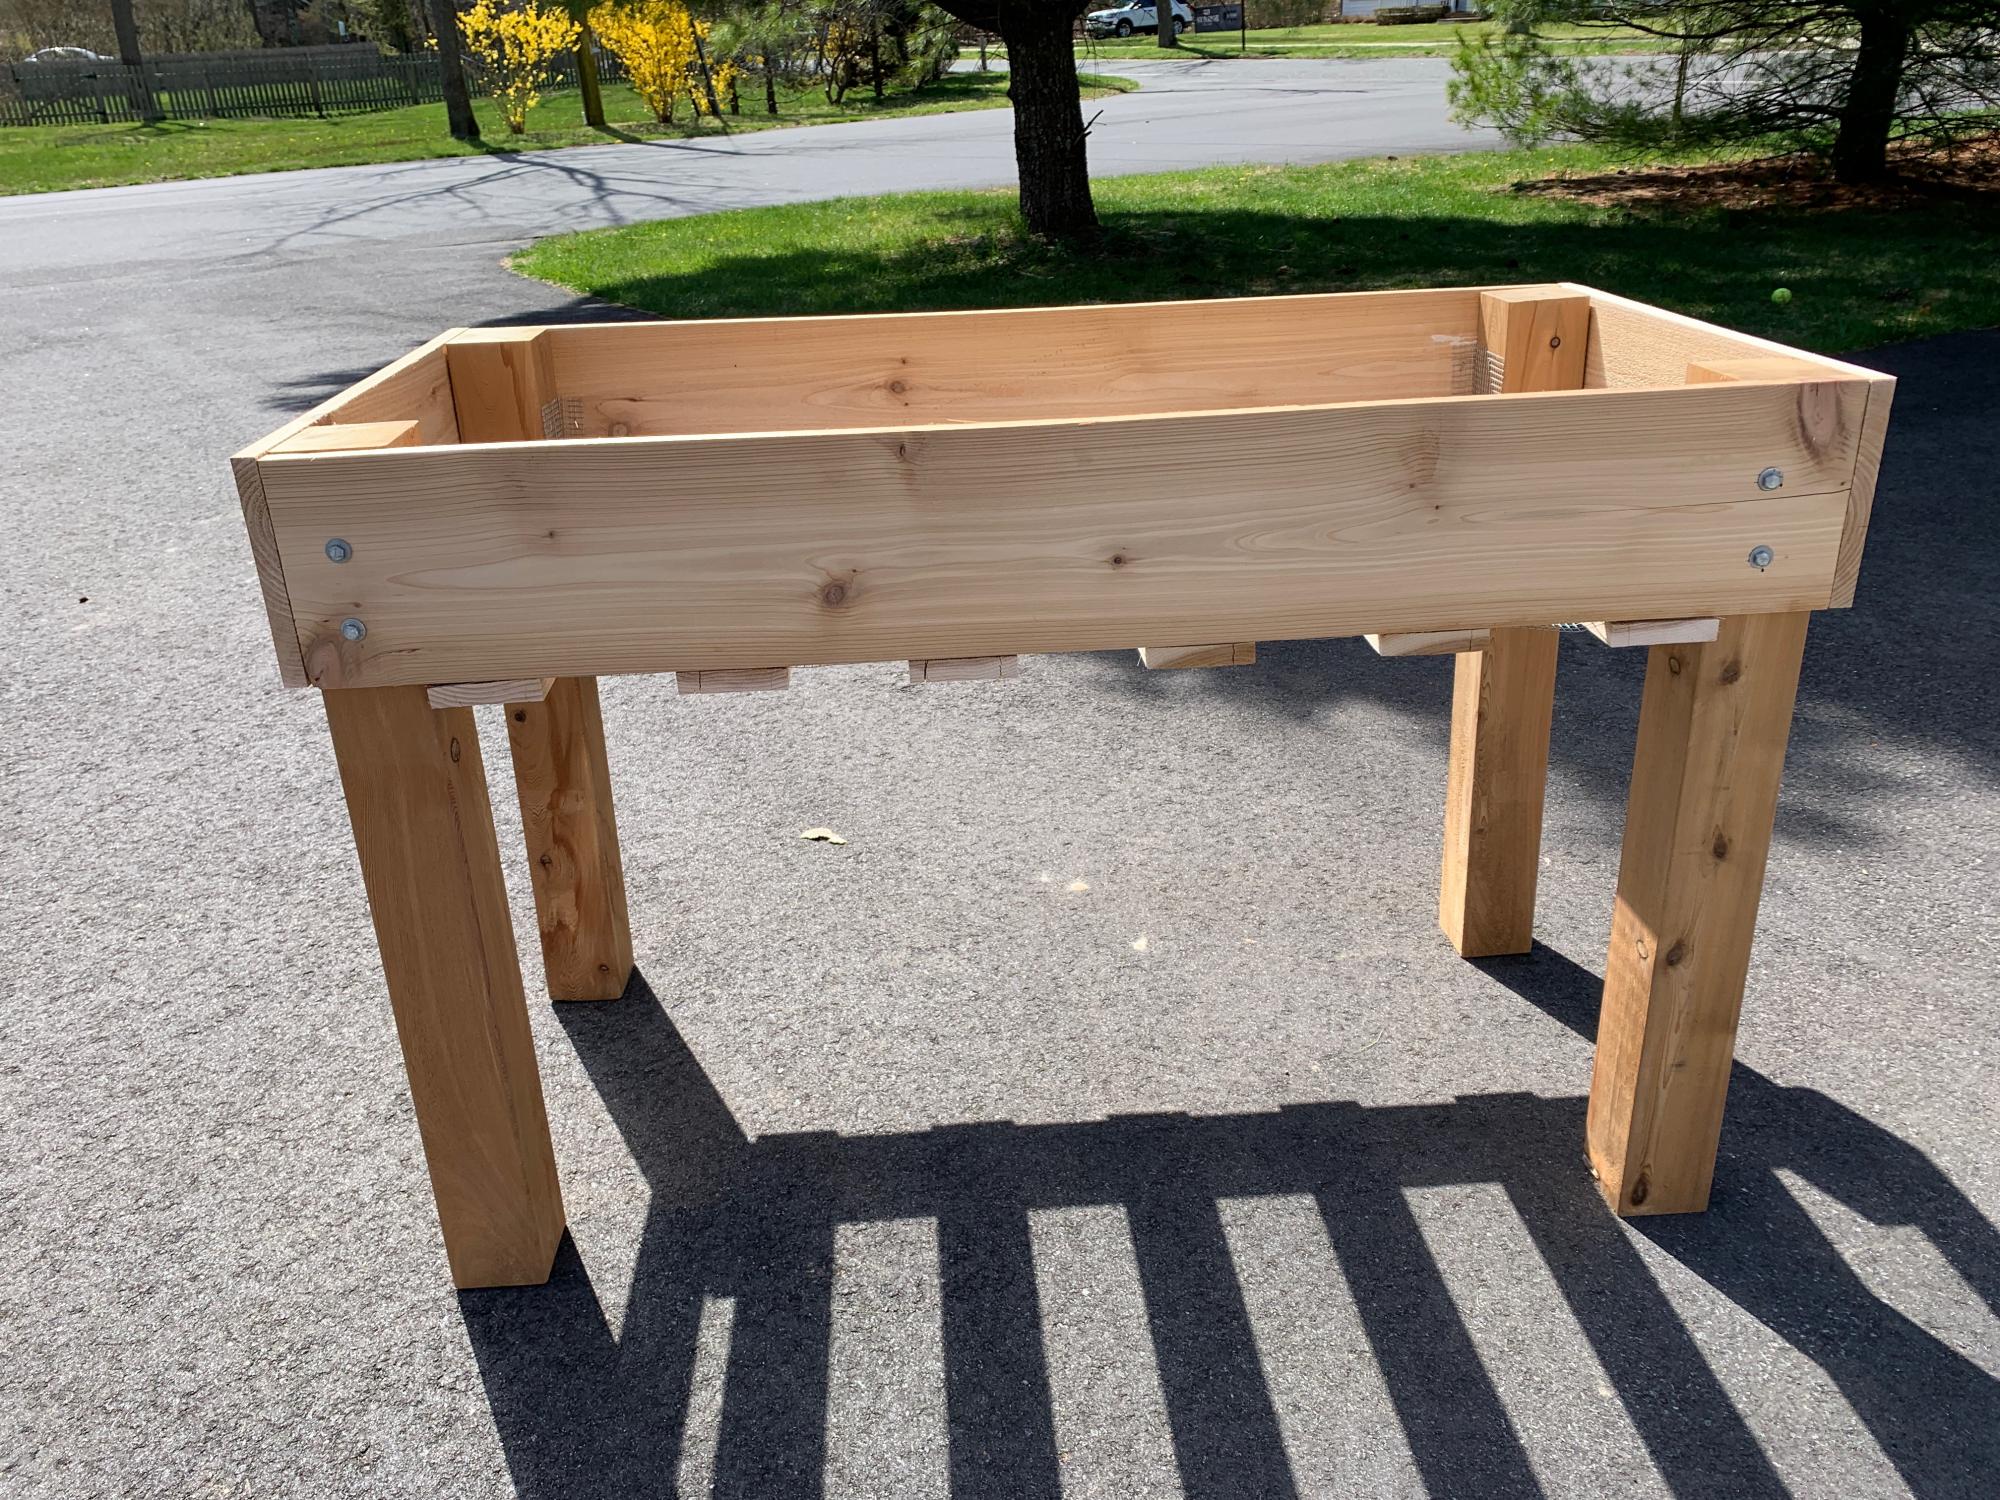
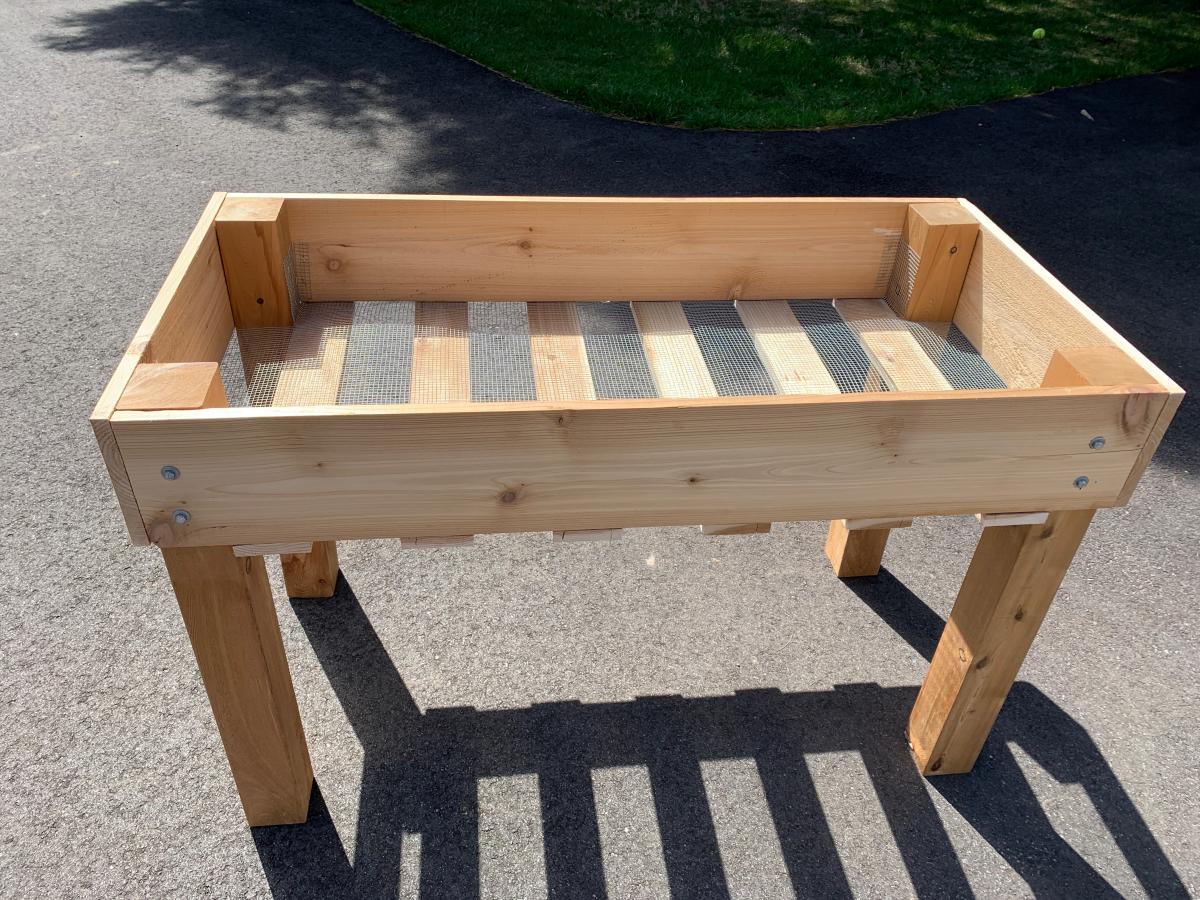
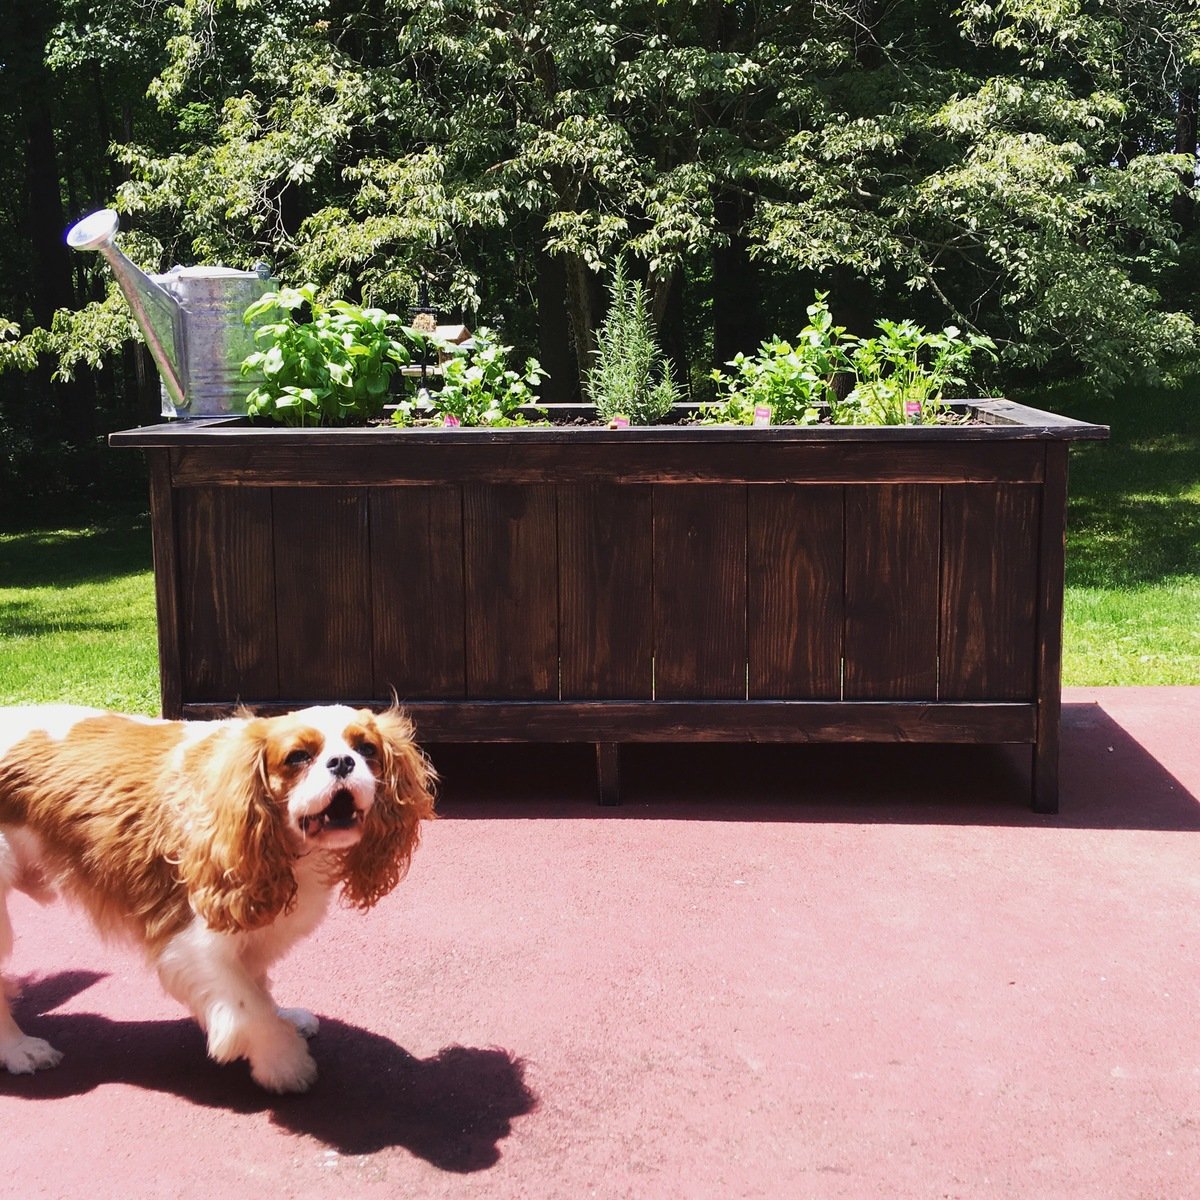
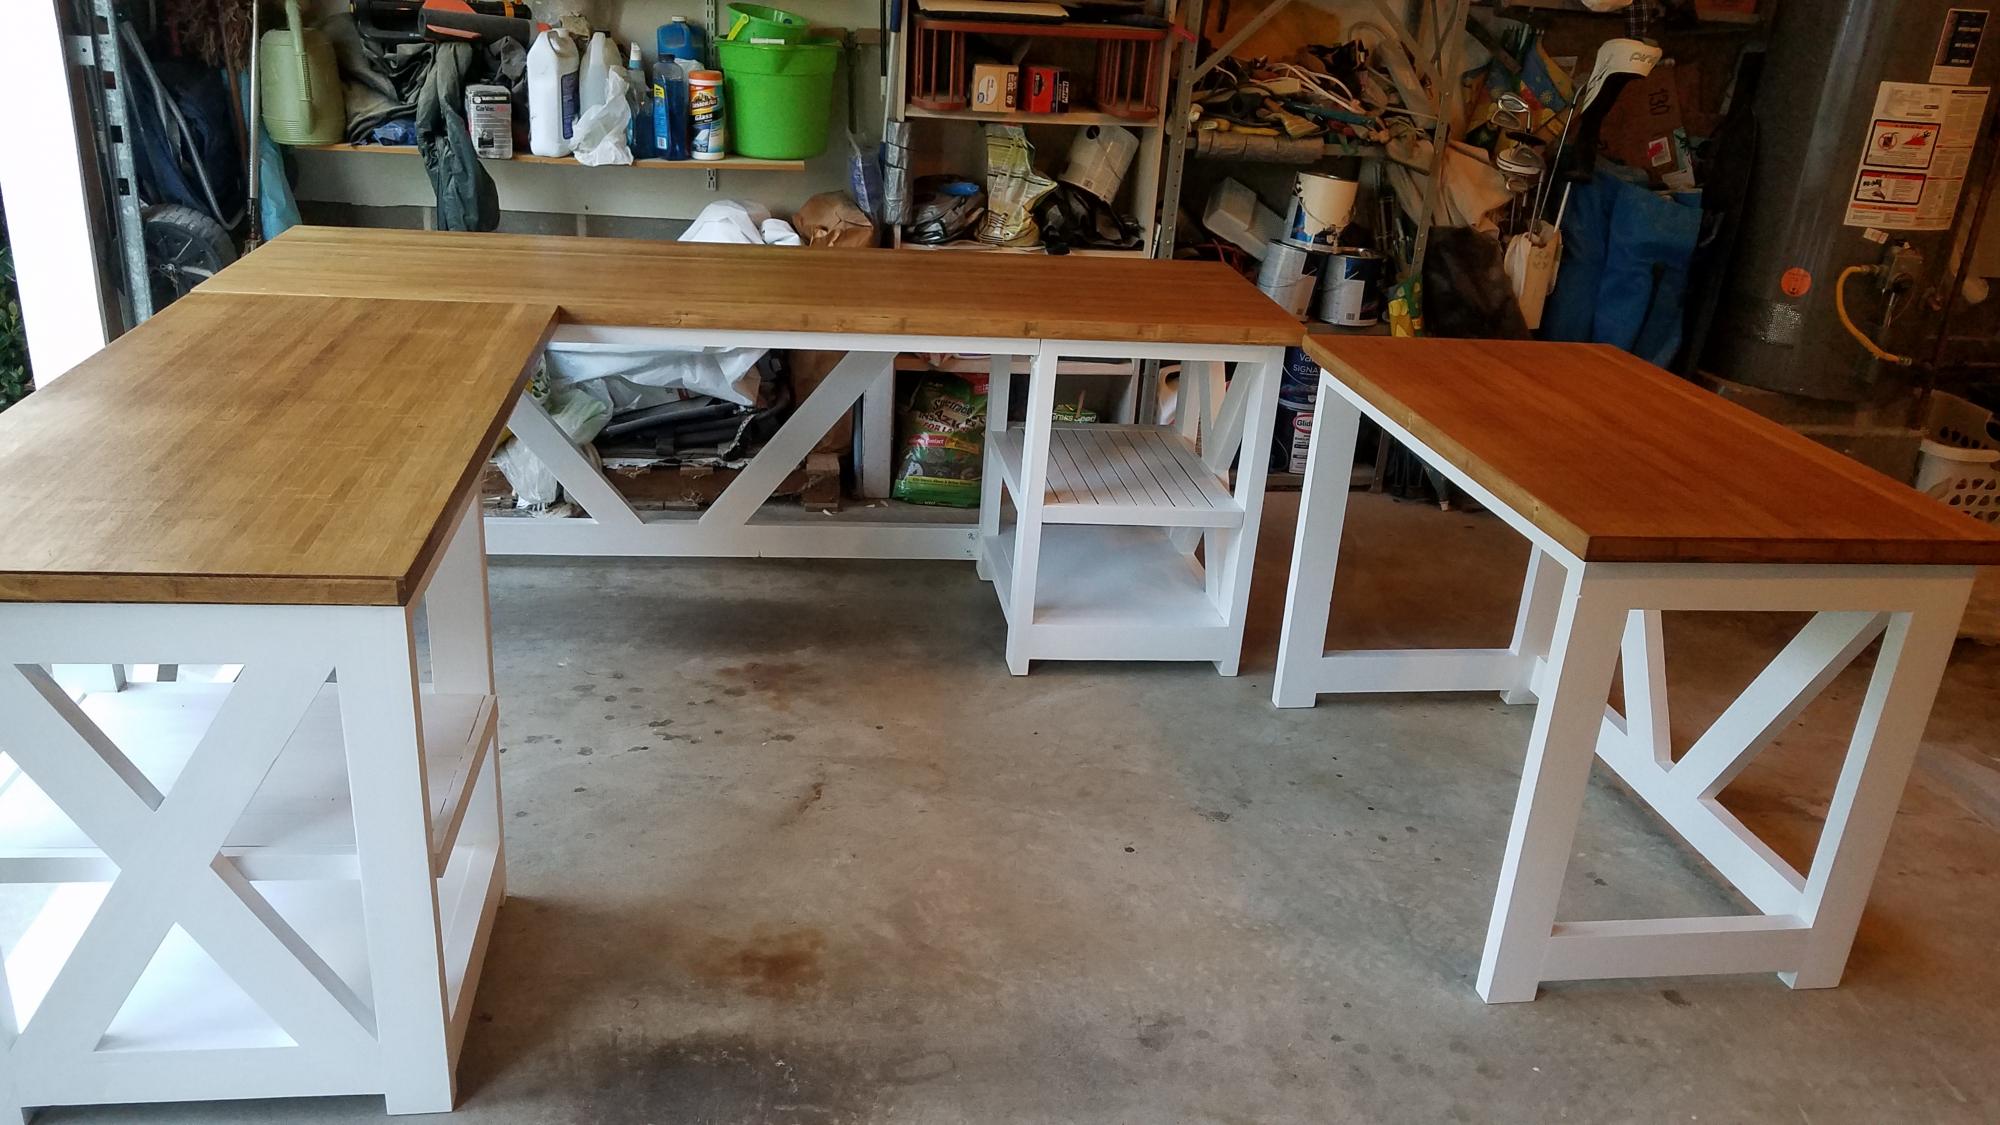
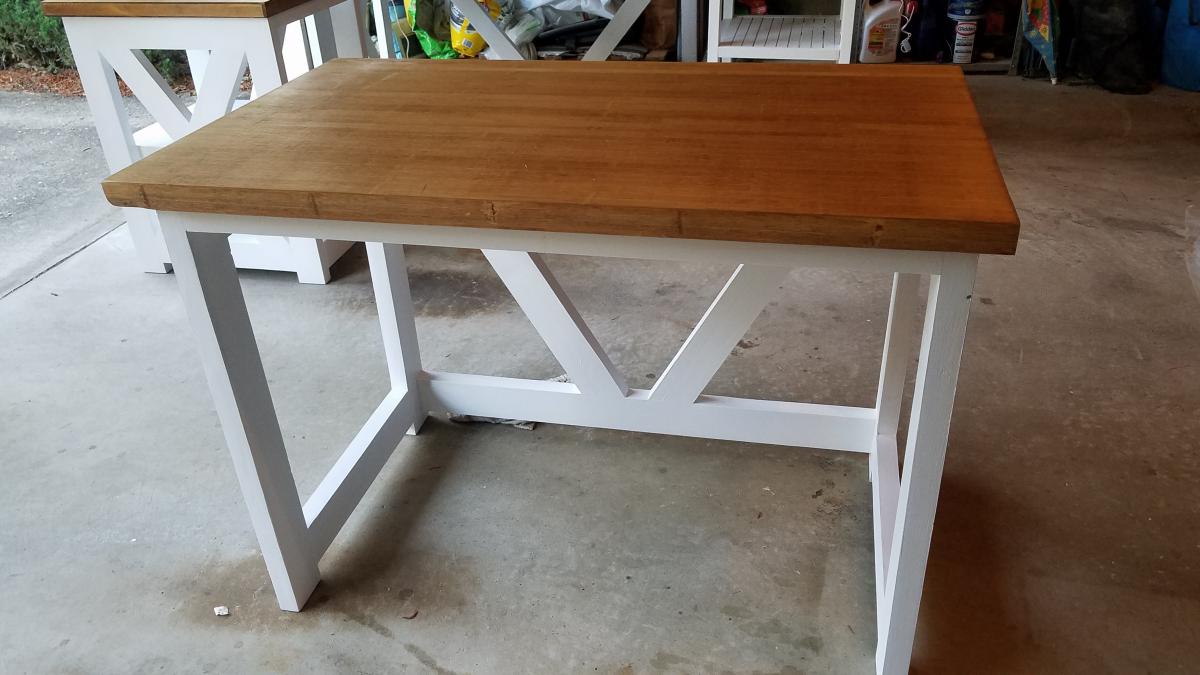
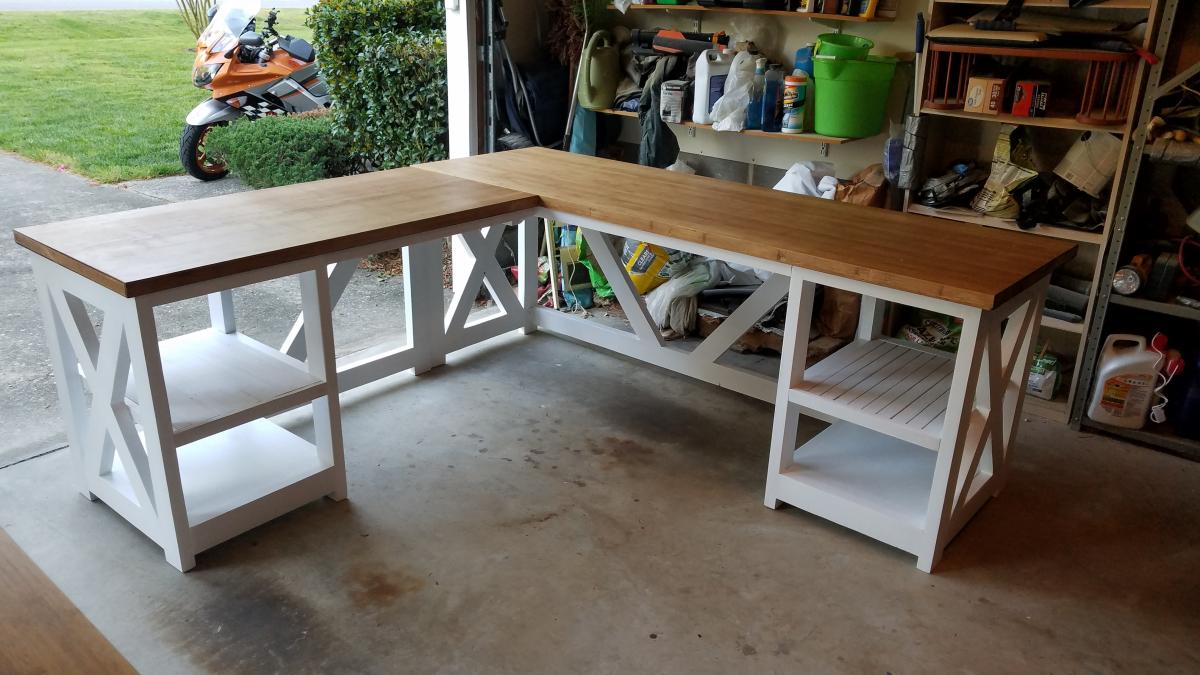
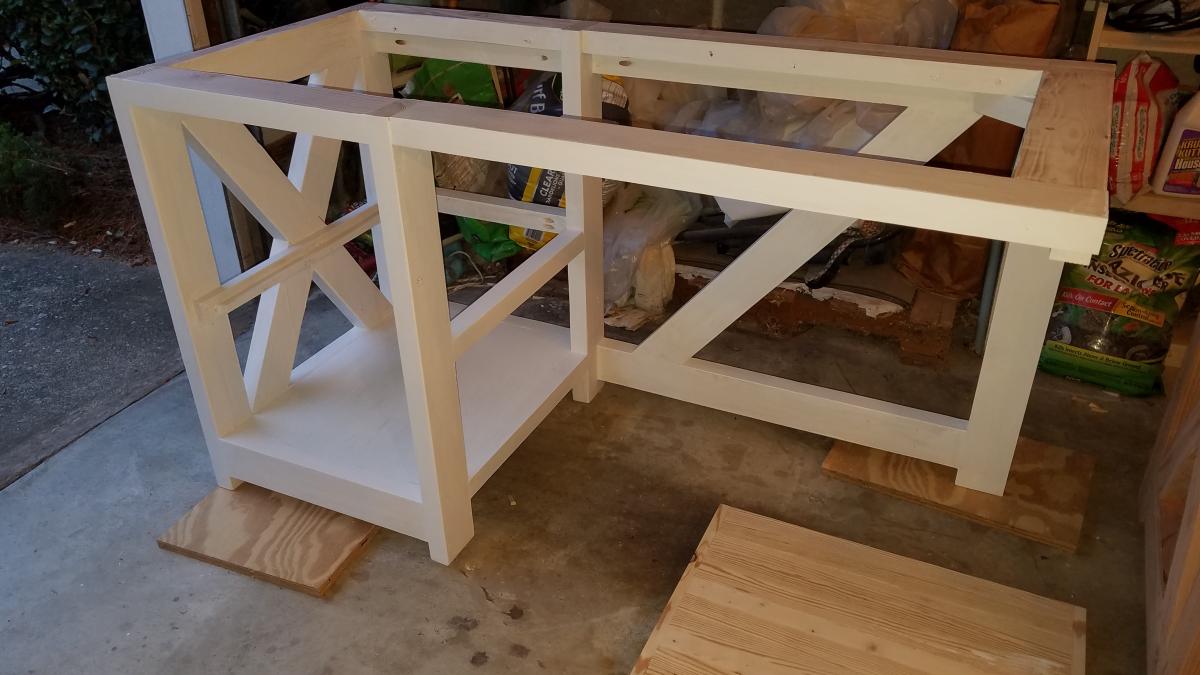
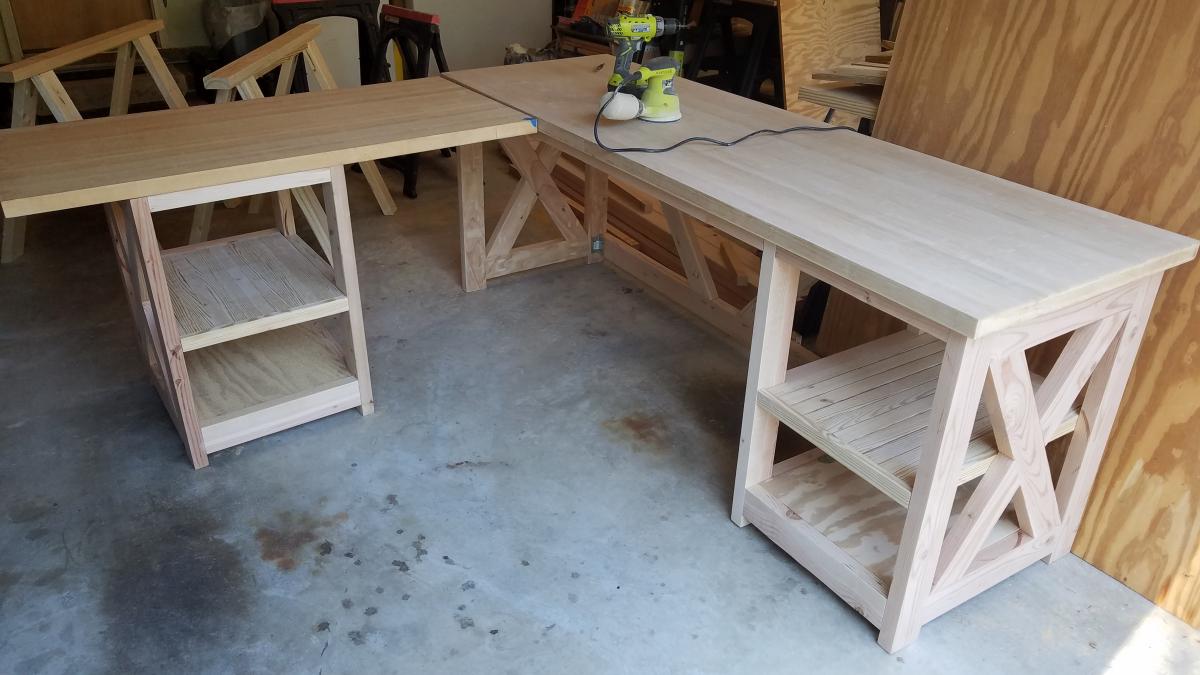
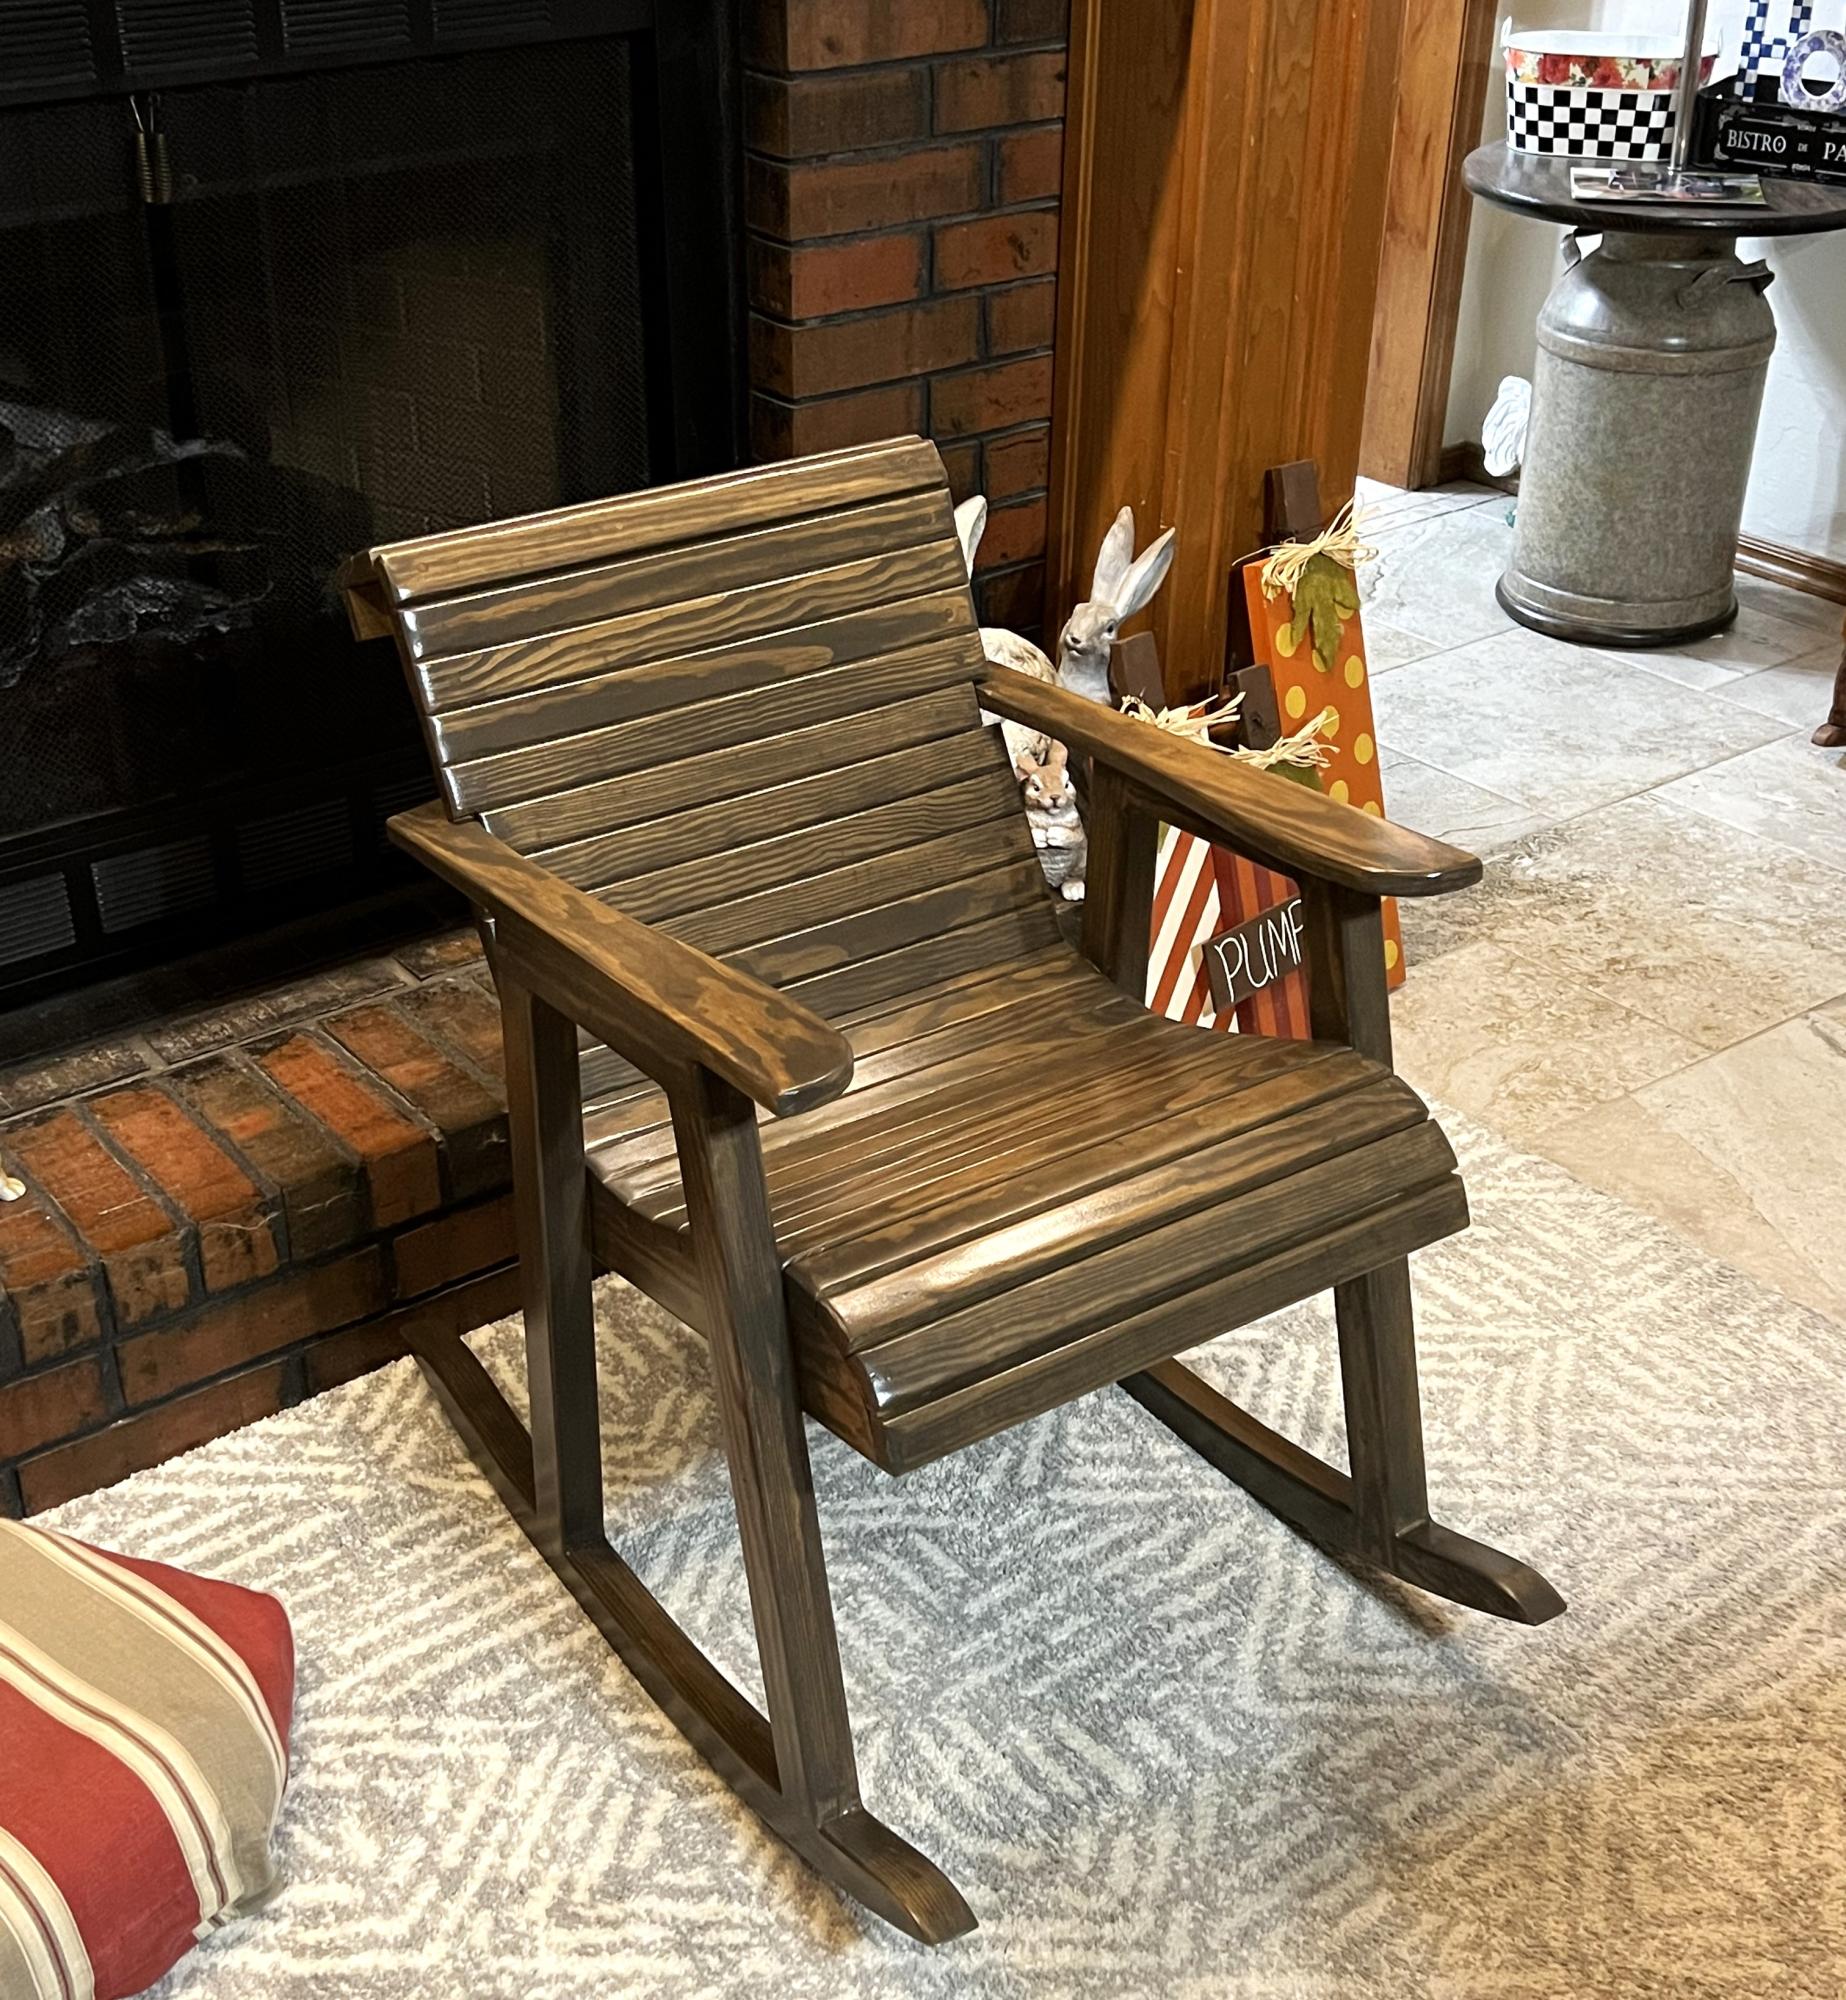
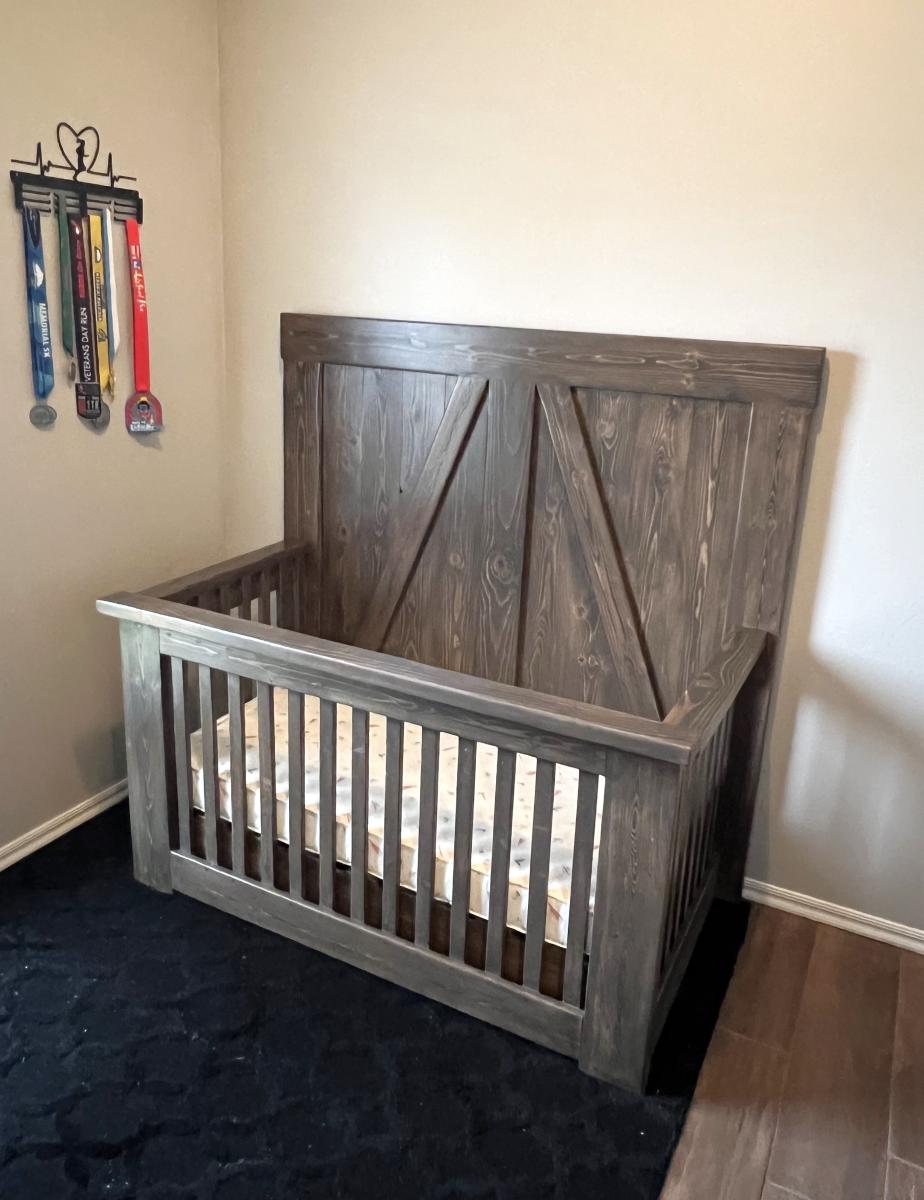
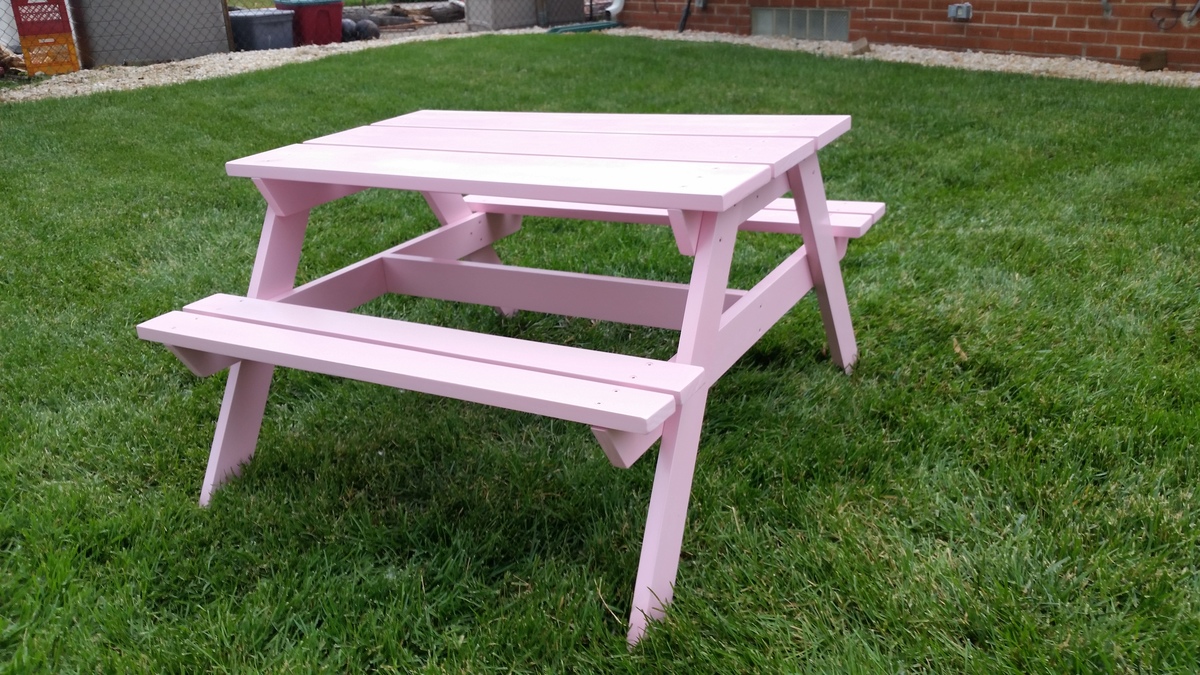
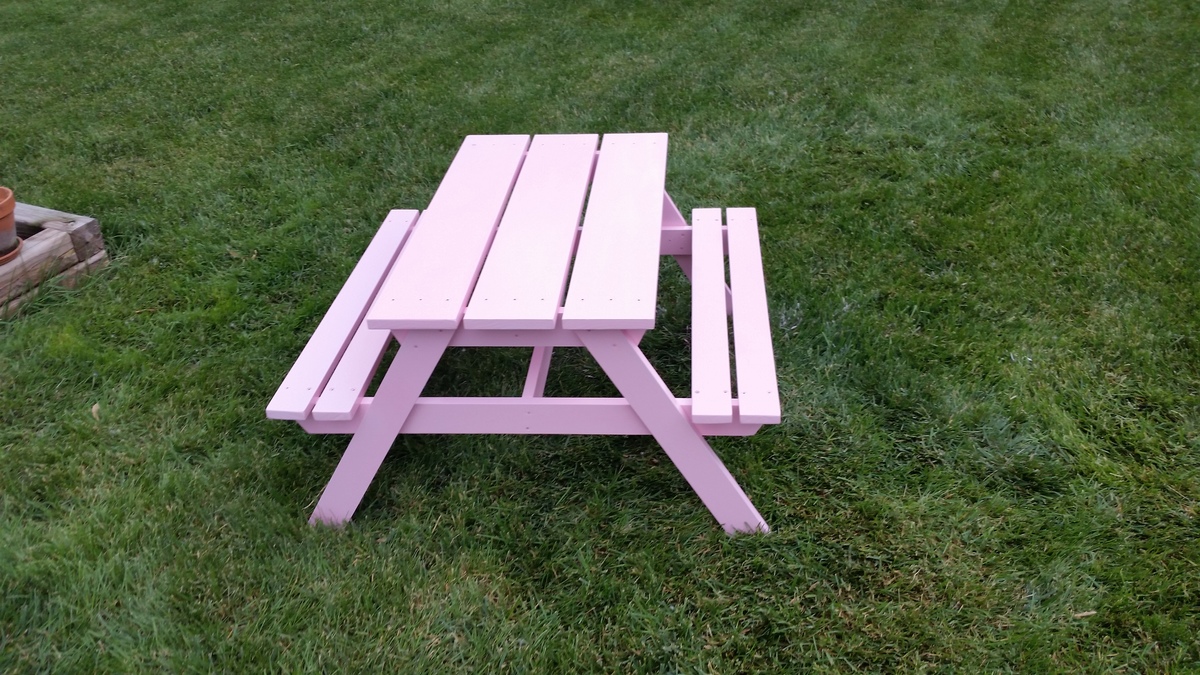
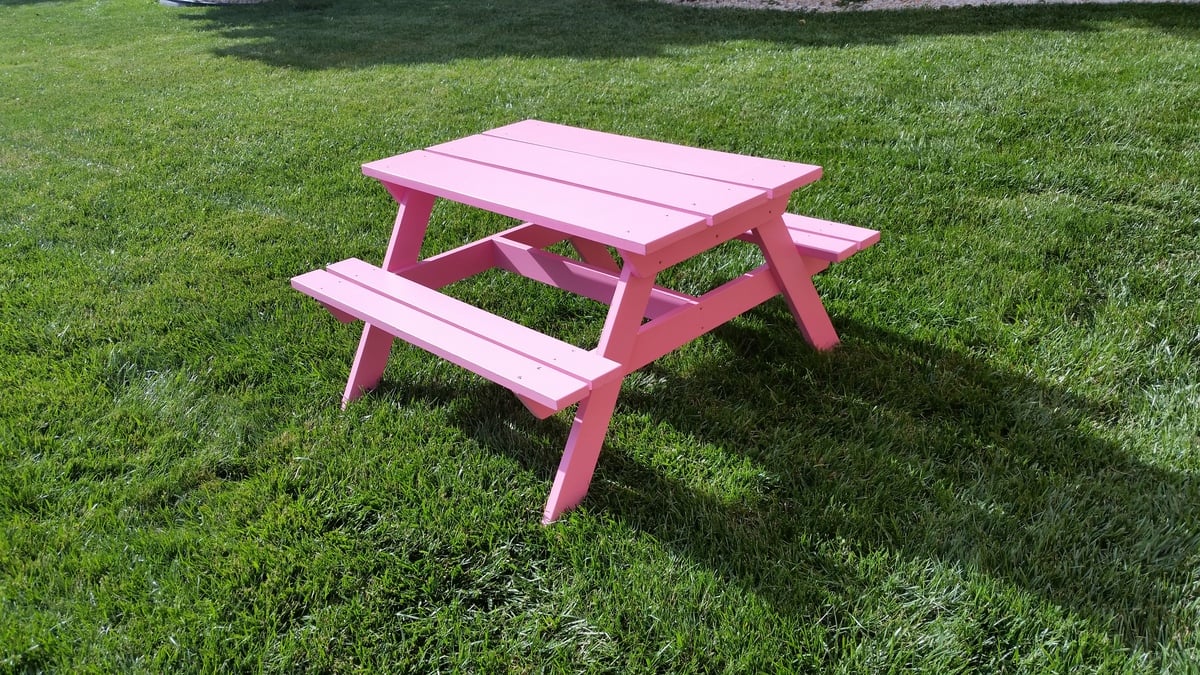
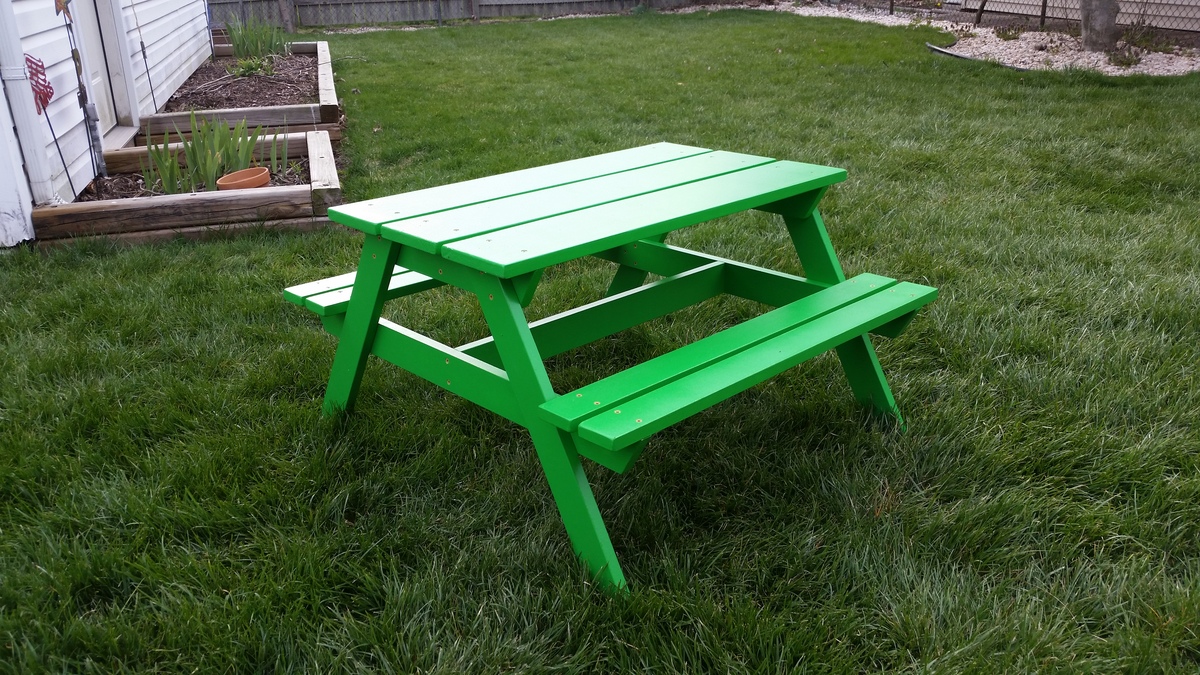
After discovering these plans, I was excited to build one of these tables. But my little one was not big enough yet, so I've been building them for friends. When their kids hit 2, I give them a table for their birthday. All the kids (and parents) have loved them. Photos showing tables #1, #2, and #4. Built #5 and #6 this week. If I can go back and add in a photo afterwards, I'll post table #6 in blue. Next up, table #7 for my little one. I might tweak it a little so I can add an umbrella, too. Thanks for the great plans Ana!
Estimated Cost
About $40-50 in materials, as I'm using the "select" pine from the store. Their non-select stuff is usually kind of junk, but it means the tables come out nicer.
Estimated Time Investment
Day Project (6-9 Hours)
Finish Used
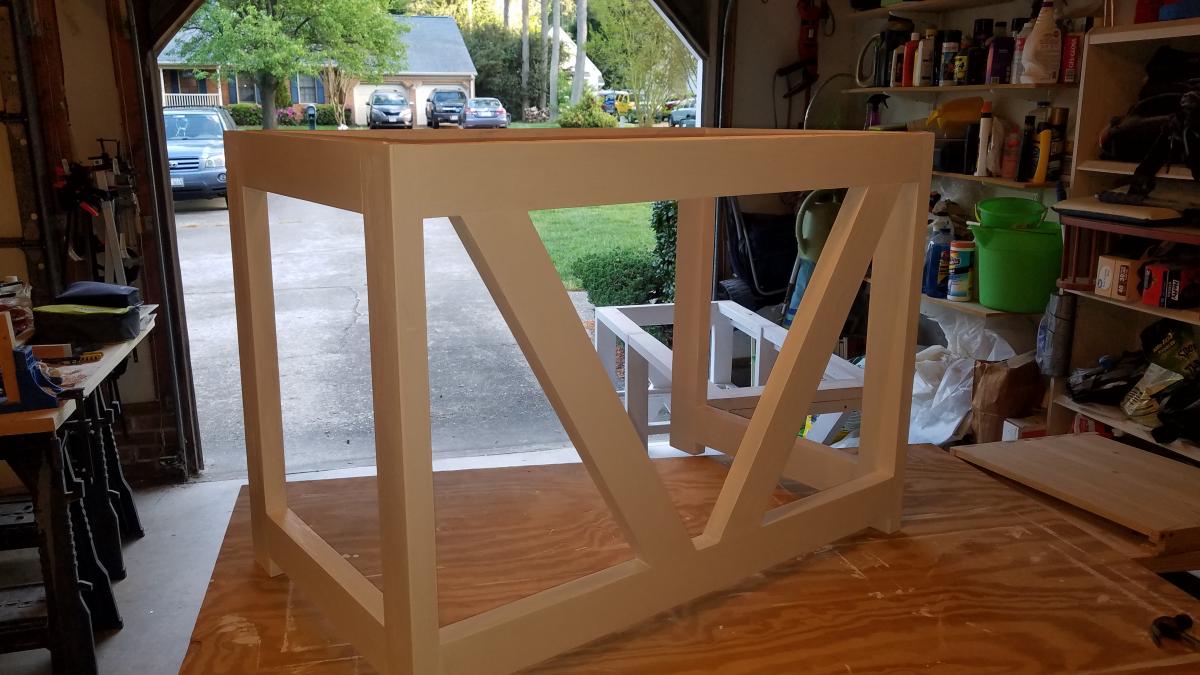
Break down the table, sand all the pieces, then prime with Kilz, and finish with exterior high-gloss paint
Recommended Skill Level
Beginner