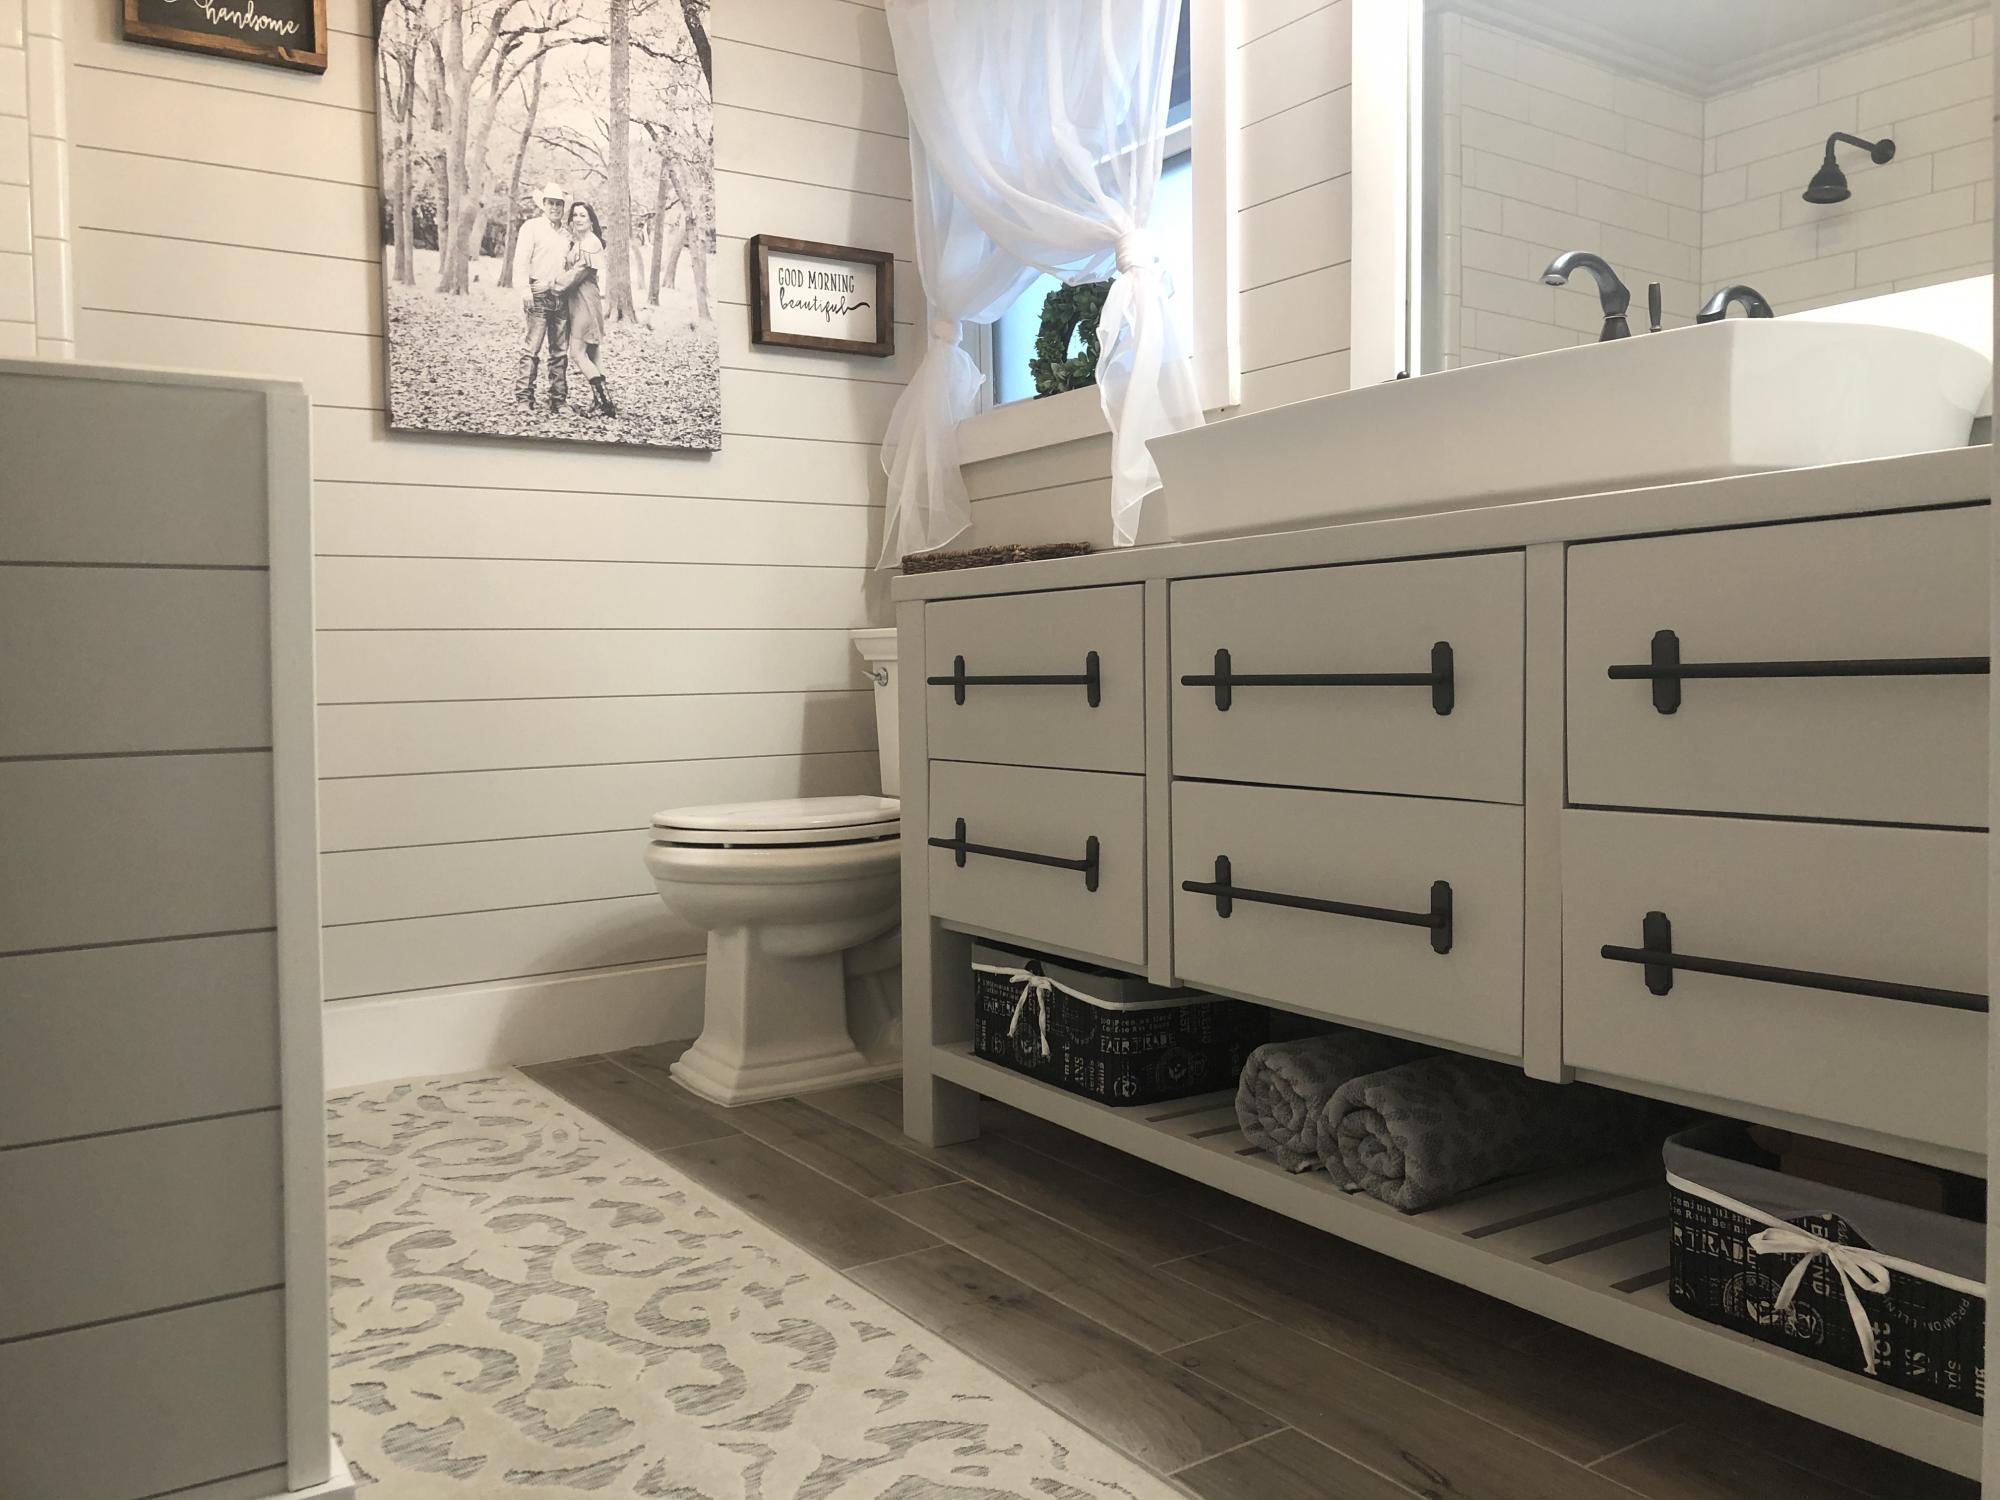
The idea for this project (and the final image that you see) came from the Whiskey Drink Studio ! Cheers to them for the original design.
So, this is a really fun project that has to solve the following problems:
- Be a handy place to store jewellery
- Feature a custom layout / organization system
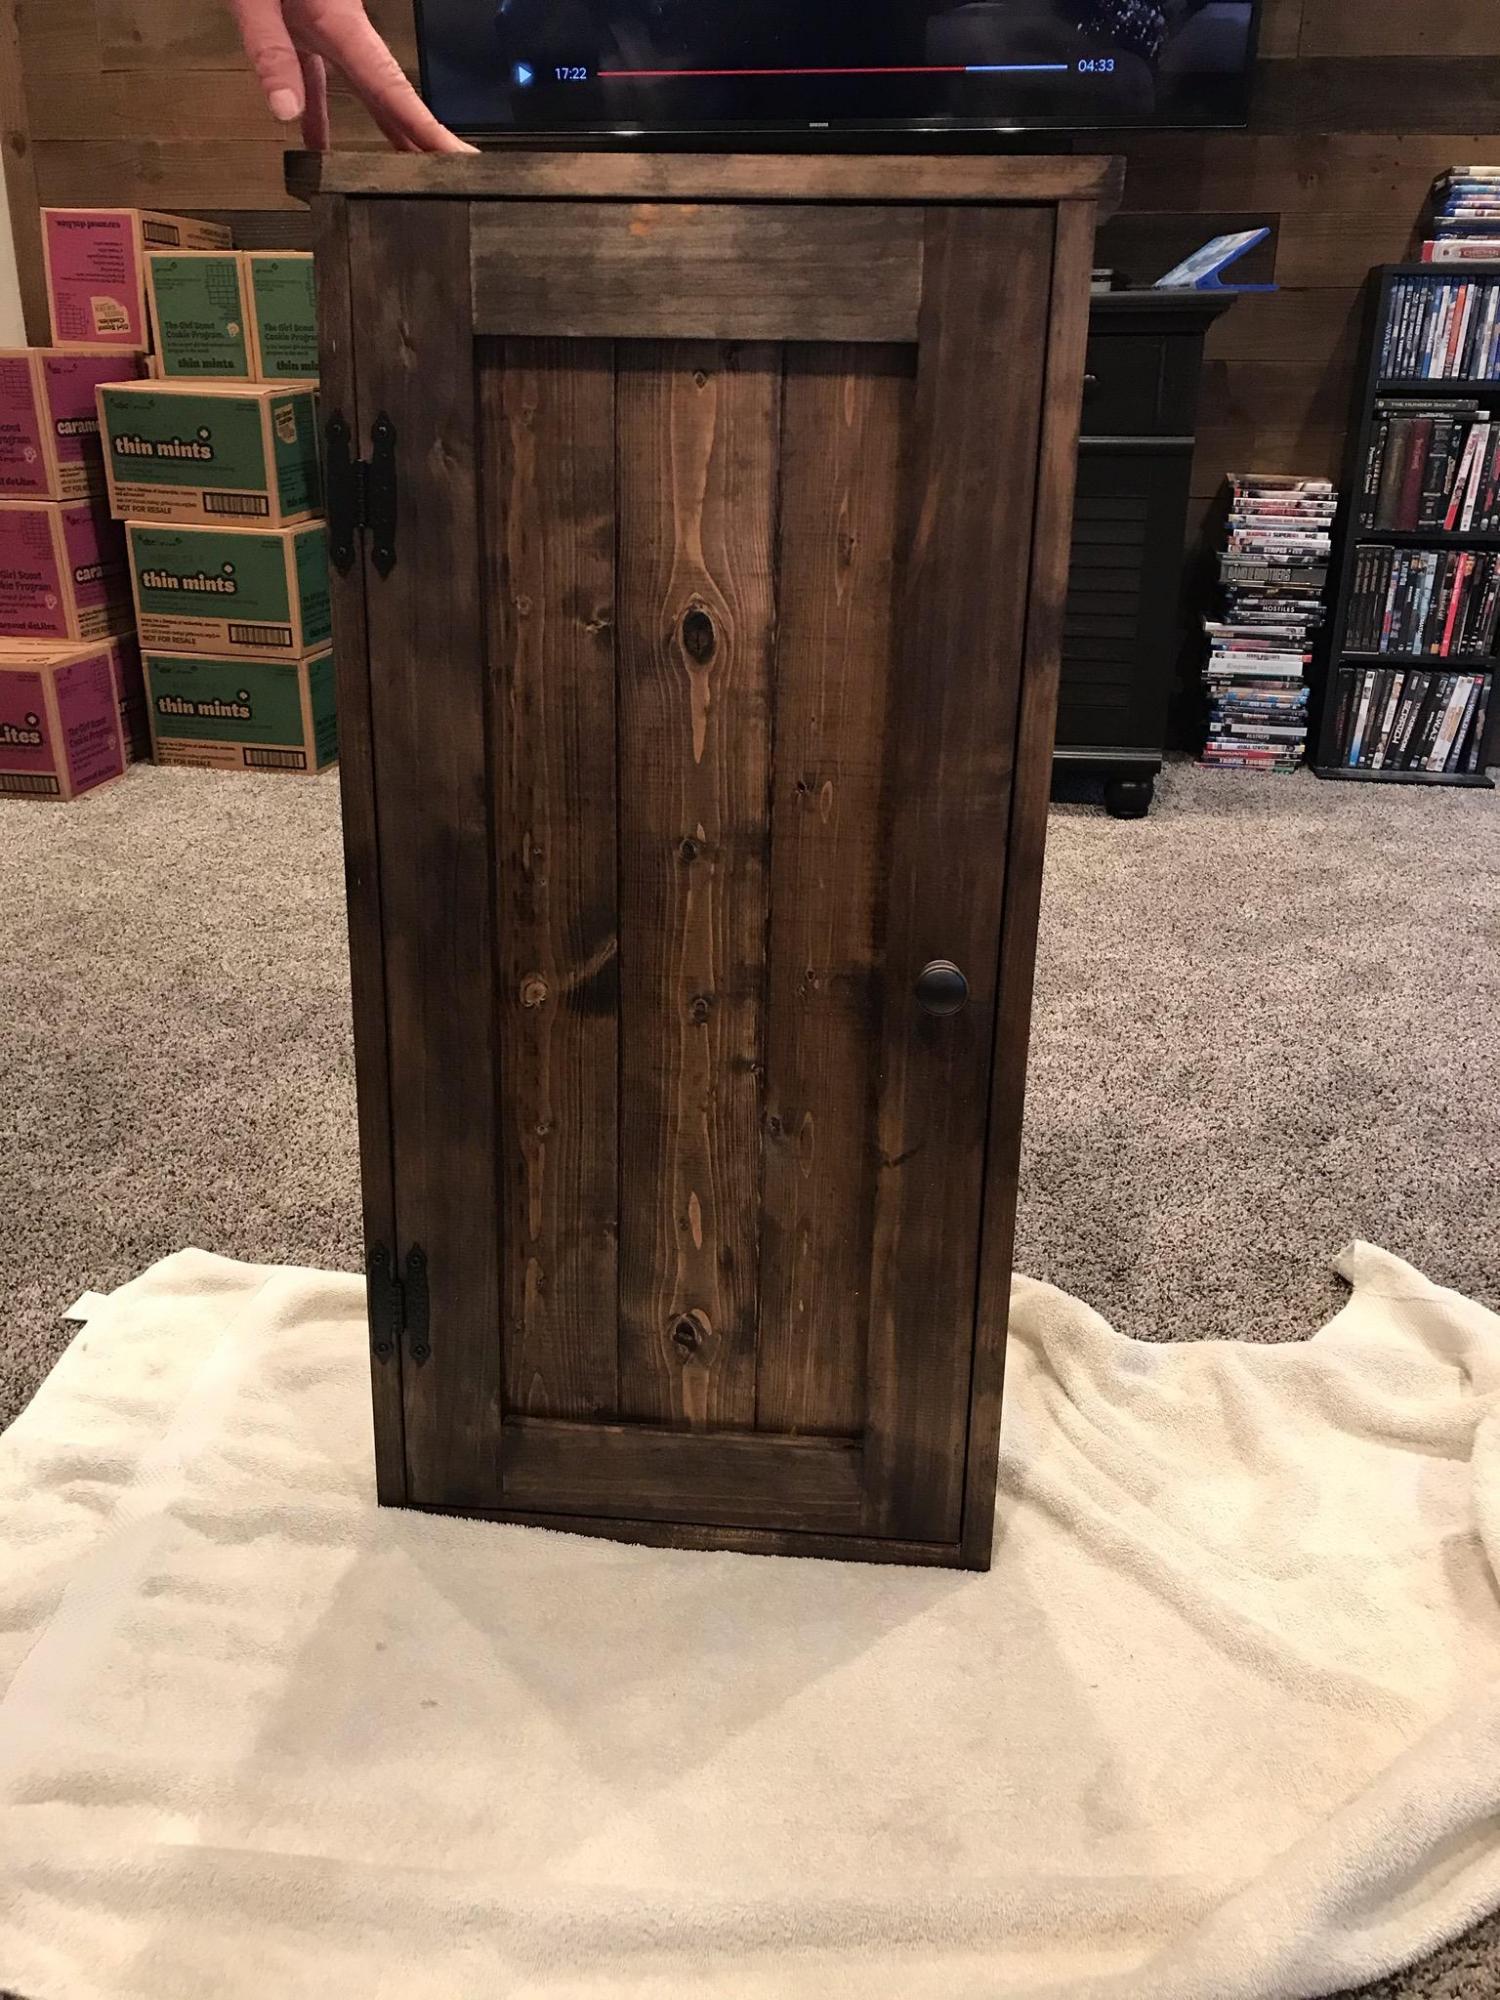
- Be concealed, meaning it shouldn't be directly obvious it's a container, or if so that it contains jewellery
- Be mounted on the wall (just because where else would you really put it)
- The cover should be a painting on a canvas or another form of artwork. I mean not really SHOULD, but this was the original idea, you can modify it for your purposes
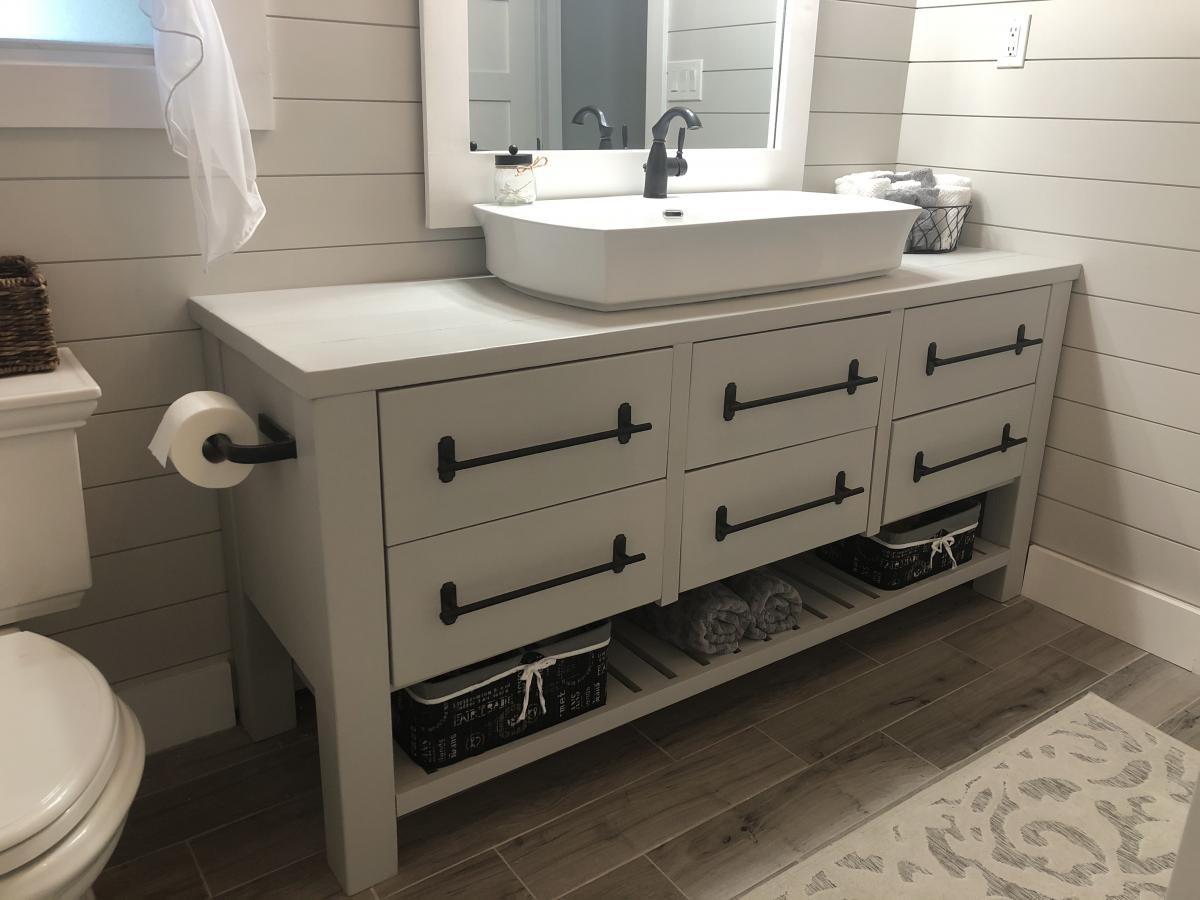
- Should be styled to match the decor and interior design
Great, lets start with the:
Materials

The sizes are entirely up to you, but if you're going to be using a canvas as a cover, you should first pick the size of your artwork and then scale everything else to size.
They go as follow:
1 x A3 Canvas Painting (420mm x 100mm)
1 x Same size hardboard cover (420mm x 100mm)
2 x Wooden Boards (420mm x 100mm x 50mm)
2 x Wooden Boards (287mm x 100mm x 50mm)
1 x Bundle of nails
1 x Bundle of screws
1 x Bundle of screw hooks
1 x Magnetic catch set
3 x Standard cabinet hinges or 1 x Piano Hinge
This a very very beginner level build, so we're using the easiest techniques possible. Advanced users, who want to make the strongest box possible, can use alternative materials and methods.
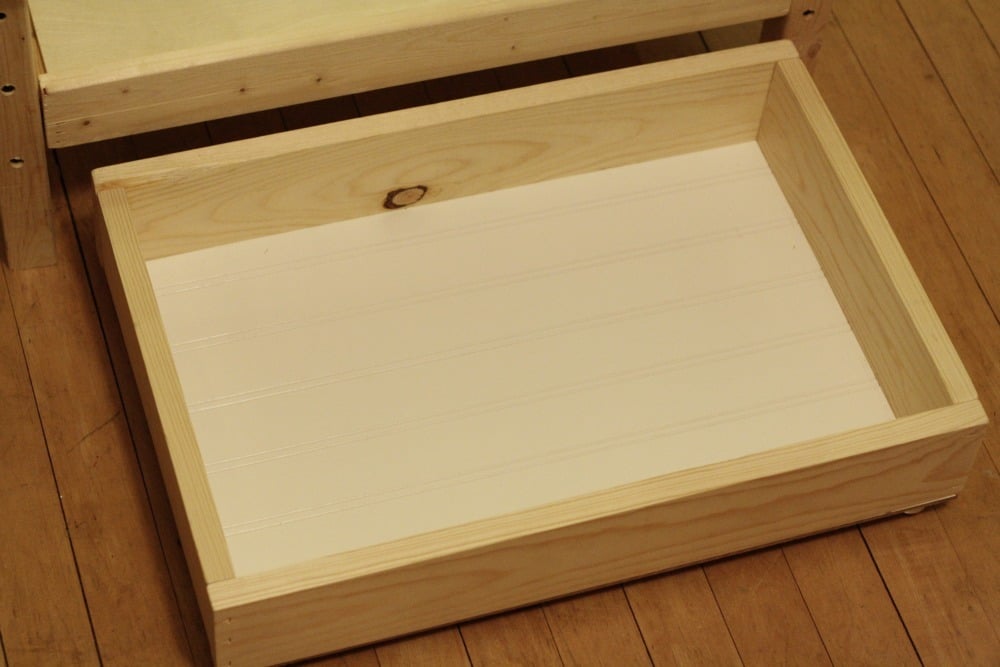
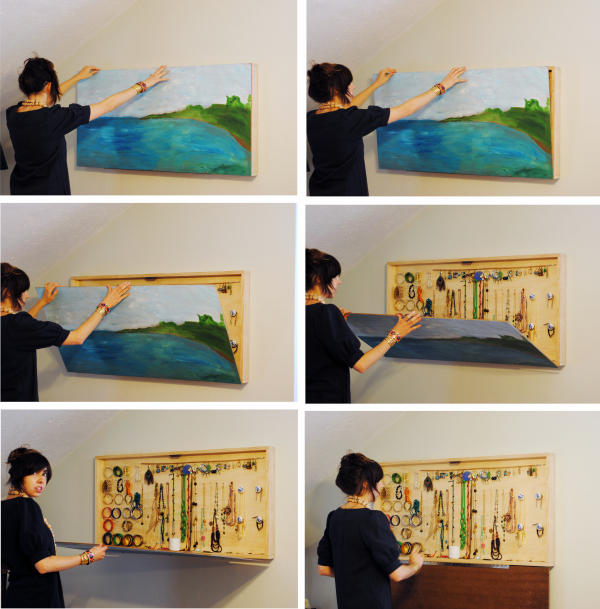
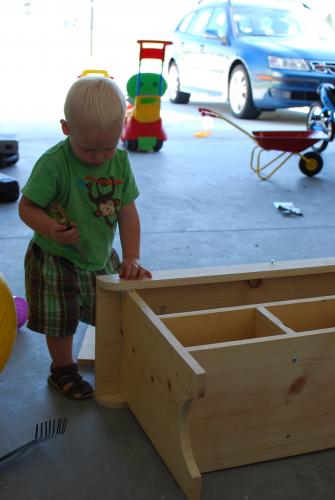
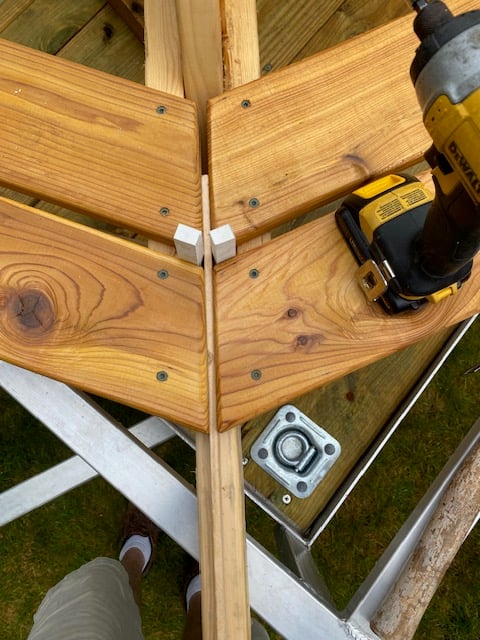
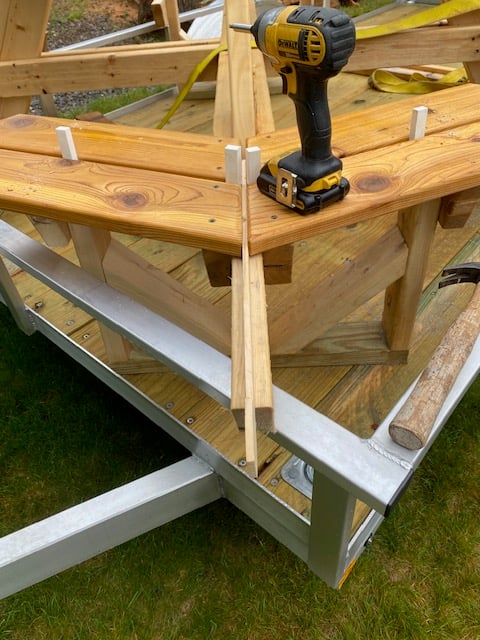
Step 1: Assemble the box
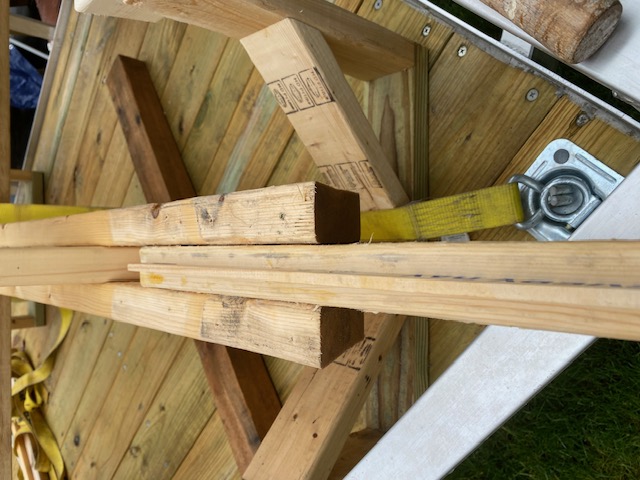
So, very straightforward, just start building the box, starting from the frame. In the GIF above you see how we put the shorter boards in between the longer ones and just nailed them together.
If you want this to be extra strong, you can use corner braces on the inside.
After the frame is ready, flip it on it's face and nail in the hardboard. The hardboard should be thick enough so it holds the screw hooks and your jewellery. It should also be pretty sturdy and well attached to the frame so use plenty of nails (well, don't go overboard).
Step 2: Attach the cover

Take your canvas (or whatever other cover you picked) and mark equidistant locations on the lower back side. Take your measurements and mark the same locations on the bottom of the frame. Put the two together and see if they match.
Now screw the hinges in the cover and then, into the frame.
At this point the door should open and close, lining up perfectly.
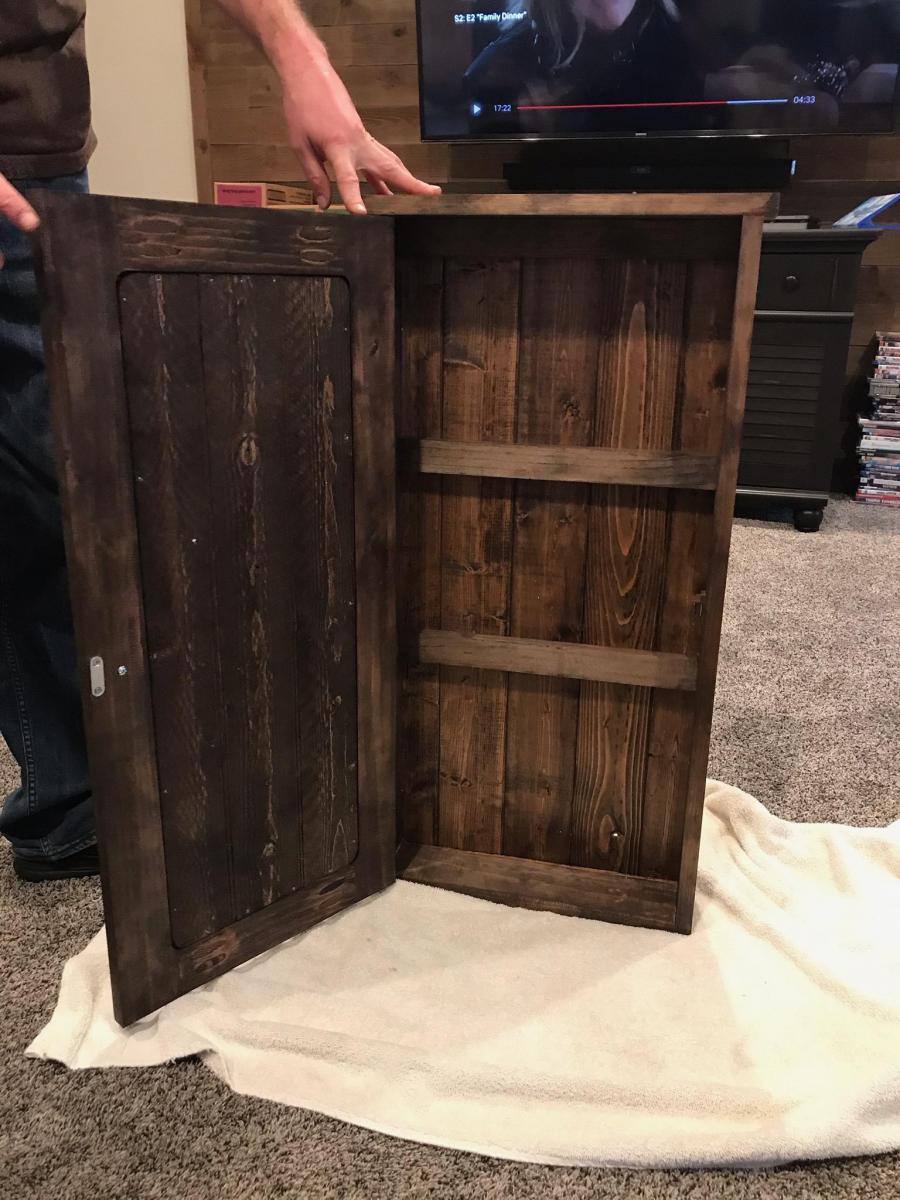
Step 3: Screw the hooks

The next step is to think about the internal layout. Using a pencil plan and divide your space to represent your needs for storage. Then simply screw the hooks in.
Step 4: Attach the magnet catches

The last part is attaching the magnet catches. They will hold the cover tighly close, with no accidental falls and issues. This can be substituted for a hydraulic arm, but we chose the simplest options.
Special thanks to Rachel at Whiskey Drink Studio for the inspiration !
Check out the full tutorial over at my blog - DIY Wall Mounted Jewellery Organiser