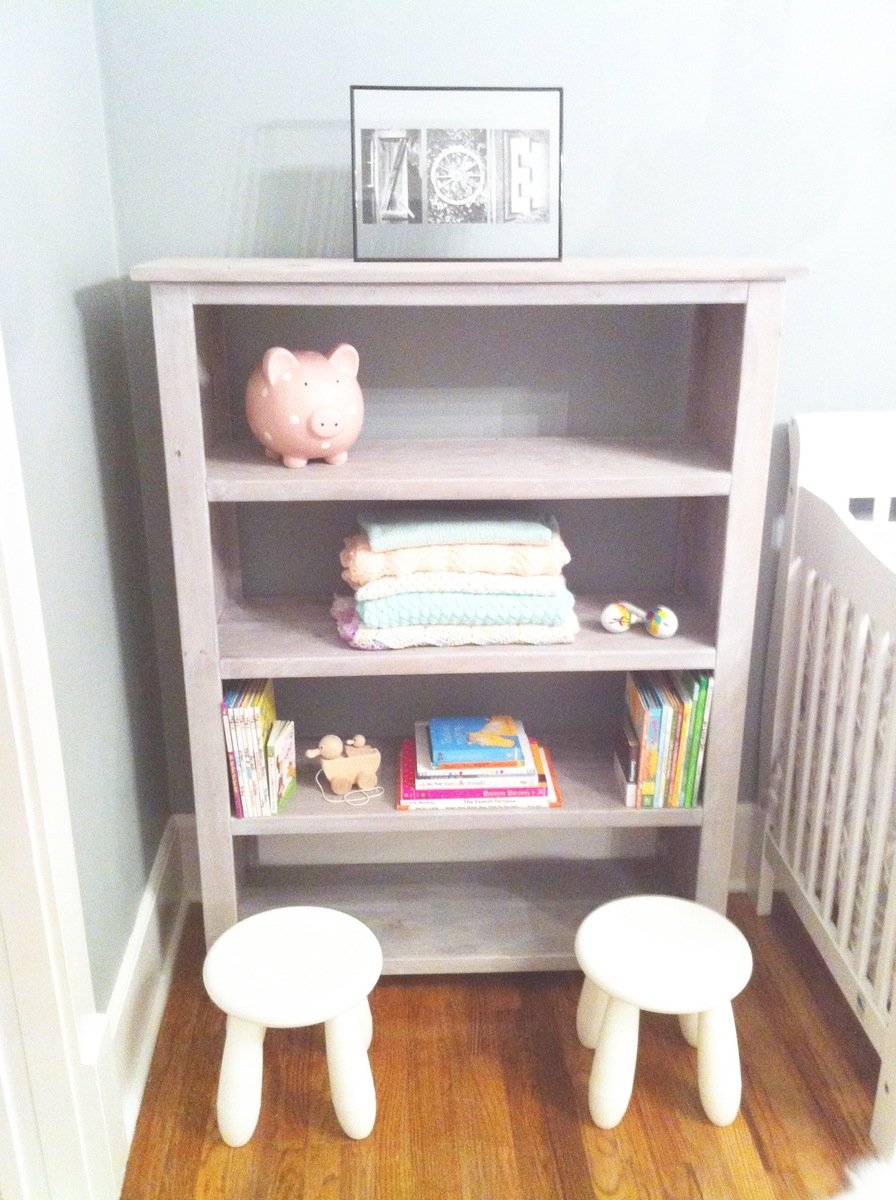
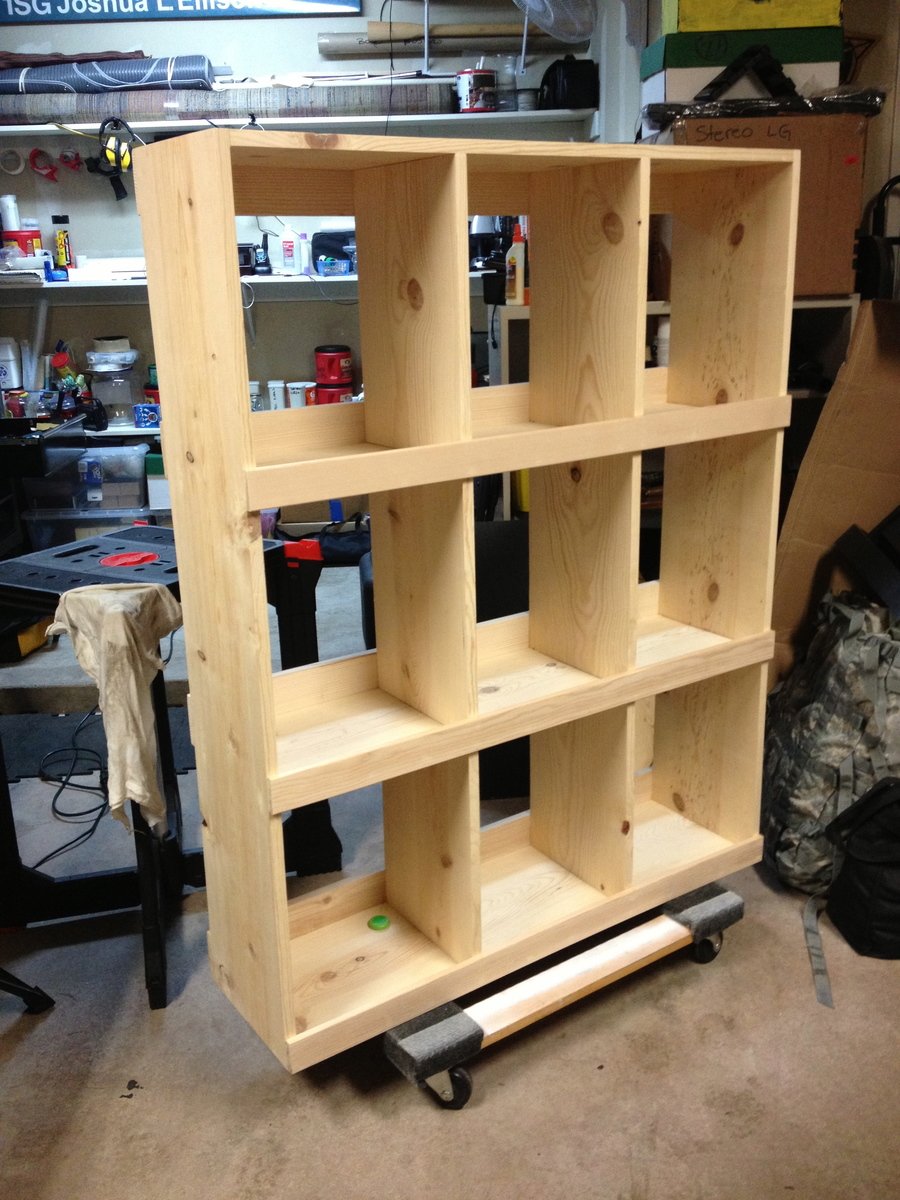
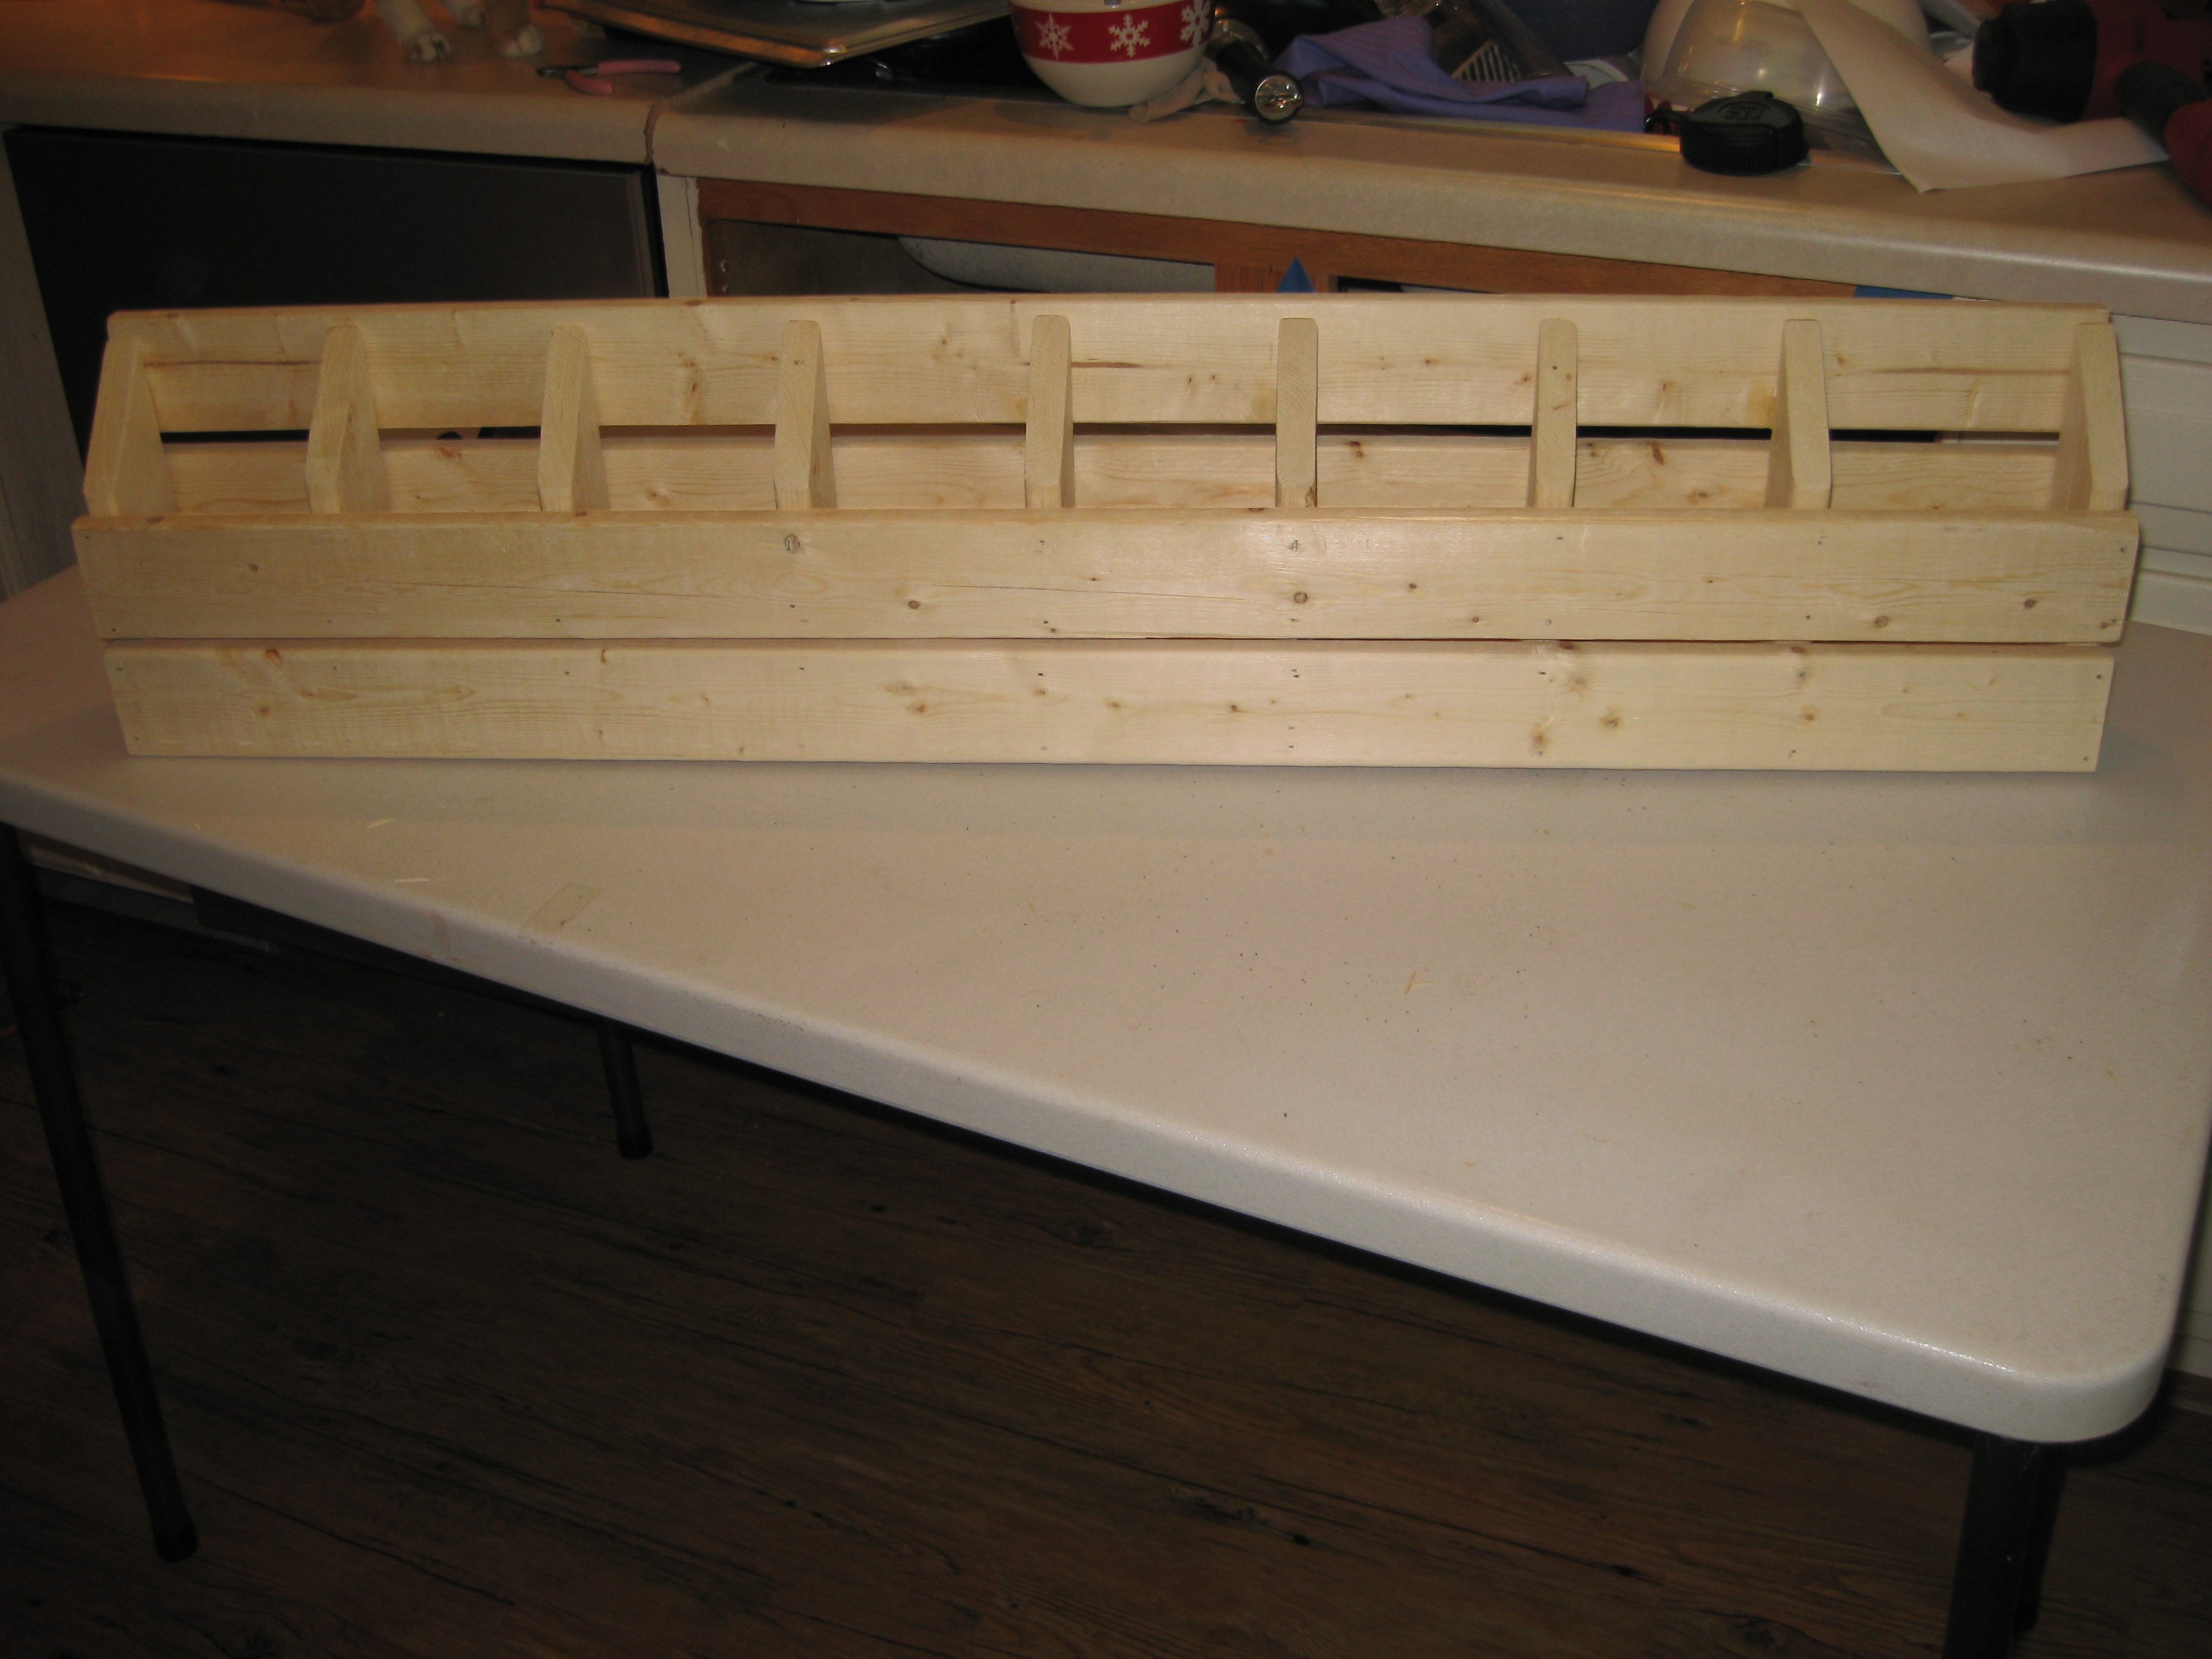
My first brag - numbered cubby
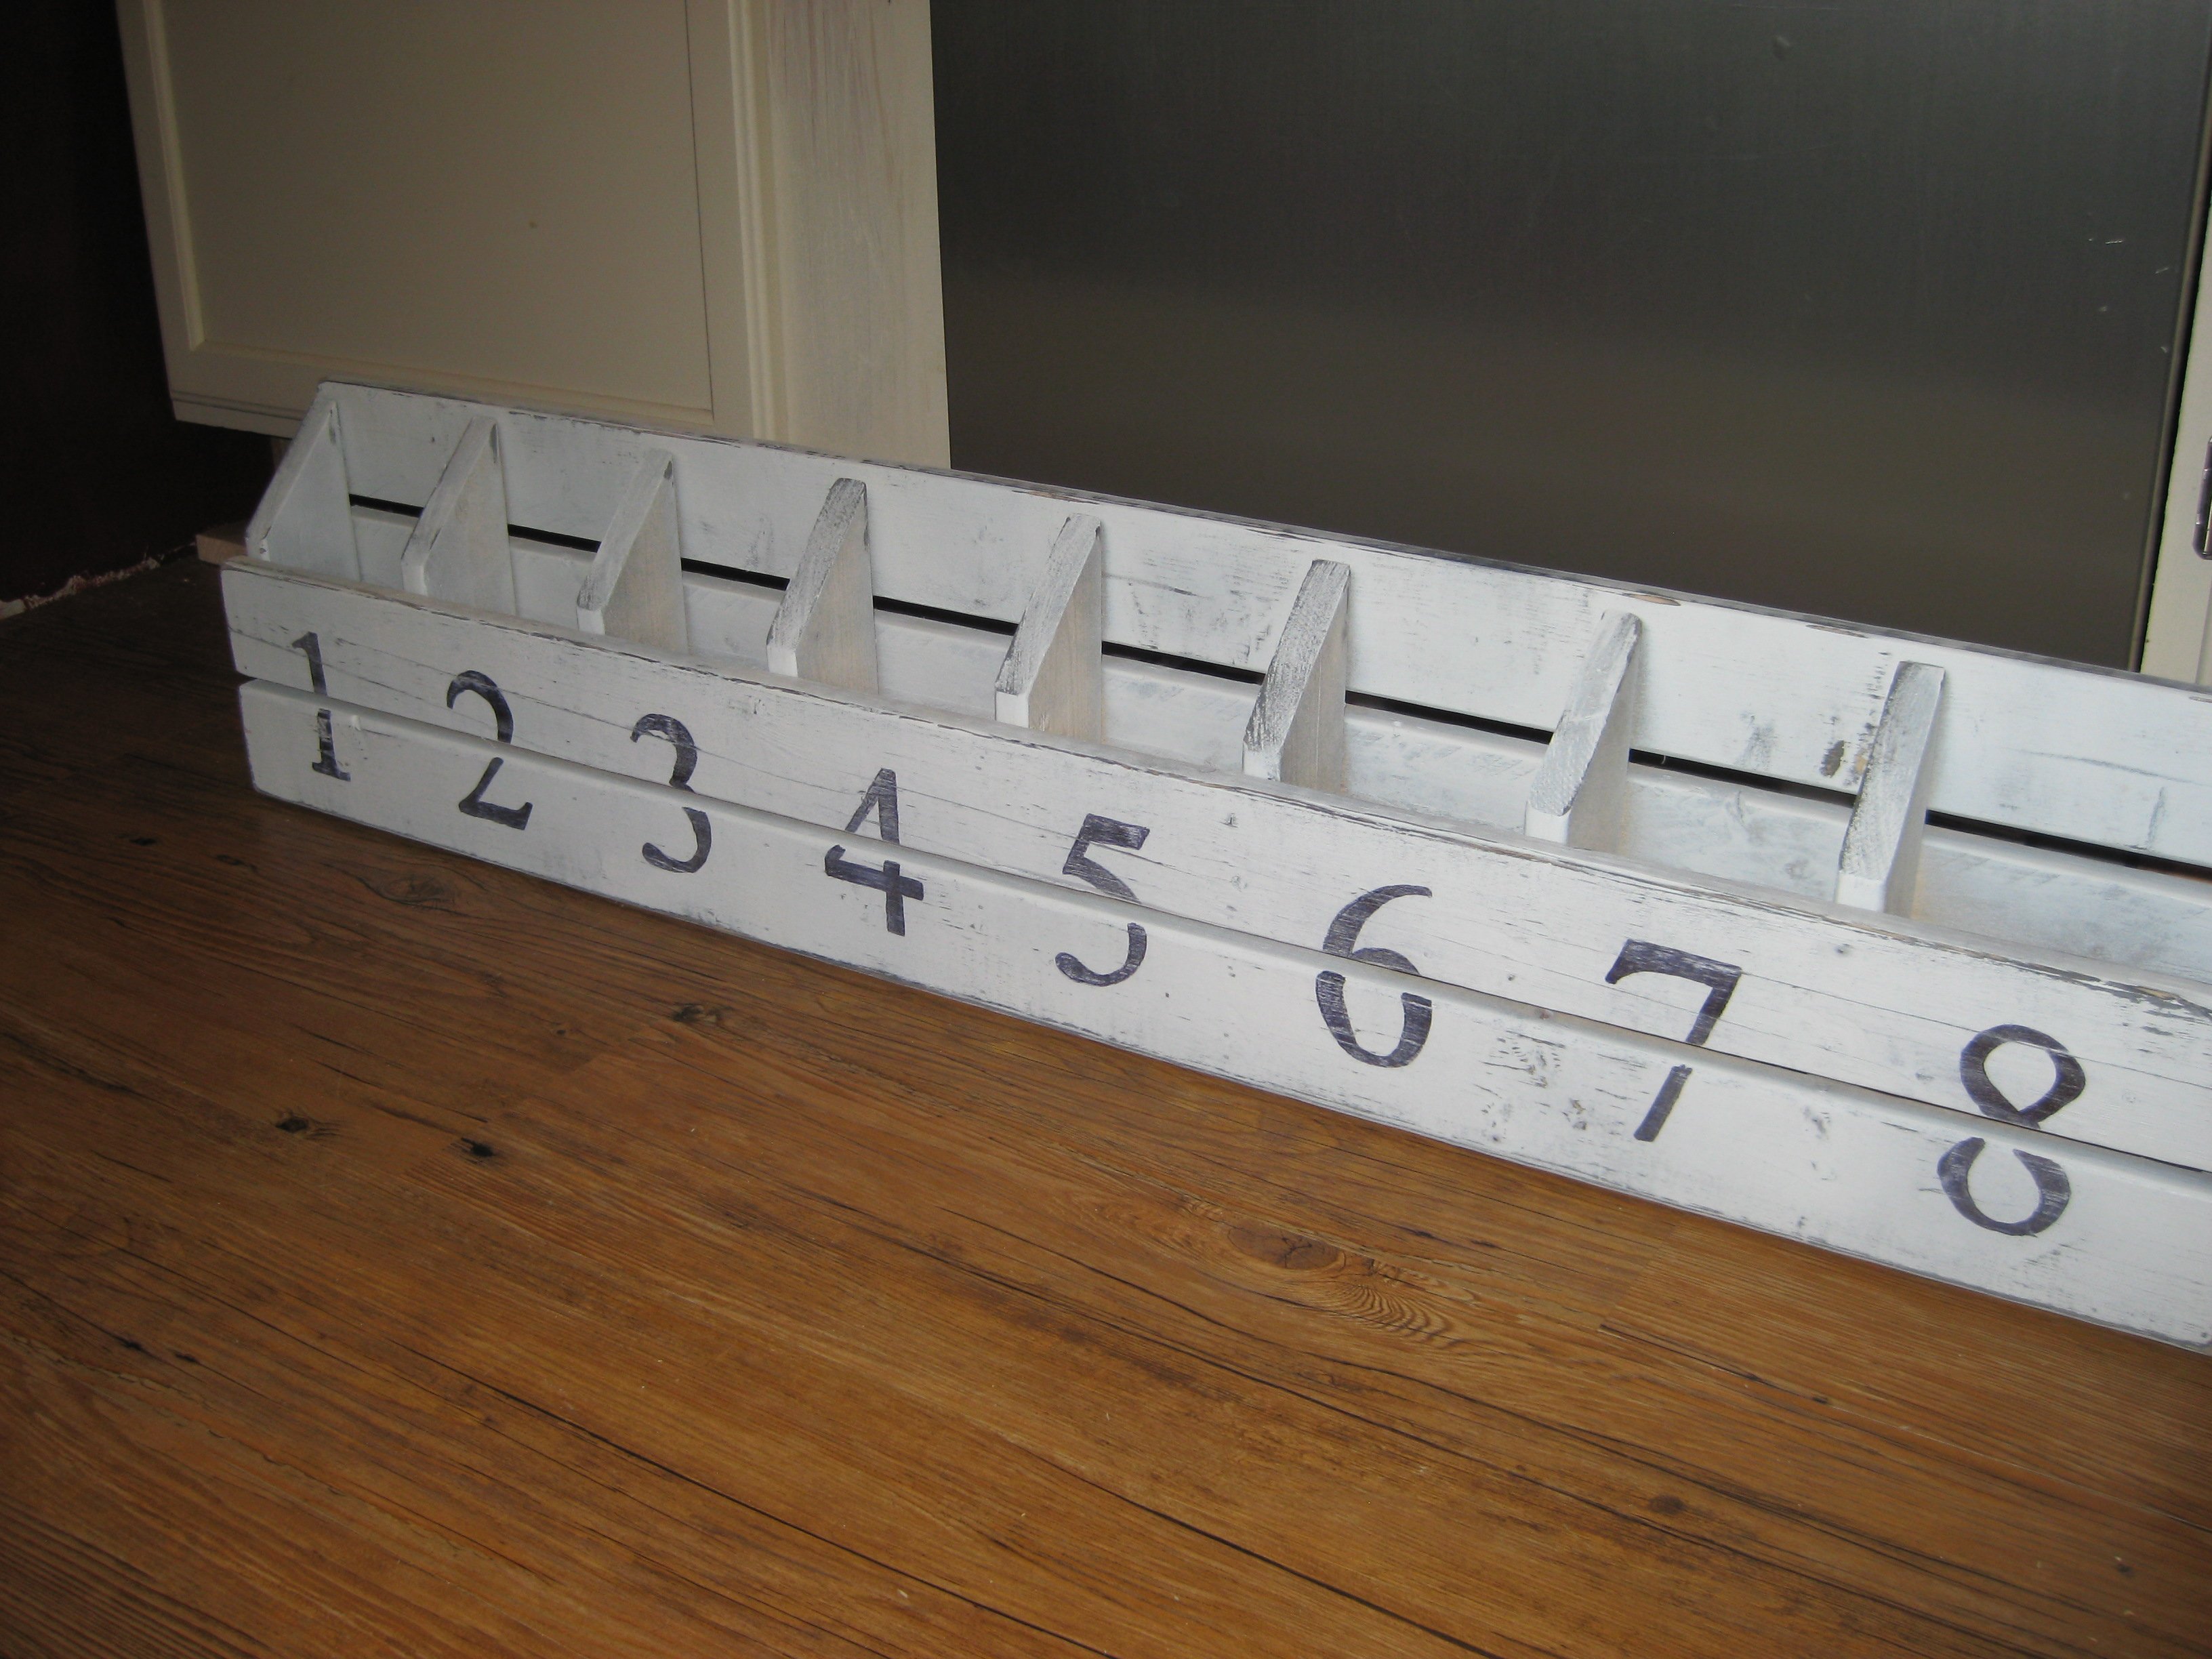
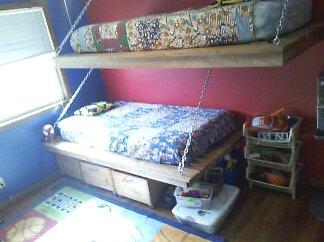
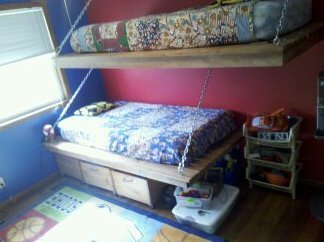
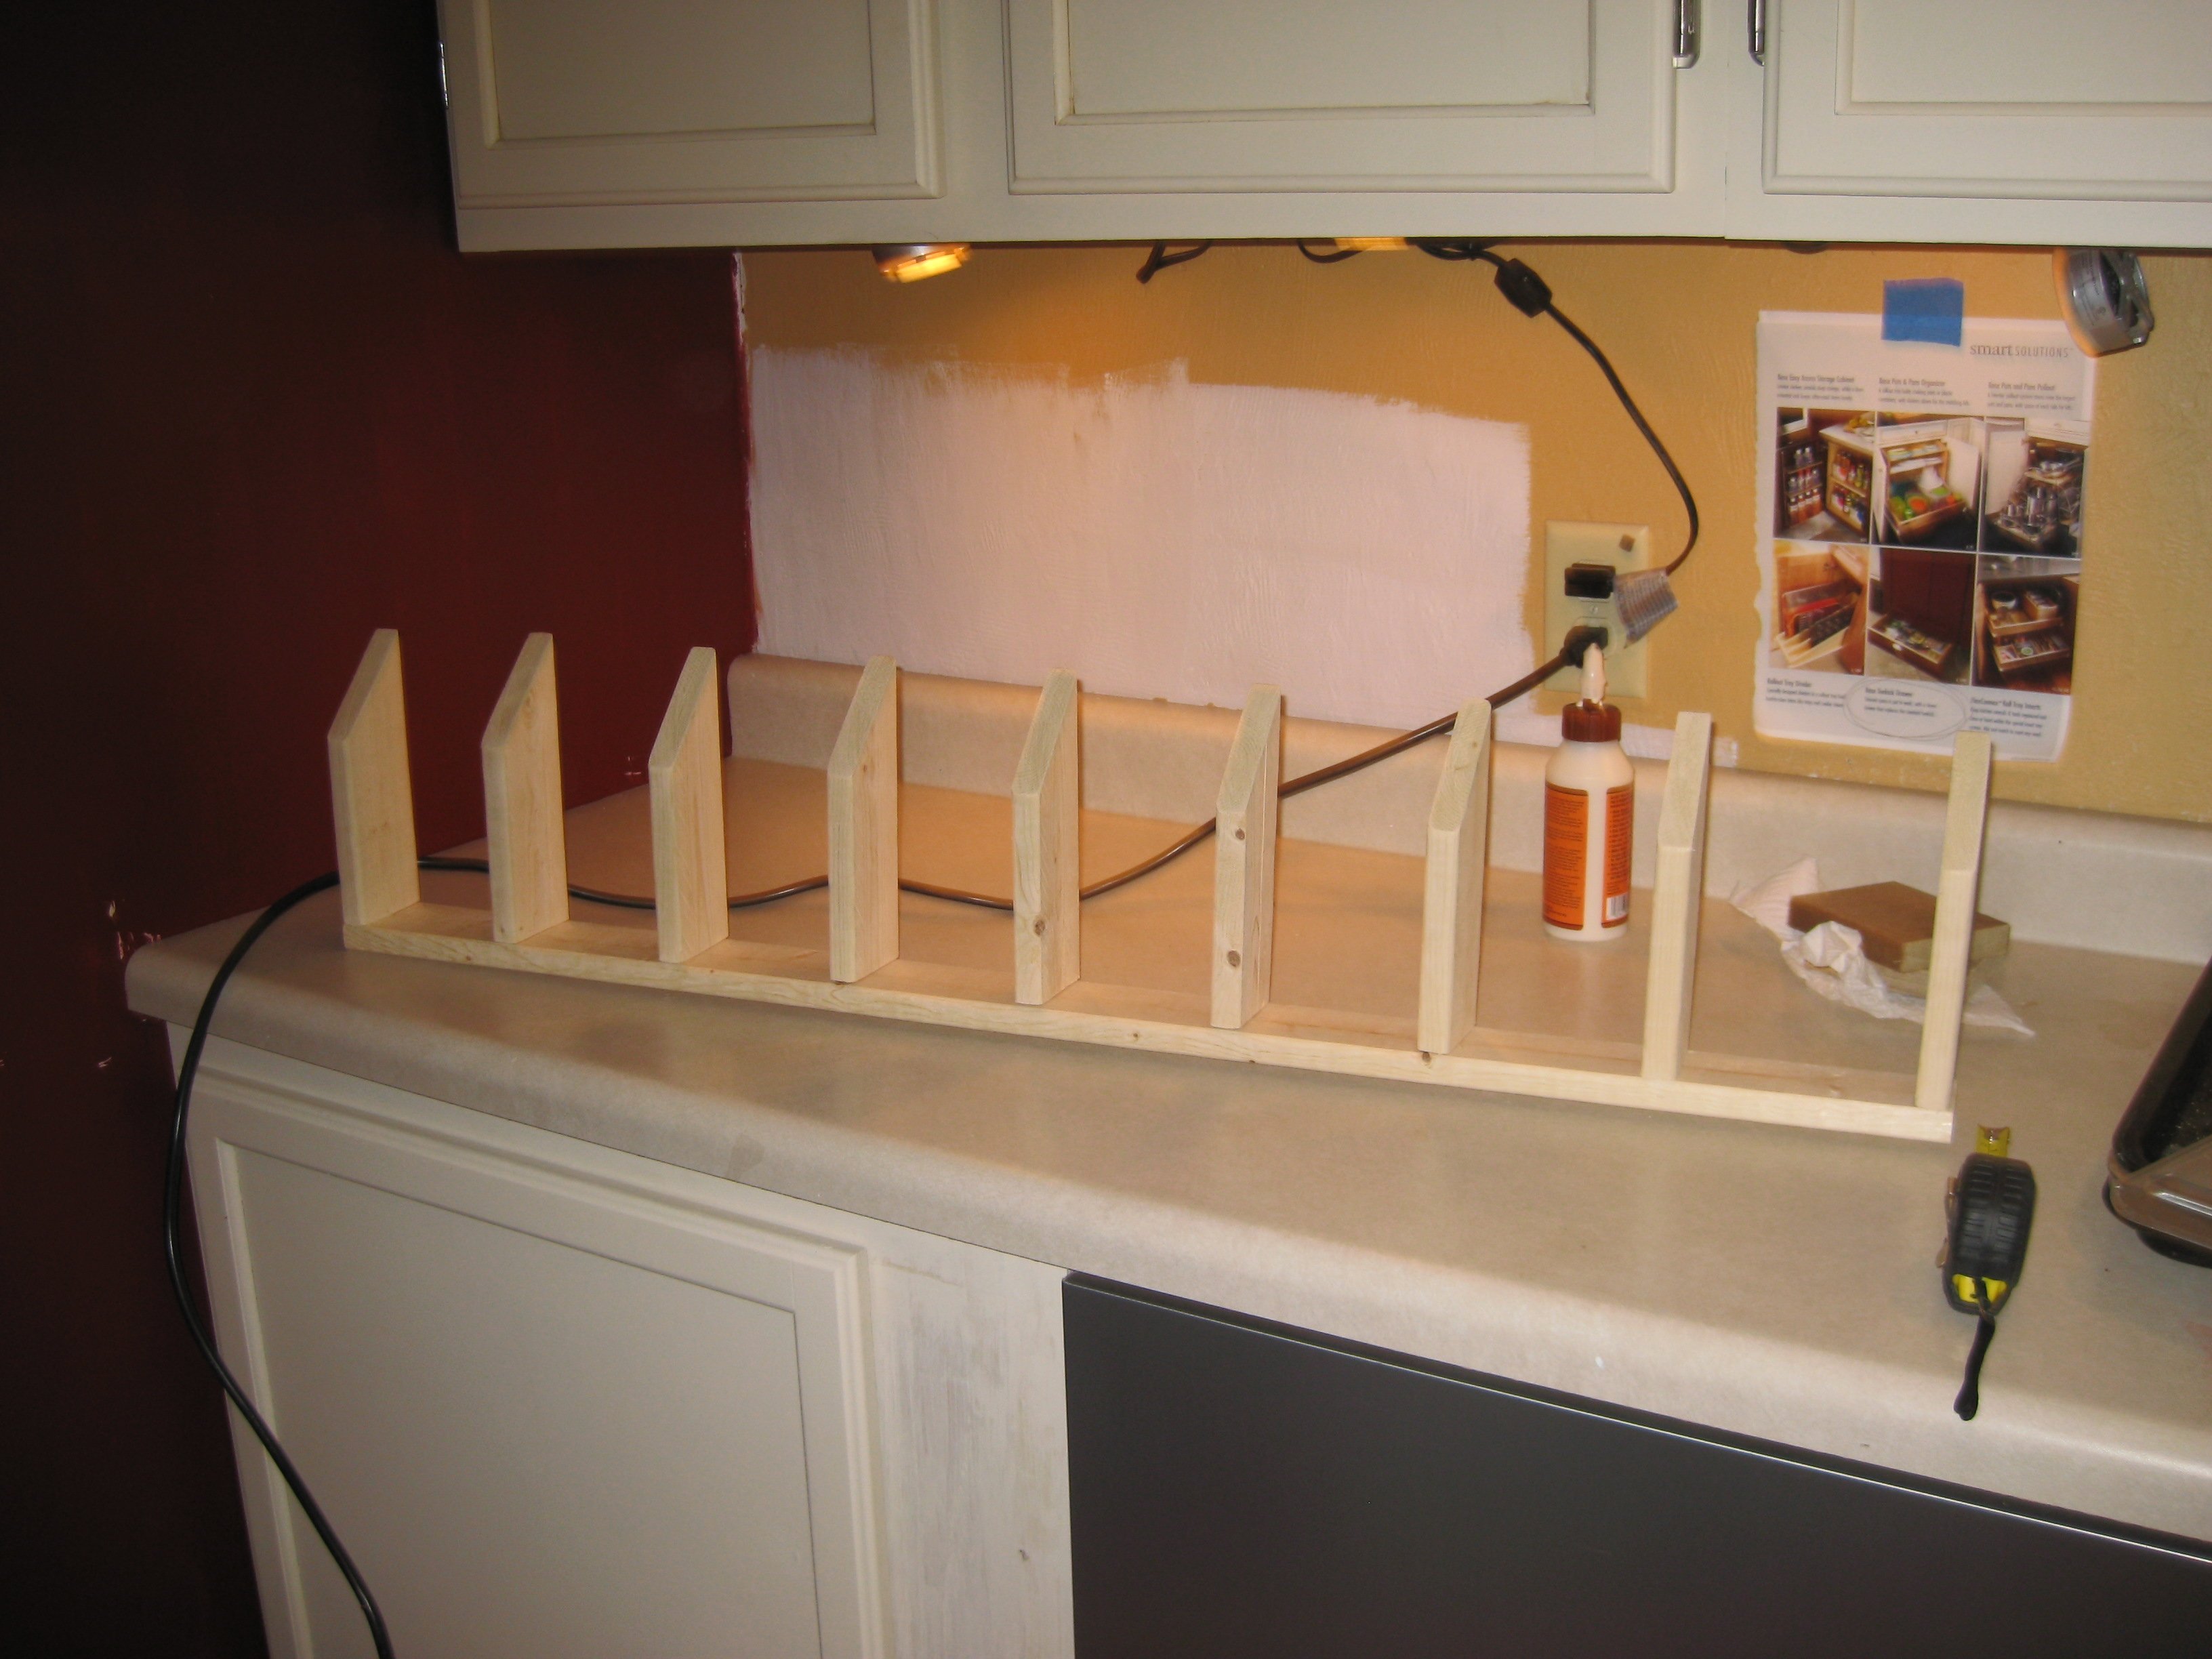
I'm working on a few projects I have half finished, but when I saw this one the other day on Ana's site I could not wait to do it and post my first brag. It's not perfect, my spacing is a little off because I didn't double check my 4" spacer board (it was only 3 3/4!), but I still like it and will put it up in my son's room. I tried to use the 1 x 2 and 1 x 3 furring strips like Ana used but the spacing didn't look right so I made it totally out of 1 x 3 strips. I used a nail gun and miter saw - was much faster then doing by hand.

Built from Plan(s)
Estimated Cost
Under $10
Estimated Time Investment
An Hour or Two (0-2 Hours)
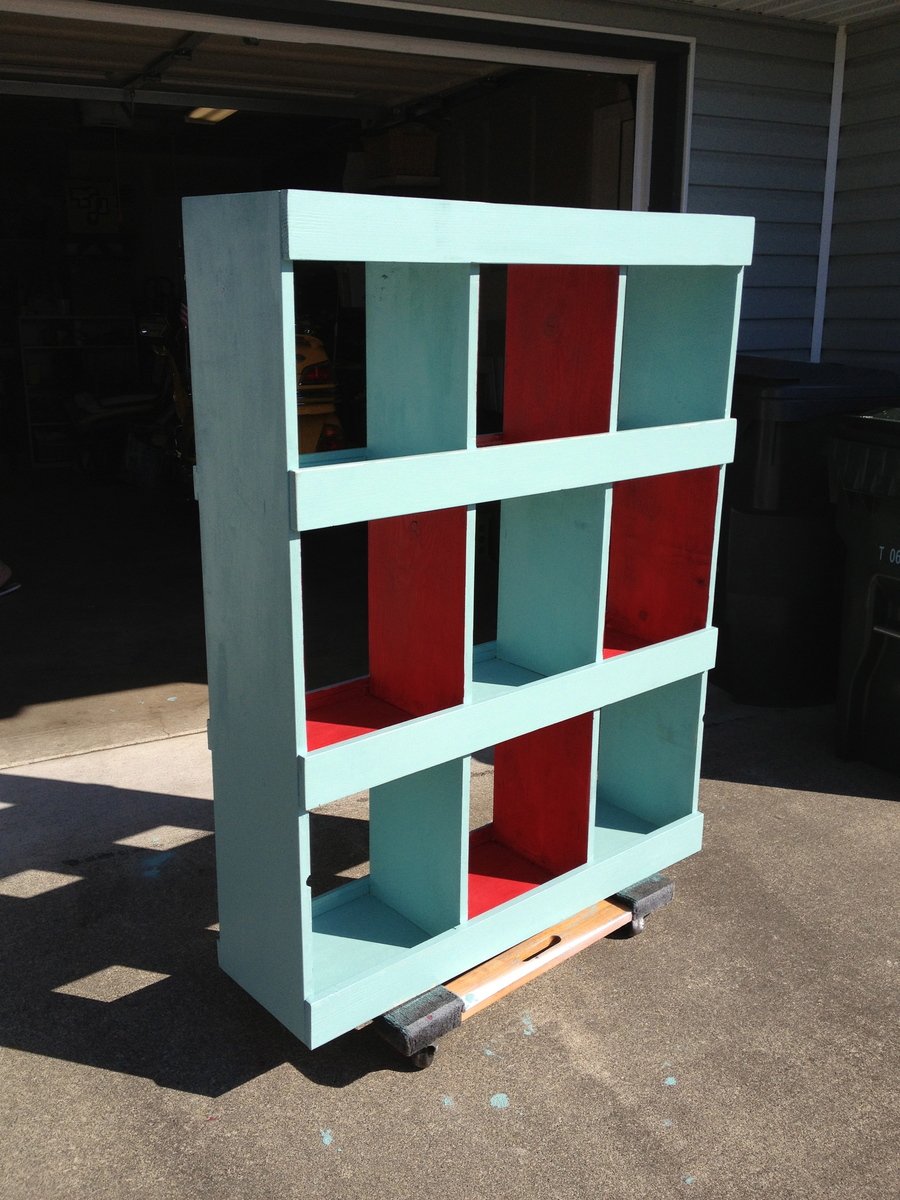
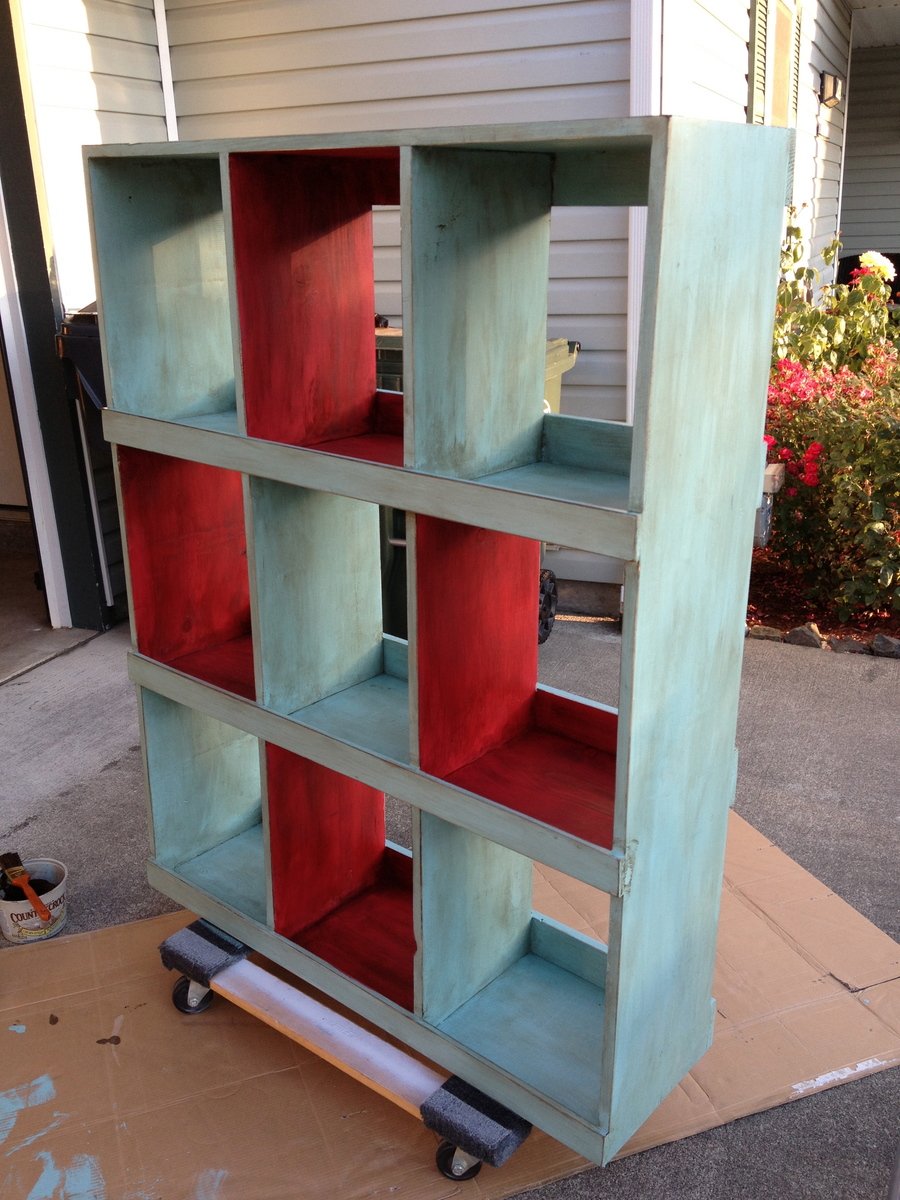
Finish Used
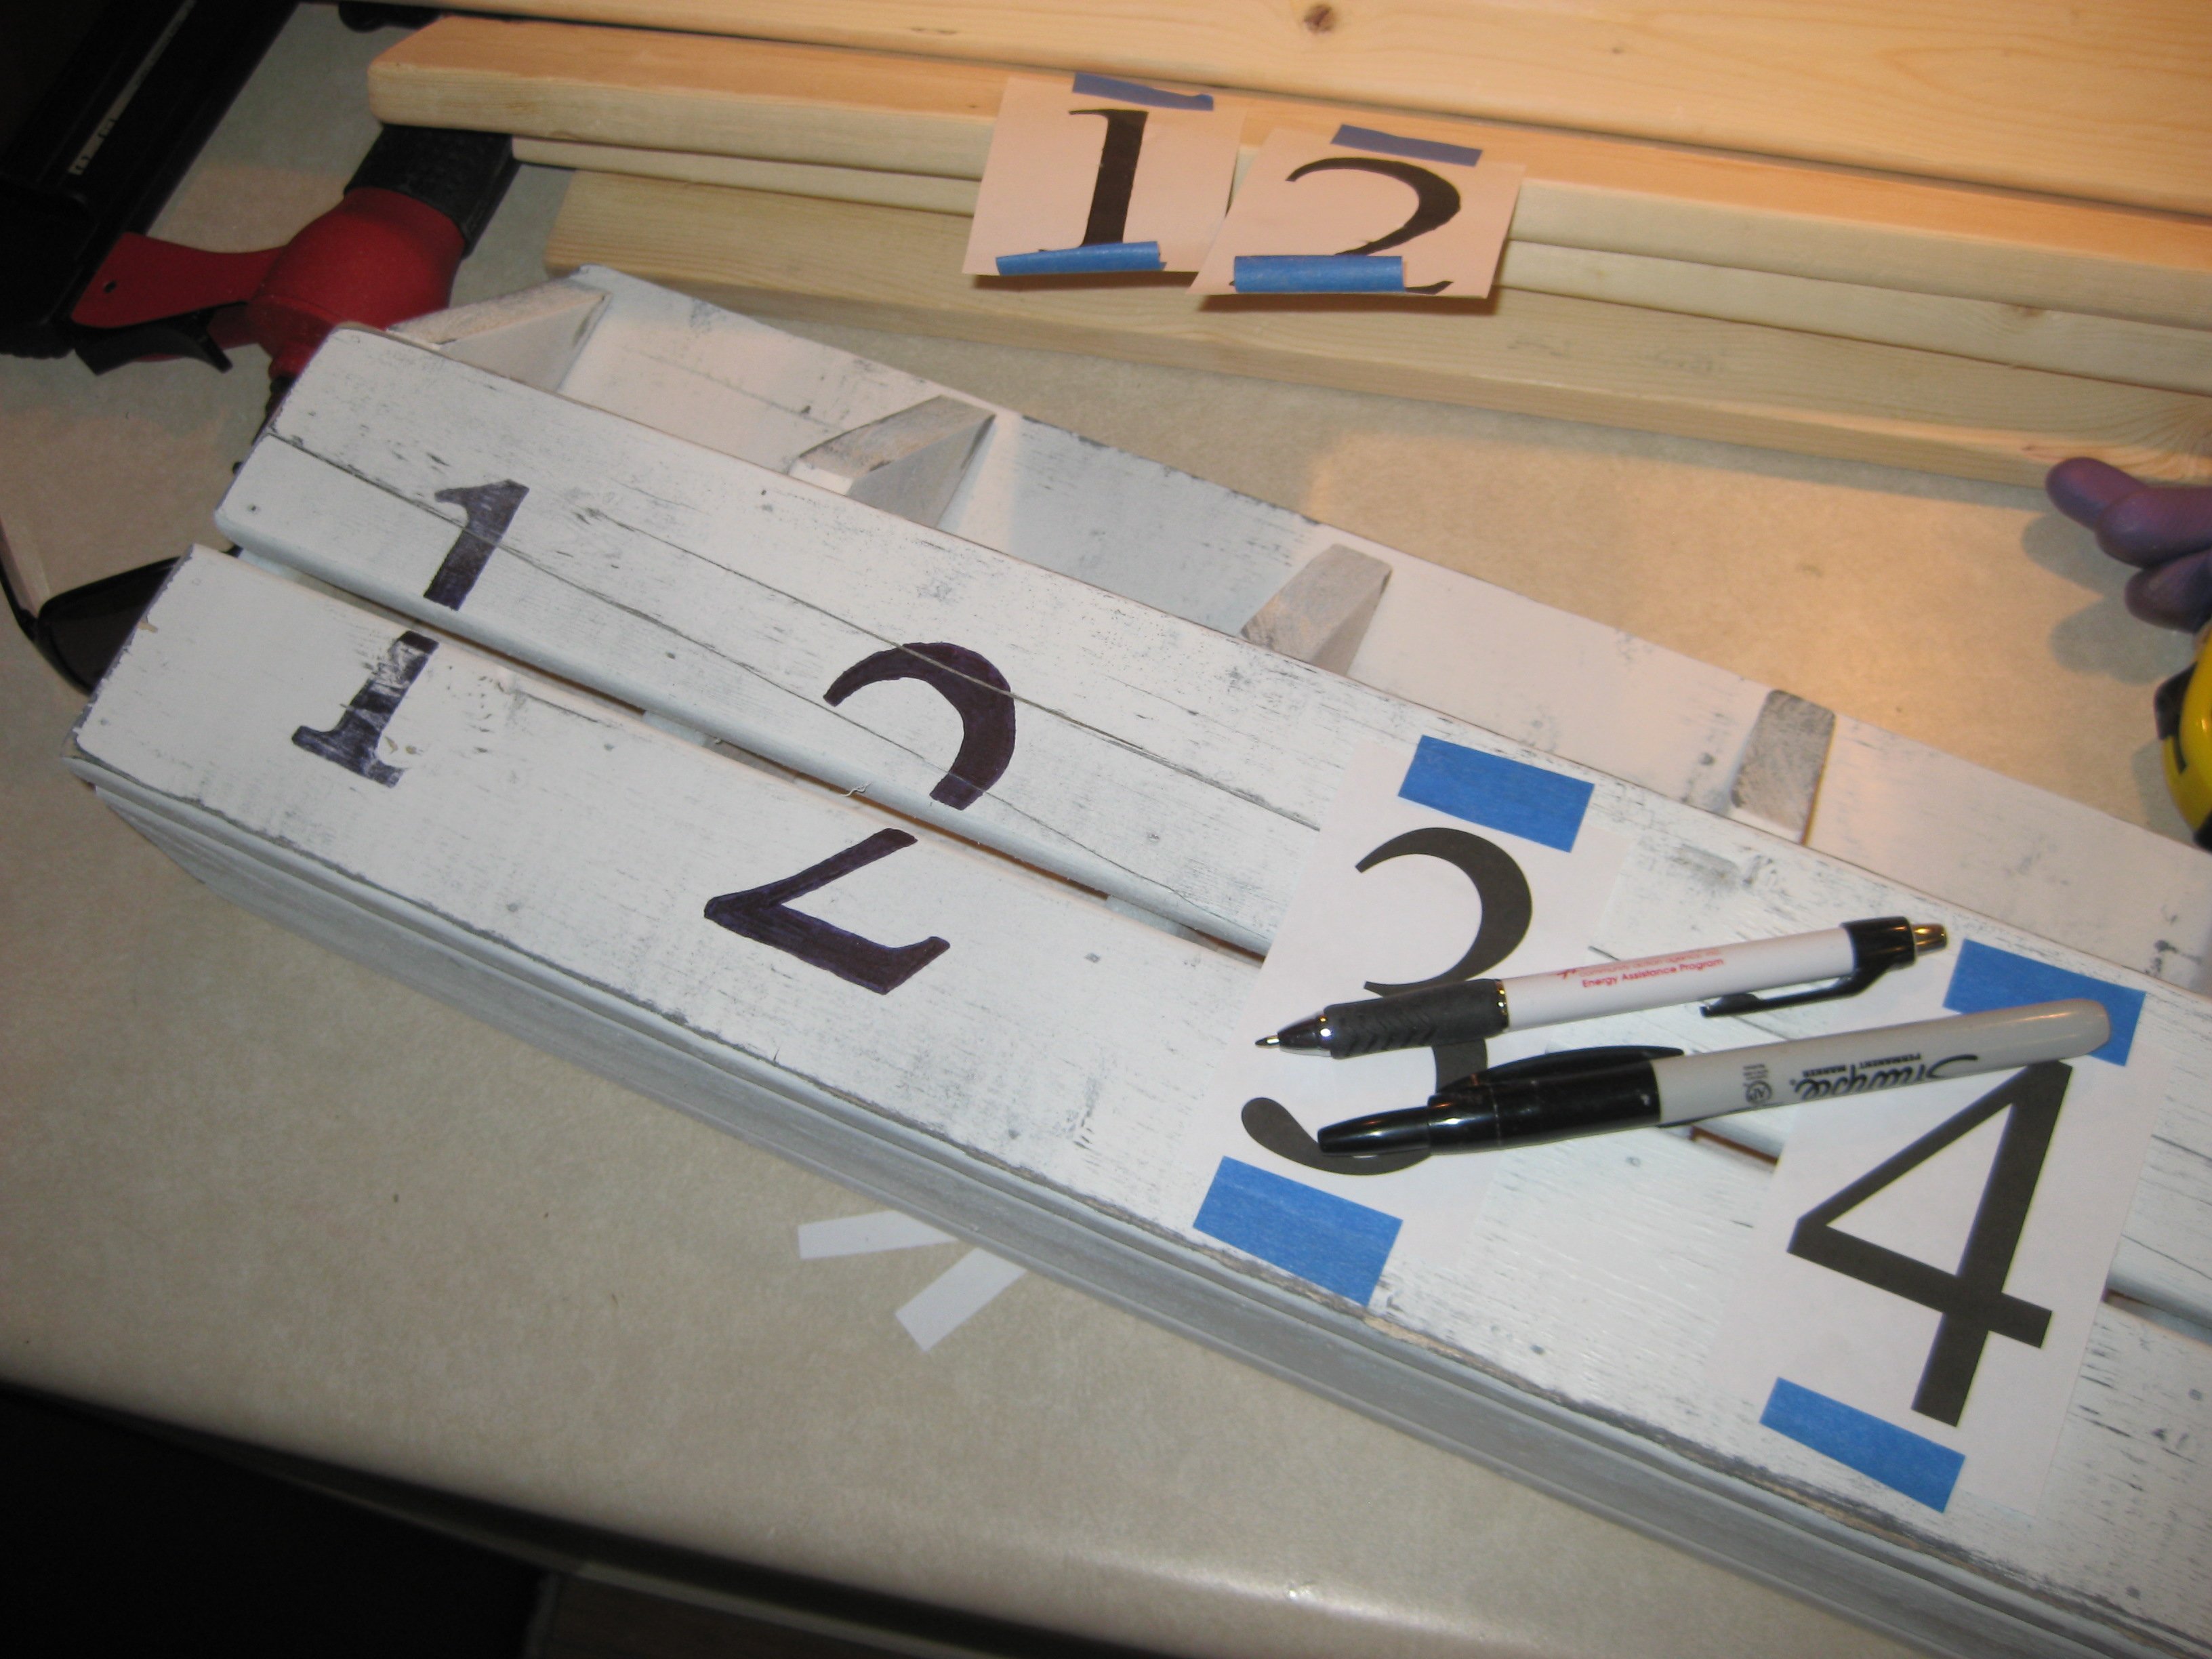
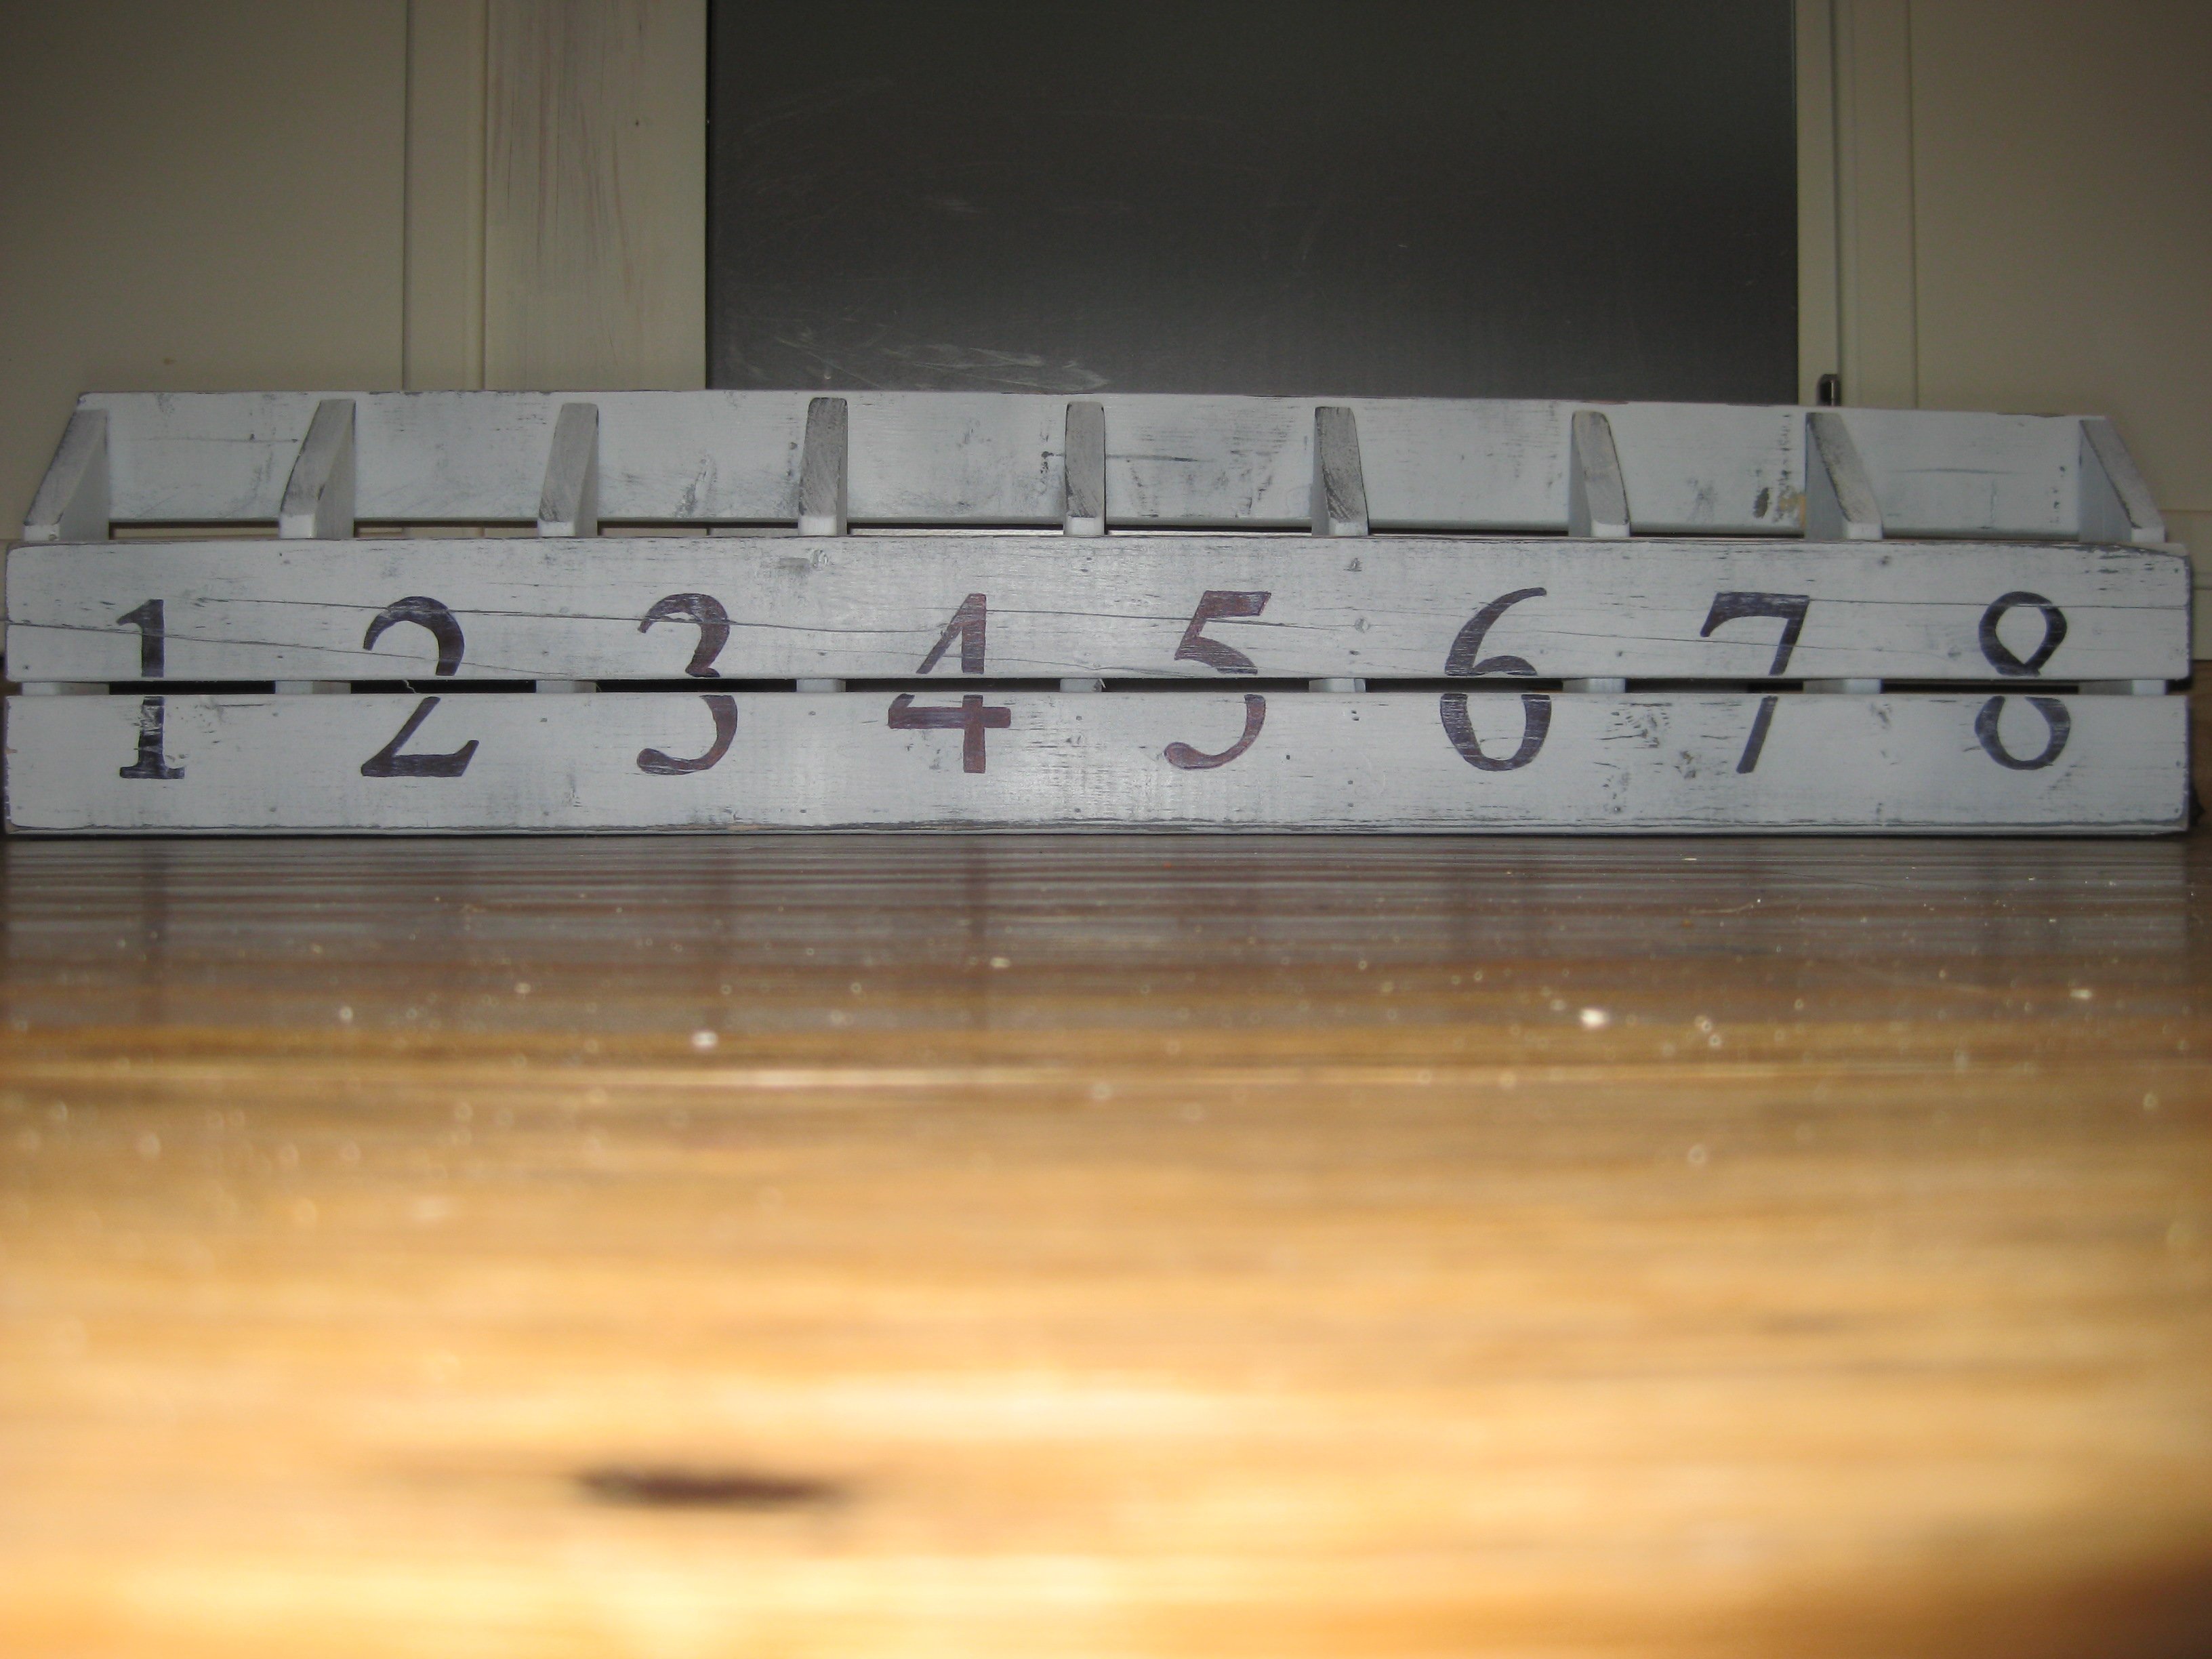
Black spray paint with white spray paint over the top and then sanded to show wear. Numbers are colored in with a sharpy (could not find my paint!)and distressed
Recommended Skill Level
Starter Project