Community Brag Posts

Repurposed Wood Hall Tree

Submitted by Anonymous (not verified) on Thu, 01/04/2024 - 07:56

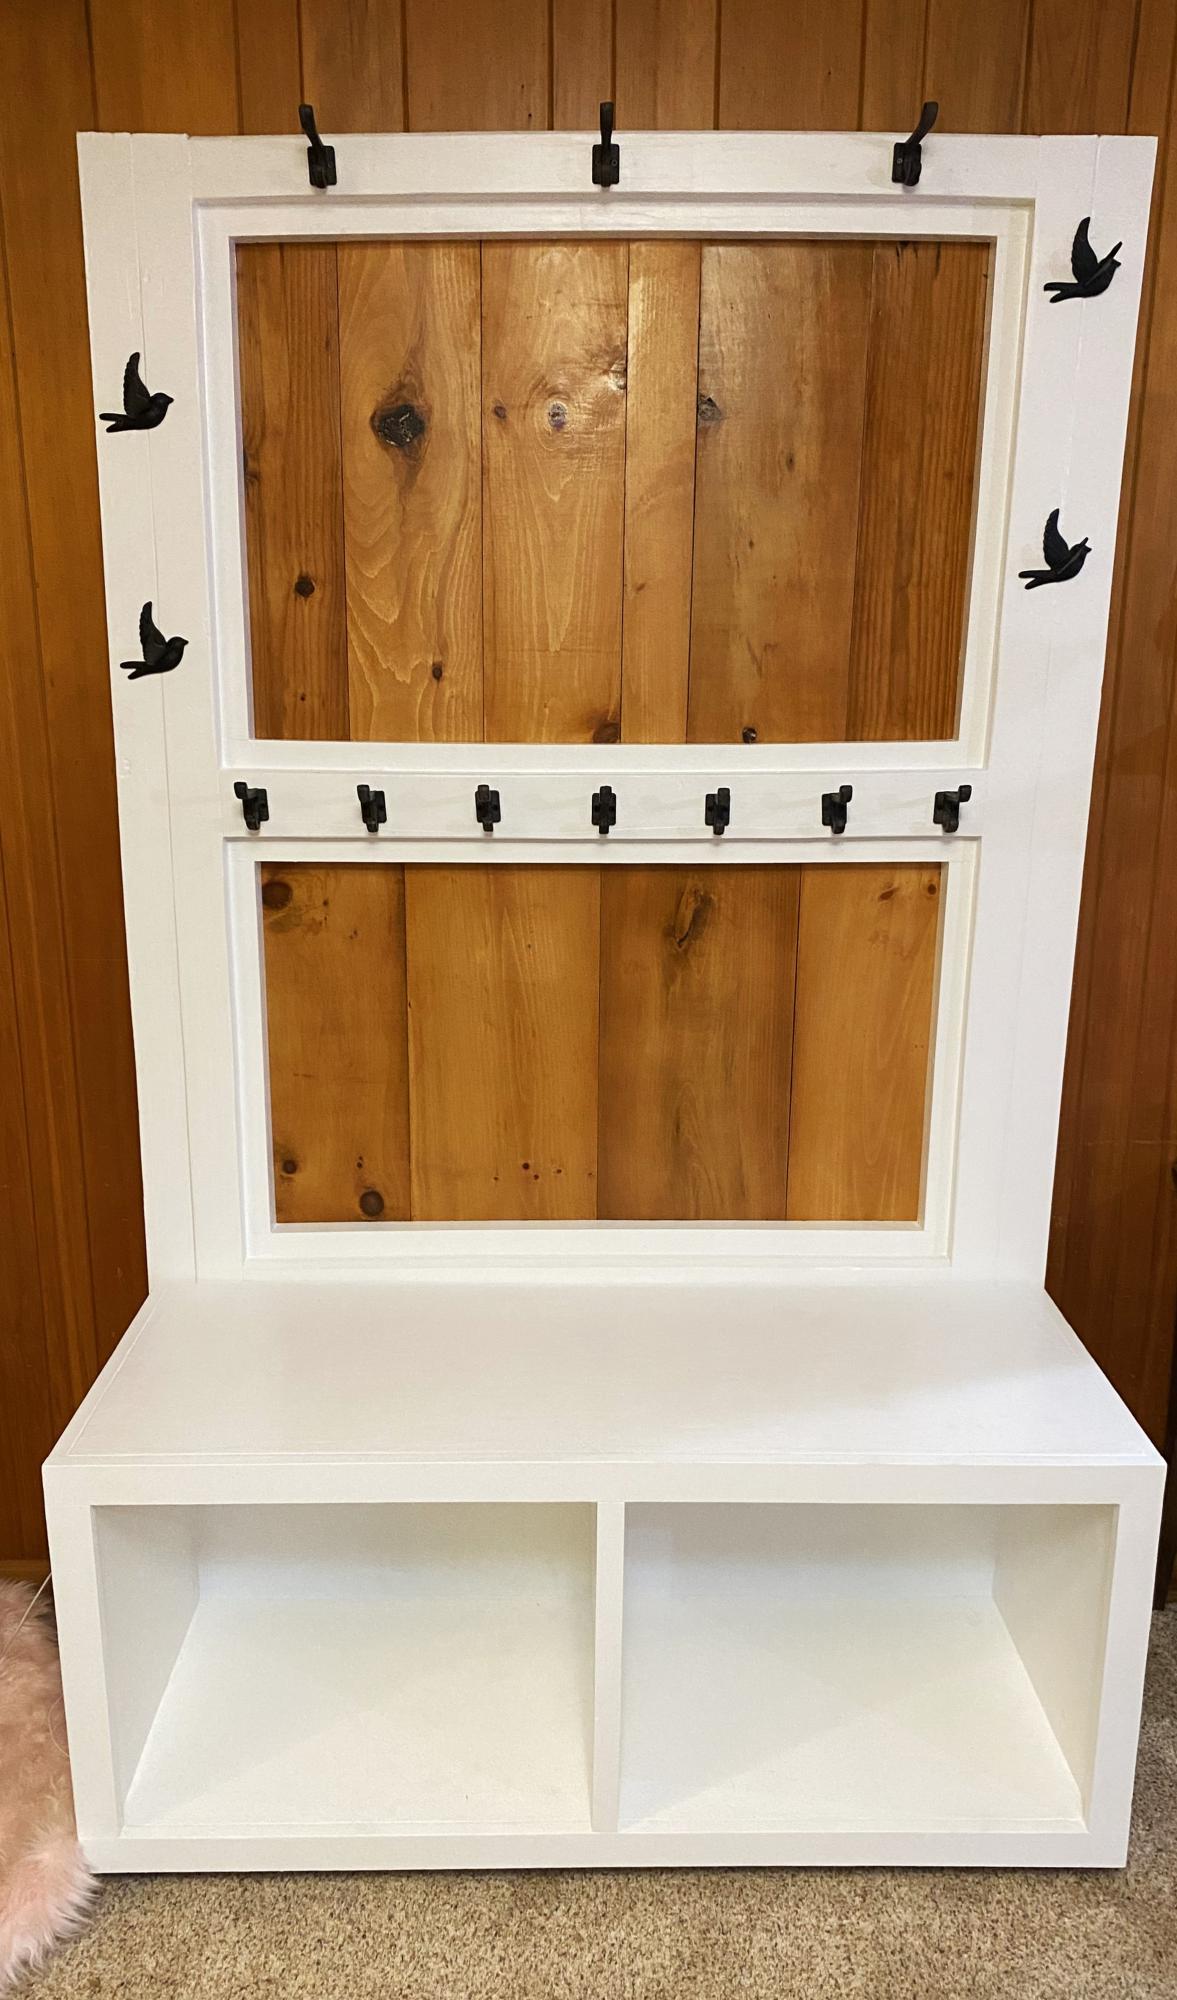
The family needed a safe place for backpacks, shoes, jackets and everything else needed for school. I modified Ana's plan since this project was made with recycled shipping pallets. Rather than struggle with warps, twists and other imperfections I embraced them with glossy white paint. I added the waxed pine panels to absorb the daily use and abuse and be readily buffed when necessary.


Built from Plan(s)

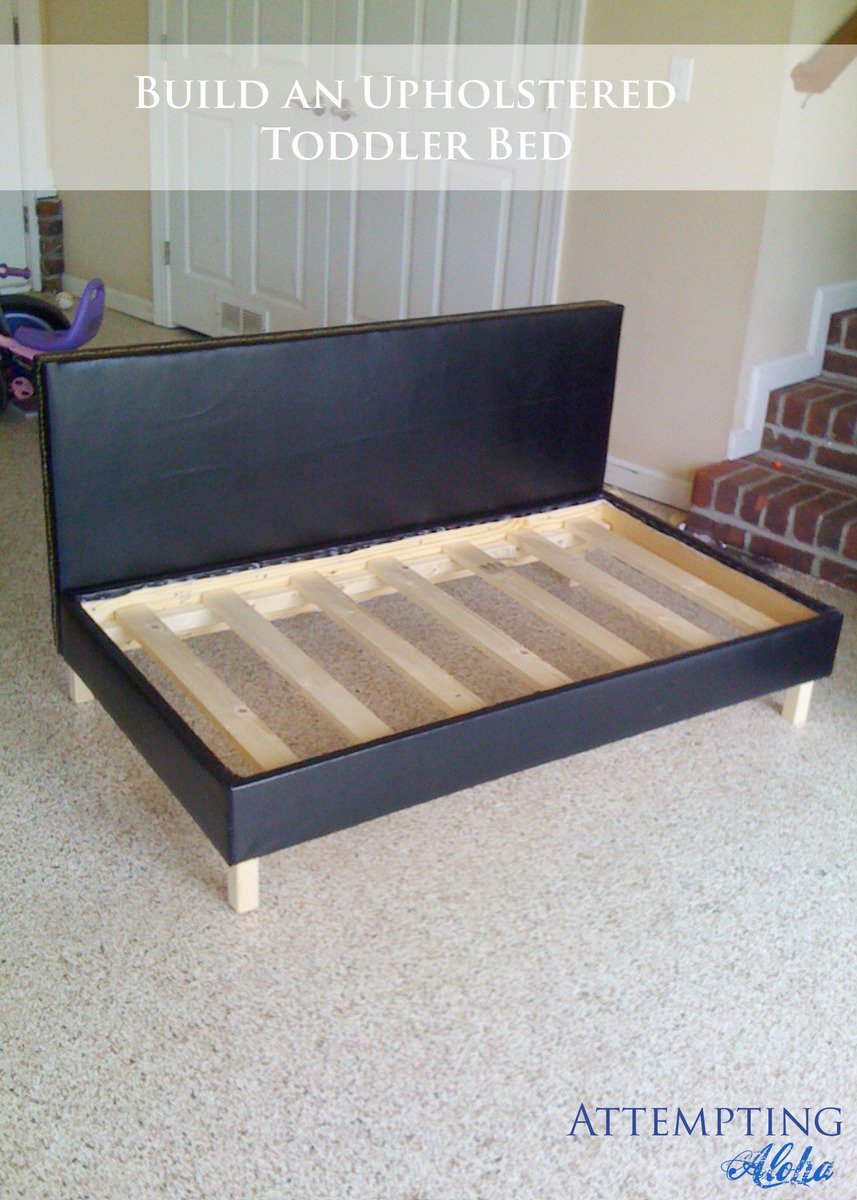
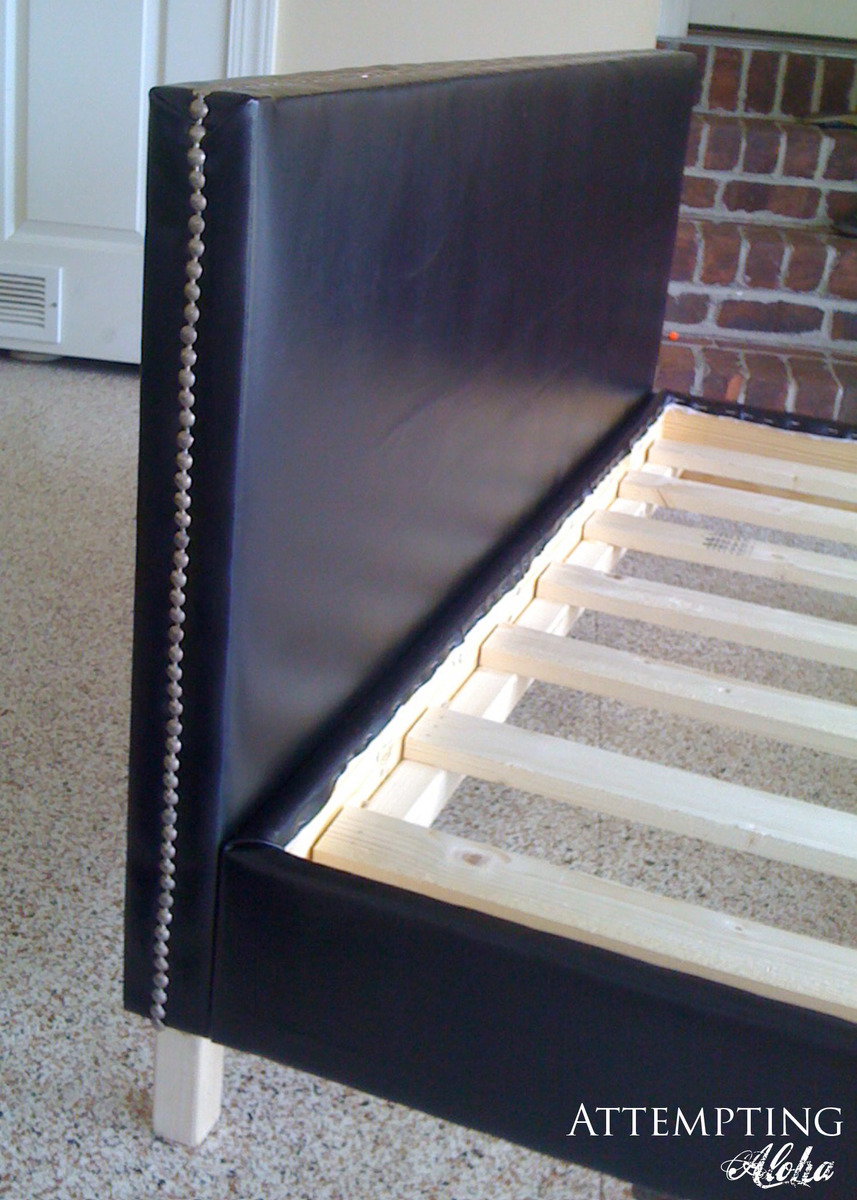
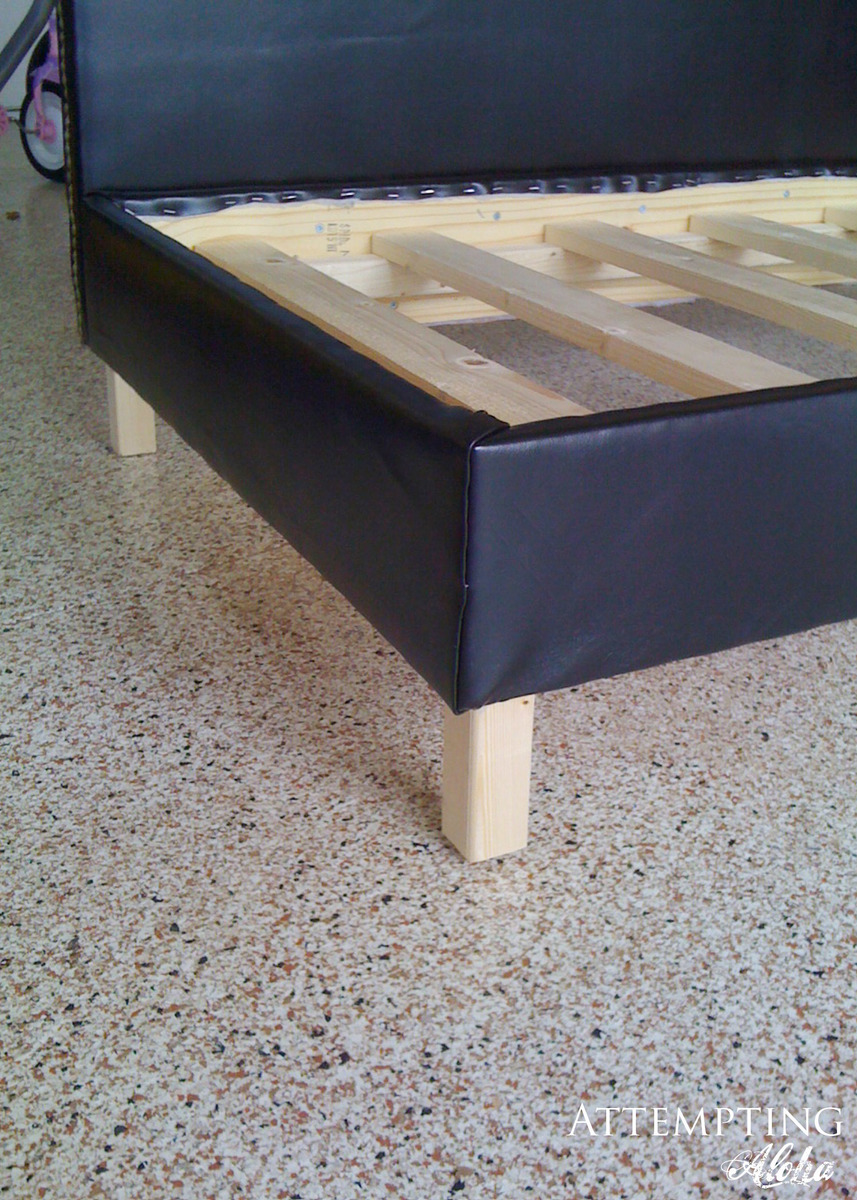
Little Boy's Upholstered Toddler Bed

Such a darling bed and plans. I'm so glad I found it! I built it with a friend for her little boy, so he could use it as a couch later on, and it is just darling with the black pleather and nailhead trim she picked out.

I marked it as an intermediate project more for the upholstery part of it. I'd call it a beginner building project, though. :)

Thanks, Ana!!

Built from Plan(s)
Estimated Cost
$60
Estimated Time Investment
Day Project (6-9 Hours)
Recommended Skill Level
Intermediate

Comments

Pam the Goatherd

Wed, 07/04/2012 - 04:34

That looks great! I never would have thought of doing it with pleather. I've been trying to decide what seating to make for my son who lives in a one bedroom apartment and needs a place for his sister or friends to crash when they come to visit. I'm going to show him this and see what he thinks.

Newbie succeeds at Farm Table

This is the first project my husband and I tackled since we were in middle school, (when you built things like clocks and puzzles). We had virtually no tools, a limited workspace, and a compact car to transport lumber in. Believe me when I say - if we can do this, anyone can!!!! 


We bought a circular saw and sander, and had a power drill on hand. We were working on a very tight budget, so we bought a Kreg Jig mini instead of a full  sized jig. I also borrowed a few hand clamps from our parents. I thought the Kreg Jig mini would be a MASSIVE pain, but it actually worked really well (as long as you have hand clamps).


We used regular SPF lumber for the planks and aprons and cedar posts for the legs, all purchased at HD. Best advice - take your time looking for boards that aren't warped. Even in the end, we had a couple of imperfect boards, but it didn't inhibit our construction at all like some previous posters experienced. We did all the cuts at home EXCEPT the cedar posts (We got the people at HD to do this for us. They did it for free).


The build was straight forward. We had to do a few modifications (as our table is just over 5ft in length), but if anything I think the smaller size made things easier. We measured twice and cut once. As long as you take your time, it's easy. We even modified the plans so we can add an extension leaf should we need more room in the future.


We sanded every inch of the table. No joke - this step played a HUGE roll in making our table look and feel good. Some of the planks on the table top were a little uneven, so at the last minute we invested in a cheap hand planer - it still isn't perfect, but it definitely helped a lot.


To finish, we used Wood Conditioner. I'm glad we did. I've stained other things in the house without it, but the wood conditioner definitely gives the finish a richer, more professional look. We used Minwax dark walnut, and we topped it off with Waterbased poly (just what we already had hand). 


For our first project, we are very satisfied. It took us about 3 days (off and on). We will be making a bench for our table soon. I look forward to doing more projects in the future! Thank you :)

Estimated Cost
$300 (including most tools)
Estimated Time Investment
Weekend Project (10-20 Hours)
Finish Used
minwax Wood conditioner
Minwax dark walnut
Semi-gloss poly
Recommended Skill Level
Starter Project

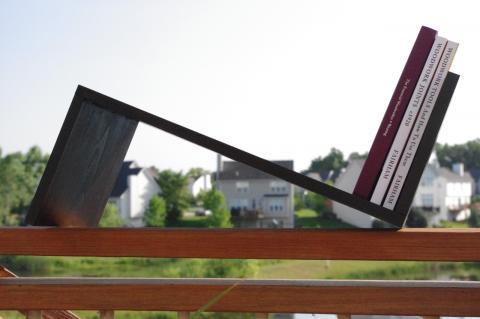
Football Bat Shelves

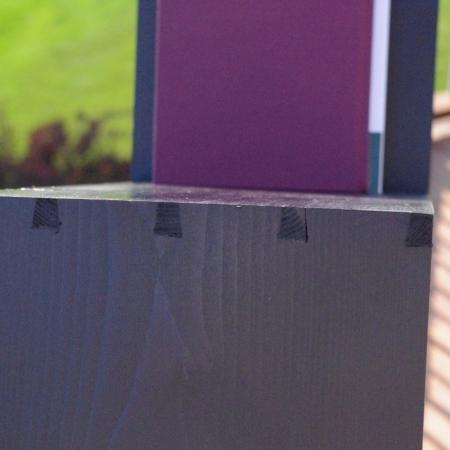
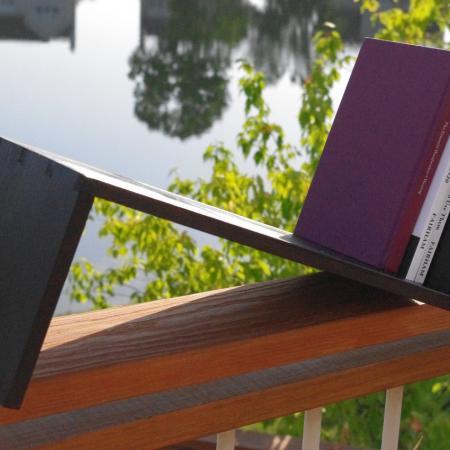
This is a simple shelf to hold the reference books I keep on my desk at work. That's now how it started out though. It was supposed to be a laptop stand, but a small mistake turned it into this. Rather than toss it as scrap, I decided to make lemonade.

I'd love to link a plan, but all you really need to do is take a 1x10, cut legs (mine are 8 inches long), and join them to the ends with pocket hole screws.

Estimated Cost
10
Estimated Time Investment
An Hour or Two (0-2 Hours)
Finish Used
Custom toner made from General Finishes polycrylic and Espresso stain.
Recommended Skill Level
Starter Project

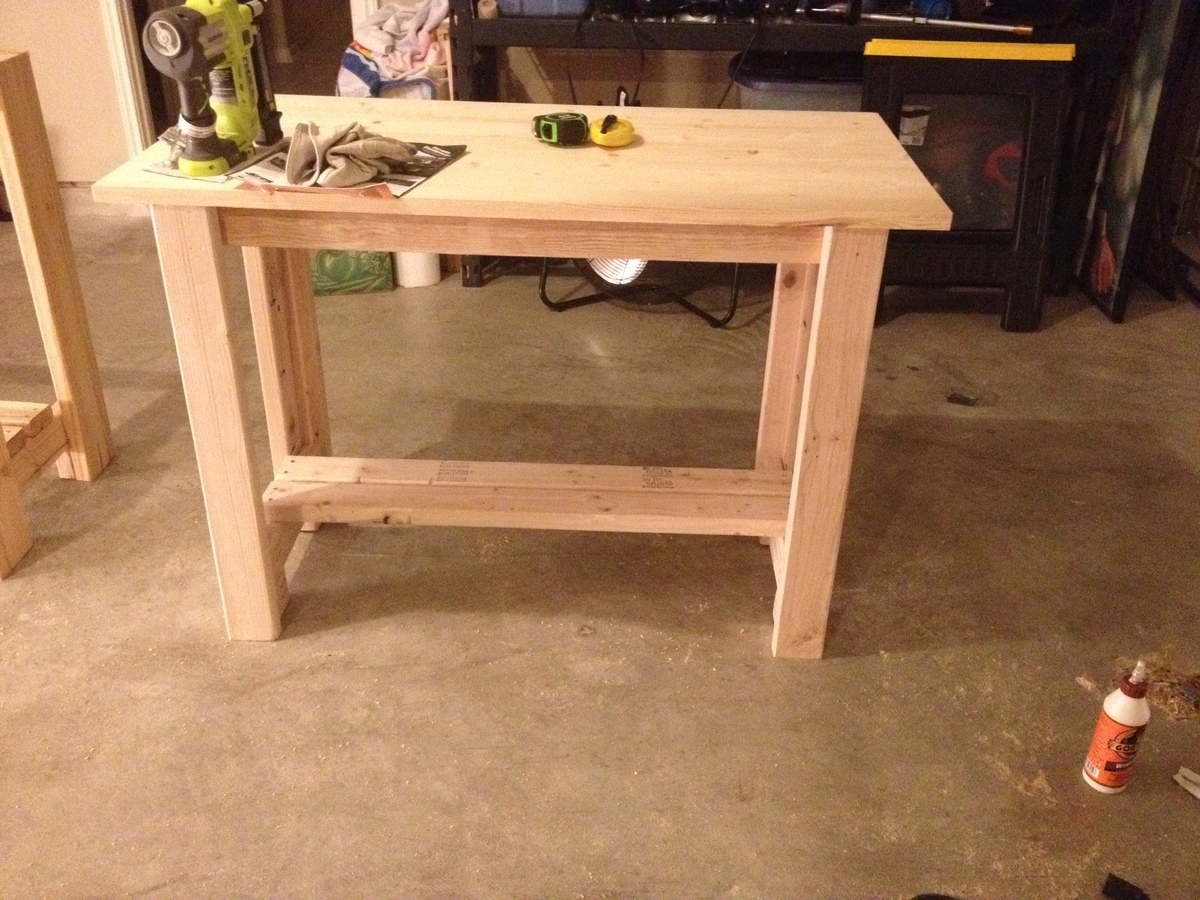
Easy Work Bench- My first build

This was my very first build. I used all 2x4's except for the top with was a project board from Lowes. I also used pocket holes instead of 2in screws.

Built from Plan(s)
Estimated Cost
$40
Estimated Time Investment
Afternoon Project (3-6 Hours)
Finish Used
No finish
Recommended Skill Level
Starter Project

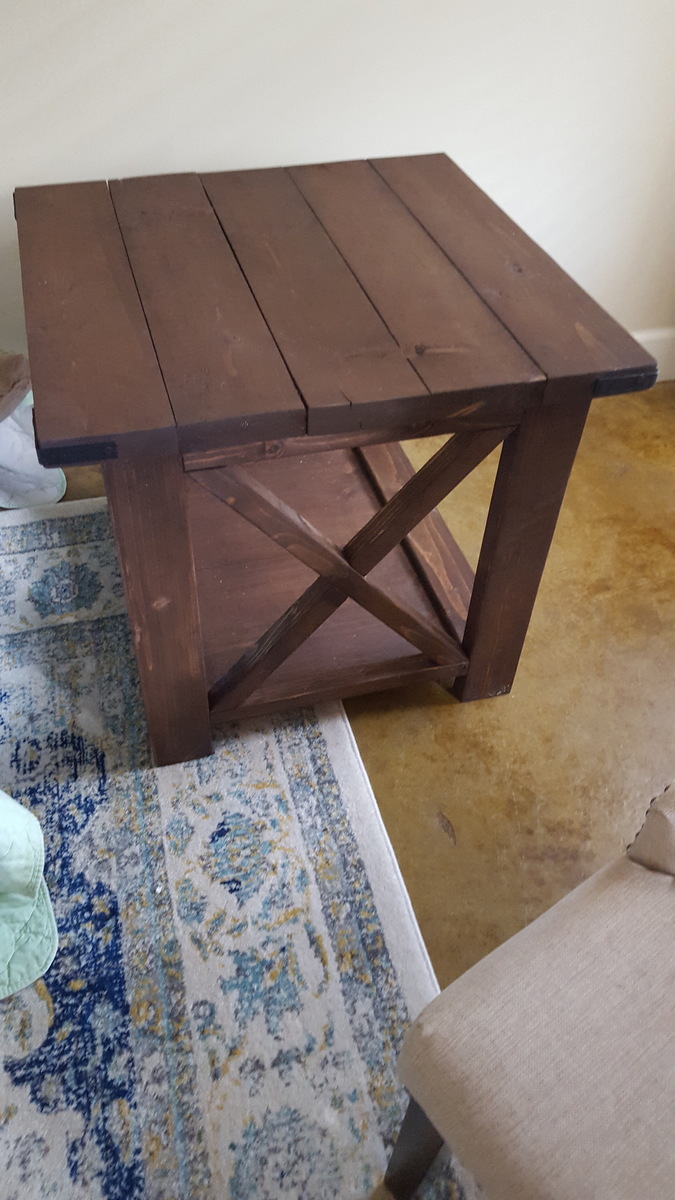
Rustic X End Table

Submitted by TheNardDog on Fri, 07/22/2016 - 20:46

One of two rustic x end tables built for our living room! We also built the coffee table to go with it. All together the wood for the two end tables cost about 65 dollars but that doesn't include stair, jig screws, finishing nails for the x's, hardware, and the black spray paint for the hardware. We used a lot of the same stuff however for the coffee table so it wasn't too bad! they came out great!

Estimated Cost
40-60
Estimated Time Investment
Afternoon Project (3-6 Hours)
Finish Used
Dark Walnut
Recommended Skill Level
Beginner

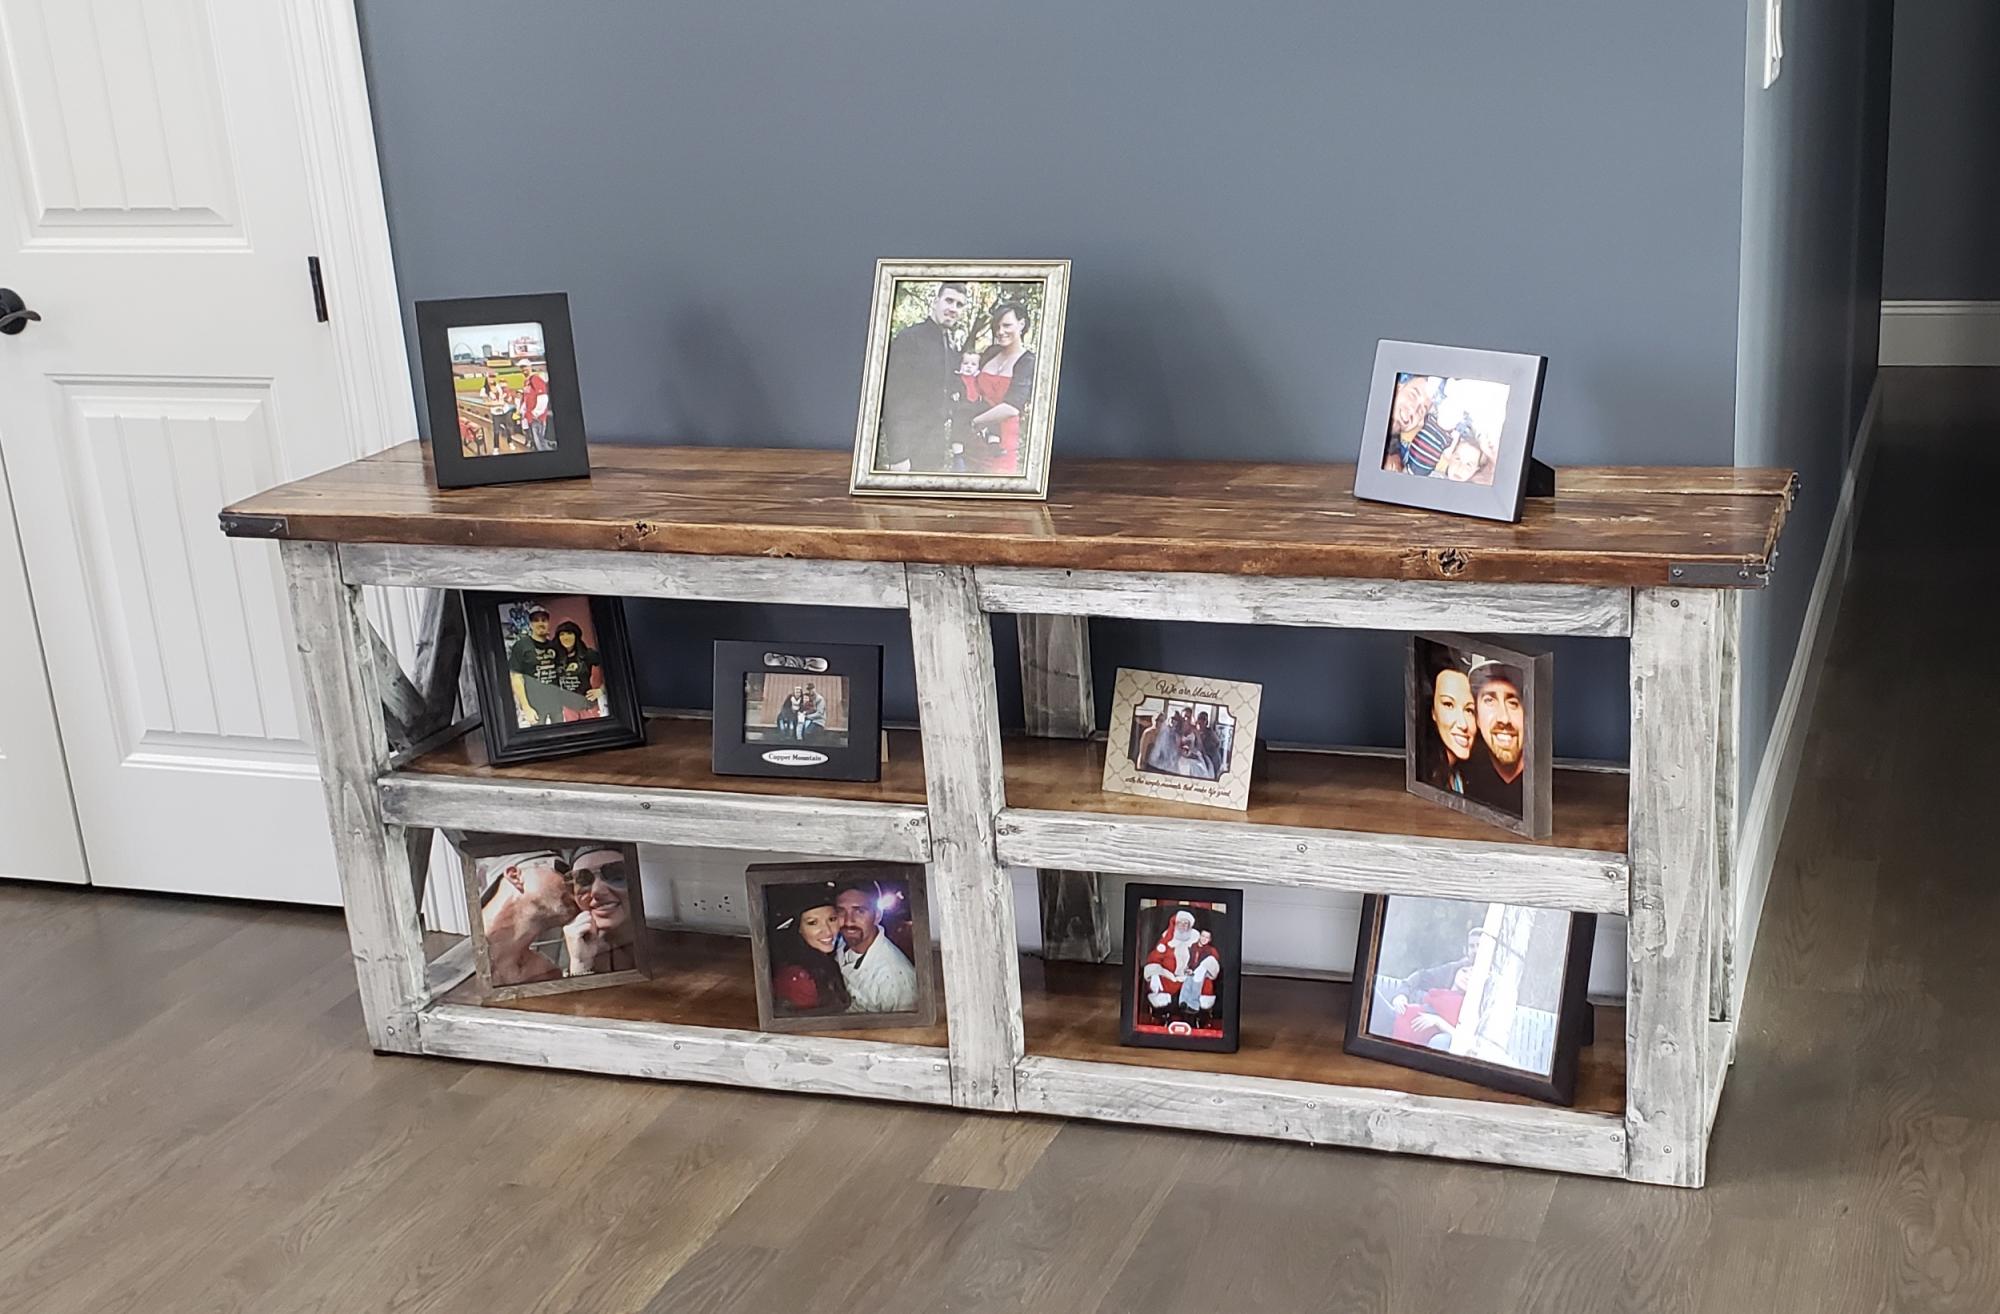
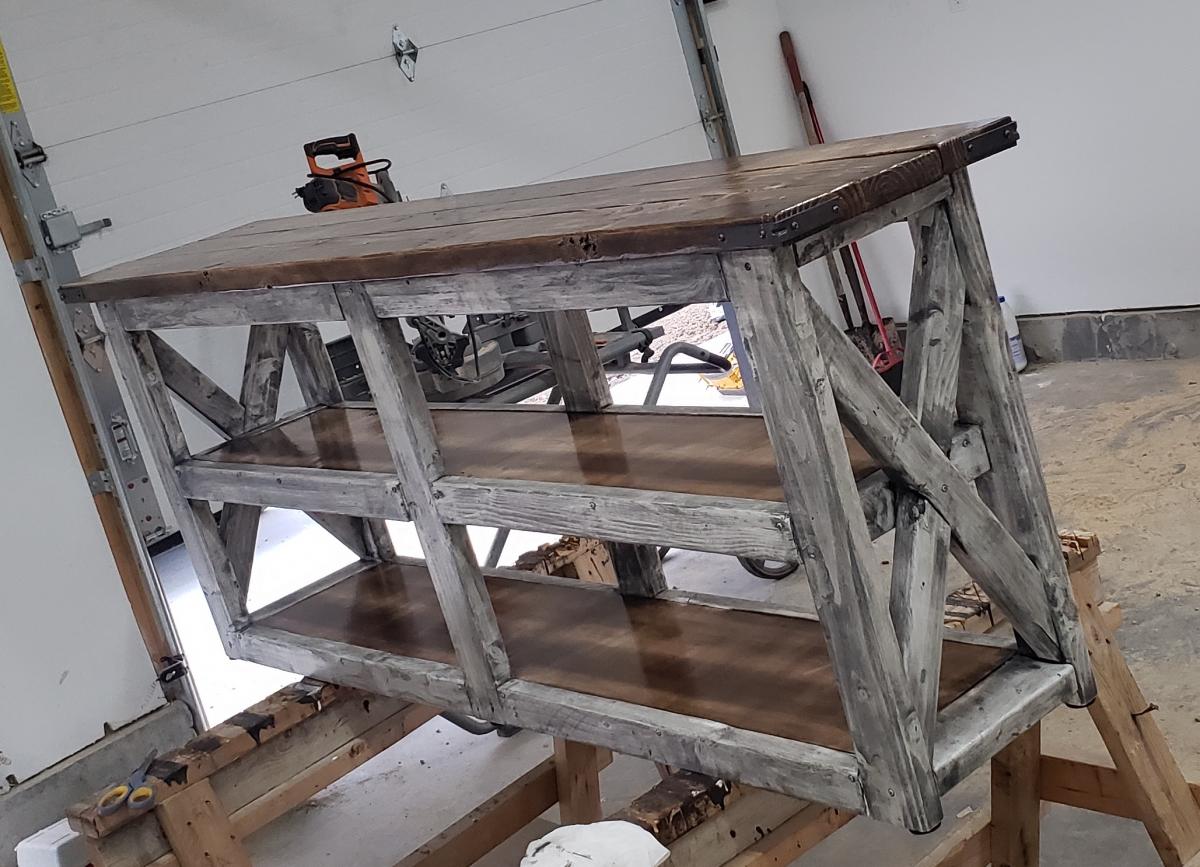
Rustic X Console Table Build

Submitted by amandak778 on Wed, 05/13/2020 - 06:55

This was the first time I've ever set out to build something 100% on my own. I saw a photo of this table and fell in love and decided why not build it?! Made my material list, got all the supplies, and refused to let my husband help in any way shape or form :). I was able to finish the build and get paint on in a day and stained the 2nd day so one weekend later - I have my table!!!

The directions were great and now I'm working on my 2nd project and planning my third! Even started acquiring my own tools so I don't have to use the hubby's lol ;)

Built from Plan(s)
Estimated Time Investment
Weekend Project (10-20 Hours)

iTable

Submitted by I Rub on Sat, 07/07/2012 - 14:45

Easy build. Great and sturdy results.
Great build for beginners and for some learning experience with a Kreg Jig. Table looks great and bulky.

Built from Plan(s)
Estimated Time Investment
Day Project (6-9 Hours)
Recommended Skill Level
Beginner

Comments

zendup

Sun, 08/11/2013 - 19:21

Did you use treated or untreated 4x4s? I am unable to find untreated ones where I live. Your table finish looks beautiful and I was curious as to whether or not your posts were treated.

JessicaHall

Sun, 08/11/2013 - 21:15

I was wondering the same thing myself about the 4x4's. Where I live the treated ones are about $7 and the untreated about $30. Also I have heard that you may have trouble staining or painting your treated 4x4's. I want to make a coffee table from one of your plans but I do not want to spend that much just on a 4x4. :/ Beautiful table though!

Corona Coffee Table

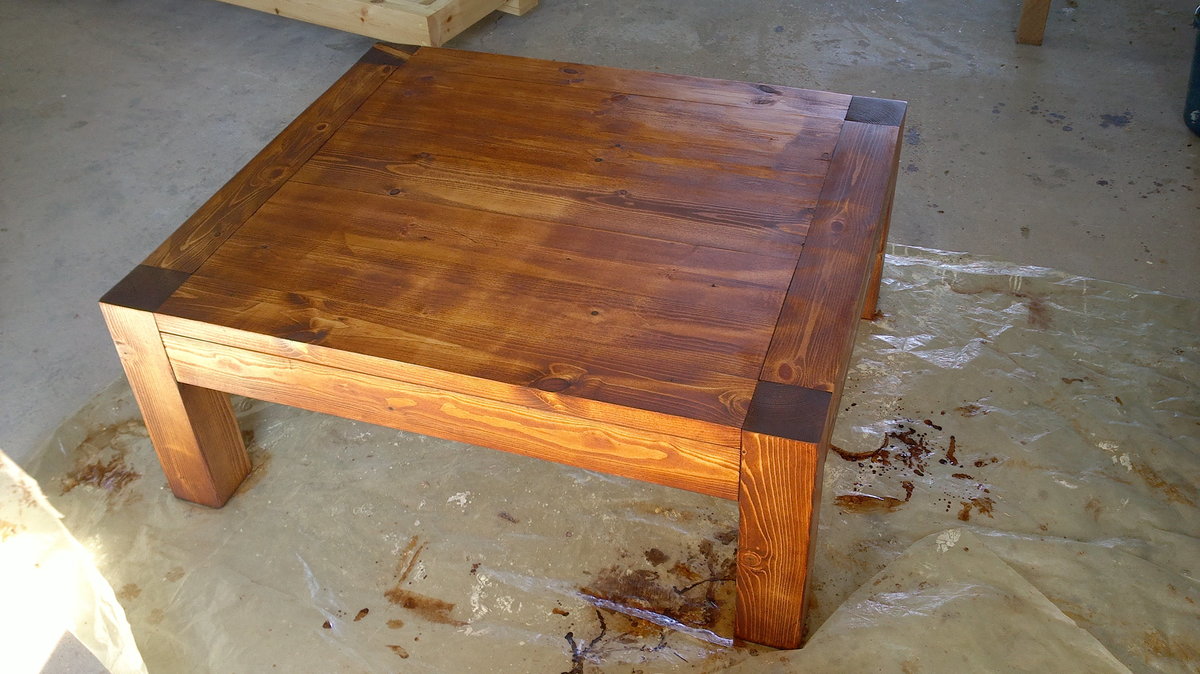
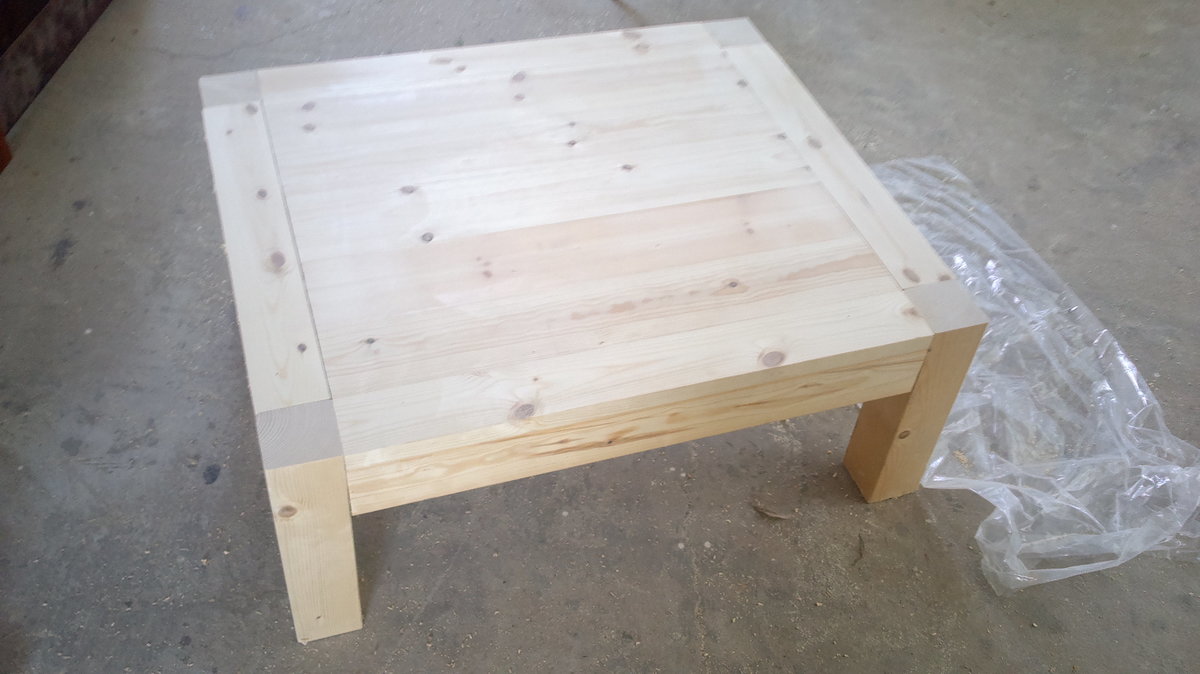
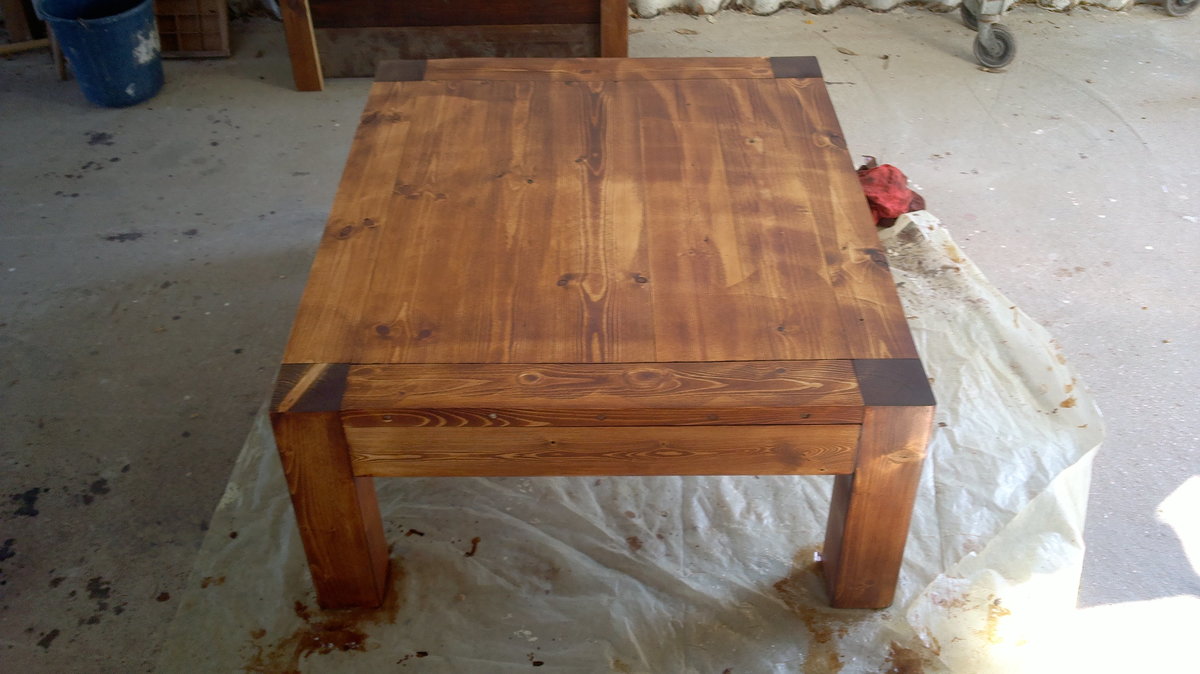
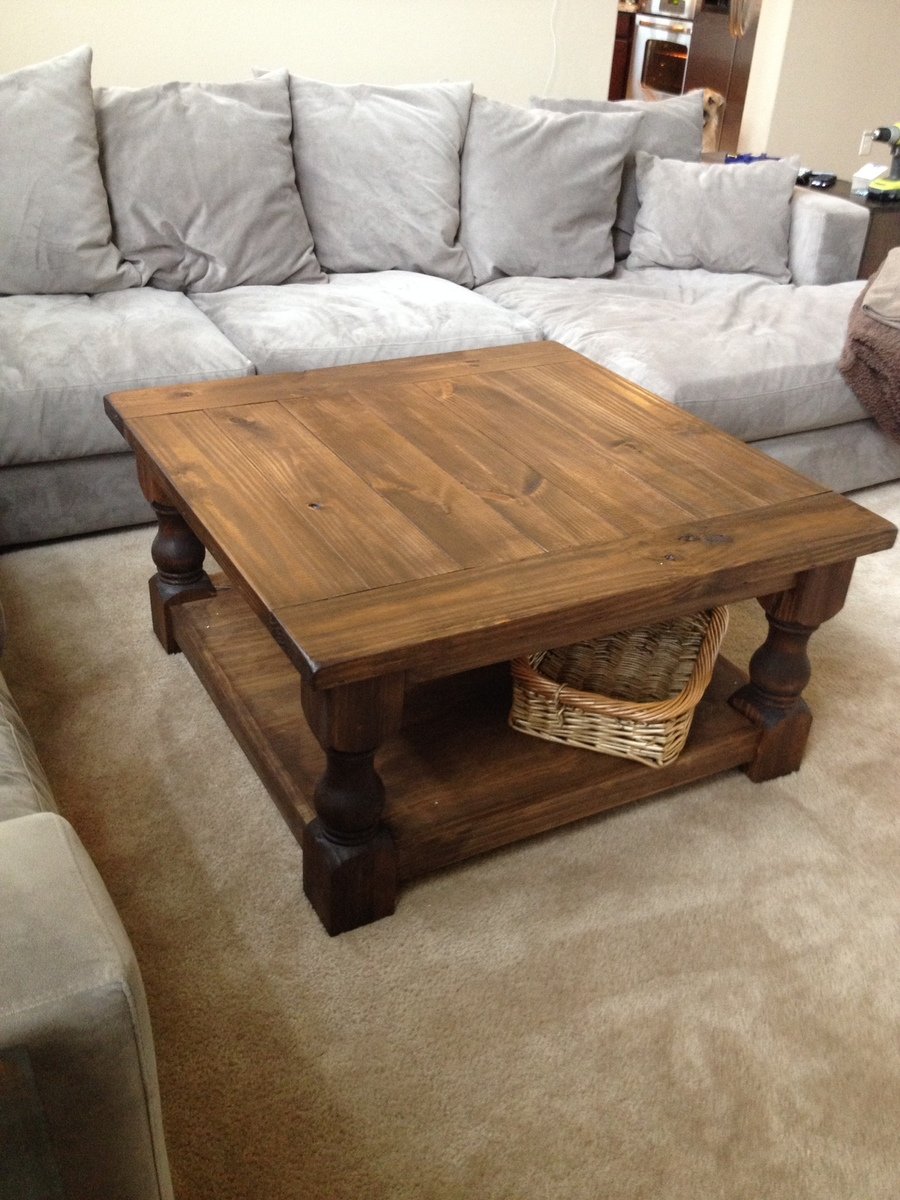
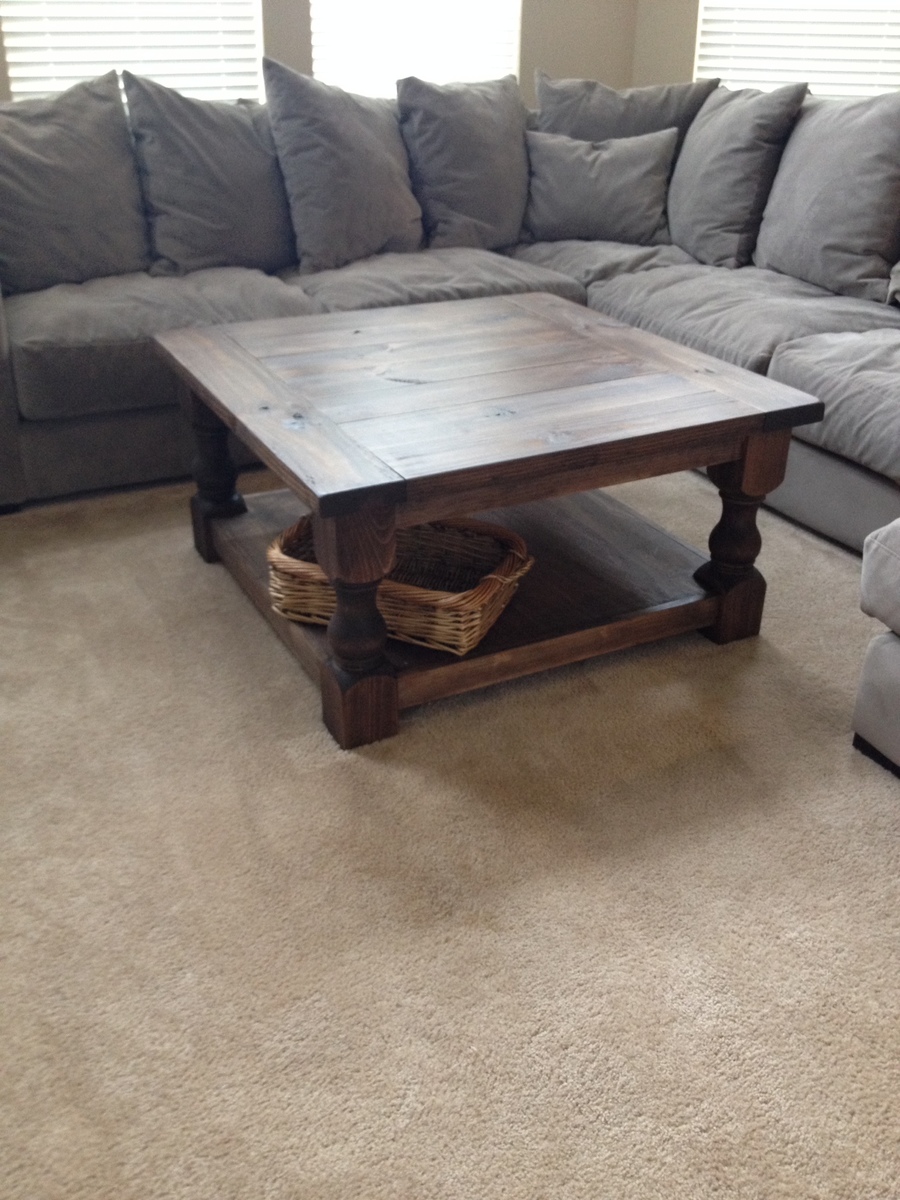
This was one of the easiest builds. When I saw this plan I knew it was perfect for my living room. Its a big coffee table but doesn't look that way in the pictures since it works well with my big sofa.

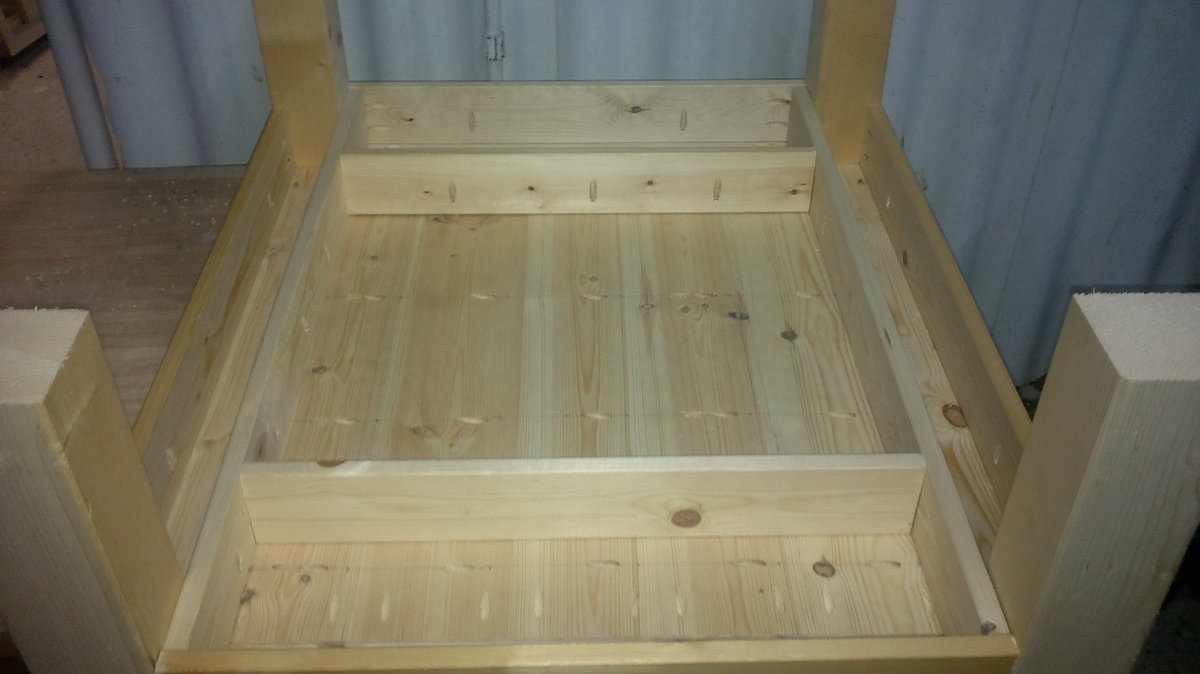
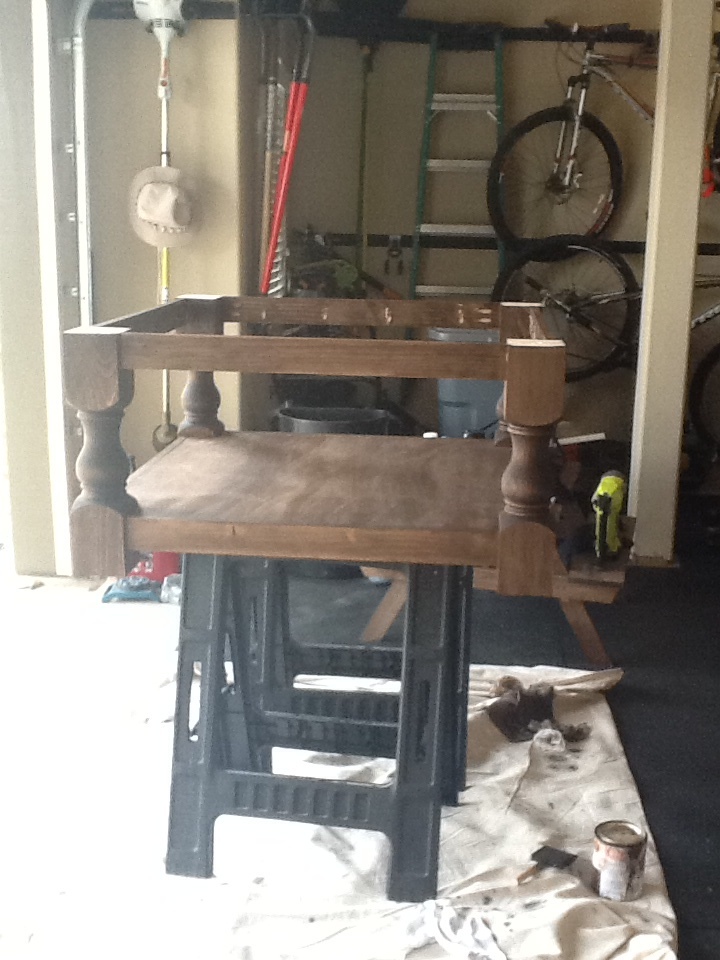
I stained the base before I attached the top which helped. I also didn't attach the top until it was in the living room since the top alone is pretty heavy. I also had my local HD cut the plywood.

Built from Plan(s)
Estimated Time Investment
Afternoon Project (3-6 Hours)
Finish Used
Rustoleum Dark Walnut (1 coat)
Recommended Skill Level
Beginner

Comments

Parson's Tower Desk - Slightly Modified.

Submitted by Anonymous (not verified) on Mon, 07/25/2016 - 11:42

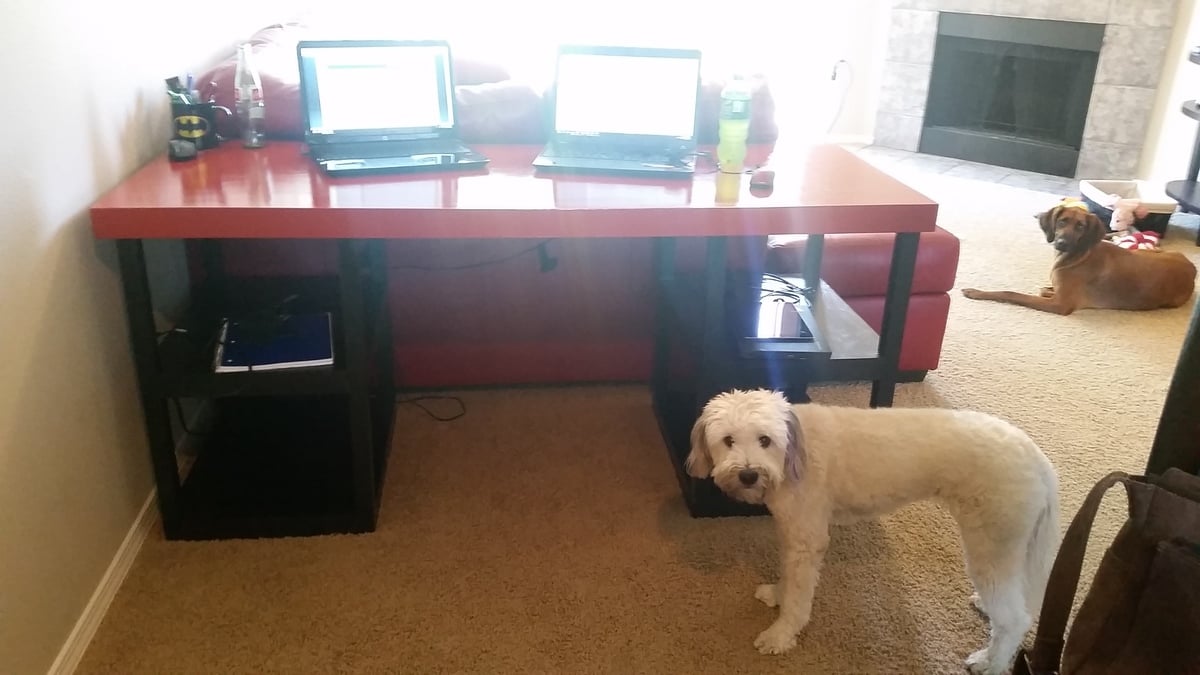
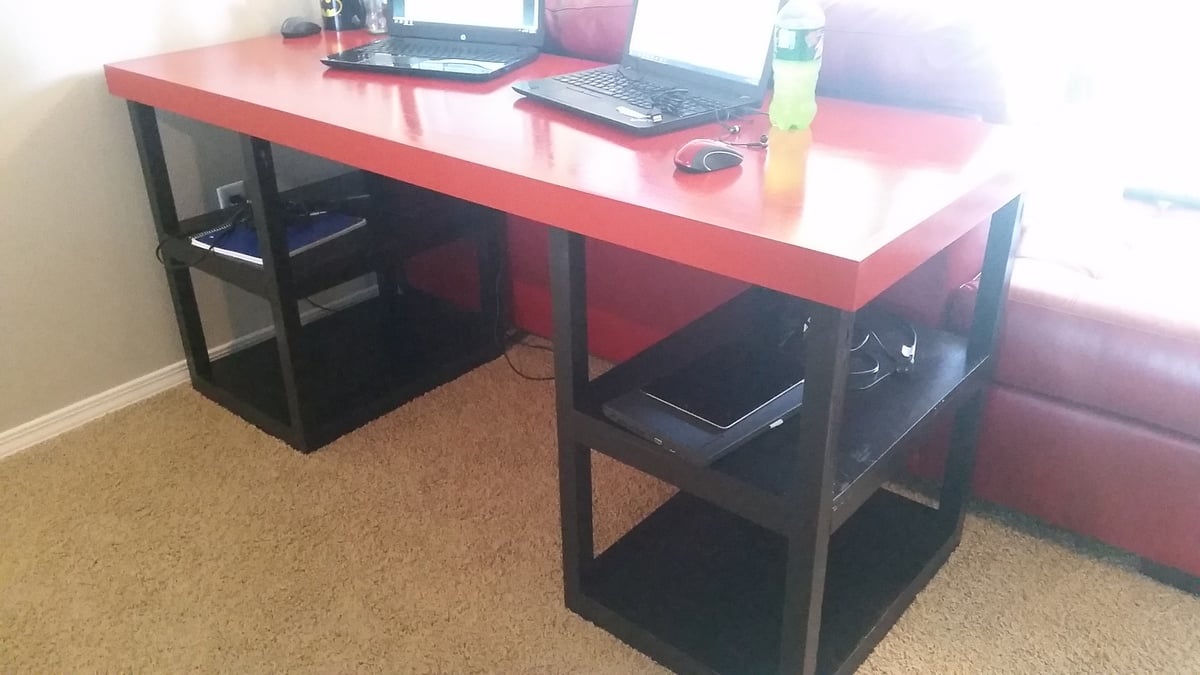
This was a great / simple plan that mostly fitted my needs. i made a few modifications;

1.  wider 'human' well - extended the width by 6"

2.  Deeper desktop - Extended to 24"

3.  2.5x.75" trim piece around table top - simple MDF 

4.  plywood on top of 2x2 frames - for all shelves and table top.


(the dimensional modifications required 2 additional 2x2 @8')


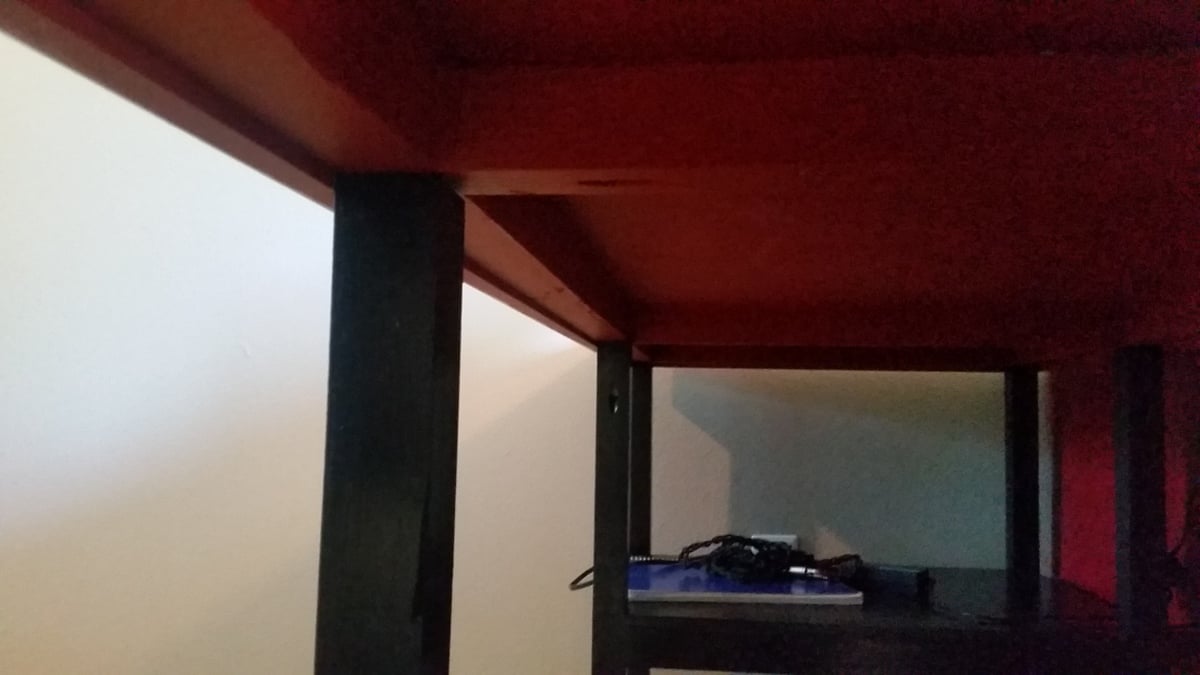
I like a larger leg well to shift around in on those long days, so i extended the width by 6" all applied to the foot well.  I was still able to use only 1 8x4 piece of .75" sanded plywood.   I use 2 computers and a second monitor on one, so I deepened the desktop from 18 to 24" to accomidate my technology.  This then required an adjustment to all 15" 2x2s used on the sides, and the shelve stretchers. I prefered to use a Plywood on top of frame method for all shelves and tabletop, for stregnth and asthetics. This required me to make a notch into all 4 corners of each shelf. To accomplish, be sure to start with a squared piece of plywood cut to dimensions, and measure the from the insides of the cutouts for precise fit.  The under shelf frames were still affixed with pocket hole screws, the tops of each were screwed to the frame with 2" wood screws (pre drilled) and smoothed over with wood filler.  the top received the same, 2x2 frame around the perimiter, along with two additional 21" supports (at the same location as the inner legs from the towers). The top was the affixed with 2" wood screws, and smoothed with wood filler.  


For asthetic purposes, I put in a 2.5x.75" trim piece around the top (to hide the frame/plywood seam) This actually worked out great!!  It is mounted flush with the plywood top , 2" wood screws about every 12 inches and a healthy amount of wood glue. (be careful, these come pre-faced with a layer of white.. something.. this does not make a good glueing surface.  Sand down before glueing to the tabletop.).  Screws were countersunk, add wood filler to smooth.  the best part of the trim is that it extendes .25" below the wood frame (1.5" frame, with   .75" plywood on top = 2.25" total thickness). this allows allowed me to not screw the towers into the top.  The legs fit in underneath the top, butted to the top's frame, and the recess created by the trim holds them in place! This will make for super simple moving should I need to relocate my desk; just lift off the top, and it's in 3 pieces!!   this step adds a bit of work and $ (really not too much, 3 2.5"x.75" MDF trim pieces adds an additionan $12, and mounting only took an additional 20 minutes.)


I finished with a two tone top quality paint job, two coats of primer, 2 coats of paint, 2 coats of Polyurathane (3 on the tabletop).


All in all, it worked fantastically!!! it is incredibally sturdy.  The plans are simple to follow, and easy to modify, just do the math, and draw it out..


Thank You Ana!


-MikeG.

(ps. the white one is Winnie, the Brown is Henry).
Built from Plan(s)
Estimated Cost
?? maybe $100?? but that included too much top quality paint, and the worlds best urethane. wood is cheap in Oregon.
Estimated Time Investment
Weekend Project (10-20 Hours)
Finish Used
Kilz Latez Primer
Baer Black - Flat
Baer Moroccon Red - Flat
General Finishes Arm-R-Seal (gave it a satin finish on Flat paint.. not what i was going for, but i love how it looks)
Recommended Skill Level
Beginner

White Farm Bed

Submitted by Anonymous (not verified) on Mon, 01/15/2024 - 18:20

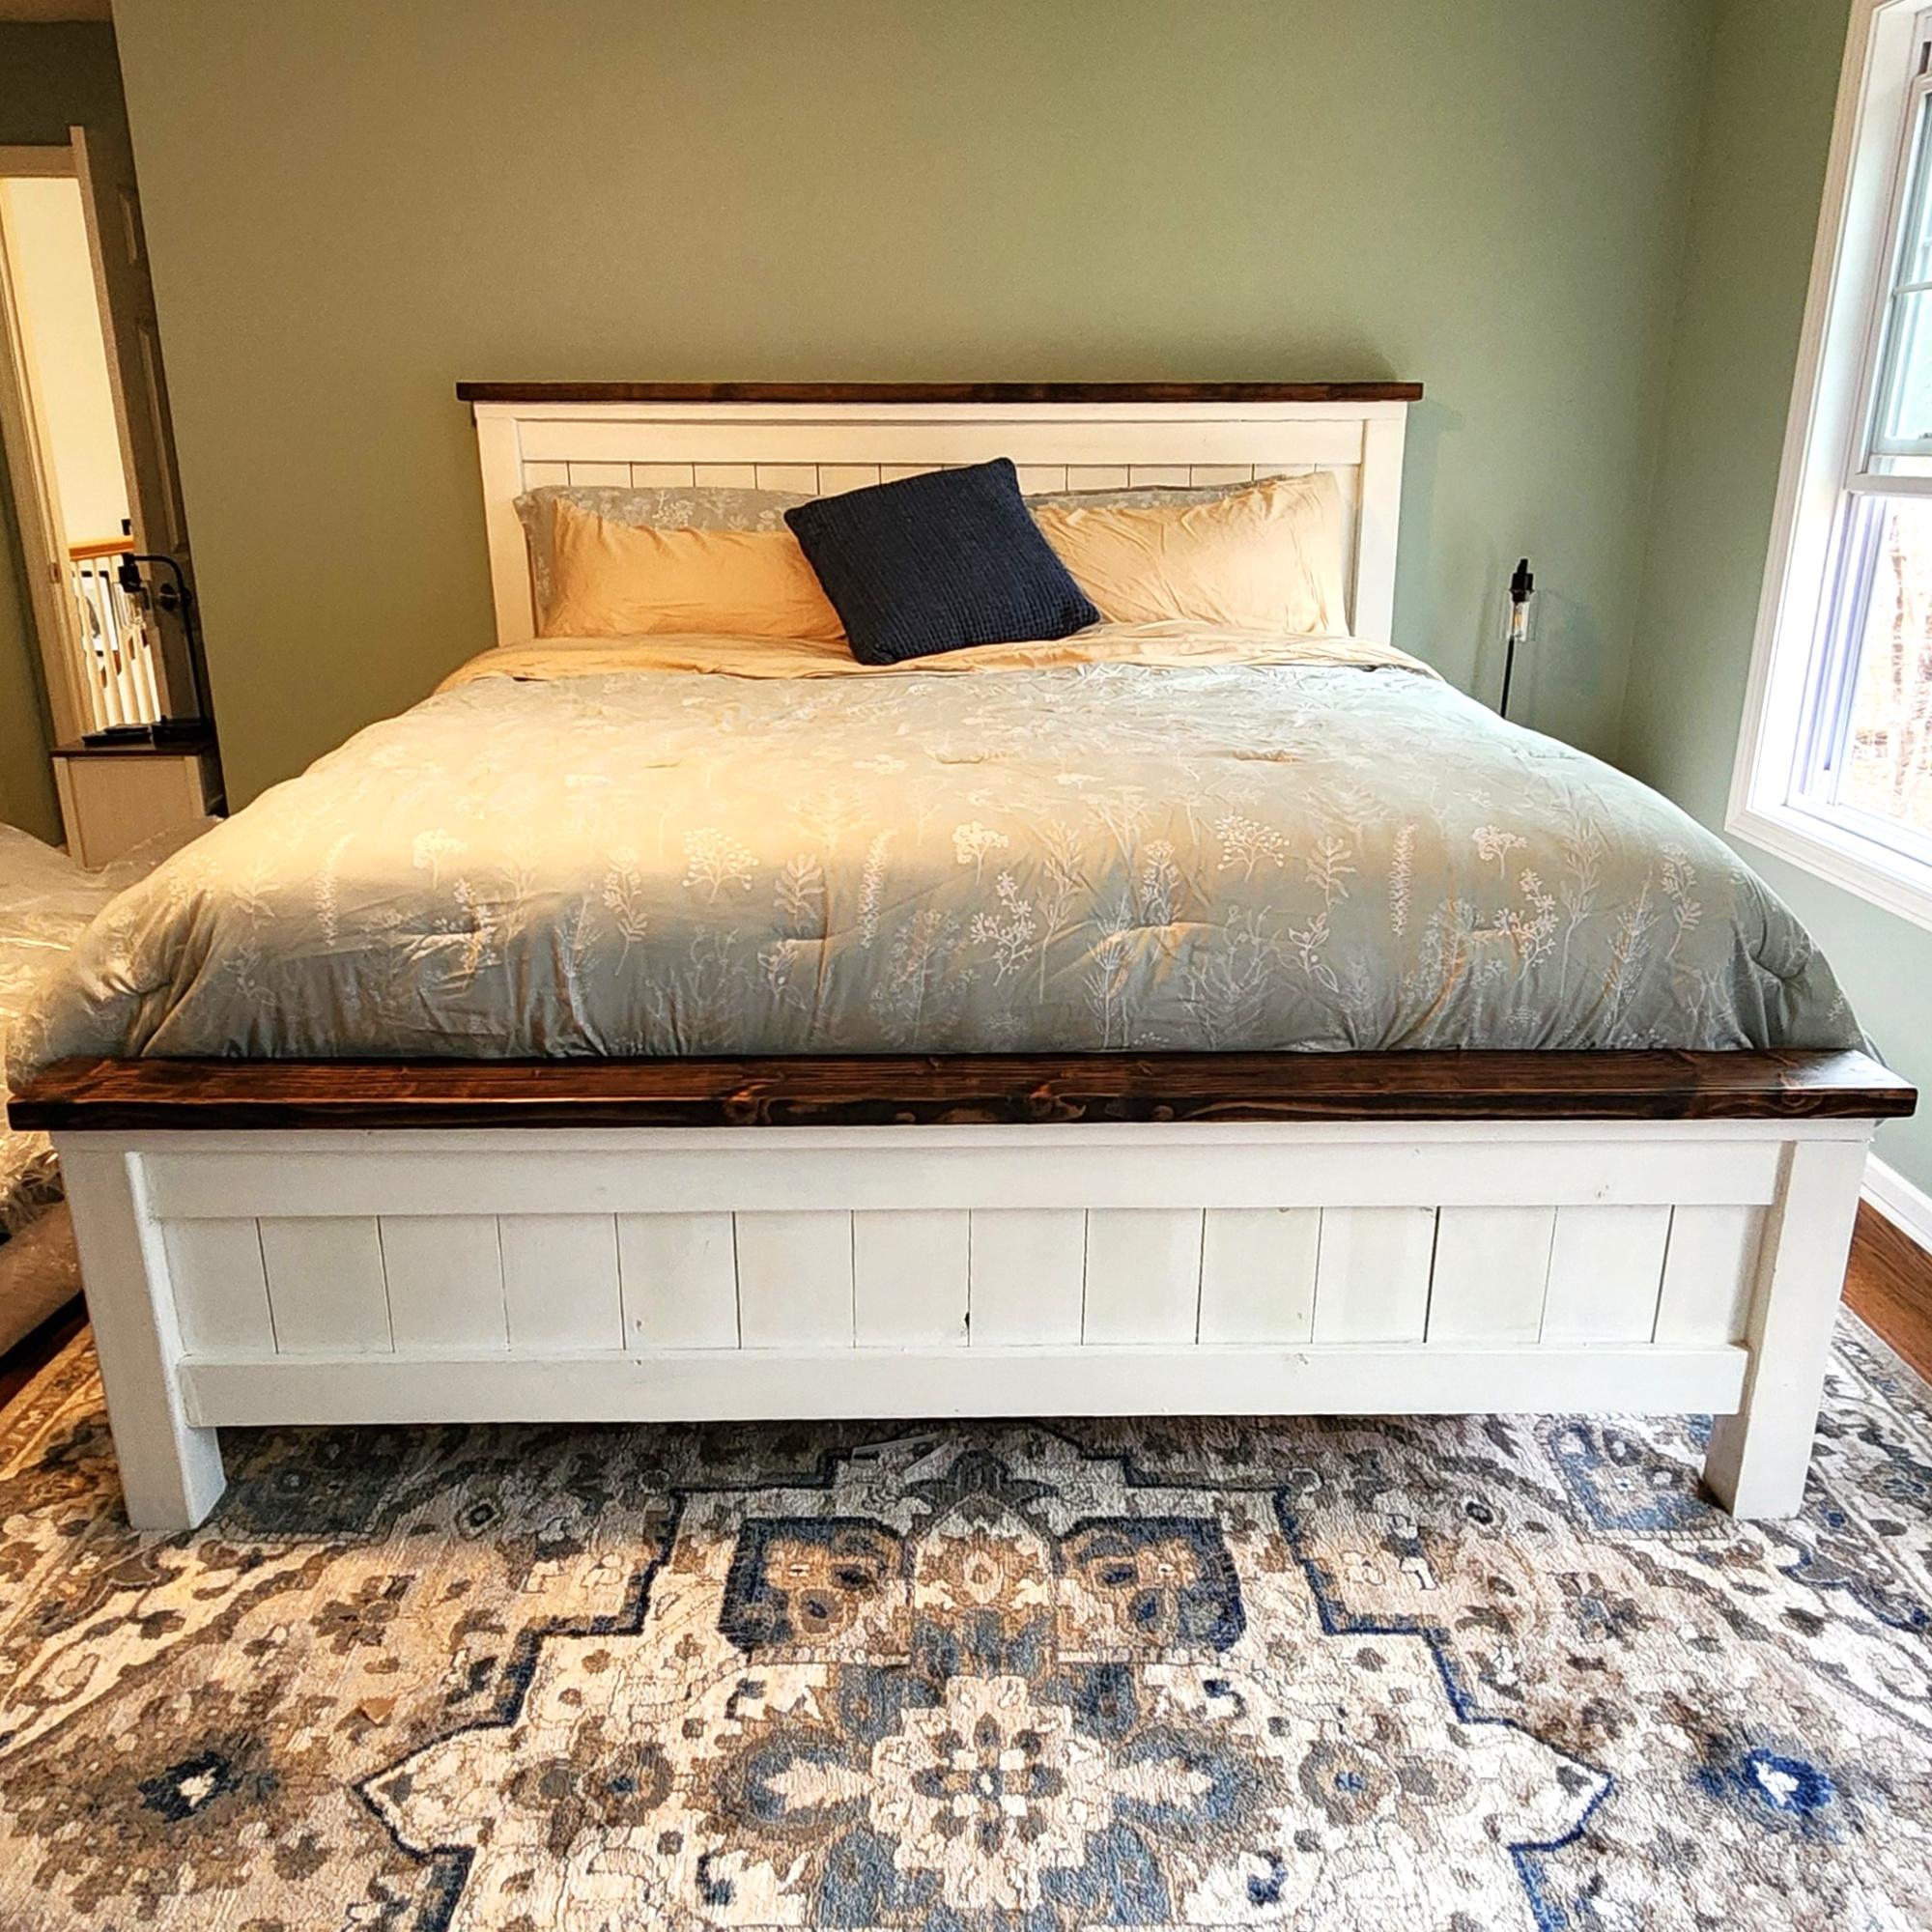
I was recently divorced and decided to fully transform my bedroom. It's not quite done in this picture - but the bed is! This is Ana's King farmbed, and it's amazing.

Comments

DIY RH Dining Table

Submitted by vlilly on Sun, 04/27/2014 - 13:22

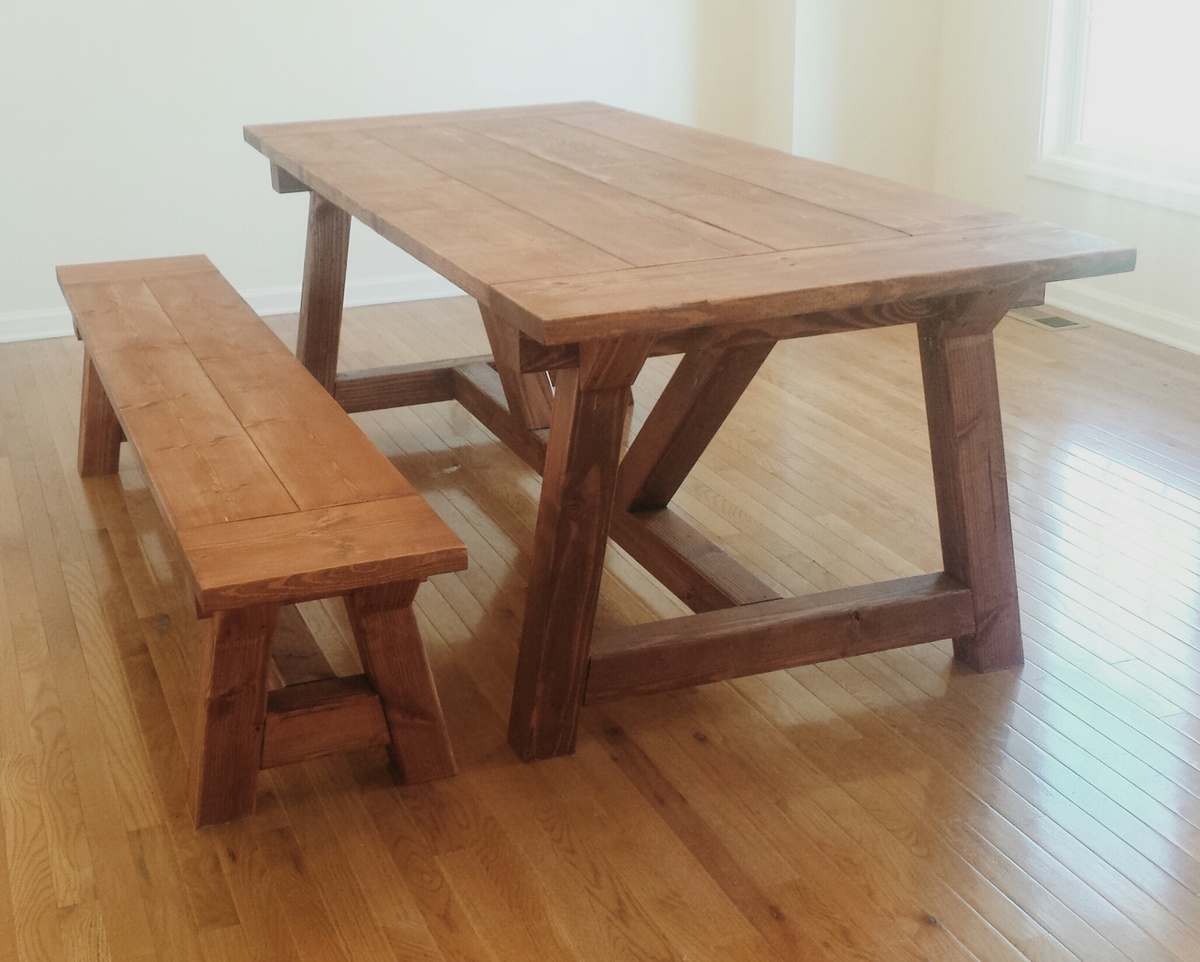
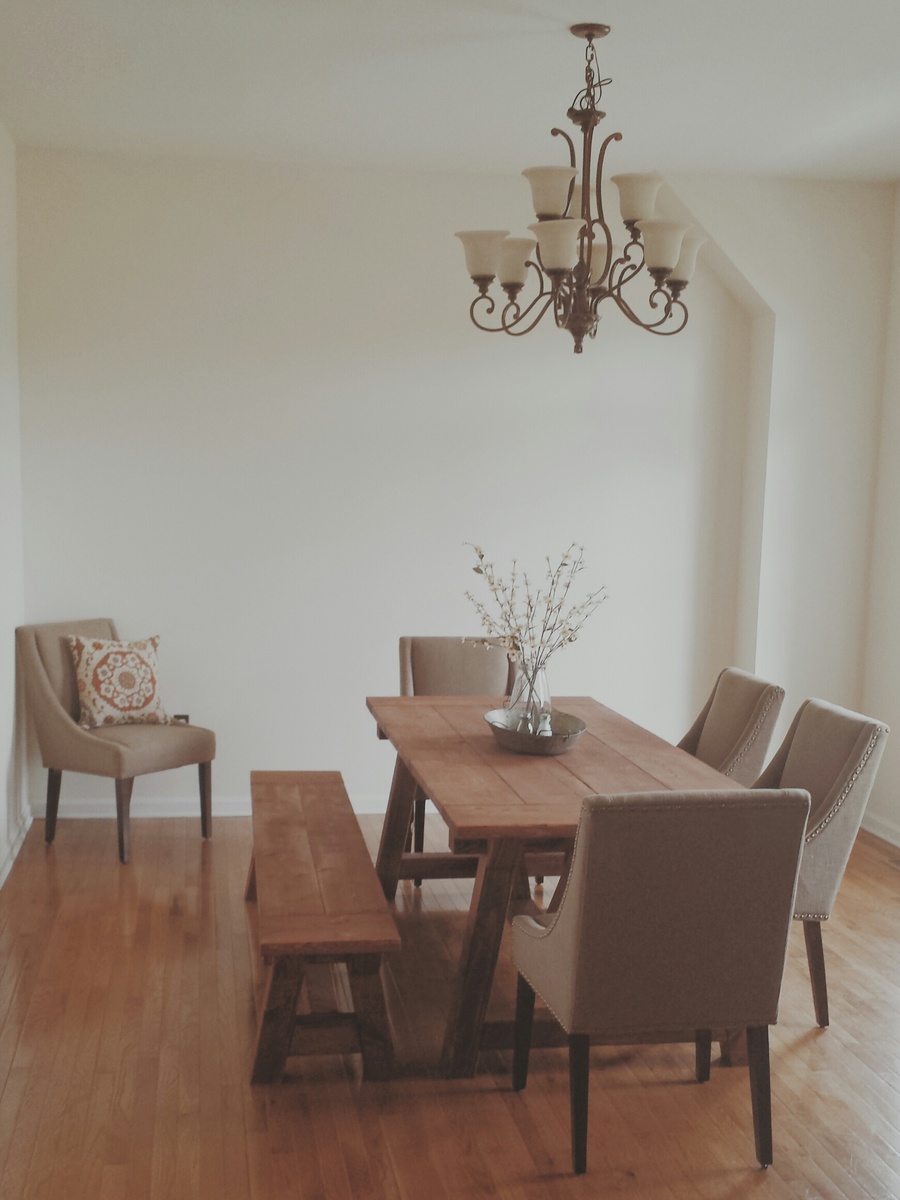
I loved making this! I had to travel about 2 hours to get the DF 4x4s which was the only pain in making it. This was my third big project and it wasn't hard at all! It's super heavy so it was a litte tough to turn it over. It only took me about 3 days to make it once I had all the wood.

Estimated Cost
$175-$200
Estimated Time Investment
Weekend Project (10-20 Hours)
Finish Used
Stained with Rustoleum American Walnut, then applied a coat of Rustoleum Poly in matte.
Recommended Skill Level
Intermediate

Classic Bunk Beds

Submitted by Anonymous (not verified) on Wed, 07/27/2016 - 13:57

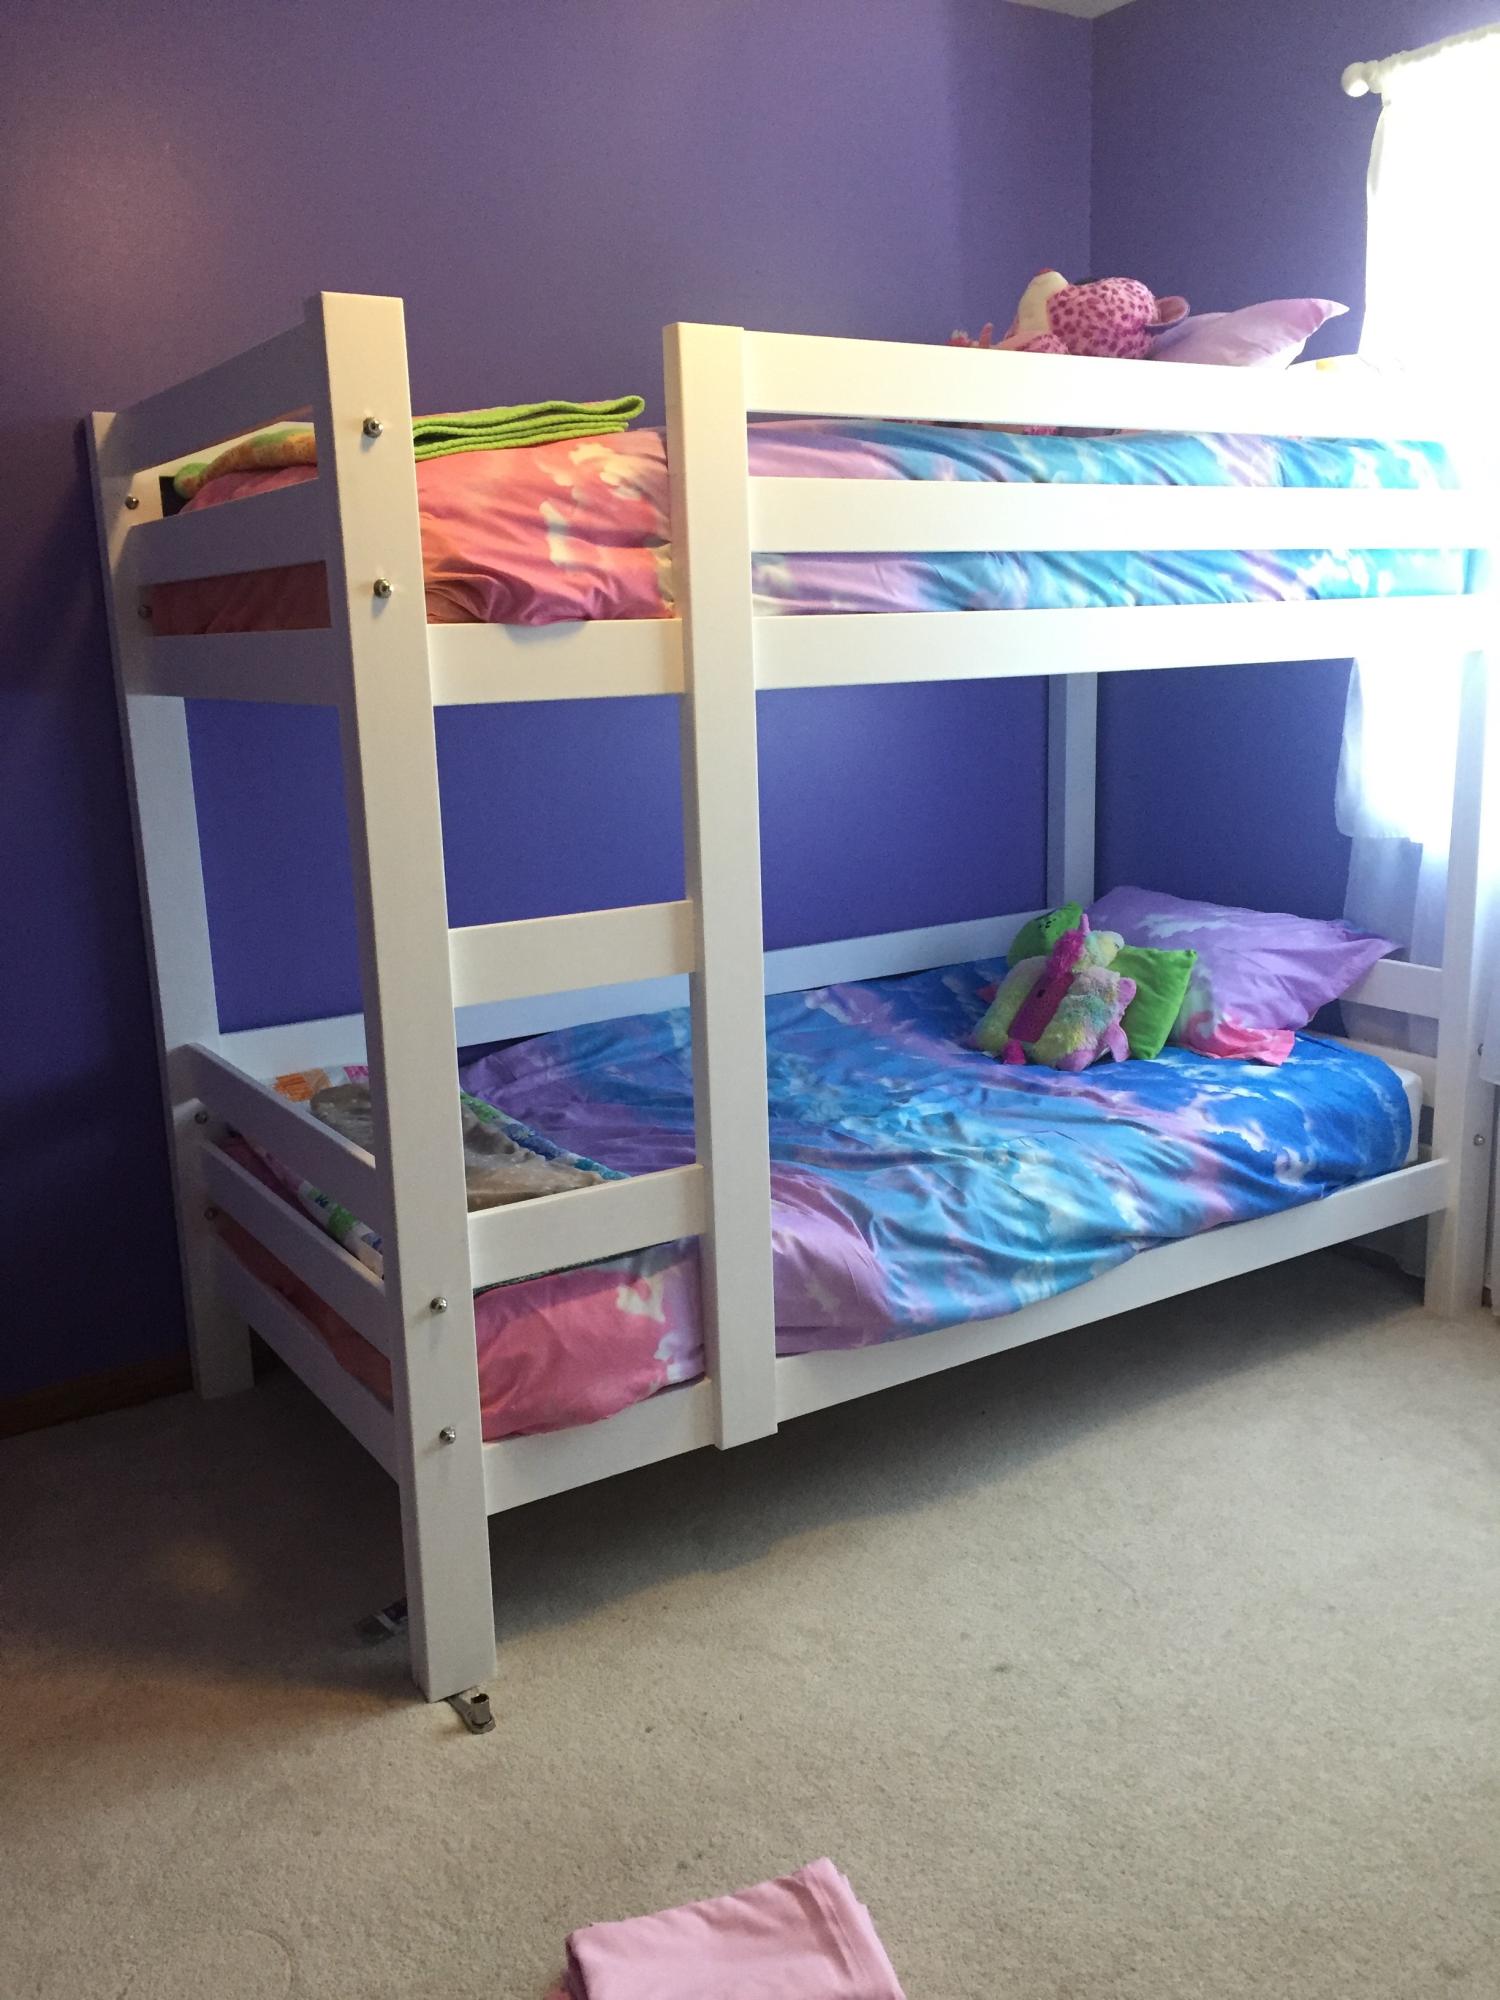
I basically followed Ana's plans that she laid out in her origanal post minus moving the ladder over to the other side.  The kids loved it since we surprised them while they were out of town with the grandparents.  In about 2 years I'll be building another set for the younger 2 girls! 

Built from Plan(s)
Estimated Cost
$300, but I bought select grade wood.
Estimated Time Investment
Weekend Project (10-20 Hours)
Finish Used
Painted with an eggshell white interior paint. I used a paint sprayer to get a nice, smooth finish.
Recommended Skill Level
Intermediate

Modern Park Bench

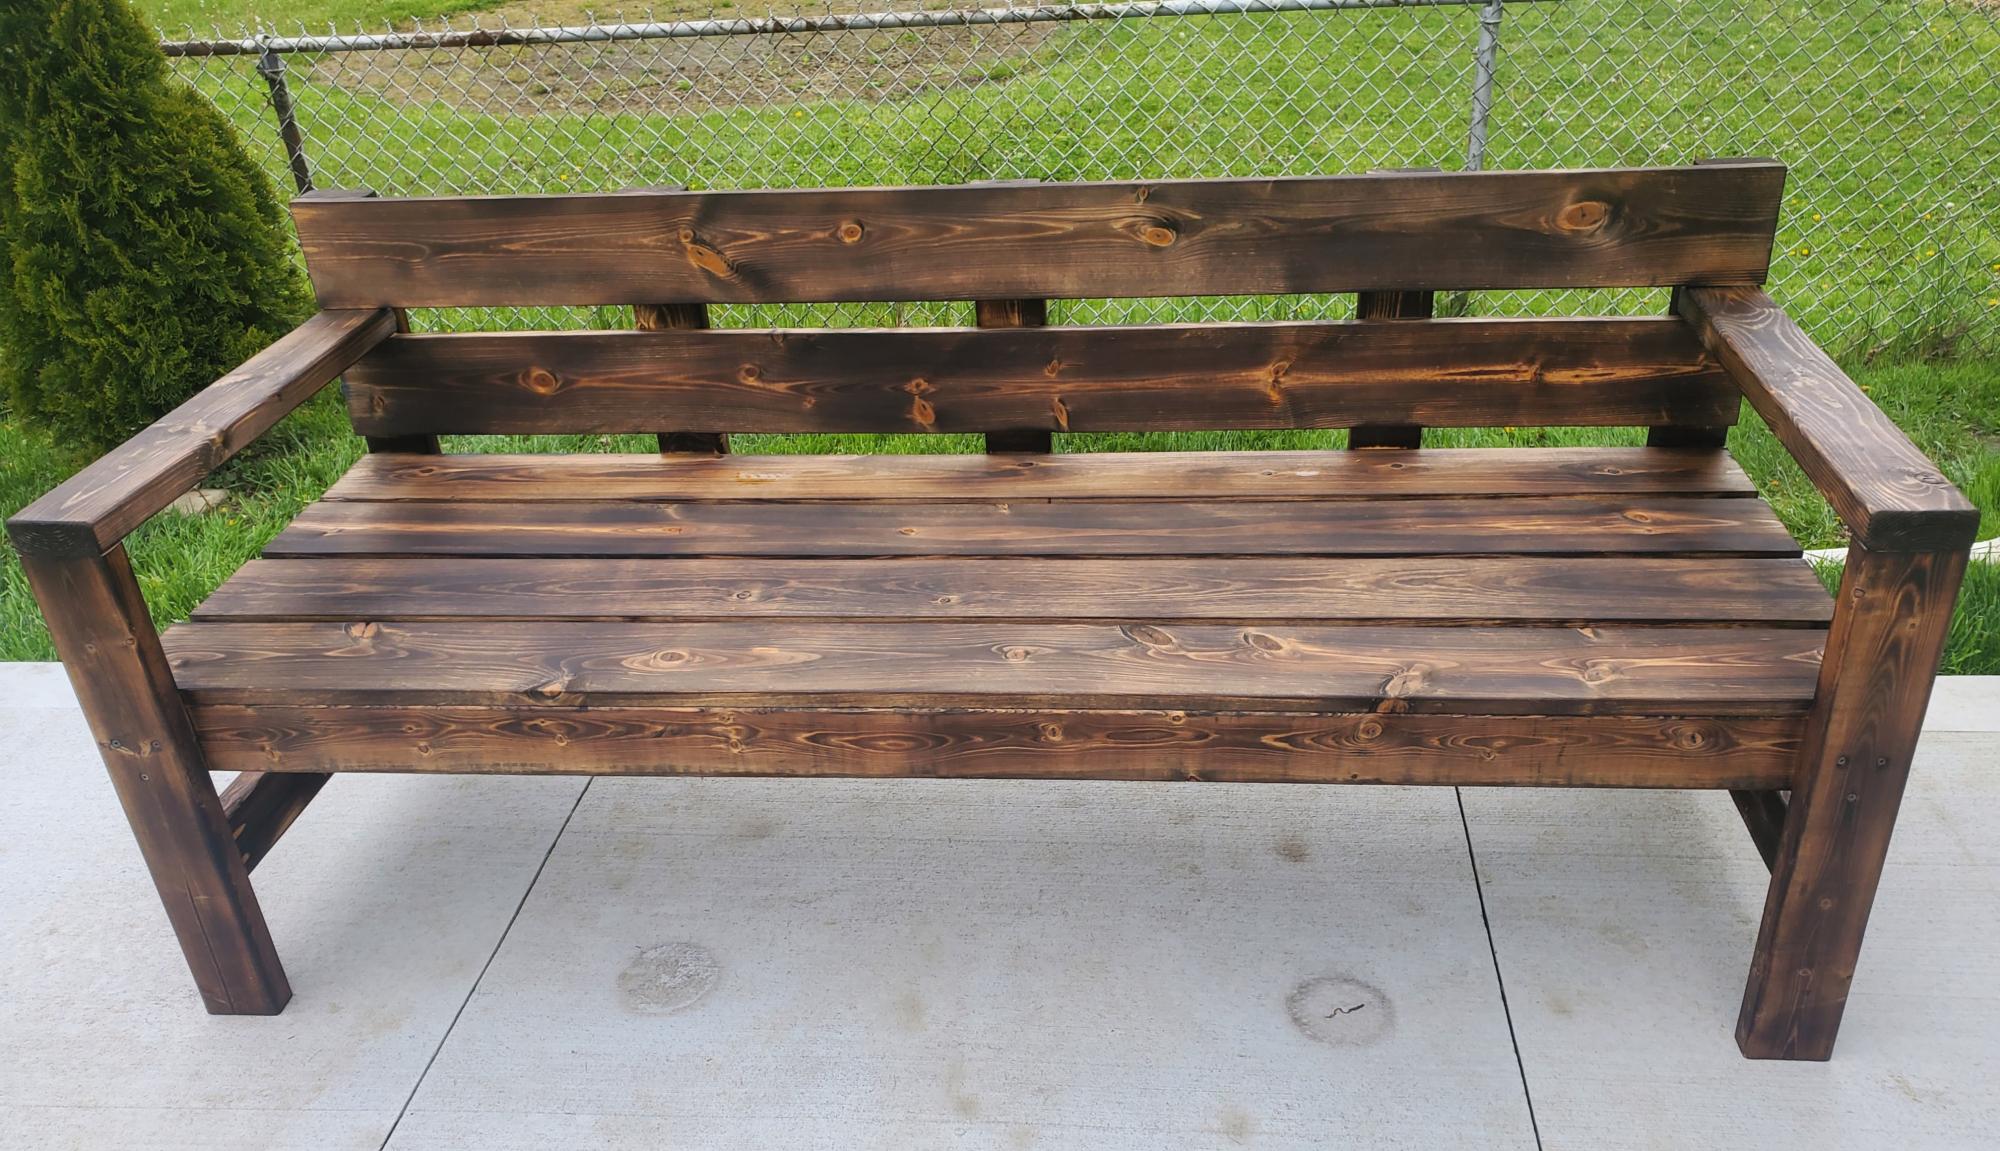
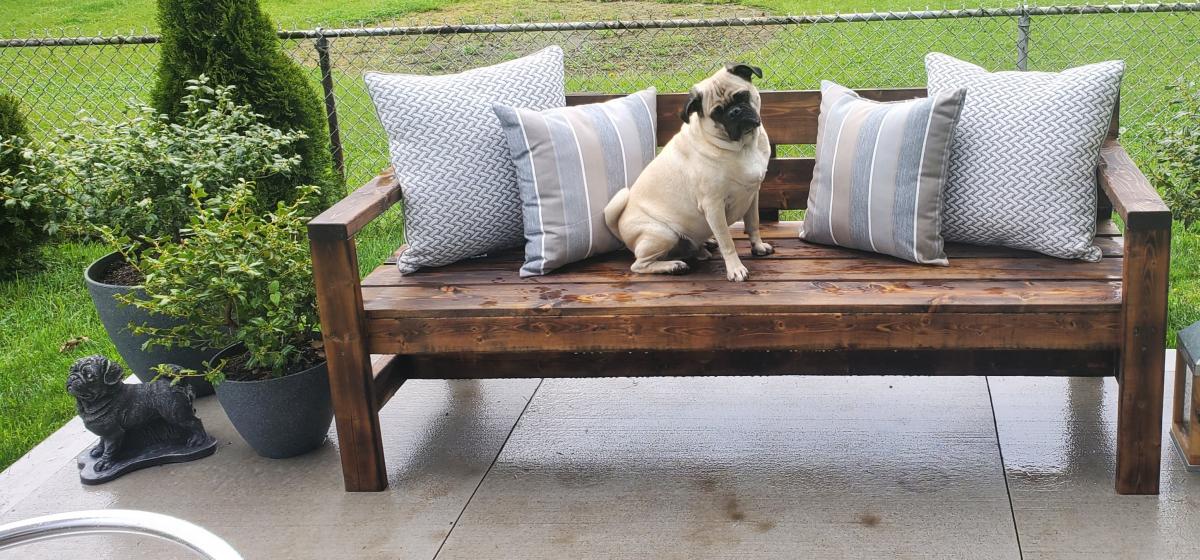
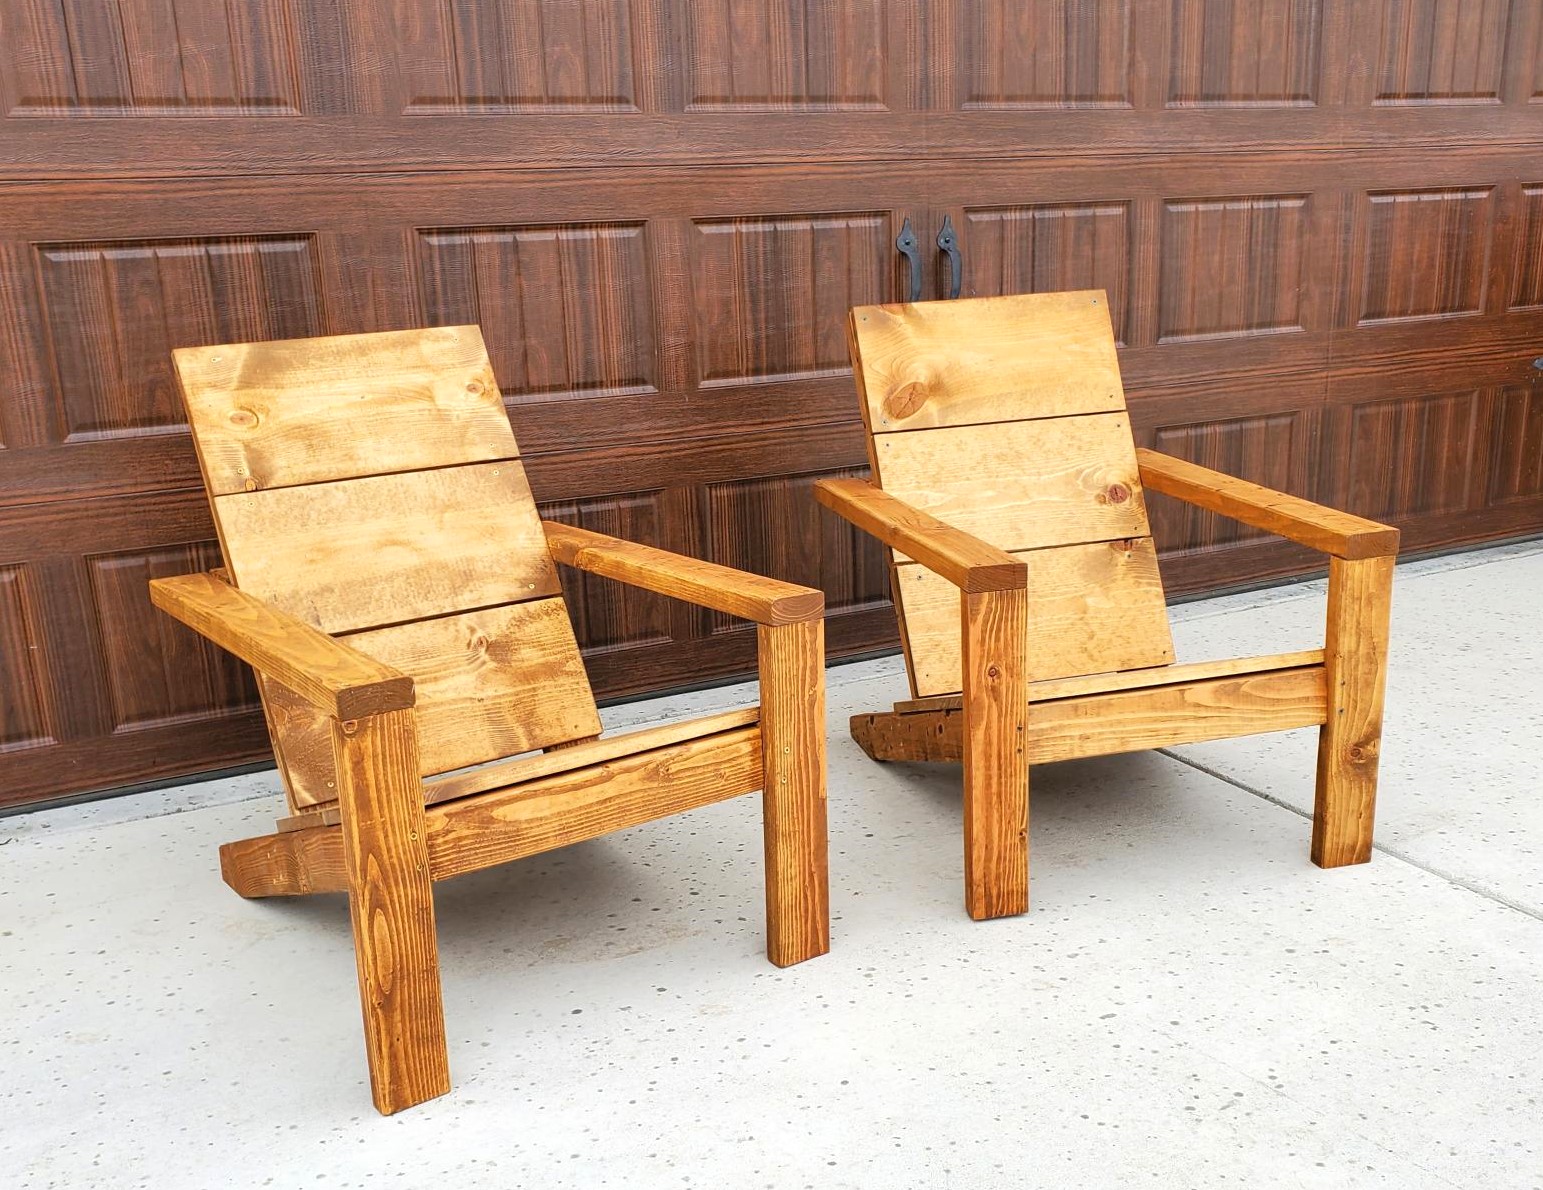
I made the Modern Park Bench with a shou sugi ban treatment for my first wood working project. Love it & so does my pug Maximus! Thanks Ana for the easy to follow step by step instructions! Already looking forward to my next build.

Built from Plan(s)
Estimated Time Investment
Afternoon Project (3-6 Hours)
Finish Used
Shou sugi ban

Simple White Outdoor Table

Submitted by solomonson on Tue, 07/10/2012 - 14:25

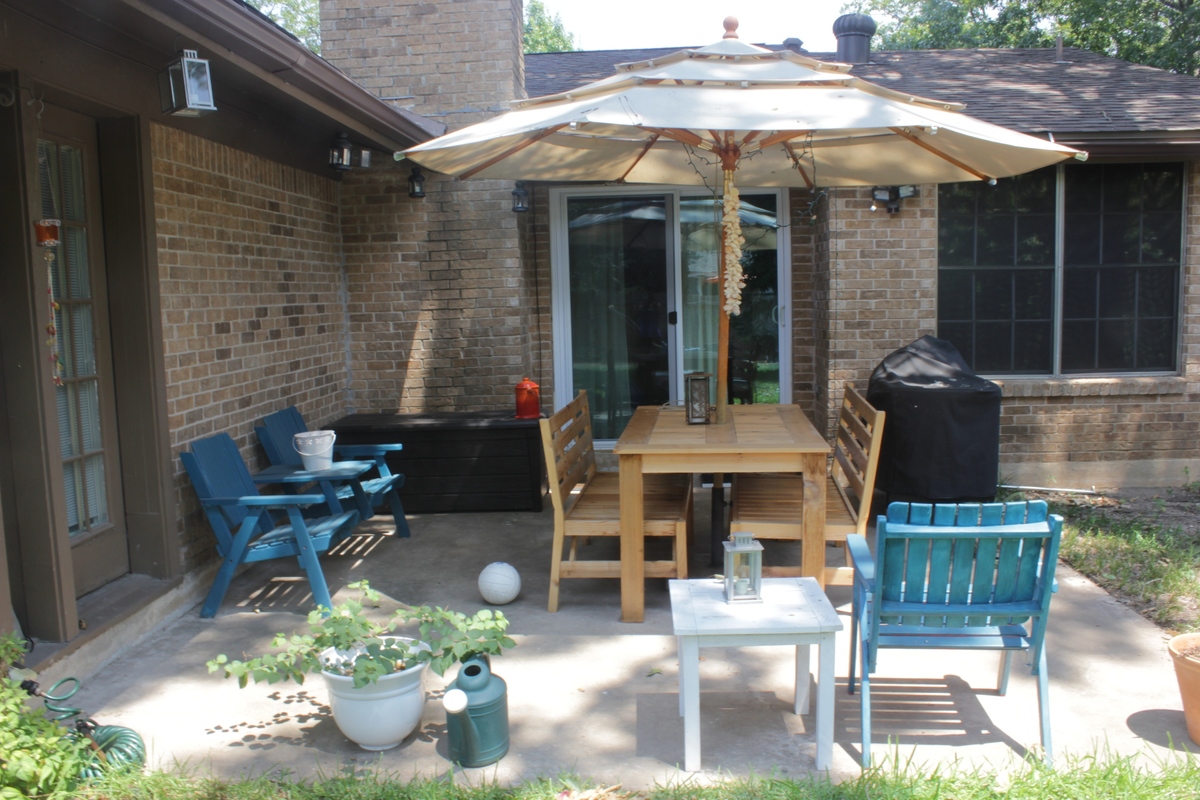
This little table was part of a larger overhaul for my patio, which was just a sad little slab before. I threw it together from scraps I had after building the table and benches. For some reason my Kreg jig did not like me that day so I built it using wood screws.

Built from Plan(s)
Estimated Cost
scraps
Estimated Time Investment
Afternoon Project (3-6 Hours)
Finish Used
I used some Valspar spray primer and white spray paint. It's not particularly durable, but that lends to the distressed charm.
Recommended Skill Level
Beginner

My daughter's toddler bed

Submitted by akutz on Tue, 04/29/2014 - 08:33

The Flickr gallery for this project is at https://www.flickr.com/gp/akutz/48S29J/.

My daughter is three now, but she when she was only 15 months old she was able to climb out of her crib. Because her crib mattress was rather expensive (organic per the wife's wishes), I decided to build her a toddler bed around the dimensions of her mattress. And I think it turned out rather well.

Unfortunately I didn't write down any plans other than the basic measurements. For the routing work on the hearts I traced the outside of the bottom of a standard paint can. For the heart in the middle of the headboard I simply free-handed it.

Yes, one of the hearts on the side is chipped. It was the last route of the entire project, and when it ripped off I was ready to be done with this because I had spent a lot of time sanding. So much sanding. Can't have my little girl getting splinters! So I decided that her daddy would just be the "first boy to break her heart." :)

The lumber was just red oak from Lowes. I don't recommend it for a first project. It is *hard* wood. It was extremely difficult with which to work for a beginner like myself. The internal slats were white pine since I didn't care about their appearance since they weren't going to be visible.

Please pardon the dow and dove-tailing work. I know it's shoddy, but this was my first attempt at wood-working. I come from a long line of master carpenters, but I haven't practiced at it in 15 years, and I live in the city with only an assortment of basic tools and half a garage filled with toddler toys as a work space. I did the best with what I have :)

Estimated Time Investment
Week Long Project (20 Hours or More)
Finish Used
I left the project unfinished
Recommended Skill Level
Starter Project

Simplest "Garage" Armoire

Submitted by YakFish22 on Sun, 07/31/2016 - 10:28

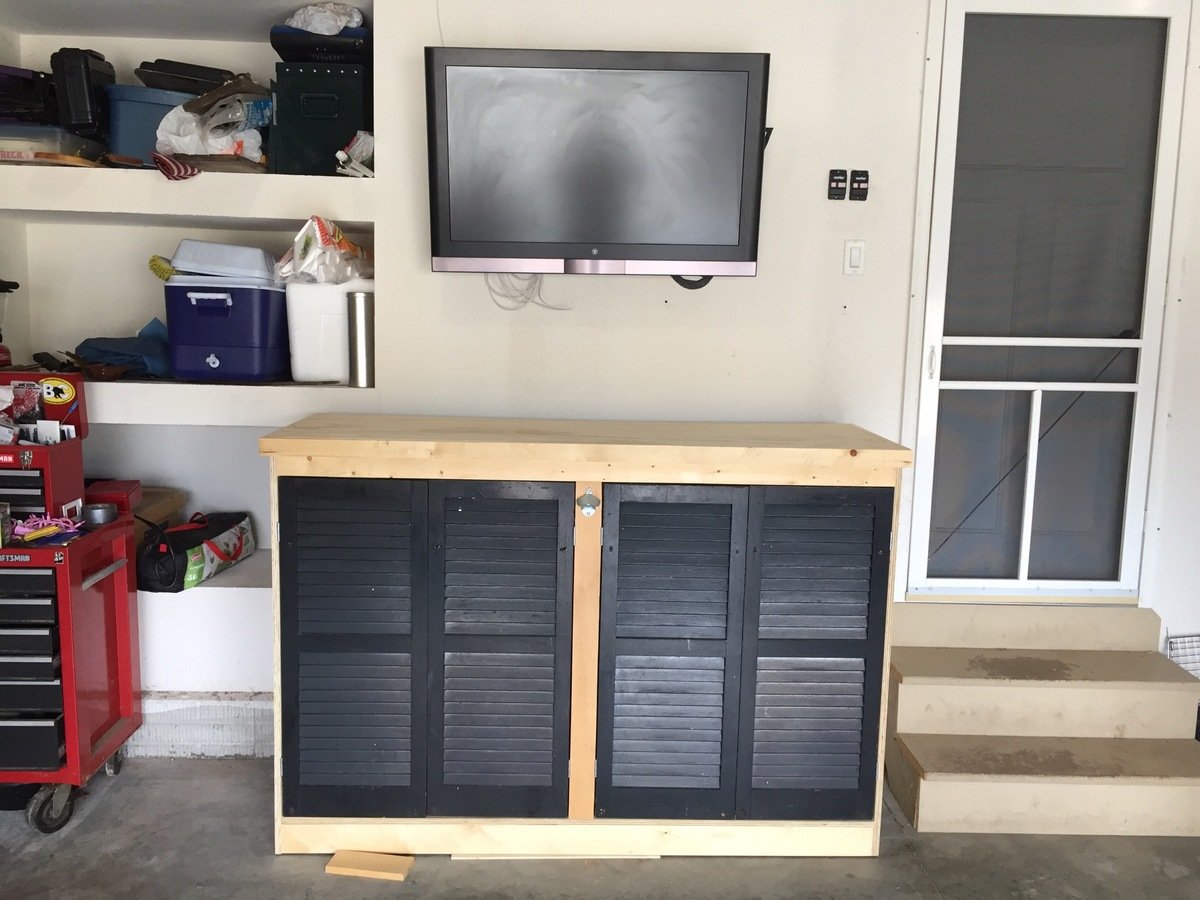
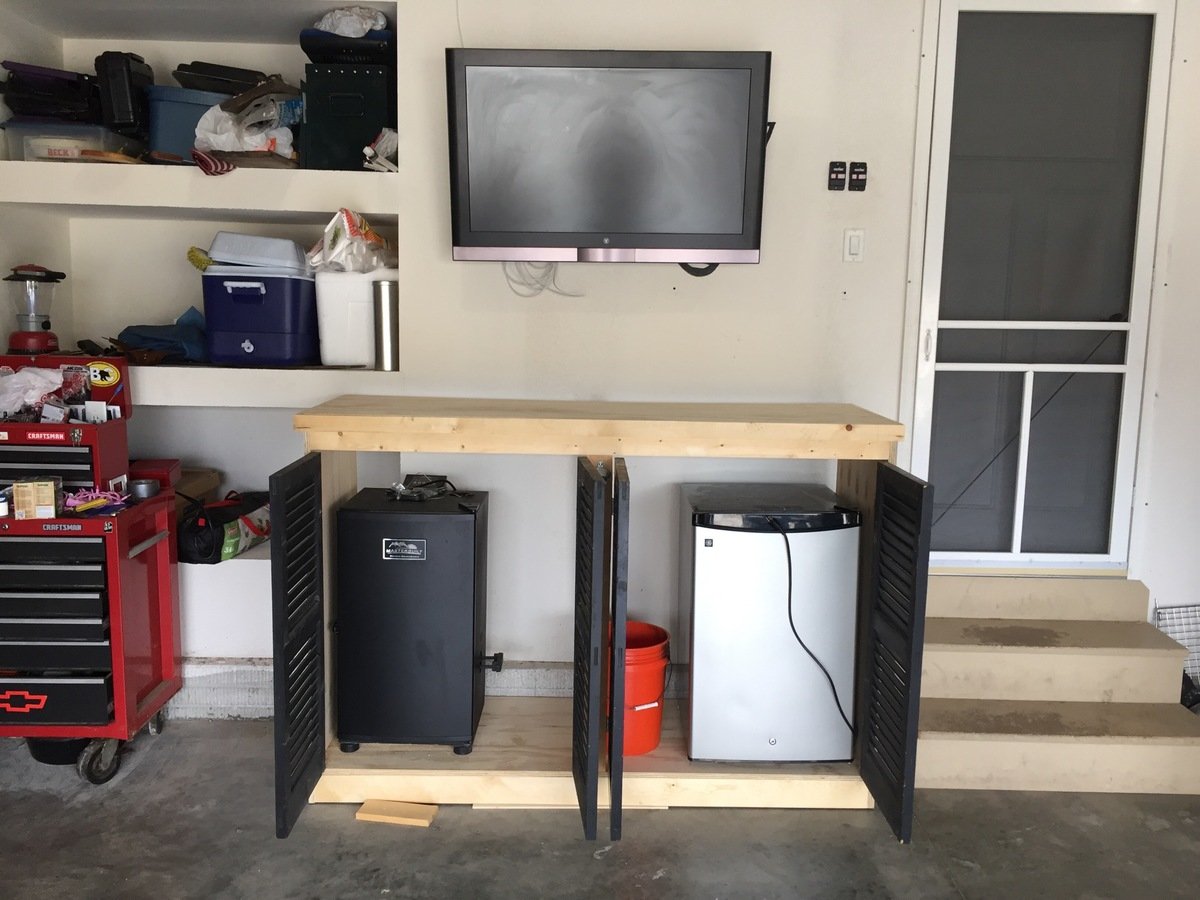
Some armoires look good in a bedroom. This one looks good in my garage storing my beer fridge and smoker. This took two pairs of repurposed shutters from the in-laws, two sheets of 3/4" plywood and some scrap lumber from around the garage. The best thing is with the Kreg tool, there are zero visible screw heads. 

Built from Plan(s)
Estimated Cost
$100
Estimated Time Investment
Afternoon Project (3-6 Hours)
Recommended Skill Level
Beginner

Dog Food Storage Box

Submitted by Anonymous (not verified) on Mon, 01/29/2024 - 12:00

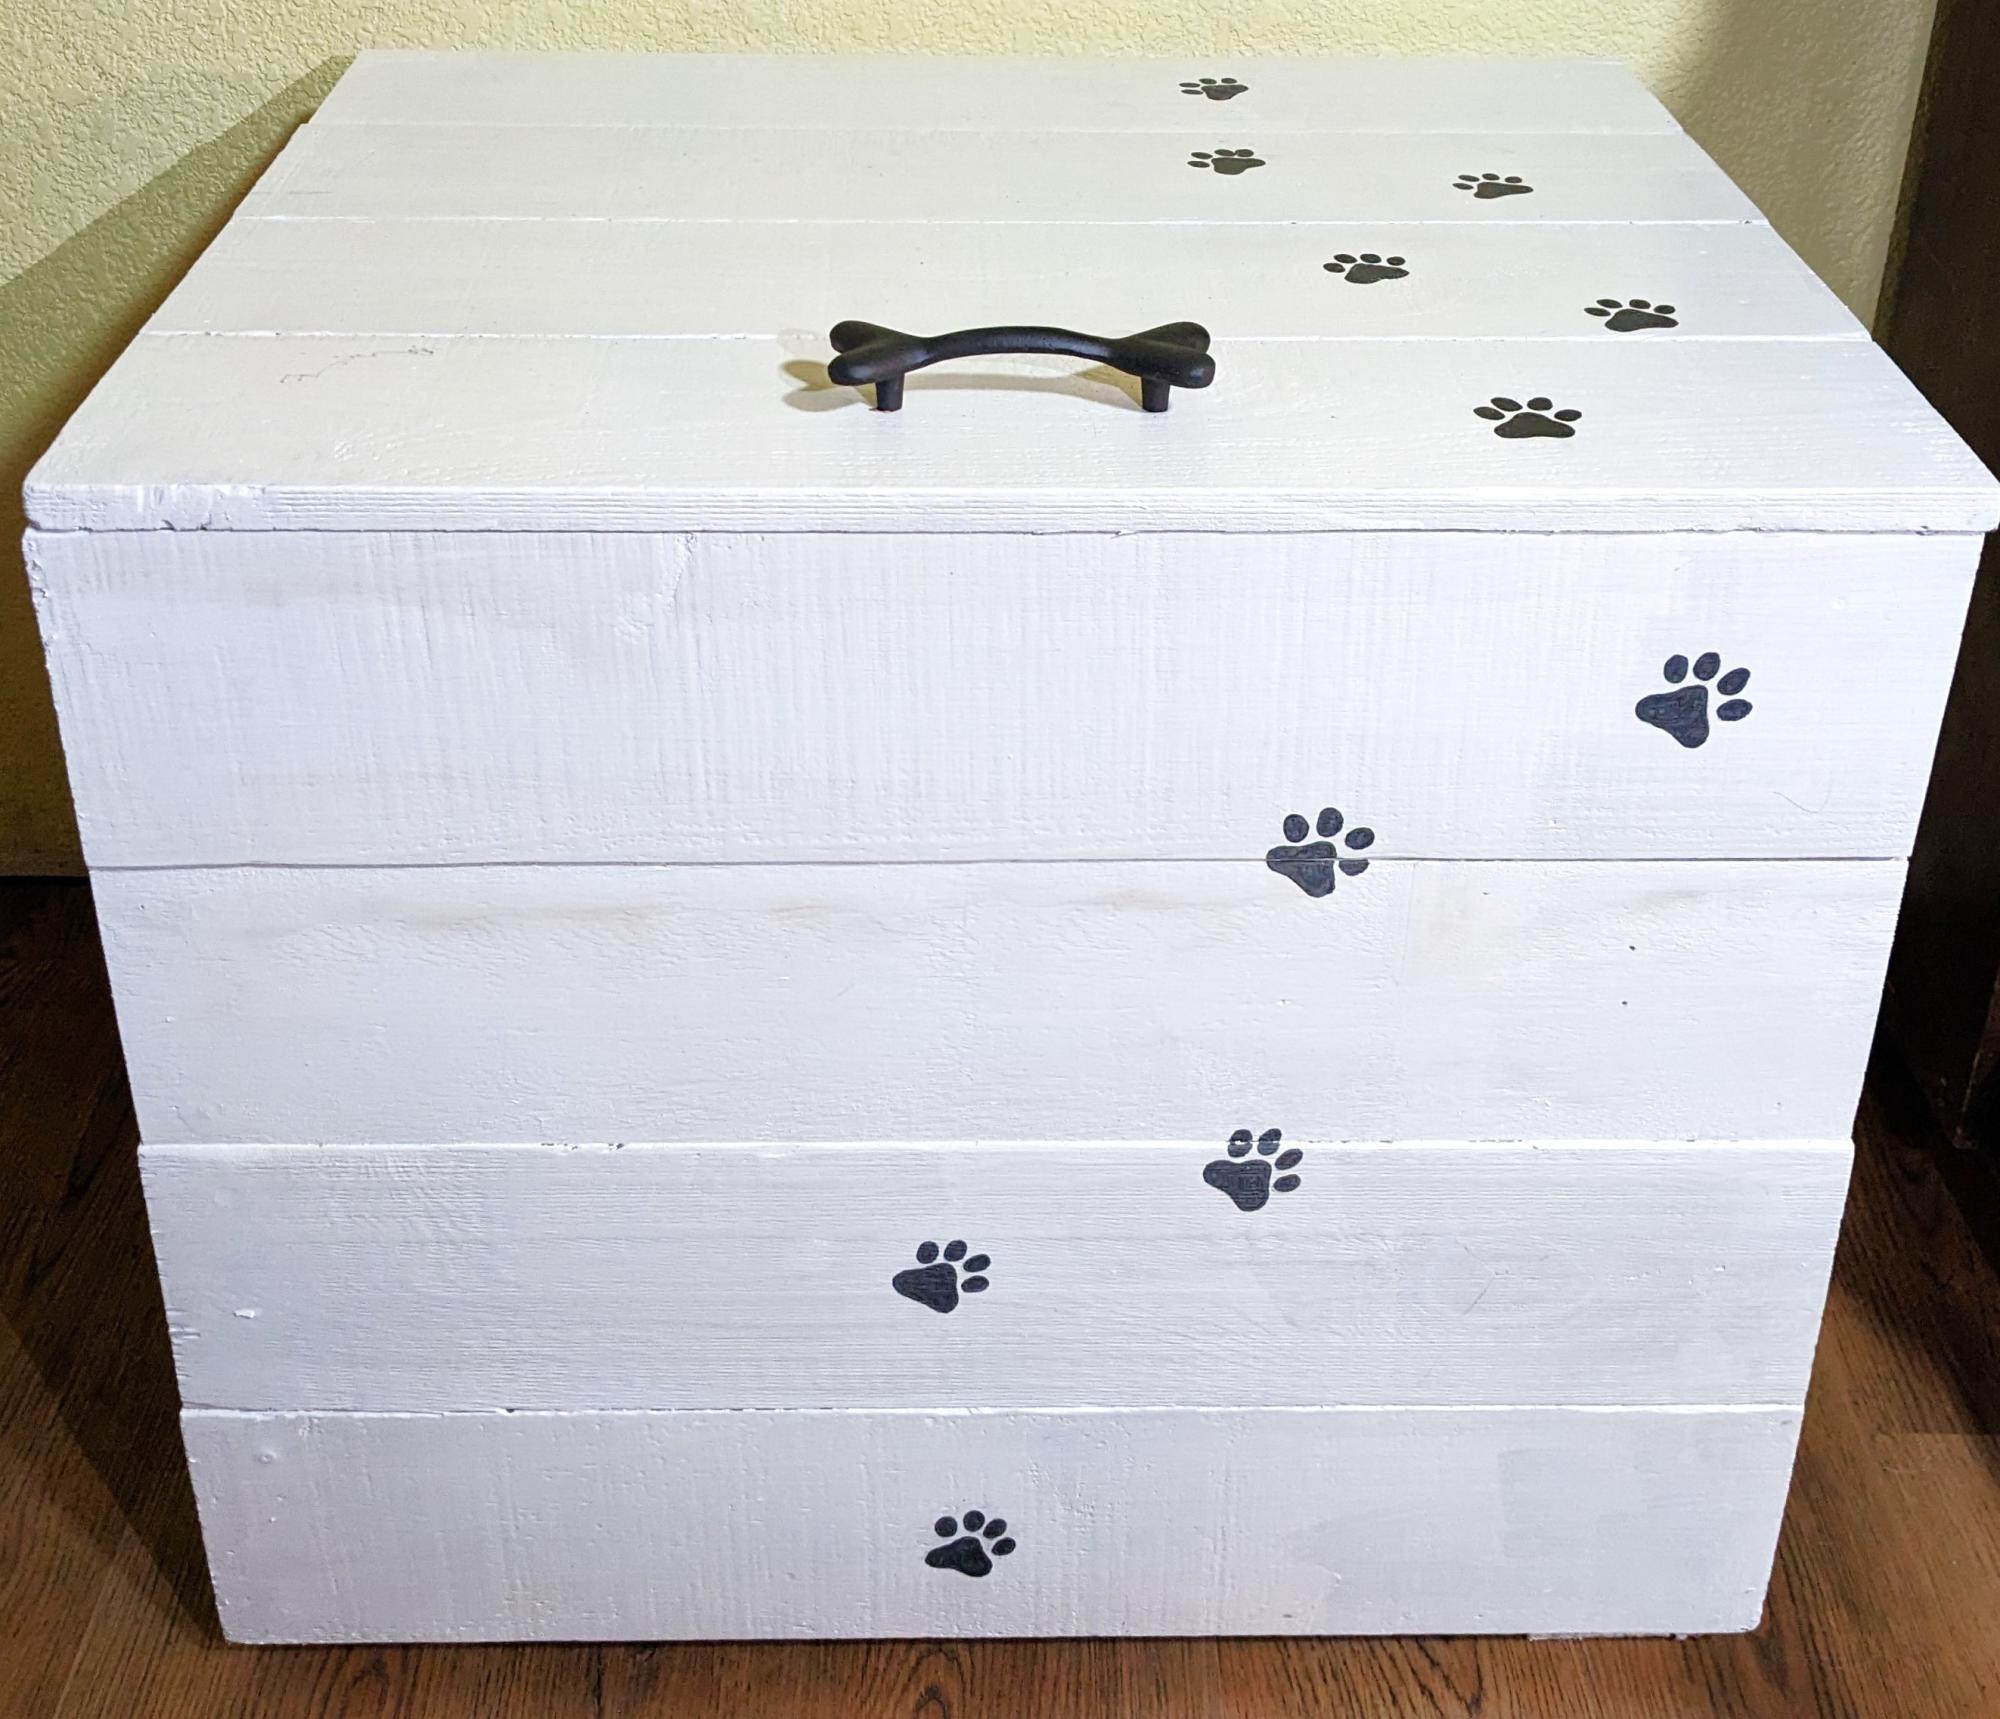
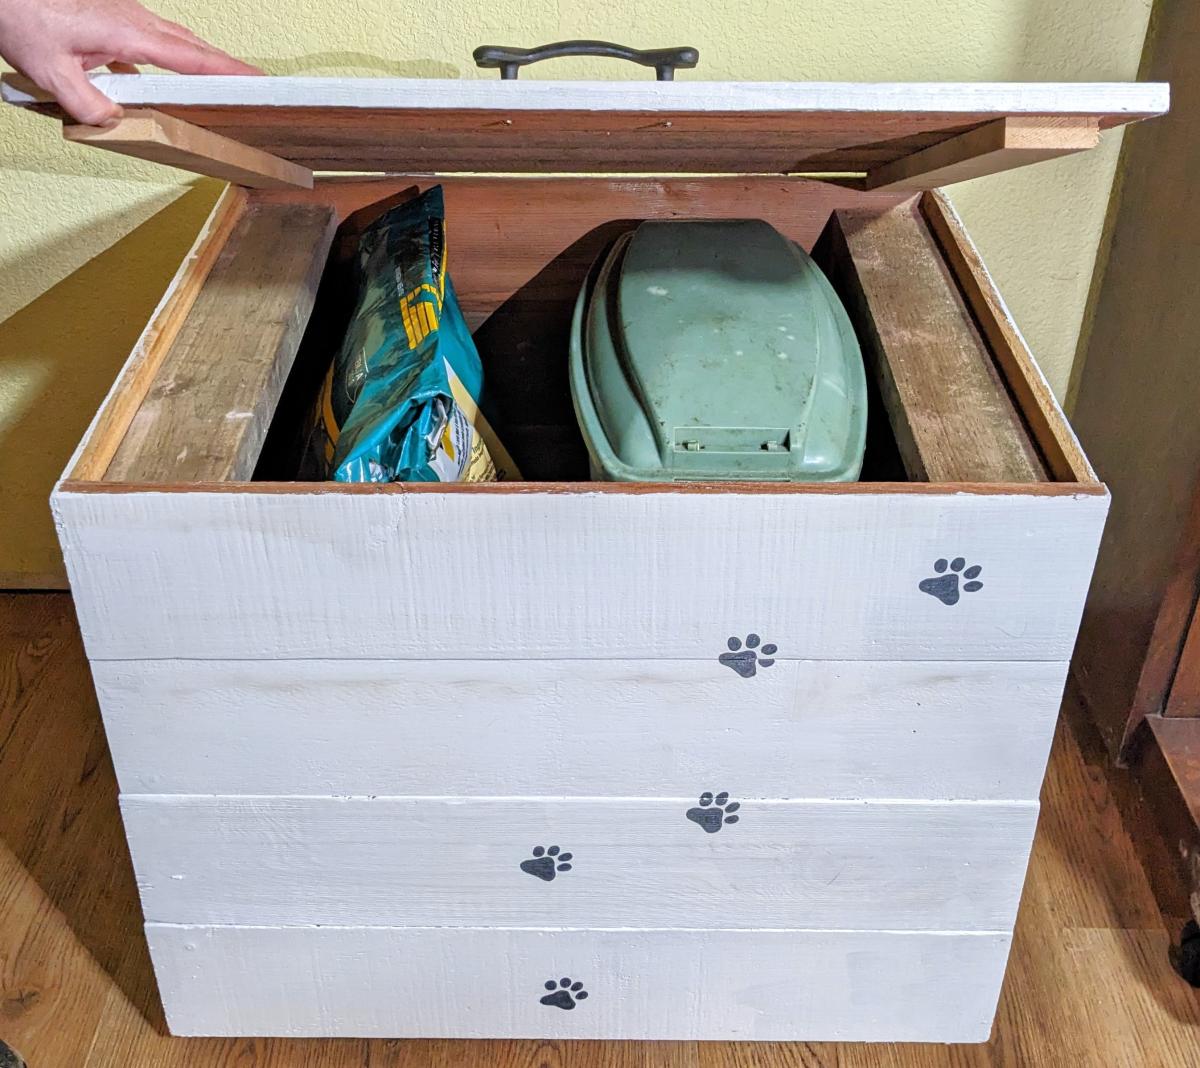
I've been searching for a pet food bin for a while now, and started looking for something cuter than an ugly plastic bin. I found a few things on Etsy but none were big enough and also cost a lot of $$$. I took the Modern Cedar Outdoor Storage Bench plans, and modified the size to fit large bags of dog and cat food from Costco, or pet food bins. I'm 55 years old and have fixed things around the house, but this was my first time building something.
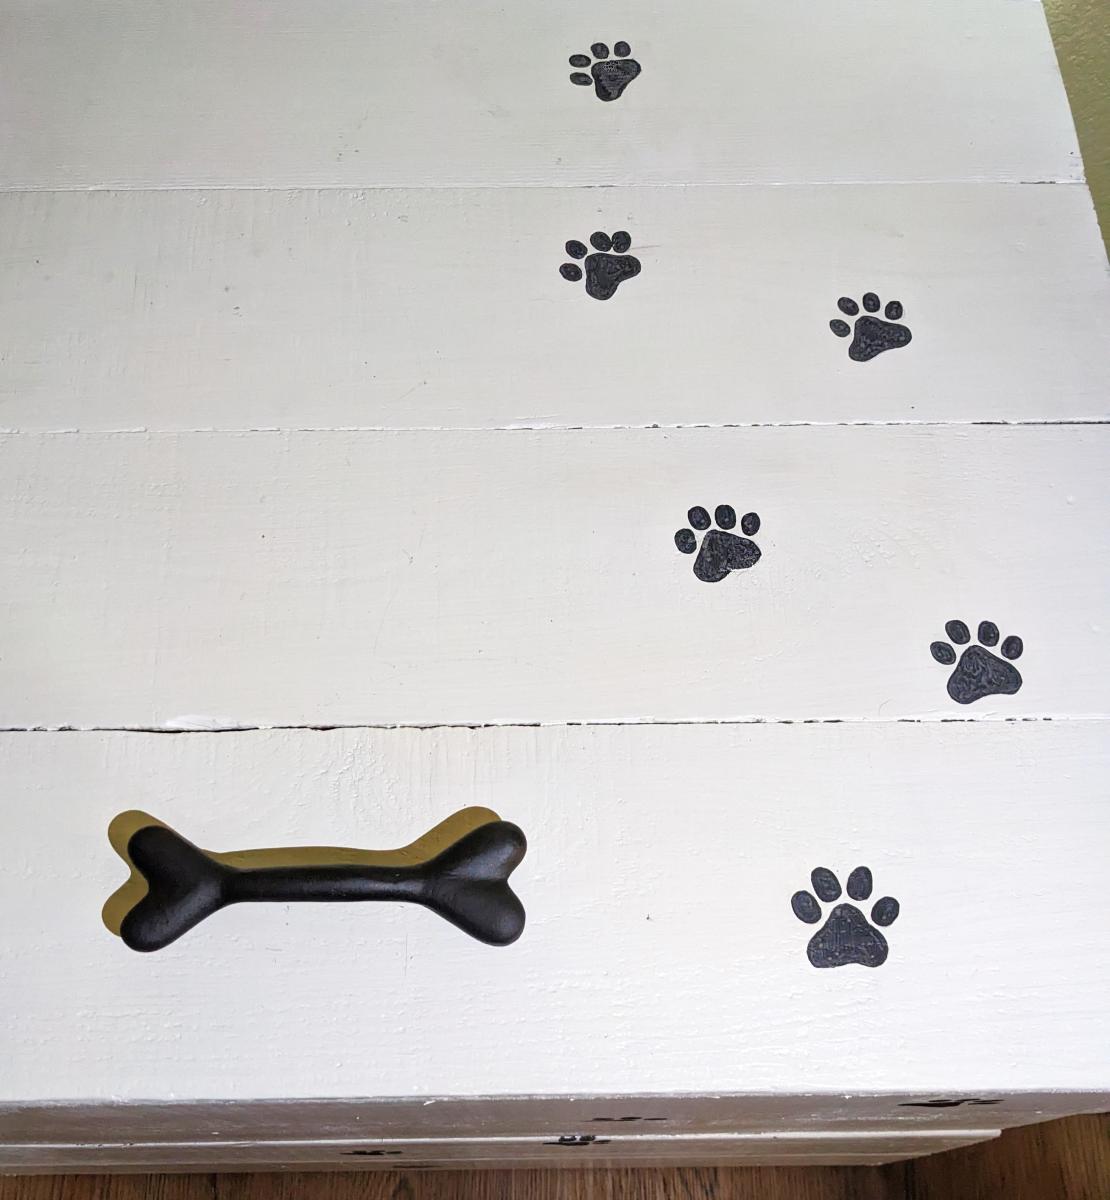
I am so happy with how this turned out! I found the dog bone handle online and my daughter painted the paw prints. Way cuter than what I found online and I built it using reclaimed wood I had laying around - my only cost was the handle. Thanks Ana!

Heather Durand https://www.facebook.com/pinkprincesshc

Back