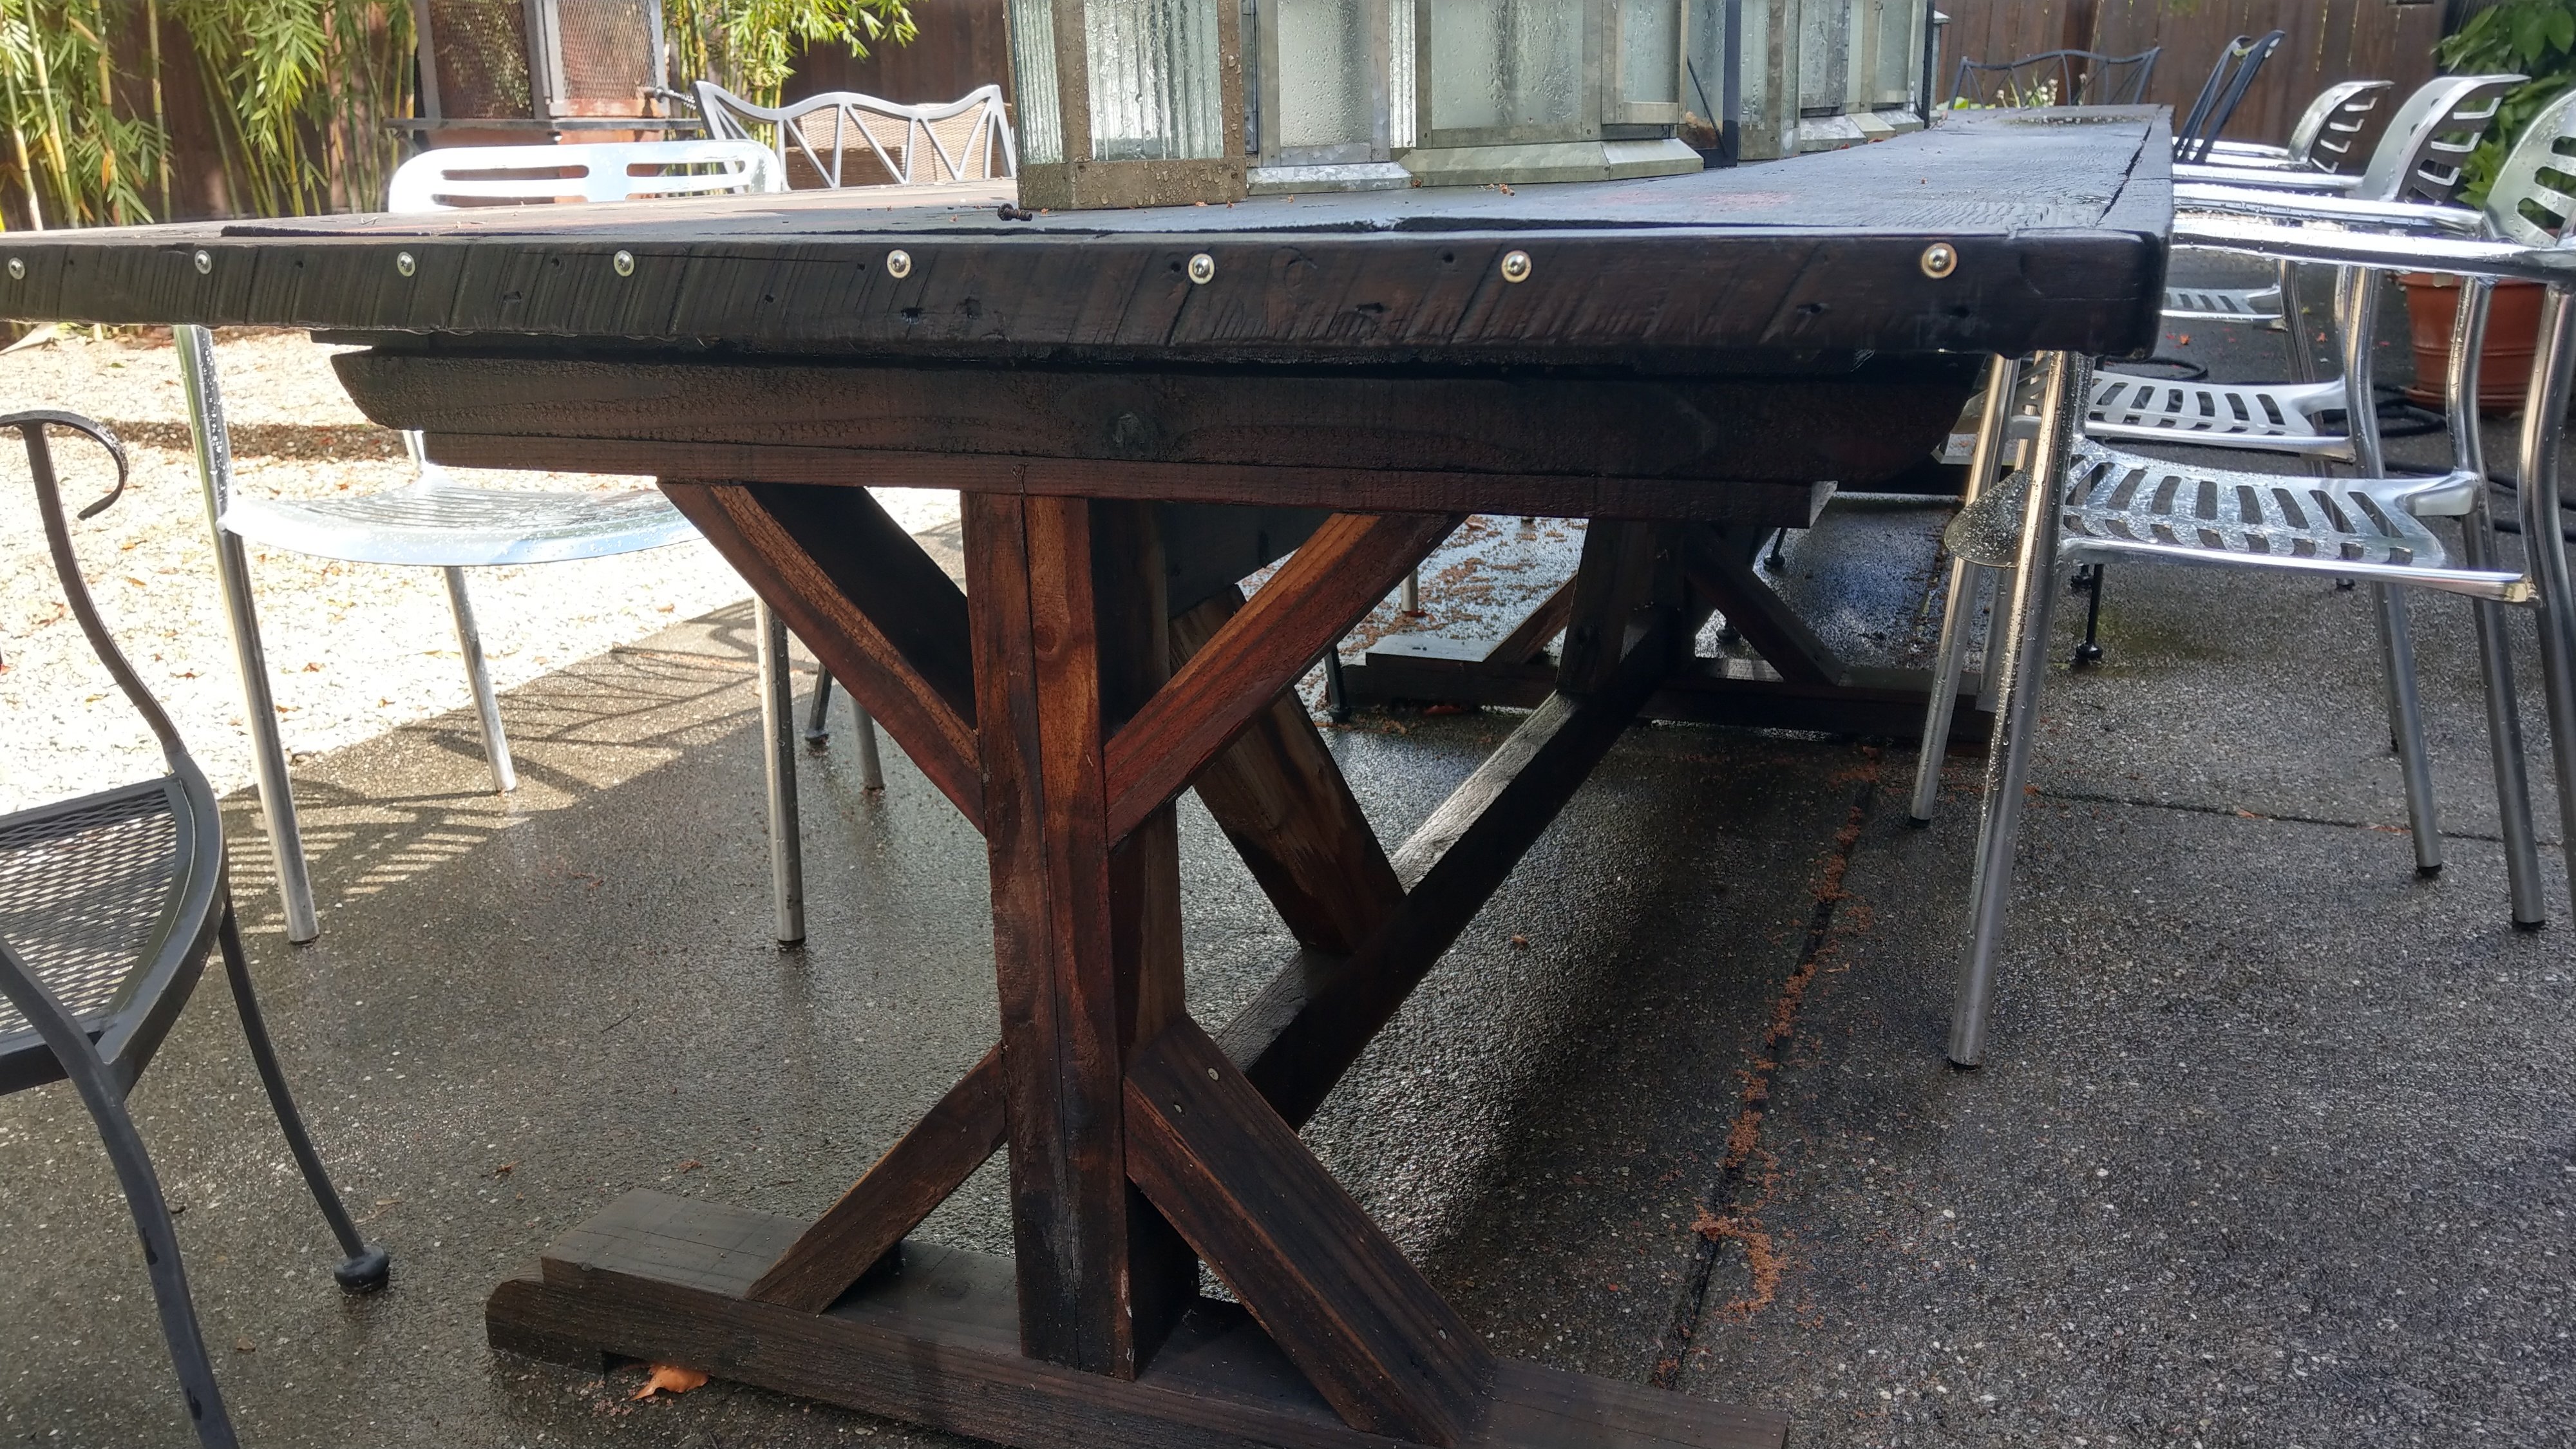
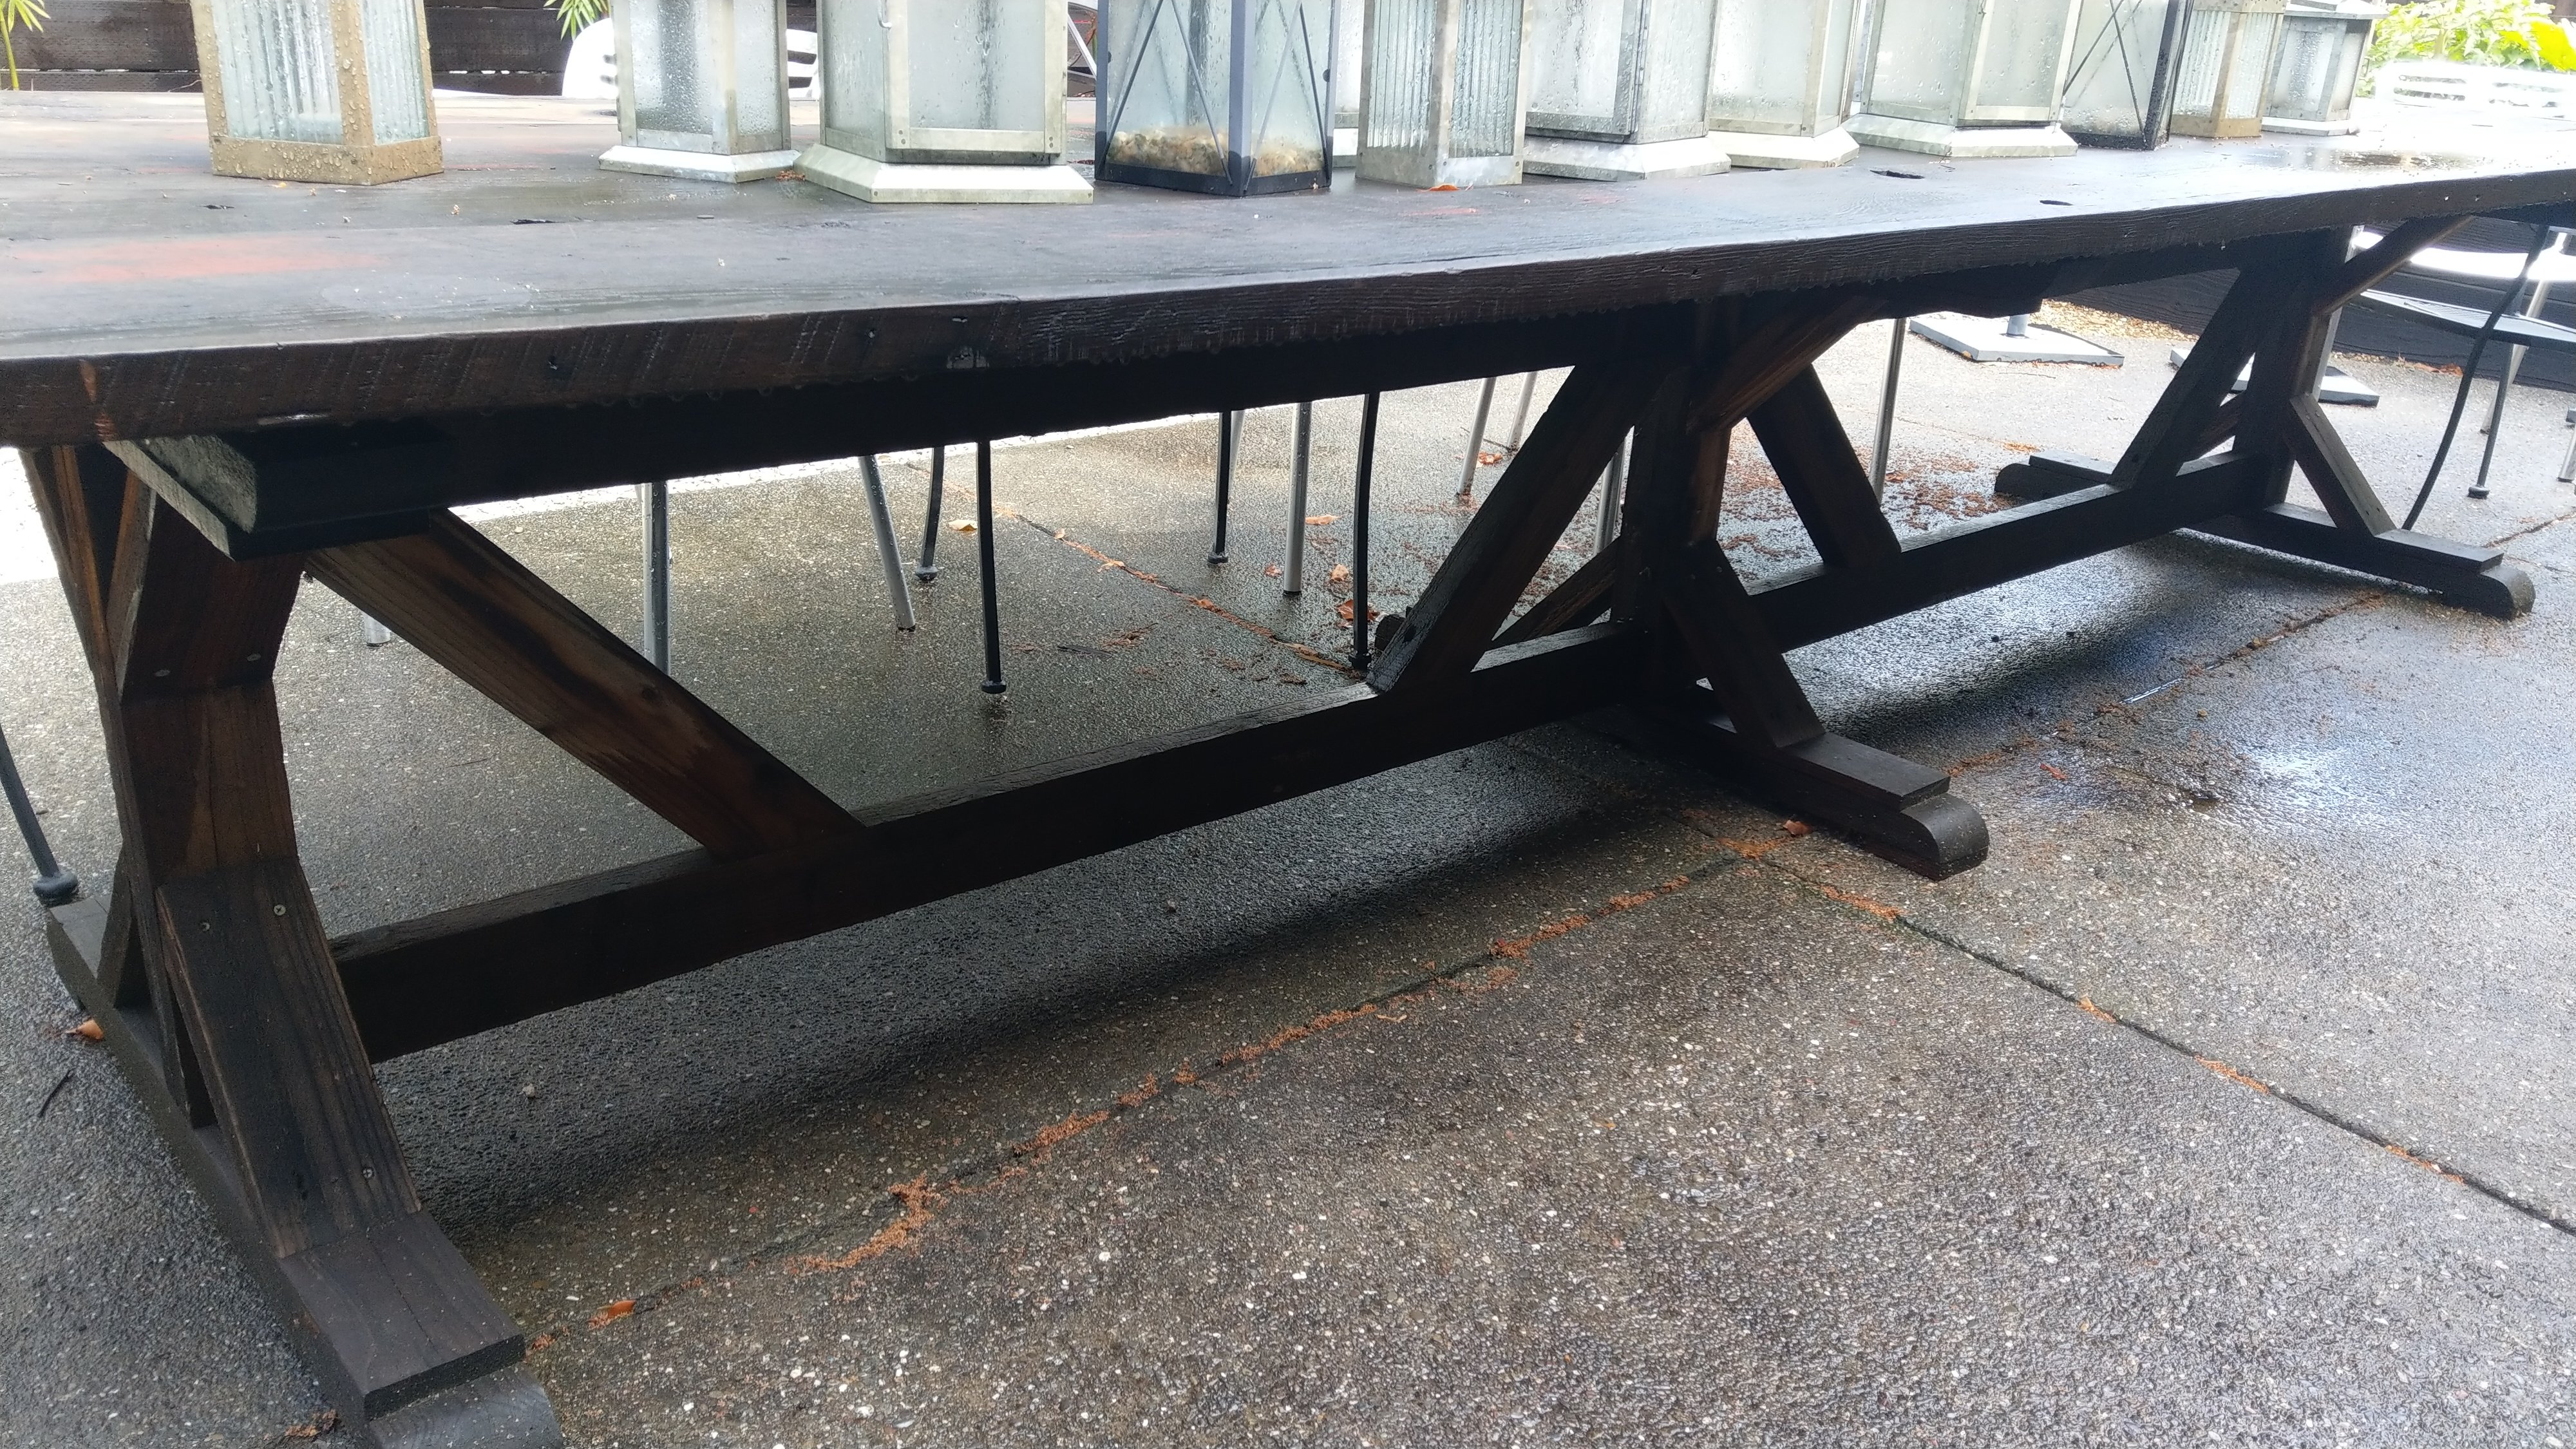
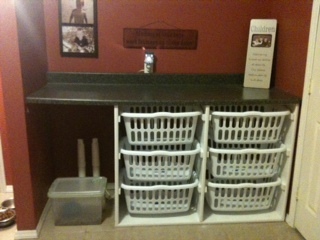
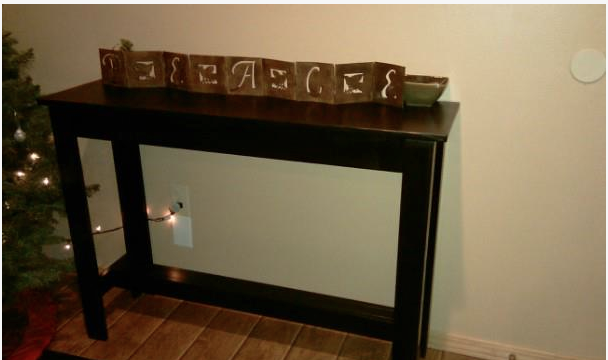
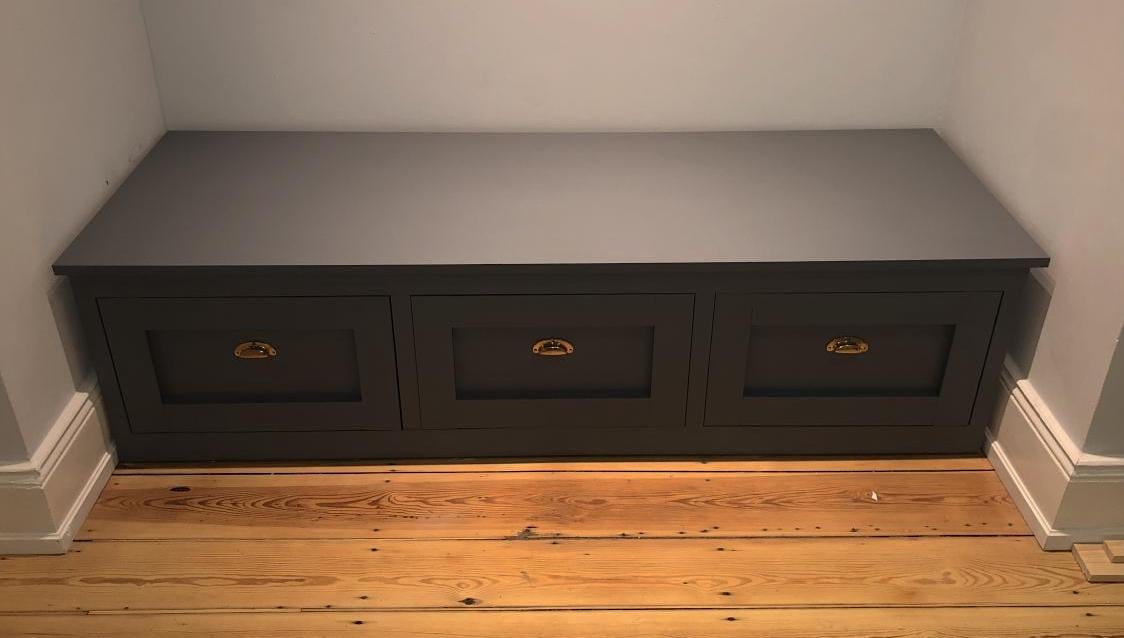
Rolling Crate Side Table

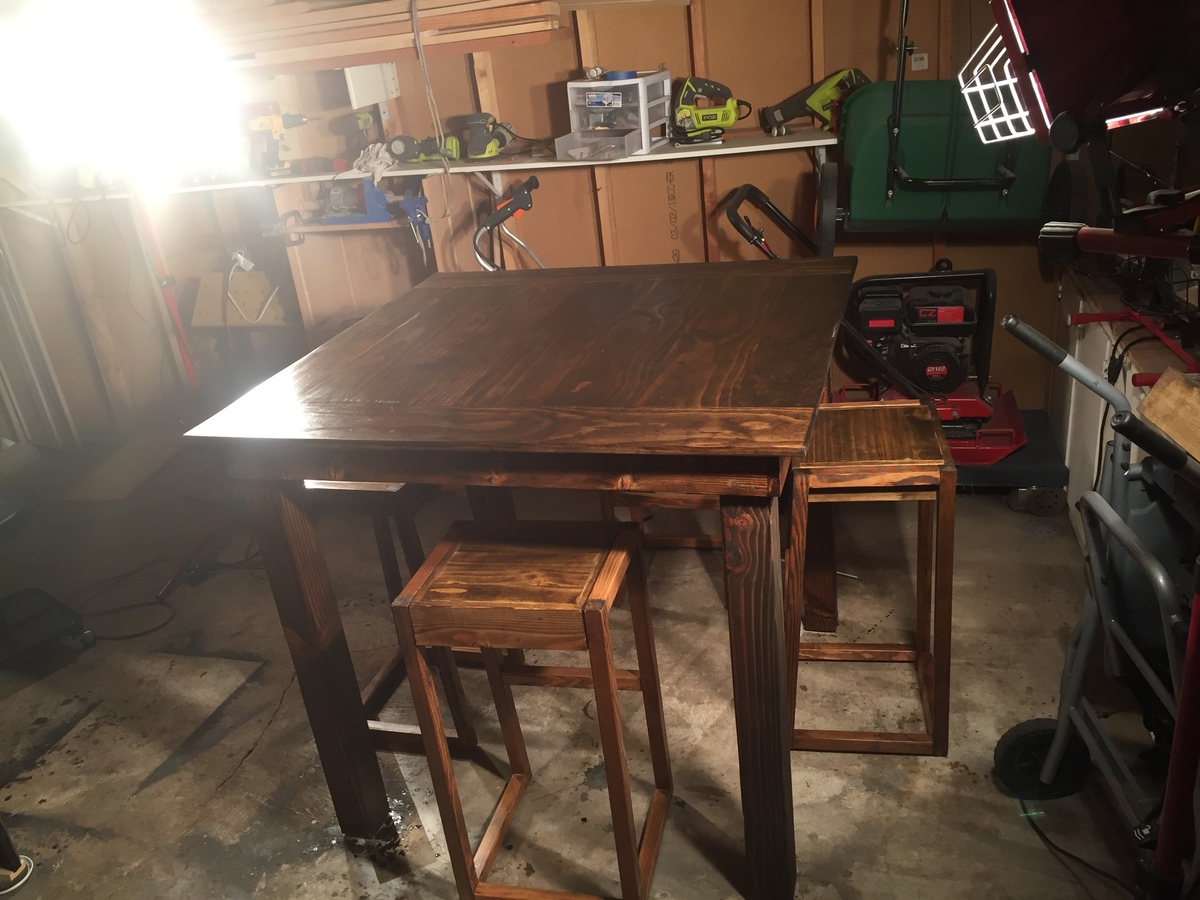
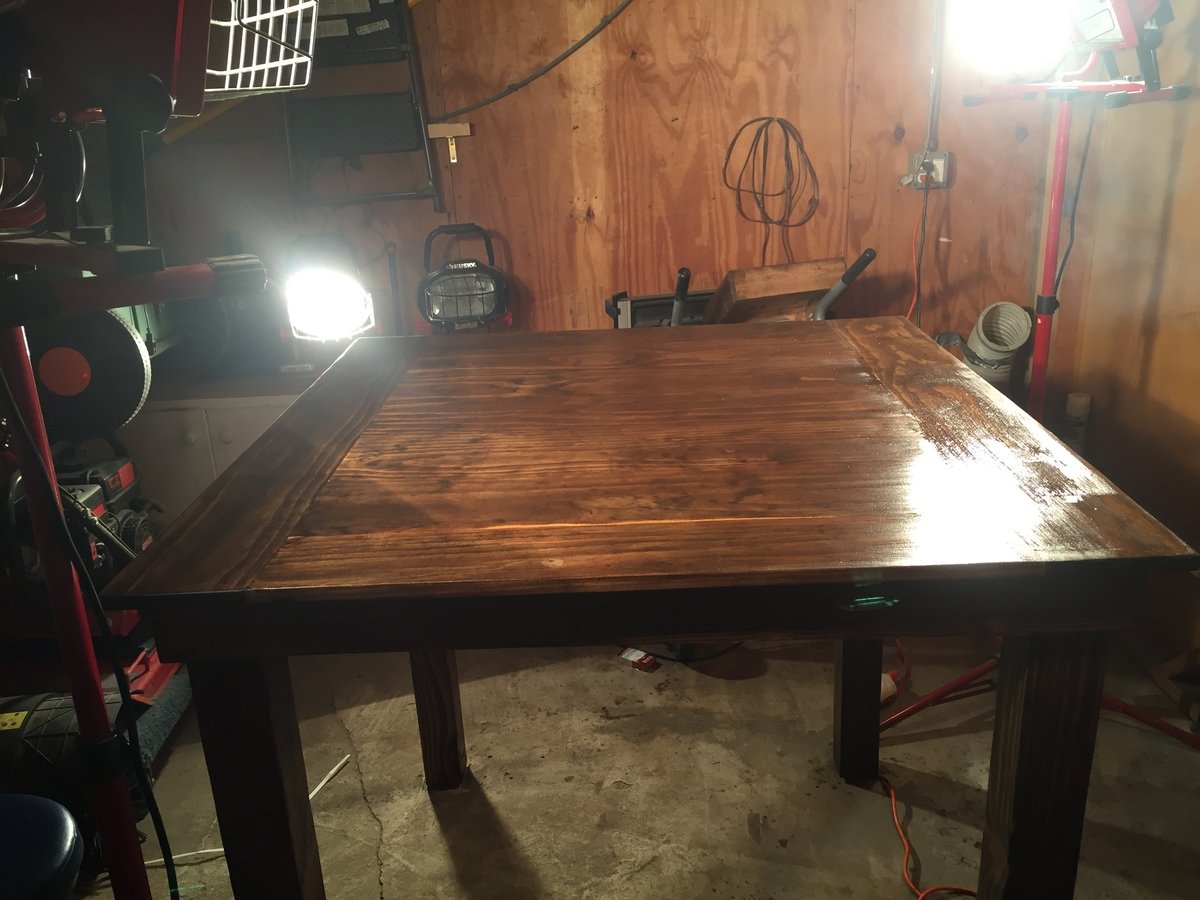
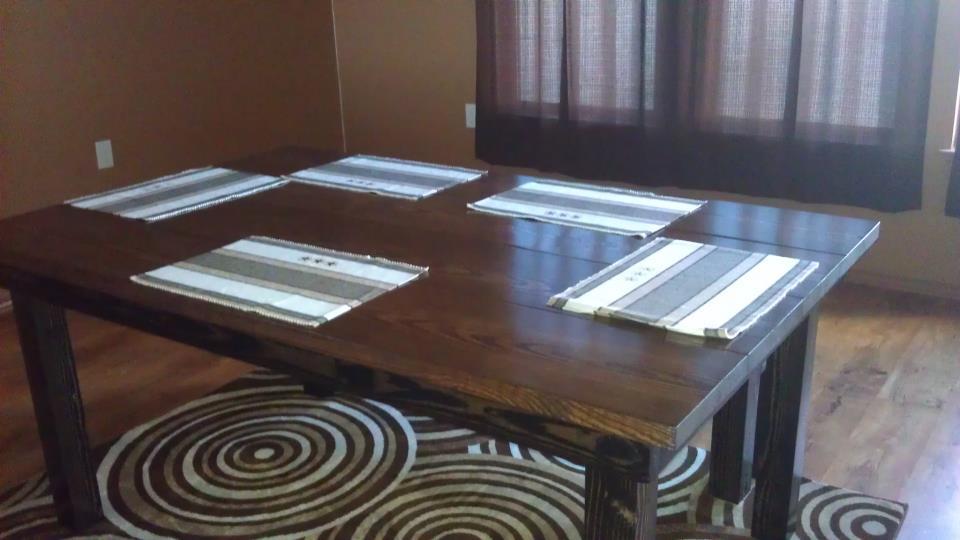
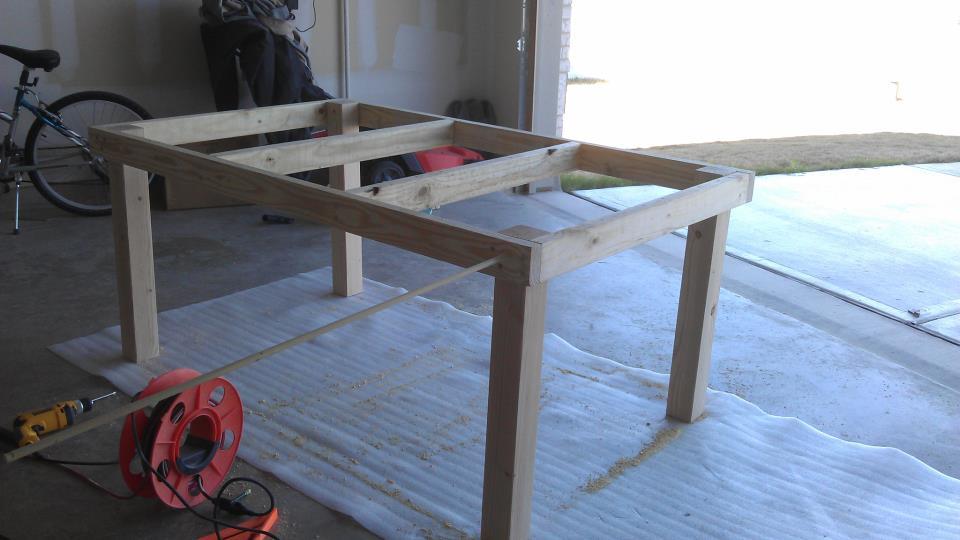
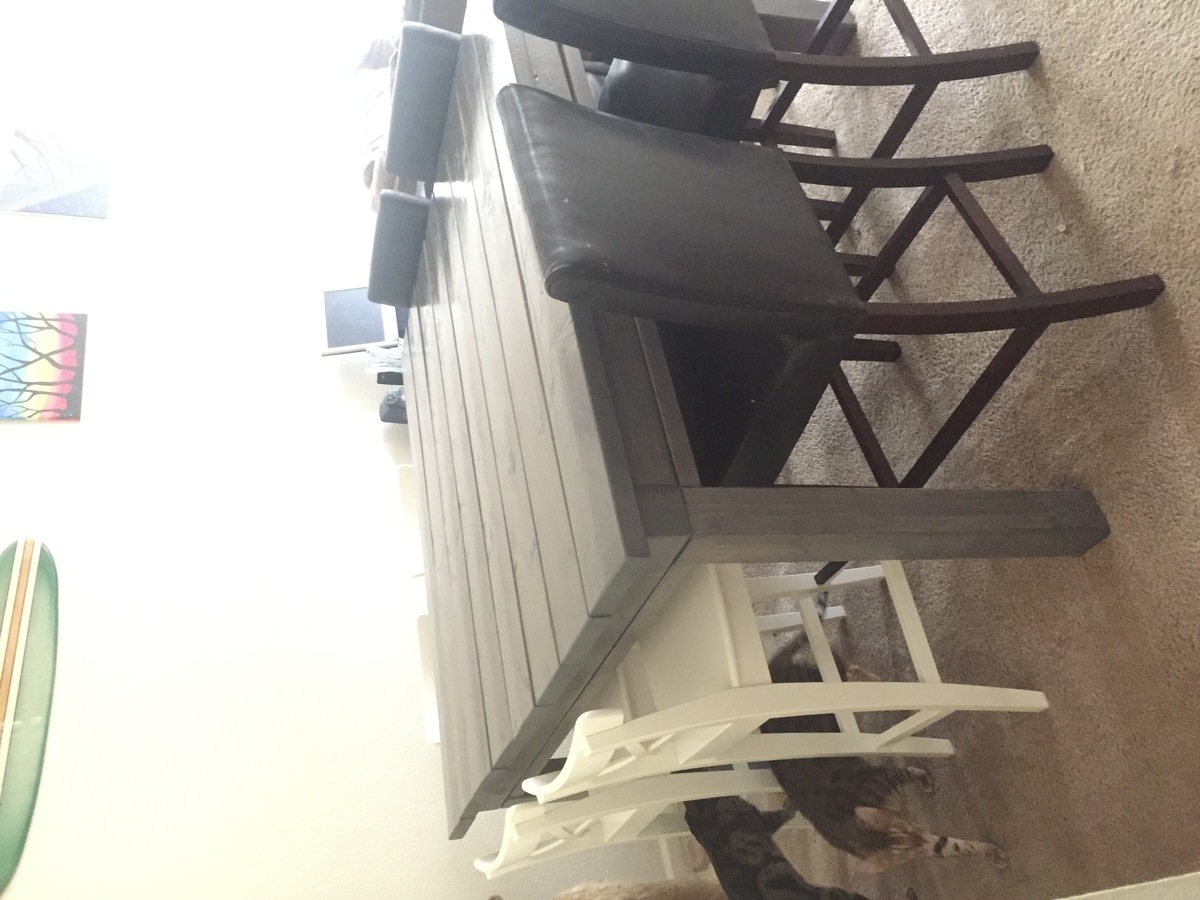
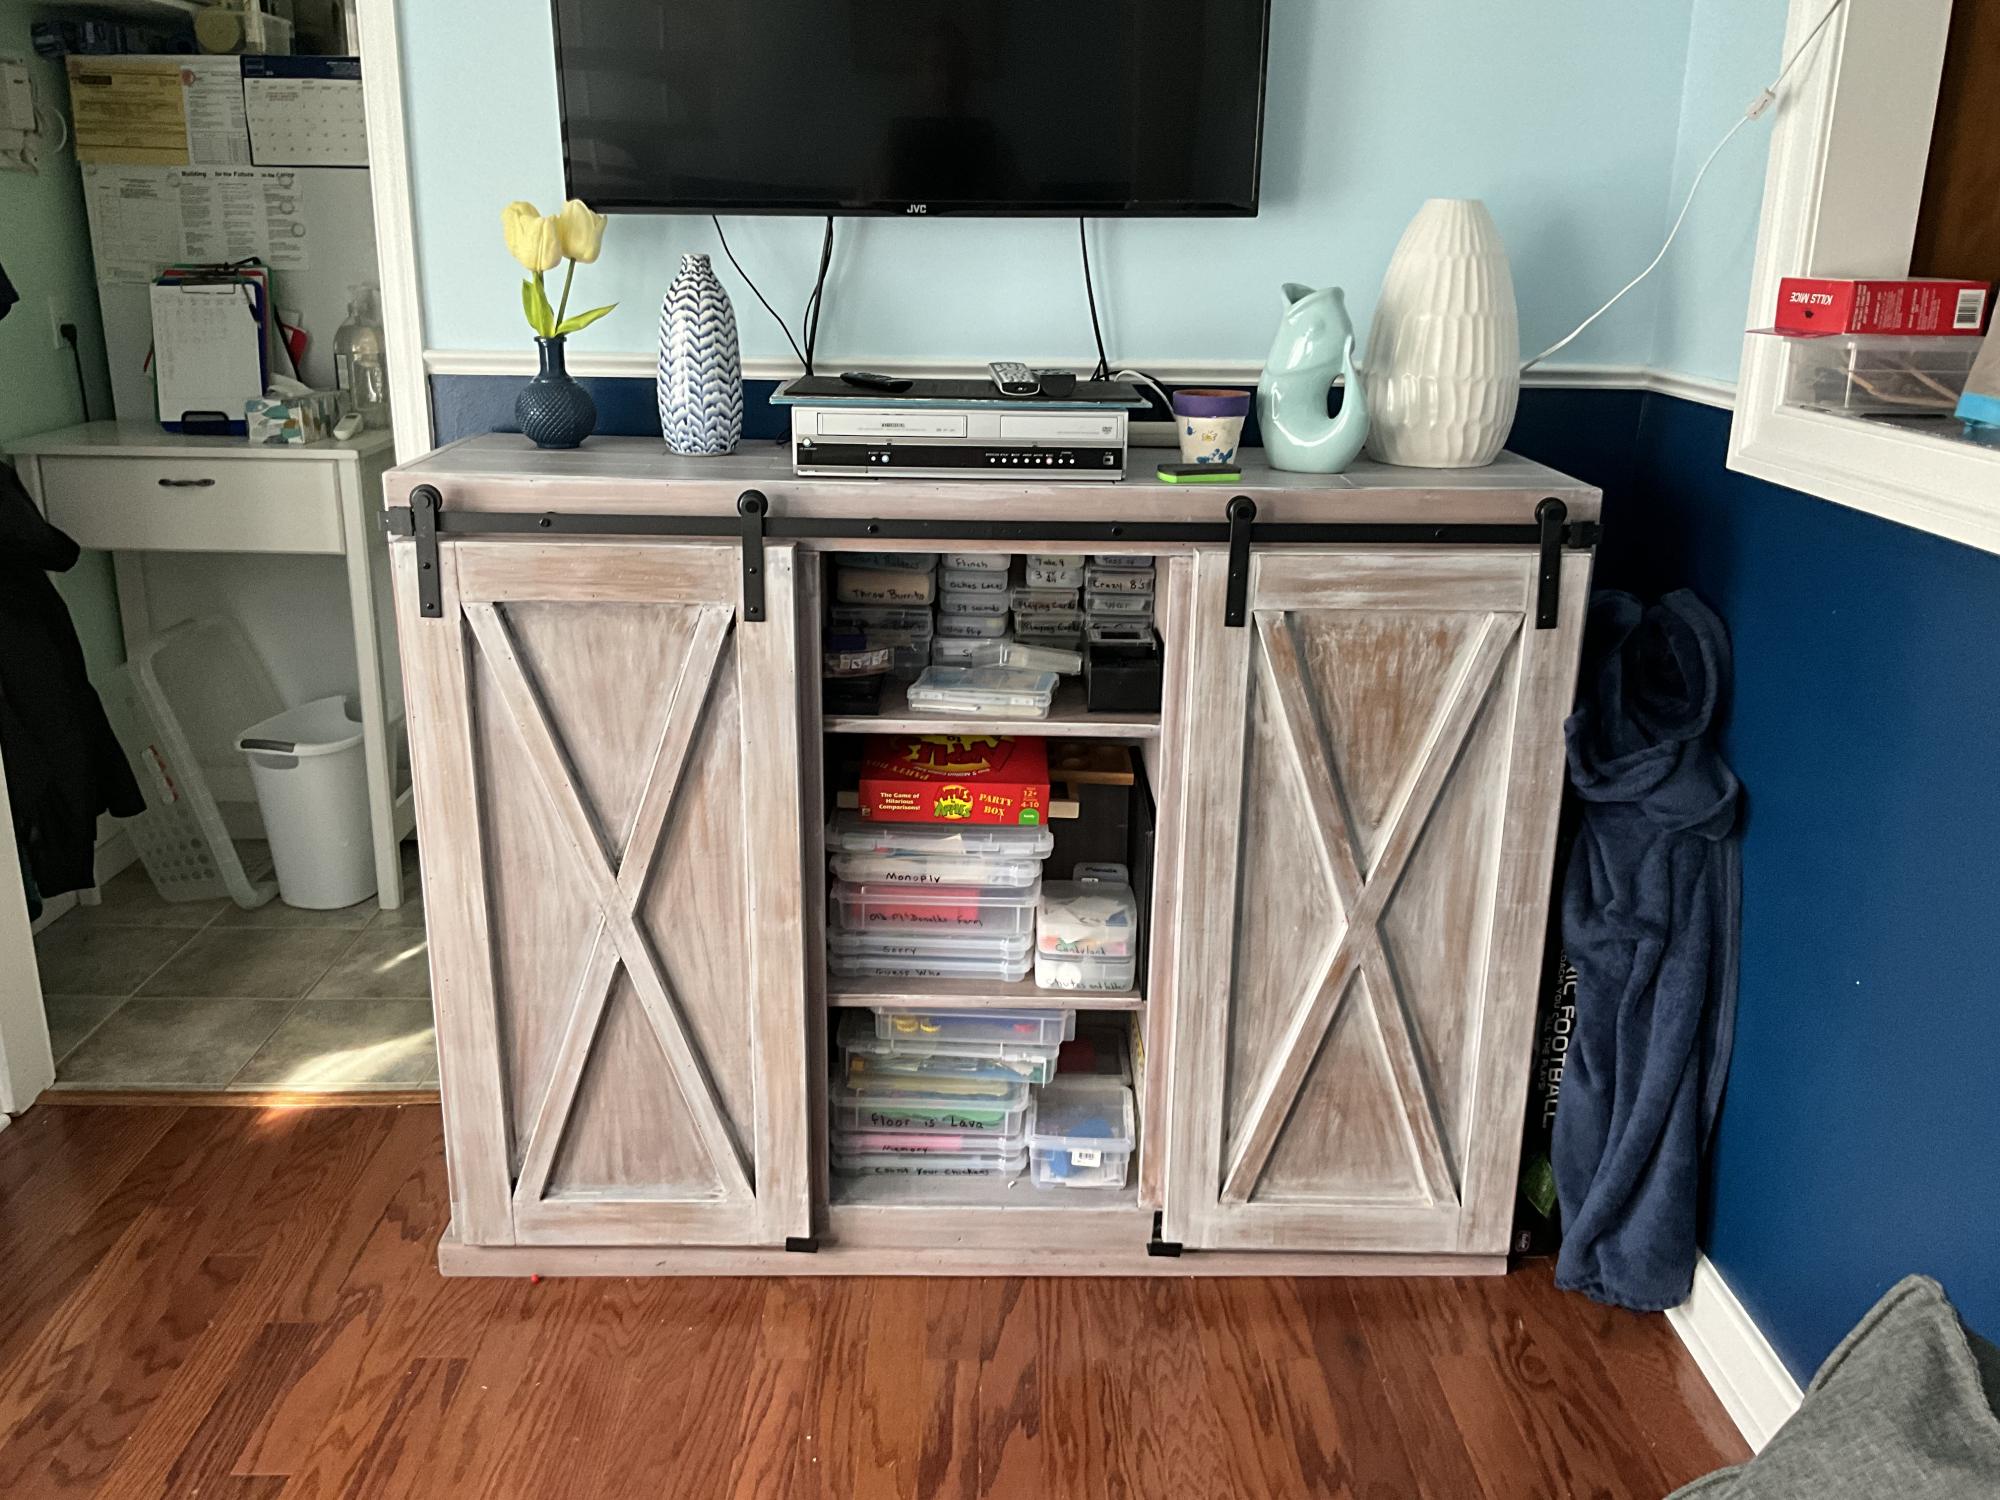
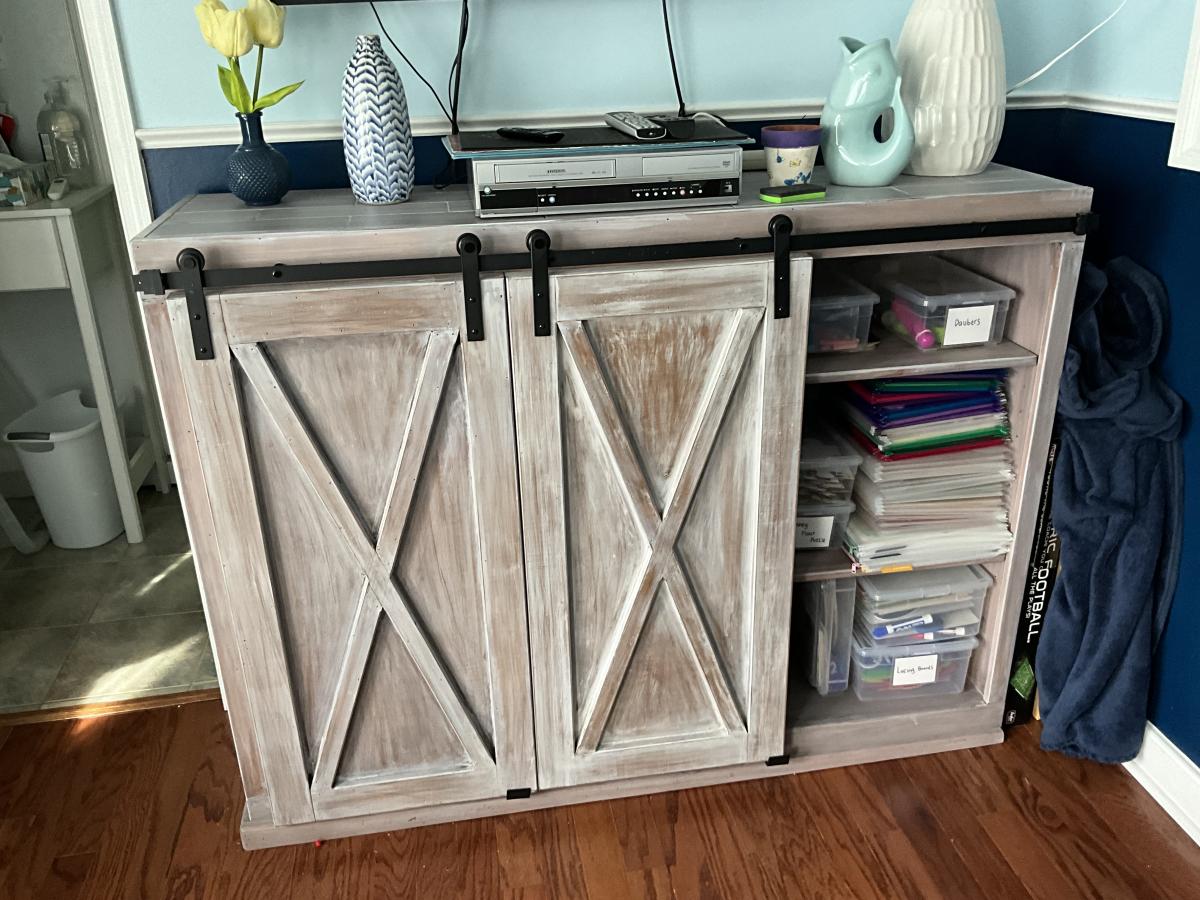
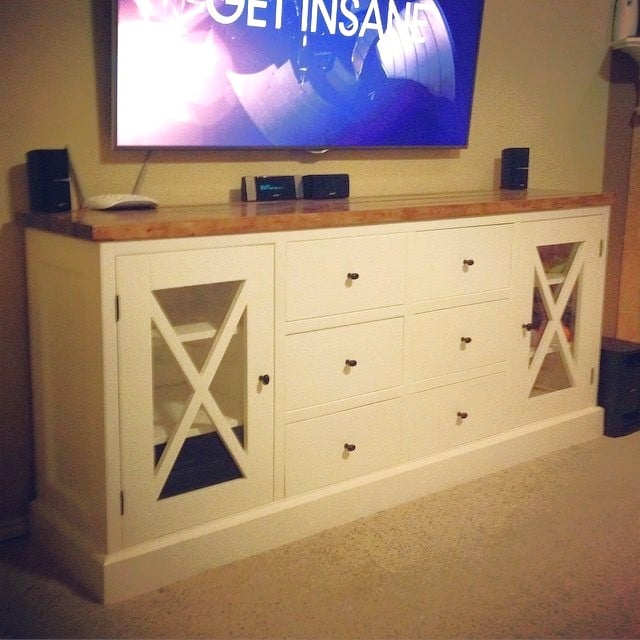
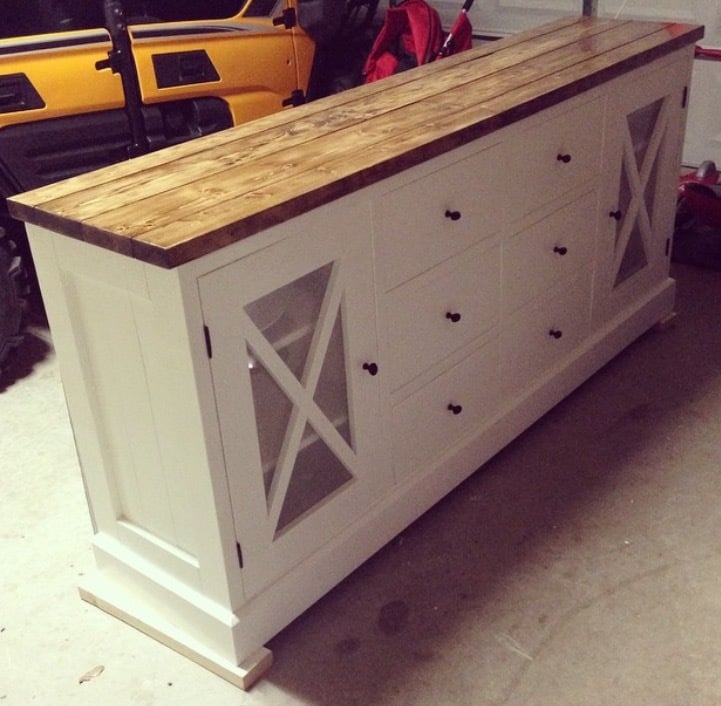
I made a simple rolling crate, and put it on its sides. Attached casters on the bottom. I used my scrap 2x4's for the top. Boom! A beautiful rolling side table with storage.


Built from Plan(s)
Estimated Cost
$25
Estimated Time Investment
Afternoon Project (3-6 Hours)
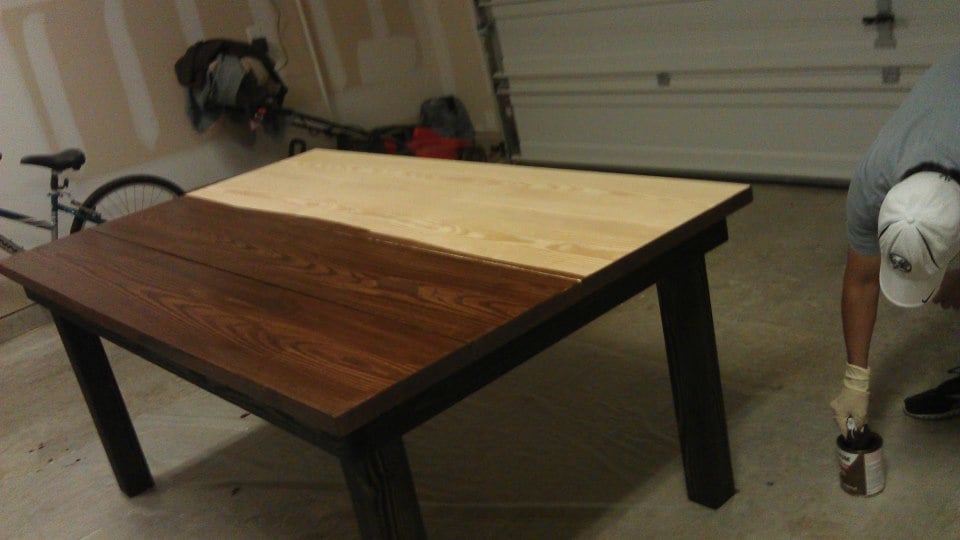
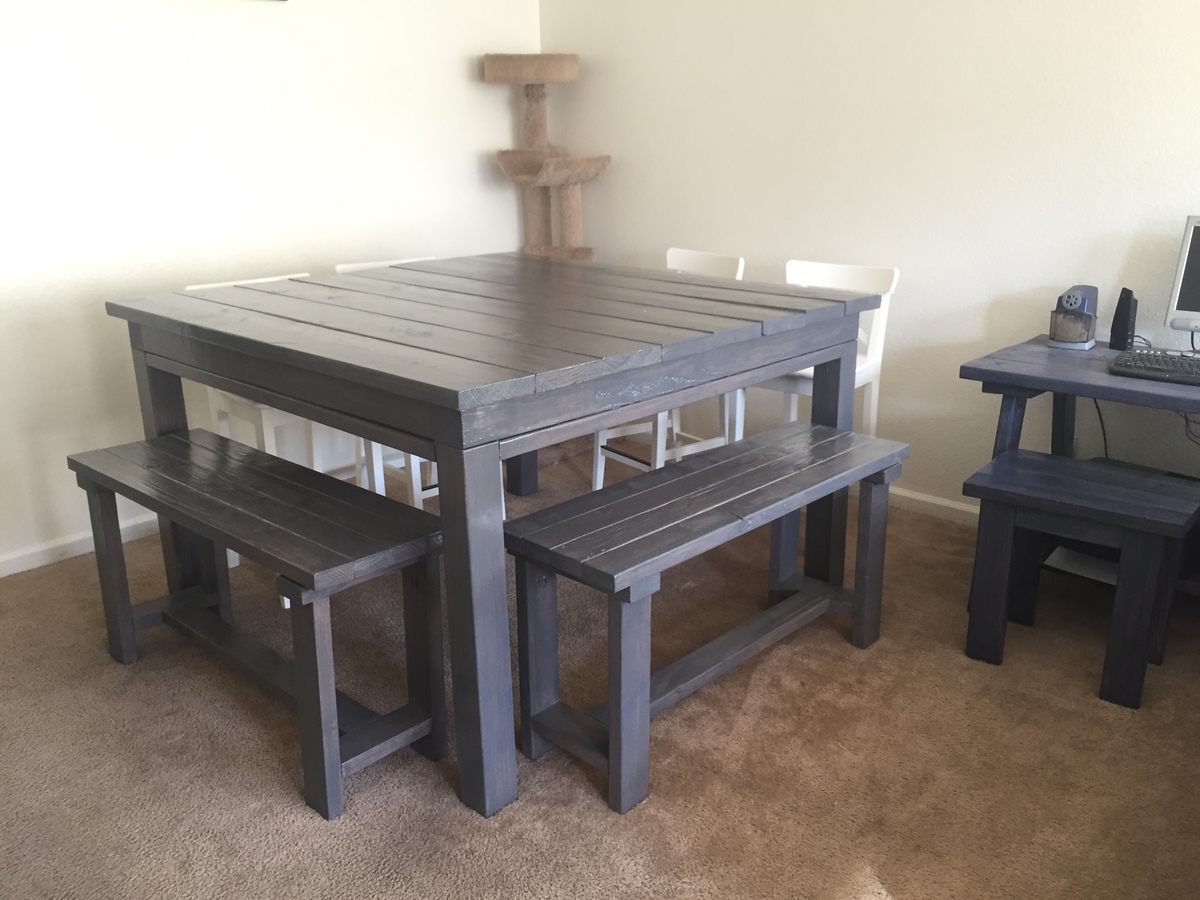
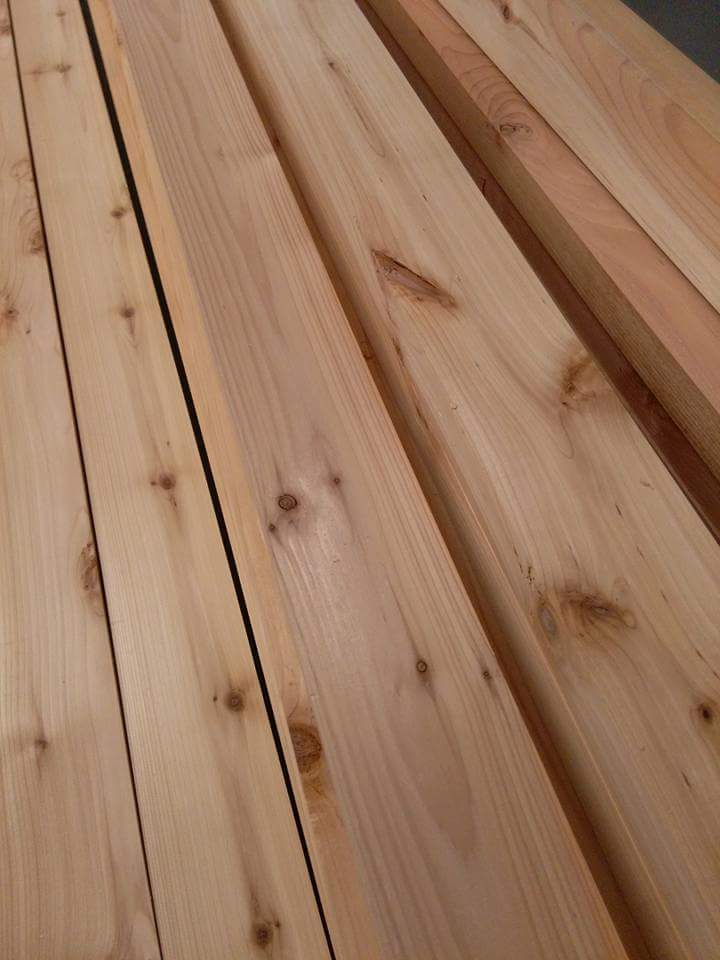
Finish Used
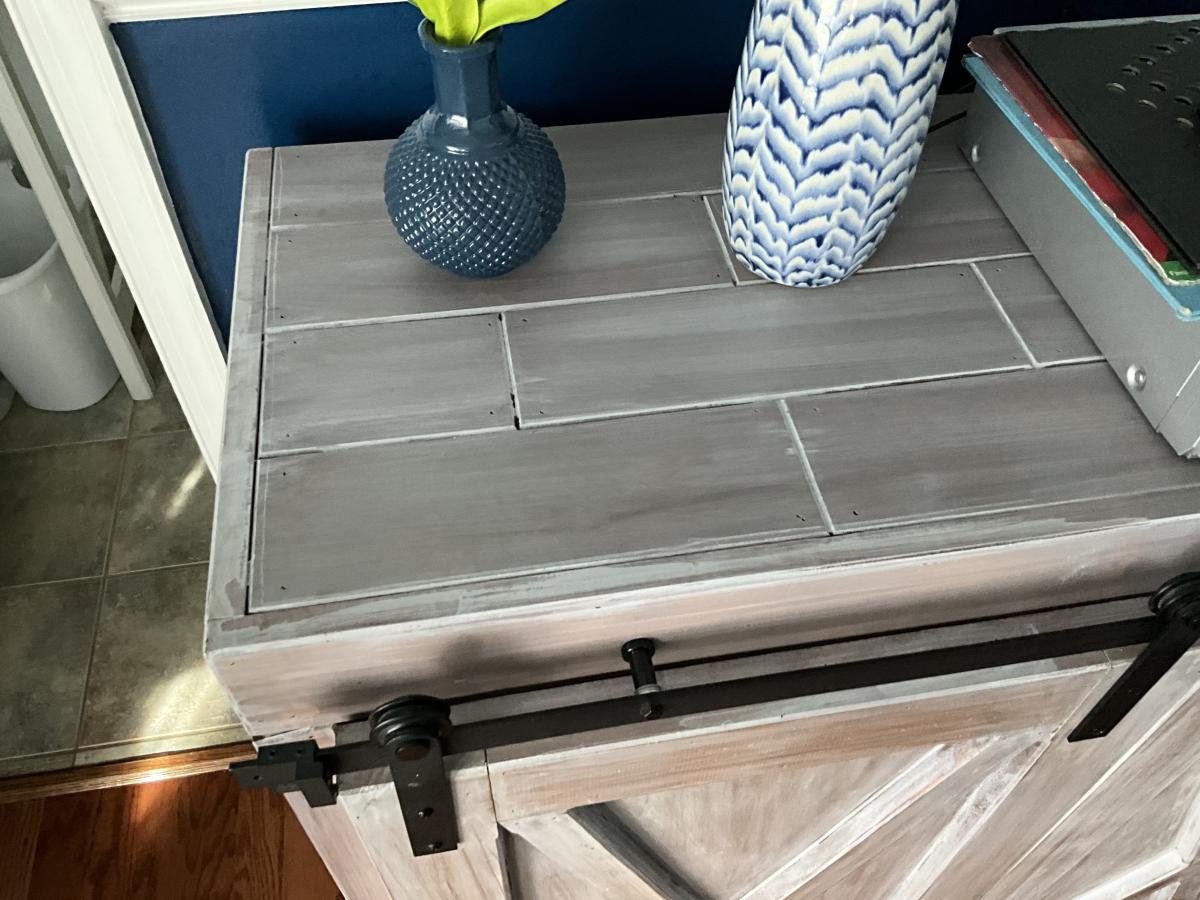
Black base finish with glossy spray paint. Top is stained in a few different hues. See blog post linked in this post to find more information.
Recommended Skill Level
Beginner