Community Brag Posts

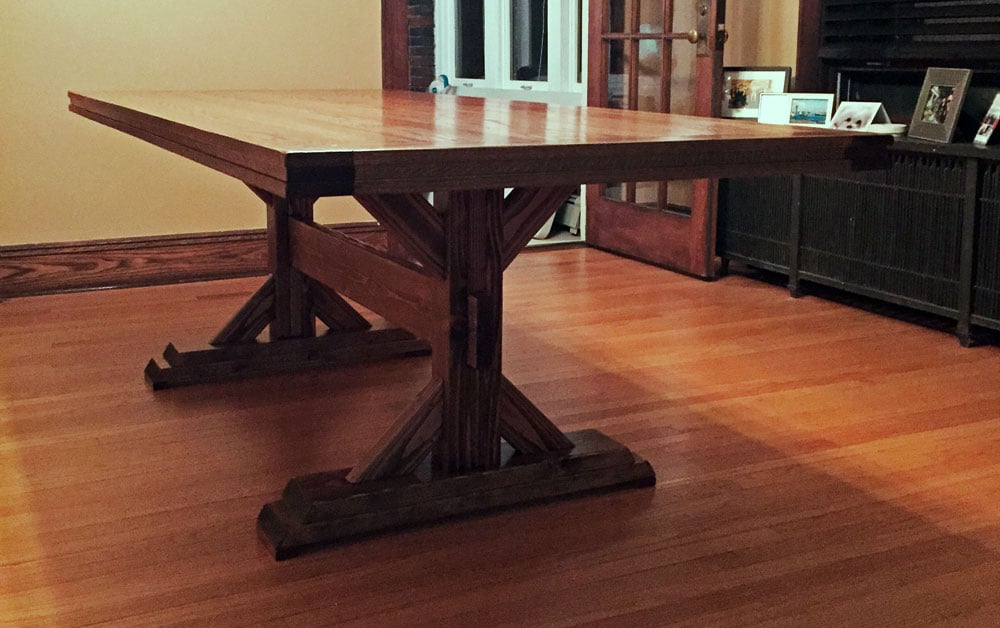
Double Pedestal Farmhouse Table

Submitted by Michael K on Sun, 01/03/2016 - 01:54

Keep on building on! This is the second peice I've built for our dining room - built a bar first. I opted to only make 2 pedestals instead of 3 that was on the plans. Dimensions are a tad smaller to fit our room nicely, measuring 90in x 40in. My wife and I absolutely love this table! I used Red Oak for the top and Doug fir for the base. Hardest part was lugging around that dense oak and looking for chairs! The stretcher was also a bit of a task as well. Had to go out a buy a rubber mallet to bang it in enough so that the slack on both ends were even. We particularly like this piece because it will be used often and many memories will be created around this table! Thanks again for the inspiration!

Built from Plan(s)
Estimated Cost
$400, but sold our previous dining table and chairs for $425
Estimated Time Investment
Weekend Project (10-20 Hours)
Finish Used
Miniwax Specials Walnut, 3 coats Spar Urethane
Recommended Skill Level
Intermediate

Toledo Towers

Submitted by Anonymous (not verified) on Thu, 03/21/2019 - 10:45

Hey All,

My wife and I had 5 children in 5 yrs (no twins), our oldest being 6. Christmas was fastly approaching and we were brainstorming on what to get them. Through the years we had spoken of an indoor climbing wall and/or ballpit due to the long hot summers in FL but never really dedicated the time to researching our options. We decided that Christmas would be a great time for a project like this. I sketched out a few ideas and started to google. I came across your site via a pintrest image. The wheels started turning very quickly for me, we were super excited as you can image. The dimensions are different (8x8 ish) from the indoor playground you all constructed but the bones were there thanks to you all. 

I measured our room, purchased the wood after creating a diagram of the basic frame work. 2 weeks (20hrs ish) later of sanding and precutting I started lugging approx 300-500lbs of material to our second floor playroom area.  Why so much material, you ask... We wanted to include all of the ideas we have had through the years plus a few others we came across on your site. It was a huge undertaking considering how many eyes were watching and the fact that we wanted to keep it a surprise. For the framwork I enlisted the help of #1 (the 6yr old) and we stayed up late and had great fun. Once we got to the point were I thought she would start connecting the dots I continued on by myself mostly. Every night I would mock up what was needed and then break it down to not give it away. Many long nights, cuts, a broken toe and a hole in the sheetrock later we were getting close.

The kids had their guesses as to what it would end up being but were ultimately super surprised. After 8 weeks of work during which we had my wifes family visit and then my parents came. Thank you to them all by the way b/c they worked on this too, which helped me immensly. Christmas Morning 90% of it was finished with the exception of the ballpit, canvas & foam coverings for safety. It took another 3 weeks to finish as I had never used a sewing machine before and wanted the kids to know this was a labor of love.

We ended up with monkey bars over a ballpit, cargo climbing nets on the far back wall and also transition from the ballpit to the top deck, outfitted with pirate telescope that leads to the slide and  LED lighting throughout. Under the deck we have a small fort like area for them. My wife and I decided to not fully enclose this space b/c we all know kids get into all kinds of mischief when they think noone is watching. The kids chose the name for the playground. Hope you like the "Toledo Towers" , I know they sure do :)

Thank you for access to plans, endless threads with advice and plenty of pics to motivate.

Juan Toledo & Fam

Tampa, Florida
Estimated Cost
$700 ish
Estimated Time Investment
Week Long Project (20 Hours or More)
Finish Used
It will eventually be sealed with doTERRA essential oils
Recommended oils: Wild Orange, Arborvitae and/or Lemon.
Recommended Skill Level
Intermediate

Comments

Ana White Admin

Sat, 06/18/2022 - 14:41

How am I just seeing this?! You did such an amazing job, thank you for the story that goes along with the project!

Ana White Admin

Sat, 06/18/2022 - 14:42

How am I just seeing this?! You did such an amazing job, thank you for the story that goes along with the project!

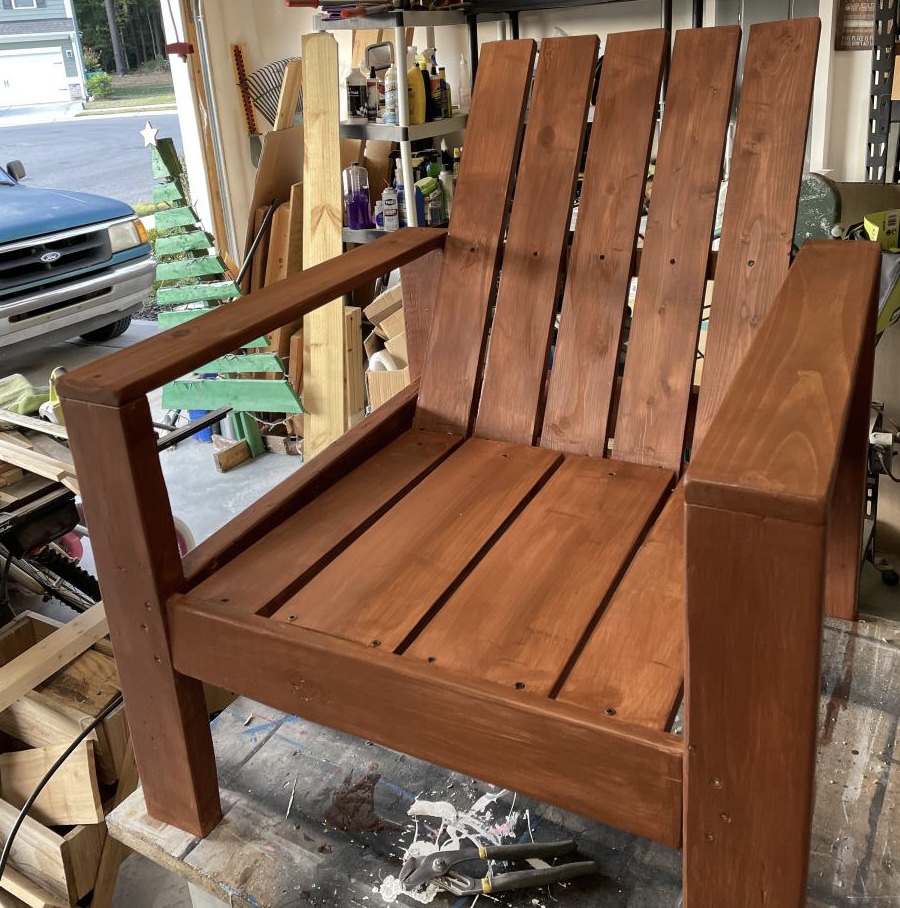
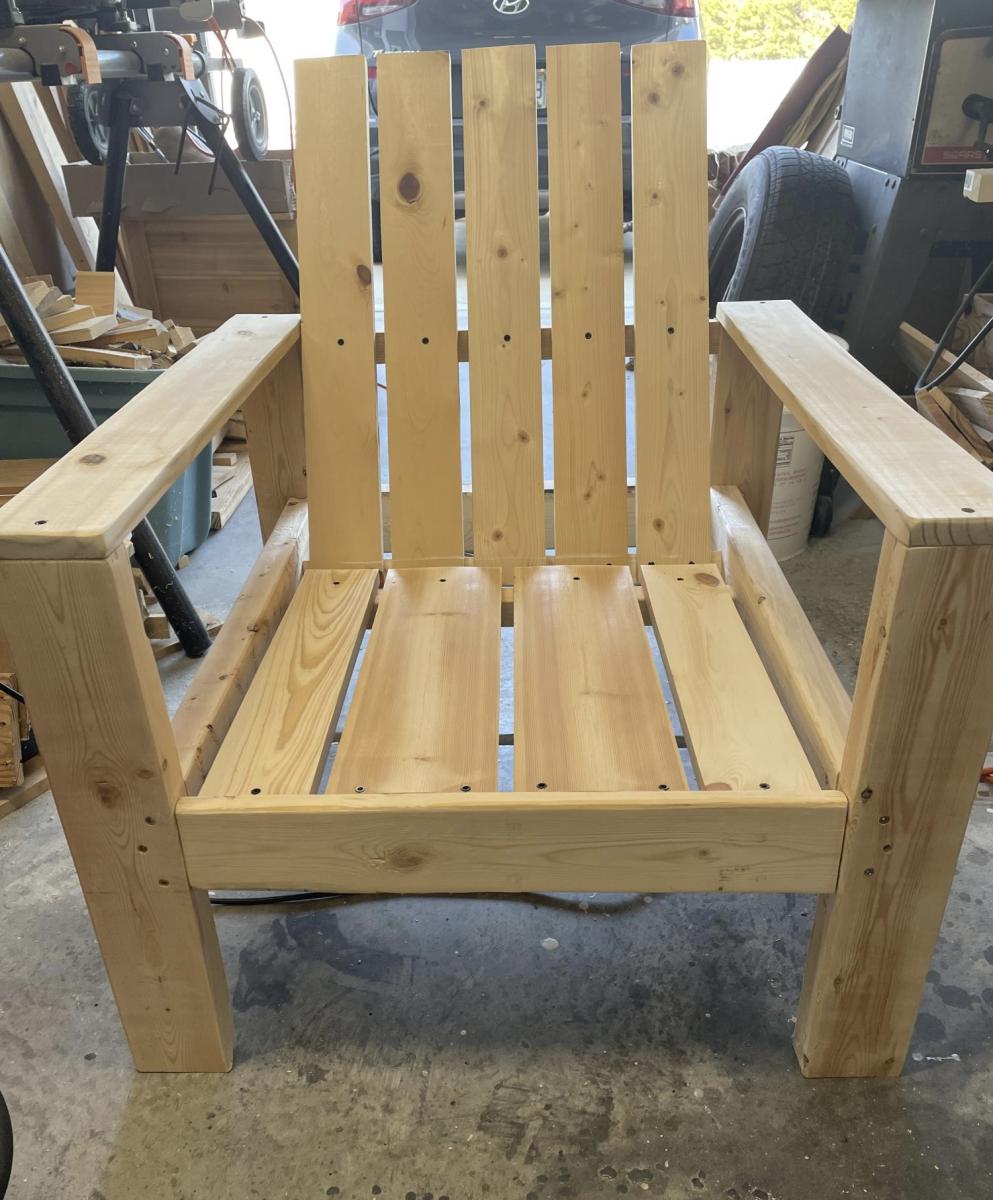
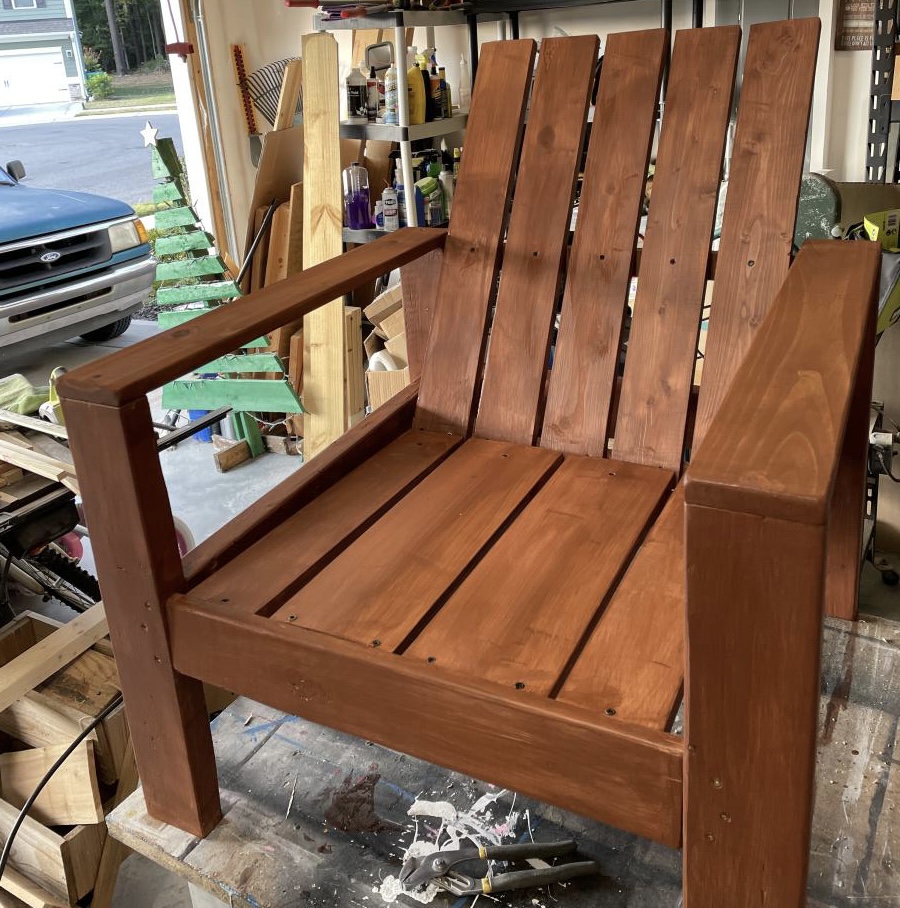
Simple Modern Outdoor Chair

Submitted by Anonymous (not verified) on Sun, 02/12/2023 - 05:11

Made first chair for the firepit area, hope it holds weight!!! Plans were very easy to follow as usual.

Built from Plan(s)

Comments

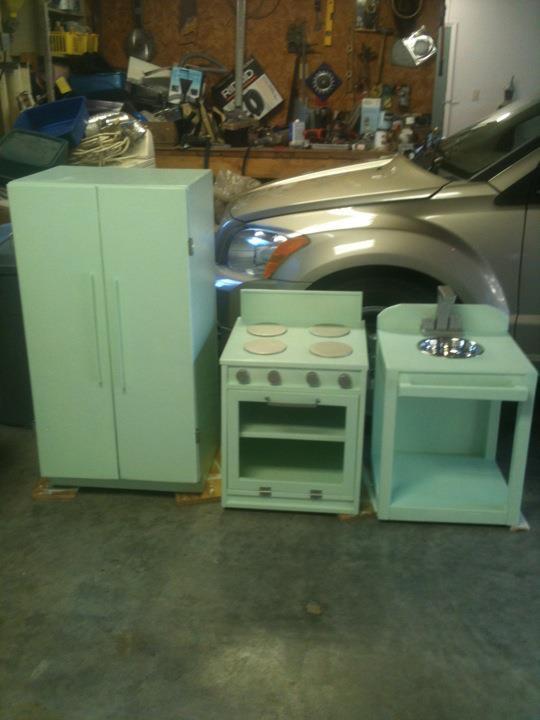
Play Kitchen

This was a "family project," for a niece's second birthday present; uncle (my hubs) built it and Pa painted it. He started with the pictures on the blog, and designed it based on mom's specifications.

Estimated Cost
$75 or so
Estimated Time Investment
Week Long Project (20 Hours or More)
Finish Used
Leftover mint green paint
Recommended Skill Level
Beginner

Comments

Betty Irvin (not verified)

Wed, 01/25/2012 - 14:58

Ana, I would like to continue to receive your frequent projects plans & etc. etc. My 'New' E-Mail address is ---- [email protected]. I don't know how to get a message to you except this way. Can you add me to your list of receivers???? Thank you kindly, Betty Irvin

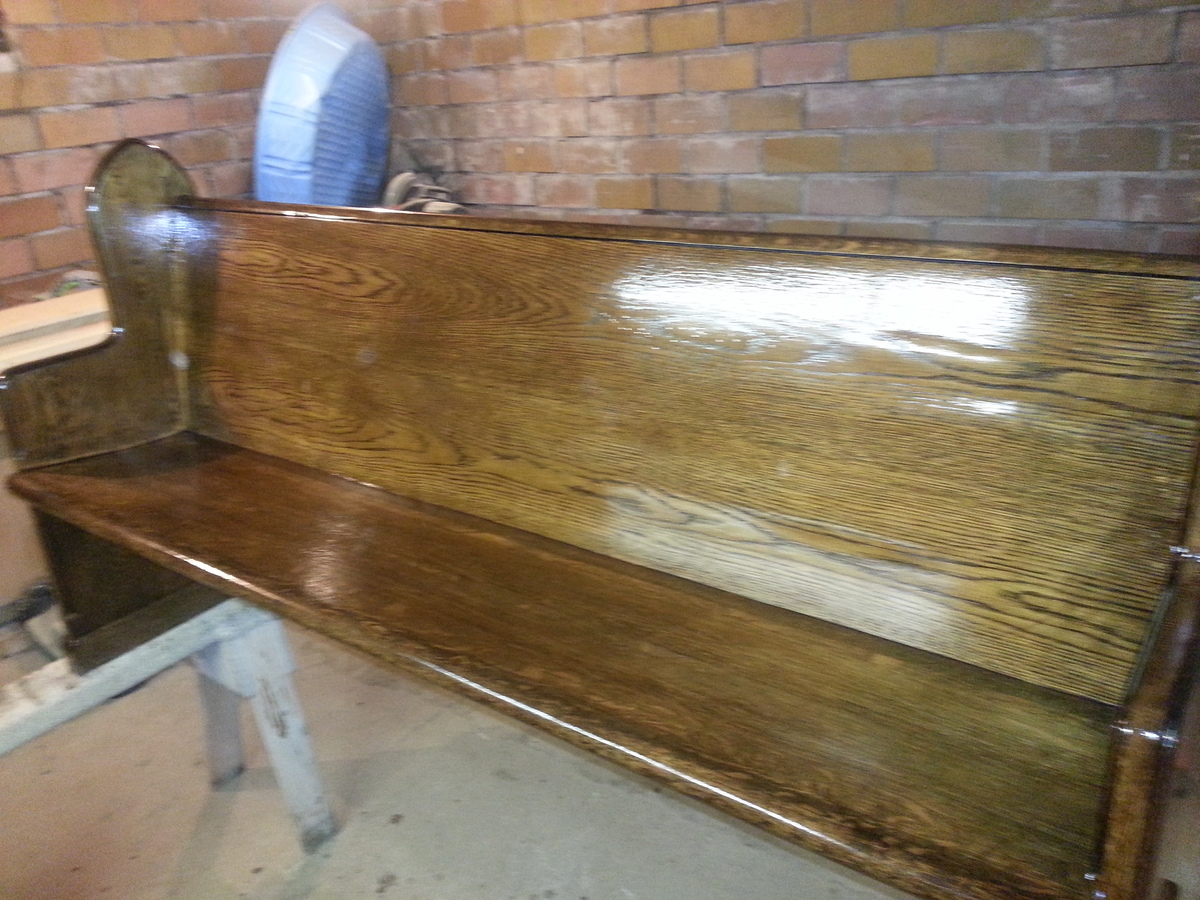
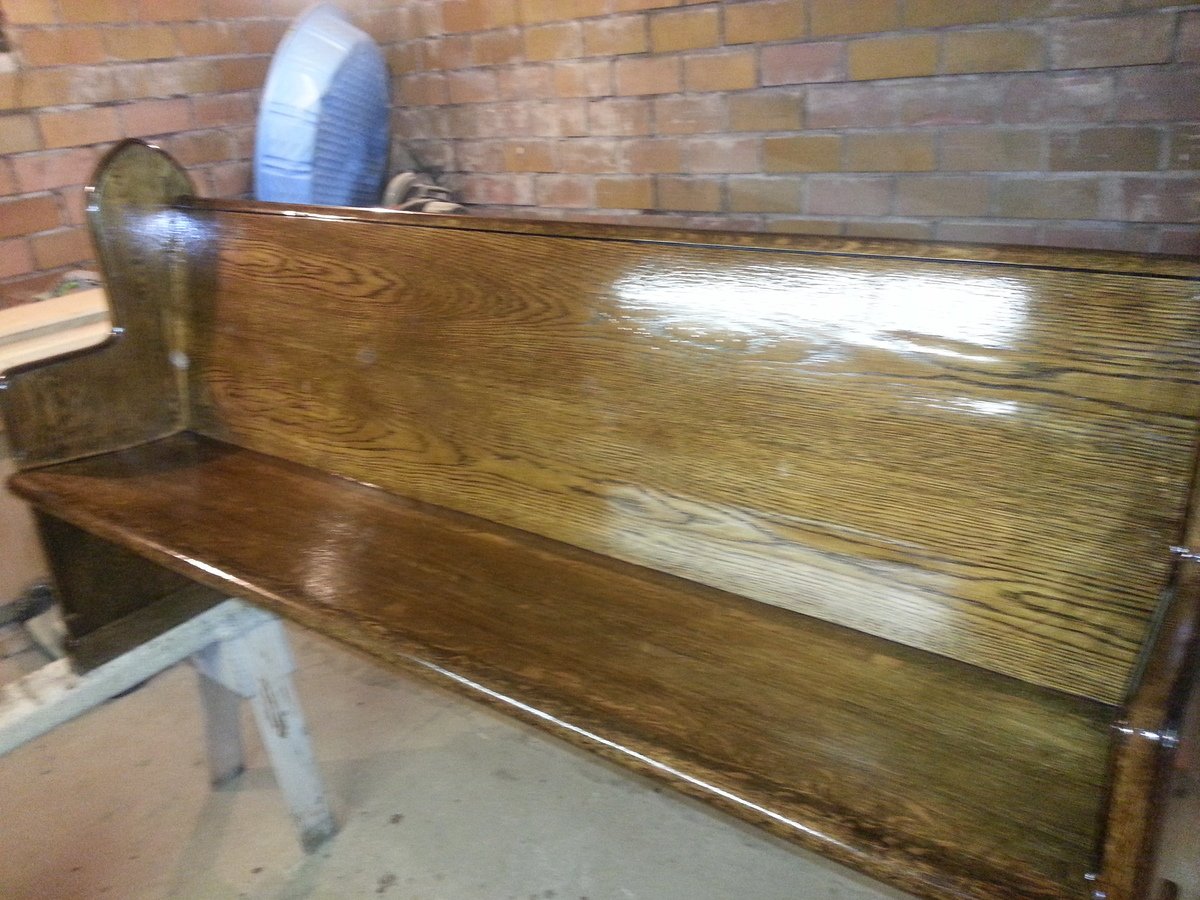
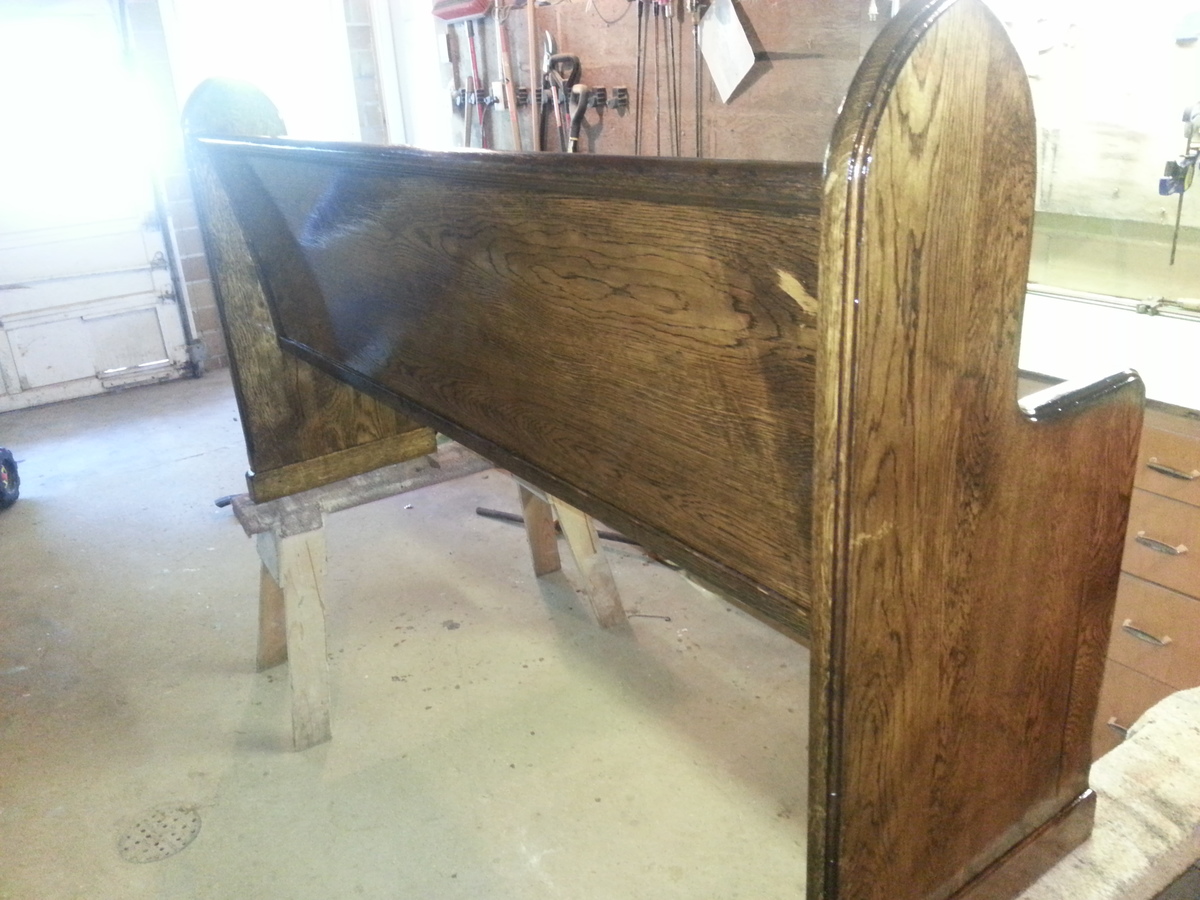
Church Pew

Submitted by ndetermann on Fri, 10/18/2013 - 01:58

I redid a very old church pew fro one of my friends. It's origins is from one of the original churches in our home town. (There was SO much lacquer on it) This church pew was in bad shape, I had to take it totally apart and re-glue and pocket hole jig every wooden piece together because it was falling apart.

Estimated Time Investment
Day Project (6-9 Hours)
Recommended Skill Level
Beginner

Library Book Cart

Submitted by Anonymous (not verified) on Mon, 01/04/2016 - 07:59

My wife is a preschool teacher and needed this badly. Easy project for a beginner like me. I got the mdf cut to size at my local hardwarestore. The build took me about 3 hours, the paintjob a lot longer. I made holes in the sides instead of the rectangular handles, because I thought that would be easier. And the holes work perfecty. I'm pleased with the finished project. Great quality for a small prize. Next up: the play kitchen!

Built from Plan(s)
Estimated Cost
$30
Estimated Time Investment
Afternoon Project (3-6 Hours)
Recommended Skill Level
Beginner

Comments

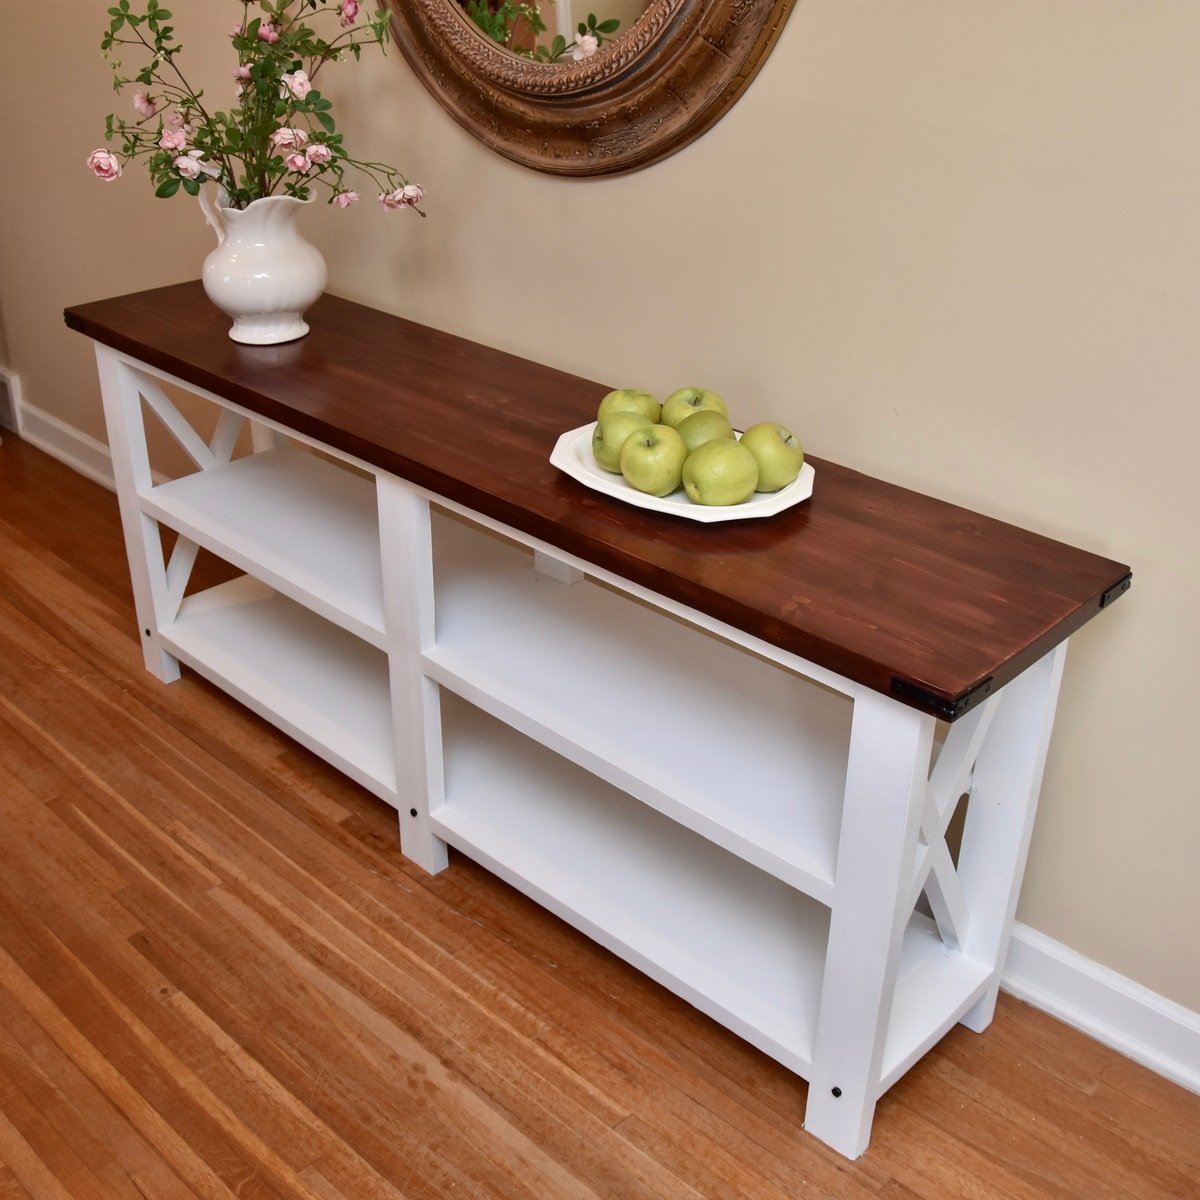
Farmhouse console table

Submitted by Anonymous (not verified) on Sun, 03/24/2019 - 15:50

This was my second build from Ana White.  If I could learn how to do the finishes better, I could get a table like this done in a few hours instead of a few weeks!

Built from Plan(s)
Estimated Time Investment
Weekend Project (10-20 Hours)
Finish Used
GF Chalk White on base. Red Mahogany stain with satin wipe-on poly for the top.
Recommended Skill Level
Intermediate

Apothecary Media Center

While building this plan, we decided we liked it better with doors on the inside, and shelves on the outside. With some modern paint choices, we made this classic plan fit our style!

Built from Plan(s)
Estimated Time Investment
Weekend Project (10-20 Hours)
Finish Used
Body is Honeymilk by Valspar. Top is Chestnut from Minwax
Recommended Skill Level
Intermediate

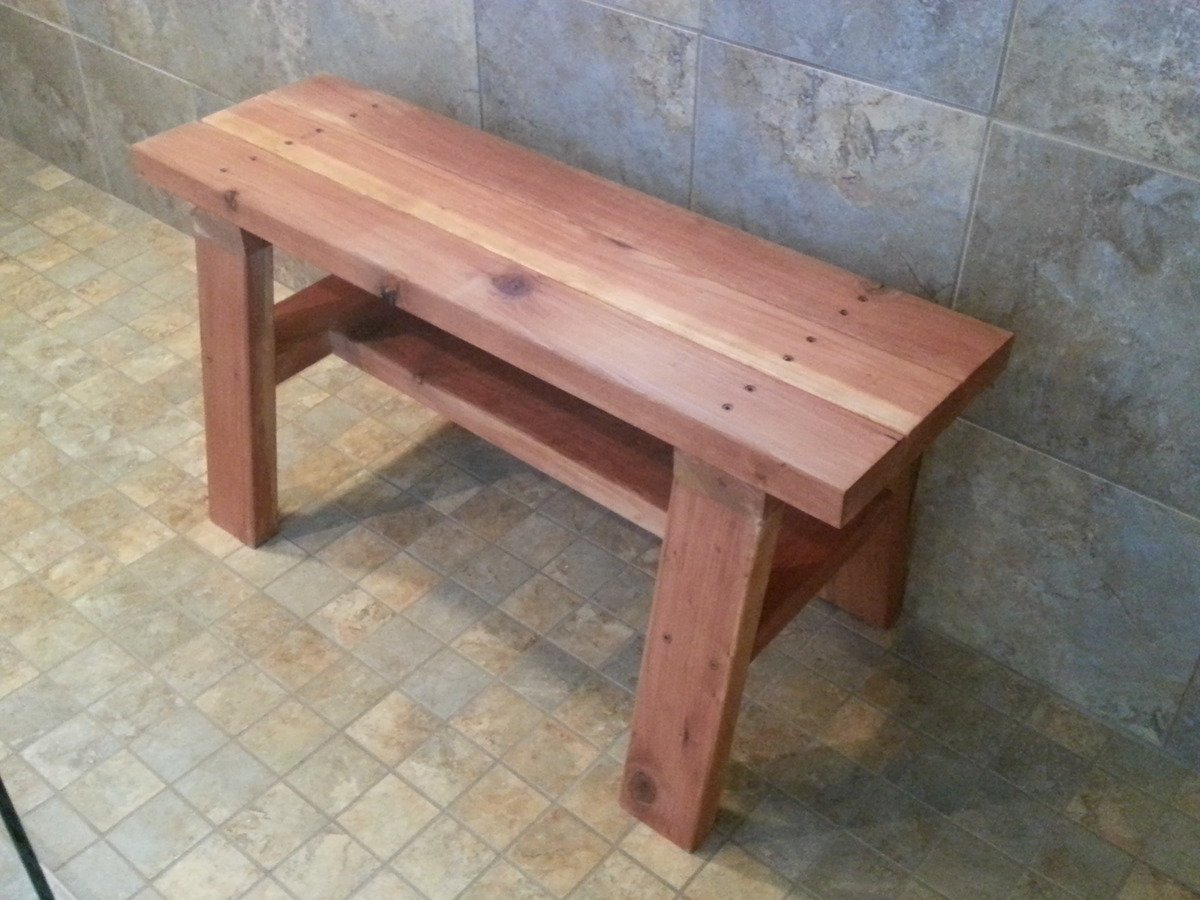
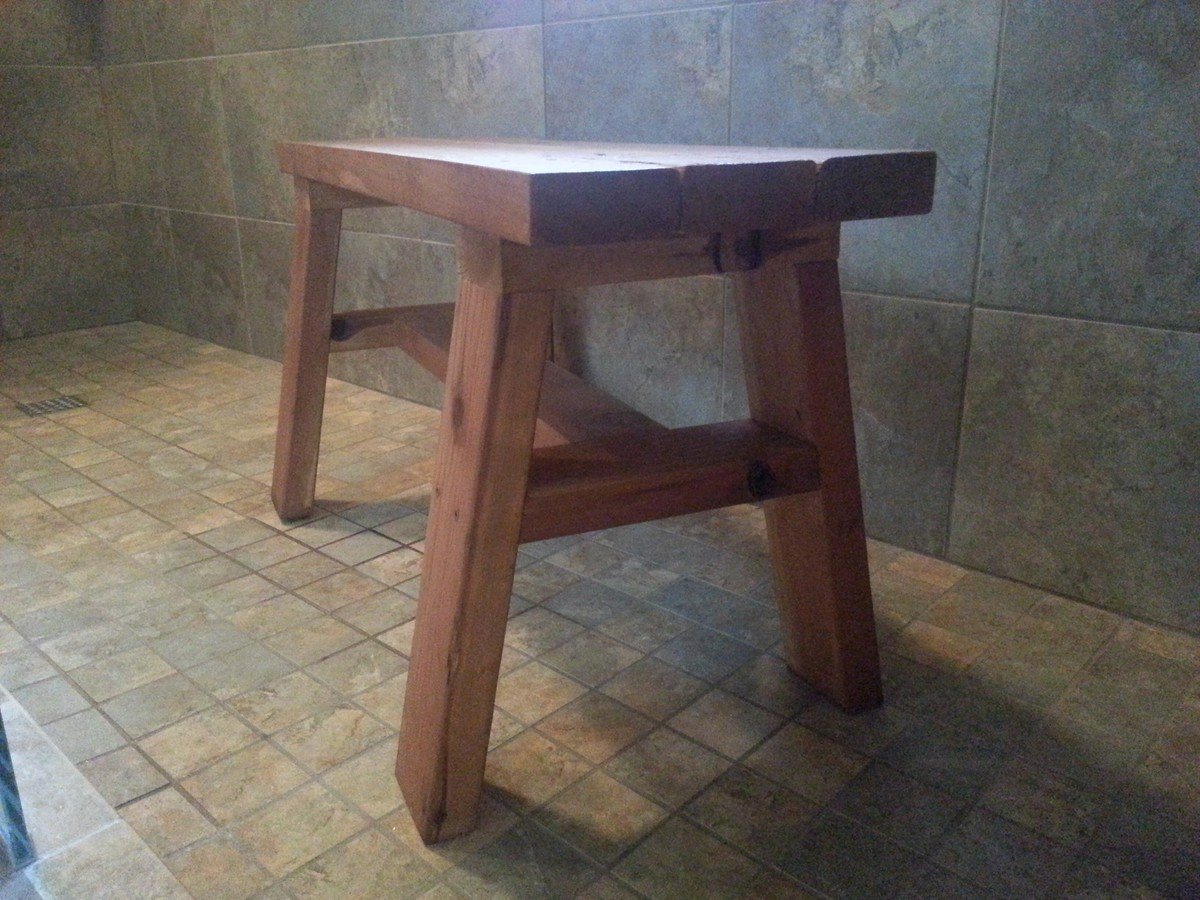
Redwood Shower Bench

Submitted by lwarteman on Sun, 10/20/2013 - 08:33

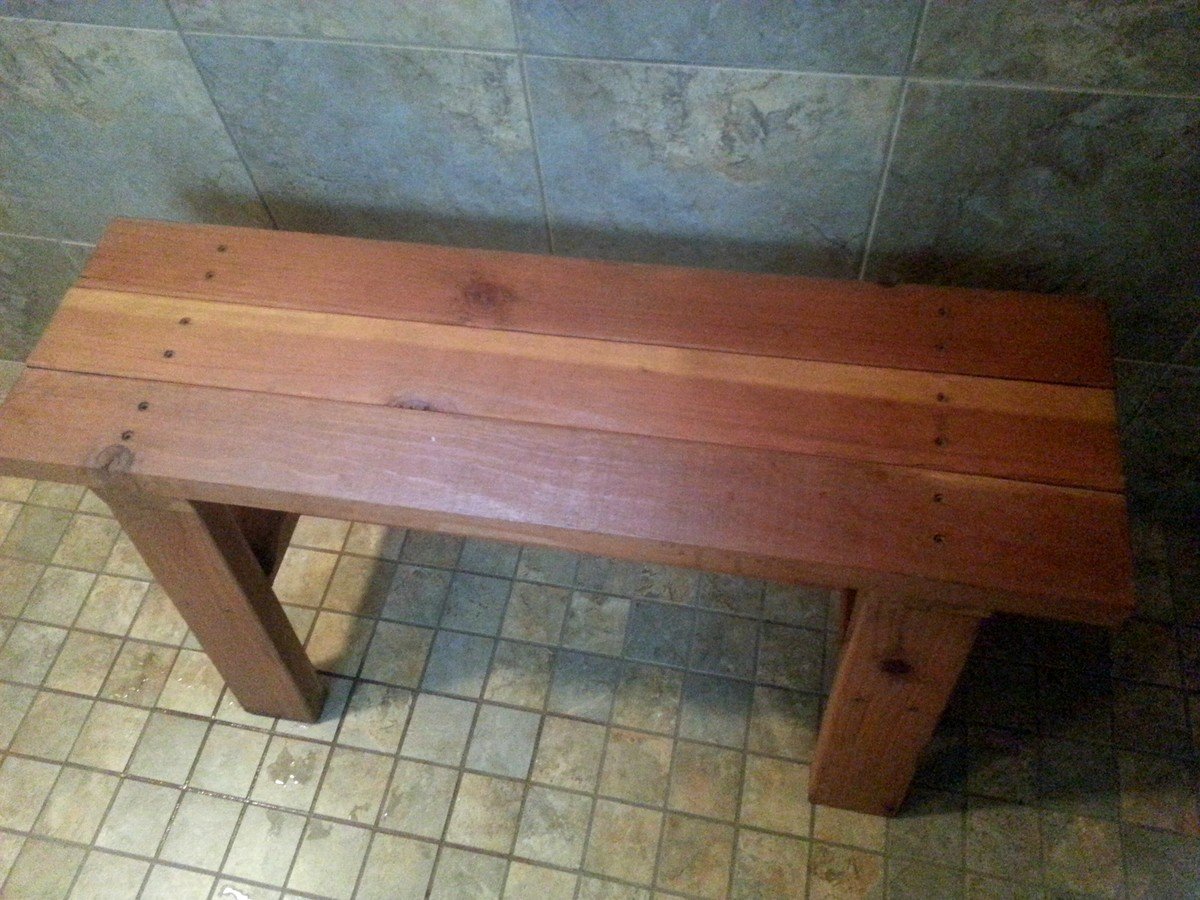
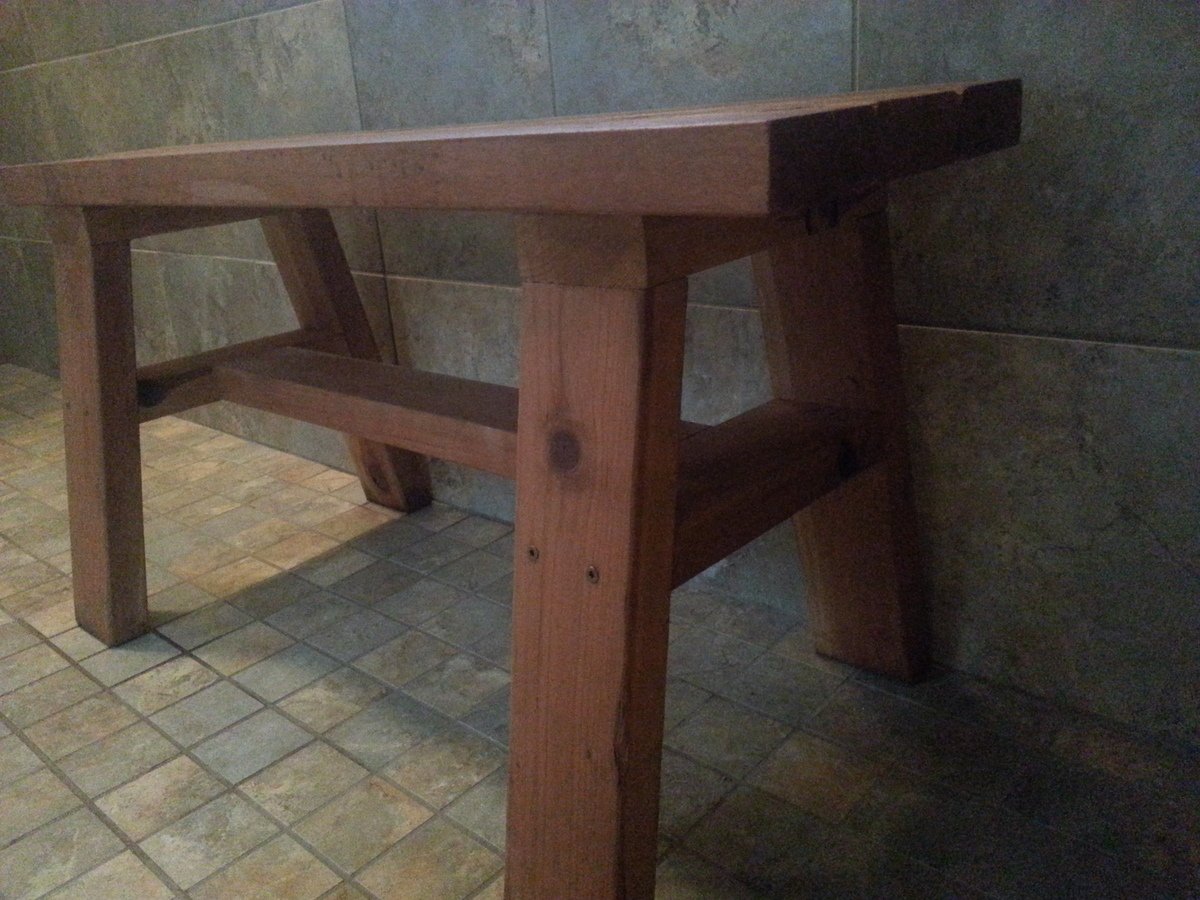
I wanted to build a small shower bench. I used the Providence Bench Plans and just made it a bit smaller with a few adjustments. This bench is 35" long and 18" tall. I did not use the cross supports on the bottom because it was so short. Also, you will see that I turned the bottom stretcher and side supports flat/horizontal. I put the screws for the seat boards through the top down just because this was the easiest way for me to do it. The plans did not show in detail how to attach the seat boards from the underside. It just said "finally, the seat boards." I guess they probably used a pocket jig. I bought a pocket jig and used it in the couple of places, but this was my first time using it. I used brown, coated decking screws in the places I did not use the pocket screws. This was my first attempt at building anything and my first time to use a pocket jig. I used a natural wood stain and Behr Weather-Proofing since it will be in a wet area.

Built from Plan(s)
Estimated Cost
$20
Estimated Time Investment
An Hour or Two (0-2 Hours)
Finish Used
Behr All-in-One Stain and Weatherproofing in Cedar Naturaltone (No. 5533). Because this is going to be in a wet area, I put 2 coats on and let each one dry 12-24 hours in between and before getting wet.
Recommended Skill Level
Beginner

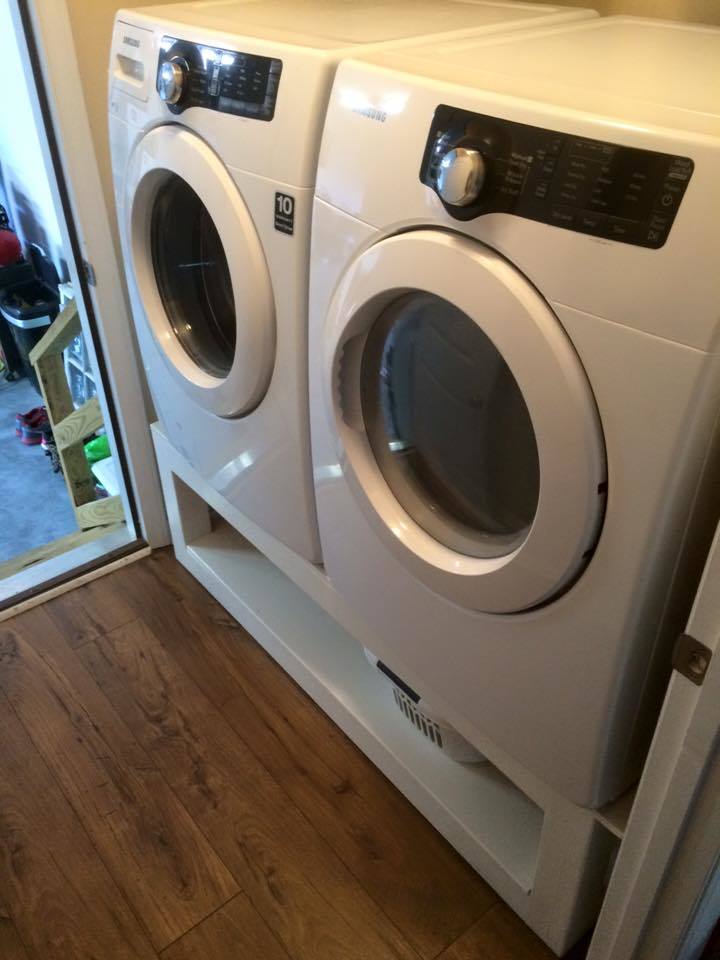
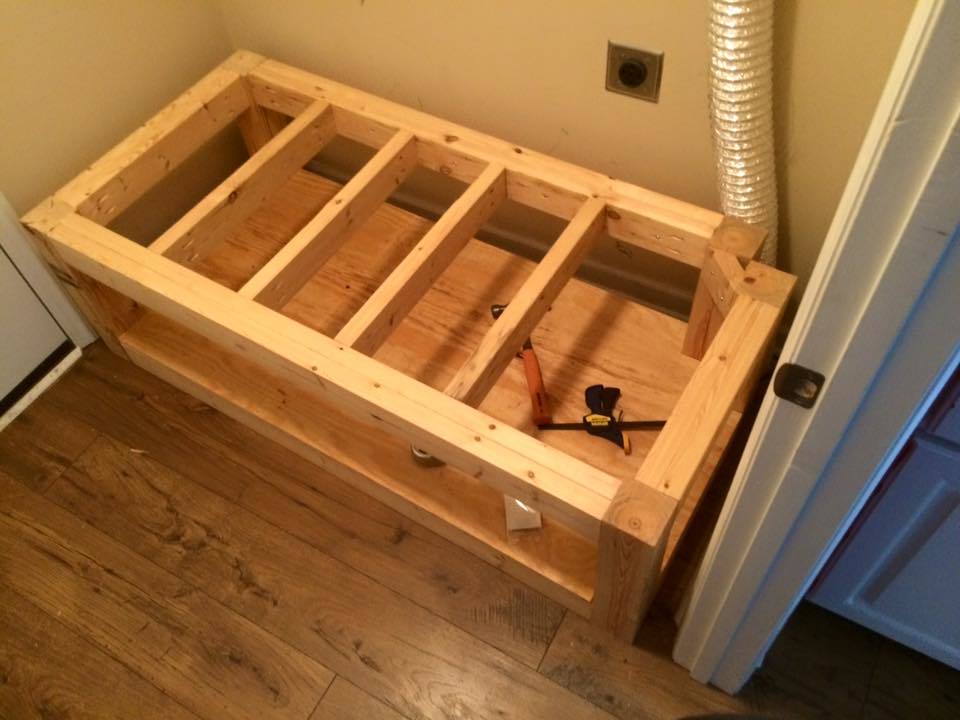
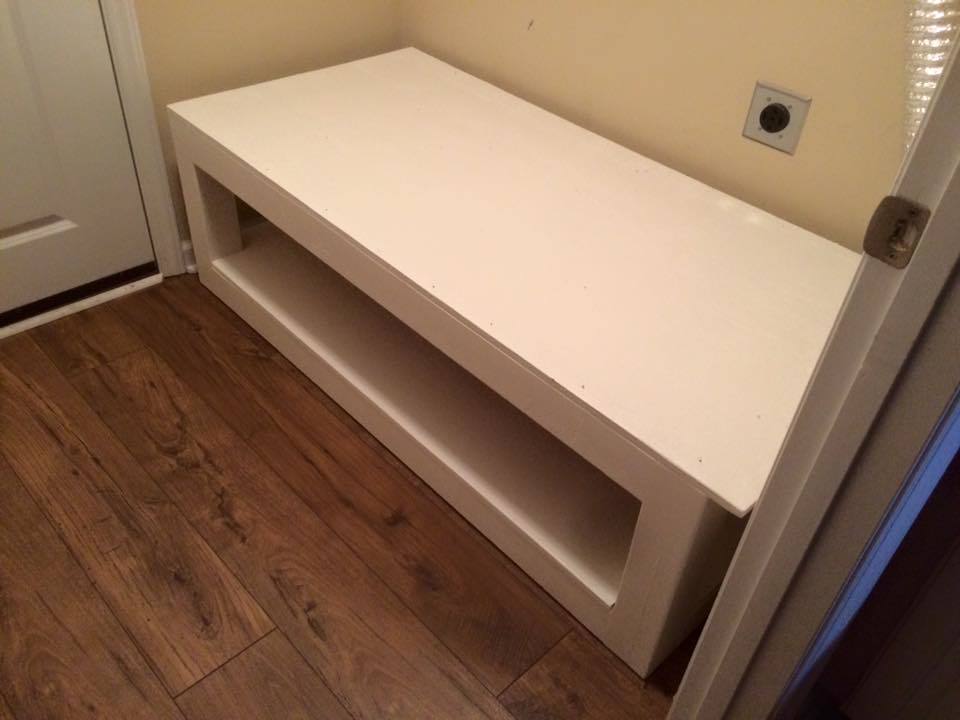
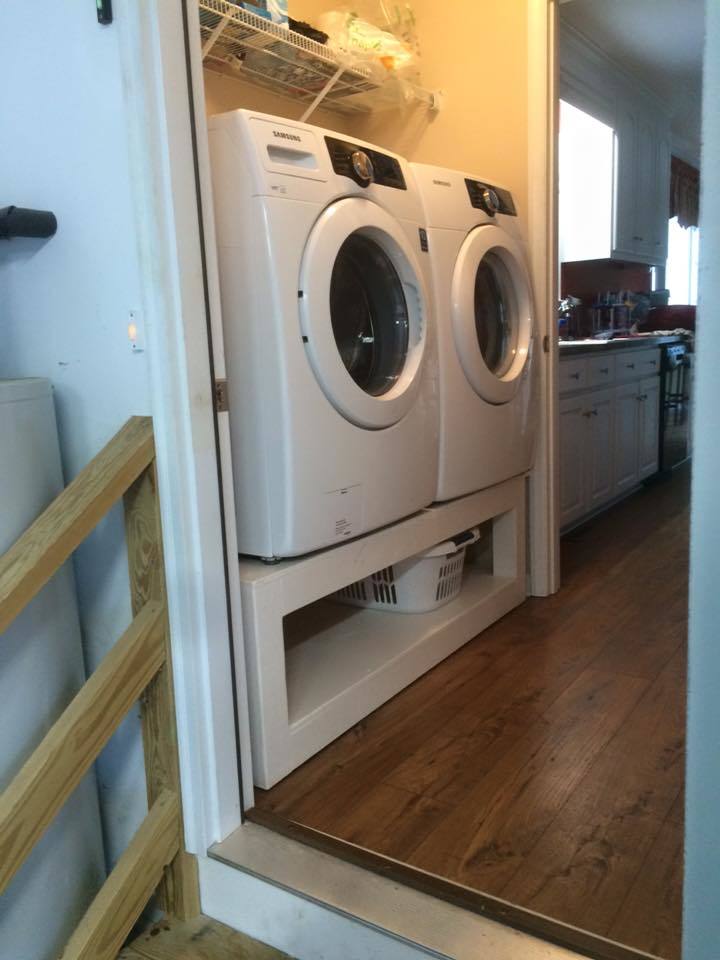
washer and dryer pedestal

Submitted by KL728MX on Tue, 01/05/2016 - 13:07

my wife tagged me on facebook right before Xmas with the plans and picture of this, so i dusted off my tools and built her one as a present. its not only great for her but it makes the laundry easier for me as well. I had to mofidy the base of mine because my dryer vent comes up through the floor in the corner.

Estimated Cost
$100
Estimated Time Investment
Day Project (6-9 Hours)
Finish Used
Valspar white latex
Recommended Skill Level
Beginner

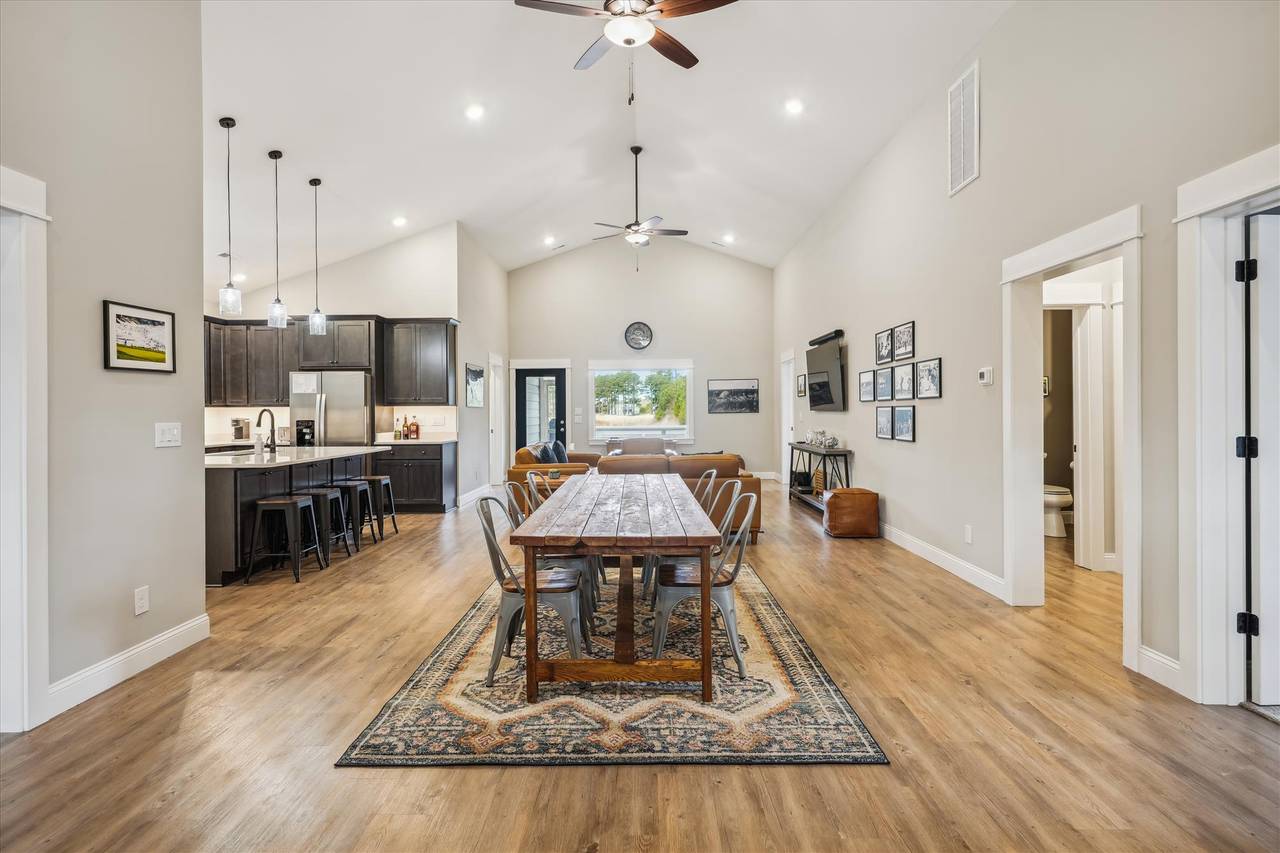
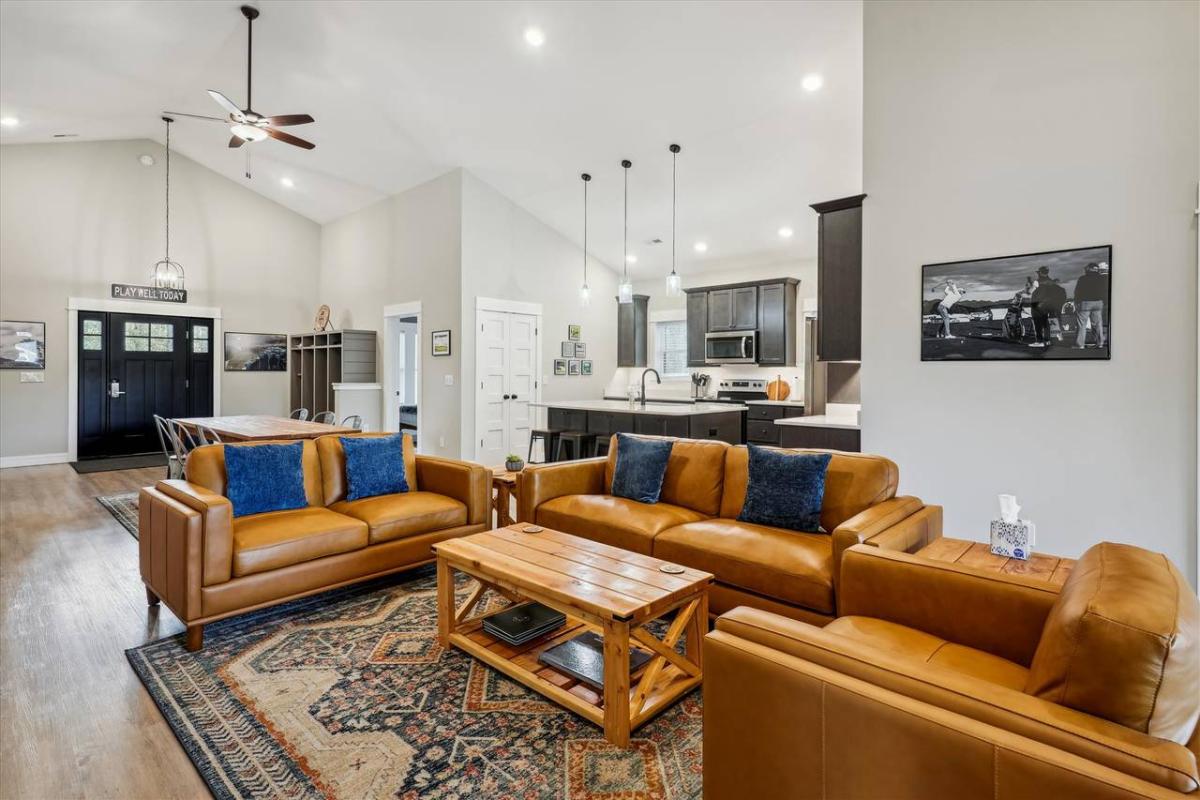
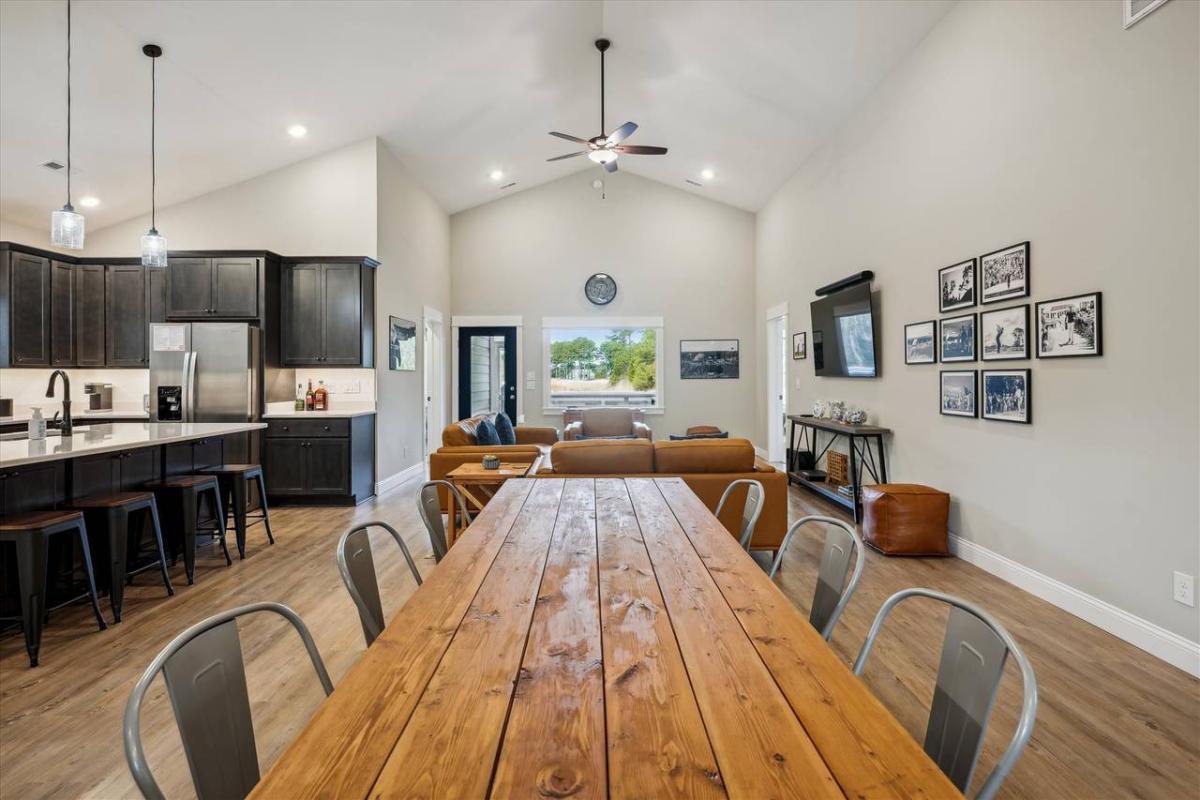
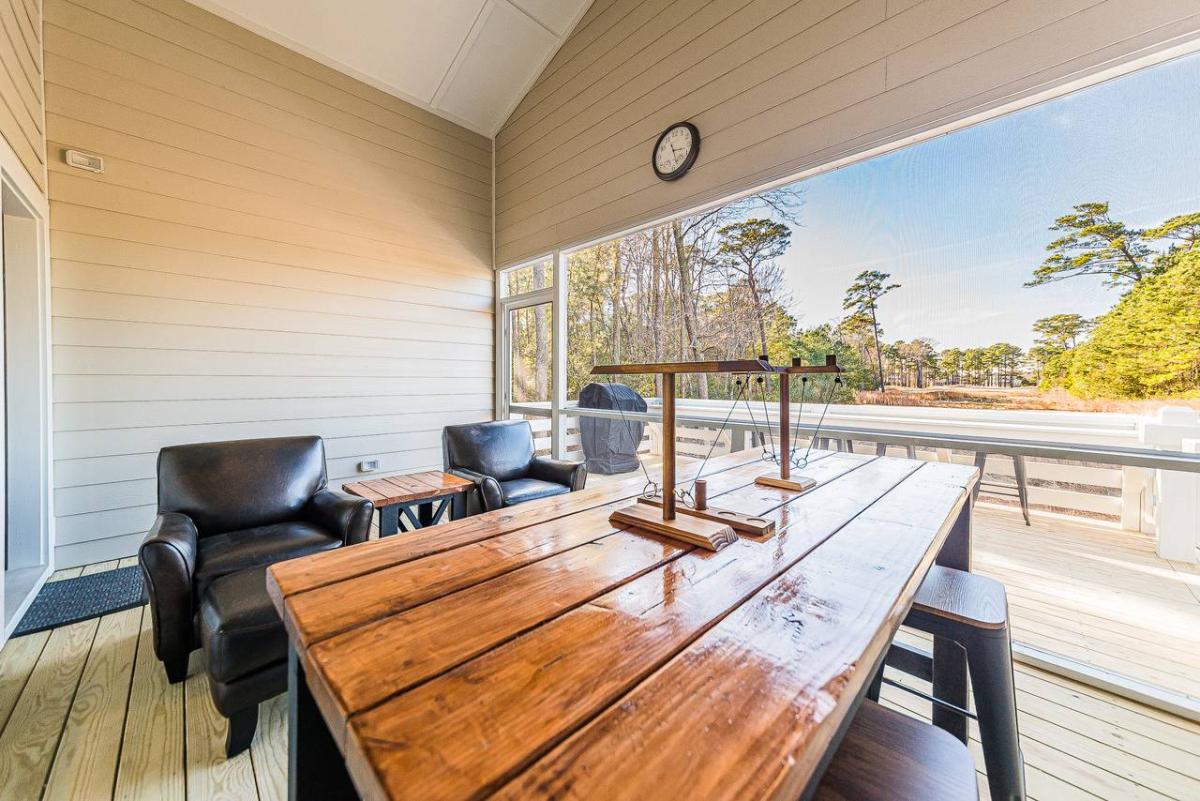
My Golf Getaway Cottage

Submitted by Anonymous (not verified) on Fri, 02/24/2023 - 05:31

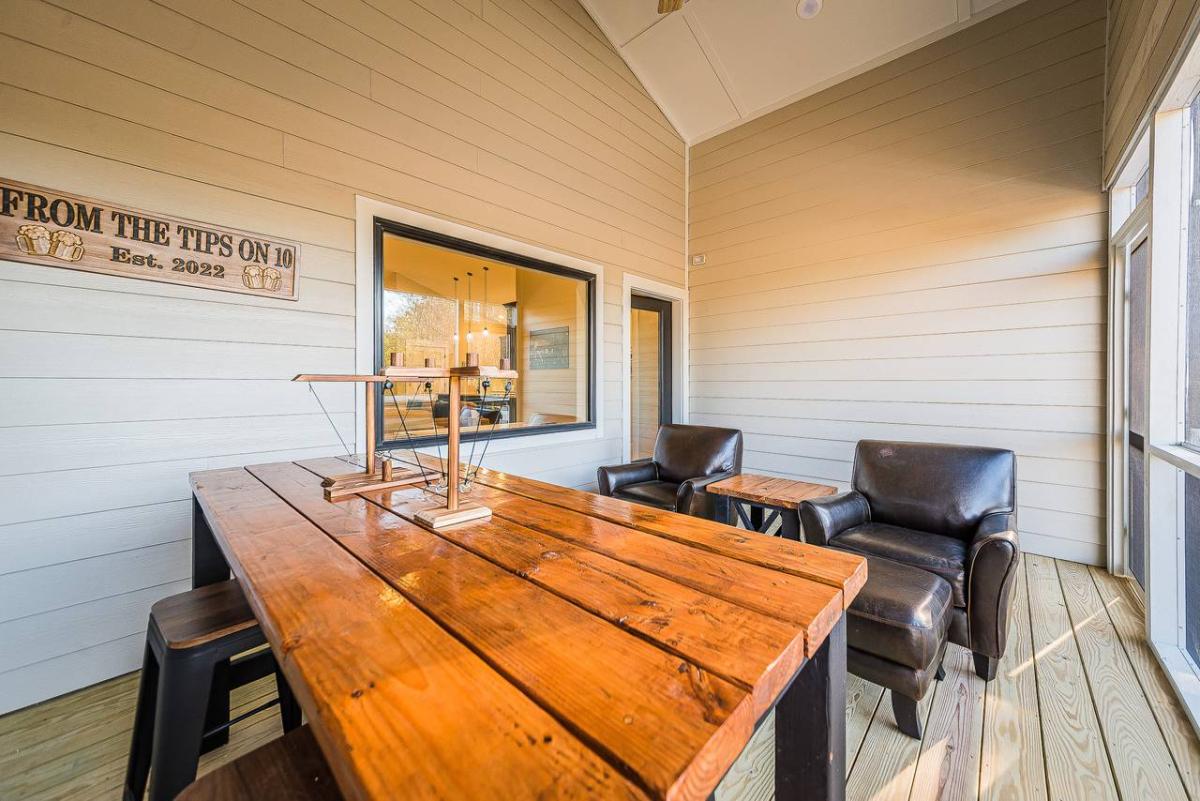
While my vacation property was being built I got hooked on Ana’s plans. Farm table, followed by coffee and end tables and finally a fabulous pub table.

Can’t wait to entertain.

Comments

Twin Storage Beds with corner unit

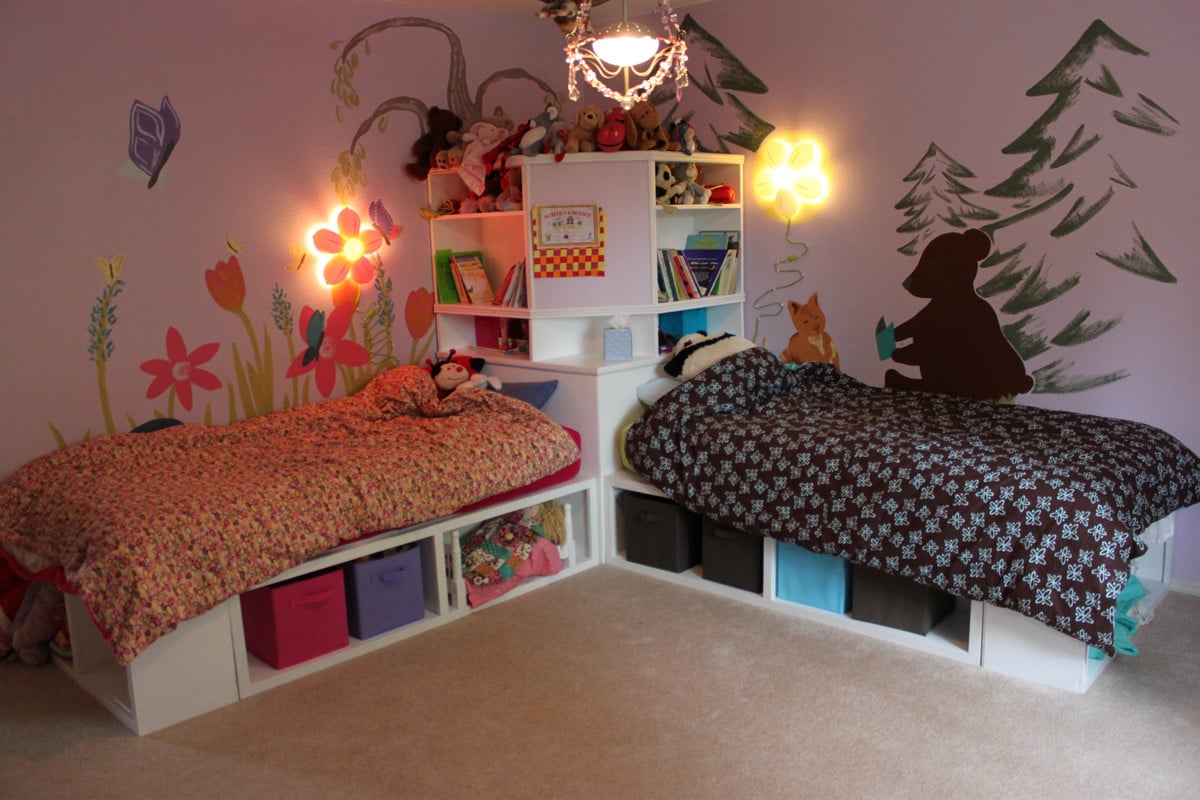
When we moved into our new house, I figured it was time to replace my girls's mattresses on the floor with actual beds. so I set about making the twin storage beds with corner unit. I primed all the wood prior to cutting and assembling, and that made things go much faster. Assembling the corner unit was tricky, since i really didn't want to have sanding and much paint in their bedroom. (i loaded in the beds first and the corner unit a week later). I added trim that wasn't on the plan, and also used the magnetic paint on the center area, although it makes a weak magnetic surface. All in all, I LOVE the way it turns out and no one can believe that I built it and didn't buy it... (although it seems obvious to me when you look closely LOL)

Built from Plan(s)
Estimated Cost
~$500?
Estimated Time Investment
Week Long Project (20 Hours or More)
Finish Used
paint
Recommended Skill Level
Intermediate

Comments

tannisg

Fri, 11/04/2011 - 11:42

It looks great, and I love what you did with the walls! Free hand with paint, or decals? Either way, its darling and clearly gives each girl her own space.

We have the same lamps - quite popular :)

I am trying to figure out a clever way to put three girls in a (huge) room and I think something like this or a bunkbed combo would make it fun and new for them..

Guest (not verified)

Sun, 01/08/2012 - 18:36

Where can I find the plans for the top half of the corner unit.? Your beds are exactly what I want for my girls. Thanks for sharing.

Overhead Garage Storage

This project was born out of desperation for some way to organize our garage. It is not difficult to build, and it went pretty quickly with two of us. It probably didn't take more than four hours tops for each section. I've seen the prices for garage storage components and some of them are staggering! We have removed a tall chrome shelf, and moved a ton of stuff onto these shelves, creating a hundred square feet of floor space! And for only $25! Come on over and check it out on my blog! Val

Estimated Cost
$25 per 8 foot section
Estimated Time Investment
Afternoon Project (3-6 Hours)
Finish Used
Whatever white paint we had left over from various projects.
Recommended Skill Level
Beginner

Comments

Beach House Headboard

Submitted by Anonymous (not verified) on Thu, 01/07/2016 - 09:33

My wife wanted an antiqued turquiose headboard for our beach house. Your plans and dimensions worked perfectly. I added the center support to bring the warped boards into compliance. Thank you Ana ...

Estimated Time Investment
Afternoon Project (3-6 Hours)
Finish Used
turquoise spray paint, antique glaze and poly urethane clearcoat
Recommended Skill Level
Intermediate

Custom mudroom storage

Submitted by Anonymous (not verified) on Sun, 02/26/2023 - 14:04

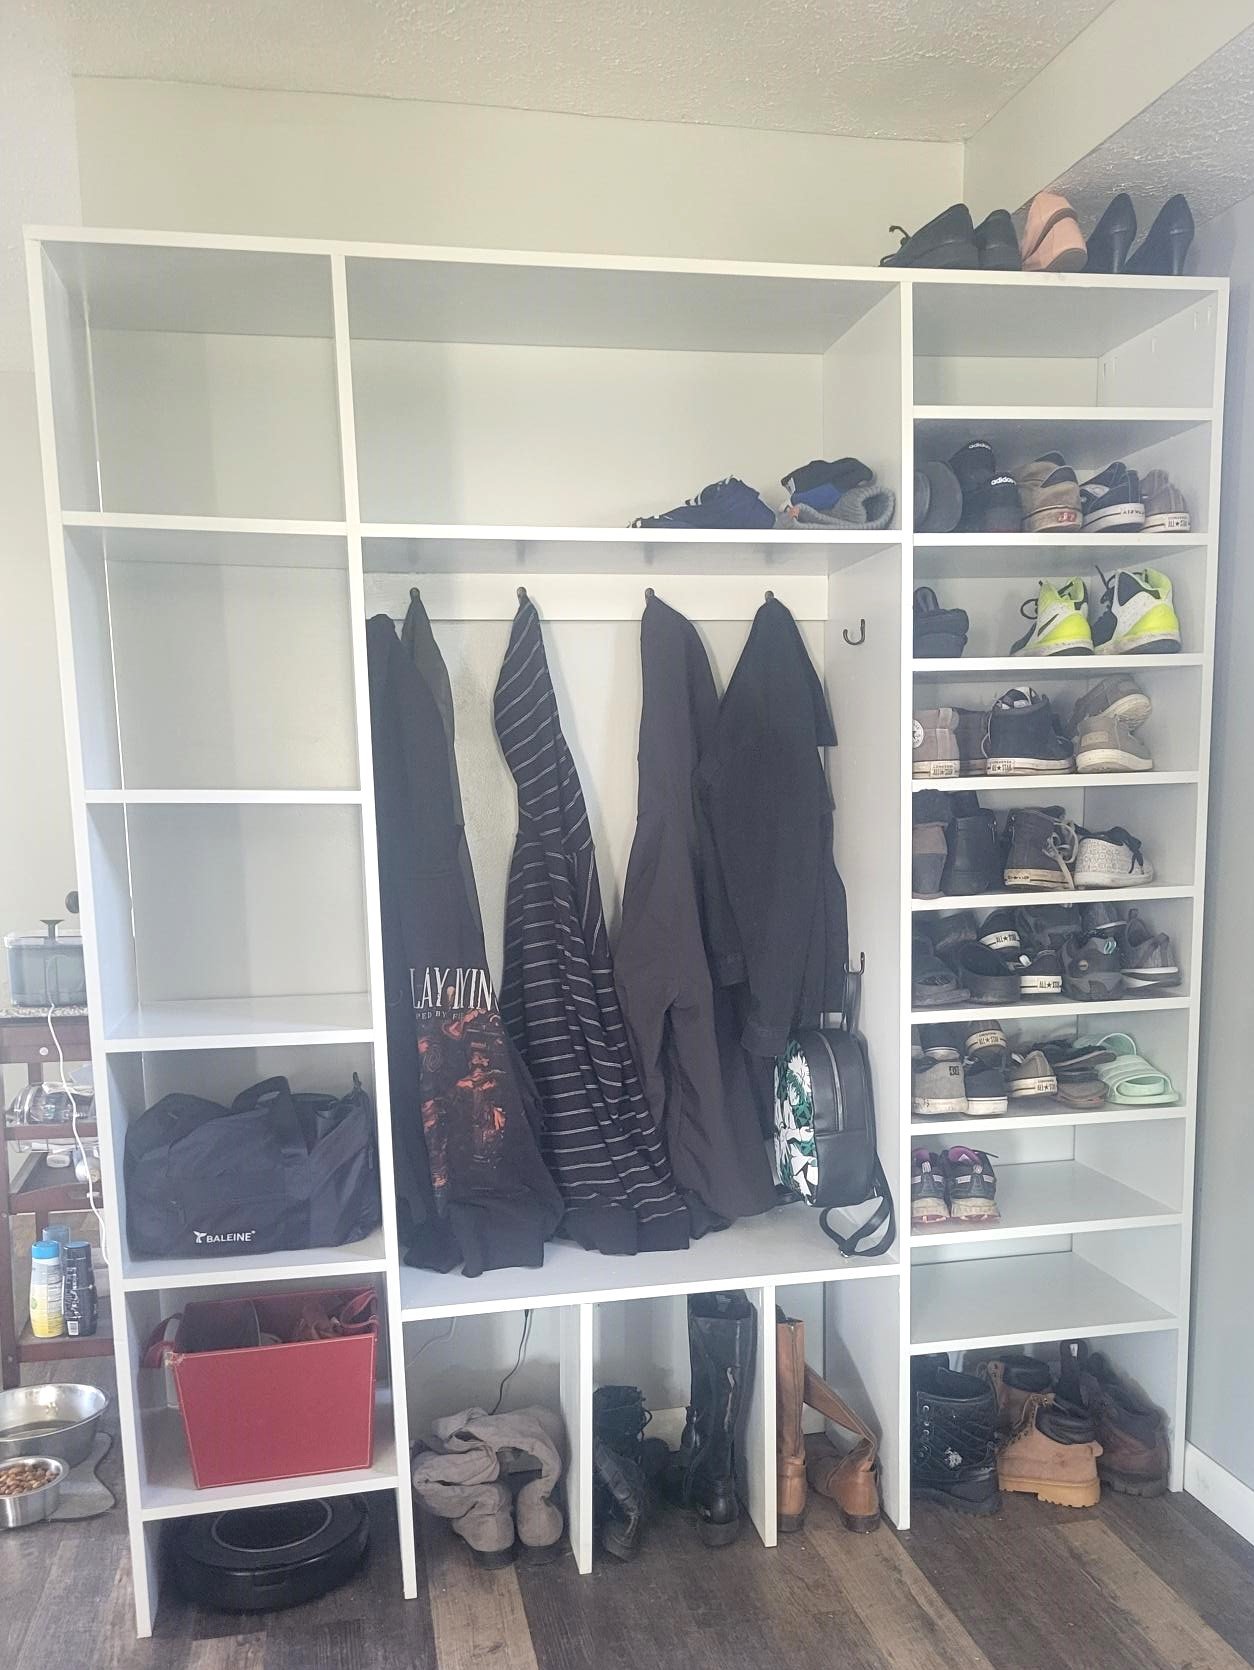
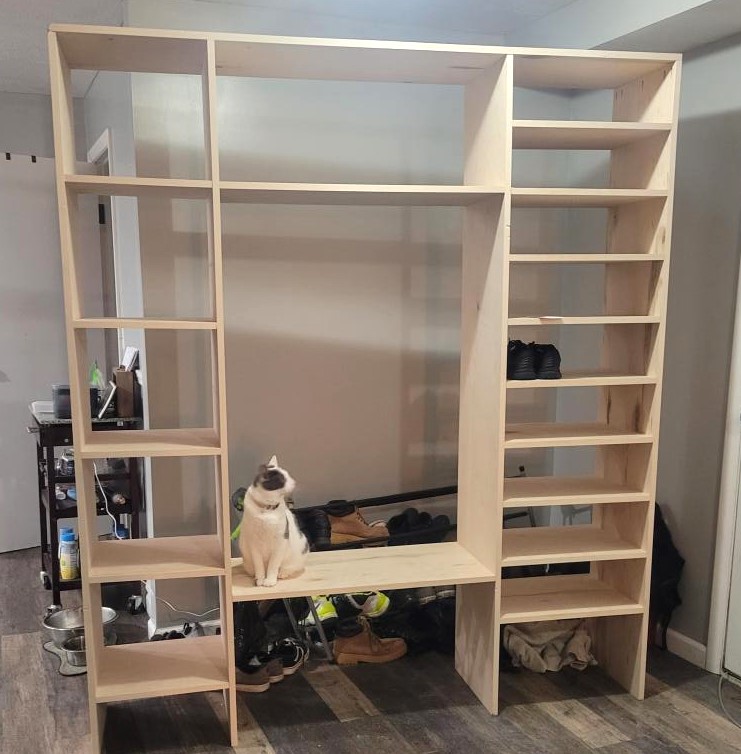
Used this app to build a custom nook for shoes and coats. Its been fantastic and super easy to put together!

Comments

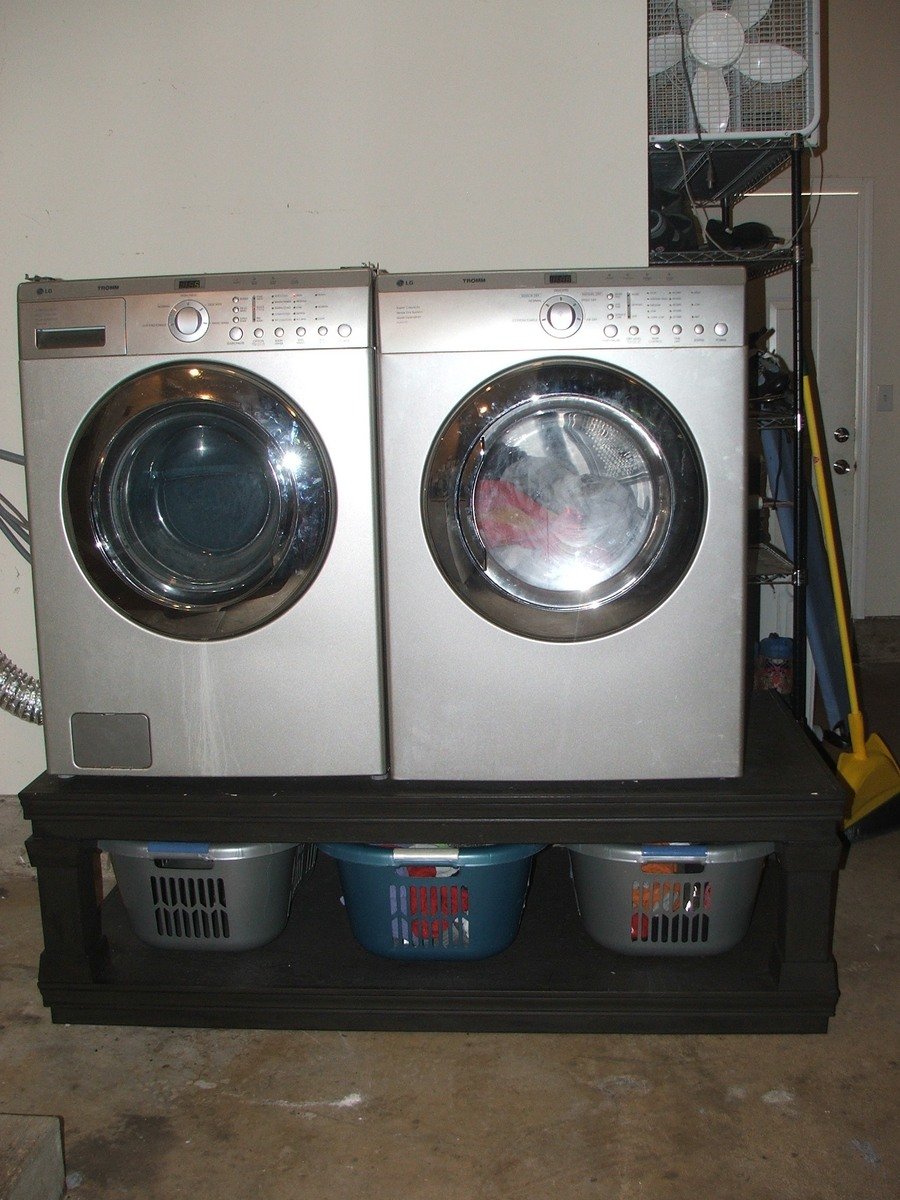
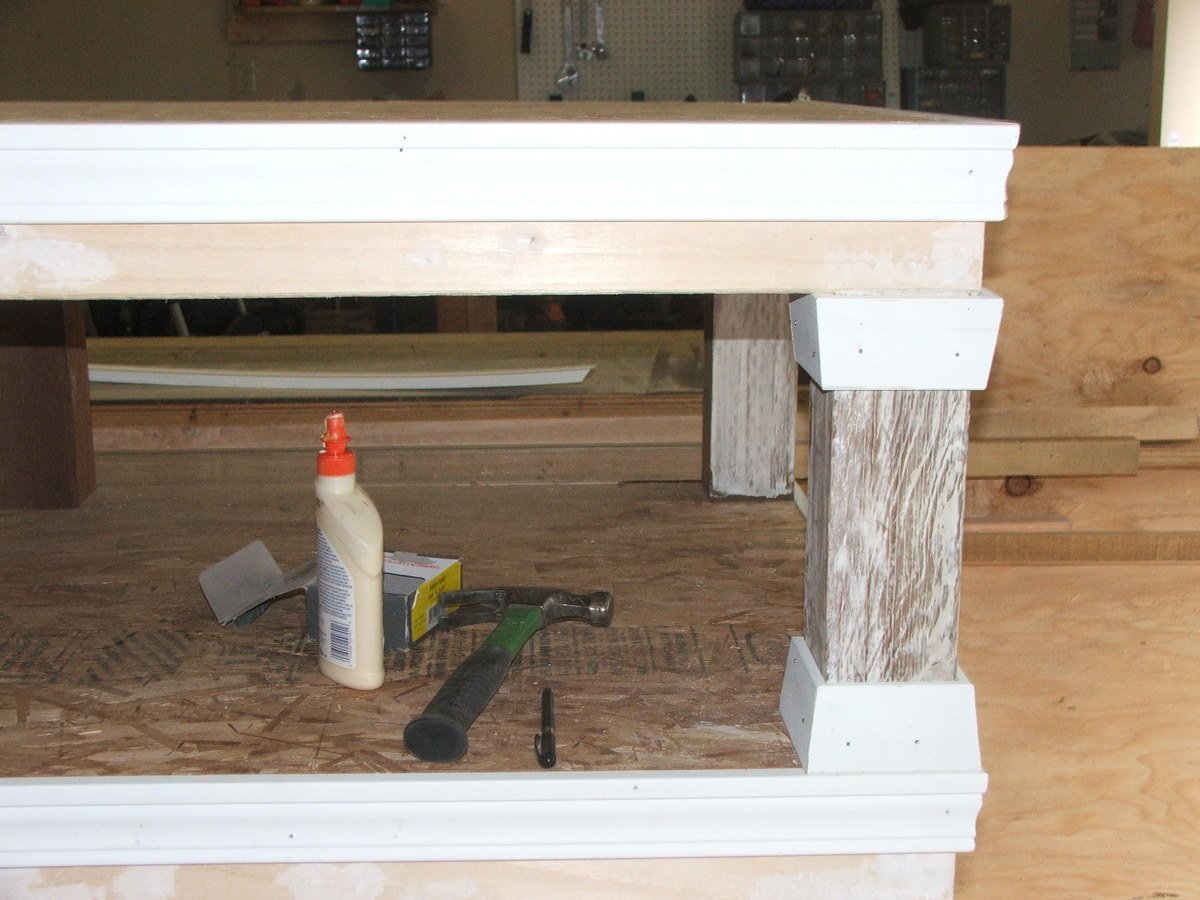
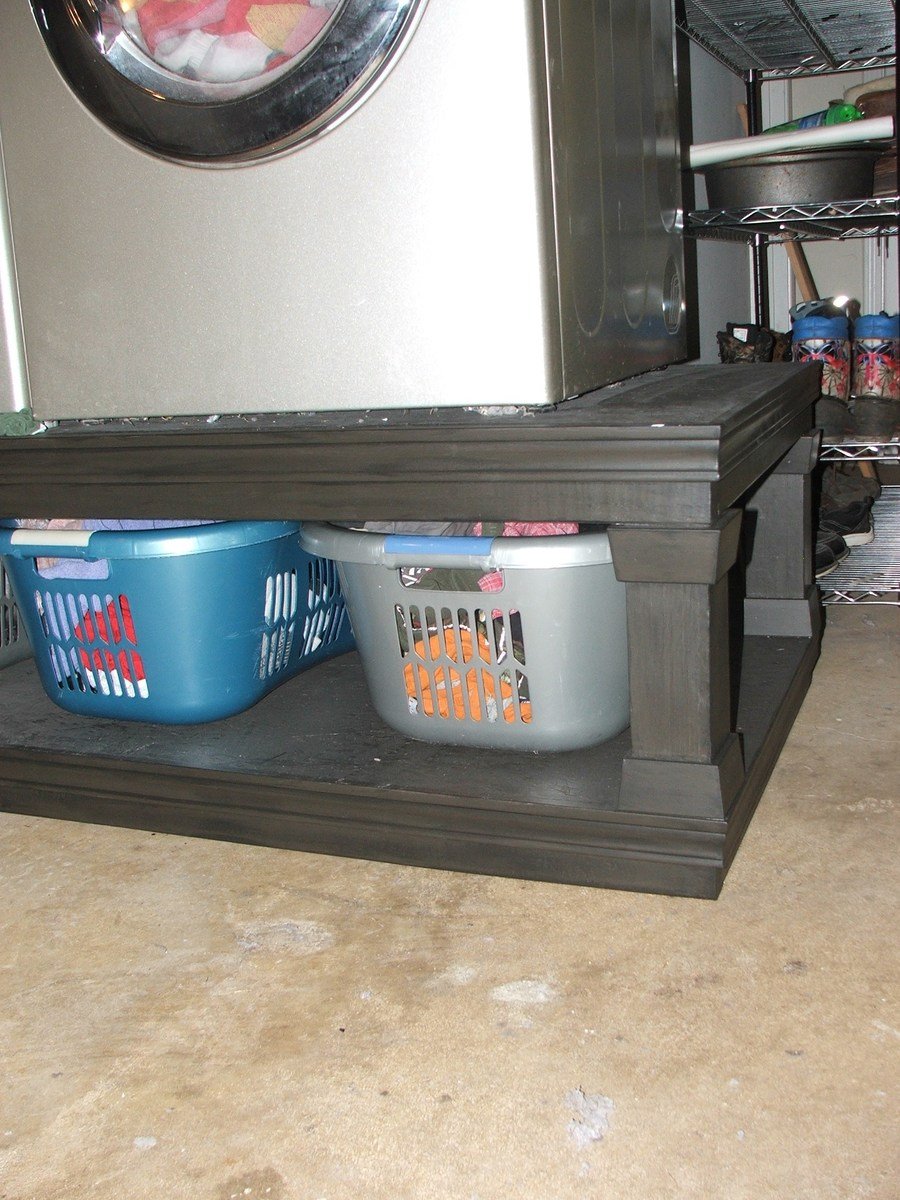
Laundry Pedestals

Submitted by bulcaoma on Mon, 11/07/2011 - 13:46

Used the plans here, but adjusted to fit my own hampers and to use all scraps on hand, including leftover primer and paint. Completly FREE build!

Estimated Cost
FREE all scraps
Estimated Time Investment
Day Project (6-9 Hours)
Finish Used
Dark Primer, and Espresso Brown Paint, Used black acrylic paint to highlight molding and edges--can't see in images
Recommended Skill Level
Beginner

Comments

Guest (not verified)

Sun, 12/04/2011 - 08:22

This looks awesome!! Very curious to know how you like it and do you have any problems keeping the washer on the pedestal. Are the washer and dryer mounted to the pedestal, if so how? Have been looking at lots of these plans but none of the comments talk about using it.

bulcaoma

Wed, 02/01/2012 - 11:37

As long as the washer has been well levelled with the bottom levellers attached and your floor and pedestal are level, there really shouldn't be a problem. I did make the pedestal larger because I was a little nervous also. So far no problems whatsoever.

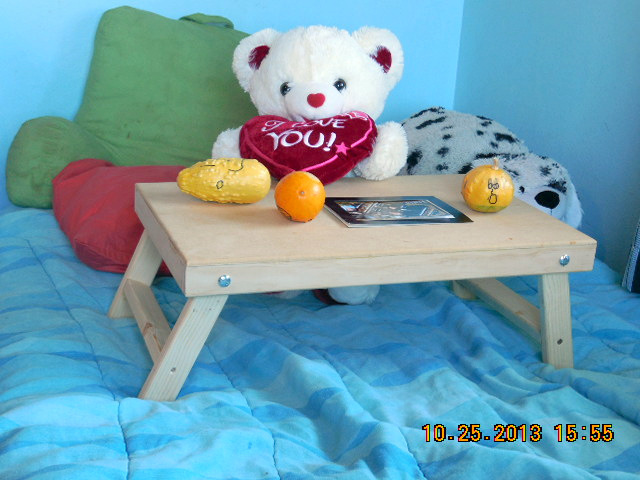
Lap Desks for the Grandkids

Submitted by Jake on Fri, 10/25/2013 - 17:23

A lap desk for each Grandkid. They love using them for watching TV, reading, and a flat surface for building Lego castles...

Just a couple of suggestions. First the holes must be drilled exactly in the middle of the leg and the frame or the leg will not fold properly. I suggest placing the hole about 1/16" off center and then sanding the leg to make it flush when folded. Second the bolt only needs to be 2". I also used my $30 trim router from Harbor Freight to round-over all of the exposed edges.

Built from Plan(s)
Estimated Cost
$7 each
Estimated Time Investment
Afternoon Project (3-6 Hours)
Finish Used
None, but may paint them in the future.
Recommended Skill Level
Beginner

Comments

CreativeChaos

Sat, 11/30/2013 - 06:55

Did you have any issues with the cap nuts loosening when you raise and lower the legs? I bought 2" bolts (1/4" bolts and drilled 1/4" holes. Now the bolts turn when I raise and lower the legs and the cap nuts loosen. I'd appreciate any suggestions you might have. Thanks!

Rolling Crate Side Table

I made a simple rolling crate, and put it on its sides. Attached casters on the bottom. I used my scrap 2x4's for the top. Boom! A beautiful rolling side table with storage.

Built from Plan(s)
Estimated Cost
$25
Estimated Time Investment
Afternoon Project (3-6 Hours)
Finish Used
Black base finish with glossy spray paint. Top is stained in a few different hues. See blog post linked in this post to find more information.
Recommended Skill Level
Beginner

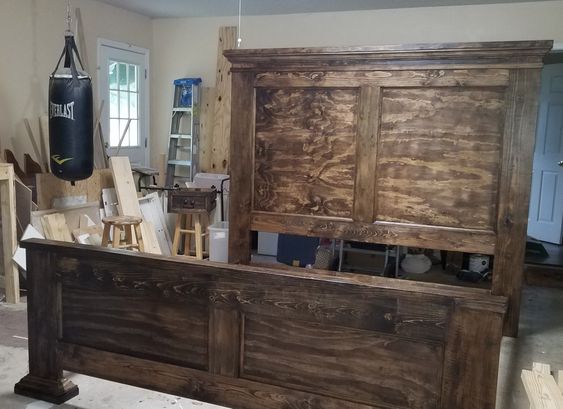
King size rustic panel bed

Submitted by Tia P on Thu, 05/09/2019 - 15:01

I had a client send me a pic of the bed she wanted.  It was very similar to Ana's tall panel bed.  She was upsizing from a queen to a king and wanted it to match her previous set.  

Built from Plan(s)
Estimated Cost
$250, only because it was the first time working with crown molding and had to buy an extra piece.
Estimated Time Investment
Week Long Project (20 Hours or More)
Finish Used
Minwax Expresso stain with Varathane polyacrylic
Recommended Skill Level
Intermediate