Community Brag Posts

Book Mirror Plan Turned Trophy Display

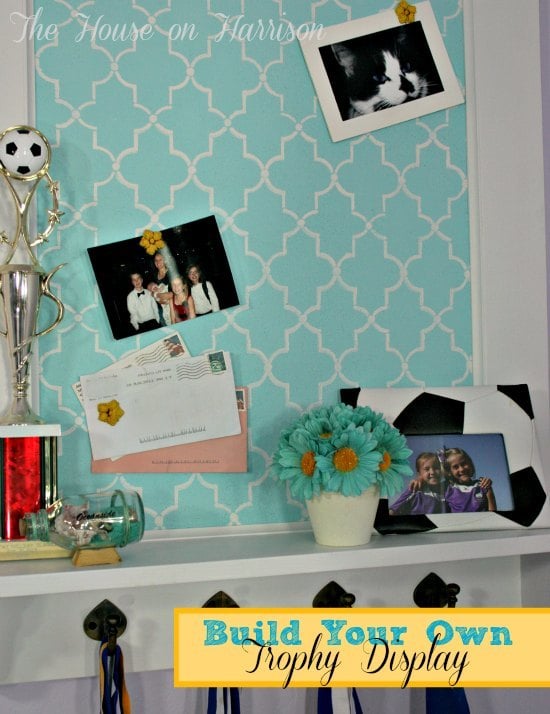
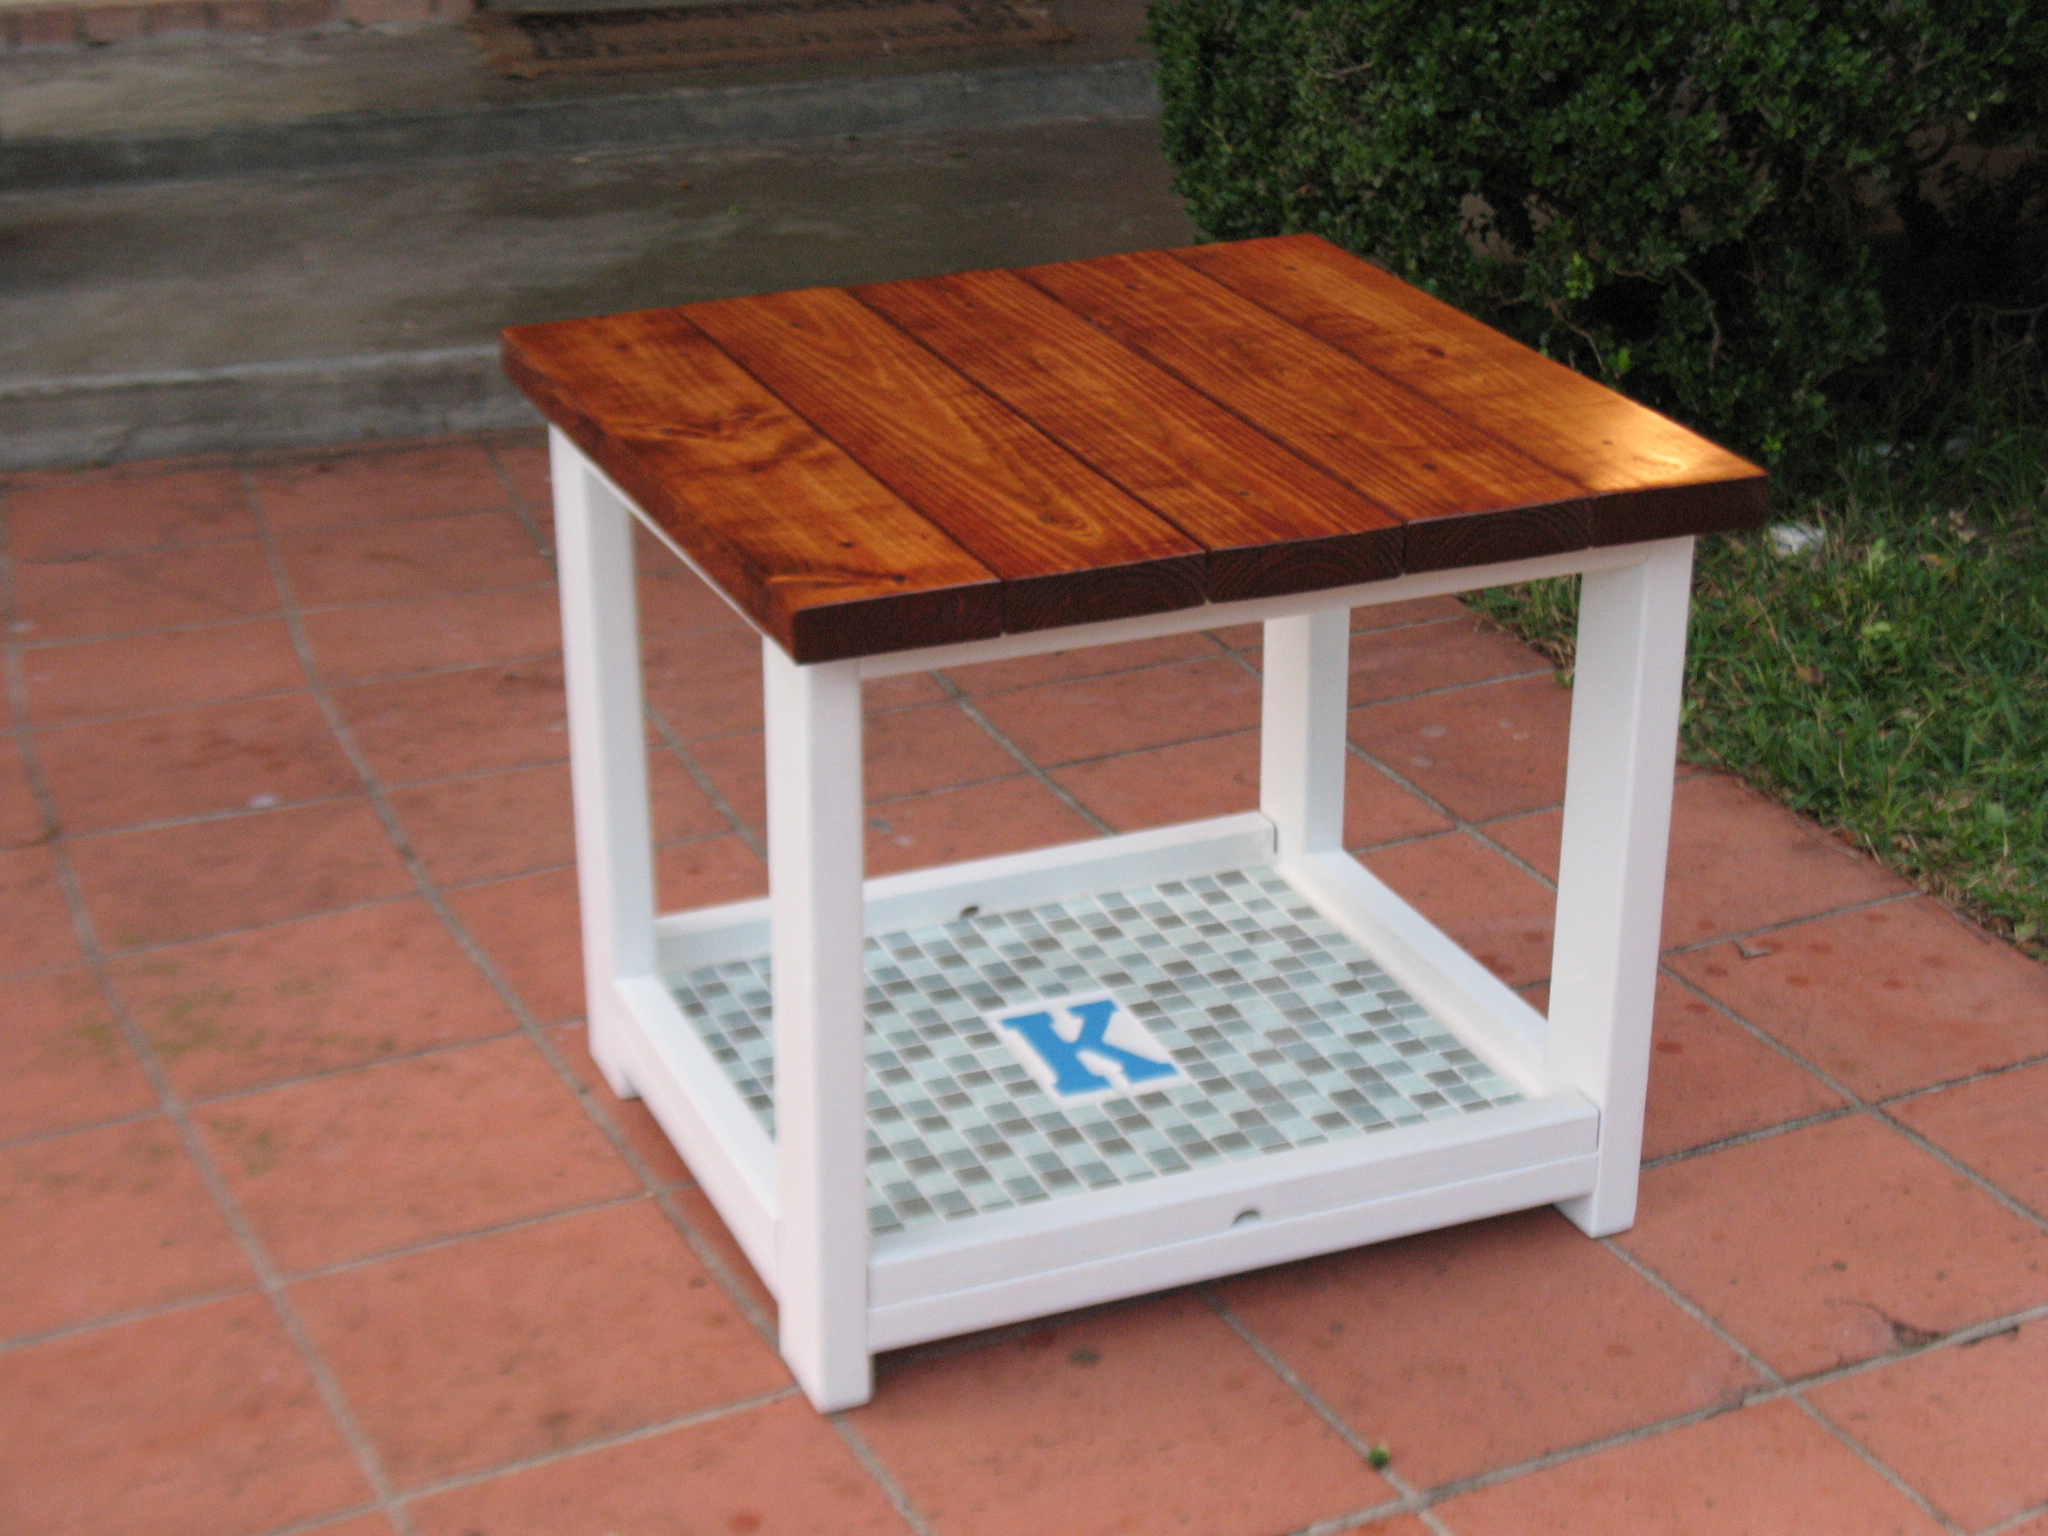
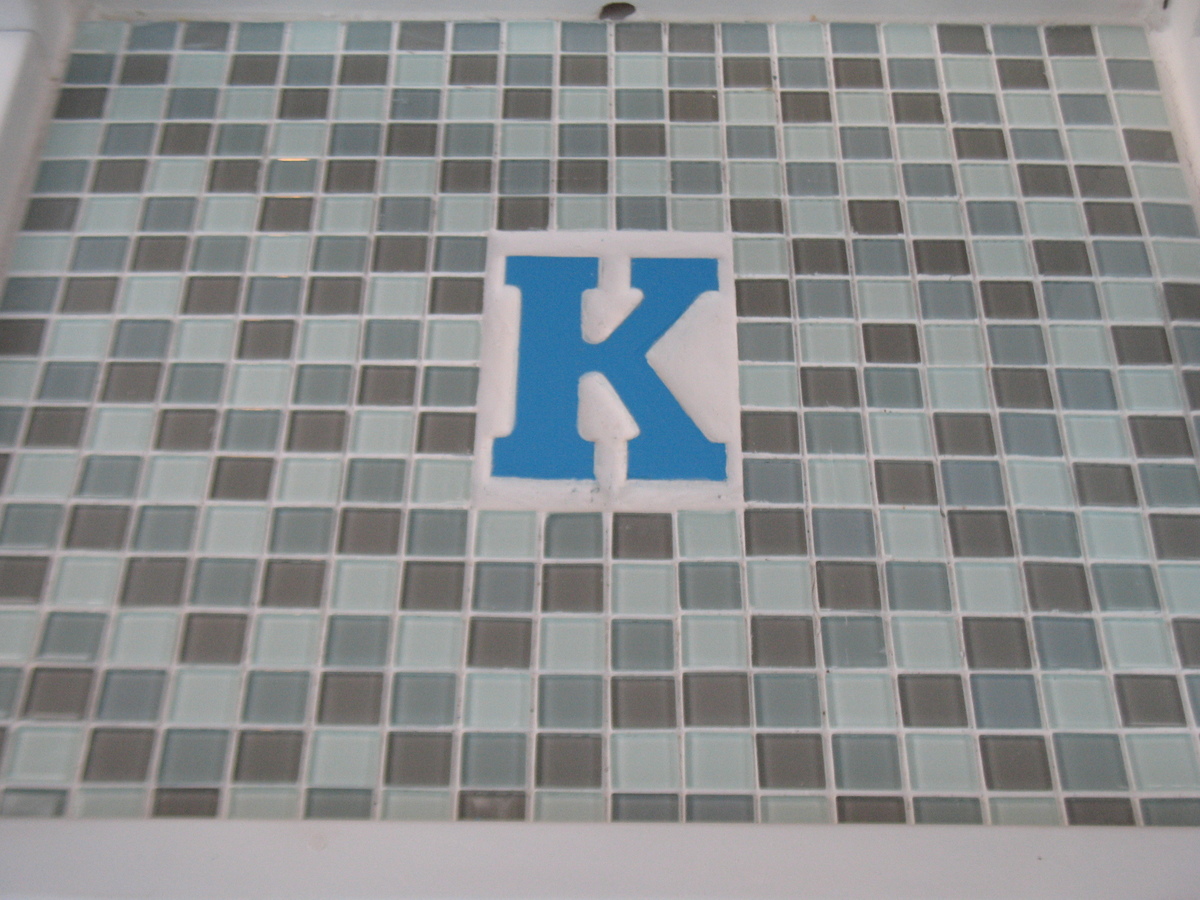
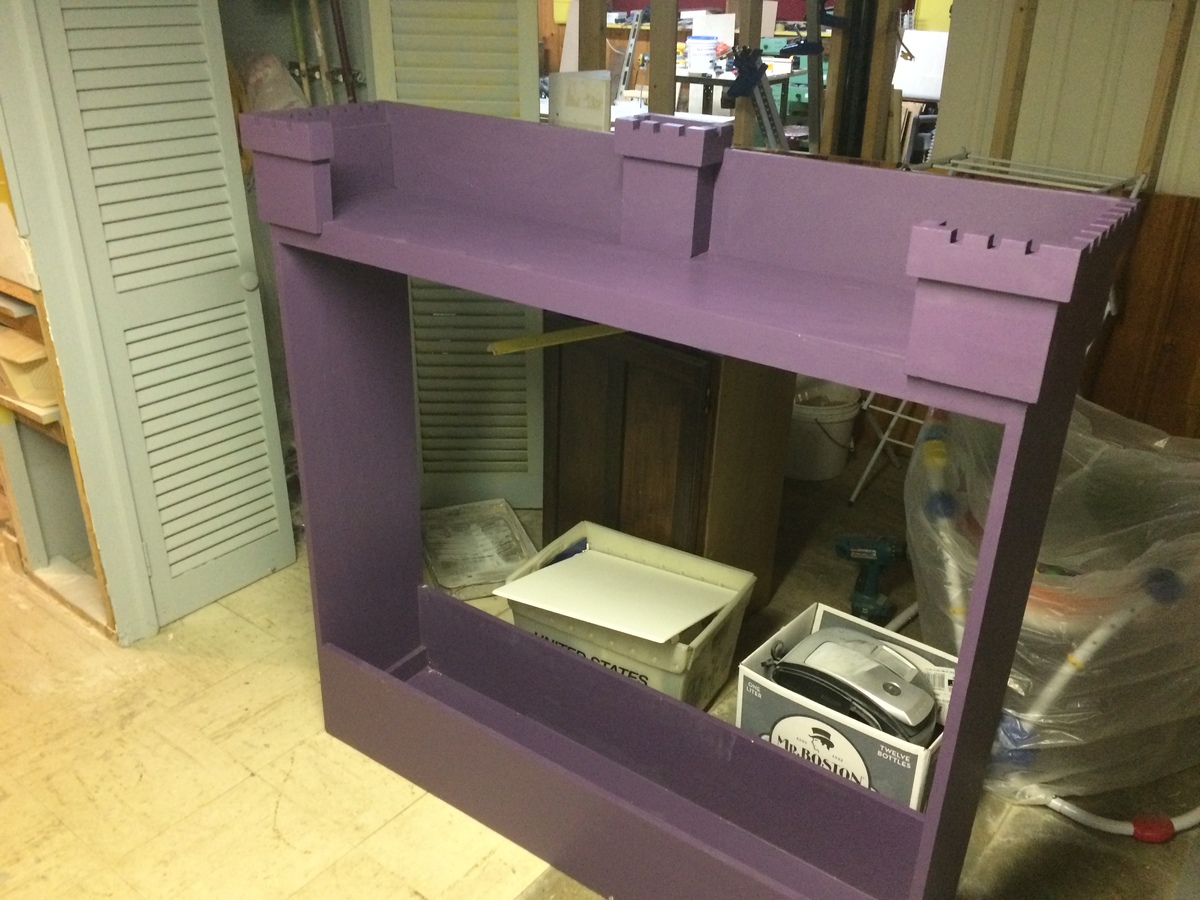
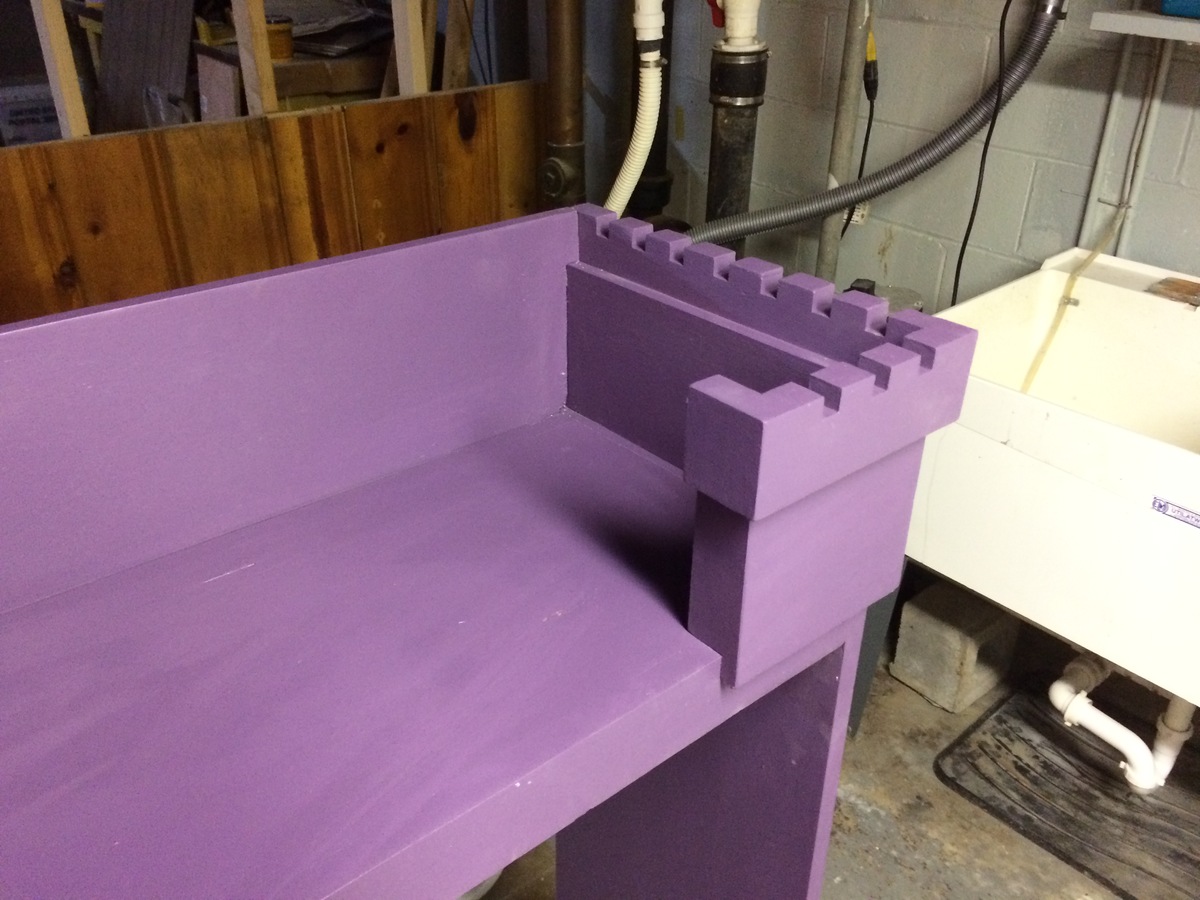
When I got Ana's book The Handbuilt Home, I was super excited to tackle a project. It just so happened that her mirror plan on page 37 also makes a perfect trophy display. I just replaced the mirror with stenciled cork board so my daughter could display keepsakes along with her trophies and medals.

I followed the plan pretty closely, but I added some cove molding to the center to hold the cork board in place. You can find more details on my blog.

Estimated Time Investment
Afternoon Project (3-6 Hours)
Recommended Skill Level
Beginner

Comments

Farmhouse King Bed

Submitted by JD-LIN on Thu, 08/21/2014 - 09:18

First big build with my boyfriend. We wanted to build this bed for his daughter's 14th birthday, so she would have something hand made from us to keep for a long time. This bed is solid and turned out amazing. The pictures don't do it justice as you cannot see the paneling on the head and foot boards. We used the kreg jig on the side panels attaching the head and foot board in order to make it easy to take apart and move when she goes away to college.

Estimated Time Investment
Weekend Project (10-20 Hours)
Finish Used
Primer and 2 coats of black flat paint
Recommended Skill Level
Intermediate

Two-Tone Rustic X-Console

Submitted by Anonymous (not verified) on Sat, 12/10/2016 - 07:36

I've needed a console table for under the stairs but everything I've looked at has always been too long. l took the plans for the Rustic X Console table and modified them to fit the space perfectly. I love the look that I was able to get by adding the 1x2 Xs to the top.

Built from Plan(s)
Estimated Time Investment
Weekend Project (10-20 Hours)
Finish Used
Danish Oil in Dark Walnut and stain in Kona
Recommended Skill Level
Beginner

Variation on the outdoor sofa

Submitted by AzSandrat on Sun, 08/23/2020 - 08:47

Being older, my wife and I wanted the deck sofa with an angled back, so... here it is, stained in a dark walnut. We bought the cushions cheap ($120 for all) at Home Goods.

Estimated Cost
$200
Estimated Time Investment
Afternoon Project (3-6 Hours)
Finish Used
Spar Urethane with a dark walnut stain
Recommended Skill Level
Starter Project

Added 2nd Tier

Submitted by Jaminj44 on Tue, 11/06/2012 - 10:17

We added a 2nd tier and left space from the beds as they have drawers that slide out. Will be building some filler boxes that come up about 2' creating kind of a headboard and another shelf area about 7" wide.

Built from Plan(s)
Estimated Cost
$150
Estimated Time Investment
Weekend Project (10-20 Hours)
Finish Used
Primed and finished with Satin paint.
Recommended Skill Level
Beginner

Farmhouse Table

Submitted by DMax2010 on Wed, 08/27/2014 - 06:30

This was my first attempt at a bigger project. As with most, the finish took the most time. I modified the size of the table because I made it for my sister. It was also the first time I used a belt sander, and I loved it! It made the top nice and even. I did have a huge debacle when trying to fill the gaps of the table with clear silicone...that is definitely something that requires practice! I ended up removing all of the silicone and just allowing the top coat to sink in. Luckily, it just peels right out, although it did leave some clumps that took a little extra care to remove. But overall, I loved how it turned out, and my sister loves it too. I made the bench too.

Estimated Cost
I think the lumber was under $50.00, the stain about $20.00
Estimated Time Investment
Week Long Project (20 Hours or More)
Finish Used
Minwax Express color-Walnut Stain, the final finish was General Finishes Arm-R-Seal, which was a matte finish
Recommended Skill Level
Intermediate

Comments

DMax2010

Wed, 08/27/2014 - 17:34

Thanks Ana! It is one solid table! I can't wait to make one for me next!

Converted TV wall niche

Submitted by Vol4Life1 on Tue, 12/13/2016 - 05:35

We bought this house about a year ago and we finally got around to removing this pointless niche!  The center divider and bottom were removed.  The cabinet and hutch were assembled seperately.  


This is still a work of progress.  I am looking for a nice decorative molding face for the top.  If anyone has any suggestions please let me know!  We will most likely paint it white to match the fireplace mantle.

Estimated Cost
300
Estimated Time Investment
Week Long Project (20 Hours or More)
Finish Used
Paint
Recommended Skill Level
Intermediate

Double Trash Bin

Submitted by Anonymous (not verified) on Wed, 08/26/2020 - 08:32

This was based on the "Small Kitchen Island" Plans but needed to put 2 - 33 Gal Trash cans in. I used Select Square edged Pine. The depth remained the same as the plans but the width changed dramatically (52" wide). I also increased the height to match the other furniture (3' High). I added 4 - 1 X 2's to the top of the cabinet to secure the top.

Estimated Cost
$350-$400
Estimated Time Investment
Week Long Project (20 Hours or More)
Finish Used
The bottom was paint that matched the other furniture, the top is an Classic Oak Poly/Stain - 3 coats
Recommended Skill Level
Intermediate

Comments

X-End Table Without the Xs

Submitted by Jake on Sun, 11/11/2012 - 06:04

I started out building the Rustic x-End Table but got frustrated with the Xs not fitting well so I left them off. I showed the unfinished table to a friend and she wanted it, but with some changes and additions that lets her use it outside near her pool. So the pics show the final result including the K she wanted in the center of the shelf.

I lined the shelf with glass tiles and a wooden K and grouted everything in. The glass tiles have a few of the blue and green hues you find in swimming pools, I hope.

The top is not glued down just in case the top boards begin to warp or crack and can be repaired. Of course at Restoration Hardware a warp, crack or knot just raises the price.

Built from Plan(s)
Estimated Cost
About $50. The tiles were $8 total and the letter $1.50. Add grout, polyurethane, screws, glue, paint, sandpaper and other stuff and you come close to $50.
Estimated Time Investment
Weekend Project (10-20 Hours)
Finish Used
Top: Minwax Gunstock covered with three coats of Rust-oleum ultimate polyurethane. The shade may not be on cue as I first used a light oak shade and didn't like it so I just put the gunstock over it.

I did use minwax wood conditioner but I am not sold on it. The instructions are frightening (Do Not Let Dry or Face the Consequences!) and I am not really sure it does what is advertised. Everyone make up your own mind.

Rest of it: Two or three coats of Rust-oleum white satin enamel spray.
Recommended Skill Level
Intermediate

Benchmark Table

Benchmark Table, built out of pine and stained with dark walnut and a flat finish!

Estimated Cost
total cost 120.00
Estimated Time Investment
Weekend Project (10-20 Hours)
Recommended Skill Level
Intermediate

Farmhouse Table

Submitted by Anonymous (not verified) on Sat, 12/17/2016 - 08:18

Thanks for the plans! My wife loves the table that I built for her using them. Only change I made was that I used my Kreg Jig to screw all the table top boards together. I'll be building the bench next.

Estimated Cost
$250
Estimated Time Investment
Weekend Project (10-20 Hours)
Finish Used
Table base - also at Furniture paint Ultra White 740149

Table Top- Minwax Weathered Oak 270 and Minwax fast drying poly in clear satin
Recommended Skill Level
Intermediate

My First work - folding workbench

Submitted by saariko on Mon, 08/31/2020 - 03:54

So this is my first ever work.
I have a very limited storage place (outside shed) and the super benefit, is that folded, this workbench is just the perfect fit (you can see in the picture how well it's fitted).

I am a tall person, so I took the liberty to add some CM's to the total height, and also extend the 'Flap' to be bigger. It's both beneficial but also adds some risk, as it's less stable when folded. And needs to be taken care when moving around.

I added magnets to the legs, with a piece of metal on the bottom side of the flap, so when opening the flap, the legs are held until released. (you need a fairly strong magnet for the 2X4.

One thing I noticed, and needs to modify is that the hinges holes are paralel to each other, that mean, that you either need very flat screws, or as I did, screwed them on alternating holes. So when closed, there is no pressure from the tip of the screw. Another solution is to use a hinge where the holes are not parallel to each other. ( i saw something like that online.)

I still want to add 2 top drawers, and a shelf, but it's pretty complete and functional as it is.

Super excited !!!

Built from Plan(s)
Estimated Cost
70$
Estimated Time Investment
Afternoon Project (3-6 Hours)
Recommended Skill Level
Starter Project

double trestle play table

Submitted by Amy Paxton on Tue, 11/13/2012 - 05:09

First project we tried. Turned out great. Now I am addicted to building furniture!

Built from Plan(s)
Estimated Cost
65
Estimated Time Investment
Afternoon Project (3-6 Hours)
Finish Used
Minwax espresso finish
Recommended Skill Level
Beginner

Comments

Storage bed

Submitted by Bandit on Mon, 09/01/2014 - 05:33

This was my first build and I throughly enjoyed it! This bed is for my three old son and it meant so much to me that I was able to build his very first big boy bed. Thanks Ana for the plans and for making then so easy to follow.

Estimated Time Investment
Weekend Project (10-20 Hours)
Recommended Skill Level
Beginner

Alternate dress rack design

Submitted by Jlabudasr on Tue, 12/20/2016 - 19:50

Tried top shelf side detail per the plans but did not like the way it turned out so I added the "castle wall" details as shown on the two photos. Wall details made with stacked dato blade on my table saw.

Recommended Skill Level
Intermediate

B-Hive's Rustic X Coffee Table

Submitted by B-hive on Tue, 09/01/2020 - 12:34

This is our first project using one of Ana's plans. We made one modification adding stability to the top of the structure, but otherwise stayed pretty true to what was described.

Next up is the matching end table!

For the full story of our piece, please visit our website.

Built from Plan(s)
Finish Used
Structure is painted in an eggshell black interior paint.

Top is in a clear Danish finishing oil and wipe-on polyurethane.
Recommended Skill Level
Intermediate

Work Shop Storage Drawers

I got tired of dust settling on all my tools so I built this woodshop storage cabinet. It's main inspiration is from Steve at www.woodworkingformeremortals.com. A place for everything and everything in its place.

Estimated Time Investment
Weekend Project (10-20 Hours)
Finish Used
Boiled Linseed Oil
Recommended Skill Level
Beginner

Comments

Easy Industrial Coffee Table

Submitted by efmolly on Tue, 09/03/2013 - 12:21

I took Ana's plans for the Easiest Industrial Cart and modified them into a coffee table. I shortened the pieces of angle aluminum to 10", omitted the middle shelf, and added some 7", DIY casters, made from pulley wheels. Since I used 3/4" thick project panels, instead of 2 x 12, I was only able to drill lag screws through one side of each corner of the wood. To add stability, I added small, L-brackets, screwed to the wood and bolted to the aluminum. I included a photo so you can see the modification closely.

Built from Plan(s)
Estimated Cost
$60 plus casters
Estimated Time Investment
Afternoon Project (3-6 Hours)
Finish Used
pre-stain conditioner, Special Walnut stain, wipe-on polyurethane, dark furniture wax.
Recommended Skill Level
Beginner

Comments

Codding58

Fri, 01/08/2016 - 13:48

Great Job on this coffee table!!!   Looks very good, and the added L brackets fit the industrial look perfectly!

Triple Pedestal Bench/Table/End Stools

Submitted by Dman7196 on Sat, 12/24/2016 - 10:48

Here is a Triple Pedestal table with benches and two end stools to match everything else.

Estimated Cost
Unfinished around $400 finished $500+
Estimated Time Investment
Week Long Project (20 Hours or More)
Finish Used
For the legs we used Behr stain and sealant combo, for the top we used Helmsman Spar Urethane semi gloss
Recommended Skill Level
Intermediate

Farmhouse Table

Submitted by Anonymous (not verified) on Fri, 09/04/2020 - 18:52

Thanks for sharing this project. I made a few adaptations knowing my friends, family, and monkey grandkids would be climbing all over the table. Everyone loved the table and we have broken it in with a great party.

Changes:
I added a second bottom stretcher that also serves as a footrest and ran them between the bottom legs rather than on top.
I added on 2x6 to the table width which required changing the leg dimensions.
I also ran an extra 2x4 middle support brace.

Results:
This table is a tank! Thanks!
I used the Danish Oil and the Thompsons to seal.

Now I am ready for another project.

Thanks Ana!

The Martin's

Estimated Cost
$75.00
Estimated Time Investment
Weekend Project (10-20 Hours)
Finish Used
Danish Oil (Natural) and Thompsons (Natural)
Recommended Skill Level
Beginner

Playhouse

Submitted by Dawnybb on Thu, 11/22/2012 - 09:32

This was so much fun to do! Very easy and I added some personal touches. I made the lower level an enclosed sandbox area with a chalk board on the back wall. On the outside of the back wall, I added a "ball wall" that my kids love. I enclosed the bottom sandbox with plastic "chicken wire" to keep the cats out. :)

Estimated Cost
$500
Estimated Time Investment
Weekend Project (10-20 Hours)
Finish Used
Paint
Recommended Skill Level
Intermediate

Comments

Dawnybb

Thu, 11/22/2012 - 15:34

Thanks! Glad you like it!

The paint was from Dunn Edwards: Roof was "Louisiana Mud", playhouse walls were "Drifting" and then the white was a snow white from Lowe's.

The slide and accessories were also from Lowe's.

m7hennen

Tue, 04/15/2014 - 09:35

I LOVE this! This is exactly what I'd like to build. Do you have plans you can share with us? I think I'd also like to add a couple of swings on one of the sides too. Thanks so much!

In reply to by m7hennen

Dawnybb

Sun, 04/27/2014 - 08:39

I know I messed with the dimensions a bit but I don't remember exactly. I made the playhouse larger (deeper and taller than original plans) . I also cut the roof line on the deck side for more room. I put aluminum over the wood on the roof and then painted. The Ball Wall was made out of plastic gutter pieces that I painted and we used practice rubber golf balls to throw into them. I hope that helps! We sold that house, so I can't go out and measure it :)

eegad1973

Thu, 05/28/2020 - 15:32

You may not get this as this is an old post. Did you dig post holes? I have older kids and I am thinking about building a plan like this but at a 6ft height. Wondered how much it moves around when there are a bunch of kids on there. The house I will build is also 6 ft heigh.

Seasonal And Holiday