Community Brag Posts

Cedar planter boxes

Submitted by JavaJoe on Fri, 06/06/2014 - 20:00

I used the main plan for ideas, but opted to use 3.5 inch pickets instead, which allowed for a smaller planter that wasn't as big. Also chose to miter 1x3s for the top which I think really finishes it off. Sanded everything with a belt sander to 220 grit. Used min wax golden pecan plus three coats of poly inside and out. Finished size was about 17x17. Tile spacers work great to keep the gaps even!

Built from Plan(s)
Estimated Time Investment
Afternoon Project (3-6 Hours)
Finish Used
Min wax golden pecan
Recommended Skill Level
Intermediate

Comments

Cabin bed

Submitted by Anonymous (not verified) on Wed, 09/07/2016 - 12:01

Took my husband, stepdad, and I about 6 days to complete the project. Ended up following the plans to exact and the twin mattress is a great fit, I was worried the measurements would be too small. We did the main cabin in whitewash with antique glaze and the roof and batten board a blue with antique glaze. 

Built from Plan(s)
Estimated Cost
$300
Estimated Time Investment
Week Long Project (20 Hours or More)
Finish Used
Whitewash and antique glaze.
Recommended Skill Level
Intermediate

Rustic X Console Table

Submitted by Anonymous (not verified) on Sun, 06/21/2020 - 18:33

I built the Rustic X Console Table. This is my second time building this table. So much fun! I posted our process and more pictures on my blog.

Built from Plan(s)
Estimated Time Investment
Weekend Project (10-20 Hours)
Finish Used
Varathane Dark Walnut
Satin Polyurethane
Recommended Skill Level
Beginner

Pallet Wood Planters

Submitted by Anonymous (not verified) on Mon, 04/01/2024 - 09:40

Did them for a friend that owns a bakery.
I don't have access to new lumber unfortunately.
The bulk of what I make is pallet. That's why there are four instead of 3 slats.
Same plan though. Pretty easy to follow.
I did add some handles to make it easier to move
since they will be brought in and out daily.

Yun

farmhouse doll beds

Submitted by becca9872 on Sun, 08/19/2012 - 18:45

The 2 doll beds are birthday gifts for my granddaughters. They are built out of white pine. I stained them by rubbing on minwax gunstock and finished with 3 coats of polyurethane. The white bed is a donation to relay for life raffle and has 2 coats of valspar with 1 coat of polyurethane finish. The single bed is a Christmas gift and is finished just like the first 2. My sister sewed all of the bedding.

Estimated Time Investment
Day Project (6-9 Hours)
Recommended Skill Level
Beginner

shelf w/hooks

Submitted by jmtrotter5 on Mon, 06/09/2014 - 10:30

My beautiful wife showed me this picture and asked me if I could make it. I didn't see any reason I couldn't so I went to HD and grabbed the lumber and hardware I needed and Presto we have a shelf in our bathroom. I made this shelf 48" with 4 hooks any bigger would of looked silly in my bathroom. However this shelf can be built any length you wish. I used pine for this shelf and painted it white and the hooks I also painted oil rubbed bronze to match our fixtures. I am very pleased with the result. You can contact me if you have any questions or would like me to build one for you.

Estimated Time Investment
Afternoon Project (3-6 Hours)
Recommended Skill Level
Intermediate

My piece of heaven!

Submitted by Anonymous (not verified) on Mon, 06/22/2020 - 18:16

I saw Anna’s and said I can do that, right? I made it mine with a couple of edits. The sides I used old pallet wood. I used Rockler tracks put a track system for many different uses. I had cut all the shelves but haven’t installed them as of yet. Using that space in the mobile carts to hold wood for now. Probably shouldn’t have cut all shelving yet but who knew!! I love this space now. My husband was like wow!😃
Thank you Anna. I love how your mind works. Your such a great teacher, I have learned so much from you.
Thank you!
Melissa

Estimated Cost
$240.
Estimated Time Investment
Week Long Project (20 Hours or More)
Finish Used
Urethane
Recommended Skill Level
Starter Project

Outdoor Wood Sectional

Submitted by Anonymous (not verified) on Sun, 04/07/2024 - 18:18

Love Ana’s 2x4 patio loveseat sofa sectional, it was easy to follow. I have made 3 sets for my close neighbors.

Todd Ellis

Built from Plan(s)

Rustic-X table

Submitted by Nouknitouk on Fri, 06/13/2014 - 08:34

Built the table a year ago and never got the chance to post pictures!!

Here are some pictures. I ended up building an end table based on this model as well and can post pictures if some are interested.

Table is made of Western Red Cedar.
I made some tweaks because I could not find 2 x 12.
Also, I've distressed the wood a little bit on the top.

The finishing for the top was made with oil stain quickly washed over then wiped off. The dark stain went in all the cracks and holes made from the distressing technique. Then some lighter stain was used and oil varnish (at least 6-7 coats to make it really shiny).

Finishing for the bottom part is a mix of lighter and darker

all minWax oil products.

Overall approximate amount of work I'd say is about 24 hours.
The end table took less time: about 15-18 hours as I was getting comfortable. :-)

Built from Plan(s)
Estimated Time Investment
Week Long Project (20 Hours or More)
Recommended Skill Level
Beginner

New bedside tables!

Submitted by bec4547 on Mon, 09/12/2016 - 04:52

Took about 26 hours total, so a full weekend and couple of evenings painting!

I made a couple of changes - things are typically in cm/mm here in the UK, and couldn't find 1" planks anywhere (so used 18mm planks, and 44mm square timber). Also used 18mm MDF for the sides and back, as it was a bit expensive to use nice wood, and no point anyway if it's being painted.

Very pleased with the result, they look great.

Built from Plan(s)
Estimated Cost
£55
Estimated Time Investment
Week Long Project (20 Hours or More)
Finish Used
Paint - primer, followed by Colours Quick Dry Interior Pure Brilliant White Satin Paint (2 coats)
http://www.diy.com/departments/colours-quick-dry-interior-pure-brilliant-white-satin-paint-750ml/566922_BQ.prd
stain - B&Q varnish - mixture of "light oak" and "dark oak".
varnish - Colours Quick Dry Clear Satin Floor Varnish (3 coats)
http://www.diy.com/departments/colours-quick-dry-clear-satin-floor-varnish-25l/128312_BQ.prd
Recommended Skill Level
Intermediate

King Farmhouse Bed

Submitted by Anonymous (not verified) on Fri, 06/26/2020 - 05:51

My husband built this beautiful king frame and we stained it with Minwax semi-solid pure white. He made a few tweaks- used tongue & groove pine in the headboard and footboard to decrease the likelihood of any gaps we may get from subpar wood at the big box store. The night stands are From the Farmhouse bedside table plans.

Estimated Cost
$300
Estimated Time Investment
Weekend Project (10-20 Hours)
Finish Used
Minwax Semi-Solid pure white
Recommended Skill Level
Intermediate

Twin size Fancy Bed

Submitted by boomer4676 on Fri, 08/24/2012 - 07:01

Wanted to build a new bed for my daughter and ran across the fancy one on here...I'm not too great at mimicking design shapes so I made my own. Stained with white country and a high gloss finish. I love it! Thanks Ana for making such easy to follow plans. It took me 3 days from start to finish. I use all rough cut lumber ran in a planer. Can't wait to build more!! I shrunk the plans down to fit a twin size mattress.

Estimated Time Investment
Day Project (6-9 Hours)
Finish Used
Country white
Recommended Skill Level
Beginner

My First Project

Submitted by MargaretB on Mon, 06/16/2014 - 16:15

This is my first attempt at recycling old furniture. I'm pleased with how it turned out with the slight distressing on the corners.

Estimated Time Investment
Weekend Project (10-20 Hours)
Finish Used
I used only what I had on hand, which was black gloss for the edges, then Half Spanish White paint on top which I sanded at the edges for the worn look. After this I intend to invest in new supplies specifically for this type of work.
Recommended Skill Level
Starter Project

Simple Modern Shelves

Submitted by Anonymous (not verified) on Wed, 09/14/2016 - 08:06

These modern style shelves are easy to make and can be used for a myrid of things. We are using them primarily as DVD storage, but they will work for books, small toys, and other display items. 


My daughter likes movies and by likes, I mean she loves movies!! Her world, much like many other 4 year olds, revolves around Disney characters. At this point she is hung up on Toy Story, for the second time. When next week rolls around, who knows who or what it will be next.

My wife and I have been buying her Disney movies and all other various cartoon movies since she was first born. The problem with that is, you start to run out of places to store them after a while. Our dvd storage racks have been overflowing for the last couple years and we finally decided enough was enough. I had to build some more storage, preferably in her room this time. This would alleviate some room for us and put the movies where she could more easily access them. I knew I wanted something colorful and not too complicated, I was pretty happy with what we came up with. 

You can check out the rest of the article and the instruction here and get the plans here.

Estimated Time Investment
Weekend Project (10-20 Hours)
Finish Used
Primer, If you really want them to stand out, use a high gloss paint
Recommended Skill Level
Beginner

Cedar Storage Box

My wife and I constructed this cedar storage box over a few days. We lined the inside with heavy-duty plastic in the hopes of keeping it dry(ish). It will store the cushions for our patio chairs, which otherwise would be laying around in our master bedroom taking up space. The legs on the storage box still have the bark attached to the boards, which gives it a great unique effect. We purchased a whole bunch of cedar from a mill for cheap - they are "off cuts," or edges with bark on them. There are a ton of useable boards that we've pulled and the rest we'll use as firewood. It was a great deal, but a lot of labor to go through the huge pile. Overall, very worth it when you consider the price per useable board is <$1 for cedar. This was our first major woodworking projects and I have to say -- the box came together beautifully. Thank you for the detailed plans. I'm very grateful for this online community!

Estimated Cost
<$5, but see details in description
Estimated Time Investment
Weekend Project (10-20 Hours)
Finish Used
None yet, weighing our options
Recommended Skill Level
Beginner

Long Outdoor Table

Submitted by Anonymous (not verified) on Thu, 04/18/2024 - 12:44

We built your farm table following your instructions for a table on our back deck. It was our first project and we had no clue what we were doing, but it turned out wonderfully! We have already received many compliments! Very excited to do the benches next!

rachellake.ca

Hailey platform bed and headboard

took my time and followed the plans with the exception of modifying them for a king size bed. Turned out great! Thanks a lot.

Estimated Cost
250.00
Estimated Time Investment
Weekend Project (10-20 Hours)
Finish Used
none yet
Recommended Skill Level
Beginner

Comments

Kristin Swanson

Thu, 02/28/2013 - 20:16

Hi. Would you mind sharing the king size dimensions please? I love this bed, but am worried I'm going to mess up the conversions and cut list. Thanks in advance! Kristin

Outdoor Sectional with Coffee Table

Submitted by HeidiT on Fri, 06/20/2014 - 10:35

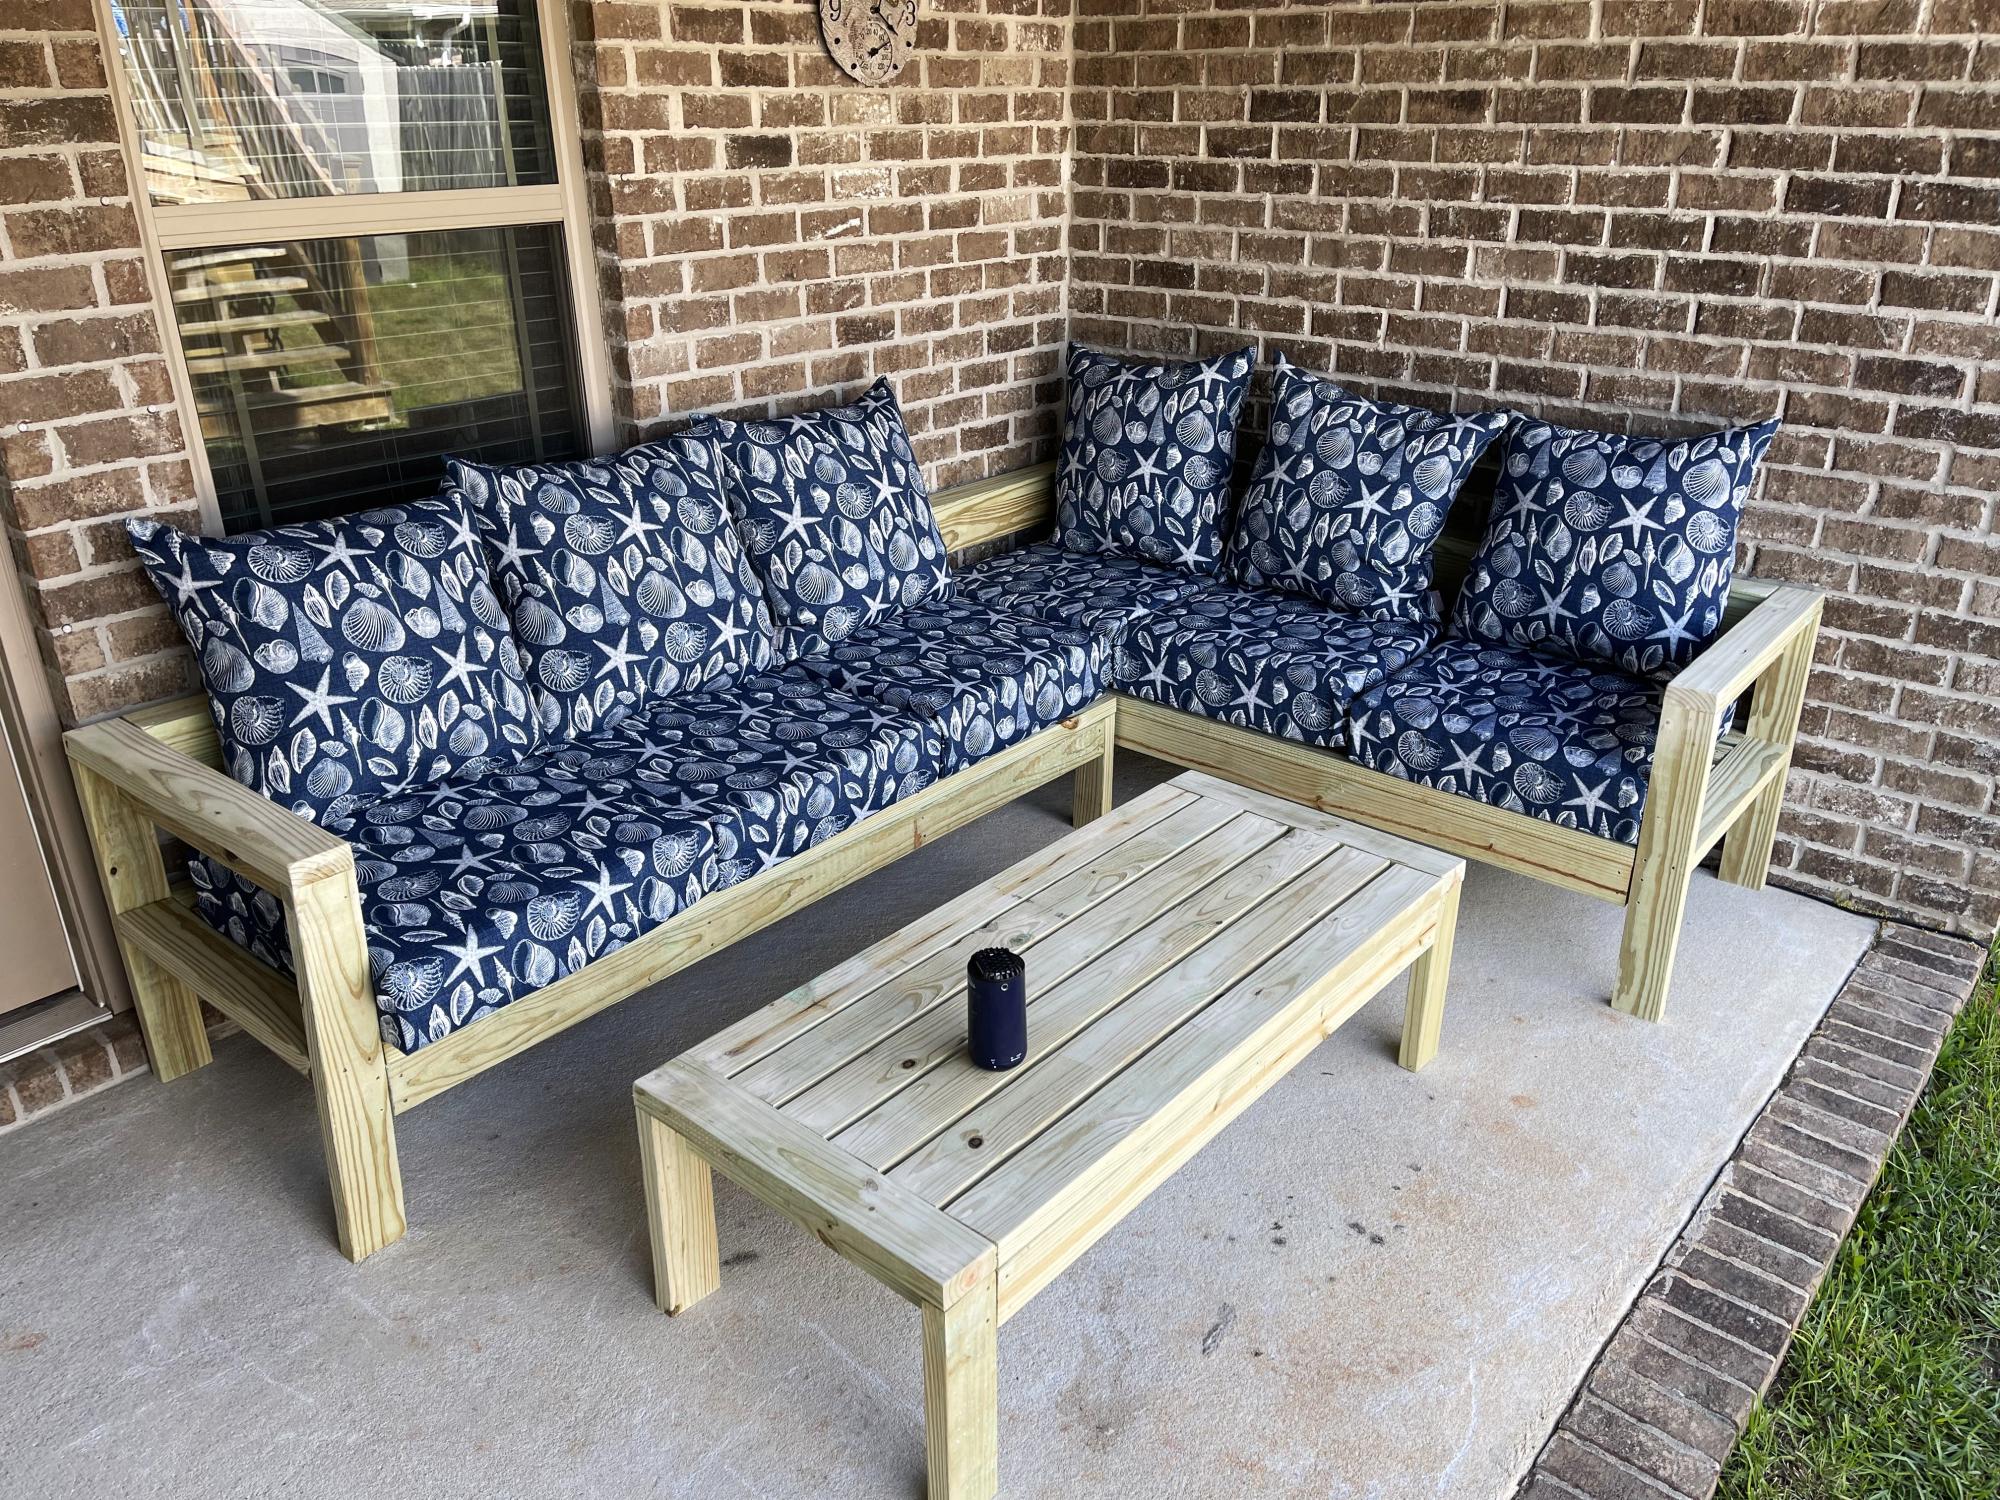
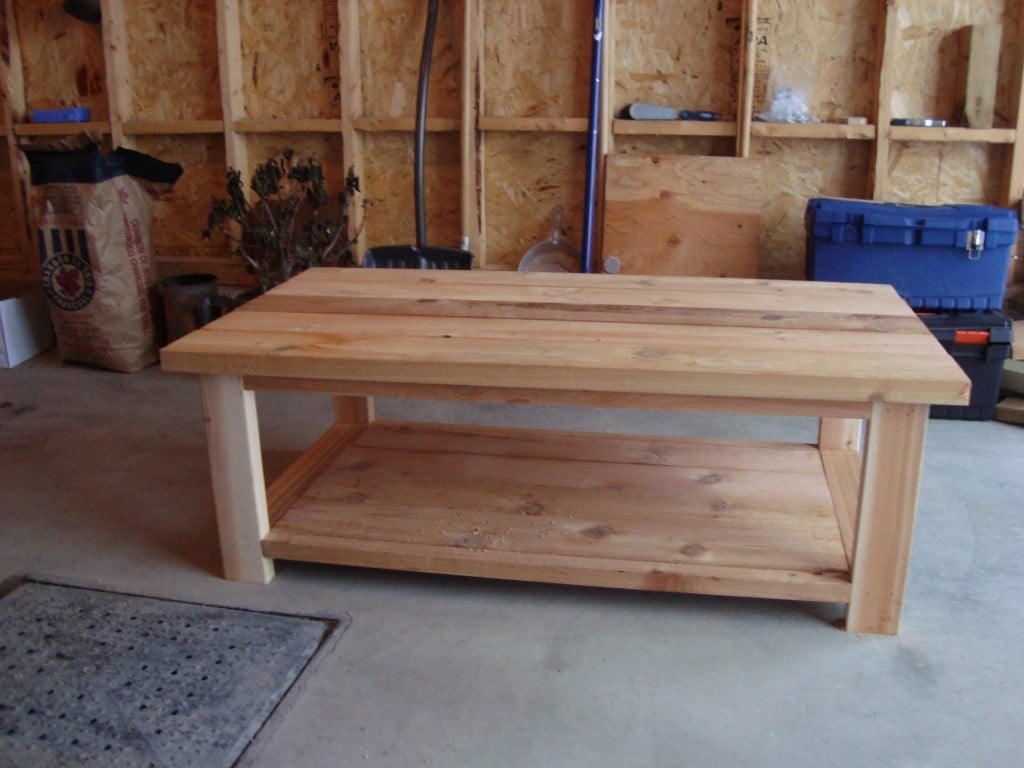
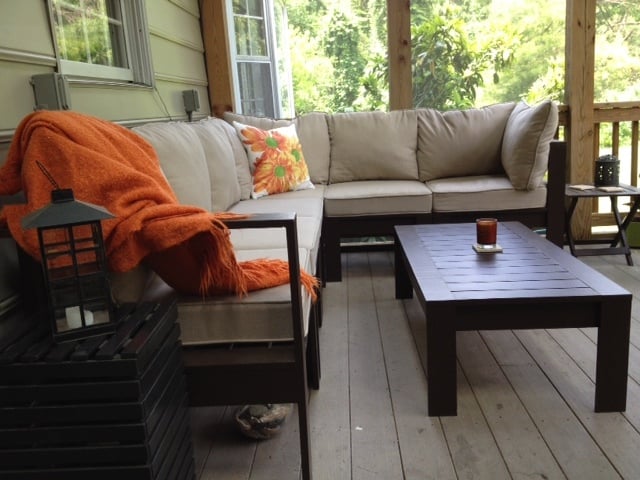
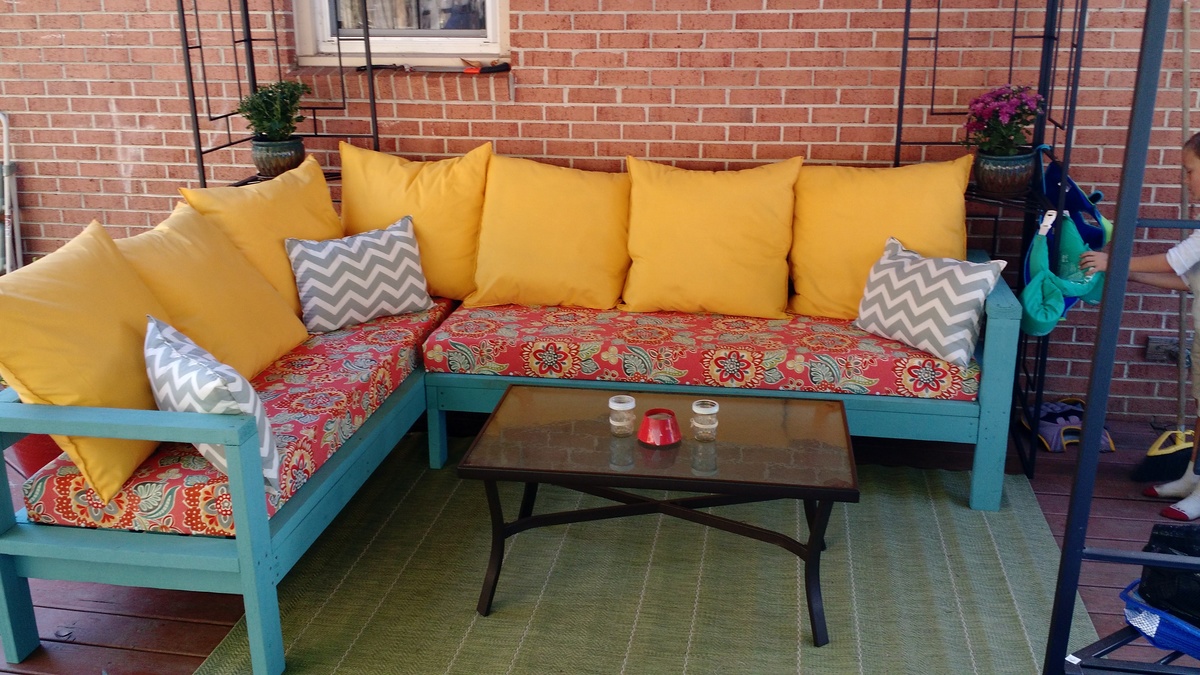
My FIRST furniture making project ever! Previous woodworking project was a sorry-looking wall shelf made in high school shop class. The plans for this project were VERY easy to follow! Thank you, Ana!

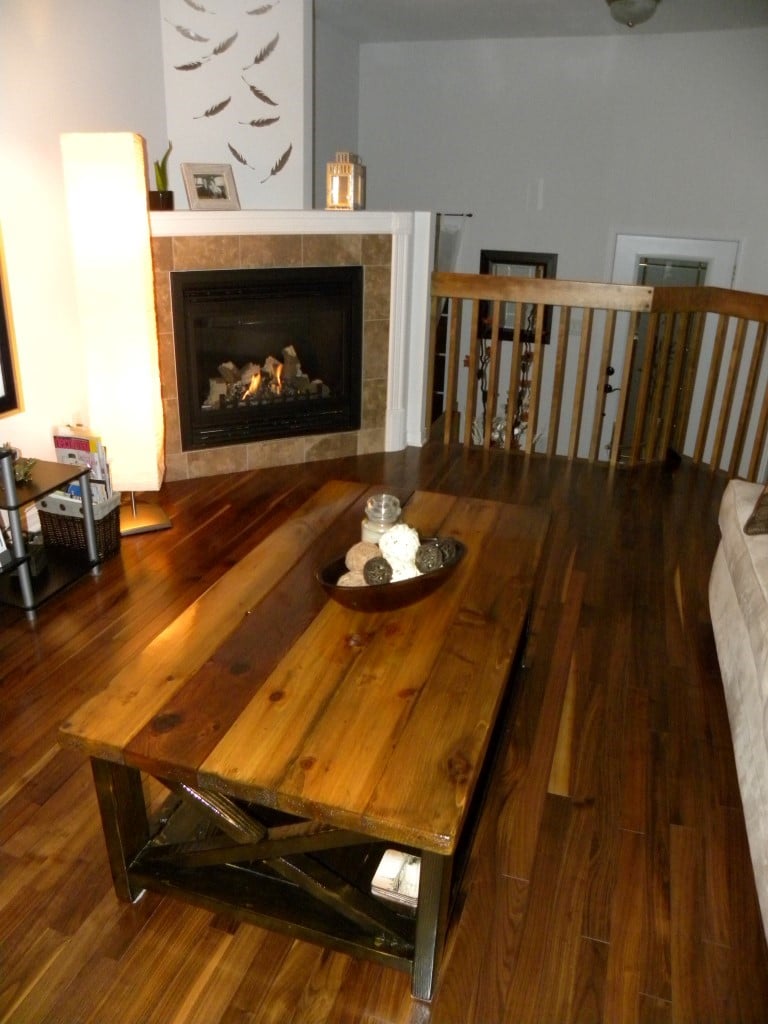
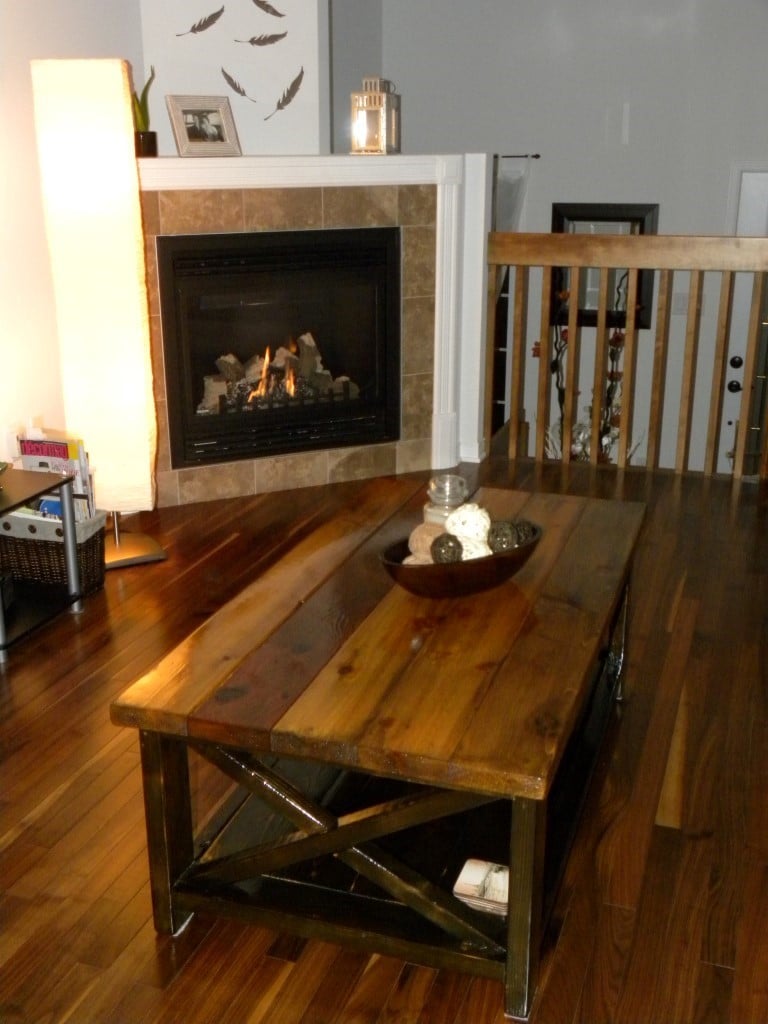
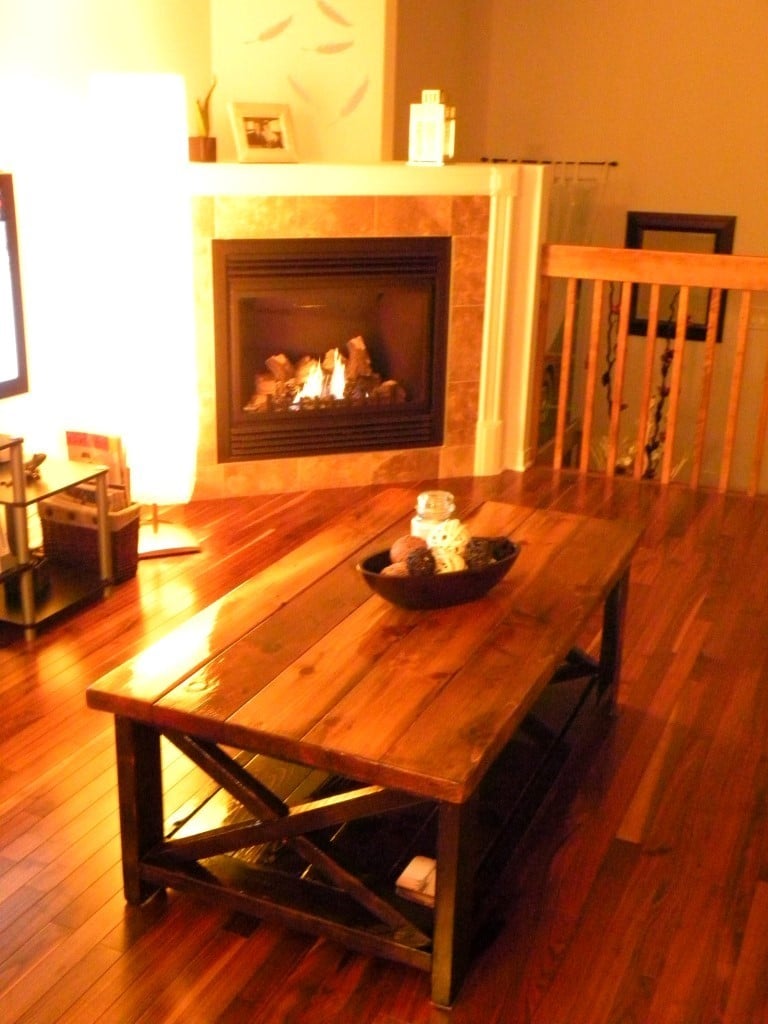
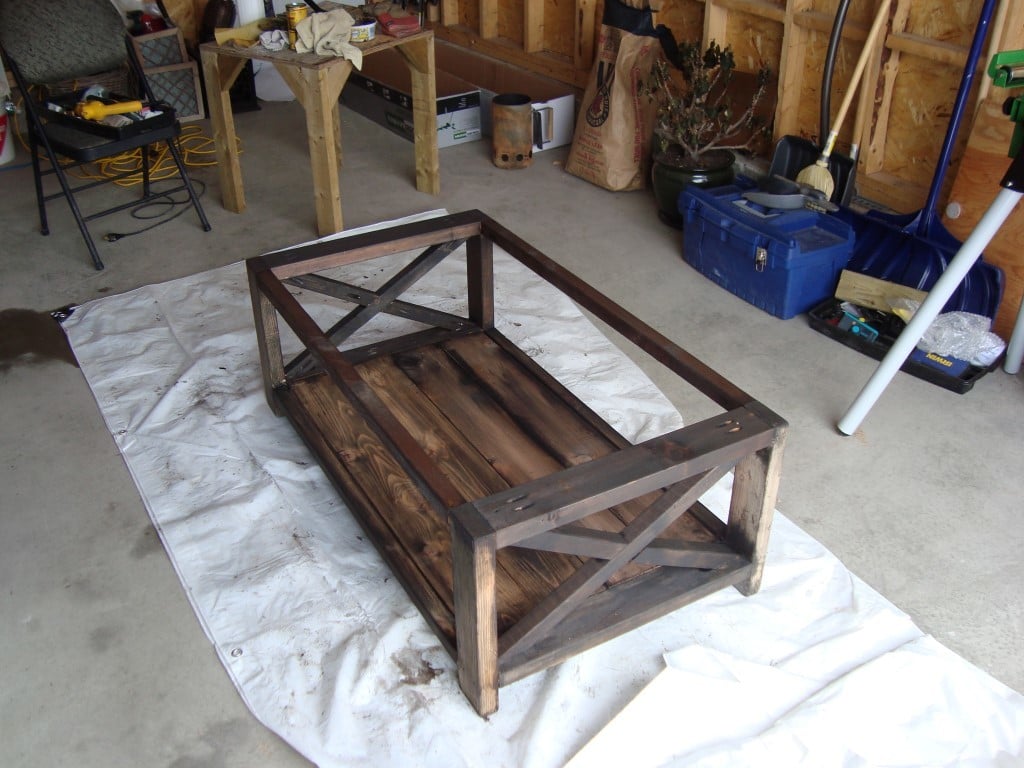
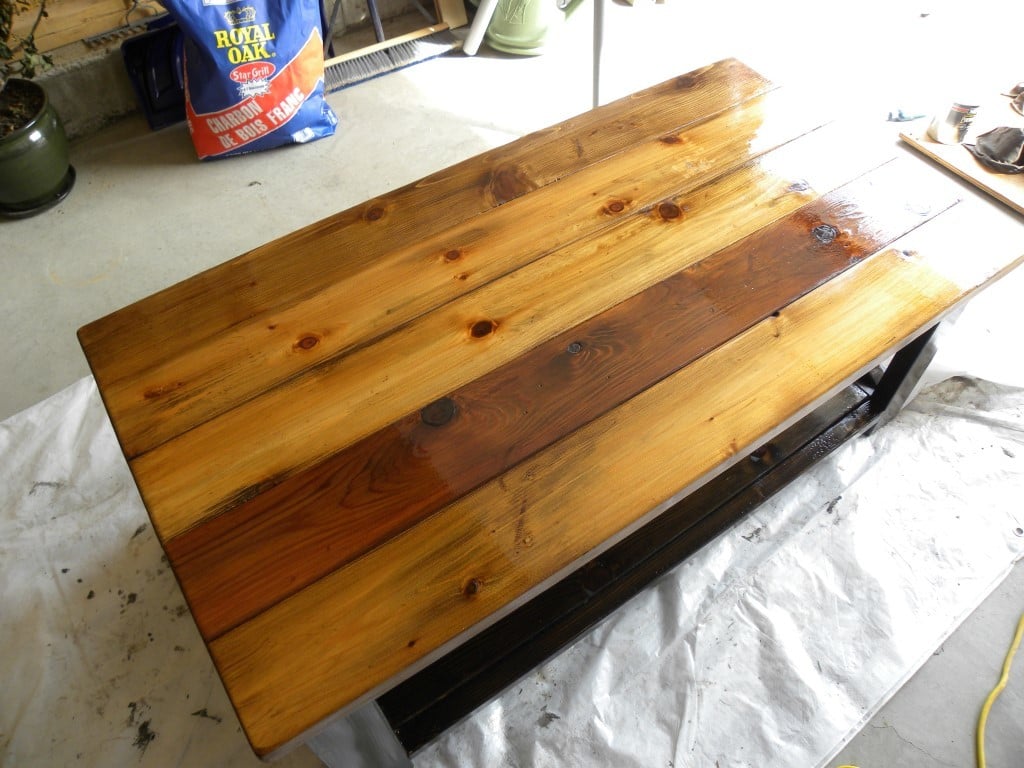
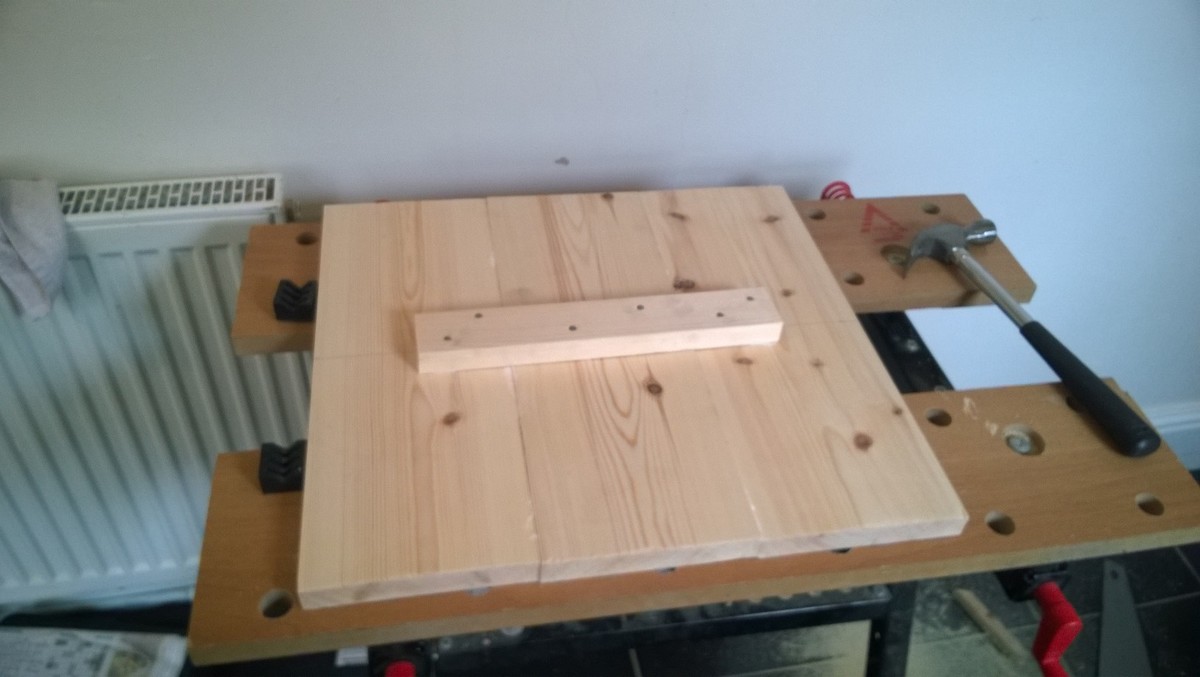
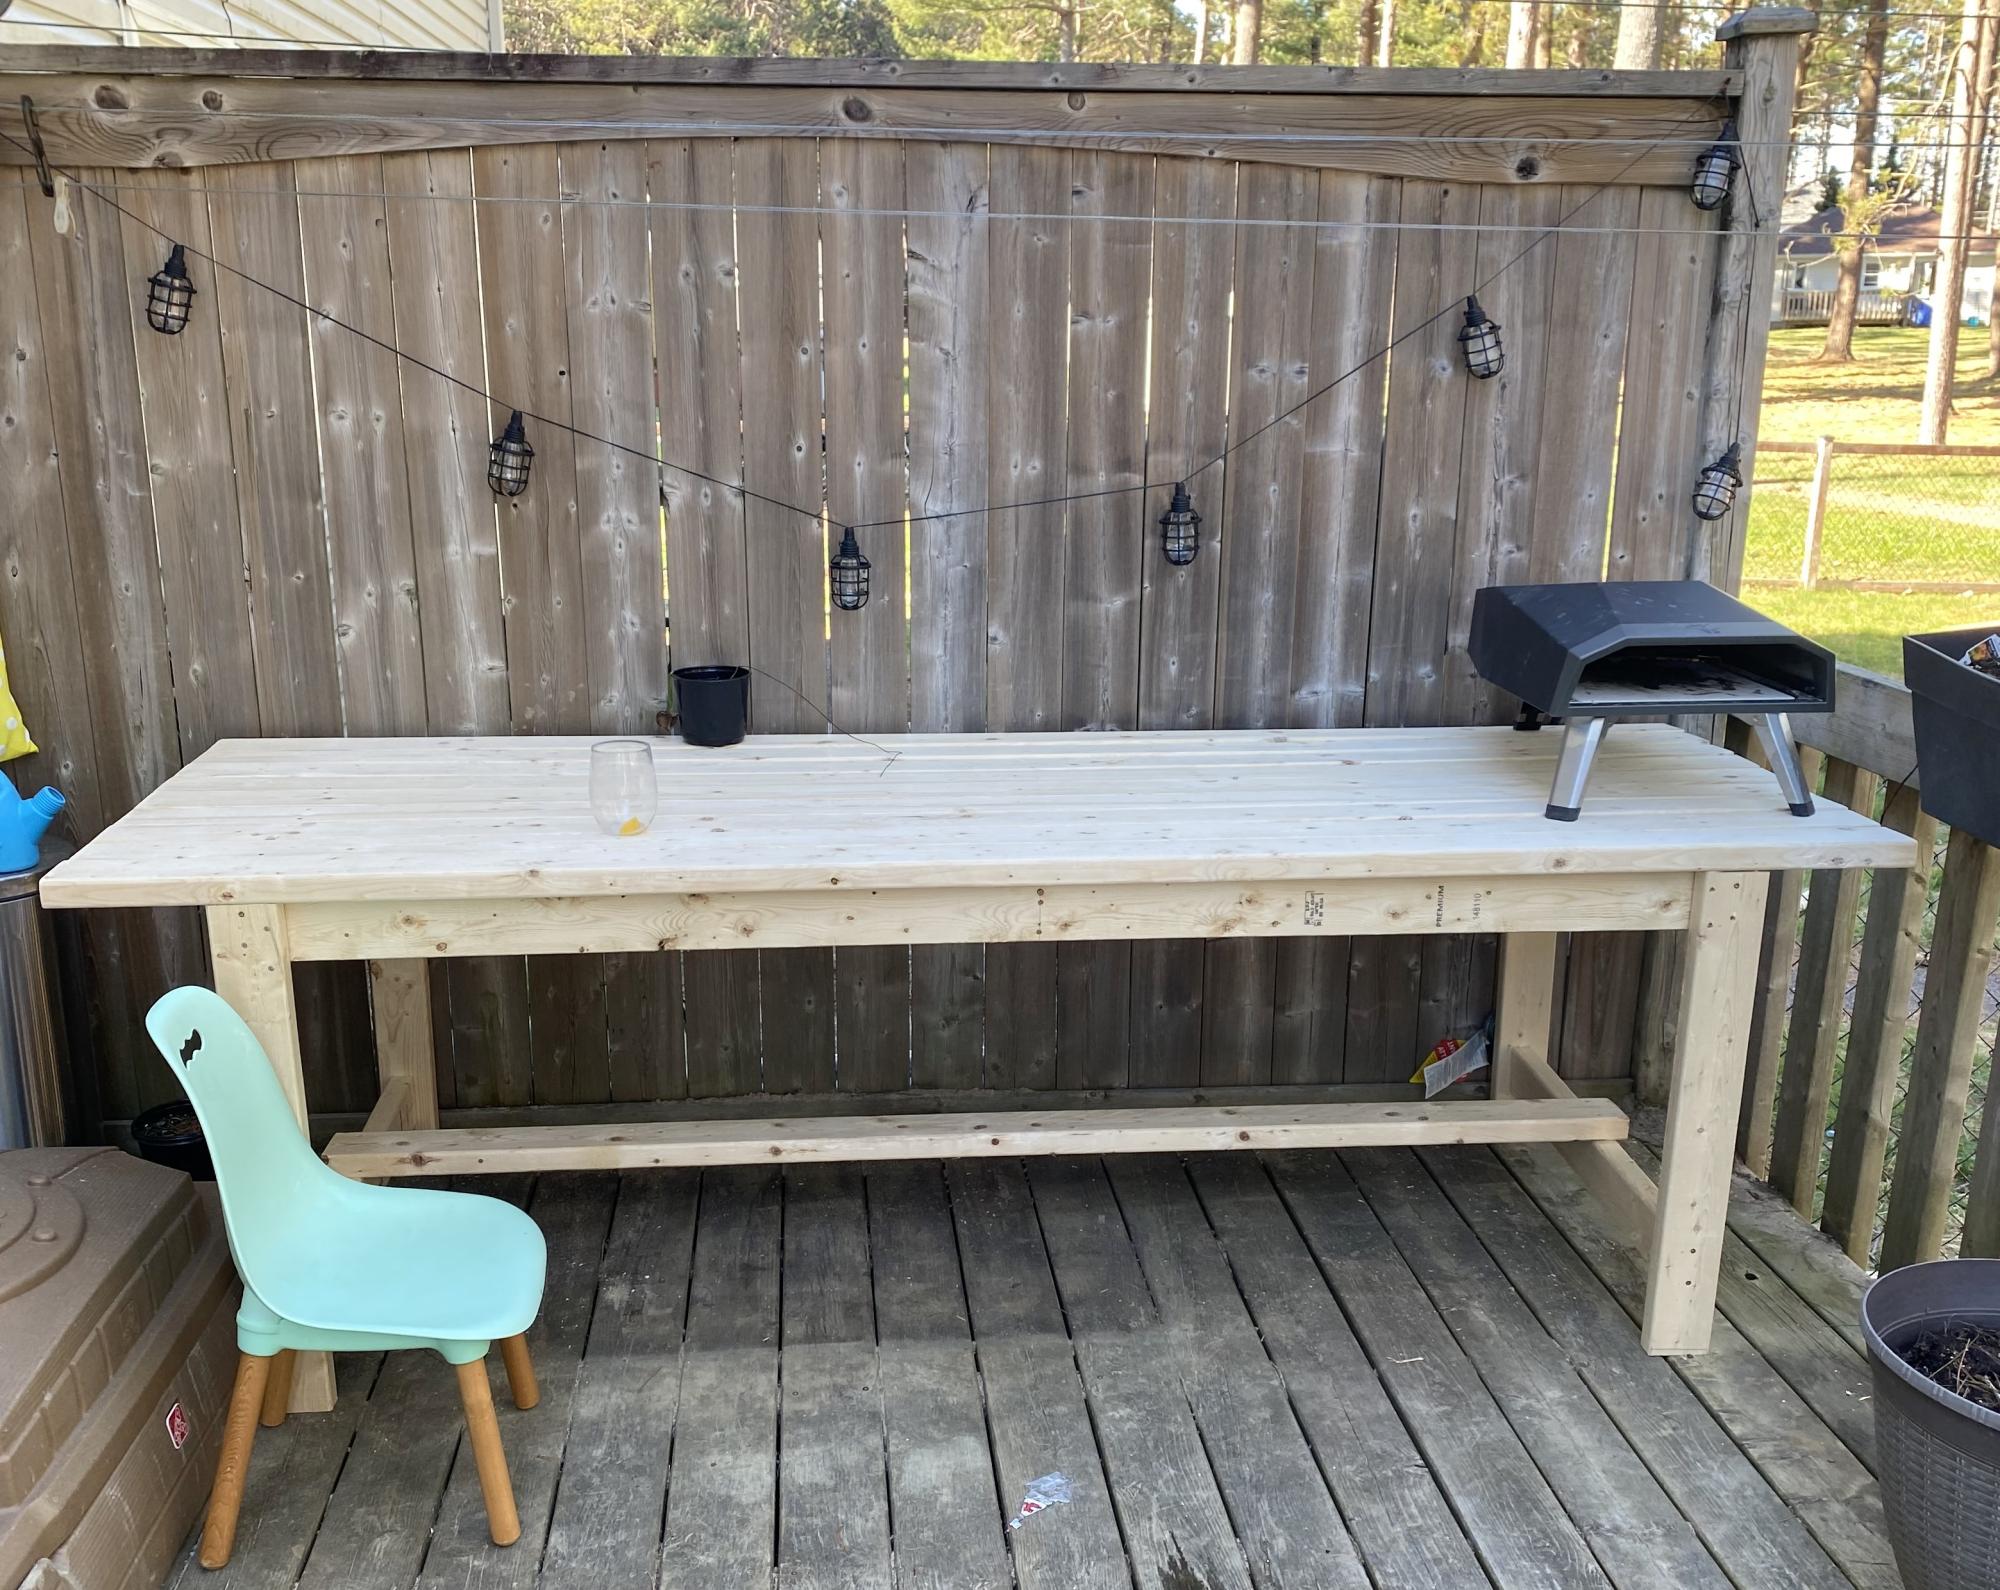
Once I set up the sectional on our screened porch, I realized I really wanted a coffee table. So, I used the Accent Table for Simple Modern Outdoor Sectional plans as a guide. I lengthened the side and underneath supports to accommodate a longer top (46 1/2" for side supports and 45" for underneath supports) and made 13 top slats, instead of only 6 for accent table. Finished coffee table measures 48" length x 23 1/2"width x 17" height and used 7 boards, plus a scrap 17" piece leftover from sectional pieces.

Project Costs for 4 armless sections, 2 corner sections & coffee table (Maryland):

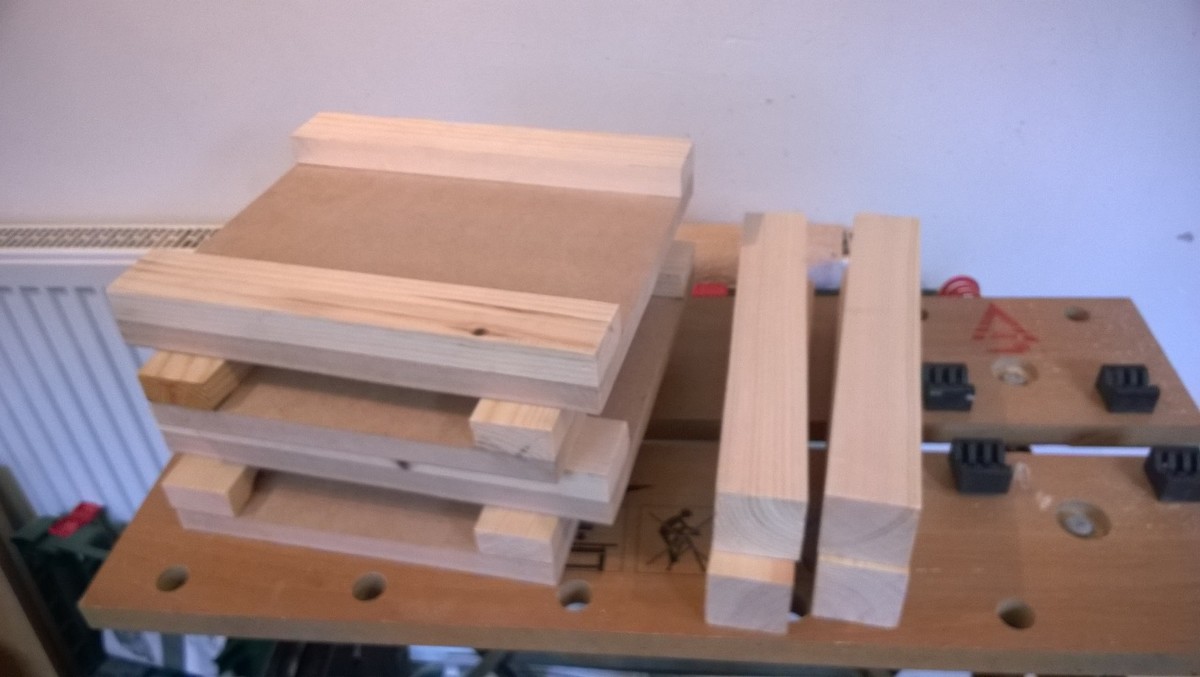
40 1x4"x8' common boards
2 boxes 2" dipped wood screws
1 box 1 1/4" dipped wood screws
bottle of wood glue
Quart of Kilz outdoor primer
Quart of Benjamin Moore "Ben" Low Lustre Exterior paint in Bittersweet Chocolate
Four Rolston 2-piece and Two Rolston 3-piece replacement outdoor cushions in Beige from Target (now discontinued). (Biggest chunk of cost, $520)

TOTAL = $~765

P.S. Find and buy the cushions first! It took me a long time to find them online. And when I went back to reorder more, after I decided to make sectional bigger than I originally planned, they had discontinued the corner sections. So, I just used a 2 piece cushion for one end. I actually like the way it looks (see pictures).
P.P.S. Our dog especially loves to sleep under the sectional...

Estimated Cost
~$765
Estimated Time Investment
Weekend Project (10-20 Hours)
Finish Used
one coat Kilz indoor/outdoor primer (hides pine knots better than regular primer)
two coats Benjamin Moore BEN Low Lustre Exterior in Bittersweet Chocolate
Recommended Skill Level
Beginner

Comments

Camey21

Sun, 09/14/2014 - 22:18

Hello! I LOVE your build!! Did you happen to modify the size of the armless sections? I want to make two chairs (instead of a sofa) for my porch but am having a hard time finding cushions that will fit. Ana states that a 20x20 cushion will fit but everything I have found online is larger than 20x20.  I found the same ones you used but they are larger than 20x20. Are you willing to share your dimensions? Thanks so much!!! I can't WAIT to start on this set!!!

HeidiT

Fri, 02/05/2016 - 07:48

Sorry for the delay in responding!  I had no idea anyone had commented...  Anyway, you have probably finished your project and moved on to another one by now.  But, in case you are actually waiting for me to respond still (I hope not!) the cushions I used are bigger than what was suggested, but I squished the ends in between the two back pieces.  That actually worked out better because it holds the cushions in place, rather than having them slide around.  Good luck!

Our relaxation area

Submitted by Anonymous (not verified) on Mon, 09/19/2016 - 13:25

I had fun doing this project, it was pretty simple.  One of the boards said wrong on the plans, but I like my finished project!

Estimated Time Investment
Weekend Project (10-20 Hours)
Recommended Skill Level
Intermediate
Back