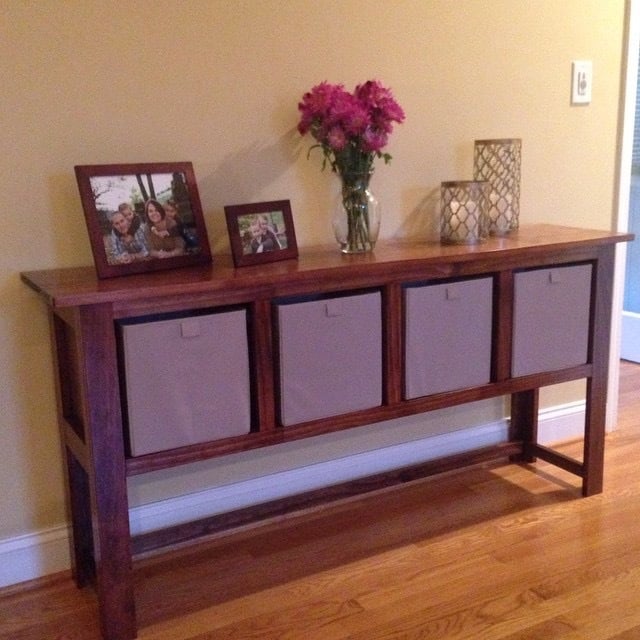
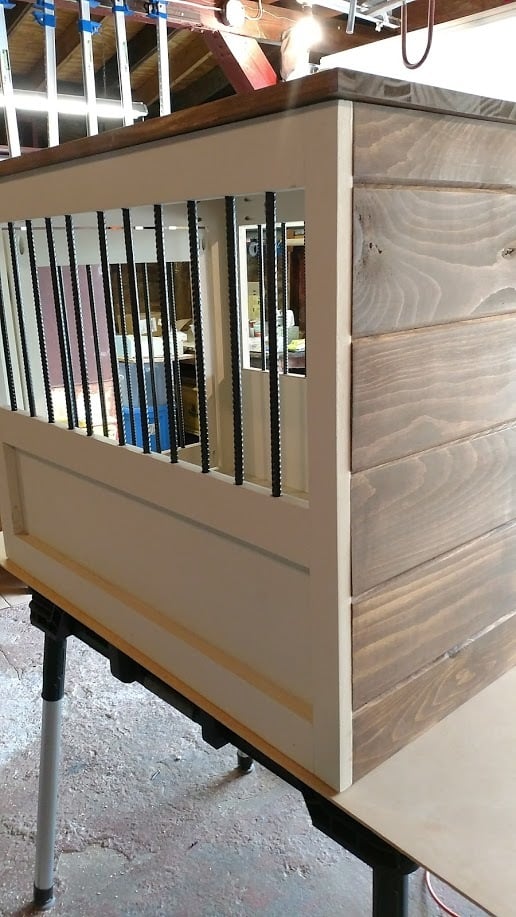
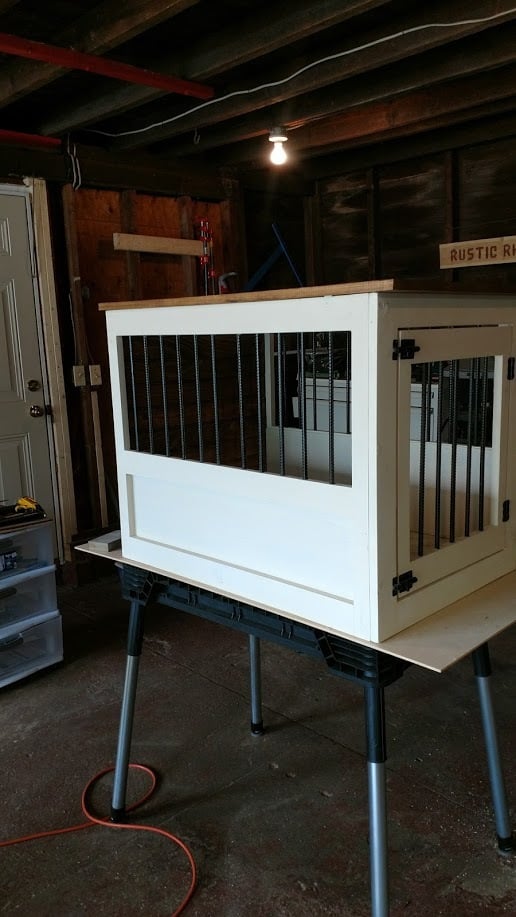
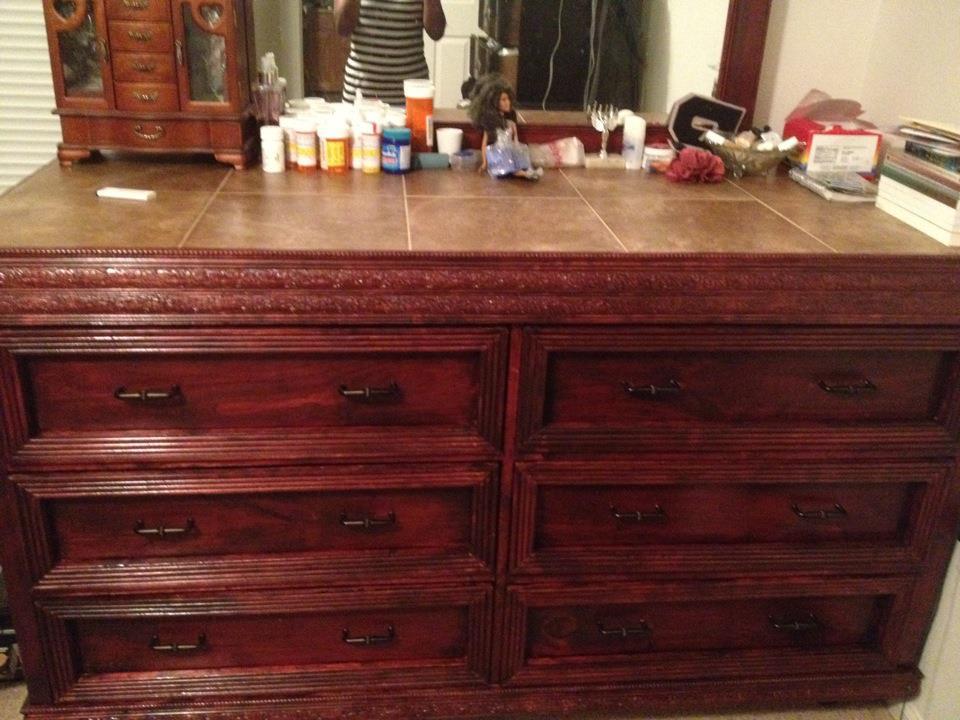
Dresser
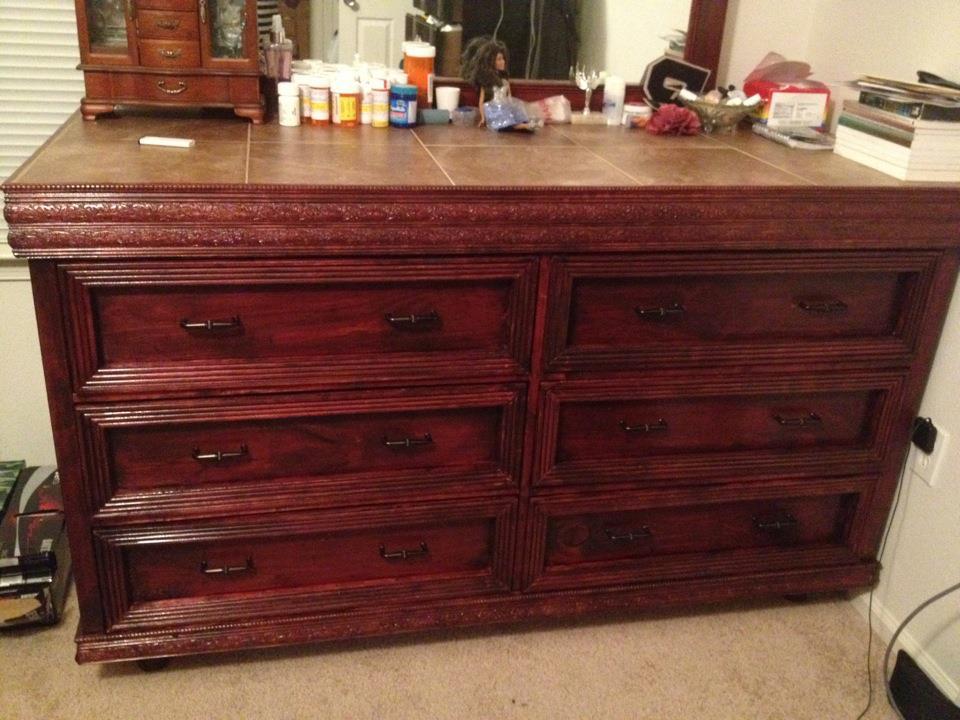
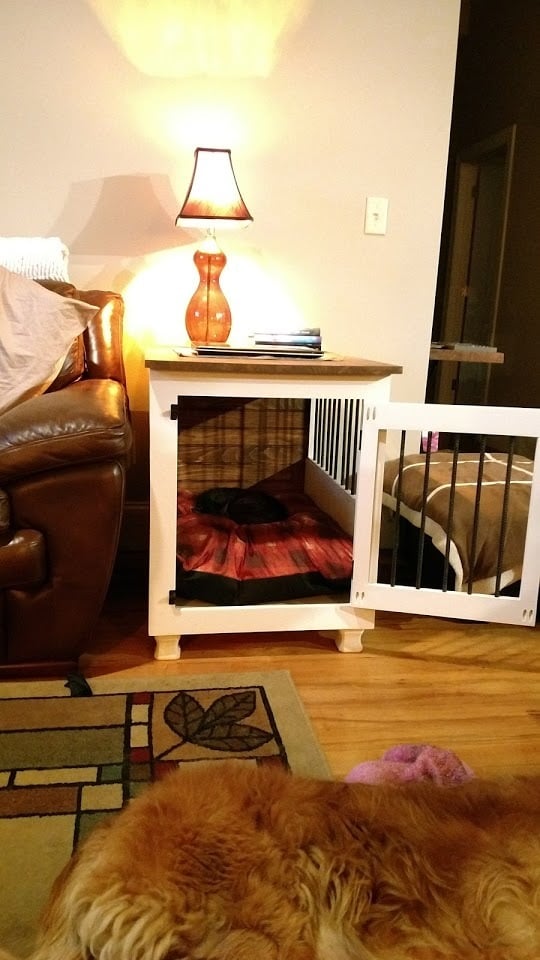
Needed a new bedroom set. Loved the Madison plan, but also loved the idea from another brag post. The Rhyan nightstand had tile on the top. So I added porcelain tile to the top. Wanted something different.
Built from Plan(s)
Estimated Cost
$300
Estimated Time Investment
Week Long Project (20 Hours or More)
Finish Used
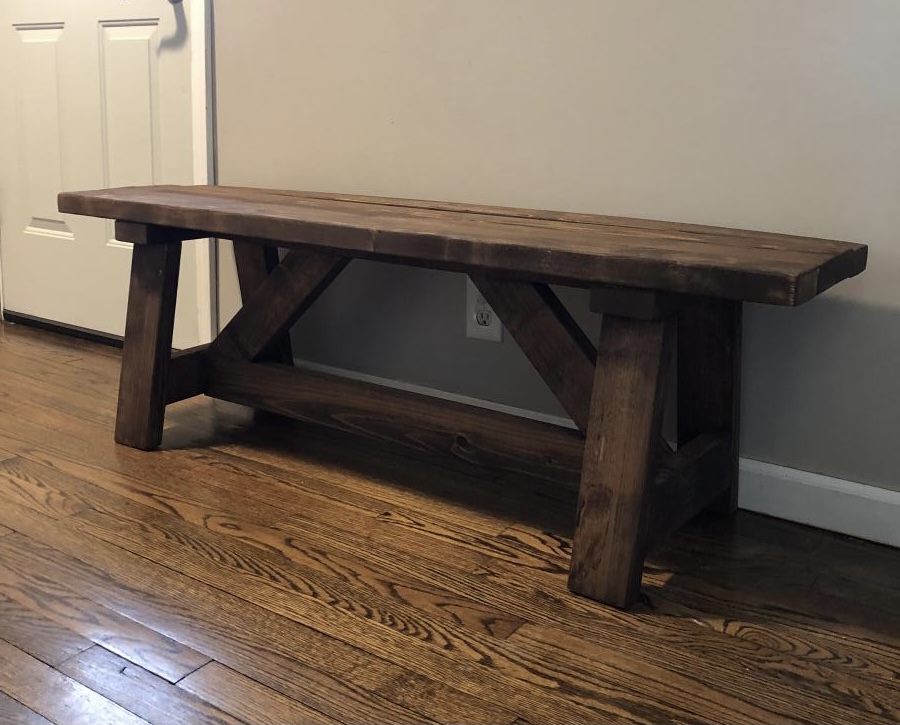
Miniwax red oak and polyurethane gloss coat
Recommended Skill Level
Intermediate