Community Brag Posts

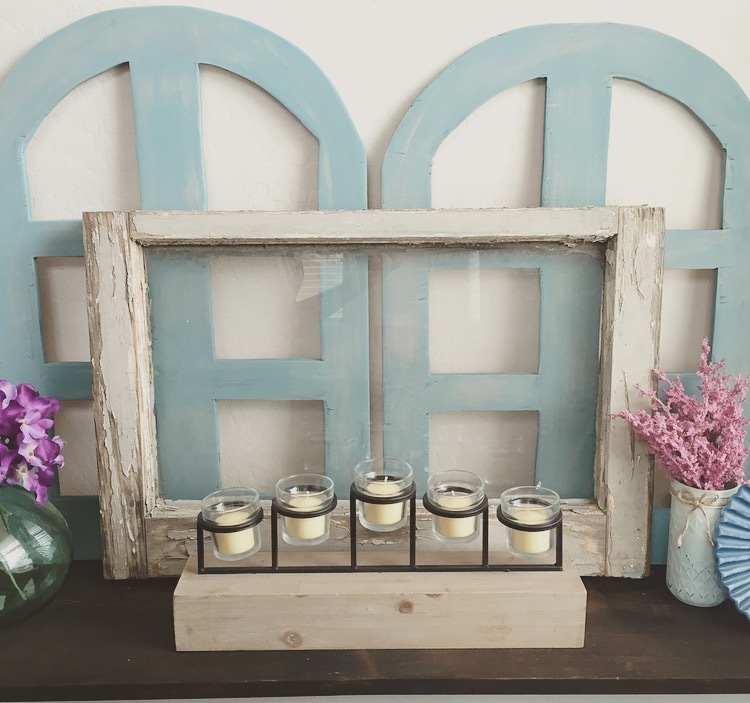
Faux Antique Arched Windows

Submitted by sraper2 on Thu, 08/11/2016 - 19:02

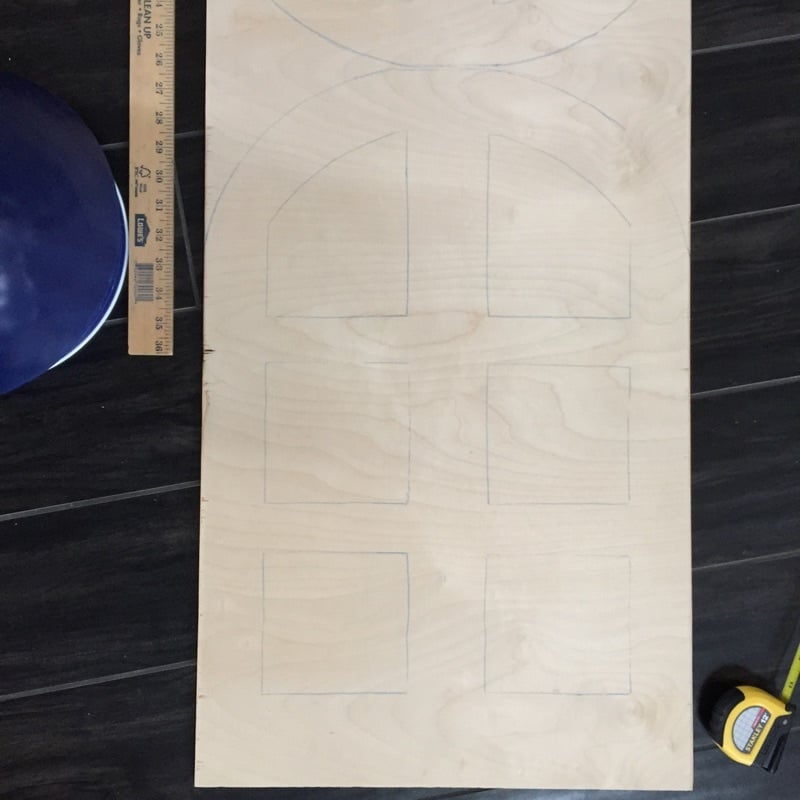
I made these windows to layer with an actual antique window I have.  I made a template out of kraft paper, traced it on wood, and cut it out with a jigsaw.  There are step by step instructions for making the template on my blog!

Estimated Cost
$10
Estimated Time Investment
An Hour or Two (0-2 Hours)
Finish Used
Chalk Paint
Recommended Skill Level
Beginner

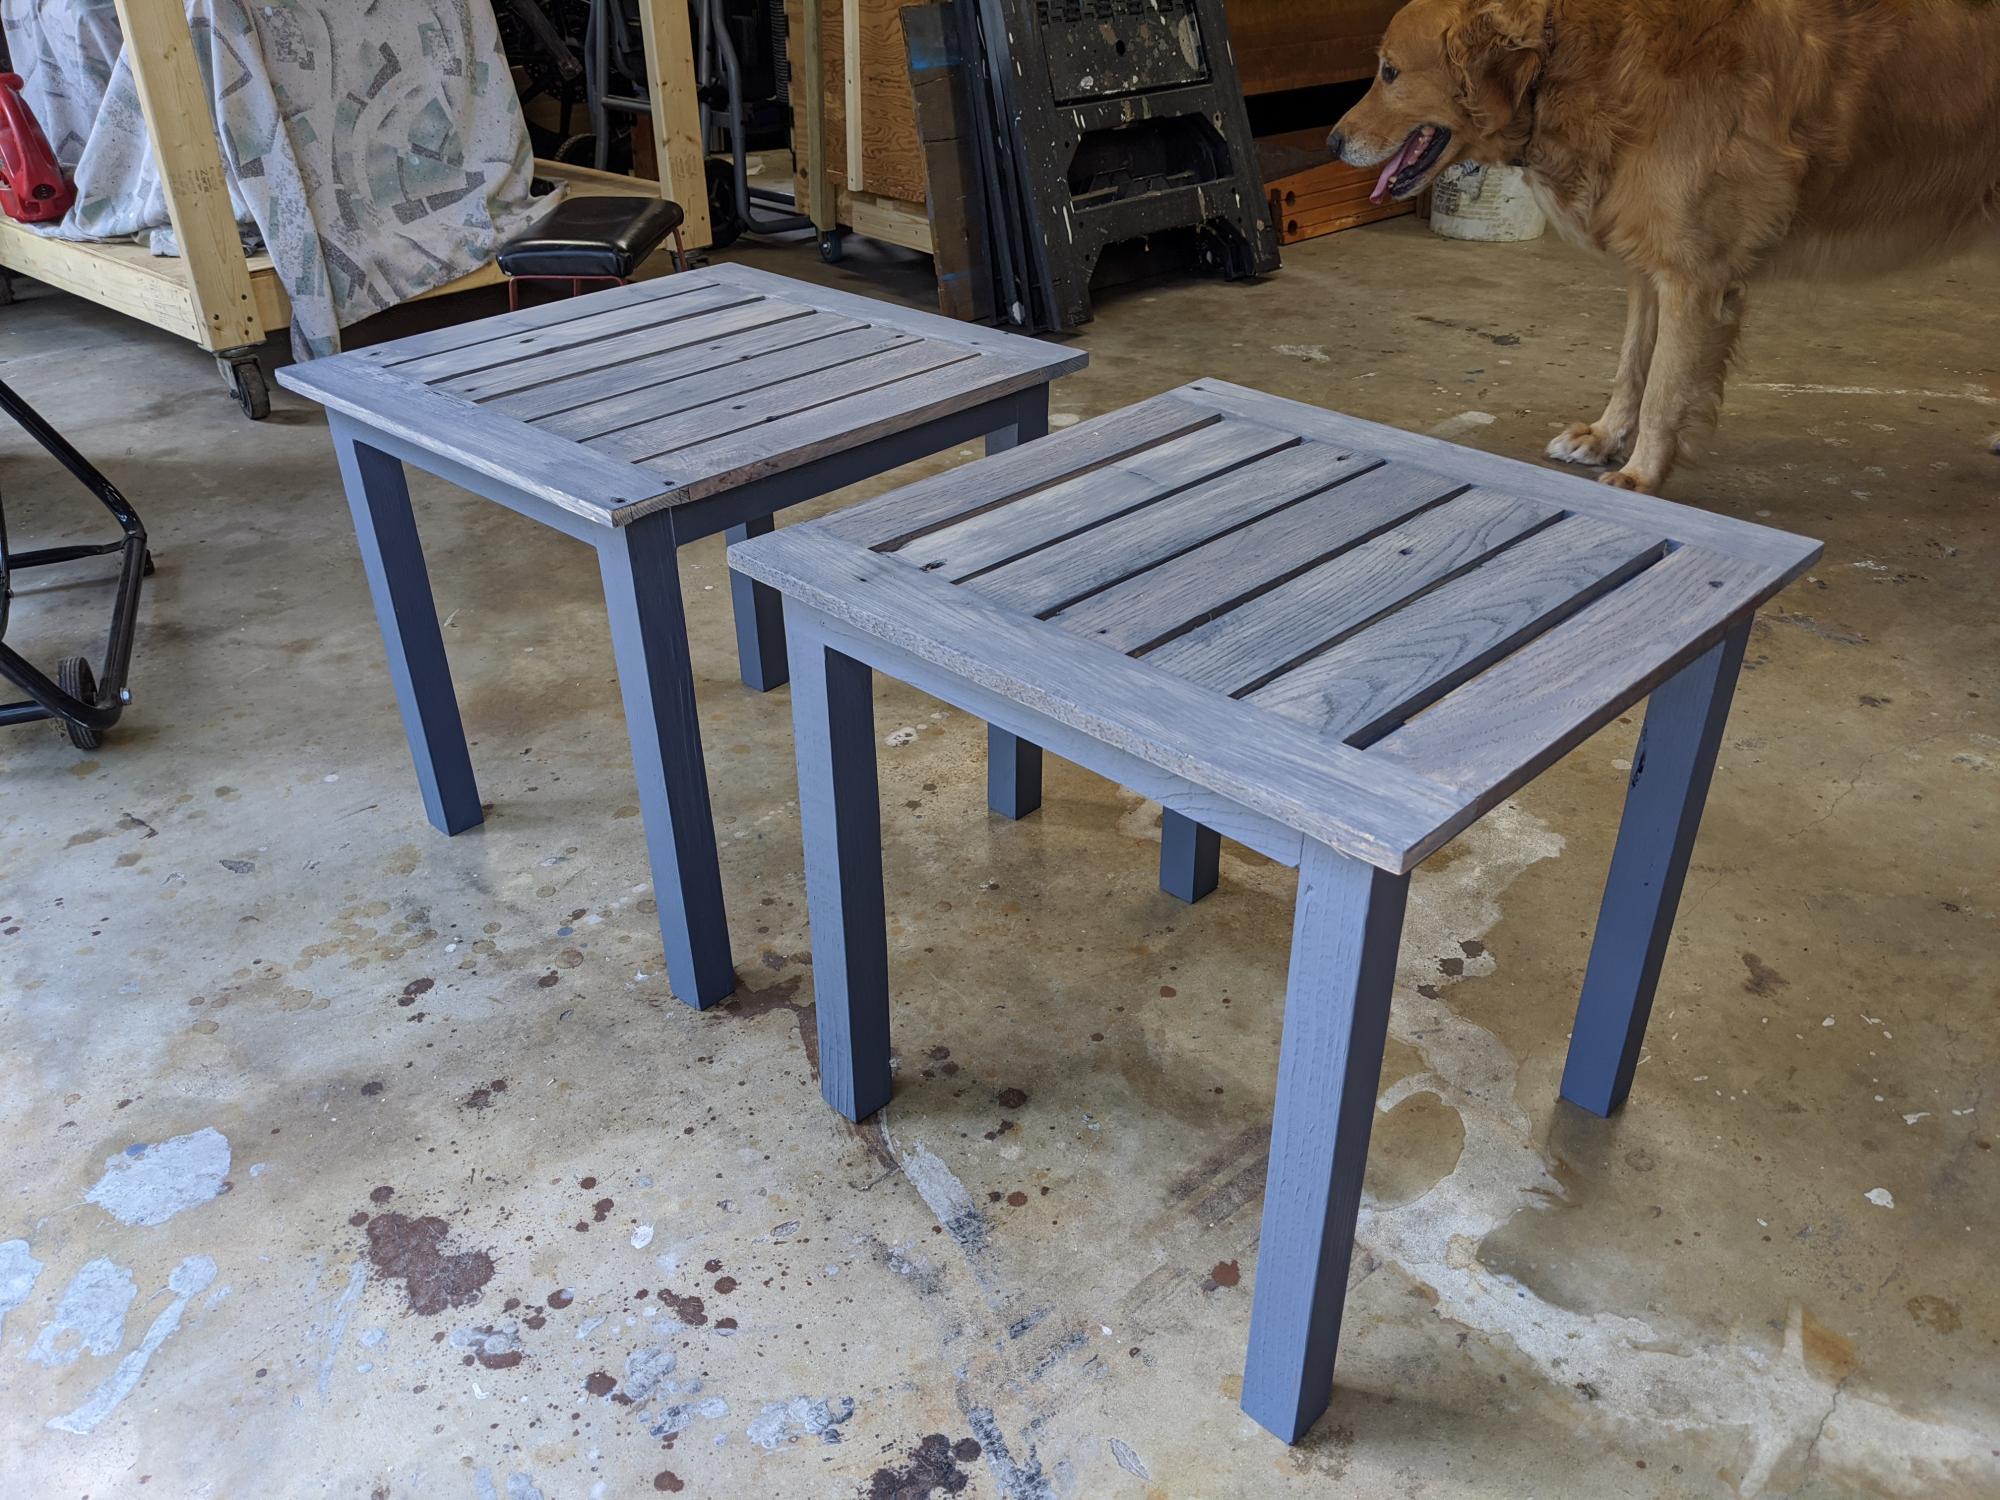
Simple end tables

I used off cuts from other projects to make these and they look great on our front porch.

Estimated Cost
$0
Estimated Time Investment
Afternoon Project (3-6 Hours)
Recommended Skill Level
Beginner

Dropzone Cabinet

Submitted by Anonymous (not verified) on Tue, 02/13/2024 - 12:54

My son asked me to build him a cabinet for his drop zone. It turned out awesome.


Weathered Gray Fancy X Farmhouse Table With Extensions

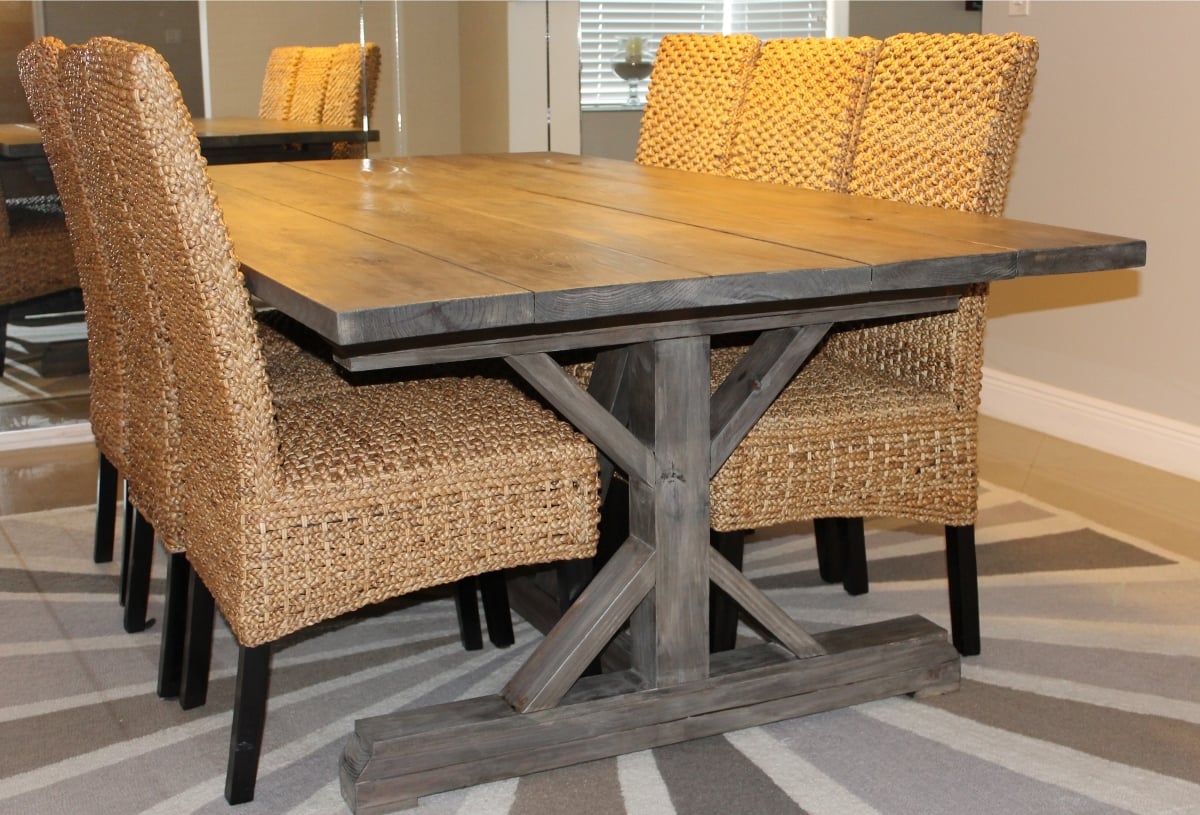
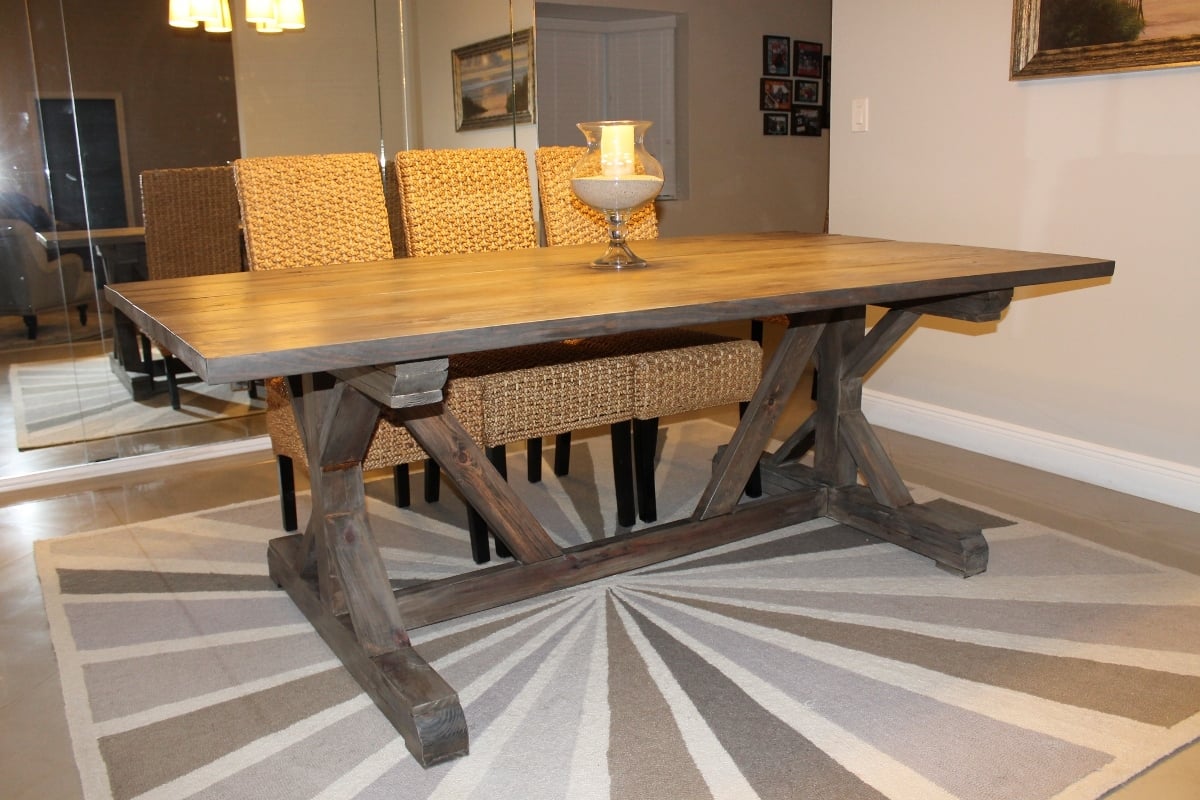
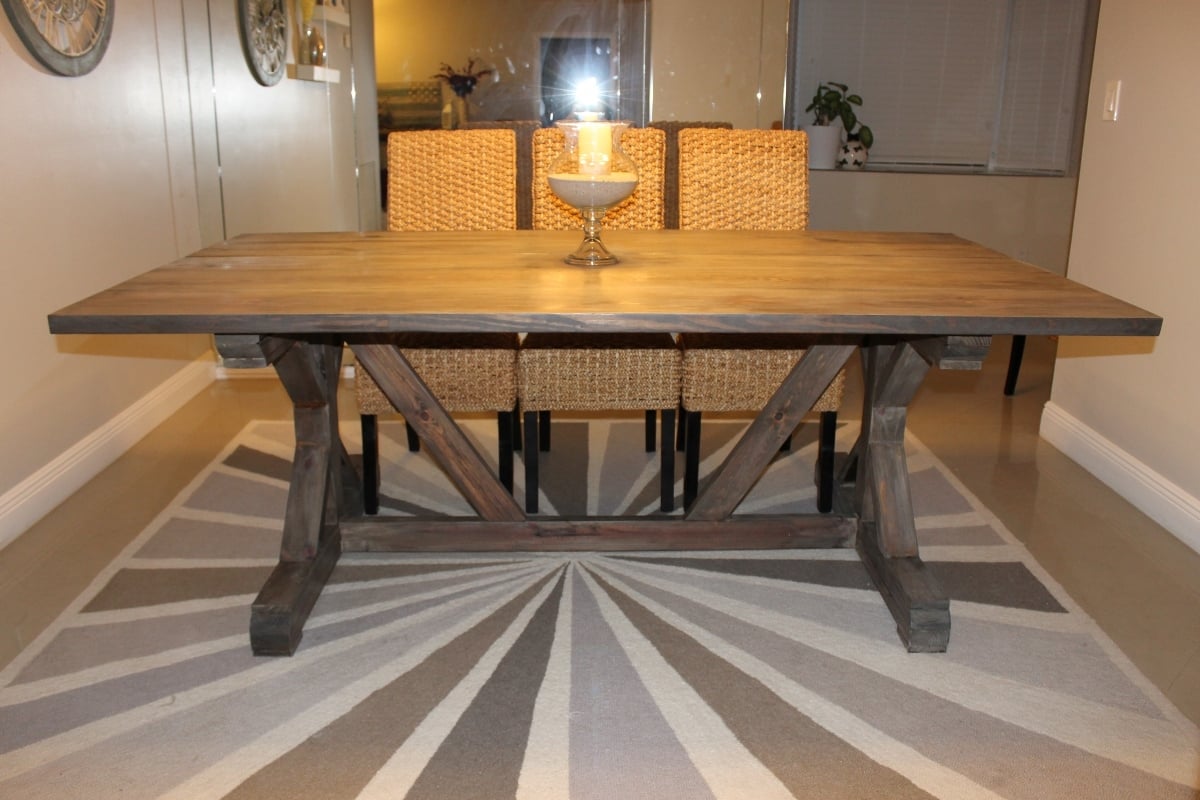
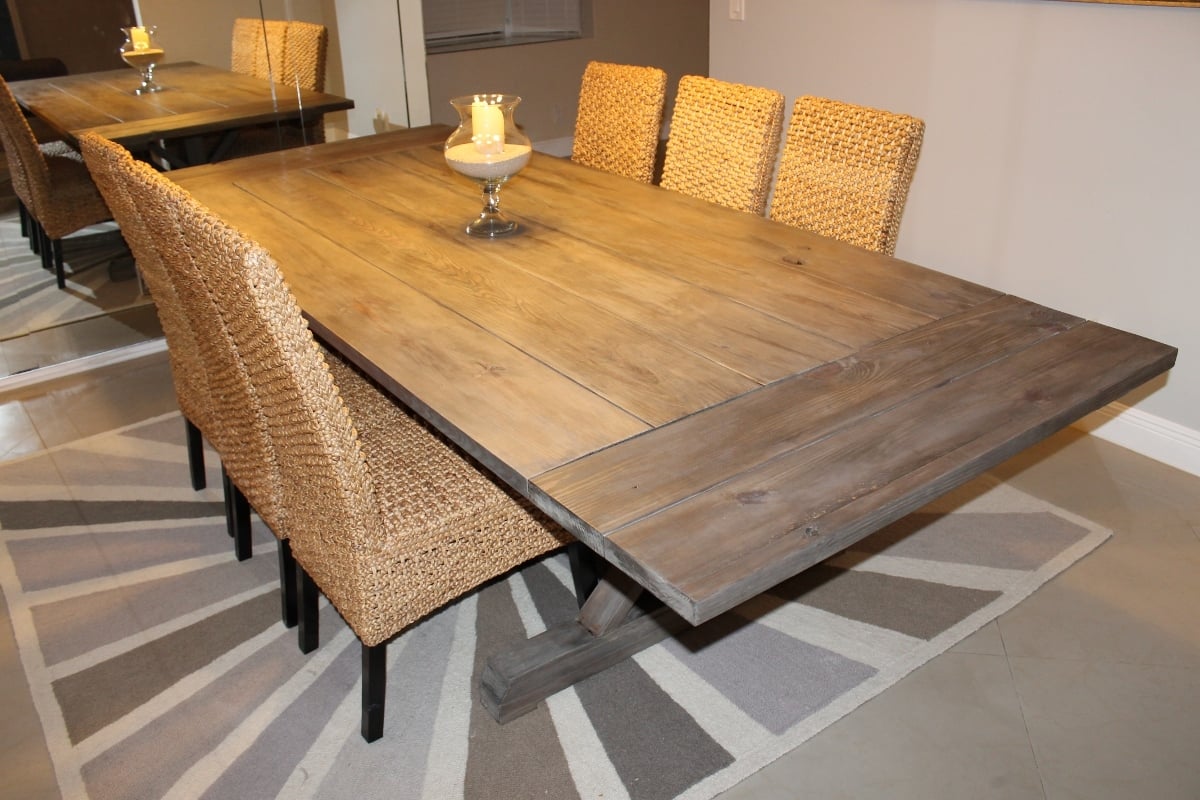
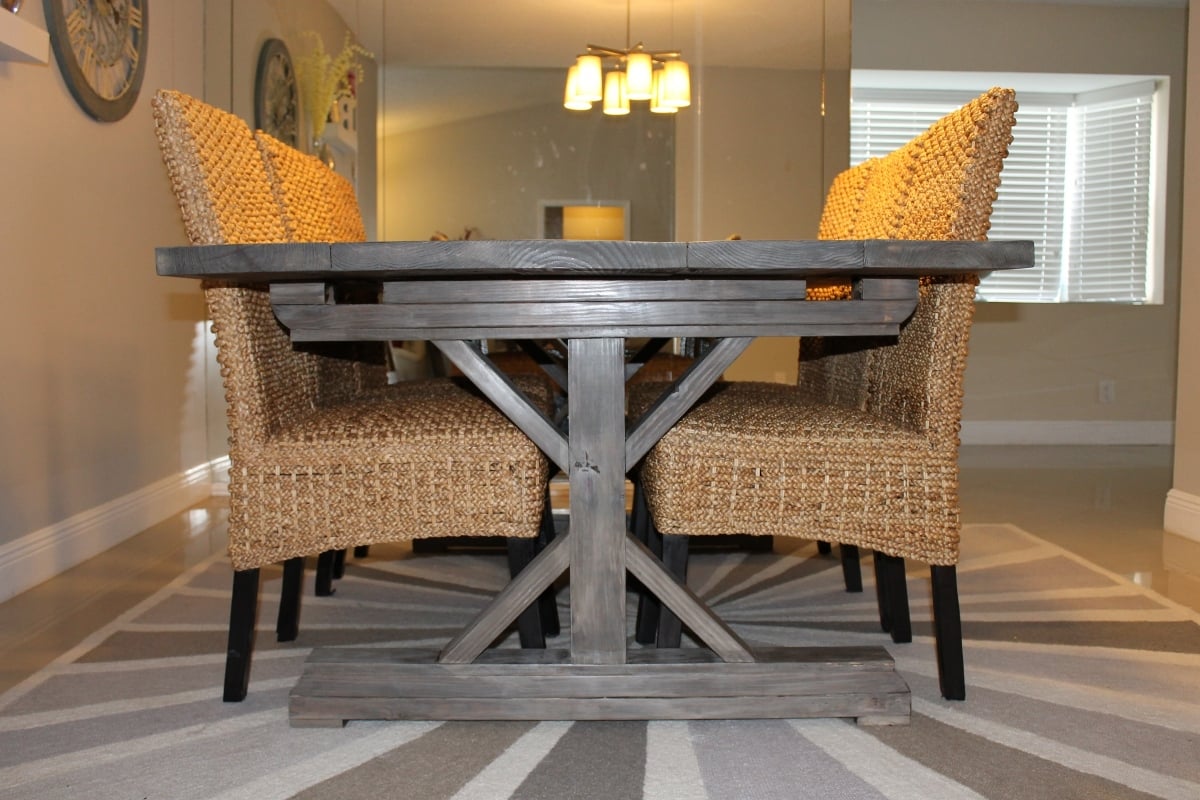
This is our attempt at the Fancy X Farmhouse Table. My husband and I built this over a weekend. We modified our table from the plans, making ours shorter and wider. We also added extensions and changed out a few boards for a bit of a different look from the exact plan. We created a custom finish with a few cheap and easy steps to get the look we wanted. Our table is 84" long by 46" wide. The original plans for the table called for it to be 96" long by 37" wide. We added a fifth board to our table top, thus making our tabletop 9.25" wider (since a 2x10 is actually 9.25" wide.) To account for this, we simply increased the width of the base boards by 9.25". As for the length, since our table was 12" shorter than the plan, we decreased the length of the two support boards running between the bases by 12" to account for that. We had to adjust the length of our decorative pieces somewhat, because of the wider base and shorter length. It was bit of trial and error but we were happy with what came out of it. For the center base post, instead of using 2x4's we used one 4x4 which was clean, square, and straight. We were happy with how things turned out for the base. Perhaps our biggest alteration was the fact that we added extensions to each end. To do this, we cut out 3.5" slots in the top of the base so a 2x4 could slide in. We then took two 2x8's and used pocket holes to bring them nice and tight. With the extensions in place, our table is nearly 10 feet long! As for the finish, we wanted a weathered gray color and were able to come up with it through a three step process. Its really beautiful in person! Thanks again for the plan

Built from Plan(s)
Estimated Cost
$80-$100
Estimated Time Investment
Weekend Project (10-20 Hours)
Finish Used
Custom!
Recommended Skill Level
Intermediate

Comments

Darcy Taylor (not verified)

Tue, 08/07/2012 - 03:10

Could you possibly give me a detailed explanation of how you finished this table? I love, love, love the color and want to replicate it.
Thanks!
Darcy

Jennifer Nealy (not verified)

Tue, 09/25/2012 - 09:06

Beautiful table, but I really want some information on the 3-step process you used to get the weathered gray look. Can you please provide that information? Thanks!

SawgrassHomeGirl

Sun, 04/07/2013 - 20:40

Thank you for your interest in the finish....we used regular pine from Orange and Blue. We used a mixture of steel wool and vinegar in a glass jar, let it sit for a night or two, then brushed it on evenly over each board. We then let that sit for a night or two and then proceed to whitewash the entire table (two parts water one part paint.) After that, we took Dark Walnut Stain and wiped it over each board, then quickly wiped/scrubbed it off after just a minute or two. That's how we did it!

Id suggest practicing first with some scrap , esp. with the steel wool mixture so you can see how the wood changes. :)

FLKS

Fri, 09/23/2016 - 15:24

Hi Emily! 


        I love your table. We are about to make one and love your stain. Would you be so kind to give me details of what you used to achieve the look? I read the above post, but could you give me brands and colors? I don't understand what is steel wash- is that the color? 

Thank you so much!


FLKS

ajdriscoll08

Mon, 09/09/2013 - 11:40

but when we brushed on the steel wool/vinegar mixture, the holes on the table top and base that we had filled in with putty didn't really stain...did you run across the problem? I don't see any areas on the top of your table where you can tell where the holes were??

rmf

Wed, 04/09/2014 - 09:05

I'm curious if you made the extensions permanent or if they can be removed and added as you need? I love this table!
Thanks,

Jenni2526

Wed, 08/13/2014 - 11:50

I am not understanding how you made the extensions from your description and then looking at the end pictures... Would you please explain this a little further and how they are stored and placed for use and how this works? Thank you!

Ren.K777

Tue, 10/07/2014 - 17:39

LOVE the finished product! I aim to get the hubby to make this one at some point!  But for now, we have just a bench in our kitchen that he made and I'd like to apply the same finish you did.  I've looked at a bunch of different tutorials but I like yours the best.  Here's the question...how long after I apply the paint/water mixture to I apply the walnut stain? Do I apply the water/paint and wipe off right away?  A few seconds later?  A minute later?  Do I allow the applied/wiped water/paint mixture to dry completely before adding the stain or do I want to apply the stain before it's throughly dry so that it mixes a bit for a softer look?  Thanks so much!  


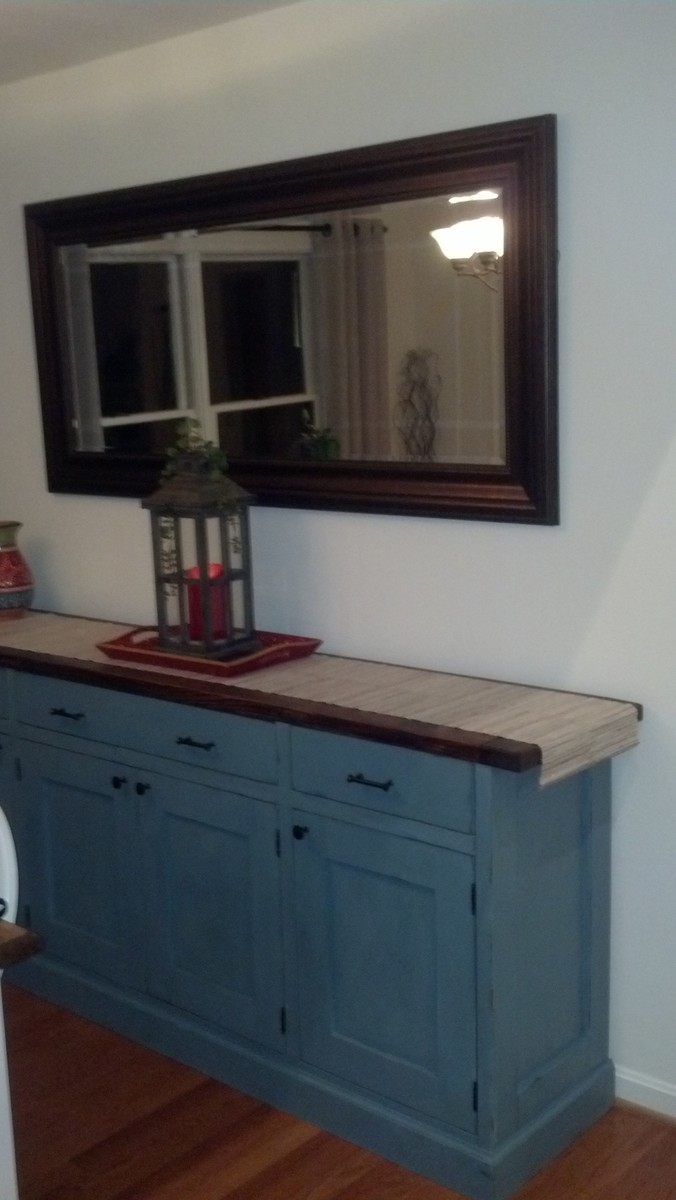
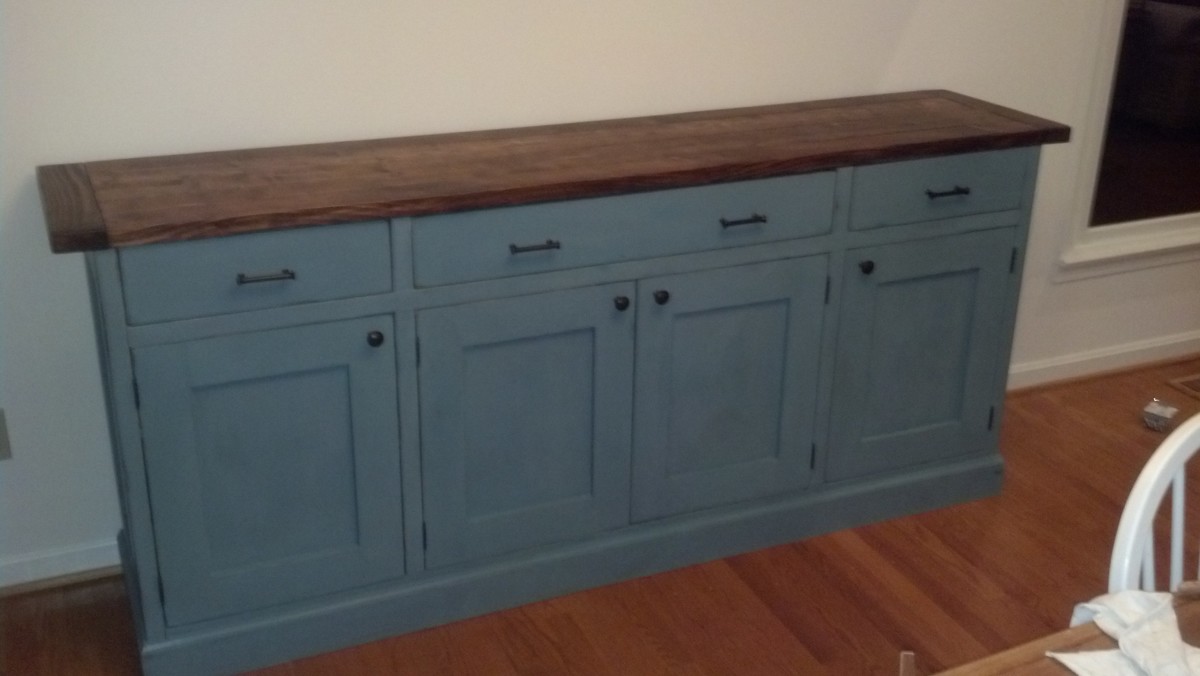
Planked Wood Sideboard

Submitted by thevner on Tue, 05/13/2014 - 06:21

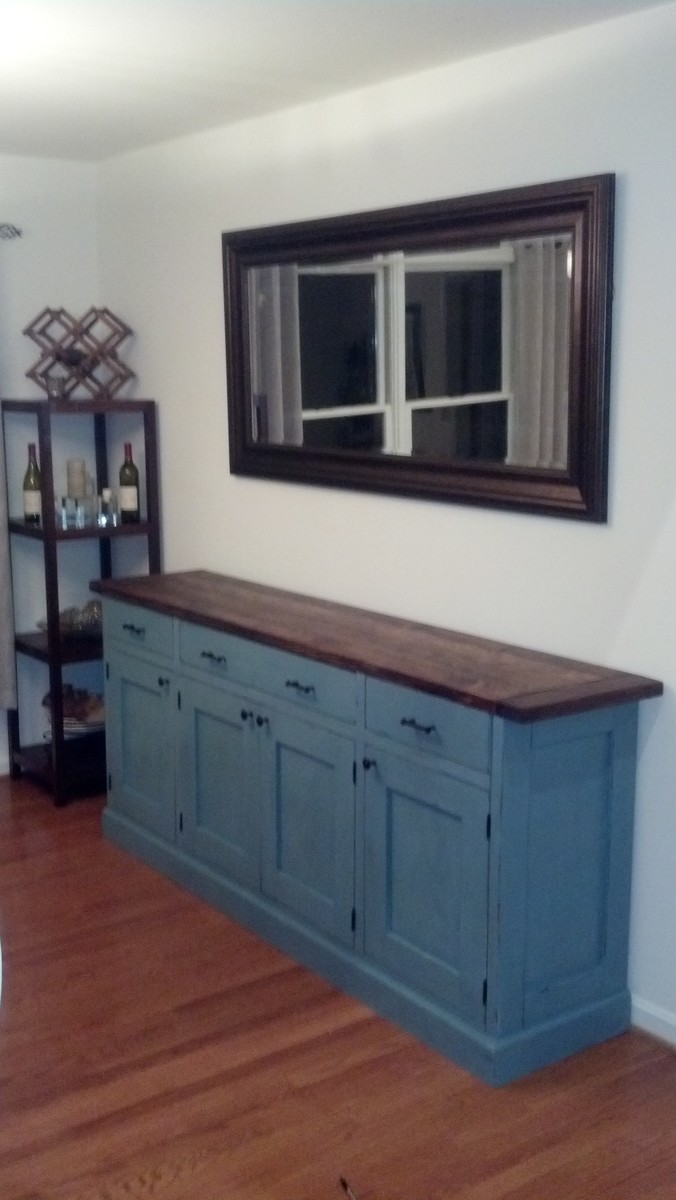
Made this for our dining room and it was my first major furniture project. Learned a lot. Looking for the next project

Built from Plan(s)
Estimated Cost
$500
Estimated Time Investment
Week Long Project (20 Hours or More)
Finish Used
Minwax Dark Walnut, Amy Howard One- Step Pain in Vintage Affliction with light antiquing wax.
Recommended Skill Level
Intermediate

Comments

Cabin Bed

Submitted by Gorm63 on Mon, 08/15/2016 - 08:57

This was so much fun to build and it turned out really great. It was the perfect gift for my son on his fourth birthday.

Built from Plan(s)
Estimated Cost
$350-$400
Estimated Time Investment
Week Long Project (20 Hours or More)
Finish Used
Milk paint
Recommended Skill Level
Intermediate

Comments

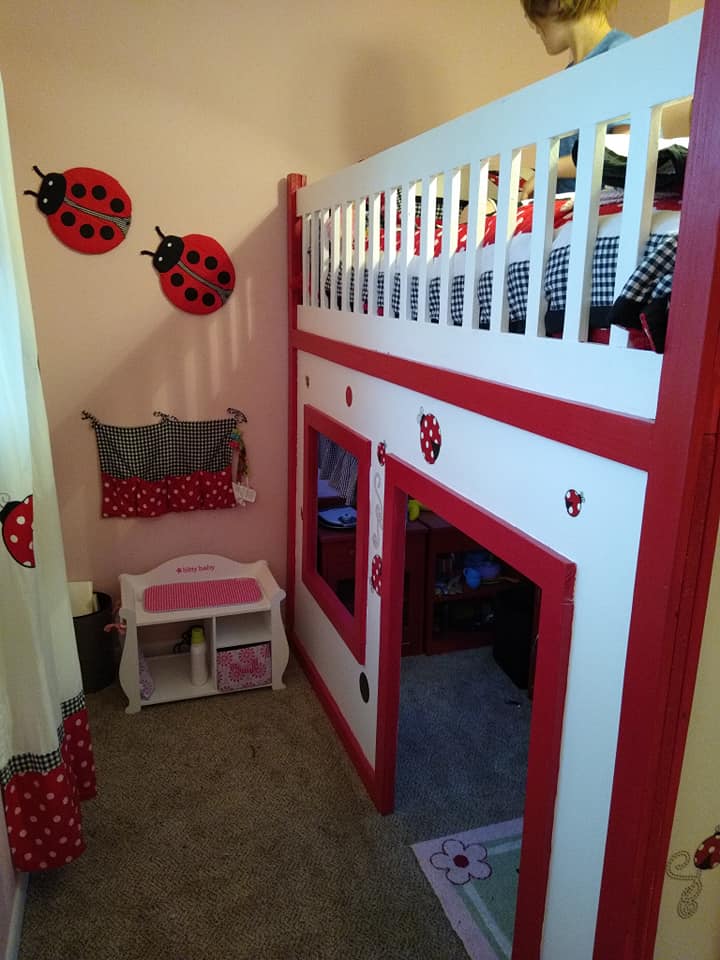
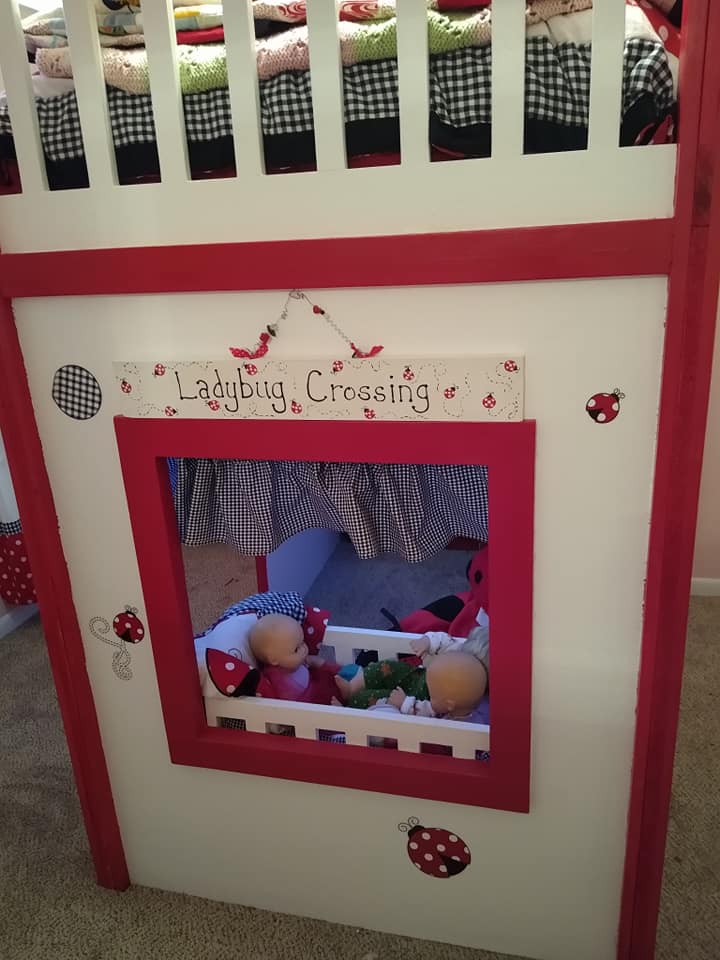
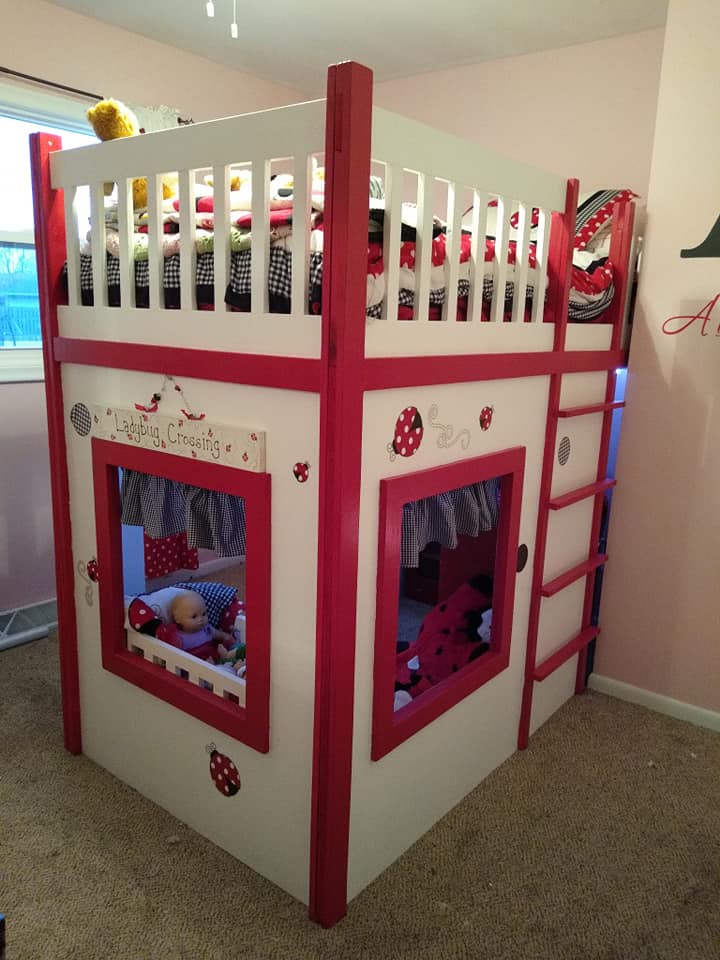
Playhouse Loft Bed- Ladybug style

Submitted by Anonymous (not verified) on Fri, 05/29/2020 - 21:14

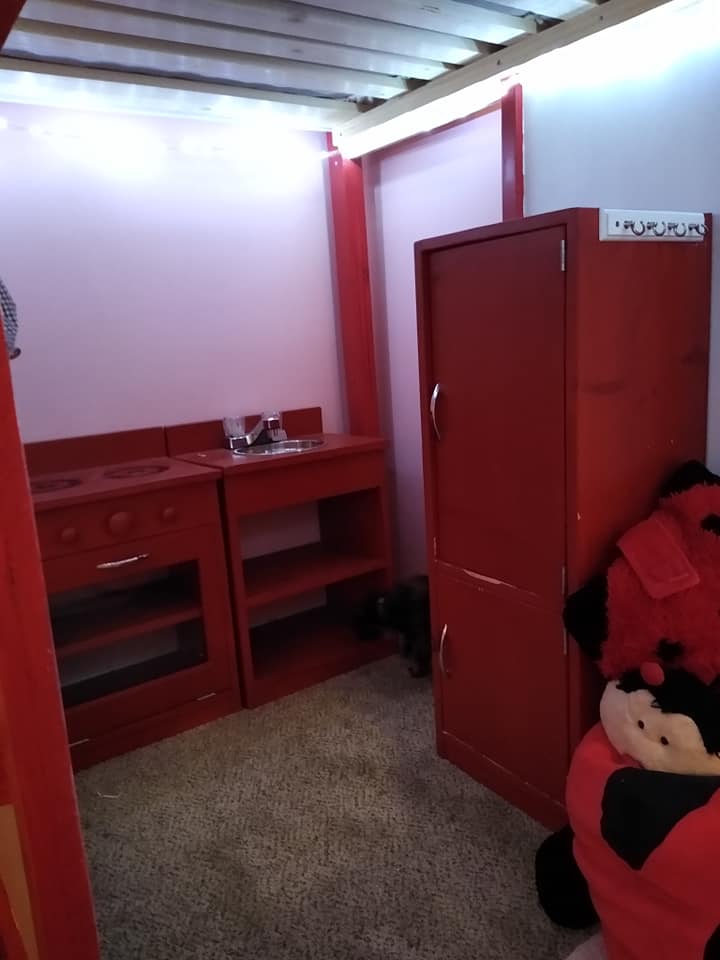
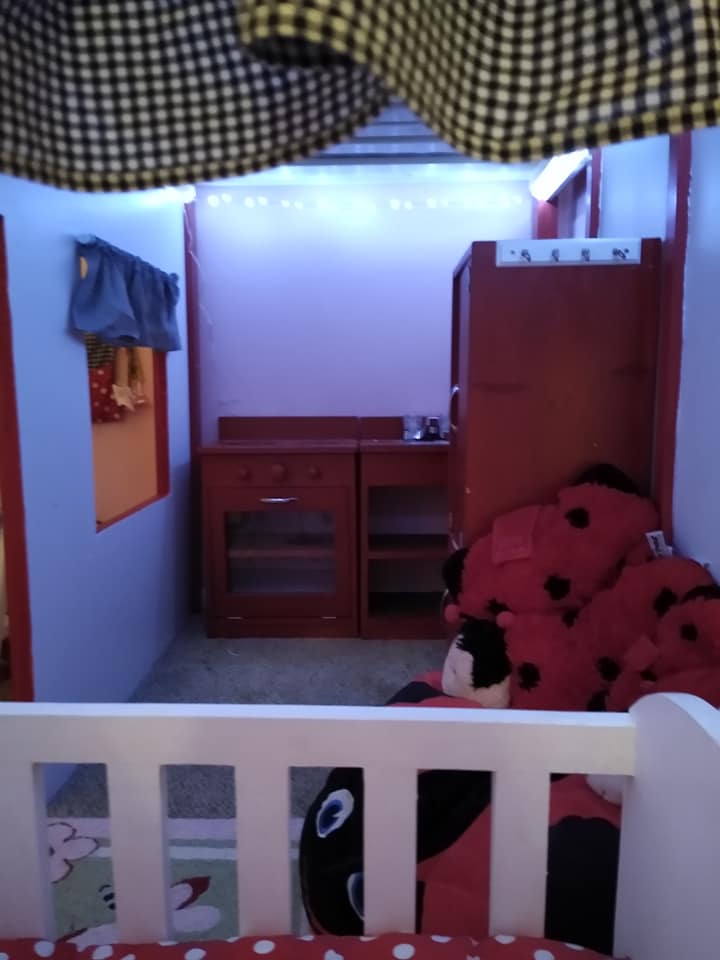
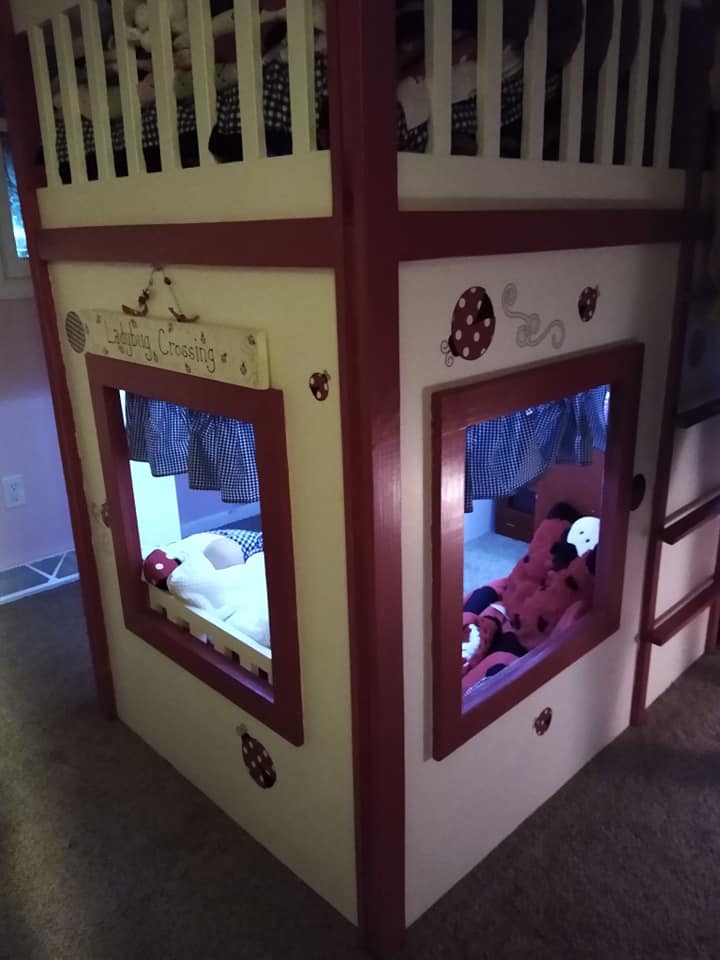
I had to change around a bit of the plan because my daughter's room has a weird shape. So she gets into bed on one side of the bed, but the playhouse side is opposite so that it would be able to accommodate a window and a door on that side. We were able to put in 3 full sized windows this way.

Inside her playhouse is the play kitchen set I built her several years ago (it's seen a ton of use), as well as the doll crib that I built her (which has also seen a ton of use.)

Inside, we used coated mug hooks around the top of the inside to hang rope lights, and we used the same hooks as curtain rod hangers for the cafe tension rod curtain rods we used for the windows.

Estimated Cost
$450
Estimated Time Investment
Week Long Project (20 Hours or More)
Finish Used
Satin and semi-gloss furniture paint.
Recommended Skill Level
Intermediate

Storage Desk System

Submitted by Anonymous (not verified) on Sat, 02/17/2024 - 10:04

Custom built-in desk and bookshelves. We combined plans for a massive desk with bookshelves. Working from home, I needed to maximize my storage space but wanted to create beauty and function at the same time. I love the finished results! I admire my new desk everyday I "go to work."


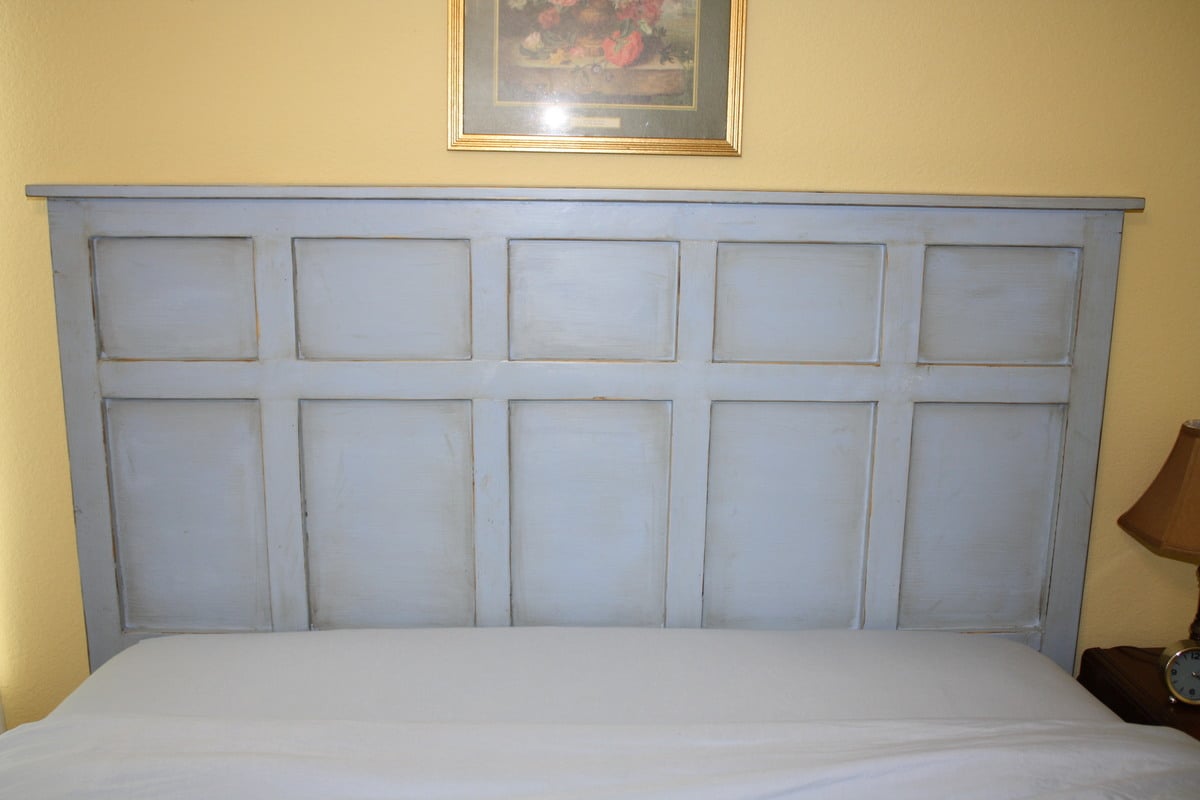
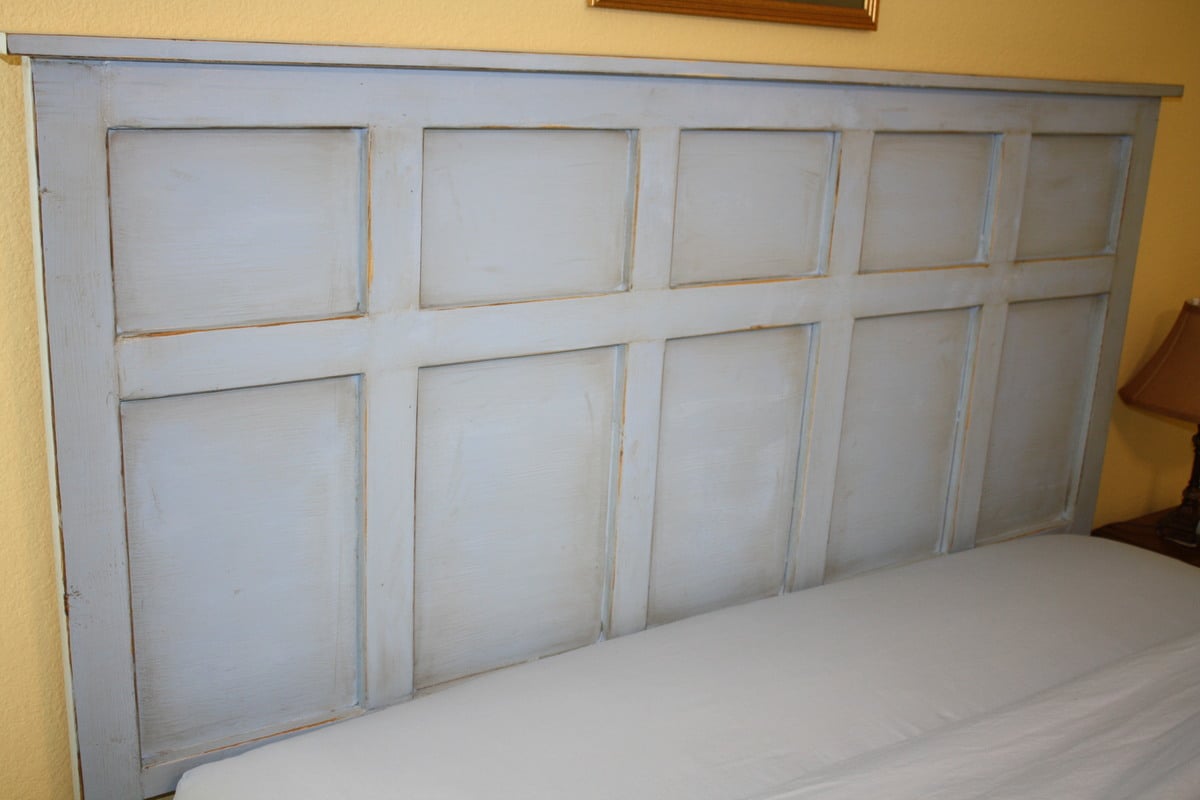
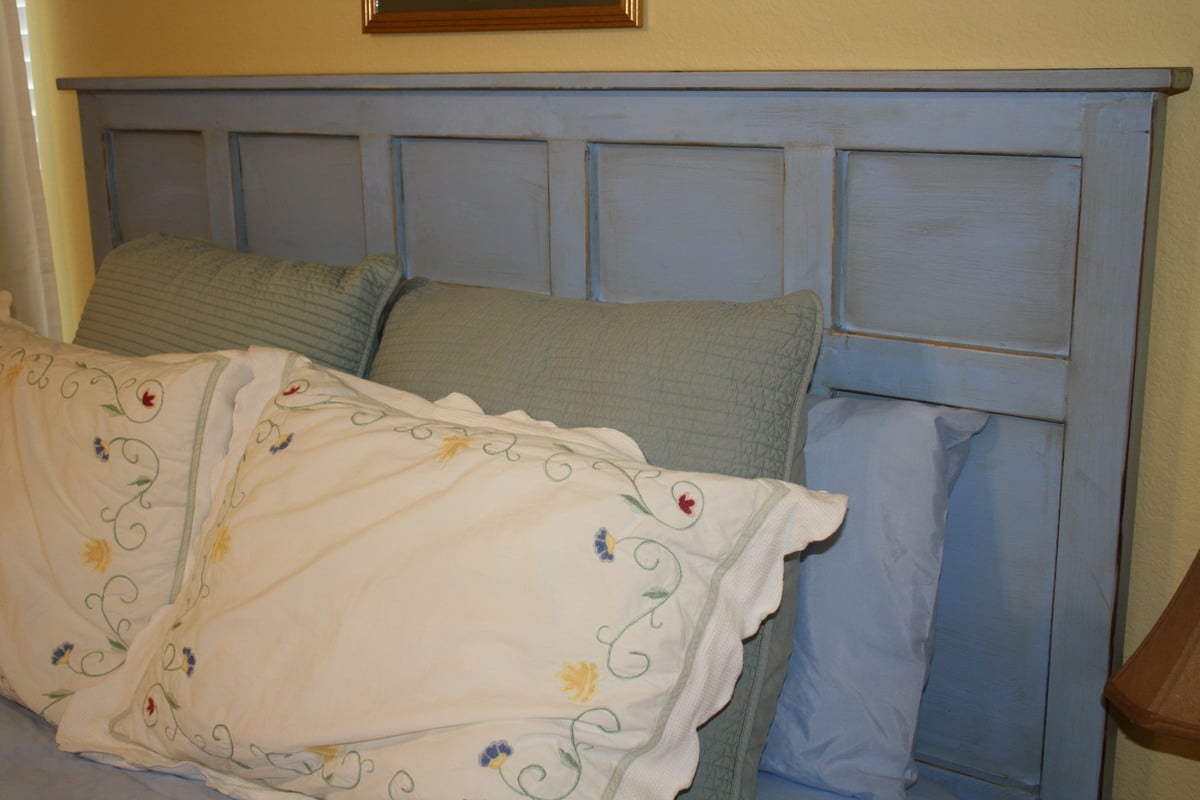
Board & Batten Inspired Headboard

Our guest room finally has a headboard! I put together this queen size headboard using what I had learned building my daughter's headboard (and consulting the plans for the Reclaimed Wood Headboard) using the remainder of the plywood sheet from her headboard project, 2x3s for the legs, a 2x4 to join the legs (and connect to the metal bed frame), furring strips, and a 1x3 to top it off.

Our plywood had been cut to fit our car, so the first vertical furring strip was placed to hide the seam where I joined the two pieces back together. Then we evenly placed them from center as just looked right to us.

We had a great time seeing this come together as we didn't follow a specific plan, but were able to be a bit more creative inspired by various plans.

Estimated Cost
$45 including hardware & paint
Estimated Time Investment
Afternoon Project (3-6 Hours)
Finish Used
We painted with Martha Stewart's Stratosphere in a flat finish, distressed and rubbed on Minwax Provencial stain. Unfortunately, the stain gave the headboard a very green tint, so after a lot more sanding, we were able to finish the project with two quick coats of Minwax water based Poly.
Recommended Skill Level
Beginner

Comments

Mantel Headboard

Great project idea but this thing is a beast. I hope I never move, and if I do it's probably staying with the house! This was a lot of work, but well worth it!

Built from Plan(s)
Estimated Cost
150.00
Estimated Time Investment
Weekend Project (10-20 Hours)
Recommended Skill Level
Intermediate

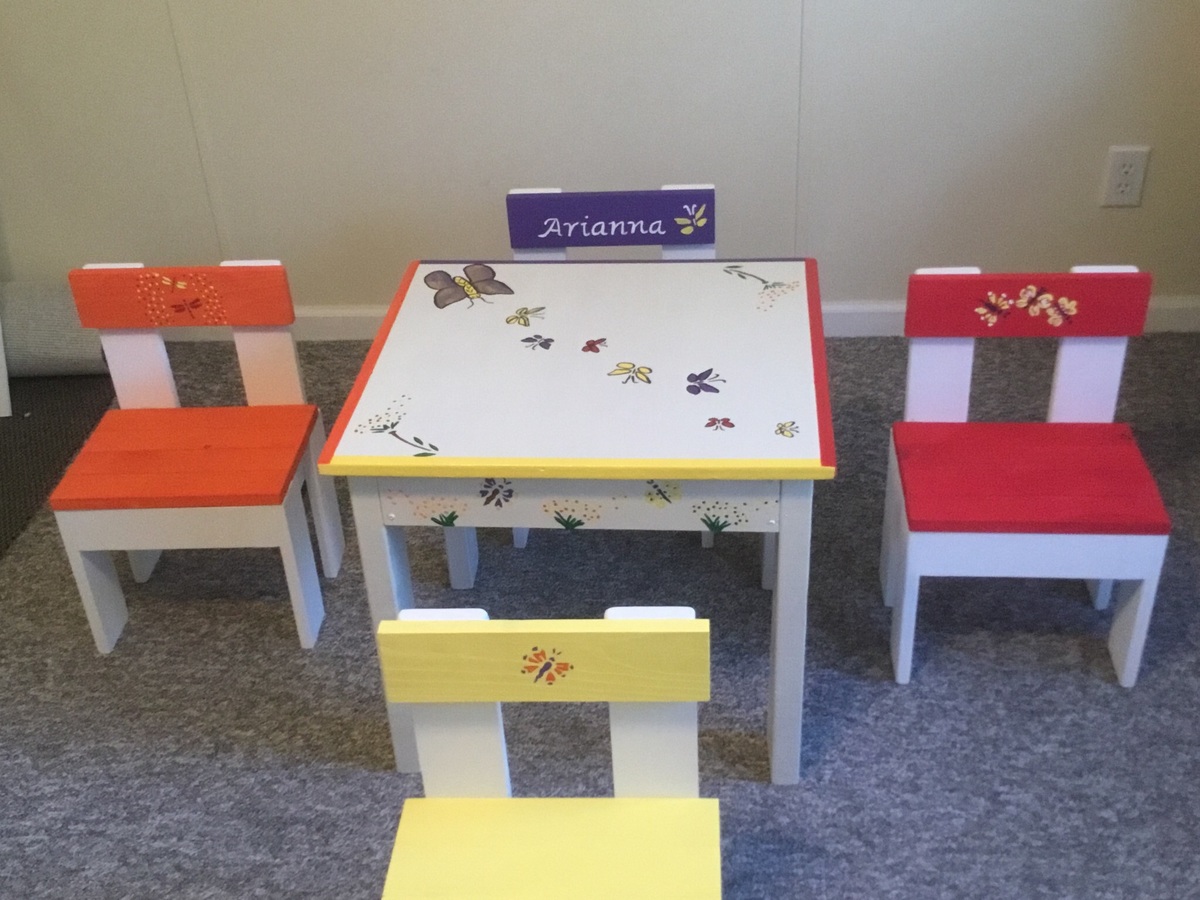
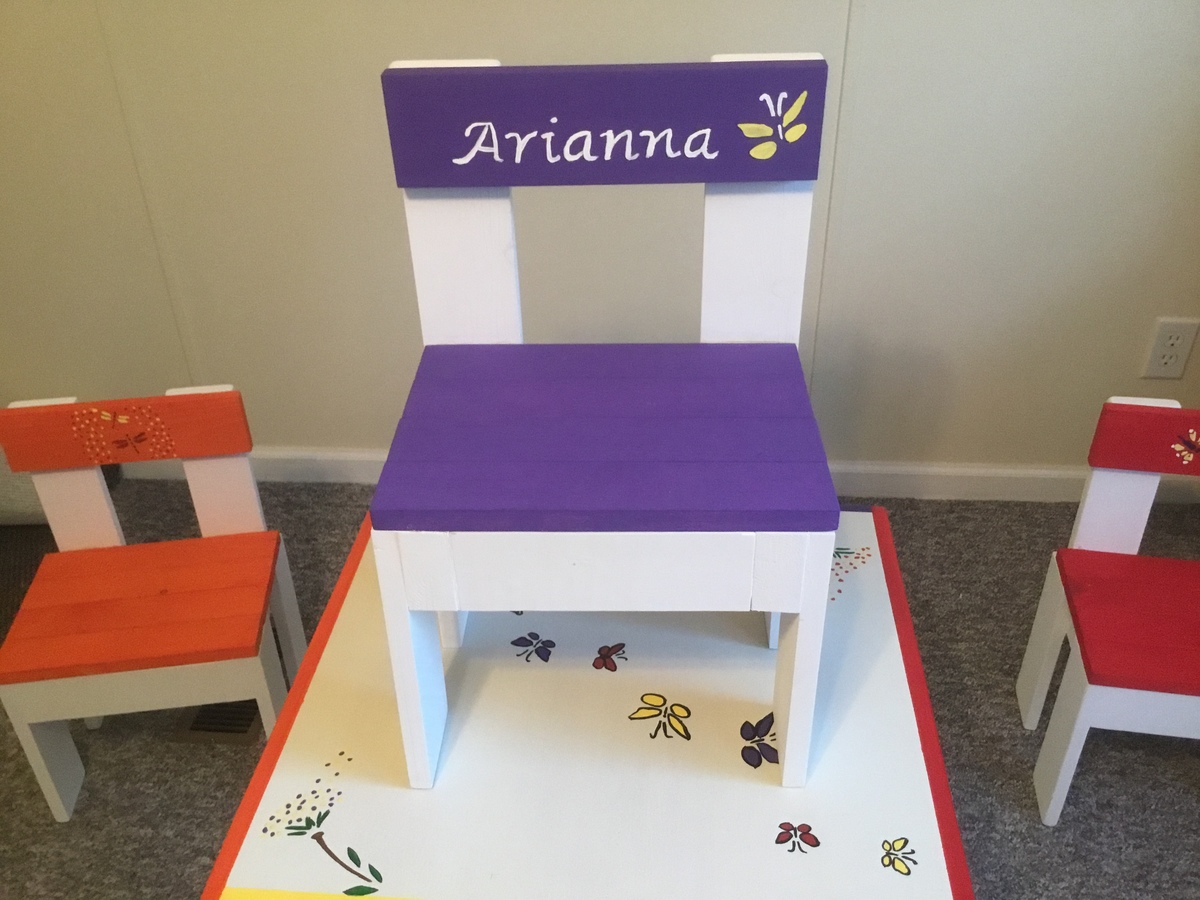
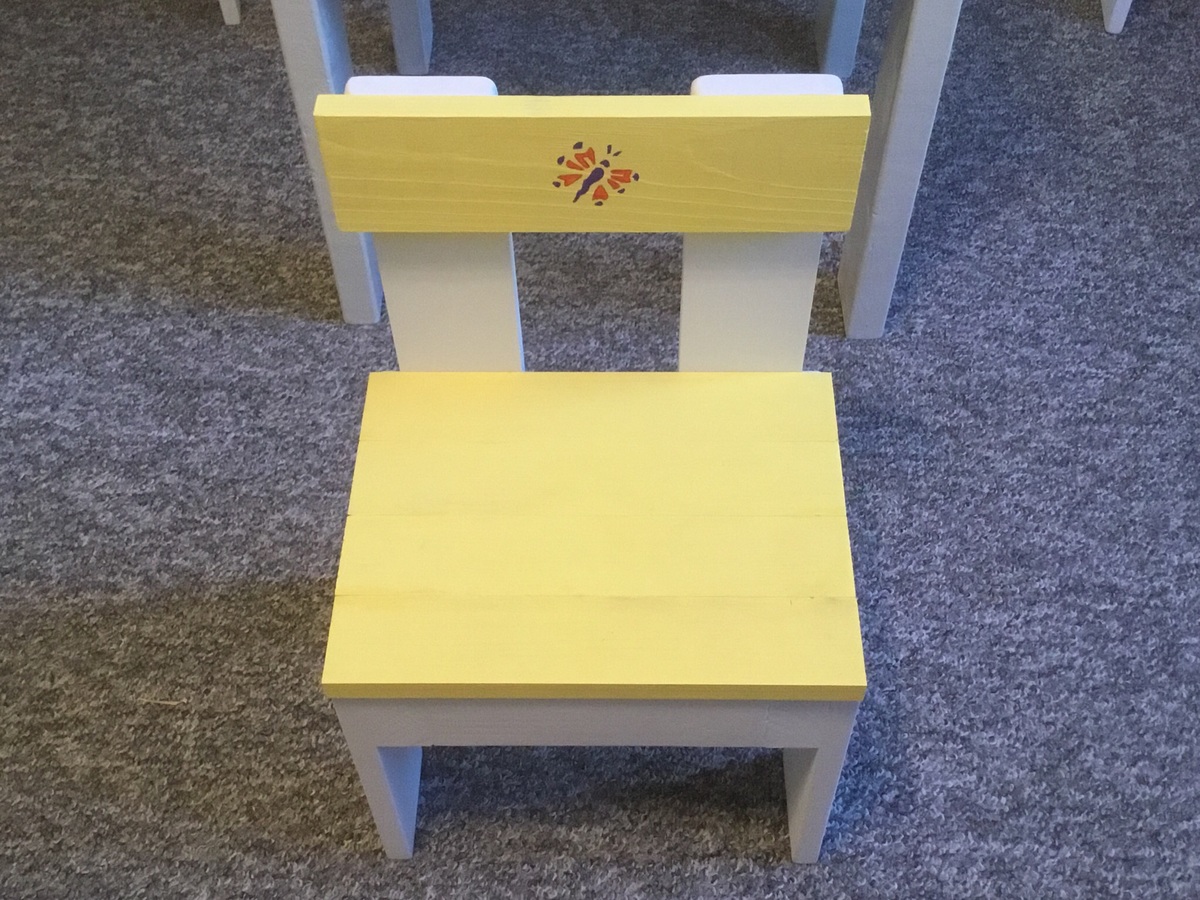
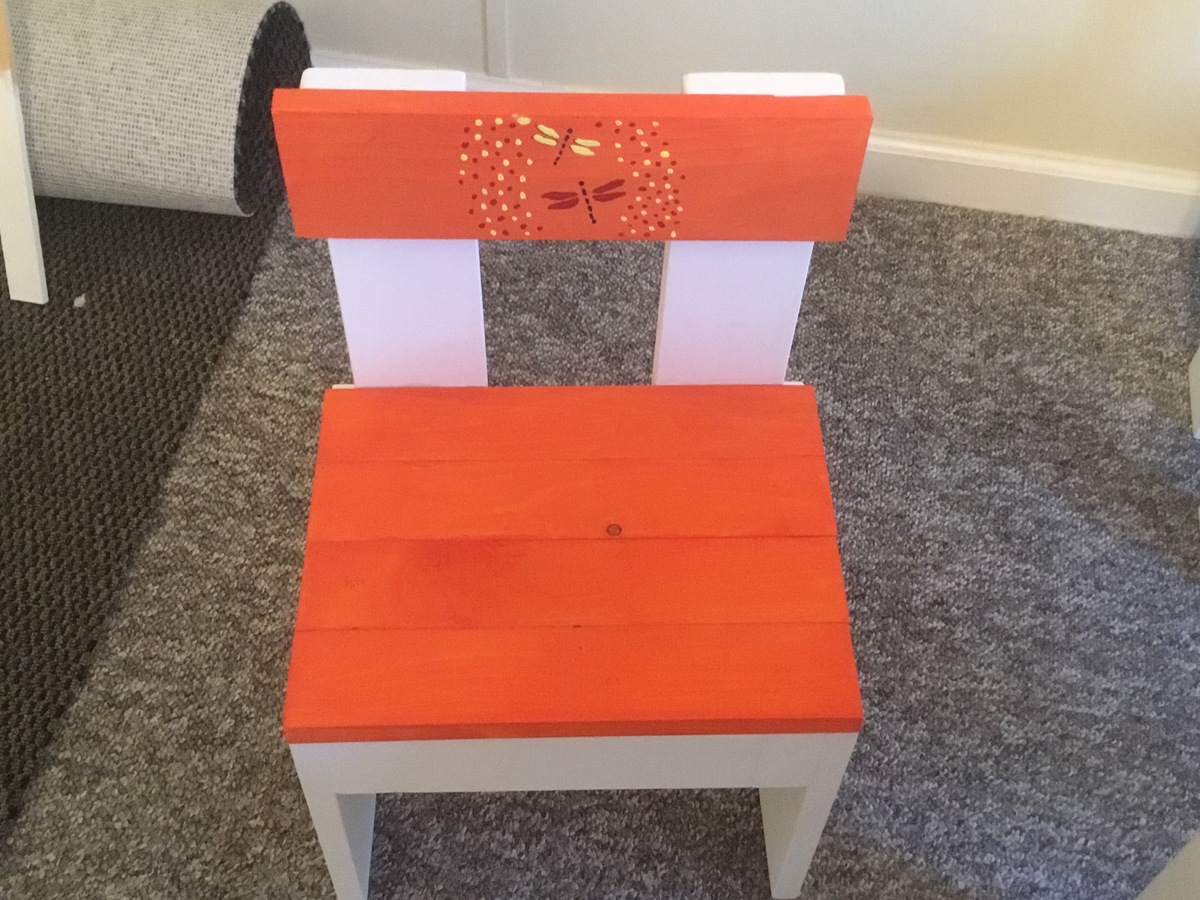
Kids table and chairs

Submitted by Anonymous (not verified) on Thu, 08/18/2016 - 12:58

Love the plans. Thank you

Estimated Cost
$30
Estimated Time Investment
Weekend Project (10-20 Hours)
Recommended Skill Level
Beginner

Bookshelf and Bench Built-in

Submitted by Anonymous (not verified) on Fri, 02/23/2024 - 10:39

I apologize for not having before and after shots from the same perspective, but this is the bookcase I built to replace the very poorly sized and very poor quality bookcase that was in this room before. The room has a slanted ceiling that goes from 8' to 16,' and has baseboard heaters that got in the way of cabinetry. I worked around it. These were my first cabinets, and they didn't come out exactly has I had envisioned, but they're pretty darn close! The shelves are all on brackets that are screwed into studs in the wall, and the boards that make the sides of the bookcase aren't even screwed down. I wanted something that would be sturdy and yet easy to take down or change. I left space in the middle because we'd like to put in a fireplace one day...

MelissaLeigh144

My front porch

Submitted by newmanp35 on Thu, 07/26/2012 - 04:17

I wanted to add some color and character to the front porch. This did the job.

Estimated Time Investment
Afternoon Project (3-6 Hours)
Recommended Skill Level
Beginner

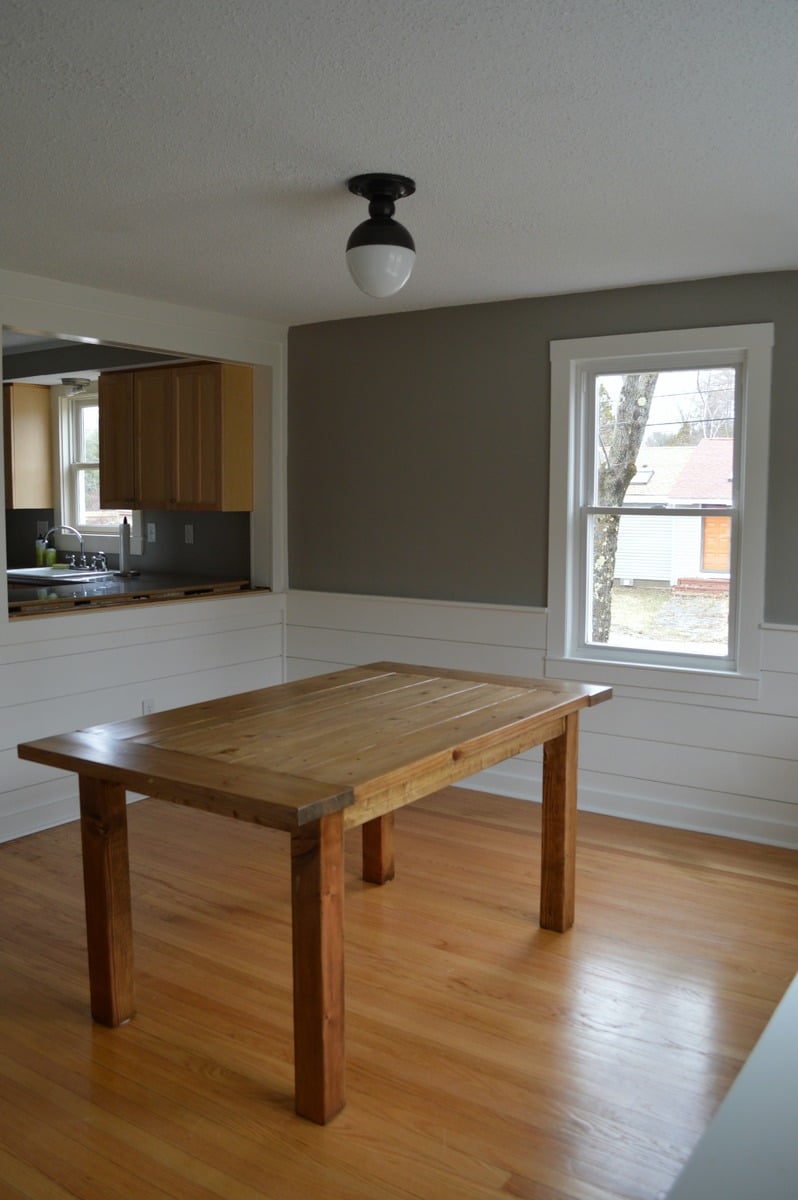
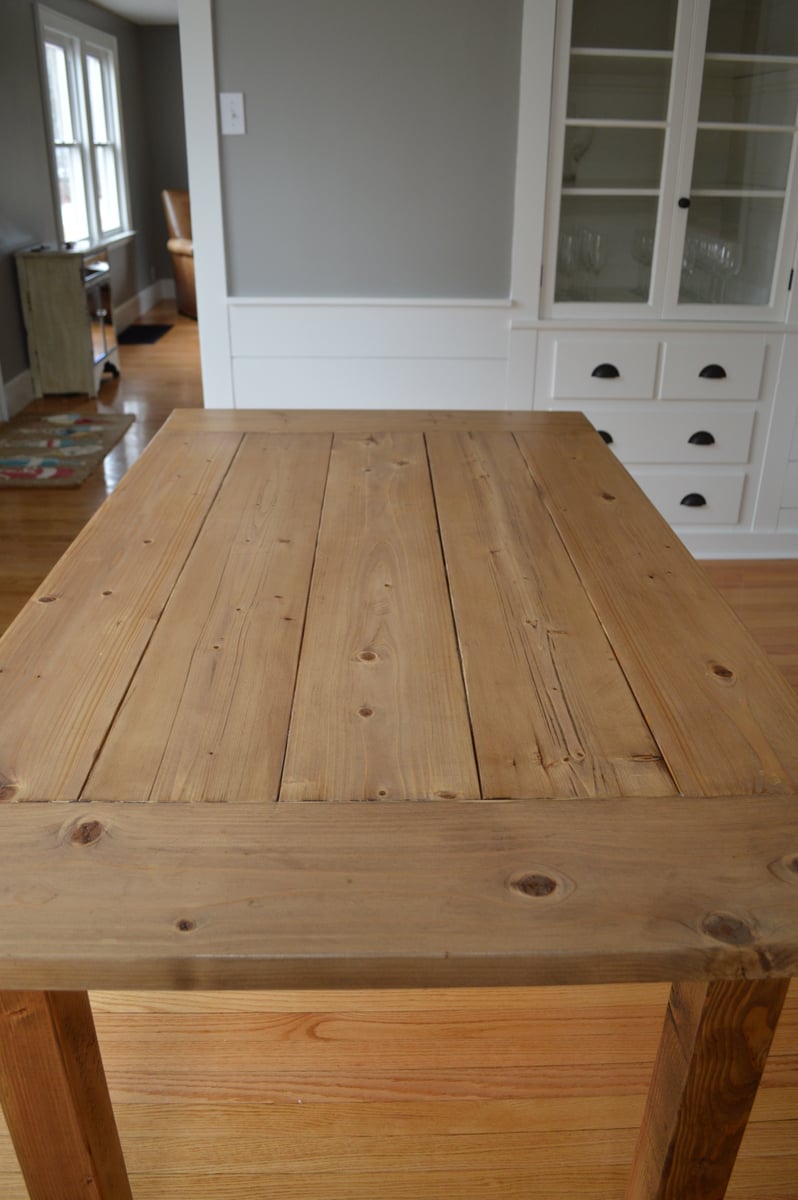
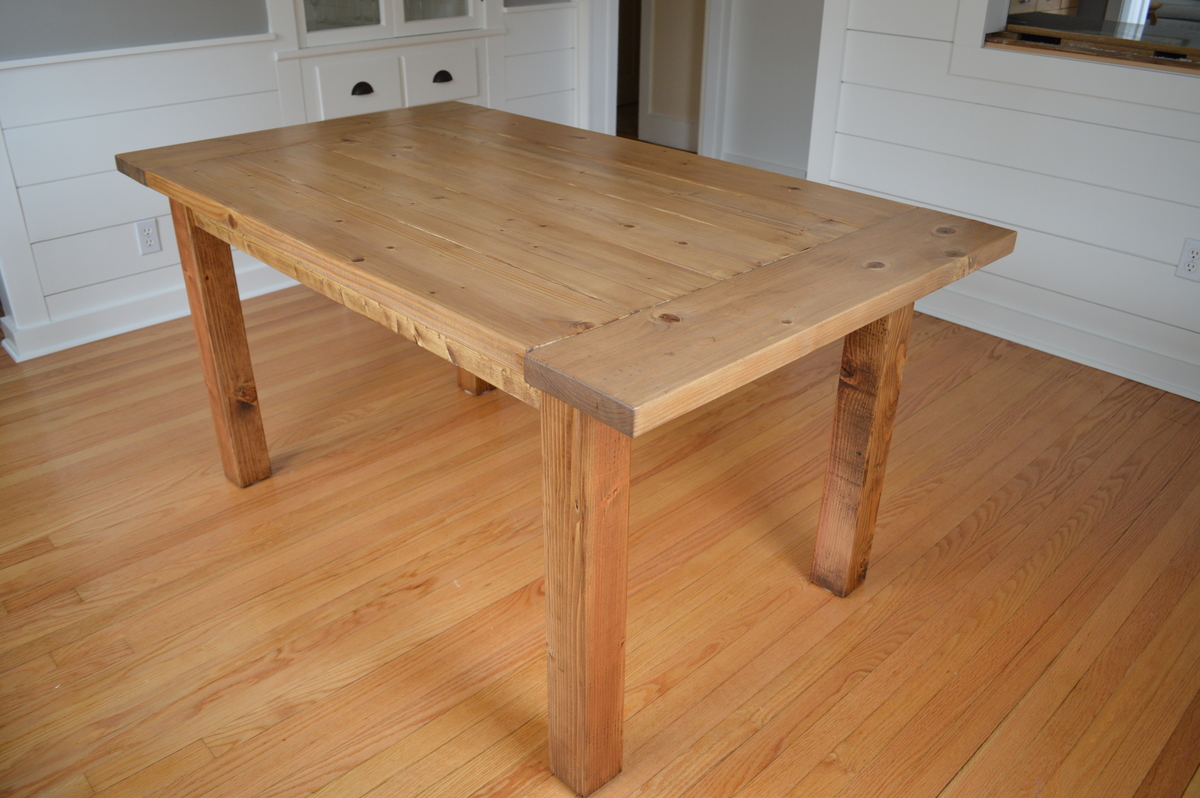
DIY Farmhouse Table

We built the Farmhouse Table using the updated pocket hole plans. We adjusted the size and left off the stretcher board since ours is much smaller than the plans call for.

Estimated Cost
$50
Estimated Time Investment
Day Project (6-9 Hours)
Finish Used
Please read my blog post for my finishing instructions!
Recommended Skill Level
Intermediate

Comments

Weatherly outdoor sectional

Submitted by Anonymous (not verified) on Sat, 08/20/2016 - 22:56

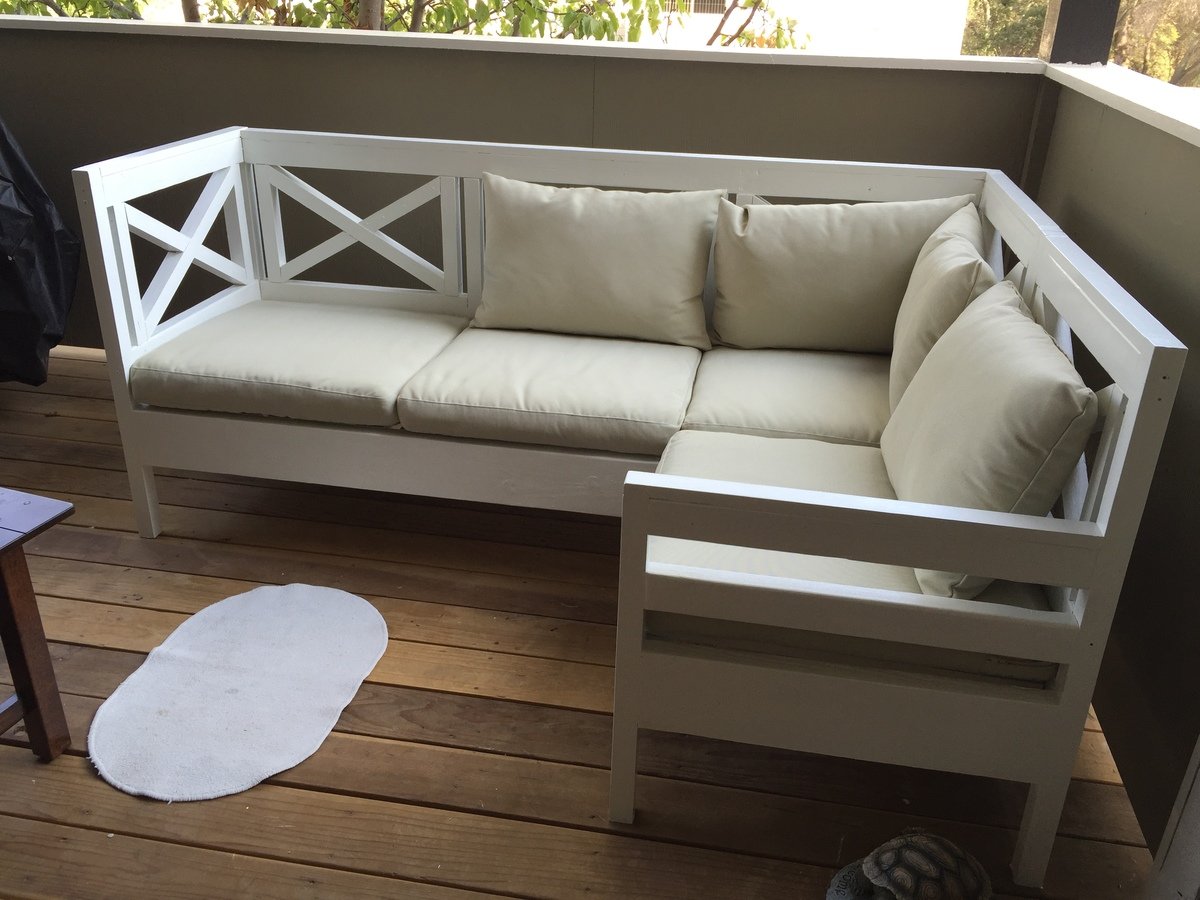
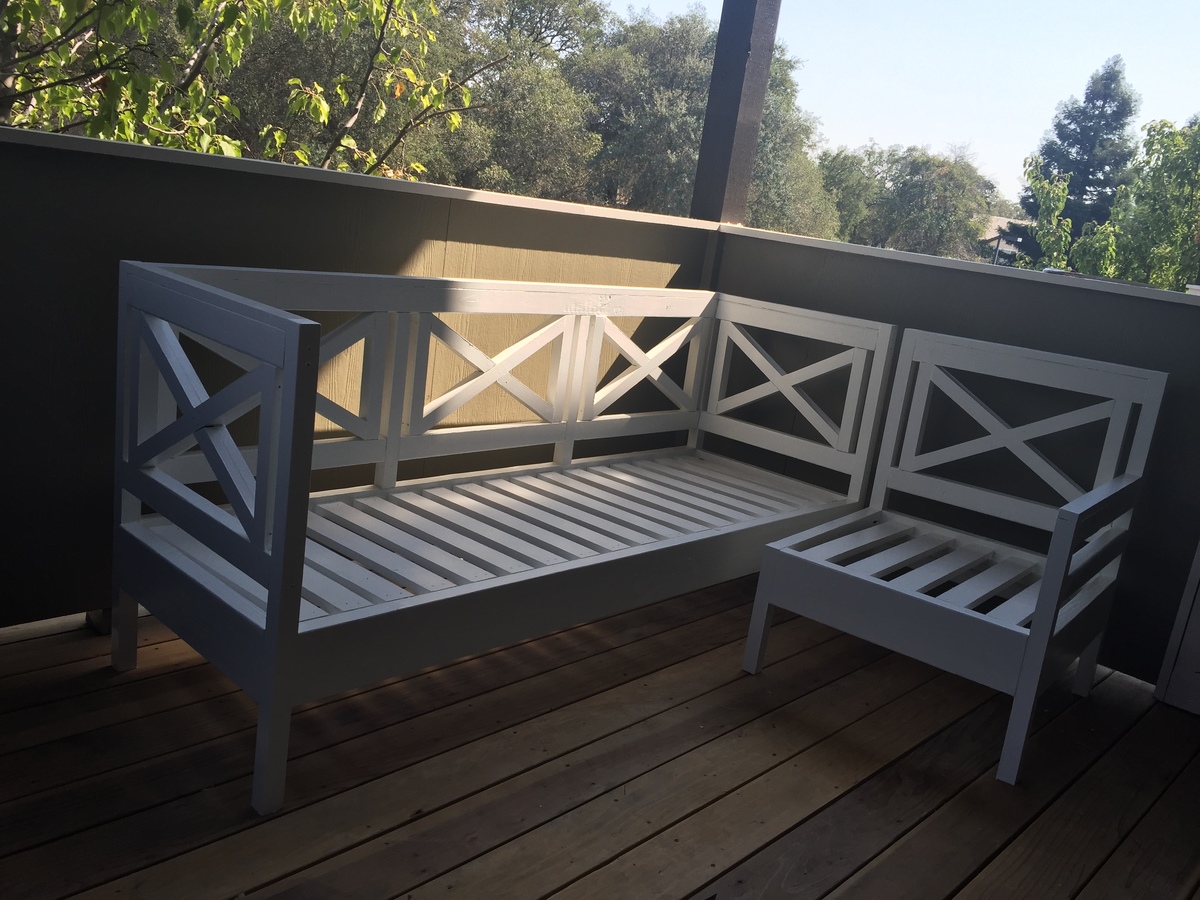
This was my first project, and it took me about 2 weeks to complete it. I don't have a lot of tools, so there were many frequent little trips to Home Depot (by now I think I definitely have the basics down). I would put in an hour here and there, and was finally able to paint the beautiful thing today. I am extremely happy with how it turned out. Thank you Ana for the wonderful plans. My family and I are looking forward to many evenings on the patio on the new sofa. 

Built from Plan(s)
Estimated Cost
I don't have a final cost for the project as I had to buy quite a few things to make this happen (saw, dovetail saw to trim pocket hole plugs, clamp, sander, etc).
Estimated Time Investment
Weekend Project (10-20 Hours)
Finish Used
Followed the instructions on Ana's plans (primer and two coats of white paint) as this is my first project and I am not feeling very experimental to do my own thing.
Recommended Skill Level
Intermediate

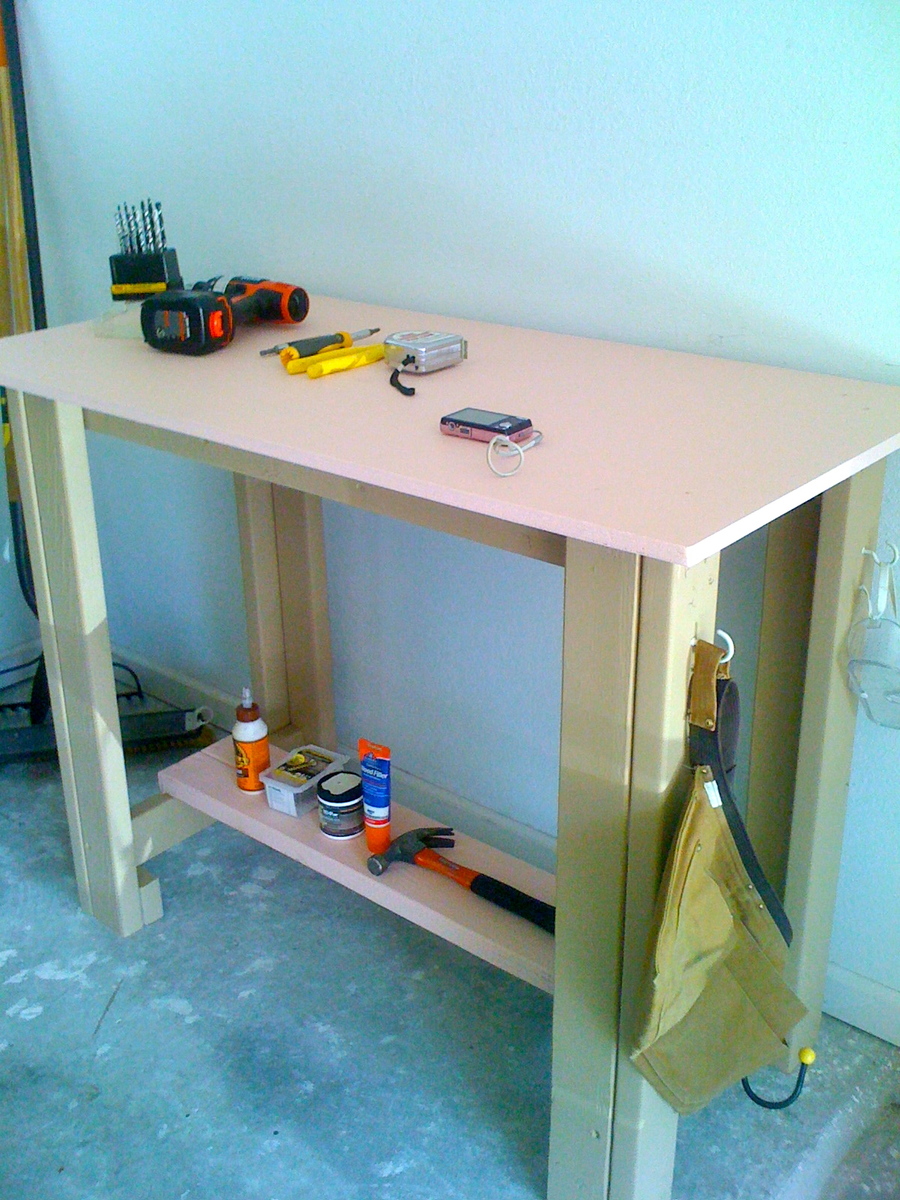
Sturdy Work Bench

Submitted by stephanief on Sun, 07/29/2012 - 21:19

I built this sturdy work bench to complete further projects off the ground! It's helped me to be organized, keep my tools together and stretch these legs!

This project is excellent for a first time builder. Mistakes don't matter much, it's pretty straight forward and easy, doesn't require special cuts. Allows you to practice measuring, cutting, drilling, etc.

Estimated Cost
$45-50
Estimated Time Investment
Afternoon Project (3-6 Hours)
Finish Used
Oops paint
Recommended Skill Level
Starter Project

Comments

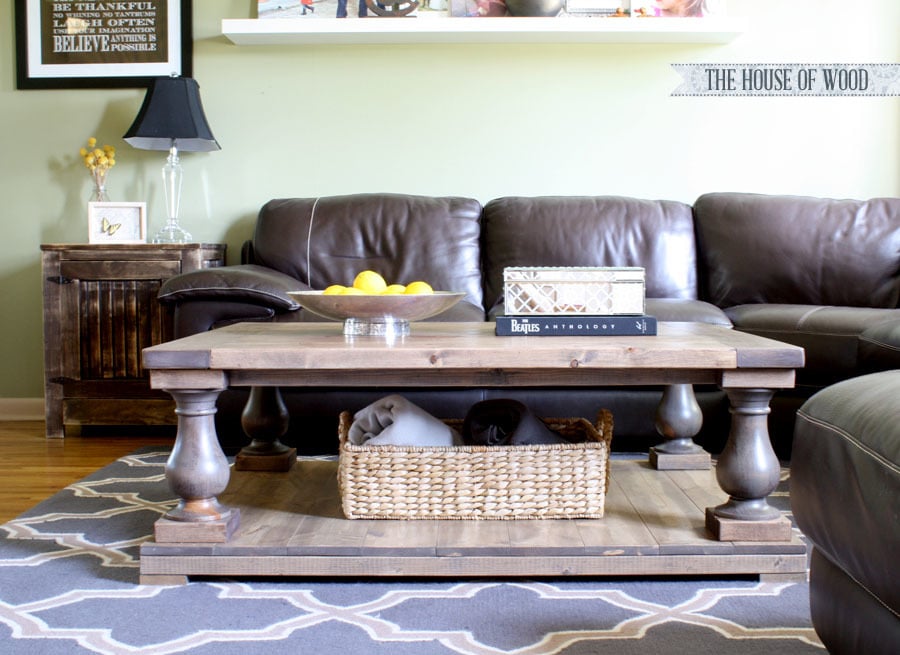
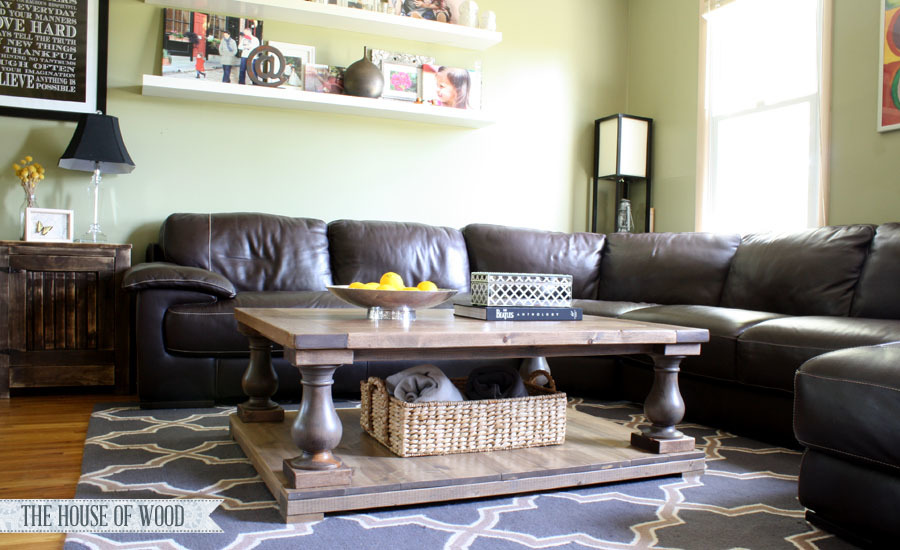
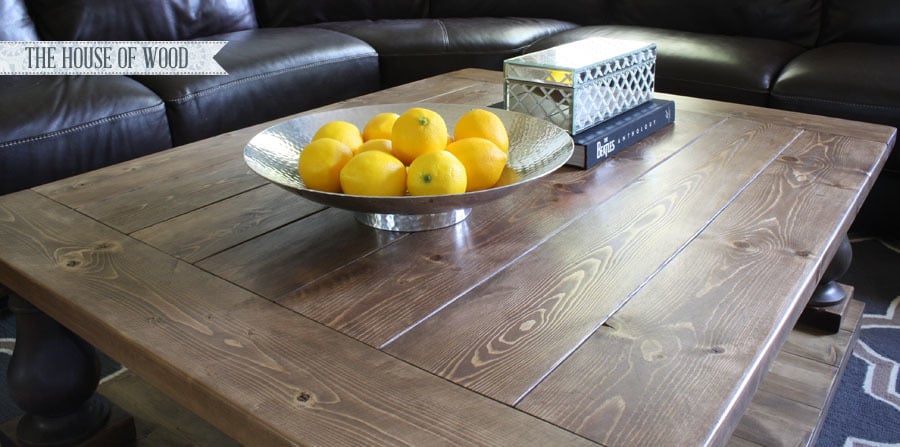
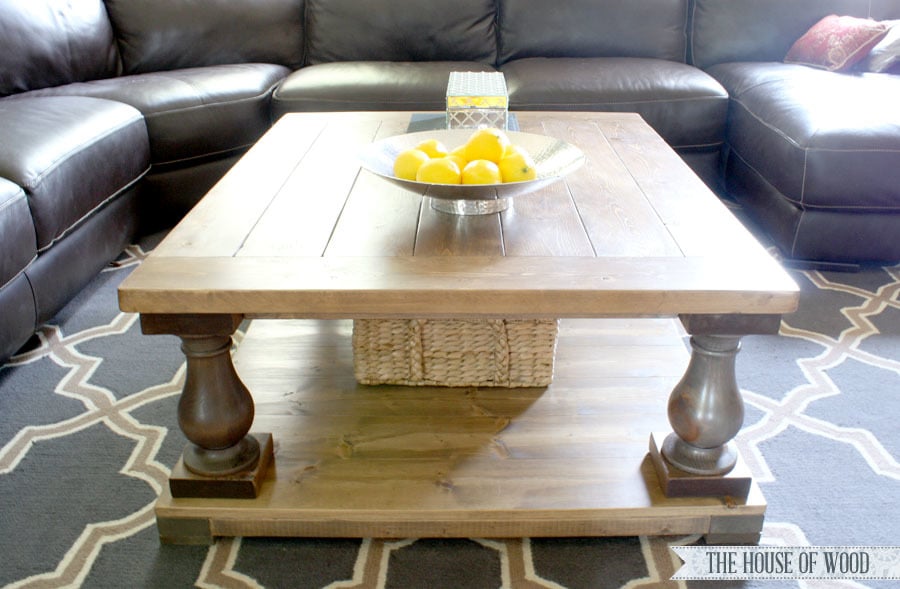
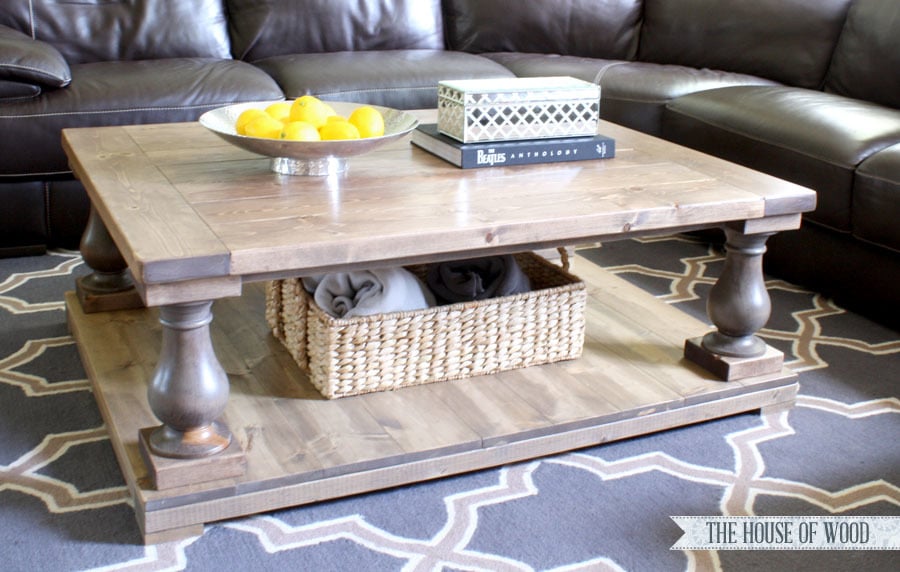
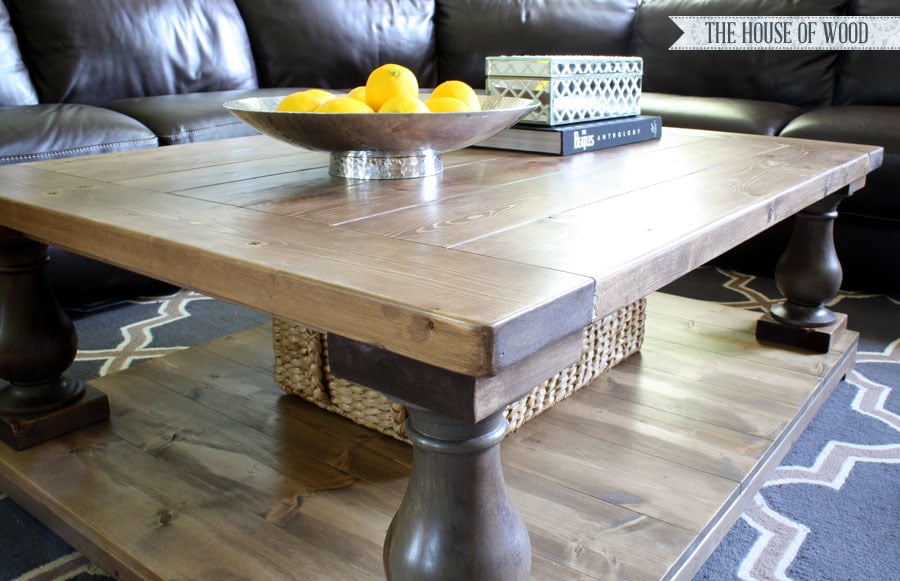
Square(-ish) Version of the Balustrade Coffee Table

I loved the RH-inspired Balustrade Coffee Table that I built for my parents, I decided to make one for our living room! Ours had to be more of a square though, to fit our space more appropriately, so I modified the dimensions. This affected our shopping and cut lists, of course. Check out the blog post for more info.

Built from Plan(s)
Estimated Cost
$200.00
Estimated Time Investment
Day Project (6-9 Hours)
Finish Used
Sand top and bottom shelf with belt sander to make the surface level and flat. Then sand with a palm sander with 150- then 220-grit sandpaper. Wipe dust and debris clean with damp rag. Stain with Minwax Weathered Oak, let dry overnight, then stain with Minwax Special Walnut. Let dry. Finish with three coats of Minwax Wipe-On Poly, sanding with 400-grit in between coats.
Recommended Skill Level
Beginner

Loft Bed In Natural Hardwood

Submitted by Anonymous (not verified) on Wed, 08/24/2016 - 14:12

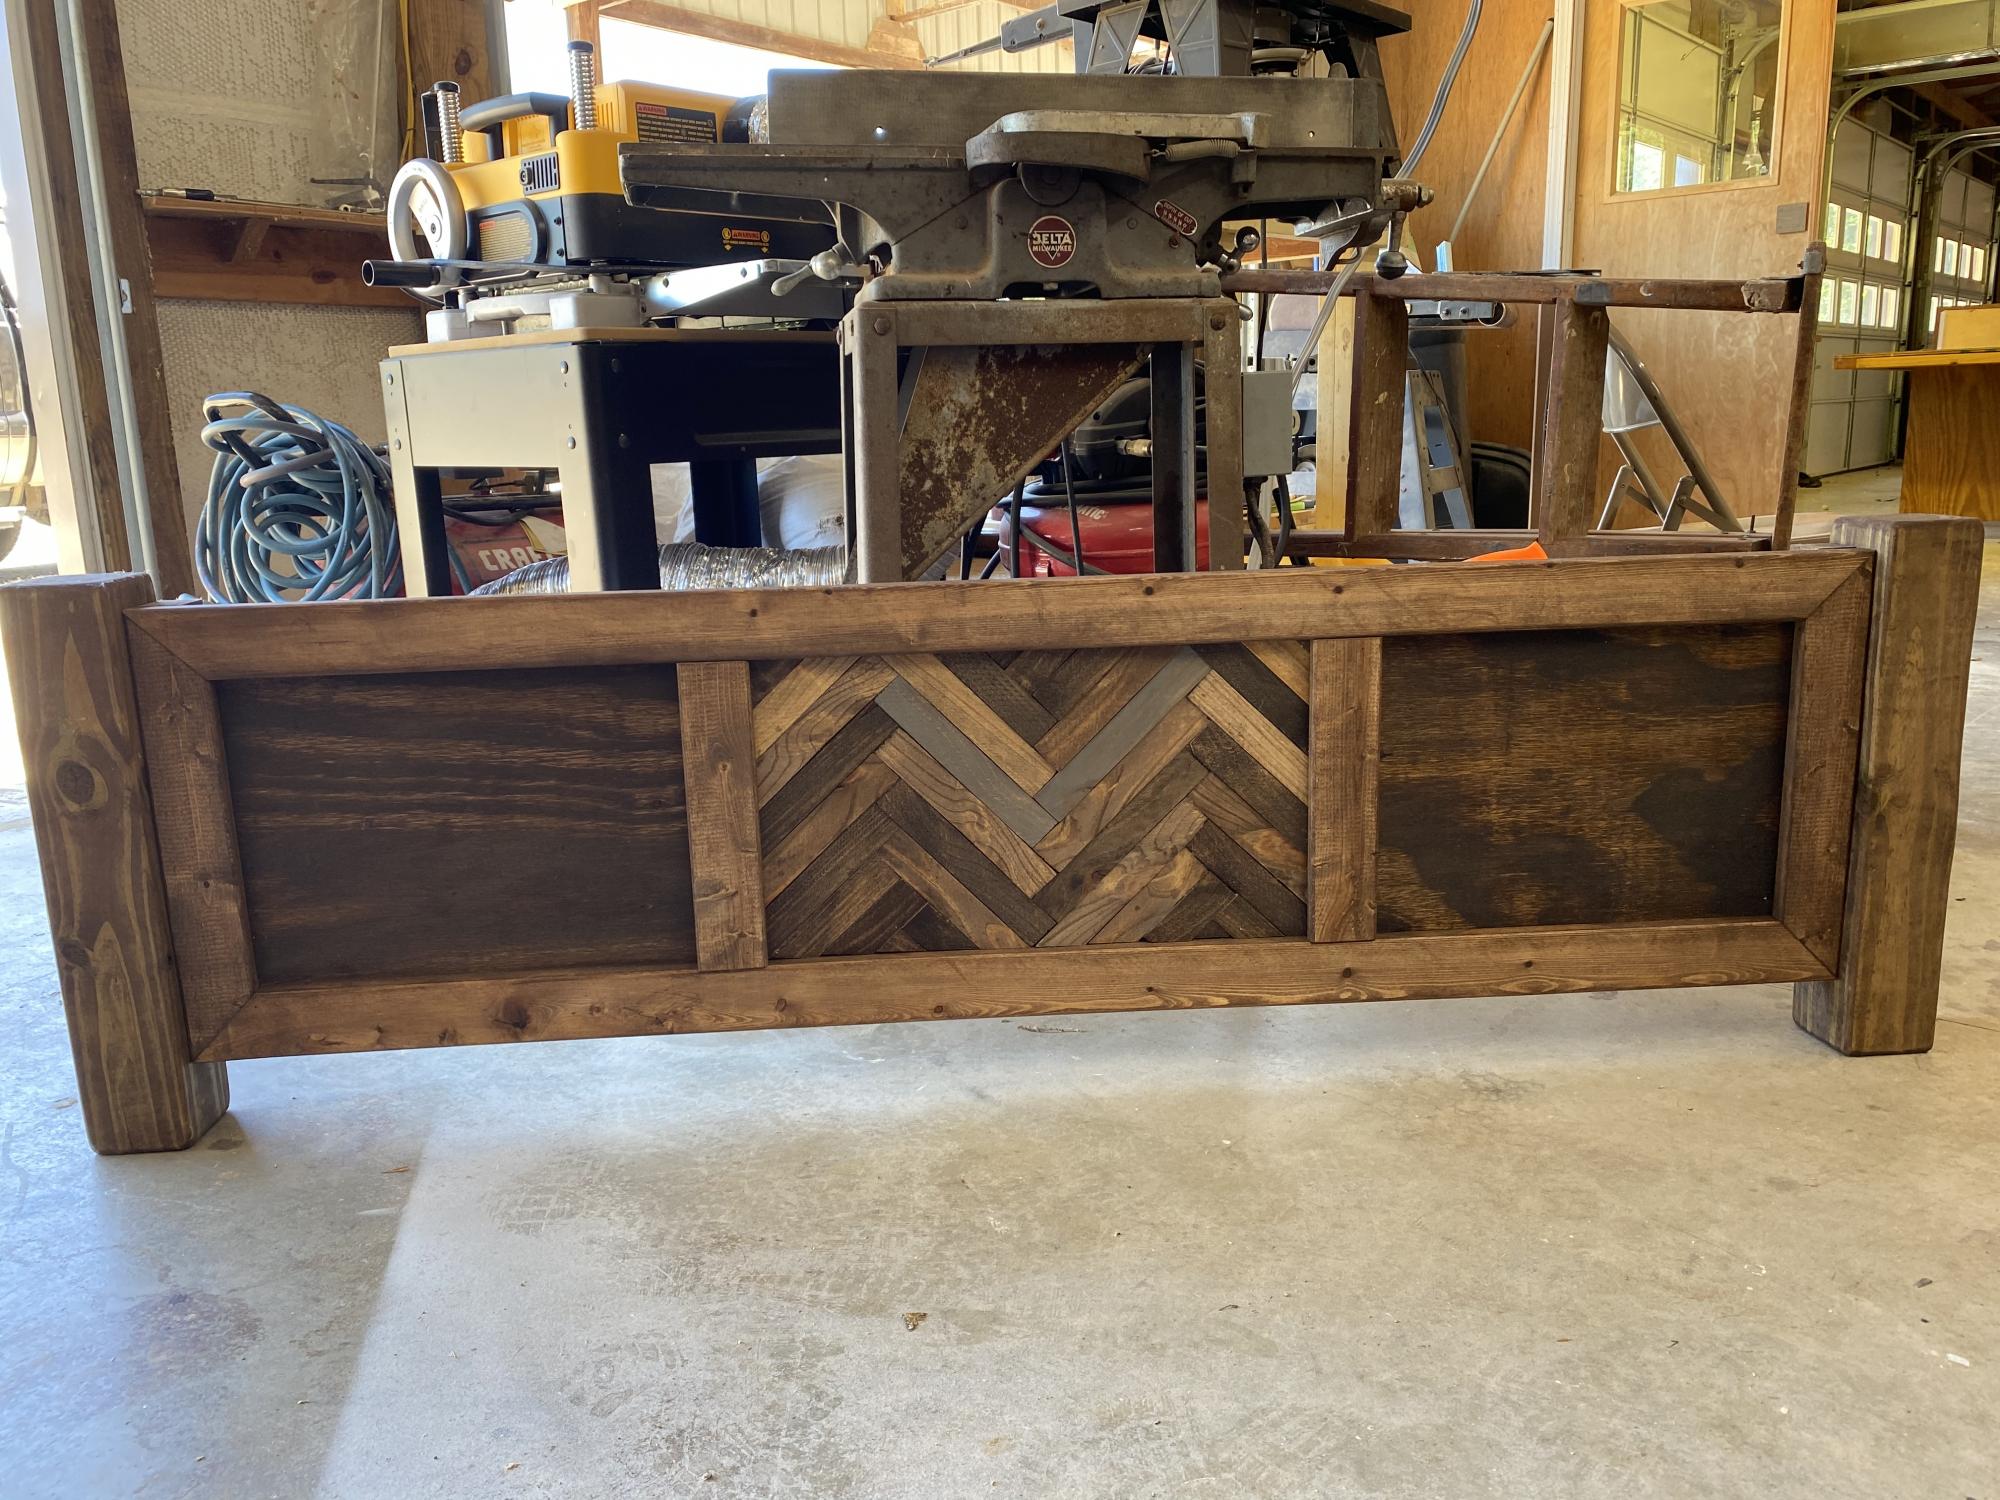
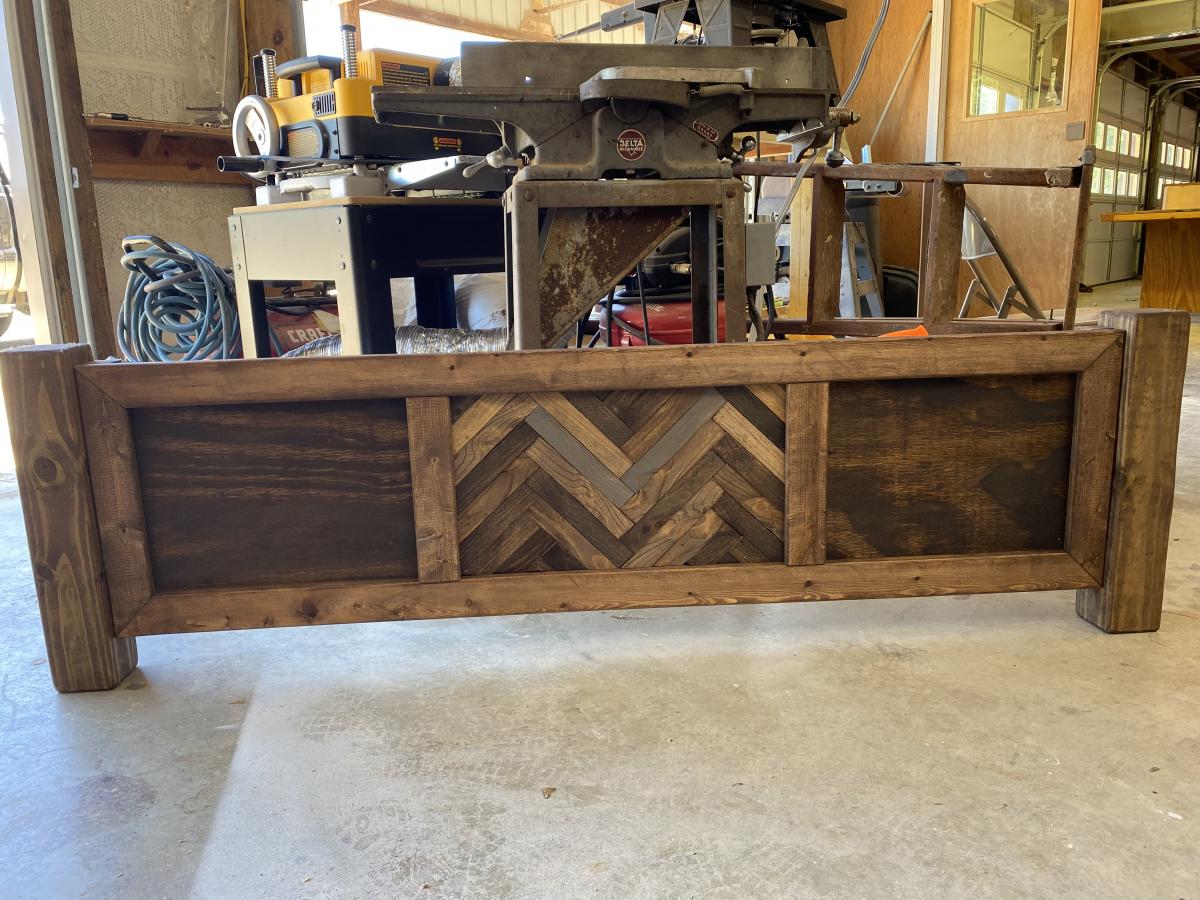
I needed to build a loft bed for a small room that has a nine foot ceiling, I wanted to have ample storage room below, but was concerned about a ladder that would stick out at an angle taking up a little too much precious real estate in the small room.  Using Ana's great Sketch Up plans, I modified the design by incorporating a fifth leg as a permant addition to attach the ladder to.  Part of the appeal of Ana's design was the ability to take apart the bed if it ever needed to be taken out of the room it is installed in, and the ladder became a part of the foot board end, perhaps a little unwieldy, but still able for two people to lift and move.

As a self-taught woodworker, I wanted something a little nicer than standard pine boards, and since we have a nice local hardwood supplier in our town, I was able to buy some nice red oak in a 13/16" thickness.  This project gave me the opportunity to use the planer that I bought some time ago but hadn't really used very much, so I ended up milling all of the wood to bring all to a uniform thickness.  In gluing up the legs, I used a spreader and a lot of clamps so that there are no screws, staples or nails joining the boards, just a lot of Titebond II.   

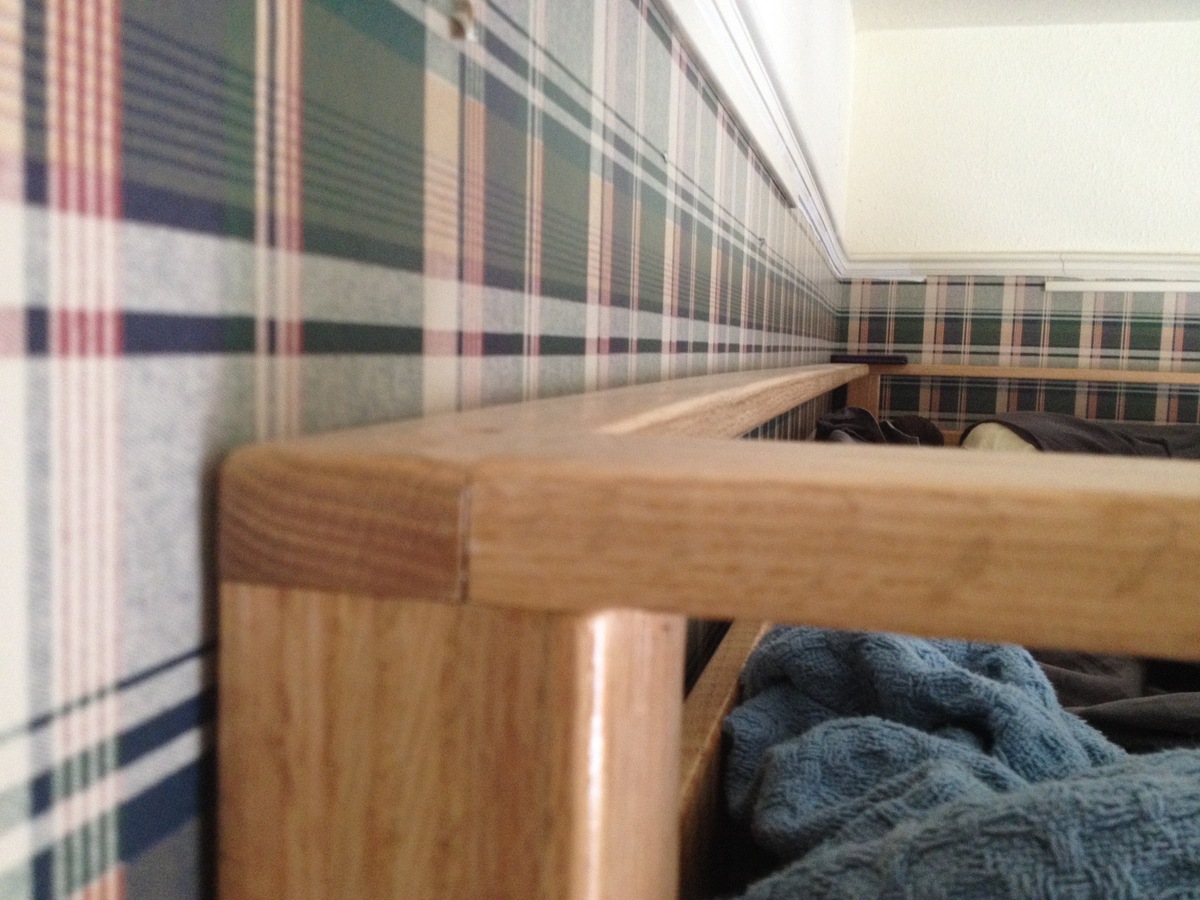
For the ladder itself, I cut dados in the upright edges of the ladder and attached the treads with 2" wood screws along with a liberal amount of glue.  I had a slight miscaculation on the width of the ladder, so in order for it to fit in between the two legs, I had to plane away a small amount of wood, which you can see the end of in the last picture, the close up of the ladder.

After a fair amount of sanding and a round over bit in my palm router to break all the exposed edges, I finished with three coats of polyurethene.  The bed was assembled in the room using 2" wood screws which I had pre-drilled when I dry-fitted the bed out on my driveway.  There are three screws in each corner of the mattress board and two screws in each corner of the railing.  The short section of the front rail is also attached with screws so it can be removed as well if the bed is ever moved.  I finished the installation with three, six inch lag bolts, two higher up going into wall studs, one near the bottom bolting into the wall plate on the floor.  The bed was very solid, but has been made even more so with the addition of a bookshelf spanning the width of the footboard, and it is as deep as the ladder is wide.  I offset the side of the bookshelf on the ladder side to allow for a two inch gap so your toes can overhand the ladder treads when climbing up or down.
Built from Plan(s)
Estimated Cost
$375
Estimated Time Investment
Week Long Project (20 Hours or More)
Finish Used
Minwax Polyurethane
Recommended Skill Level
Intermediate
Back