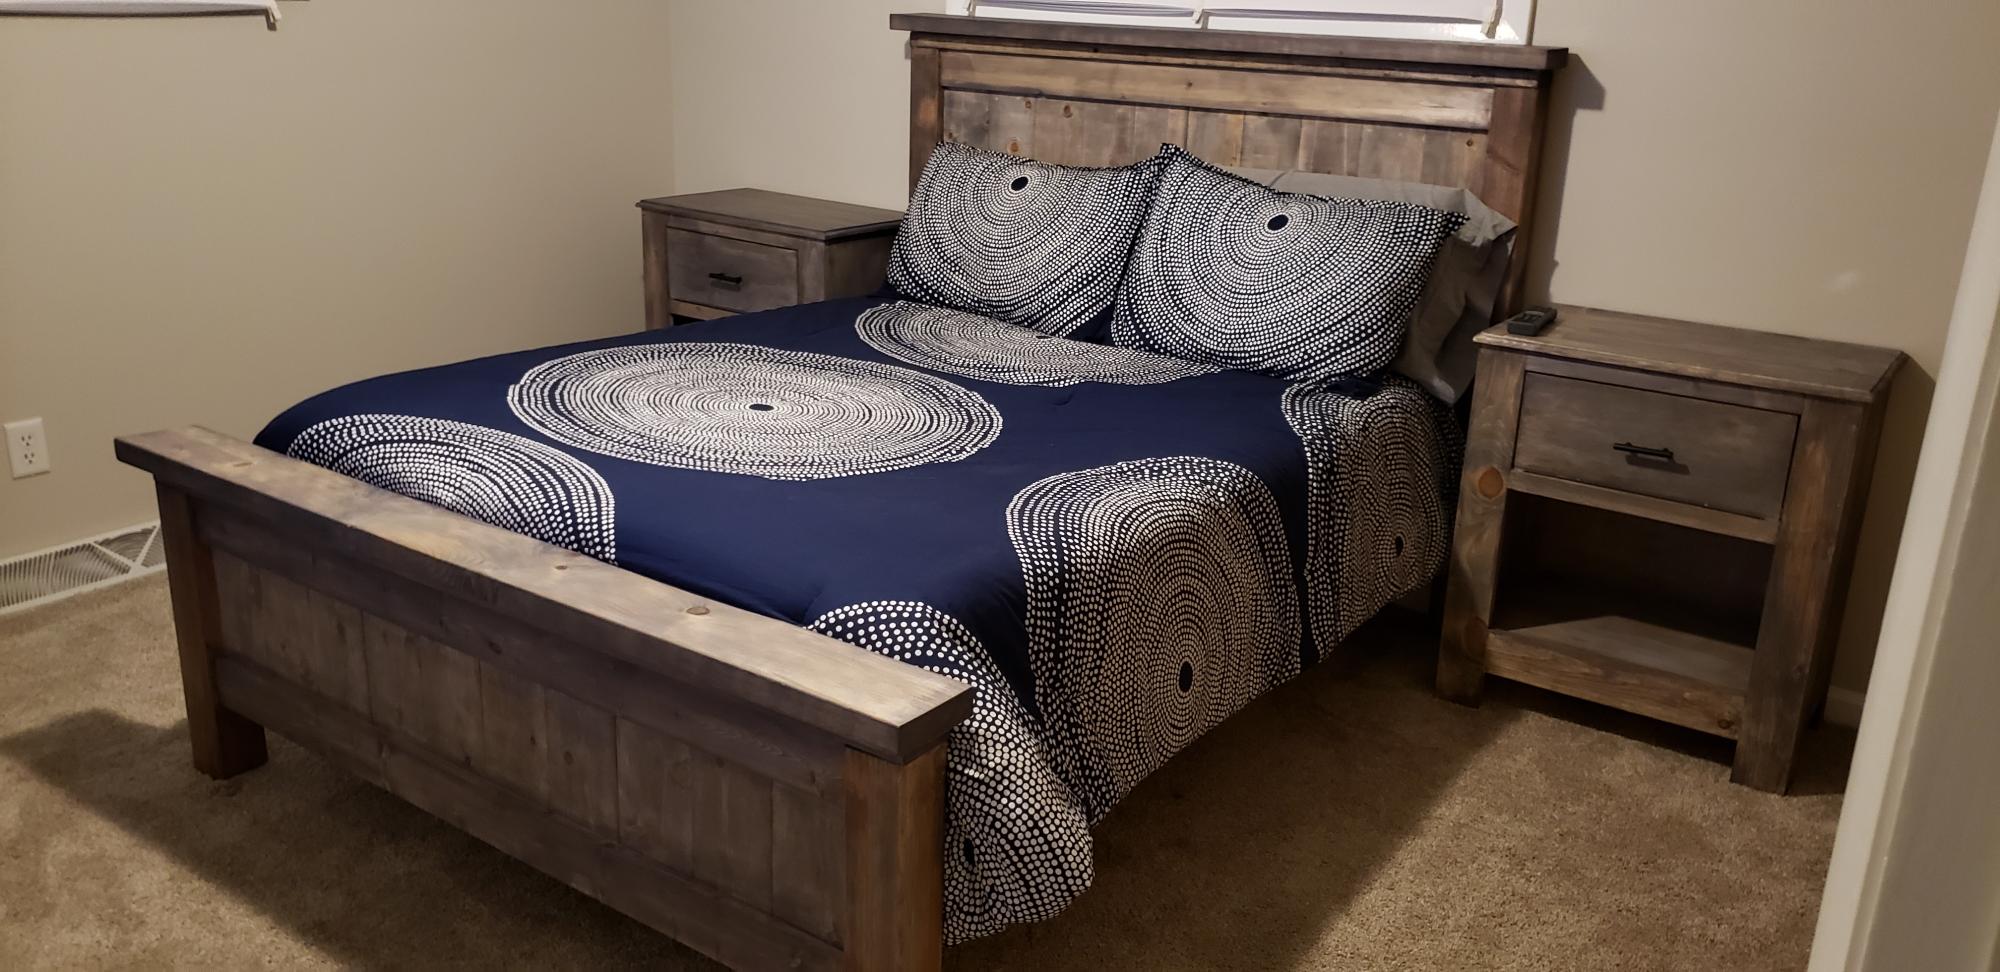
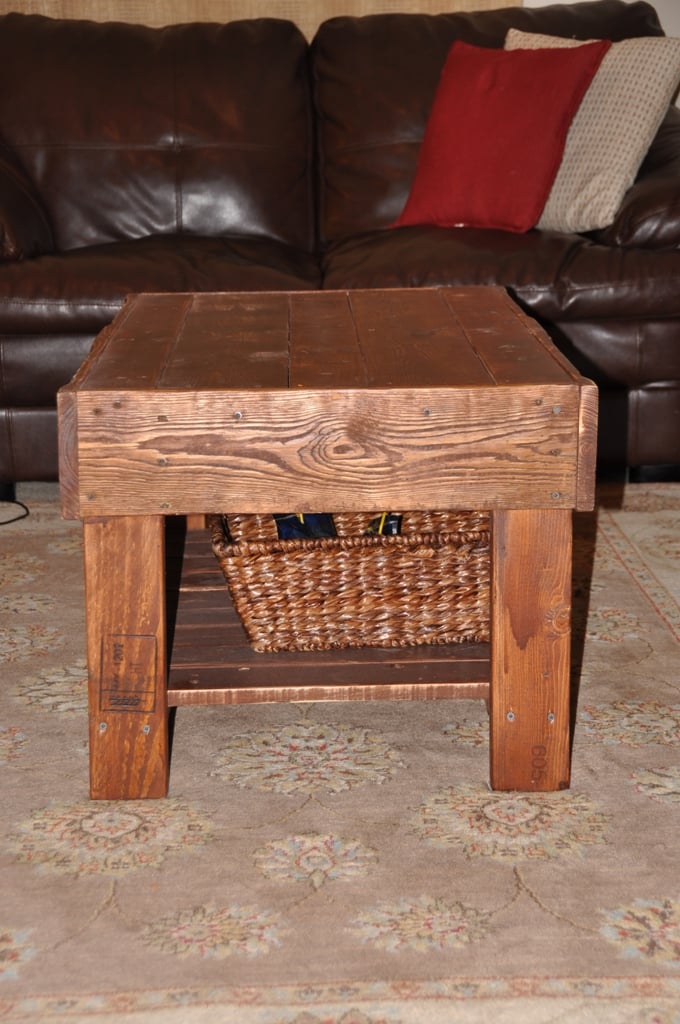
Modern farm bed
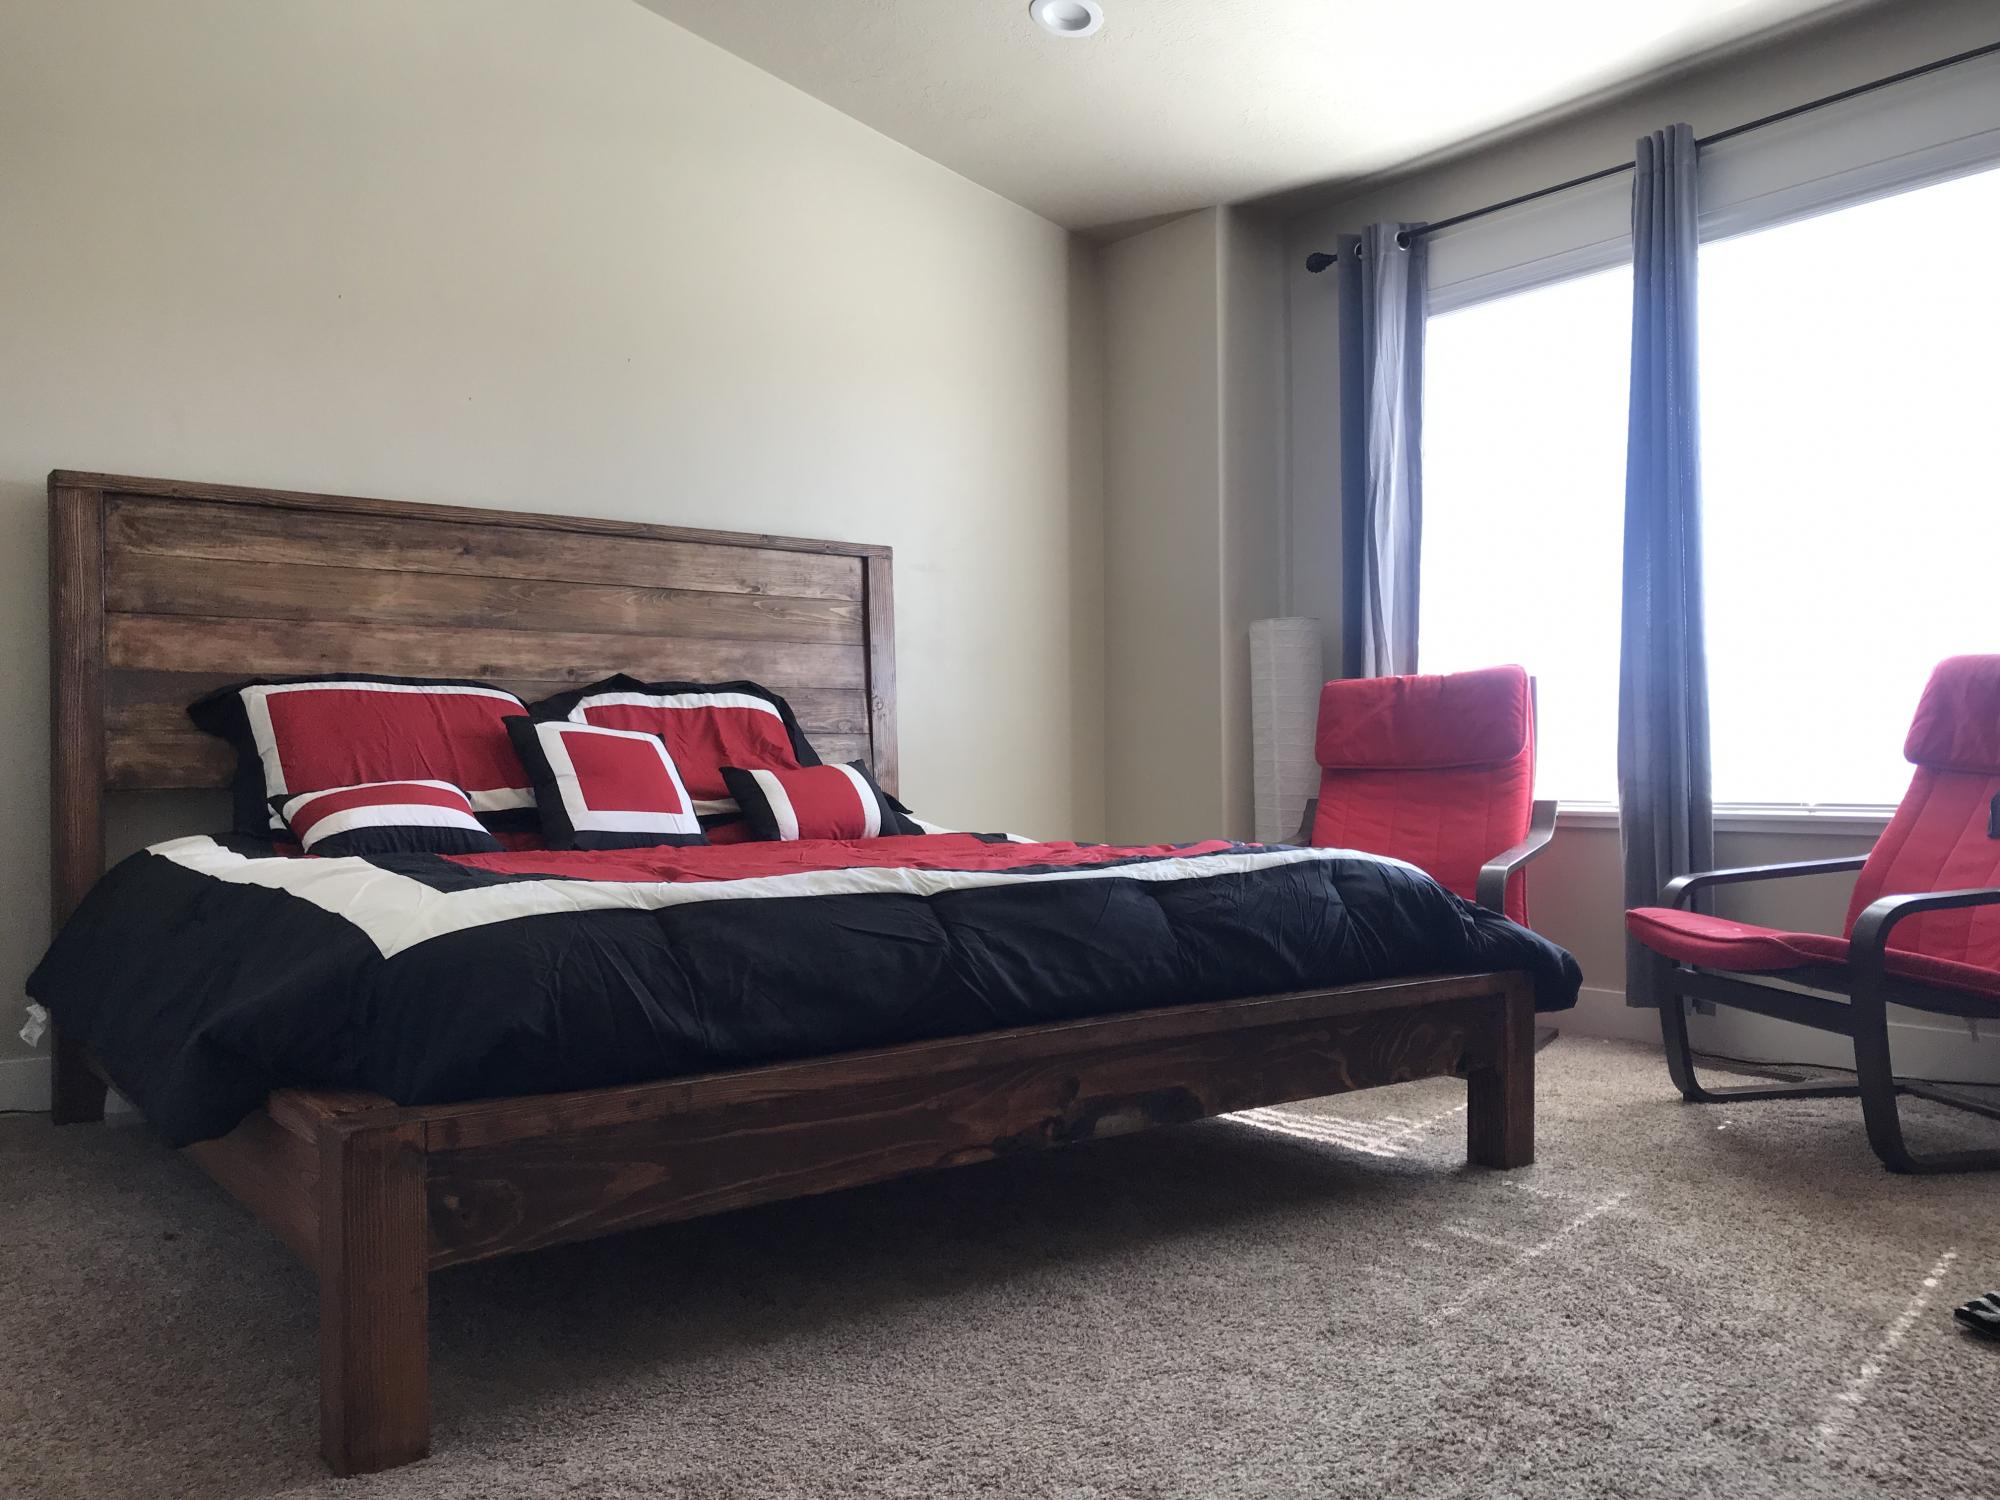
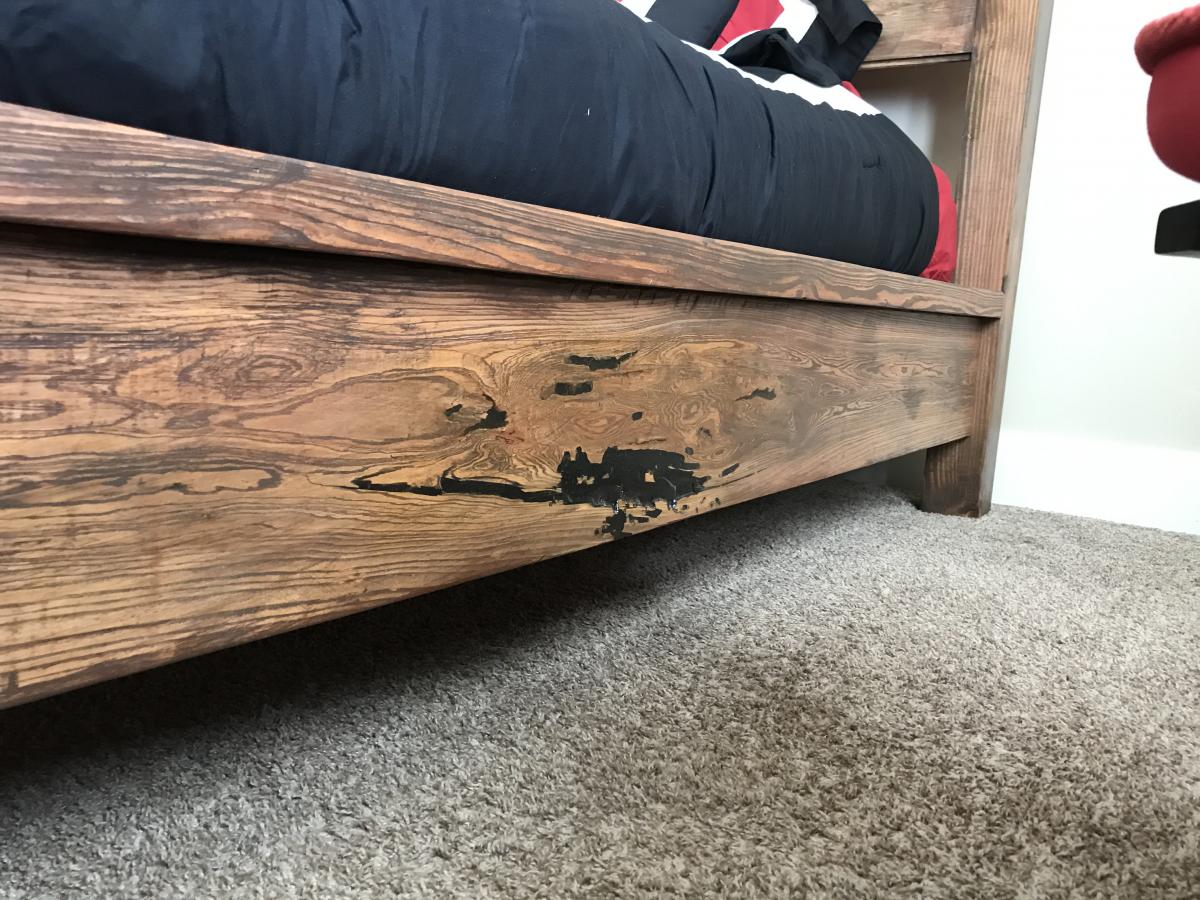
Modern farmhouse bed frame highlighted with epoxy highlights along the side rails. This is a super sturdy bed. Which is simple to build the hardest part was being patient with the epoxy.

Built from Plan(s)
Estimated Cost
$250
Estimated Time Investment
Week Long Project (20 Hours or More)
Finish Used
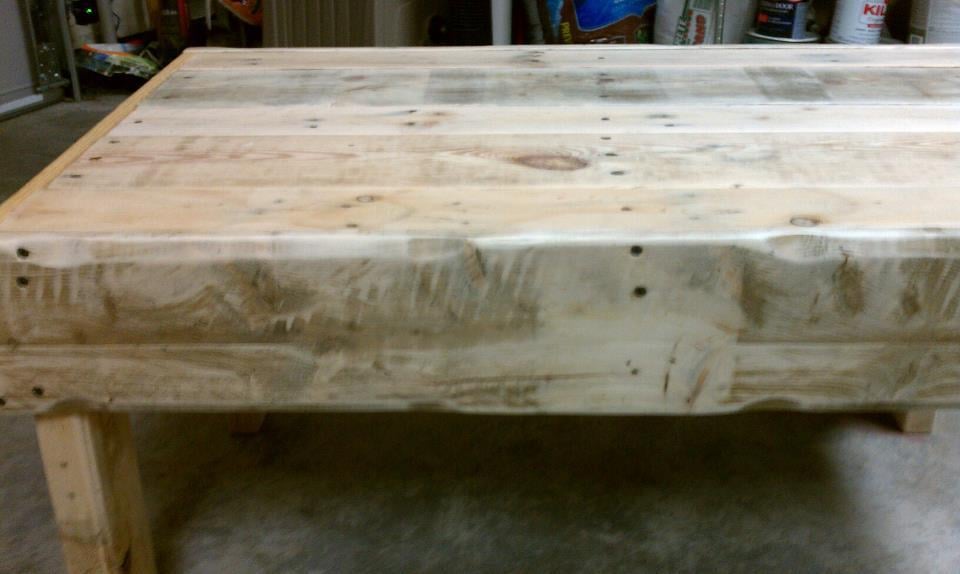
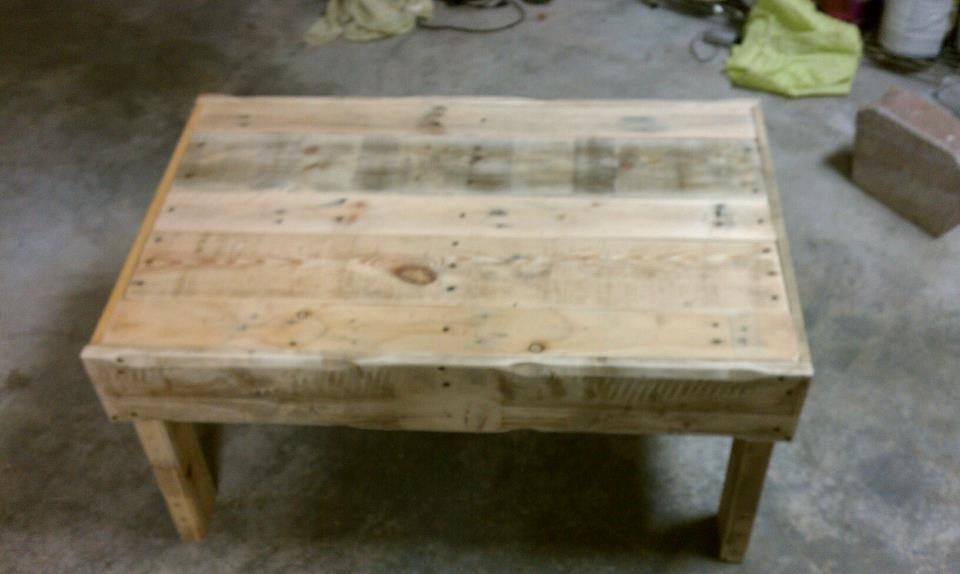
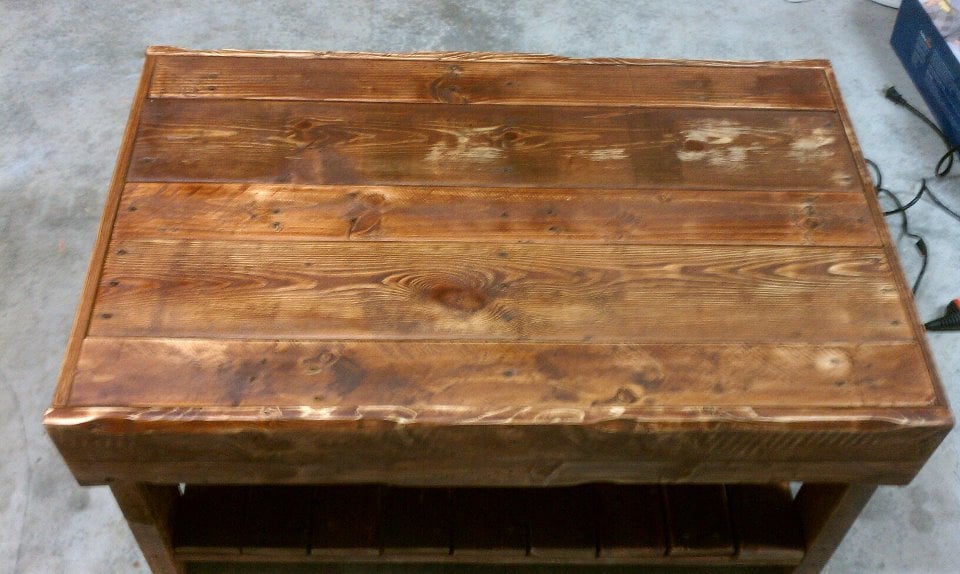
General finishes arm r seal satin clear with red and black pigment . I layered the black first and then stain it red and touched up with red or black depending on what was lighter. And then used a satin finish polyurethane to protect the staining wood. The epoxy poor are used Black mirror coat by systems three. I then had to clean it up by planing it and then I had sanded it to a 3000 grit.
Recommended Skill Level
Intermediate