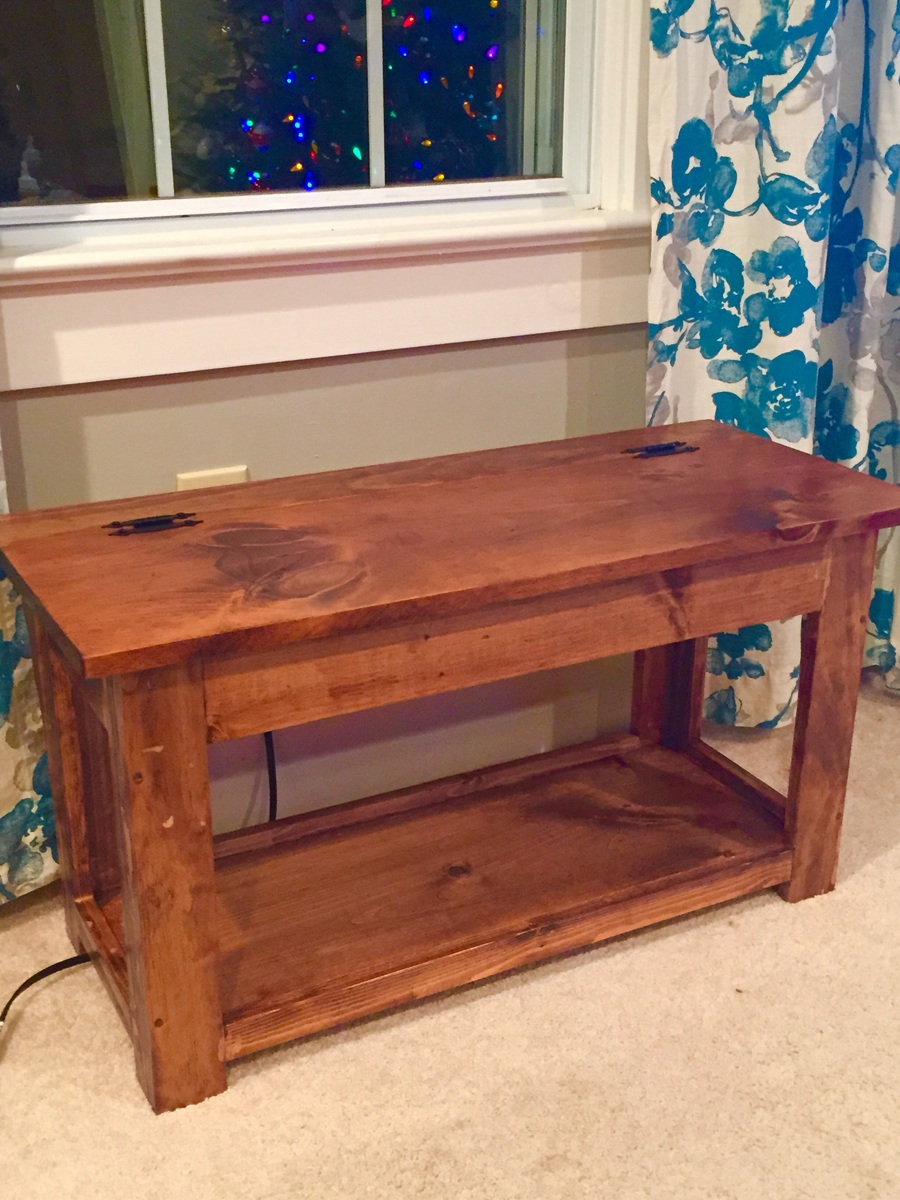
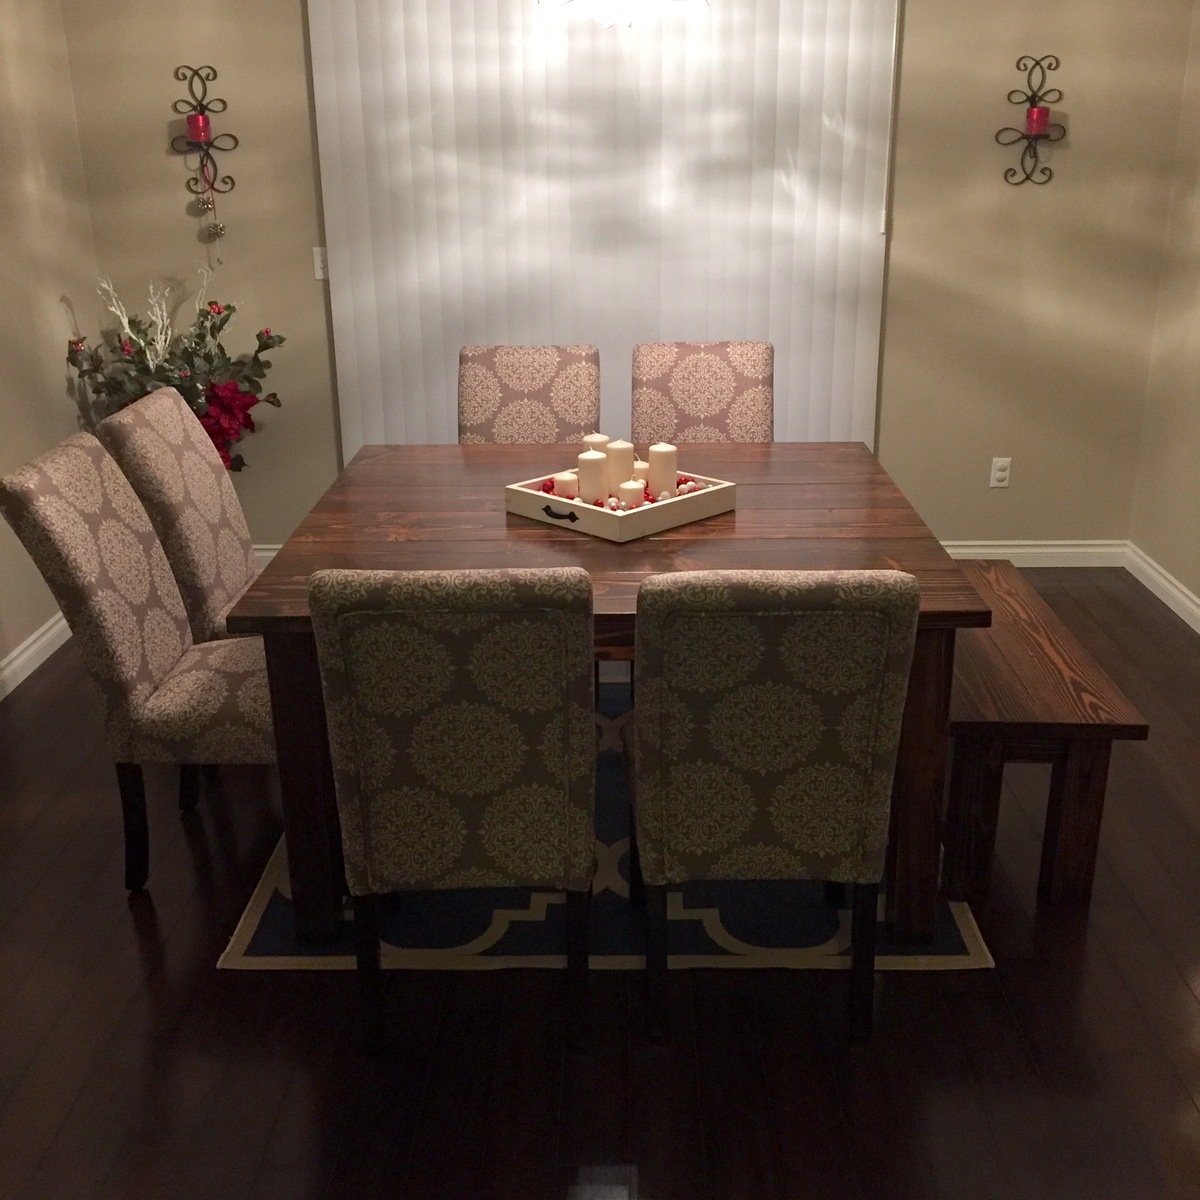
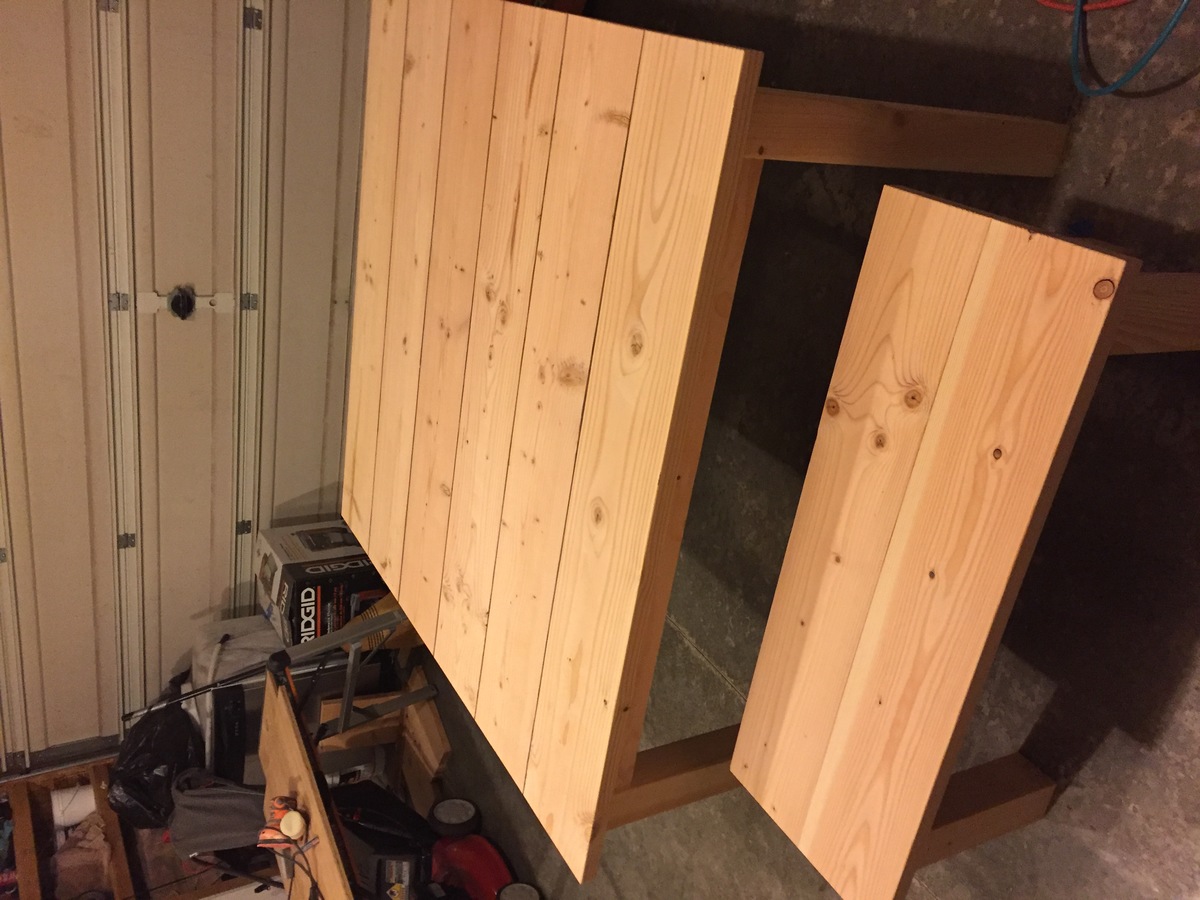
Dining room table and bench
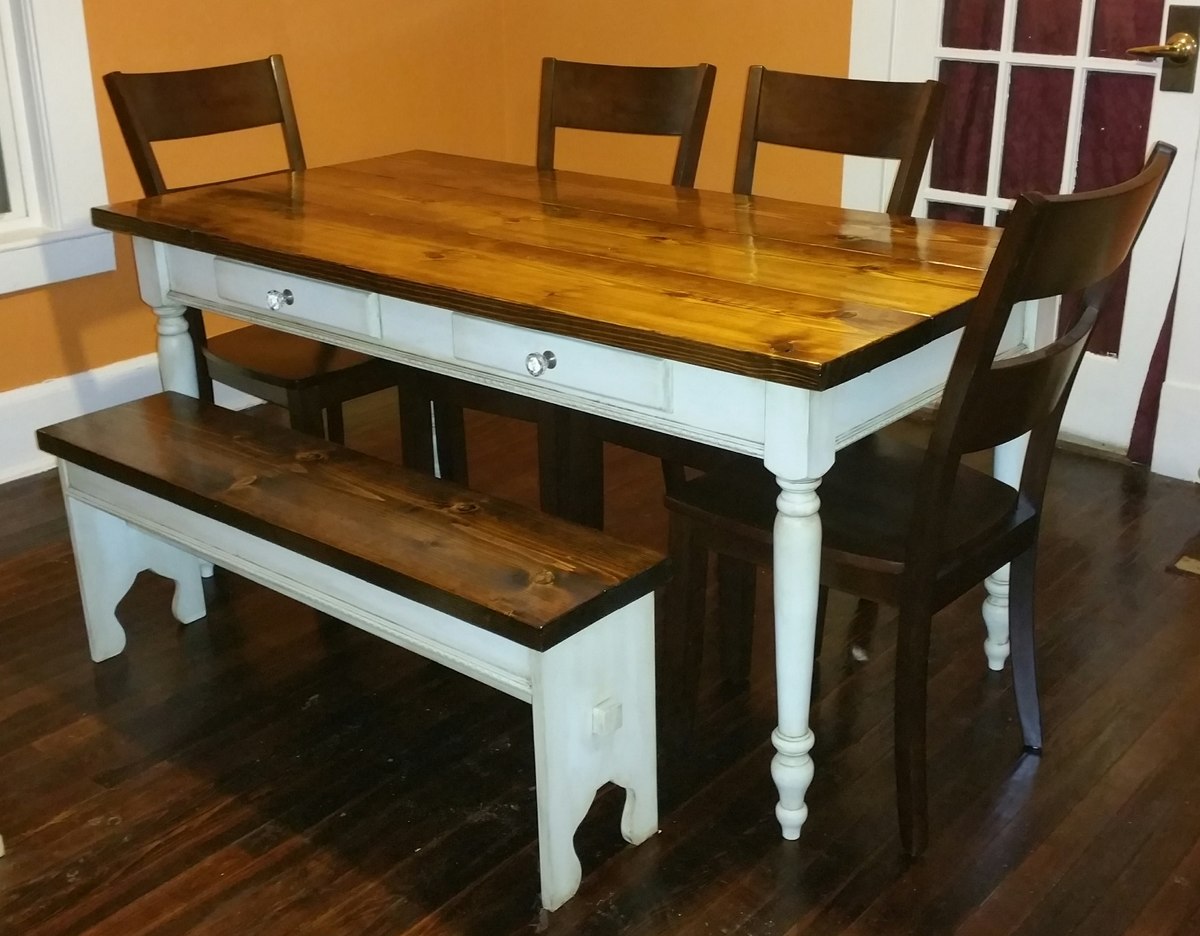
Although I didn't use a plan from this site, I do have Ana to thank for giving me the confidence to go alone and build this from a drawing that my wife drew up. All of my previous builds were from plans on this site so to make this from scratch without any help makes this my favourite build to date.
Table
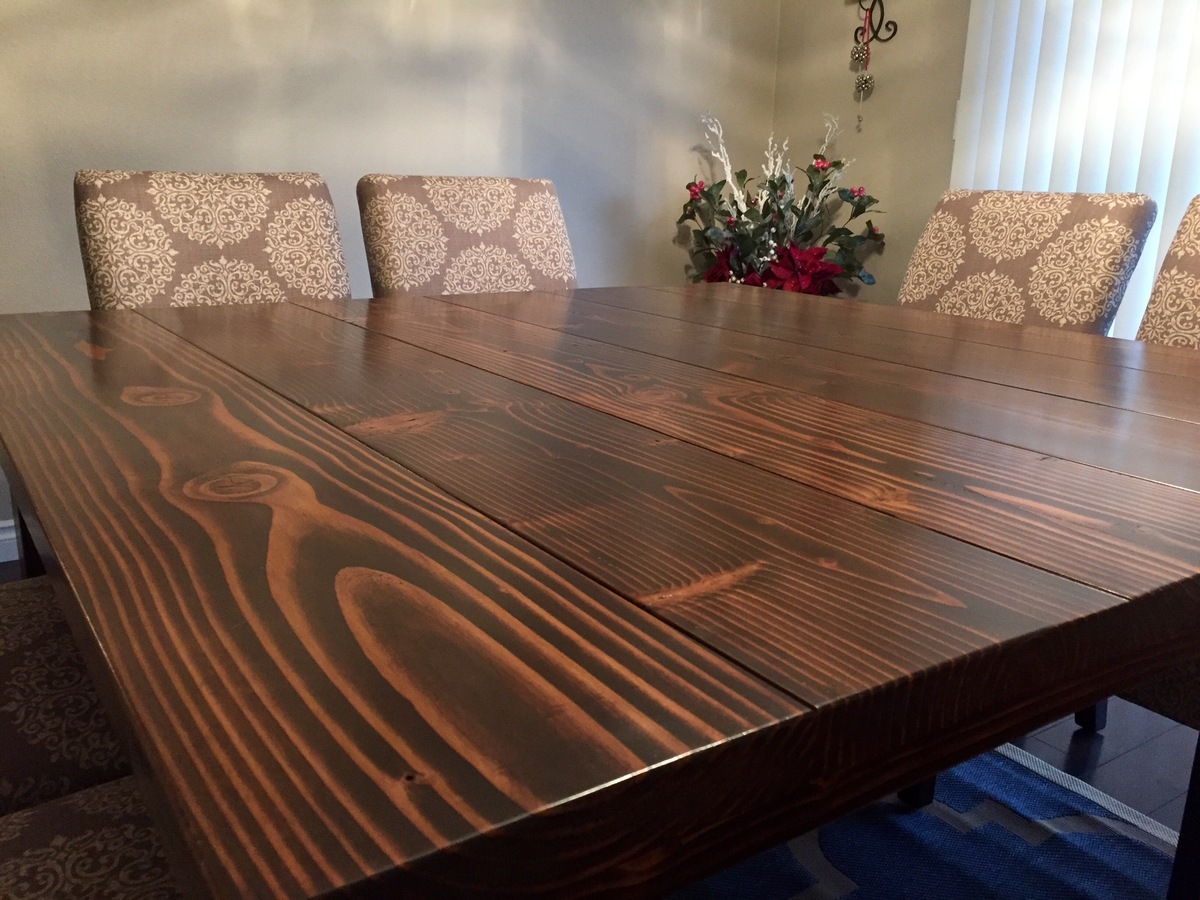
Top: 2x12s
Aprons: 2x6s. Trim purchased from Lowes
Legs: Purchased from Lowes
Fake drawers: 1x4 ripped to size. Knobs purchased from Lowes
Bench
Top: 2x12
End sections: 1x10 (may replace with 2x10)
Aprons: 2x4
Chairs were purchased separately. (I'm not that confident yet)
Estimated Cost
$200
Estimated Time Investment
Week Long Project (20 Hours or More)
Finish Used
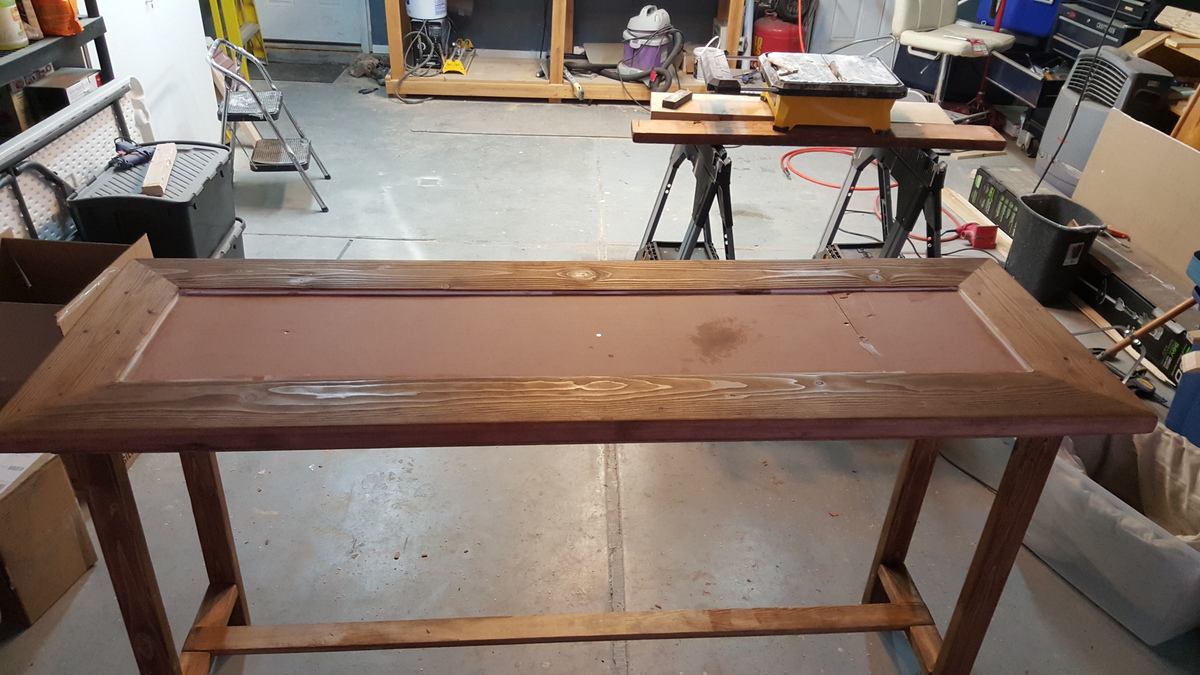
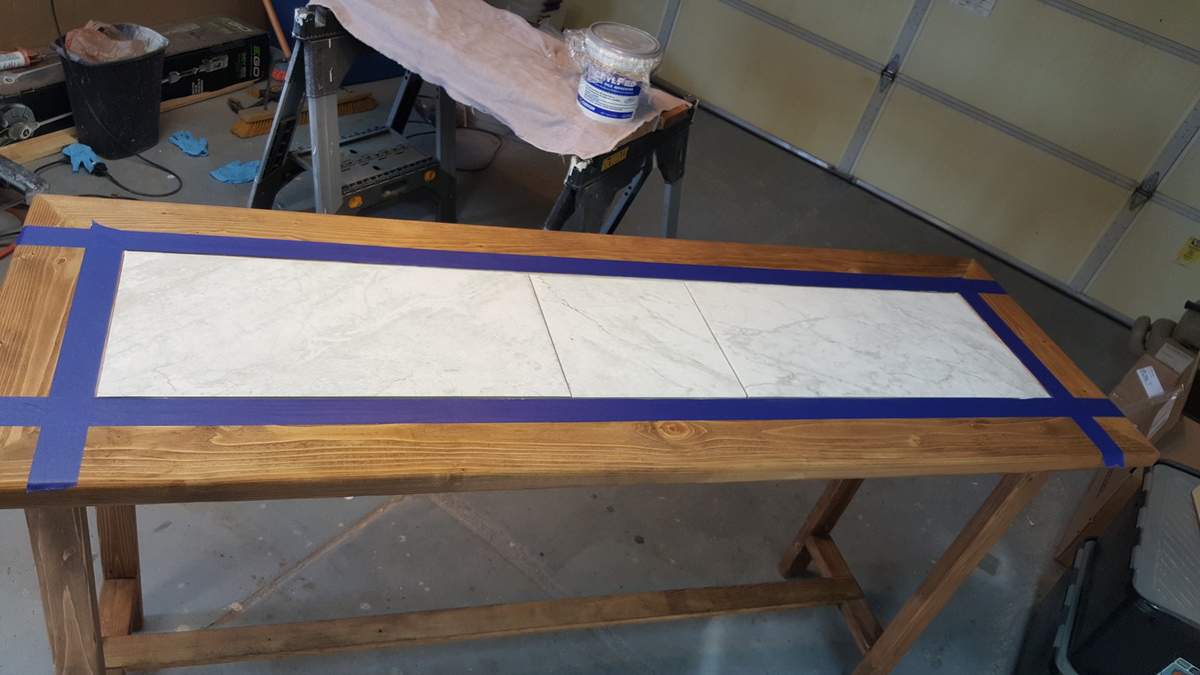
Minwax Honey stain and 3 coats of polyurethane for the table and bench tops. 3 stage latex chalk and wax for the 'shabby chic" finish.
Recommended Skill Level
Intermediate


Comments
gpsmith
Sun, 12/06/2015 - 06:03
Plans
Hi,
This looks lovely, just what I'd like to do. Do you mind sharing where you found the plans or if you're a creative whiz, send some photos of the underside so I can see how you constructed it?
Thanks,
Mike Millington
Mon, 12/07/2015 - 07:38
No Plans
I didn’t use any plans for this. My wife sketched out the design she wanted and I decided to go it alone. This is the first time I’ve built something from scratch without help and it was surprising easy to put together.
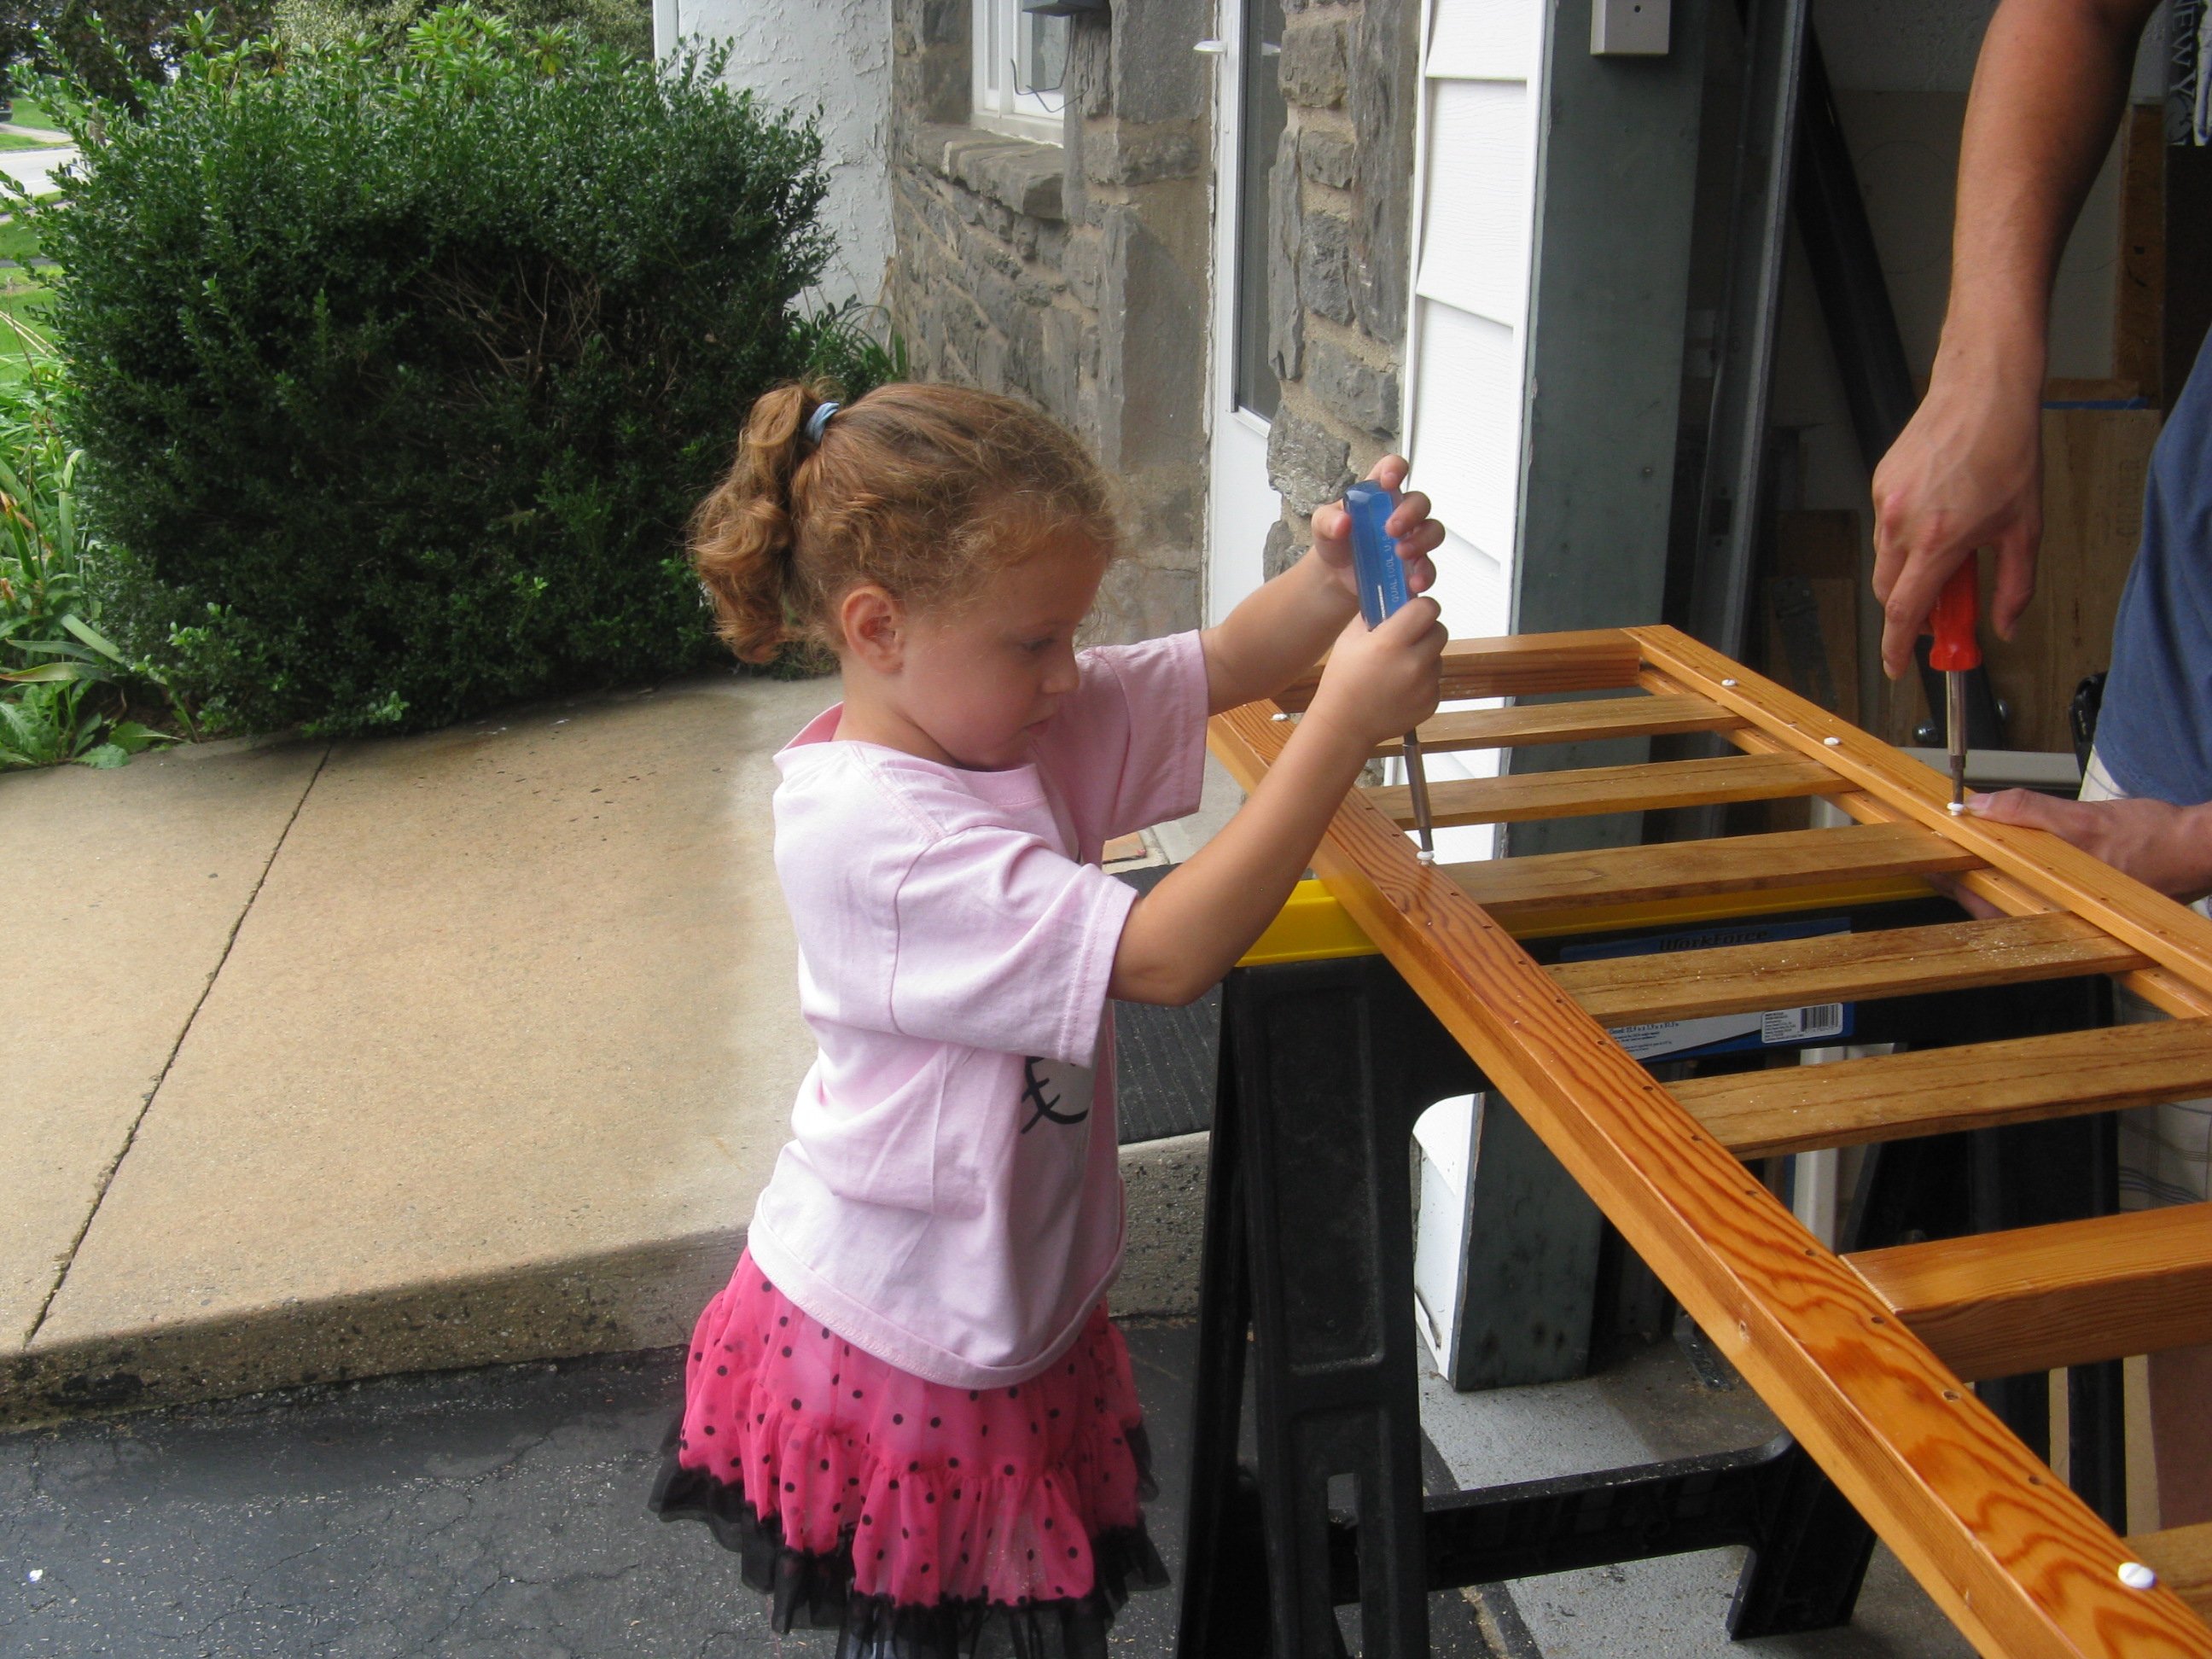
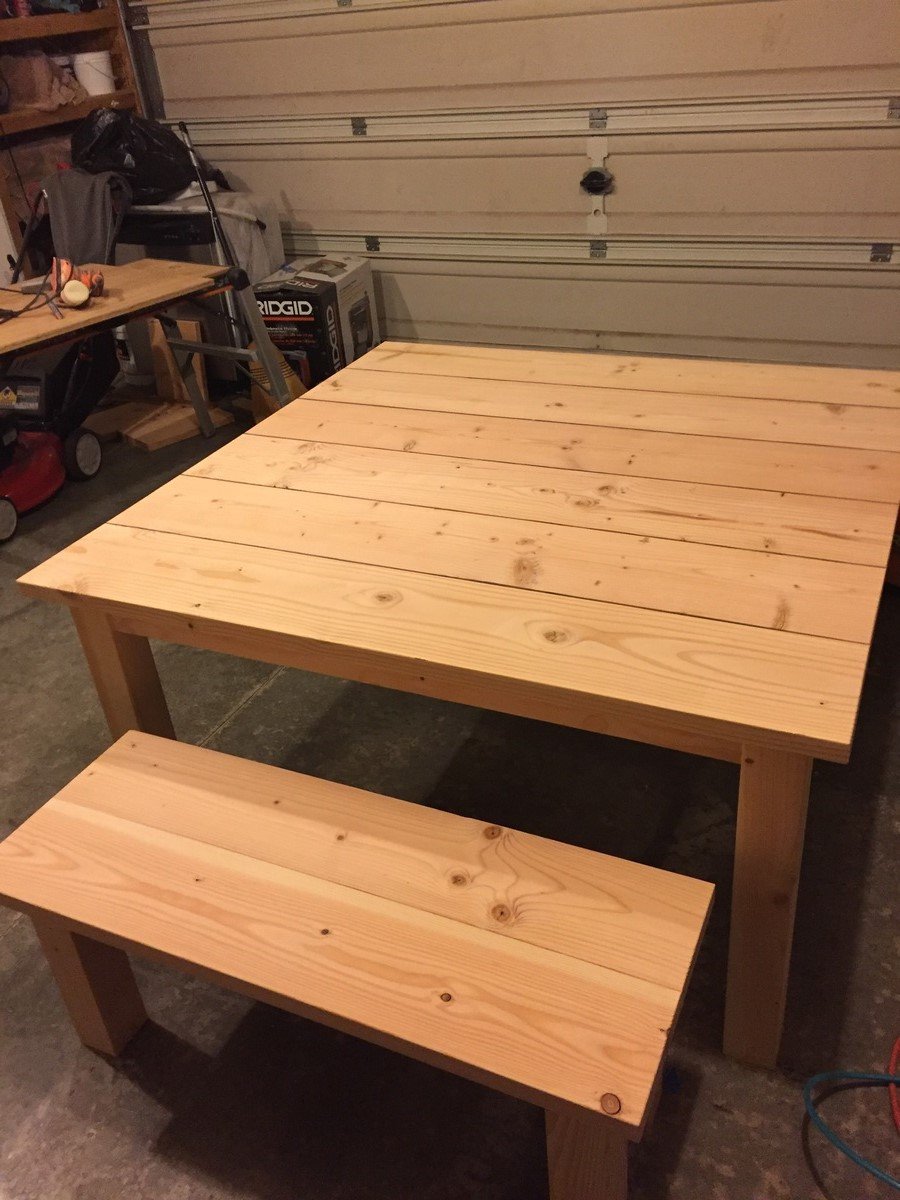
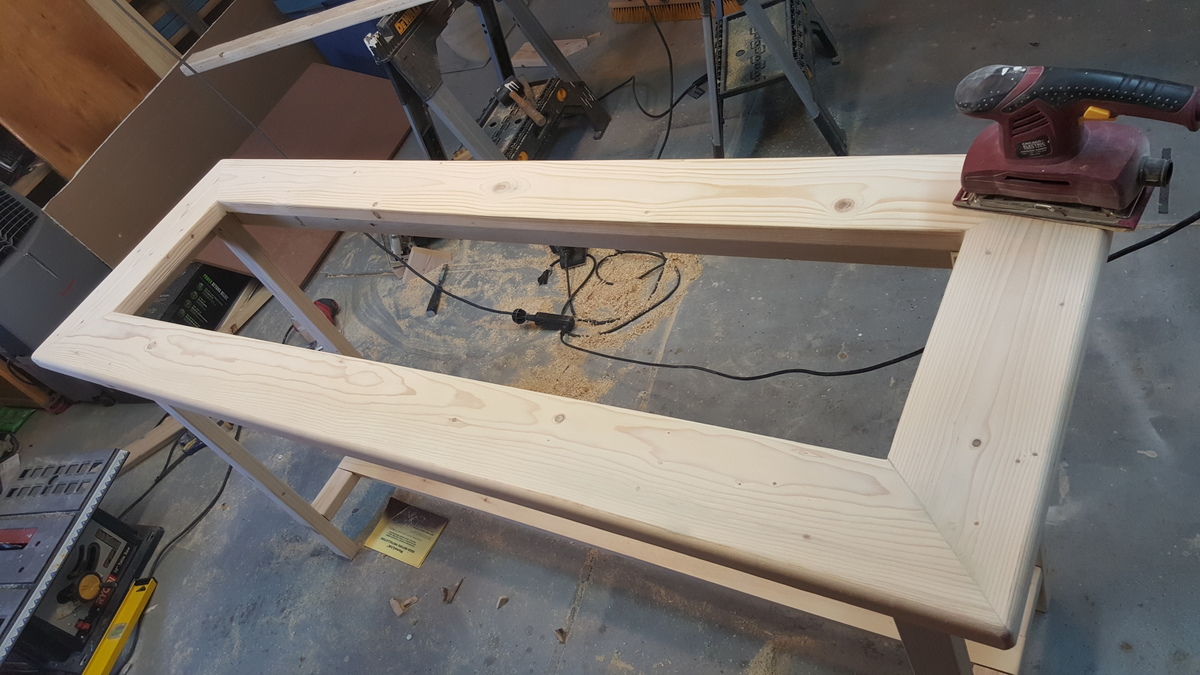
This is completely put together with the Kreg jig. The table top is made up of 3, 2 x12s attached together with pocket hole screws. I cut the 4 aprons and attached those to the legs also with pocket hole screws. To give extra support I attached 2, 2x4 cross braces between the longer aprons. The table top was then screwed in place with pocket hole screws through the aprons and 2” screws through the 2 braces.
For the fake drawer fronts, I cut them to size and routed the outer edges to round them off. I then attached the knobs and screwed the drawers in place through the back of the aprons. Finally, I attached trim to the bottom of the aprons. The knobs and trim were bought from Lowes.
The bench was made in a similar way. The top is made from a piece of 2x12, 2x4s for the aprons, the end sections are 2x10s and I used a jigsaw to cut out the arches. All attached together with pocket holes. I then added a 2x2 support beam through both ends and attached matching trim to the aprons.
Hope this helps.
Seamagnolia
Tue, 12/08/2015 - 07:08
beautiful job!
I love it.