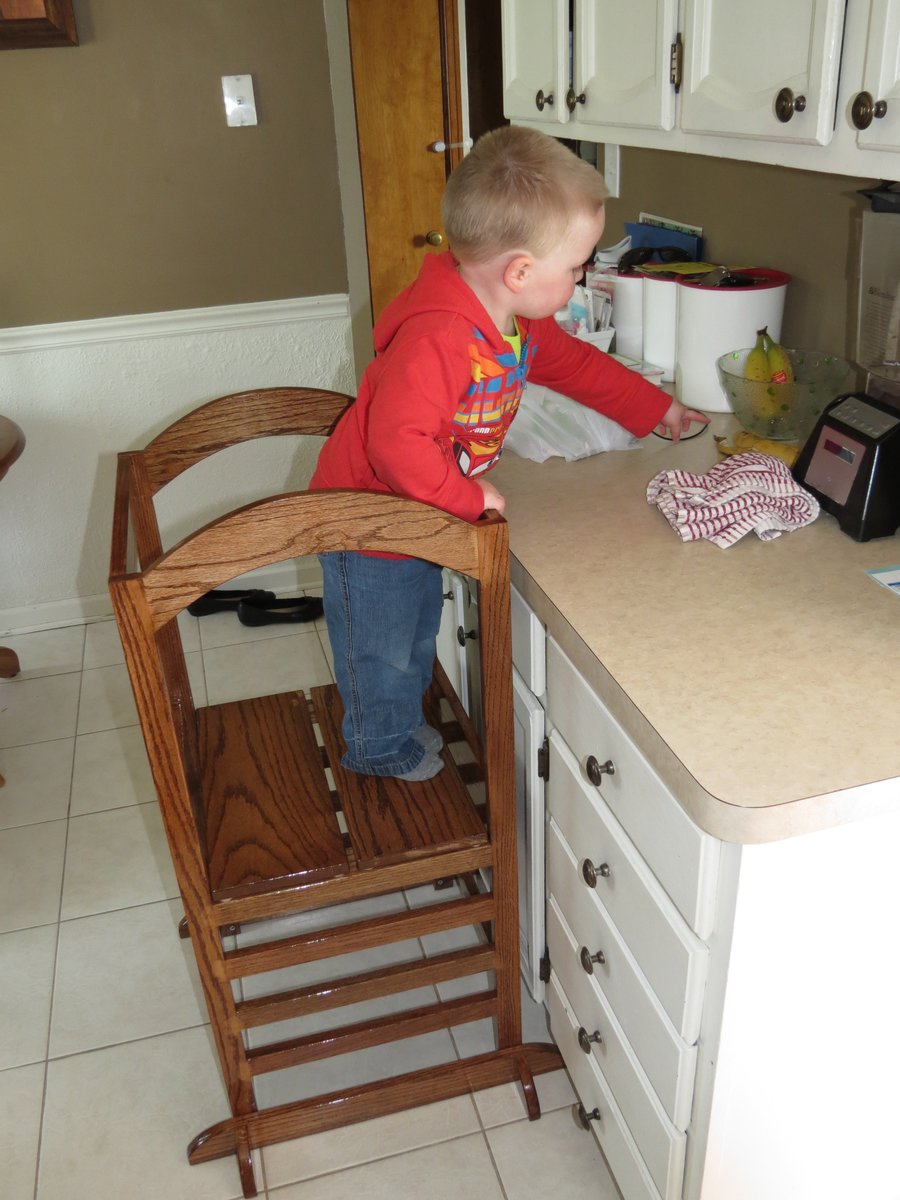
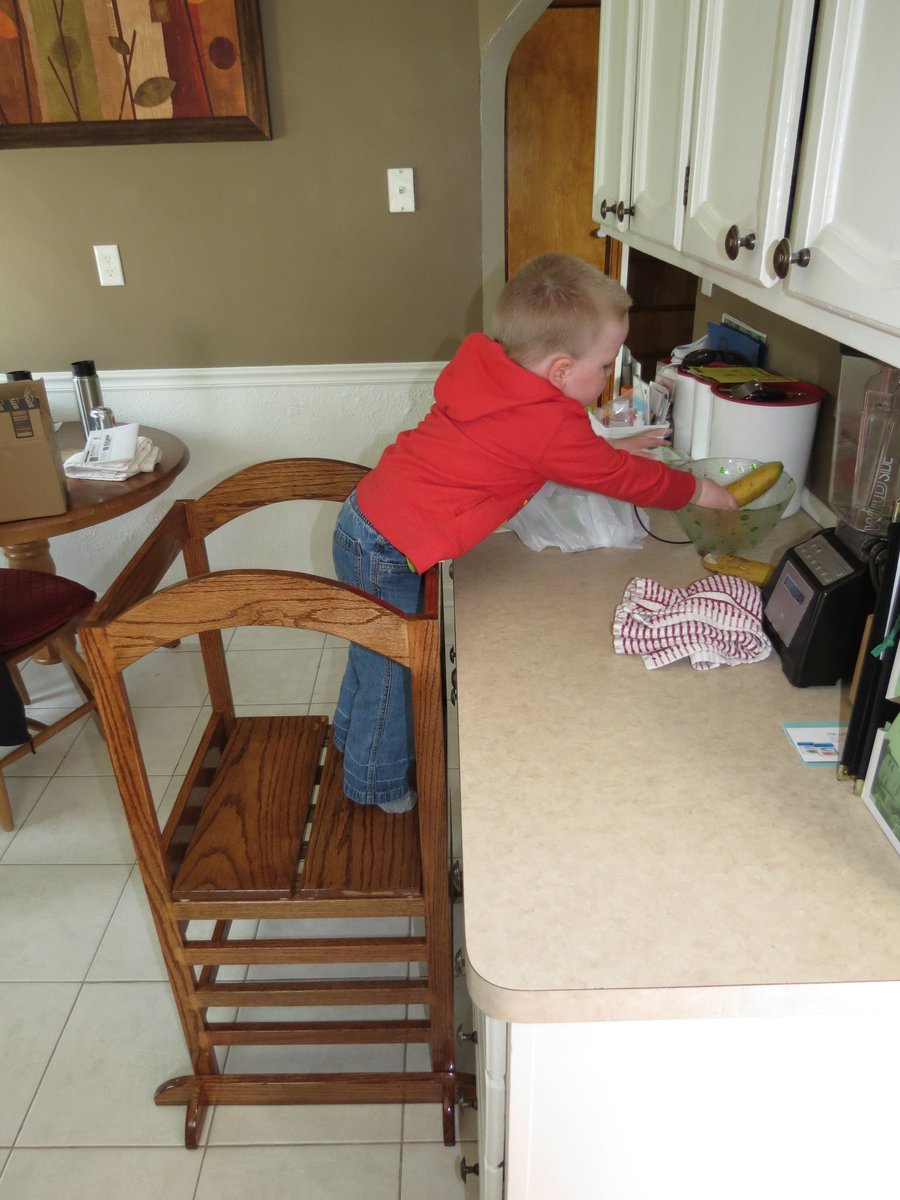
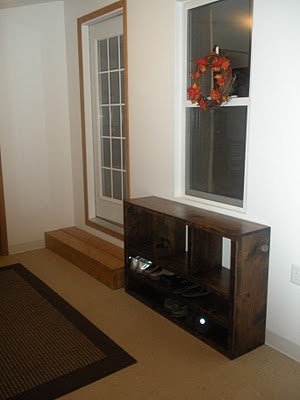
Vintage X Back Step Stool End Table
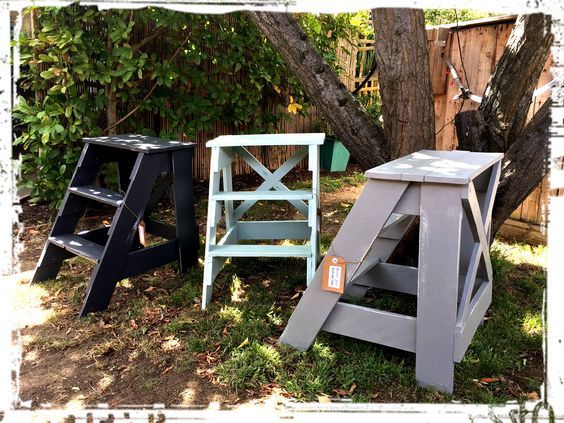
This project is one of my favourites. I loved it so much that I made 6 of them.
They are extremely easy to make. The plans are super easy to follow.
Built from Plan(s)
Estimated Cost
$0 This project cost nothing because I used free pallet wood and paint that I already had.
Estimated Time Investment
An Hour or Two (0-2 Hours)
Finish Used
Chalk Paint
Recommended Skill Level
Beginner


Comments
mitchhext
Sun, 05/16/2021 - 07:39
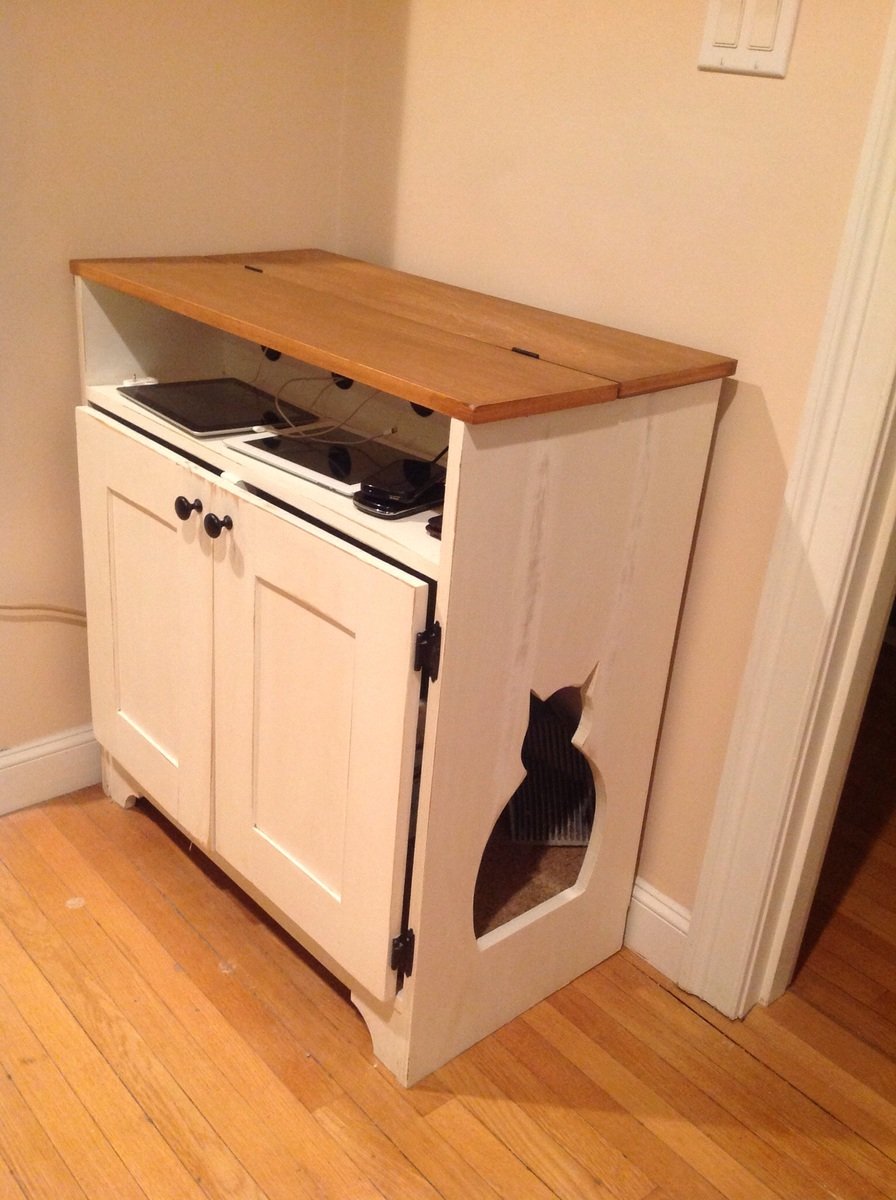
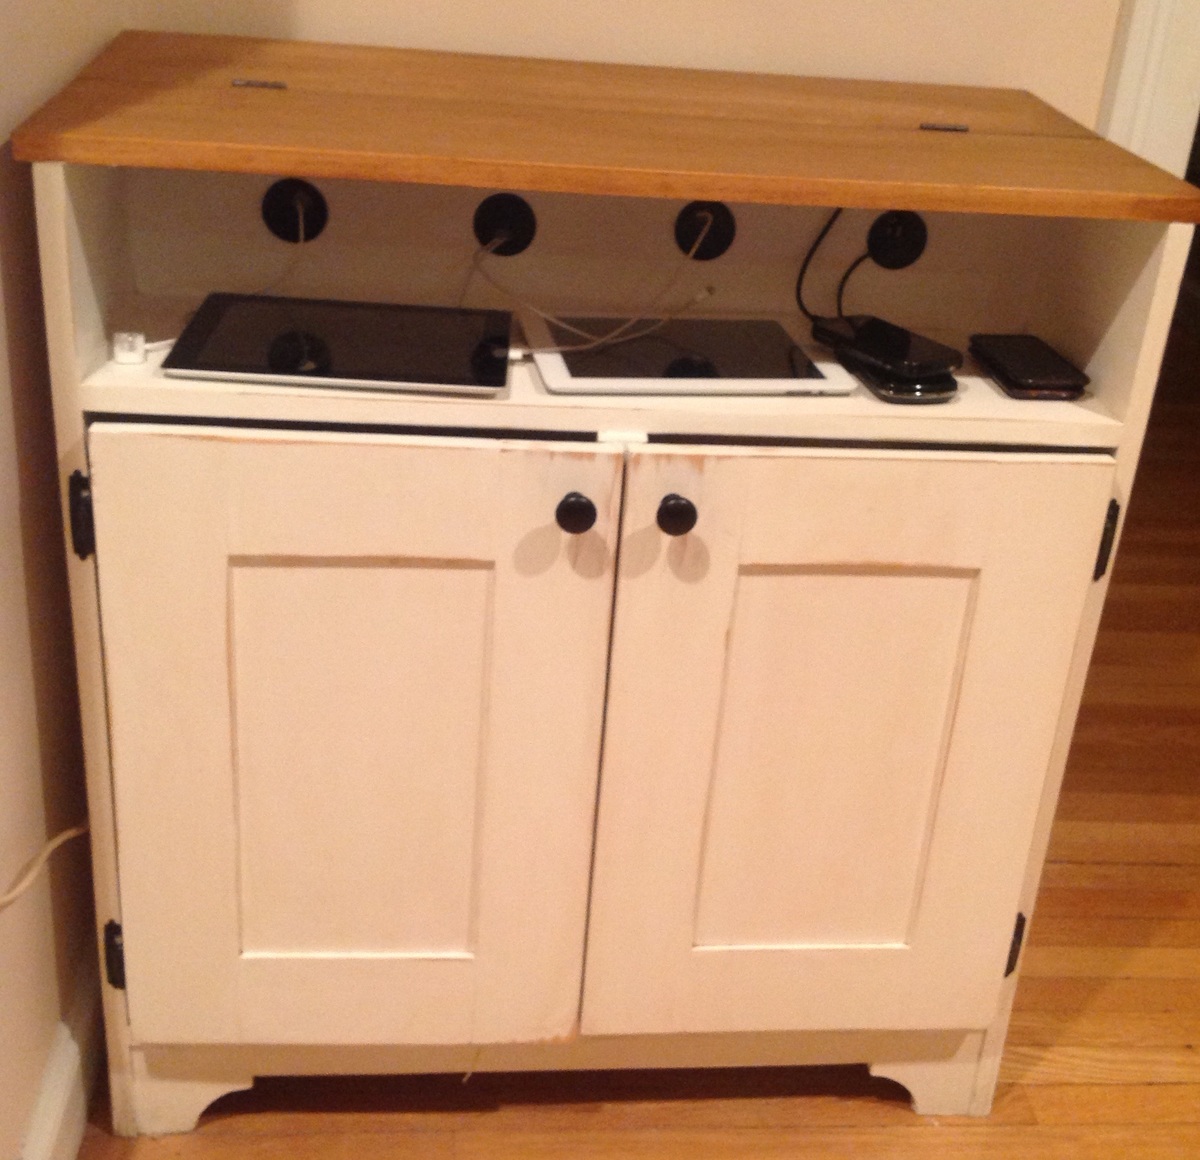
Future build
Future build