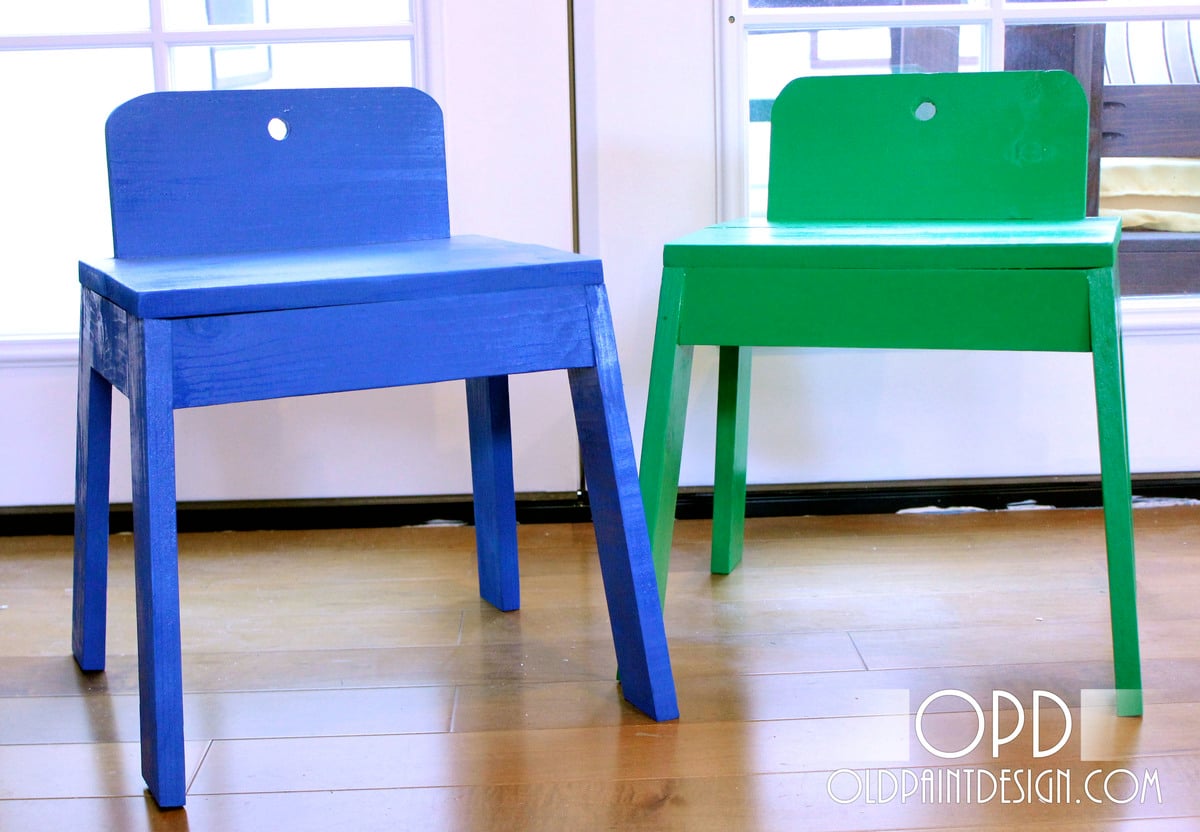
This is seriously the easiest plan ever - great job, Ana! I needed a gift for some children on my husband's side of the family (2 boys, ages 2 and 7), and as I was desperately trying to figure out what to make/give to them Ana posted these amazing plans. I saw them and instantly knew they were perfect! I made them entirely out of scraps from a daybed I had made the previous weekend. The only thing I purchased was the green spray paint - $5 for two great gifts! And, it took me less than 2 hours to build them after work. We gave them to the children last weekend and they LOVED them. They couldn't stop carrying them around with them at the party, and their parents were so touched that I made them a home made gift. PS - As I was getting ready to paint the chairs, I had the blue spray paint leftover from another project and my husband suggested that the other one should be green. I had completely forgotten that Ana painted hers the exact same color! I guess it's a popular color combo, huh?


Comments
Ana White
Thu, 11/17/2011 - 10:07
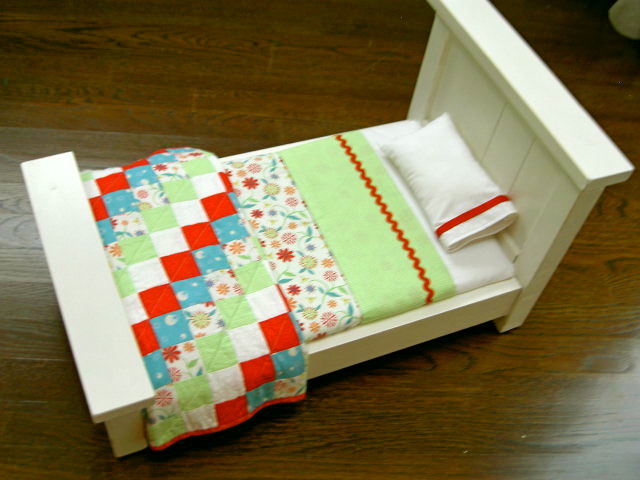
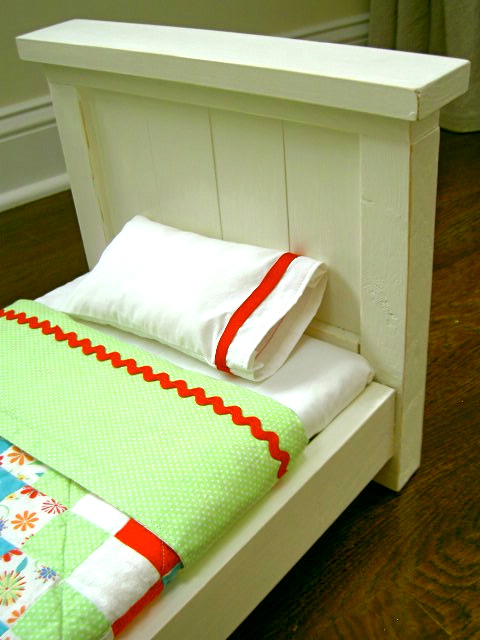
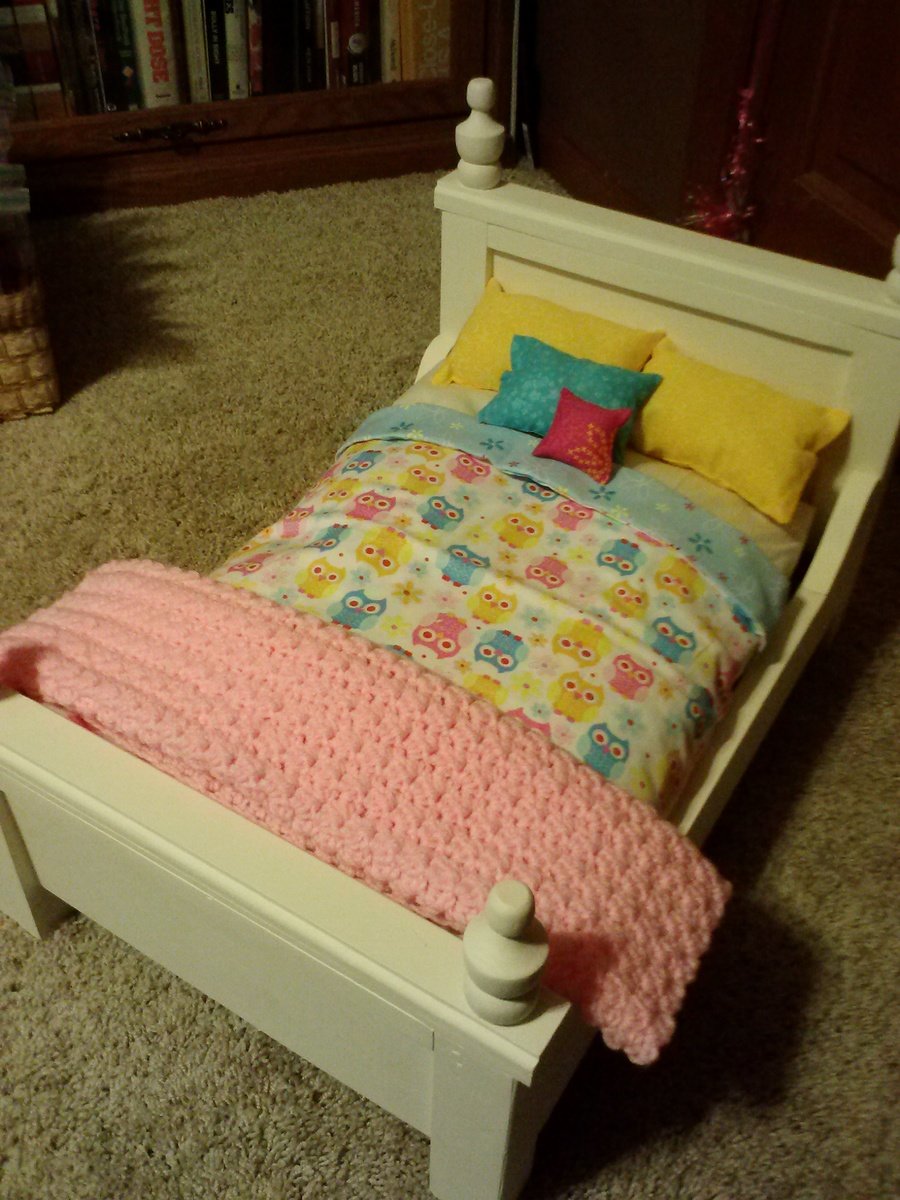
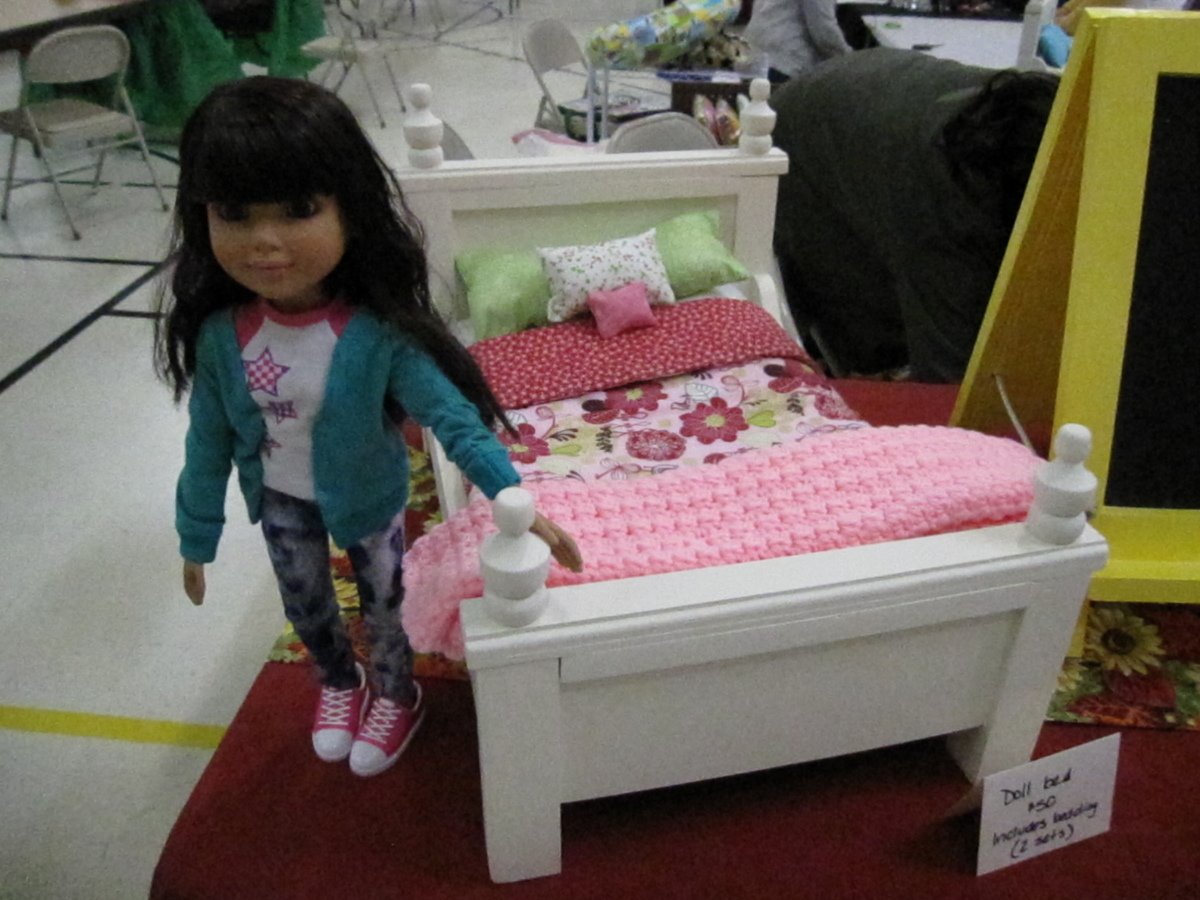
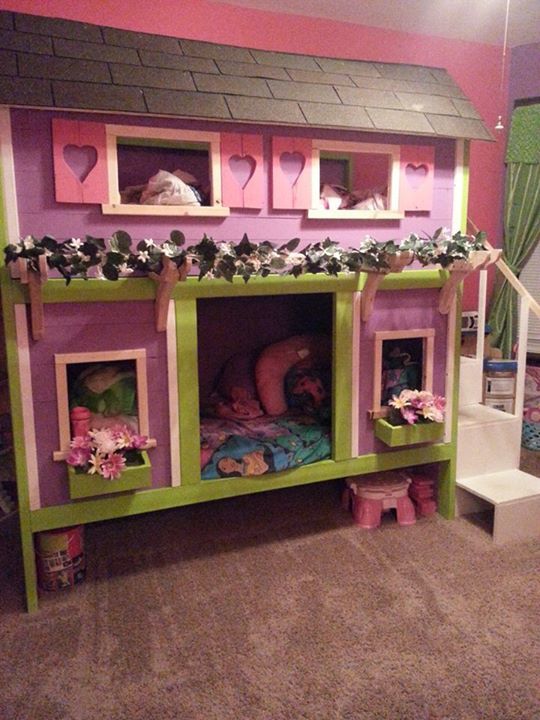
Jaime this bed and bedding is
Jaime this bed and bedding is adorable!!! I love the colors! Thanks for sharing with us!
In reply to Jaime this bed and bedding is by Ana White
jaimecostiglio
Thu, 11/17/2011 - 12:17
Thanks Ana
Hope you don't mind the modification to make it narrower. Thinking about you getting that roof on asap! Happy Thanksgiving.