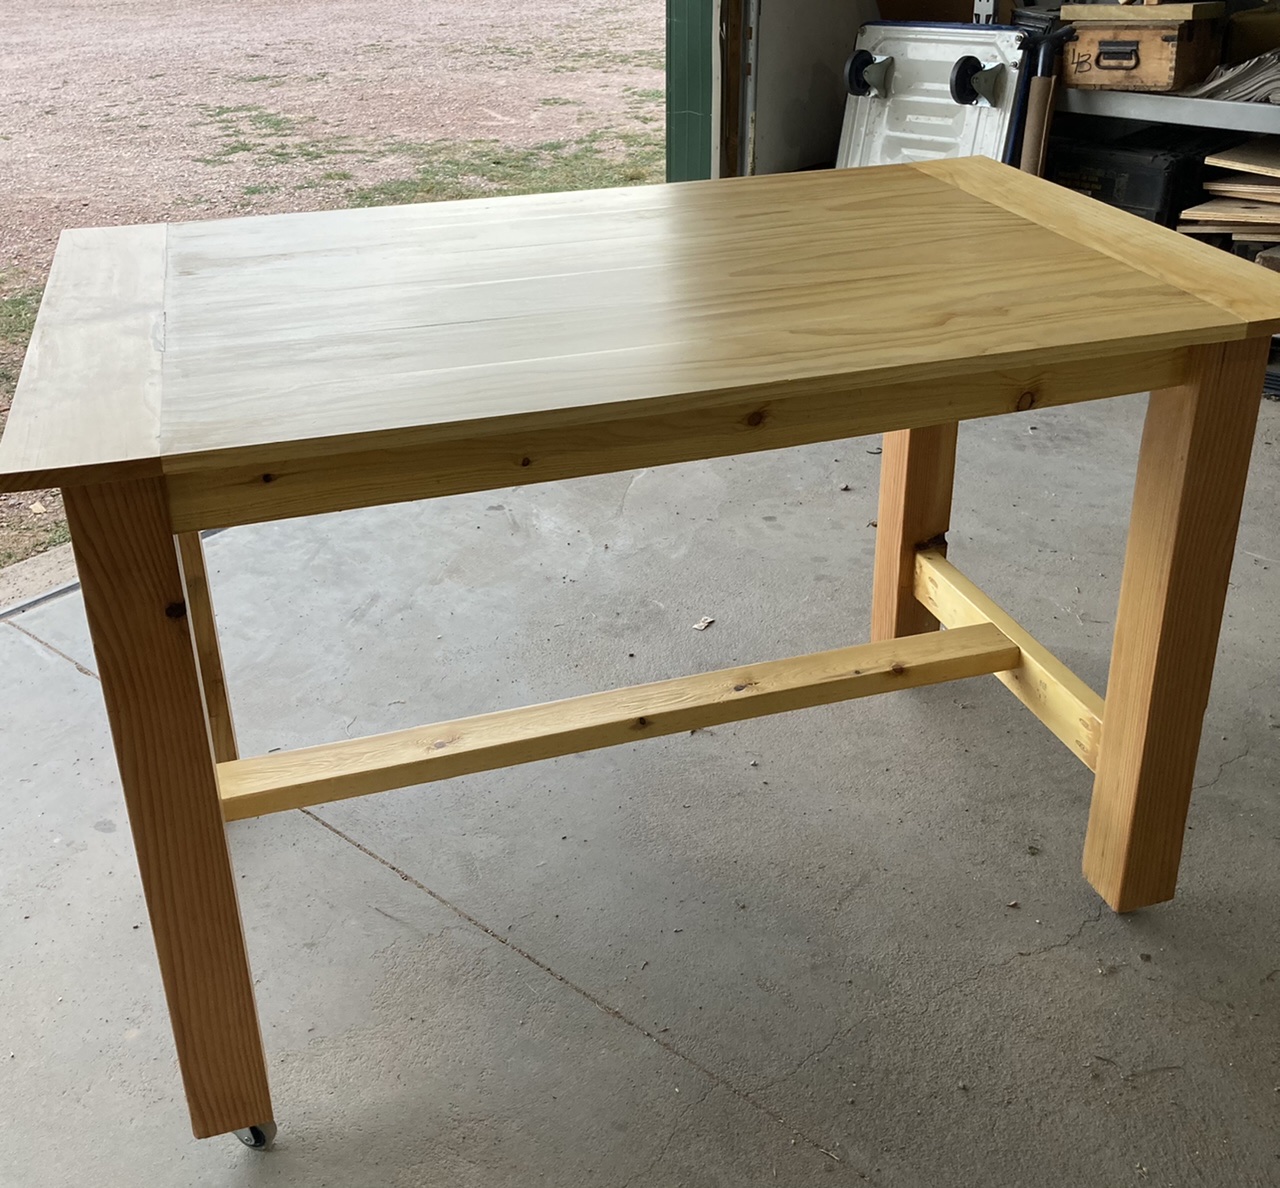
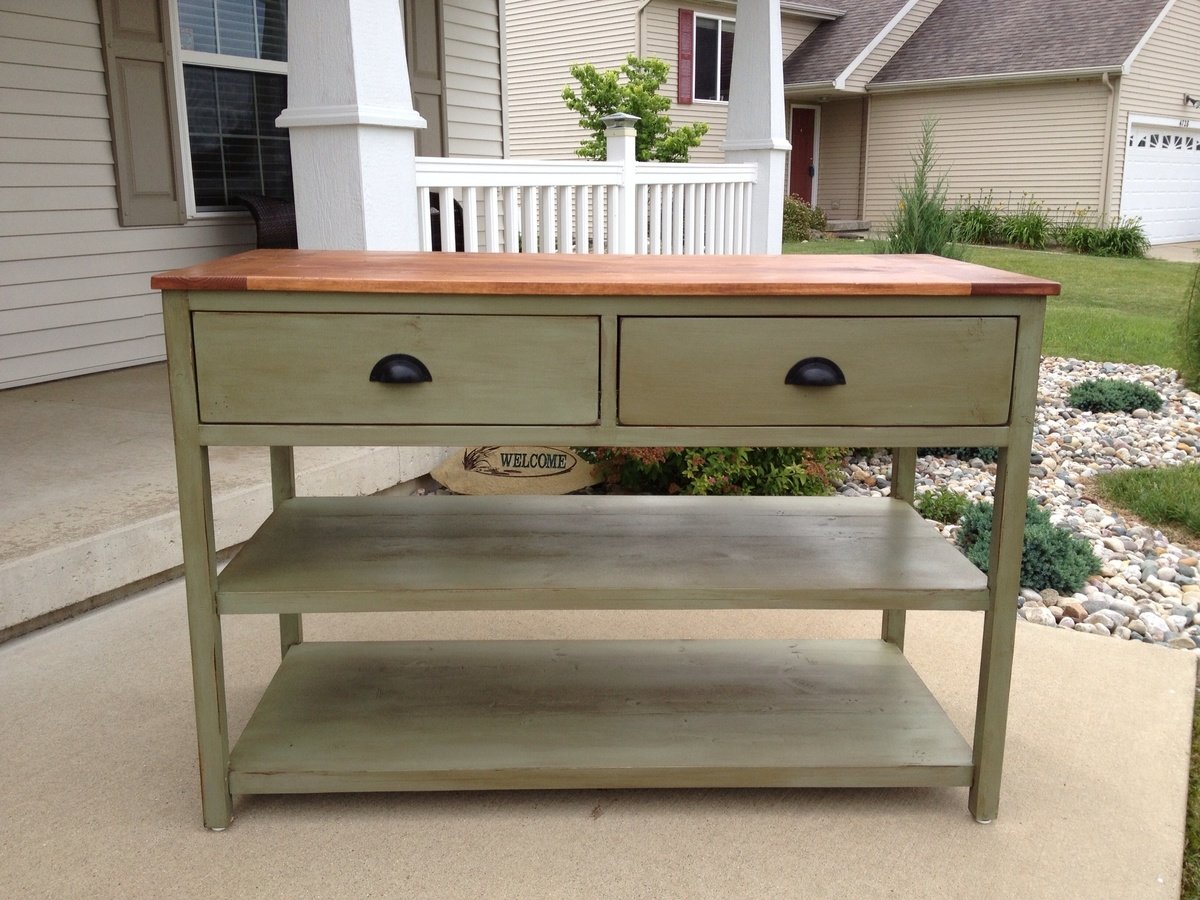
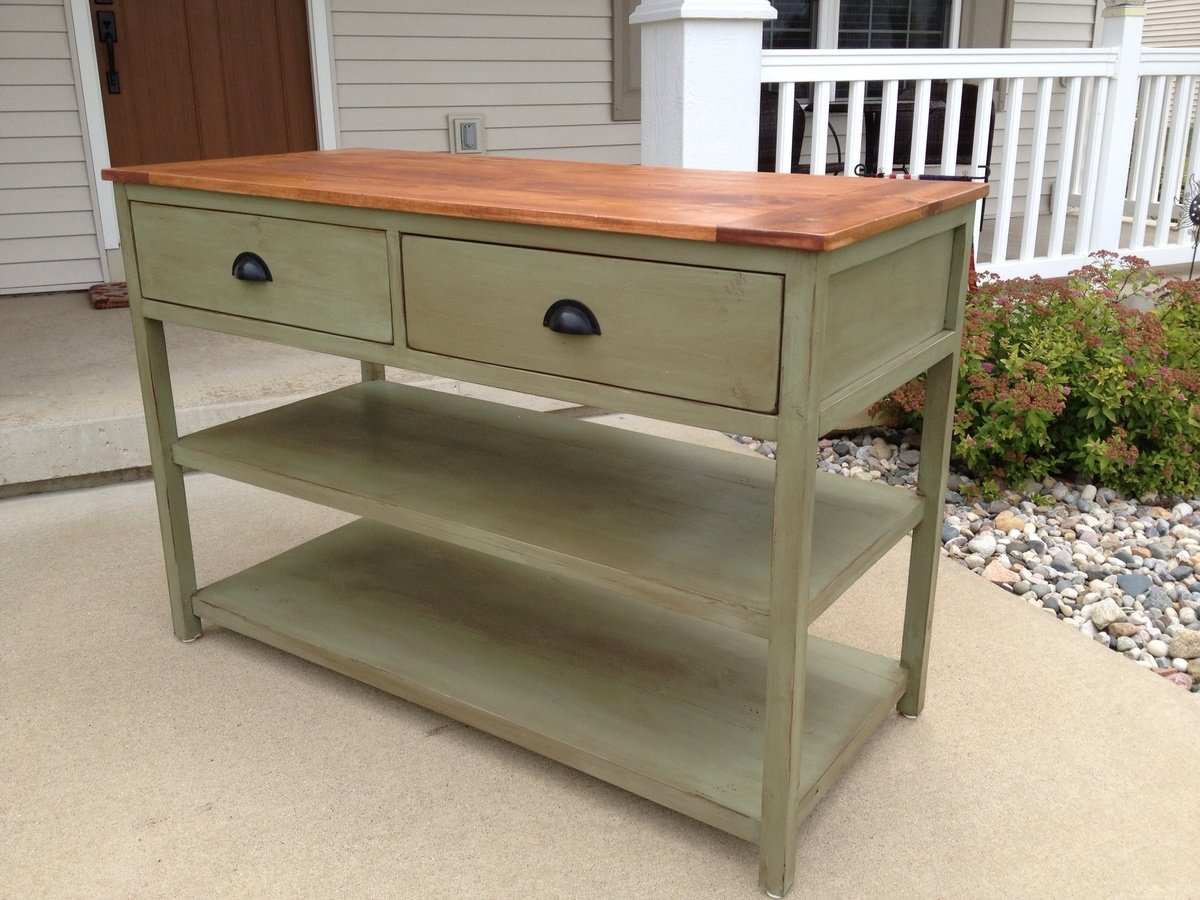
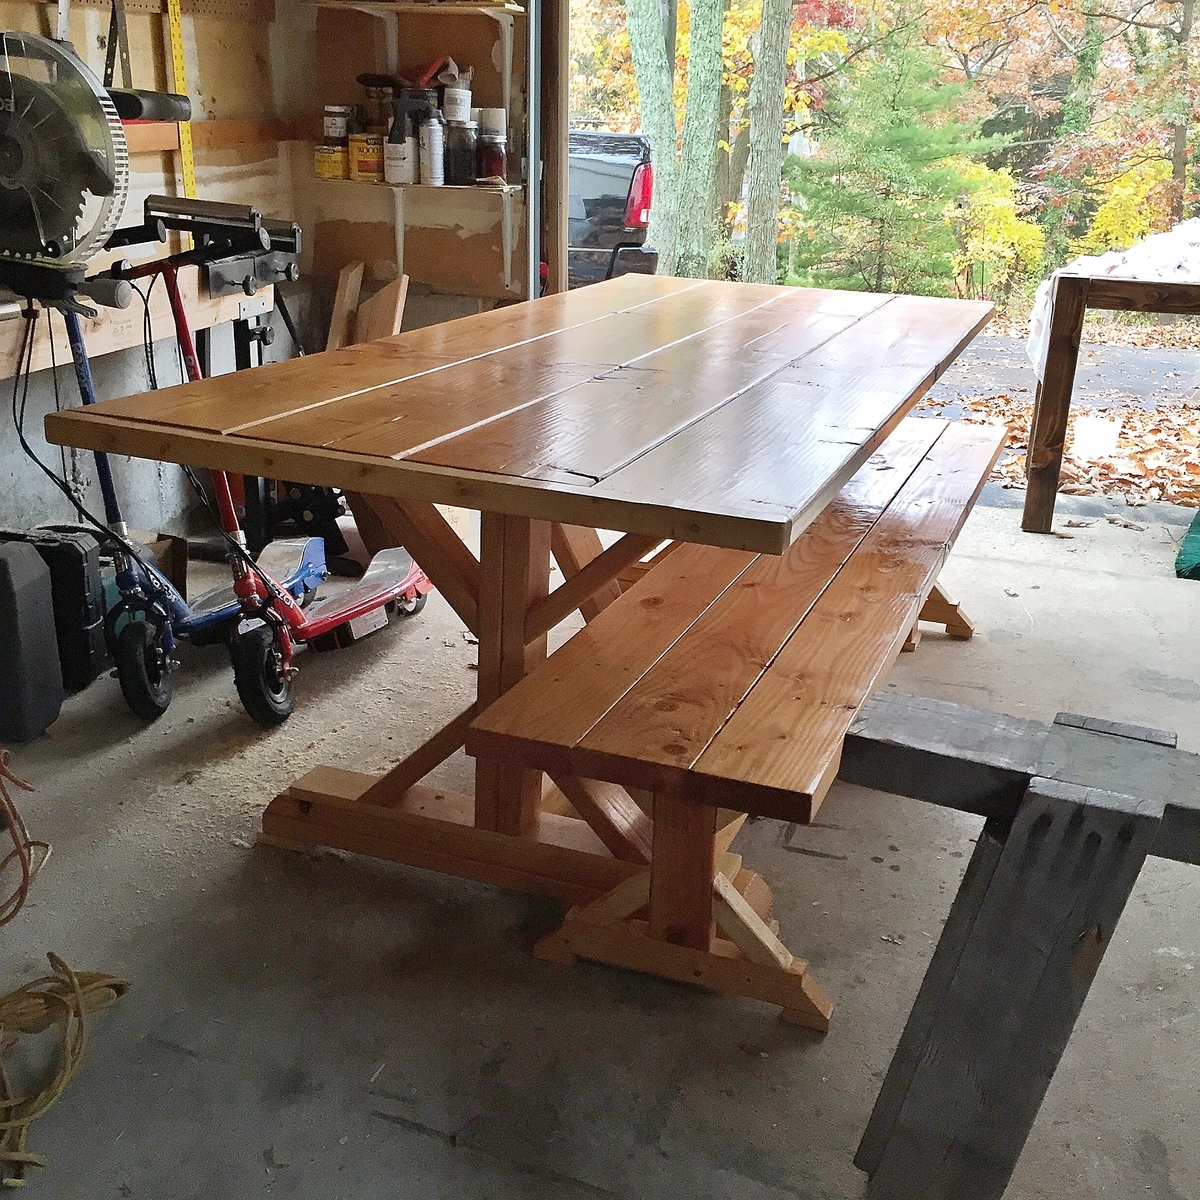
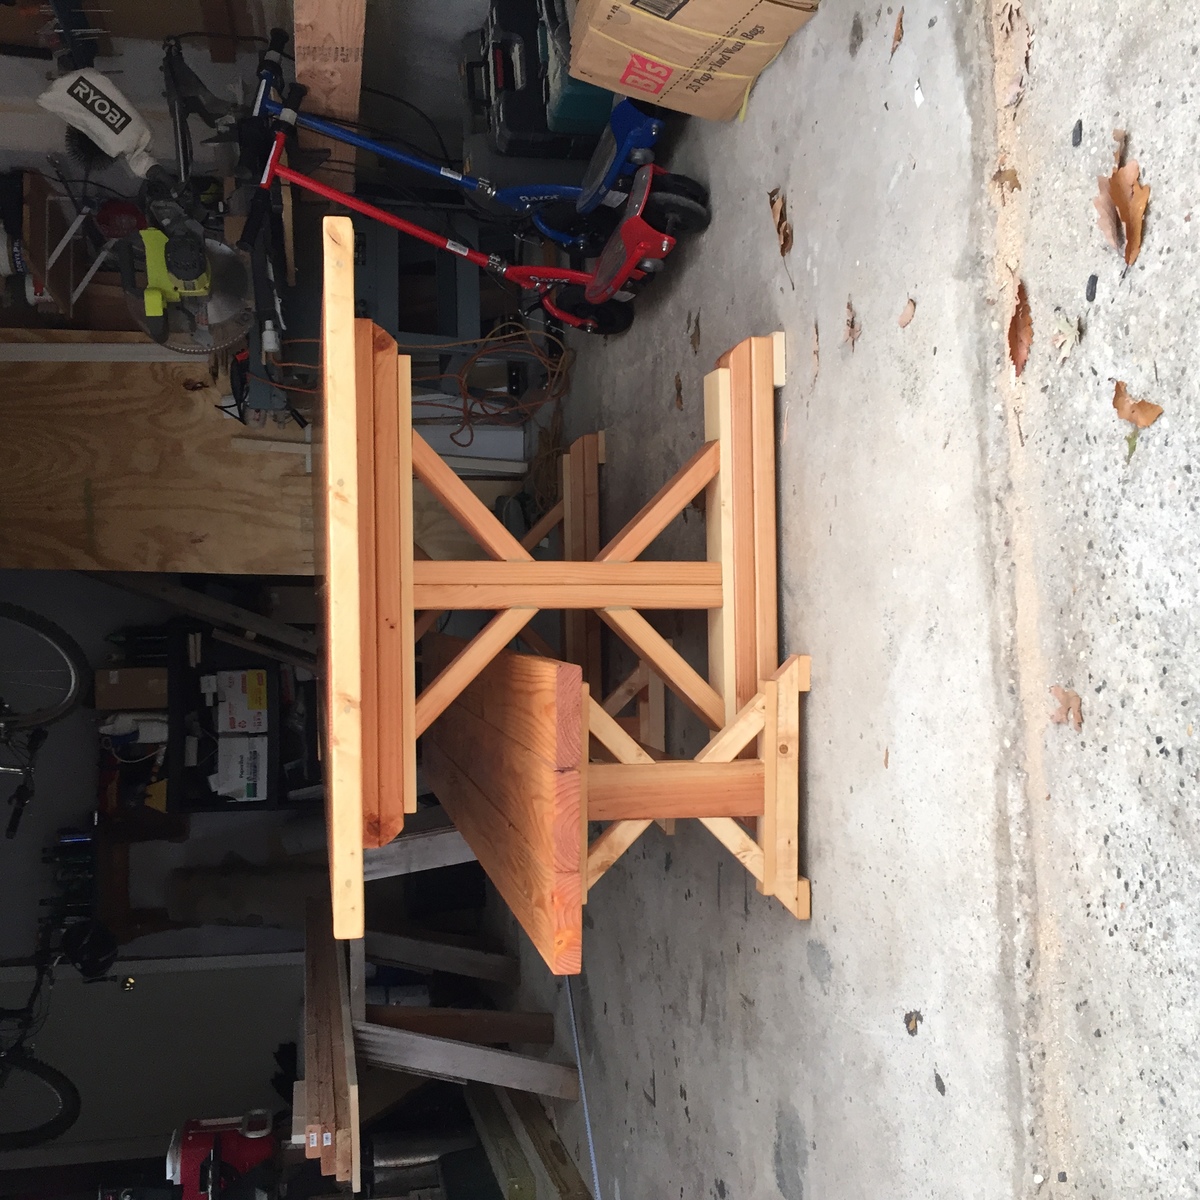
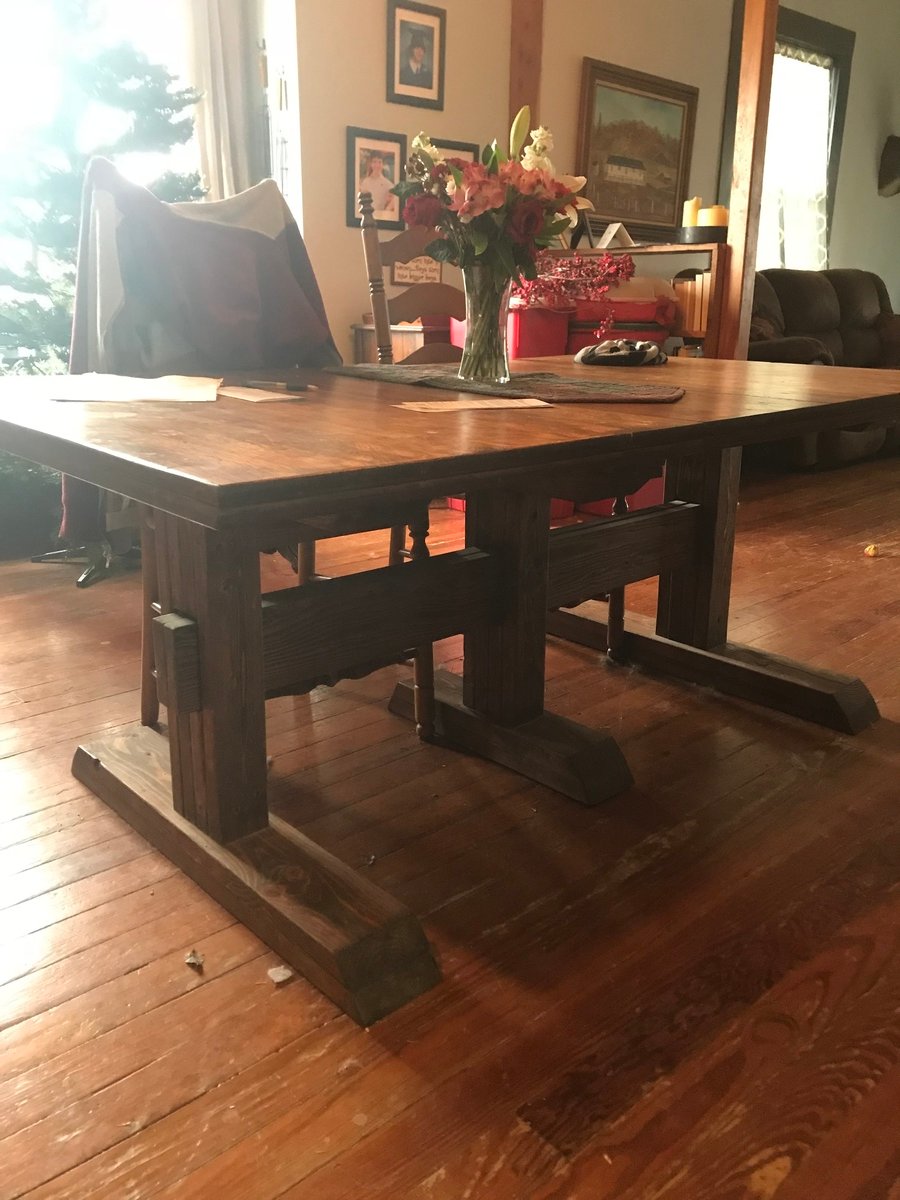
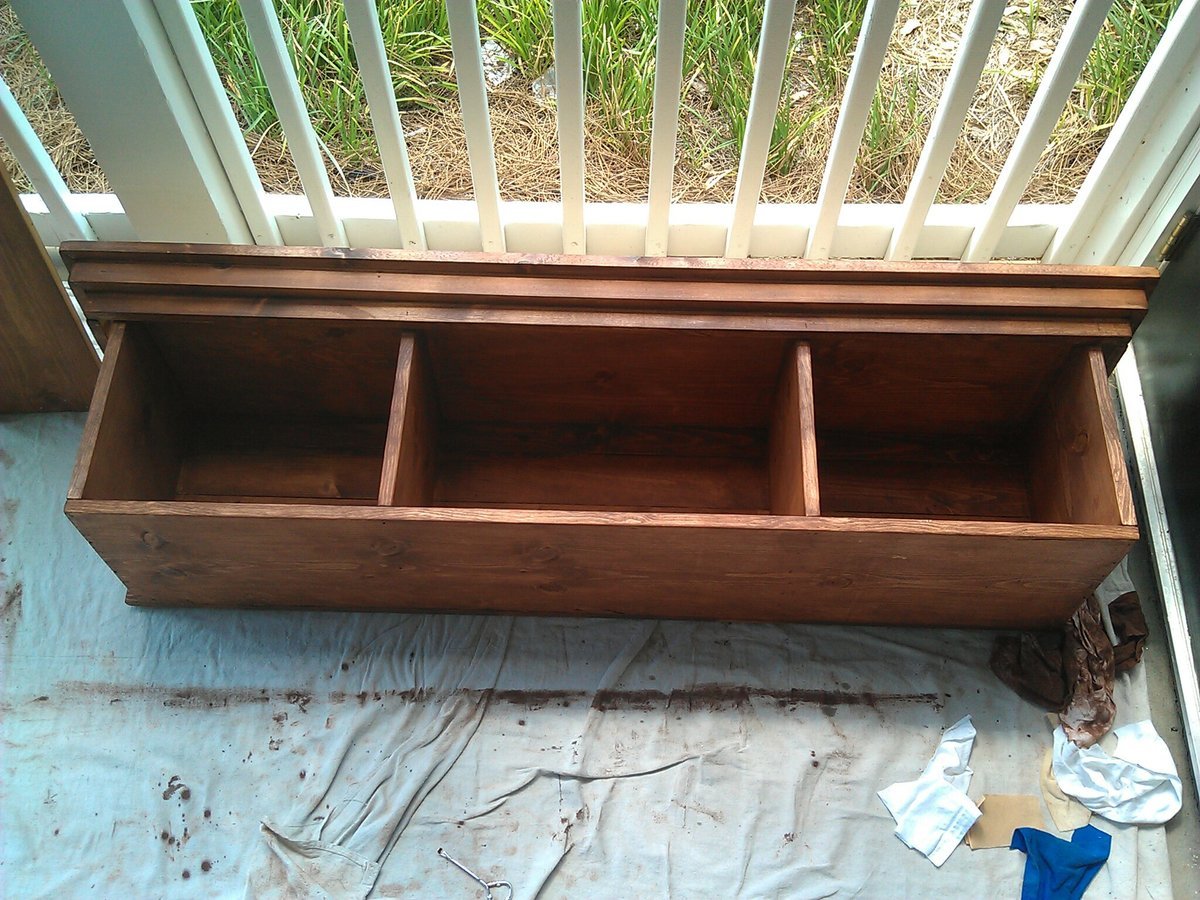
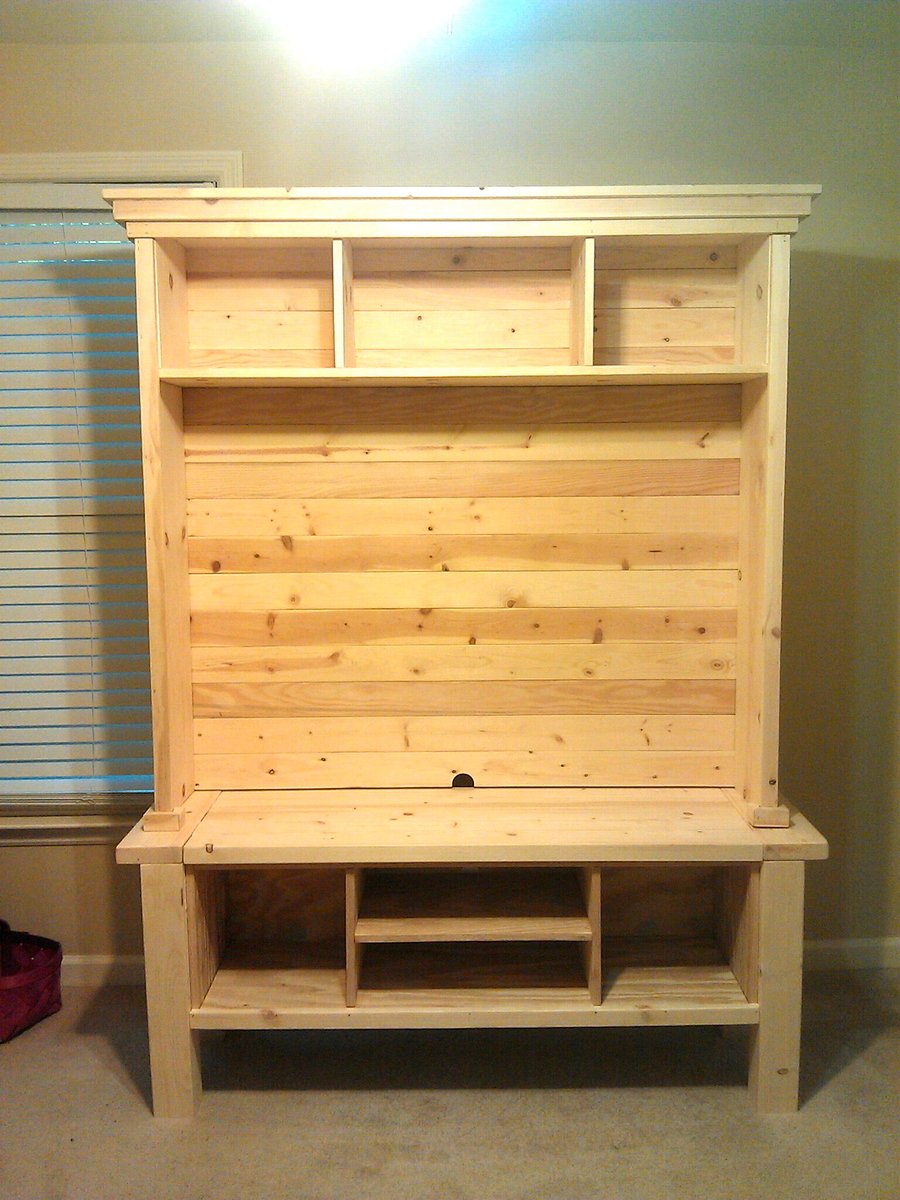
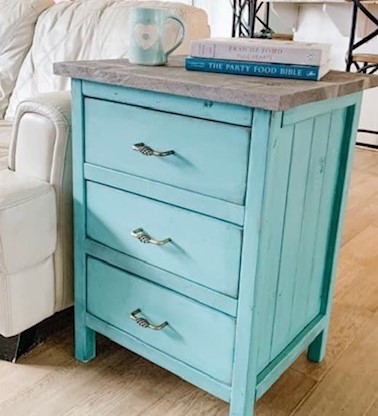
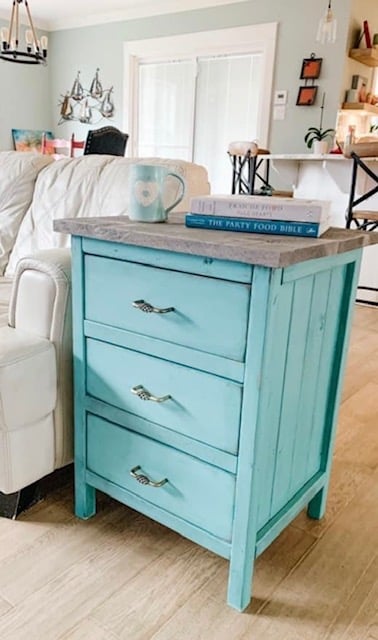
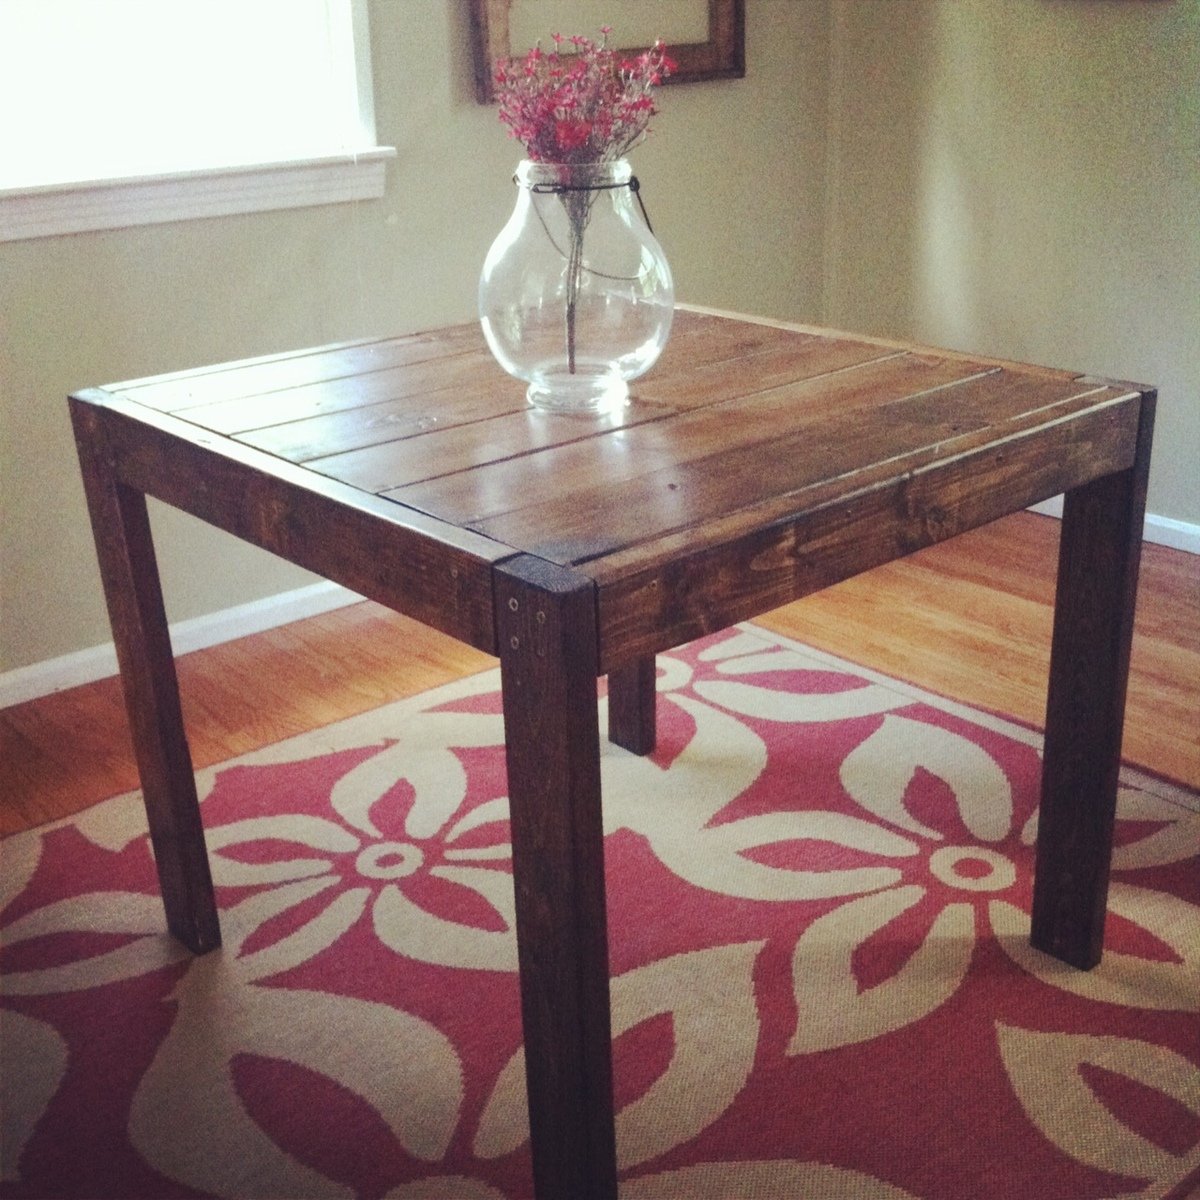
Community Brag Posts

Outdoor Sectional

Submitted by mdj1281 on Mon, 11/16/2015 - 06:27

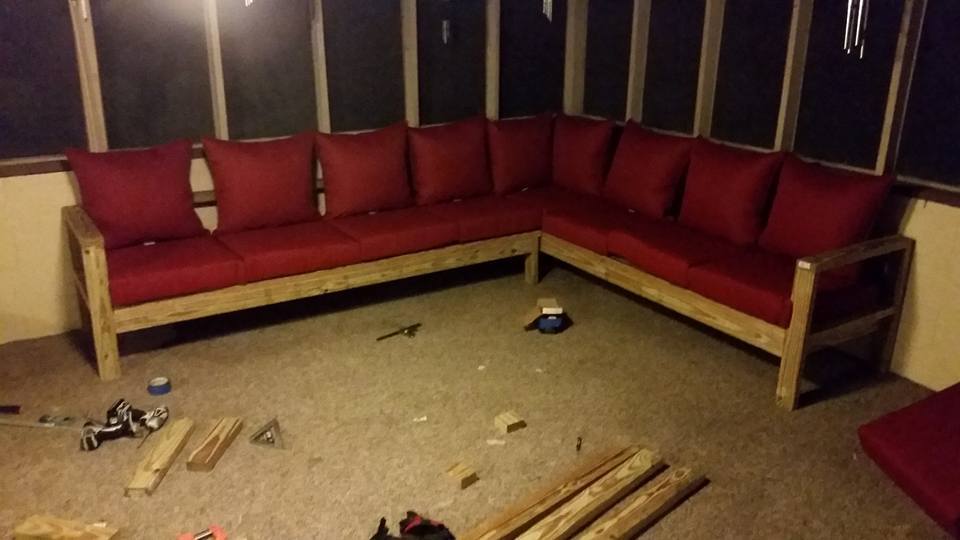
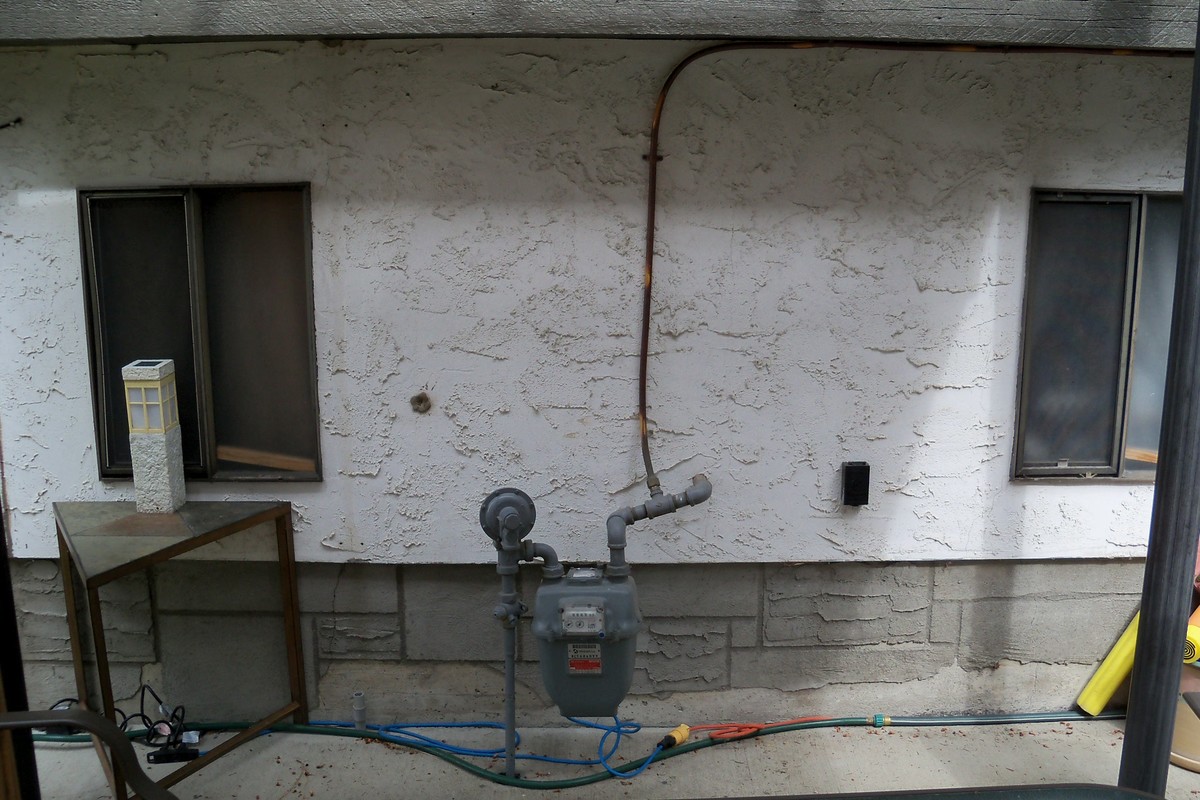
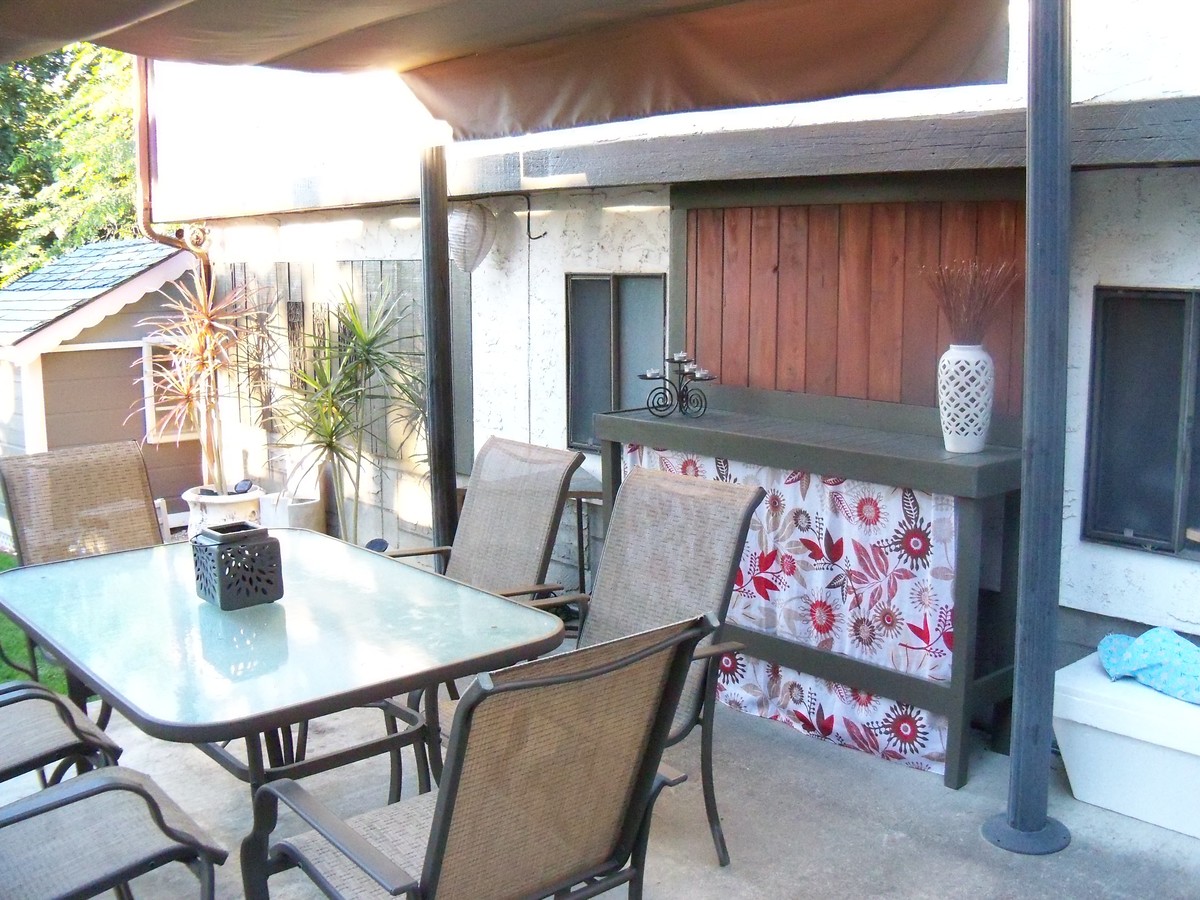
Our new home has a 21'x17' screened in porch that needed somthing, anything to occupy it! We looked for sectionals from online retailors and could not believe how much money they were demanding for them. Being new homeowners we could not afford/justify spending that amount. I found Ana-white.com while looking for shoe bench plans and found these 2 plans for the sectional. It was time to justify all of my tool purchases! lol


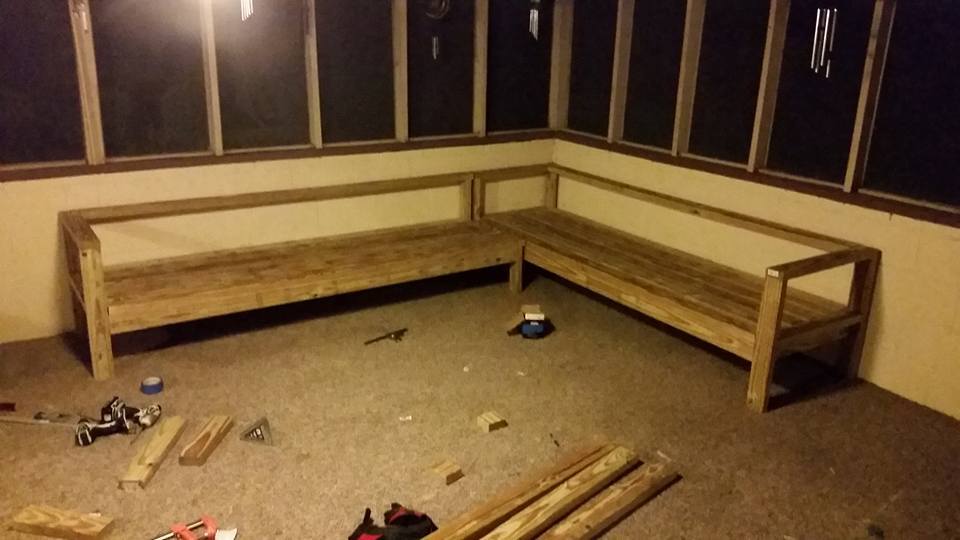
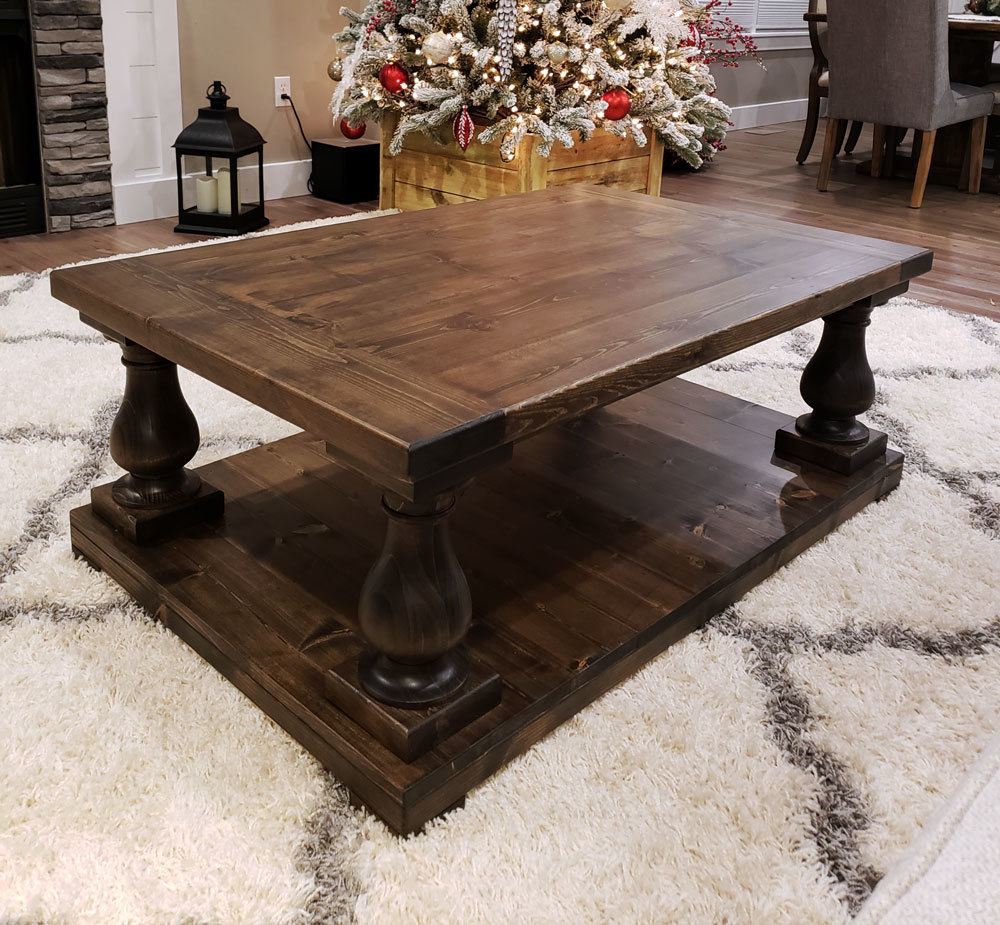
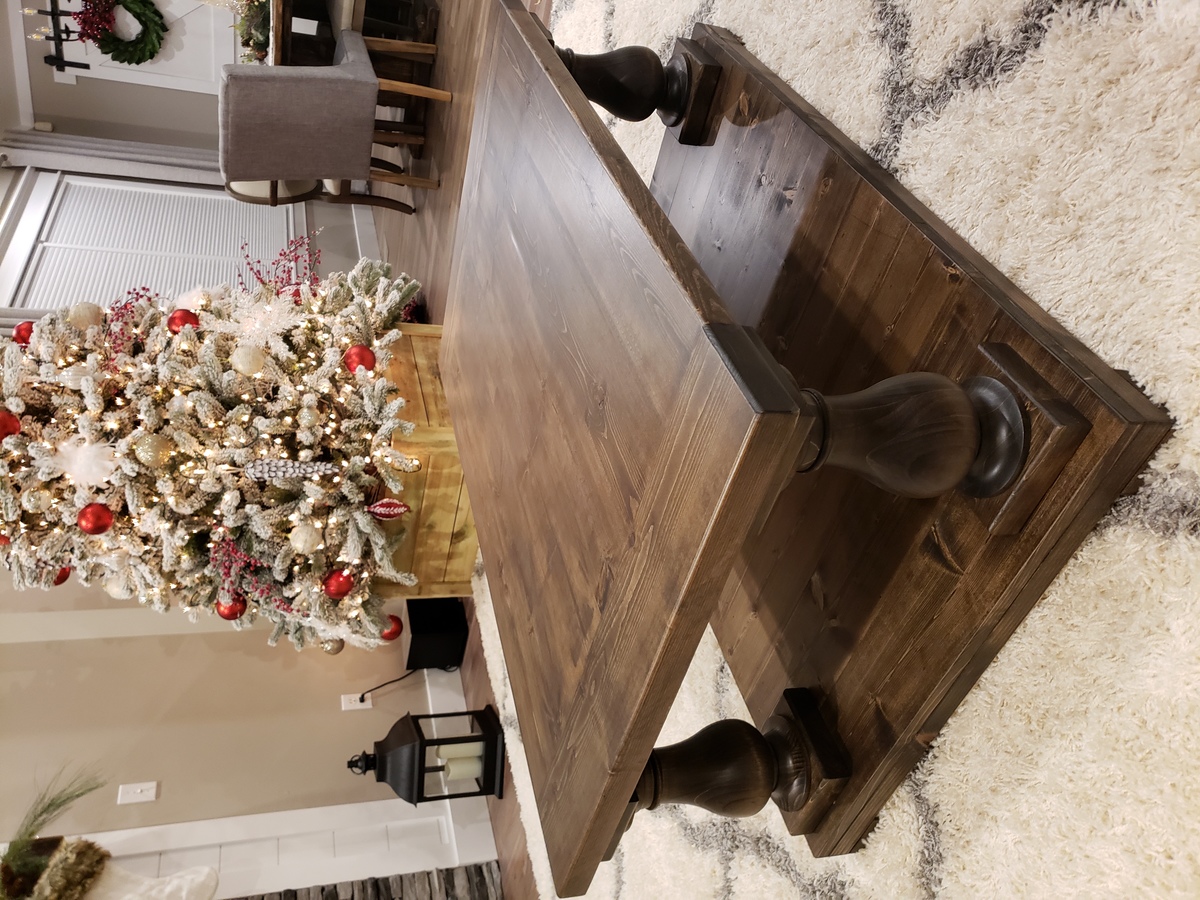
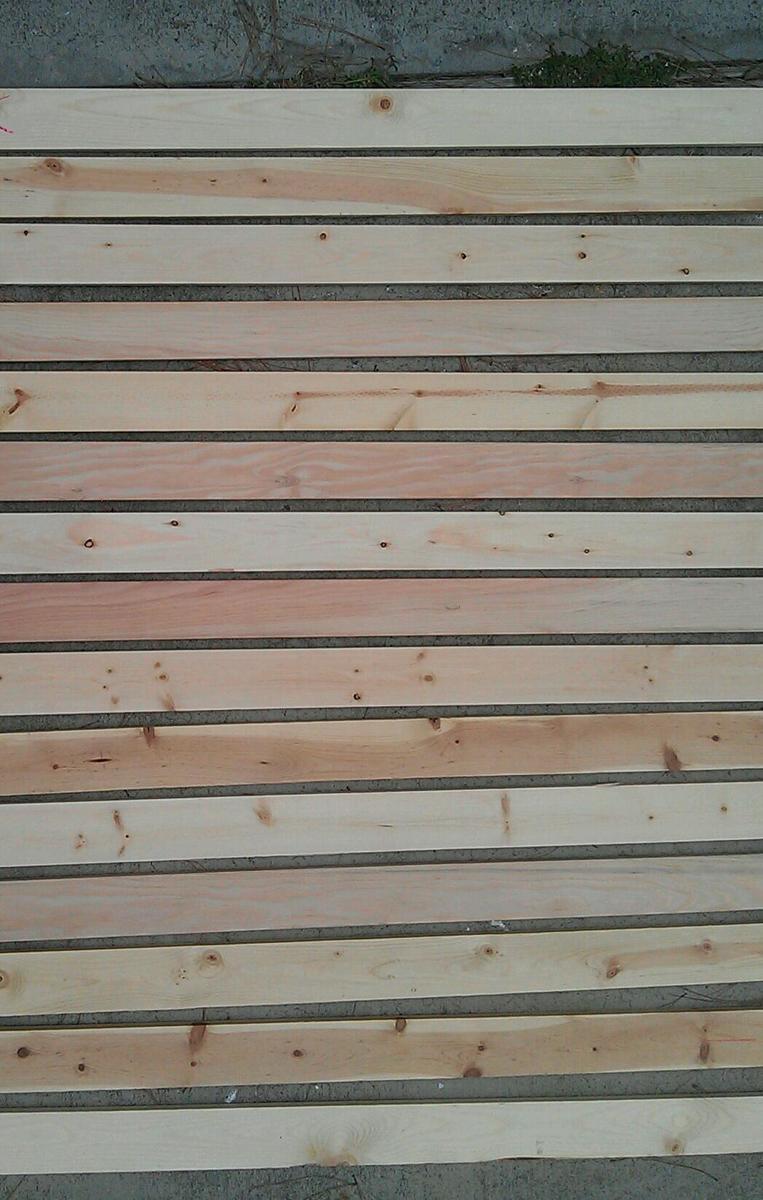
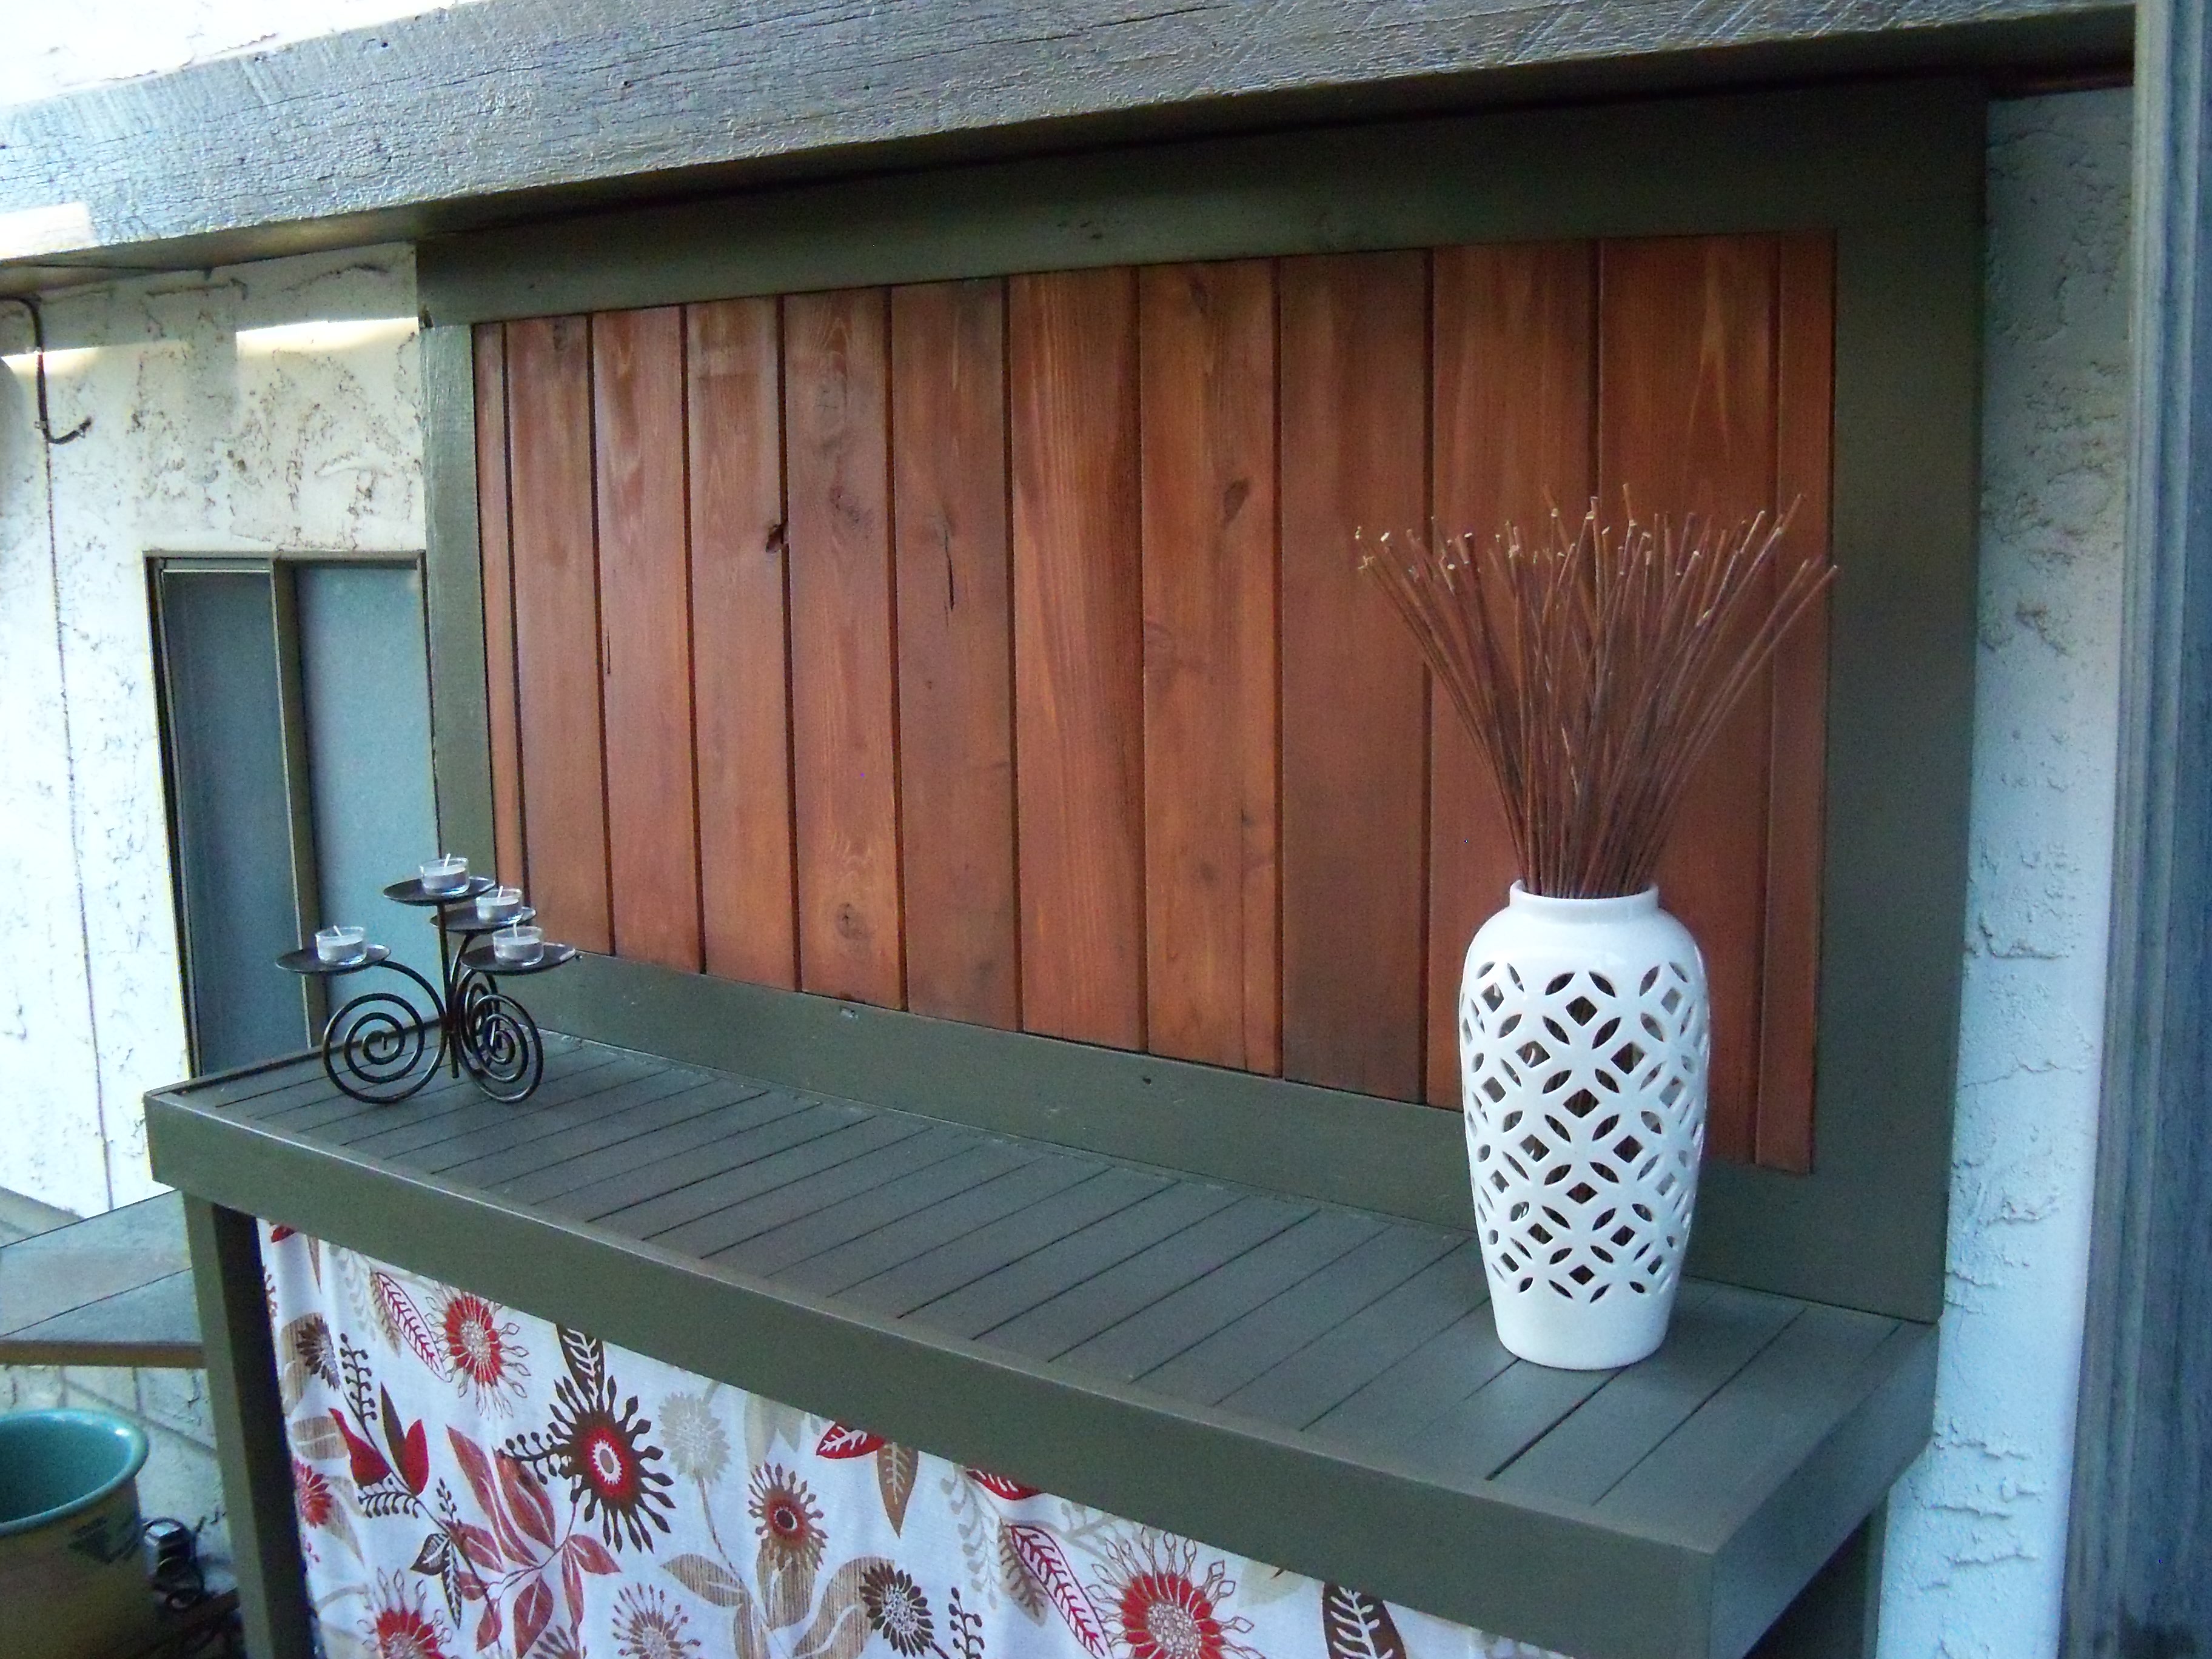
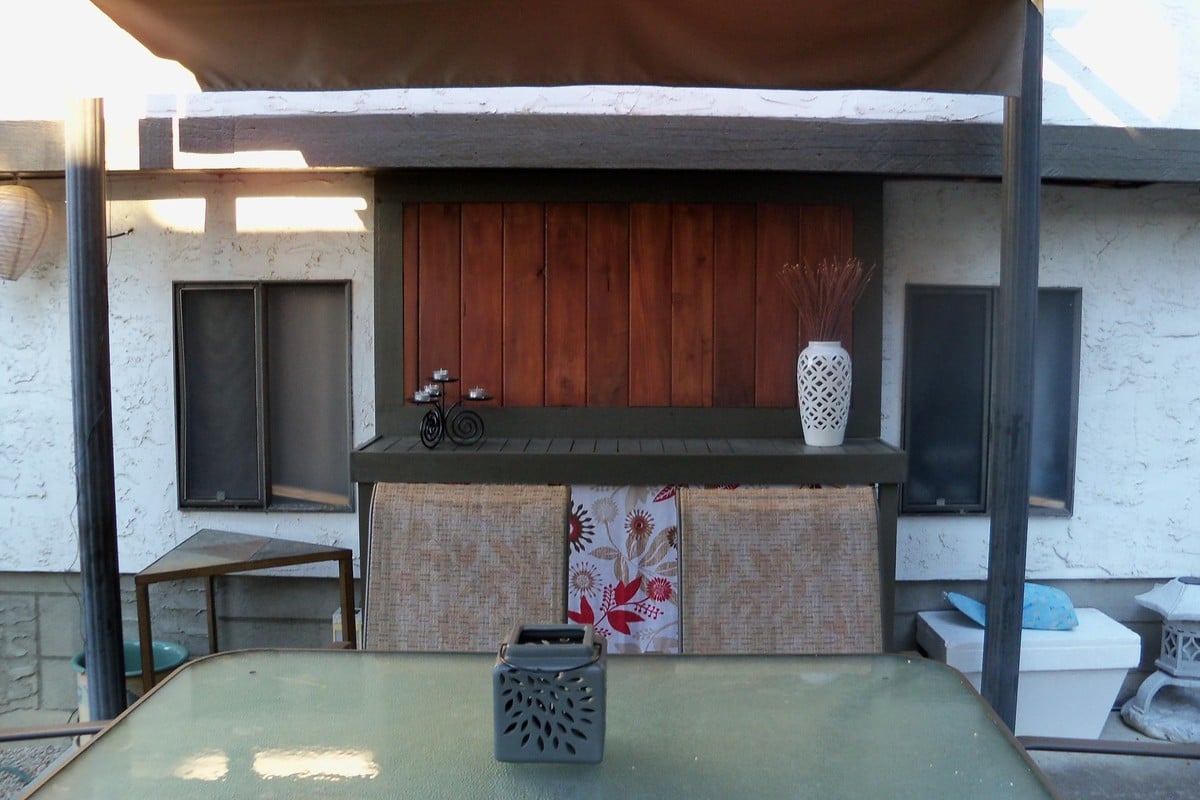
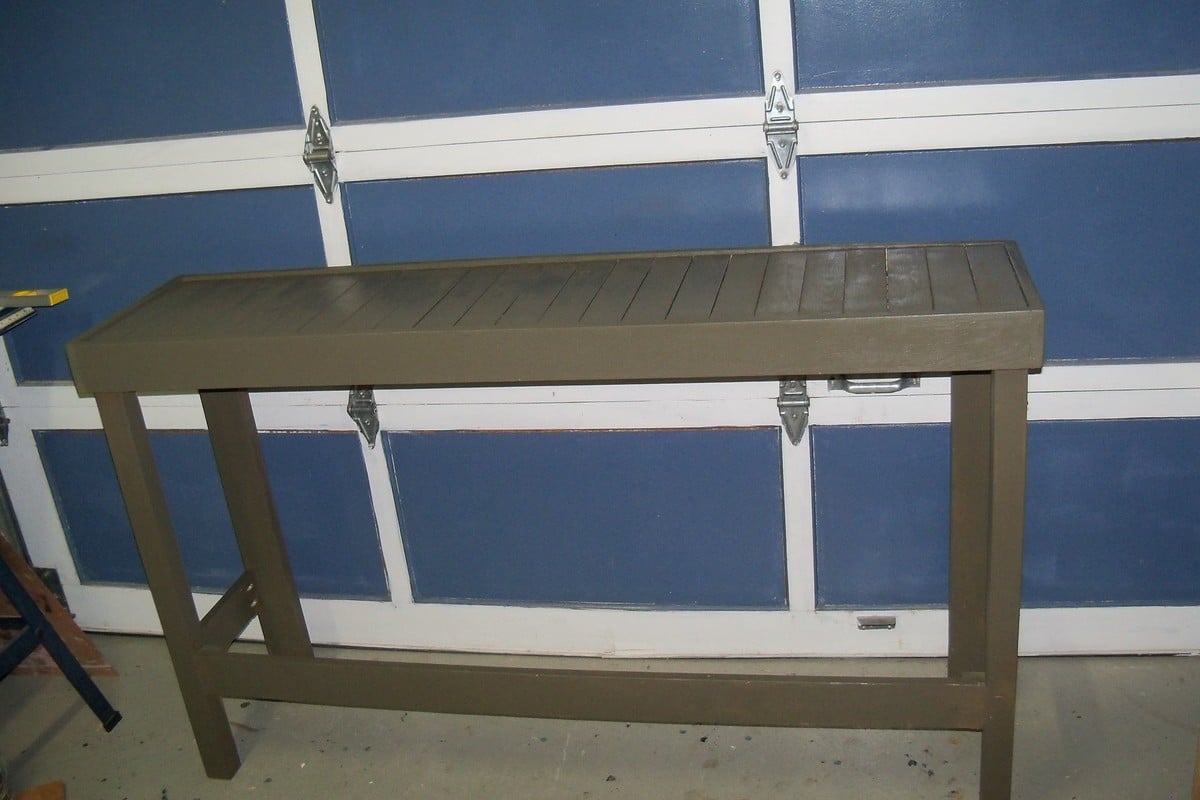
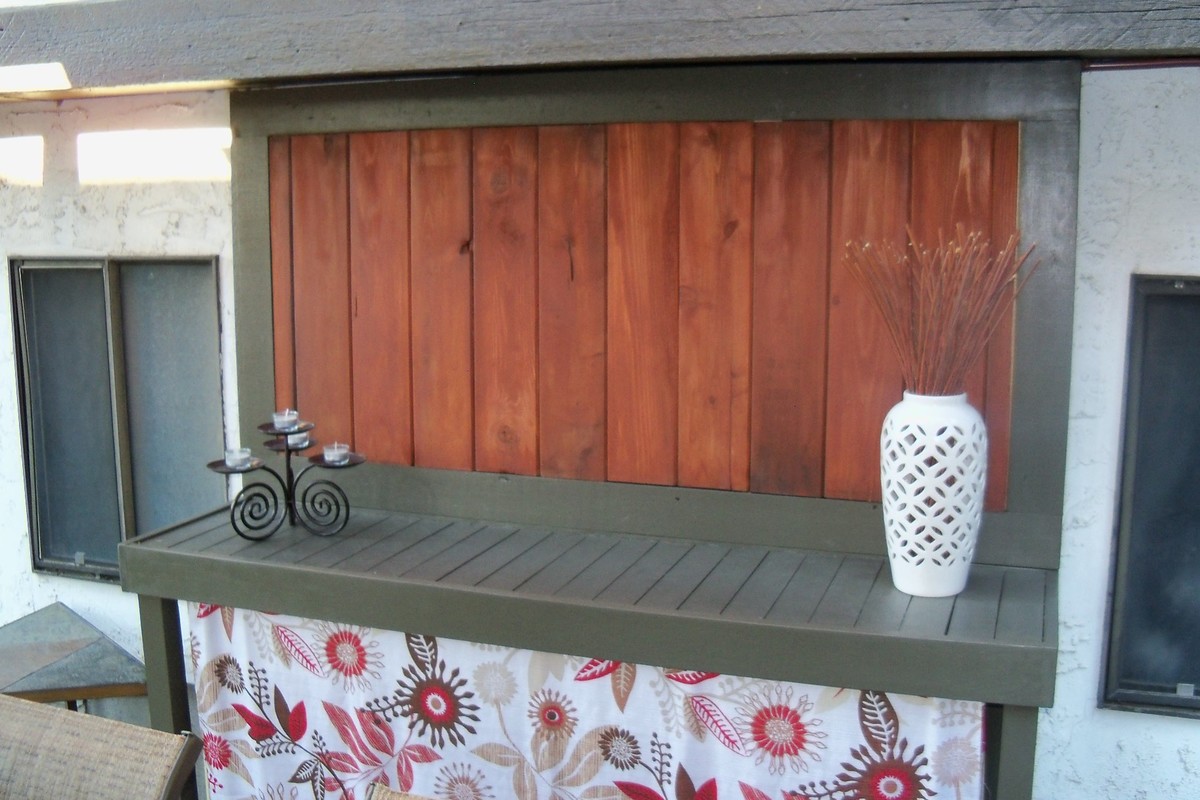
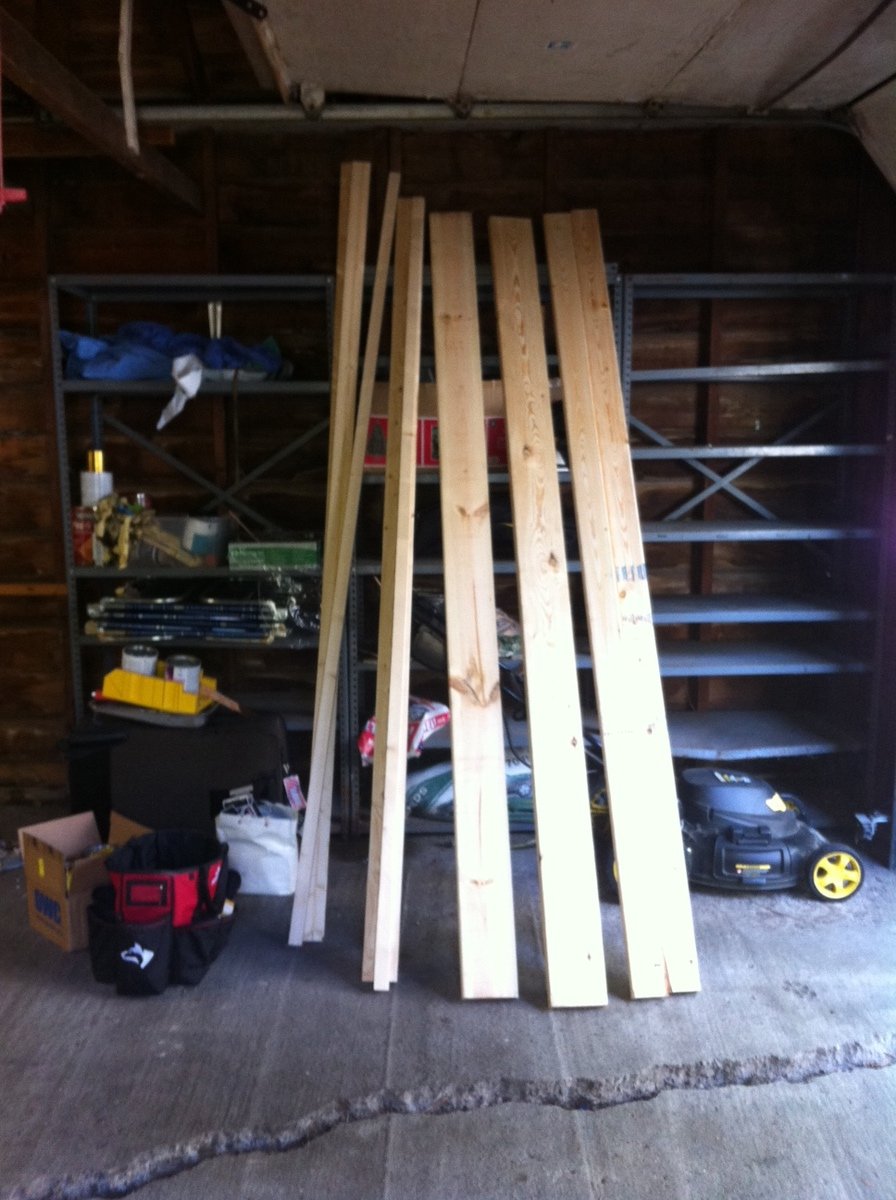
I took the 2 plans for the sofa and armless sectional and increased the size on the armless sectional by 1 seat to fill the area better. Future plans also include a bar, serving area and coffee table in the space. I bought (30) acq 2x4x8's and, not including scrap pieces, had 3 reamaining full pieces after completing the project. Total for the wood materials was $130 and I also had to buy a Kreig Jig ($37) and 2-1/2" ext deck screws so all in all about $180 for the materials


For the cushons I searched local retailors and found since we were going into the winter season a lot of local stores were selling off their patio supplies at big discounts. I found a local Home Depot selling Hampton Bay deep cushions for 75% off (normally $49.98 on sale for $13.xx). I needed 8 seats and since one was a corner I ordered 9 sets (9 backs, 8 seats).


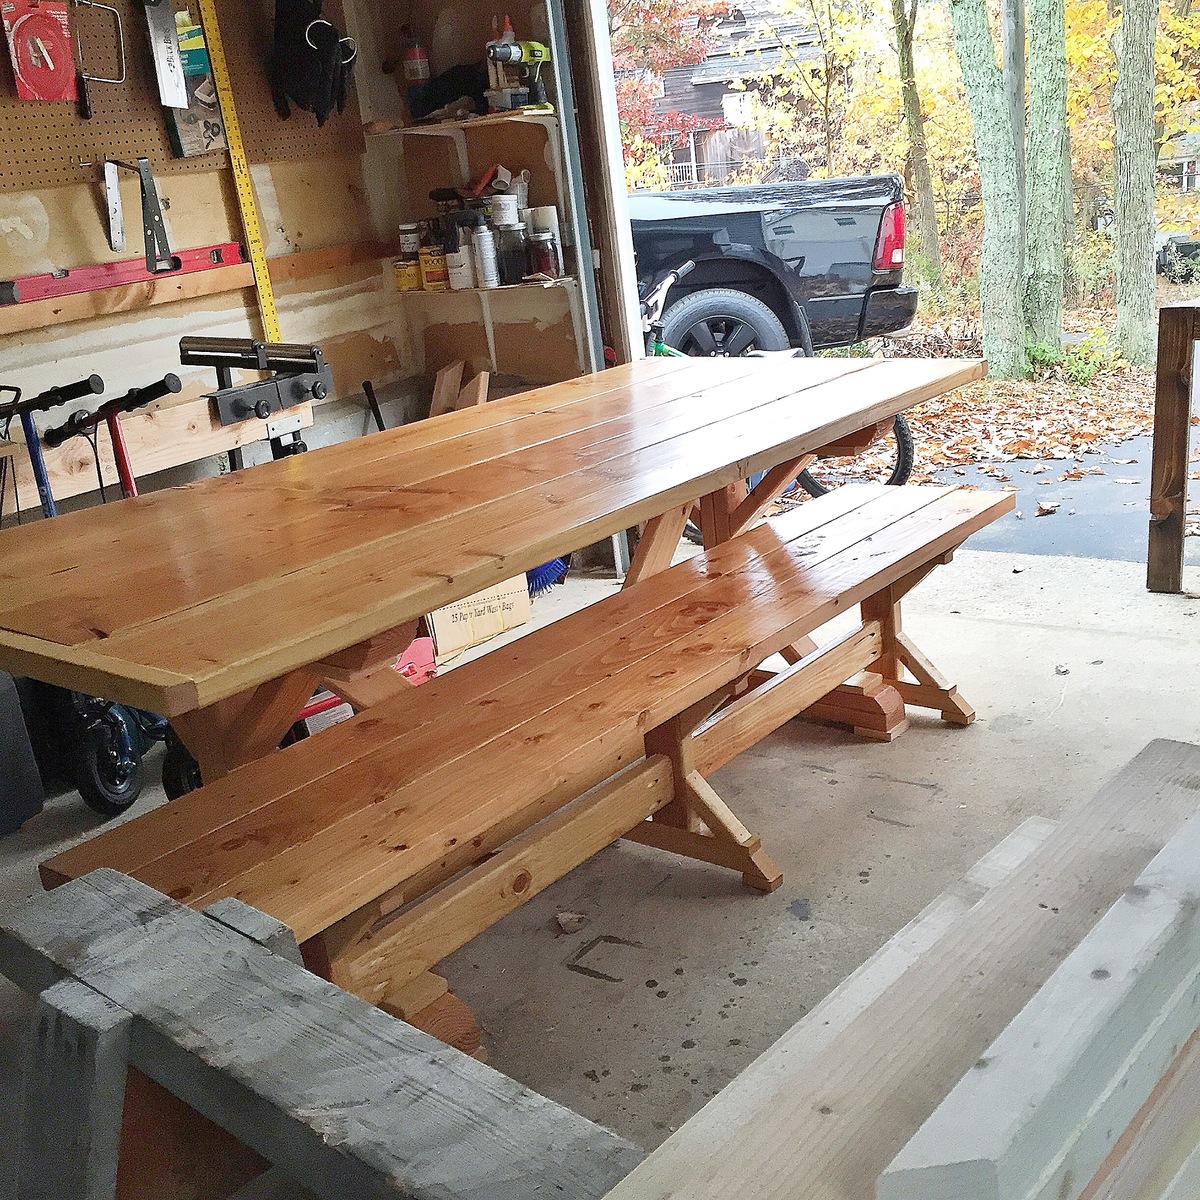
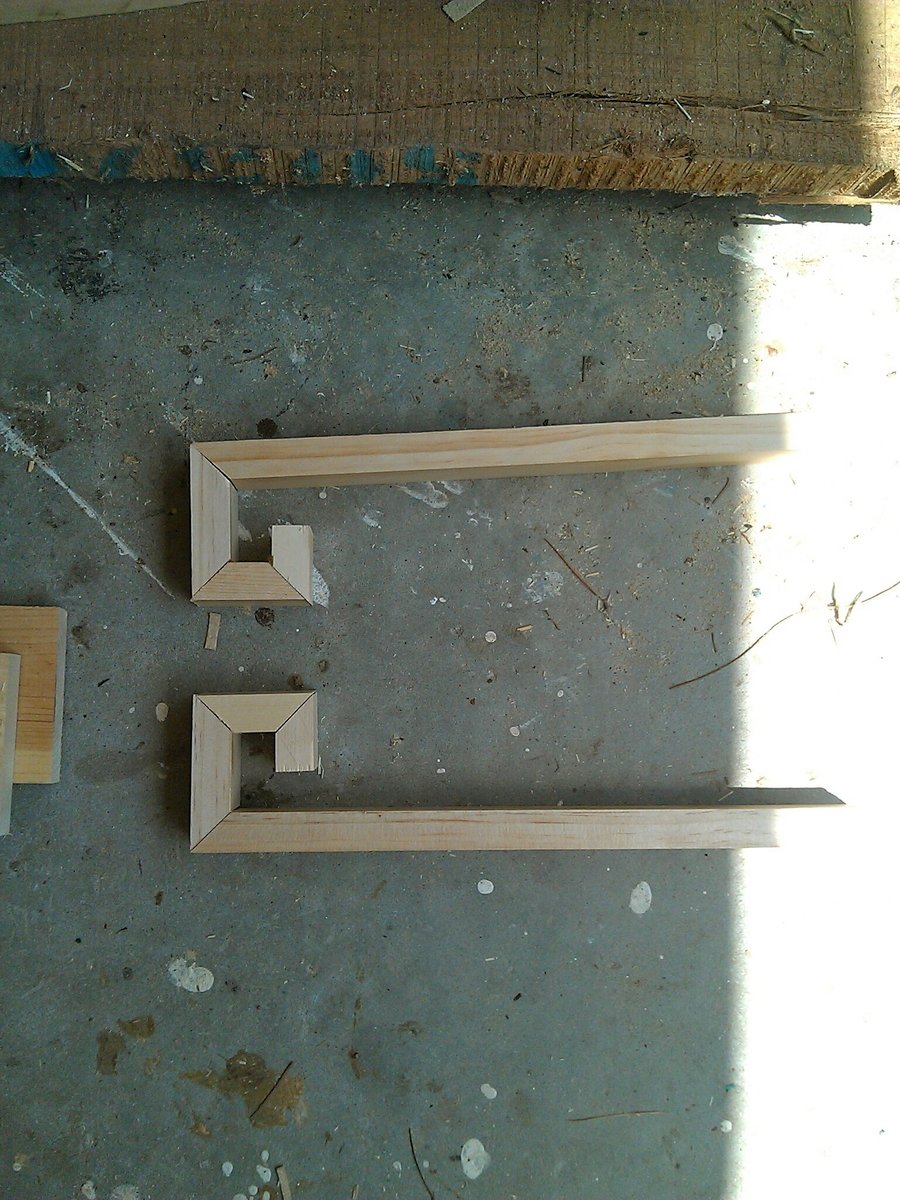
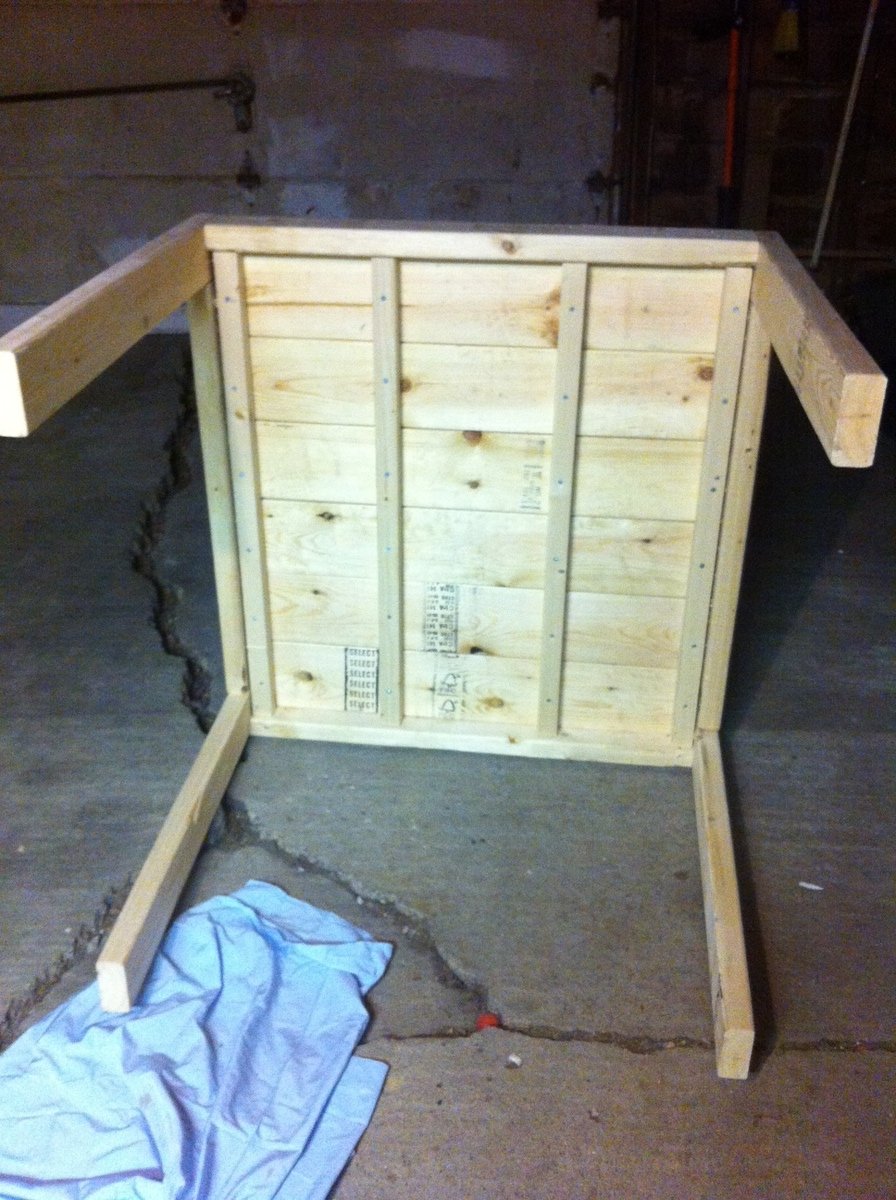
Project took me less than 5 hours pick up the wood, set up on-site shop, make all the cuts and assemble. That 5 hour timeline also included a break for dinner. The sofa sections are heavy when put together, if you plan on moving them more than once or twice a year I'd suggest putting some caster wheels on the base with locks to keep it from rolling away when being used.

Estimated Cost
$130 in wood materials, $117 in cushions (on sale) + incidentals (glue, screws)
Estimated Time Investment
Afternoon Project (3-6 Hours)
Finish Used
None
Recommended Skill Level
Starter Project

Comments

kbdesigns

Tue, 11/17/2015 - 17:58

Looks like some nice pieces of furniture you have here! I actually built the same sofa from that same plan as our outdoor furniture, along with some chairs built with the same style to match. Mine is a few months old and I'd like you give just a tiny bit of advice (if you'll accept it lol) so yours doesn't end up like mine... On the back, top horizontal support (the ones that traverse the entire length of the sofa) I would put 1-2 vertical support posts spaced evenly. After just a month of having mine I started to notice a slight sag in the board :( No doubt after 6 months to a few years it would become pretty bad. Its just a matter of cutting a couple scraps and screwing them in, so its a pretty simple fix! I hope it helps, and keep up the tool collection and builds!


-Jeremy

mdj1281

Wed, 11/18/2015 - 04:09

Funny you should mention that, I was thinking it while showing it off to the in-laws a few nights ago. I'm a big guy and leaned back on it and naturally it had movement. I was torn between a 2x4 on end running under the rear piece or horizontal supports... I didn't want there to be any undesirable spots to sit in if my guests leaned back. So, since you did this addition does it effect the seating area?


Good call though and something I'm going to do!


Thanks!

Christmas present from my husband!

Submitted by Anonymous (not verified) on Thu, 01/03/2019 - 18:03

My husband made this for me for Christmas. He changed the size a bit but overall stuck to the plans. He used Jacobean stain by Varathane and 3 coats of matte poly by Varathane as well. He used an HVLP sprayer to apply the poly and I think that made a huge difference in the smoothness. 

Built from Plan(s)
Estimated Time Investment
Weekend Project (10-20 Hours)
Finish Used
Jacobean by varathane 2 coats on top with paint brush and used rag to wipe away.
Matte finish by varathane for poly. 3 coats with HVLP sprayer.
Recommended Skill Level
Intermediate

Comments

Farmhouse table on casters

Submitted by Anonymous (not verified) on Fri, 09/30/2022 - 17:17

I bought Ana’s book and combined the kitchen island and the farmhouse table to create the farmhouse on casters. This project was built for a small apartment so that you can use it as a workspace or dining table and then roll it out of the way. The table is counter height so 24” stools fit neatly underneath.

Comments

Farmhouse Bed - King.

Submitted by Shayna on Sun, 08/21/2011 - 14:50

My very first project! In love with this site & my new bed- have caught the building bug!

Estimated Time Investment
Week Long Project (20 Hours or More)
Finish Used
Antique white paint, Minmax "Walnut" stain.
Stained wood first, painted 3 coats of white, sanded in between each coat, finishing off with a last coat of stain.
Recommended Skill Level
Beginner

Comments

bhghome

Sat, 10/22/2011 - 00:49

Looks awesome! I'm going to be trying to build this exact bed this weekend. Did you just lightly sand in between coats, and did you finish it with a polyurethane coat? This is the exact finish I'm going for, but I've never tried it before.

Console Table

This table was inspired by the pottery barn Jocelyn console table. I made some of my own changes and it is built out of pine. The drawers have full extension slides witch makes the hole drawer excesable.

Estimated Cost
$150
Estimated Time Investment
Weekend Project (10-20 Hours)
Finish Used
It's painted with general finishes milk paint the color is basil and its glazed with general finishes vandyke brown glaze. The top is stained in light walnut with the vandyke brown glaze over it to make the color that it is.
Recommended Skill Level
Intermediate

Comments

Modified Trestle

My vintage table collapsed, so I built it new legs using the farmhouse plans. I didn’t want to lose the expandable leaves however, so I decided to reuse the top and add a second trestle so the table can still expand. I sanded and restained/polyed the top and leaves and cut a space in the center support to hold the spare leaves. I’ve never seen a table like it and I’m very proud.

Estimated Cost
$50
Estimated Time Investment
Weekend Project (10-20 Hours)
Finish Used
Provincial
Recommended Skill Level
Intermediate

Dressor project

Submitted by Anonymous (not verified) on Fri, 10/14/2022 - 16:57

First Dresser project using the plans on this site.
My wife is very happy with the result and so am I!

Built from Plan(s)

Comments

Tryde Media Center!

Submitted by perchik on Wed, 08/24/2011 - 20:04

I finally got the tryde media center built! This is actually the last piece I built but the first one I finished. I've made the rest of the tryde tables and I'll upload those later.

You'll notice that I made some cosmetic modifications to the hutch. I extended the top trim out and wrapped it around the sides. I also embellished the trim at the base of the hutch. Finally with the hutch, I changed the plans to allow me to break it down into smaller pieces to move. The top piece is basically a box with trim. Then the back boards break down into two sections of four boards and the sides come off. Everything is attached by screws so I can undo it later.

I slightly modified the base unit so that the top boards are 48" long [so I could get two from an 8' board] and the breadboard piece is a 2x6 instead of 2x4 to compensate for the lack of width a little. [This modification wasn't planned until I had the base built and realized I bought 8' 2x4s instead of 10' boards.]

Additionally, on all of my tryde pieces, instead of untreated 4x4s I used a 2x4 1x4 2x4 sandwich and modified all the plans to account for the extra width.

The first picture is the unfinished base.
Second is the top piece of the hutch.
Third, the completed unit, unstained.
Fourth is a detailed pictures of the molding that went at the bottom of the sides of the hutch.
Finally, there's the back boards I used, just because I think they look neat.

After finishing, I ran a rope light around the top of the hutch [hidden by the molding], for some ambient overhead lighting. I also did a lot of cord organization on the back side of the base to hide all the cords.

Estimated Cost
~150
Estimated Time Investment
Weekend Project (10-20 Hours)
Finish Used
I sanded with 120 and 220 grit BEFORE assembling. This made it so much easier to finish. I'd strongly suggest doing this if you can.

The stain is Cabot "English Leather", which is one they have to tint for you at the desk.

I finished with a spray can of shellac. I liked how it came out, but it was too expensive for me. In retrospect I would have just done it right with a can of polyurethane.
Recommended Skill Level
Intermediate

Mini Media Center

Miniature Media Center- Set up under camp loft bed. Was the perfect finish to the room. The boys love their new area where they can control what they watch and for the first week or so I rarely saw them in the house....it was so quiet. They go the lowes build and grow clinics each month and this was a great place for them to display their projects.

Instead of using 1x6's and 1x8's I simply bought one 4x8 sheet of plywood and had it ripped down to 5.5 and 7.5 inch strips. I then added rounded edging to cover the edges on the front.

Estimated Cost
$85
Estimated Time Investment
Weekend Project (10-20 Hours)
Finish Used
Painted a bright red- not sure of color- I got it off the opps rack and it went perfectly.
Recommended Skill Level
Intermediate

Comments

spiceylg

Tue, 09/17/2013 - 06:59

Love this whole area; the beds, adirondack chairs, mini media wall. Lucky kids!

New Farmhouse Kitchen Table

Submitted by tbladecki on Mon, 11/23/2015 - 09:21

This is 84" long and 41" wide. I built this to fit our family. We are a family of 7 and our old table was just too small. It would not hold the food or all the people, so we came up with this. It has plenty of room and there is no more buffet style eating.


The build was pretty easy, the finishing took some time. All in all happy with the results. Looking forward to building the bench and chairs. This entire build is made from constuction grade pine off the shelf at the big orange box store.


Cost was under $100 for just the wood but the finishing items I did not ahve so I had to purchase. The finsih was a 80/20 mix of gloss minwax poly and miniral spirts. It worked very well and I am very happy with the outcome. I did learn a few things along the way, 1) off the shelf cheap lumber is not very stable and 2) this thing is HEAVY

Estimated Cost
150.00
Estimated Time Investment
Week Long Project (20 Hours or More)
Finish Used
Minwax Ebony & Jacobean (Ebony base, top Jacobean) 1 coat for all

Wipe on poly, 4 coats base and the top was about 8
Recommended Skill Level
Beginner

Great idea, though I added to your design

Submitted by Anonymous (not verified) on Fri, 01/11/2019 - 19:39

Well for starters, we wanted a bed with a slide. There are few options that a 19mo would not fall off/out of. (Yes are getting a tad ahead of ourselves). My wife liked the design, but was hesitant about the open part so we included a removable top cover with a look-out window. I also changed how the hinges mount so as to allow the flap to lower all the way down. Now we can simply slide the mattress out to make the bed, and put back as well as insert our son through the slot when he is asleep. I also added a platform in the corner for the stairs and slide to attach, and made the entry point to the bed at the foot of the bed and not the back side. This made the opening more stable. The room does not allow for much access to the other end of the barn so for appearance sake, we added a partial cover for the play area to make it still look like a barn from the side. I was able to make everything in sections, paint outside, then bring in and assemble. I made a "prop" of sorts, to assist in positioning the bed frame while I brought in and attached the head-end of the barn. We did it in 5 days, but it was legitimately a 7 day job that we just overworked ourselves on. The cost estimate is primarily wood, screws, and paint because I already had the stainless sheet. Thank you for the basic idea, but as pics show, we modified it in many ways. 

Estimated Cost
$600.00
Estimated Time Investment
Week Long Project (20 Hours or More)
Finish Used
Latex Paint
Recommended Skill Level
Intermediate

Awesome Reclaimed Pallet Bench

Submitted by Me-go-Eco on Sat, 08/27/2011 - 11:01

Grabbed some pallets from a local tool shop which they were going to send to the landfill. Built us a pallet bench. We use it all the time. Very easy and fast to make. Just stacking like building blocks! Best part was it didn't cost a thing! Just a couple of screws and glue. Reduce, reuse, recycle, reclaim! You can do it too!

Follow my blog: http://me-go-eco.blogspot.com/

Follow me on Twitter: Me_go_eco

Estimated Cost
FREE!
Estimated Time Investment
An Hour or Two (0-2 Hours)
Finish Used
none
Recommended Skill Level
Beginner

Outdoor Side Table - Counter top

Submitted by mybartmart on Thu, 09/19/2013 - 01:27

This was made for a friend that wanted to cover a gas meter on the side of their house by their outdoor eating area. I built it counter-top high, with a faux hutch for the back. I really like the way it turned out, it covers the wall and works for serving food on all while looking great. I included a before picture and a picture of the table on its own.

Estimated Time Investment
Weekend Project (10-20 Hours)
Finish Used
Paint was provided to match their trim, the cedar was a custom mix I made.
Recommended Skill Level
Intermediate

Easy Heavy Duty Sawhorses

I build these from the plan for Heavy Duty Sawhorses. I preferred these for the thickness to match my butcher block desktop. 

Built from Plan(s)
Estimated Time Investment
An Hour or Two (0-2 Hours)
Finish Used
Navy Blue paint applied with roller and brush.
Recommended Skill Level
Beginner

My Rustic X Console table

Submitted by Anonymous (not verified) on Mon, 01/14/2019 - 11:11

I decided to give this a go after checking out the plans months before, and my kitchen table/floor and my foyer became my workshop and assembly area, and my dogs were absolute angels letting me do the work. This table completely transformed my living room from what it was before. I think it took me a total of two weeks to complete this table, after work and during the weekends.

Built from Plan(s)
Estimated Cost
Less than $100 in wood
Estimated Time Investment
Week Long Project (20 Hours or More)
Finish Used
Minwax weathered grey for the base and Minwax Old American for the top
Recommended Skill Level
Starter Project

Comments

Classic Adirondack Chairs - modified arms

Submitted by Anonymous (not verified) on Wed, 11/09/2022 - 19:53

I used plans from the classic Adirondack chairs and modified the arms for a wider width to place cups/glasses on them. I also curved the top as well. It was a fun project and took about a day and a half, off and on. Thank you!

Built from Plan(s)

Comments

Puppy's Toy Crate

Submitted by takahler on Wed, 08/31/2011 - 11:39

My brother announced a few weeks ago that he was going to be on the search for a new Golden Retriever puppy. Well the hunt is over and he gets to bring the puppy home today. I decided to make the puppy a "Welcome to the family" toy box. I wanted to paint it but was out voted by my kids. They liked the natural pine look, but I felt it needed a little something more. Therefore, a couple of days ago I purchased letters at Hobby Lobby, painted them and nailed them to the front of the crate from the inside out.

My sons and I also got the puppy some new toys to put in the box. We get to deliver it to her tonight. Can't wait to meet her! I posted a picture of the puppy at the bottom of this post. Isn't she cute?

Built from Plan(s)
Estimated Cost
$2.00--I on ly had to buy one 1x4. The rest I had in scraps
Estimated Time Investment
An Hour or Two (0-2 Hours)
Finish Used
just a coat of polyurethane.
Recommended Skill Level
Beginner

Comments

bcubed

Wed, 08/31/2011 - 12:16

Both the puppy and the crate.. What a wonderful idea for a new puppy.. will learn soon that thats where all the goodies are kept.. Best of luck to the new puppy "dad".. great work "auntie"..

StacieM

Sat, 09/03/2011 - 10:41

Our dogs toys are always all over the place and this is a great idea to have the toy box on casters! This will be going on my to-do list. Thanks for the post!

Farmhouse table- love it!

Submitted by DogDoc25 on Sat, 09/21/2013 - 13:26

I made this table because I have a very small house and needed a table that was more of a compact size. This table was perfect for that. I also love the farmhouse style. Originally, I didn't realize how much my screws were going to show on the outside, but I actually like how it looks, with the mix of hardware and wood. This table is very heavy and thankfully ended up sturdy! I used a compound miter saw (which I LOVE!) to cut the wood for this project which made it a lot faster than cutting with my jigsaw like I started out with. I bought the wood from home depot, and it took about a whole afternoon to cut the wood, sand, and construct and then about 2 more hours to stain and put the polycyrlic coats on. I did have a little trouble getting the legs on by myself since I had to hold them in place while I was screwing them on, and it was awkward and more difficult than if I had someone to help me hold them while screwing them on. But overall, not too difficult and love how it turned out!

Estimated Time Investment
Day Project (6-9 Hours)
Finish Used
1 coat of wood conditioner- let it dry for about 30 minutes
1 coat of minwax dark walnut, (which I loooove) let sit for 20 minutes then wiped off, let that dry overnight
2 coats polycrylic
Recommended Skill Level
Beginner

2x4 Desk

Submitted by new2wood on Sun, 11/29/2015 - 20:26

Modifications adopted from two other posters.

Built from Plan(s)
Estimated Cost
$37
Estimated Time Investment
Weekend Project (10-20 Hours)
Recommended Skill Level
Beginner