Baby changing table
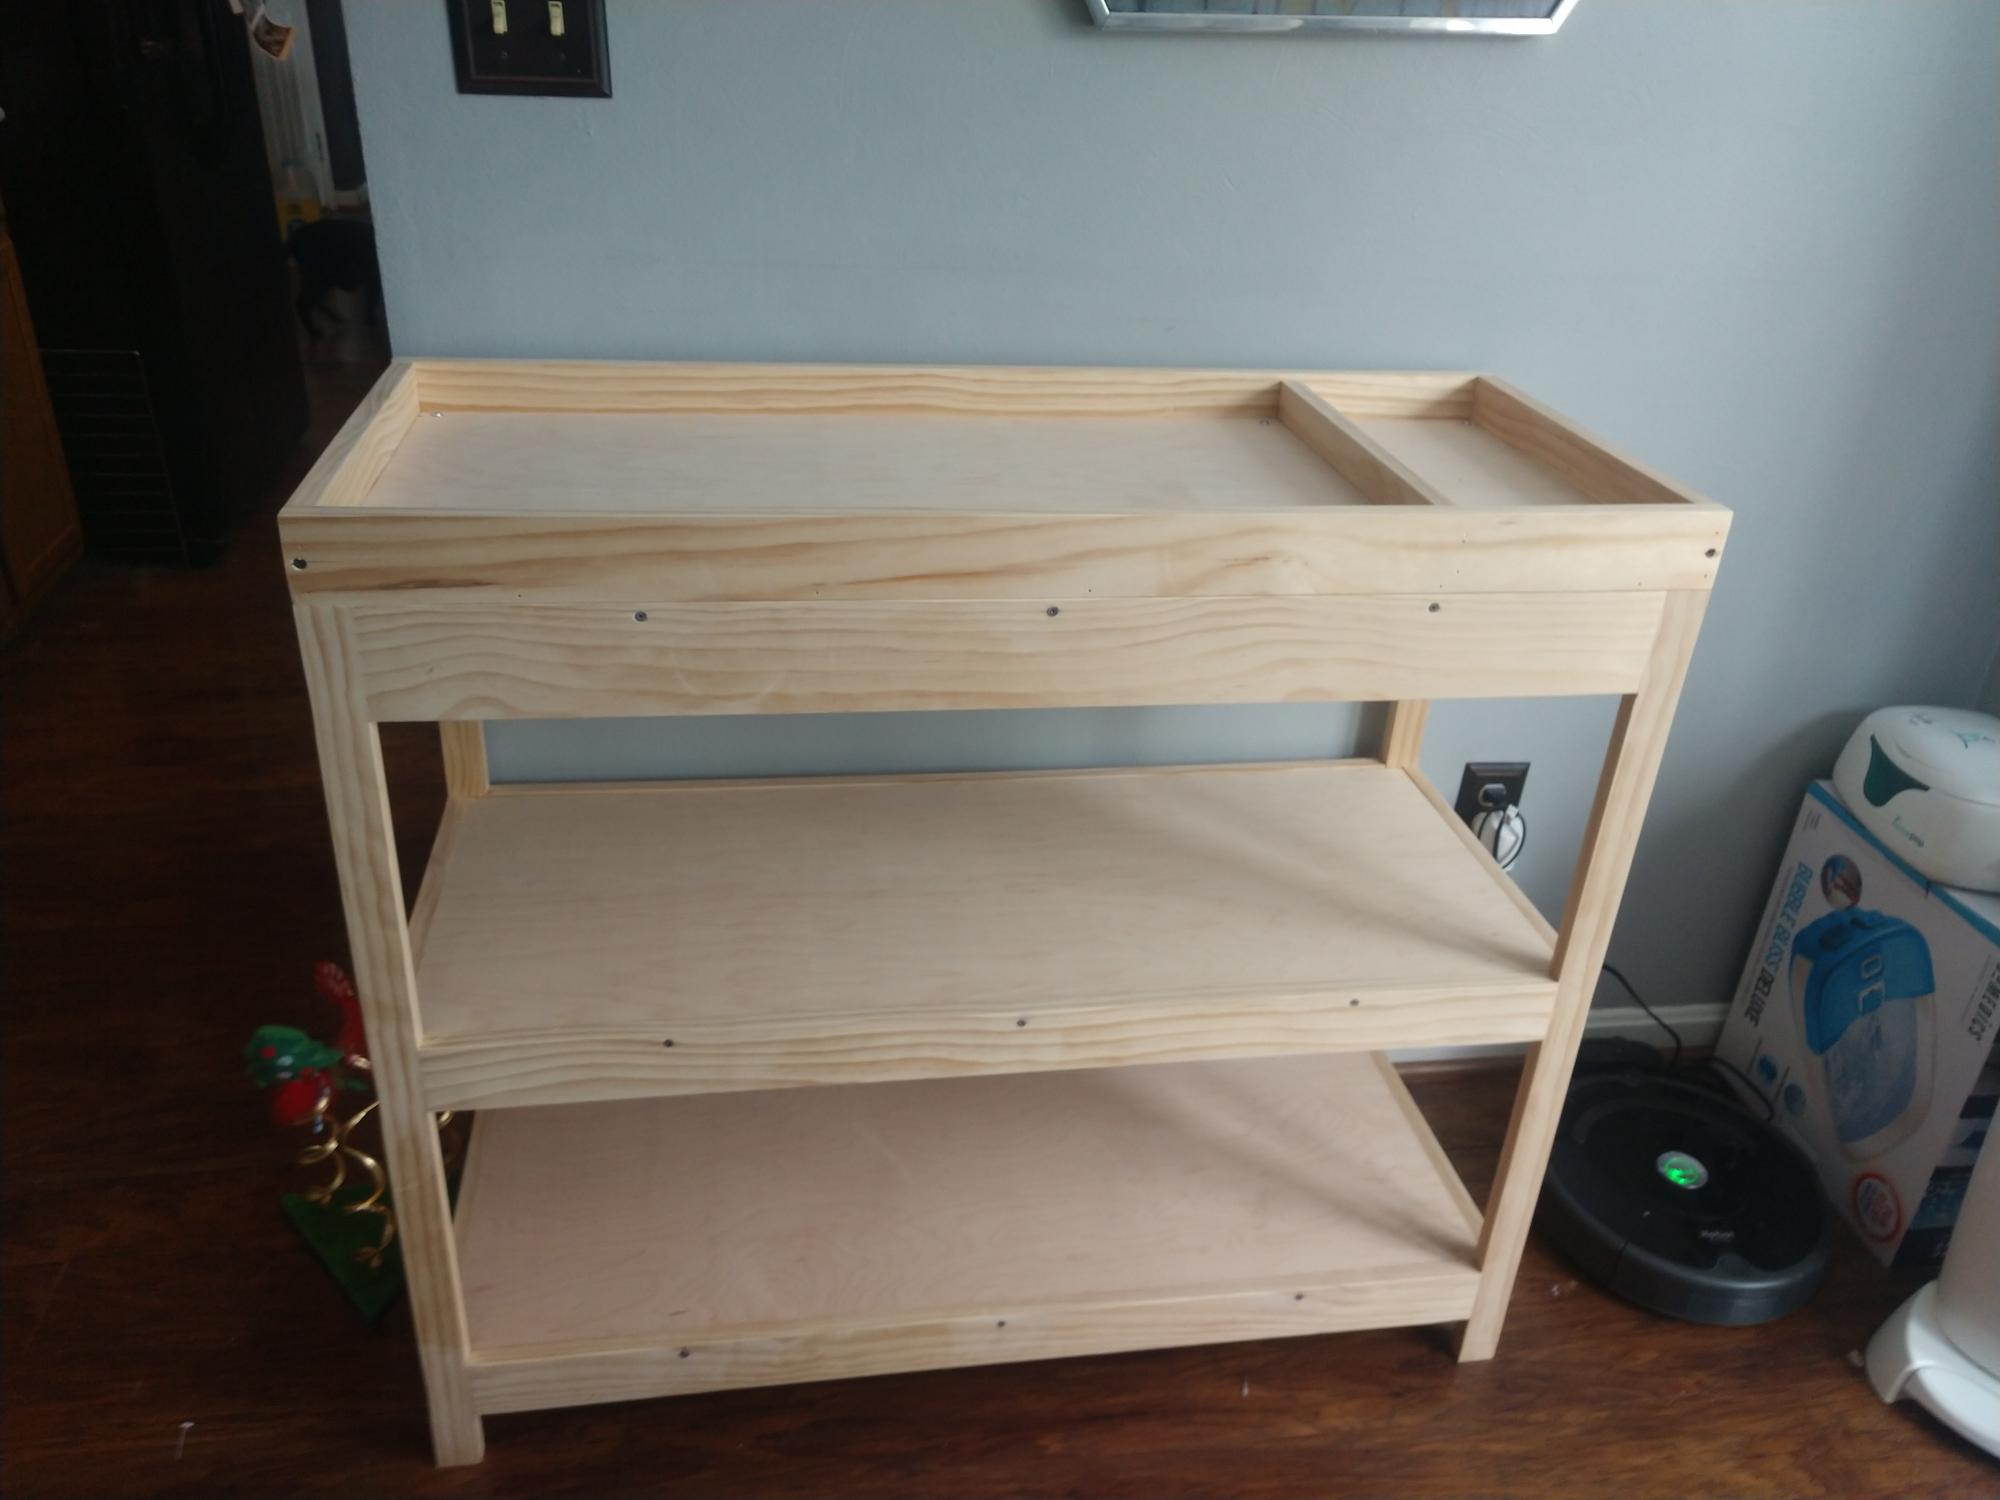
Built this changing table for my granddaughter. I used select pine. My daughter has not decided if she wants to stain it or paint it yet. I pocket hole screwed the joints. It is very solid.
Built from Plan(s)
Built this changing table for my granddaughter. I used select pine. My daughter has not decided if she wants to stain it or paint it yet. I pocket hole screwed the joints. It is very solid.

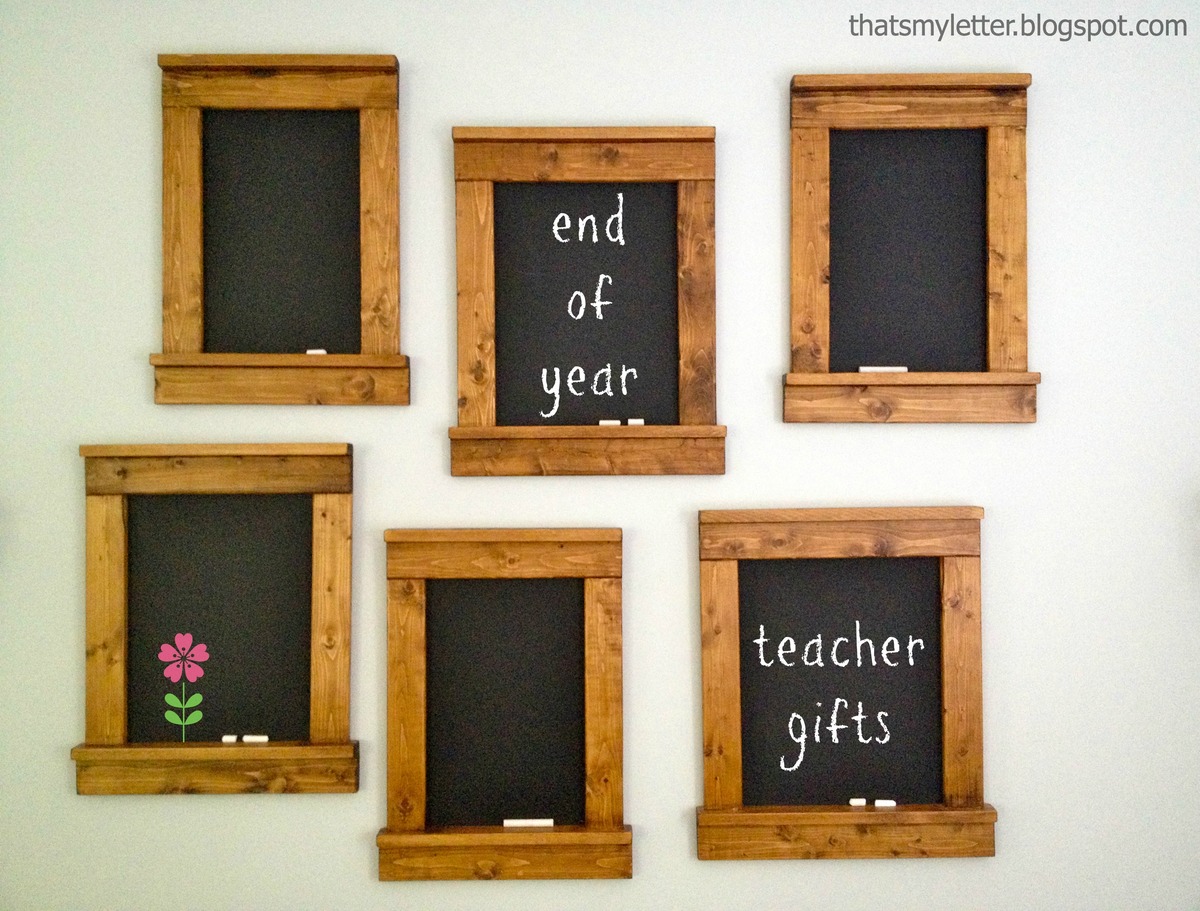
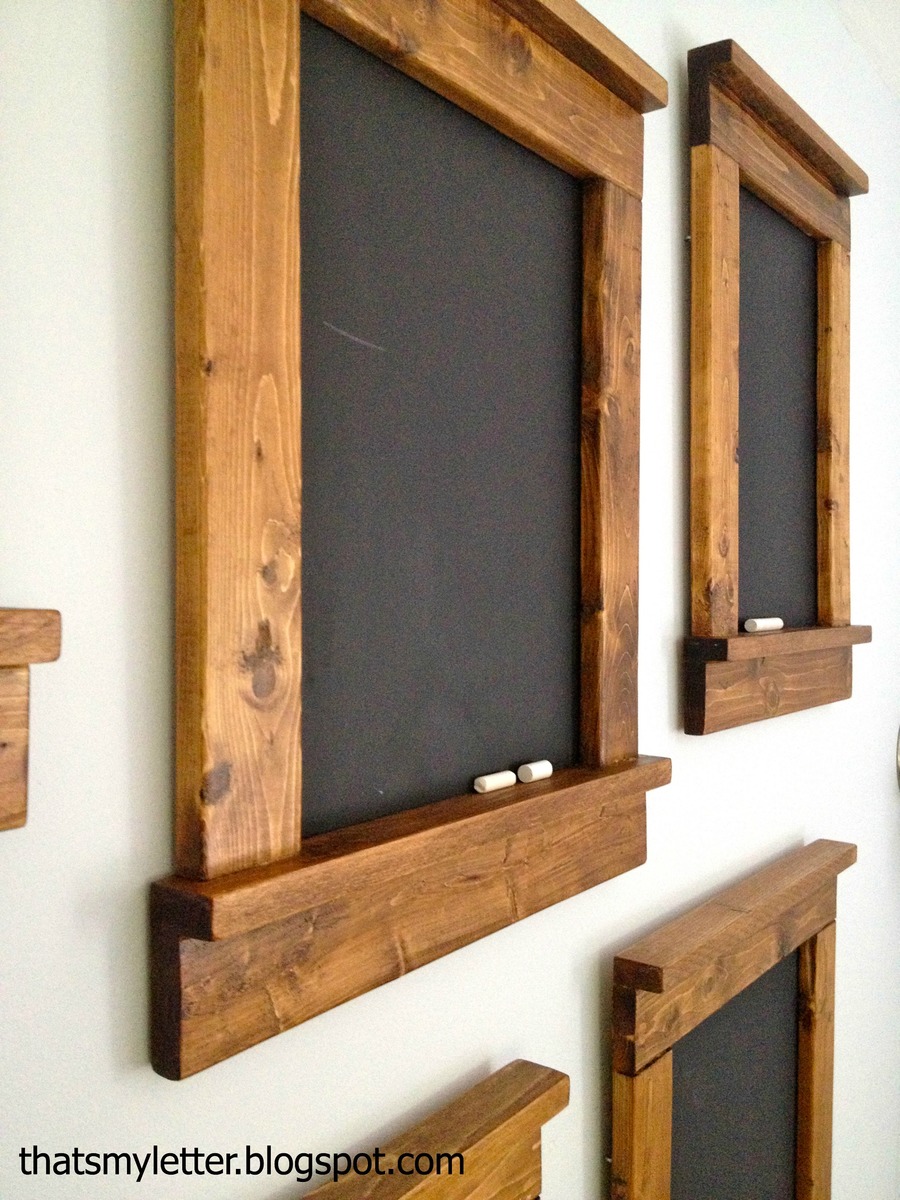
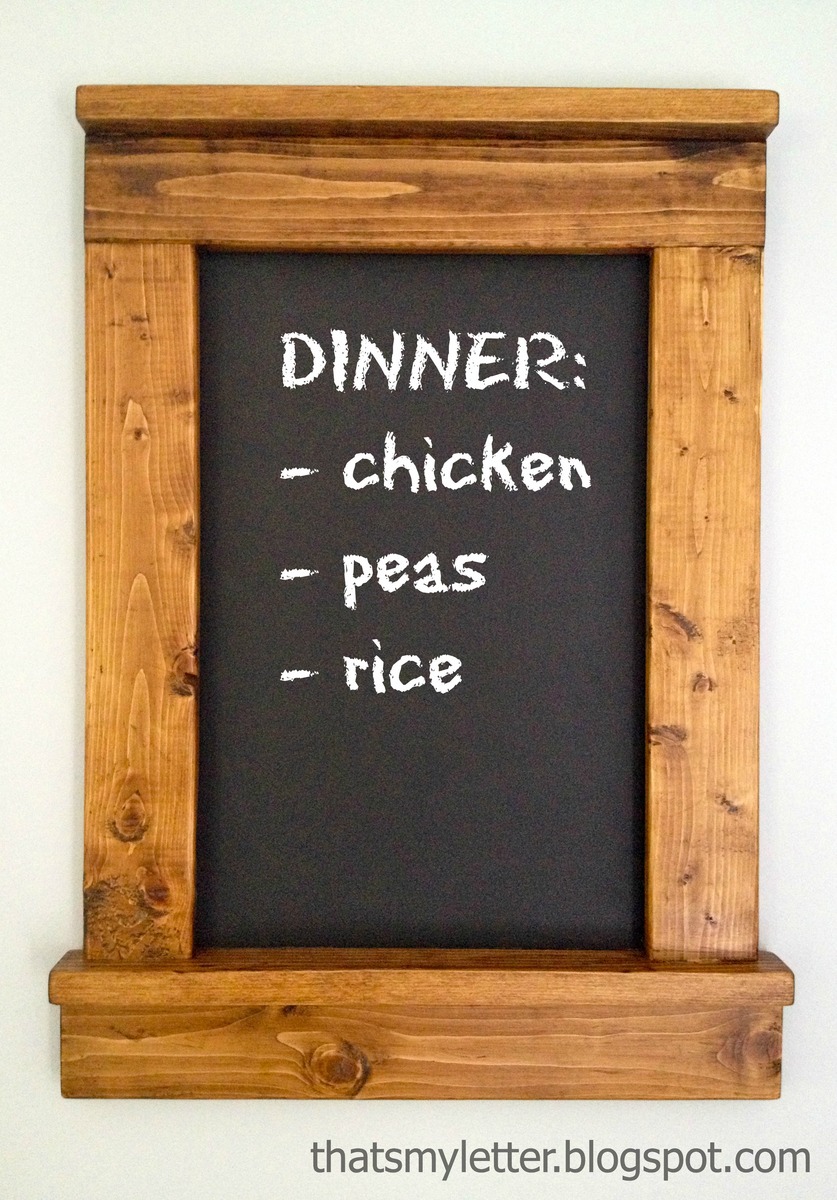
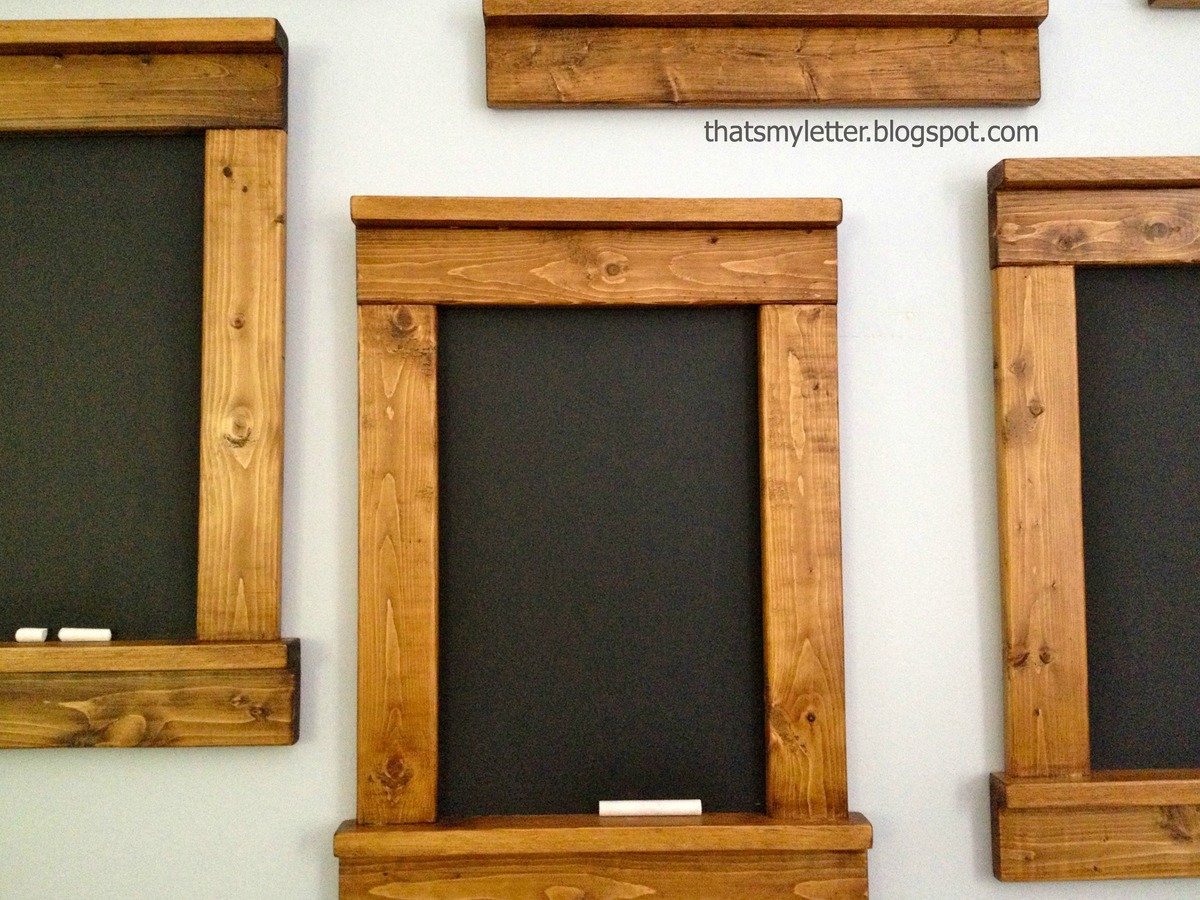
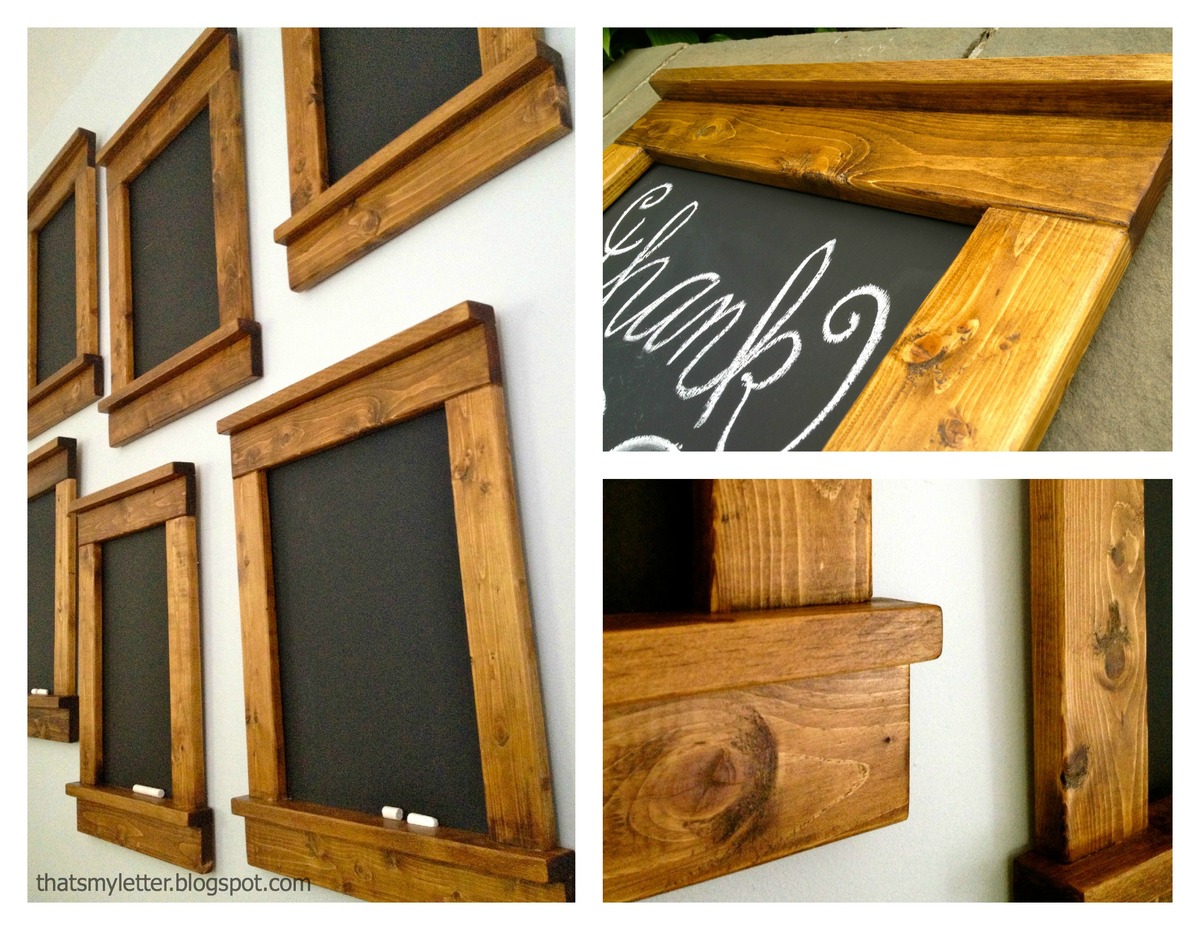
An easy end of the year teacher gift - framed chalkboards. I made these using furring strips and 1/4" plywood for about $5 each.
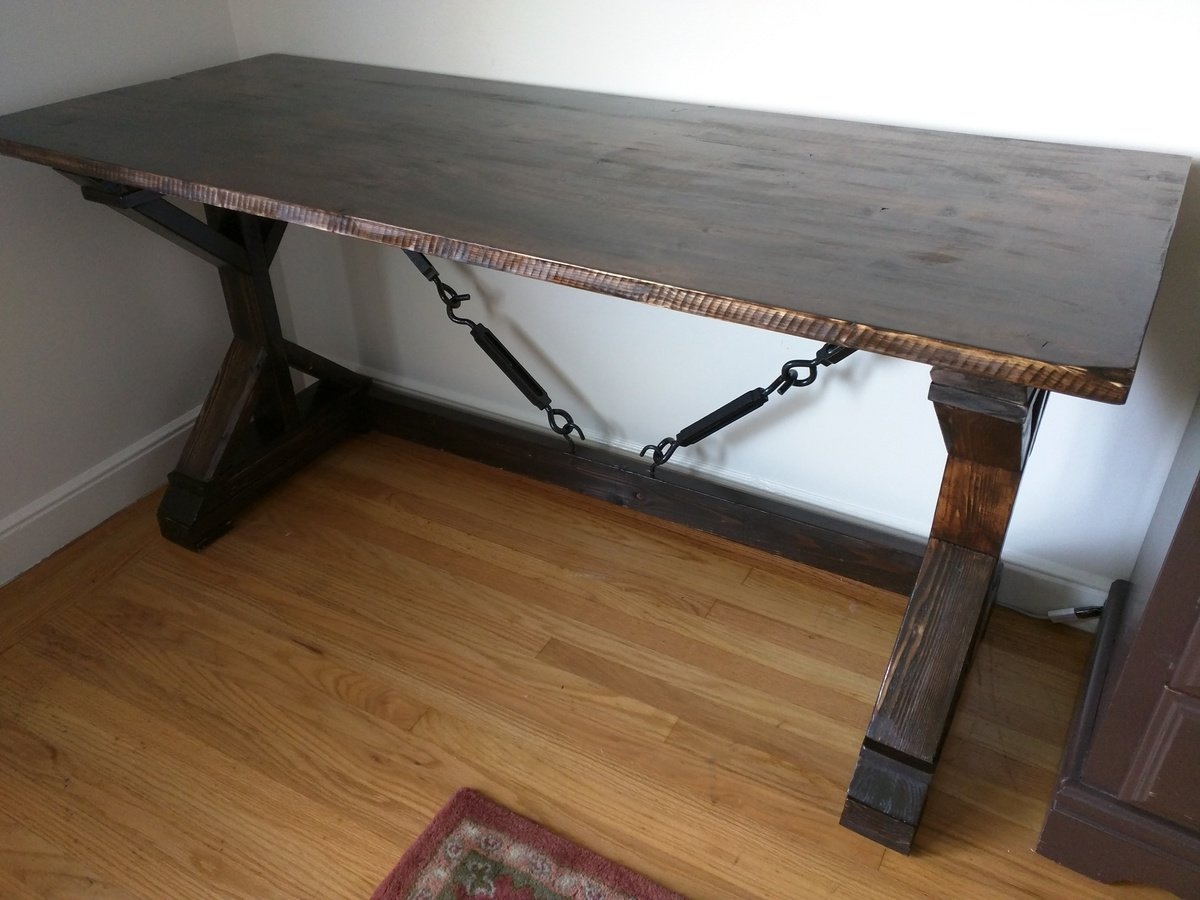
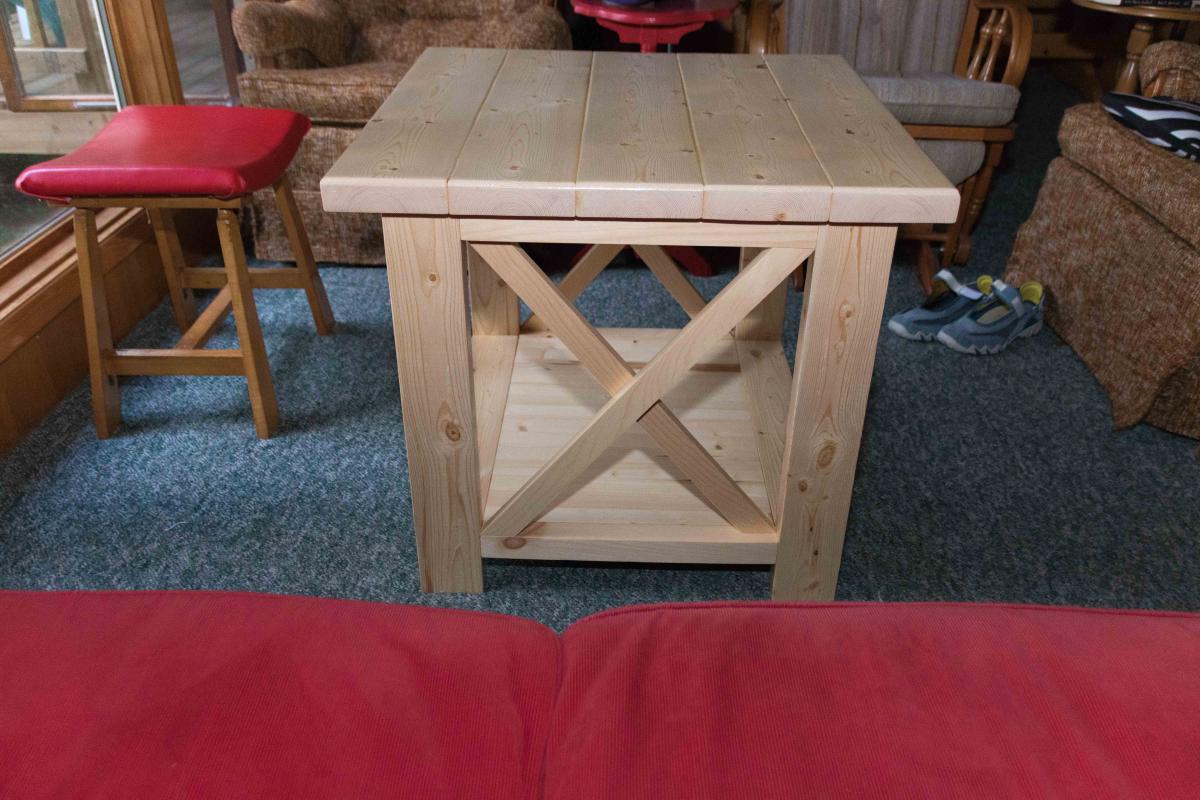
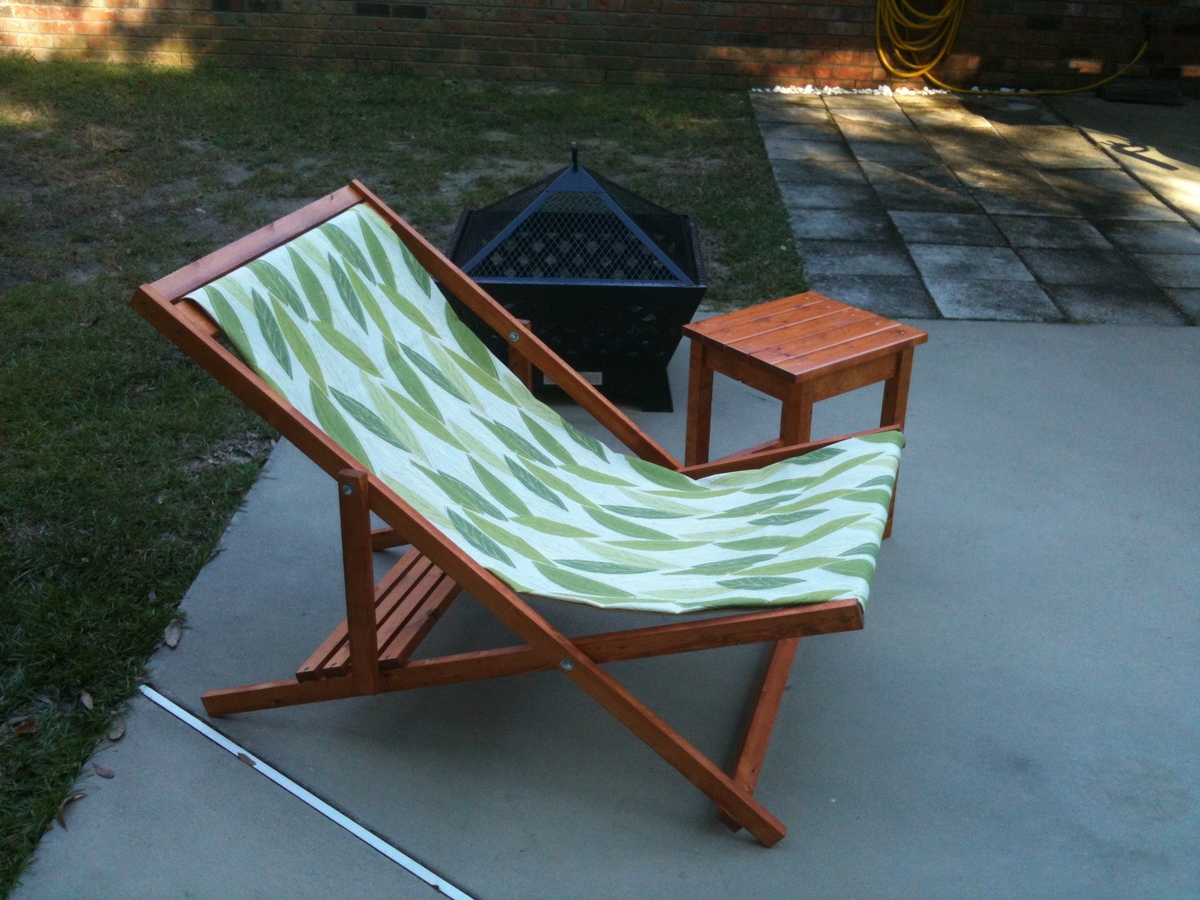
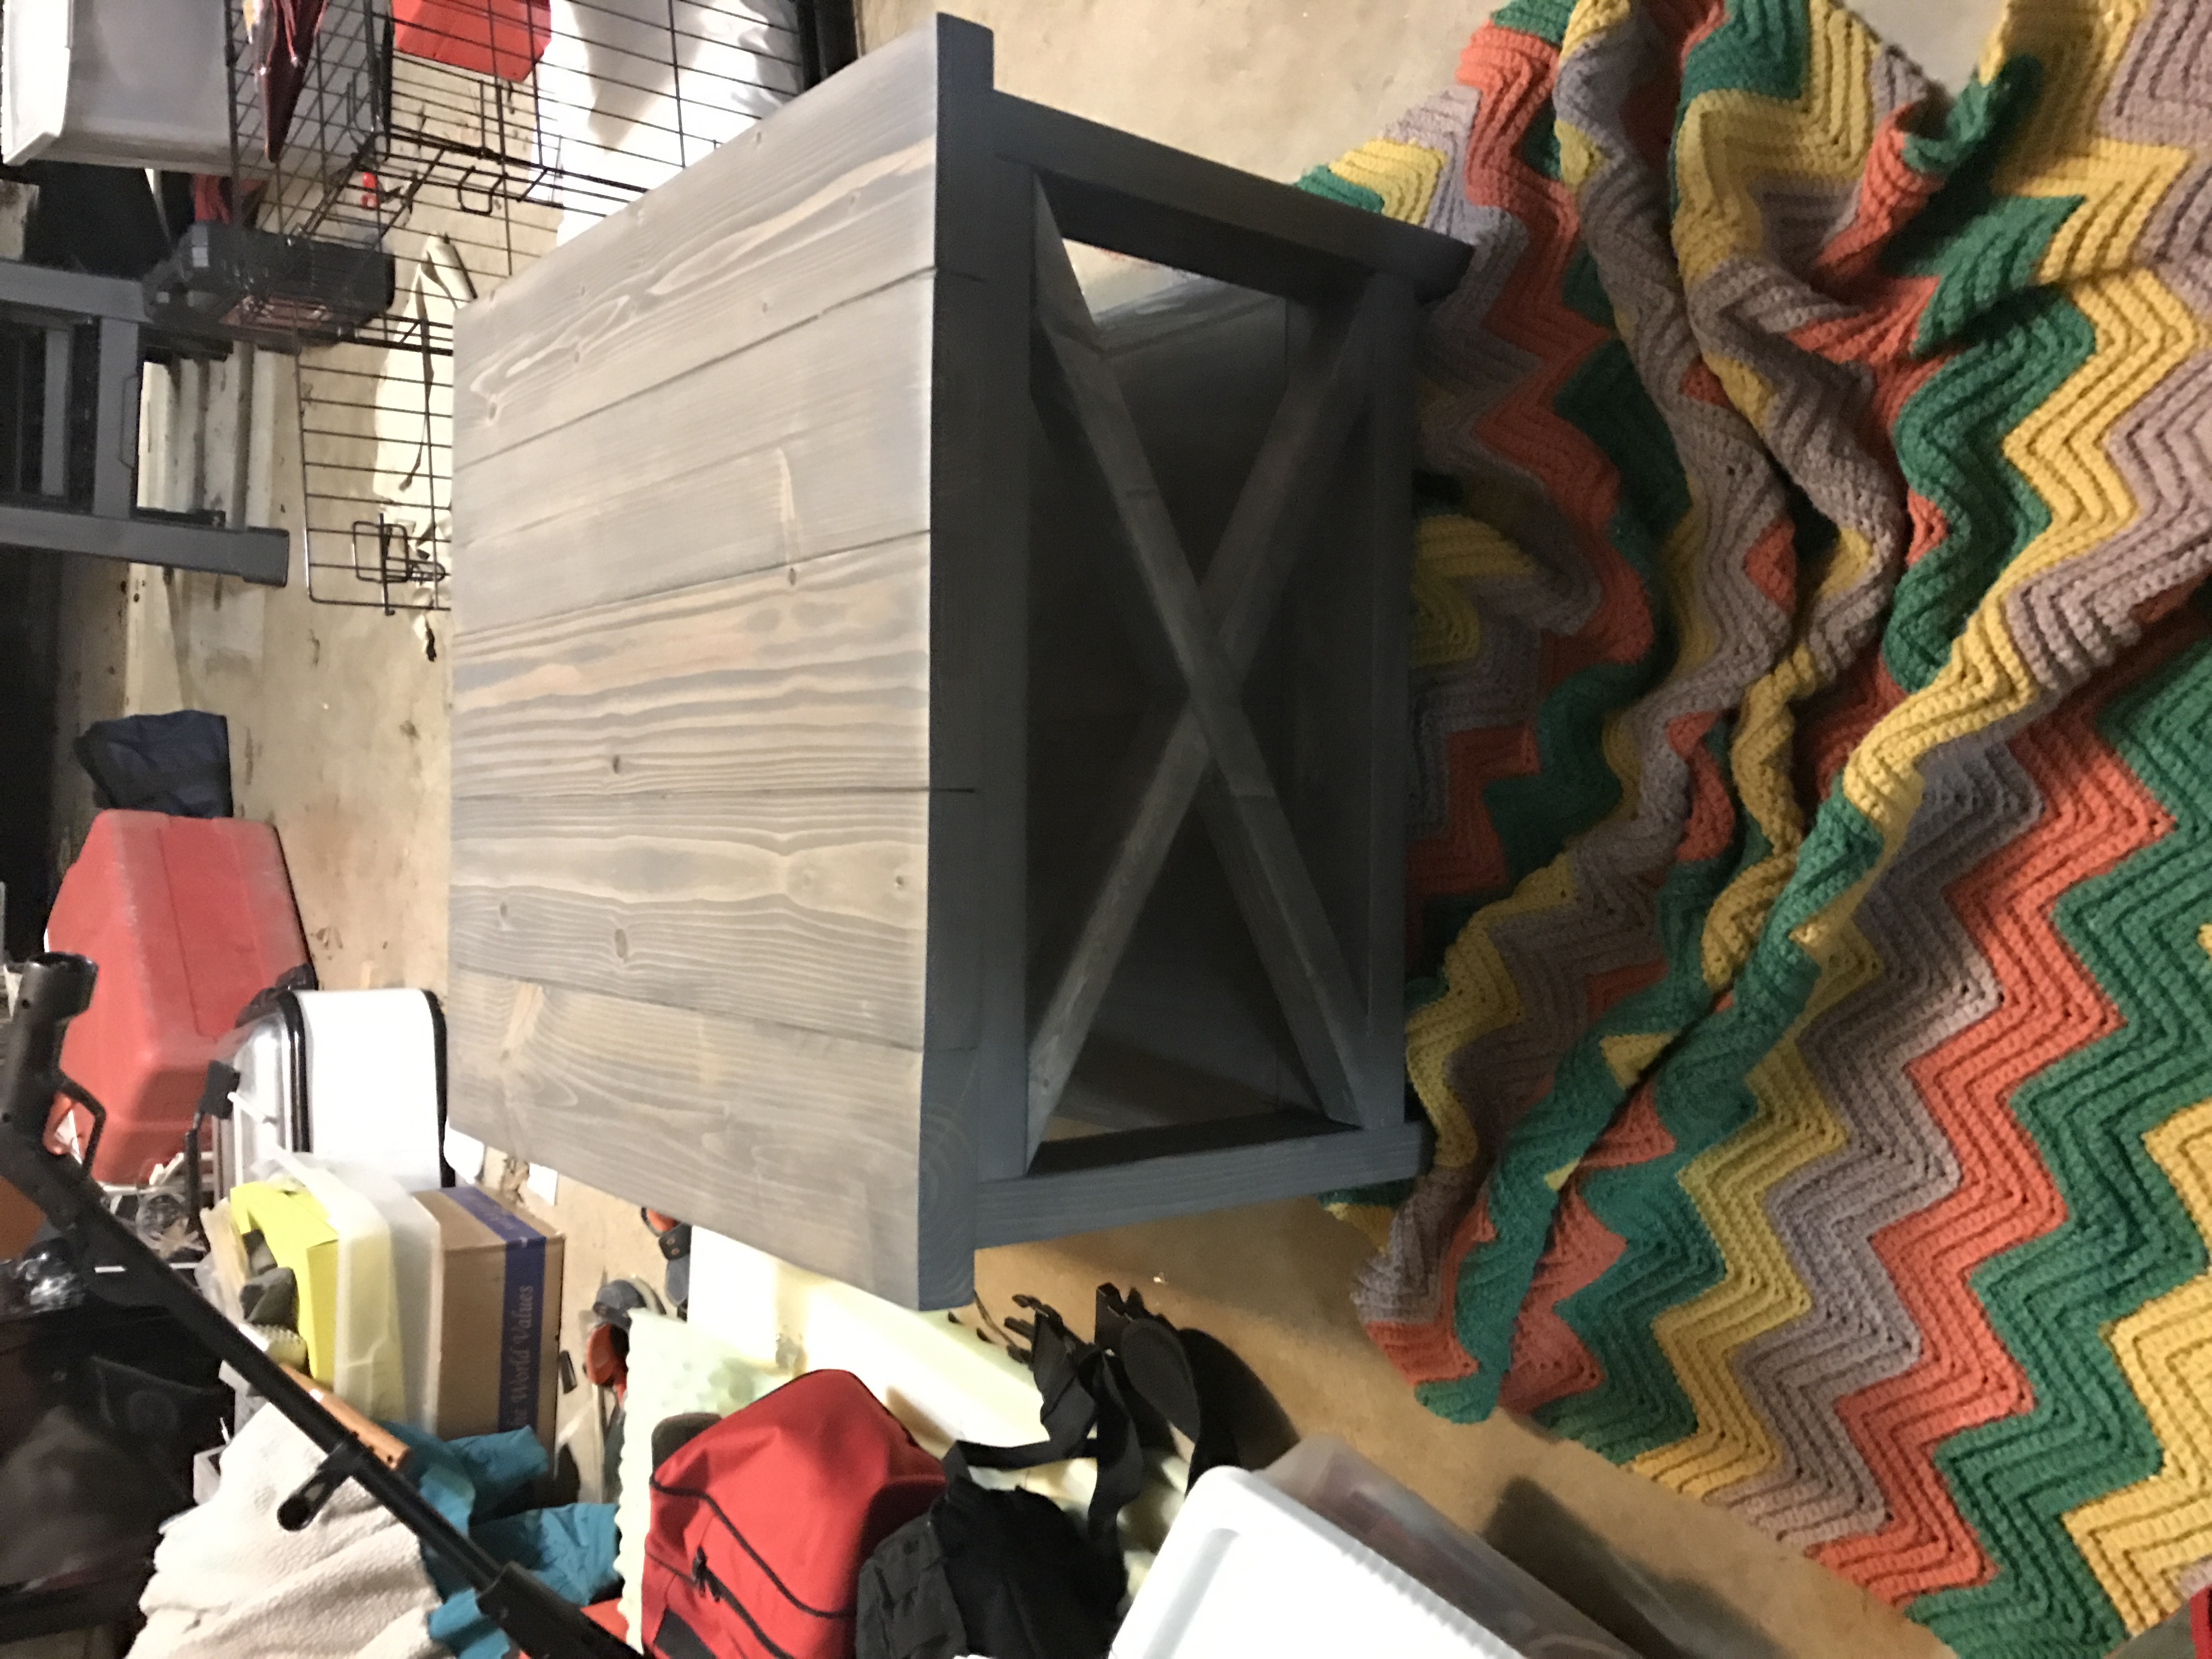
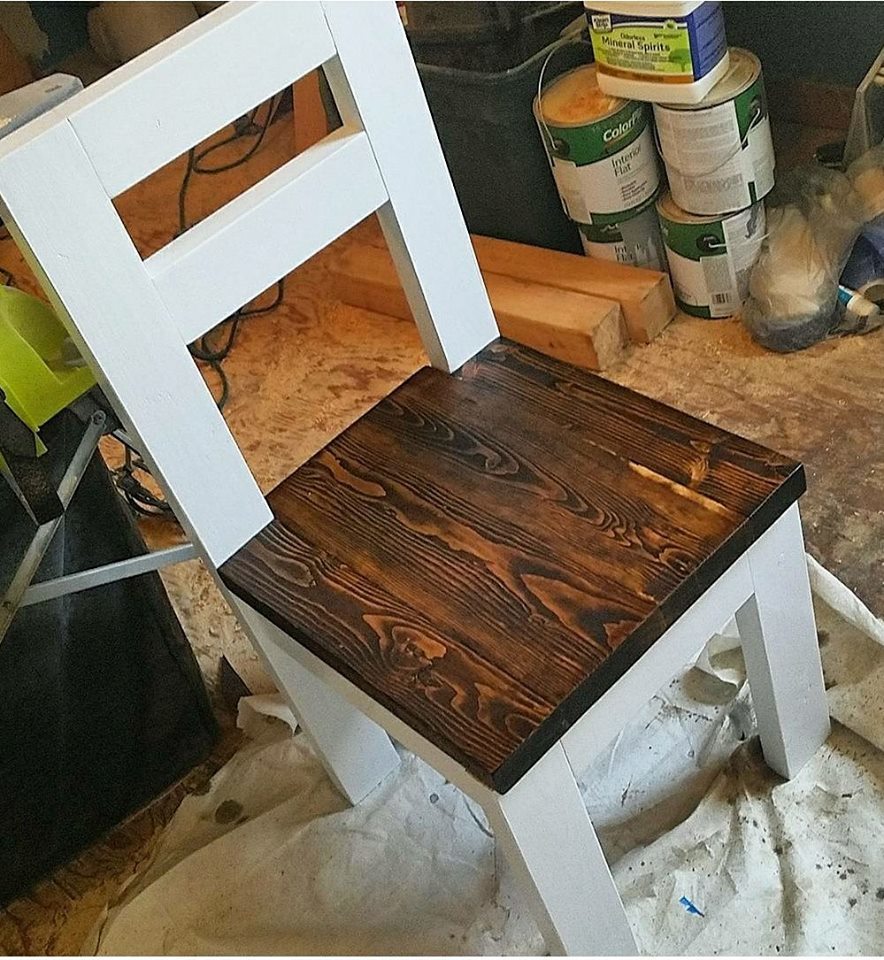
This is my first DIY furniture build. Had some issues with the Poly, but it turned out better than I thought. I used a couple of Turnbuckles with black hammer spray paint instead of the back slant supports. Made some mistakes, but learned a lot. Thanks Ana for the great site and all of the great posts.
Tue, 04/14/2015 - 19:33
Great build! How did you rough up or score the edge of the table top? Thanks.
Fri, 05/29/2015 - 22:51
Actually it was a pristine pine project board that was very easily dented and marked. If you notice the corner, that's from shortening it and roughly cutting with a circular saw. The end of the cut chipped the corner off and I just sanded it down with a rotary sander. Same sander for the edges gave me the tree ring look. I also went with cheaper 2x4 that had some blemishes and then sanded them down to give it a more lived in look for the side legs.
Built this for some dear friends ... turned out so pretty.
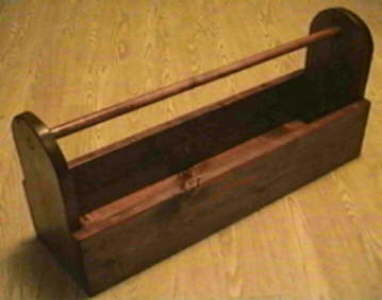
I work on projects slowly, so, ironically, this is the third Ana White plan I’ve used–but the first project completed in full! I put everything aside to work on the toolbox for two reasons:
(1) I got a jigsaw for Christmas (yay!).
(2) It will be a welcome helper when working on *other* Ana White projects! (Like, finishing the two that are partly done?)
I used plain wood on the sides instead of moulding. If you decide to do this as well, you’ll need an 8′ length of wood and the dowel rod. The first time I tried to make this, I used cupped wood. (Looking at the short end of the wood, it all had a slight U-shape.) You’re probably shaking your head and saying: “You can’t use cupped wood! That’s the first thing you learn in Woodworking 101!” But by the time I saw that it was cupped (I checked for all the other types of warps, and asked the family member I was with–who will remain nameless–if it was warped the cup way, and was told “no”), the wood had already been cut by the helpful store associate. Besides, I had spent so long looking for a non-warped piece of wood that my legs and back hurt. Getting tired of wearing a winter coat in a hot store while doing aerobic activity, I thought: “I can’t ask for them to take this wood back. It’s cut already! I know! I’ll MAKE it work!”
So, full of optimism and/or denial, I went home, cut my new 3/4″ dowel rod to size, and decided to try and work with the cupped 1″ x 6″. Let’s see, which direction should the warp go? Should the toolbox have a wobbly bottom? I tried to use the force of a Workmate to flatten the wood. As soon as I tried to attach two pieces together in a way that would hopefully flatten them both, the end piece of wood split. So I tried again, and it split again. It split in three places. This was after I had spent a long time cutting out and elbow-grease-sanding two “I’m-an-obvious-first-time-jigsaw-user” ends.
Sadly, the wood was better fit for feeding a fire than creating a toolbox. After lamenting my toolbox’s fate, I was told, “Well, at least you have a nice dowel rod!”
At a different store, two store associates tried to help me find a piece of wood that wasn’t warped or–especially–cupped. One of them reassured me that he was confident the project would turn out this time. Sure enough, the whole box went together in a snap.
It’s a lovely, classic box and useful for so many different things, including craft storage/toting. This is a project that those of you who work more slowly, like I do, can probably easily finish in only a few days.
Well, as long as you find a non-cupped piece of wood. :)
---
This was first posted to the site in January. I've since found myself mostly using it for crafts. It's really handy to have!

I'm a novice furniture builder and felt I could tackle the Farmhouse Dining Room table and matching Farmhouse bench. With a lot of diligent detail work--especially sanding-my first two projects came out great. Because I was afraid to try the notching part of the plans, I decided to tweek the projects by attaching the stretcher boards with black cabinet screws. I achieved the rustic look I was looking for with both the table and bench!


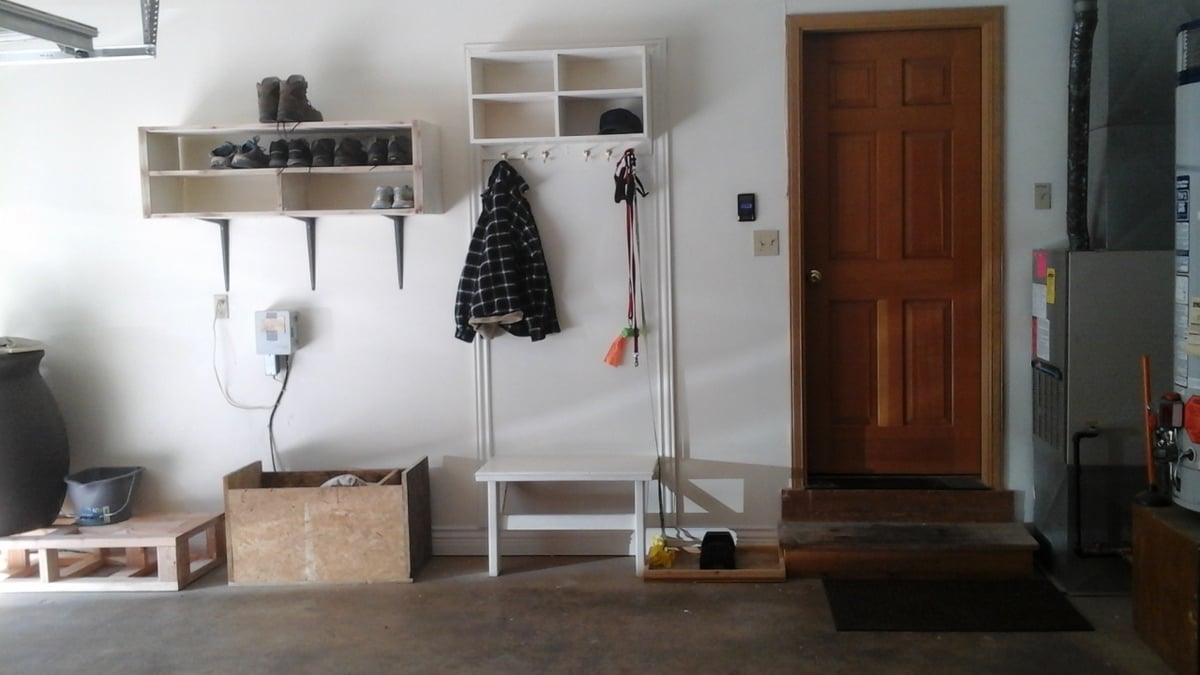
I built this little hall tree, bench and shoe organizer for the garage entirely from scrap lumber and left over paint. Keeps us organizeed. I really like it.
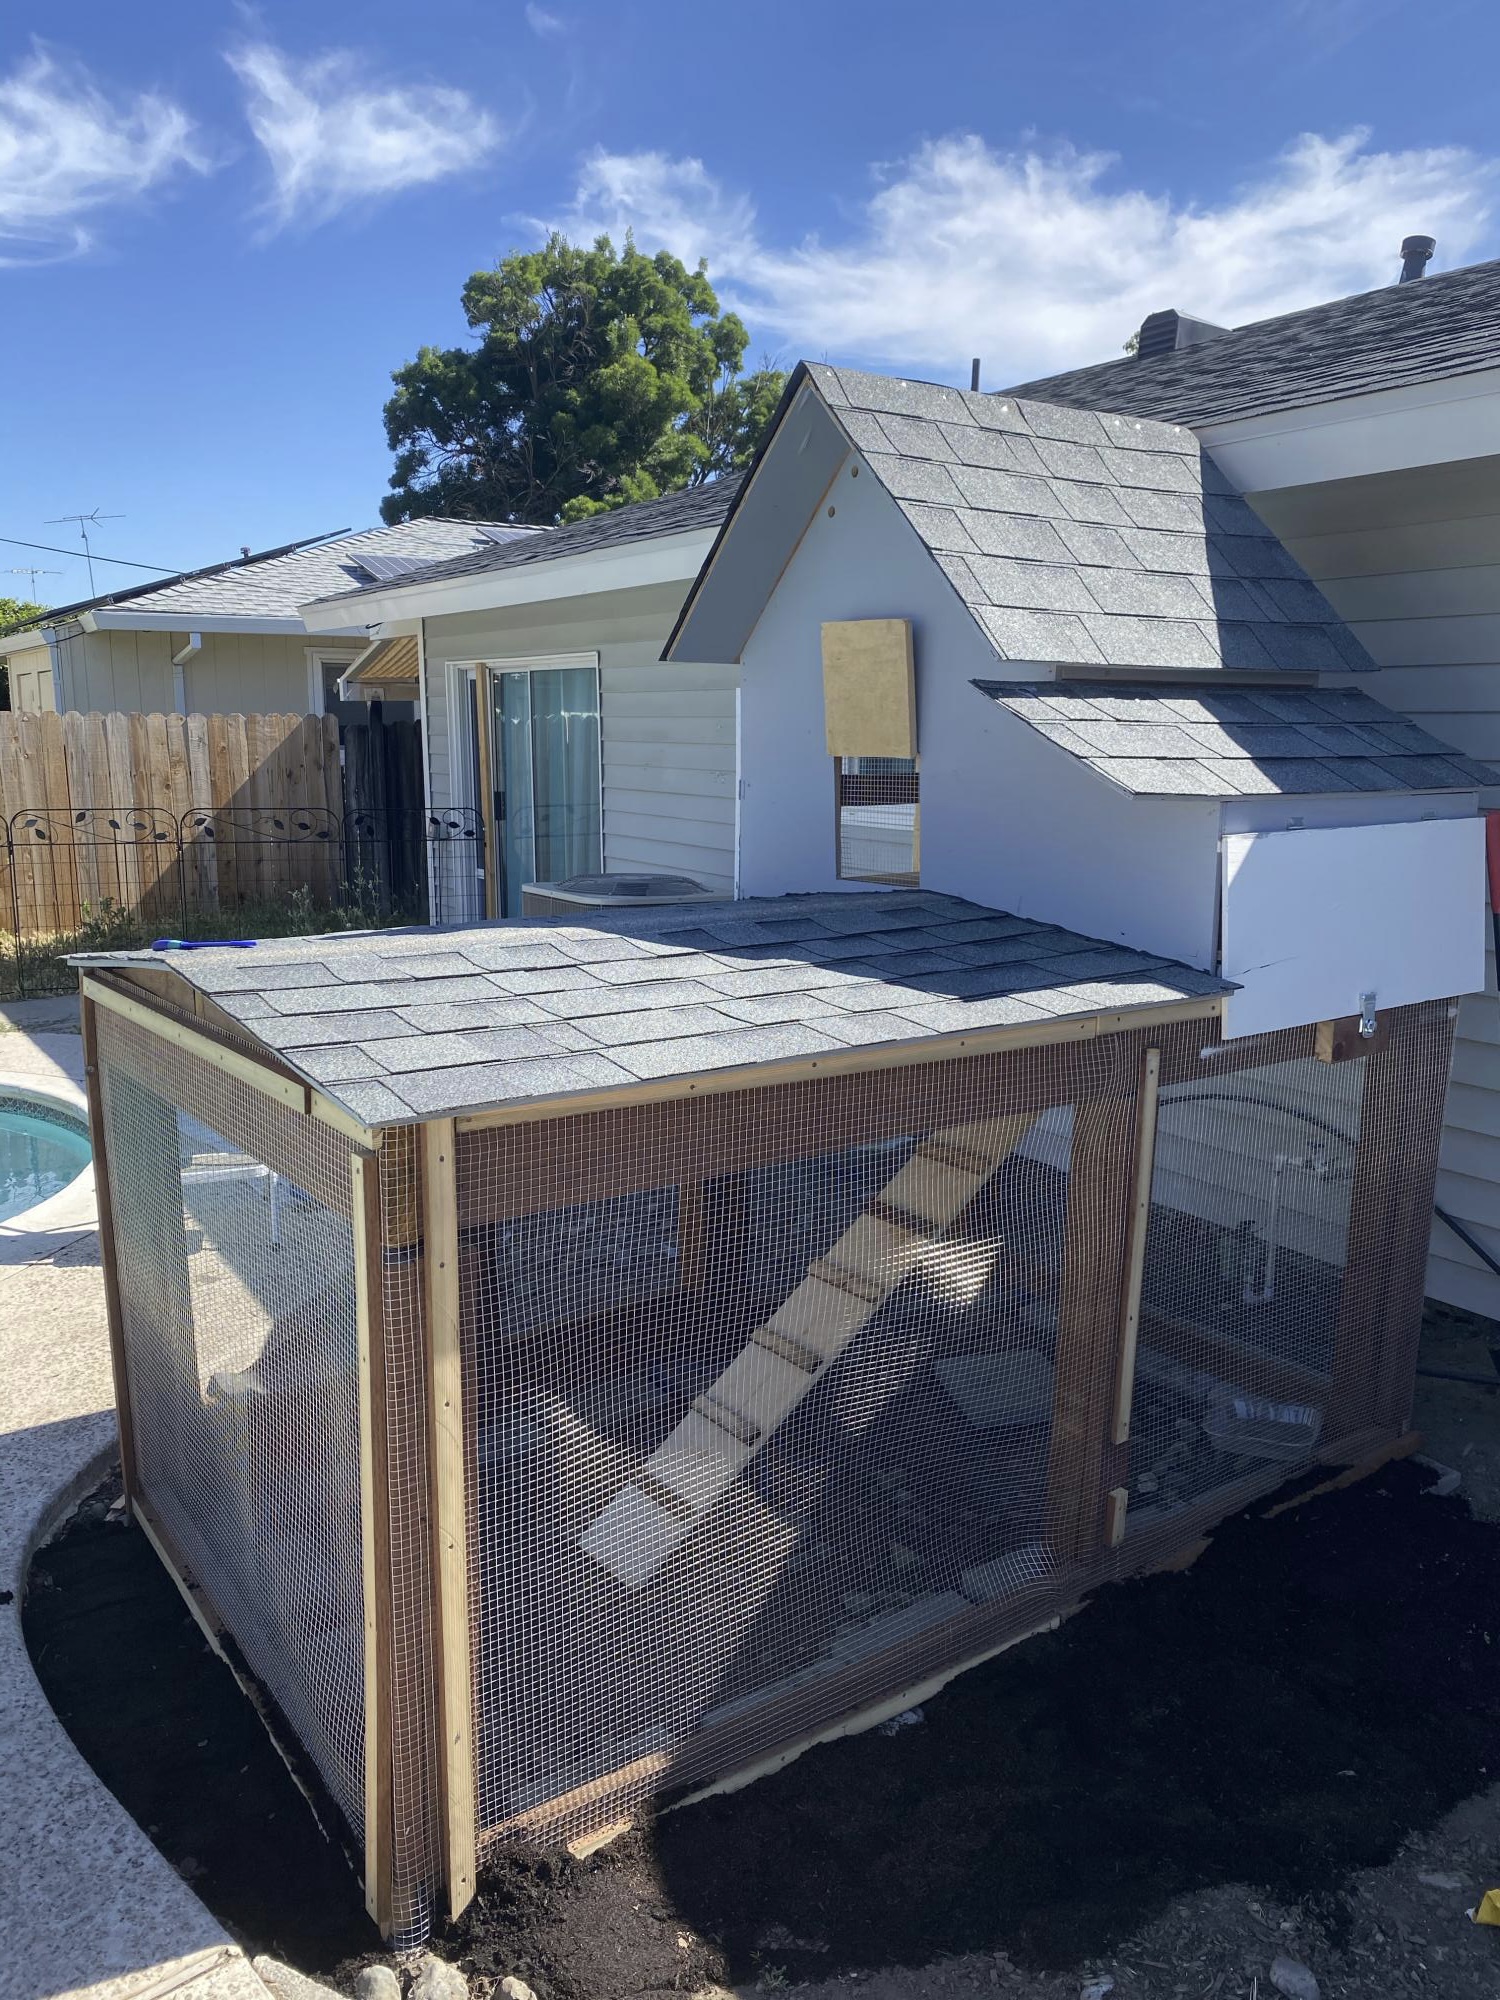
My granddaughter decided to raise chickens so she asked me to build her a coop. I used a Ana White plan with a couple modifications and along with my son, wife, and granddaughter built this. She’s had hawks and raccoons try to get in, to no avail.
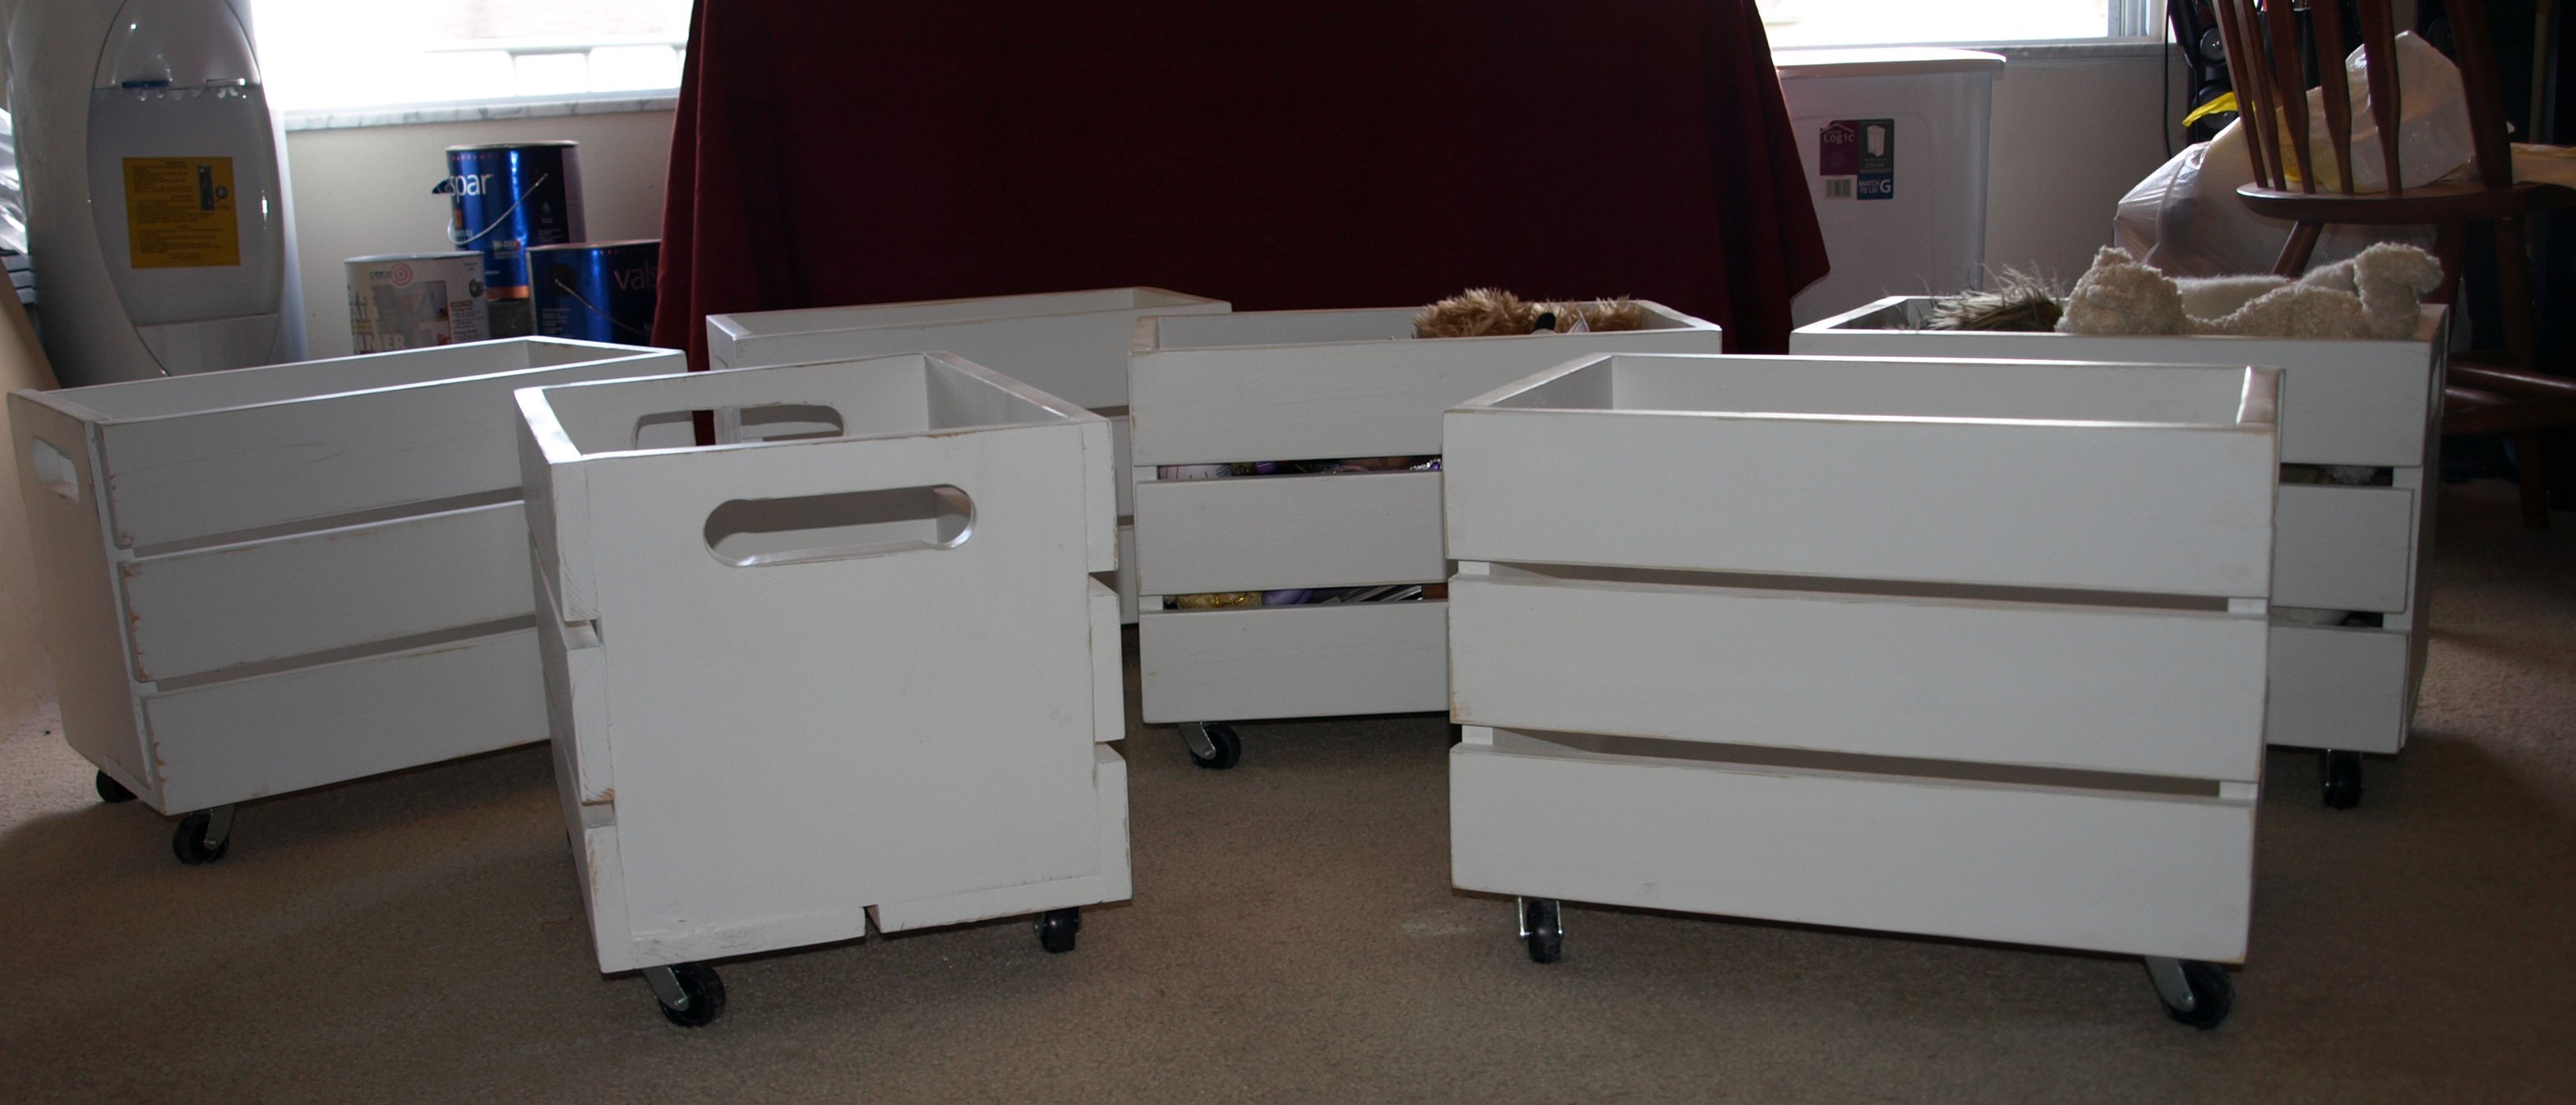
This is my second project. I needed to utilize the storage space under one of our twin beds. It's really high off the ground since it's normally the top of a bunkbed. I thought these crates were perfect because not only do they fit well, but we are moving in 5 months and I love that these would look great at the bottom of a closet, under the bed, in the corner of a room, etc. Very versatile. I made these 1/2" shorter so they'd fit under the bed. I didn't need to make any adjustments, other than making the two end pieces just 1/2" shorter in height. The sides are just a little closer together than in Ana's plan. I spent about $70 on all 6 of them. $30 of that was for the wheels.
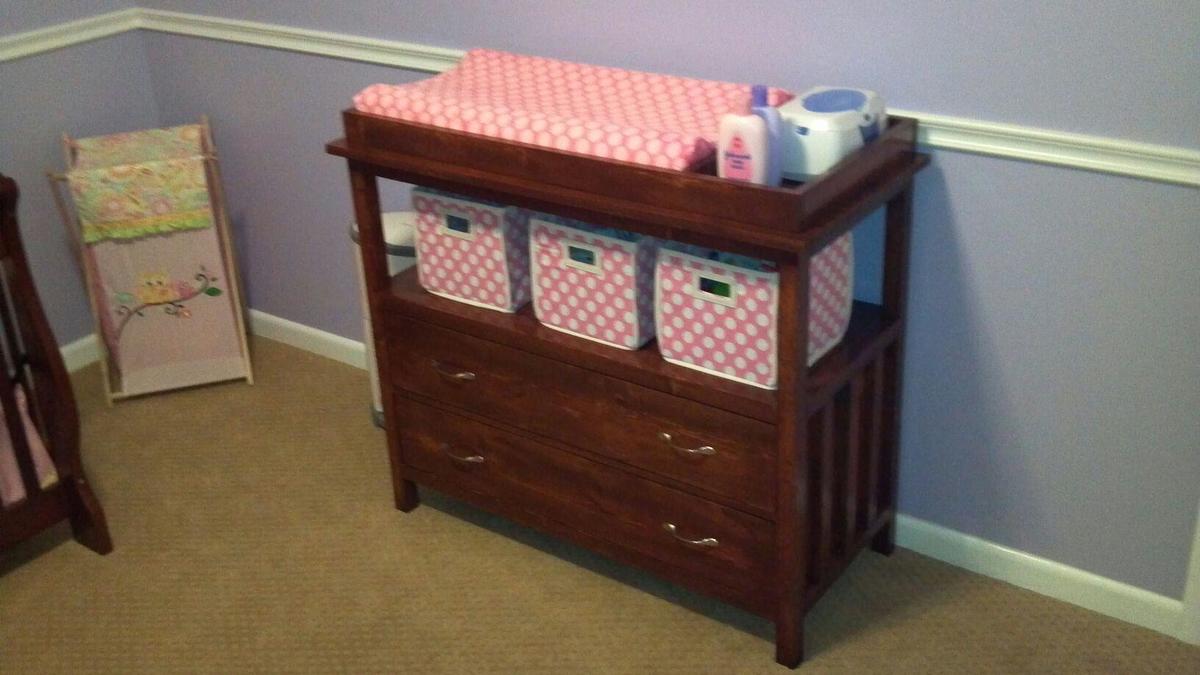
When my wife and I found out we were expecting our first child, I knew I wanted to build as much as I could for the nursery. This is how I ran into Ana White's website. Since then, I have built several pieces of furniture all inspired from Ana's designs. It had been over 10 years since I had done any kind of woodworking and I'm finding myself enjoying it now more than ever.
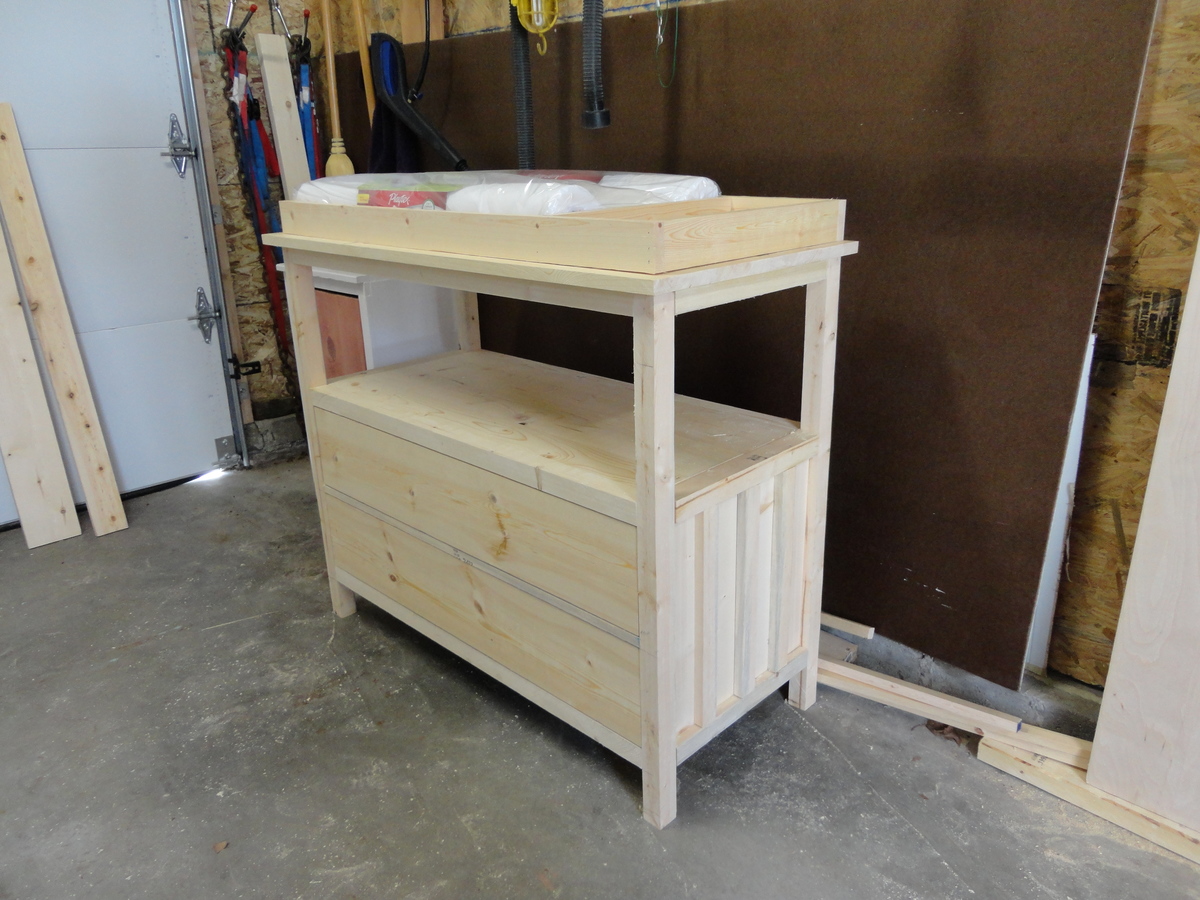
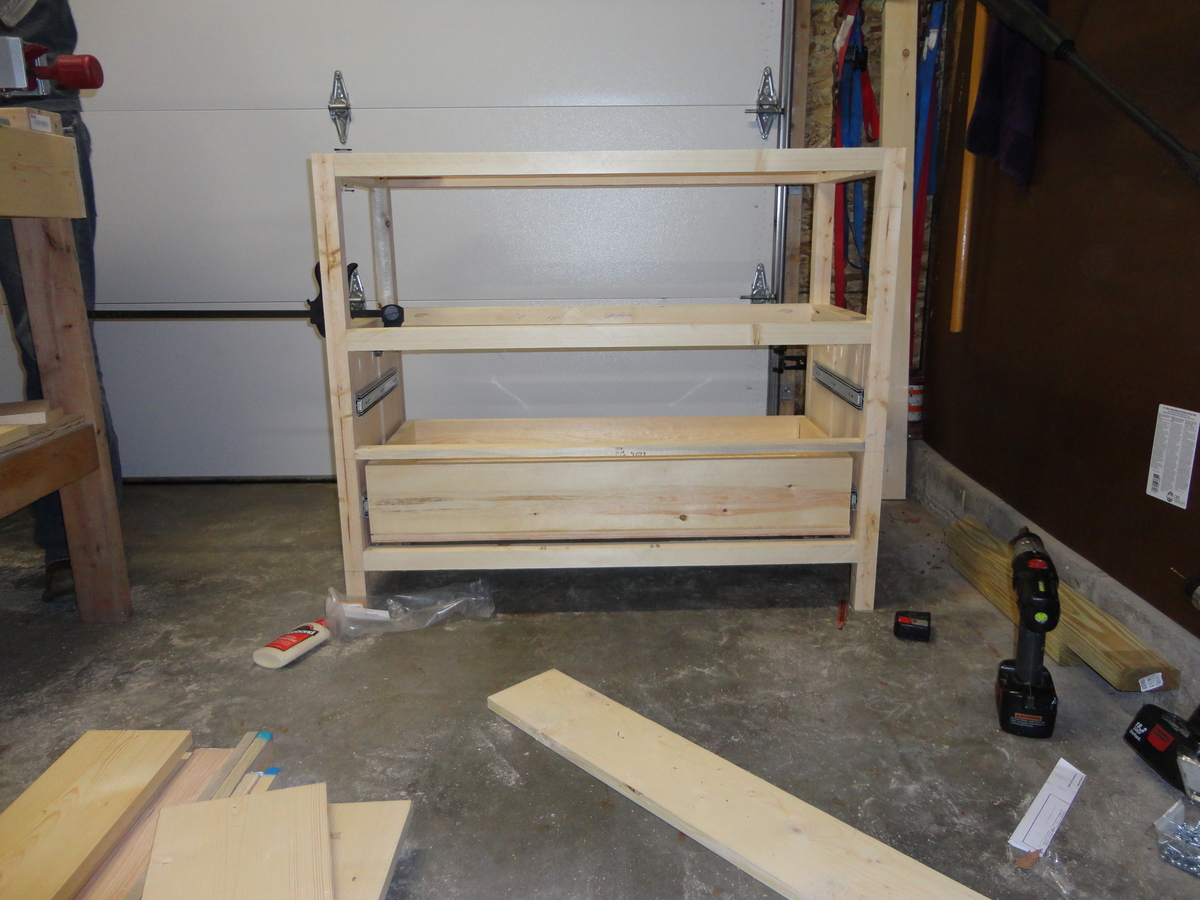
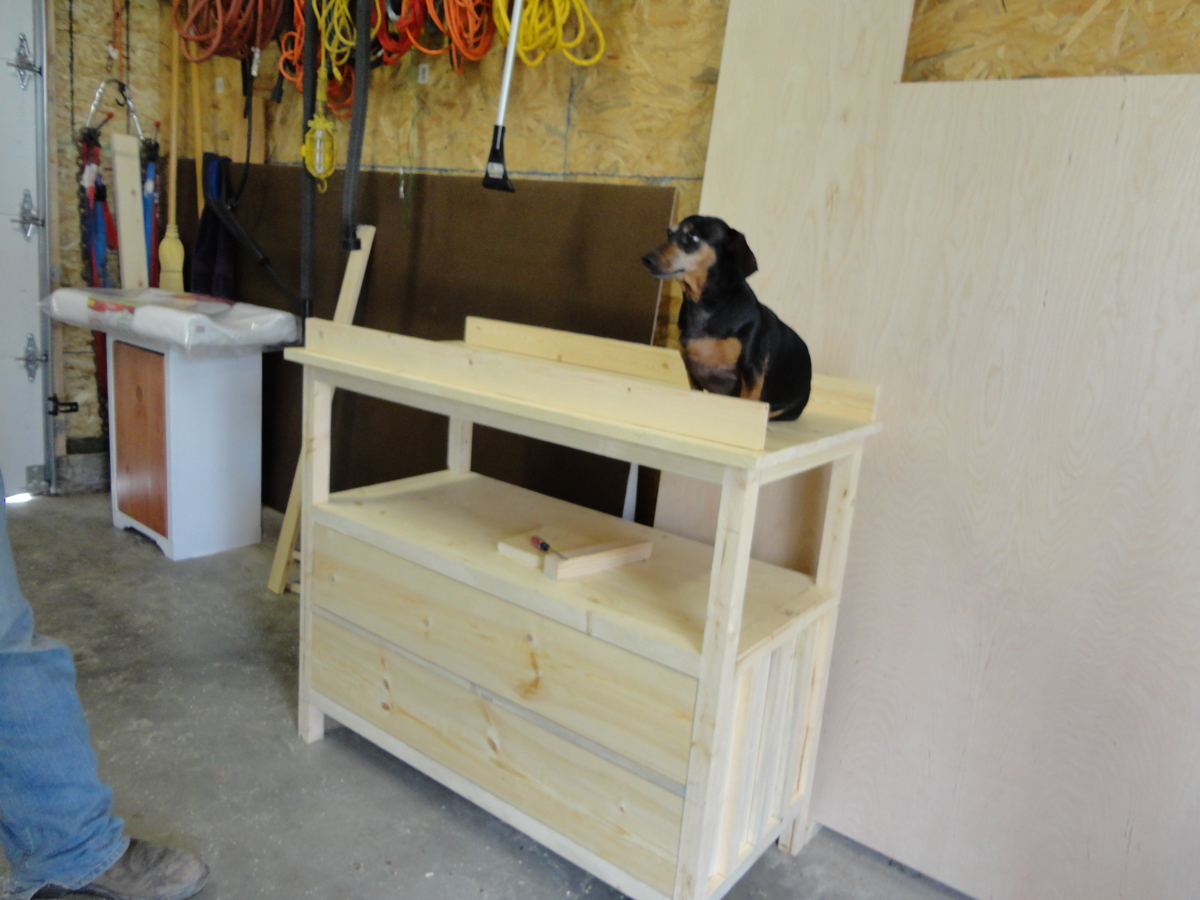
For our changing table, I used the idea of Ana's Small Dresser, and chose to put the shelf on top, we figured it would be more useful to have bins located on top for lotions, diapers, etc We had a great time building this changing table, and it is very rewarding to see the finished product. Thanks Ana for all of the great ideas and plans!!!
Sat, 12/21/2013 - 20:02
I'm determined to build as much as our future child's furniture as possible, and I am very much inspired by this build. Really love the drawers you placed on this piece- they look great!
Wed, 04/23/2014 - 04:17
This is beautiful! I am going to make this for my daughter as she is going to have my first grand baby. Could you tell me the over all height is and the drawer and shelf heights are?
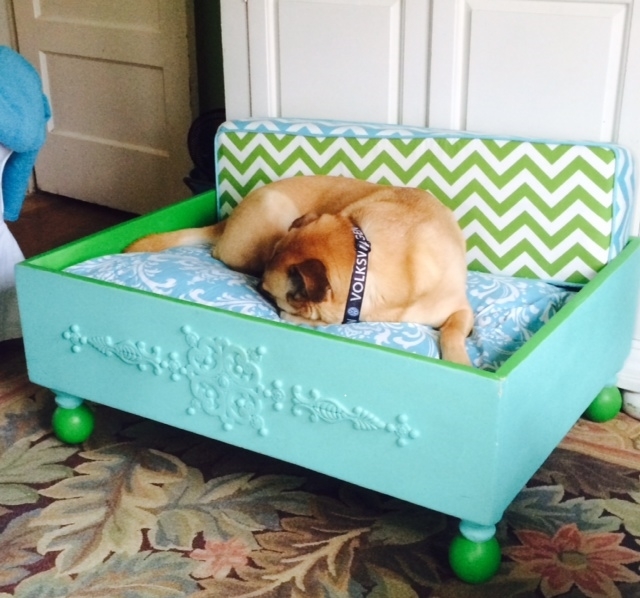
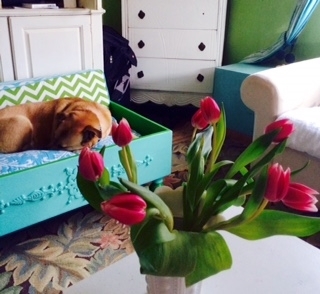
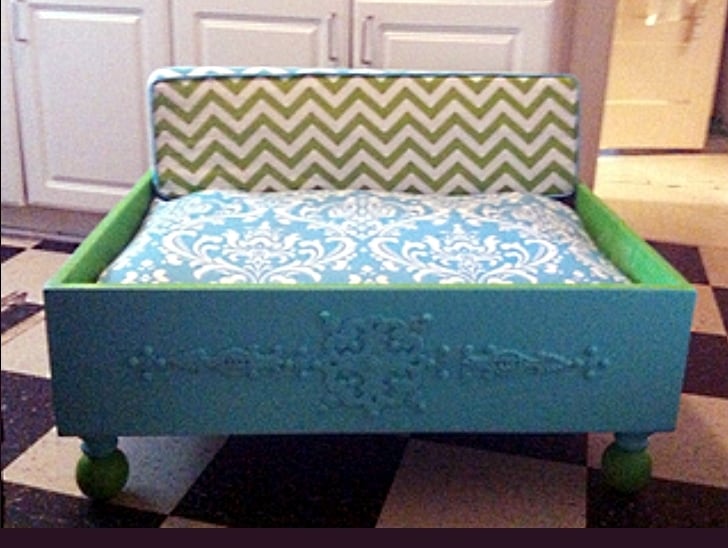
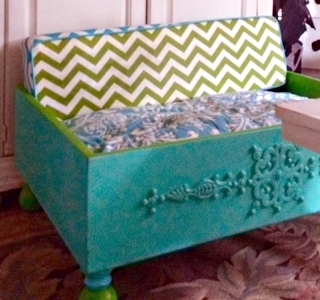
This is a dog bed for my dog Roo! considering it was my first time building anything I thought this would be a good project.
I used a kreg mini jig and bought cheap wooden ball post caps (that i sanded for an eternity) and wooden embellishments for a cute touch.
I made the removable piped box cushions using premier prints fabrics. The fabric has proven to be very durable and has stood up to frequent washing and looks as beautiful as it did on day one.
I am thrilled with my project and am thankful to Ana for giving me the confidence to try and the tools to ensure my success!
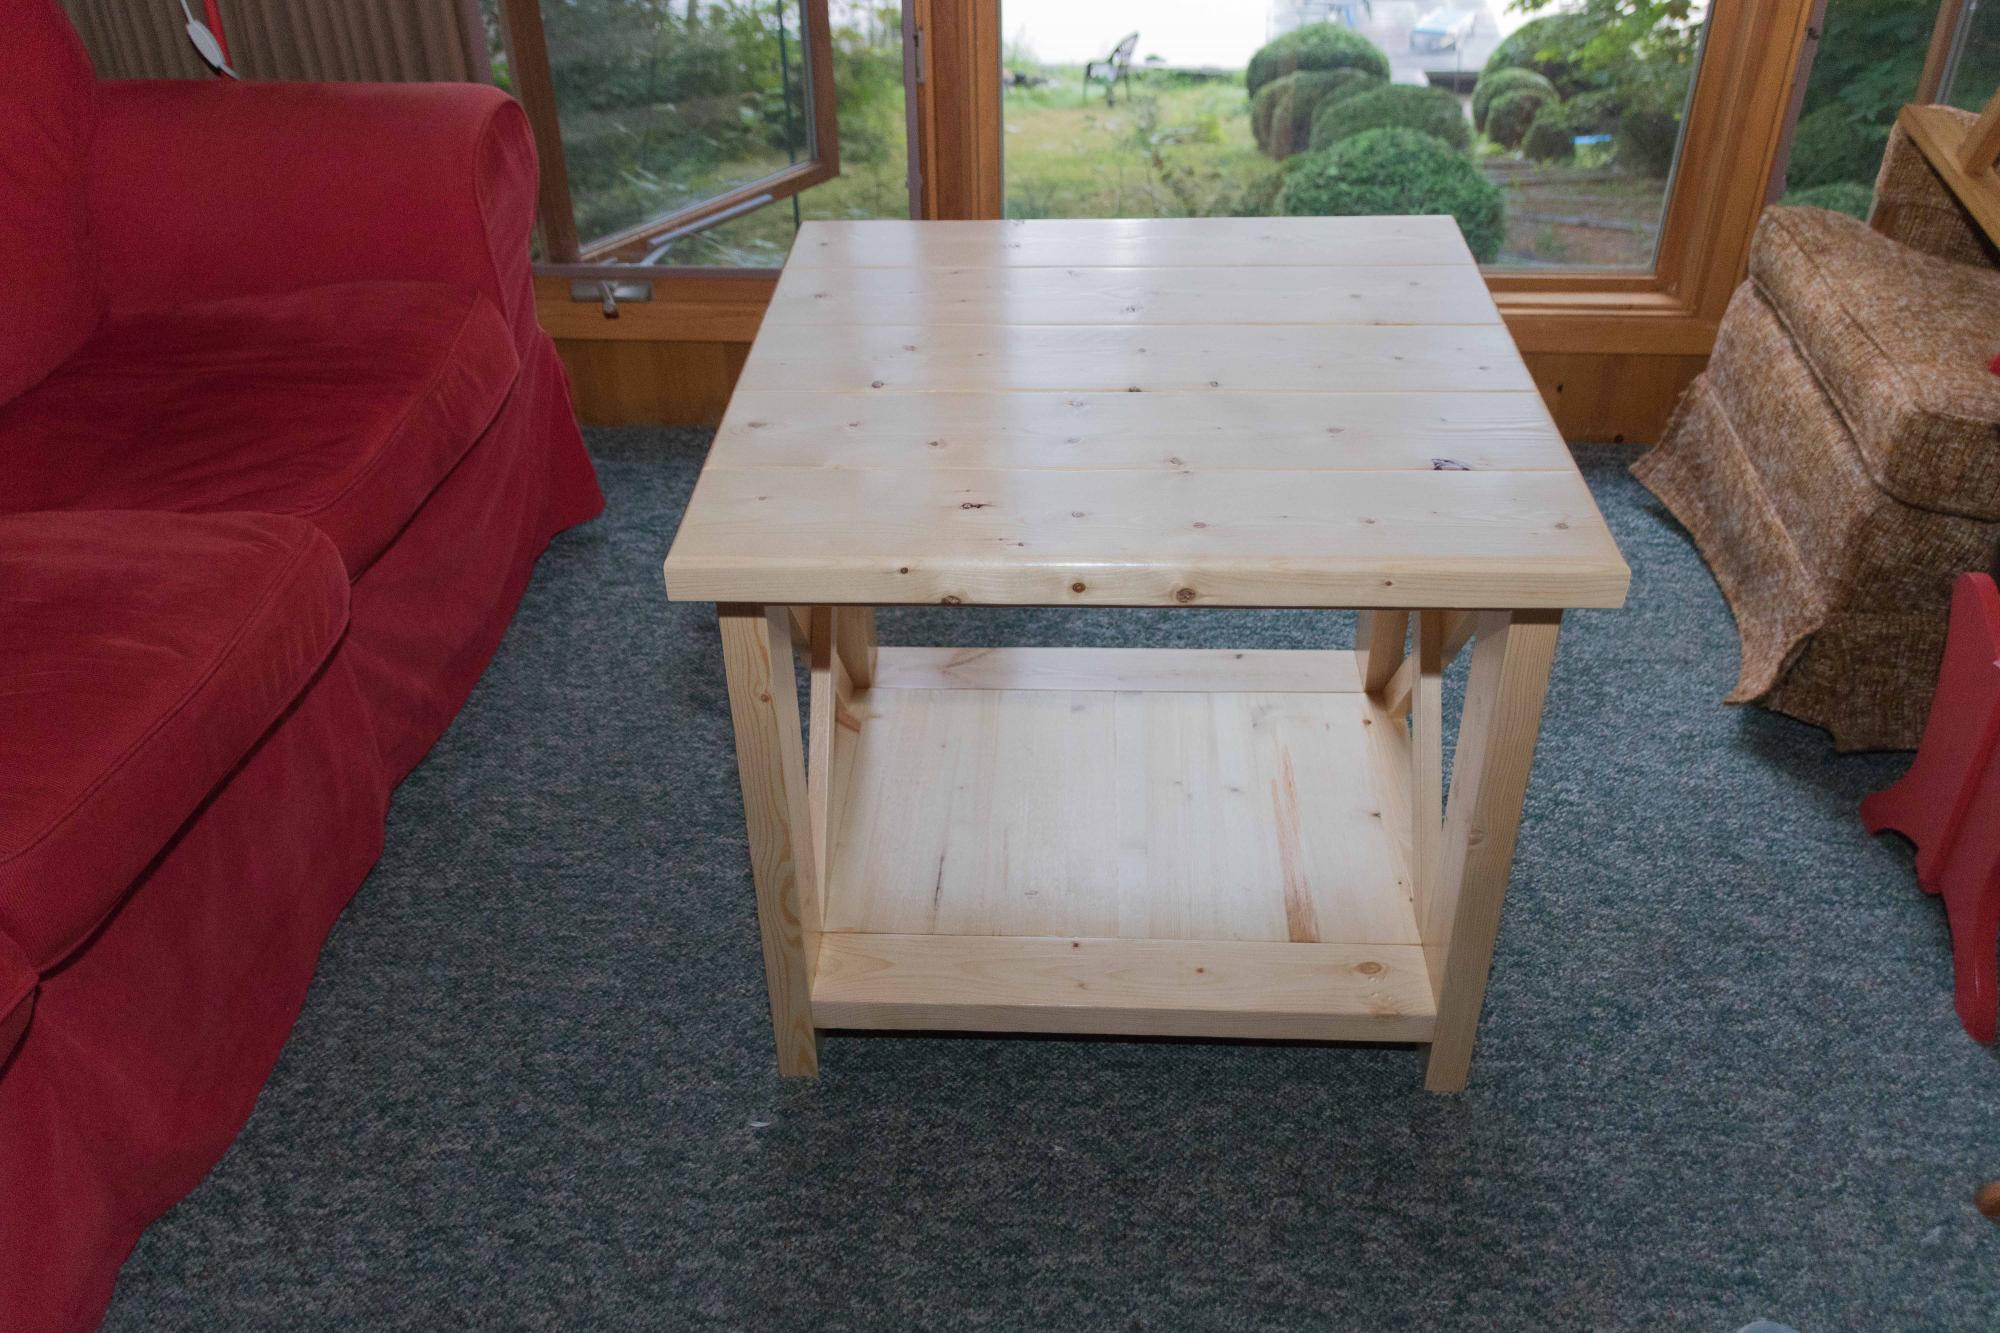
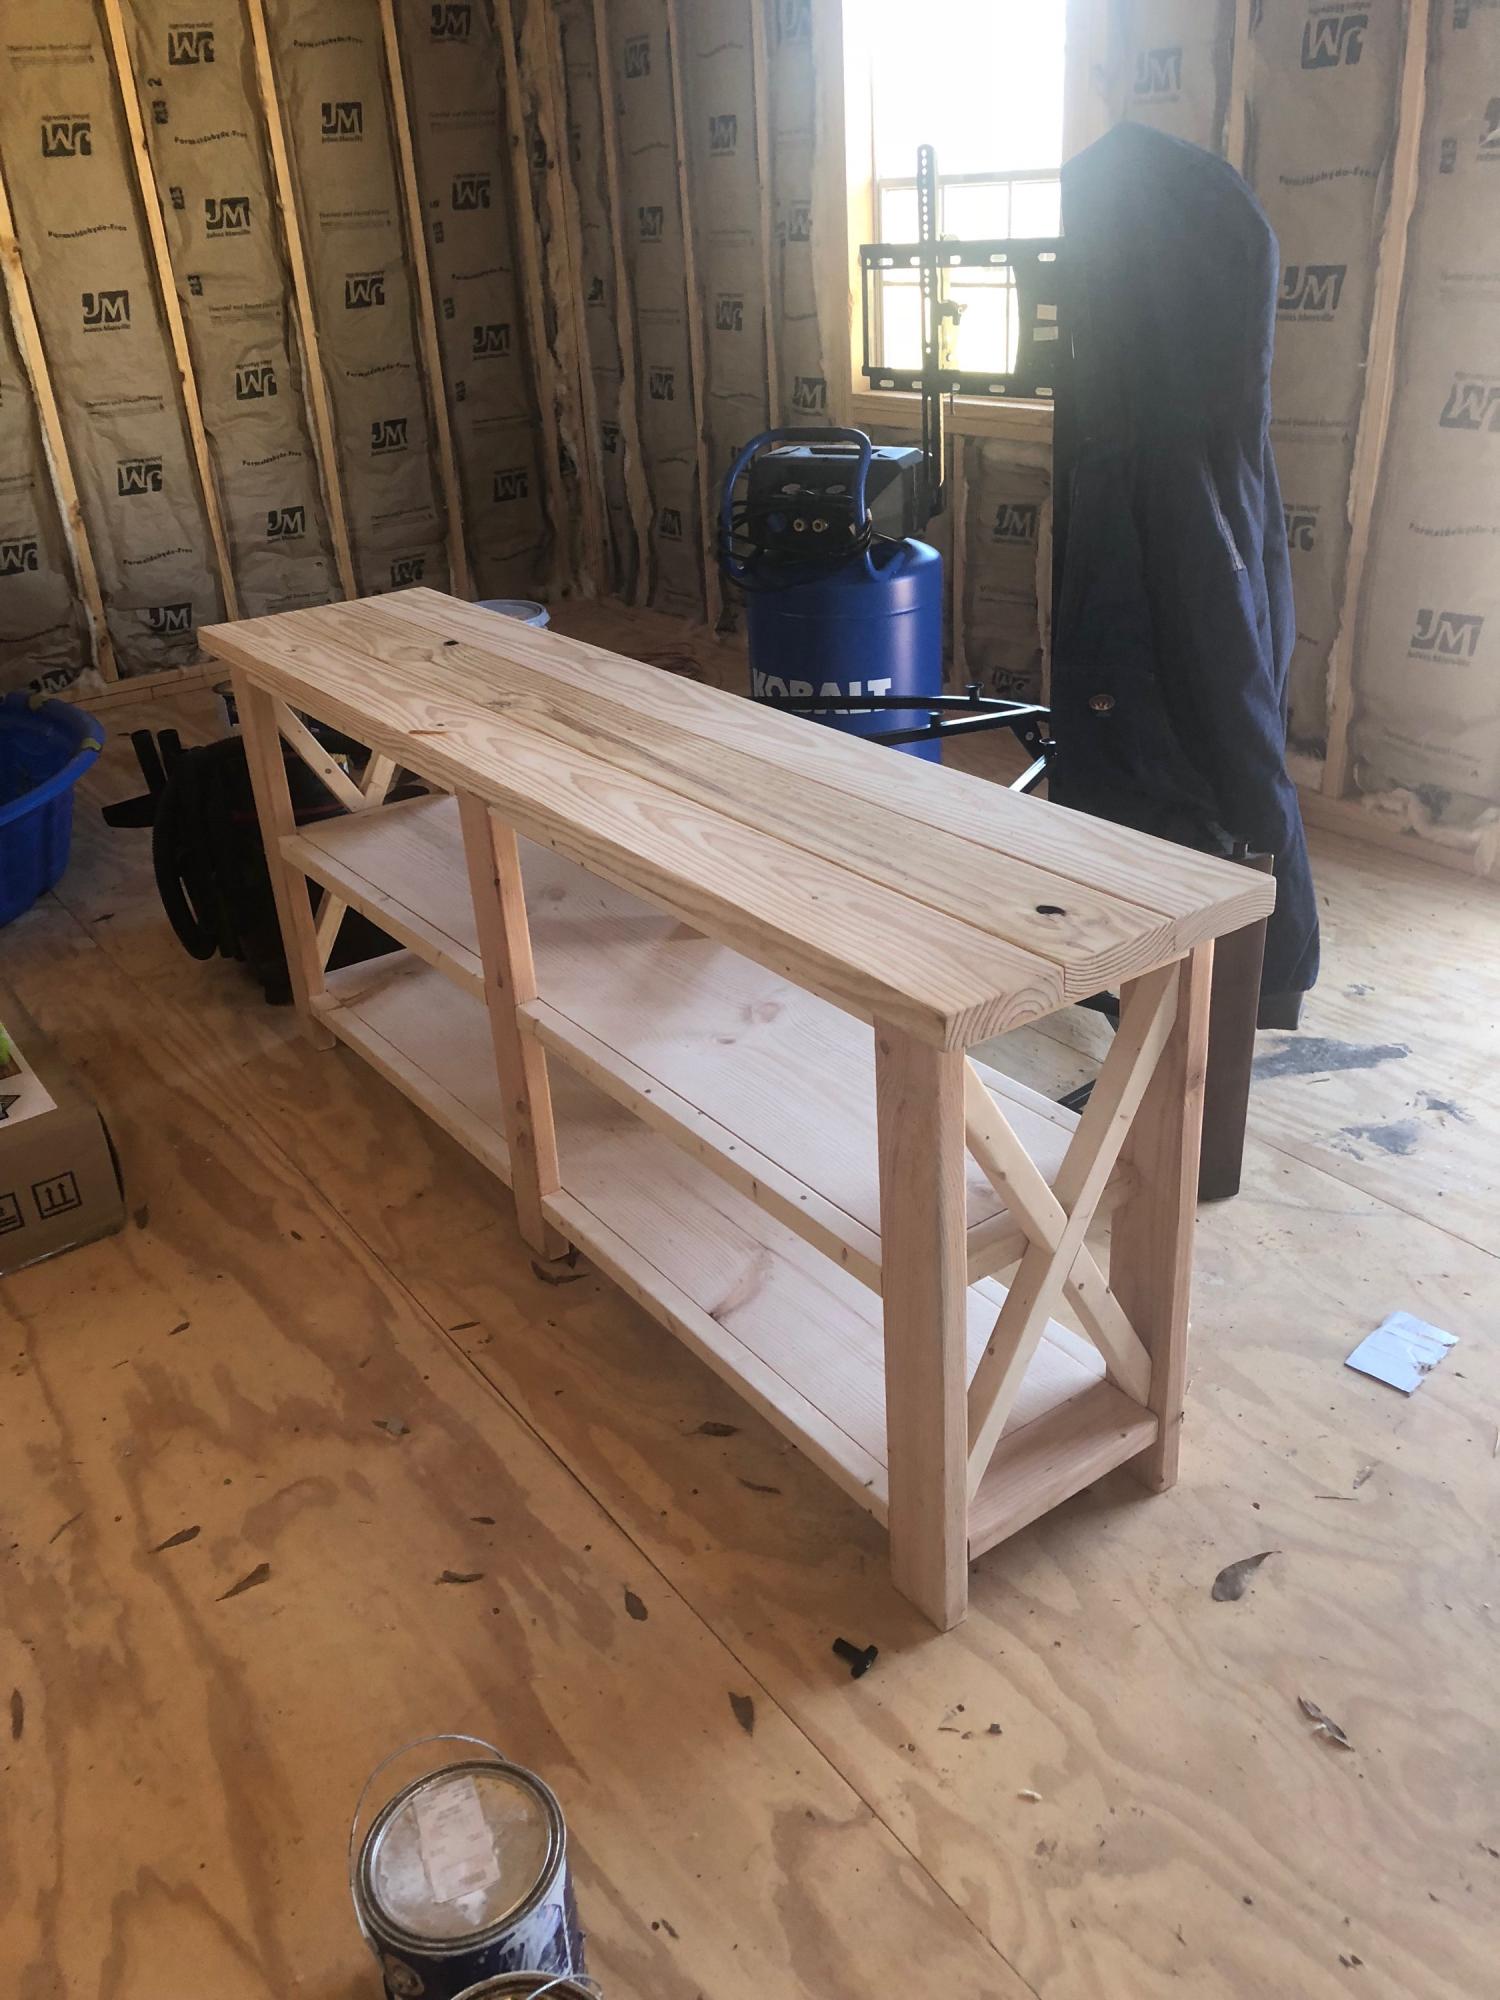
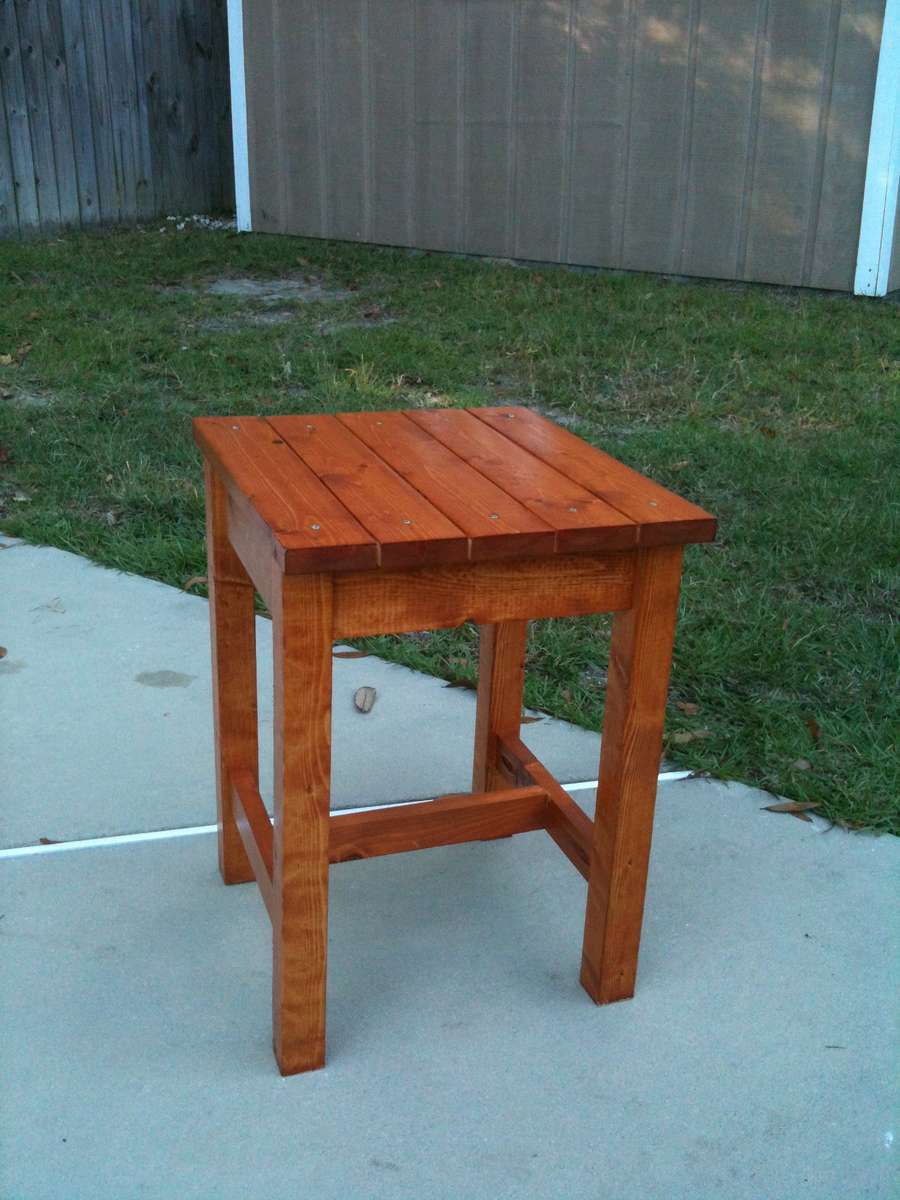
I built this pine Rustic X end table for my Mom-in-Laws' cottage. They wanted it plain as possible, so I built it to please.
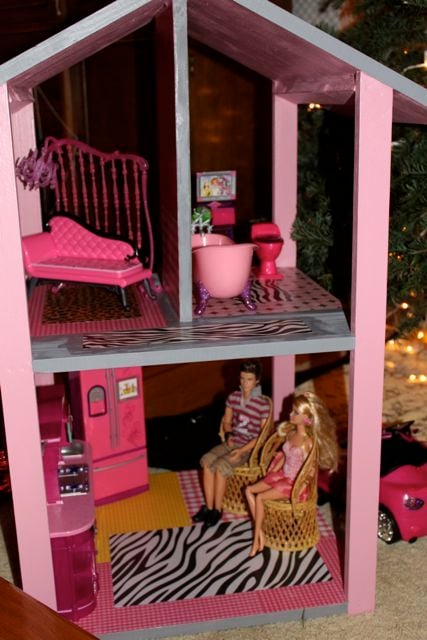
I used Ana's plan (modifying the side 1x2's to be longer to house "Barbie") and built this Barbie condo!
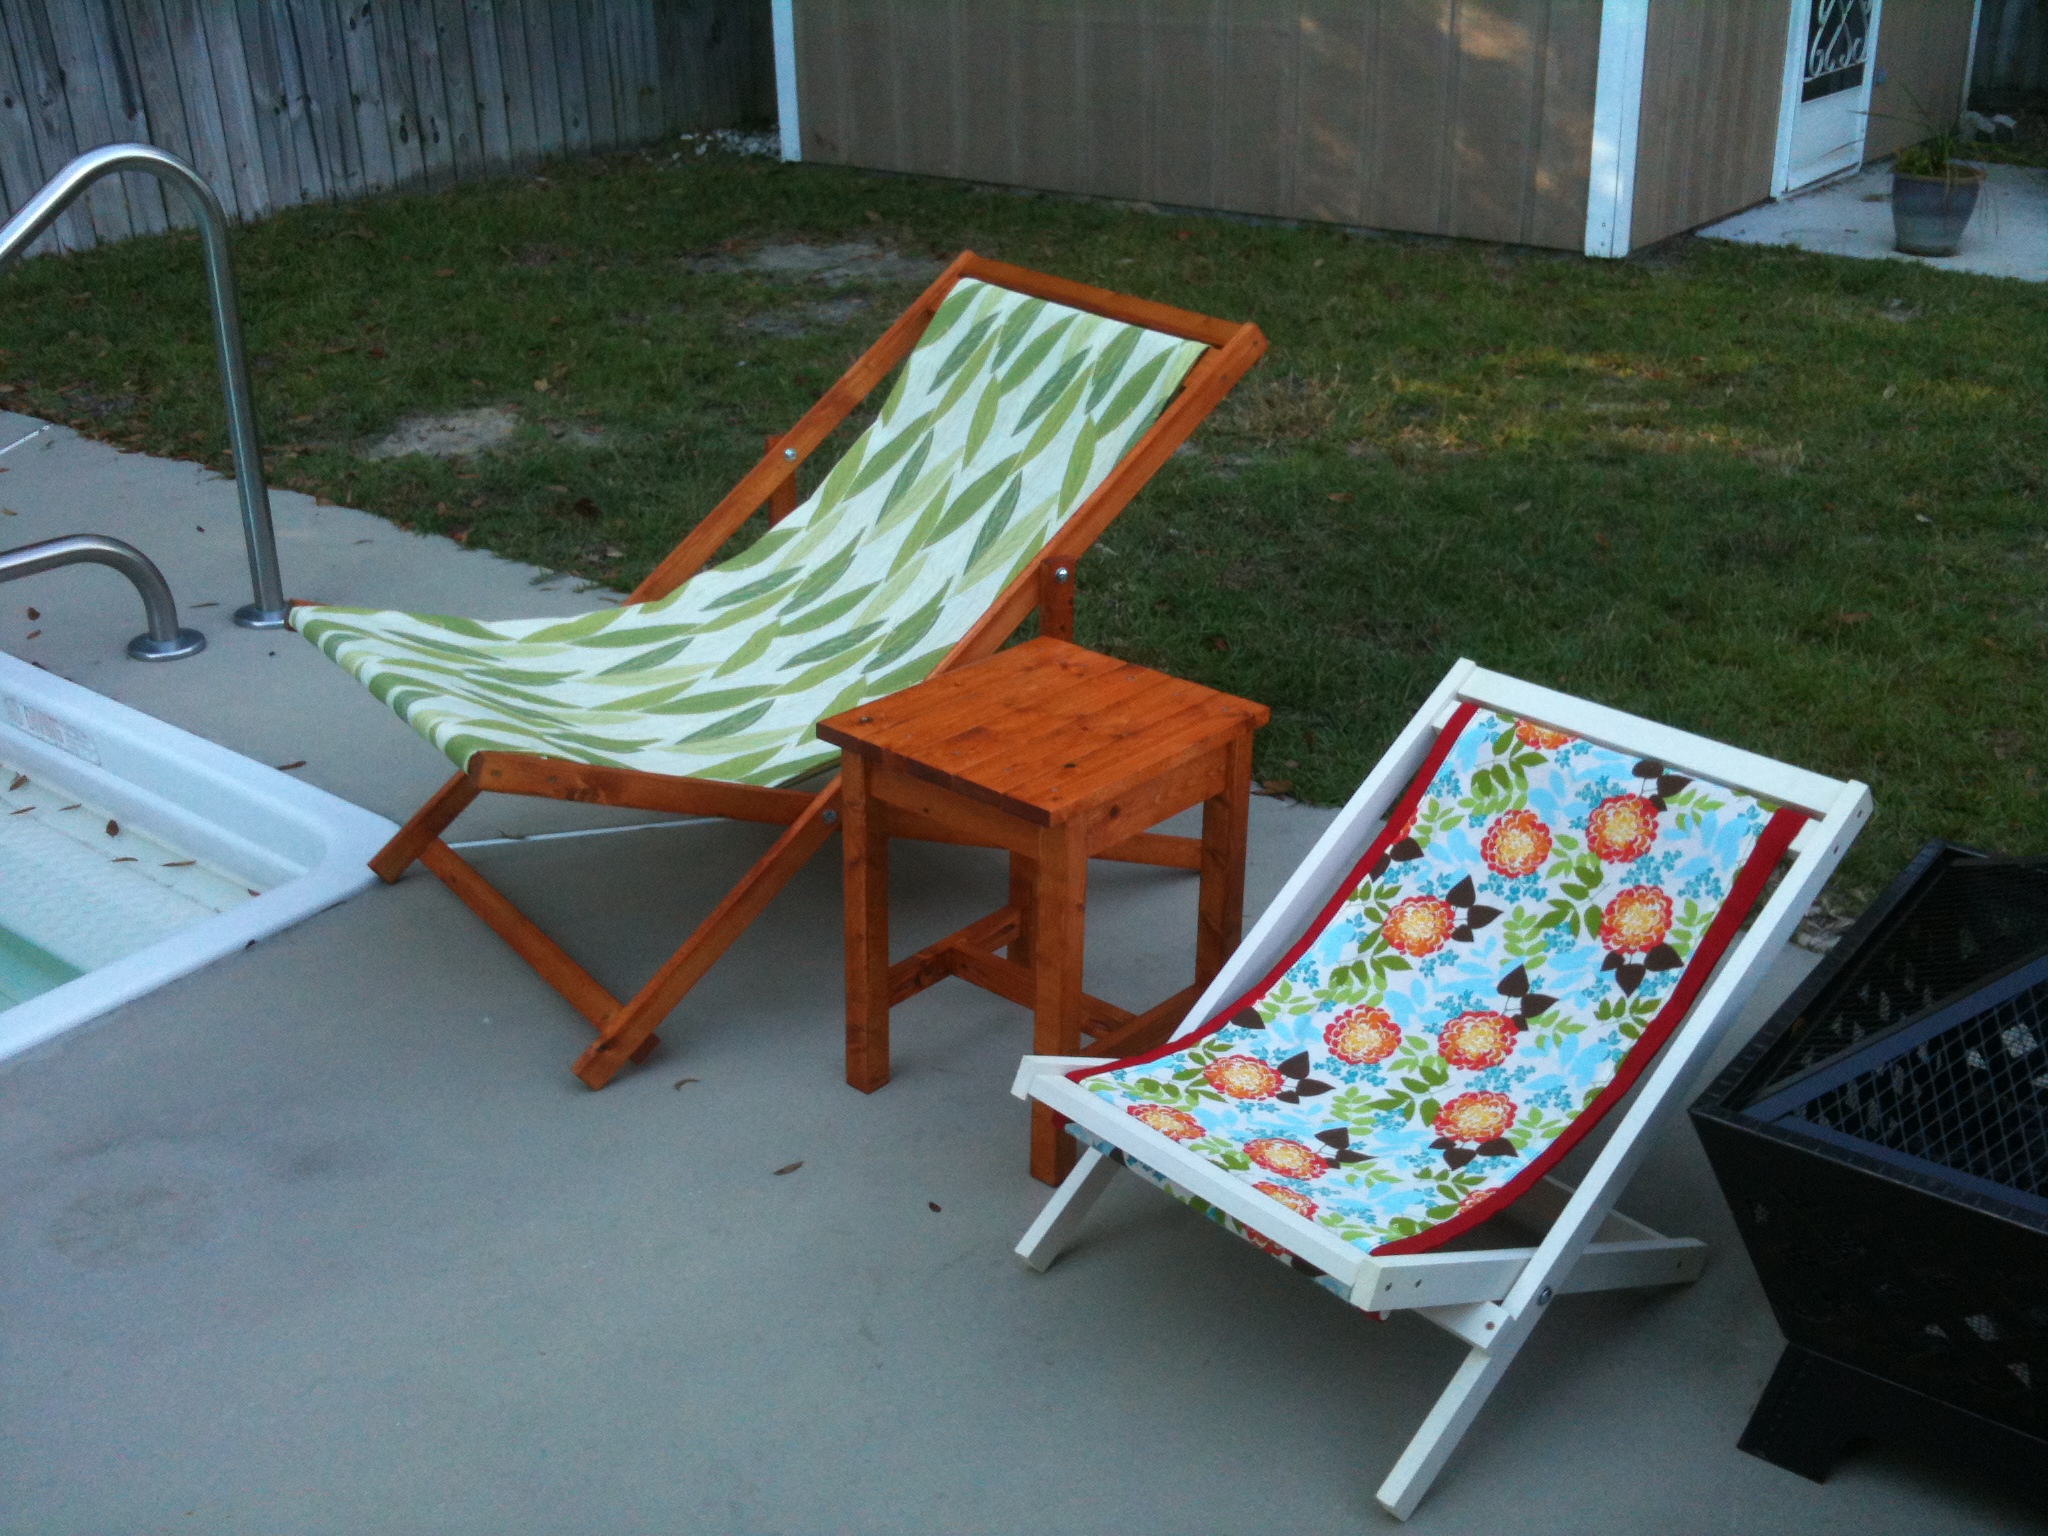
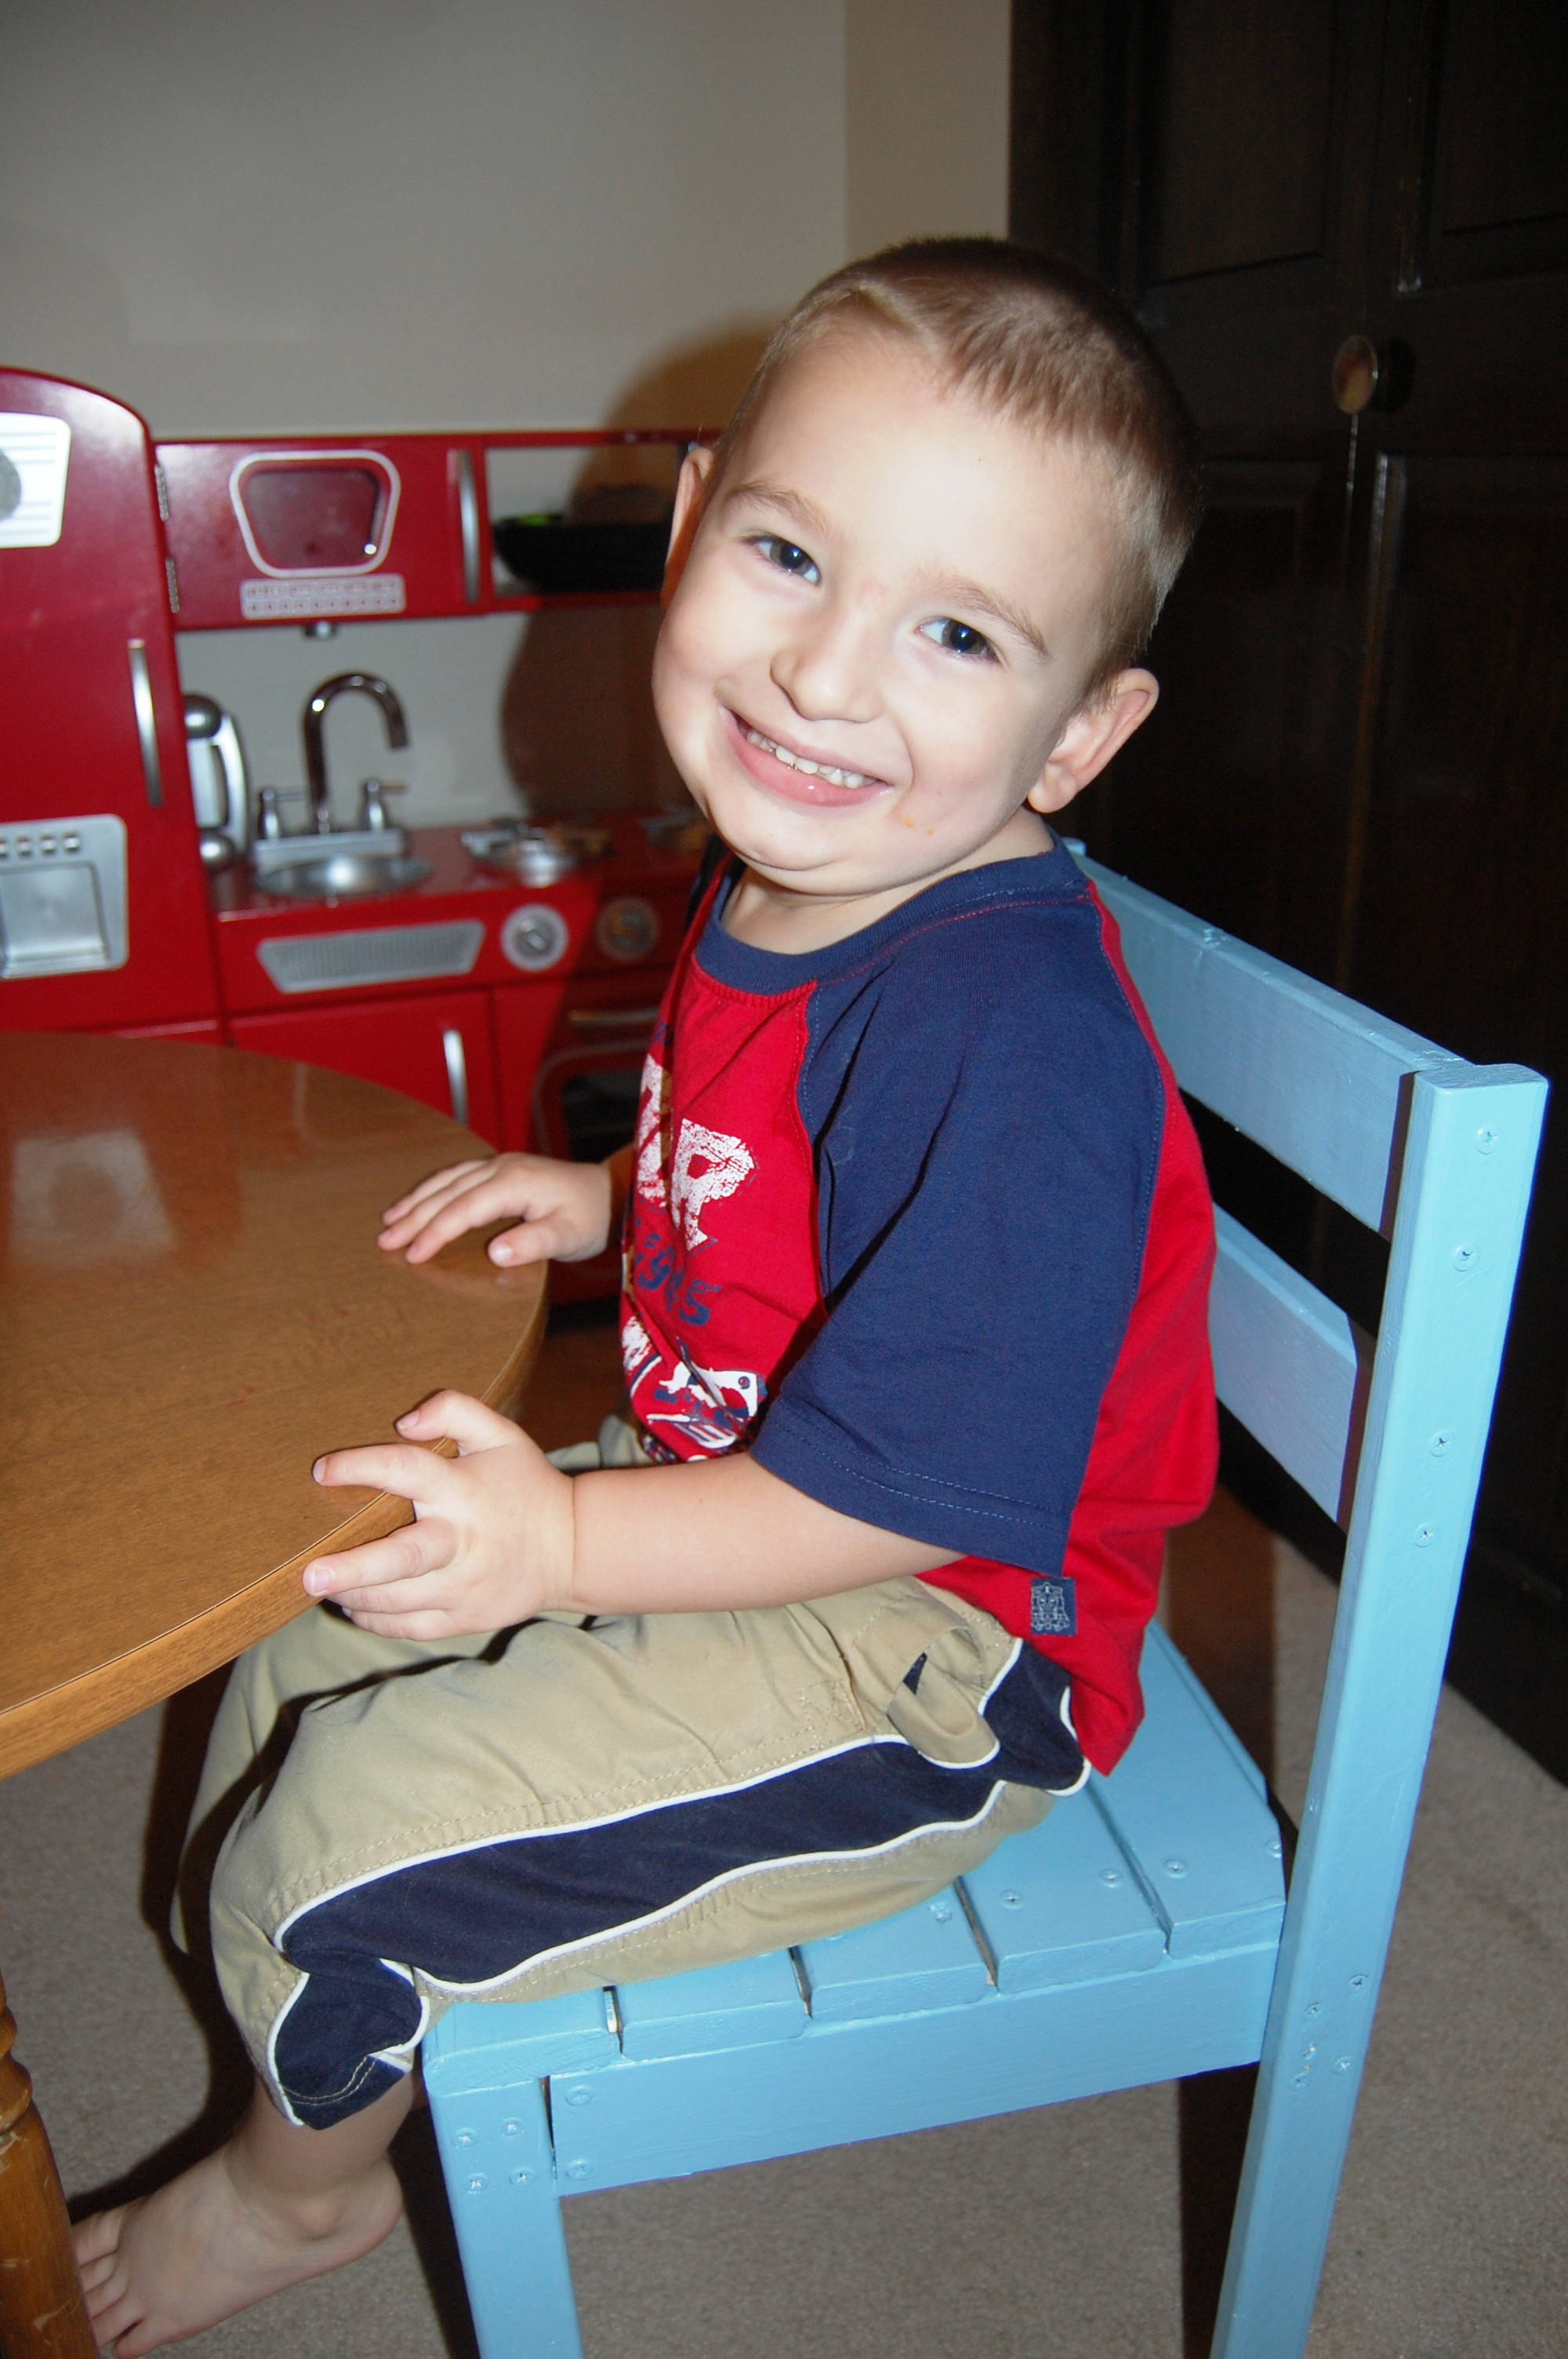
I was looking for an easy project to tackle as a newbie builder. I started with the child size chair (even though I don't have kids). It worked out well so I moved on to the adult sling chair (something I could sit in! haha). I was very pleasantly surprised. I now can't stop finding plans that I want to build. My hubby is very impressed and enjoys the excuse to go to the hardware store to buy more tools! :)
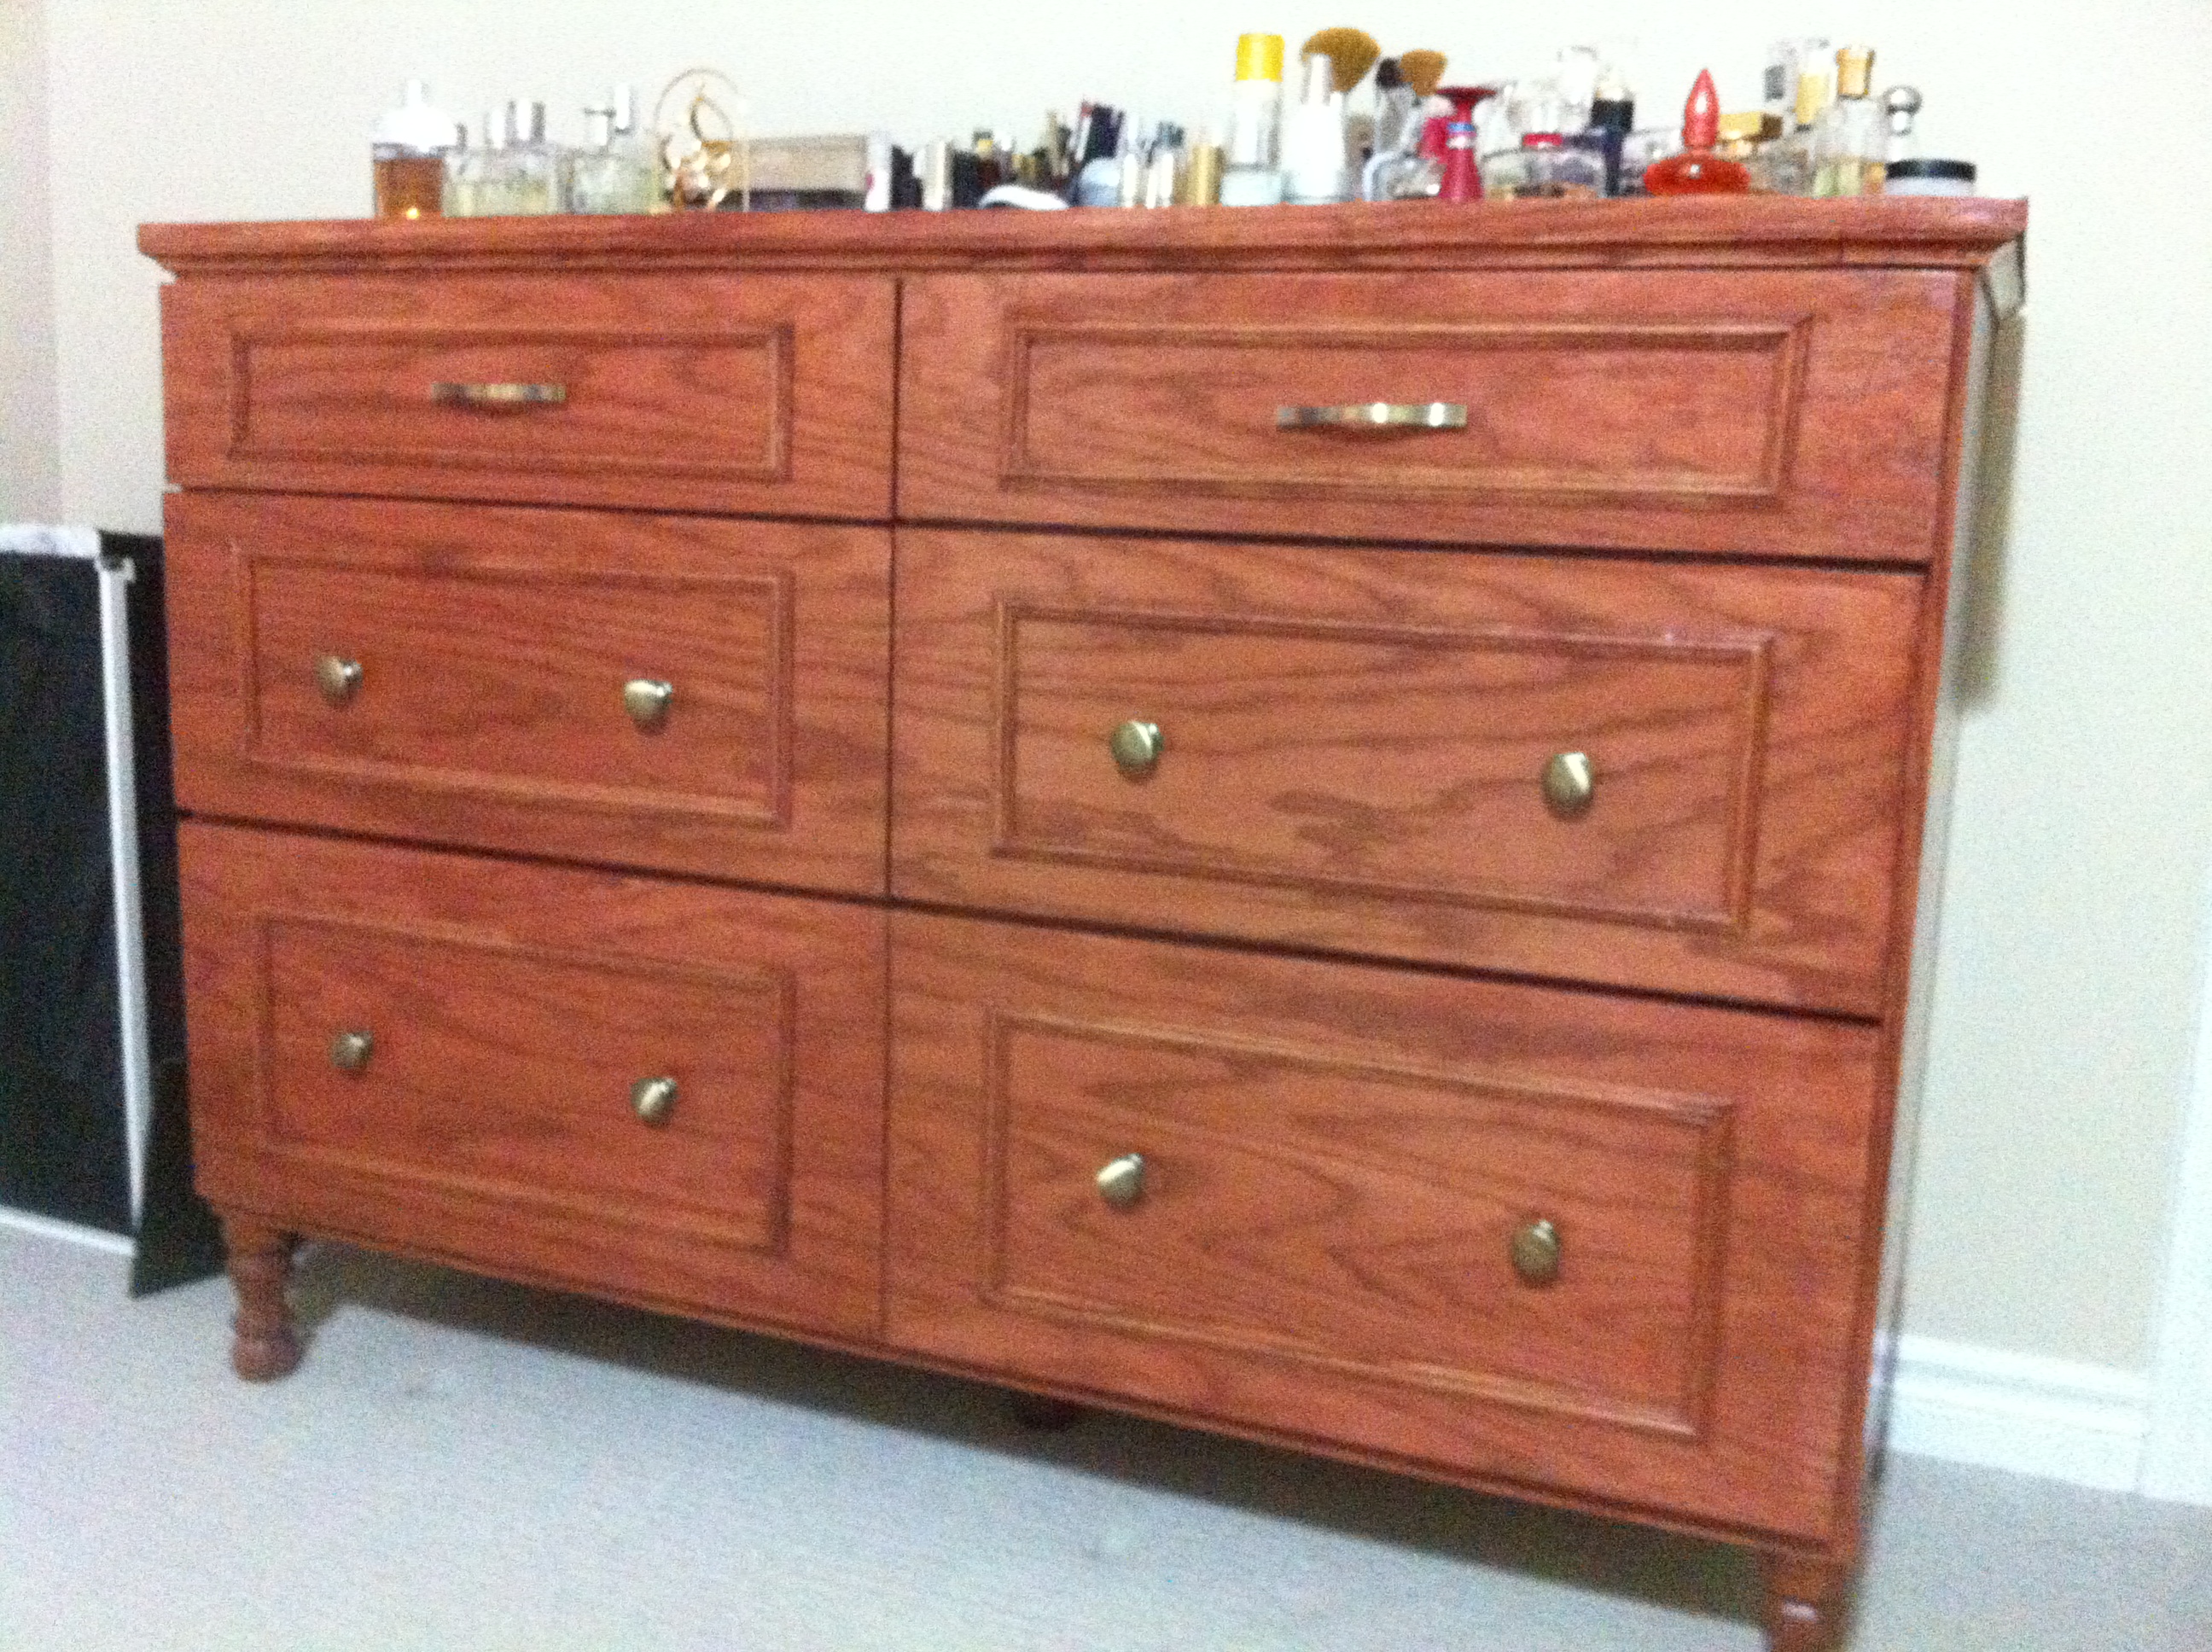
Emily Dresser
Sun, 04/26/2015 - 13:58
Modified to fit sectional couch so this build was considerably smaller. My dad loves it!
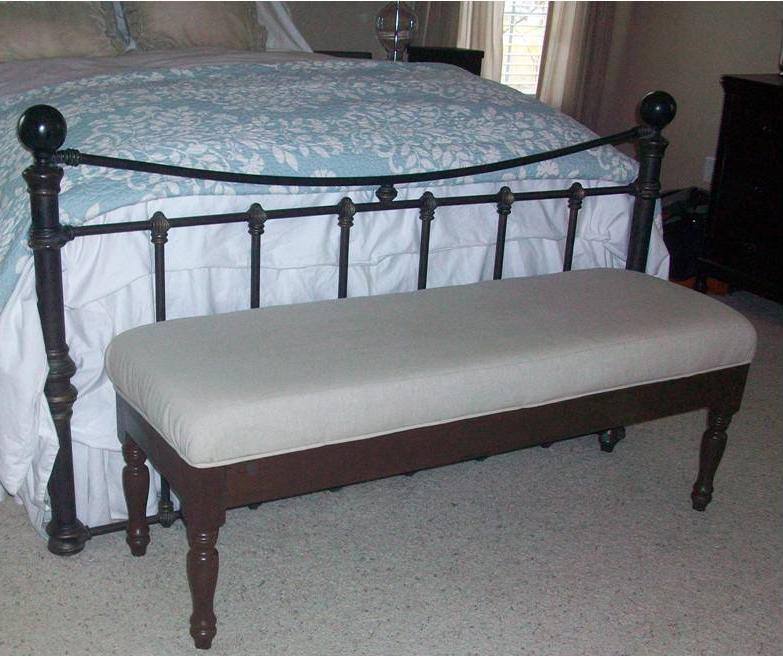
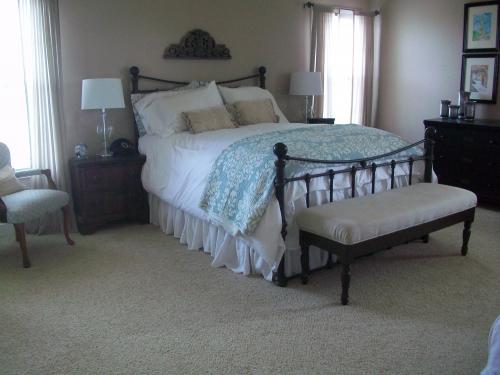
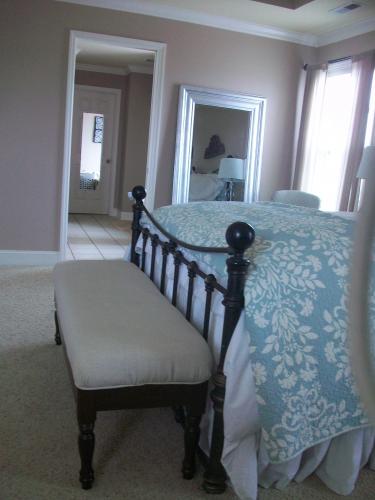
I wanted an upholstered bench for the end of my bed but could not find one with the right measurements. So what to do when that happens, build your own. I used the easiest upholstered bench plans as my starting point, but incorporated turned legs from Home Depot and upholstered the cushion instead of making a slipcover for a more traditional look. I made the bench measurements one inch smaller in depth and one inch smaller in length than the plans to fit the end of my queen size bed. I used the pocket hole (Kreg ) jig to attach the legs to the 2x4s and pre-drilled holes in the base to eventually attache the upholstered top. I used stain applied very heavily as the grain on the legs was different than the 2x4s.After putting the frame together and staining it, I stapled fabric over 3 inch foam and a layer of batting to the unattached top MDF board. The best way to cut foam to size is with an electric carving knife. I then stapled fabric covered piping around the edge of the fabric. I finished it off by turning the whole thing upside down and attaching the finished upholstered top to the frame by screwing them together with the pre-drilled pocket holes. I love the way it finishes off our room and it looks very professional. As always, the hardest part of the project is not the building, but the staining and getting the upholstery just right.

I put a weekend project because I took the time to paint. I also used 2x8's for the sides so to account for the difference in measurements...Long sides stayed the same at 47 1/2", however, for the shorts sides, because of the extra almost 2"'s on either end, I cut them at 45" and the lid 8 ft 1x4's were just cut in half so measured 48".
Also, on the arms for the seat...I got a little crazy excited with my Kreg Jig...I love those pocket holes but probably just should have screwed the seat onto them..lol
I had seen an image with the cut outs on the lid so took a bowl, did my own measurements and used them for handles instead of purchasing more hardware. Kids love it! Thanks for the plan!!


Fri, 05/31/2013 - 20:57
Brilliant paint job :-) And the cut-outs instead of hardware? Genius!
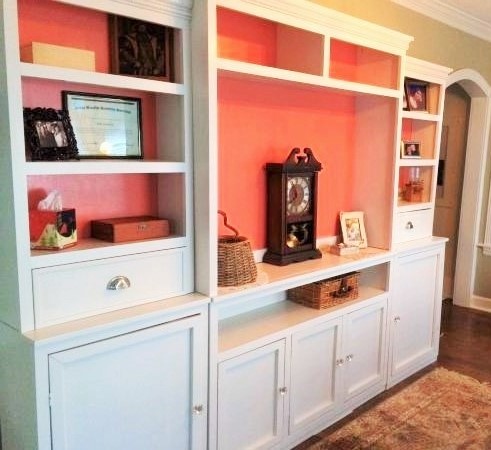
These pieces are perfect for my home office. I desperately needed storage. I have tons of room to spare. I love the design, although I used different molding. Couldn't find small enough crown. Thank you!!

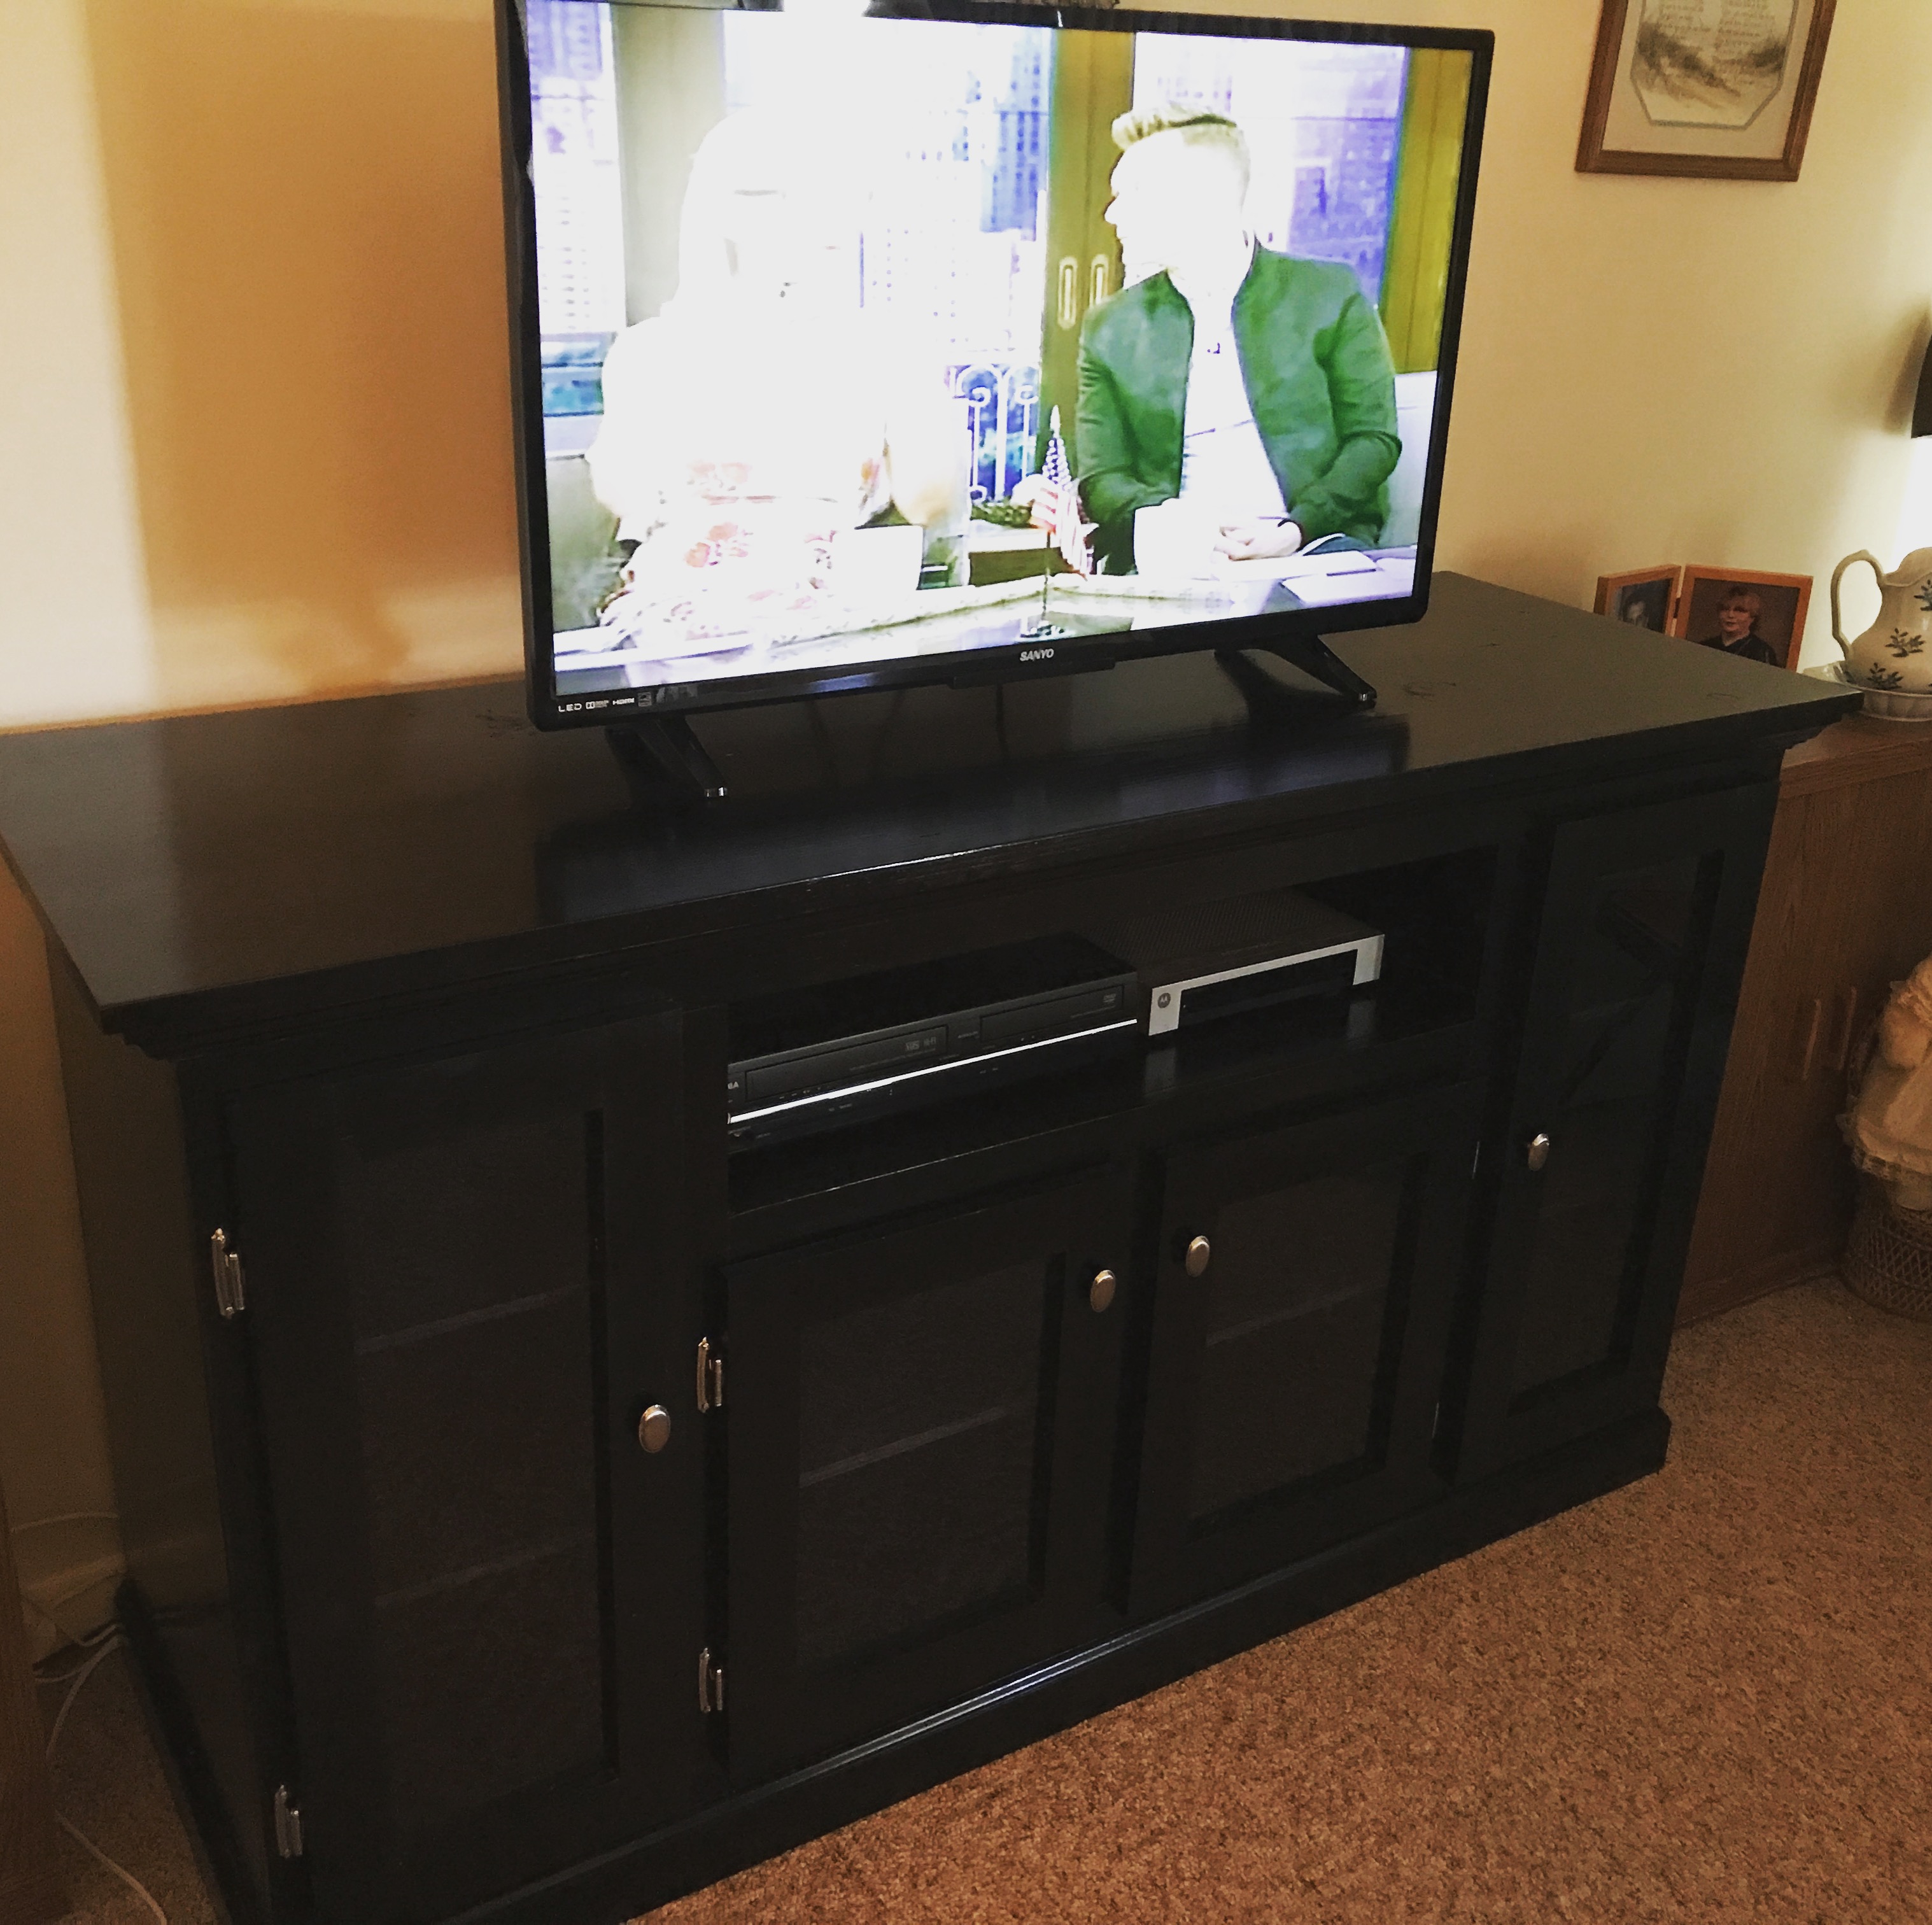
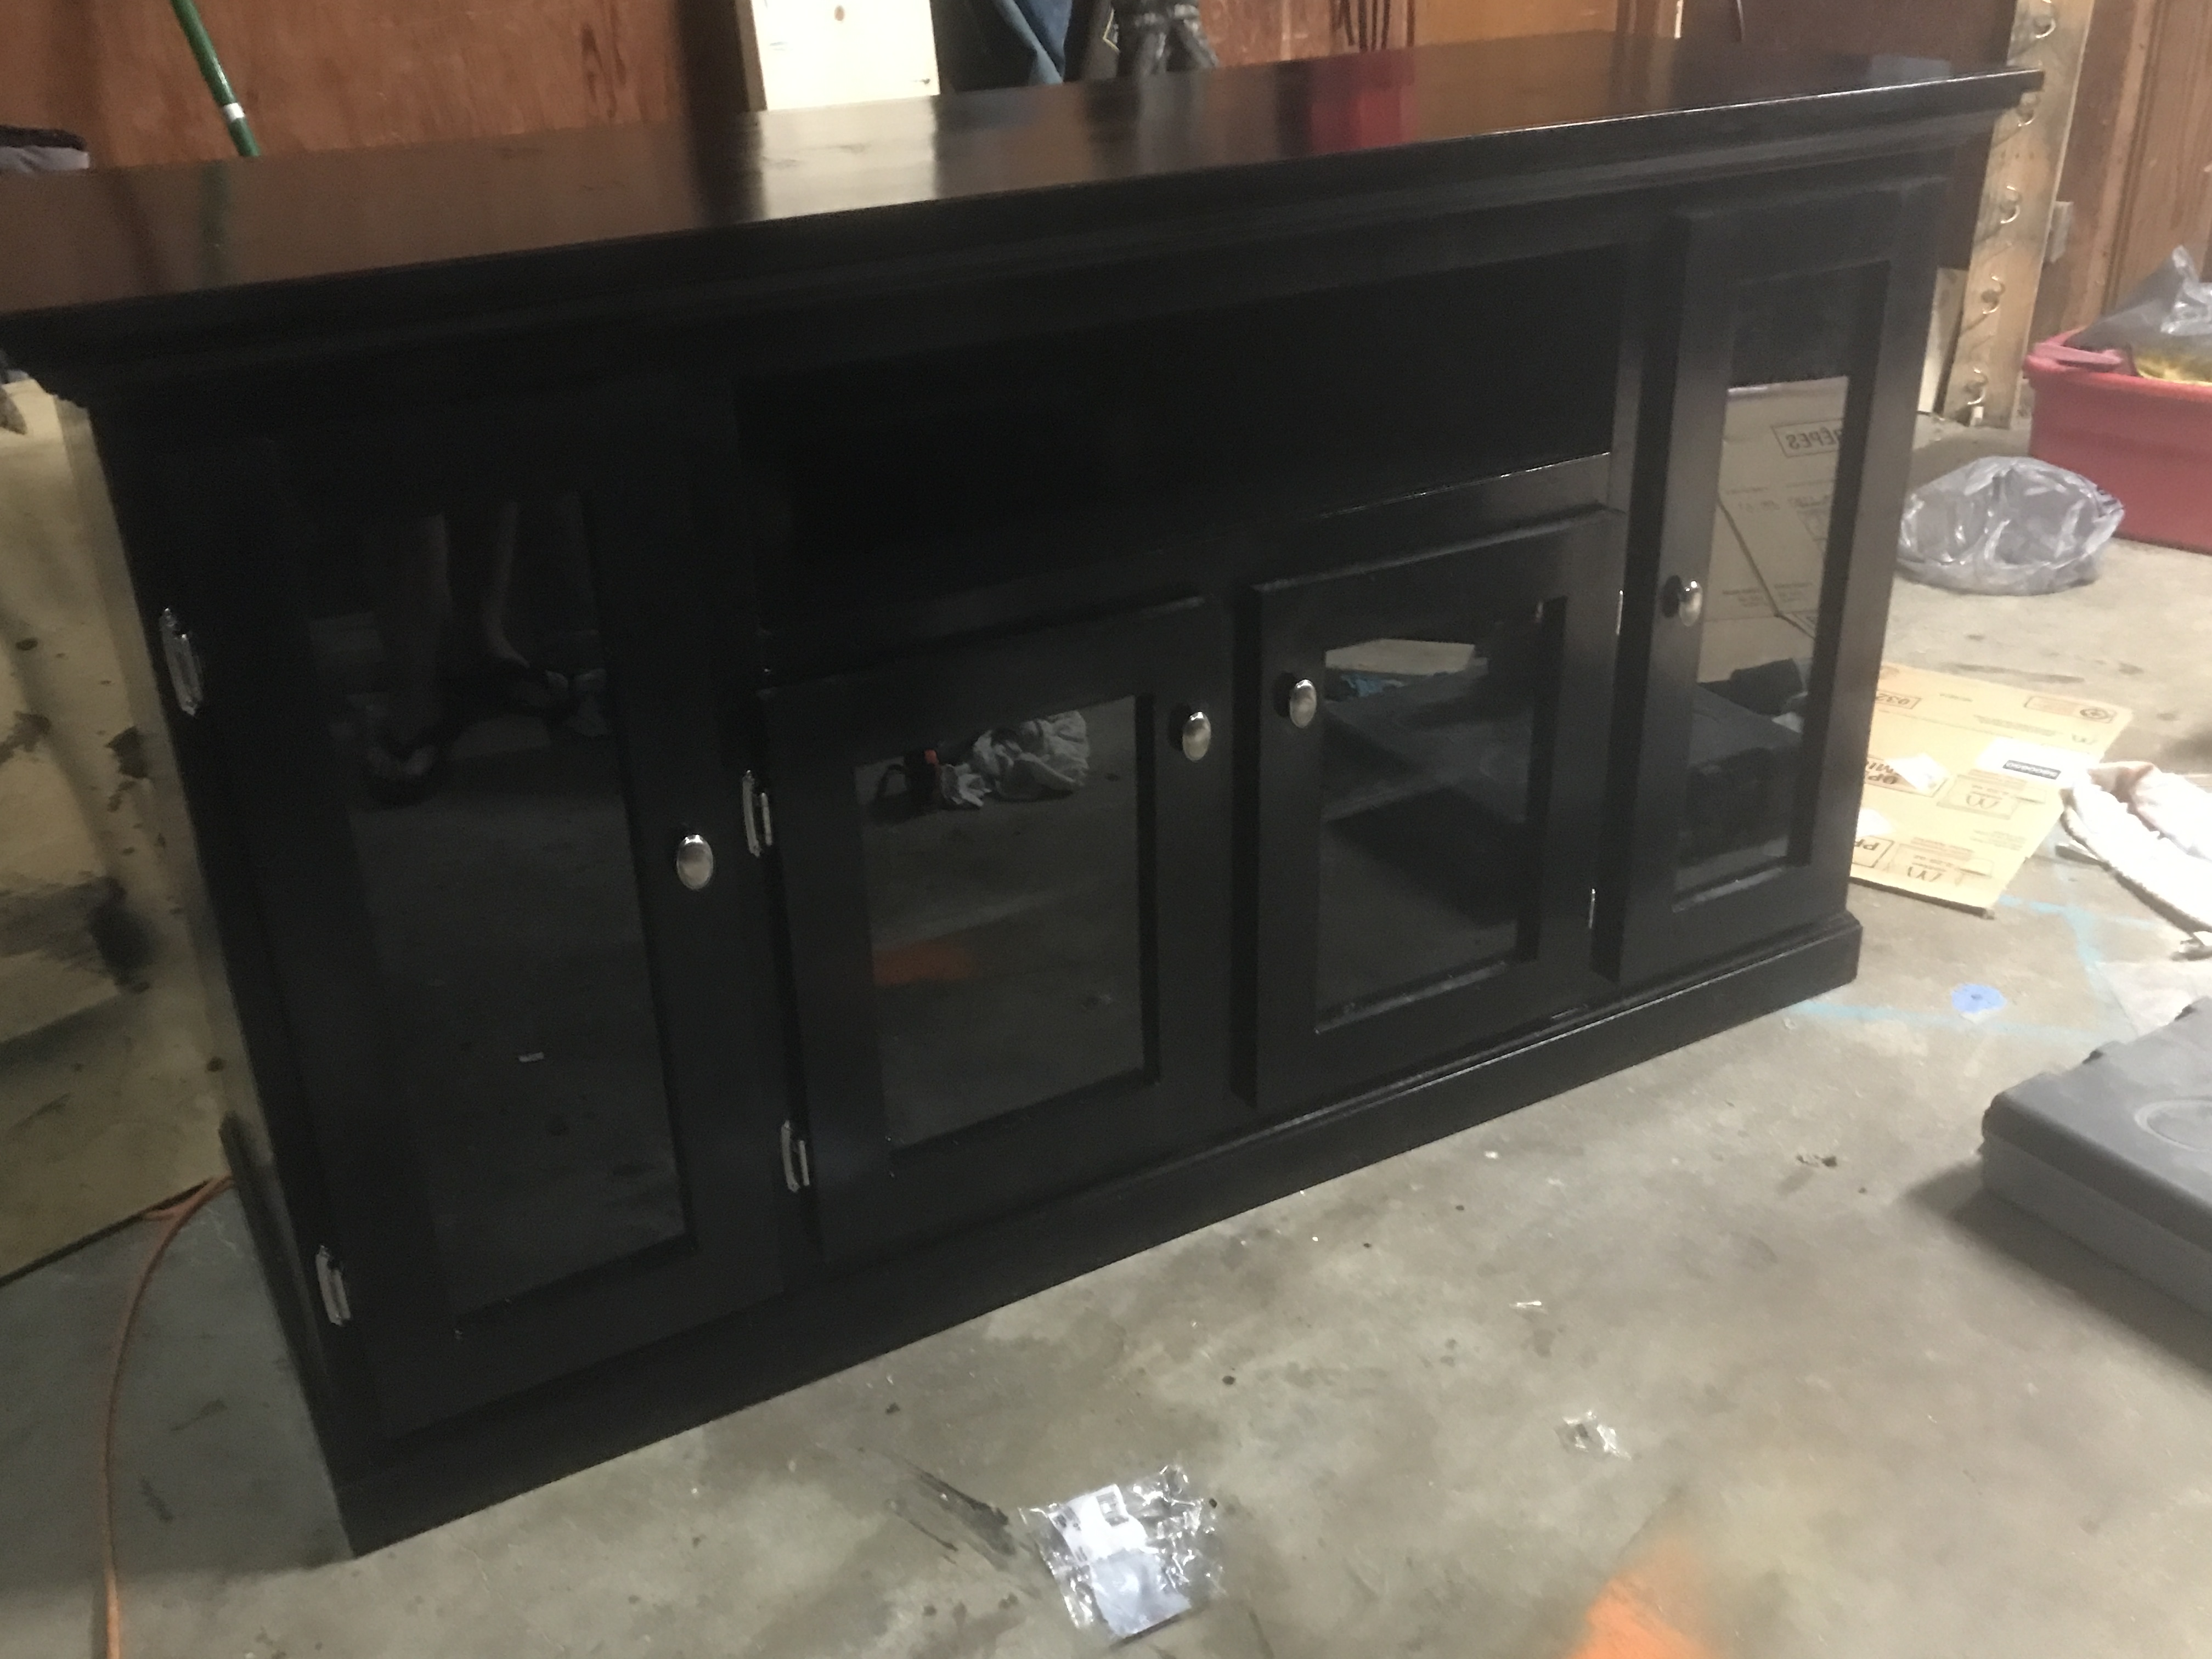
Used the pub table plans, but went regular dining table height so as to make matching dining chairs. Painted in Rustoleum Latex Ultra White, and Stained in Minwax Espresso. Built using Douglas Fir lumber. Table top and chair seats are 2x4's and 2x6's that were biscuit joined. Table has adjustable leg levelers drilled into bottom of legs.


Comments
Ana White Admin
Tue, 10/05/2021 - 09:20
Great gift!
Great build, it will be wonderful no matter what the finish is!