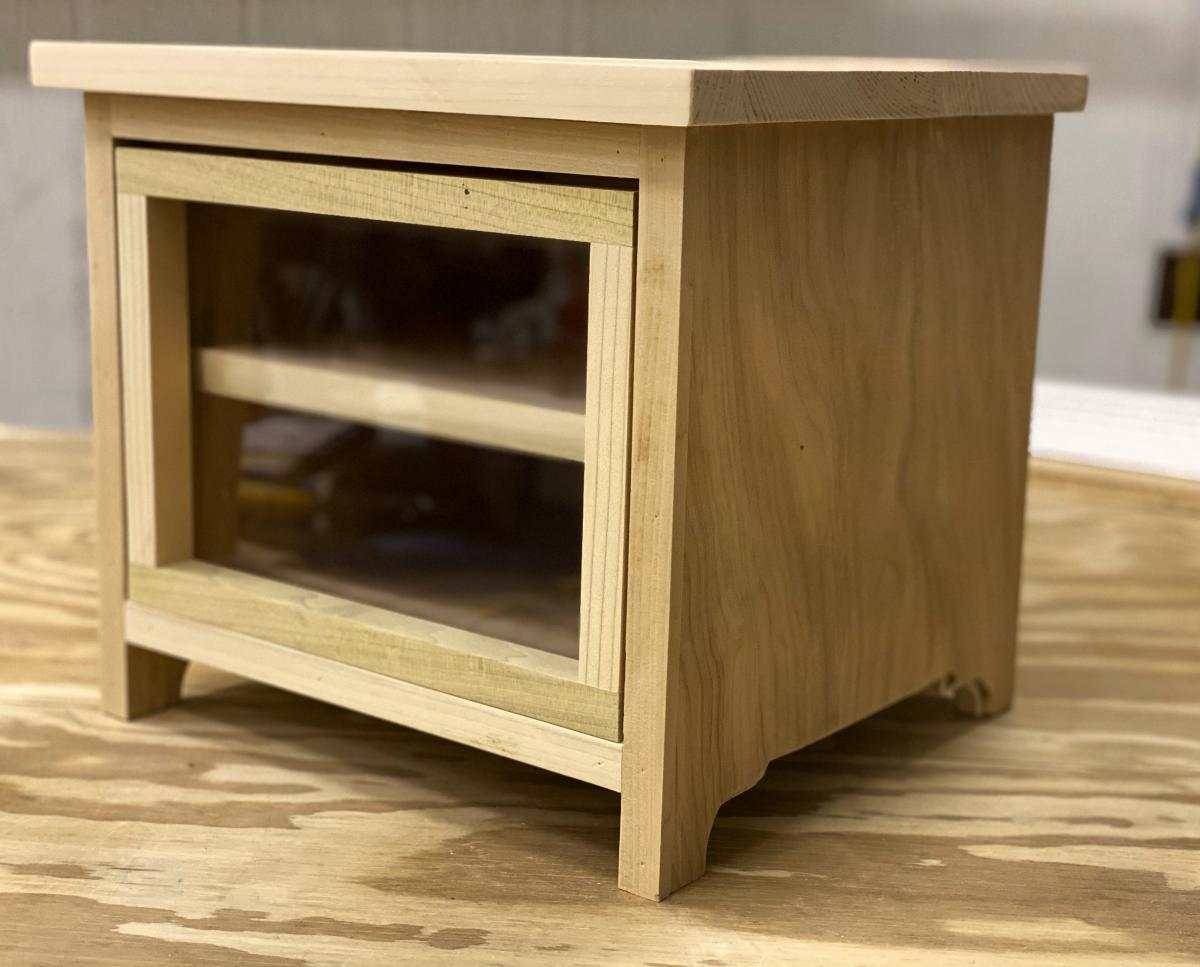
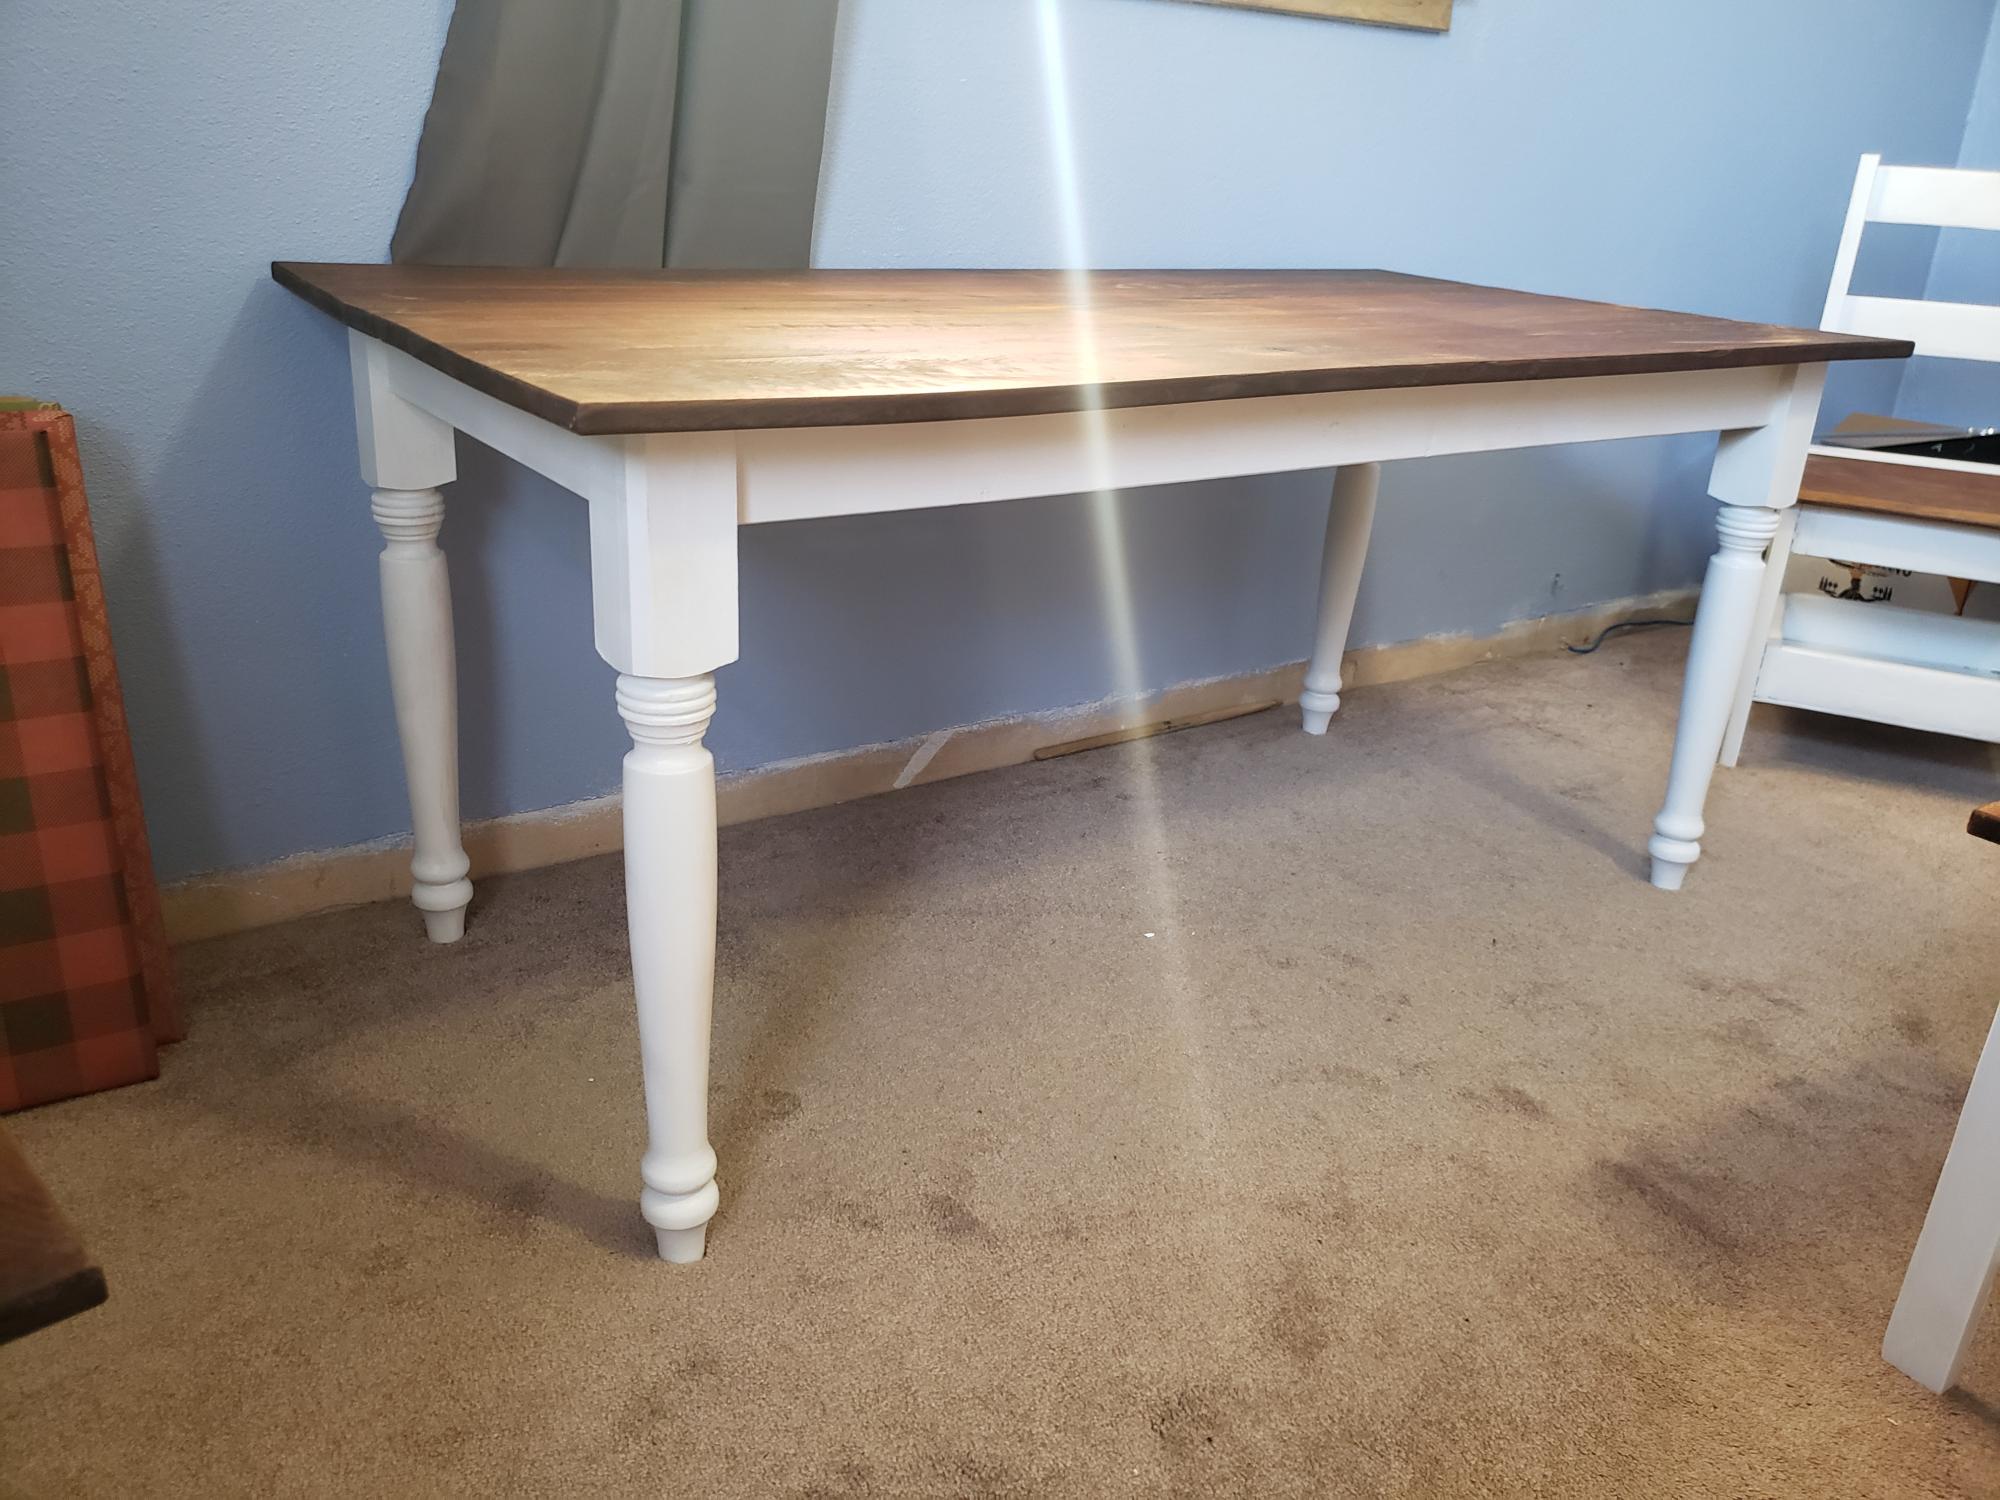
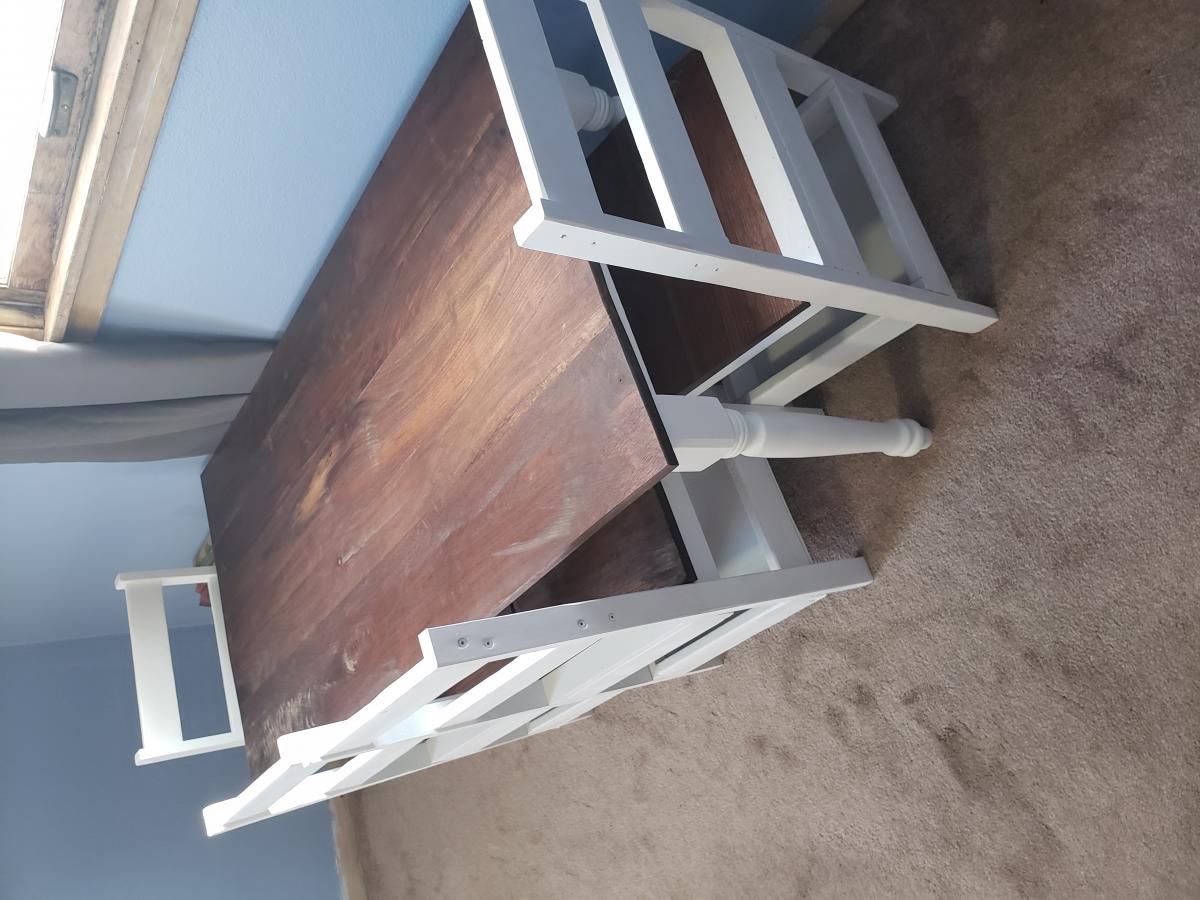
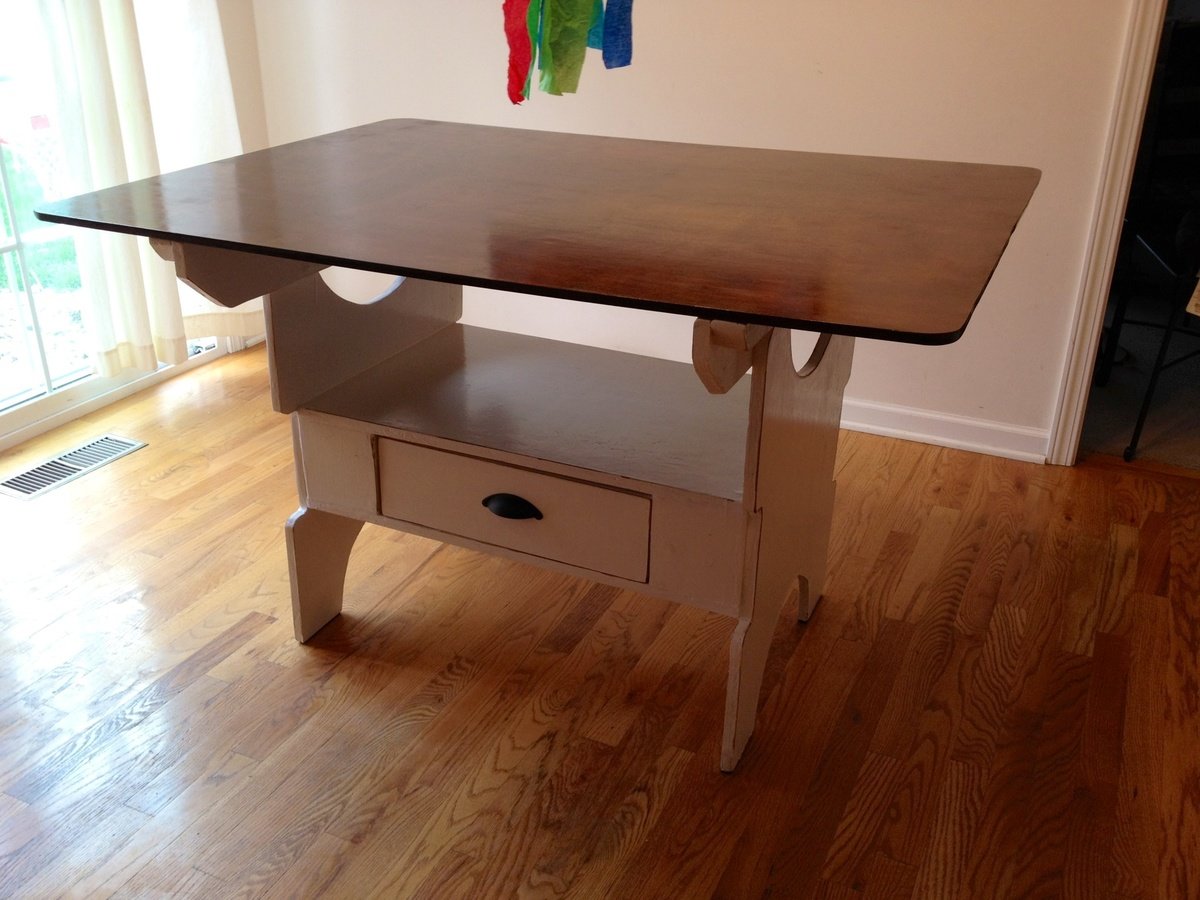
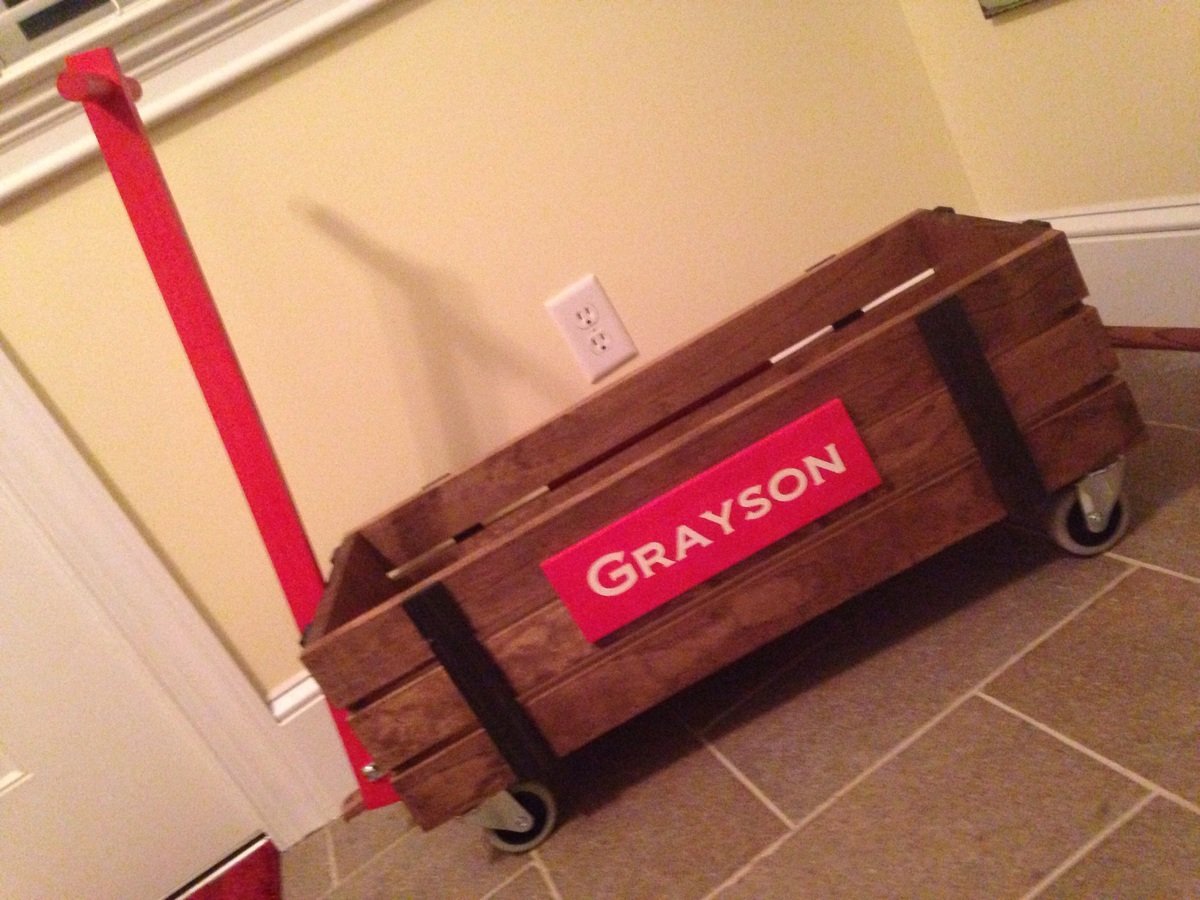
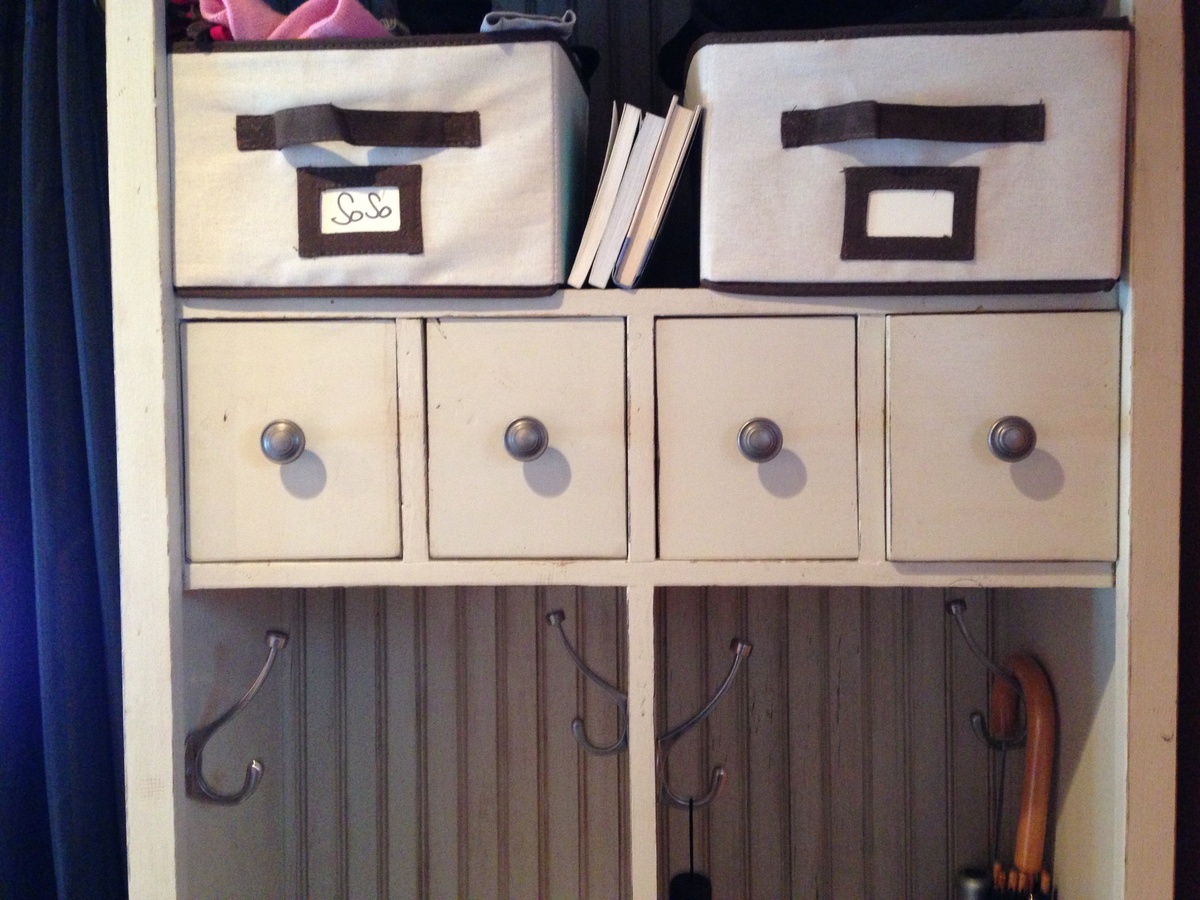
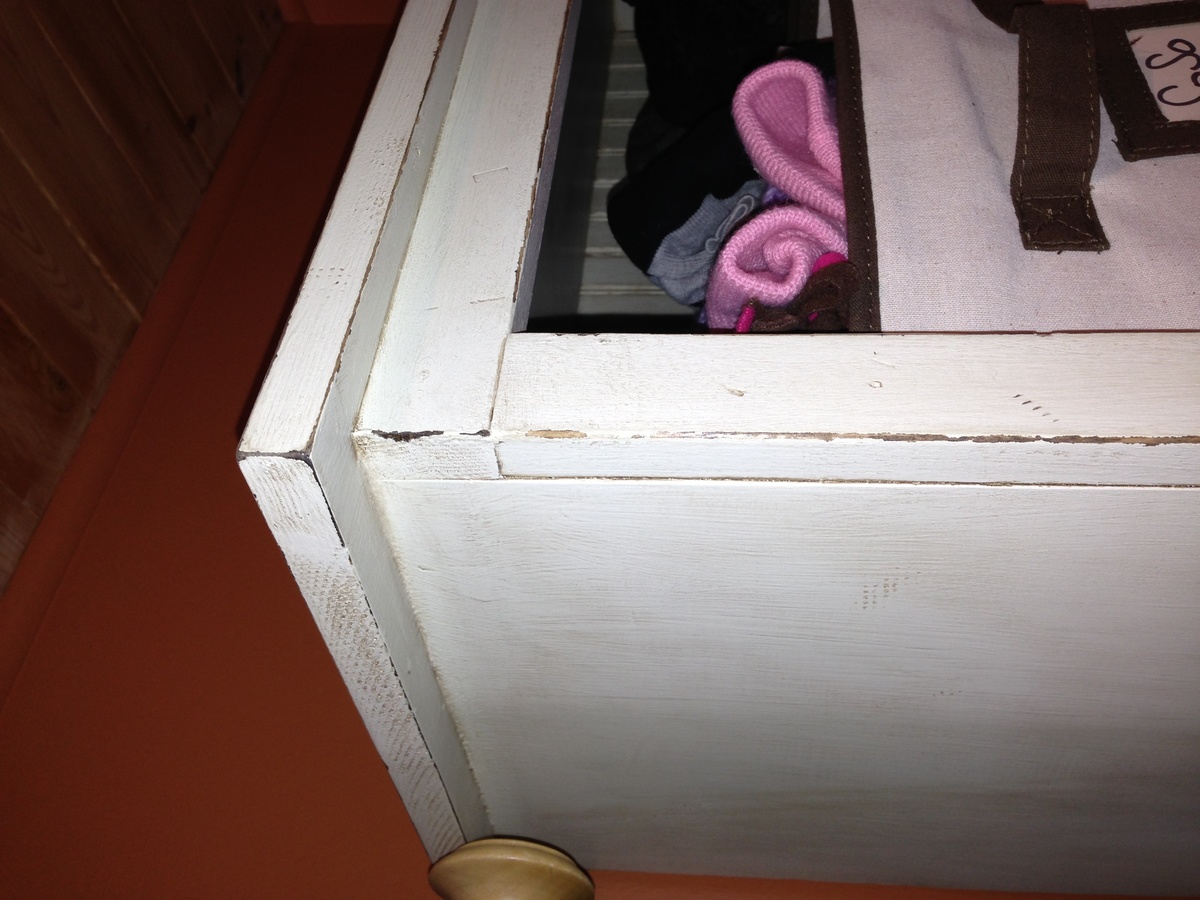
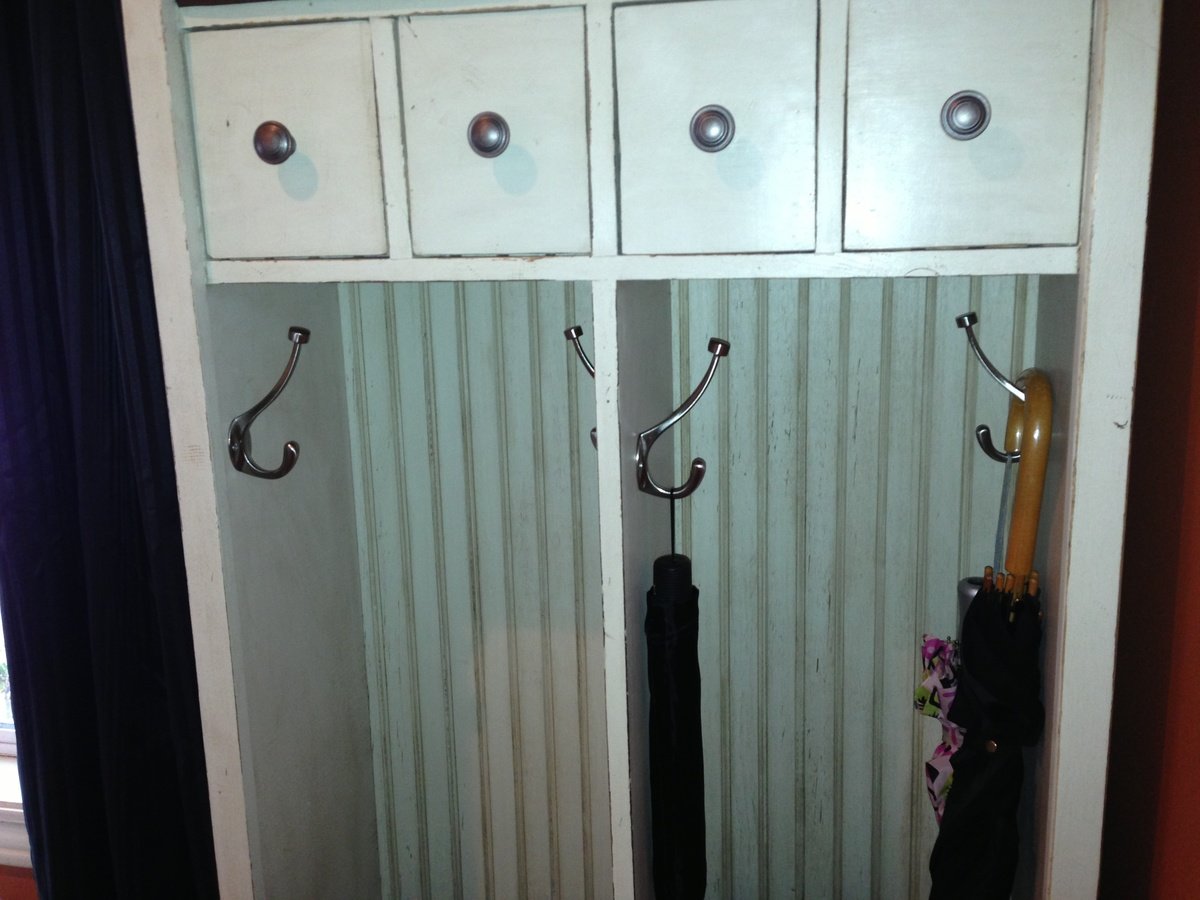
Entryway Locker with drawers
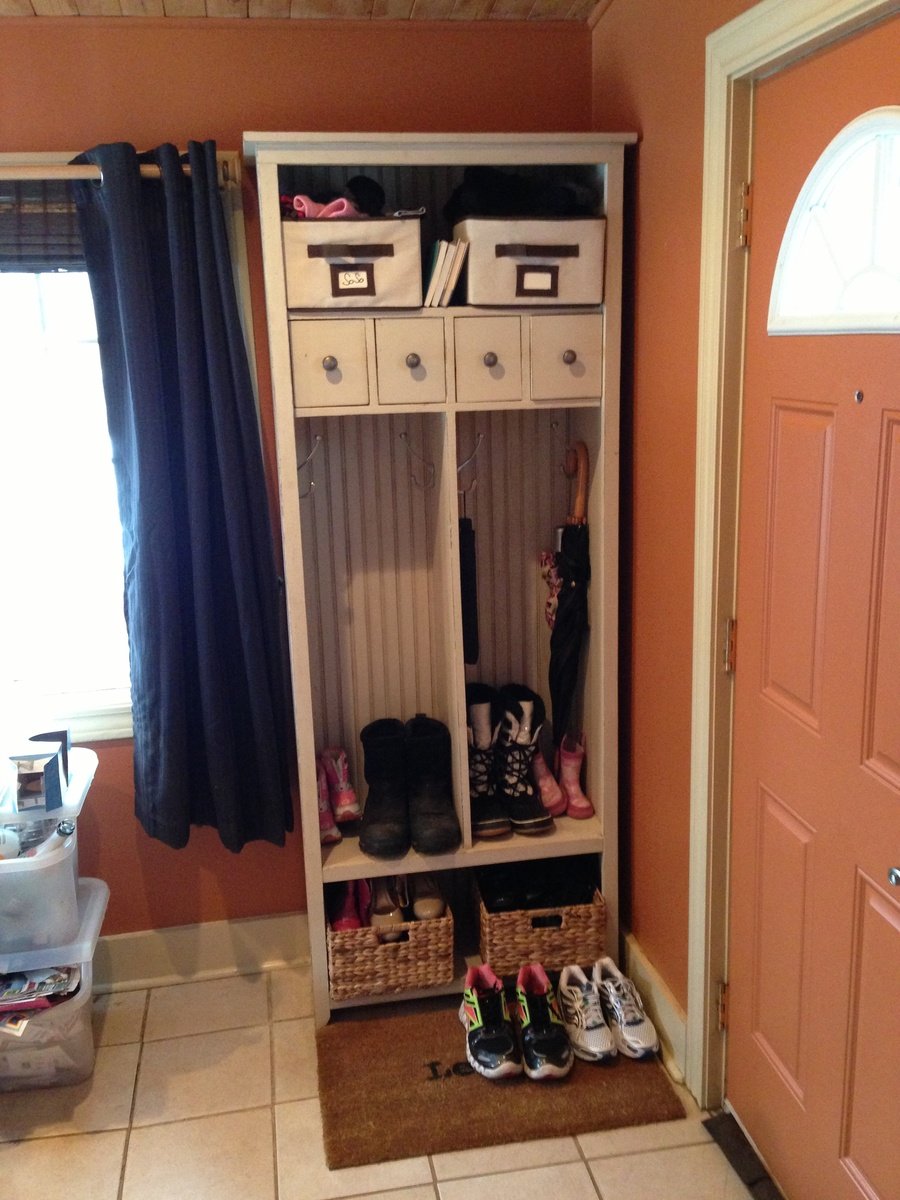
Just needed some better storage for coats and shoes. Used Hilary' locker plan and just modified it for my space/needs.
Built from Plan(s)
Estimated Cost
120
Estimated Time Investment
Afternoon Project (3-6 Hours)
Finish Used
Valspar Pebble, distressed and glazed with minwax dark walnut stain
Recommended Skill Level
Beginner