Community Brag Posts
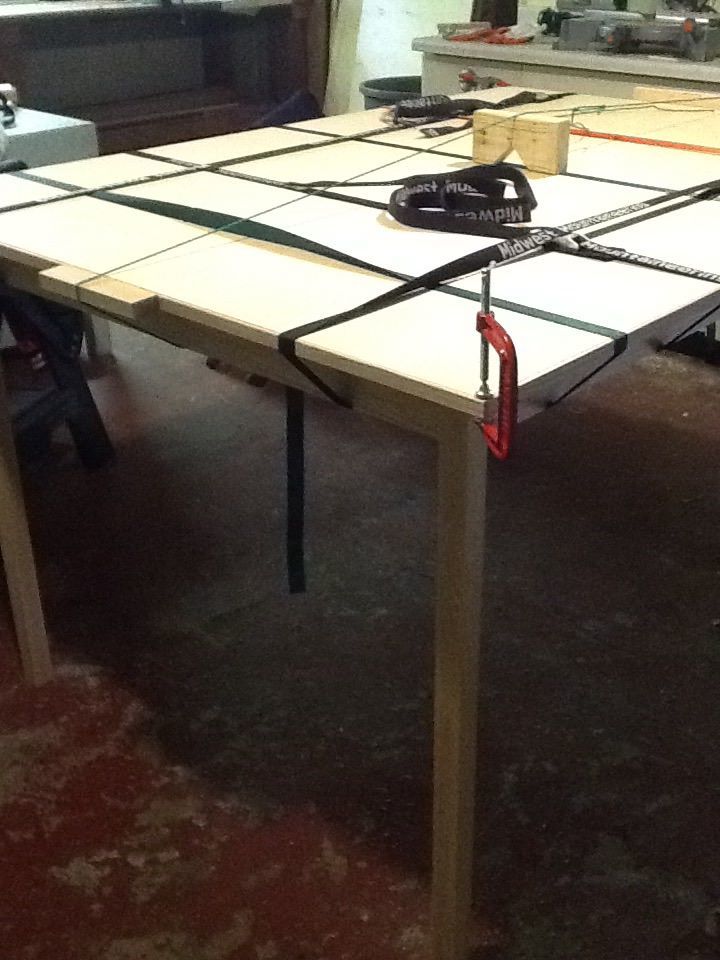
Sawhorse desk with storage and a tiltable top

I was asked to make a desk for my grandson. It needed a "drafting tabletop" so he wouldn't have to bend over too much (better for his back), a drawer for his stuff, and A-frame legs. Well, such things don't exist, so I put together the plans from your Sawhorse desk, sawhorse storage leg desk, and some seat-of-the-pants engineering to create the final product.
The desk is still only 48" wide and 30" high. When laying flat, the desktop is 24" deep. The seating area seemed to work out (~23" wide) because this is for a child. I made the right 12" of the desktop separate and flat to serve as a place to lay books and things to the side. I used a piano hinge to anchor the liftable portion of the desktop. I used a 4" face so that the drawer would be sufficiently deep and more usable.
I appreciate the clarity of your instructions, particularly when I'm trying to adjust them for my daughters specific and challenging requirements.
Built from Plan(s)
Comments
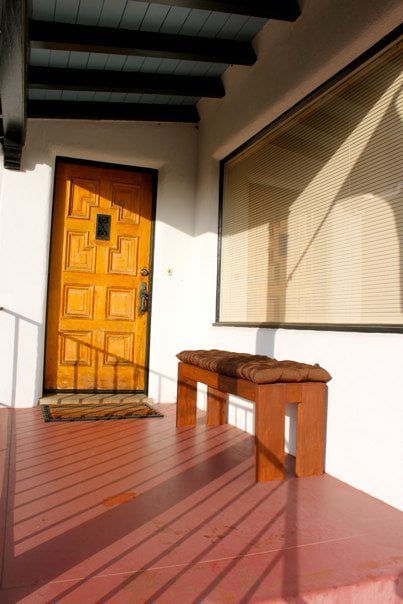
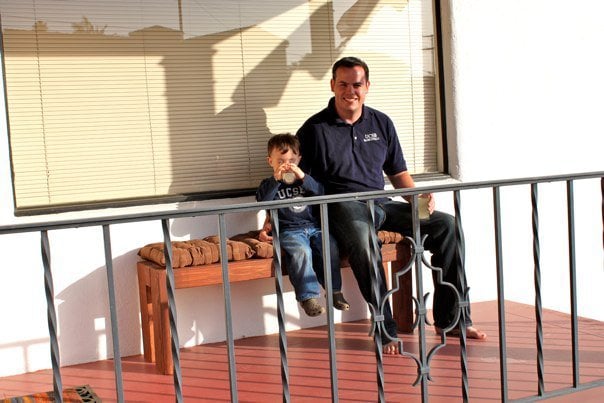
Patio Bench
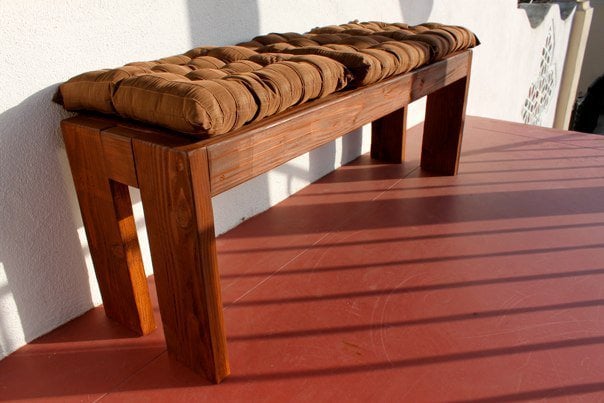
Second project...I've got the bug! Outdoor bench!
Built from Plan(s)
Estimated Time Investment
Afternoon Project (3-6 Hours)
Recommended Skill Level
Beginner
Princess Castle Loft Bed

My Husband built this bed in about two weeks time (in addition to working 70+ hours at his real job). This past week I have helped with all the painting and decorating. As you can see he modified the plans to omit the slide. We hung soft white rope lights under the bed to illuminate the inside of the castle. My husband paired the rope lights with a remote control light switch so our daughter can turn them on and off safely. We are incredibly pleased with the results of our hard work as well as our sweet Natalie! Thank you Ana White for this amazing site of yours!!! My husband has also built from your site the clubhouse loft bed (PBK version) for our son, a computer desk, as well as the rustic X console table for me!!! We LOVE your site!!!! Thank you again!!!
Built from Plan(s)
Estimated Time Investment
Week Long Project (20 Hours or More)
Recommended Skill Level
Intermediate
My first ever DIY project
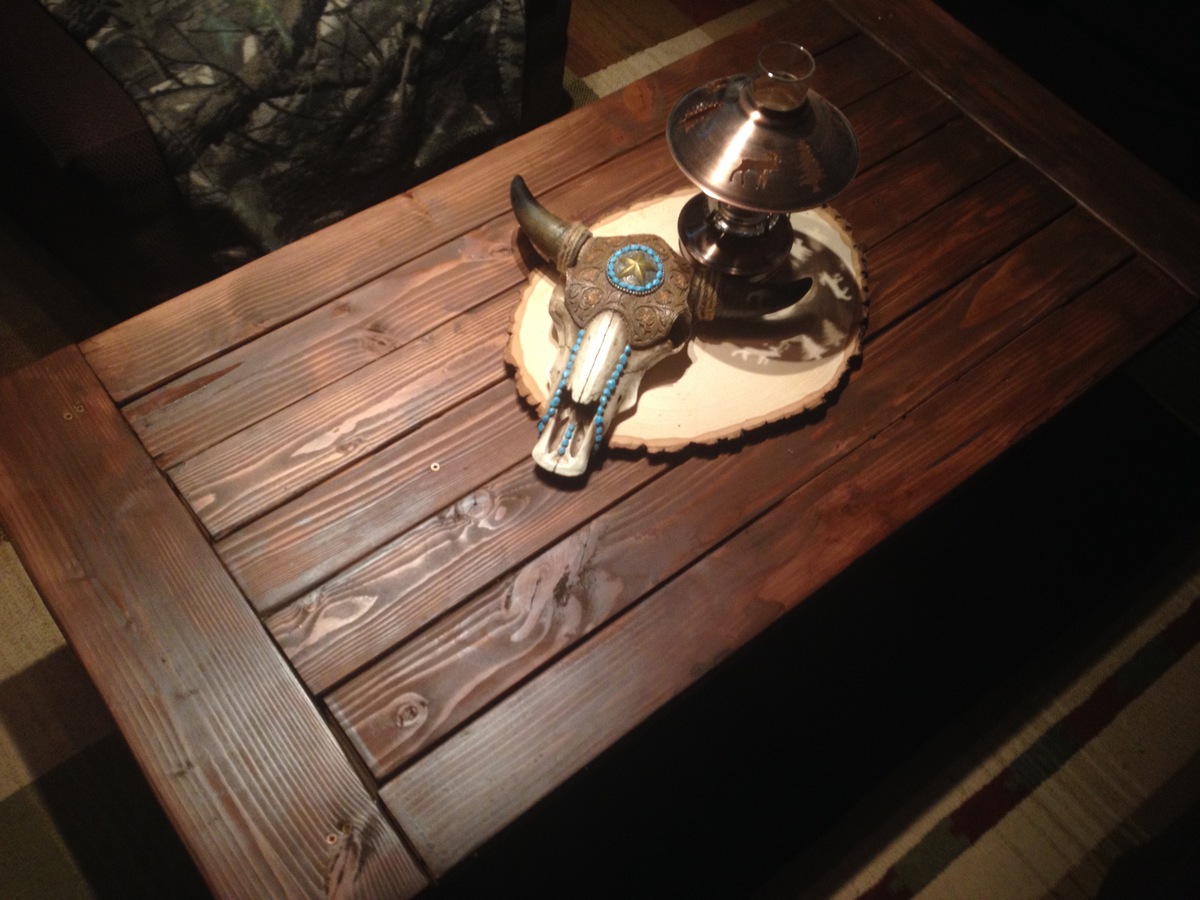
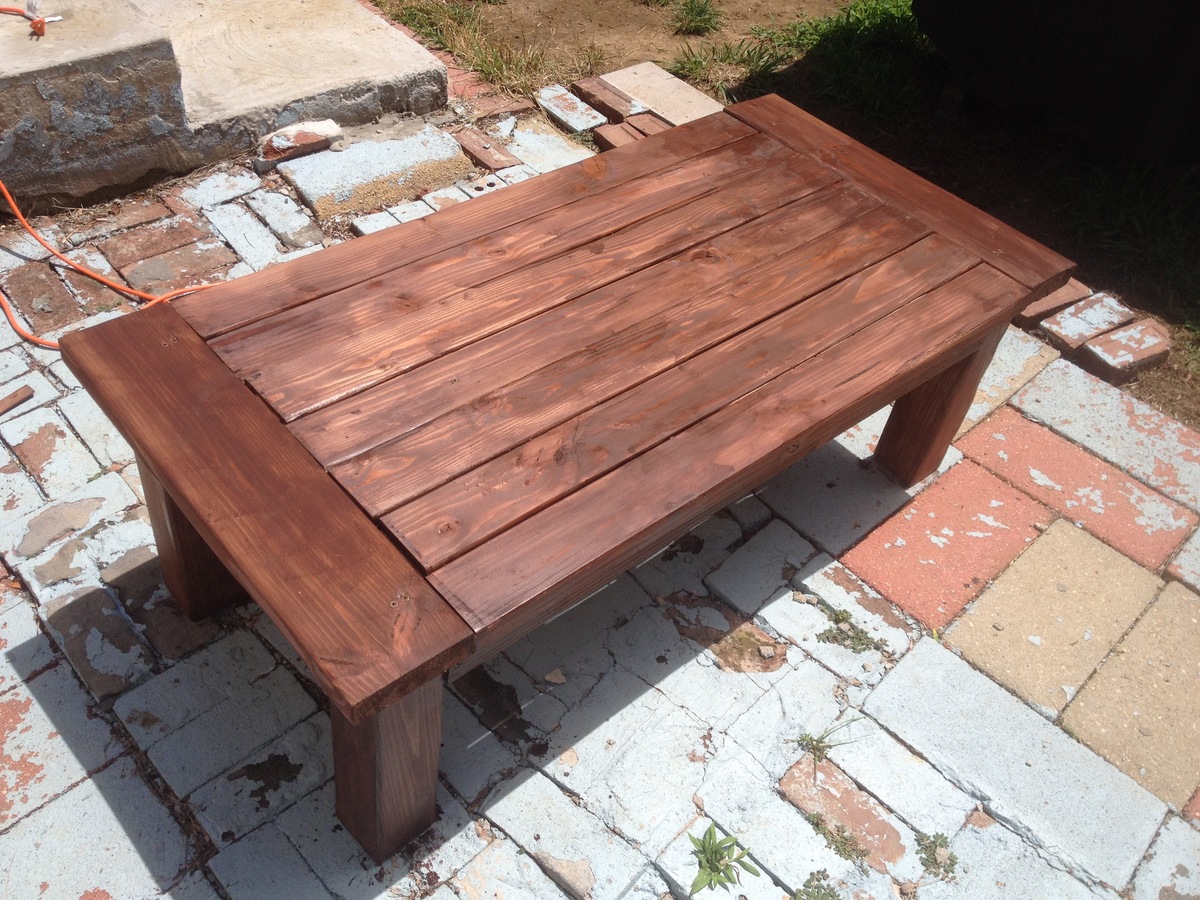
My first ever wood related ever project. Anniversary gift for my wife. She loves it! :-)
I talk about the experience on my blog link.
** For beginners, I feel the most important thing to know prior to starting the project is making sure that the wood you purchase (2x4's and 2x2's) are straight and true.
Built from Plan(s)
Estimated Time Investment
Weekend Project (10-20 Hours)
Recommended Skill Level
Beginner
Comments
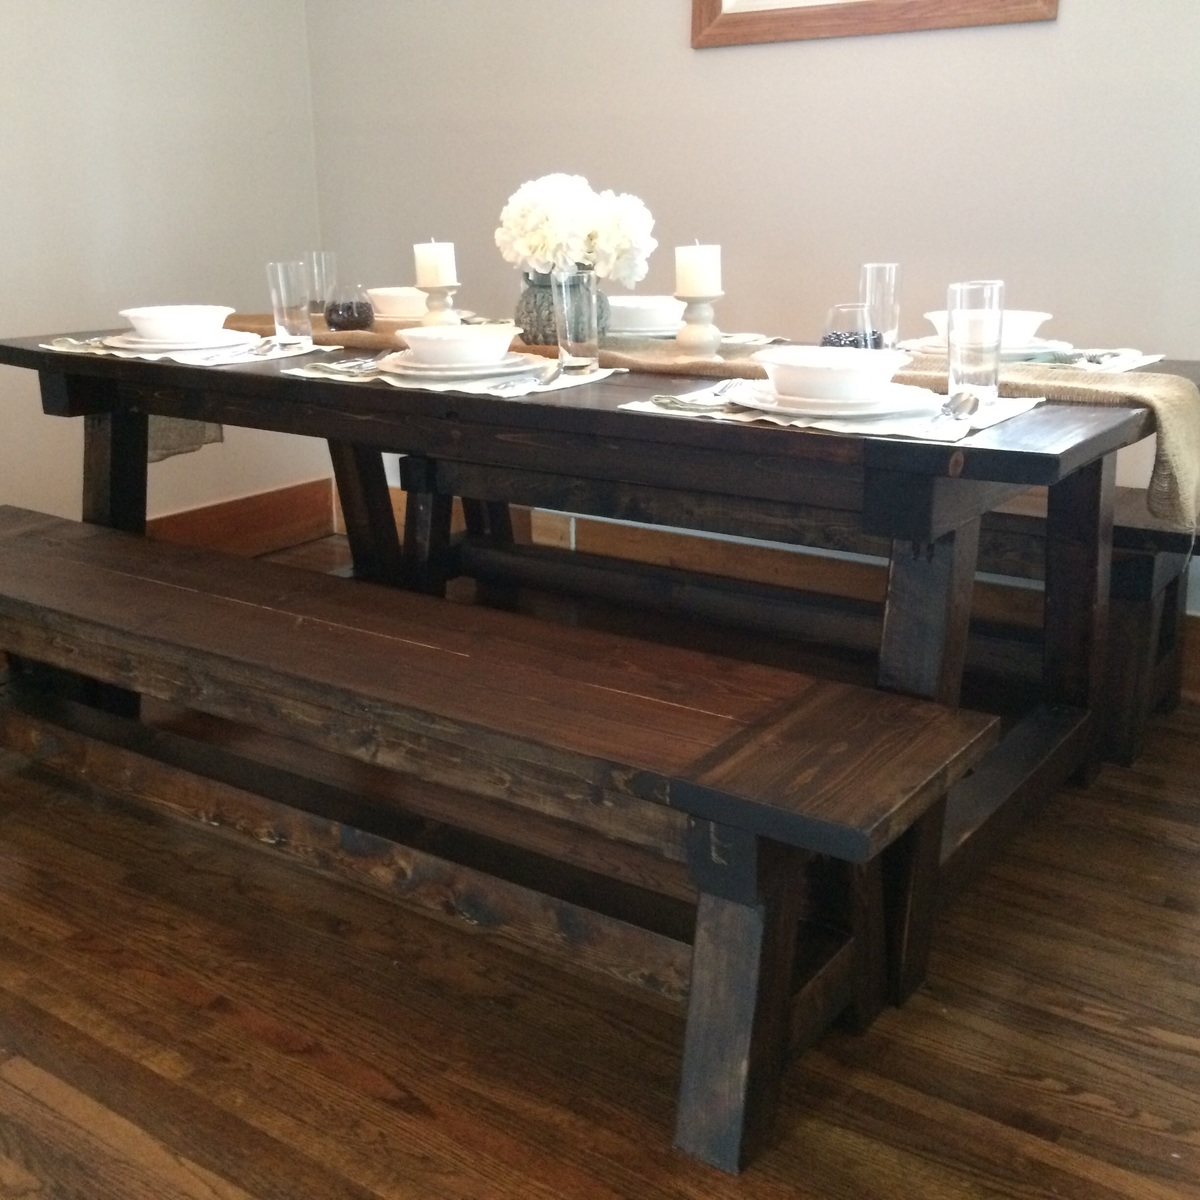
4x4 Truss Beam Table - Oklahoma Style
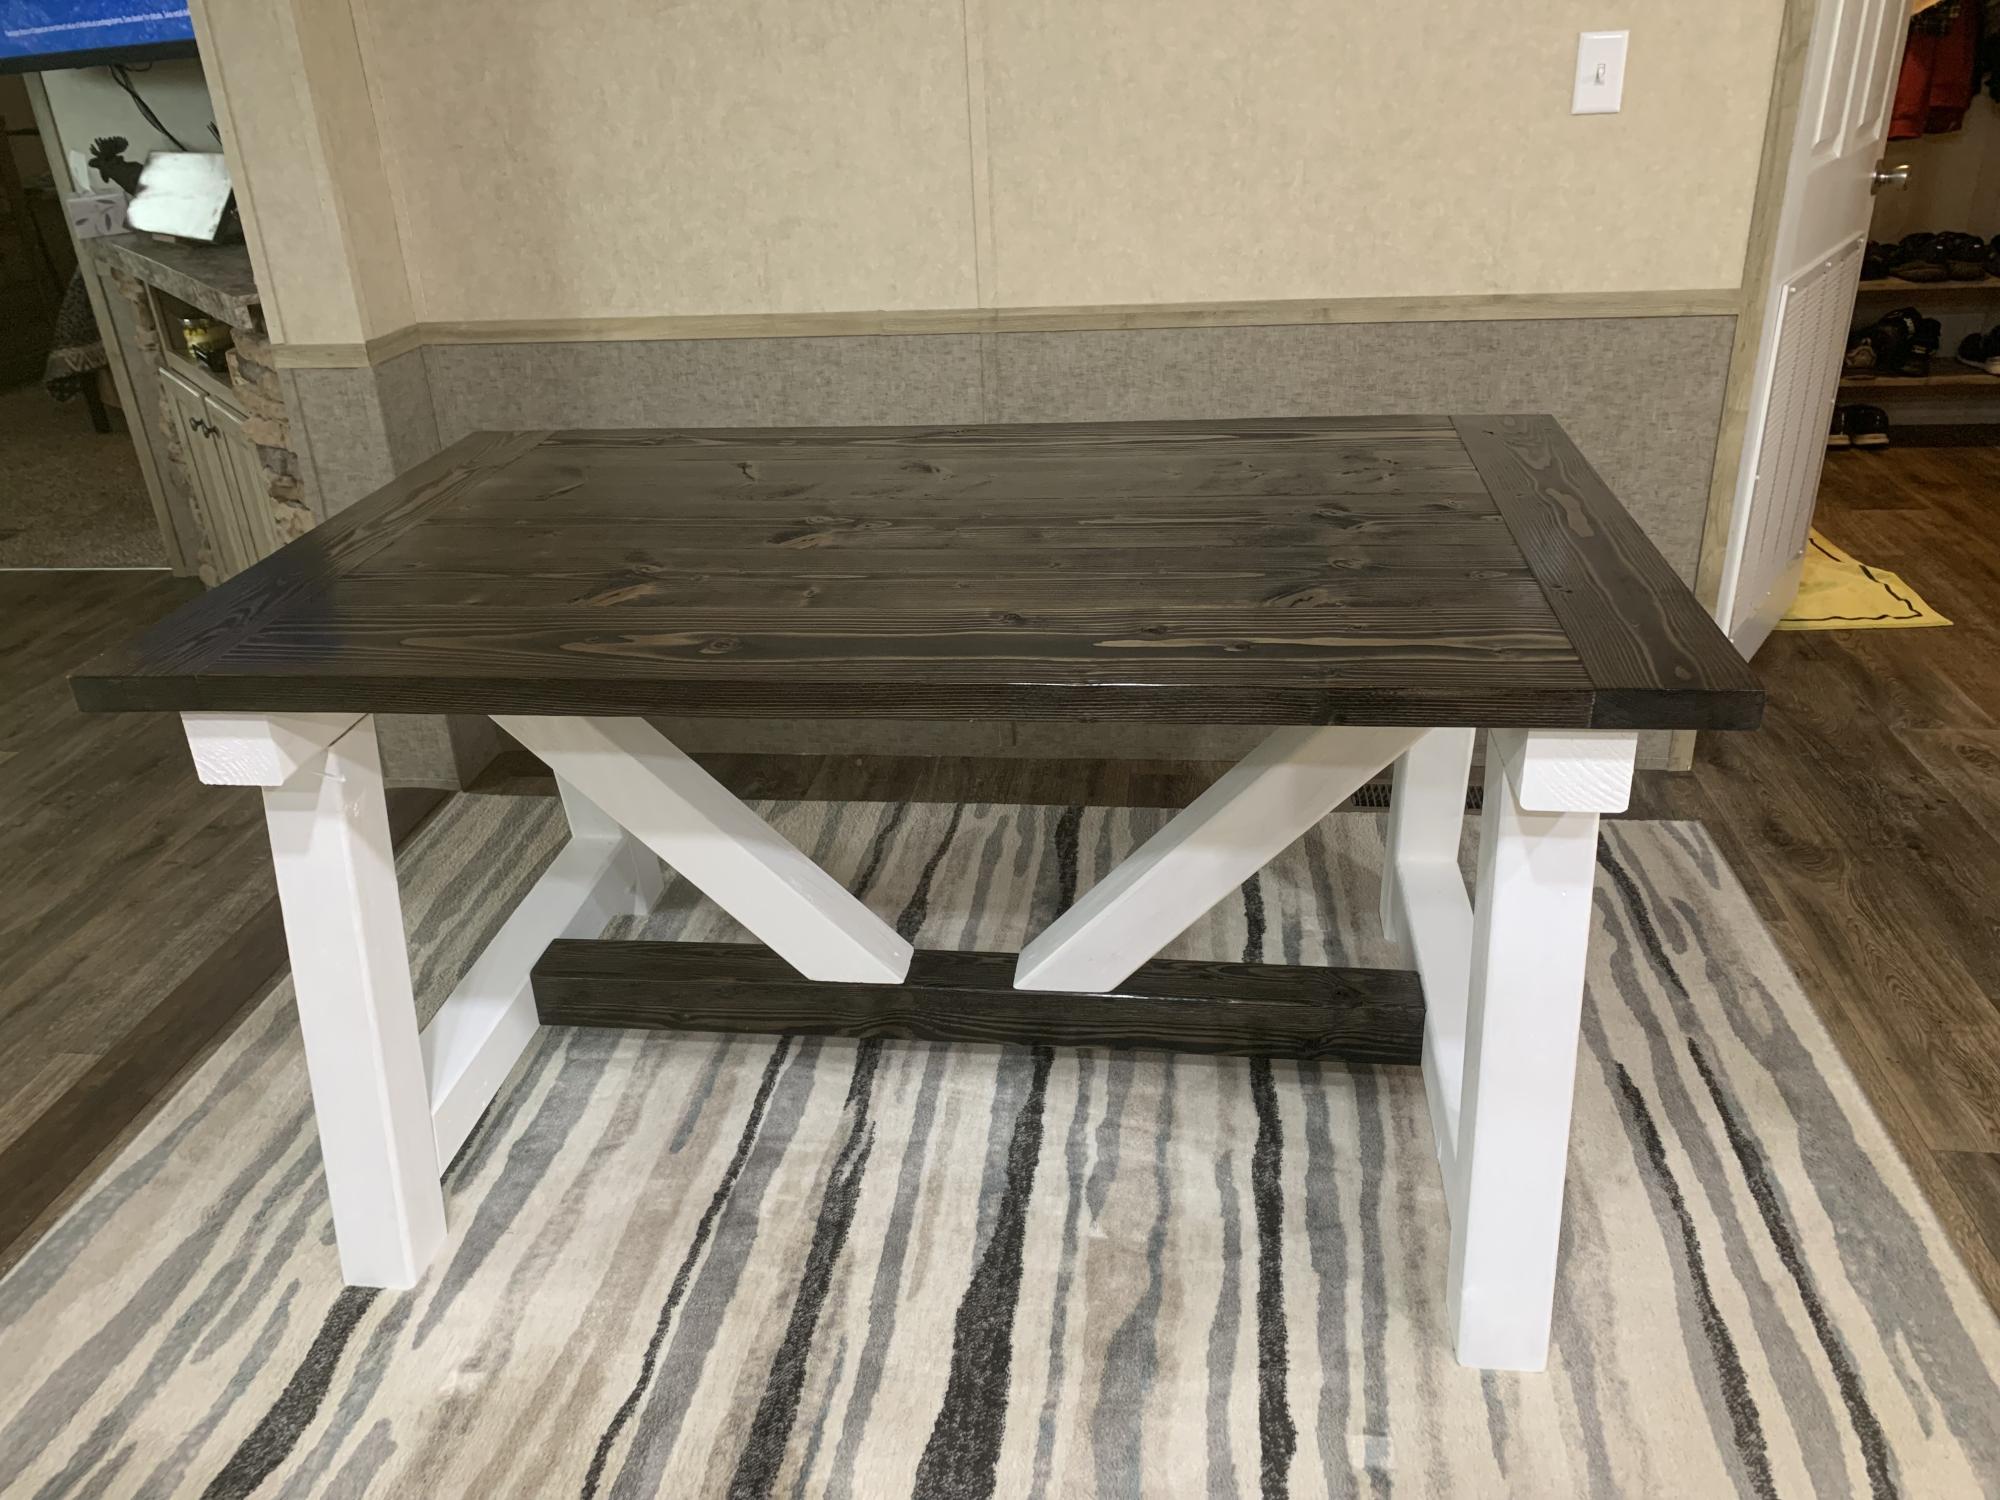
This is one of our favorite projects. Loved the pics and plans when we saw them and knew we had to build it. We shortened ours to 5ftx3ft to fit the space in our home. Just waiting on the chairs to arrive to finish it off. We used the Kregg Jig to hide the screws and also glued all joints. I'm sure the kids will be fighting over this one when it comes time.
Built from Plan(s)
Comments
Wine barrel wooden Sign

A gift for my daughters birthday a wine barrel stave stained and hand painted with saying using gold craft paint
Estimated Cost
paints >99 free wine barrel stave left over oak stain
Estimated Time Investment
An Hour or Two (0-2 Hours)
Finish Used
Oak stain, gold craft paint 3 coats spray on polyurethane
Recommended Skill Level
Beginner
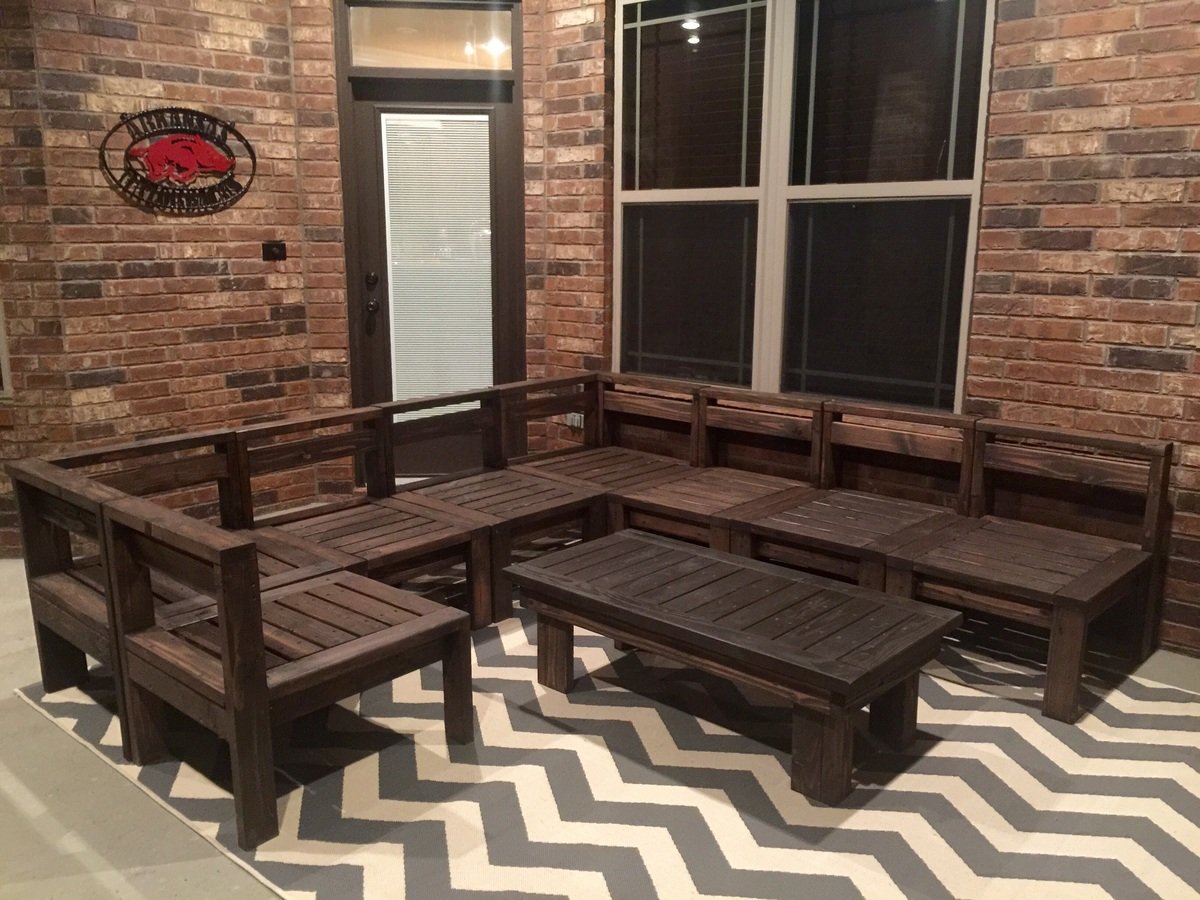
Outdoor Sectional
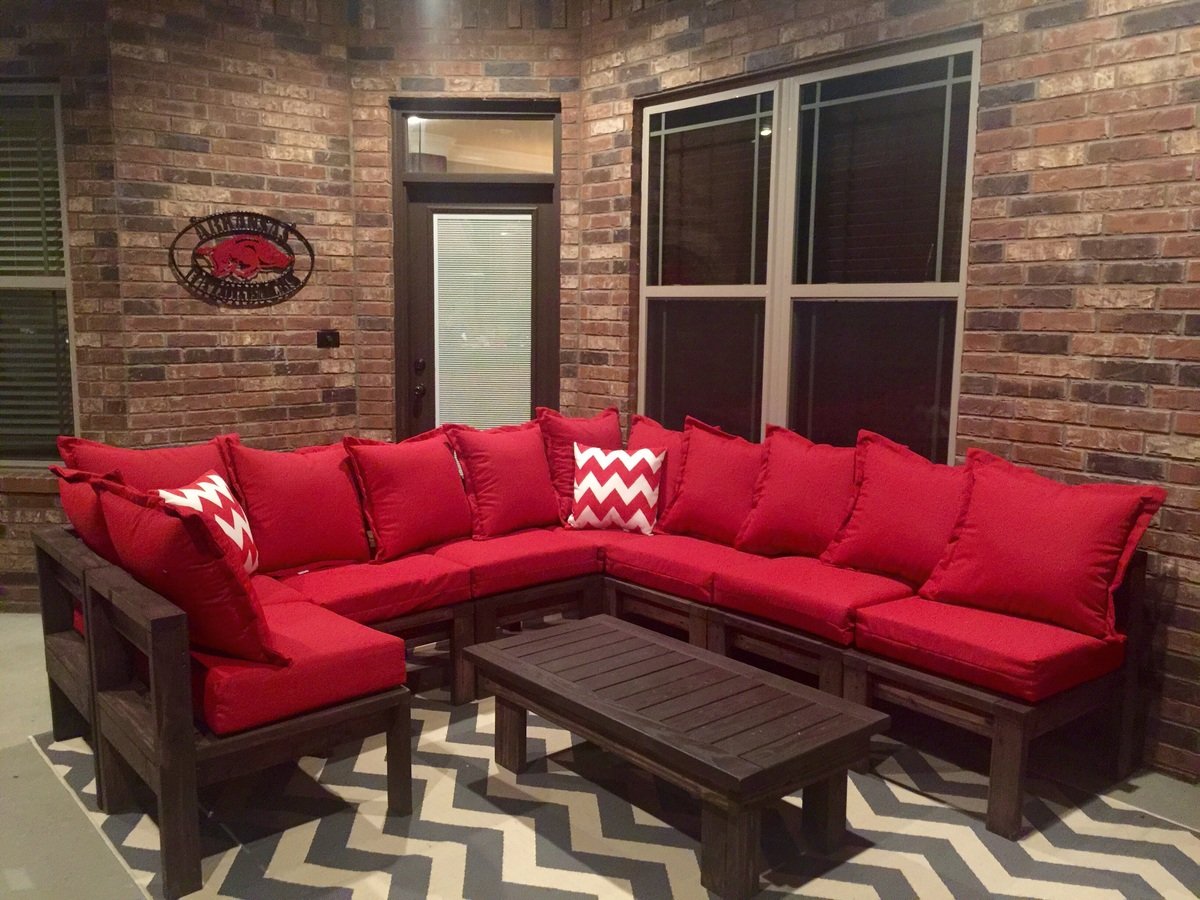
I used the altered 2x4 plans to save money. This project was completed over 4 weekends (8 hours a weekend) working primarily by myself. I recommend having someone help you if at all possible. The pillows/cushions are Threshold Deep Seating from Target @ $17.99 a piece.
Built from Plan(s)
Estimated Cost
$600
Estimated Time Investment
Week Long Project (20 Hours or More)
Finish Used
Olympic Maximum Semitransparent Espresso
Recommended Skill Level
Beginner
Comments

Thu, 07/16/2015 - 09:41
Table plans
This is a beautiful sectional. We are trying our hand at it ourselves. Can you post the plans for the table pictured with the sectional? I really like the size. Thanks
Loved this project. Very easy!
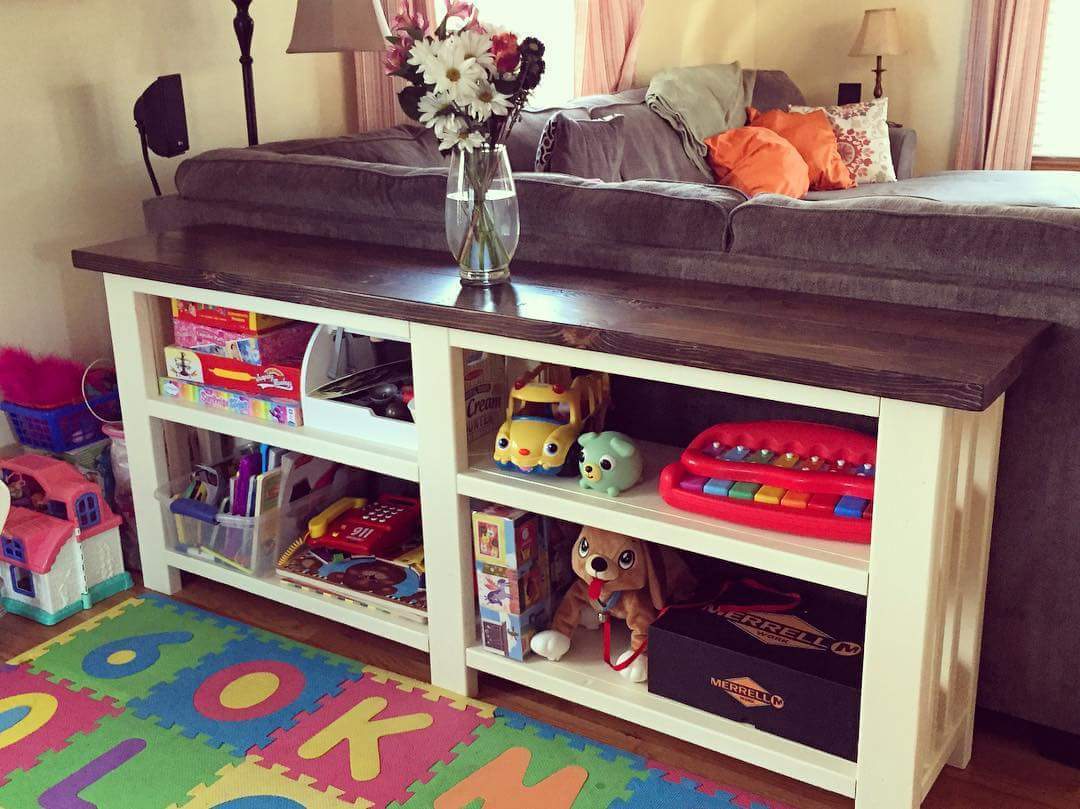
Was able to plan out and cut every piece before drilling pocket holes and assembling. Made it even easier by using the vertical spindles on the ends. We absolutely love having this to separate the two living spaces.

Built from Plan(s)
Estimated Cost
$100
Estimated Time Investment
Day Project (6-9 Hours)
Recommended Skill Level
Beginner
Comments

Thu, 02/08/2018 - 10:18
Such a good idea to have the
Such a good idea to have the two living spaces in one, I love this! Great job, thank you for sharing!
Loved the Adirondack build
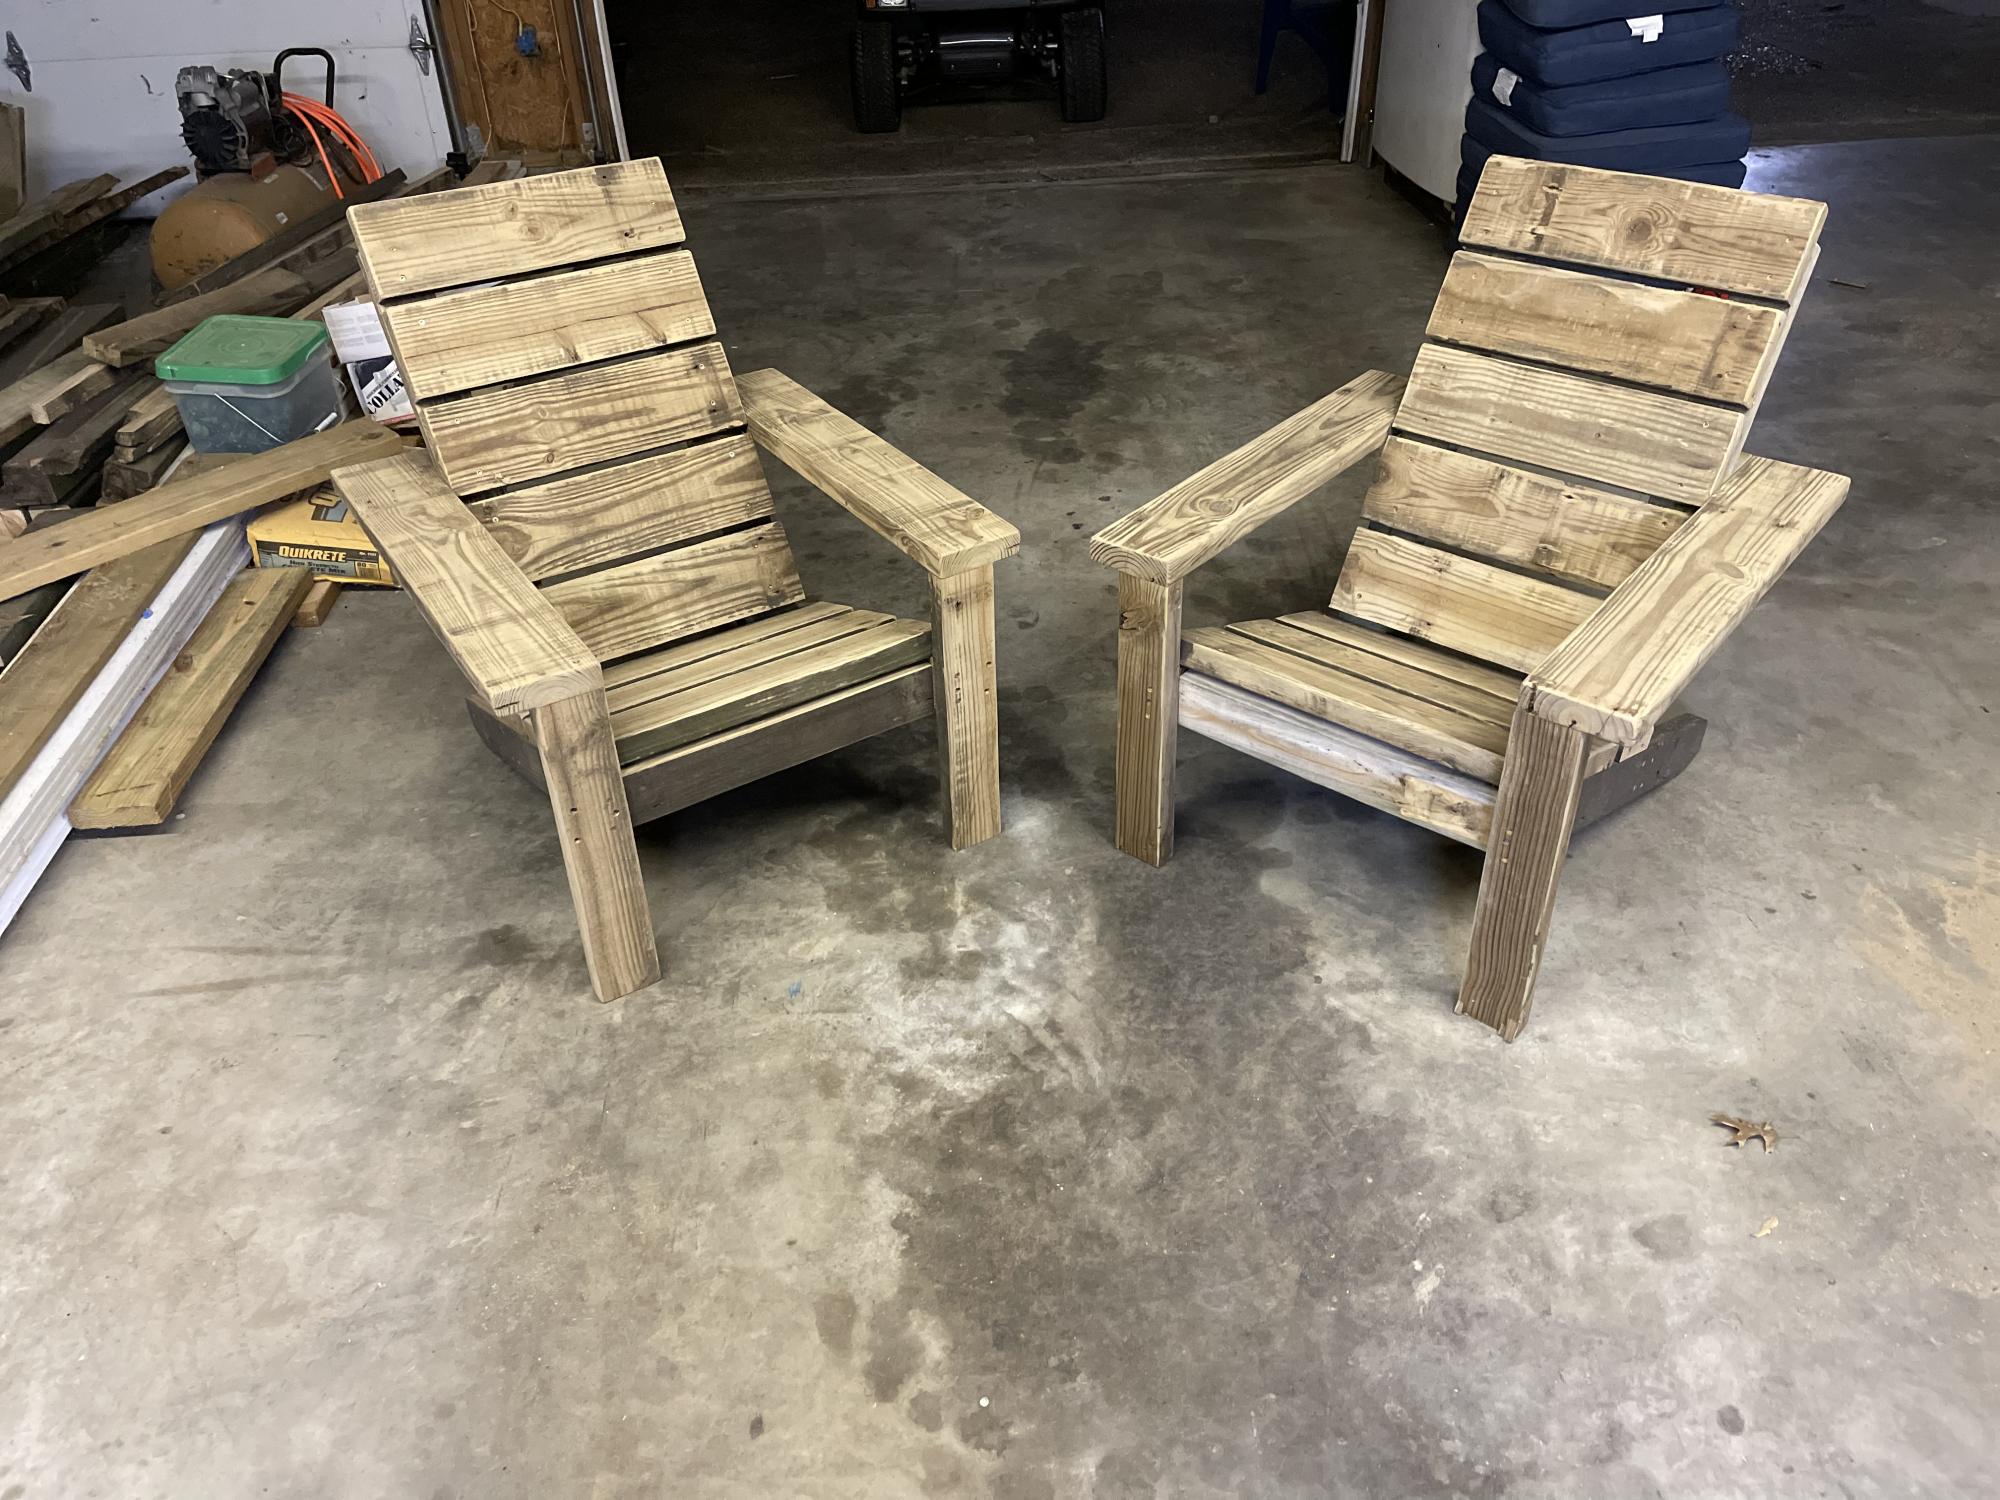
Thanks so much for these plans. I looked at dozens of Adirondack plans but 99% of them had tricky cuts requiring templates and more perfection than I wanted to give.
These are very straight-forward. I removed an old deck last year and saved all the 2x6 decking. I used those for this build. Ripped some down to 2x4’s but left the rest as-is for wider arm rest and seat/back boards. Everything came together perfect. Took me longer than I’d like to admit on the first, but the second went quick.
Can’t wait to drink a few beers in these chairs.
Thanks again,
Taylor Jones
Memphis,TN
Built from Plan(s)
Comments
Sun, 01/30/2022 - 18:44
Those look awesome!
WOW, way to go, thank you for sharing your sweet chairs!
Toddler Bunk Beds

I used the classic bunk bed plans and resized them to fit a toddler mattress and to keep the height about four inches shorter. My kids love them and we are very happy with the result. I'm glad to share the measurements with anyone who is interested. This was a first project for me, but I had a much more experienced friend helping. If you're interested in plans you can find my explanation here https://warburtonshome.blogspot.com/2017/10/toddler-bunk-beds-diy.html
Built from Plan(s)
Estimated Cost
$100
Estimated Time Investment
Weekend Project (10-20 Hours)
Finish Used
I used a pre-stain and a natural color stain with polyurethane.
Recommended Skill Level
Intermediate
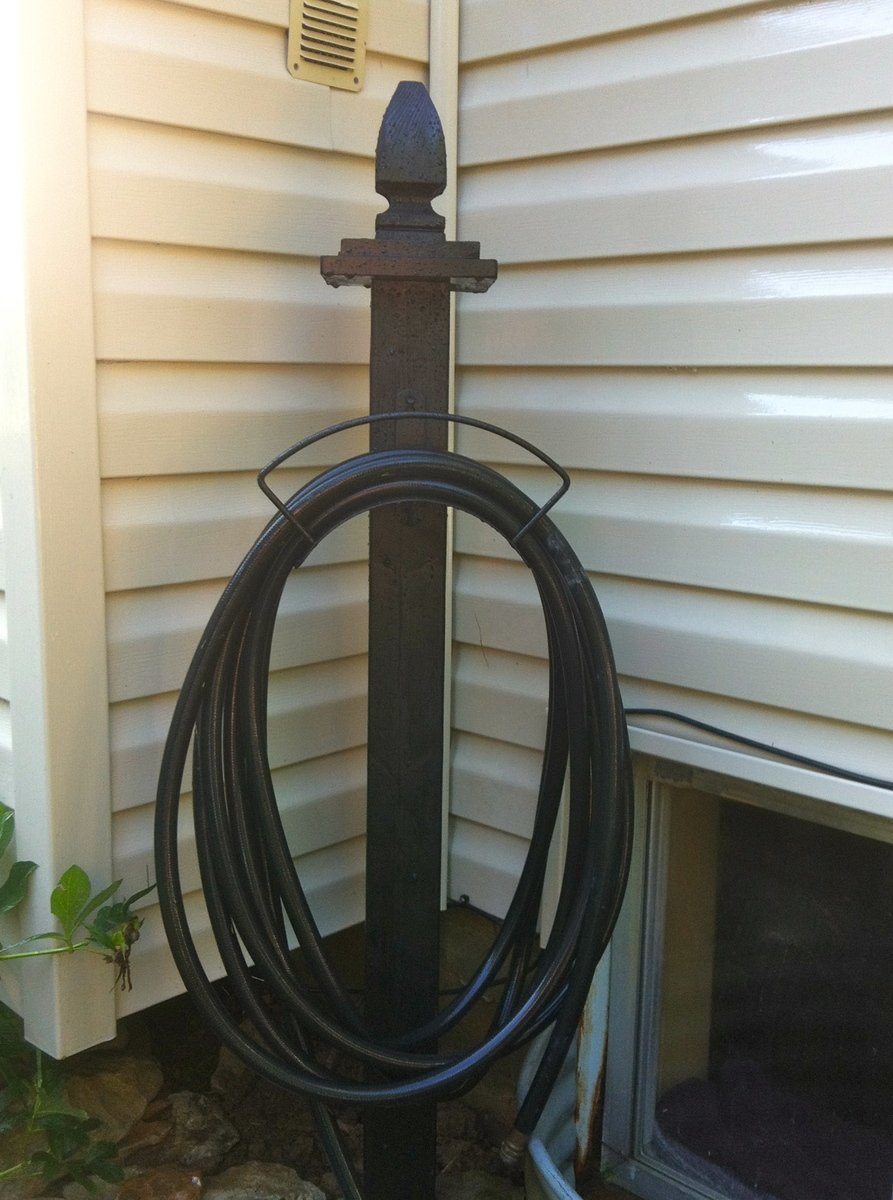
Front Porch Swing
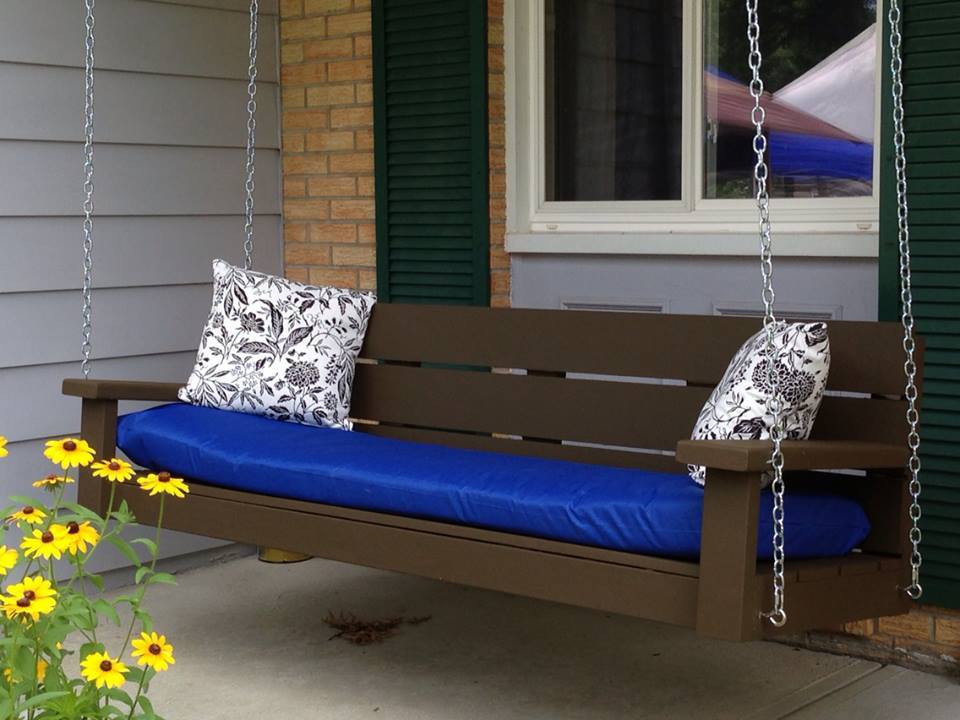
This is a modified swing project. I made the back a little higher, used a 2 x 6 for the arm rest and made the arm rest longer than the support. The only change I would make is to keep the arm rest in line with the back of the swing instead of centering to keep the chain from rubbing.
My 5 year old daughter and I worked on this project and it only took a day or two. I had most of the wood needed already that the previous owner of our house left. The most expensive part was the chain and hardware to hang it.
The swing is the same color that my shutters will be painted. My oldest daughter made the cushion and throw pillows.
This was our first Ana White project, and inspired us to continue building!
Built from Plan(s)
Estimated Time Investment
Day Project (6-9 Hours)
Finish Used
Chocolate Exterior Paint
Recommended Skill Level
Starter Project
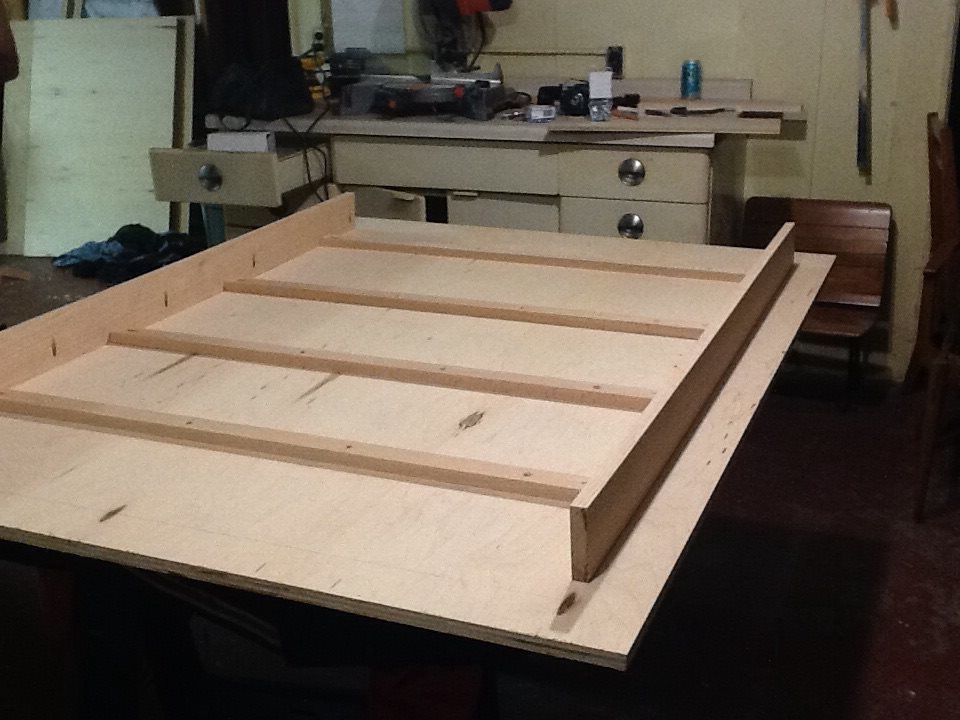
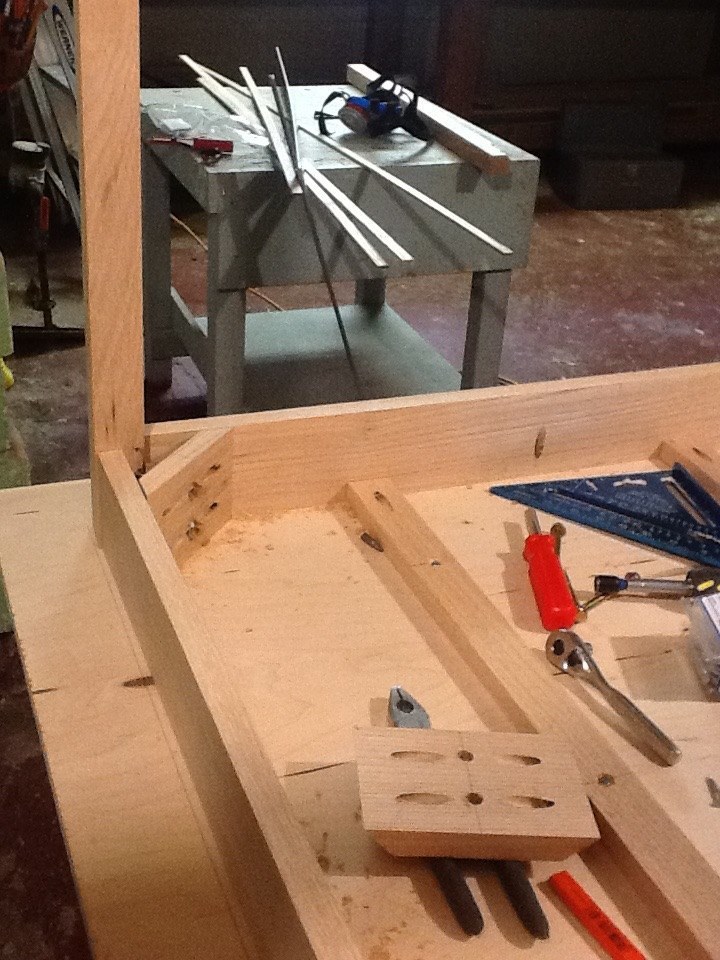
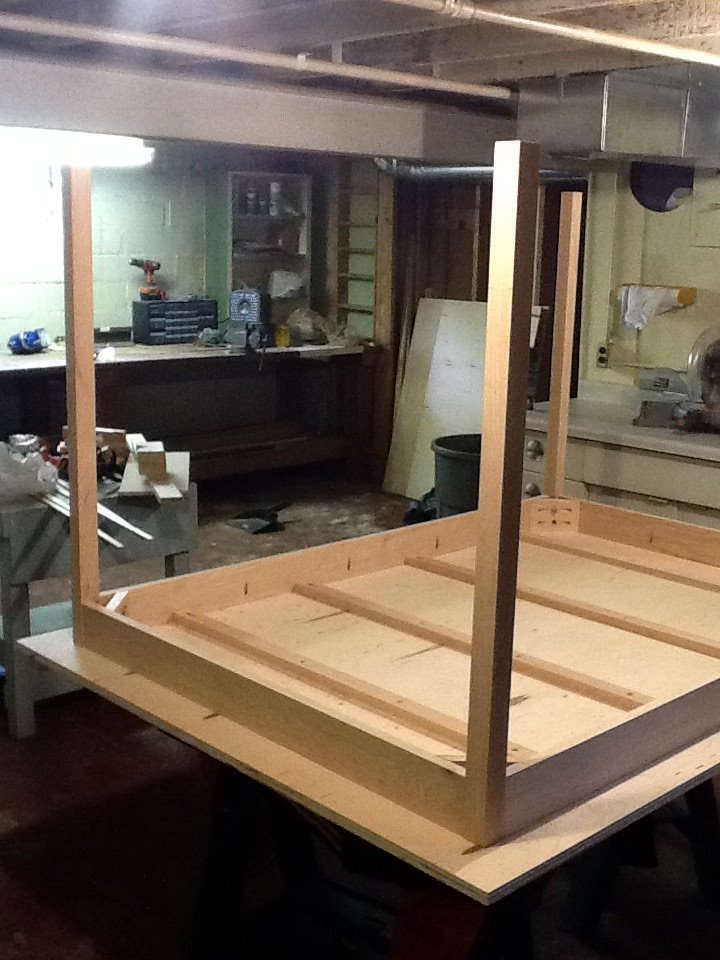
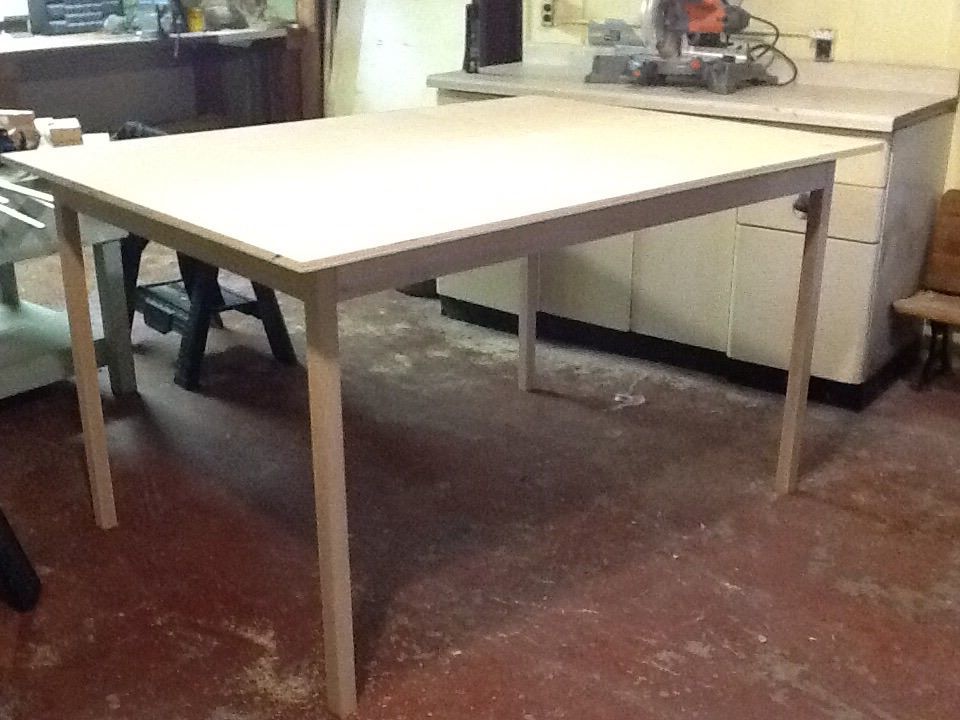
Simple Dining room table

I was going to make the Farmhouse Table but then, after seeing the cost of oak lumber, decided to make this table from a sheet of oak plywood, and some thin oak edging glued and nailed to the edge. I picked up some nice steel inserts to use in corners to attach the legs (from http://www.rockler.com/steel-threaded-inserts-select-size). Fun and easy project!
Estimated Cost
Approx $160 in lumber from Home Depot
Approx $140 in stain, bolts, braces, sponges
Approx $140 in stain, bolts, braces, sponges
Estimated Time Investment
Weekend Project (10-20 Hours)
Finish Used
Wood conditioner, Minwax stain in Red Mahogany, Covered in Minwax Helmsman Spar Urethane.
Recommended Skill Level
Intermediate
Helper Tower
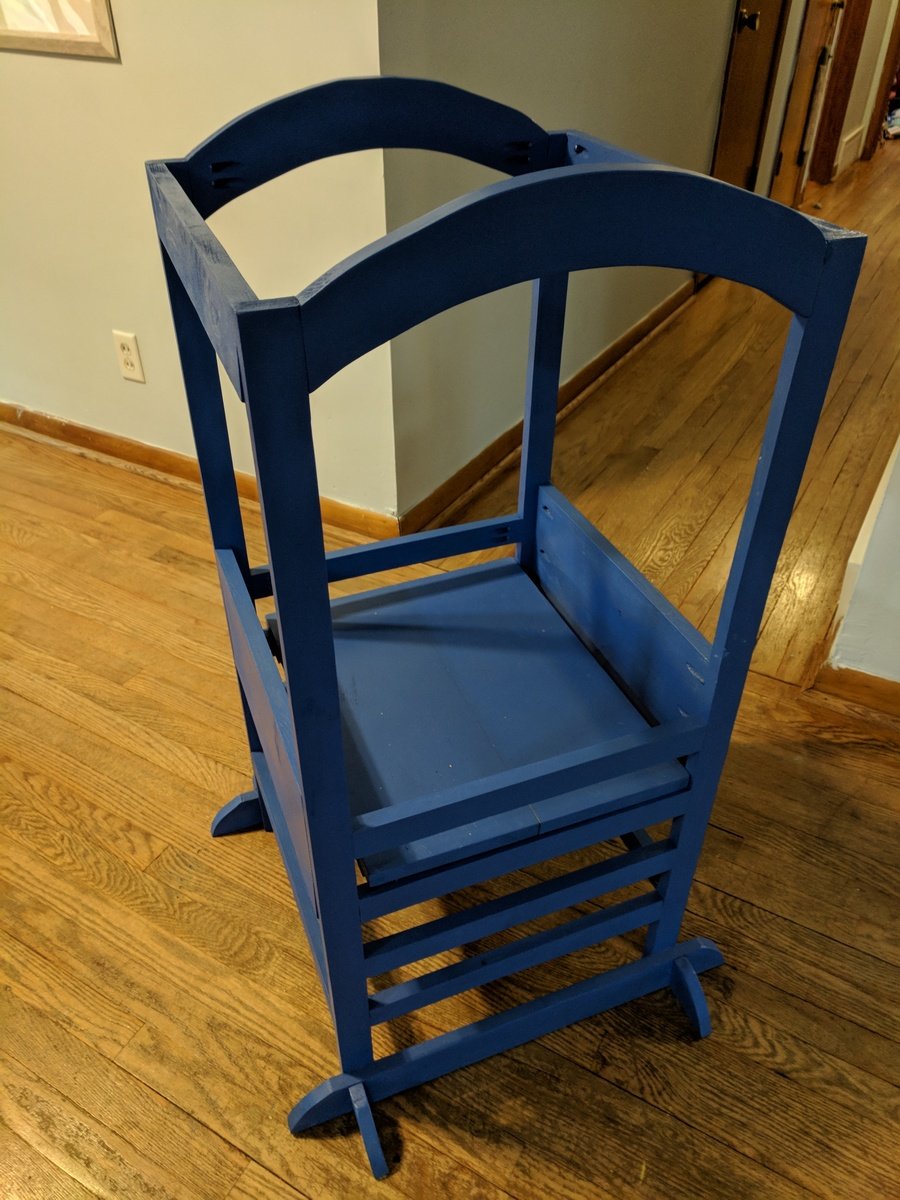
This was my first project using a jigsaw. Both of my children absolutely love it. If I had to do it again, I probably would have made the folding version instead, but I am still very happy with how this tower turned out.
Built from Plan(s)
Estimated Cost
$8
Estimated Time Investment
Afternoon Project (3-6 Hours)
Finish Used
PPG Speedhide semigloss paint
Recommended Skill Level
Beginner
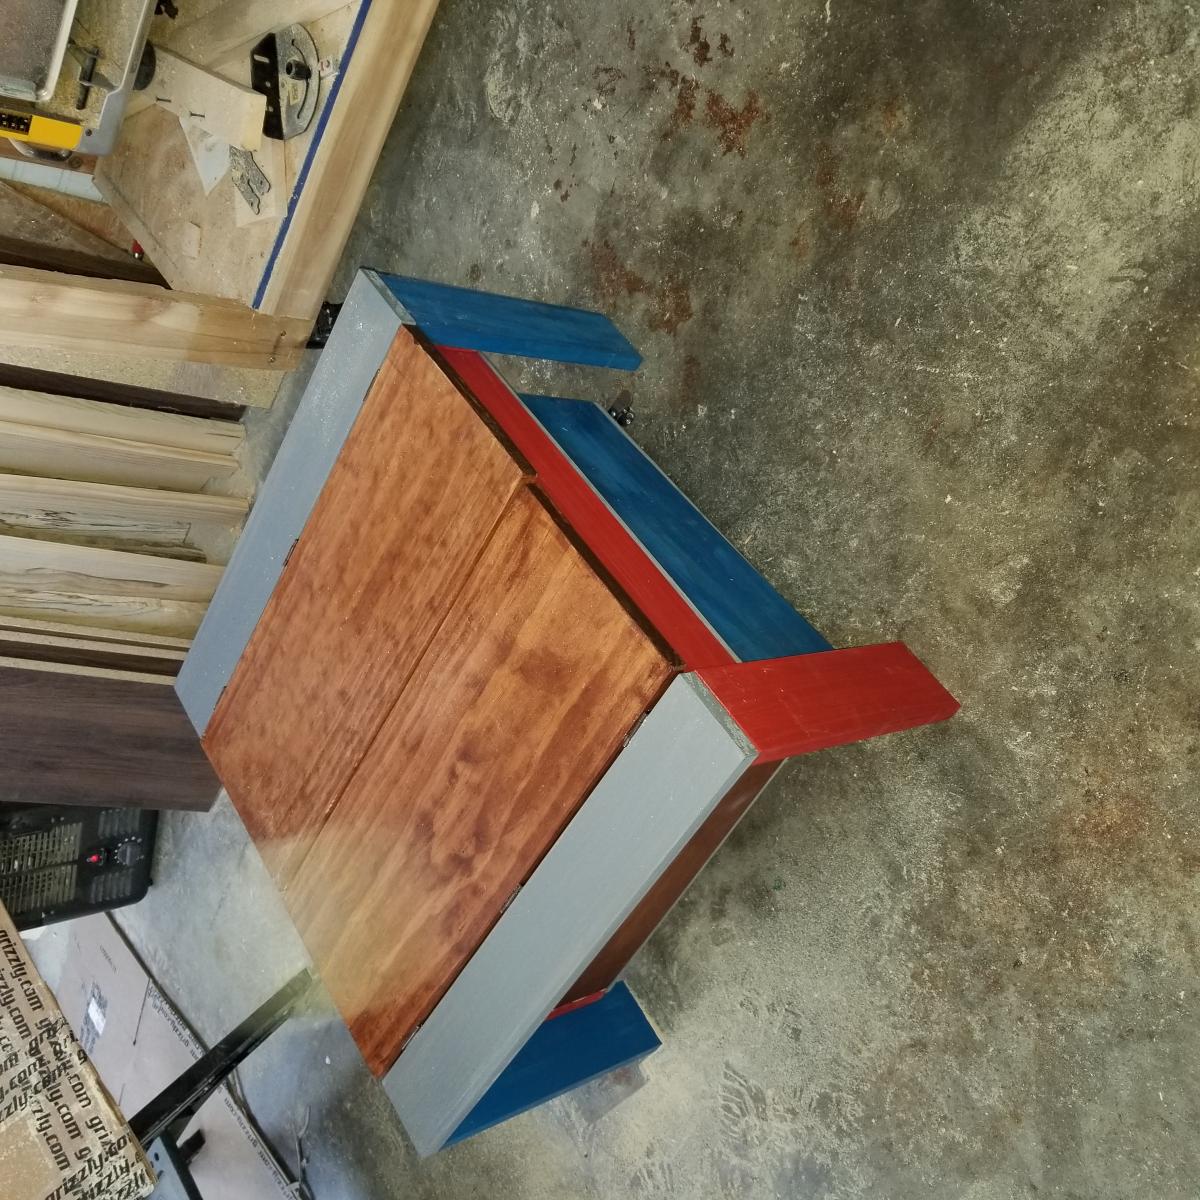
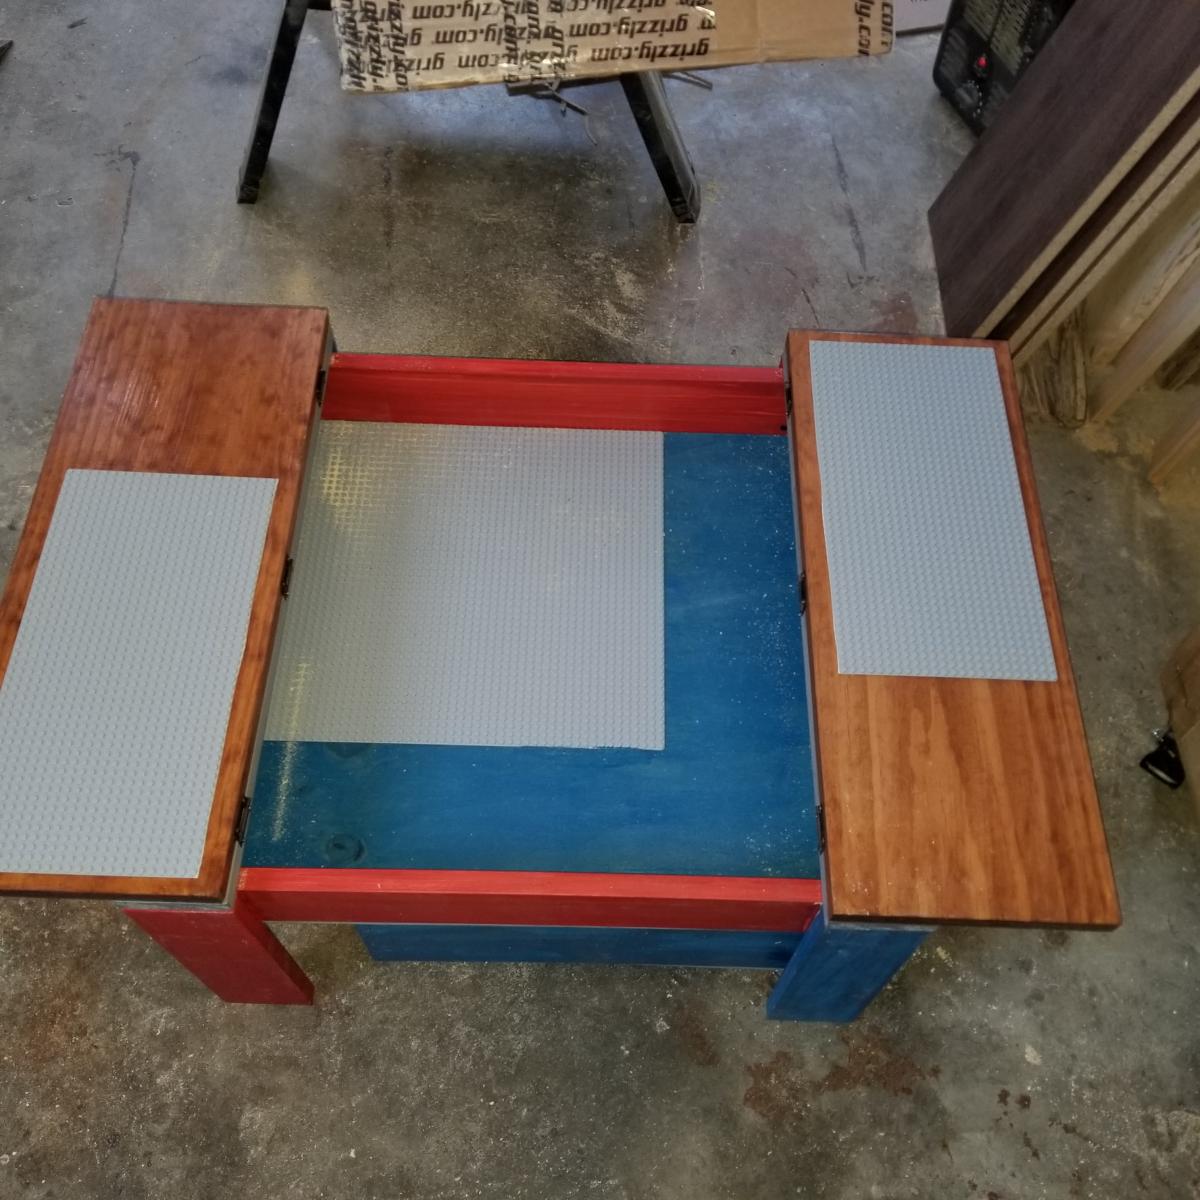
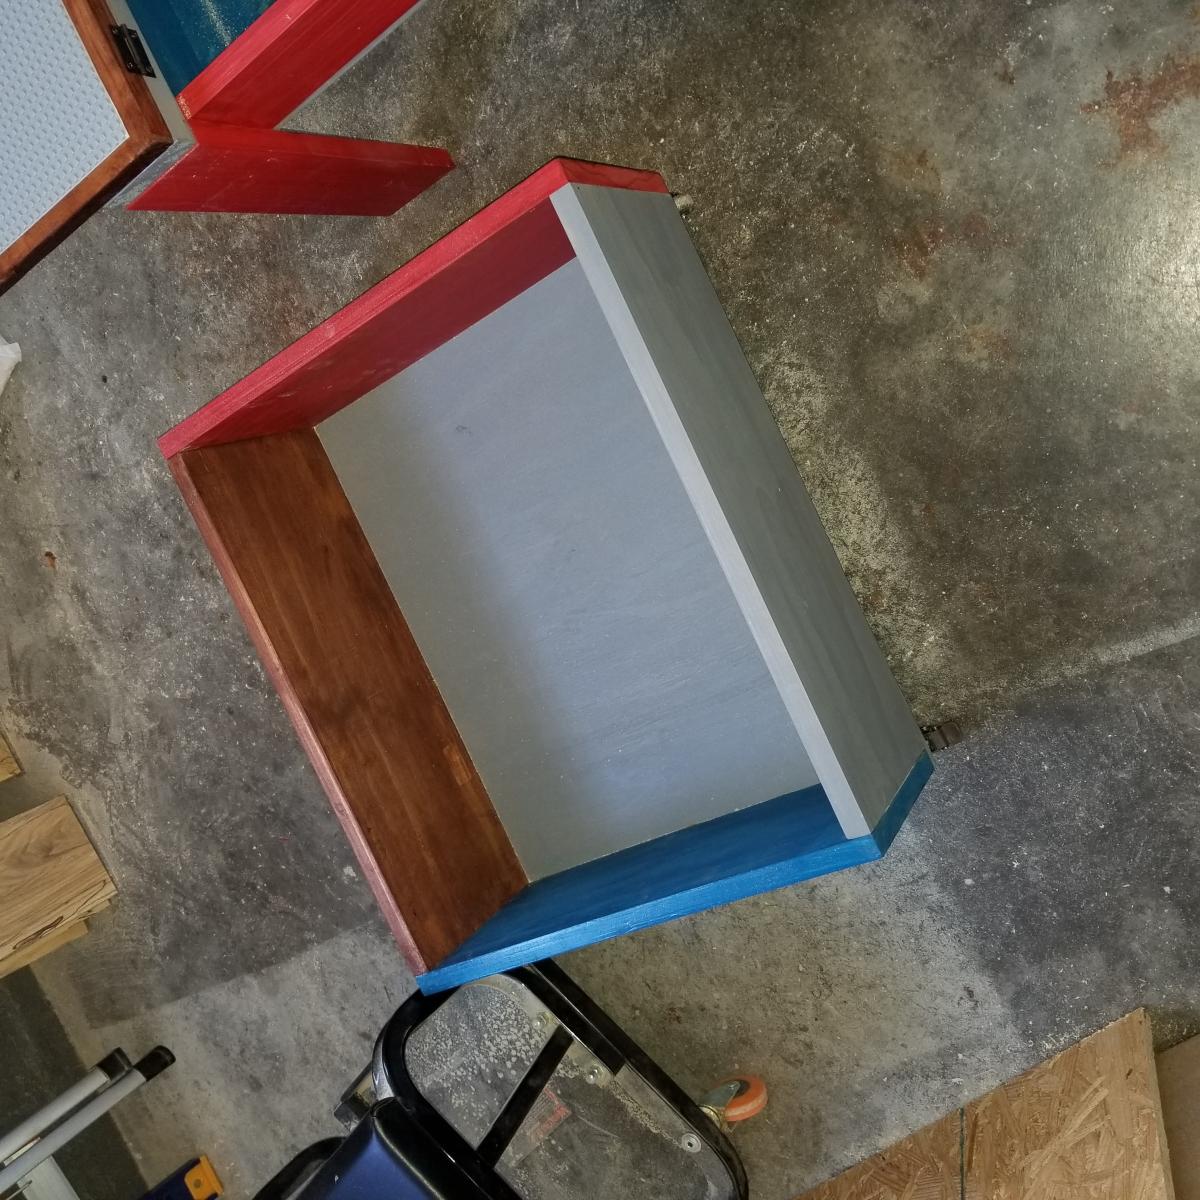
Kids Lego Table
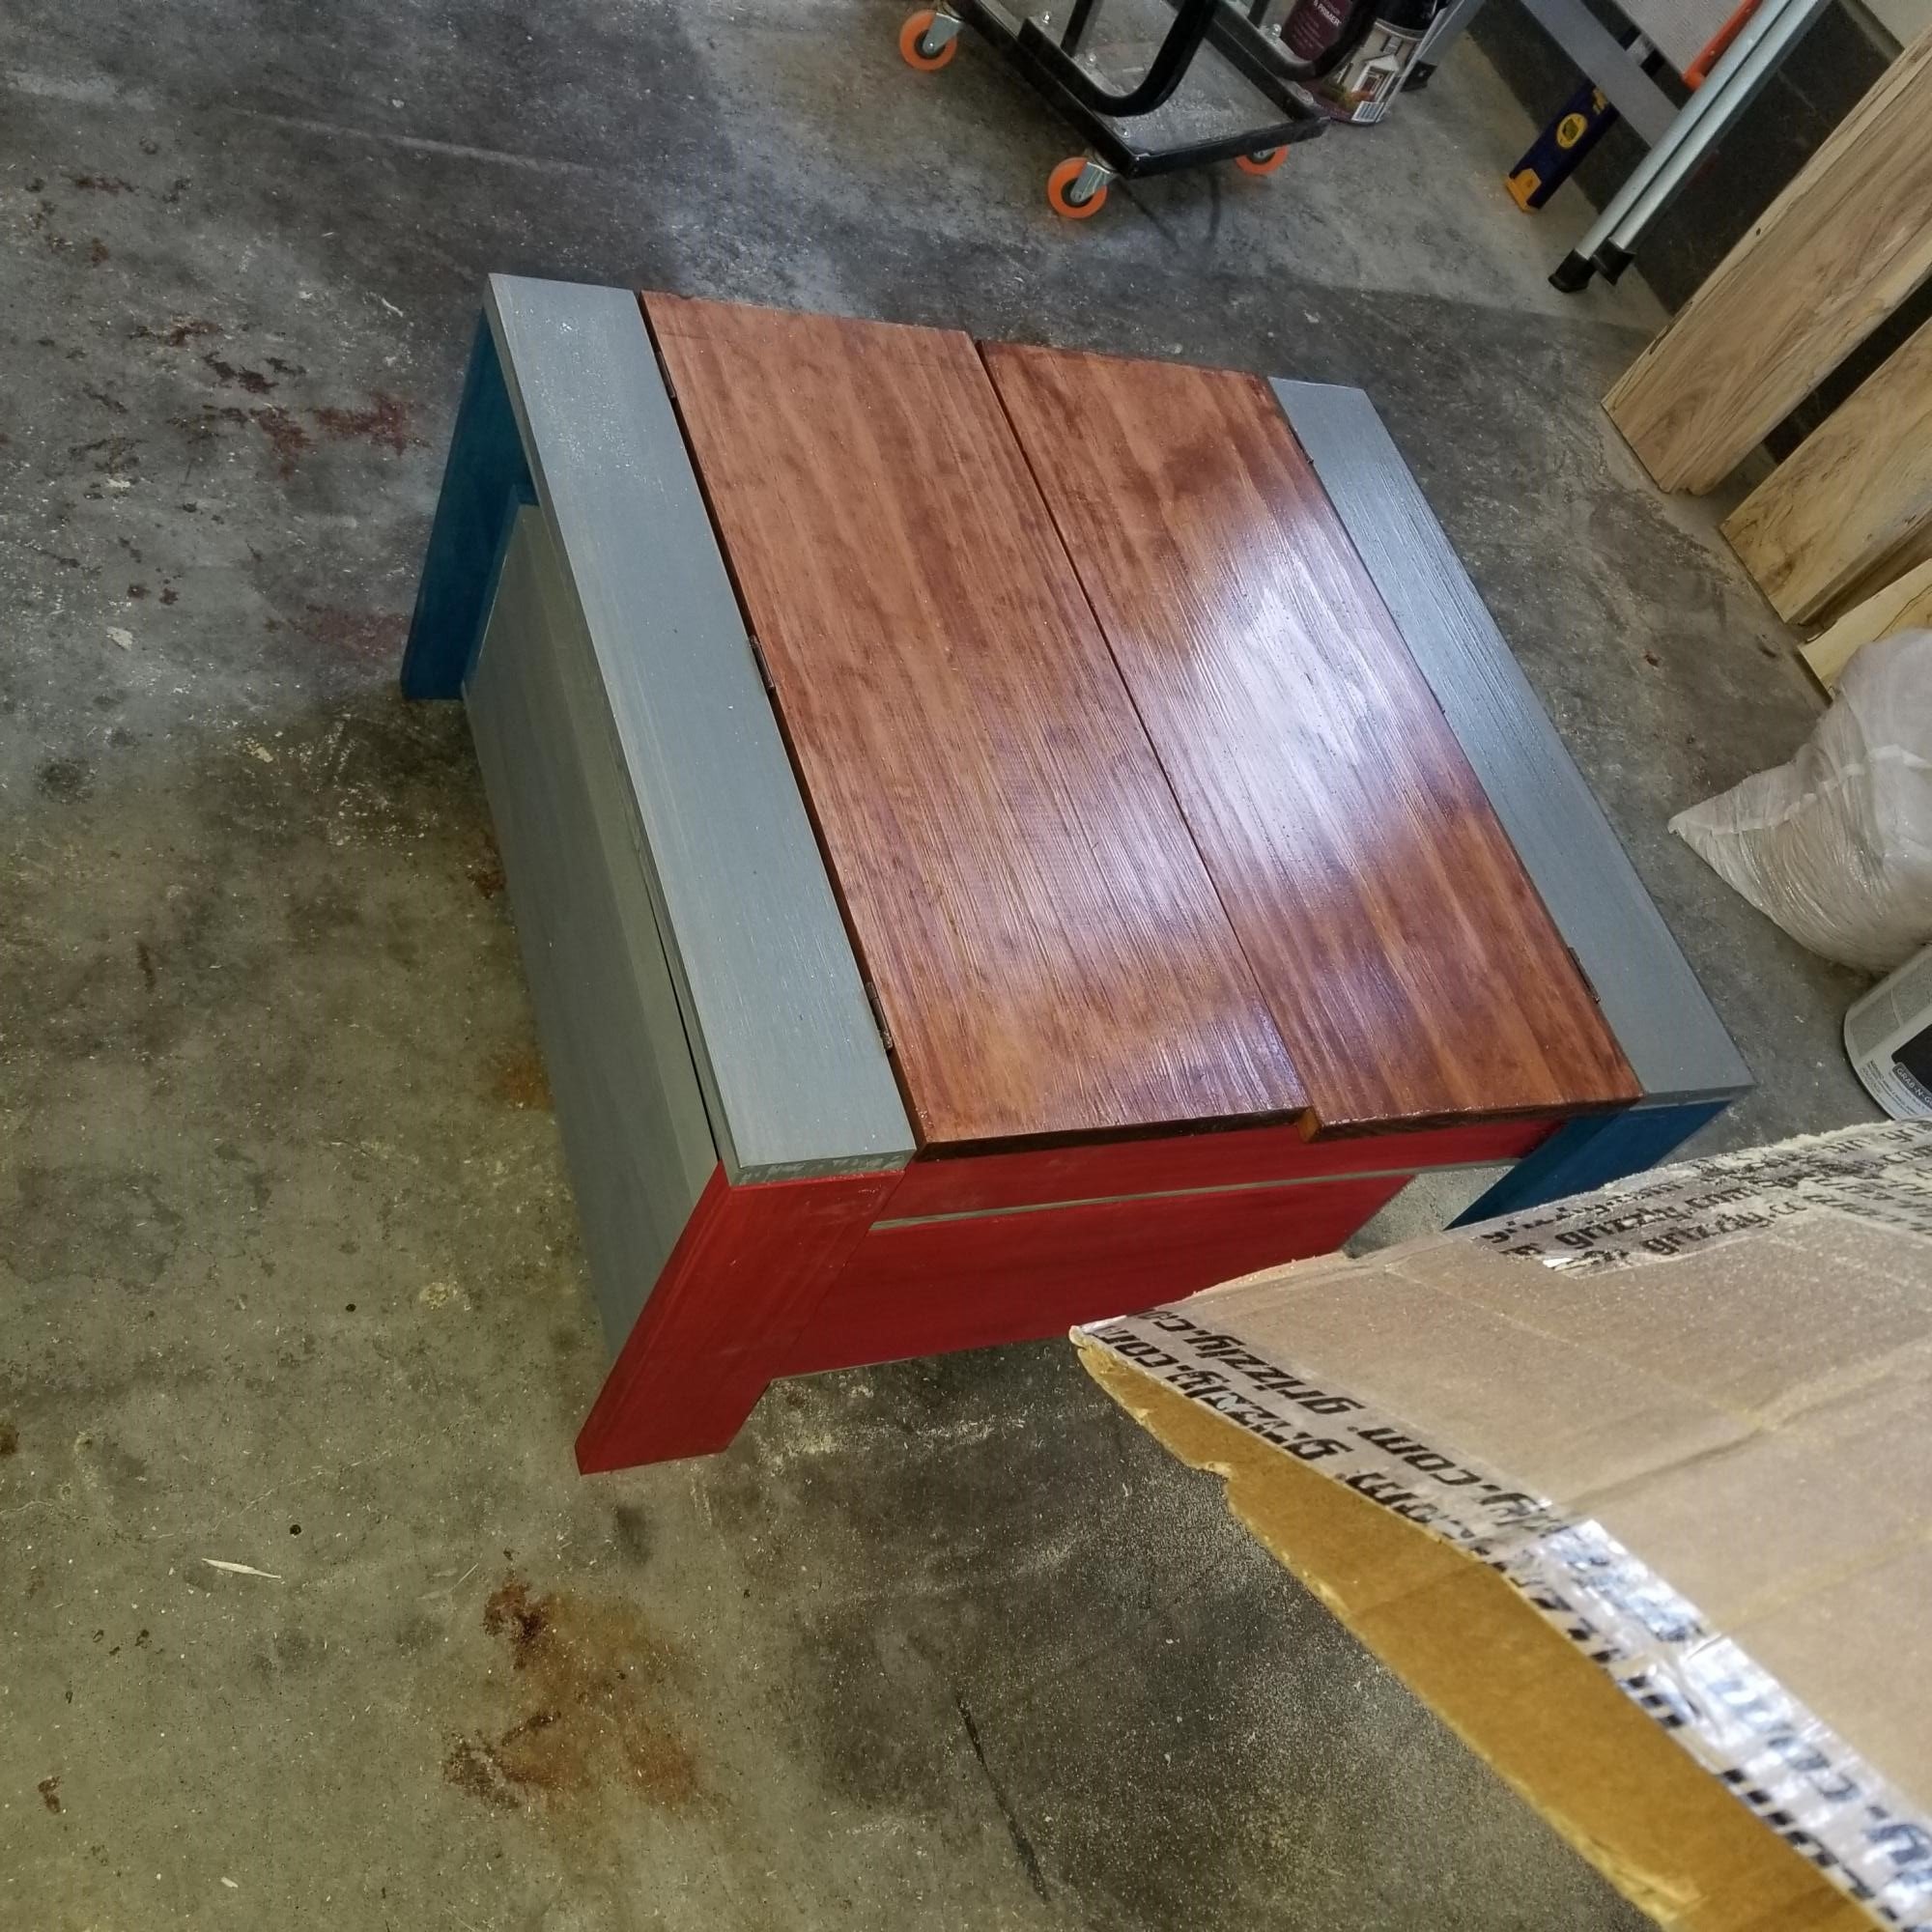
Used the Lego table plans to create a place for my kids to build their legos. I added lego plates on the doors and inside for them to build on and added some color.
Built from Plan(s)
Comments
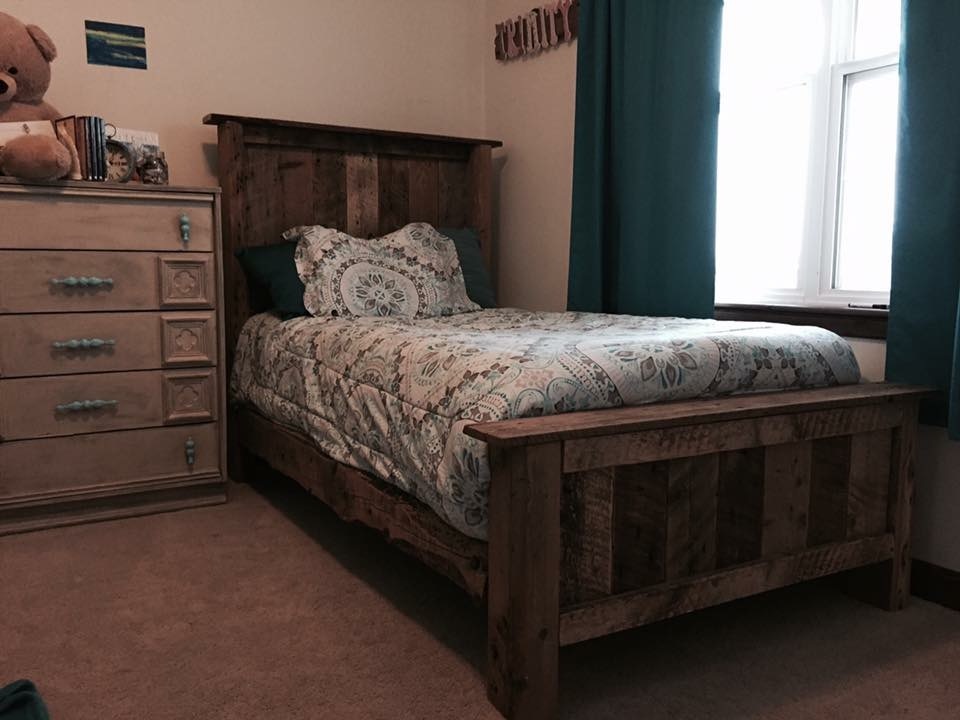
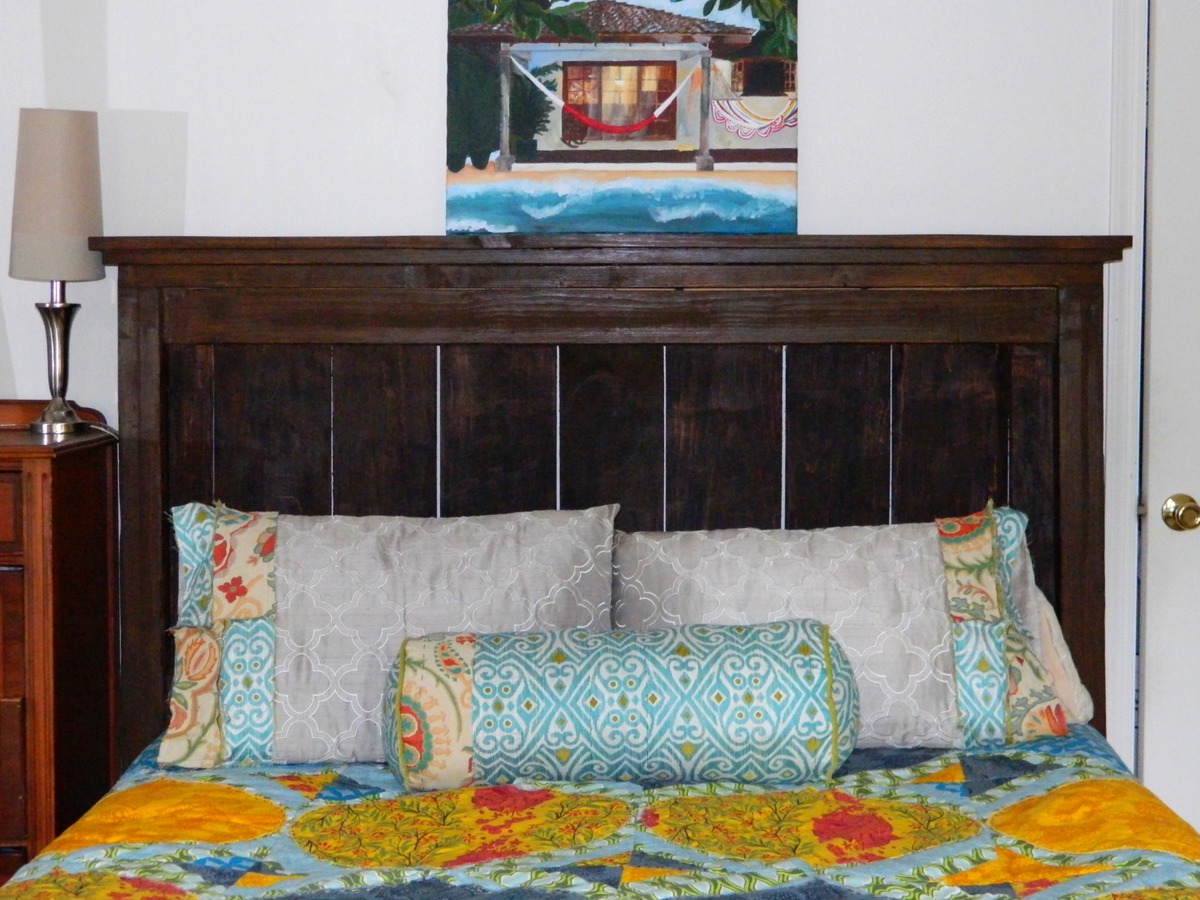
$40 Farmhouse Bed

We had been using my wife's great grandmother's bedroom set for years. It has become increasingly noisy and we were in the mood to change the style of our bed. Recently I had picked up 5-6 pallets to use and I befriended the manager of a sawmill. He let take scrap would from his burn pile and gave me 5 10-12 foot boards that were going to be also thrown out due to various problems. All the wood was pine and the only thing I had to purchase was wood filler, nails, screws, and stain. I used 2-2x4s instead of 4x4s and my bed frame was built with 1x6s, 5s, 7s. I just used what I had left over from the rest of my planks.
Built from Plan(s)
Estimated Cost
$40
Estimated Time Investment
Weekend Project (10-20 Hours)
Finish Used
Cabot Dark Walnut Stain
Recommended Skill Level
Beginner
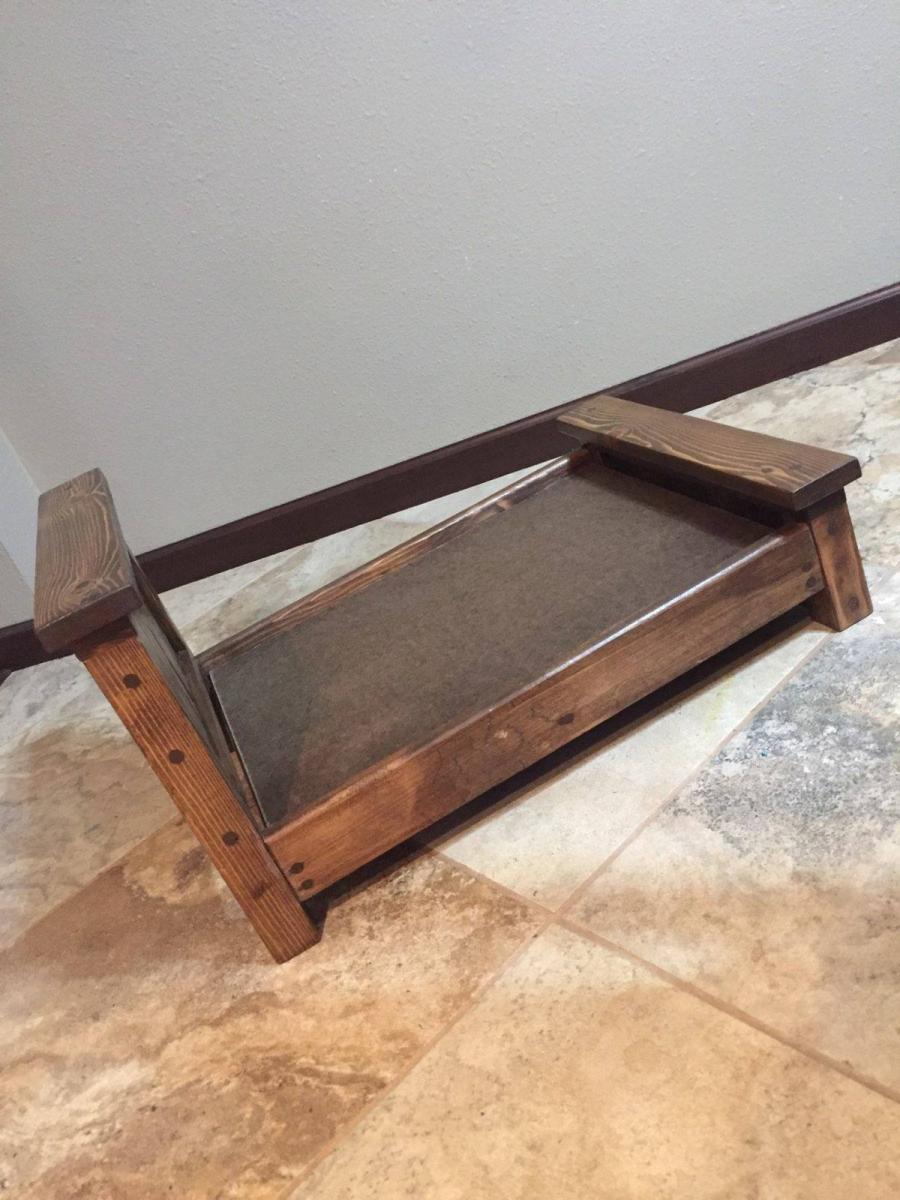
Doll Farmhouse Bed
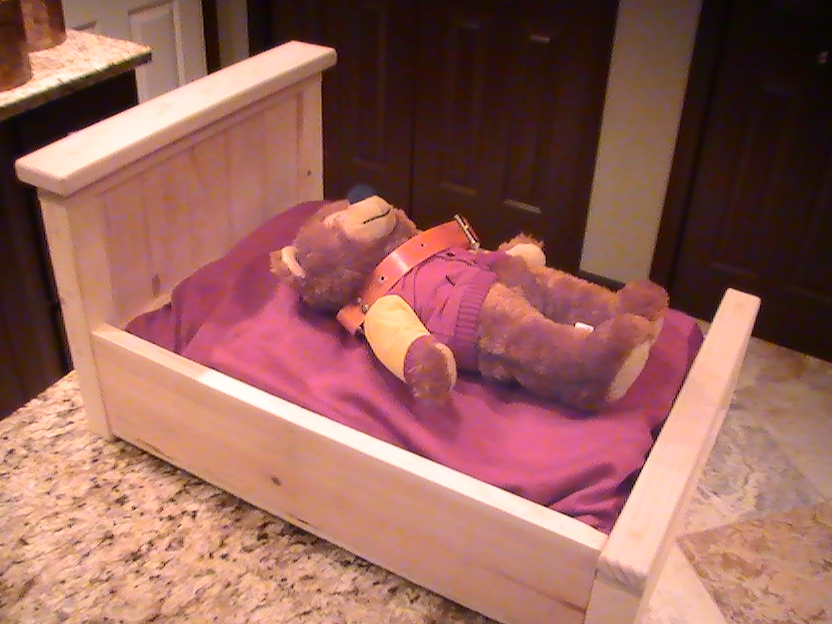
Easy to build, and I have made several now.
Built from Plan(s)
Estimated Time Investment
Afternoon Project (3-6 Hours)
Recommended Skill Level
Beginner
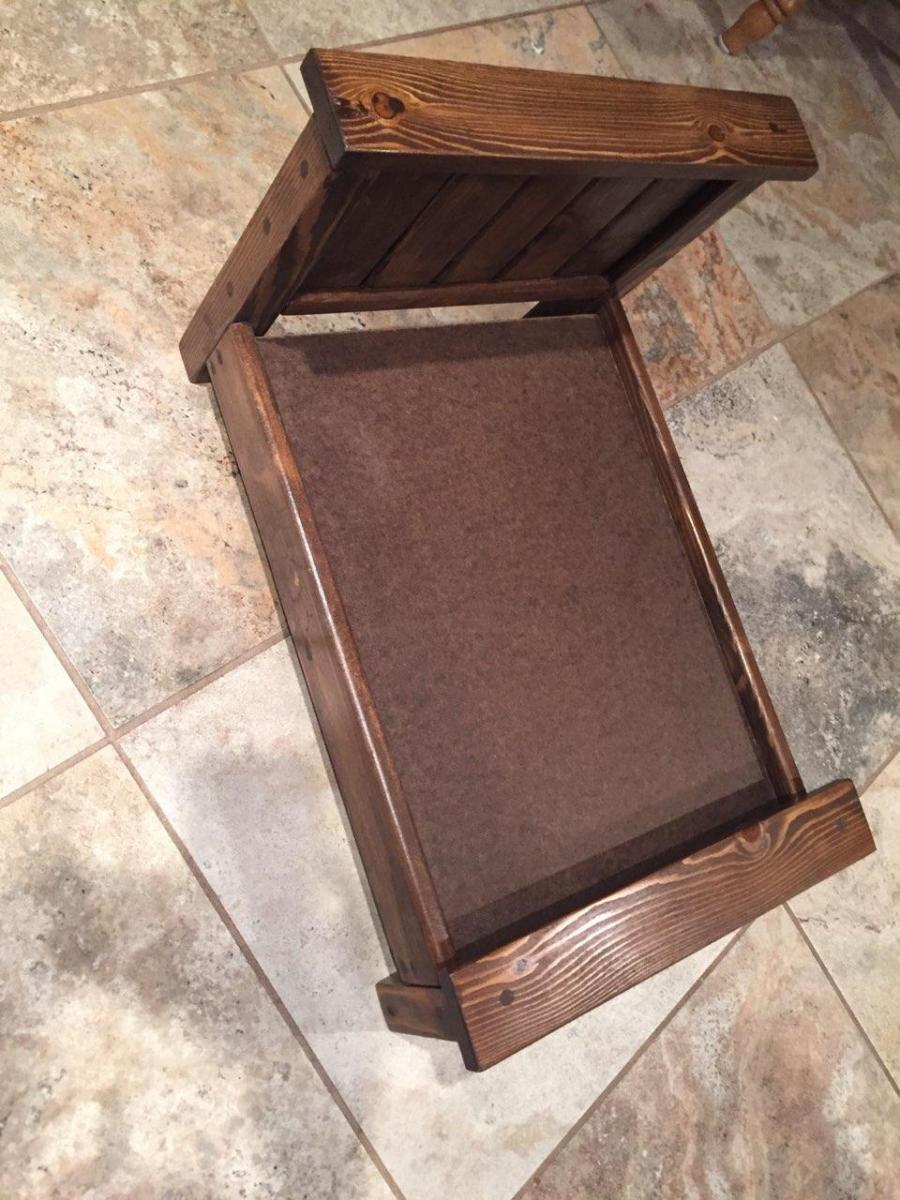
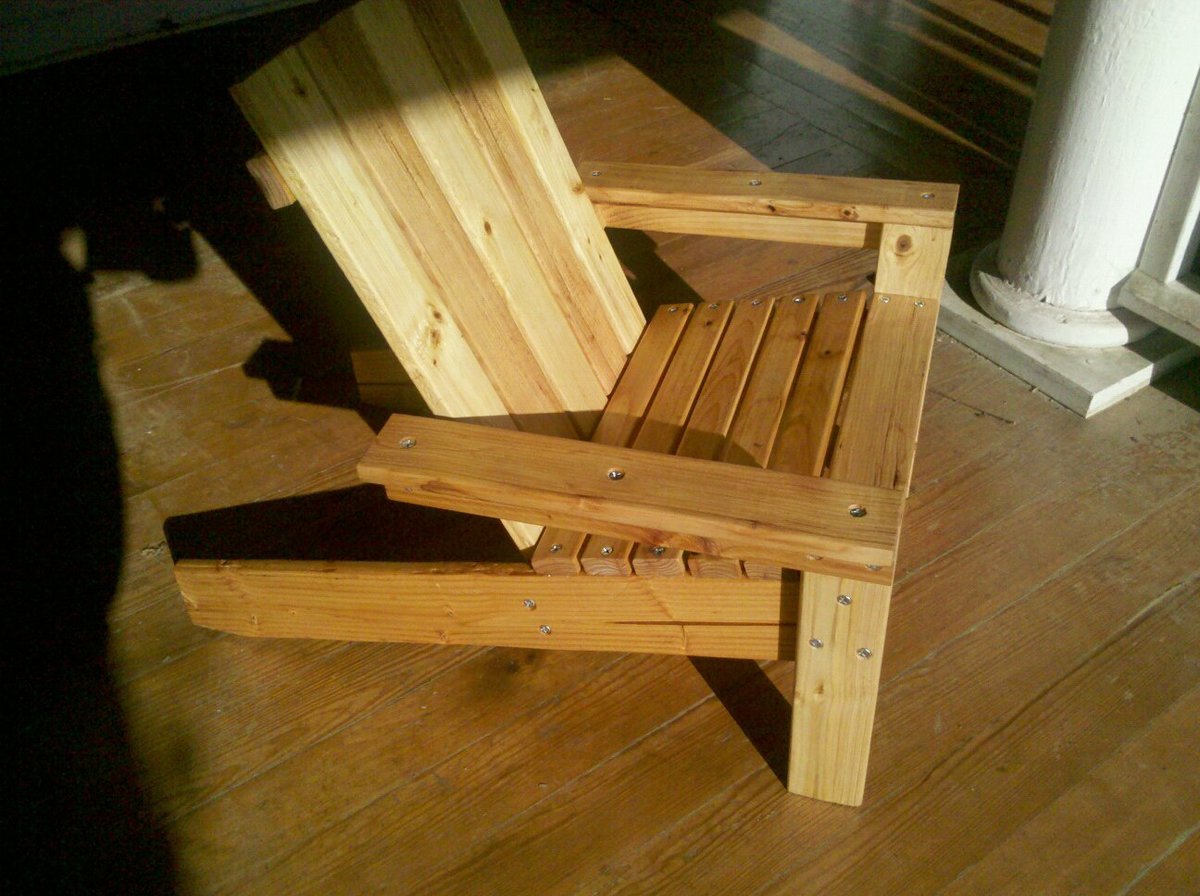
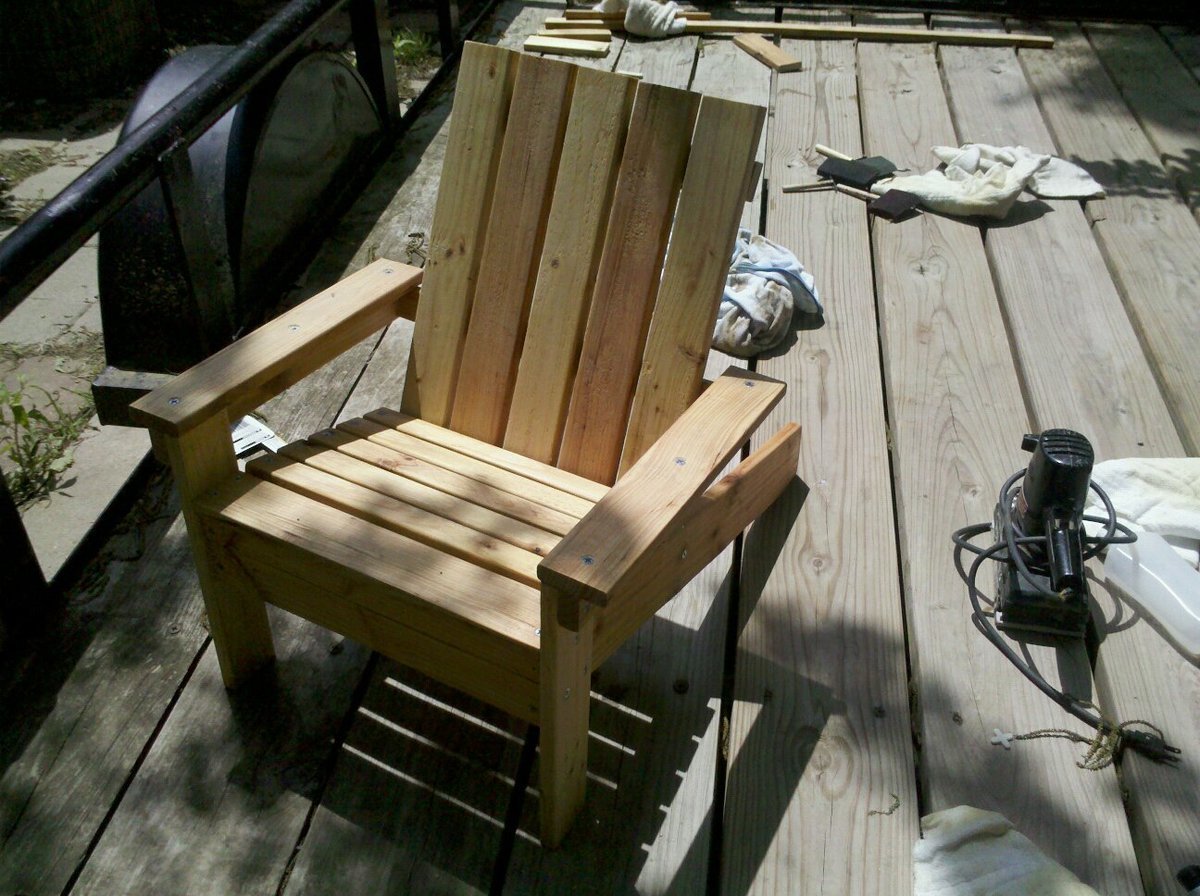
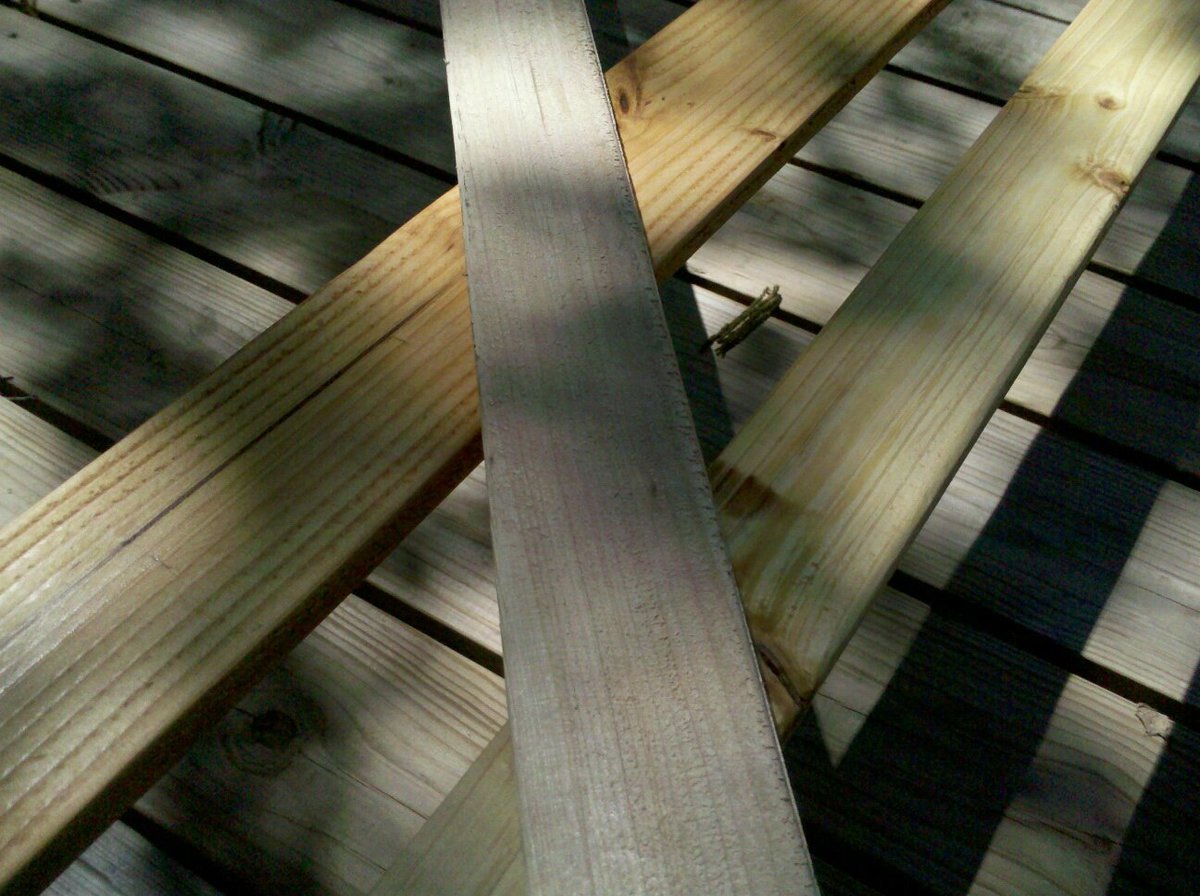
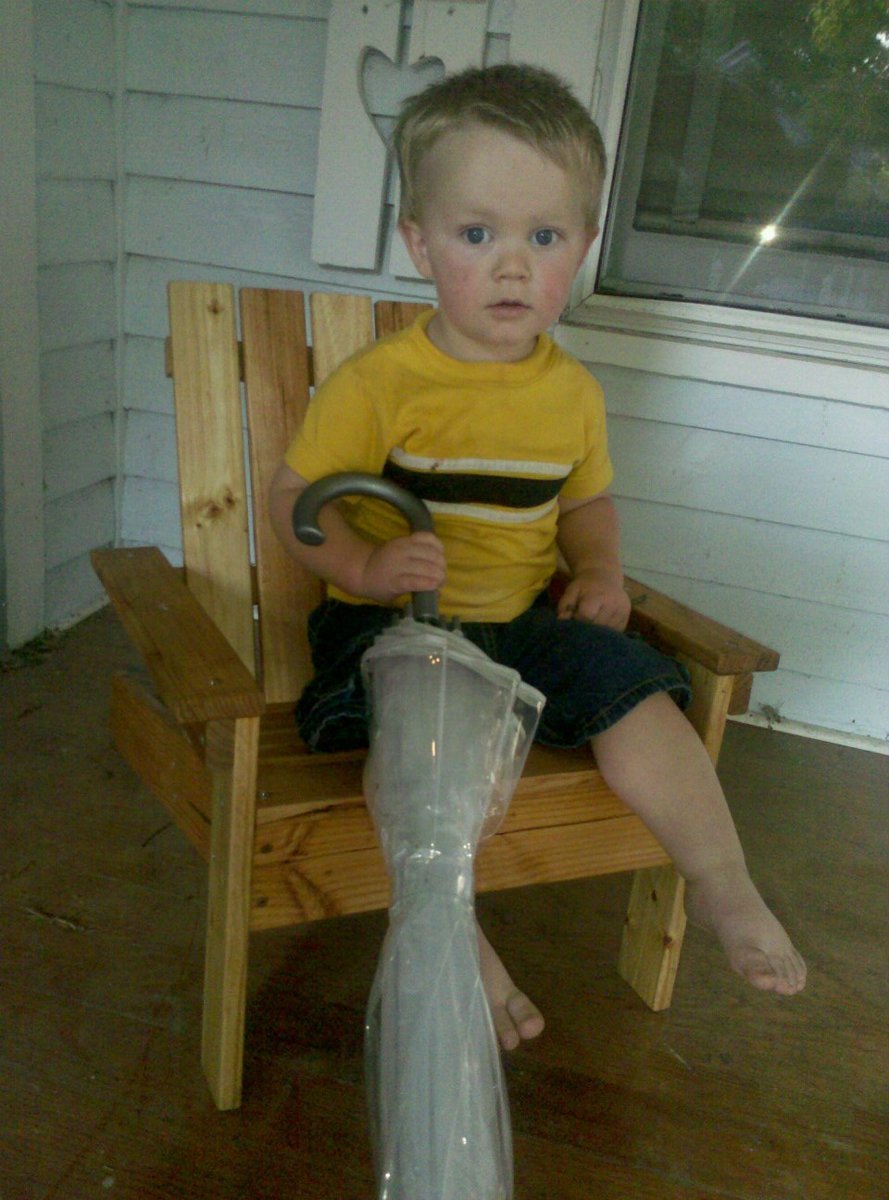
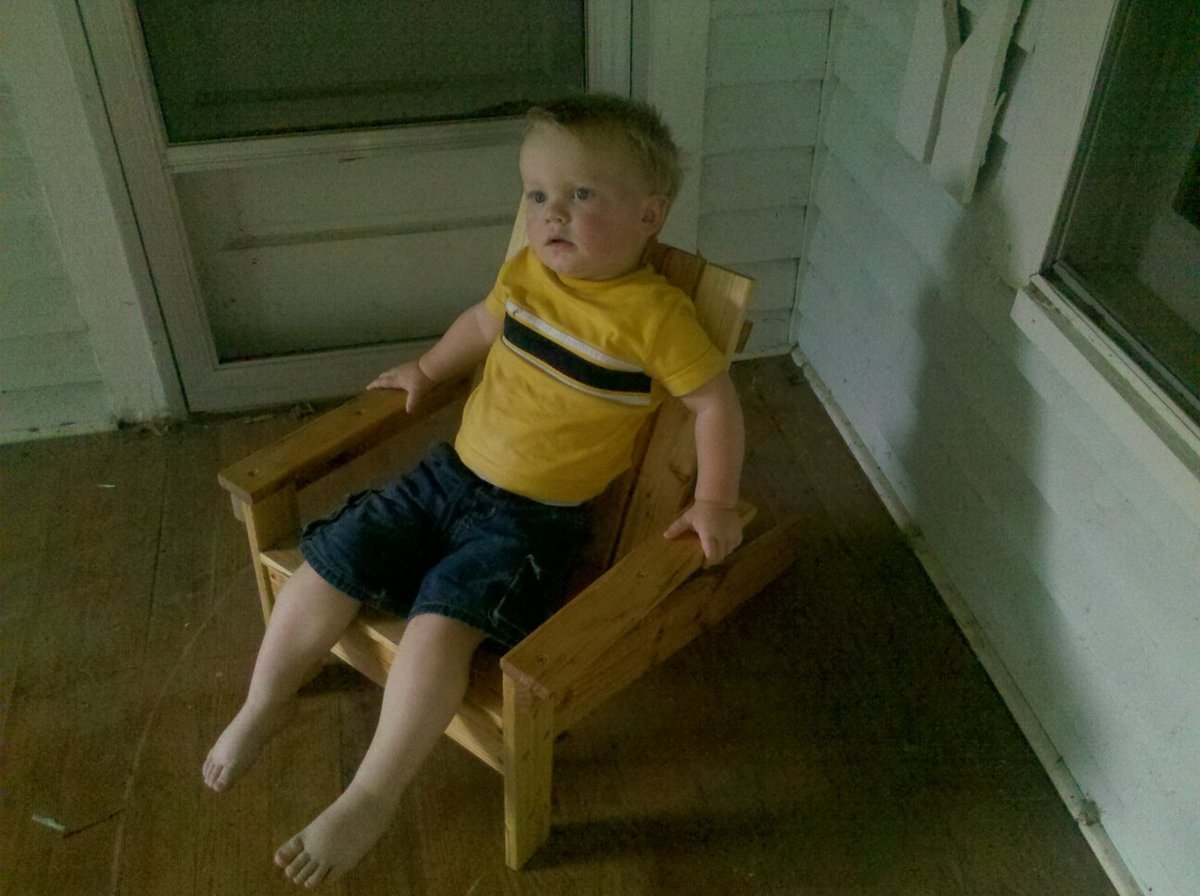
My First "Ana White" Project - Kiddie Adirondack Chair
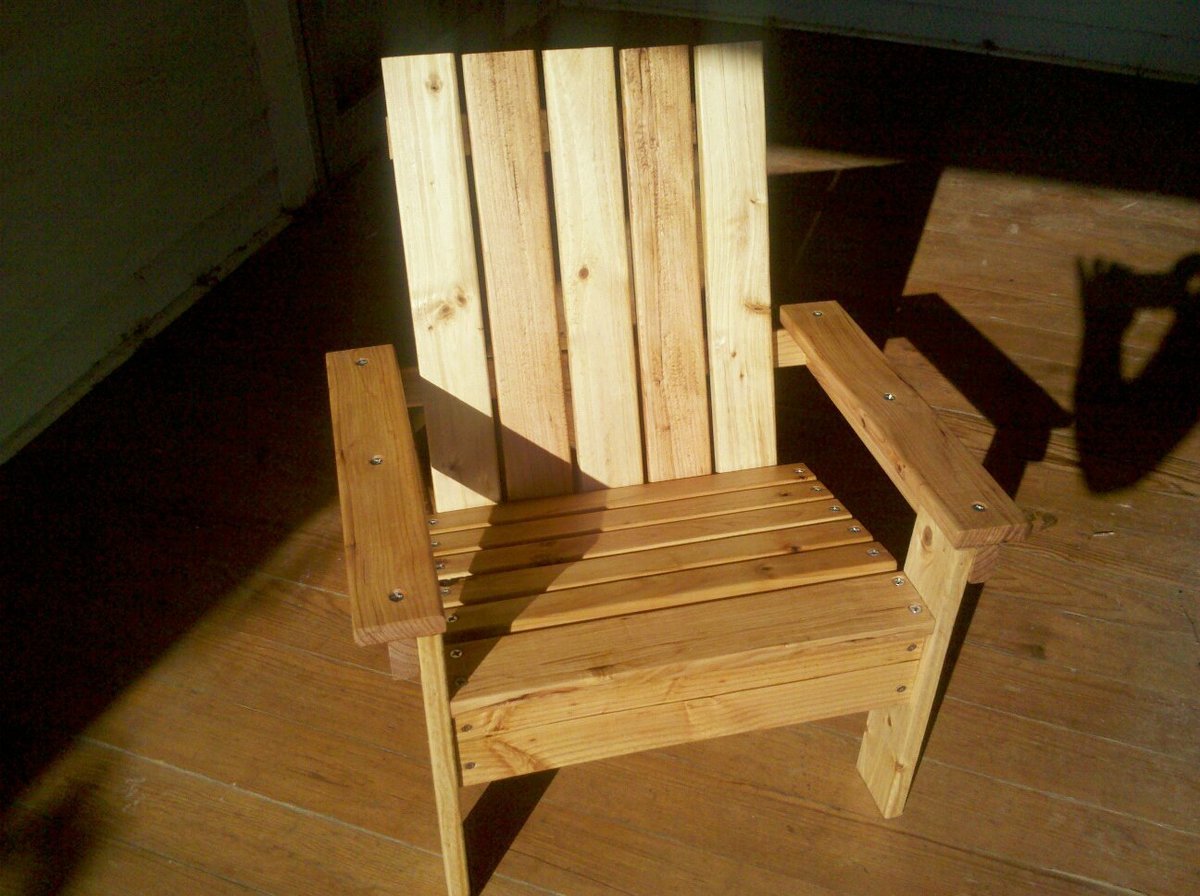
My husband bought me a new compound miter saw and impact driver for our 5th anniversary, so I immediately came here to pick out my first project. I decided on the Super Easy Little Adirondack chair. I bought $6 worth of rough sawn pine lumber. I dug through piles and piles to find pieces that weren't cracked or warped. Then I sanded it and oiled it with teak oil, before cutting and constructing. After it was put together, I applied two more coats of oil and then hand-rubbed it to finish. Additional pictures show it before last two coats of oil, and also a before and after of the wood prior to and after sanding and applying the preliminary oil finish. Also added a couple with a cute model in the chair... I am listing this as a one-day project because of the type of wood and finish that I chose. If you bought nicer wood, it probably wouldn't take that long!
Built from Plan(s)
Estimated Cost
$15, mostly spent on Teak Oil
Estimated Time Investment
Day Project (6-9 Hours)
Finish Used
Teak Oil
Recommended Skill Level
Beginner
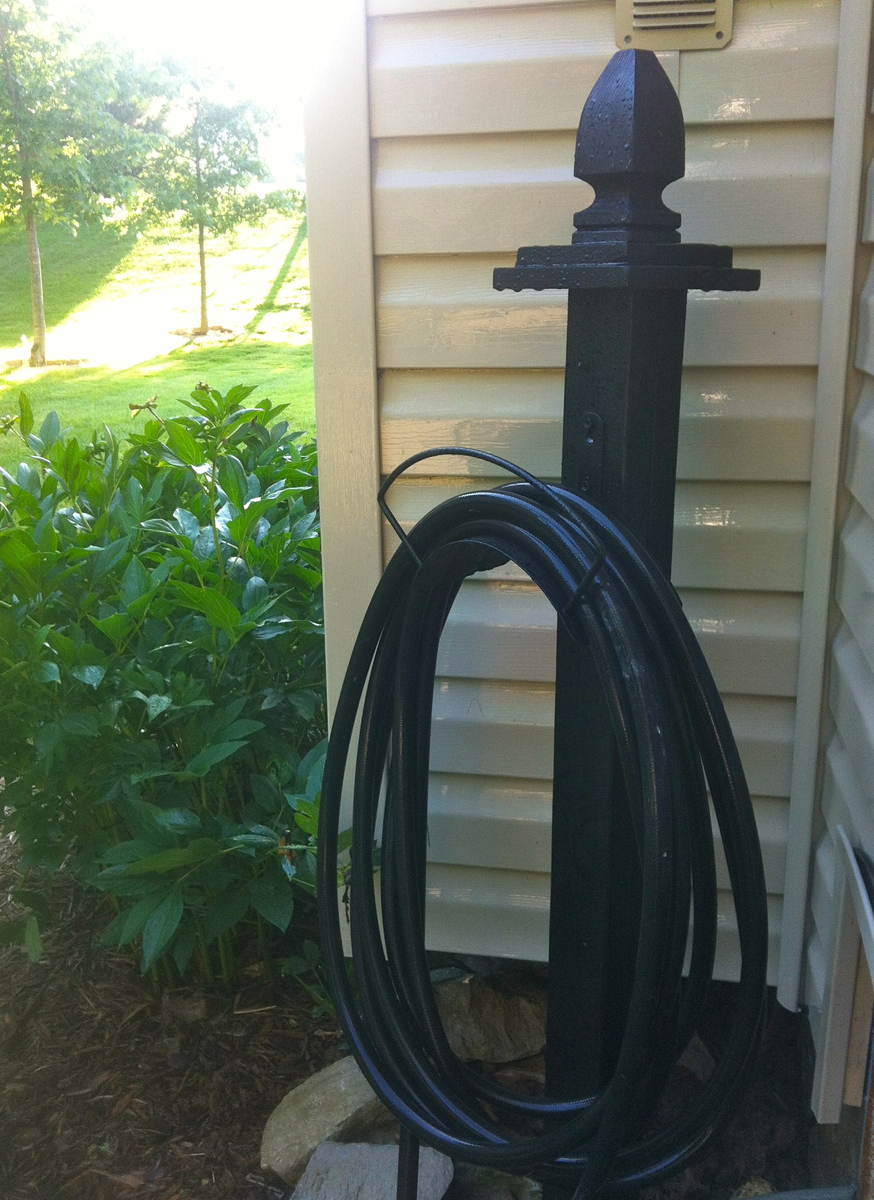
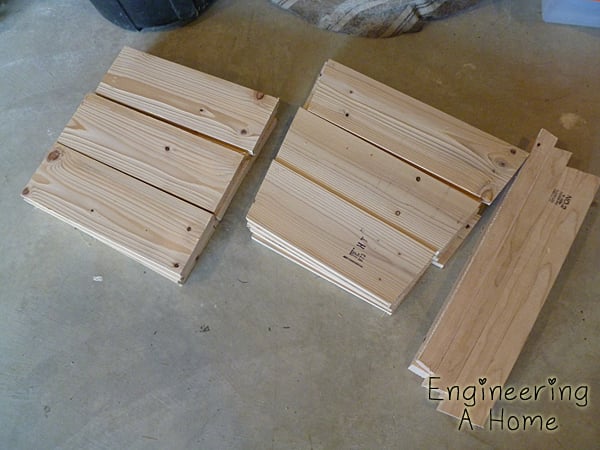
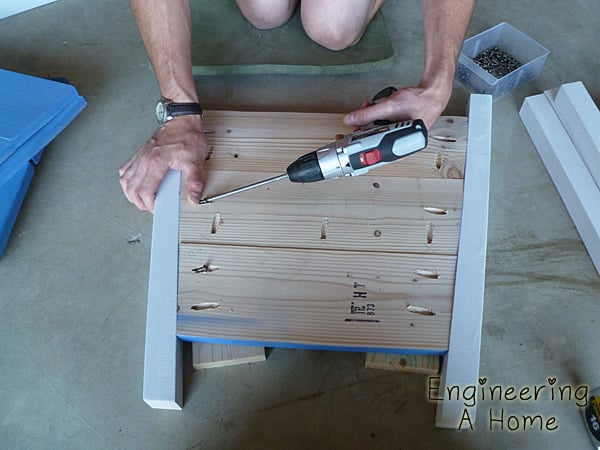
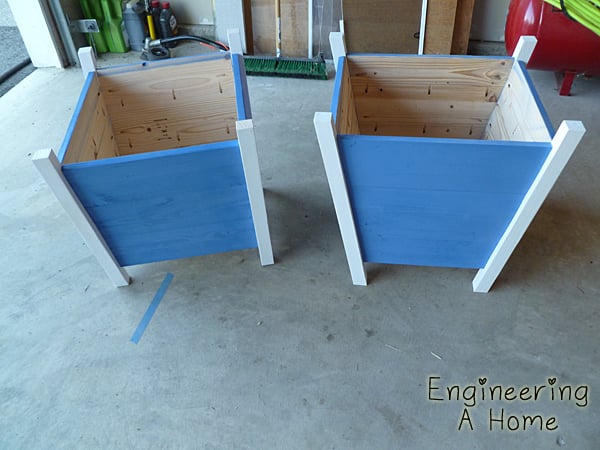
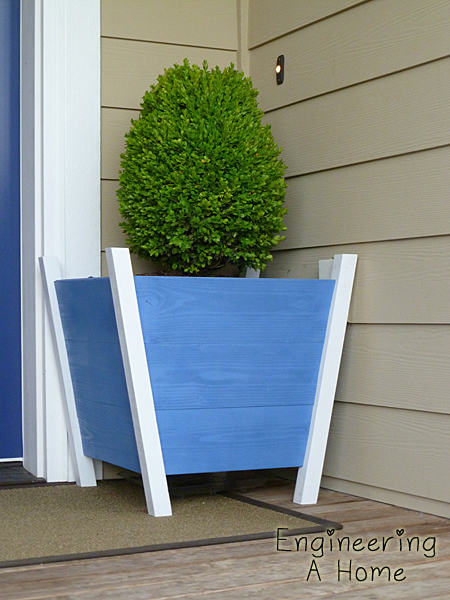
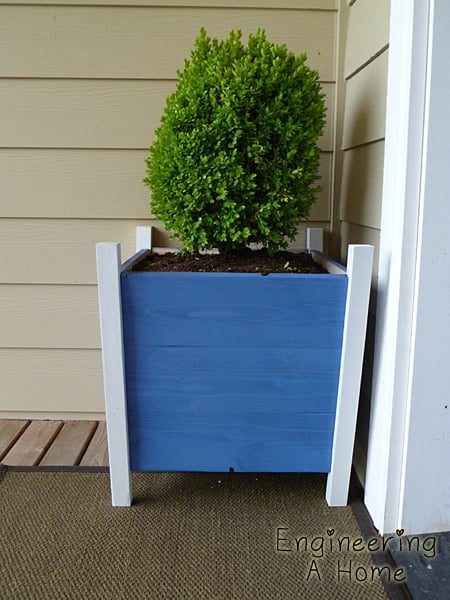
Tapered Planter Box
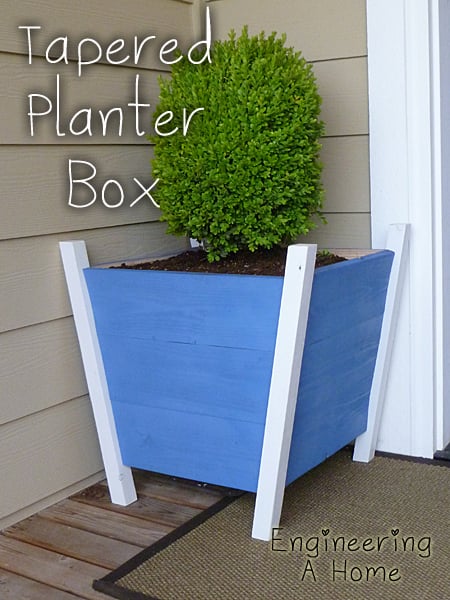
I used both the $1 dollar cedar planter plan and the square planter with finals to come up with this design.
It's made from 1x6's and 2x2's. The finished box is about 16" x 16" on the top. They were pretty easy to put together. If you want more info check out my blog post.
Built from Plan(s)
Estimated Cost
$22
Estimated Time Investment
Afternoon Project (3-6 Hours)
Finish Used
Rustoleum Spray Paint in White and Wildflower Blue.
Recommended Skill Level
Beginner
Comments
Heidirr
Sun, 01/21/2018 - 12:37
My husband tore down a 100
My husband tore down a 100 year old barn a few years ago.... I used the wood from that to make this bed for my daughter. Was a great learning experience as I’ve never built furniture before. Easy to follow instructions, and my daughter is thrilled!
katonley
Fri, 01/26/2018 - 03:30
This is gorgeous!!
This is gorgeous!!