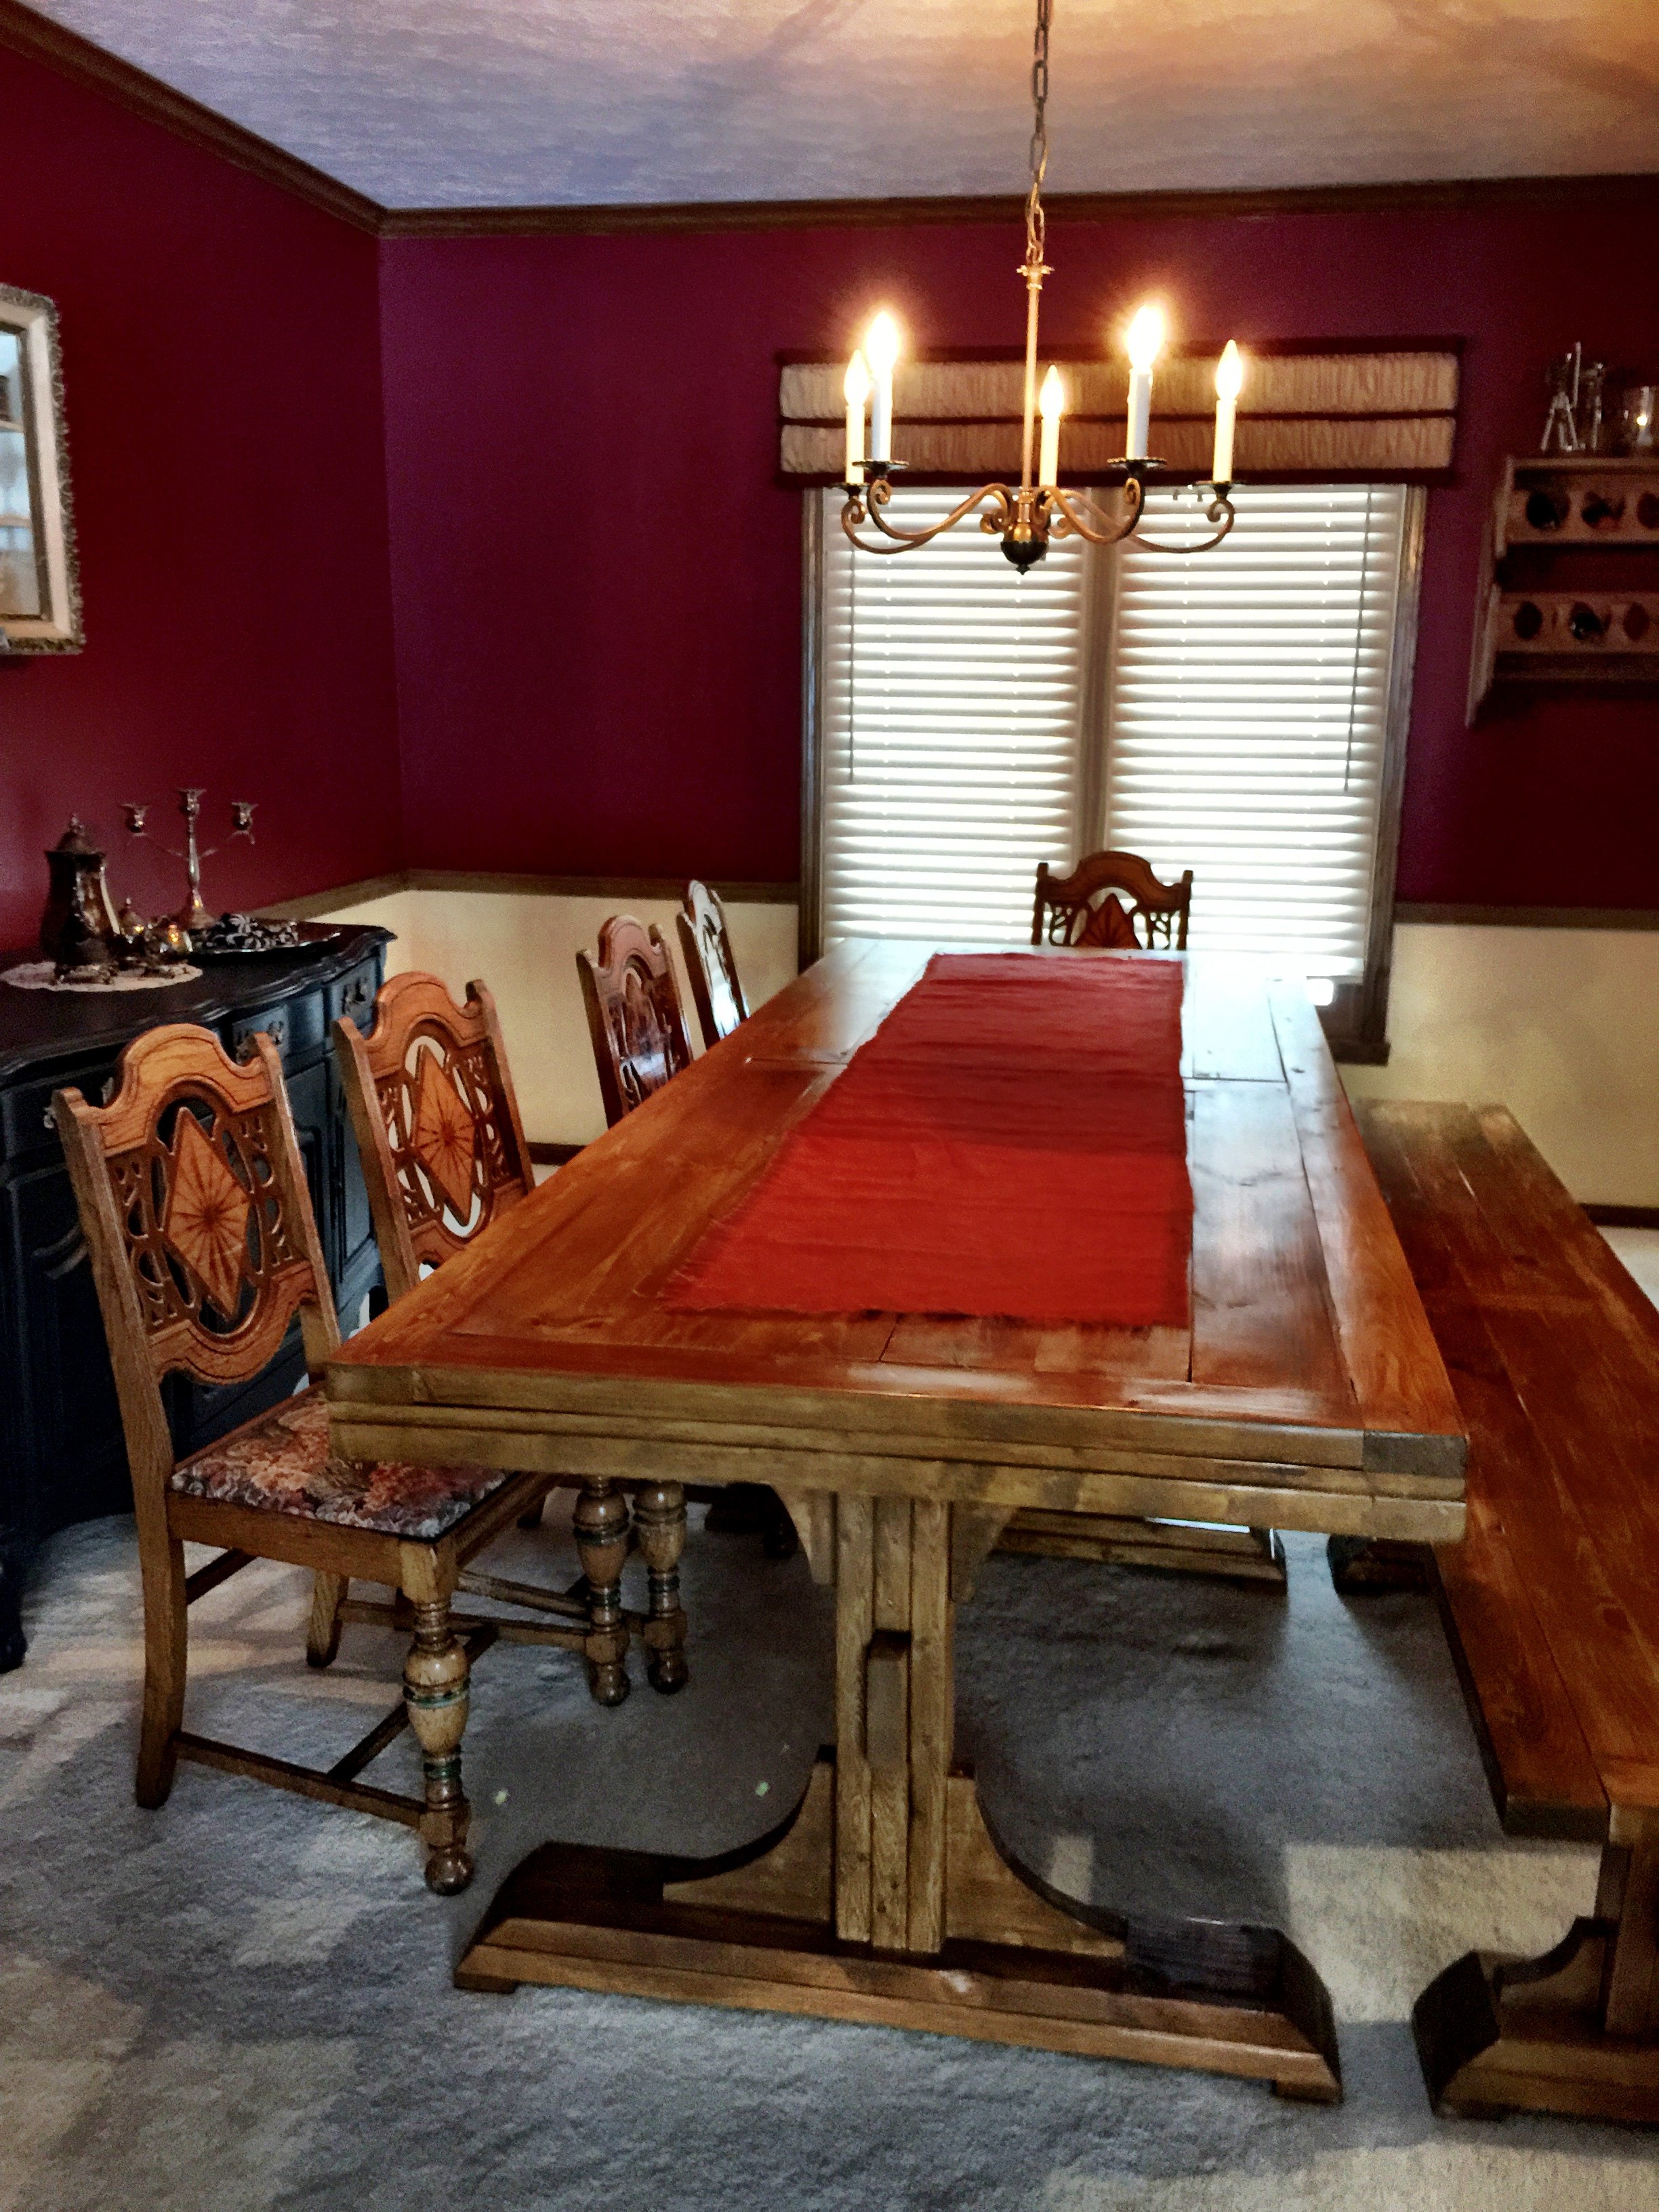
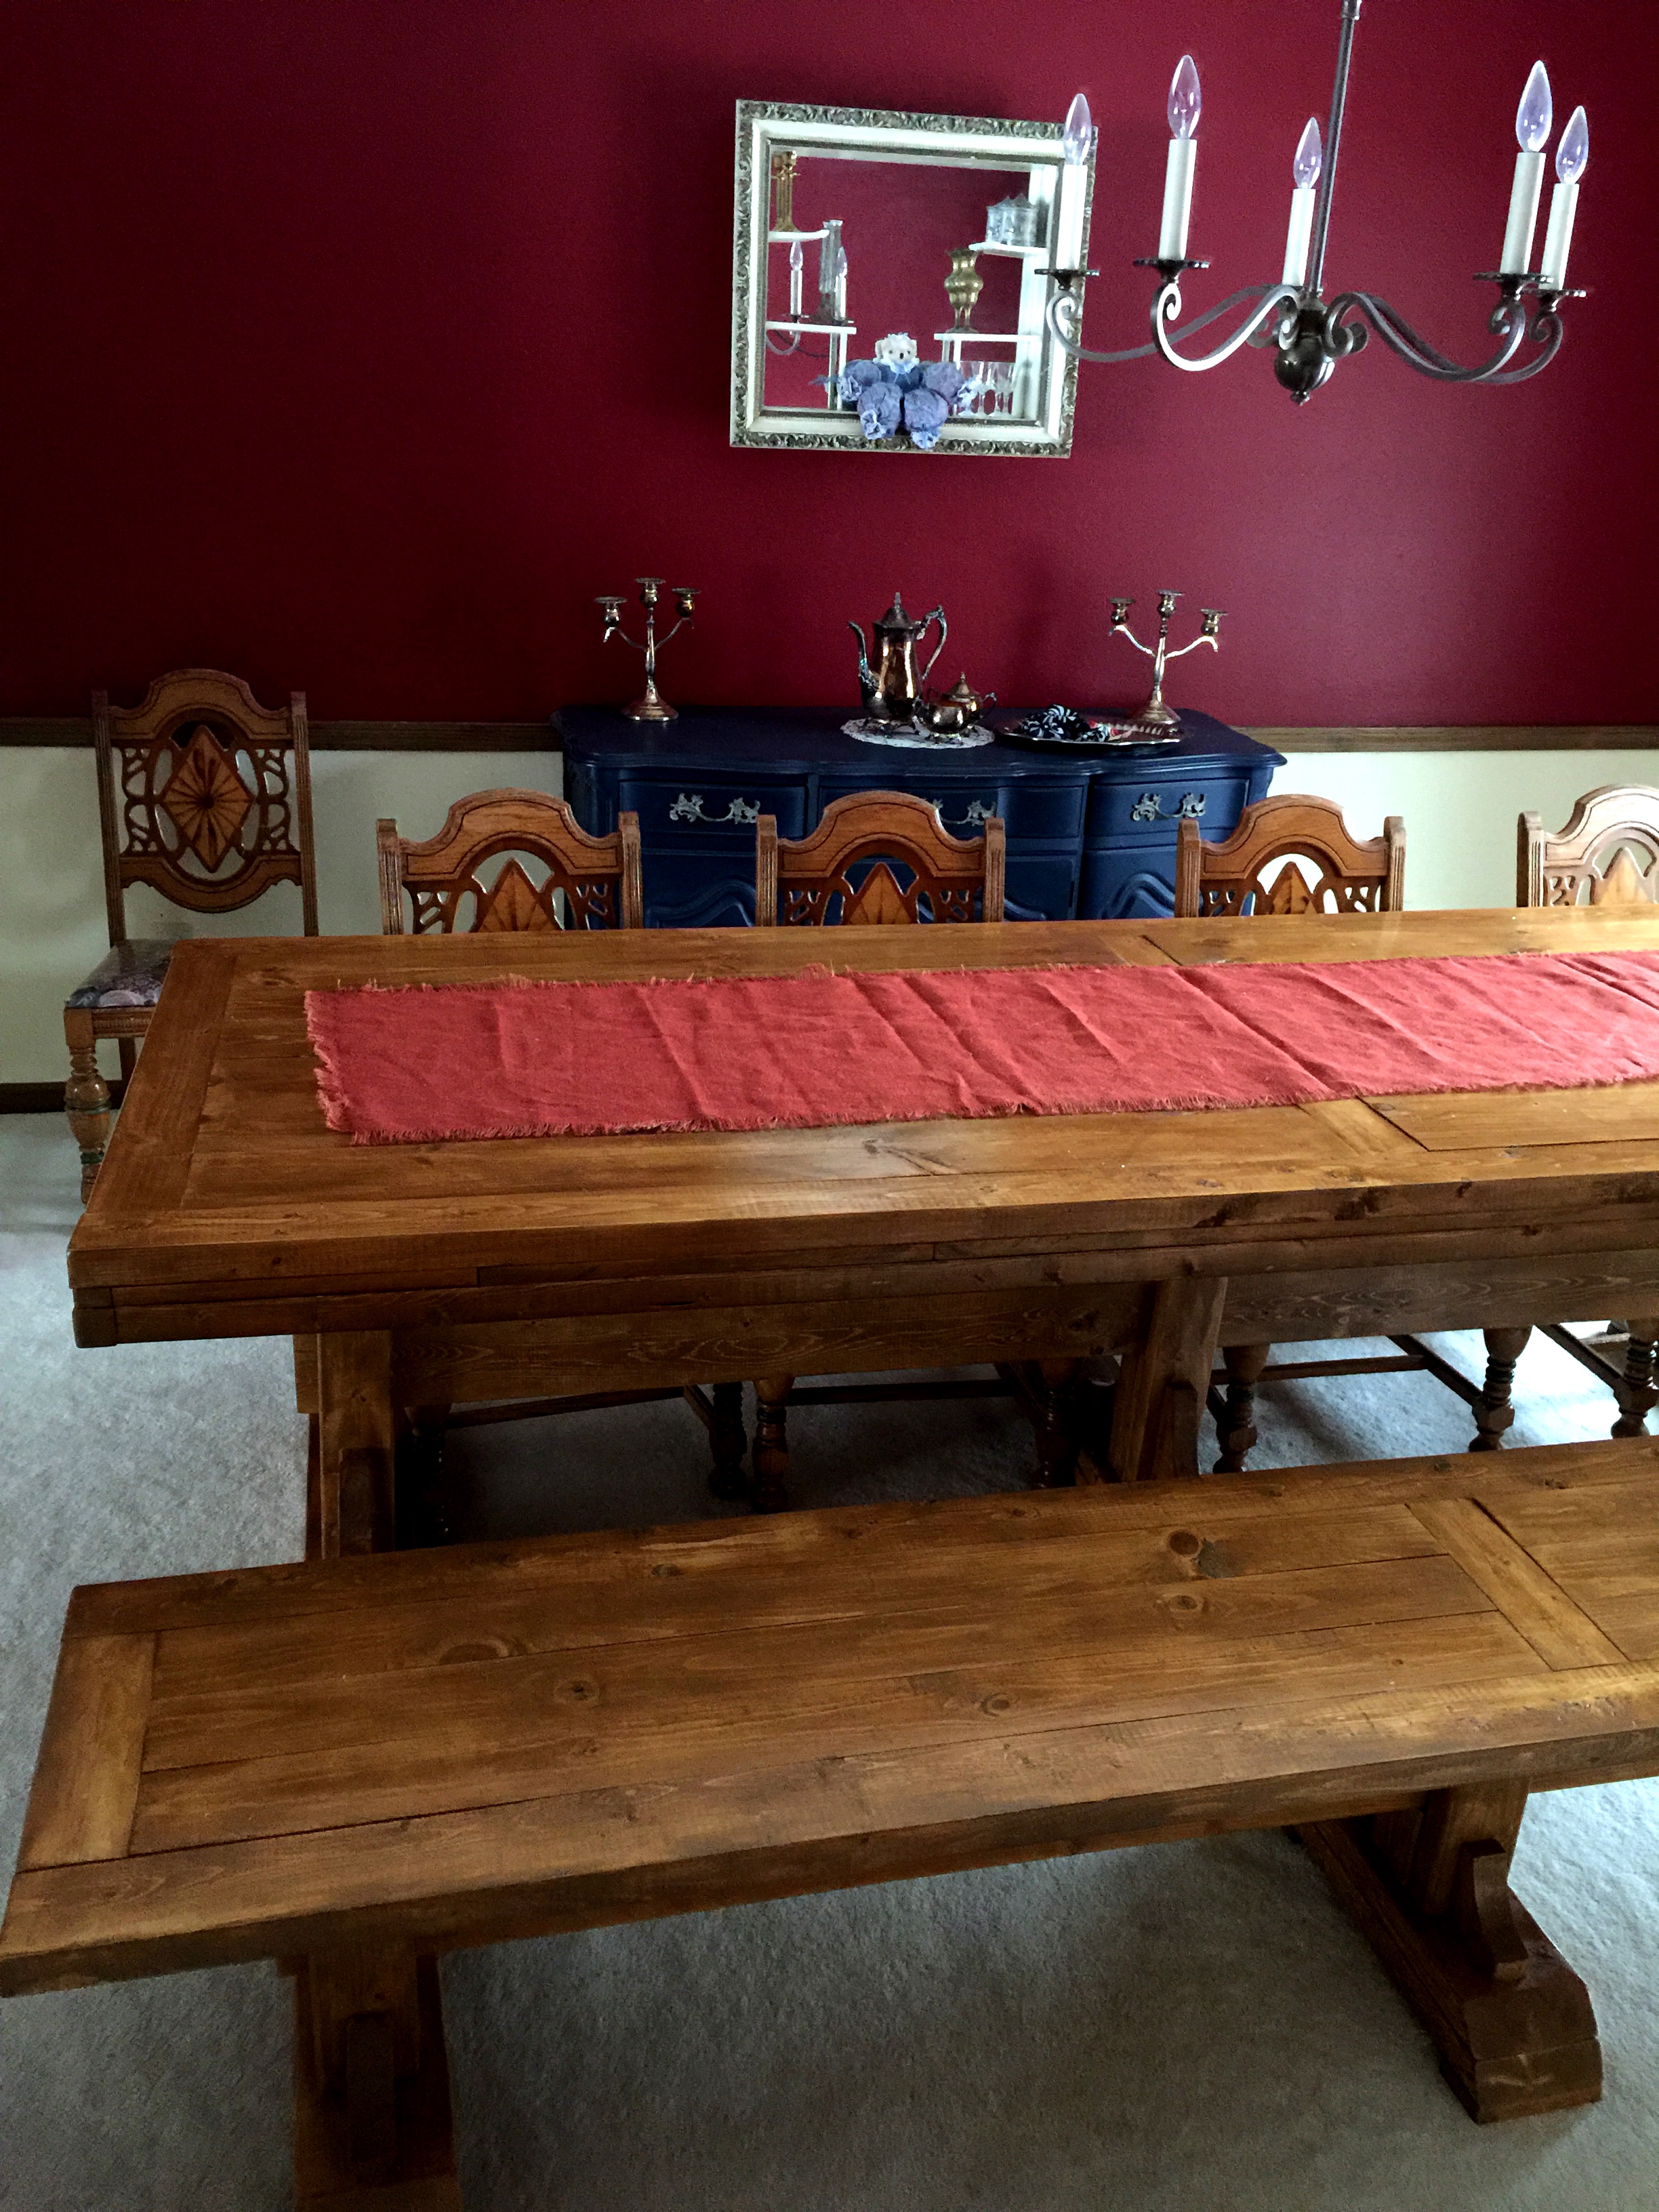
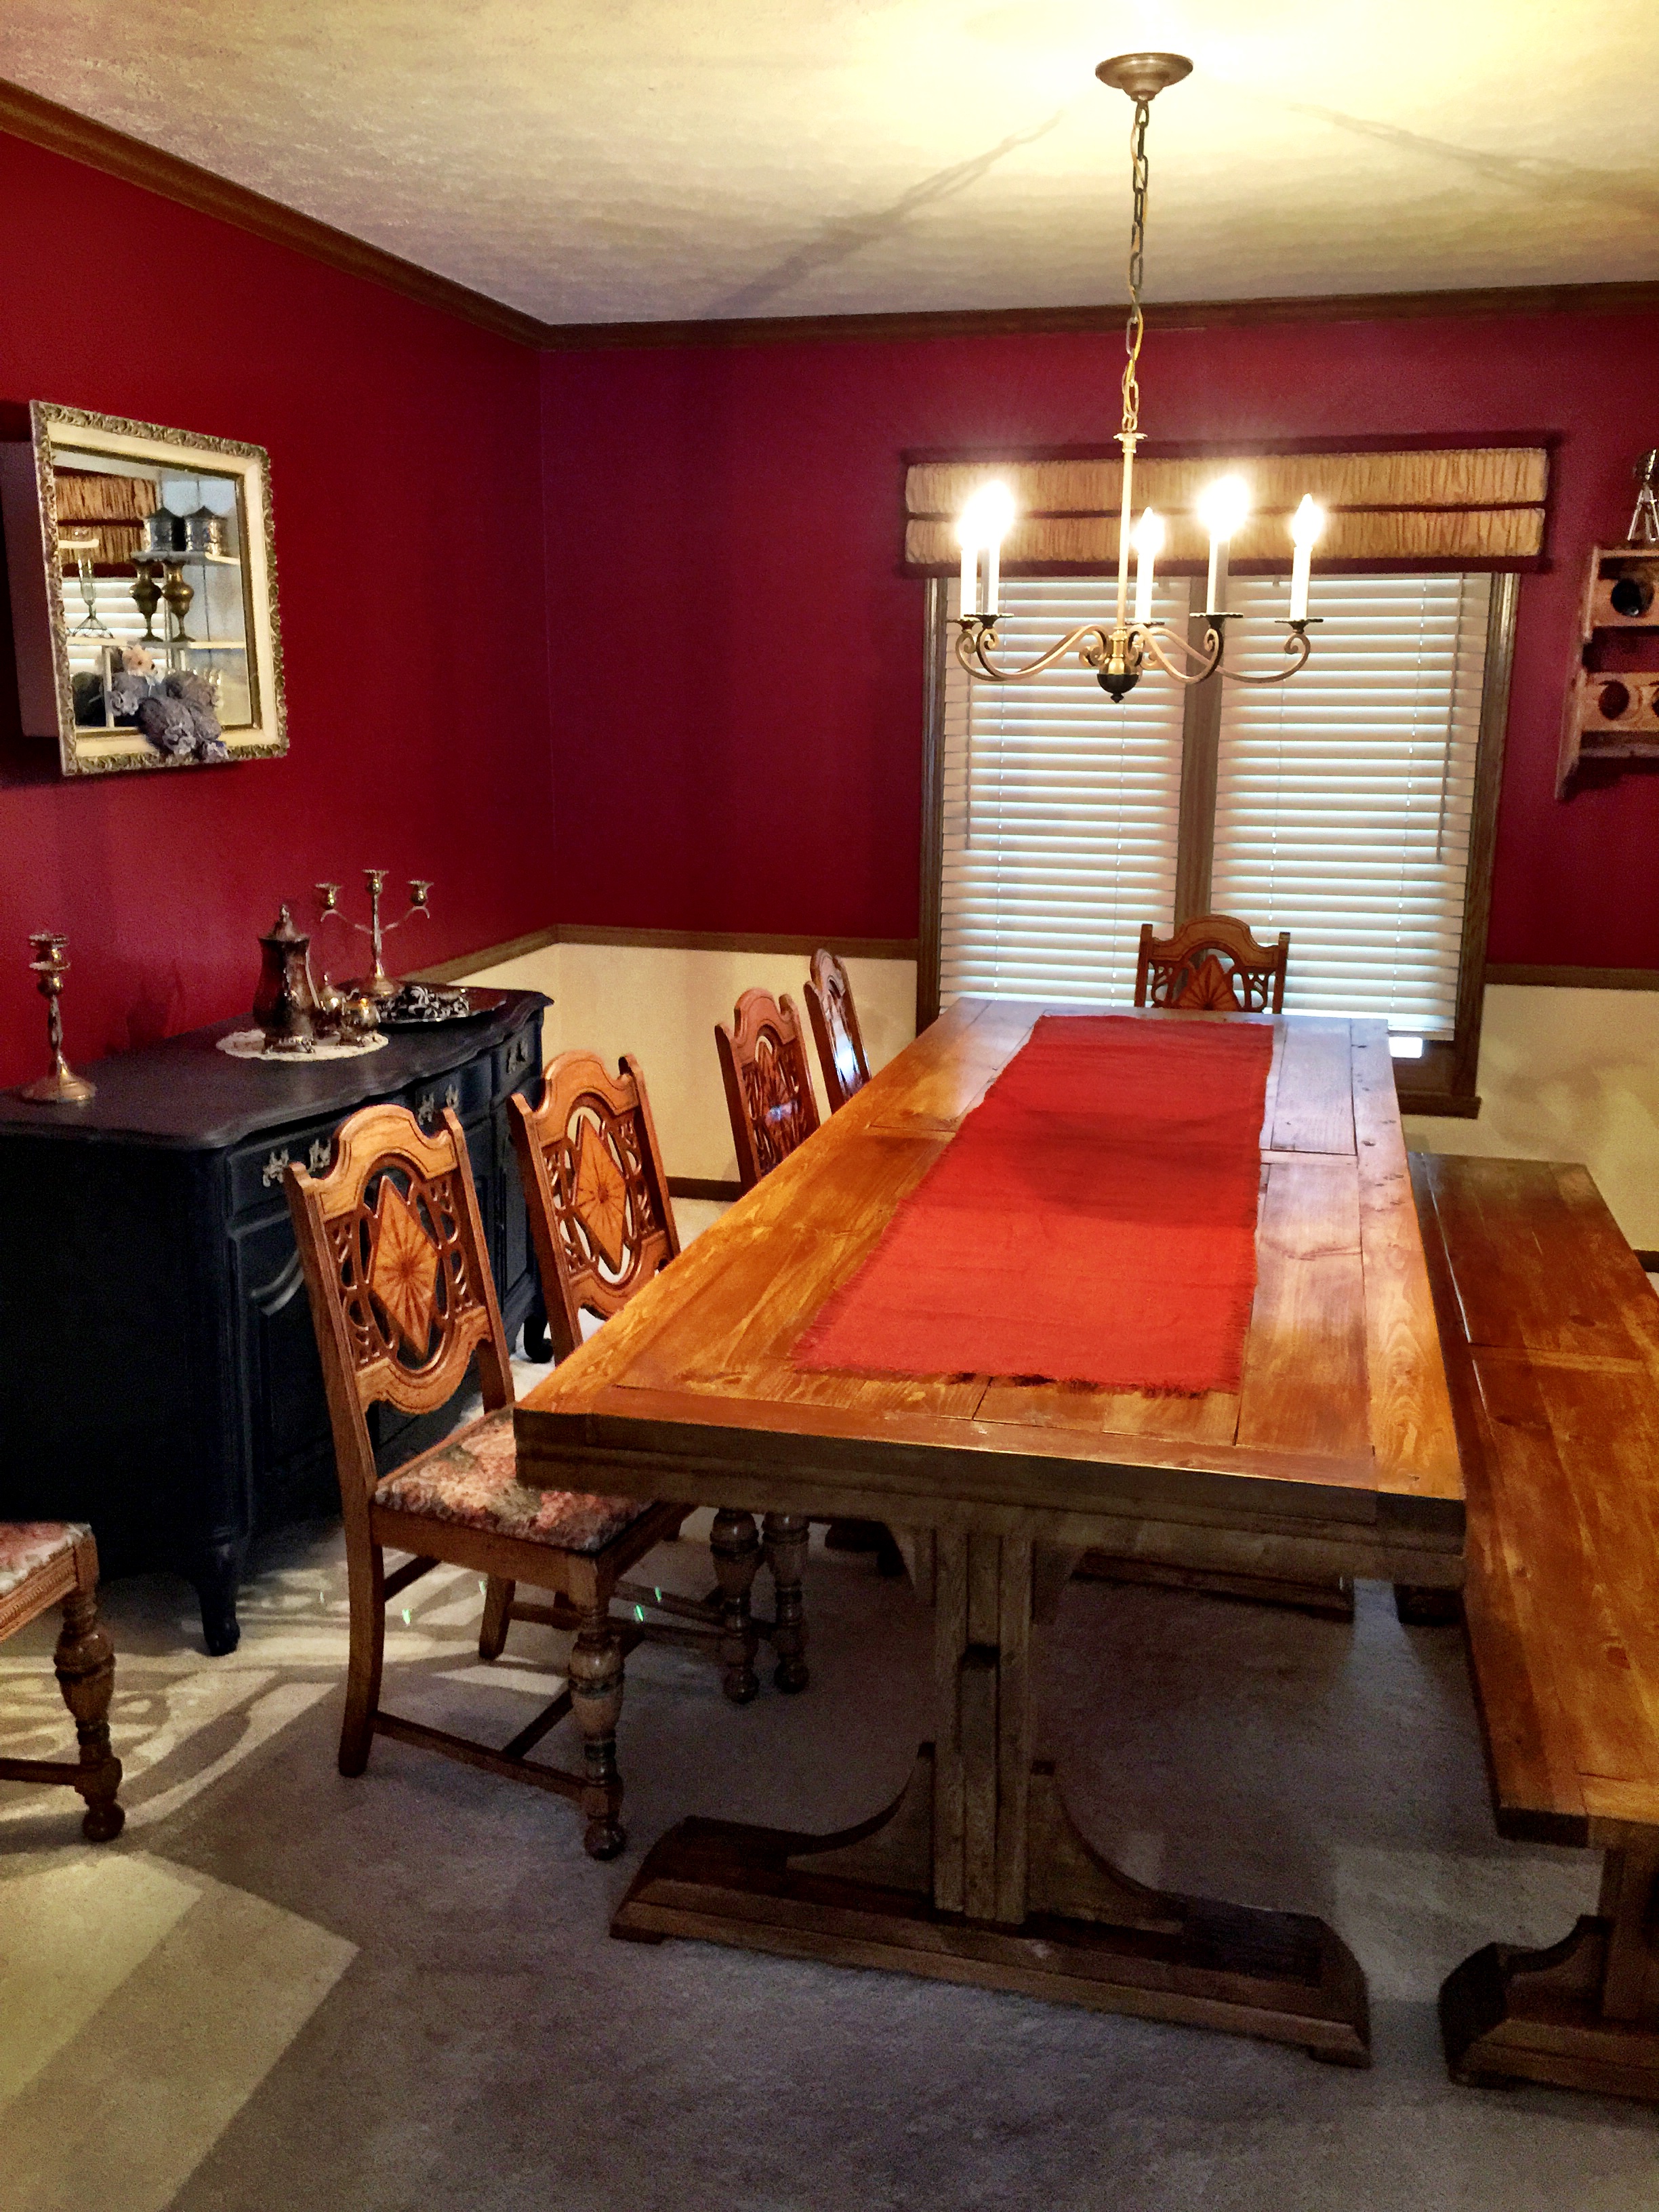
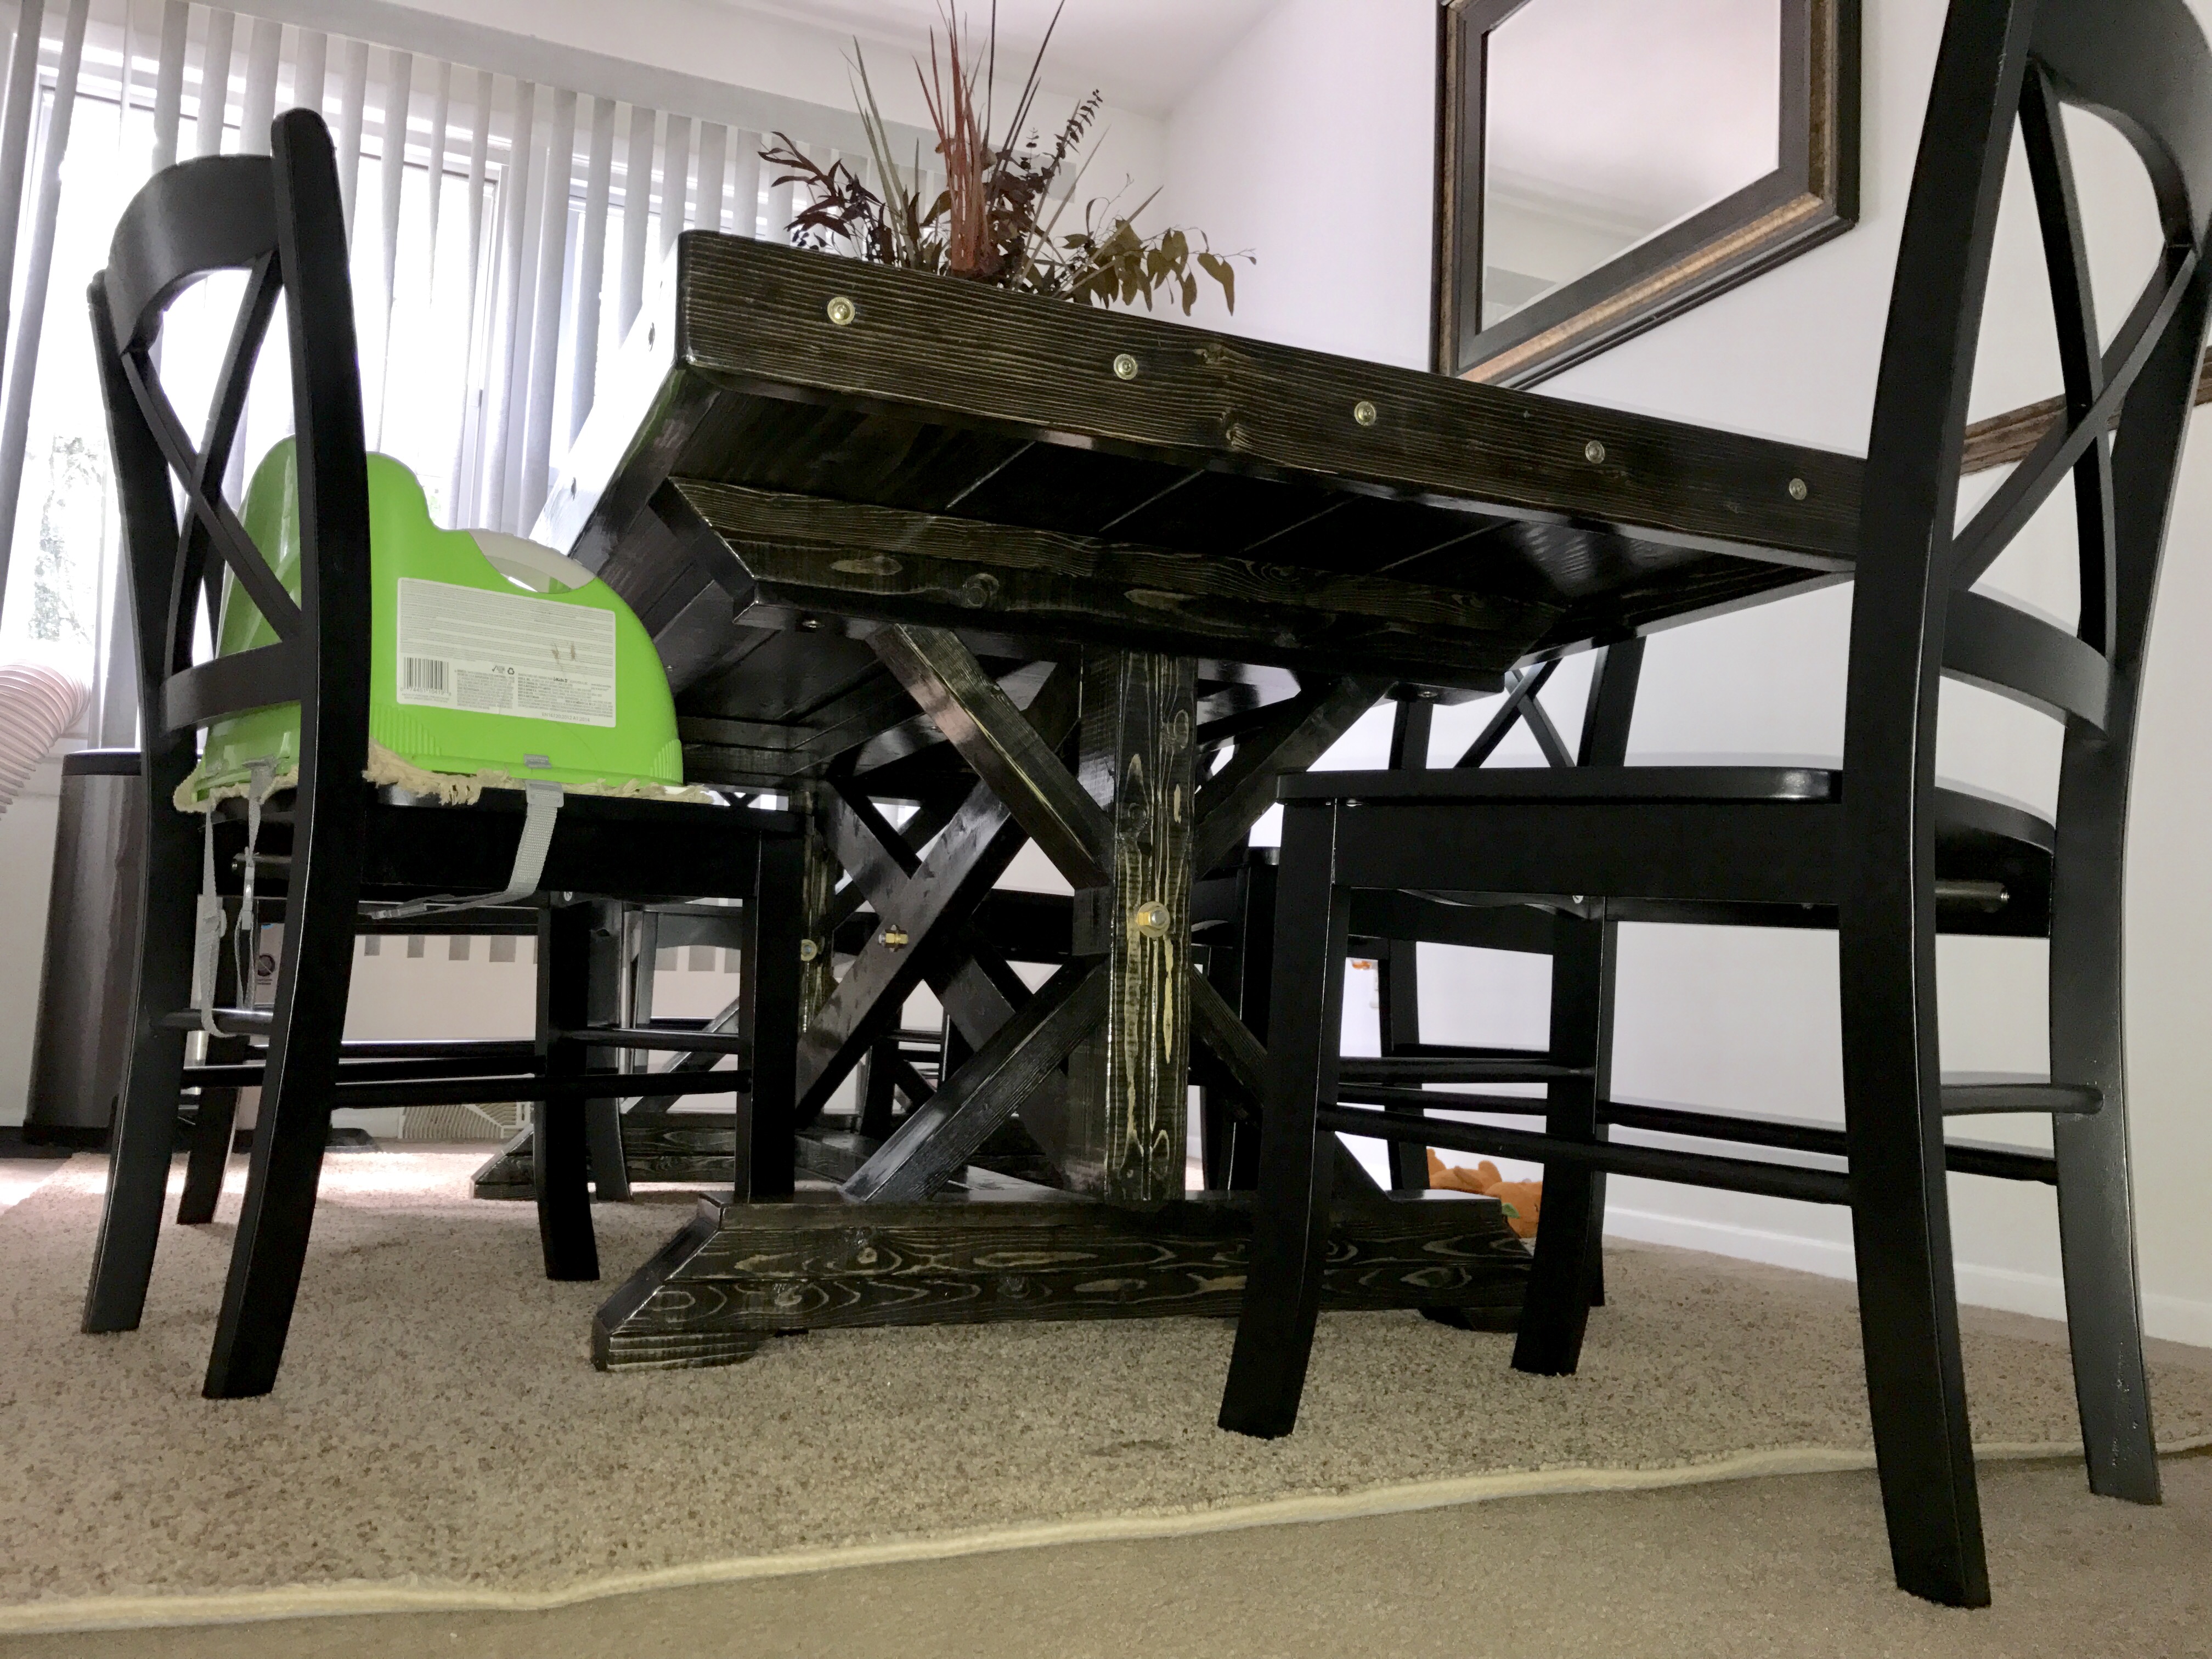
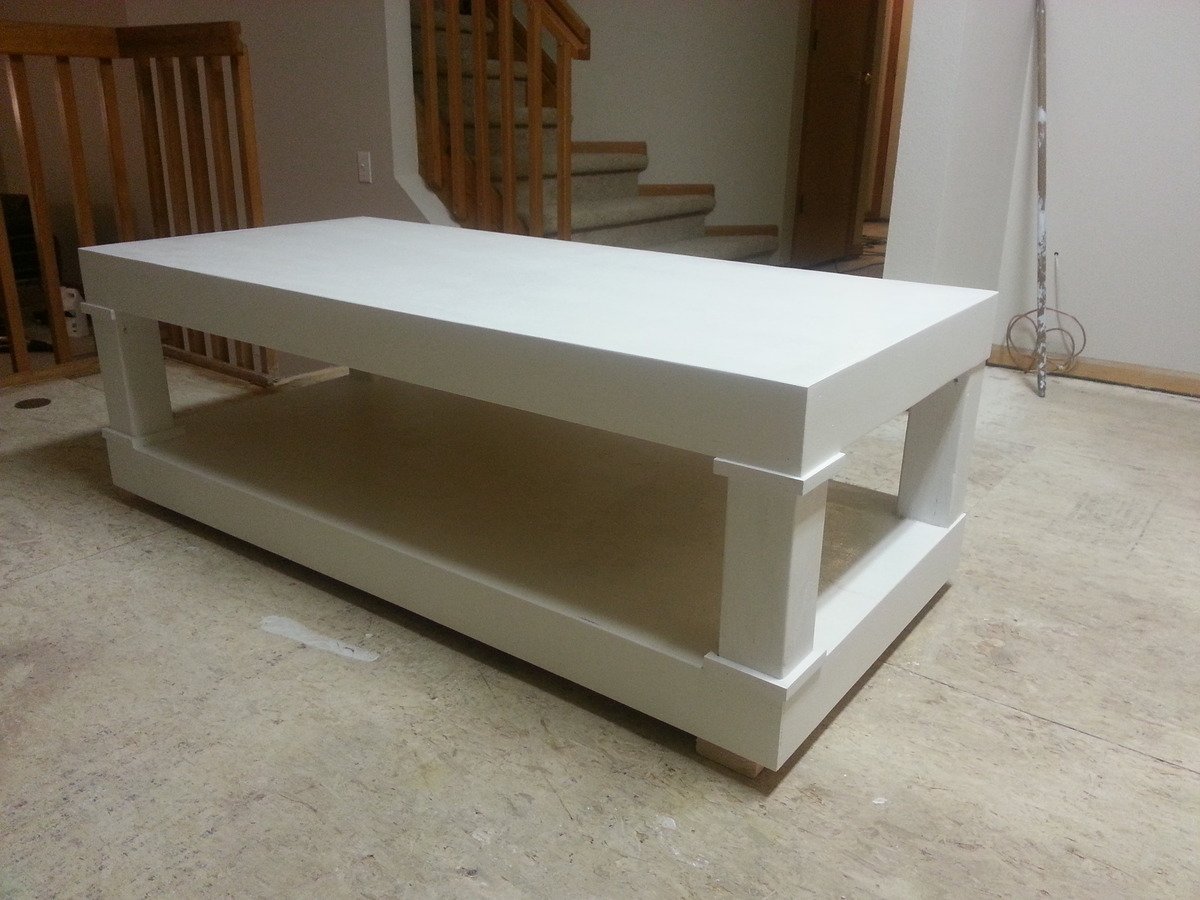
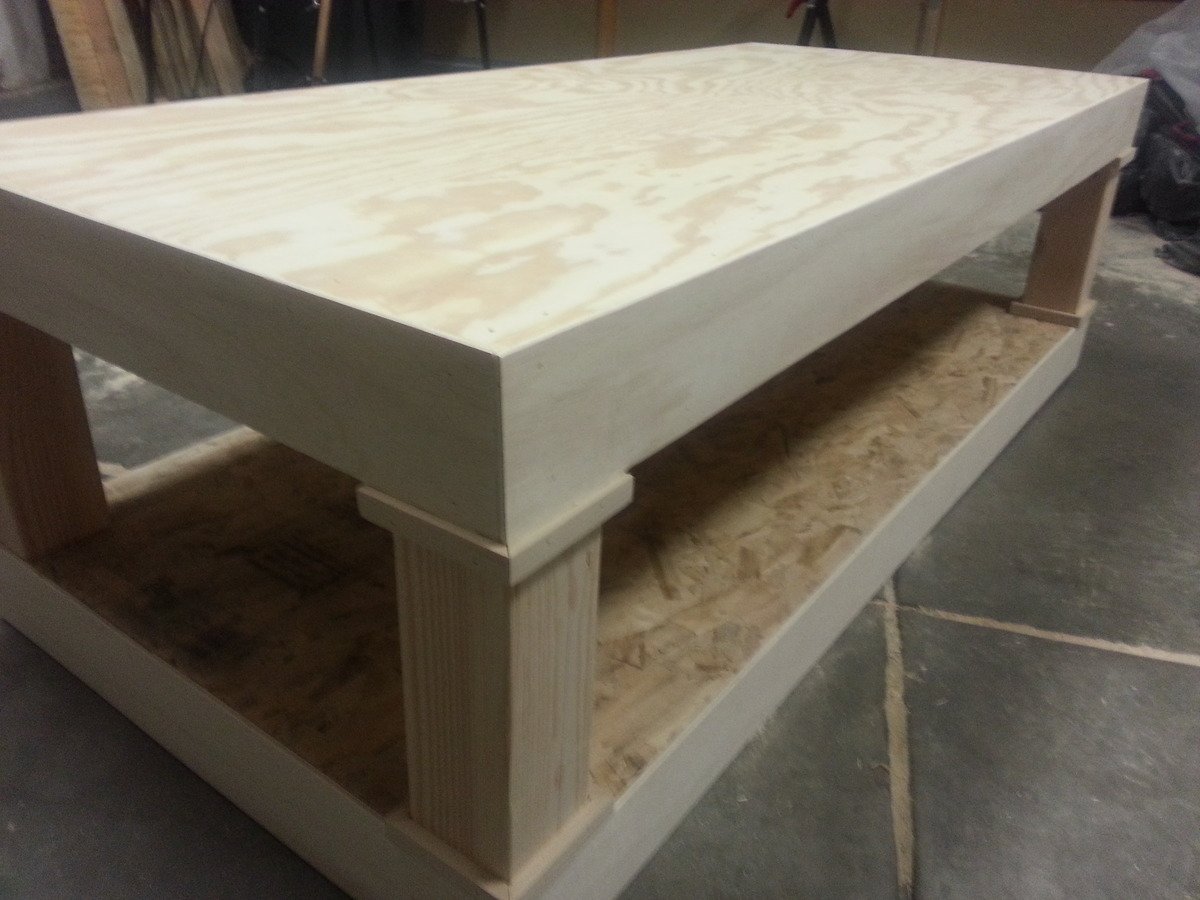
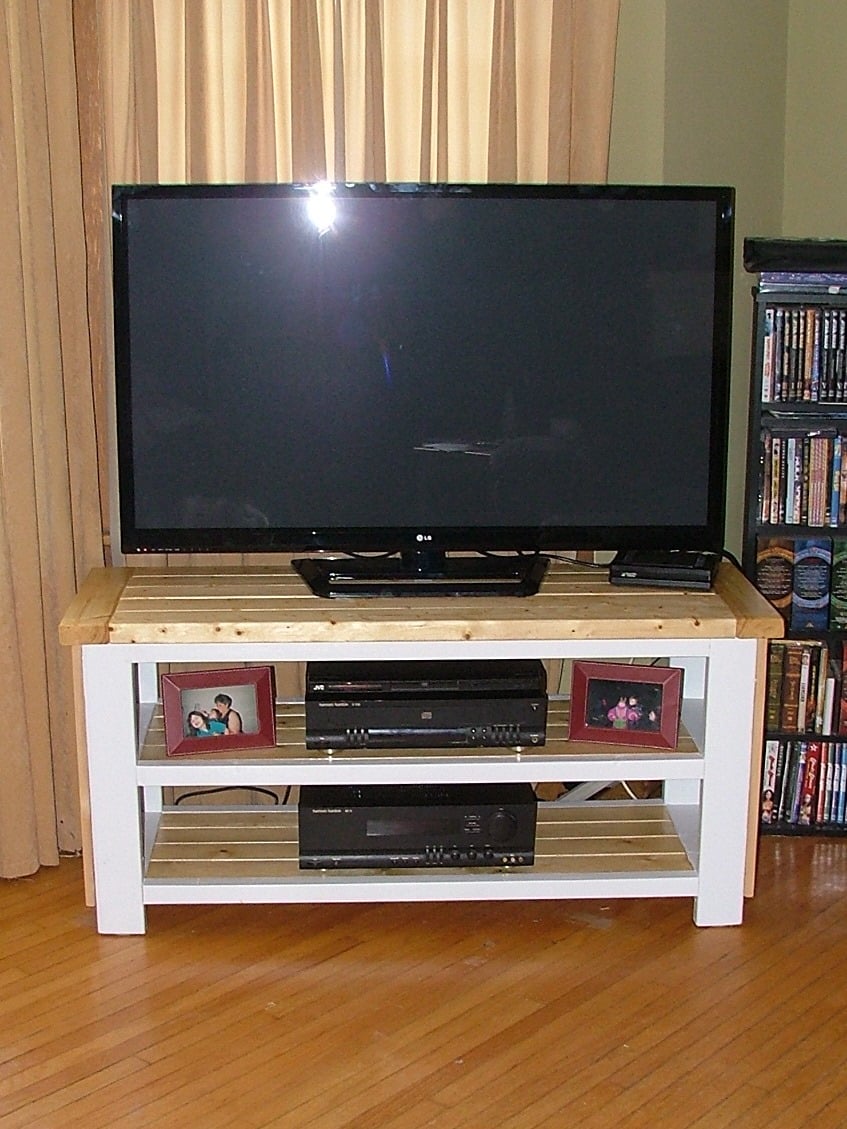
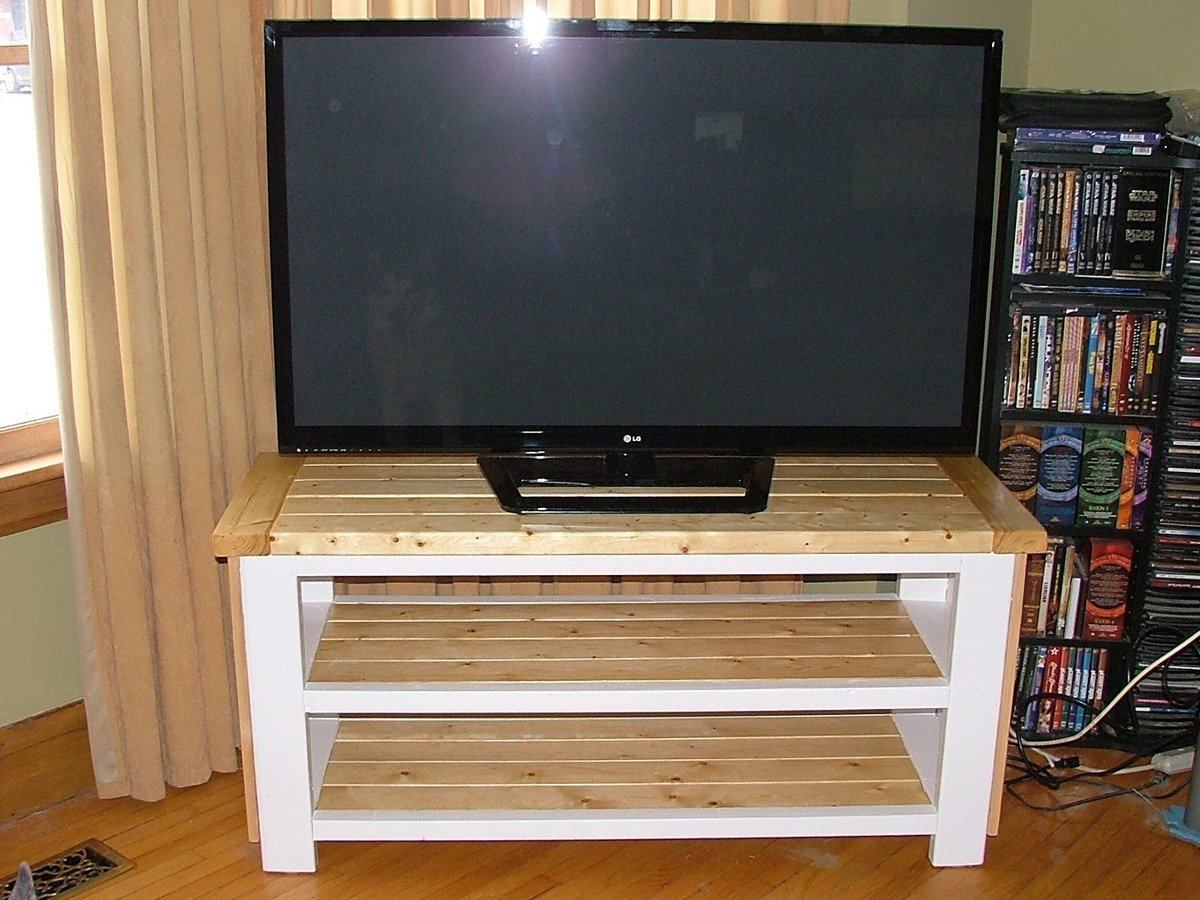
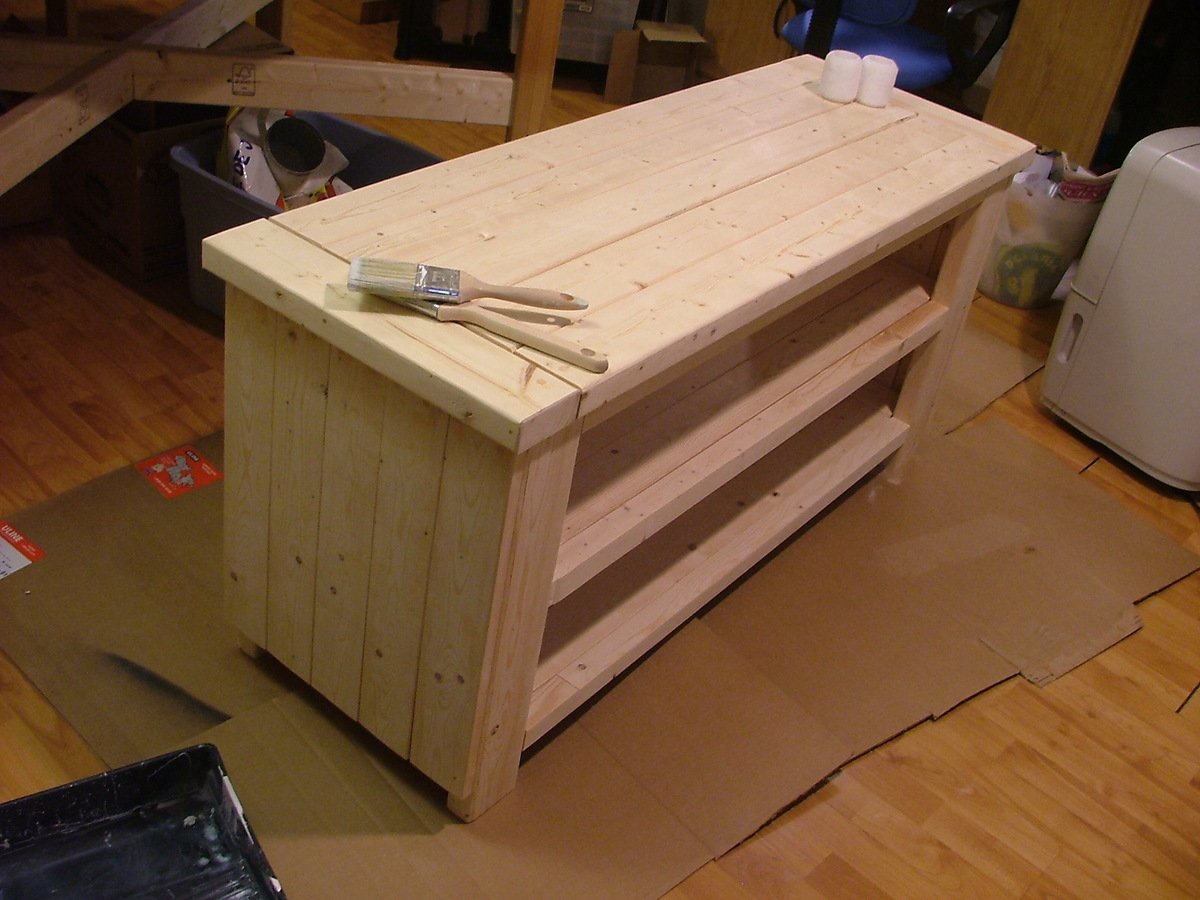
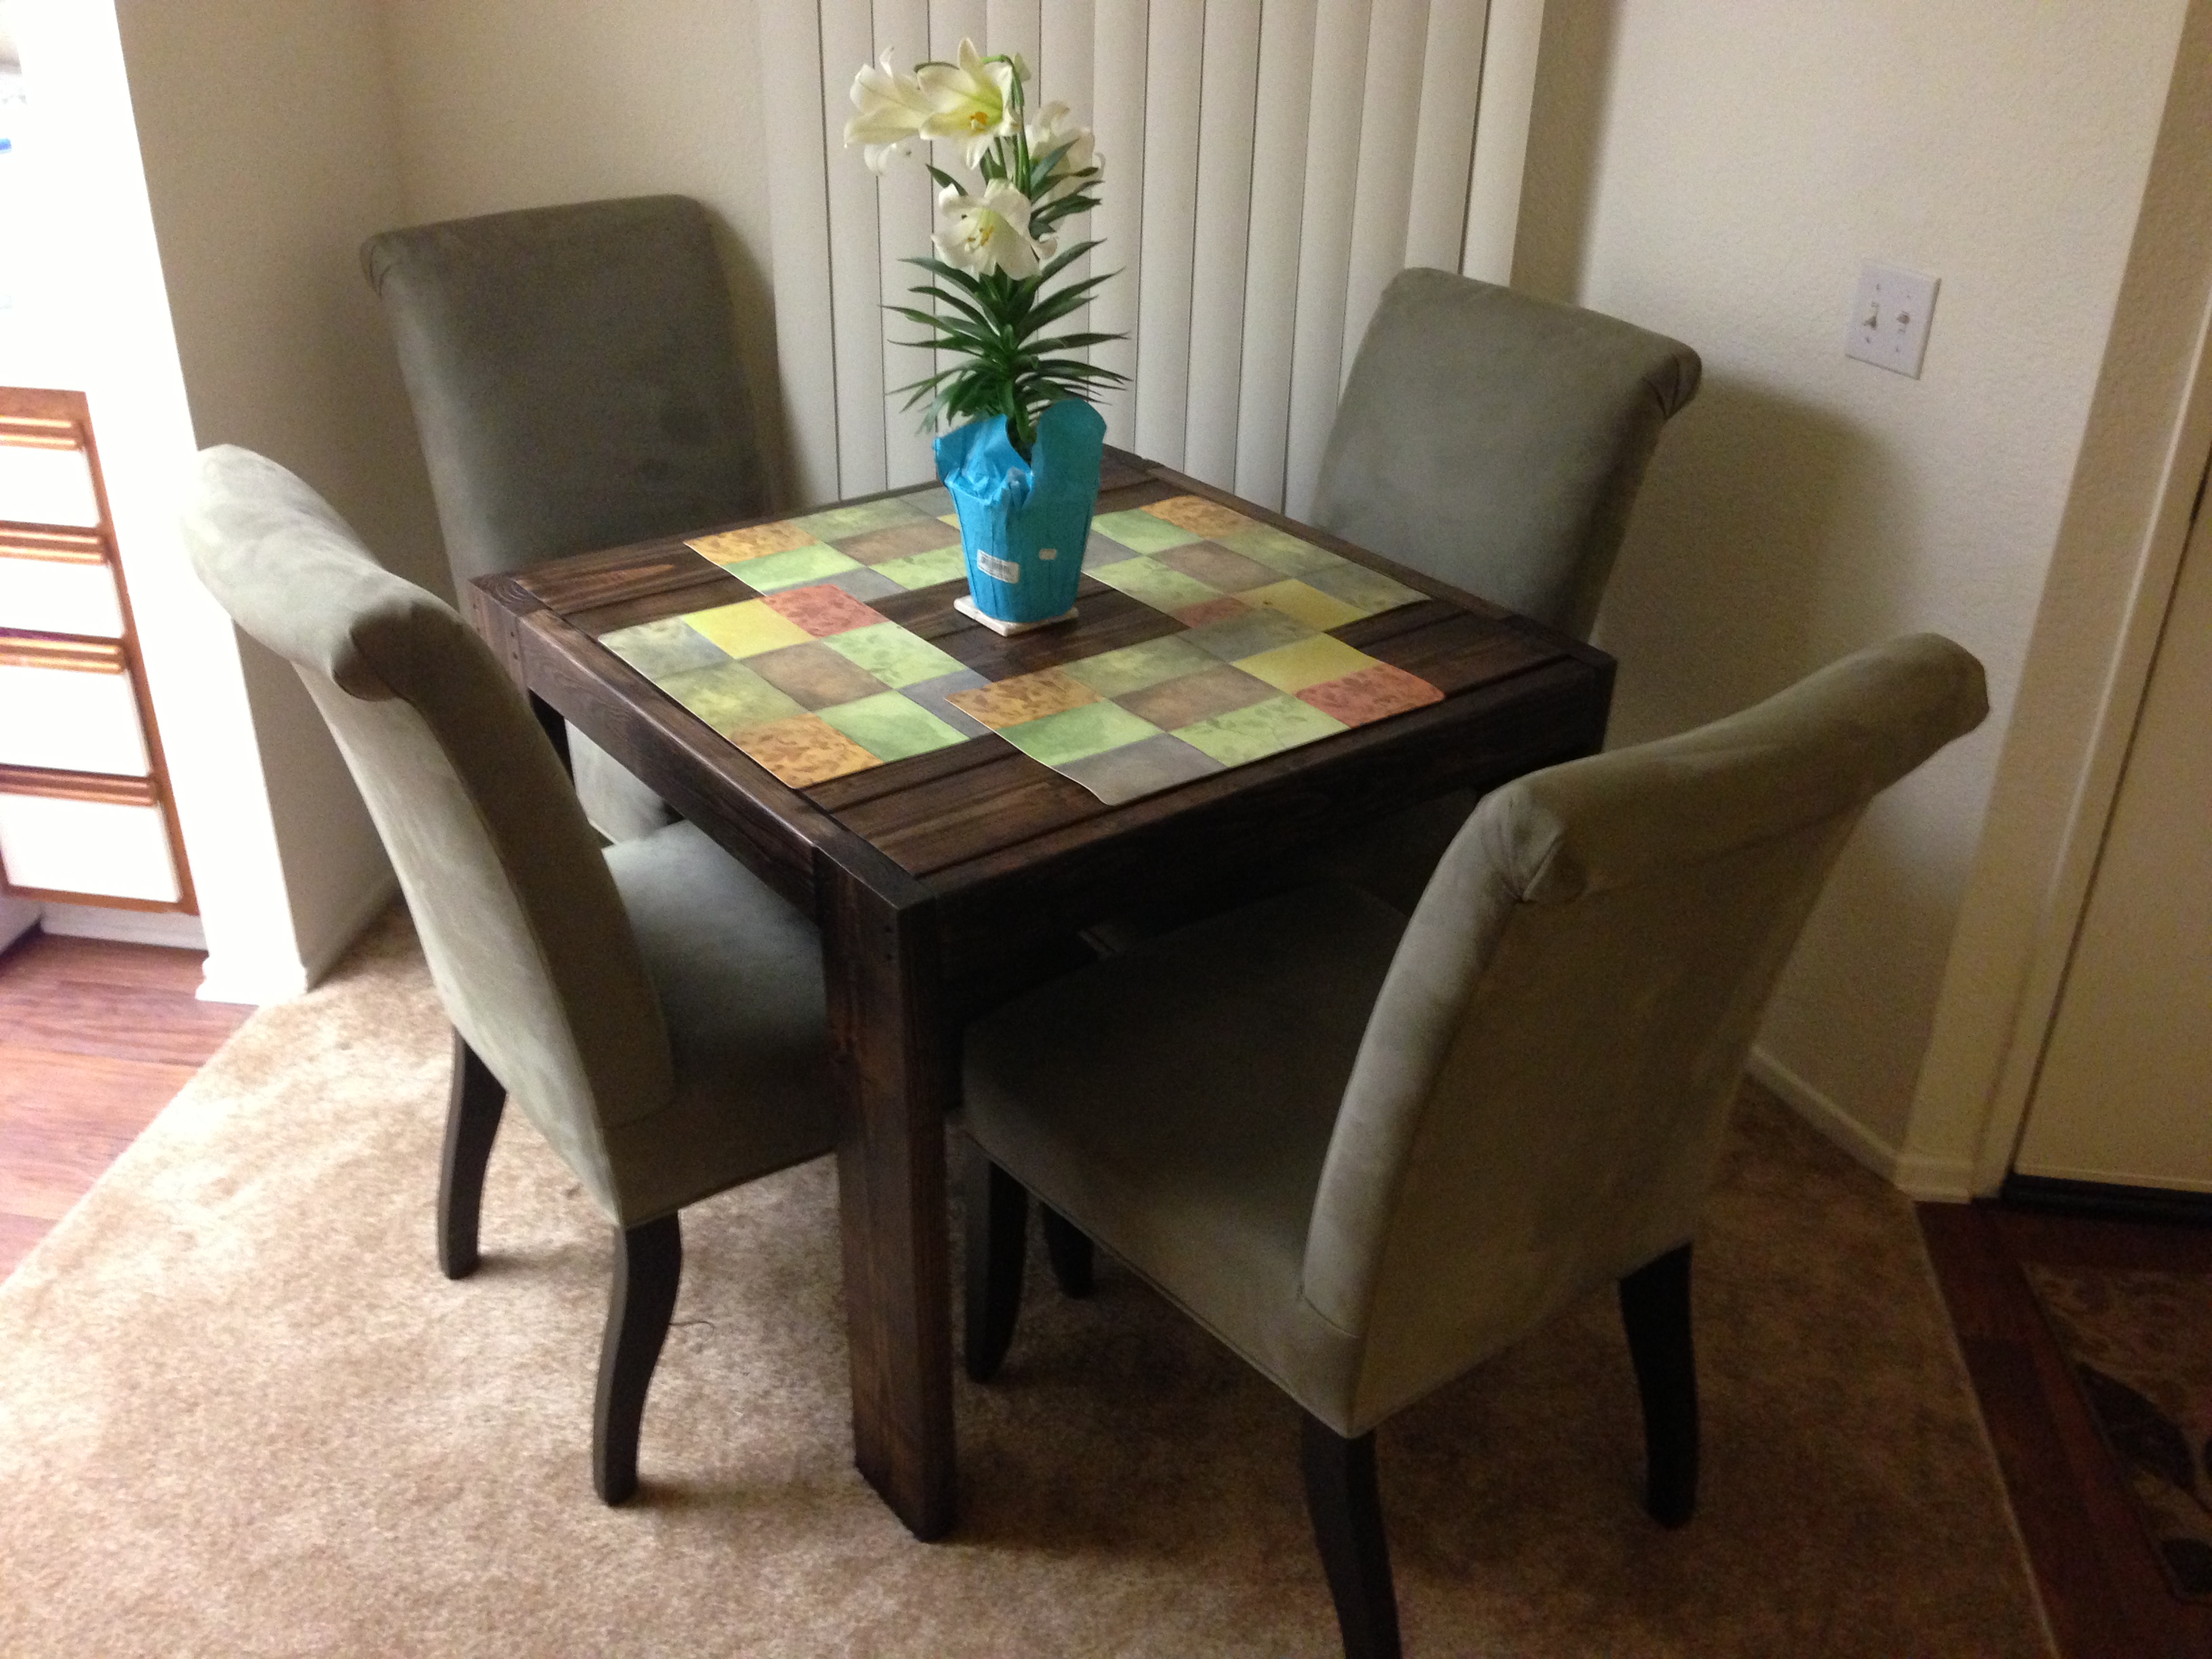
Balustrade Coffee Table

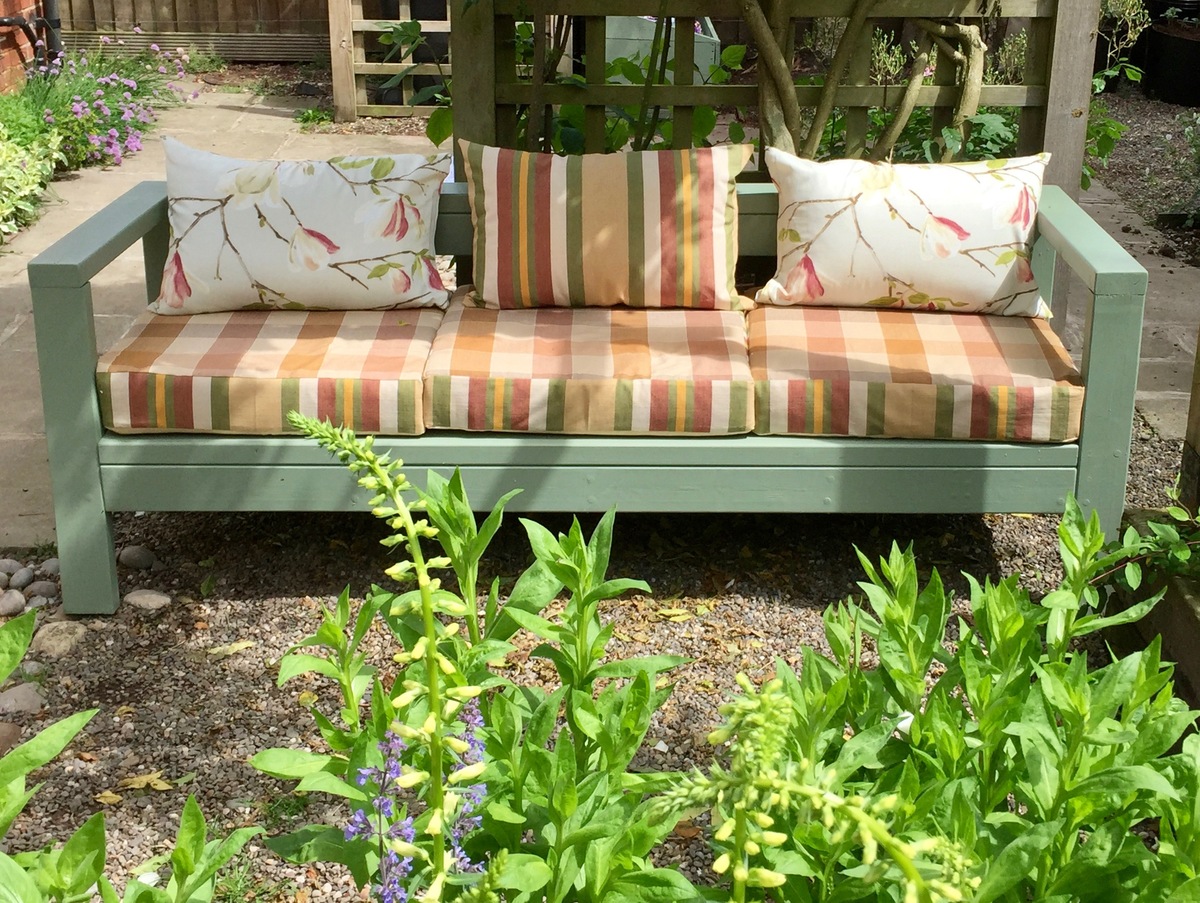
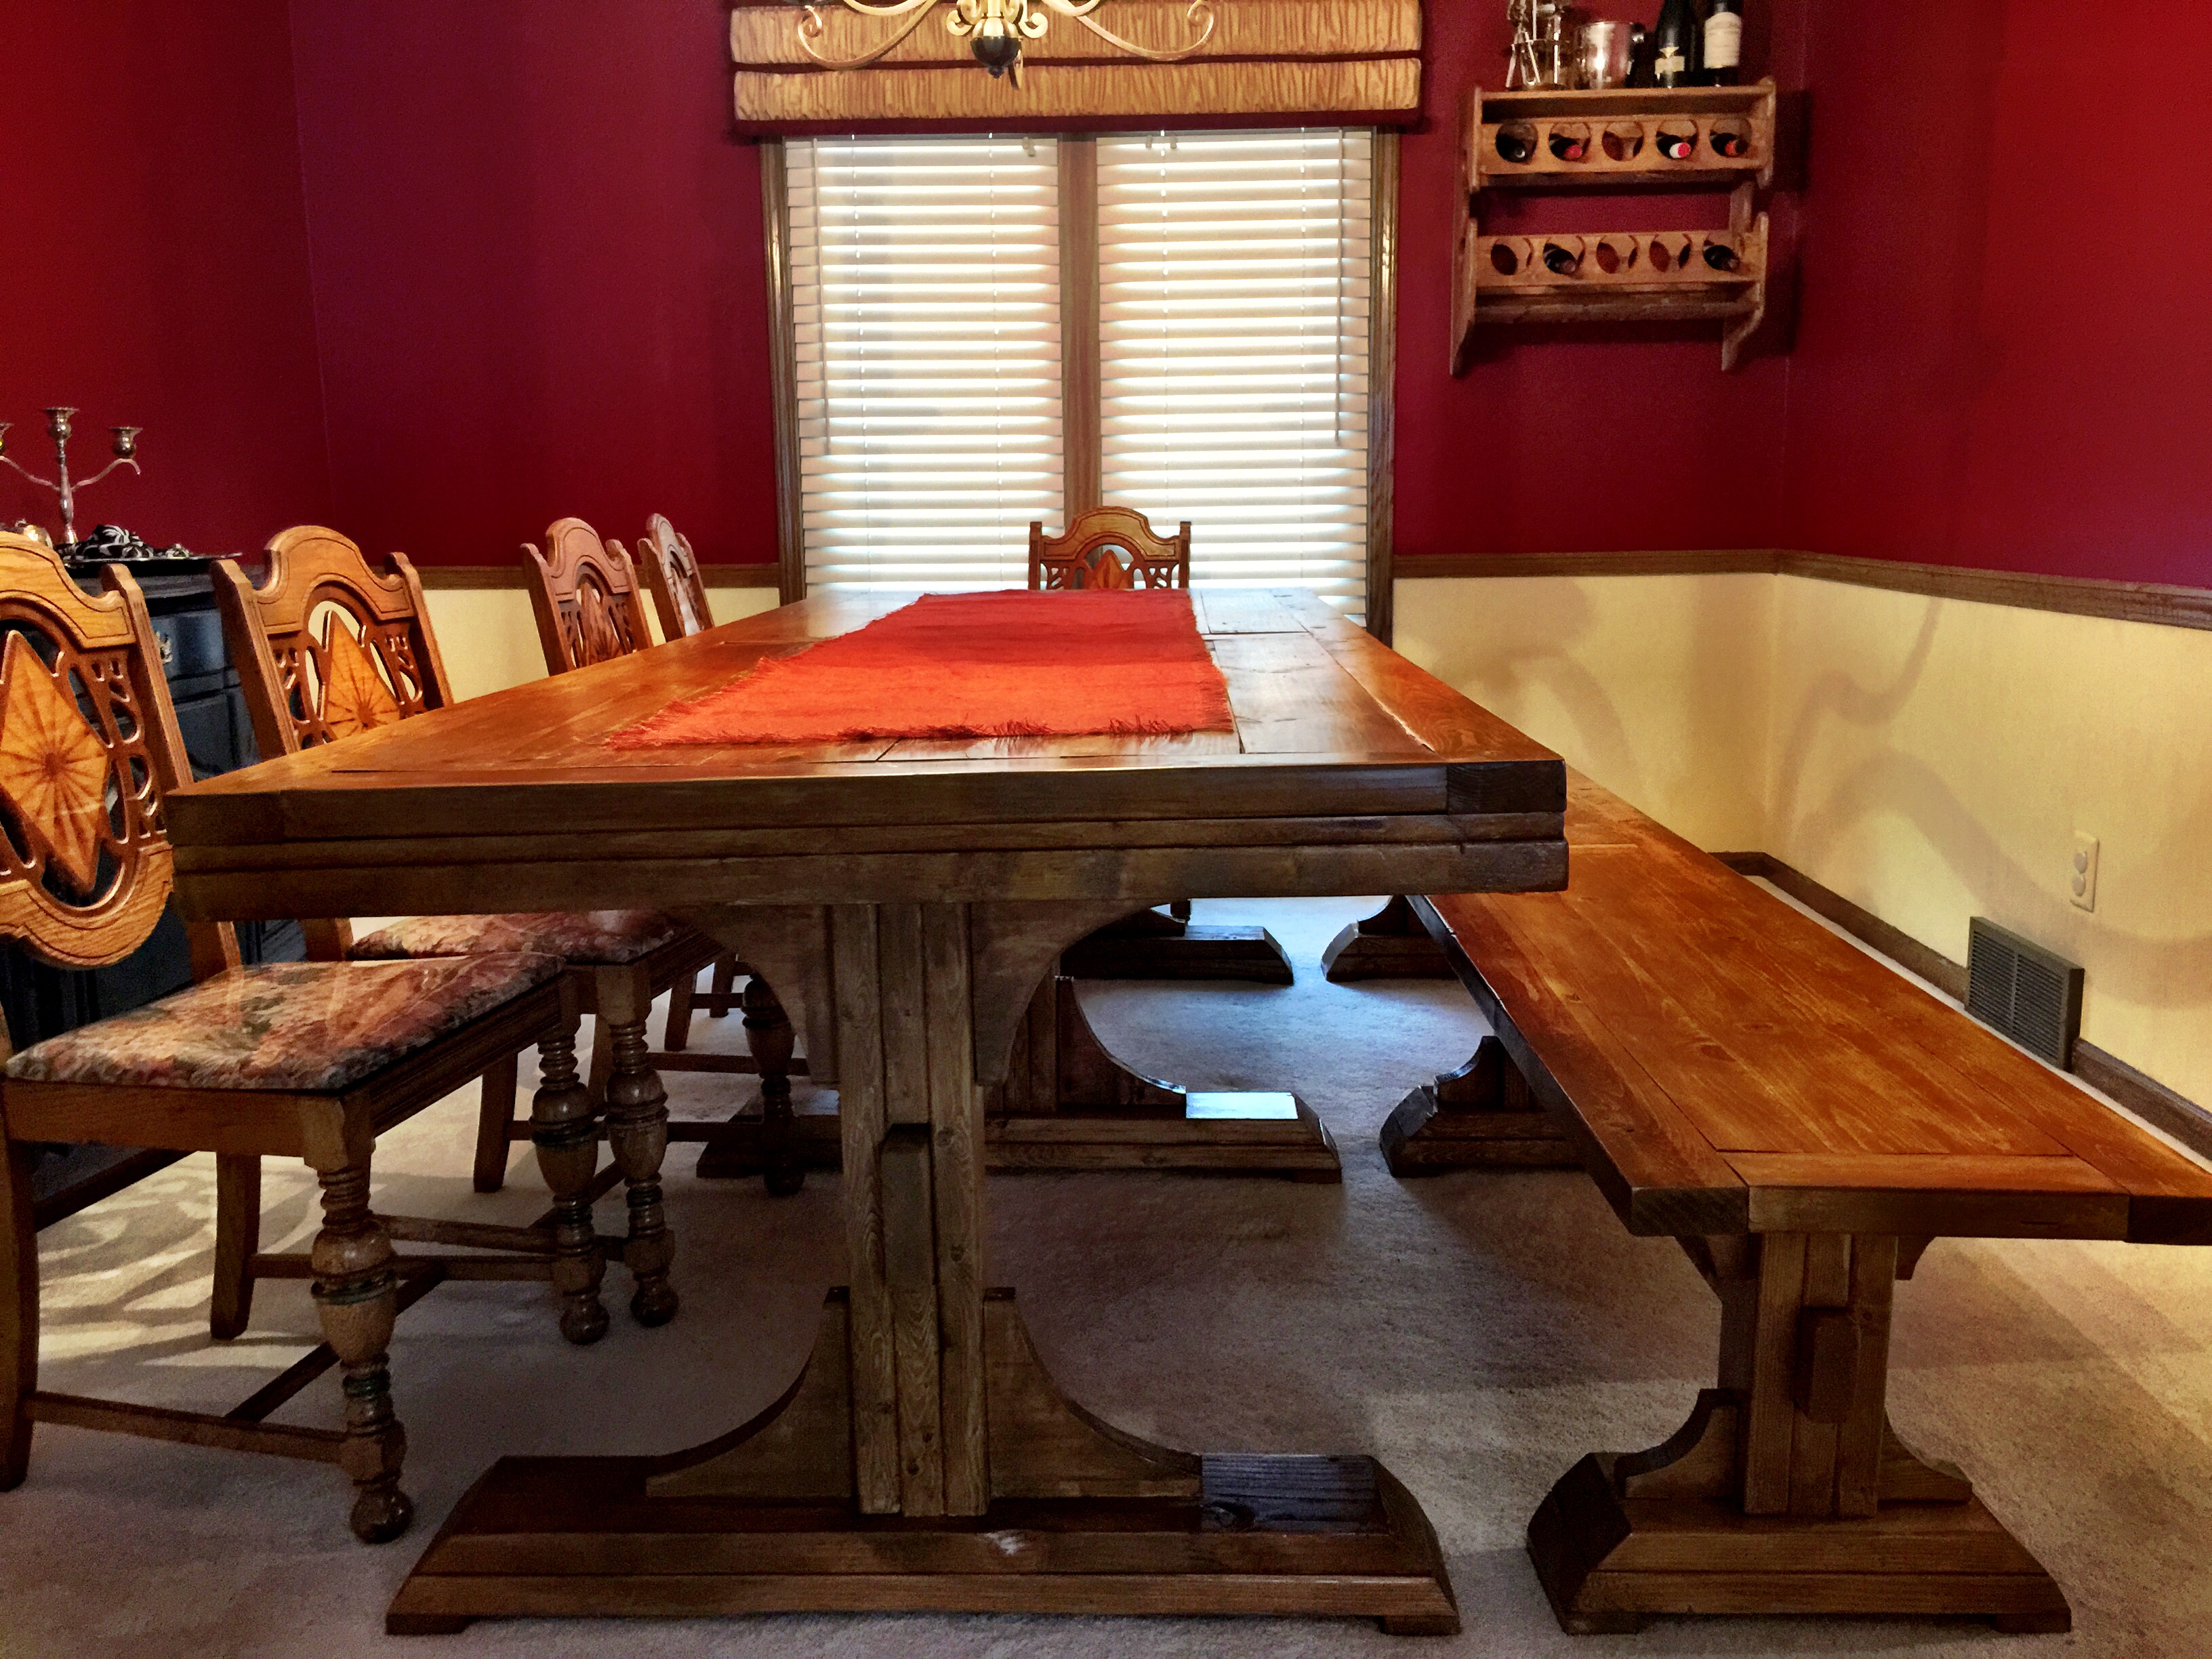
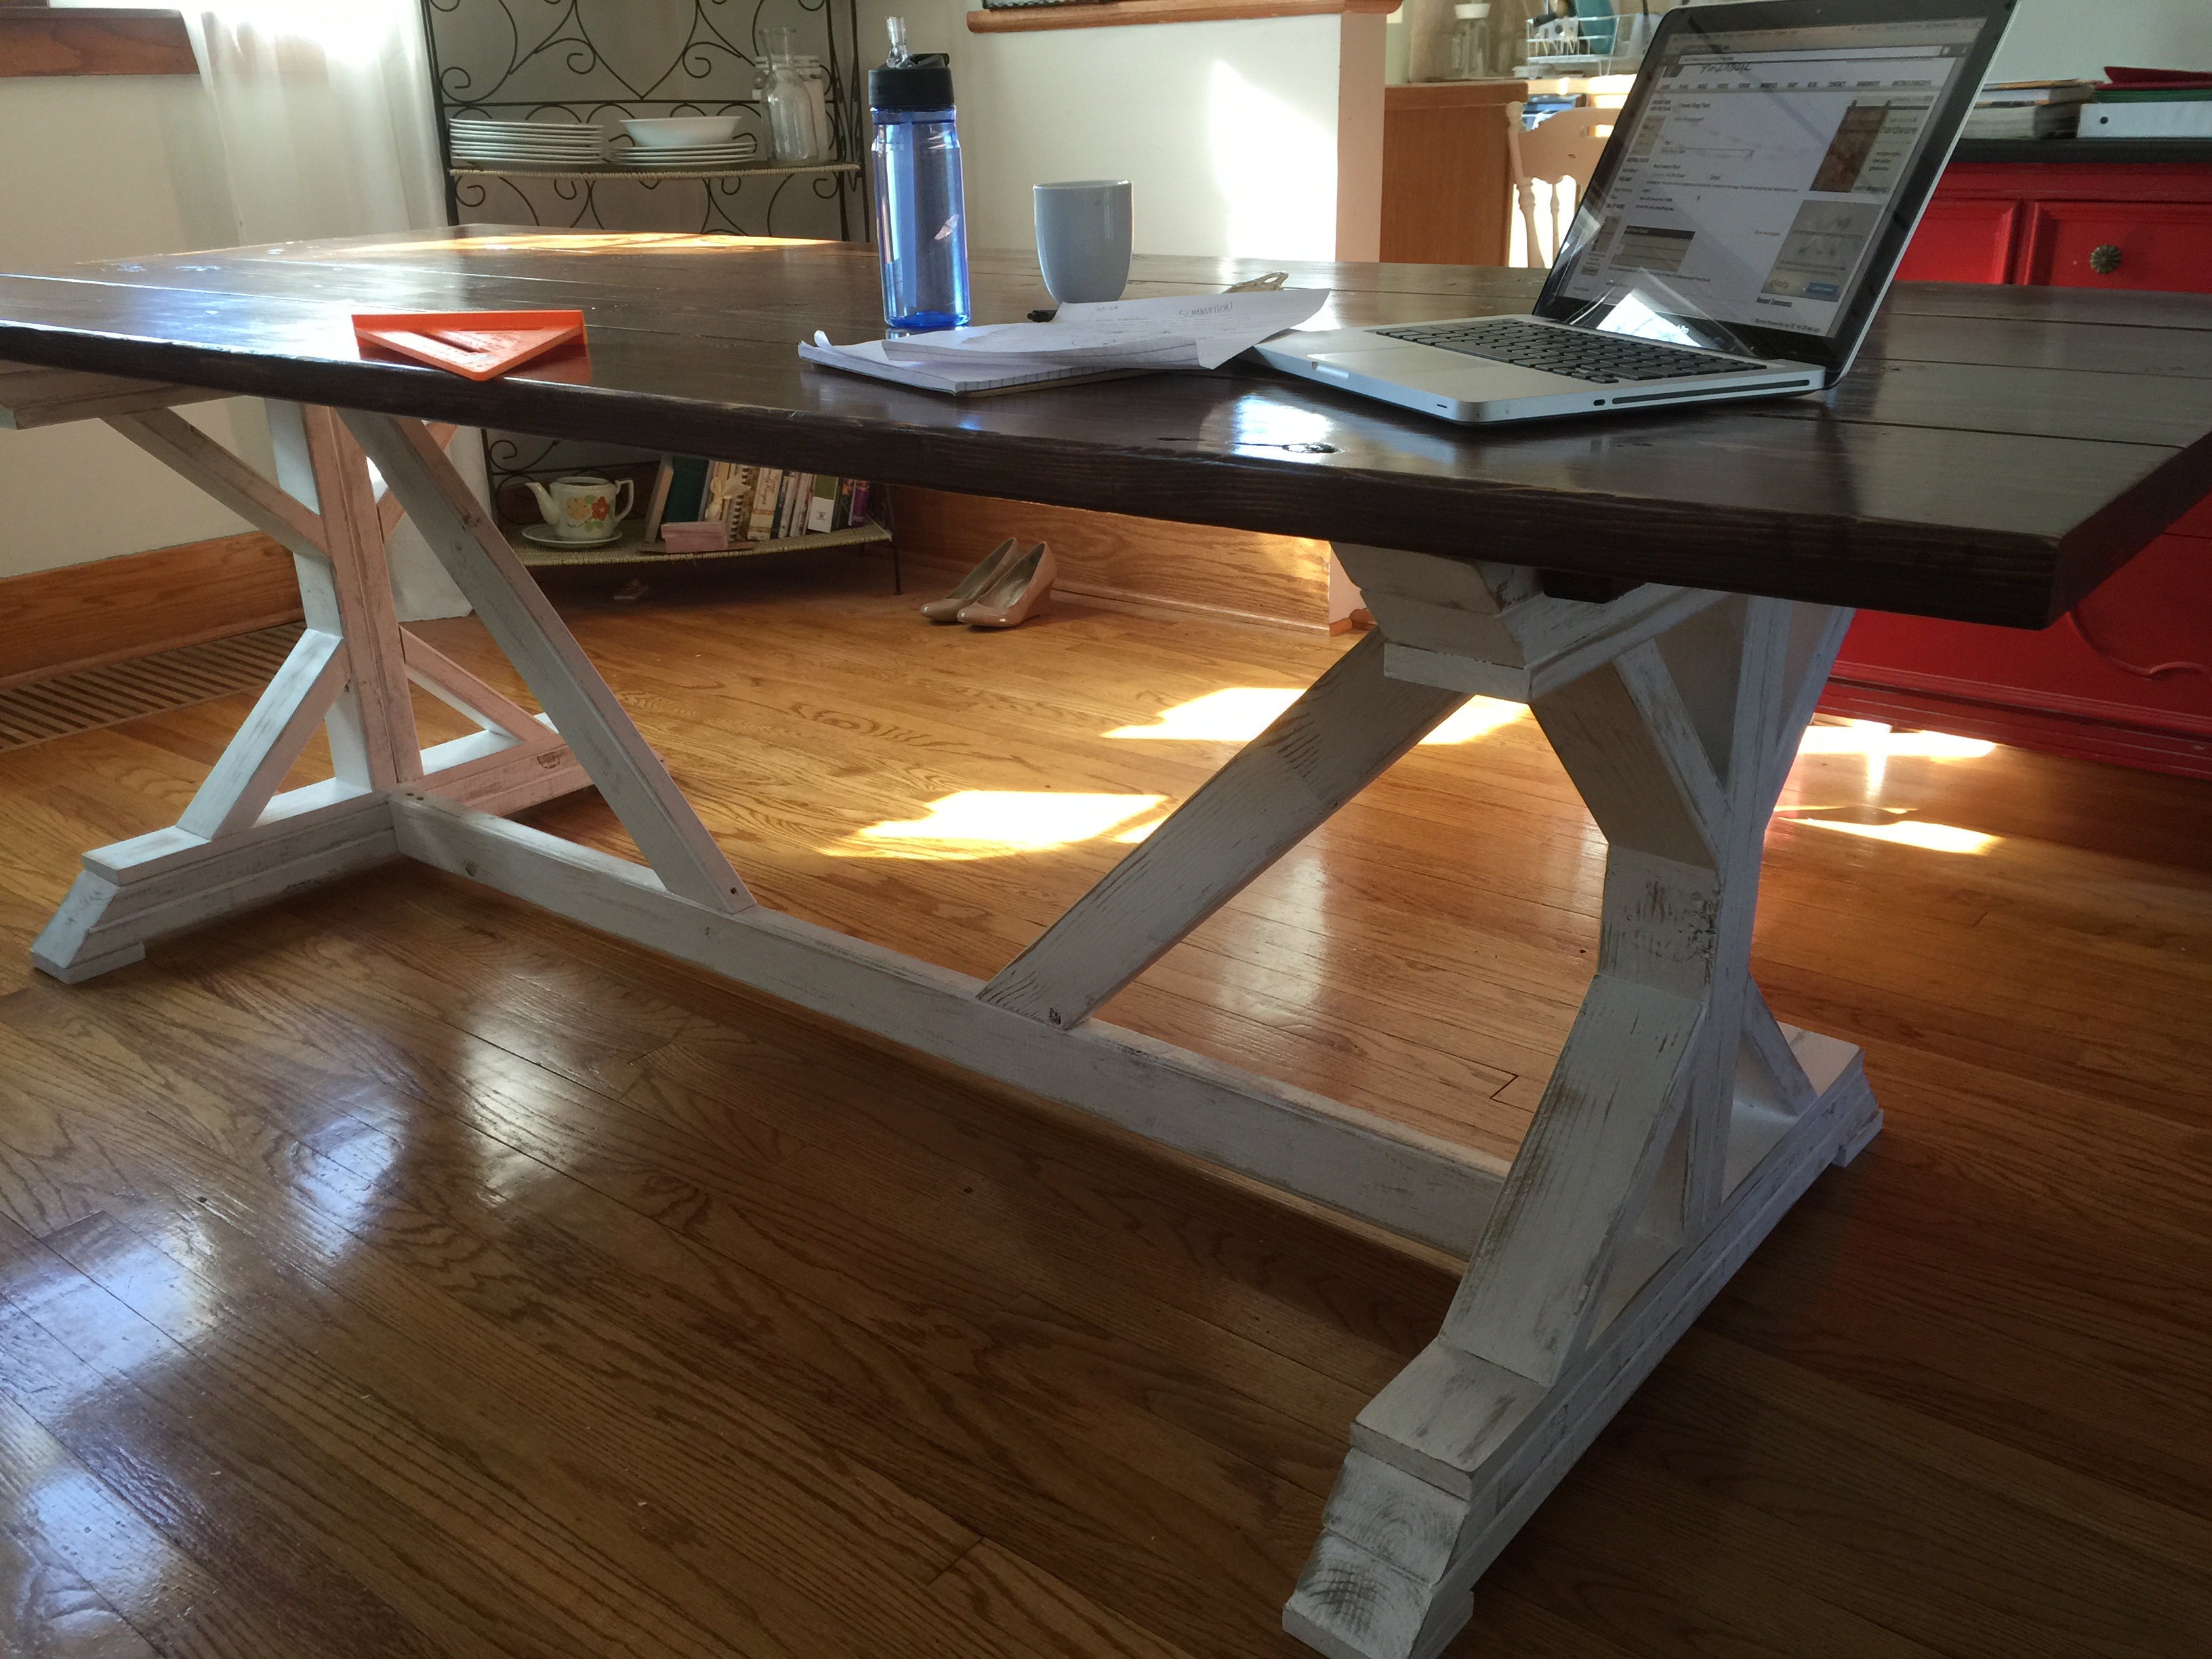
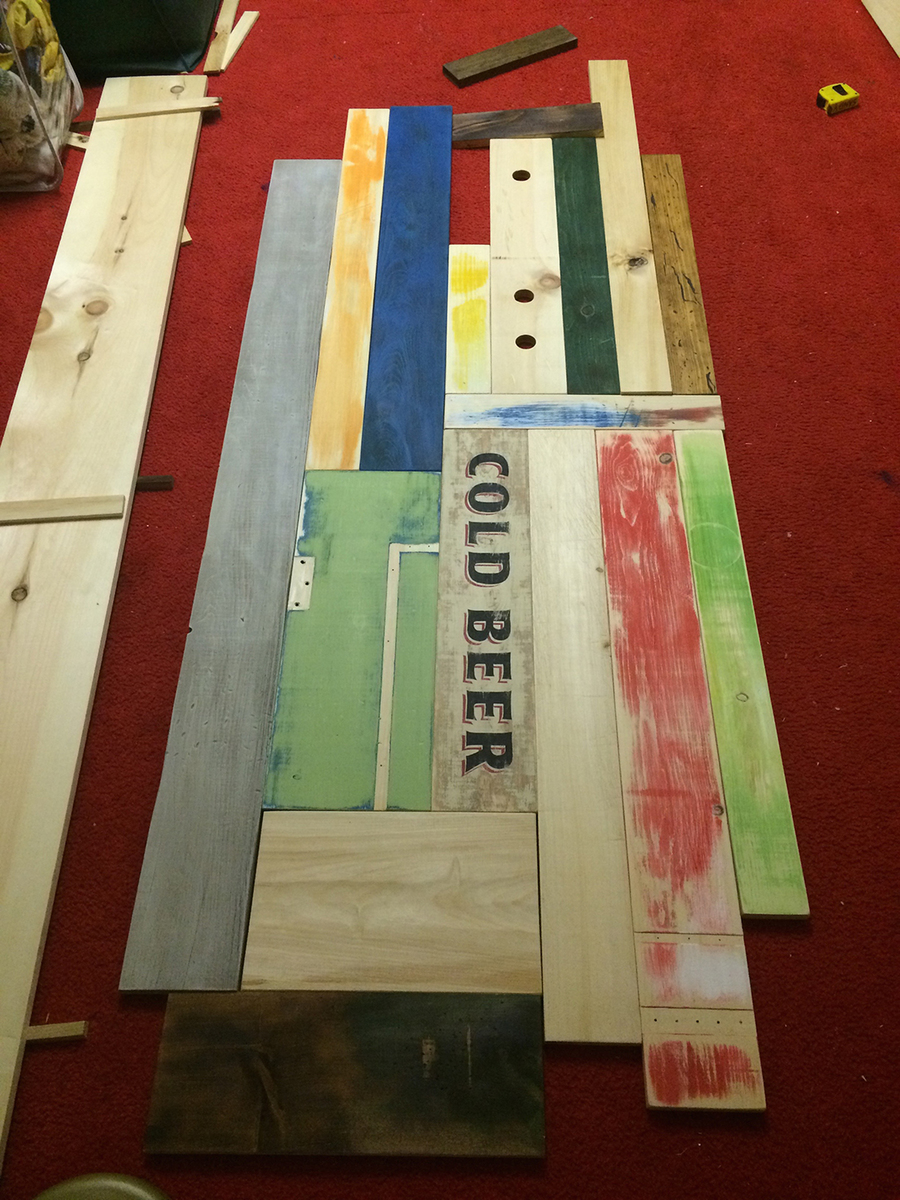
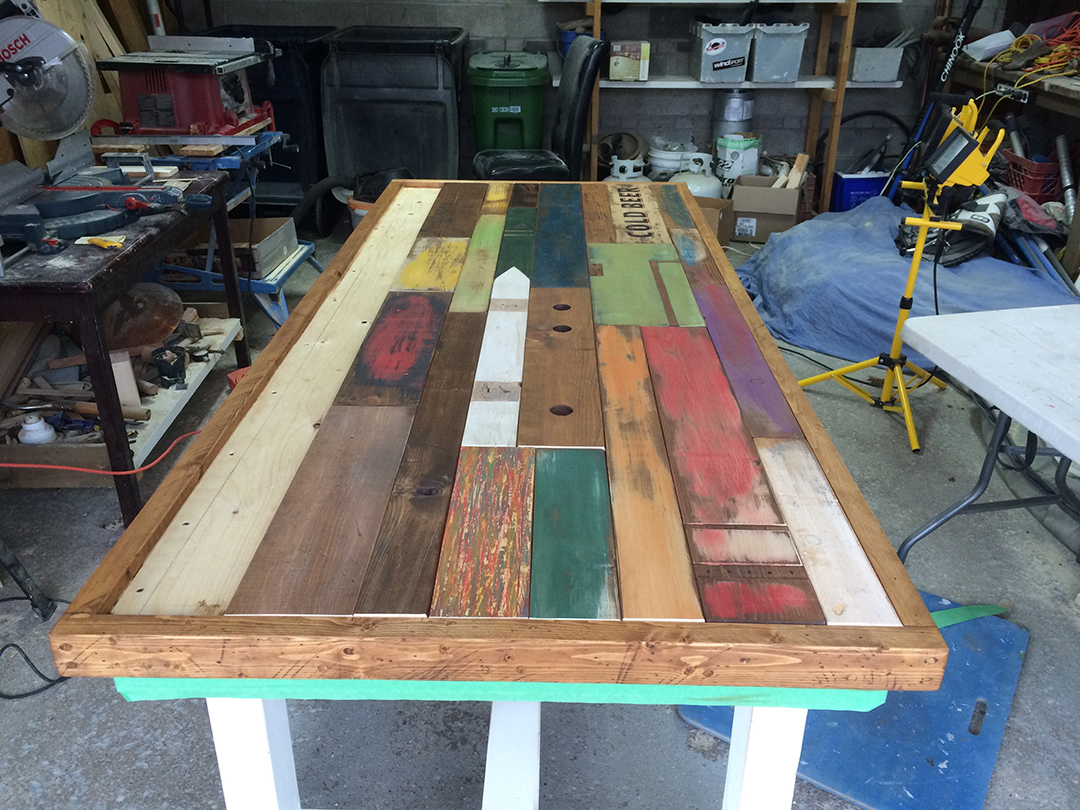
Seeing the plans for this, we knew what we wanted as the coffee table for our living room to go with our antique sofa and bench. We wanted a shabby chic look, so I experimented with the Minwax pickling water based stain. A few months later, I built matching Kentwood end tables.


Built from Plan(s)
Estimated Cost
$40+$110 for the legs
Estimated Time Investment
Weekend Project (10-20 Hours)
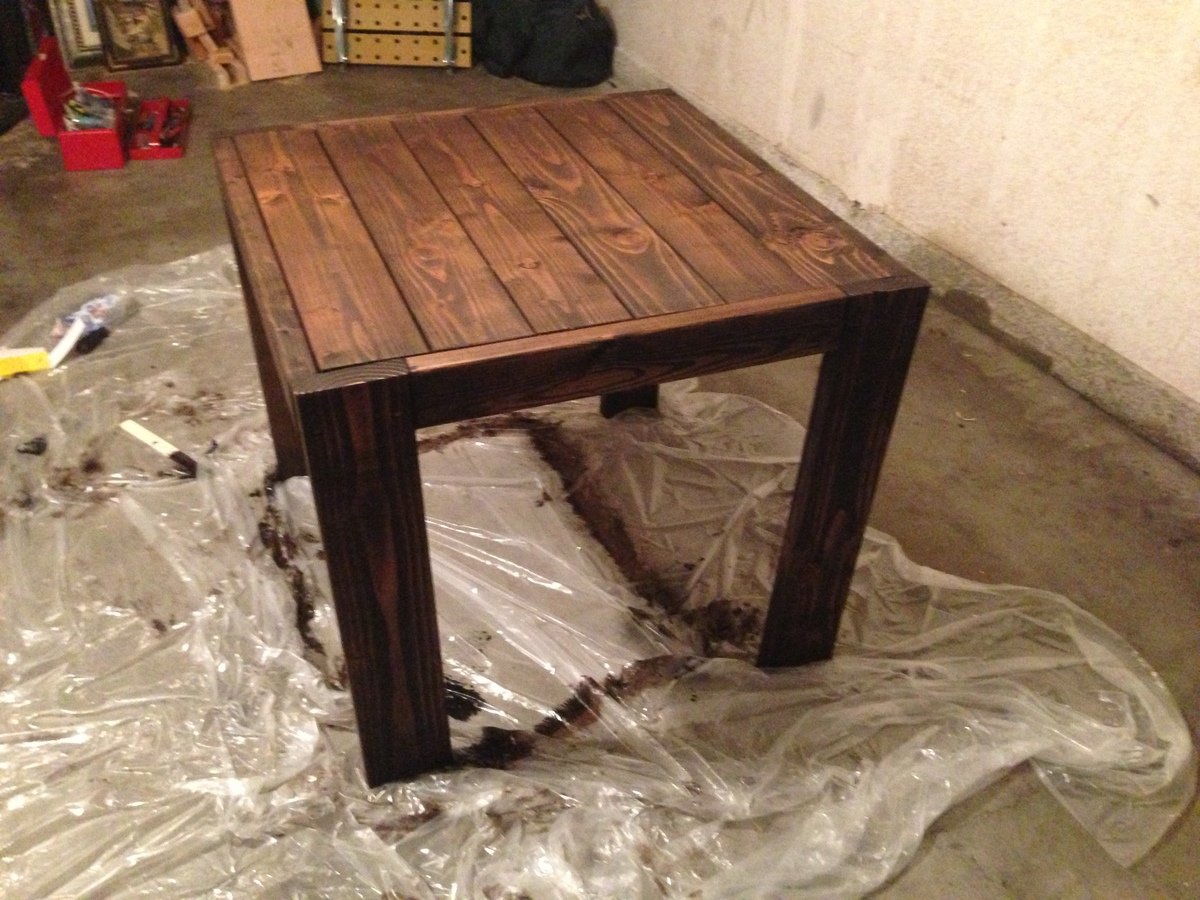
Finish Used
One coat Minwax white wash pickling stain over one coat colonial pine (both water based)
Recommended Skill Level
Intermediate


Comments
Ana White
Mon, 03/02/2015 - 16:01
Gorgeous!
Gorgeous!