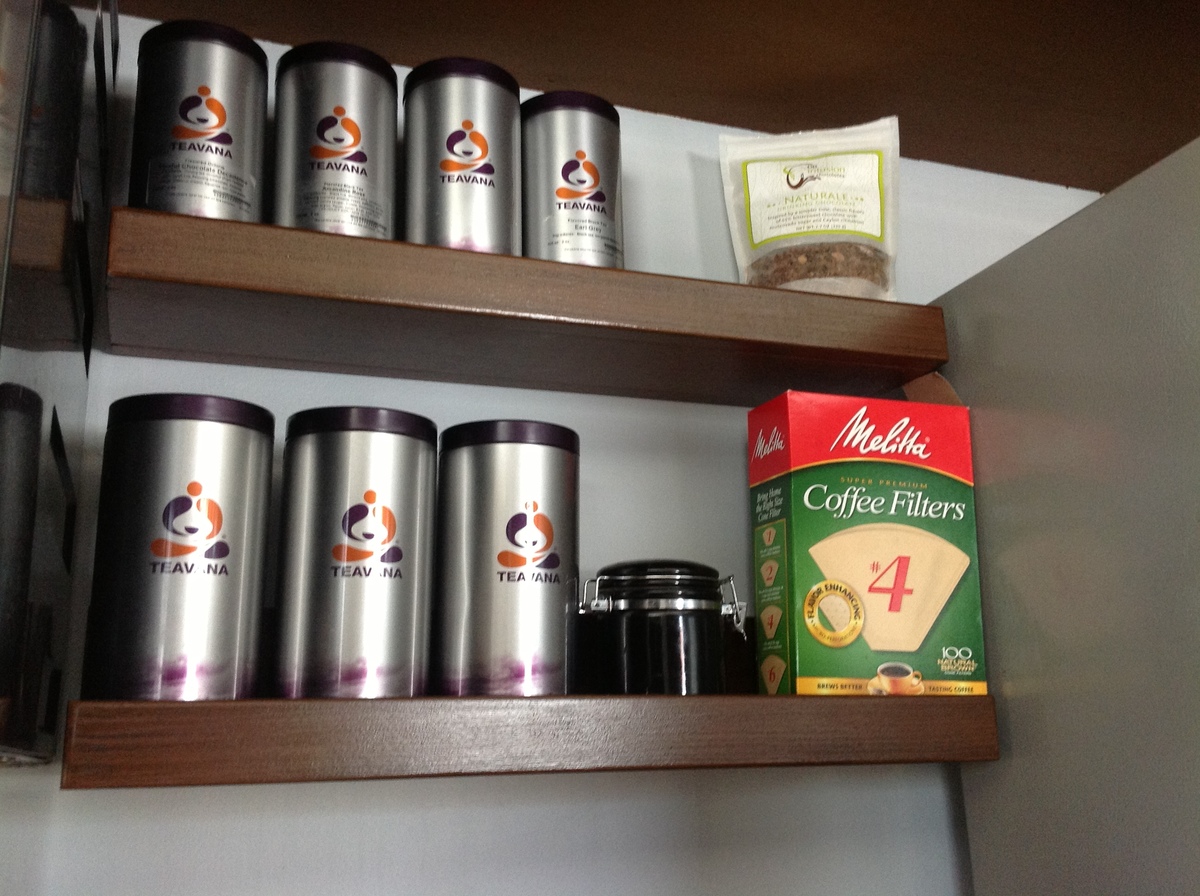
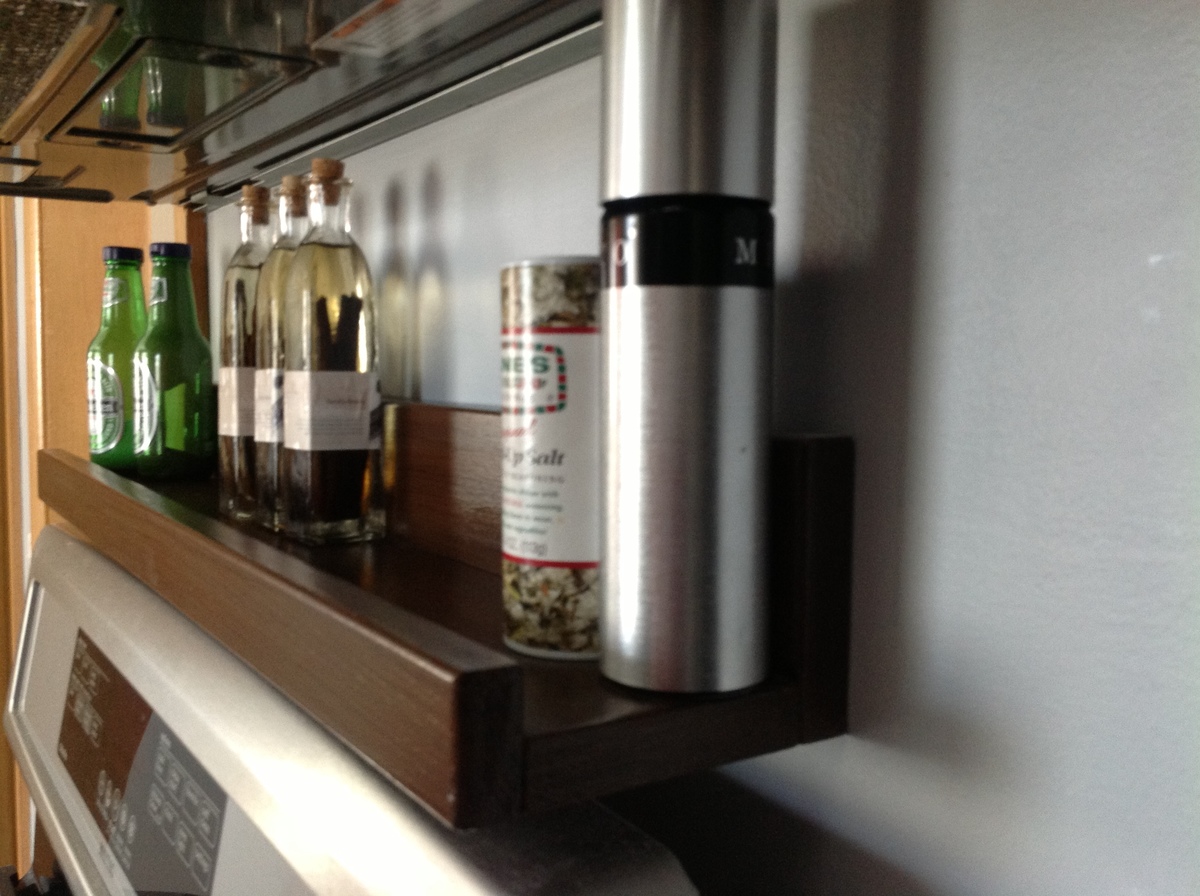
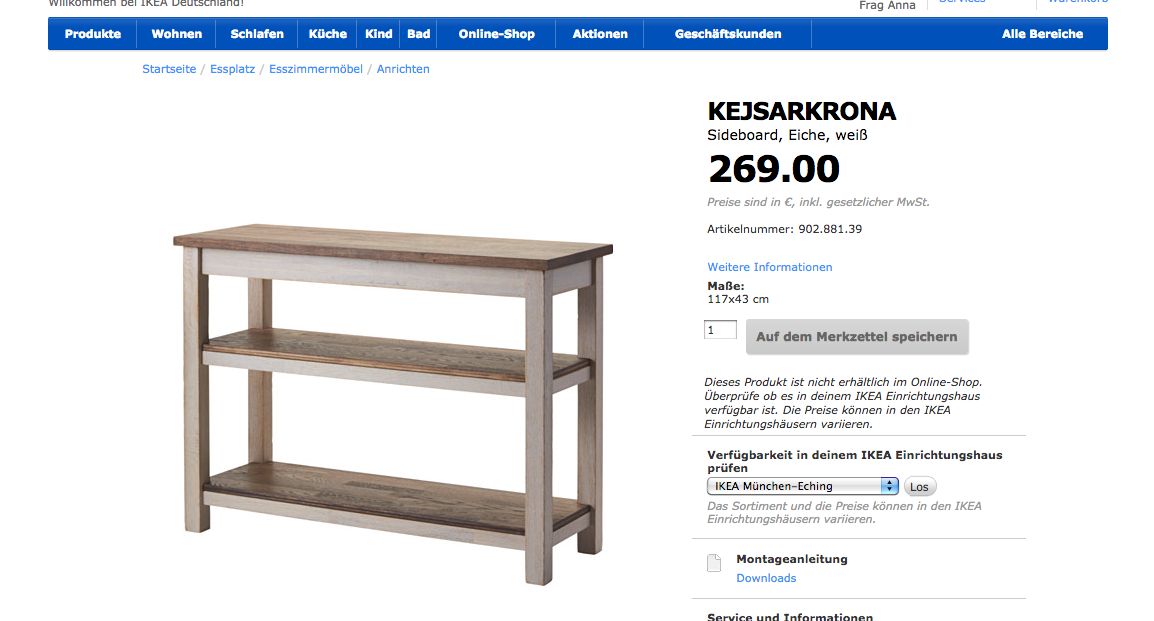
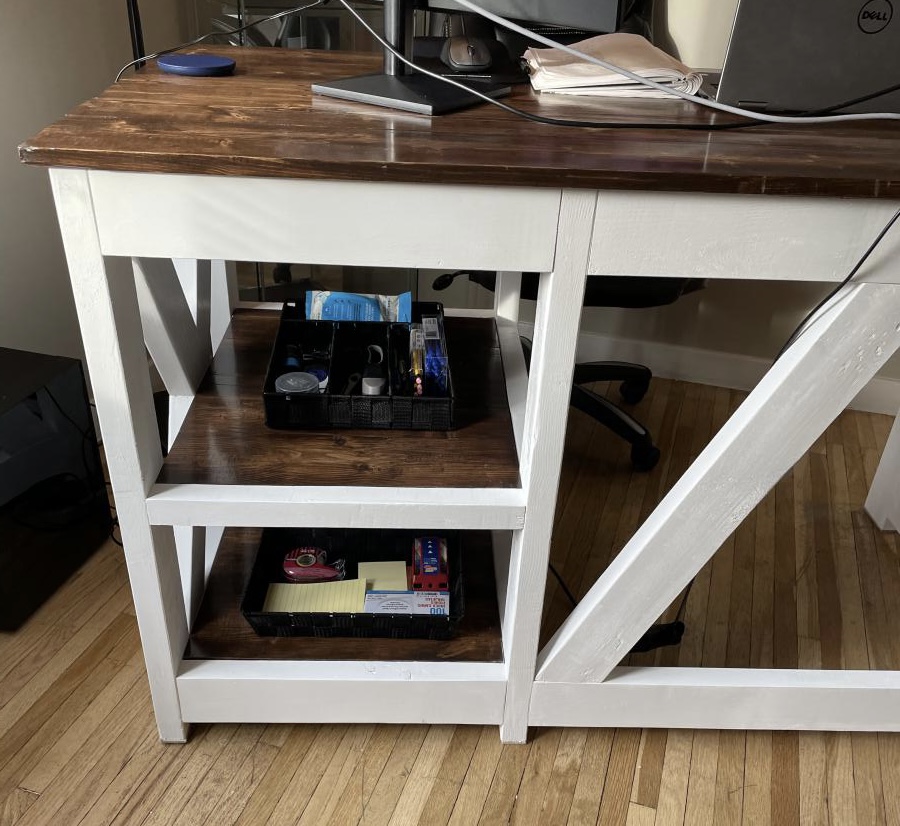
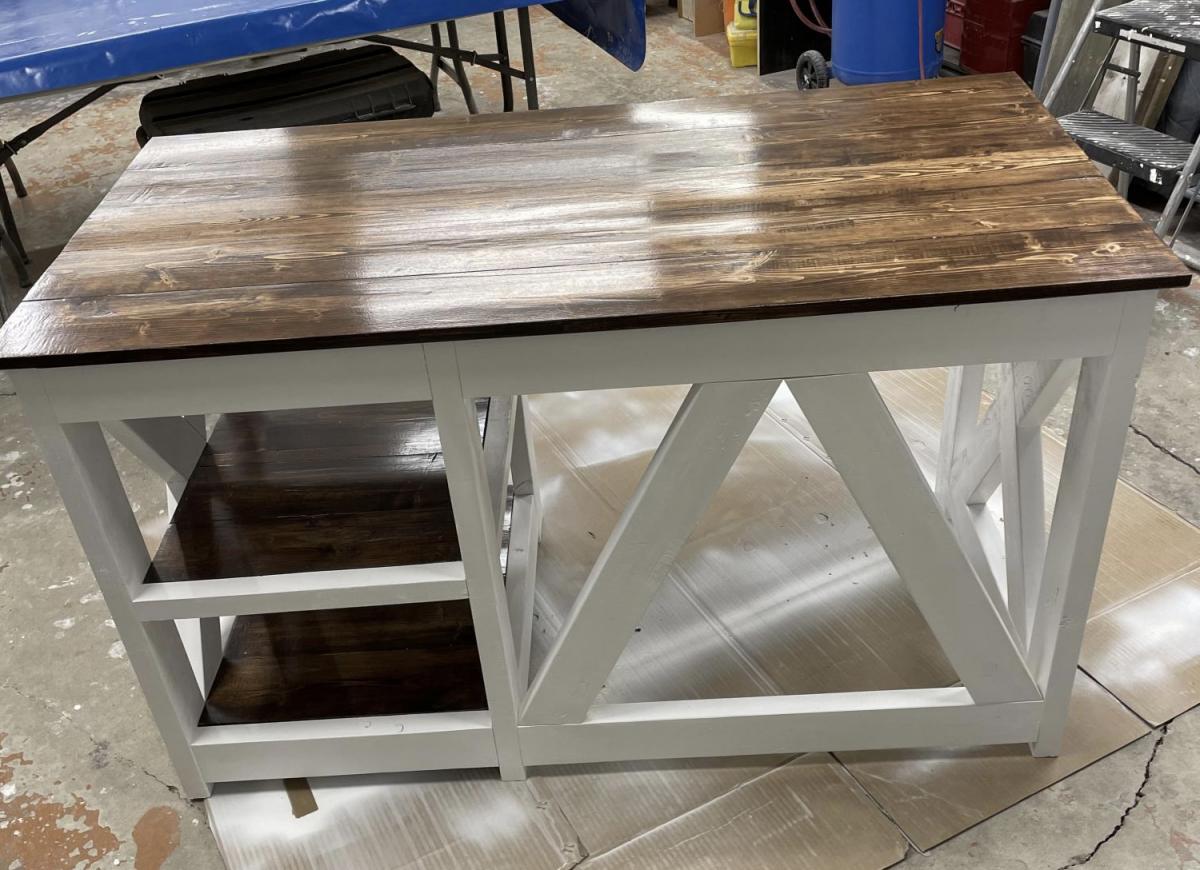
Kitchen Shelves
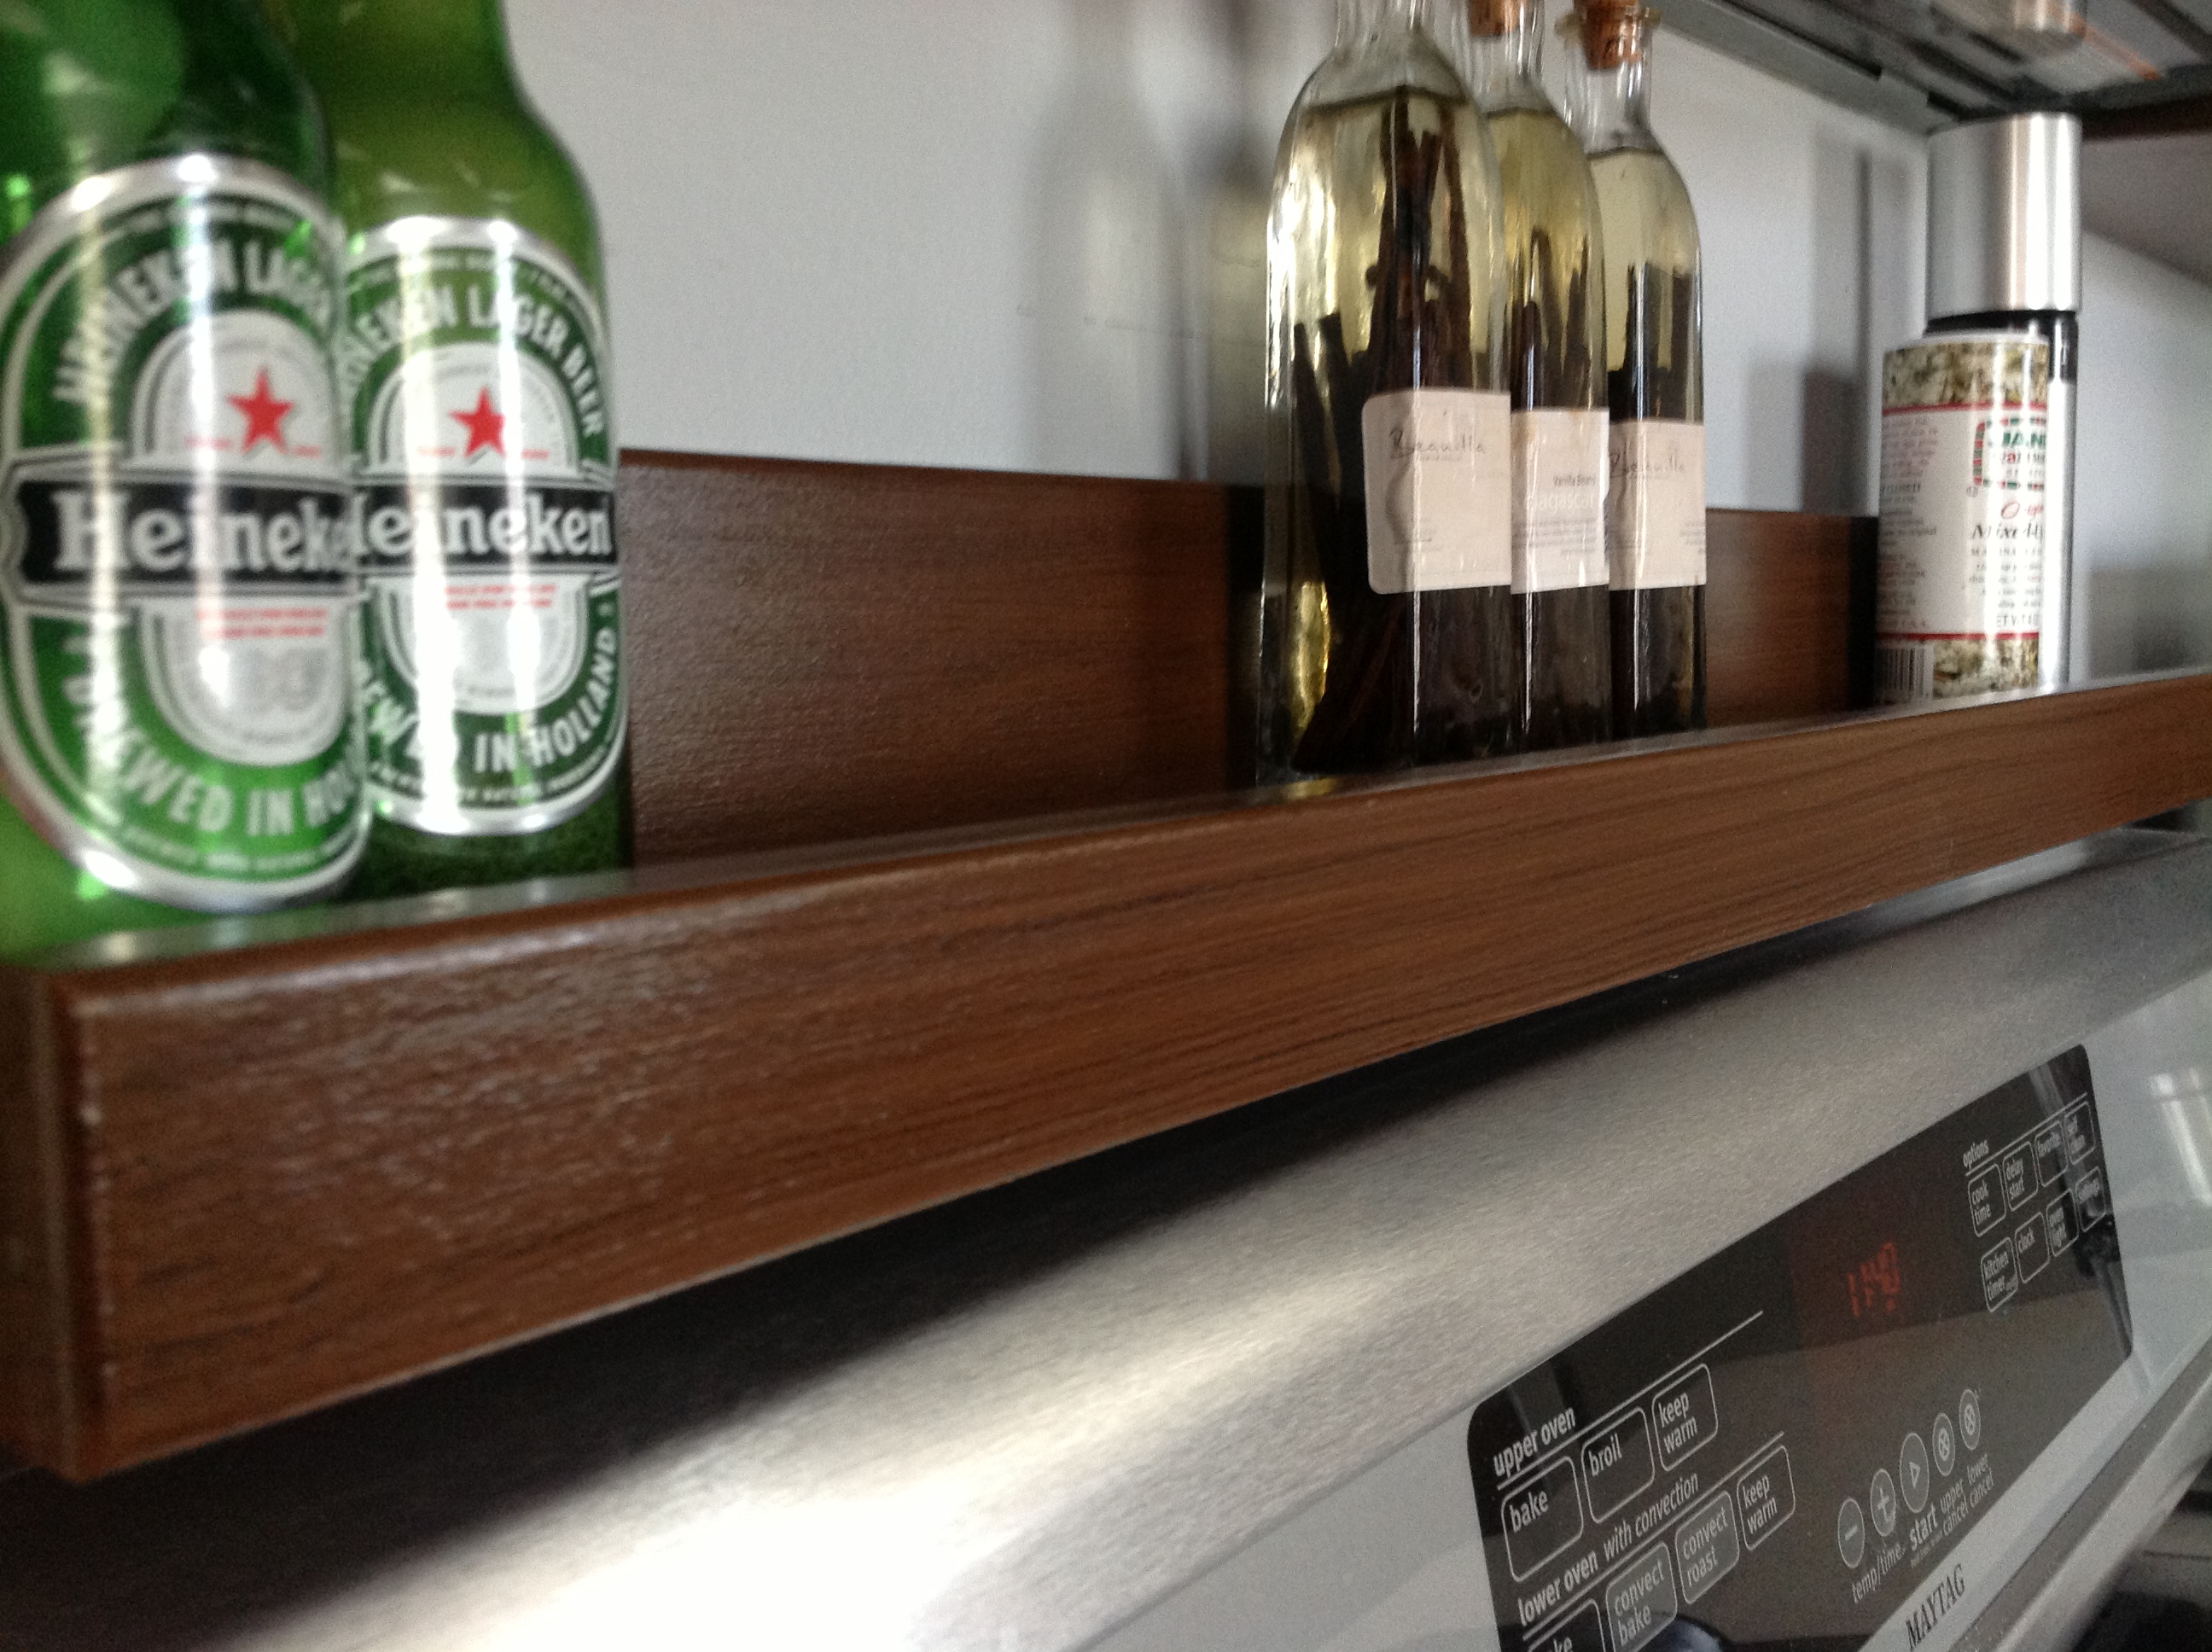
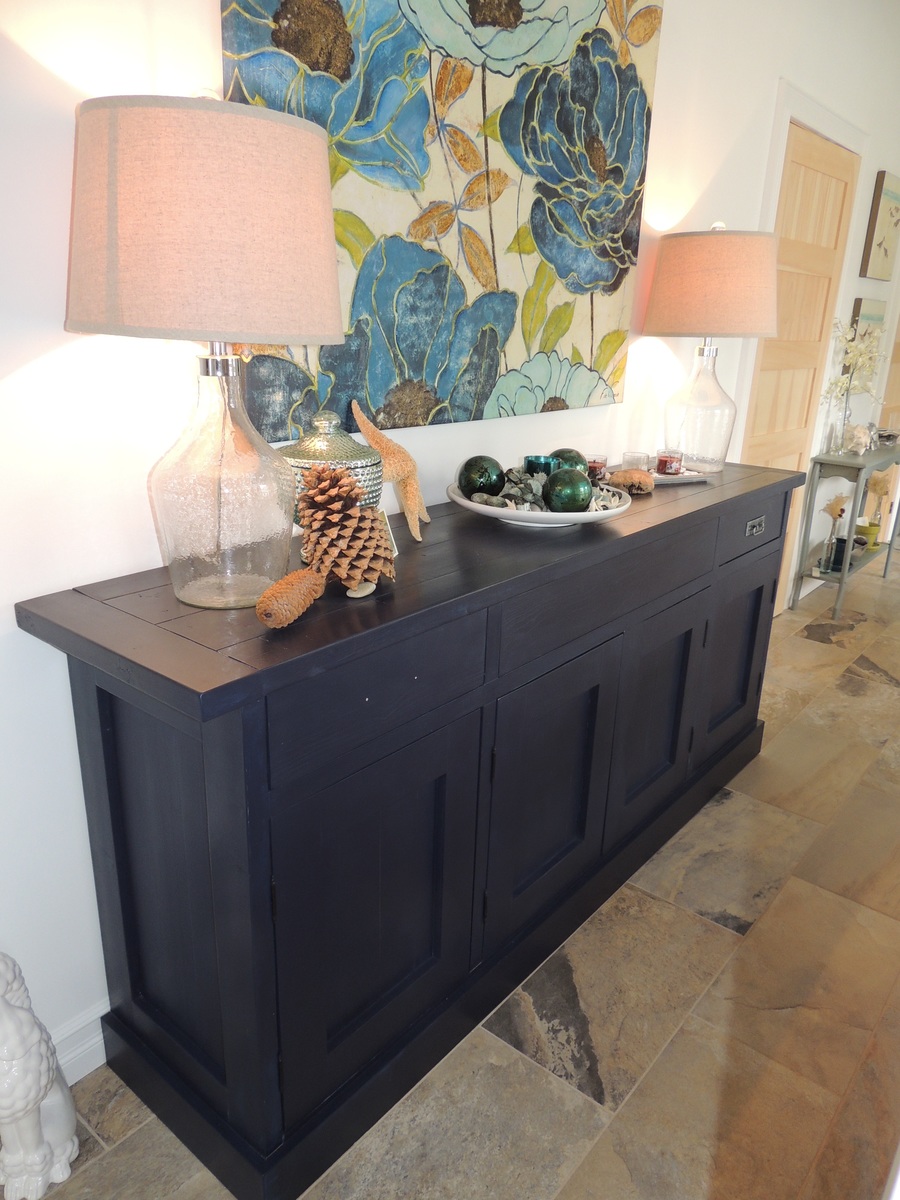
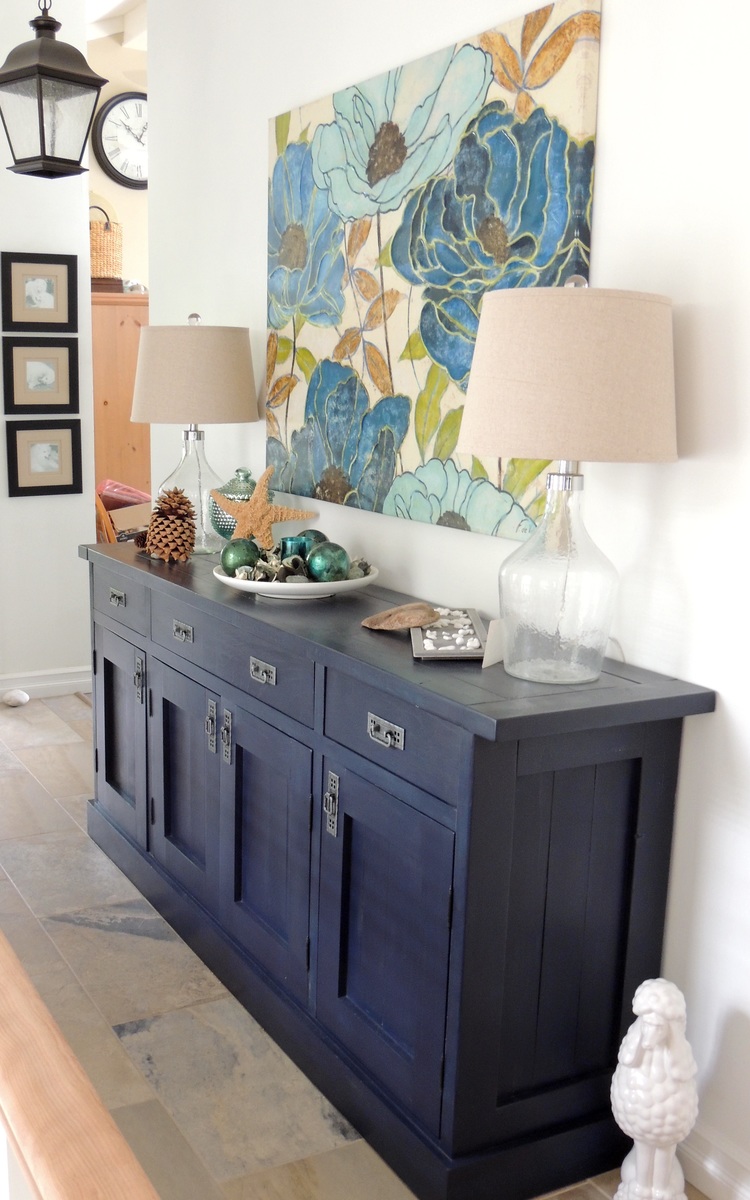
I recently painted my kitchen cabinets with a Rust-Oleum Cabinet Transformations kit, and I wanted to add some matching shelves for items I could store above the stove and coffee maker.
Built from Plan(s)
Estimated Cost
$15
Estimated Time Investment
An Hour or Two (0-2 Hours)
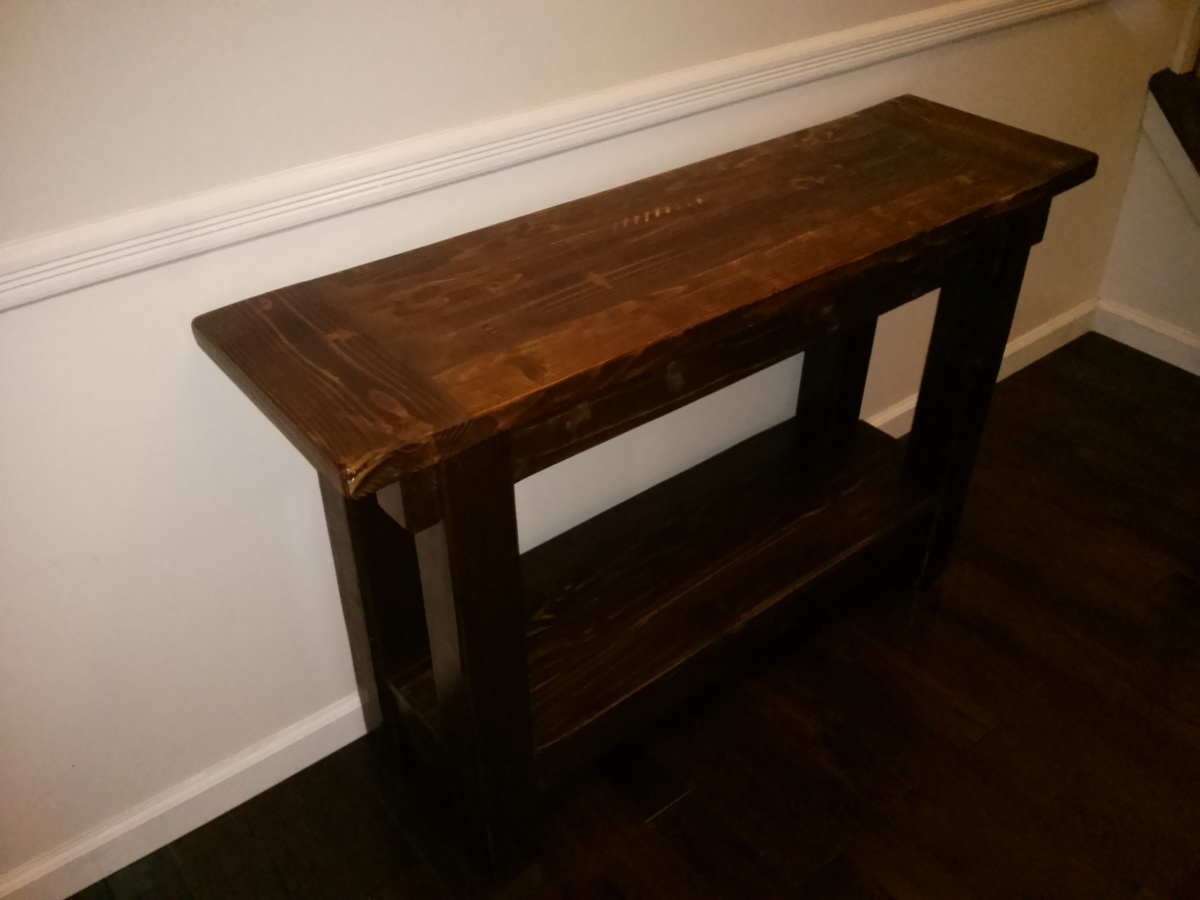
Finish Used
Rust-Oleum Cabinet Transformations tinted to Toasted Almond with the dark glaze. I used Minwax Polyurethane in Semi-Gloss instead of the finished included with the Cabinet Transformations kit.
Recommended Skill Level
Starter Project


Comments
Pam the Goatherd
Sun, 02/24/2013 - 12:42
Looks good!
Looks good!