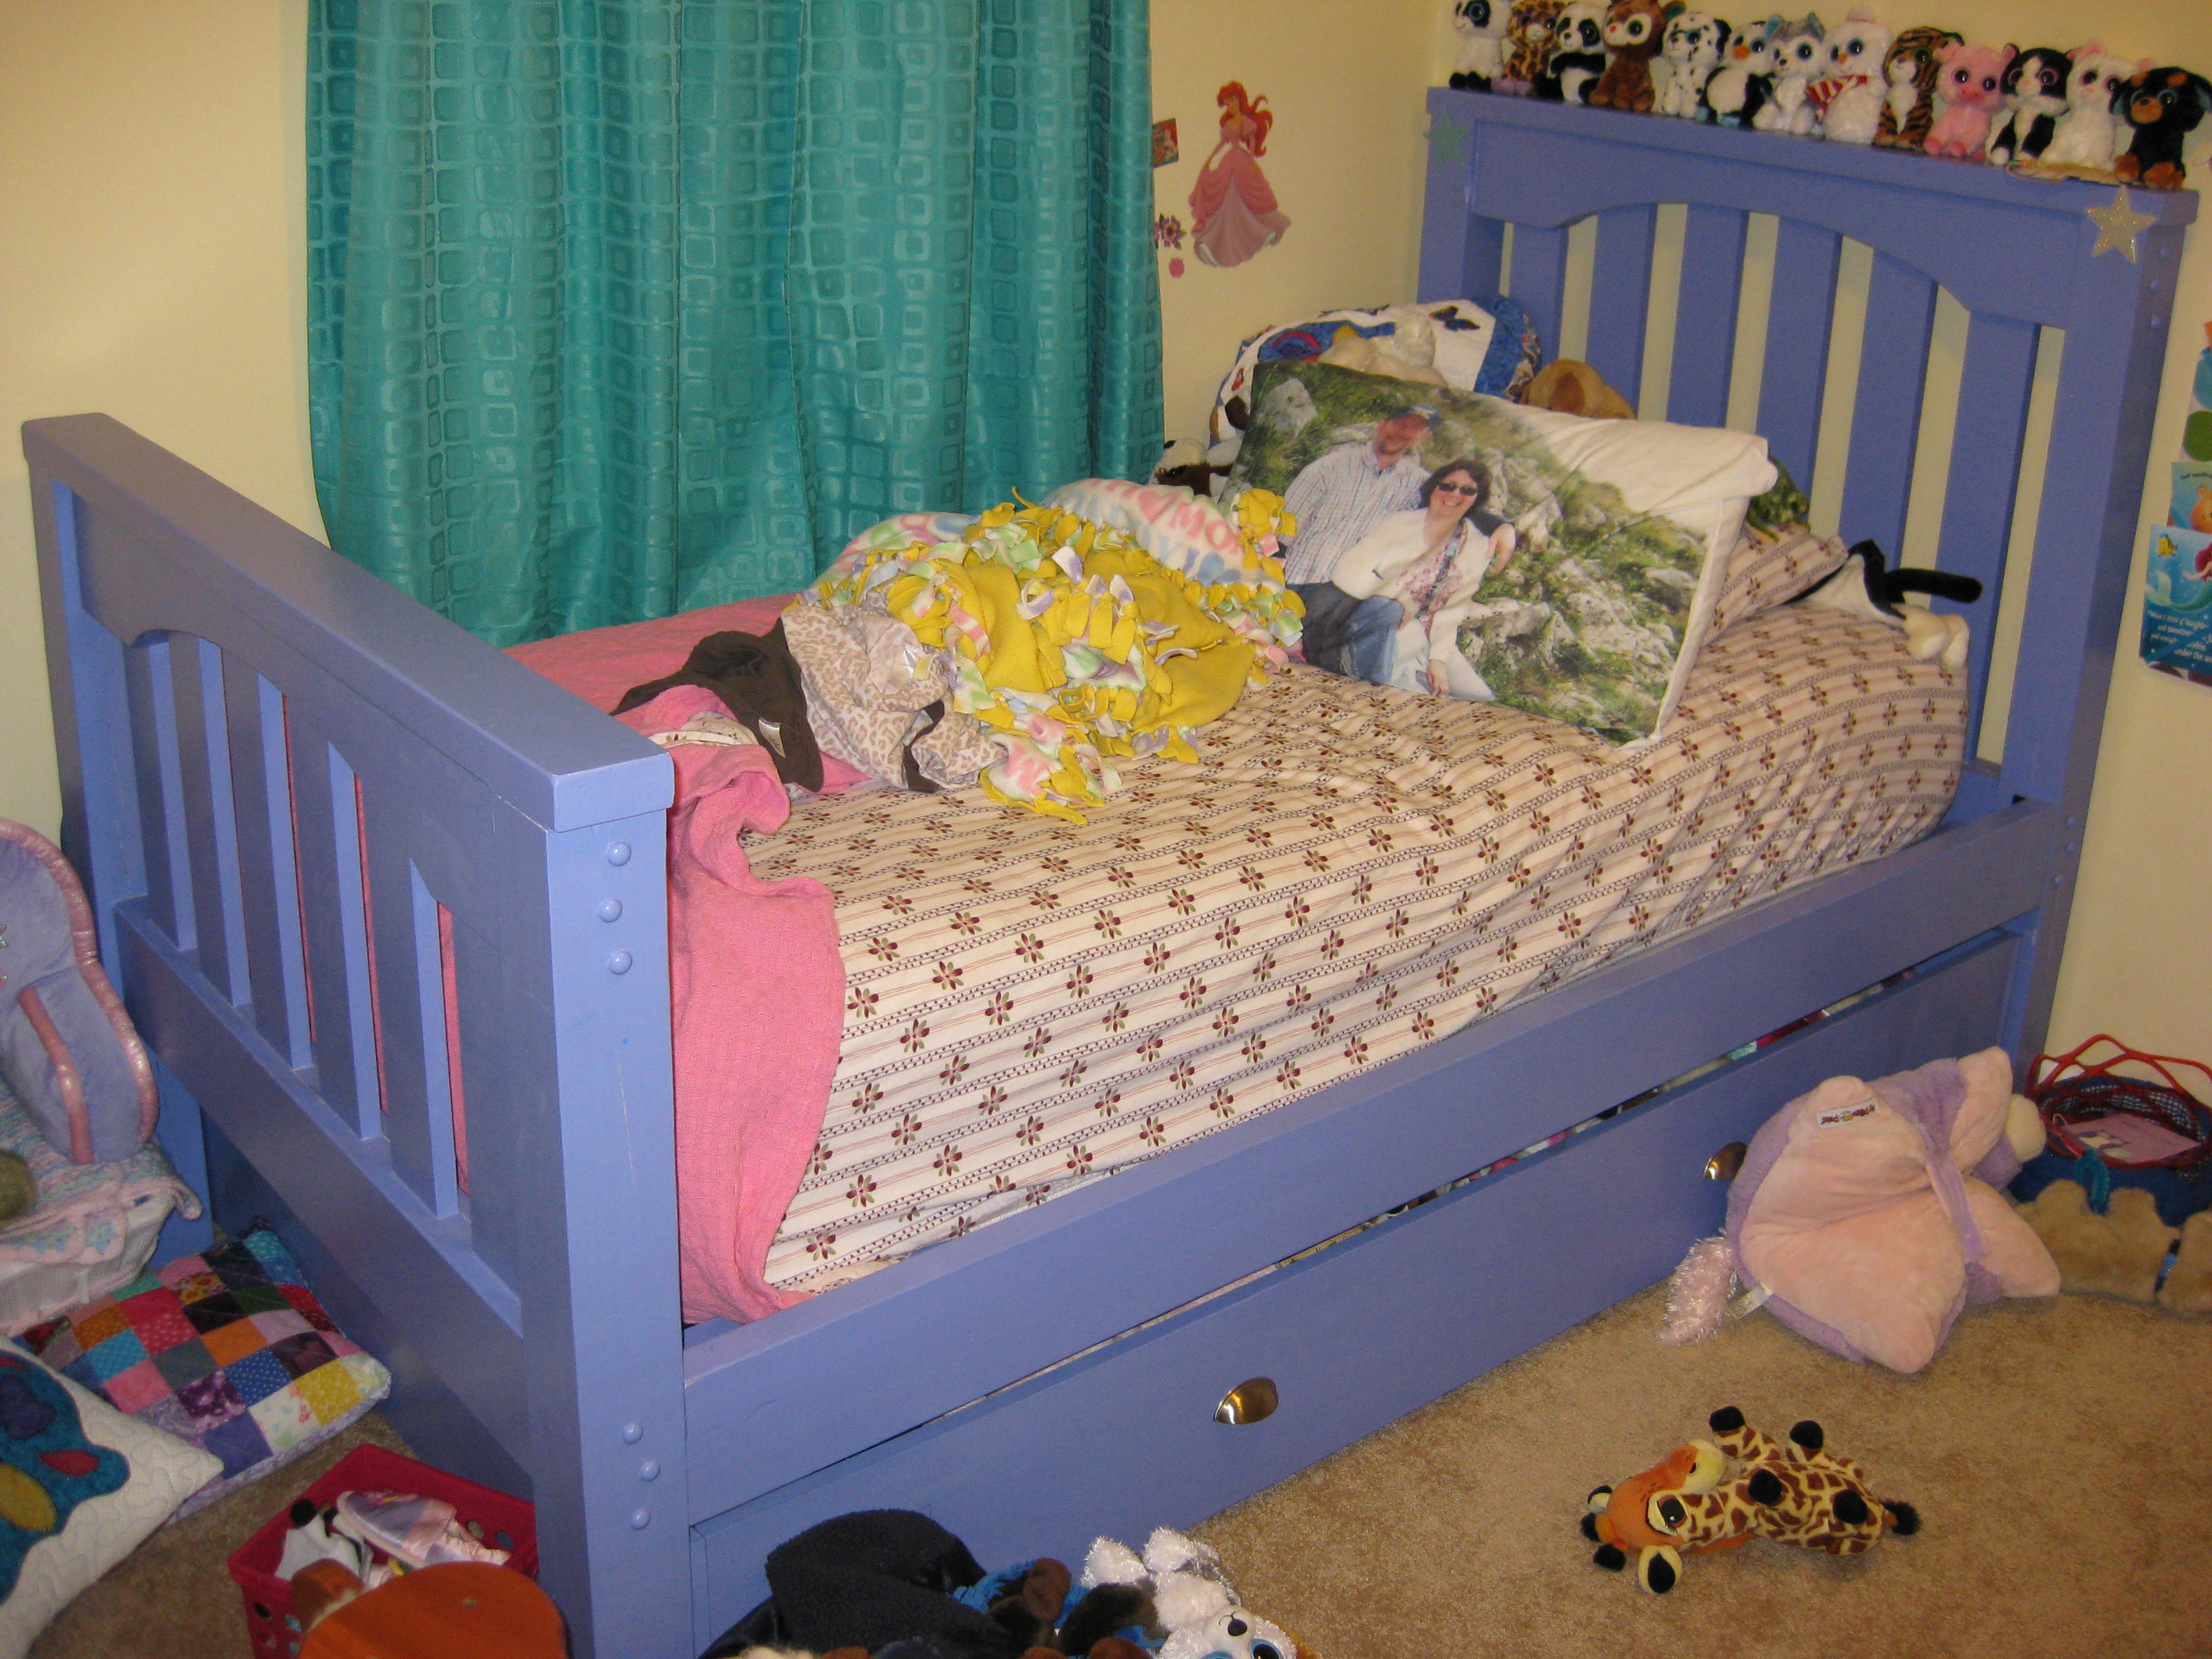
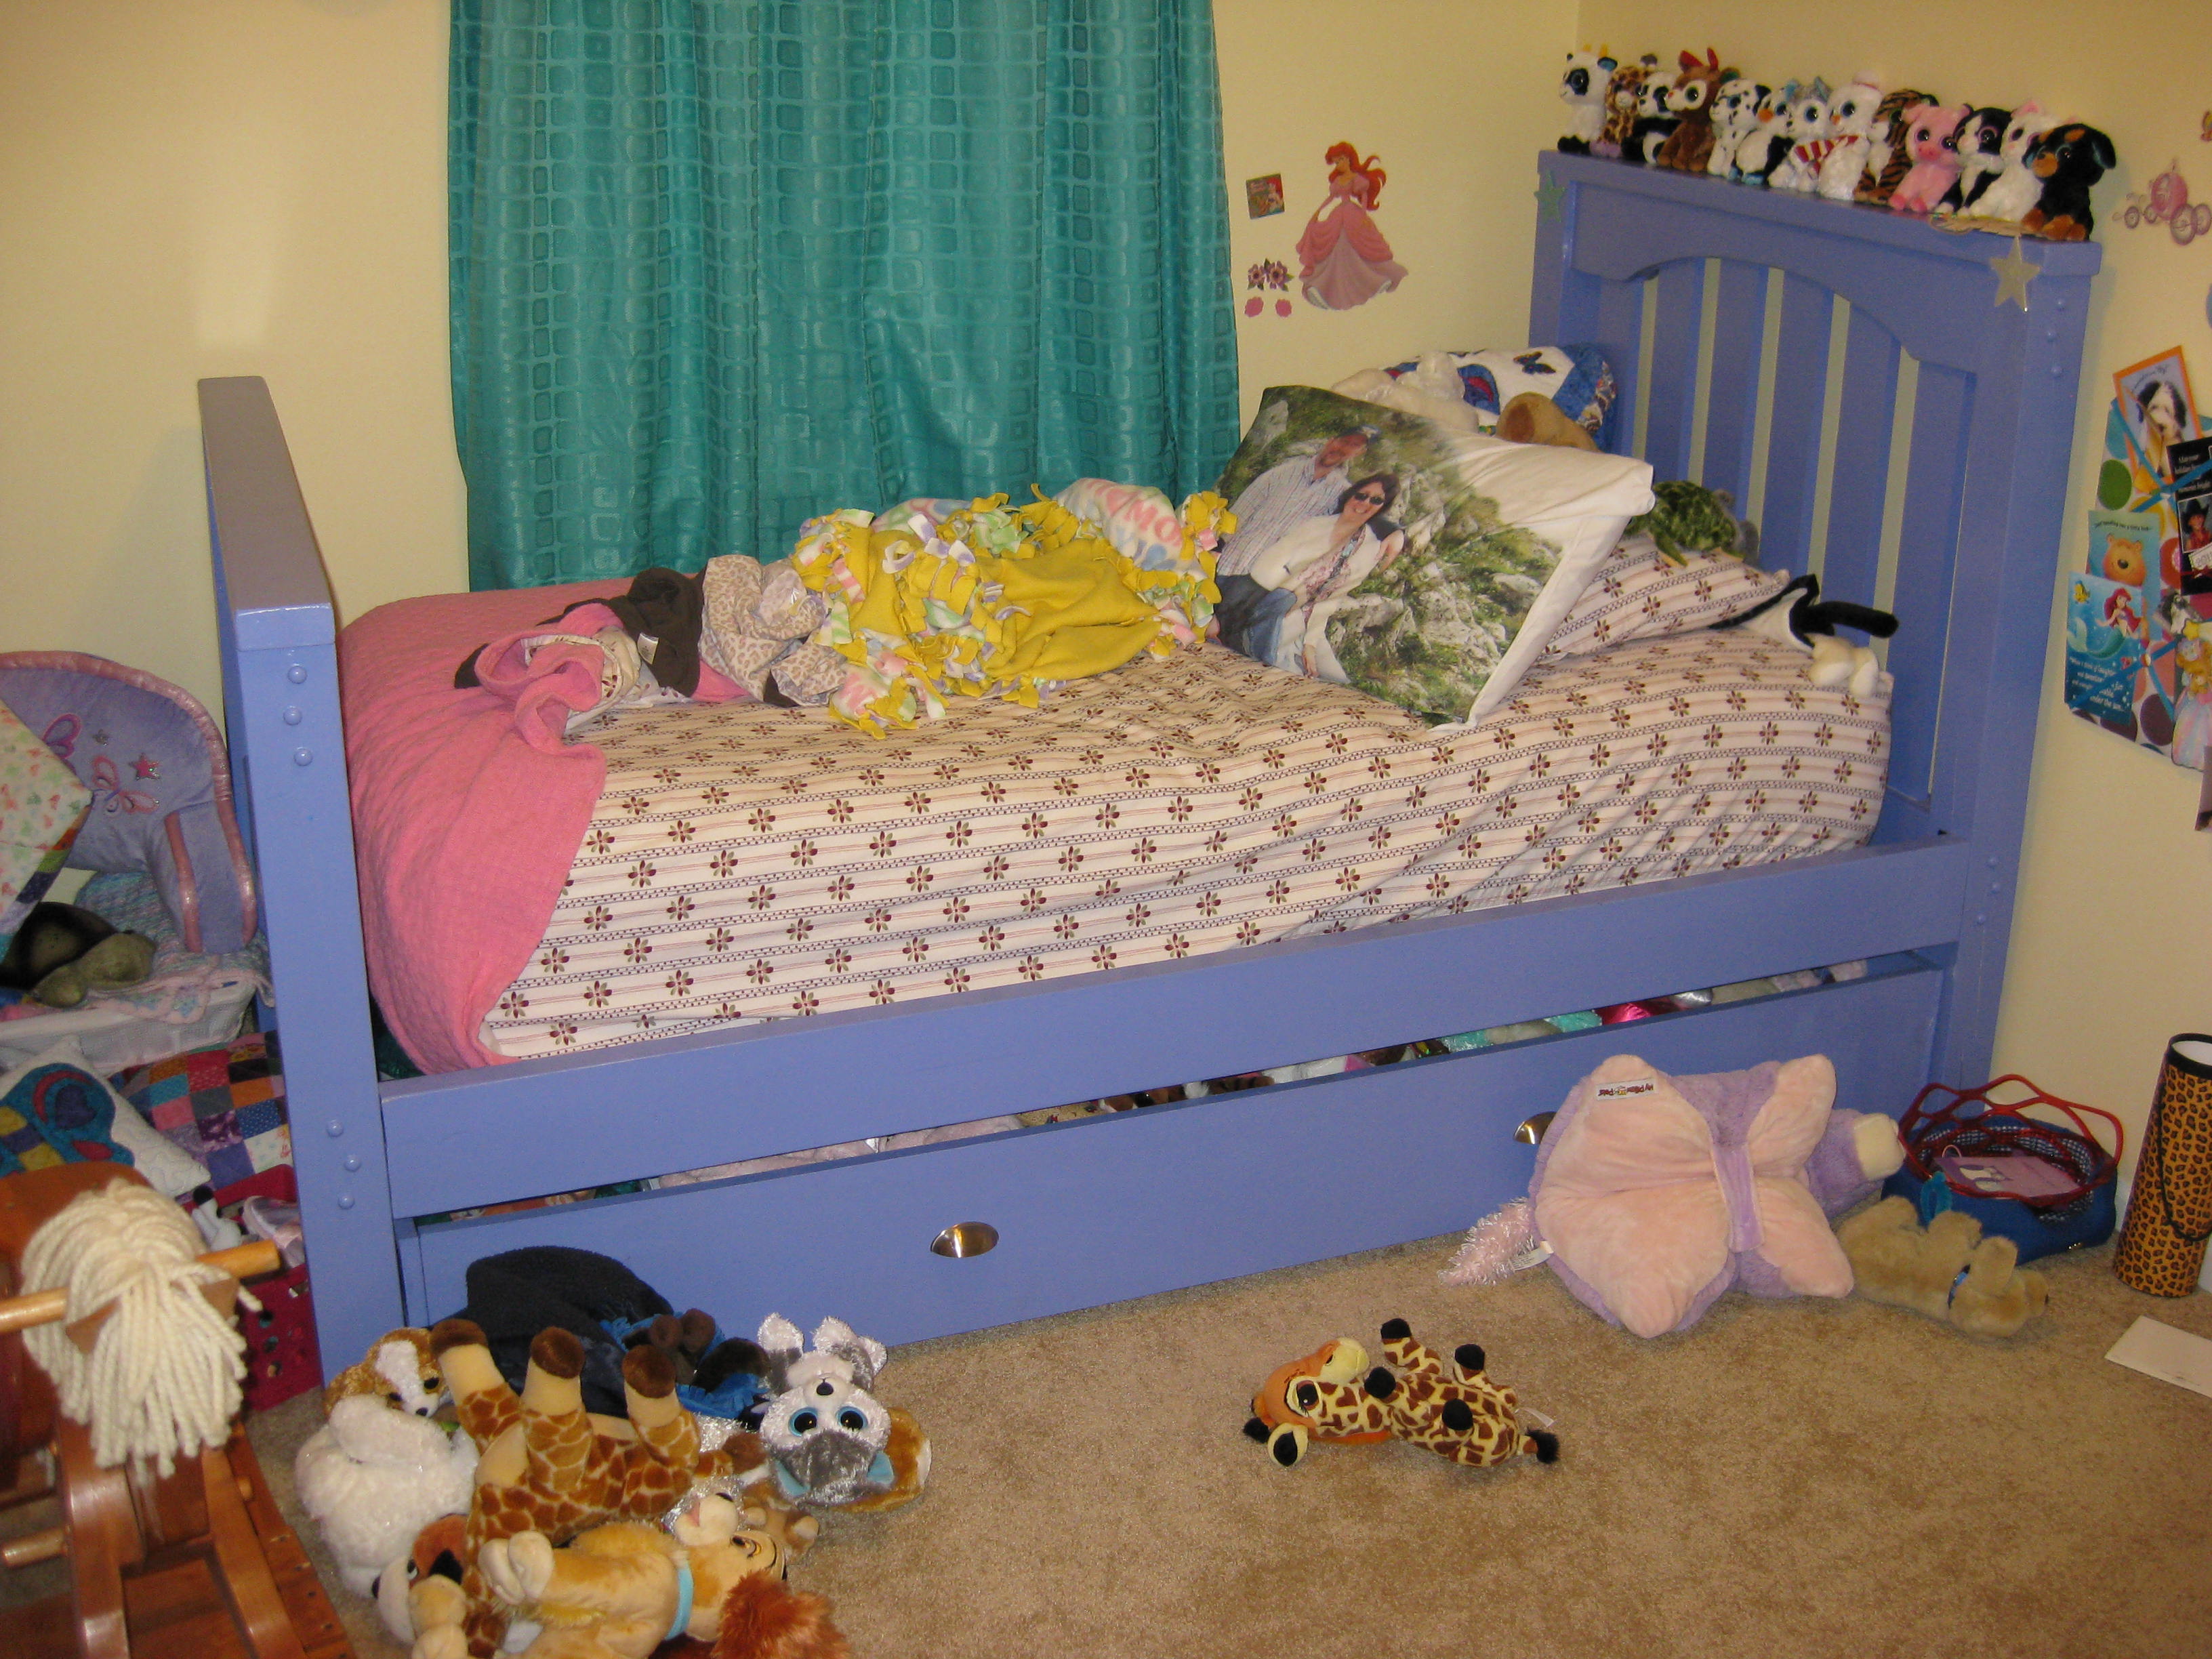
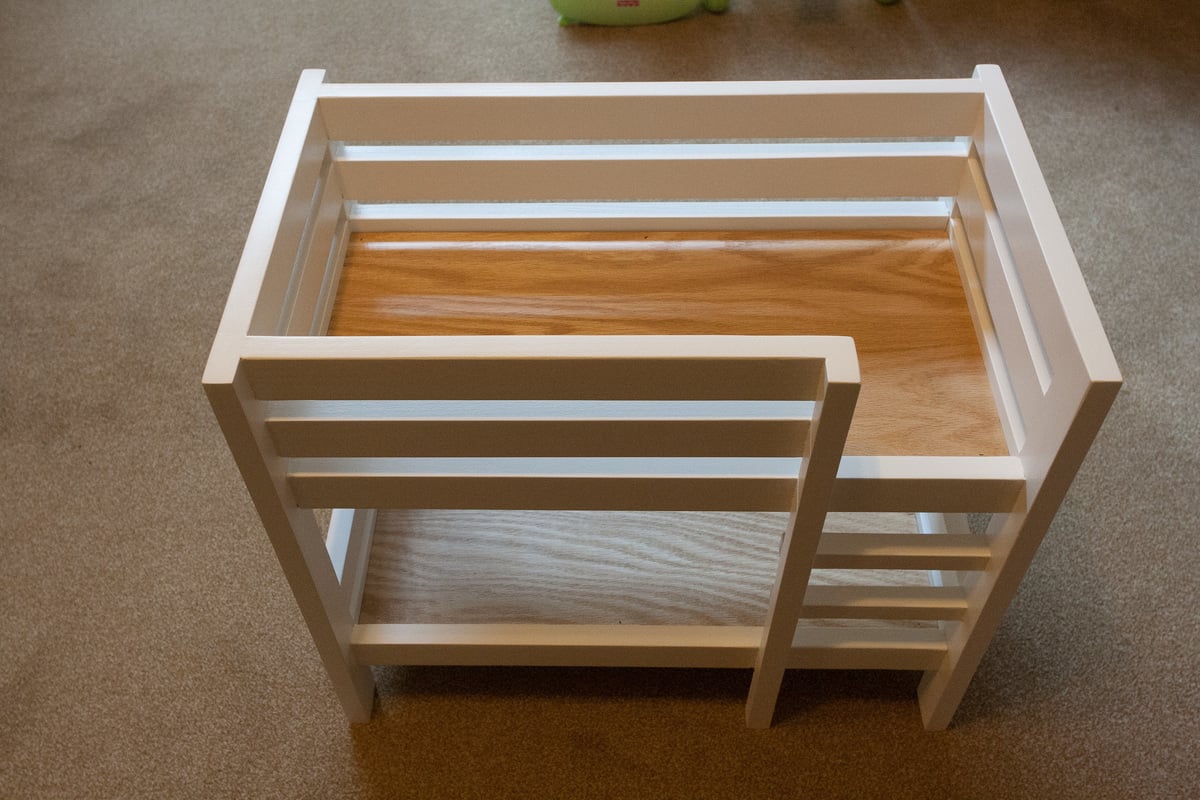
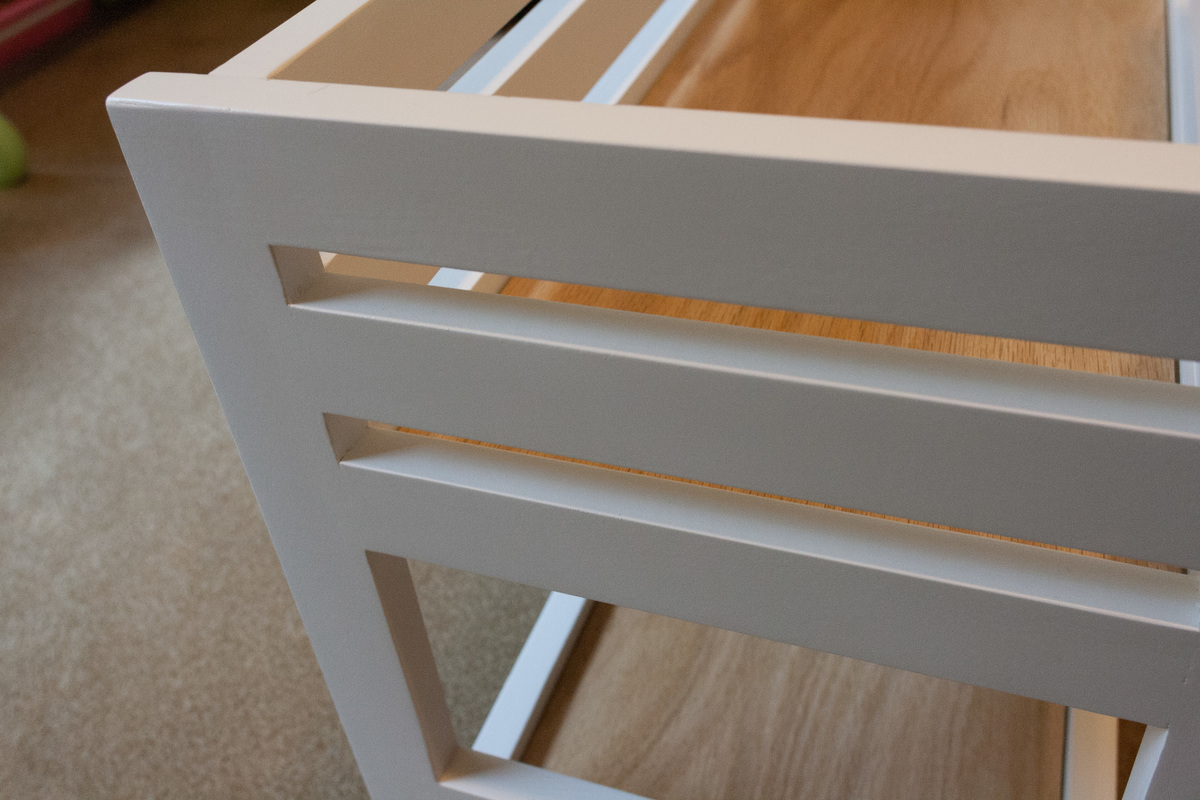
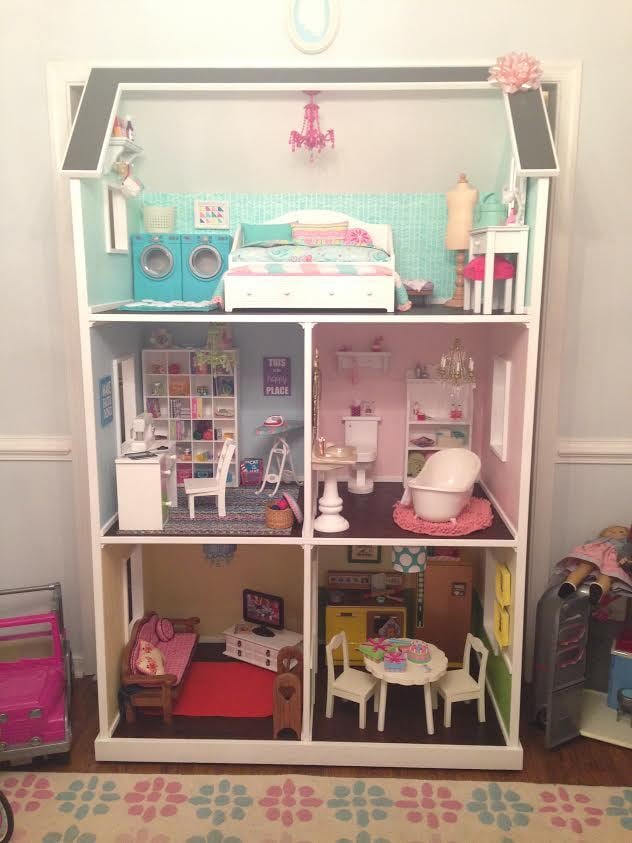
This doll bunk bed was constructed by my twin sons (age 9) and me as a Christmas present for their younger sister.
The tools used were:
Circular saw with Eurekazone tracks
Random orbital sander
320 grit sanding sponge
HVLP 4-stage sprayer
Dowelmax
Kreg Jig
18 gauge brad nailer
Various Clamps
Oscillating Multitool
Chisels
The Eurekazone tracks allowed me to easily rip the thicker stock for the ladder steps and also allowed for boards to be cut to identical lengths as necessary.
The Dowelmax was used for the head and foot of the bed. It allows for very close alignment of the faces. A quick sanding allowed for straight gap-free alignment. It also allowed the boys to easily drill straight.
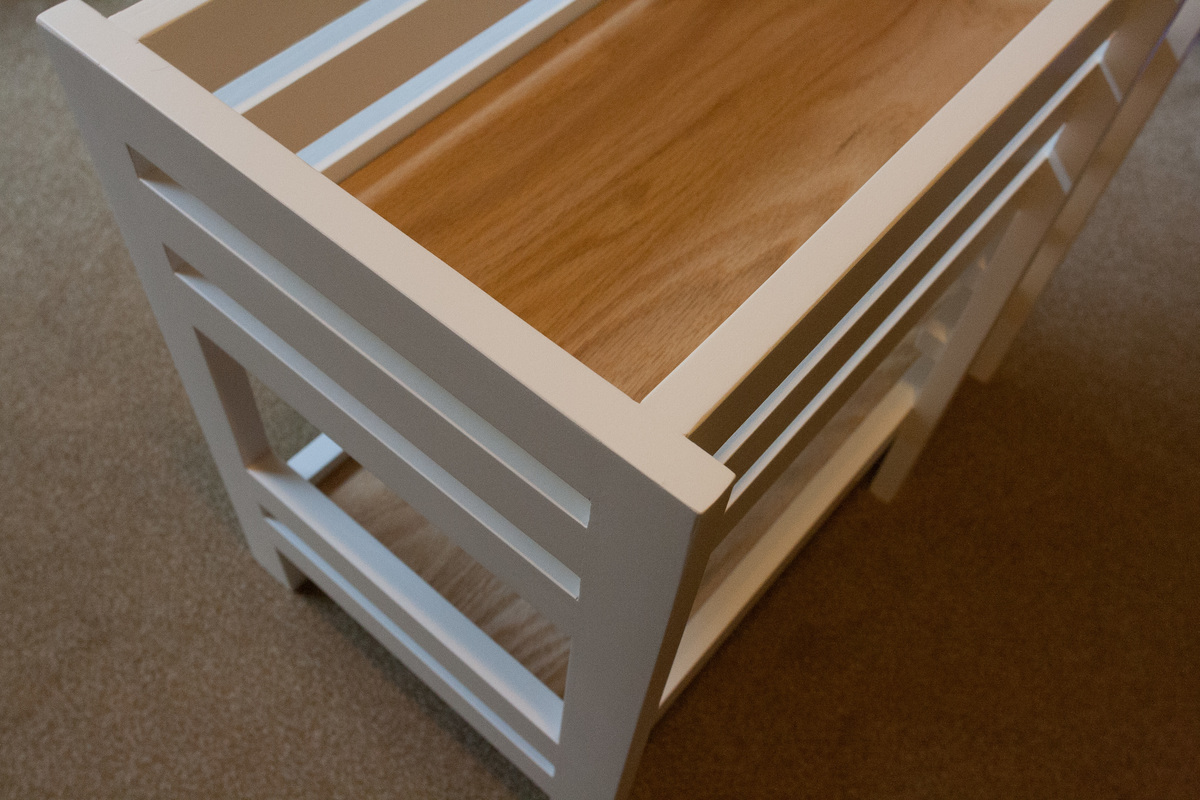
The Kreg jig was used with two screws at the end of each board. This allowed the use of the Kreg 90 degree clamp in one of the holes. The holes were filled with the Kreg paint-grade plugs. The top boards were aligned by setting the bed upside down on the bench for alignment.
The plywood was attached using a gel cyanoacrylate glue with a few brads.
The oscillating multitool was used to flush cut the Kreg plugs. The little bit of plug left after that was trimmed off with a chisel.
Estimated Time Investment
Weekend Project (10-20 Hours)
Finish Used
The topcoat is Sherwin Williams Kem Aqua Plus White, Mid Gloss (Sheen 45-50) tinted to Whisper. This paint is in Sherwin Williams commercial line and most stores don't carry it. It has the advantage of being very fast drying: 15 minutes to touch, 25 minutes to sand, and 25 minutes to recoat. We applied three coats with an HVLP 4-stage sprayer using a 1.4mm aircap. We sanded between coats with a 320 grit sanding sponge. In order to get a sag-free finish, I laid the piece on its side before spraying so that the finish could be sprayed on a flat surface. The fast drying time allowed me to lay the piece on sides that were sprayed less than a half-hour before without any sticking or marking. The primer was General Finishes White Undercoat. We applied one coat with an HVLP 4-stage sprayer using a 1.4mm aircap. This is a very thick finish but it has great grain filling properties and is very sandable. The plywood platform finish was General Finishes Enduro-Var, Satin (Sheen 30). We applied three coats with a foam brush, sanding between coats with a 320 sanding sponge.
Recommended Skill Level
Beginner


Comments
viola
Sun, 02/26/2012 - 14:39
Wow
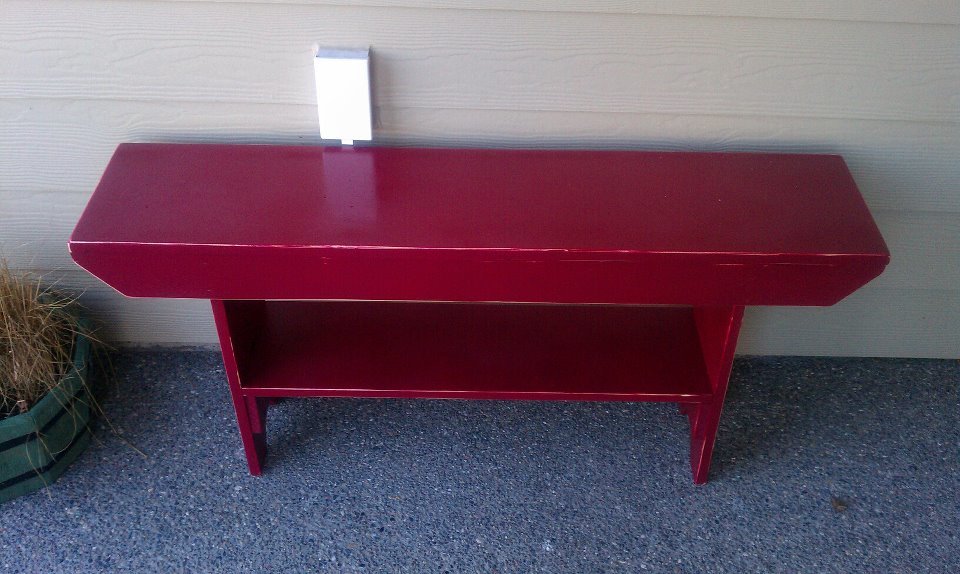
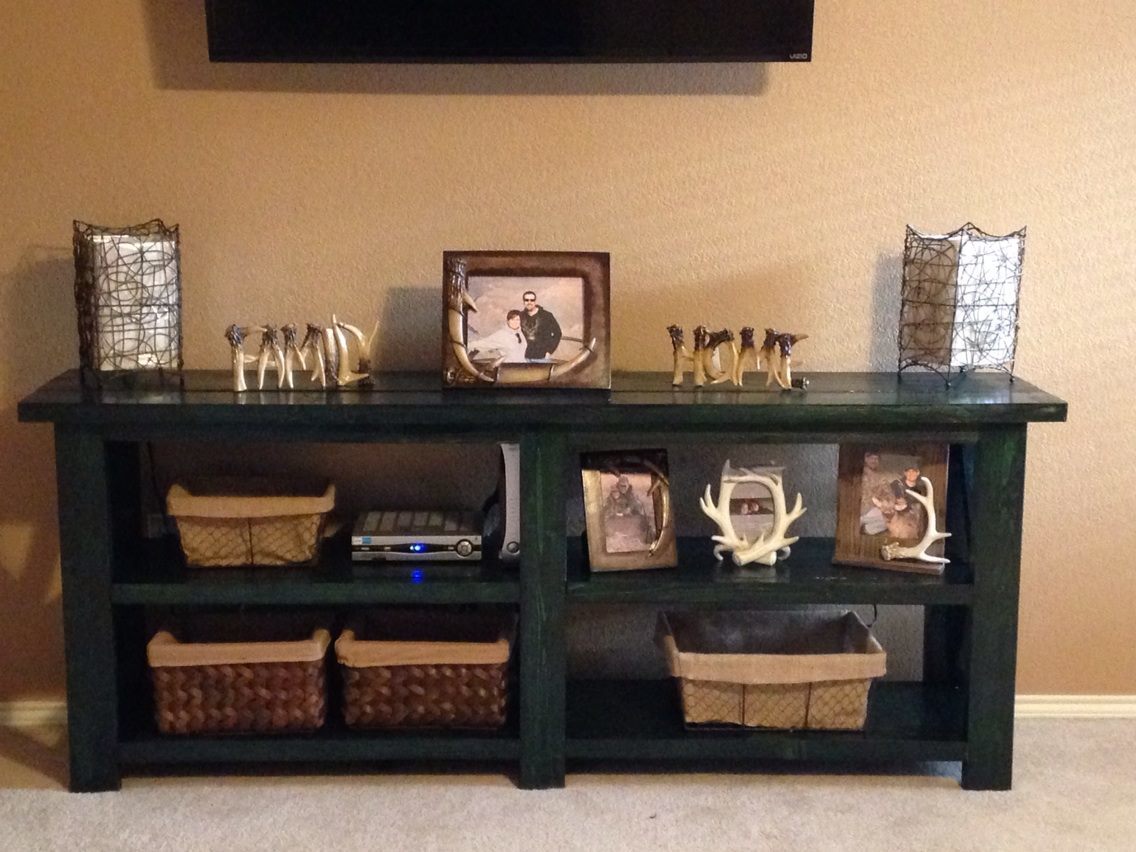
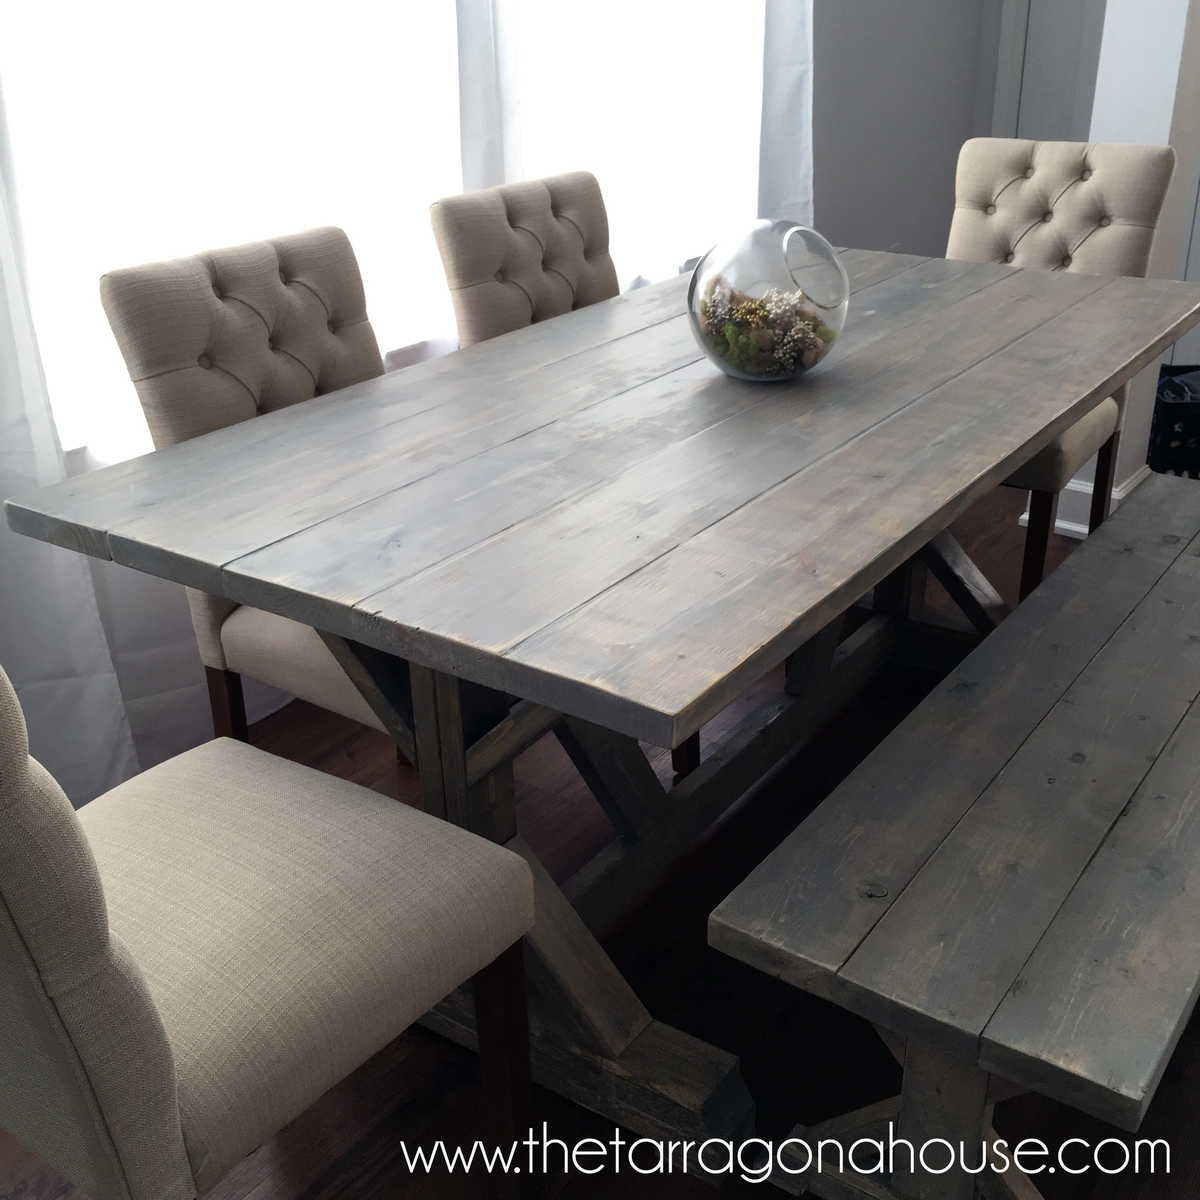
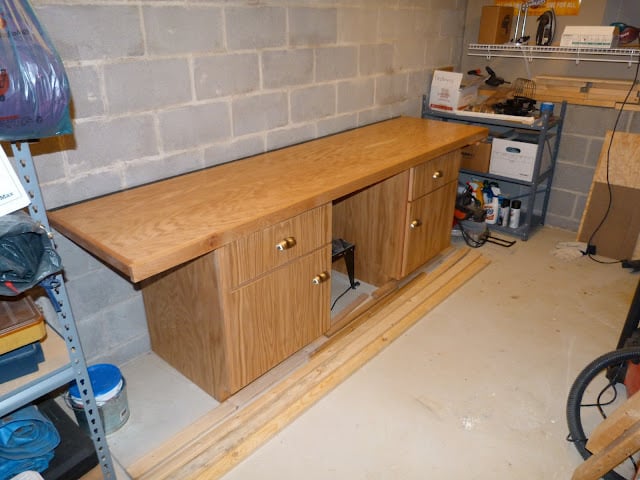
I love the colors and your new bench.