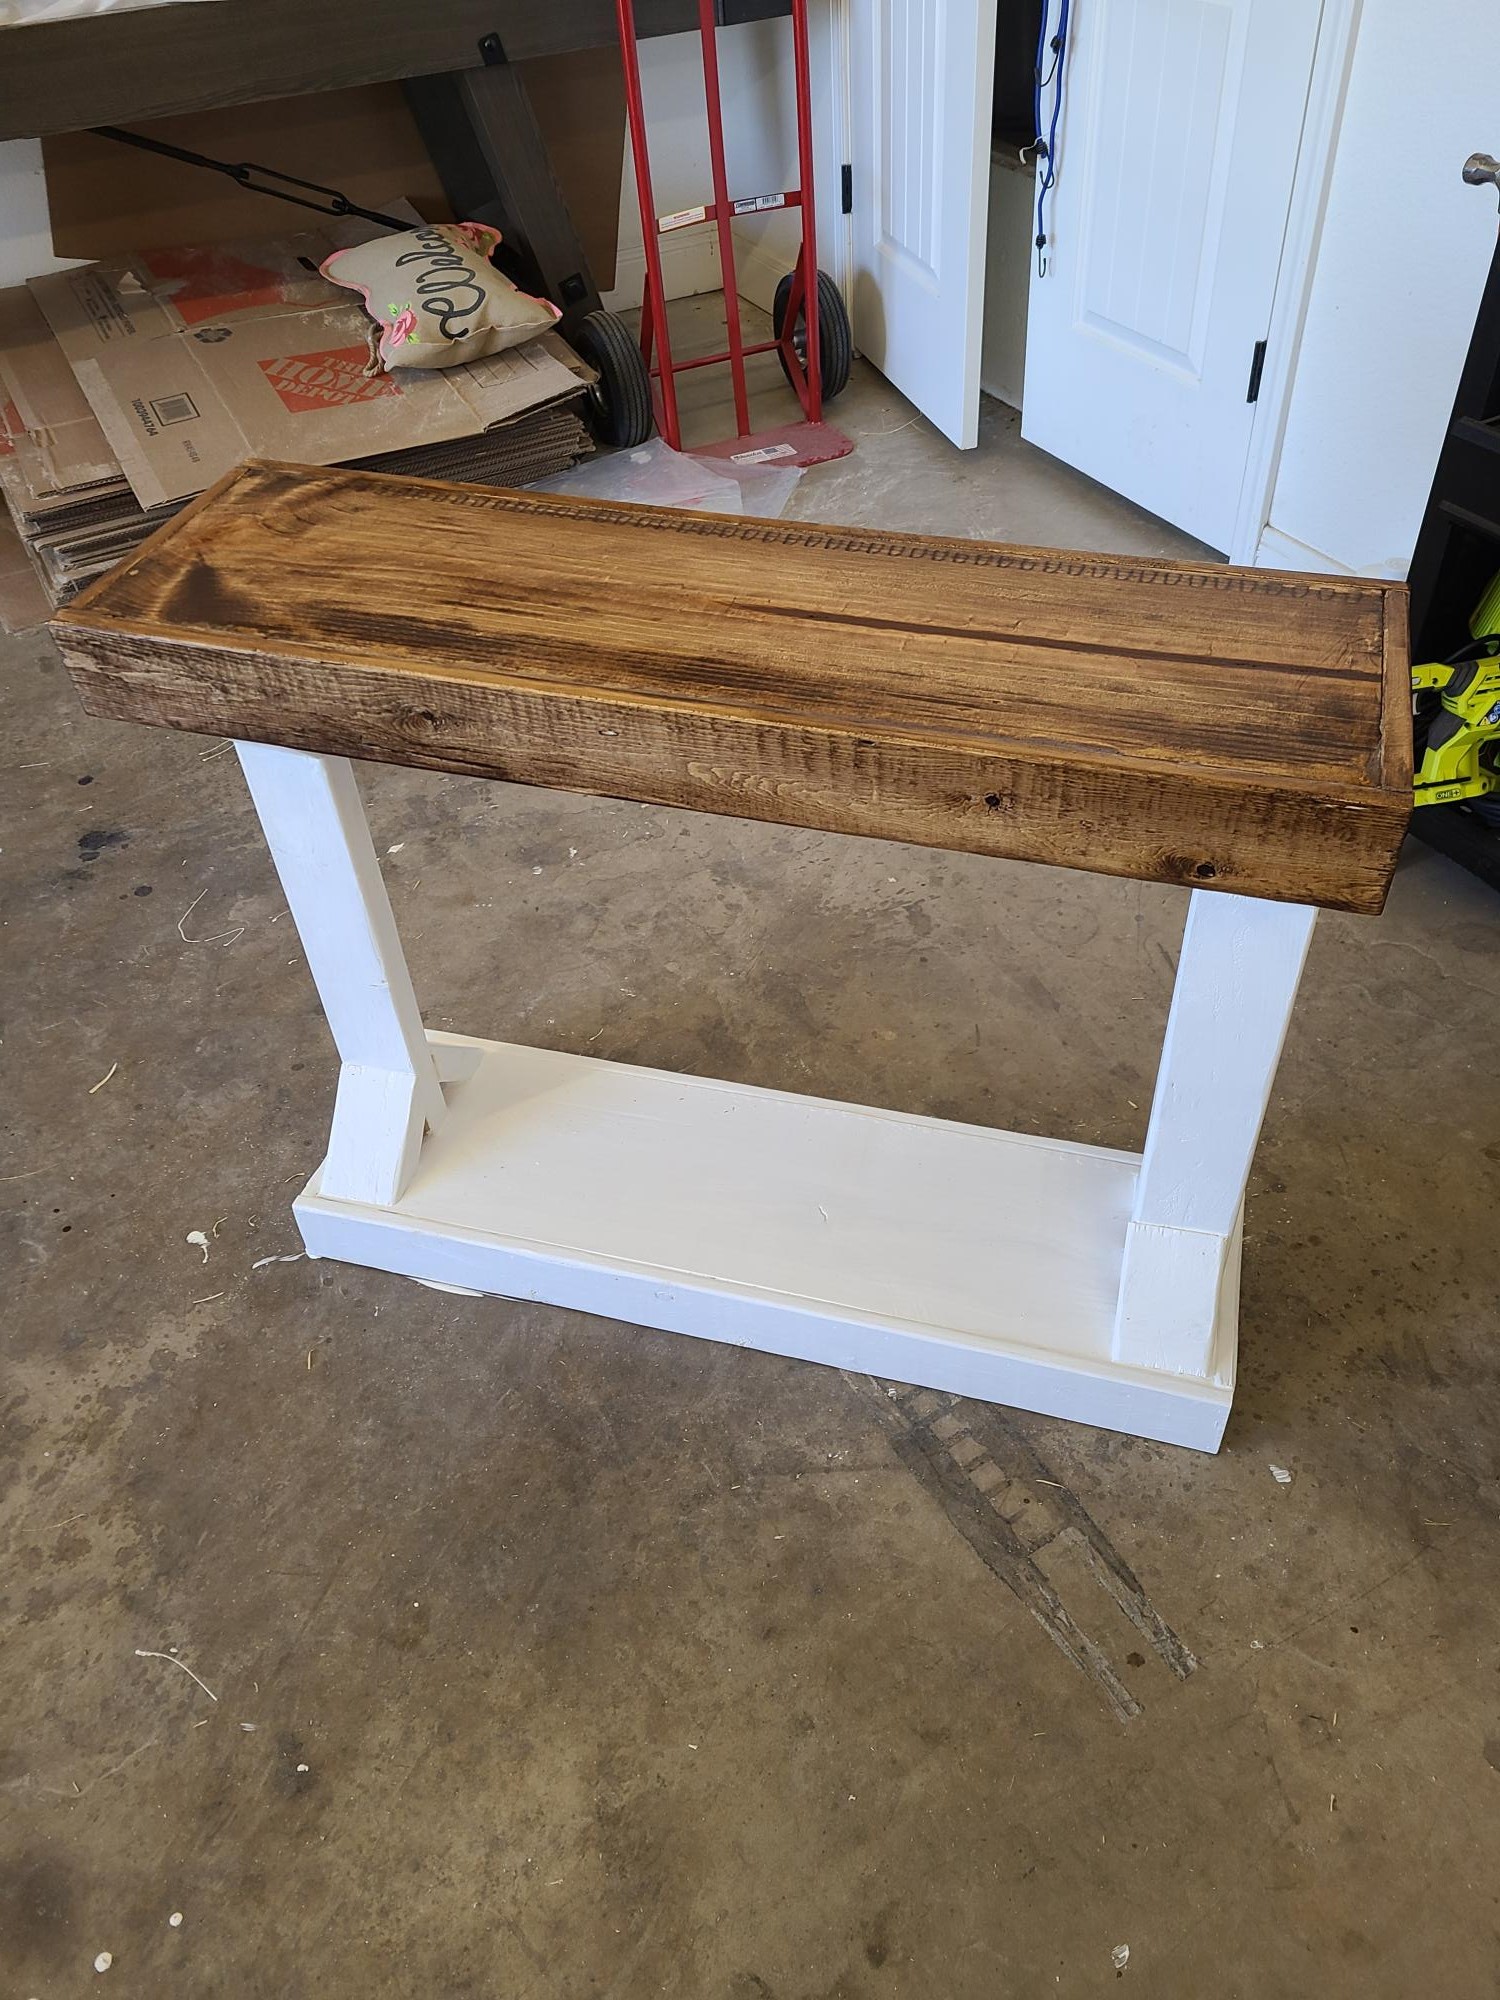
Entry table
Cool project

Built from Plan(s)
Cool project
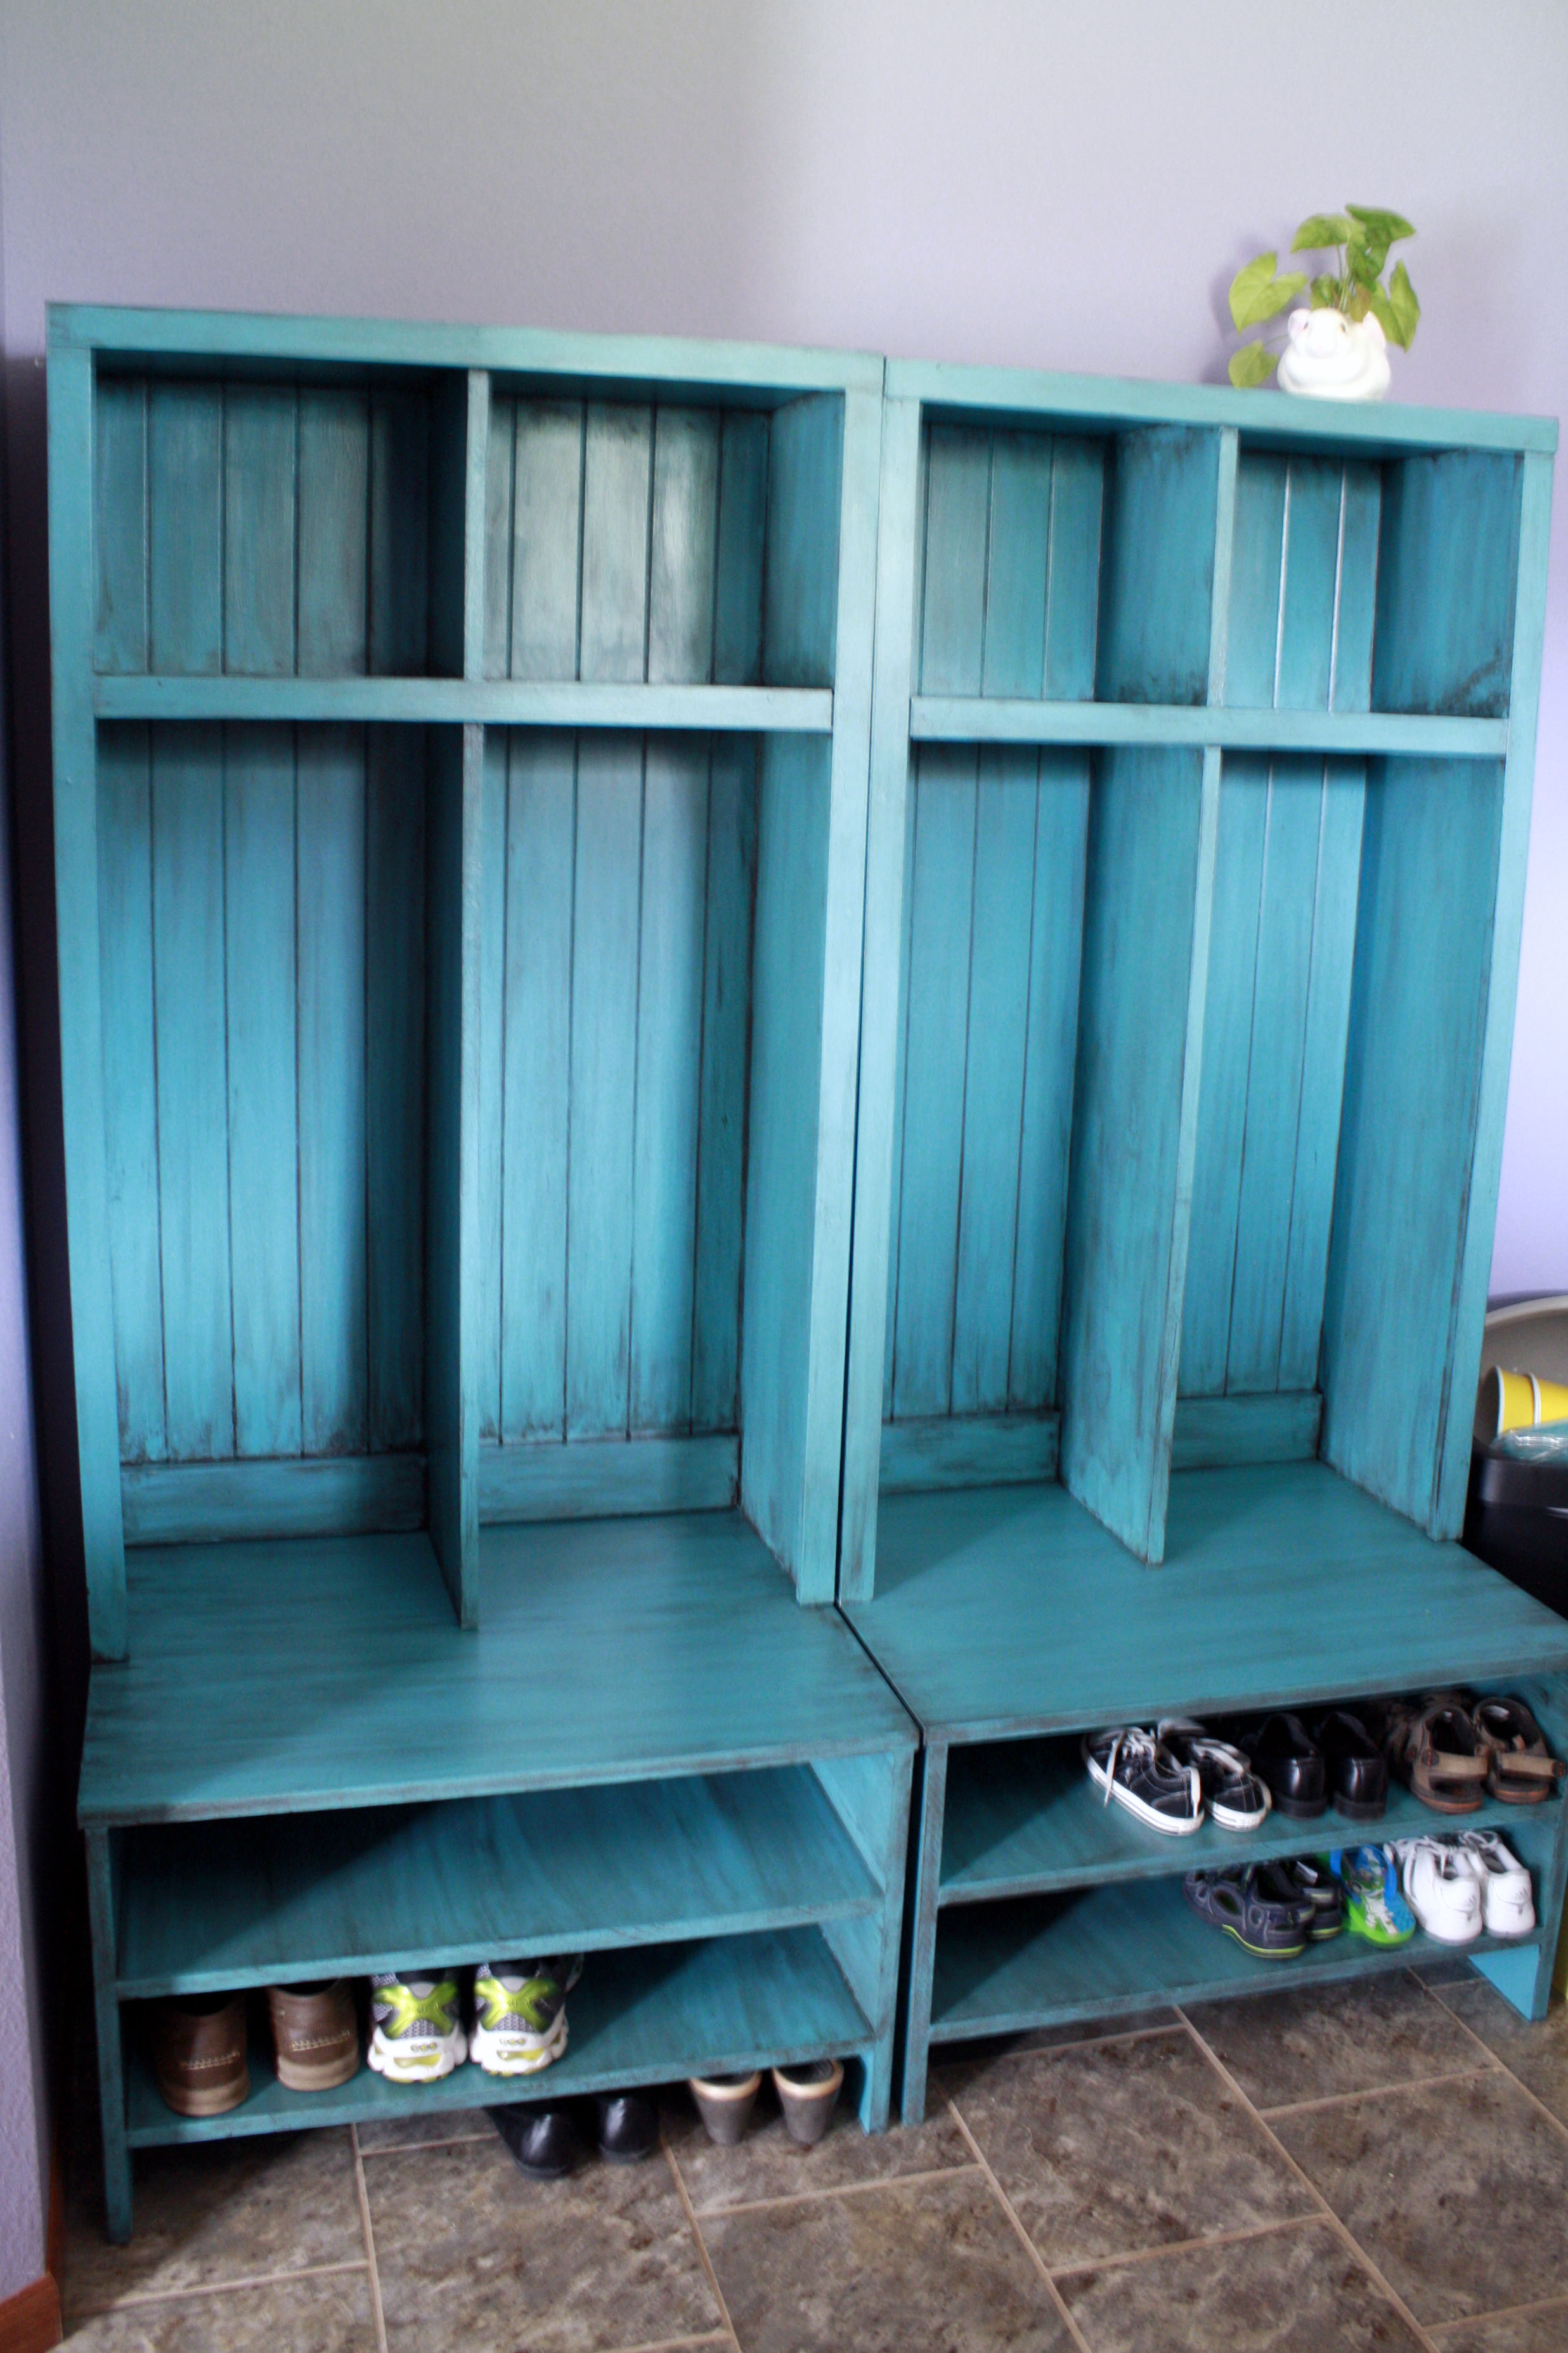
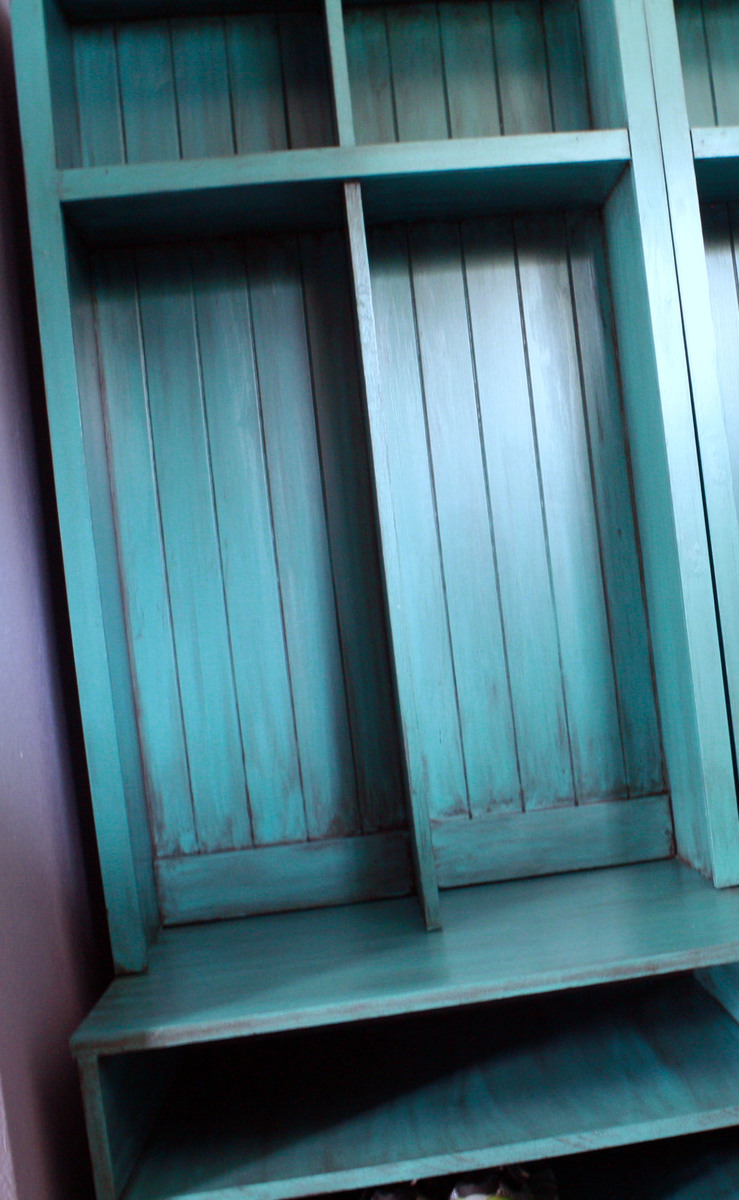
We needed some way to organize shoes, coats, book bags and the the things that need a home when you have 4 kids. I found the plans for the Braden entryway units and I loved them! I showed them to my husband who built them for me one Saturday afternoon. We decided to use piece of paneling for a wall on the back of the lockers and used MDF for the shoe bases since we wanted them to be sturdy. I painted them Valspars "Tidal Teal" and then technique glazed them with a black brown color. I LOVE THEM! They are colorful and fun and so functional. I love this site and have many other projects for my husband to build as long and I get to do the fun part, PAINTING!!
Sat, 06/28/2014 - 18:42
This was the first piece of wood work that I have worked on since I was 19; however, your site is so filled with such beautiful work, that I just had to make something.
Luckily we were in need of an entryway--a place to sit and tie shoes, hang coats, and have cubbies to store hats, mitts, scarves, as well as my gardening tools!
I modified your Braden Entryway Collection to fit the space I had, but I hope you agree that it turned out quite nicely, despite my novice alterations.
I'm very fond of the look and smell of bare pine, so the piece is only finished with Tung oil.
Thank you so much for such a rich site, and for an incredibly detailed 'how to,' I don't think I could have managed without it. I wish I could send a picture to you, but I have yet to figure out how to do that.

Made to save space from hickory in an L shape to wrap around a column near the kitchen. Upper wrapped in trim with the lower section trimmed with some left over trim from another project. Two hooks on each side on the upper part and one each on the lower side. I used clear satin polyurethane and rustic red spray paint for the upper trim.


We used library catalog handles that I found cheap on Amazon. We adjusted depth reducing 3 inches and did an routered edge wood overlay on top. I also had my husband router all 1x2 and 1x3 except short edges of 1x2's. My favorite project yet but it took a couple week so to finish between job and kids. I used honey stain and 3-5 coats of poly until I was happy. Thanks for the guidance and giving me a plan to work from.
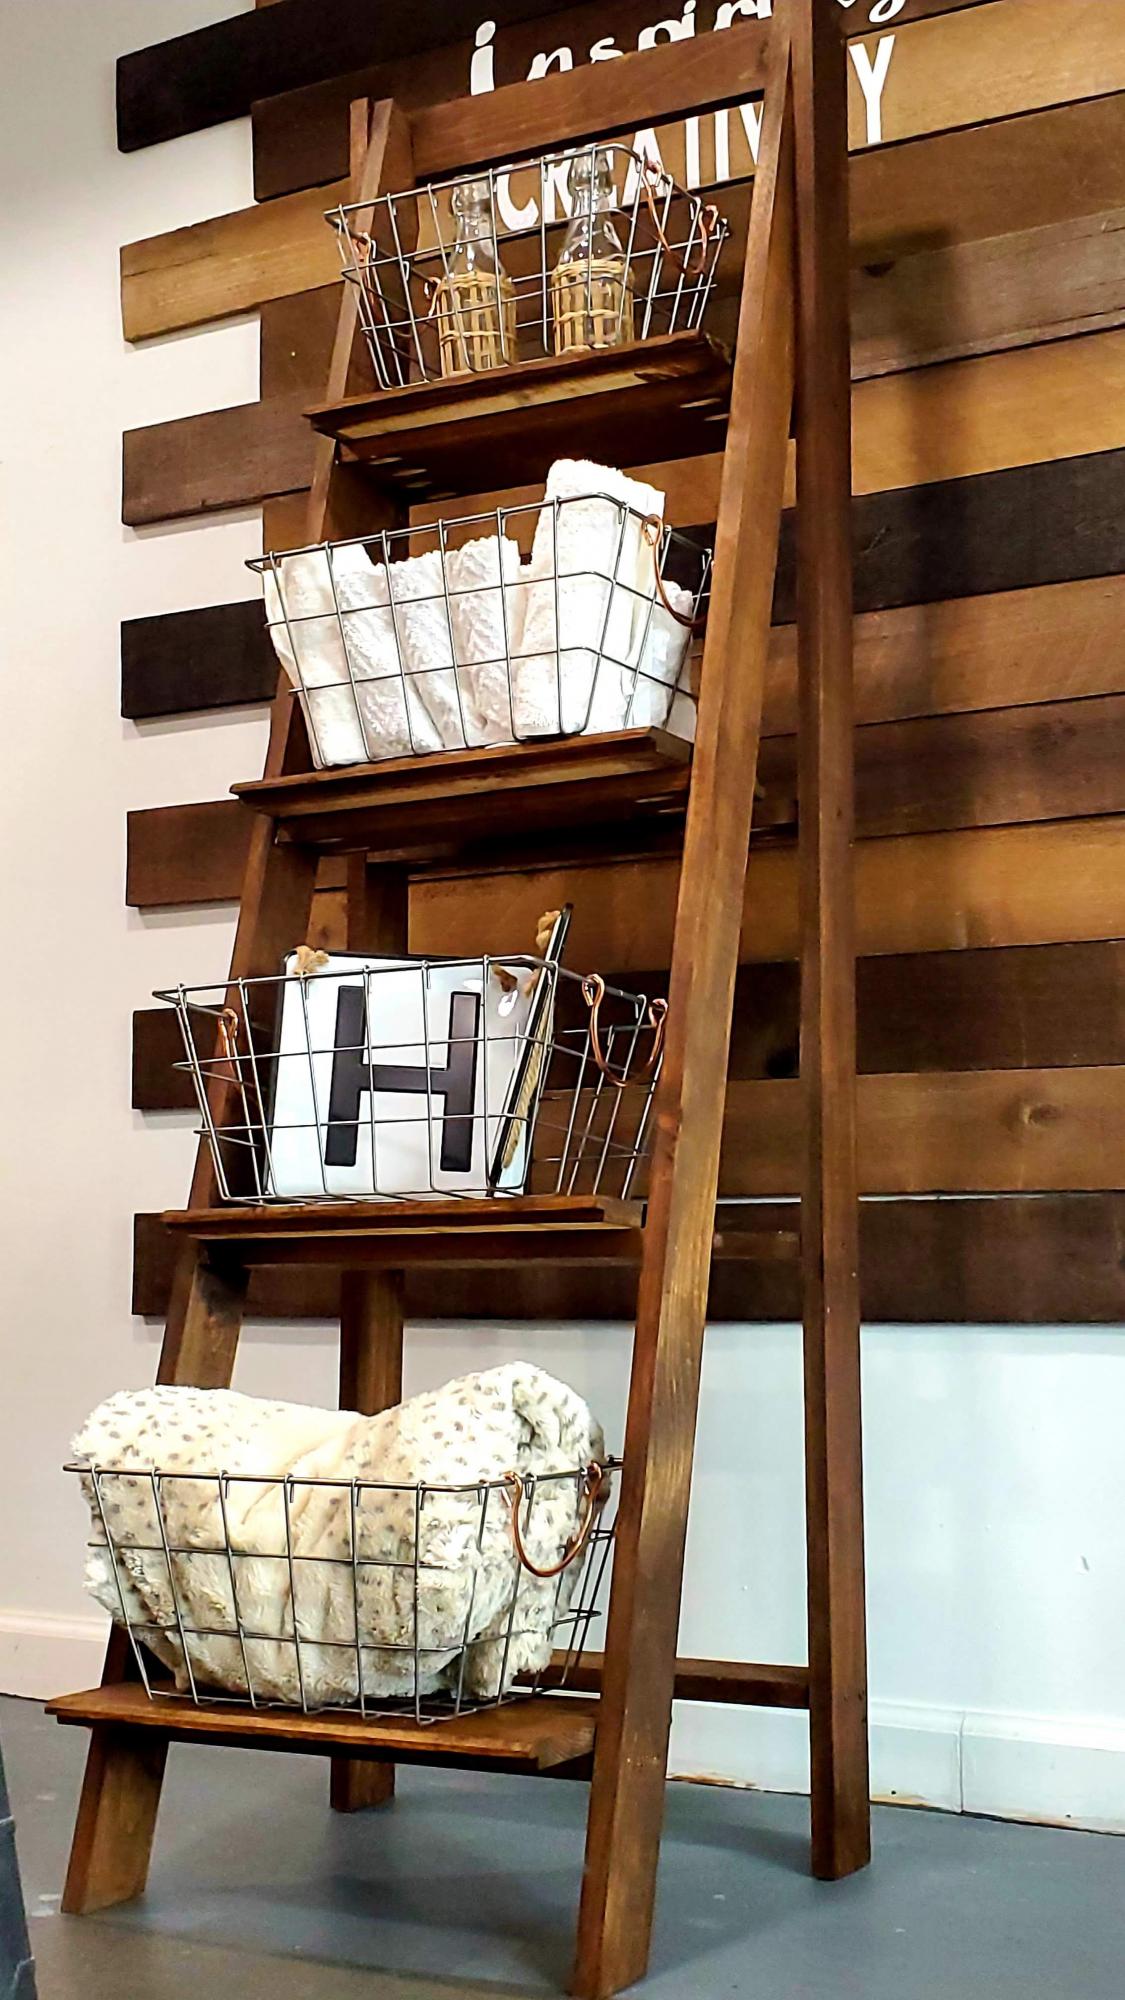
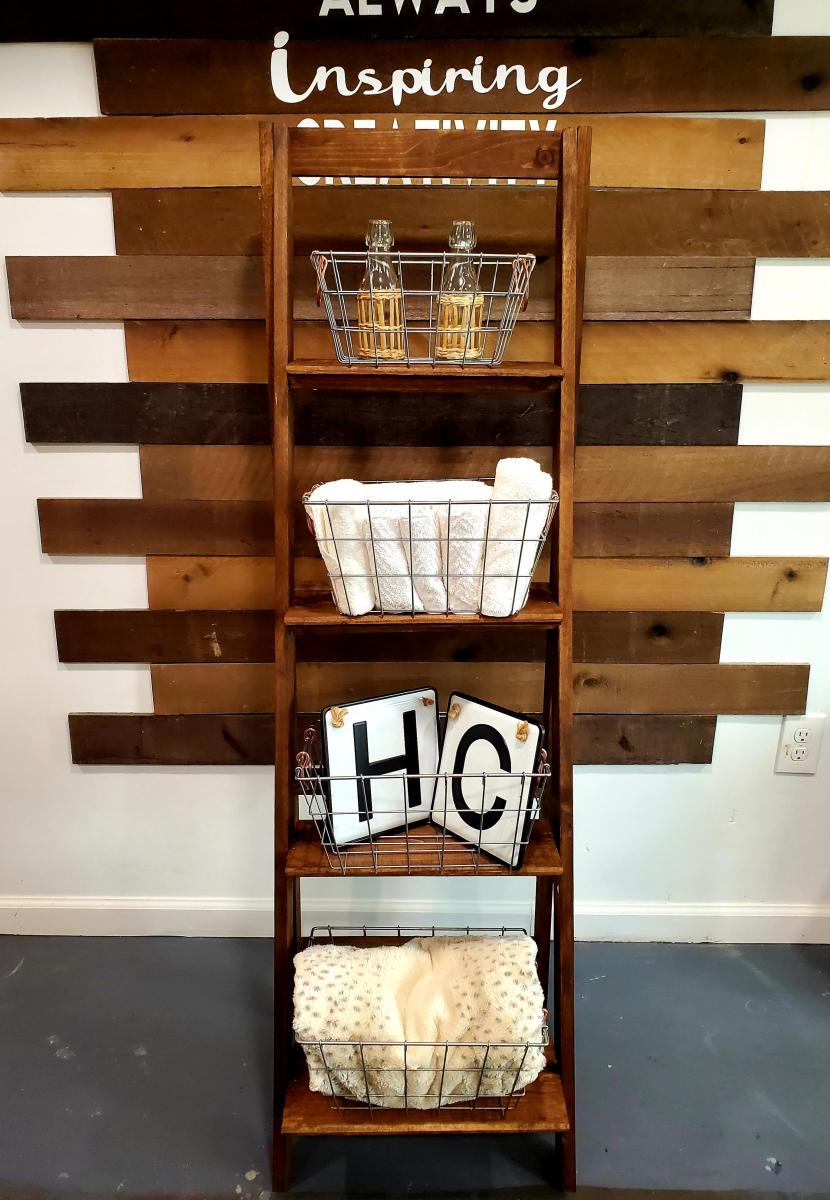
As new enthusiastic Woodworker, I was looking for a project to learn some new skills and add some extra storage in my work area and this ladder shelf was it. I loved the detailed plans. Although I got STUCK on finding the "off center" of an angle. I was able to manage. In the end I think it came out great!
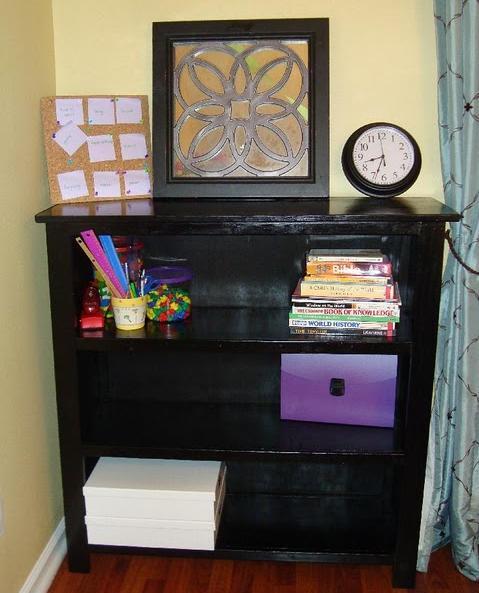
It was my first woodworking project ever and I am so proud of my new bookshelf. I went to Home Depot for my supplies and the gentleman that helped me kept asking “Who’s helping you? You’ve never done this before?” and seemed skeptical about how the whole project would turn out. I went back several days later to get some more wood for another project and ran into the same gentleman again. He asked how my bookshelf was coming along and I said “Great! I have a picture on my phone I can show you.” When I showed it to him he said “Wow! You made that?! Wow! I’m impressed. That is a really nice bookshelf! You brought a tear to my eye!” I laughed so hard. So thank you again Ana for the confidence and plans!
Project for a friends 2 year old, seats will hold a 200 lb adult. NIce starter project, best part was watching the little ones sit at "their" table once it was done
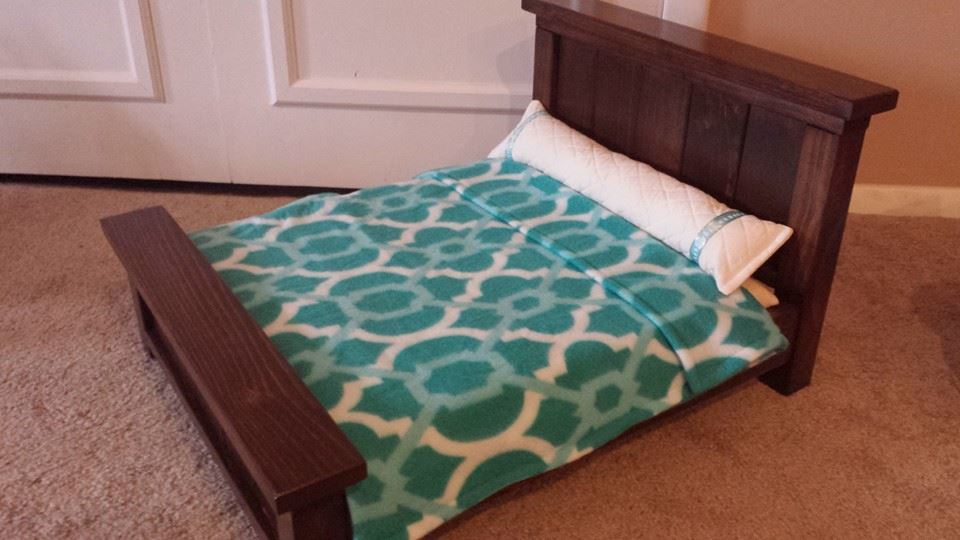
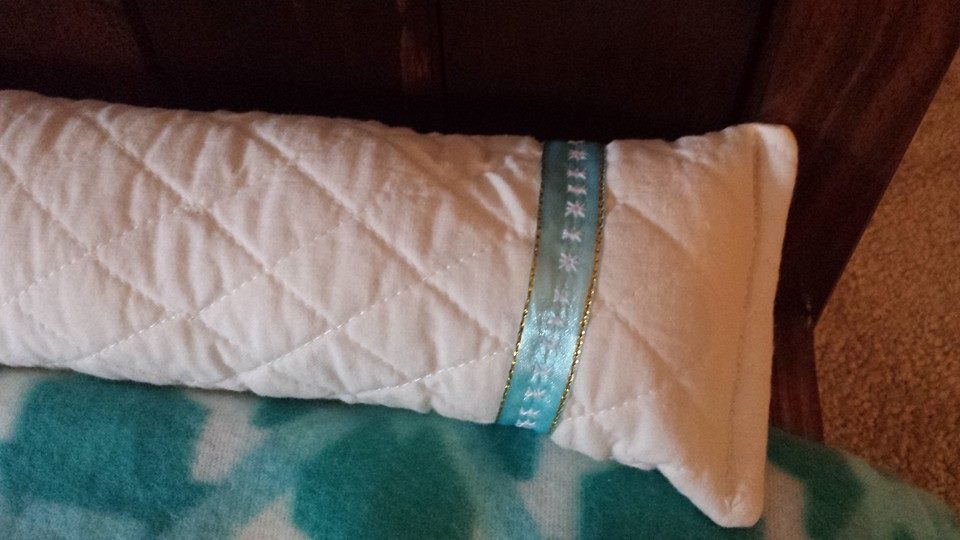
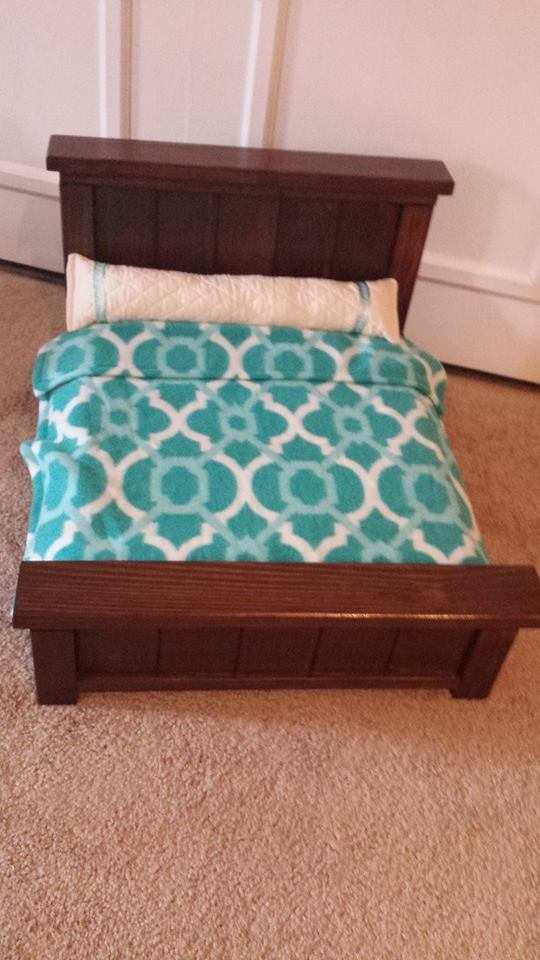
This is the third farmhouse doll bed we have made and it is by far my favorite!
We used Carrington stain which dried in one hour to it's perfect color (just be sure to wipe down after a few minutes as it sets more quickly than the regular oil-based stains). And I sewed the blanket out of a $5 throw I had purchased at WalMart (the same throw made two scarves also!). The mattress was made from a foam mattress topper wrapped in fleece. Since we had all the wood as scrap in our garage, this project cost us nothing!
We donated it to a local tricky tray and it was priced in the $200+ range!
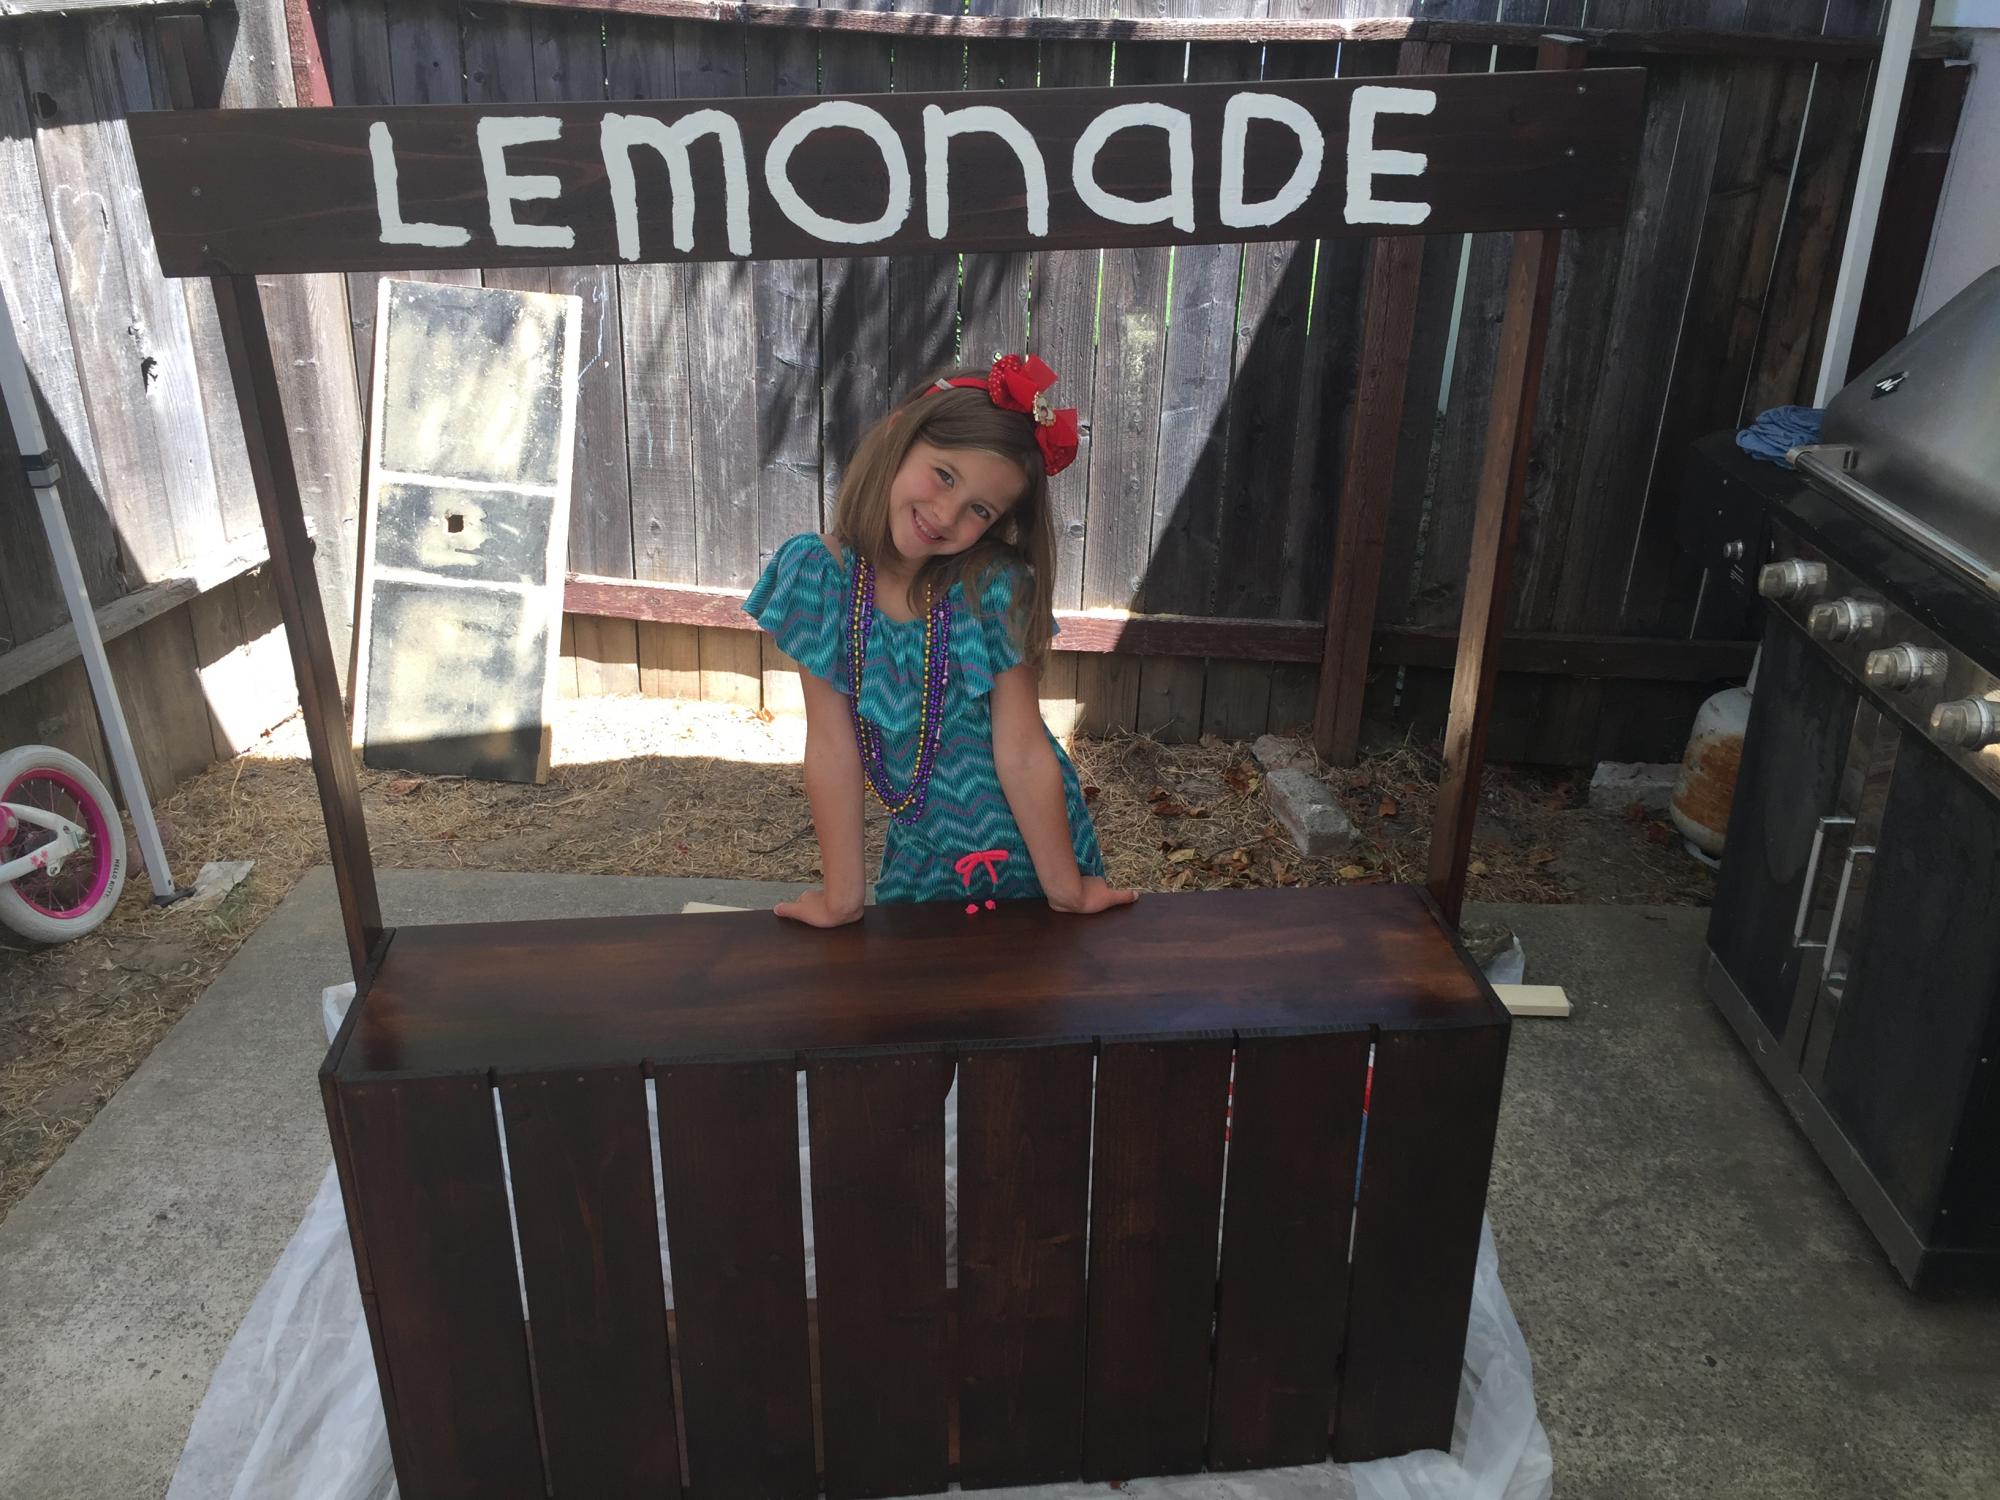
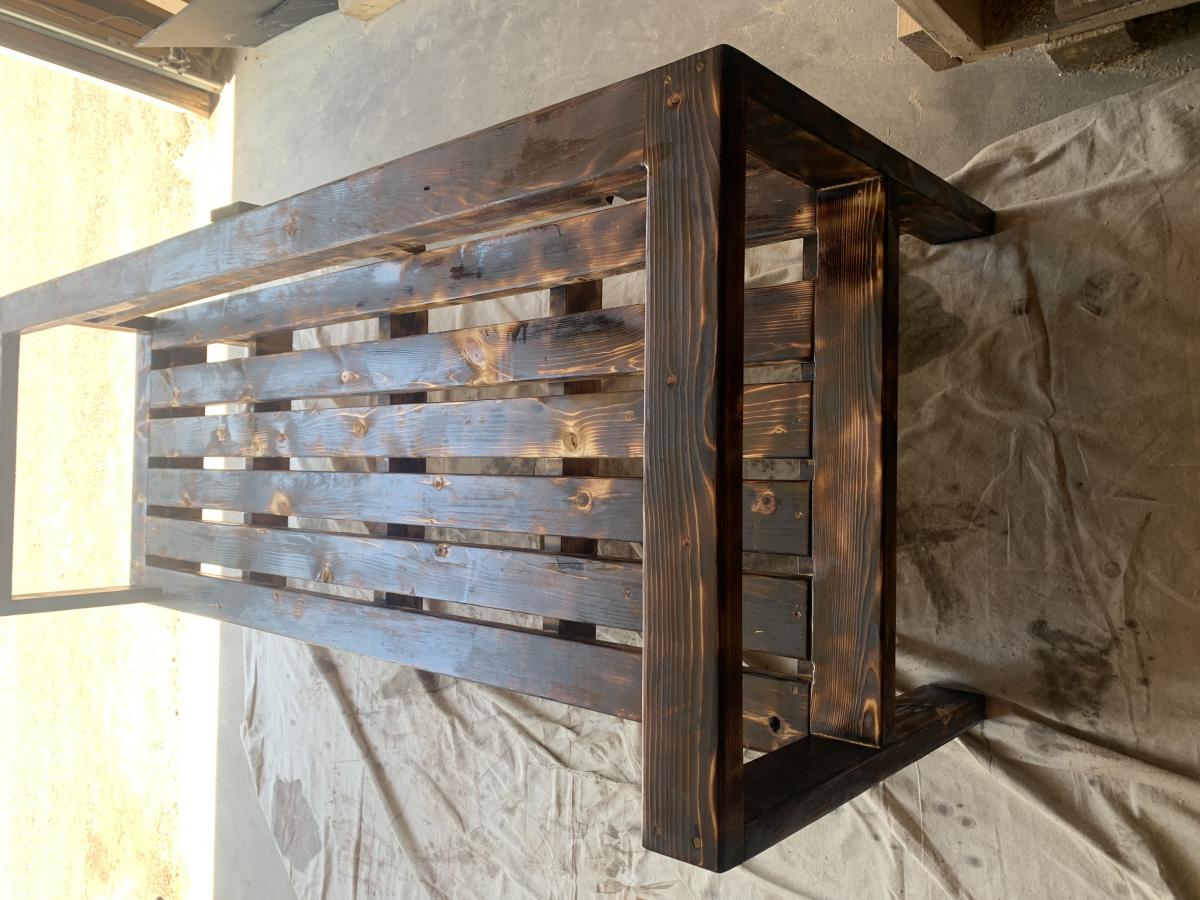
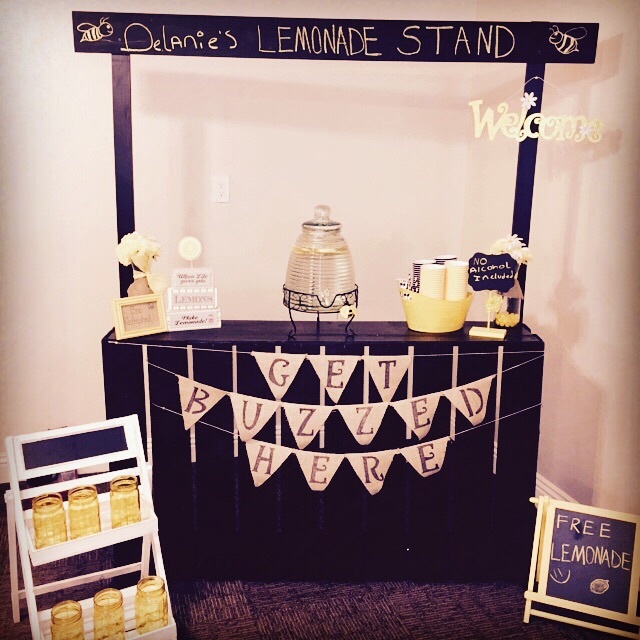
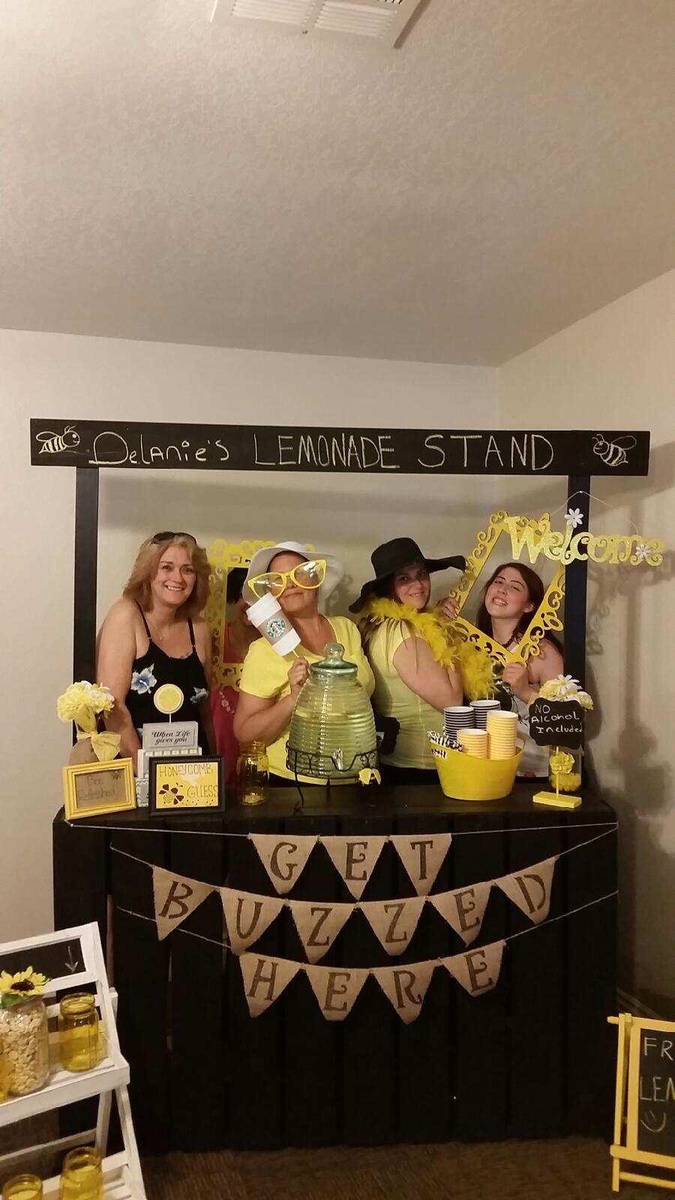
This was a fun project... i really enjoyed it! It was my first time staining, so I learned some things, and it got a lot of compliments from customers!

I used the 2x4 outdoor sofa plans. Finished with a Shou sugi Ban and few coats of outdoor finish. The build was pretty simple for a rookie wood worker! Thanks 🙏🏾
Tue, 10/05/2021 - 11:05
Way to go, looks very professional, thank you so much for sharing!
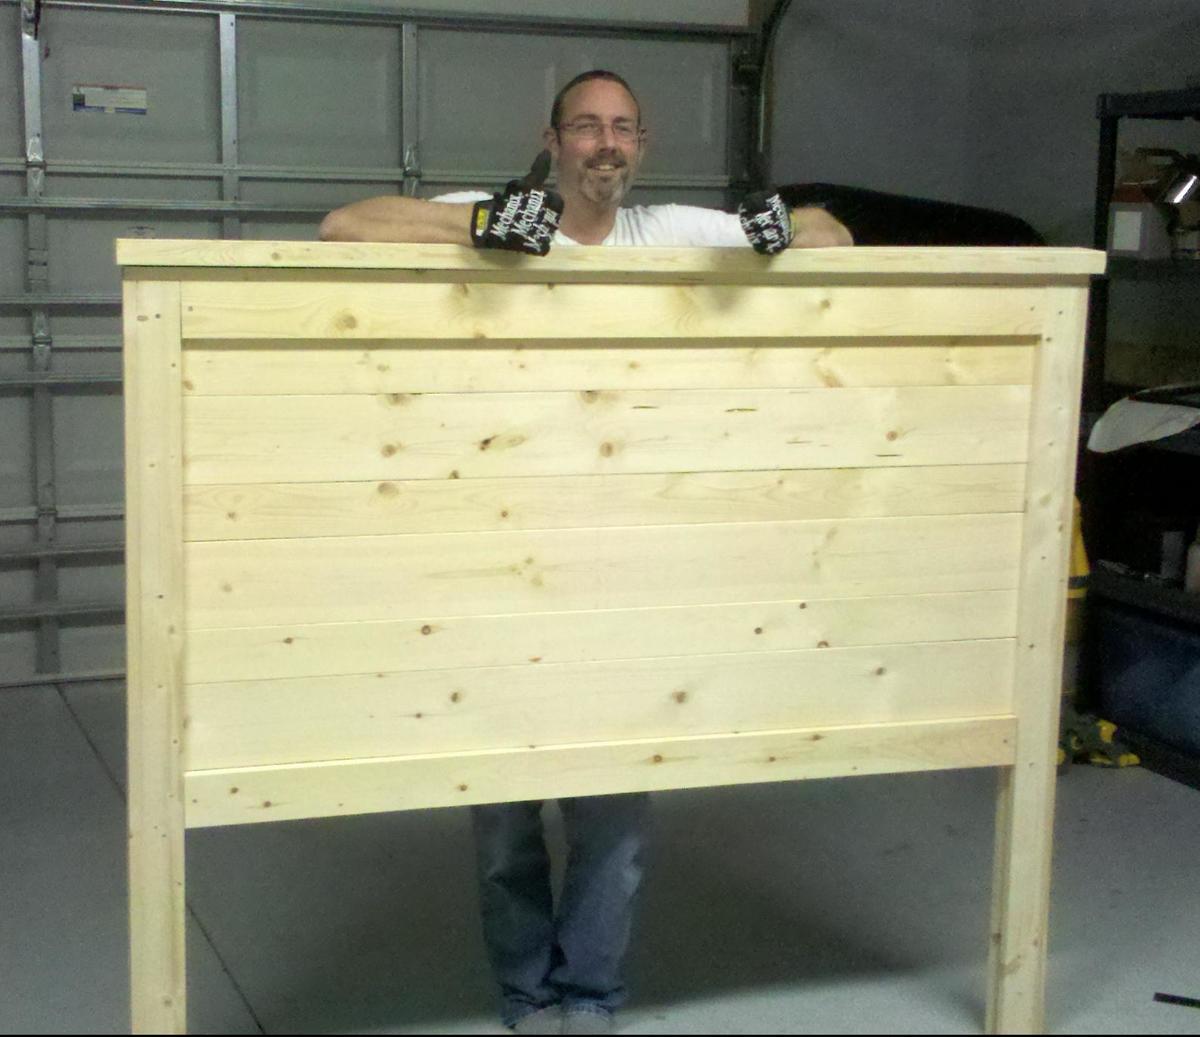
For our guest room redesign, Brian and I made the Farmhouse headboard in pine. It took less than an hour to cut all the boards and begin assembly. We stained the headboard in a dark walnut. For less than $100, I got EXACTLY what I wanted!
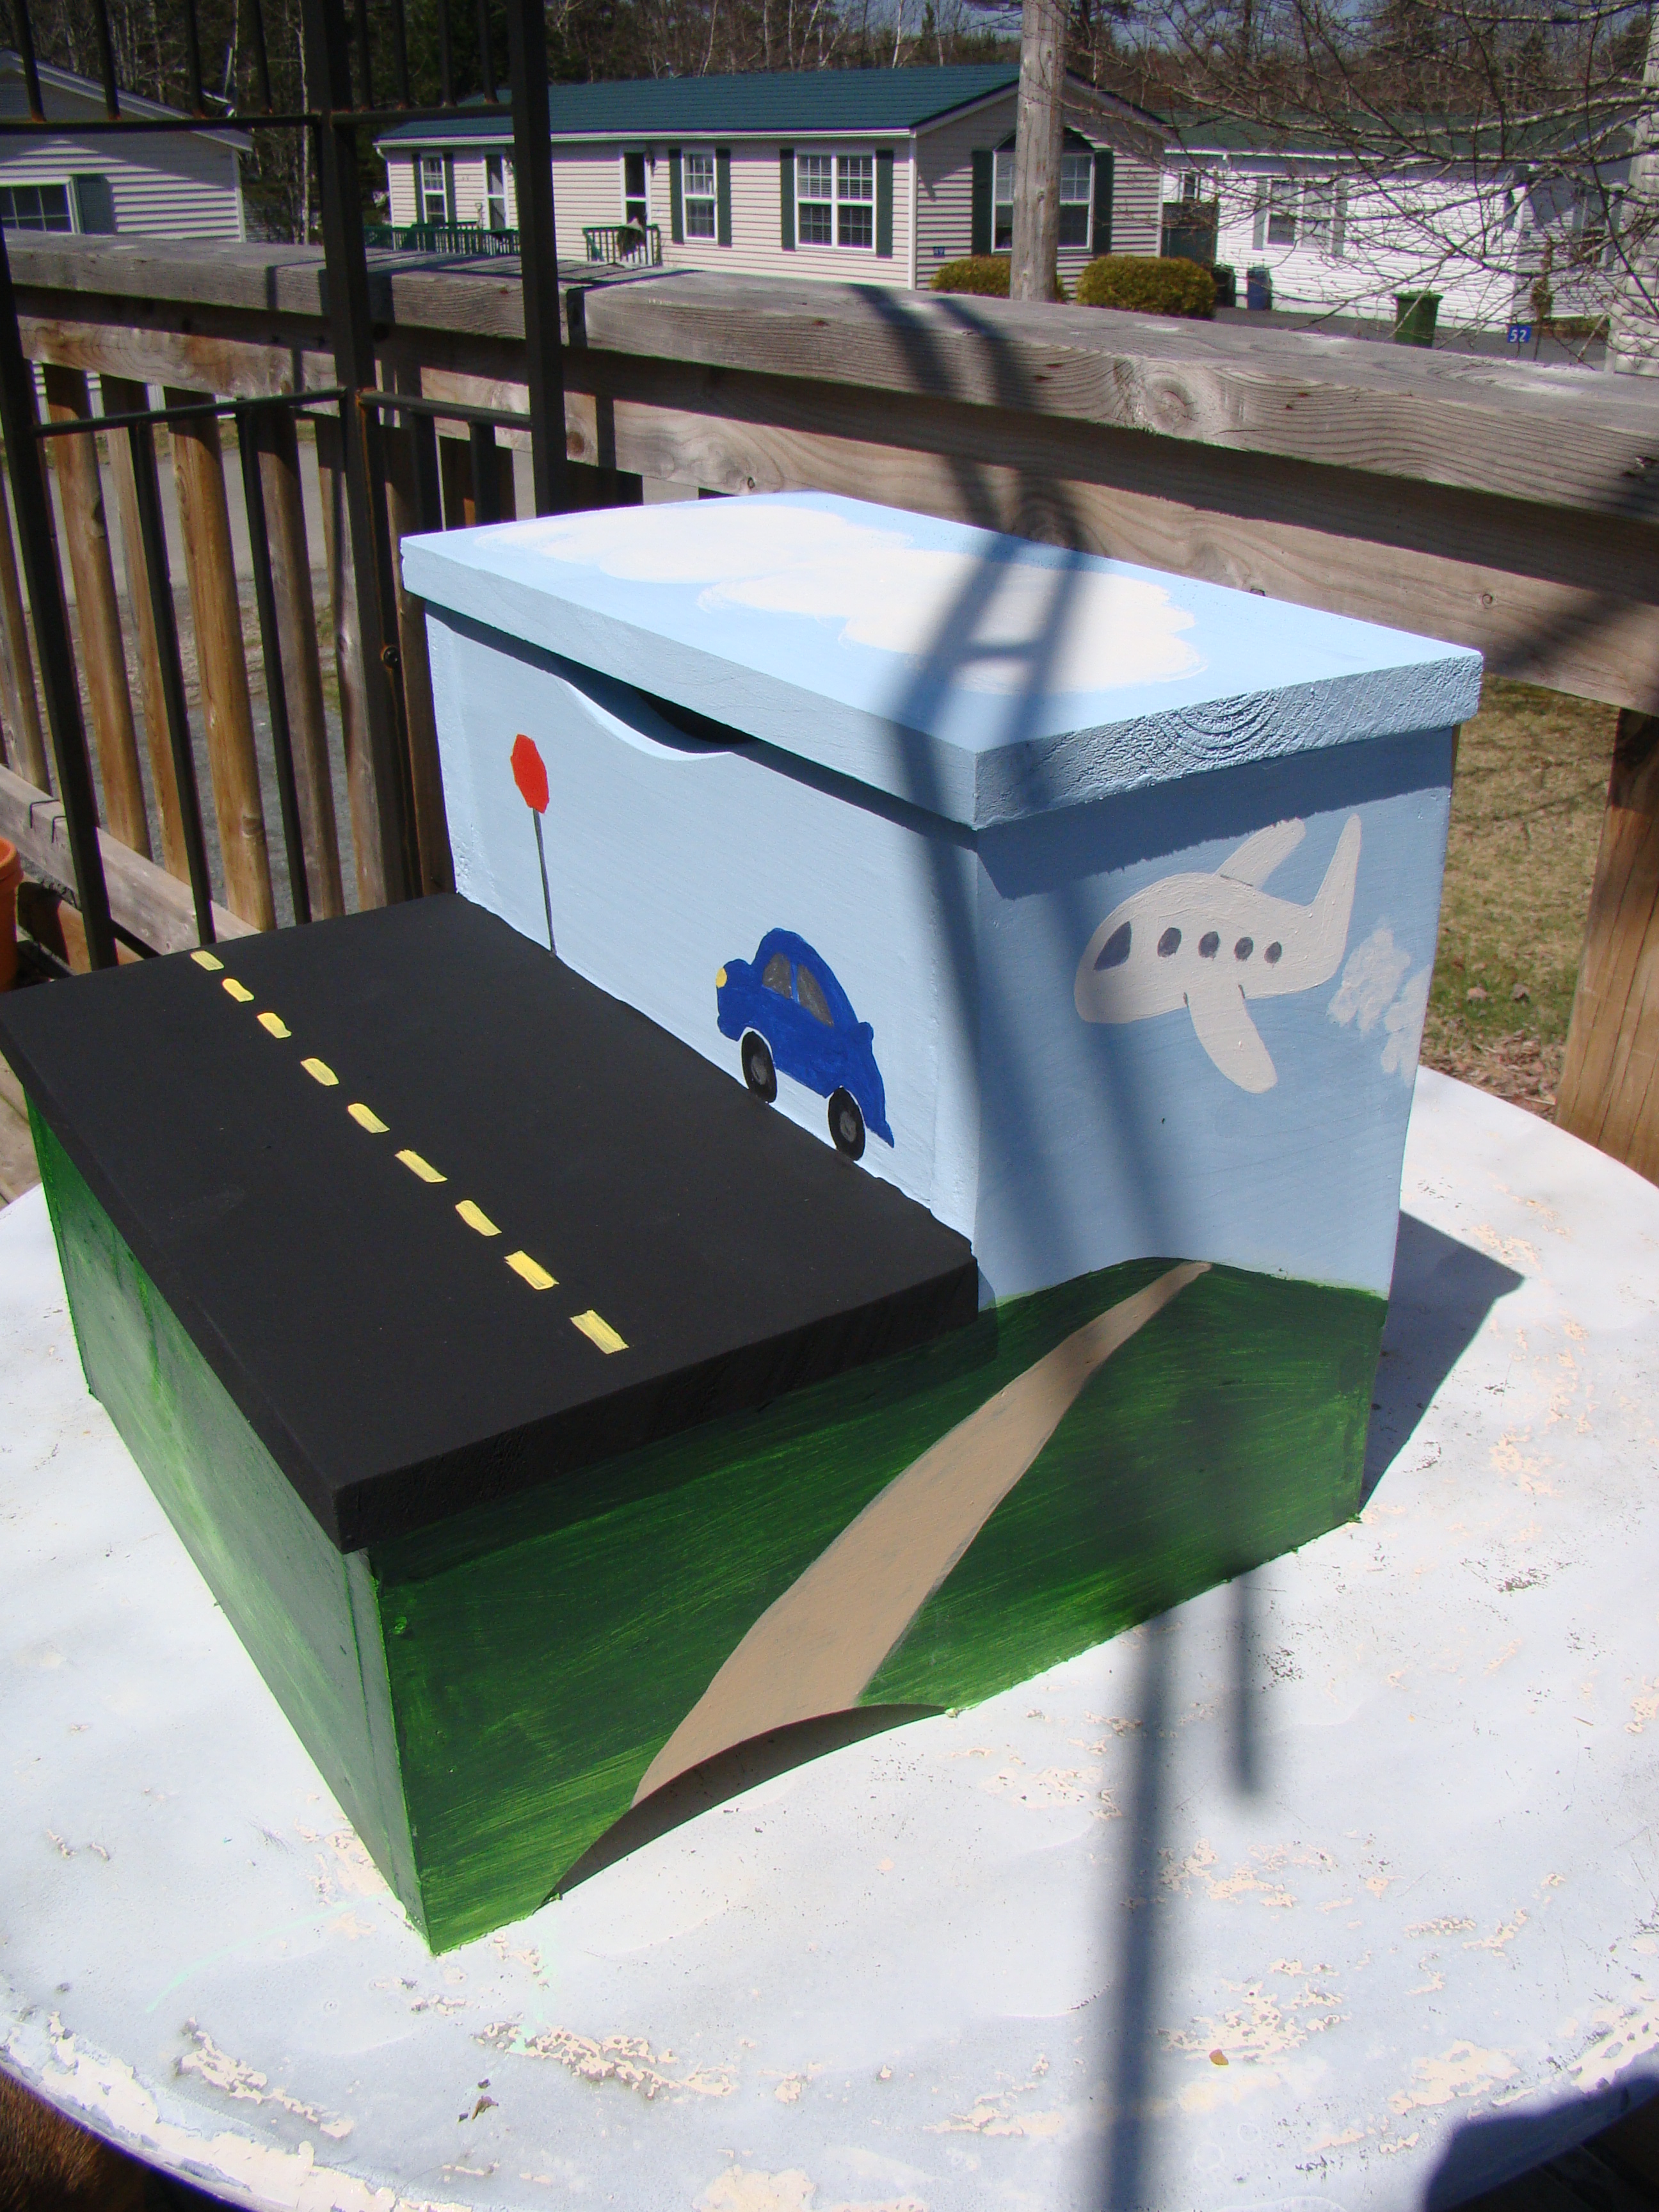
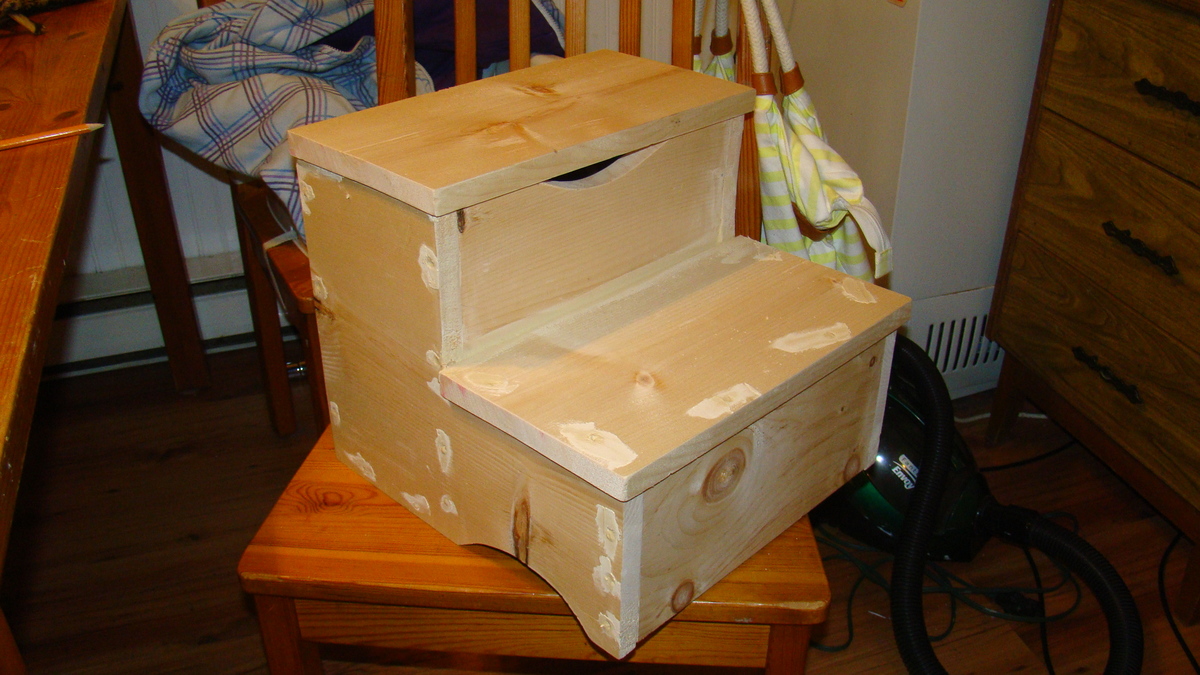
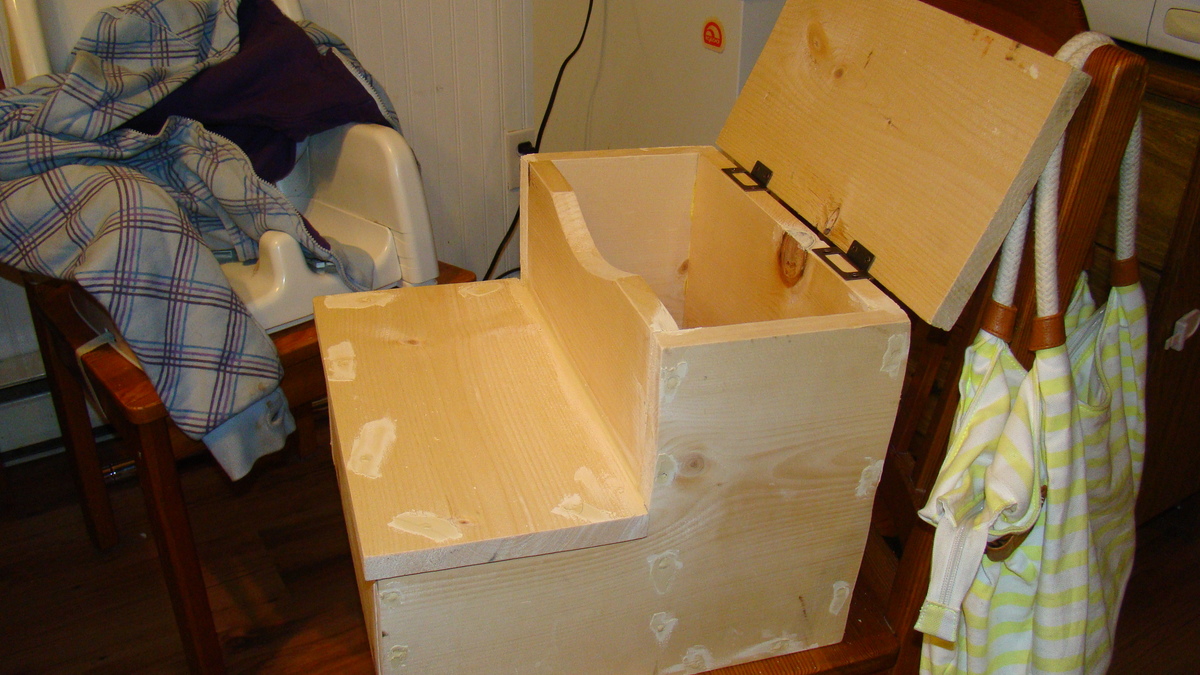
My first project from this site! It was a blast to make, and my 2.5 yr old son can now reach the sink to wash his hands.
Cutest plan ever
Instead of the double handles I went for a center handle. Little darker stain than what's posted.
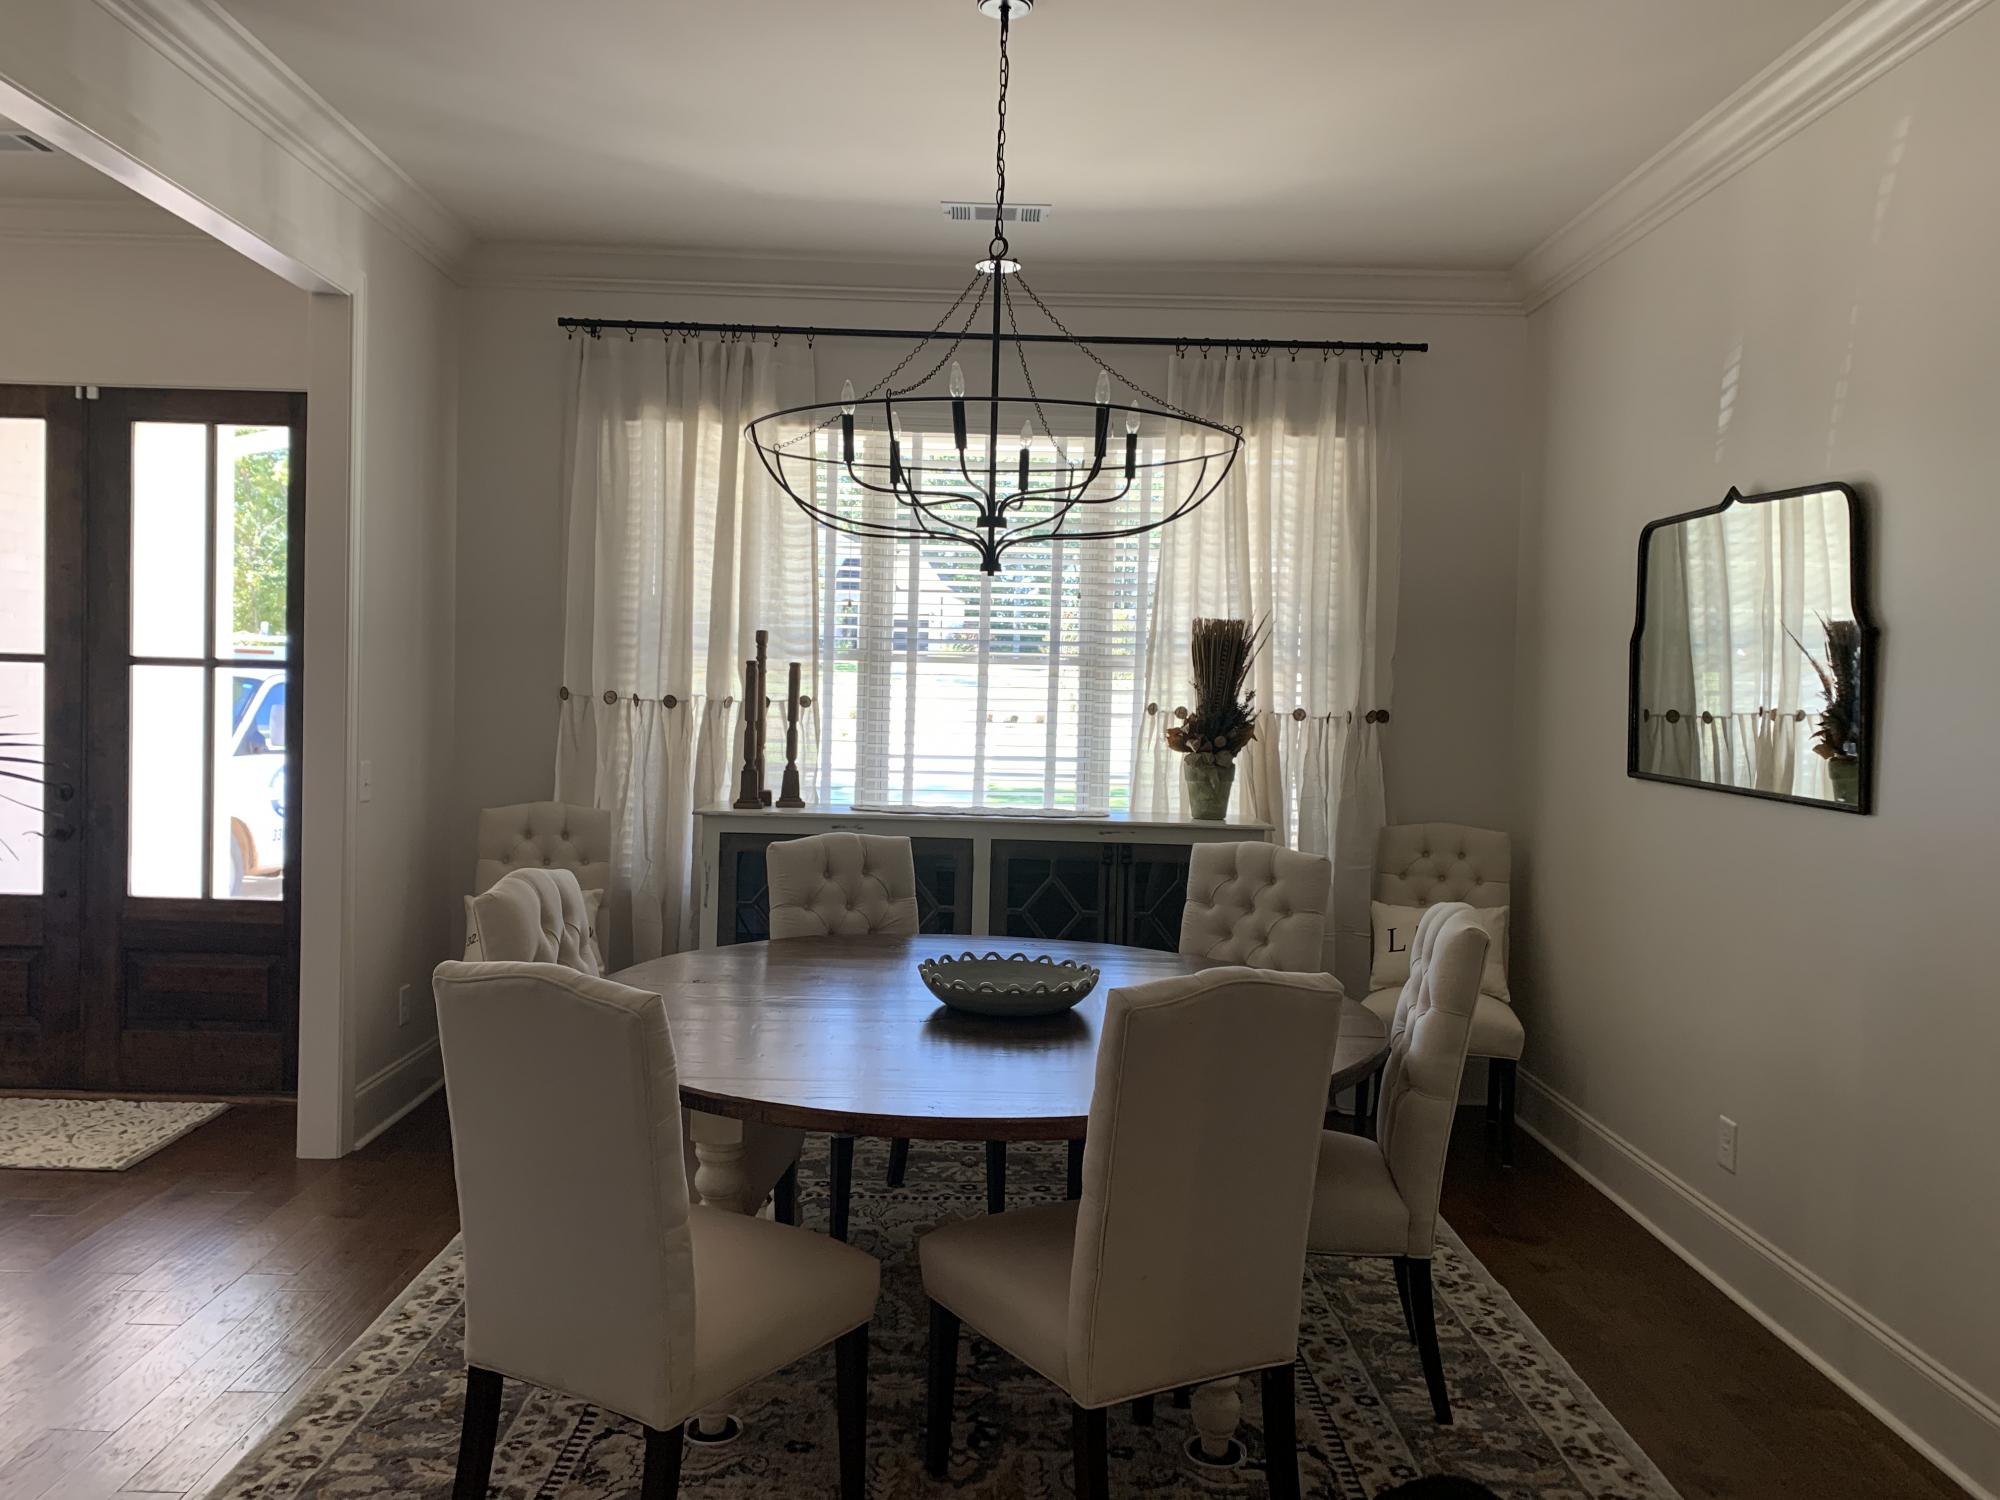
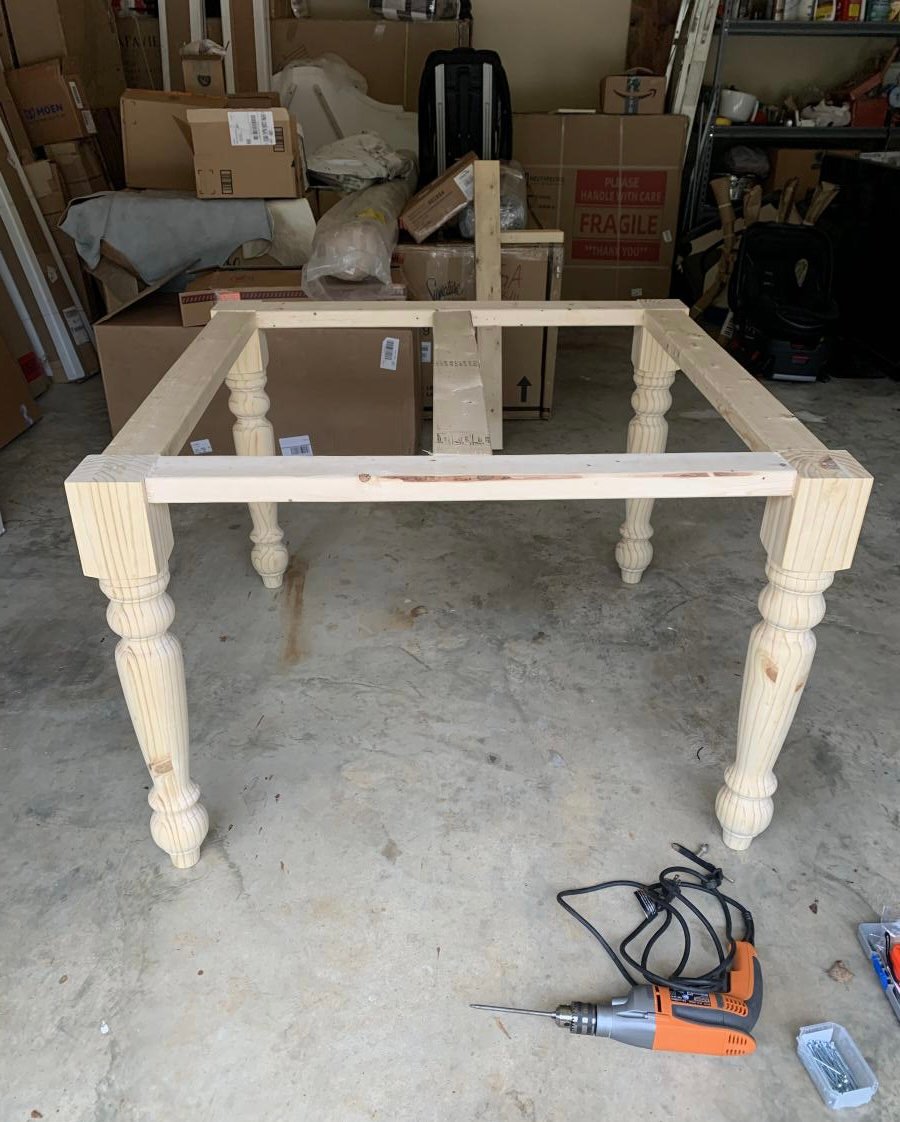
I wanted a 72” round dining’s table for my new home and found your video online. It was not easy to cut a circle, but it was easier than I thought it would be! I’m so happy with the finished product. I used turned legs with a square base instead of the pedestal shown. Have had so many compliments already and it looks fantastic in the space.
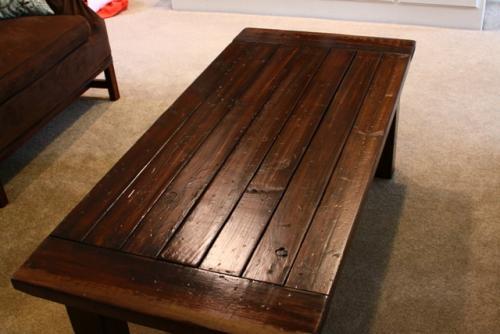
This was my second project and was a little easier than the outdoor bench, since they were all straight cuts. The most time consuming process is the staining.
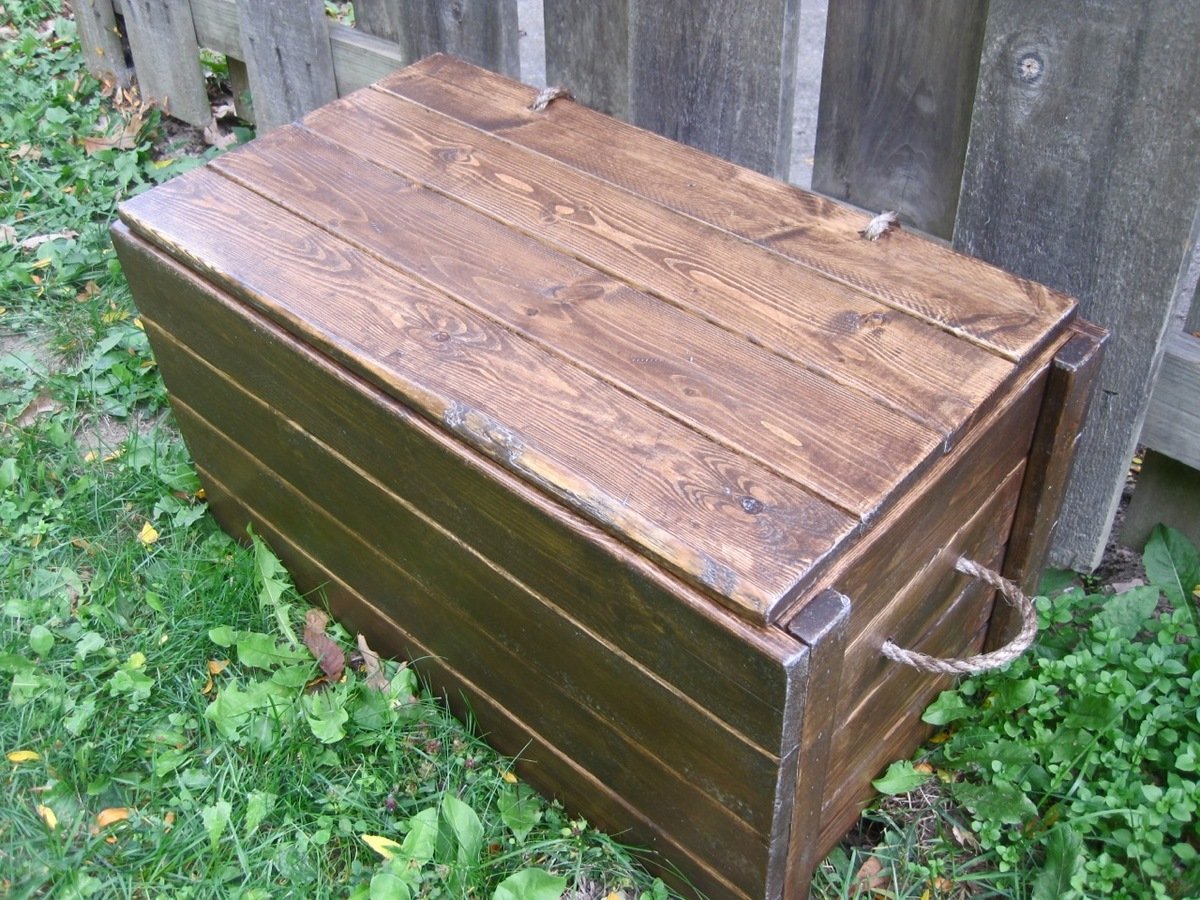
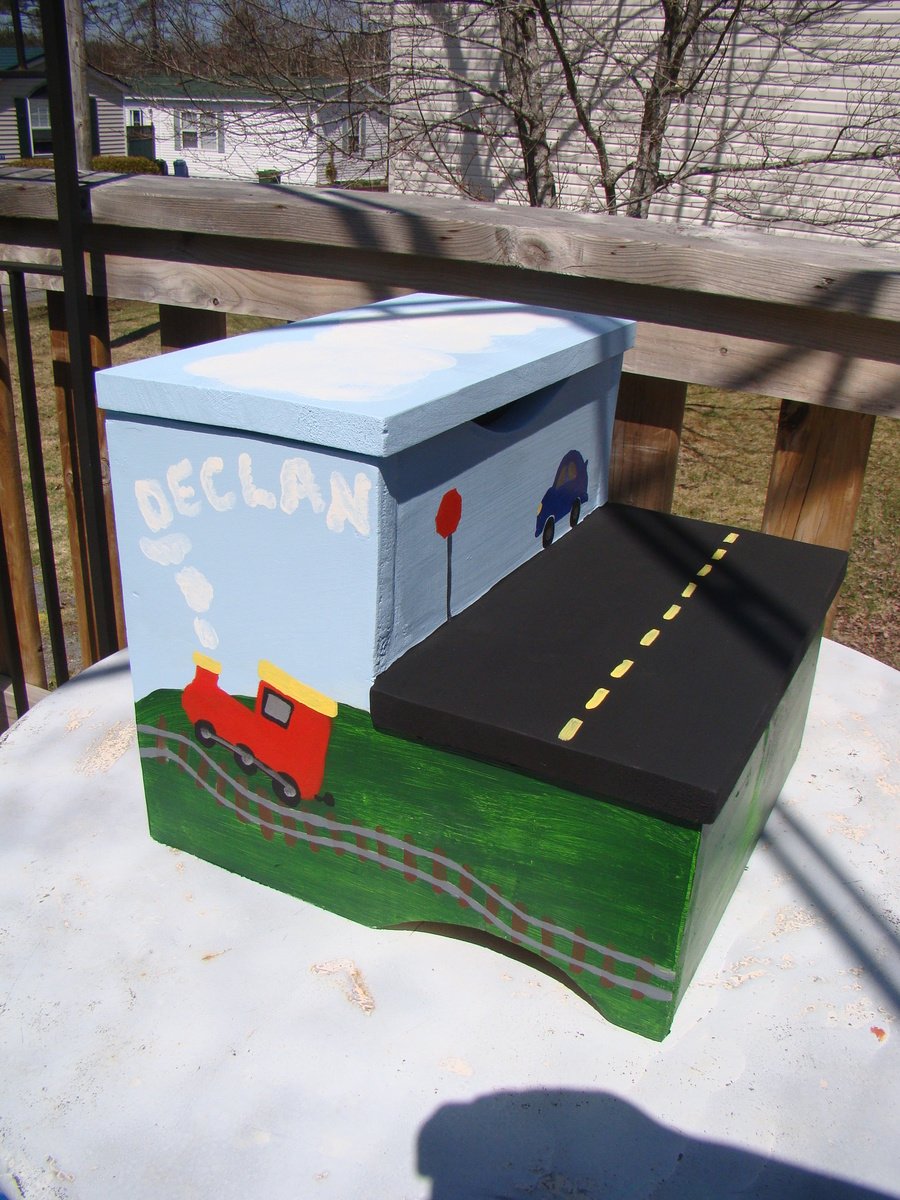
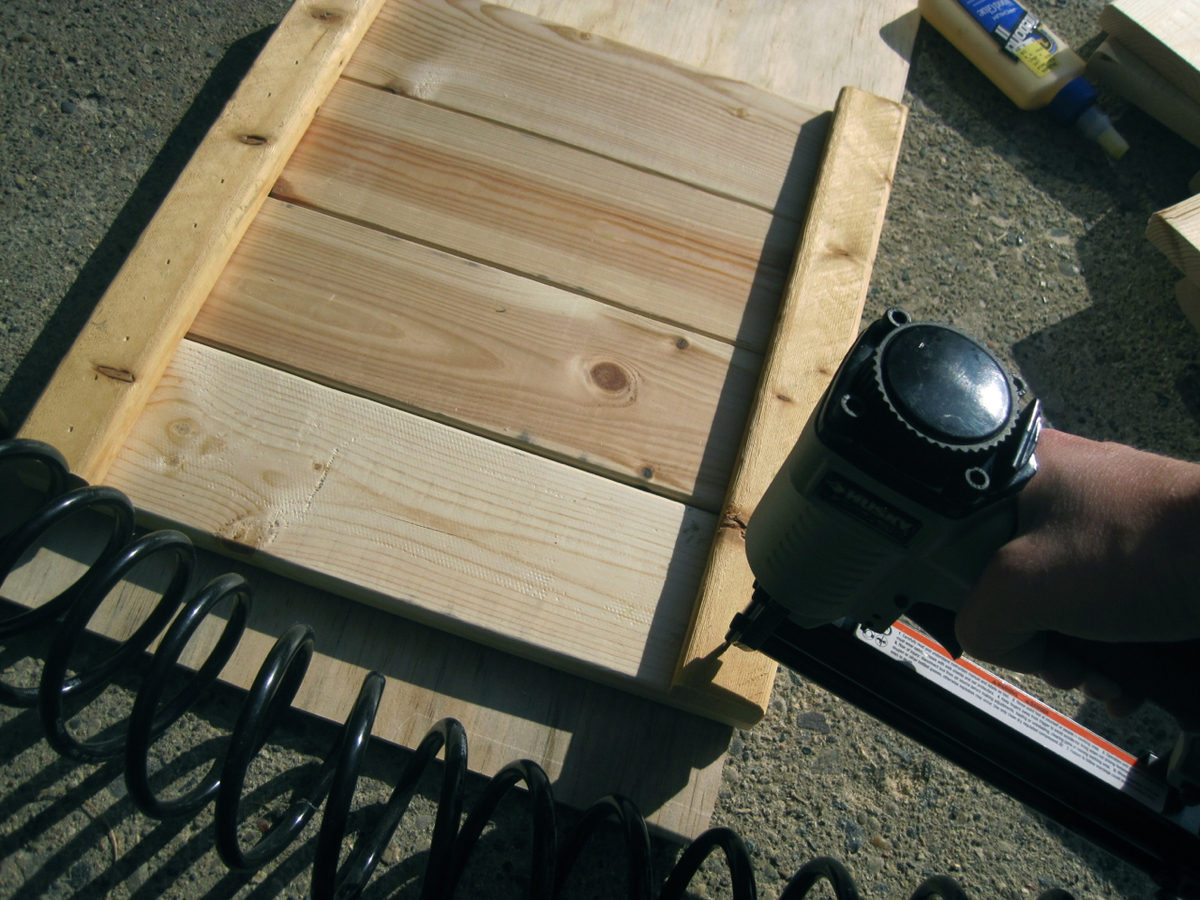
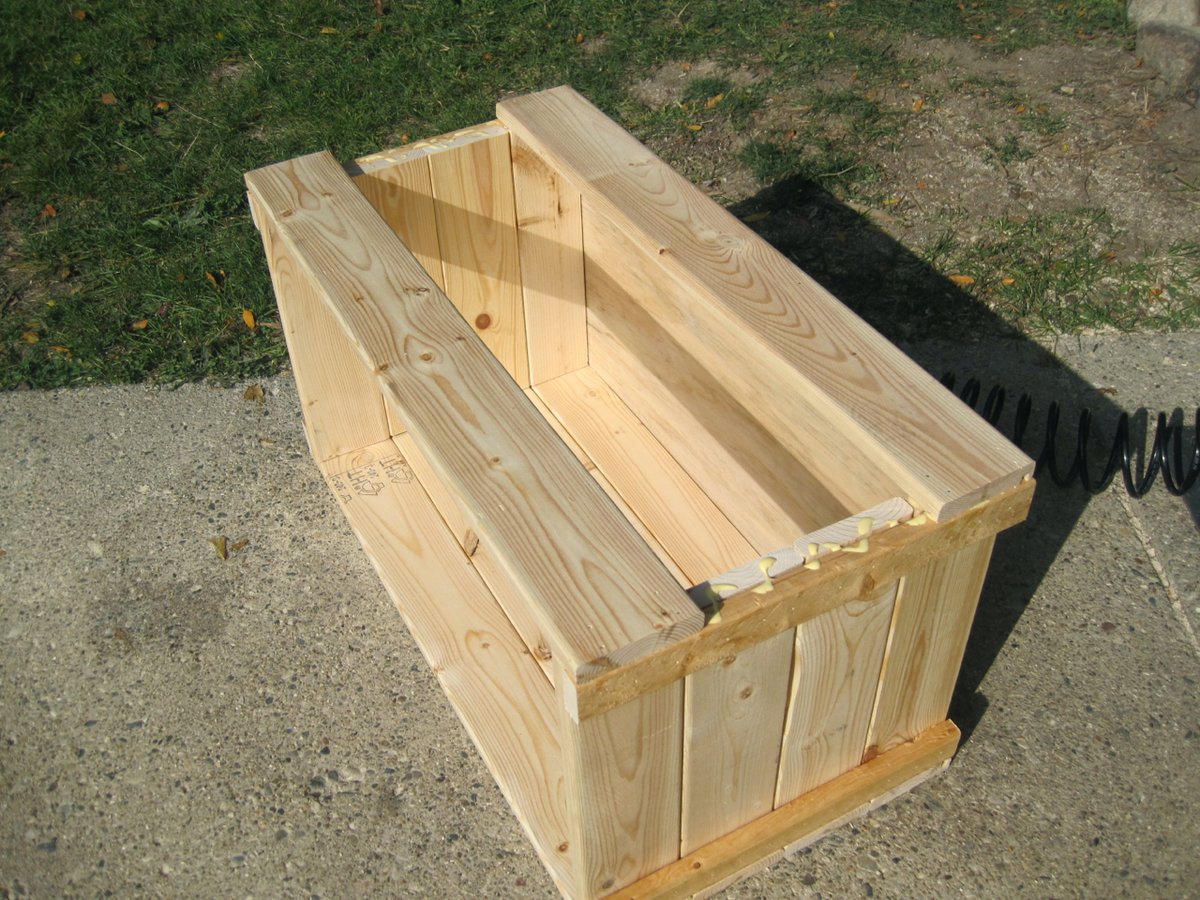
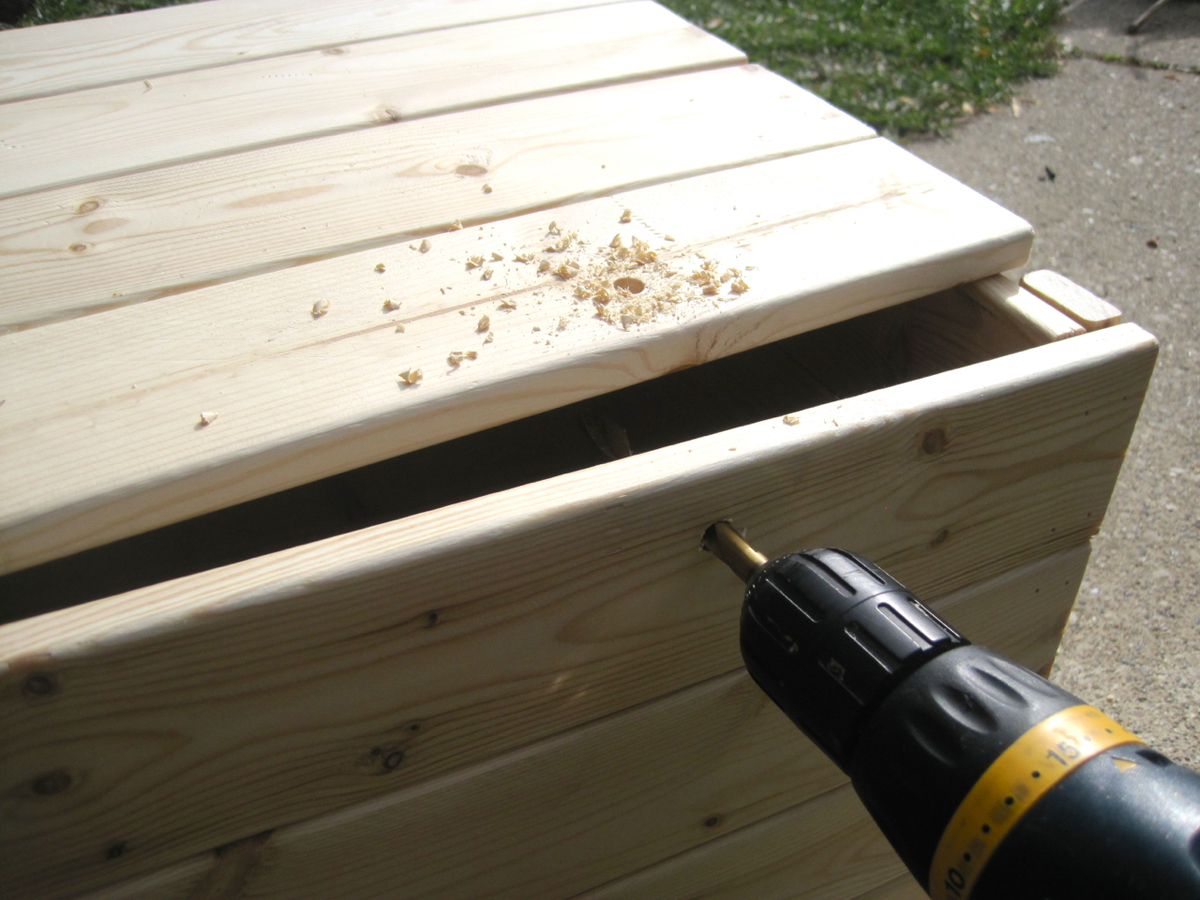
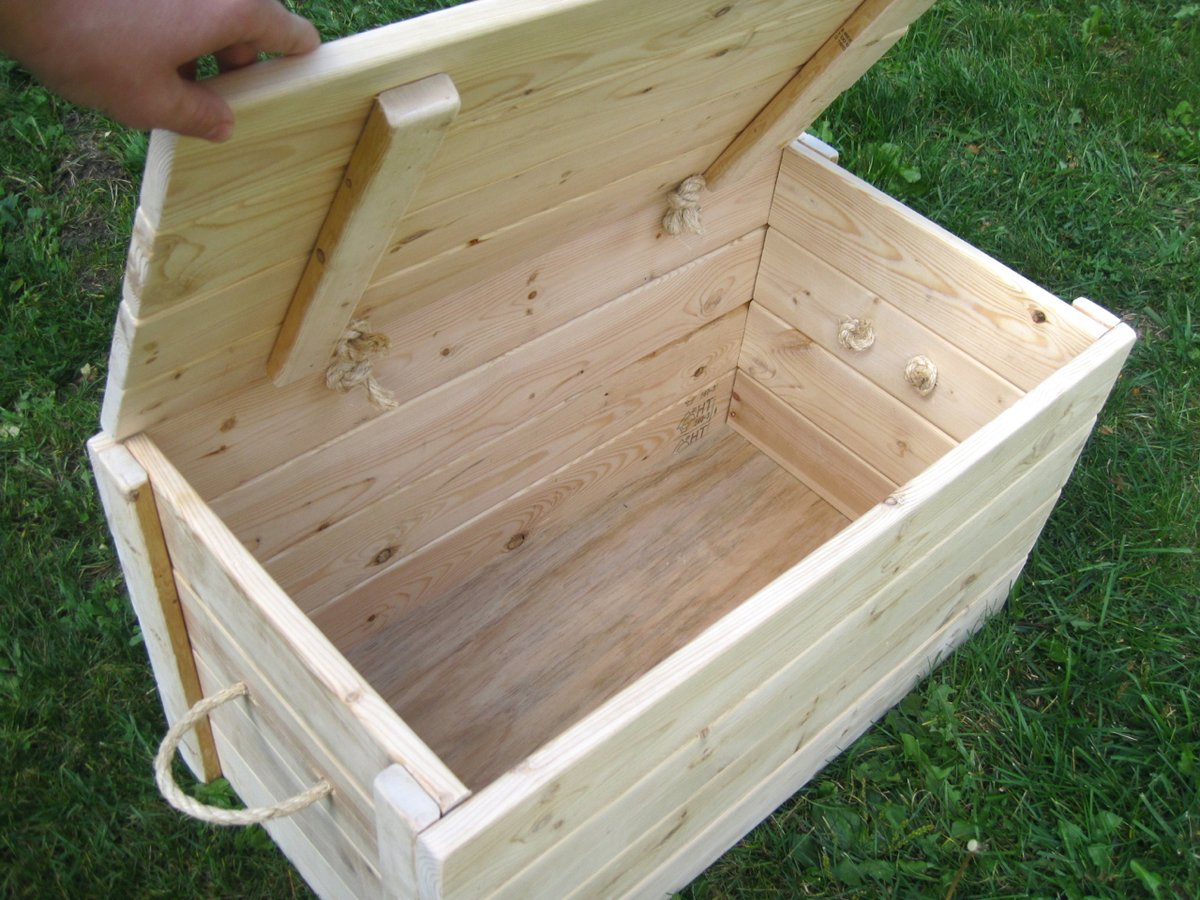
I wanted a large chest to store toys, books or blankets. I wanted it to be cheap to build and be rustic. This project turned out perfectly! I used 2" and 4"-wide furring strips and rope for the hinges and handles. I used 1/4" plywood for the bottom and made a groove with the router for it to slide into while assembling. I helped 16 girls make these who had no previous experience and they loved it!
Fri, 12/27/2013 - 06:21
Can you provide a lumber list for this? I know you said you used 2x4 but the lumber I see in the photo doesn't look like 2x4.
Thanks,
Ben

In reply to Lumber list by benjaminrogers
Fri, 12/27/2013 - 07:17
Hi Ben!
I used 1x4's and 1x2's. I have a shopping list and cutting list on my blog. I can't post the link here but you can click on the link where it says "Blog Link" under "About This Project"
Let me know if you have any other questions!
Fri, 12/27/2013 - 07:22
Thank you so much! Somehow I missed the link!
Ben
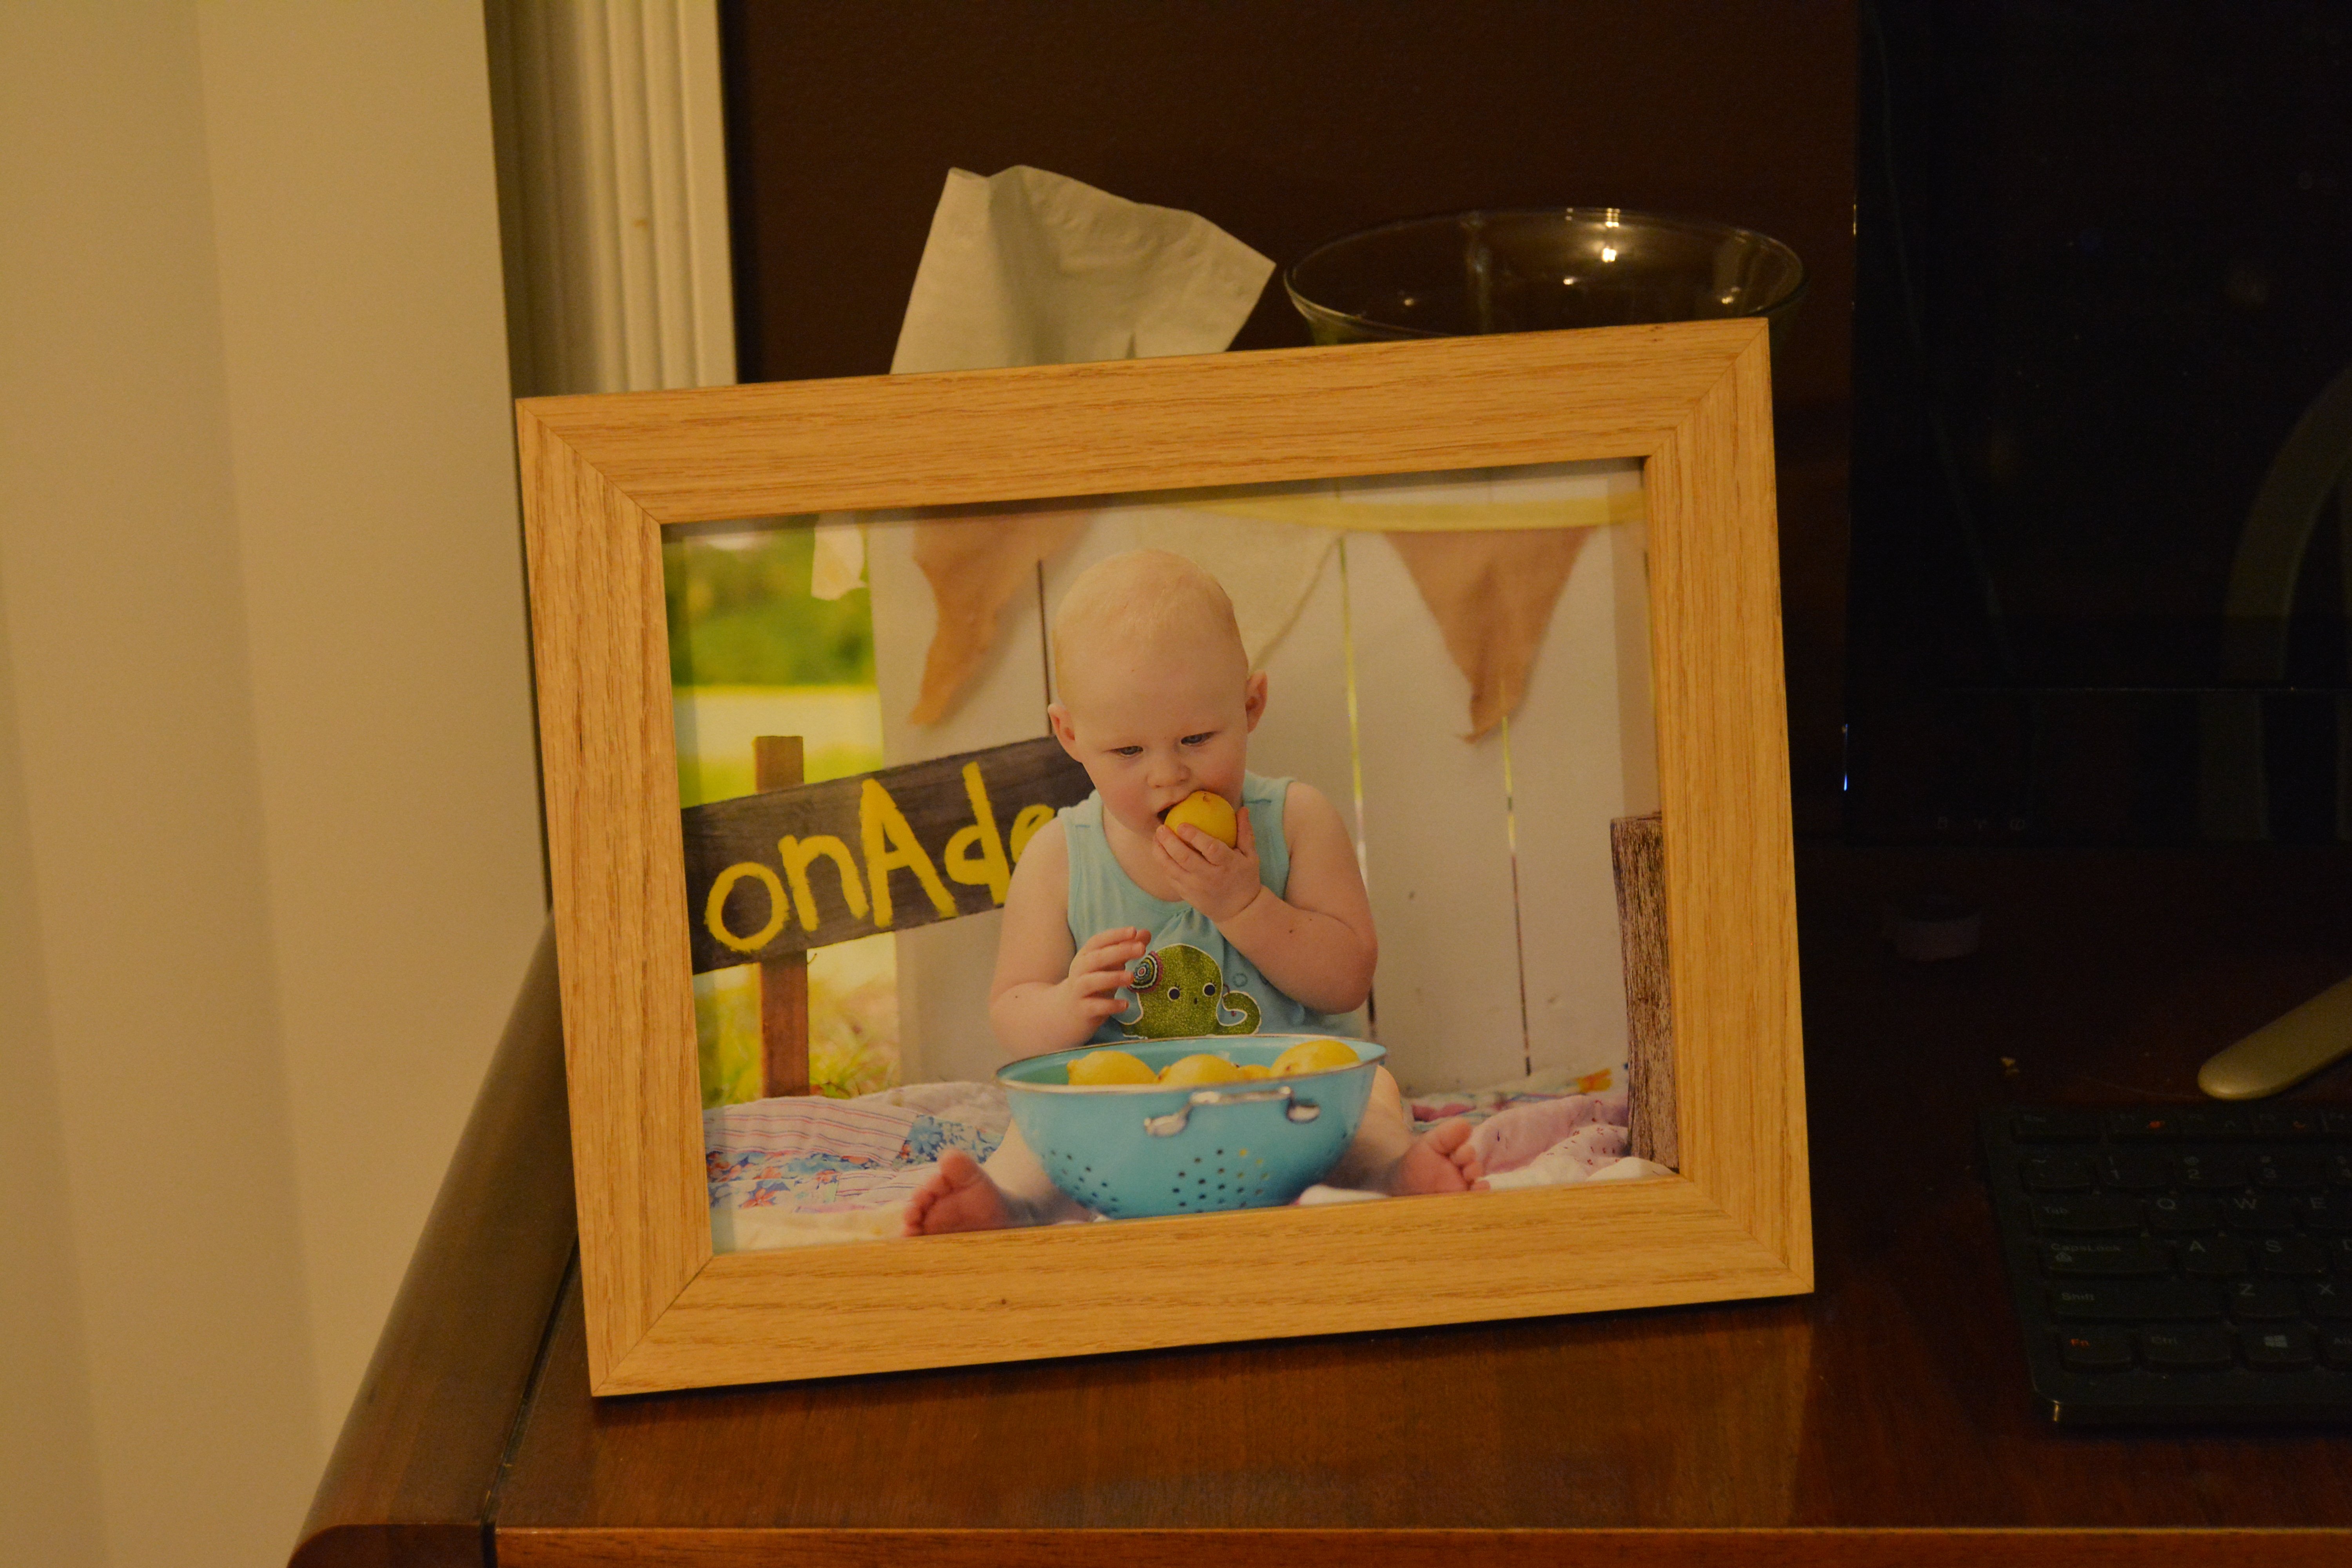
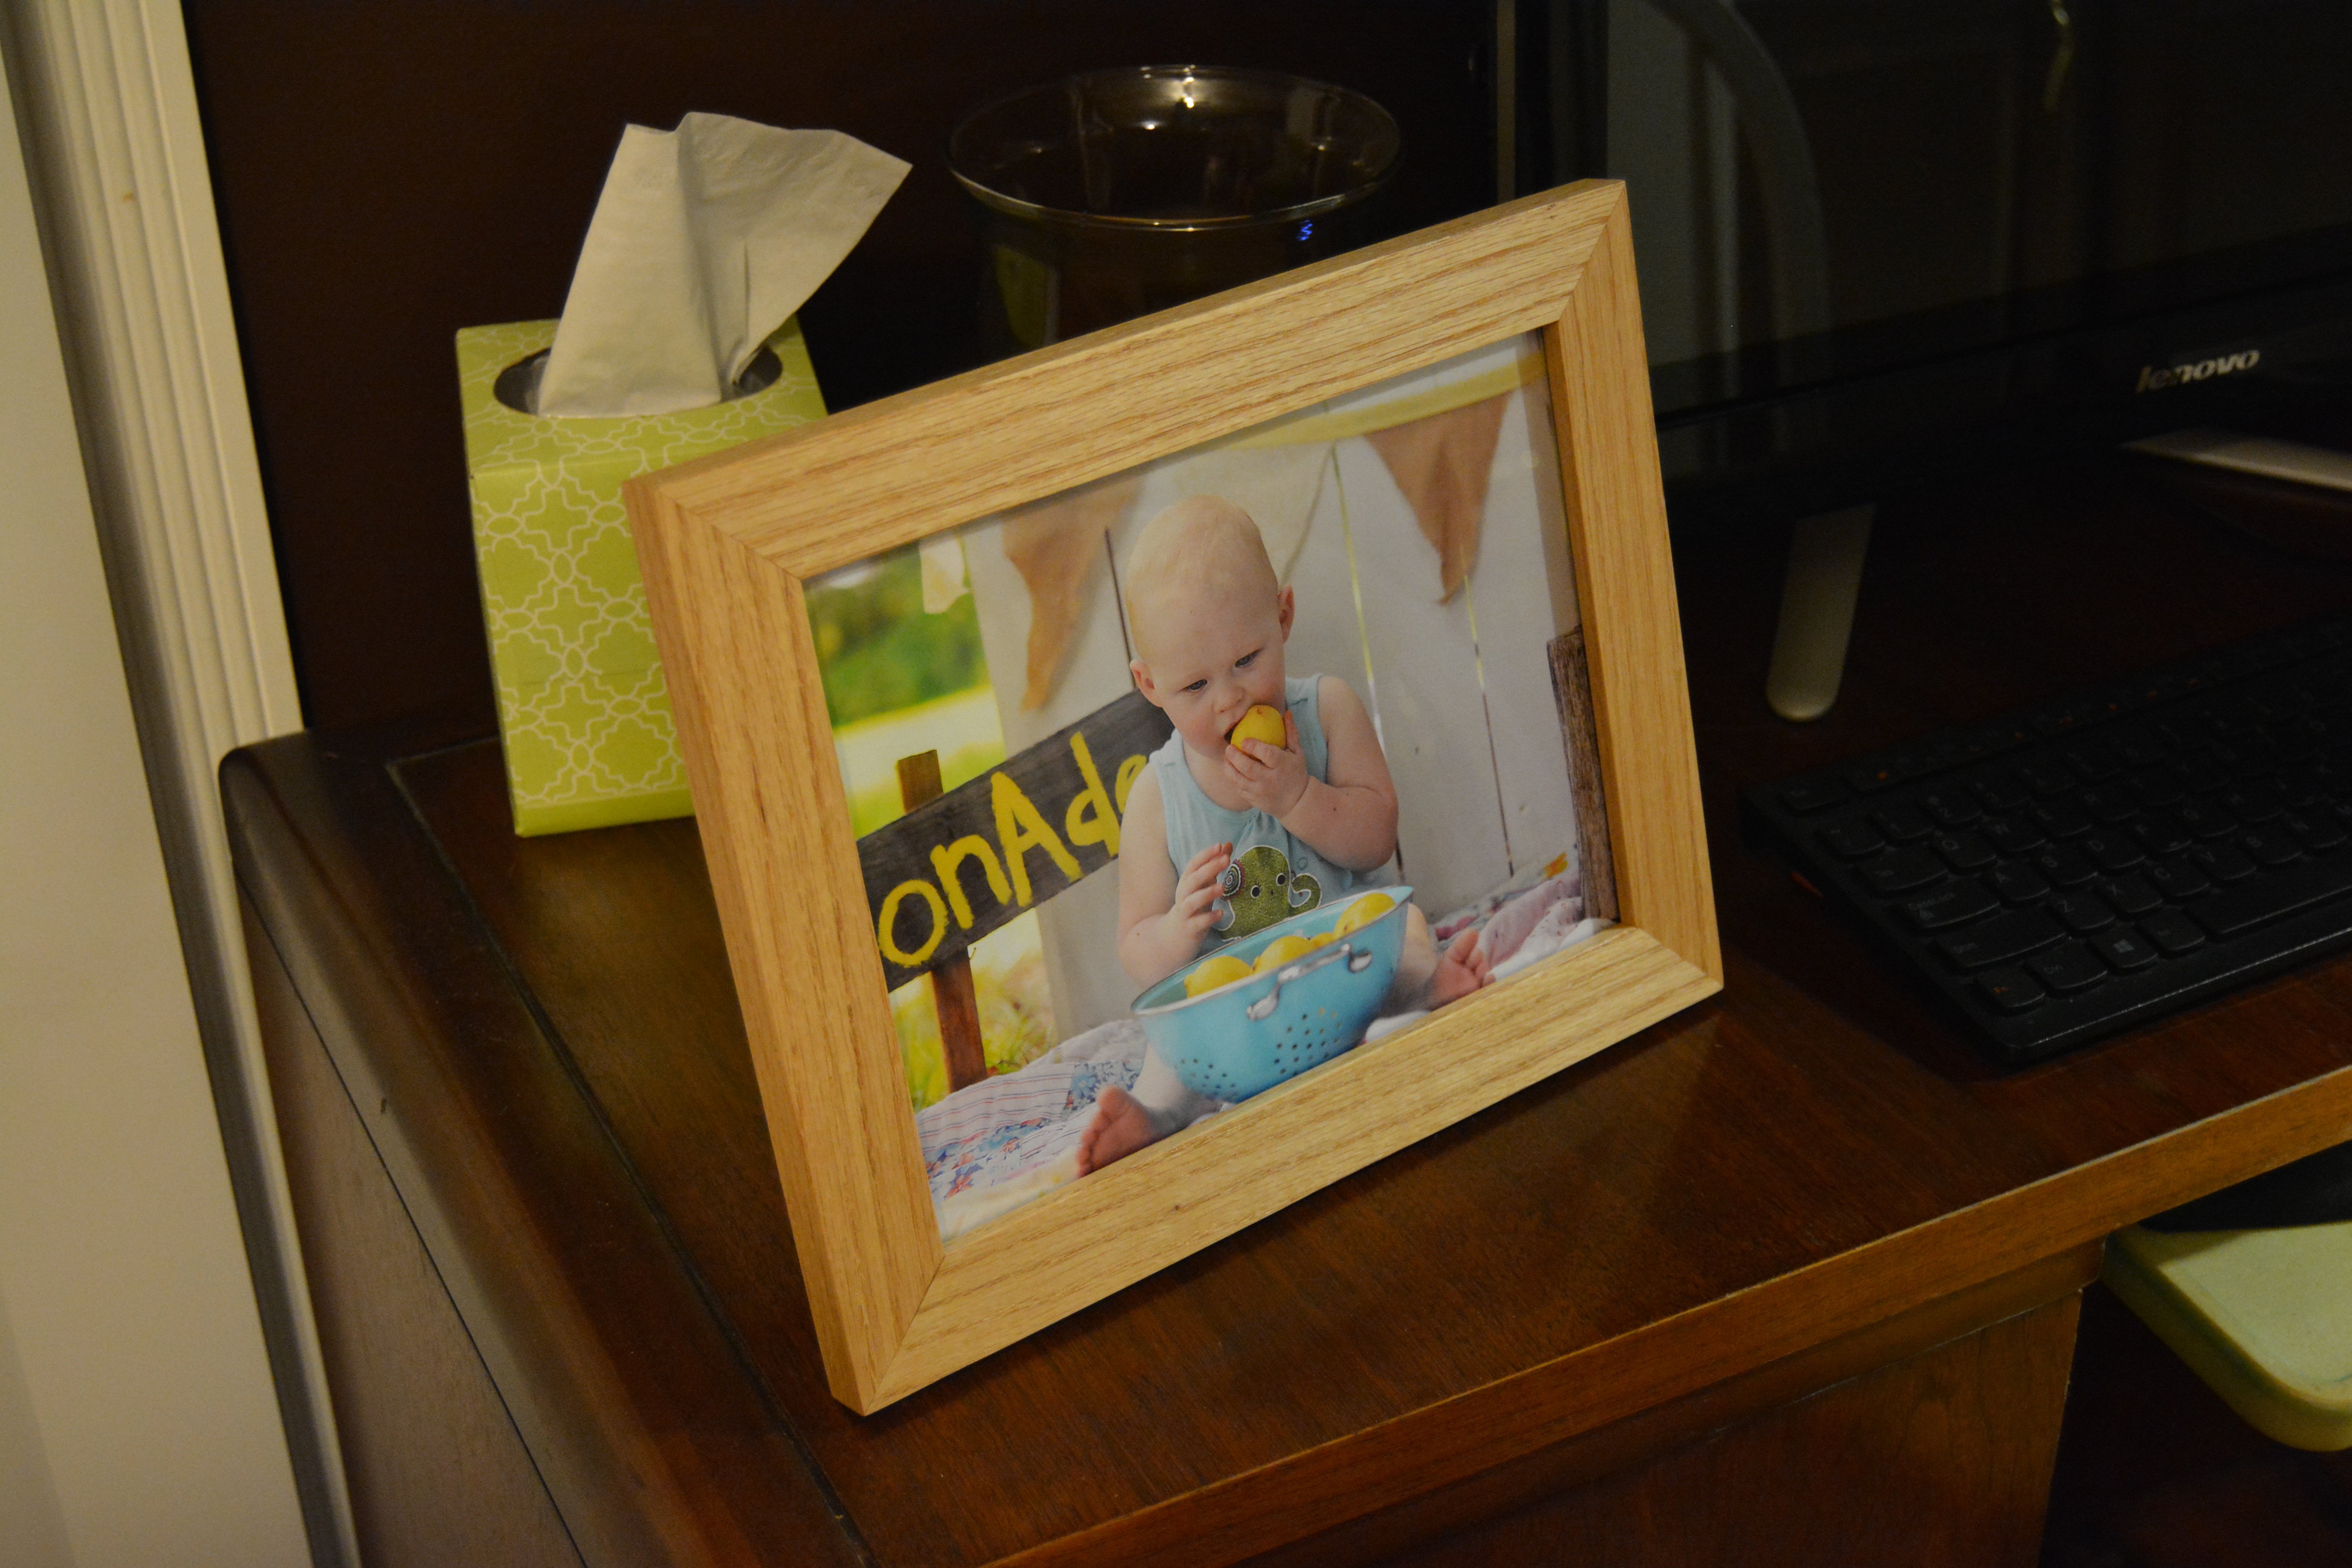
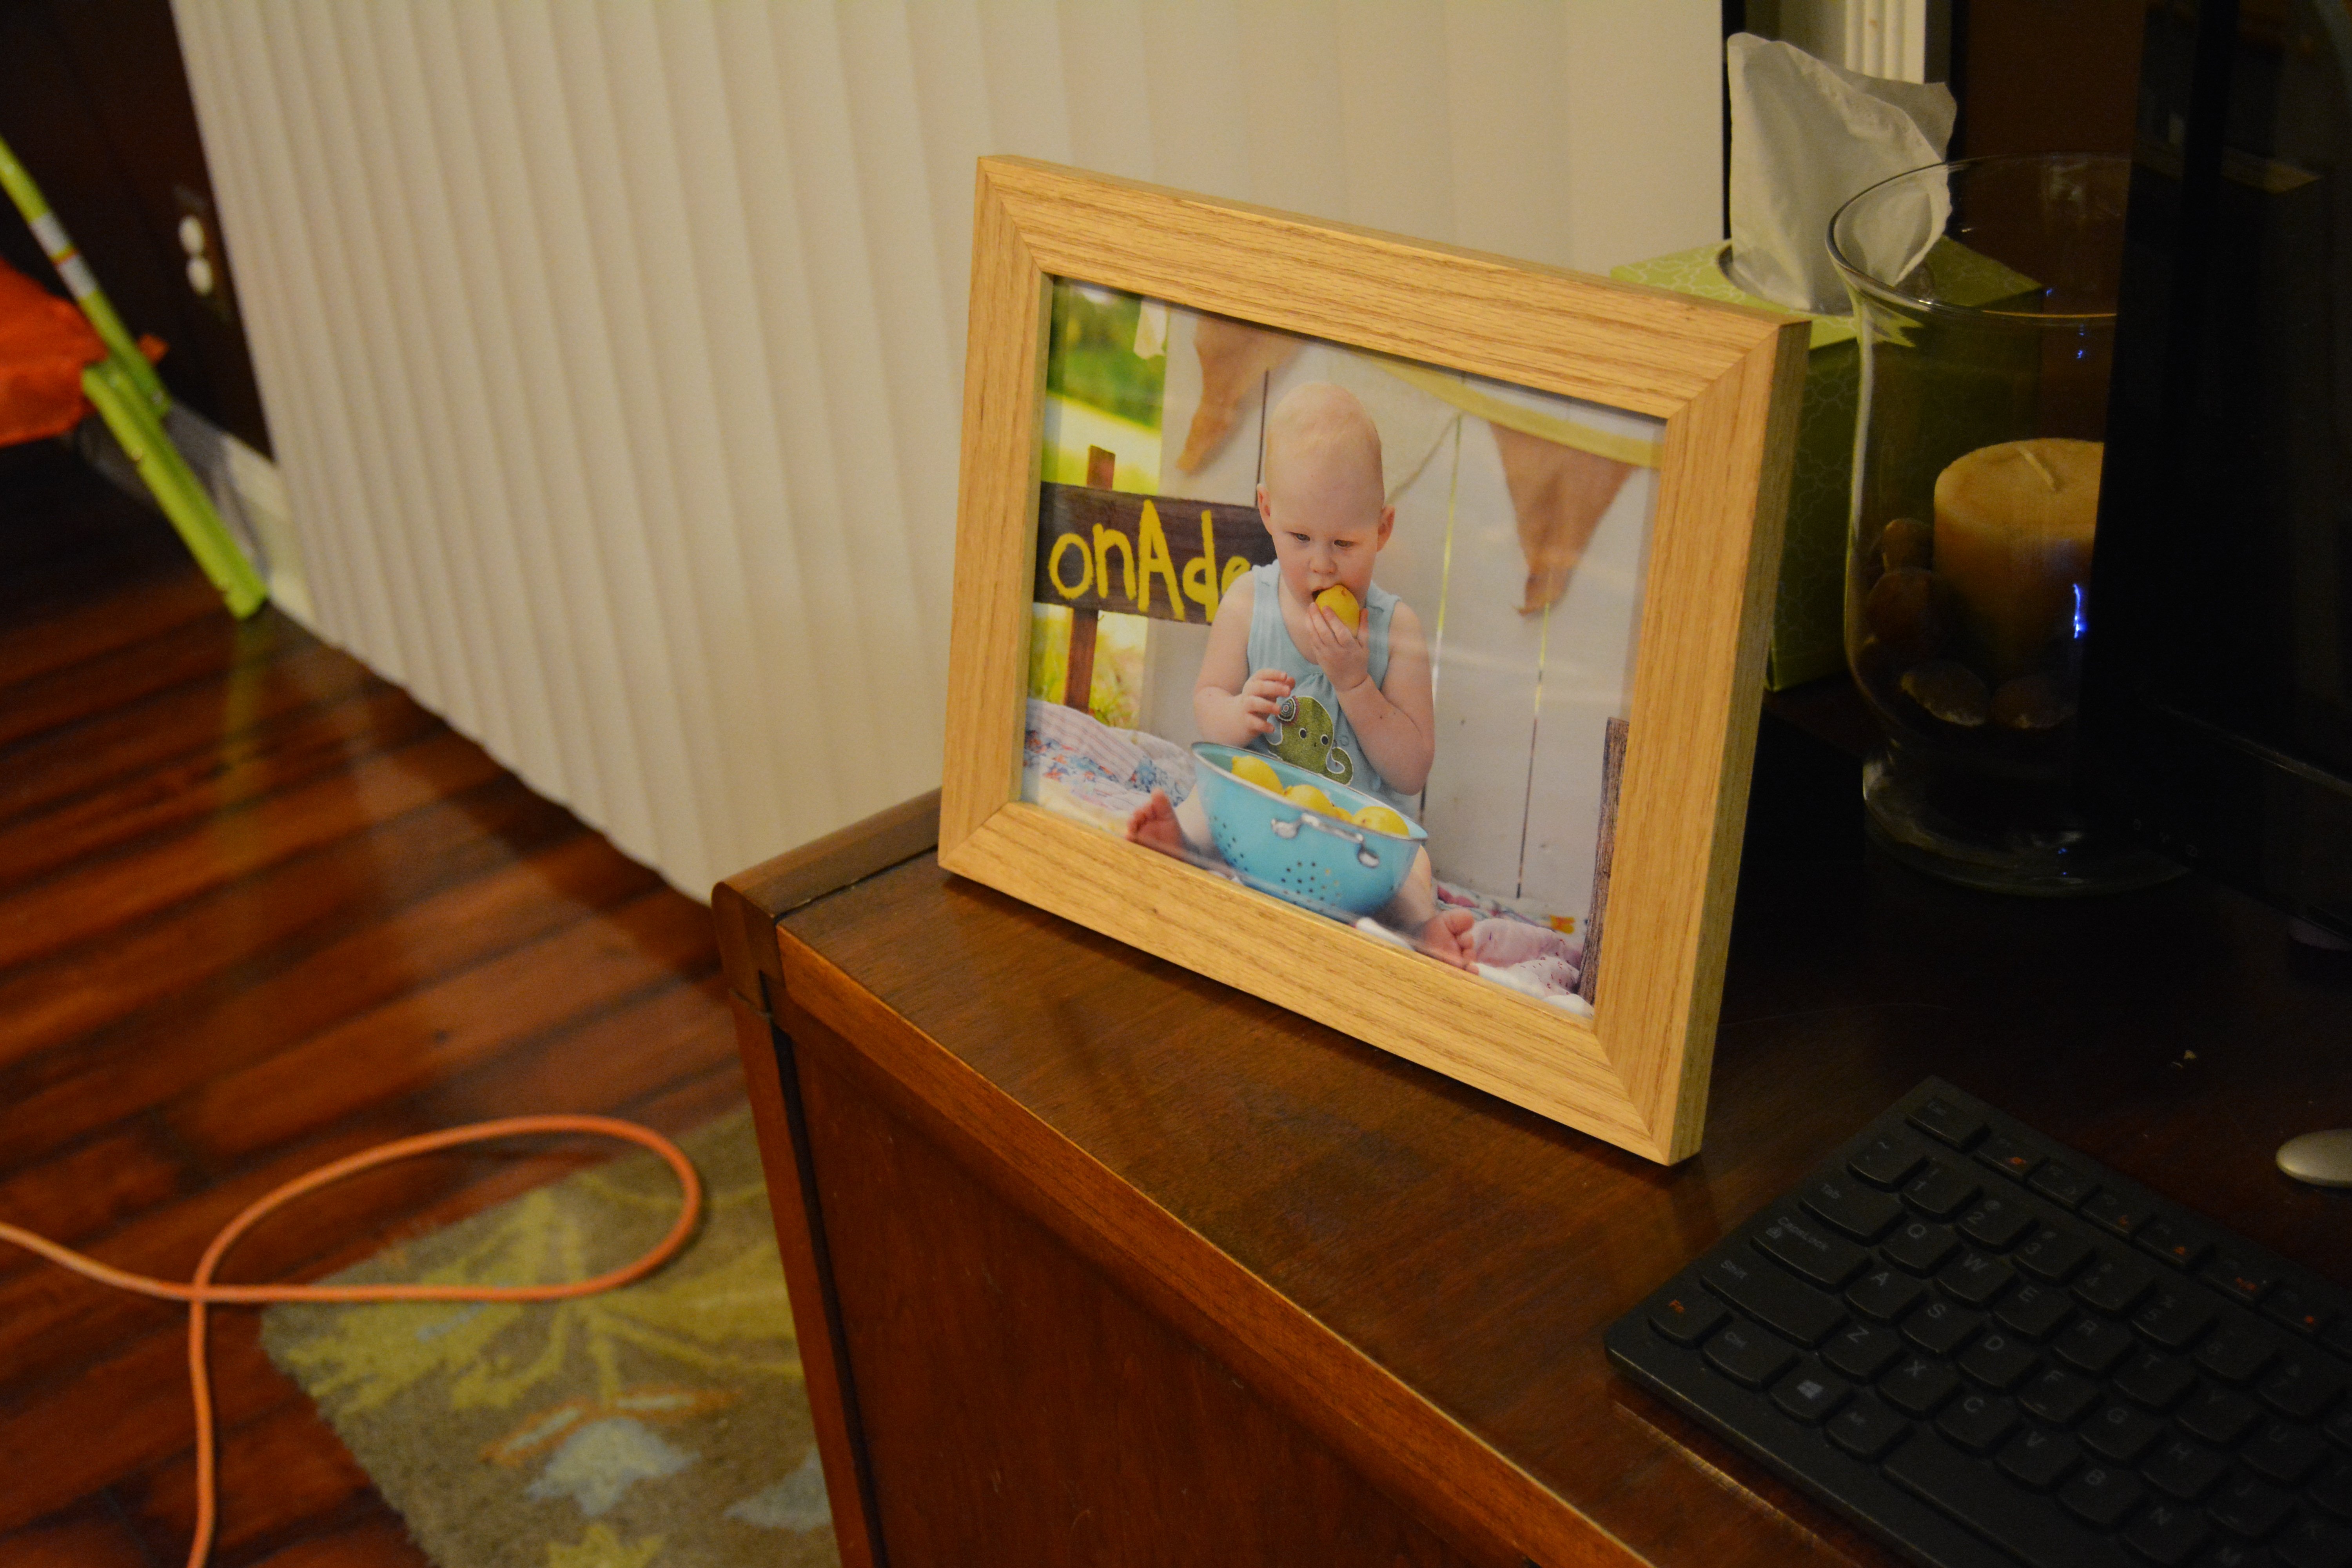
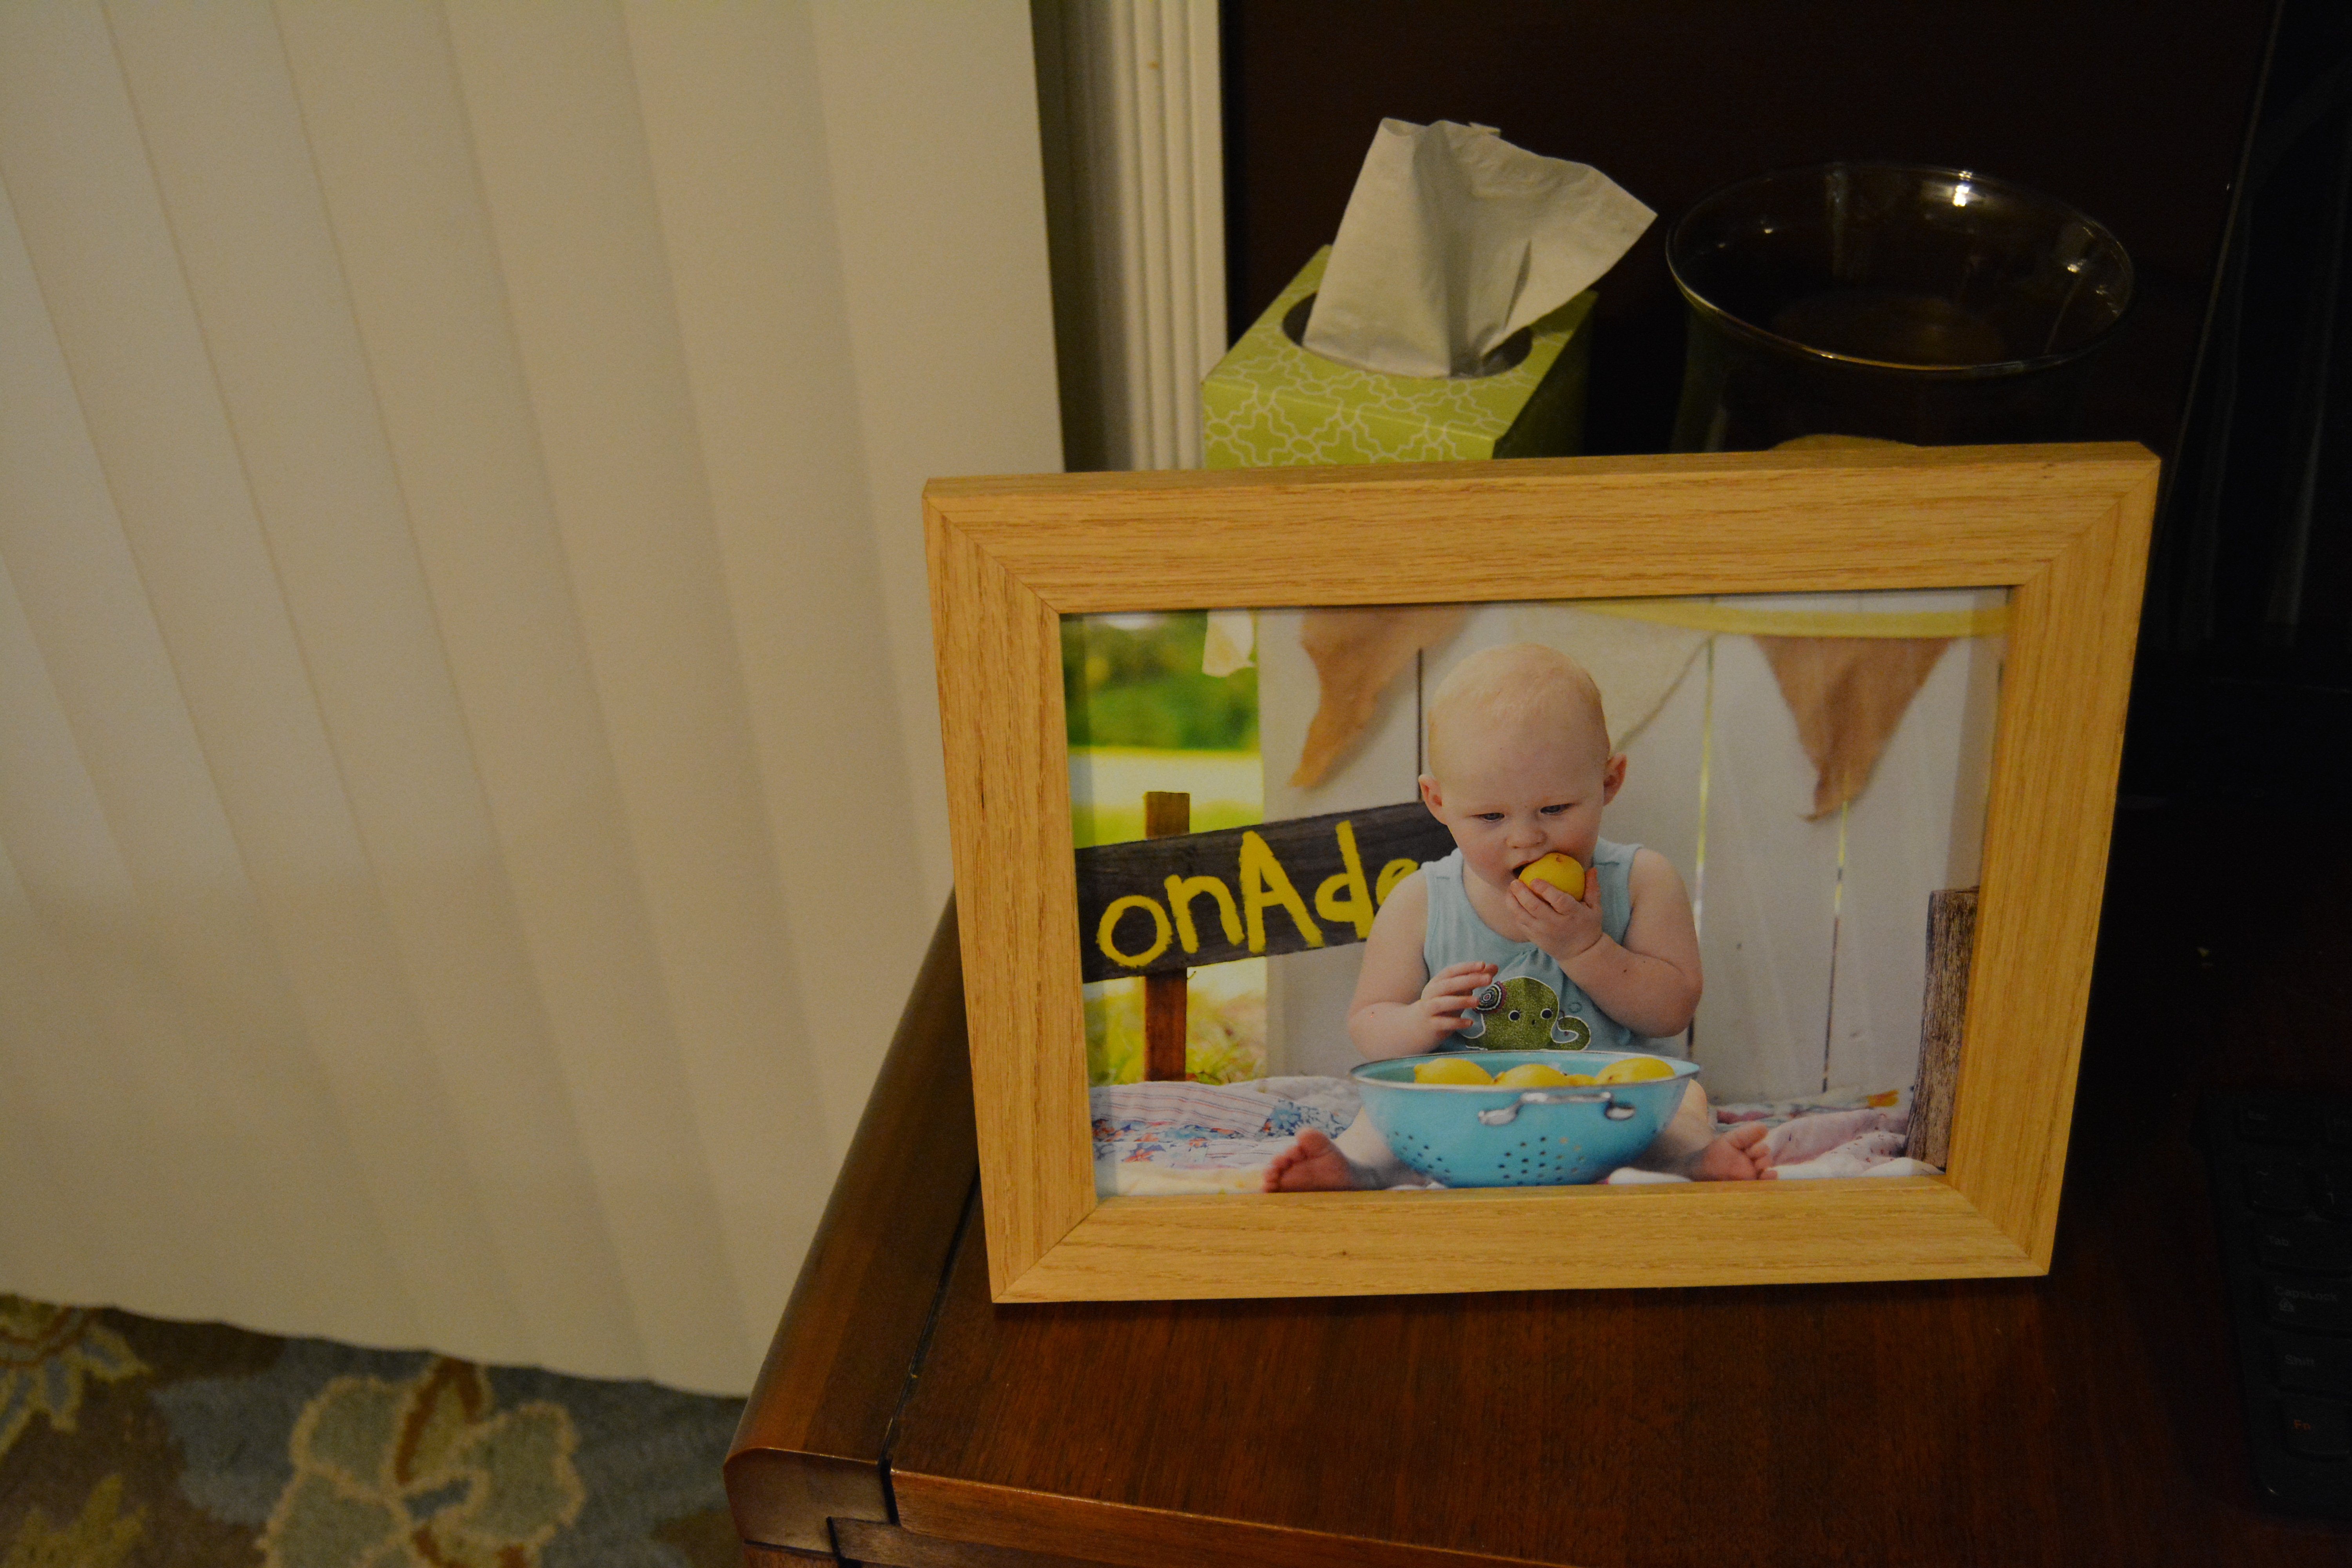
This week I built a picture frame by re-purposing a cheap store-bought picture frame.
Blog Article: http://www.lanebroswoodshop.com/2015/04/picture-frame.html
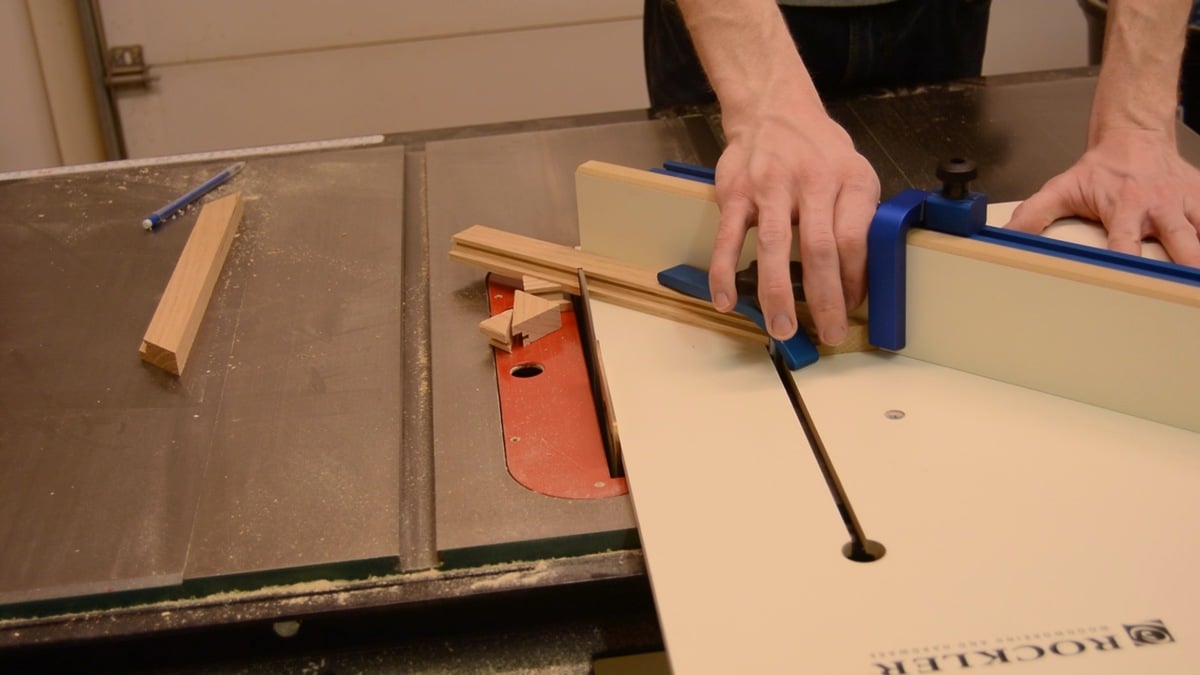


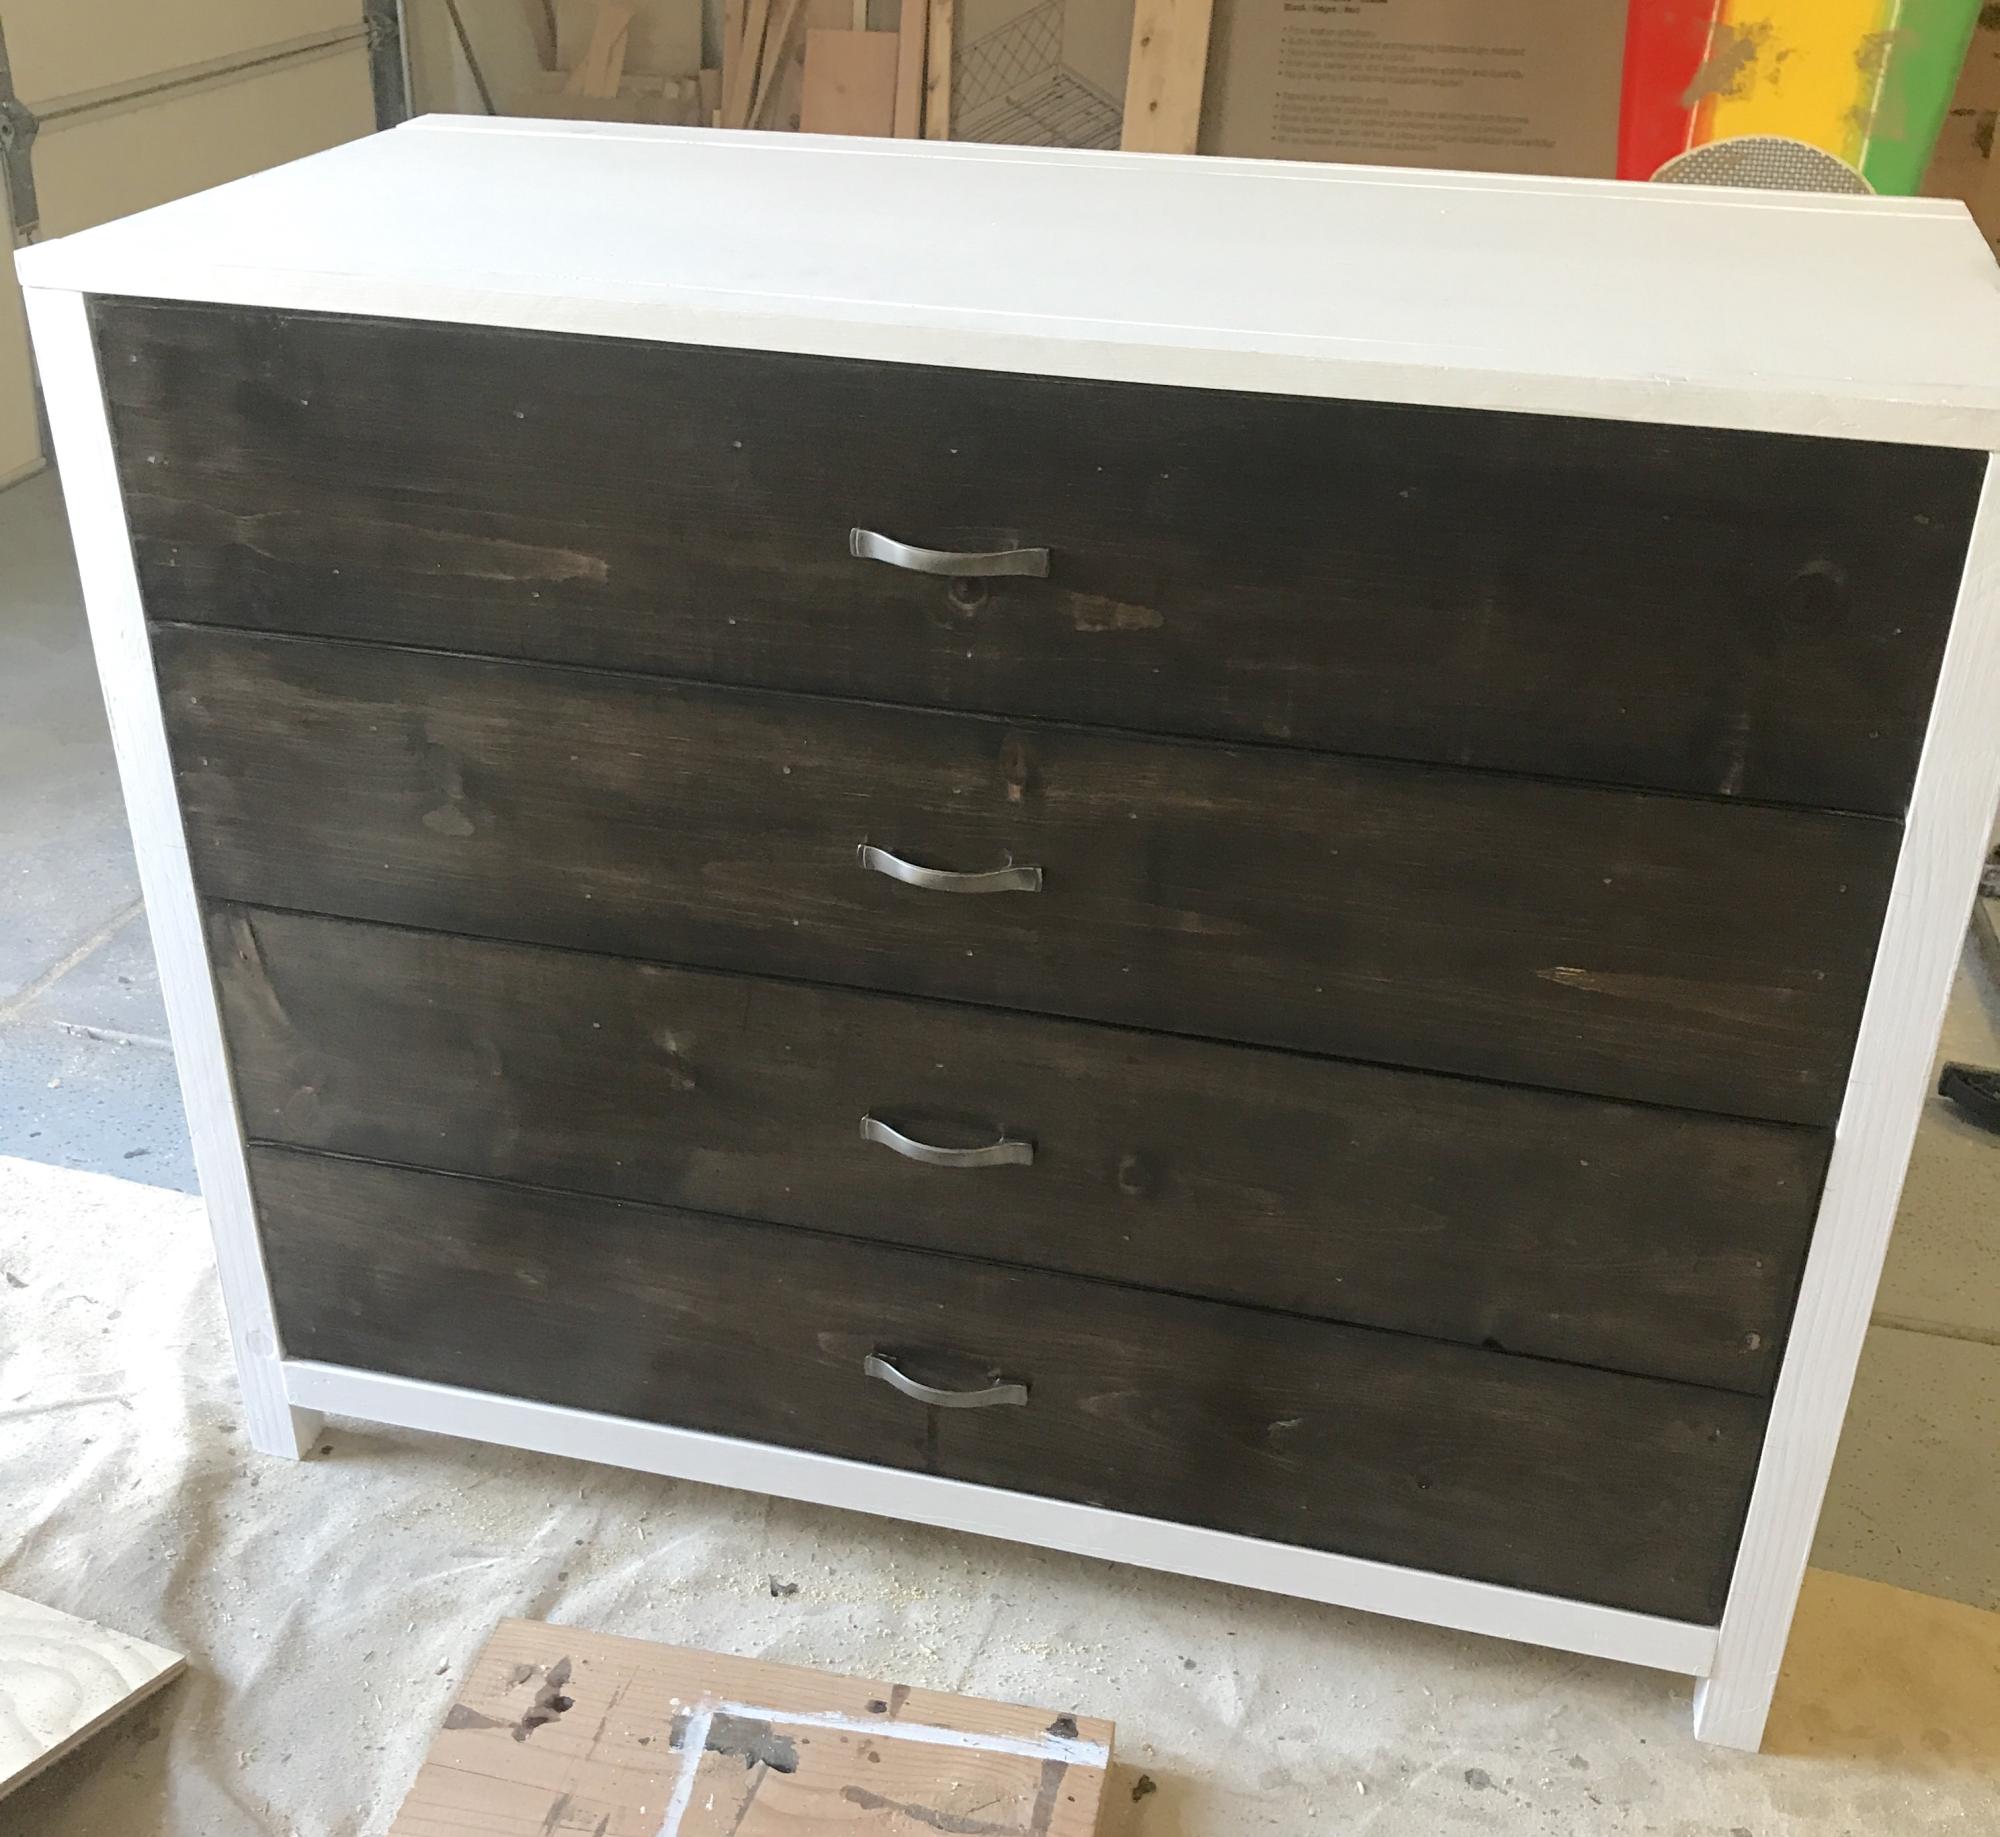
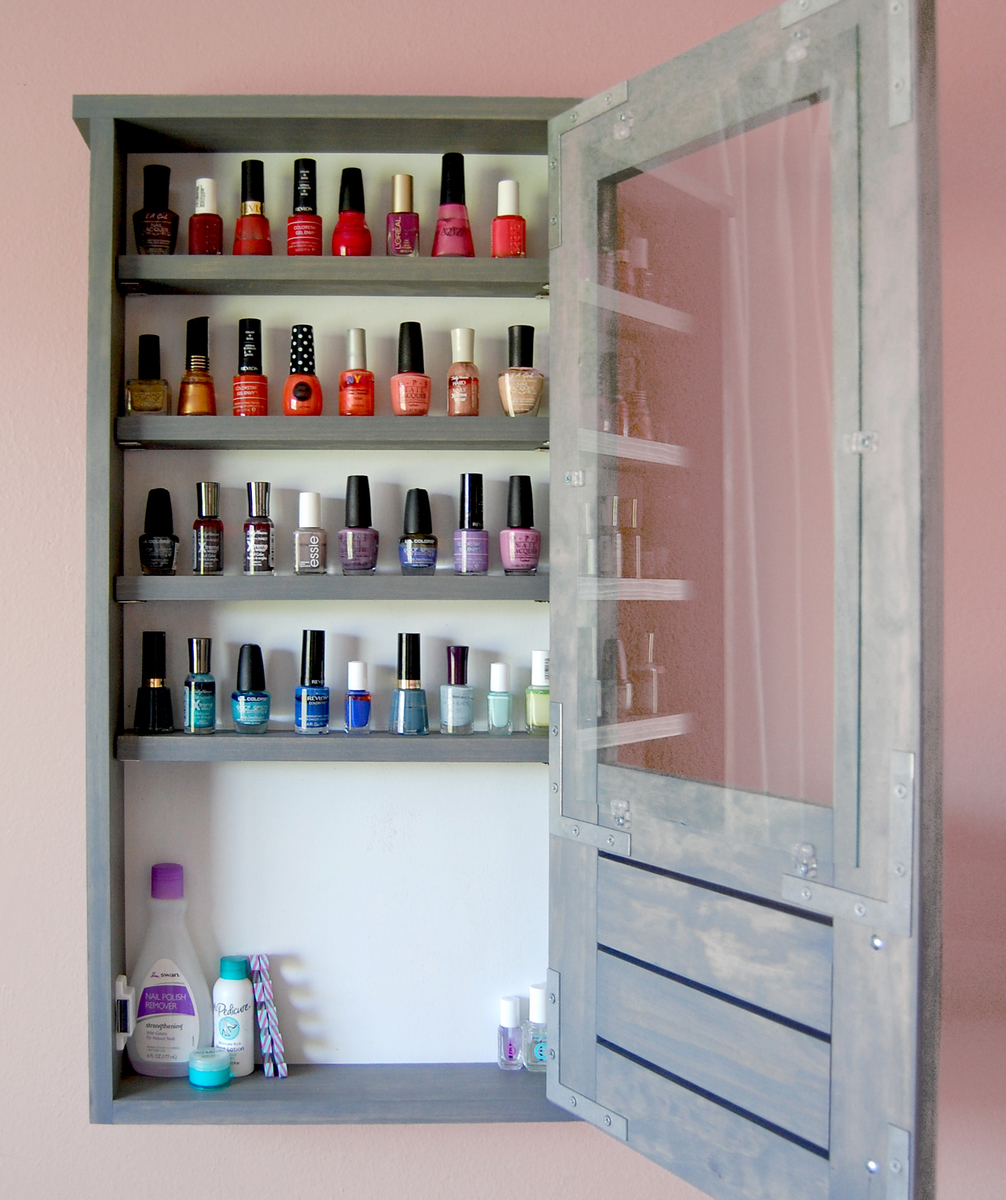
I hope everyone is having a fun summer! I decided to take advantage of the long 4th of July weekend and tackle my 2nd woodworking project: a custom-built cabinet to house all of my nail polish! While I don’t consider myself a “girly-girl”, I have always enjoyed painting my nails and thus have accumulated quite the collection over the years. The building process went fairly smoothly. I began by cutting all of the pieces to size (hooray for using a miter saw for the first time!) and pre-staining them a trendy weathered grey. After that, the piece came together quickly. I constructed the cabinet and door separately, added the stainless steel handle and glass inset, and finished the piece off by attaching the door with 2 profile hinges.
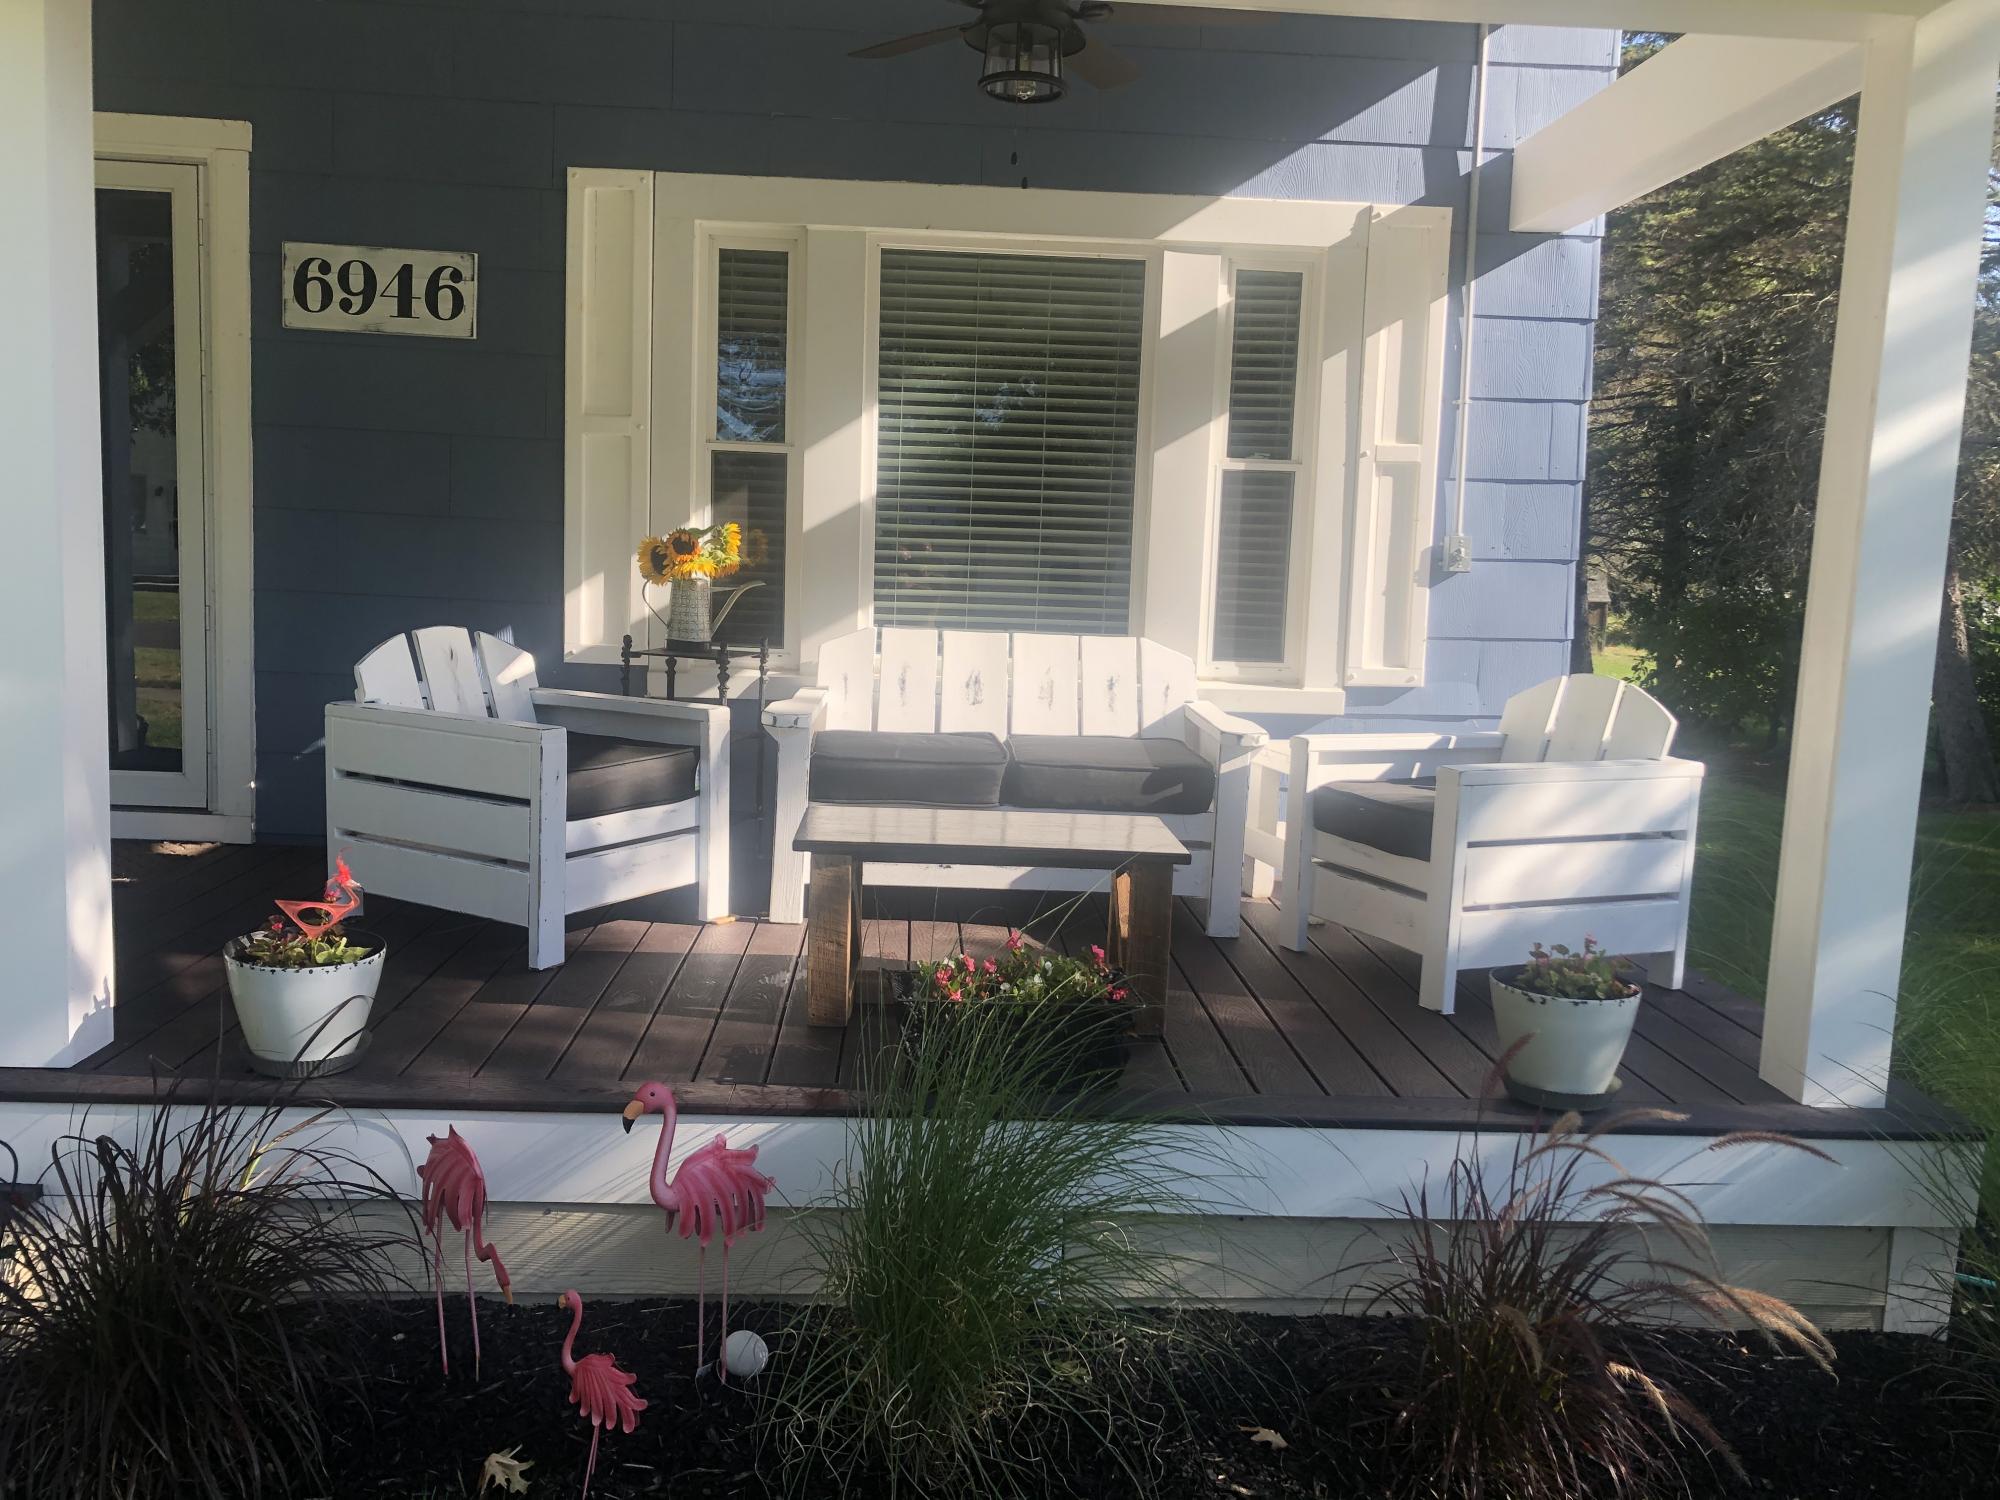
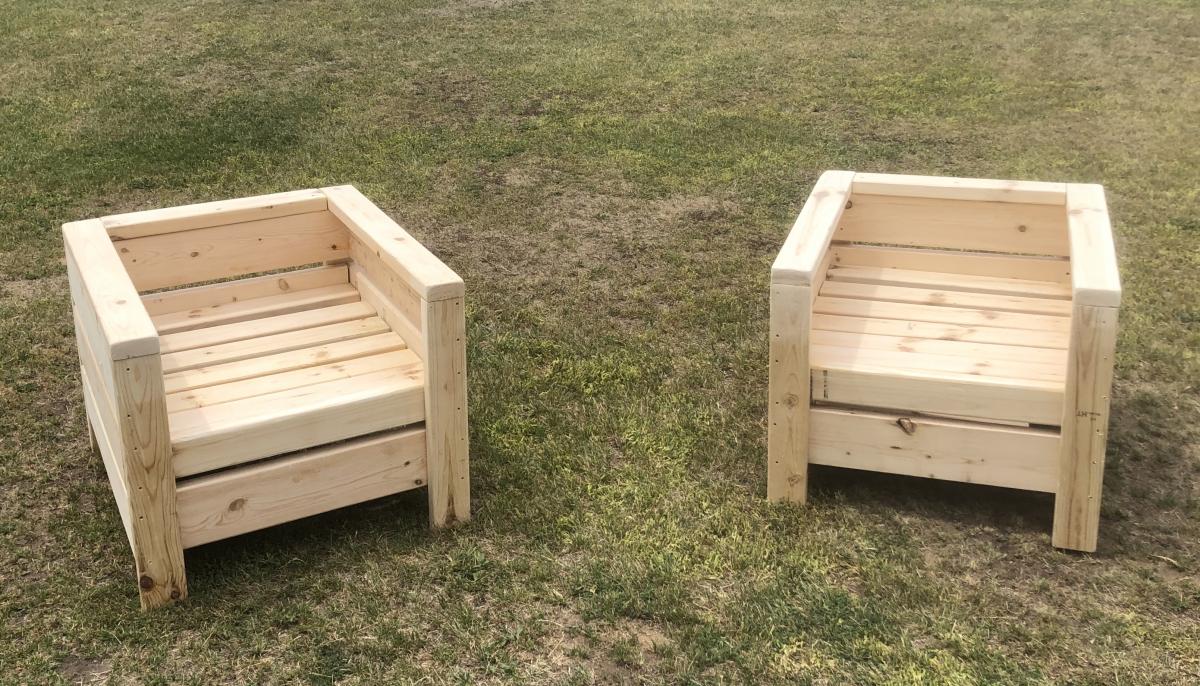
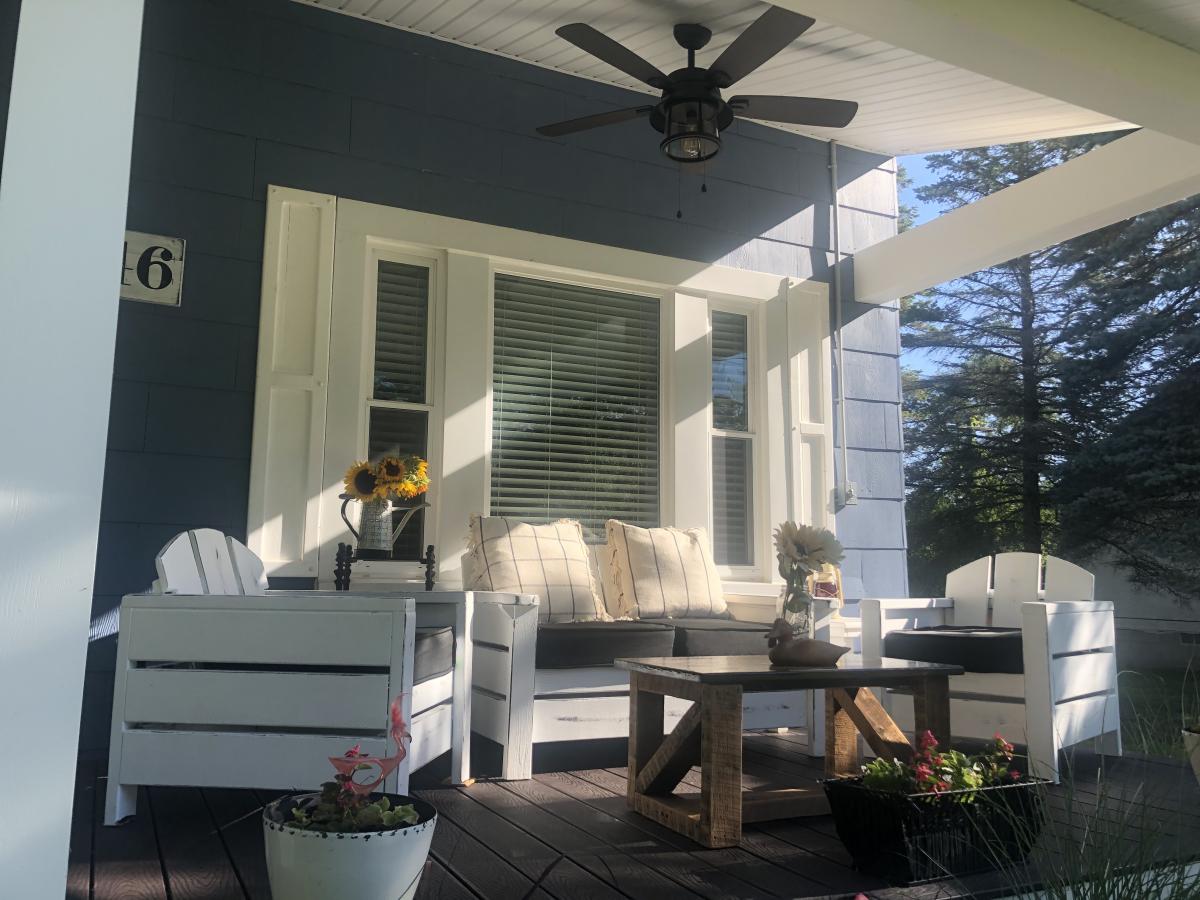
The Anna White patio set (2 chairs & love seat combo).
I added seat backs for comfort, painted them white and distressed the edges…
They are perfect for lake front-windy areas… They are heavy duty and will never blow away!
Tue, 10/05/2021 - 09:52
Love the curved backs, looks like a wonderful relaxing spot to be! Thank you for sharing:)
Thu, 02/29/2024 - 07:29
I absolutely love the curved backs! I live in a semi-windy area and really like this look and the idea of more durability. Did you just add three vertical 1x6's and use a jigsaw to round them? Please advise as I would love to use this technique.
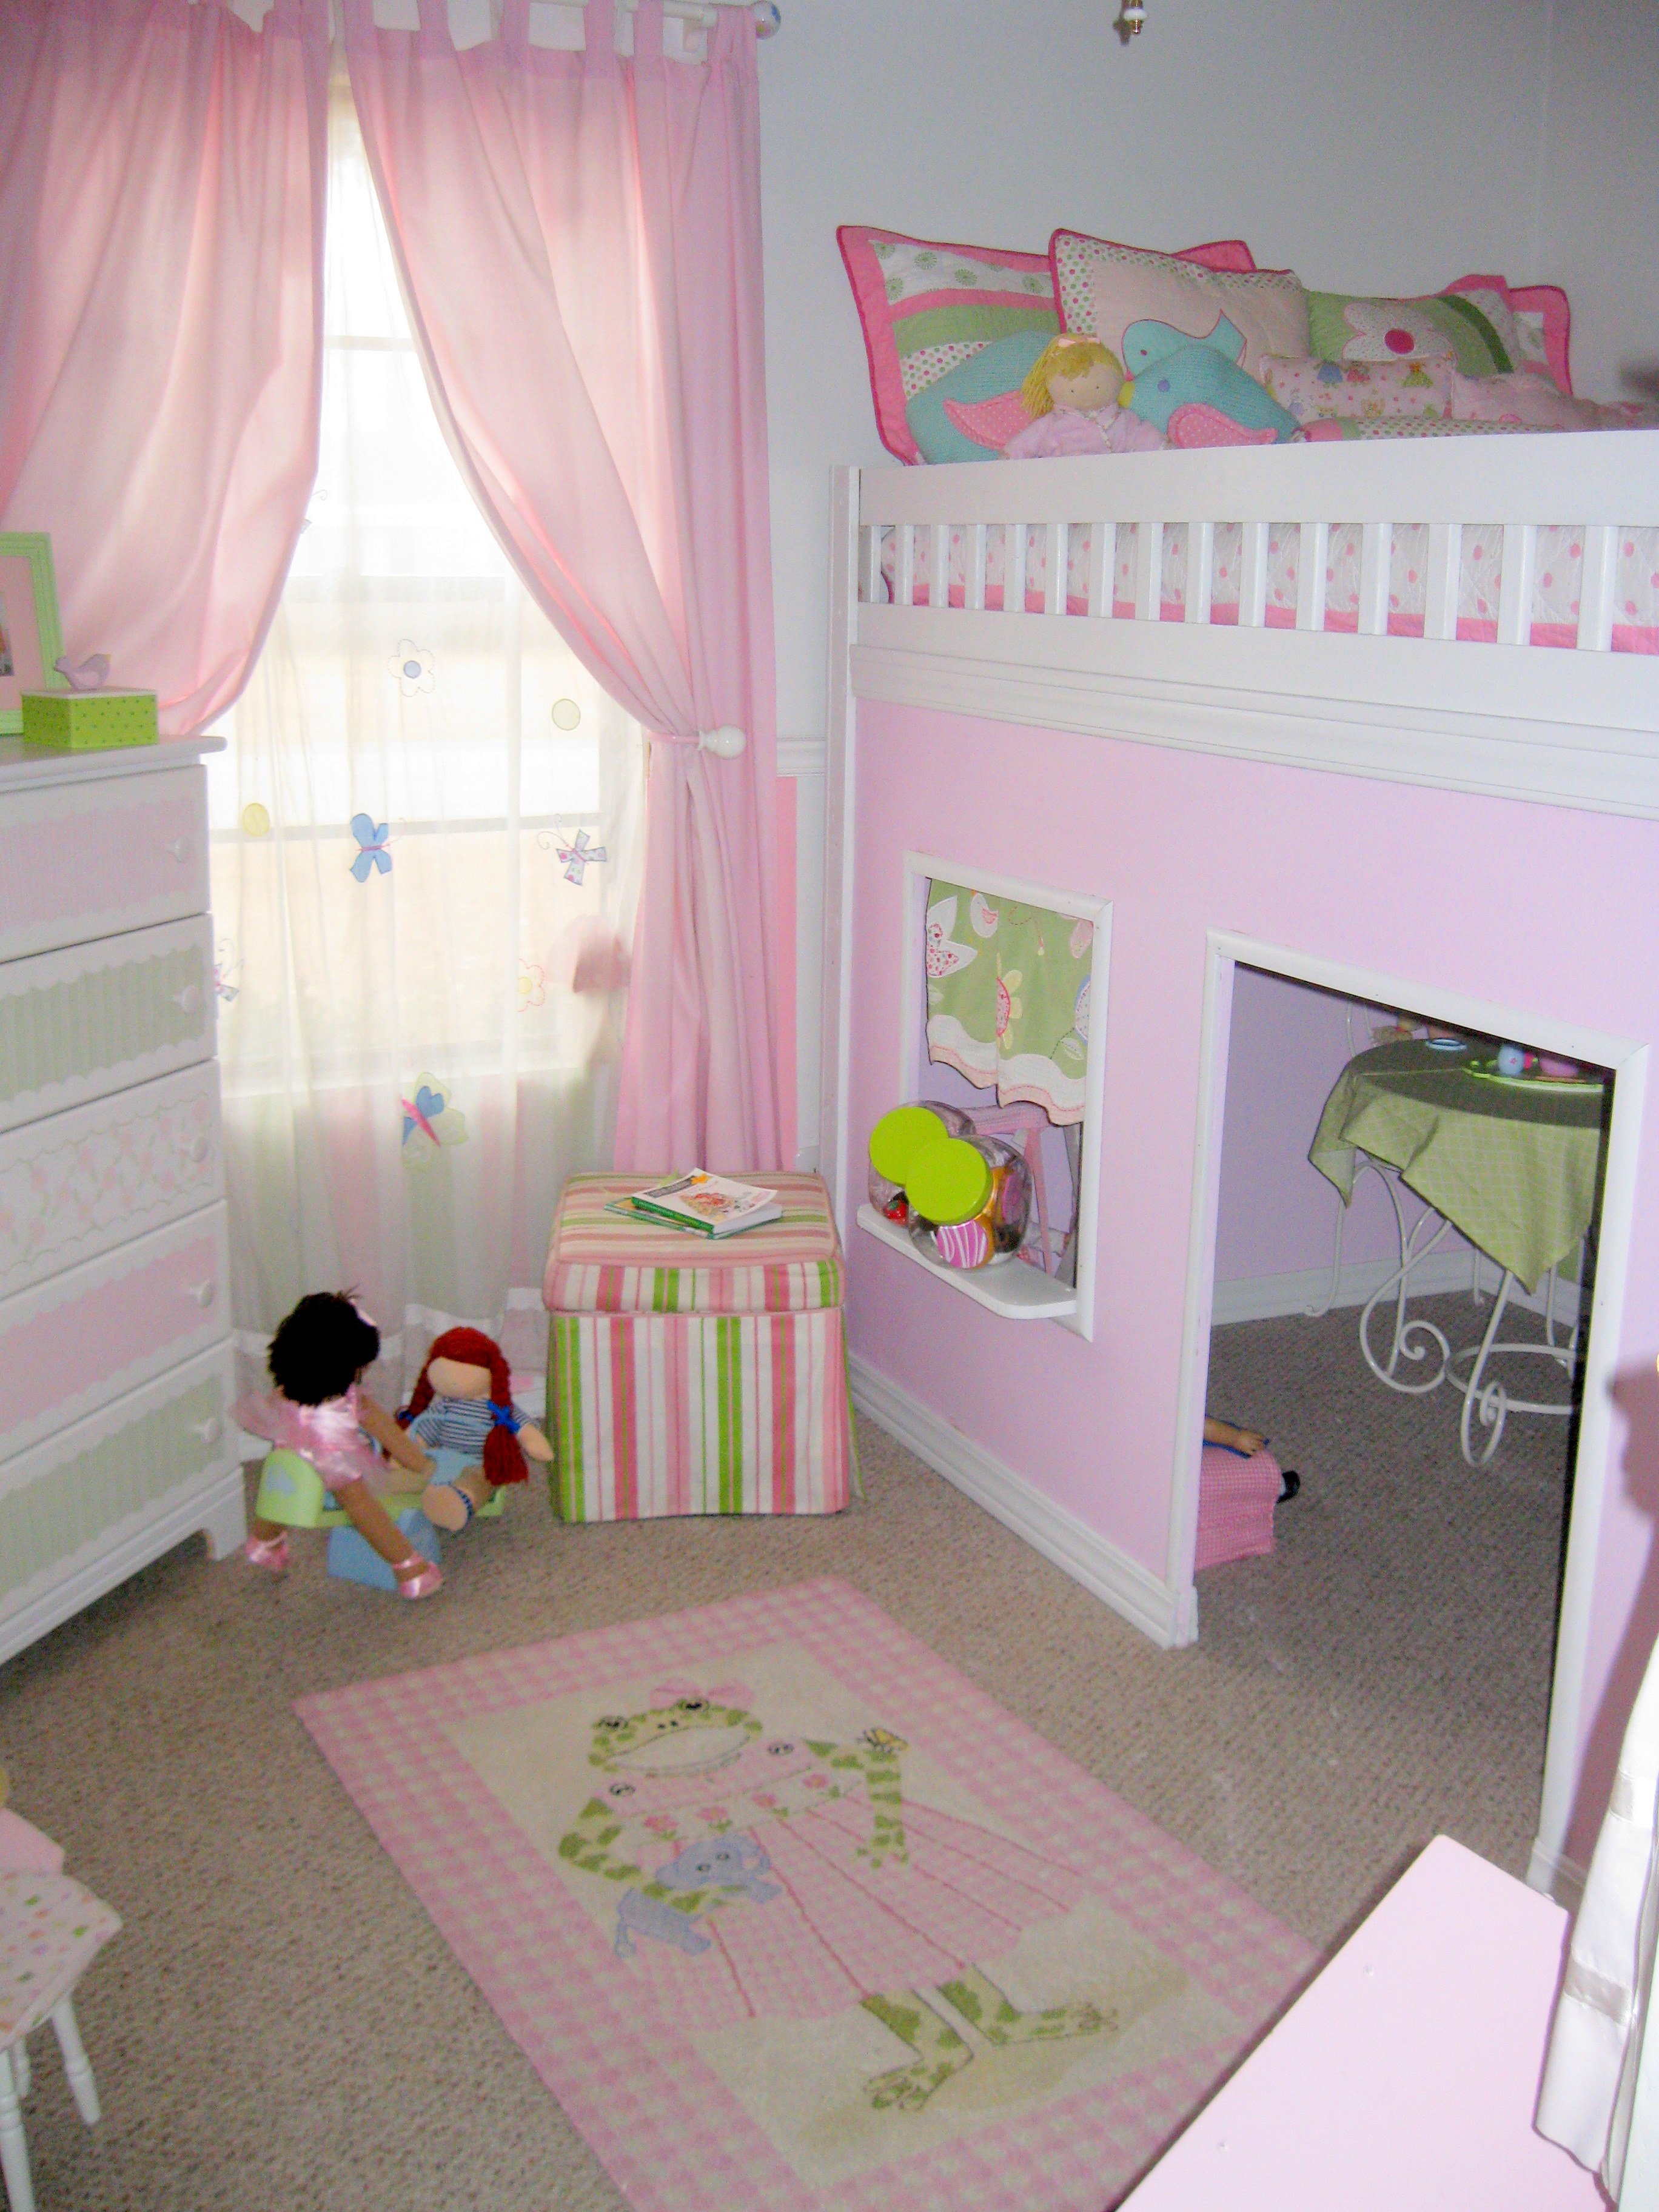
My husband and I decided to make a playhouse loft bed after realizing that our daughters had nowhere to keep their toys. They absolutely love it! We modified the plan slightly to utilize a full size mattress rather than a twin and ended up using the ladder that came with their old bunkbed rather than building a ladder or making stairs. It probably took about two days total to put together.

Comments
Ana White Admin
Tue, 10/05/2021 - 11:52
Pretty console!
Very nice, love the finish!