Community Brag Posts

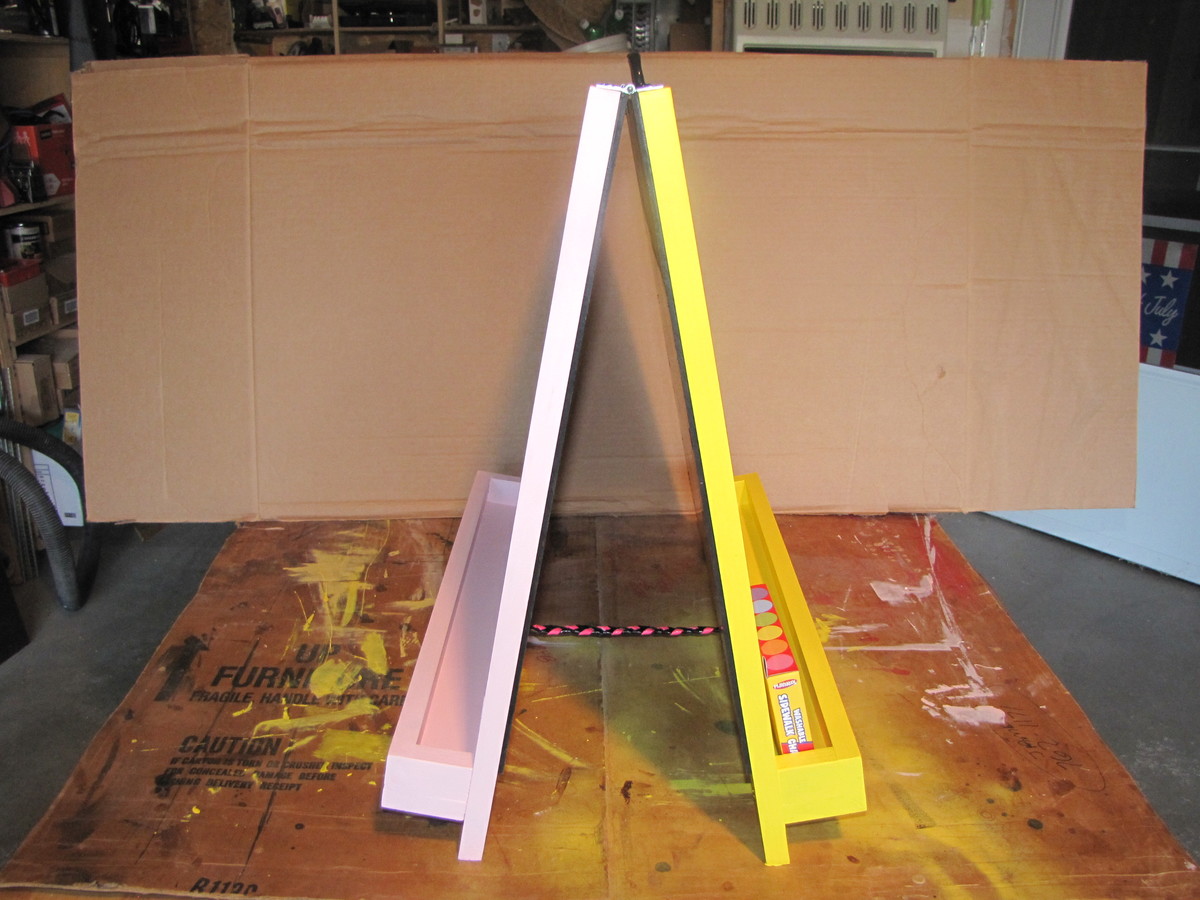
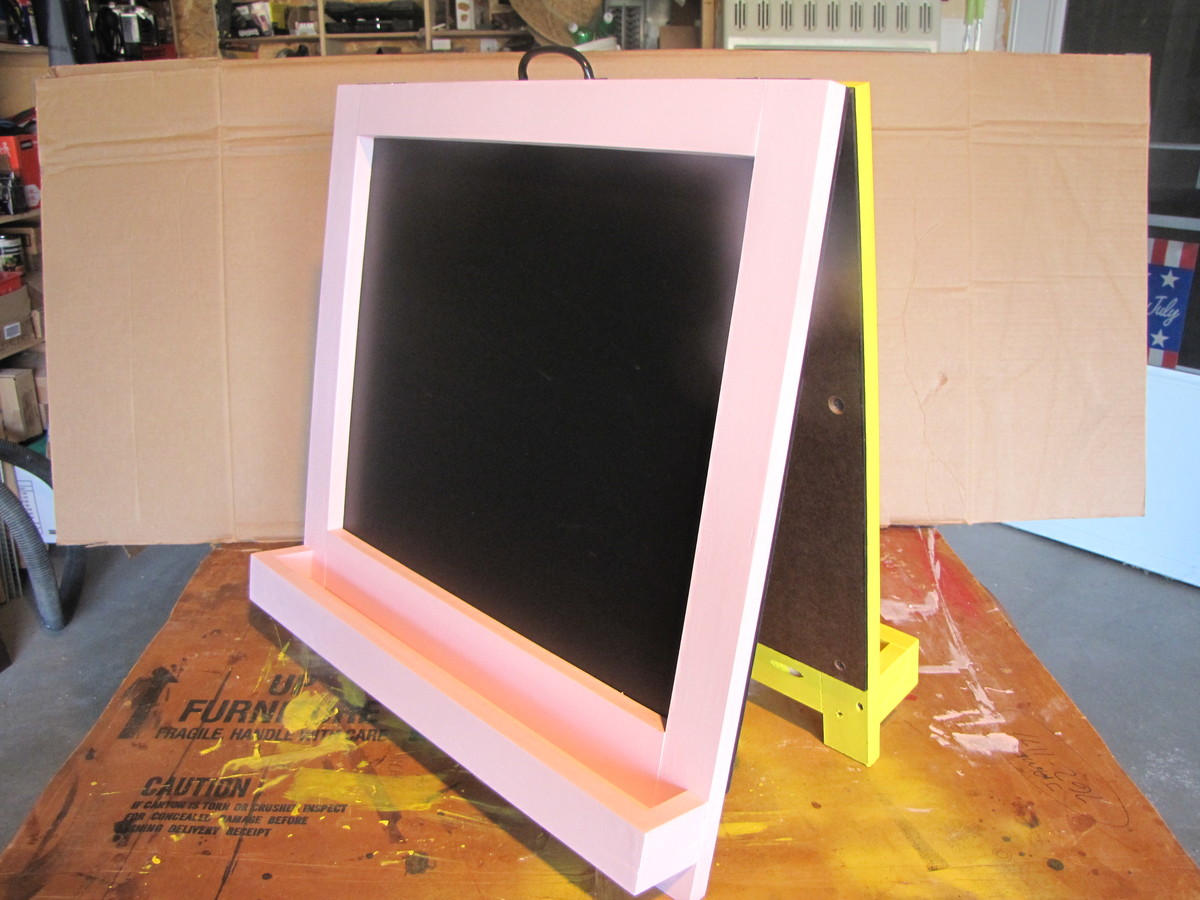
Gardener's ladder shelf

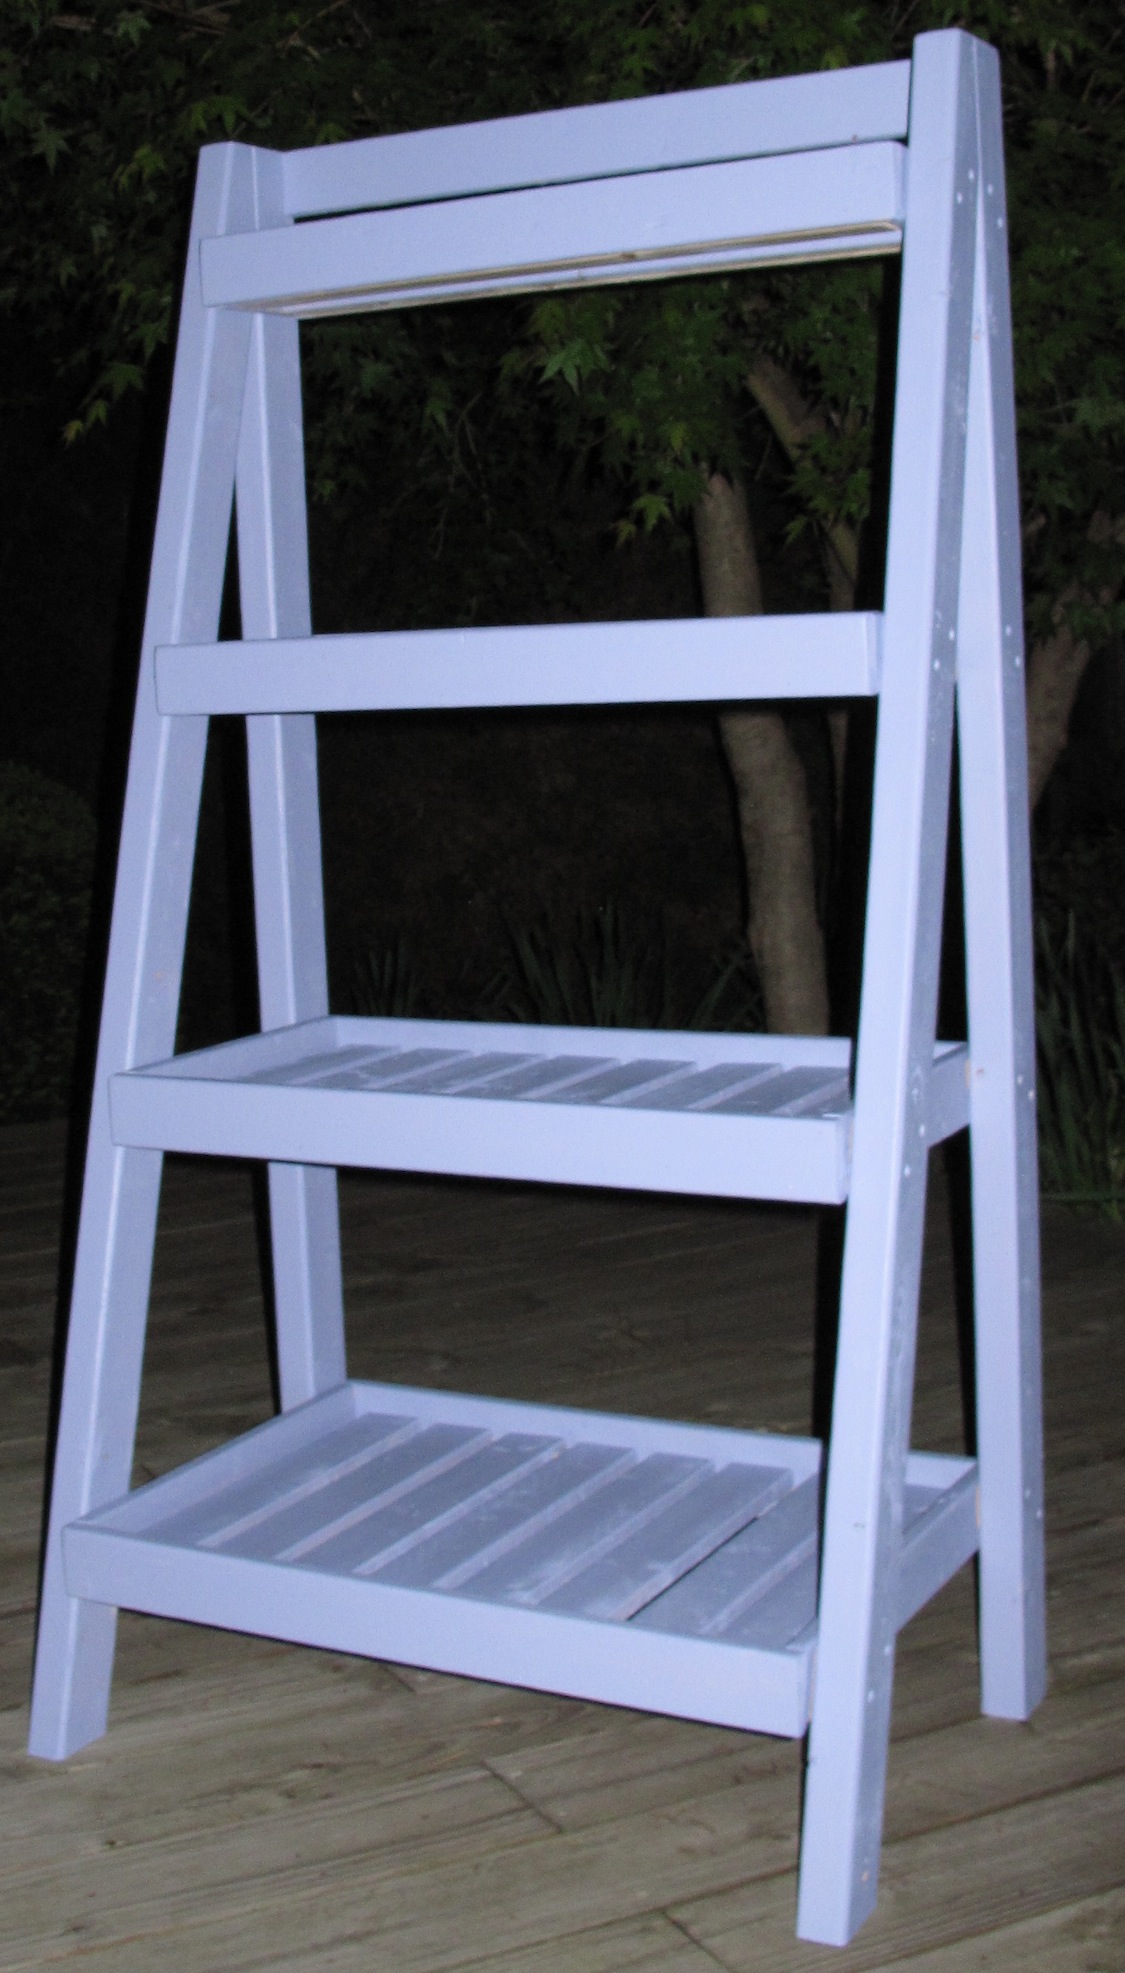
I built this for my sister-in-law who loves growing vegetables and herb - in her small apartment porch. She wanted something that she can put her plant pots (and she has so many of them!), so I modified the Painter's Ladder Shelf by:
1. Made the shelves with slats, with added support underneath
2. Beefed up the legs with 2X3s instead of 1X2s.

Dad helped with angled cuts and other things, and borrowing his workshop, this was a breeze to build.

Estimated Cost
$50
Estimated Time Investment
Afternoon Project (3-6 Hours)
Finish Used
Flat paint in "Soothing Lavender", since it's her favourite colour.
Recommended Skill Level
Beginner

Easy Garden Bed Plans

This is an easy garden bed plan. The only tool you need is a staple gun and you can easily complete this project within a weekend! Find part 1 of the design here.

Estimated Cost
$20
Estimated Time Investment
Day Project (6-9 Hours)
Finish Used
None
Recommended Skill Level
Starter Project

Cubby desk

I didn't follow the plan on this one. But it looks about the same. I used 2 x 4's for the legs.

Built from Plan(s)
Estimated Cost
40.00
Estimated Time Investment
Afternoon Project (3-6 Hours)
Finish Used
I mixed Jacobean with red pecan. Then I waxed it.
Recommended Skill Level
Beginner

First Build-Dog Kennel

Made the kennel following the Large Wood Pet Kennel End Table plans as a gift for my mother in law, put a 1x2 rim at bottom cut to 1 1/4" to allow for a pan/liner to be slid in and out as needed. Mother in law was surprized and Extremely pleased.


Built from Plan(s)
Estimated Time Investment
Weekend Project (10-20 Hours)
Finish Used
Top and Trim mahogany gel stain, Frame white paint
Recommended Skill Level
Intermediate

Christmas tree build

Submitted by Anonymous (not verified) on Tue, 12/28/2021 - 05:11

Made the Christmas tree build from your plans . Made it for a Christmas present.

Comments

Kids Workbench with Top Shelf

Submitted by jamie_C on Mon, 05/09/2011 - 20:36

We built this workbench for our two-year old's birthday coming up this weekend. Really excited to see his expression when we show it to him! Built the whole thing out of scraps on hand- used 1x4's instead of 1x3s(that's what we had), and MDF for the bottom and backing. Used some scrap plywood and 2x2(support) for the top shelf. Added some hooks to the underside of the shelf & along the back to hang all the toy tools!

Built from Plan(s)
Estimated Time Investment
Afternoon Project (3-6 Hours)
Finish Used
Spray painted everything but the base and backboard with generic red spray paint. Sanded the edges and across all areas to give it a well-loved look (it's a workbench, right?!). Still debating if we will stain over it. Will finish later with a clear poly coat.
Recommended Skill Level
Starter Project

Rustic Re purposed Picture Frames

Submitted by lscrandall on Sat, 07/06/2013 - 17:17

I had two large pictures I no longer liked. I took scrap pieces of 1x3 and 1x2's and created a frame, after covering the inside with burlap. I thin took and blew up photos into black and white, mod podged them to the center frame, and added stained L molding. the cost $15.00 each frame to update two old pictures that would have been given to goodwill or trashed.

Estimated Cost
$15.00 Each Frame
Estimated Time Investment
An Hour or Two (0-2 Hours)
Finish Used
1x3
1x2
burlap
2 old large pictures
blown up photos to black and white
glue
nail gun
Recommended Skill Level
Starter Project

Comments

yurra-bazain

Tue, 07/09/2013 - 11:04

I love this, especially that touch of burlap matting. Moreover, I love that you reinvented something you owned to make it amazing.

Farmhouse King Bed

Submitted by kterrell on Fri, 06/26/2015 - 19:17

Not much to say, I followed the plans for the King (adjusted from Queen) and built this in 2 weekends. First weekend was construction (maybe 4-5hours) the second weekend was sanding and paint (2-3 more hours).

Pretty sure I built the wood frame incorrectly (supports are on the top instead of allowing the box to sit inside of the 2x6's). it sits a bit high, but it is very sturdy. The mattress shown is a 15" mattress sitting on a standard box-spring. I will probably just convert it to a platform with some plywood or slats and just ditch the box springs.

Estimated Cost
$170 spent on wood for the bed and the frame (Home Depot)
Used some extra exterior paint I had laying around that was the right color - dilute it a bit for a smoother application.
Estimated Time Investment
Day Project (6-9 Hours)
Finish Used
exterior latex
Recommended Skill Level
Beginner

Farmhouse Queen Bed

I came across the Farmhouse Bed Project and knew immediately I wanted to make this bed.  I ran into a bit of a snag though when I realized I needed at least 12 inches of clearance for my storage totes.  With some fixed math and a whole lot of “go with the flow” I changed the plans to fit my needs.  I definitely went over kill on the mattress support system, but I know this bed will last me forever with the sturdiness of how it was built. 

Built from Plan(s)
Estimated Cost
$300
Estimated Time Investment
Week Long Project (20 Hours or More)
Finish Used
Chalk Paint
Recommended Skill Level
Beginner

Mudroom/garage storage

Submitted by Anonymous (not verified) on Fri, 12/31/2021 - 07:39

Thanks for the inspiration to add great storage to my garage.
Just downsized into a much smaller house after 20 years and I lost my mudroom area.
This mudroom/garage locker bench and hutch is a great looking unit!
Looking forward to seeing more on your site.
Thank you!
Mike

Comments

Ten Dollar Ledges

Submitted by CJSam on Wed, 05/11/2011 - 12:20

This was my first build and it was so much fun! I used a Kreg jig to construct the shelves using Ana's plan and then secured them to the wall with anchors. It took only a few hours from the trip to the hardware store for lumber to painted and finished ledges on the wall.

Built from Plan(s)
Estimated Time Investment
An Hour or Two (0-2 Hours)
Finish Used
White eggshell paint (Glidden White on White). Buy a tester size for a few bucks--you will only use about half of it.
Recommended Skill Level
Starter Project

Providence Bench

Submitted by Megan11213 on Mon, 07/08/2013 - 08:09

Providence Bench made from pine 2x4's and countersunk deck screws. I do not have a Kreg Jig so I used metal fasteners on the two cross-braces. I left off the diagonal supports because my drill would not fit once I had the cross-braces in place. Starter project for me. Good practice and fun to build! Finished with Minwax Dark Walnut and sprayed with Minwax clear matte sealer.

Built from Plan(s)
Estimated Cost
$25
Estimated Time Investment
Afternoon Project (3-6 Hours)
Finish Used
Minwax Dark Walnut. Minwax spray clear sealer, matte.
Recommended Skill Level
Starter Project

My Rustic X Console #anawhite

Dear Ana ... thank you very much for those plans, they are really AWESOME and easy to follow

I followed the plans step by step and turned out to be a great piece of furniture
It took me about 4 weekends to complete the project (it is my first diy project)
The toughest part: sanding
The best tool: Kreg Jig R3
The best experience: my kid helping me every day
A piece of advise: enjoy while you are working in the project, take your time and don't hurry things; the feeling when you finish is just great

My wife and every person visiting home just love the X console - I'm seriously considering selling it at a good Price :)

Built from Plan(s)
Estimated Cost
150 usd
Estimated Time Investment
Week Long Project (20 Hours or More)
Finish Used
MinWax (pre stain + wood finish + polyurethane)
Recommended Skill Level
Intermediate

Buffet

Took awhile to build but it’s done with 90% reclaimed wood

Built from Plan(s)
Estimated Time Investment
Week Long Project (20 Hours or More)
Recommended Skill Level
Intermediate

Grandson’ First Toybox

Submitted by Anonymous (not verified) on Mon, 01/03/2022 - 16:57

I was asked by my Daughter in law to make a Toy Box for my Grandsons First Christmas. An honor to say the least. The lid has a slow closer top and a gap so no little fingers get smashed . It has since developed many love dents over time. We put a gold licesnse plate on the back saying Merry First Christmas Grandma and Papa

Comments

Not So Narrow Farm House Table.

After getting sick of barely being able to seat 4 at our teeny-tiny table from college, we decided we wanted a bigger, more solid table for our dining room.

We actually combined two sets of plans to create the finished project as well as adjusted the measurements to fit our room size (and vertically gifted resident). As beginners, we weren't entirely certain what to expect as the outcome of this project (especially since the plans are slated as intermediate/advance skill level) but we found it actually, surprisingly easy to build!

We substituted 2x6s rather than 1x6s for a more 'sturdy' table top, but it makes the table quite heavy.

Now that the weather is getting nice we can drag the table outside for finishing touches (we finished it in November!)

Interested in the complete build? Go here

Estimated Cost
>$100
Estimated Time Investment
Day Project (6-9 Hours)
Finish Used
None as of yet. 
updated:
stain: Miniwax 'Special Walnut' followed by 2 coats of polyurethane.
Recommended Skill Level
Beginner

Folding Chalk Board! Thanks for inspiration! Niece is going to love It!

Submitted by Bob C on Tue, 07/09/2013 - 18:02

I built this Folding Chalk Board from your basic plans with a slight modification. I think my niece is going to love it! Thanks!

Estimated Cost
around $20 Bucks!
Estimated Time Investment
Day Project (6-9 Hours)
Finish Used
Yellow and Pink Valspar paint samples . Valspar Chalkboard paint
Recommended Skill Level
Beginner

Shepard's island modified

Shepard's island. The project was a bit more difficult than I expected. Make sure you check that the project is square after each step. My drawer and cabinet holes were slightly off so I had to modify the door and drawer size to cover the mistake. Also locating someone to plane the oak top I built was difficult. Overall, I think it turned out pretty good. Super solid and heavy.

Estimated Cost
$650.ish
Estimated Time Investment
Week Long Project (20 Hours or More)
Finish Used
Jacobean stain, red paint, antique over red paint
Recommended Skill Level
Intermediate

Barnwood bed

Submitted by Heidirr on Sun, 01/21/2018 - 05:56

Recycled old wood/ beams from a dismantled barn

Recommended Skill Level
Beginner

Comments

Heidirr

Sun, 01/21/2018 - 12:37

My husband tore down a 100 year old barn a few years ago.... I used the wood from that to make this bed for my daughter. Was a great learning experience as I’ve never built furniture before. Easy to follow instructions, and my daughter is thrilled! 

Sawhorse desk with storage and a tiltable top

Submitted by Anonymous (not verified) on Sat, 01/15/2022 - 11:39

I was asked to make a desk for my grandson. It needed a "drafting tabletop" so he wouldn't have to bend over too much (better for his back), a drawer for his stuff, and A-frame legs. Well, such things don't exist, so I put together the plans from your Sawhorse desk, sawhorse storage leg desk, and some seat-of-the-pants engineering to create the final product.

The desk is still only 48" wide and 30" high. When laying flat, the desktop is 24" deep. The seating area seemed to work out (~23" wide) because this is for a child. I made the right 12" of the desktop separate and flat to serve as a place to lay books and things to the side. I used a piano hinge to anchor the liftable portion of the desktop. I used a 4" face so that the drawer would be sufficiently deep and more usable.

I appreciate the clarity of your instructions, particularly when I'm trying to adjust them for my daughters specific and challenging requirements.

Comments