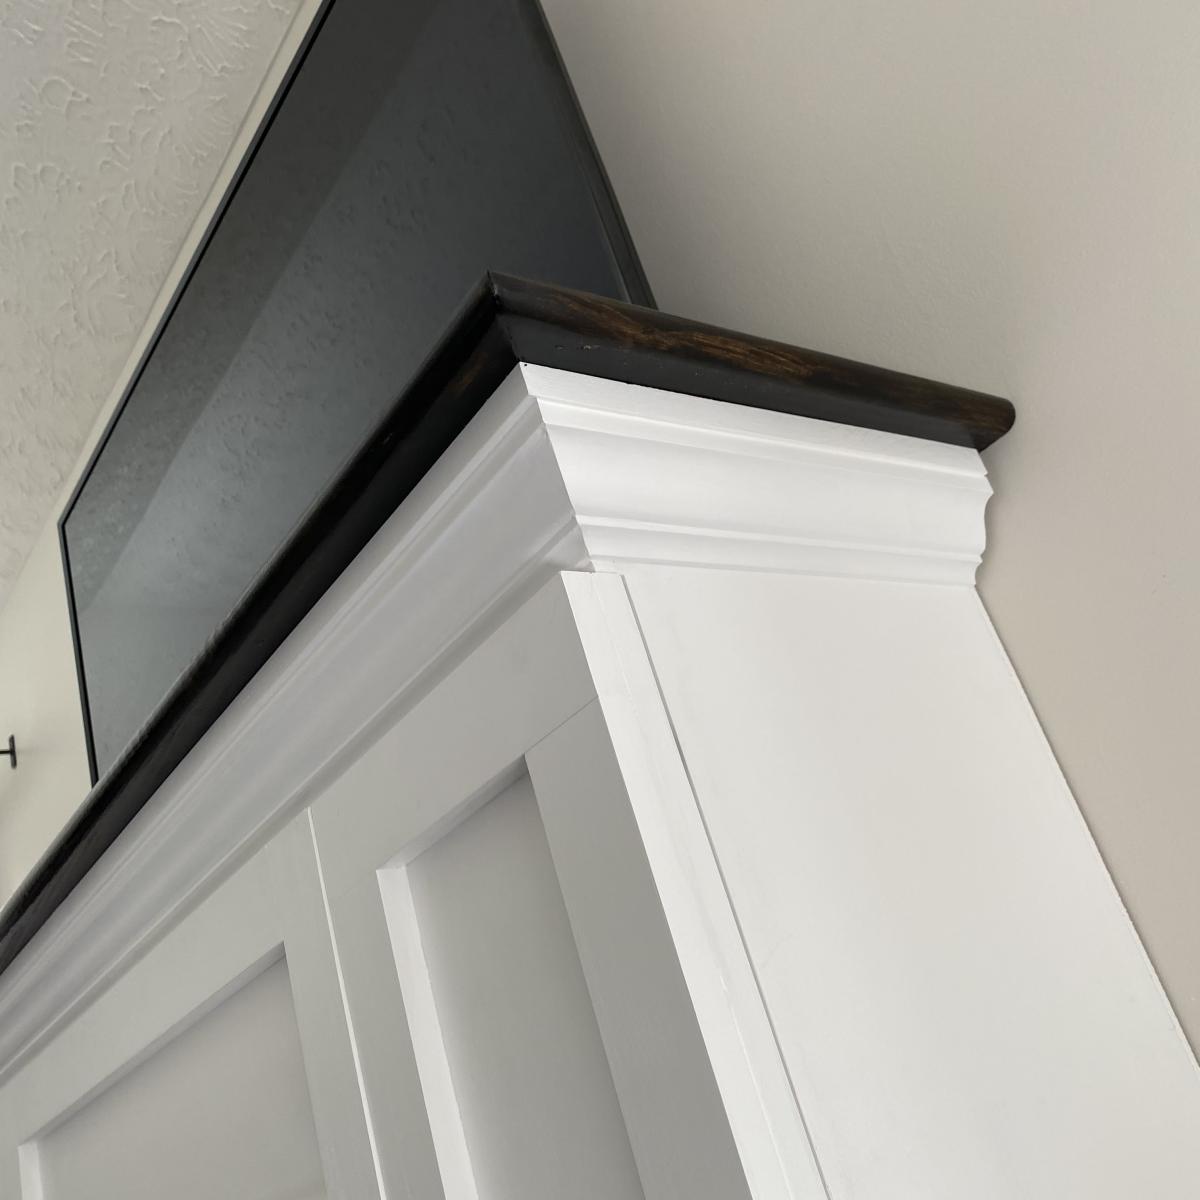
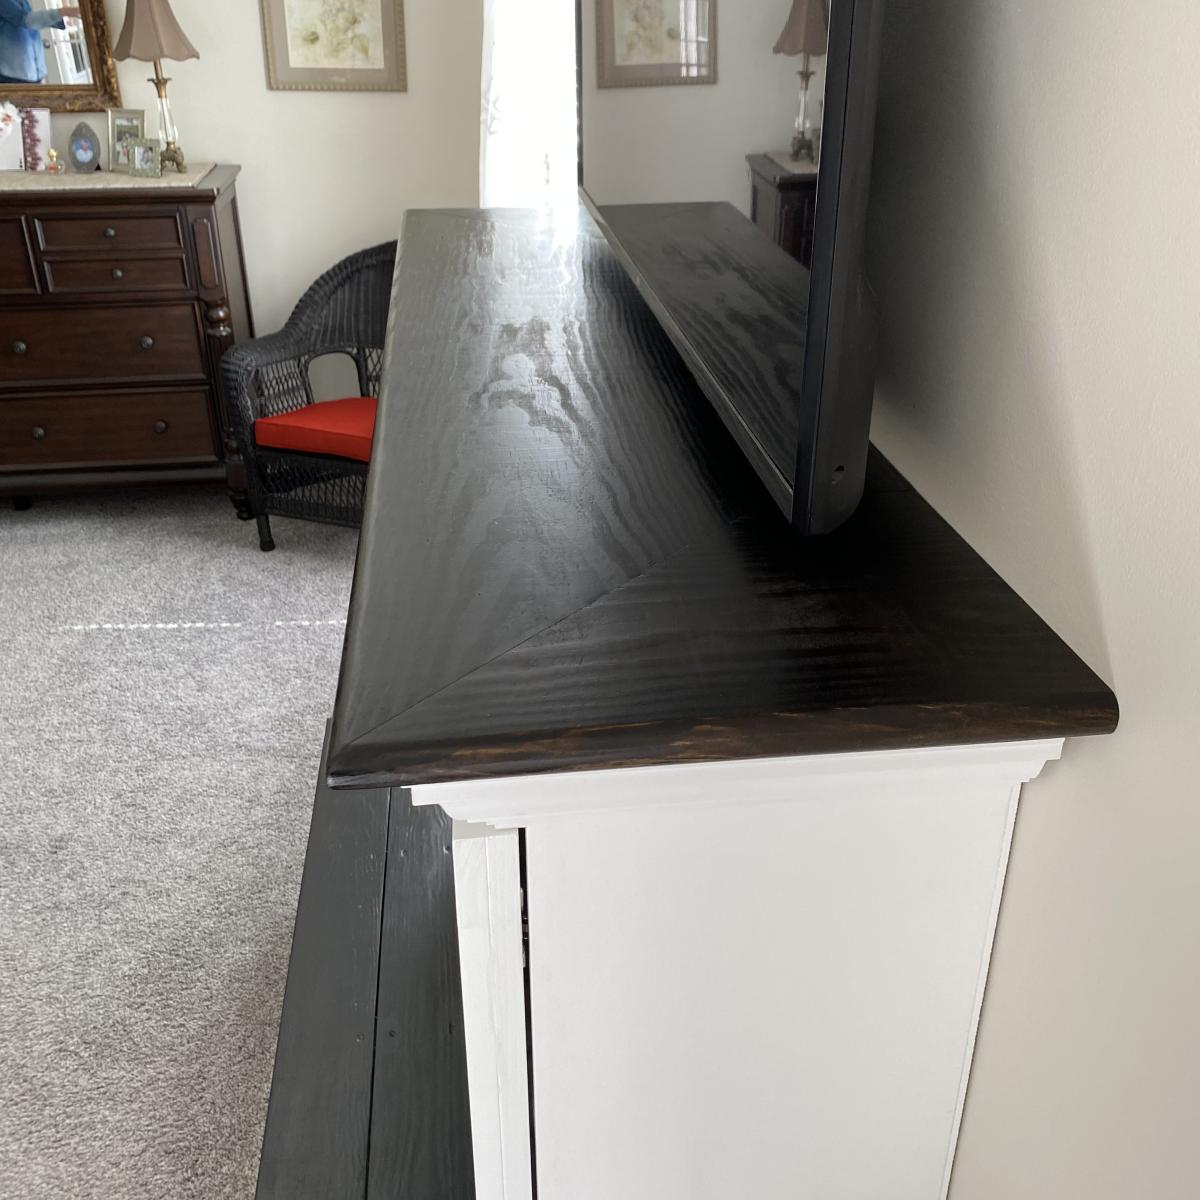
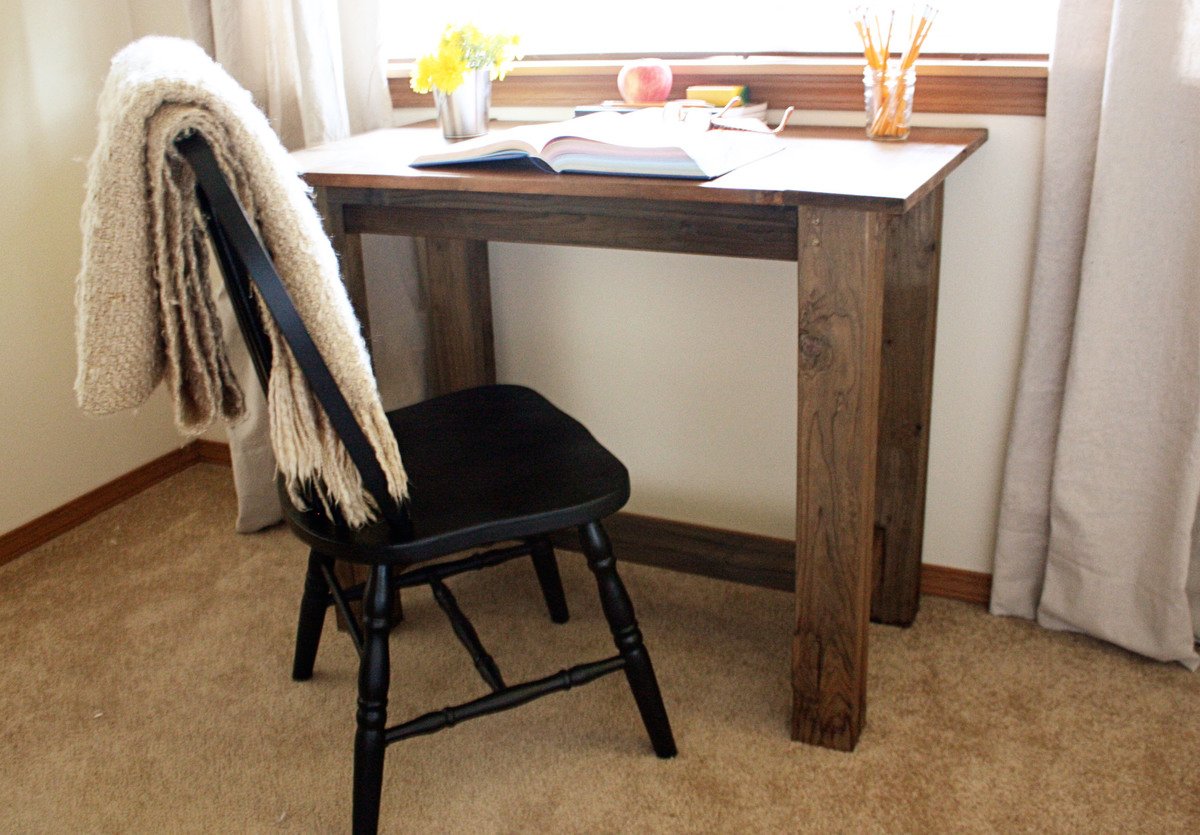
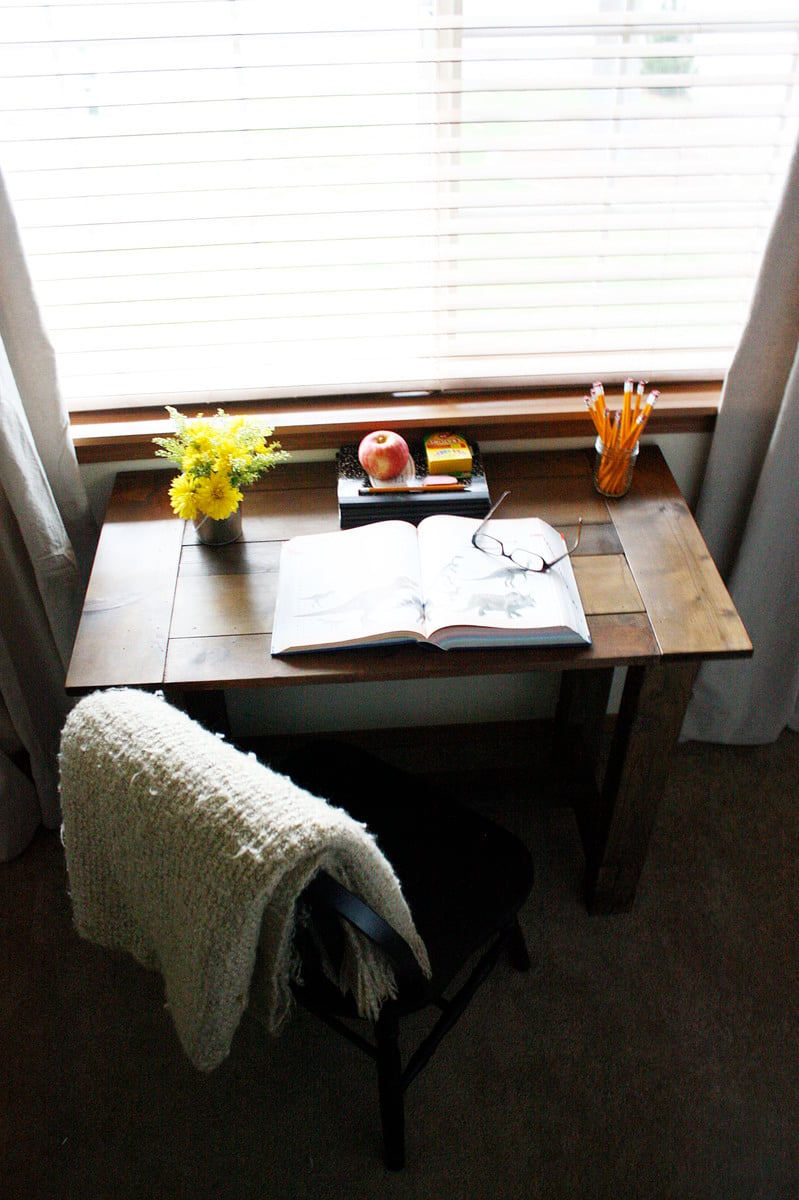
Grandy Console with a Little Crown
Beautiful console, added crown molding - By Cassandra Wentt
Built from Plan(s)
Beautiful console, added crown molding - By Cassandra Wentt
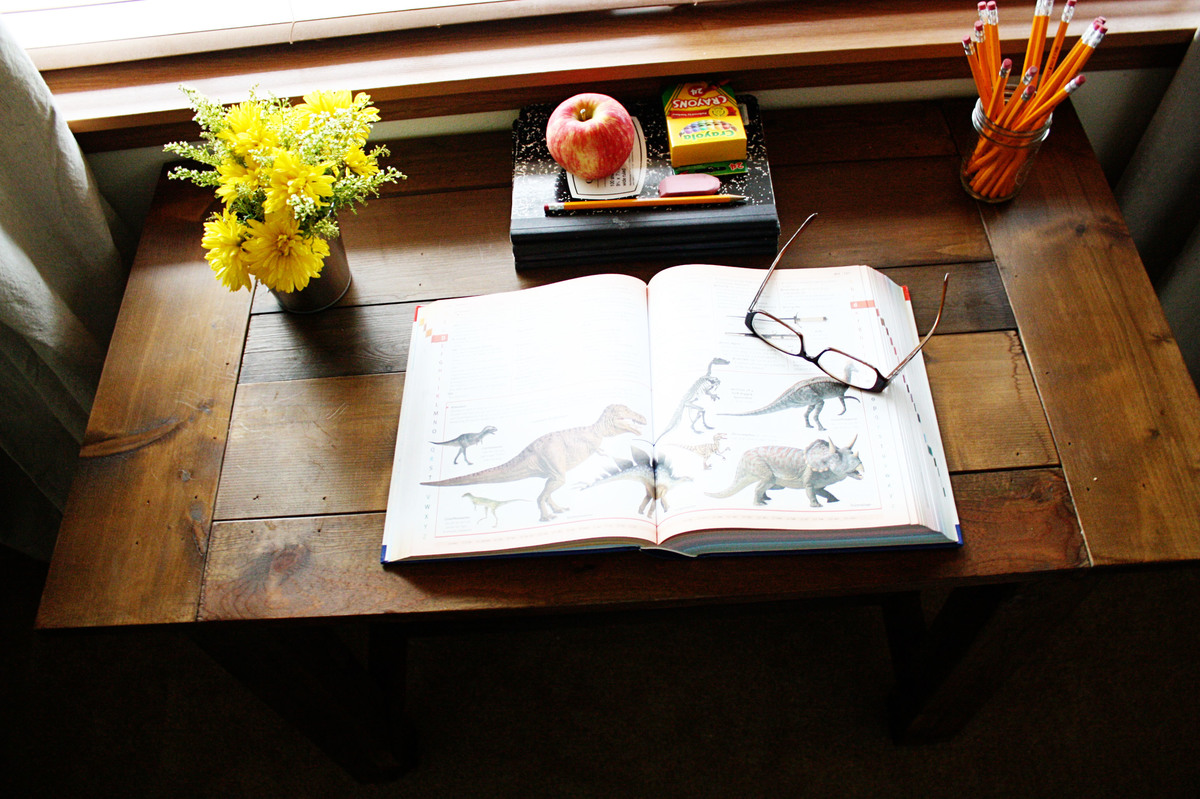
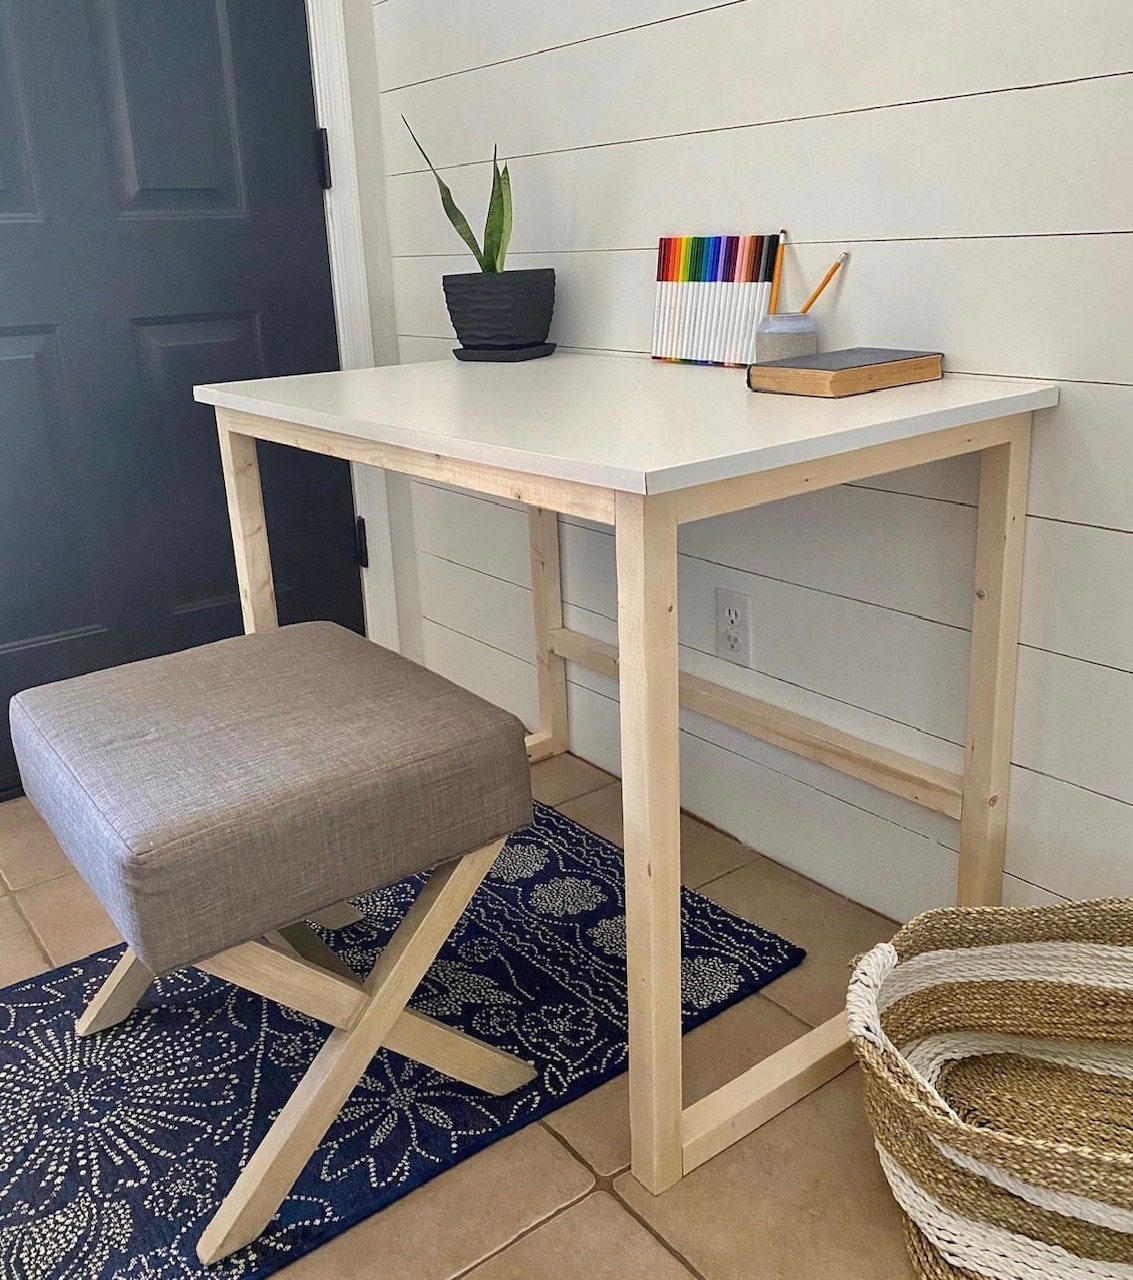
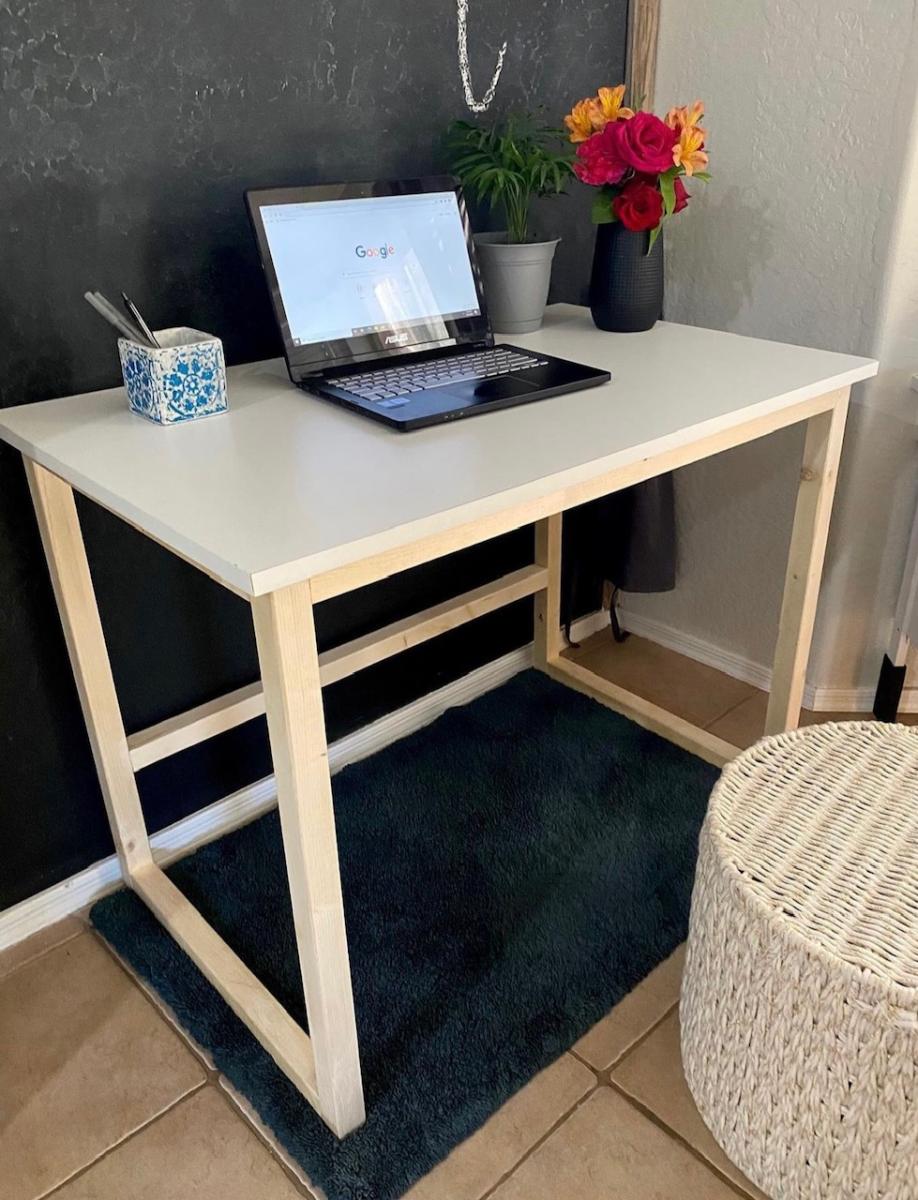
We wanted a desk for our sons bedroom and I love the farmhouse table plans. My husband modified the plans to make the table much smaller. The desk was finished with a vinegar/steel wool mixture to oxidize the wood and then clear wax was applied.
Thu, 10/27/2011 - 04:49
I really love that finish. I want to make a toddler bed for my BFF's little guy, but was wary of using stain, etc. This finish looks gorgeous and seems very organic.
Thu, 02/05/2015 - 19:35
This table is beautiful! I'd love to modify this plan to be the size that you've built. I'm a novice and would love if you'd be willing/able to share the dimensions that you used.
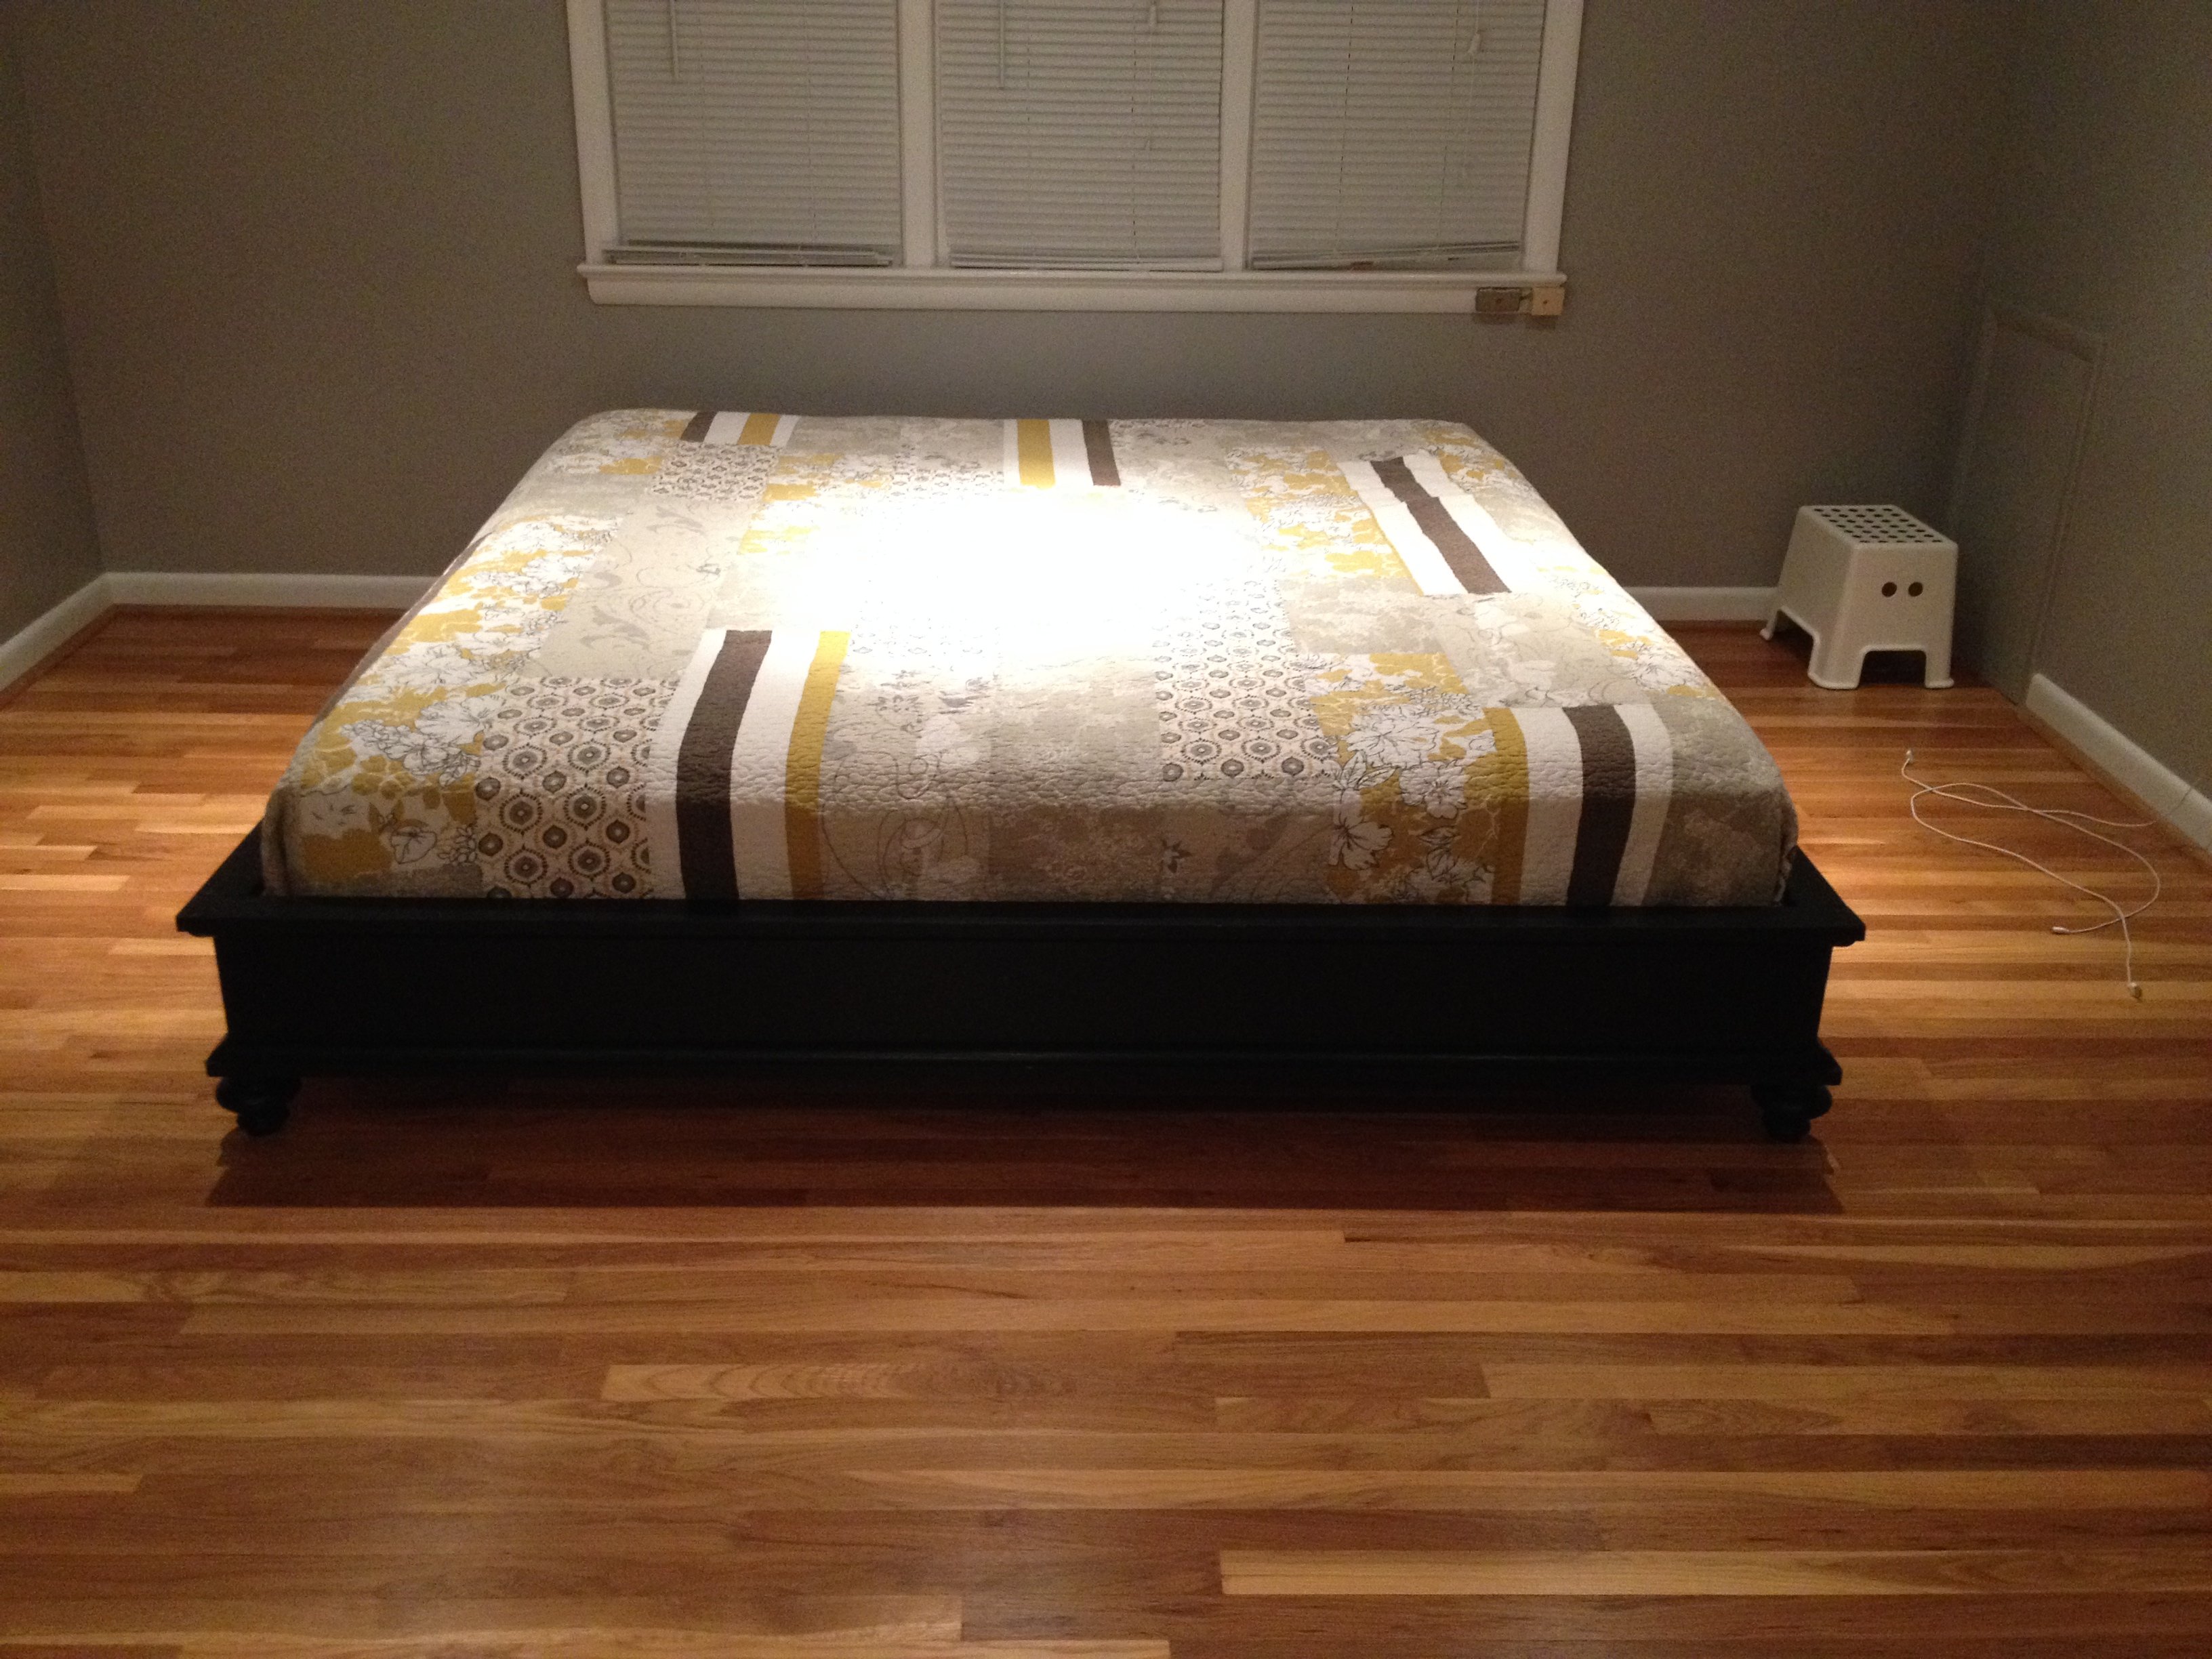
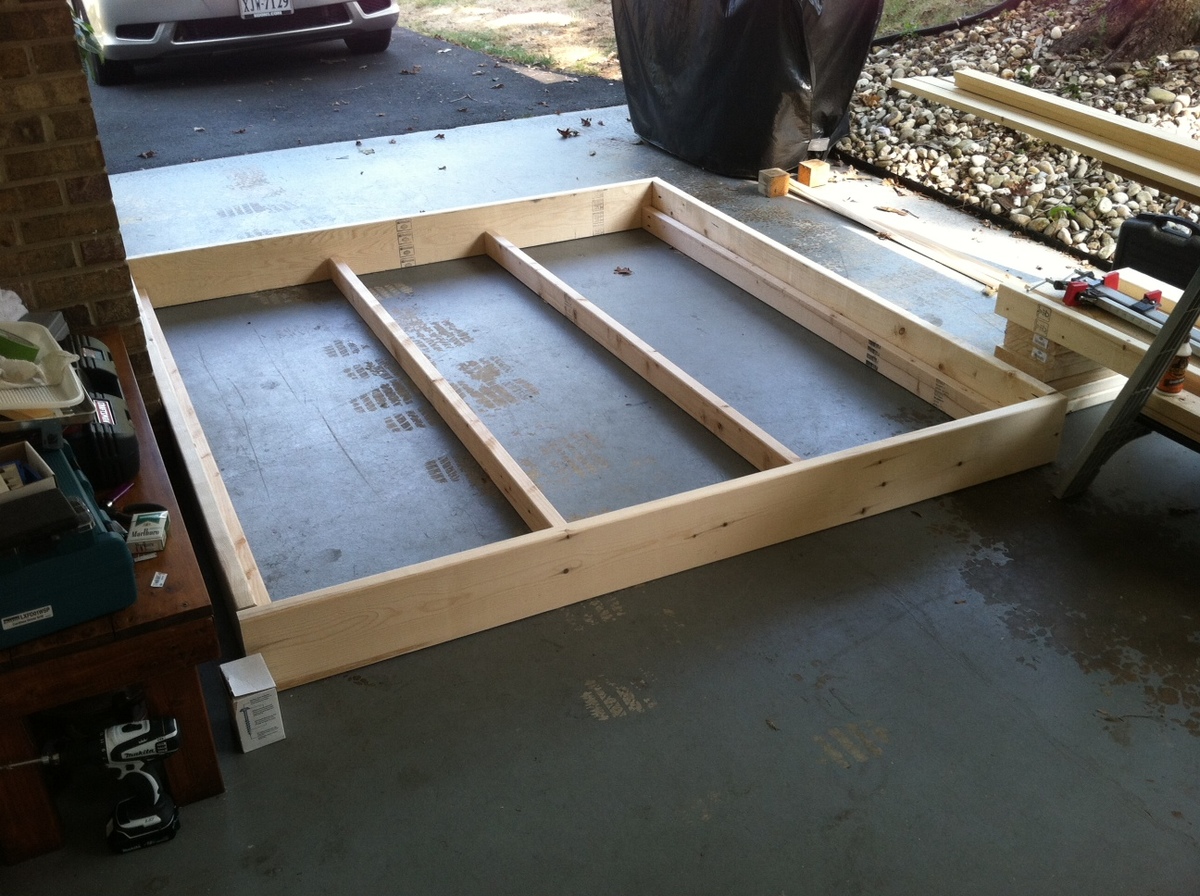
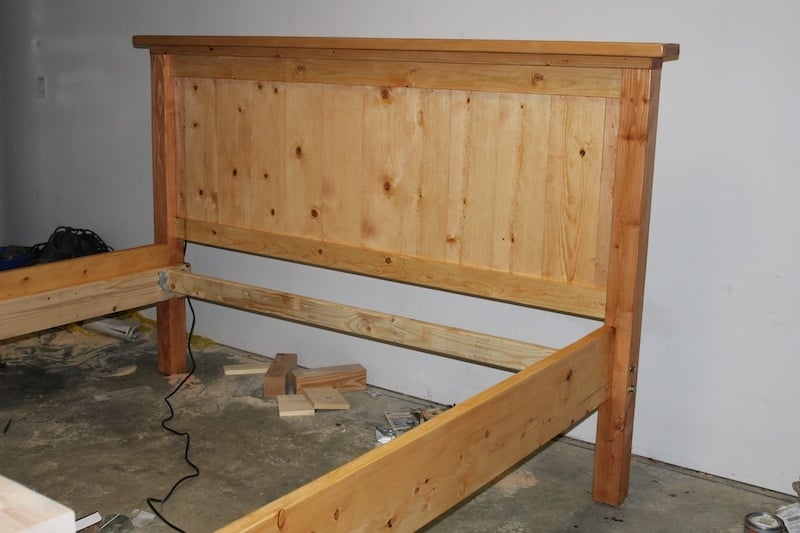
Changed the dimensions to fit a King size bed. Also lowered the 2x4 support studs so that they were flush with the bottom of the frame in order for the bed to sink in more. What should have took only a day was spread out over a week. I'm more Al Bundy than Tim Taylor. NFL break here, NFL break there.. two kids, etc etc. Anyways, I rushed the moulding part because it was Sunday and now I gotta go back and fill in gaps caused by rushed measurements. Still looks pretty good though. Thanks Ana!
-Thai

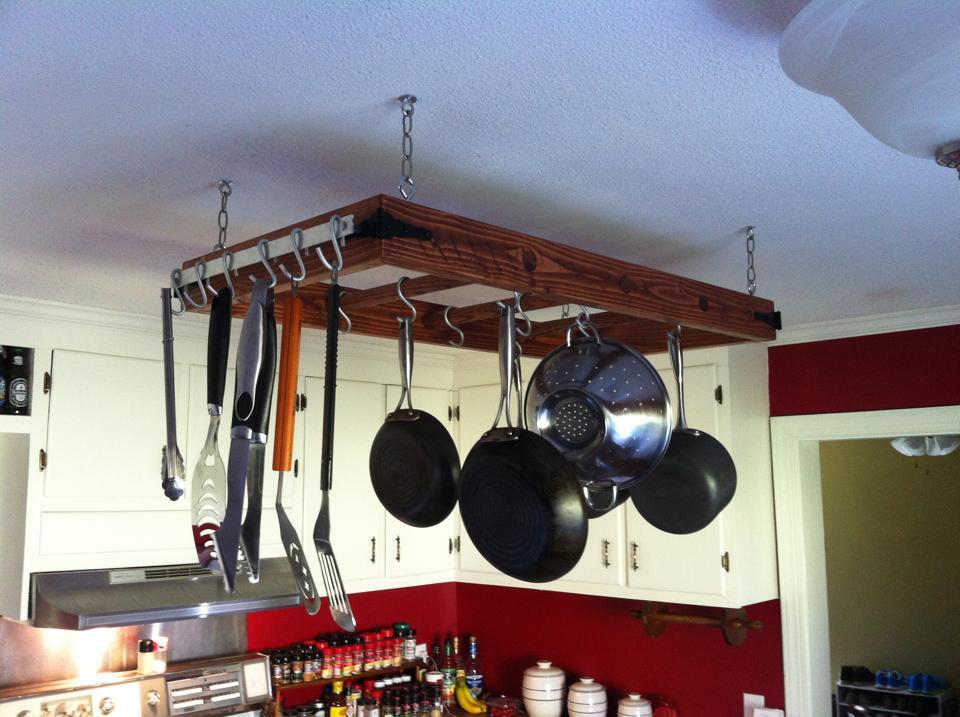
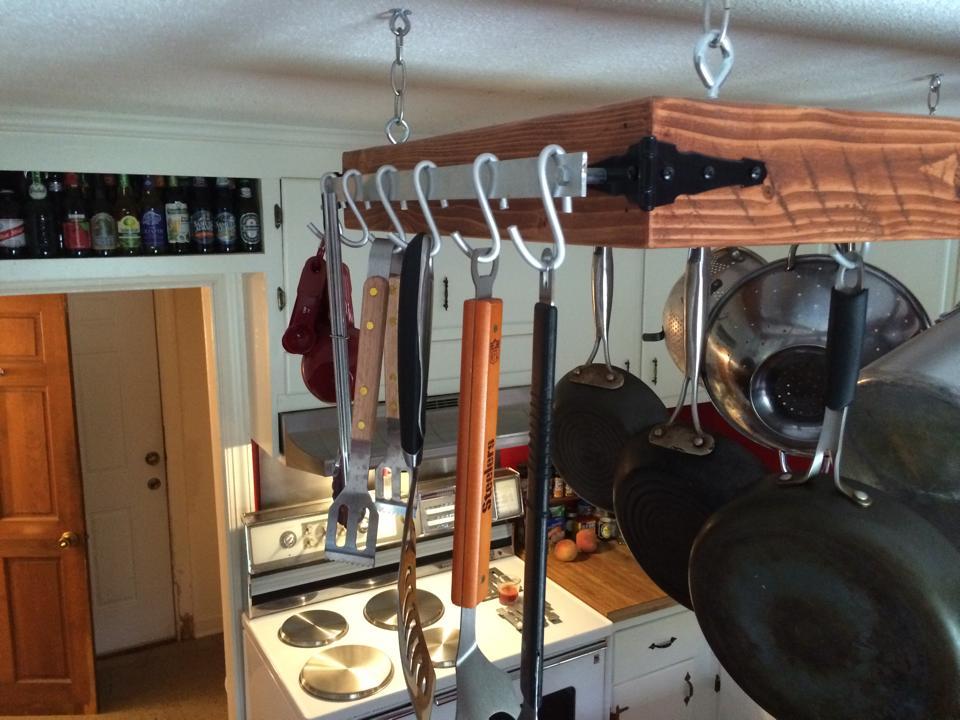
looking for a potrack all I could find were metal ones. so i came up with the plans to build one. just a 2x4 frame with 3 1"1/4 holes on each side for the oak dowels for my rungs. hooks were hard to find so i had to bend my own out of aluminum bar stock. I used to hinges for decoration on the corners. On the on end i bolted an aluminum plate with 2 1" spacers on so i cound hang my utensils. i had to bend the hooks for them as well.
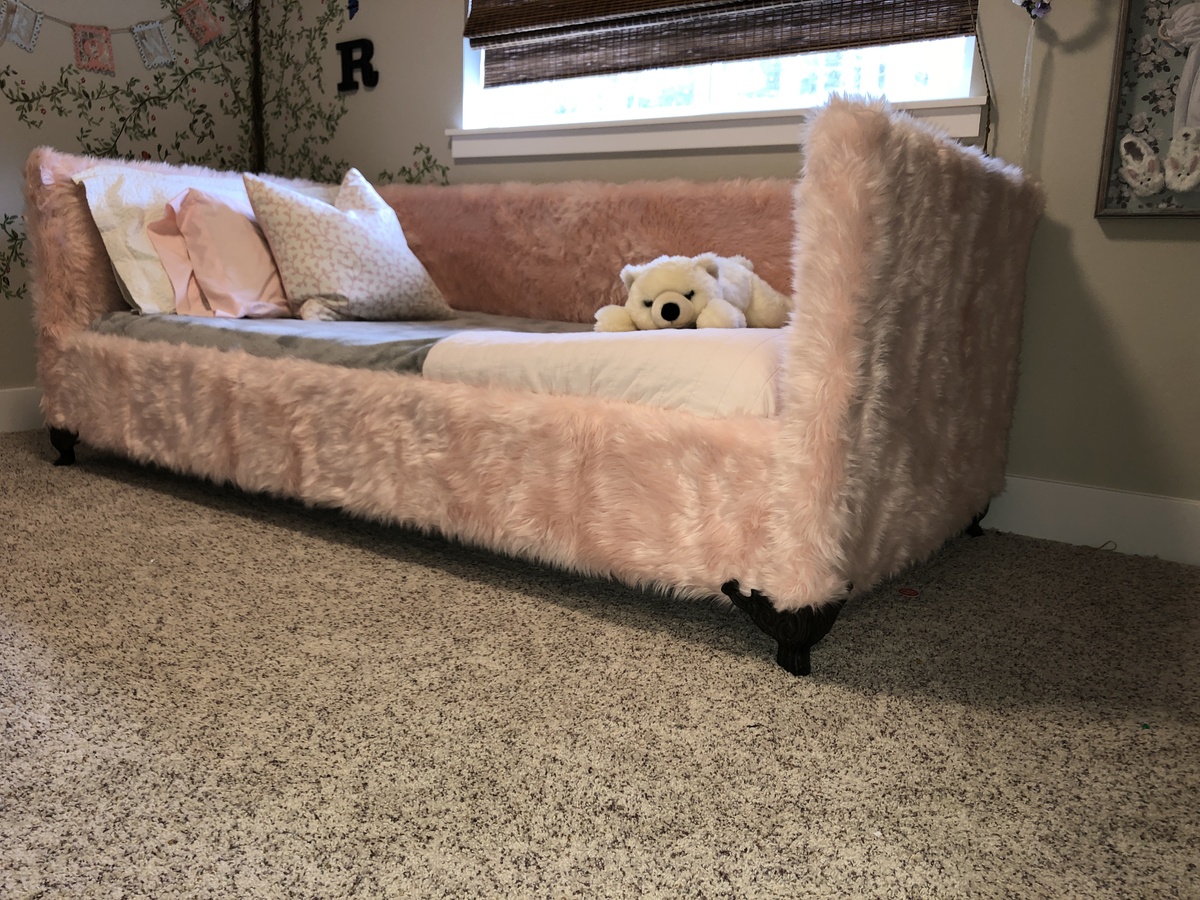
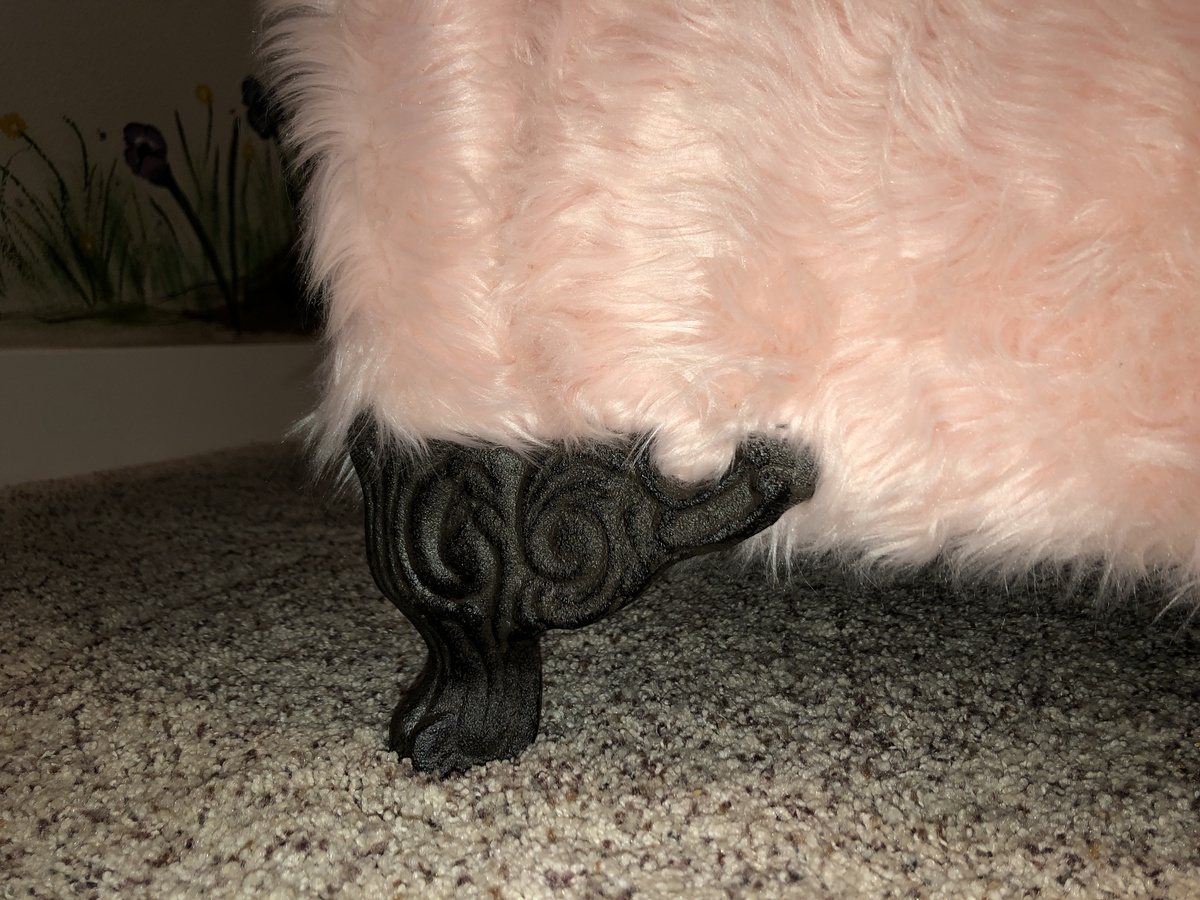
I am thrilled with how my daughter’s bed turned out. I used the basic pink fur bed idea, and tweaked the plans to meet our needs. I found iron chair feet at Hobby Lobby, and prefer them to the hairpin legs. Thanks so much for the idea, Ana!

Mon, 04/08/2019 - 12:35
You made my day by posting this!!!! Thank you so much, what a beautiful piece! Ana
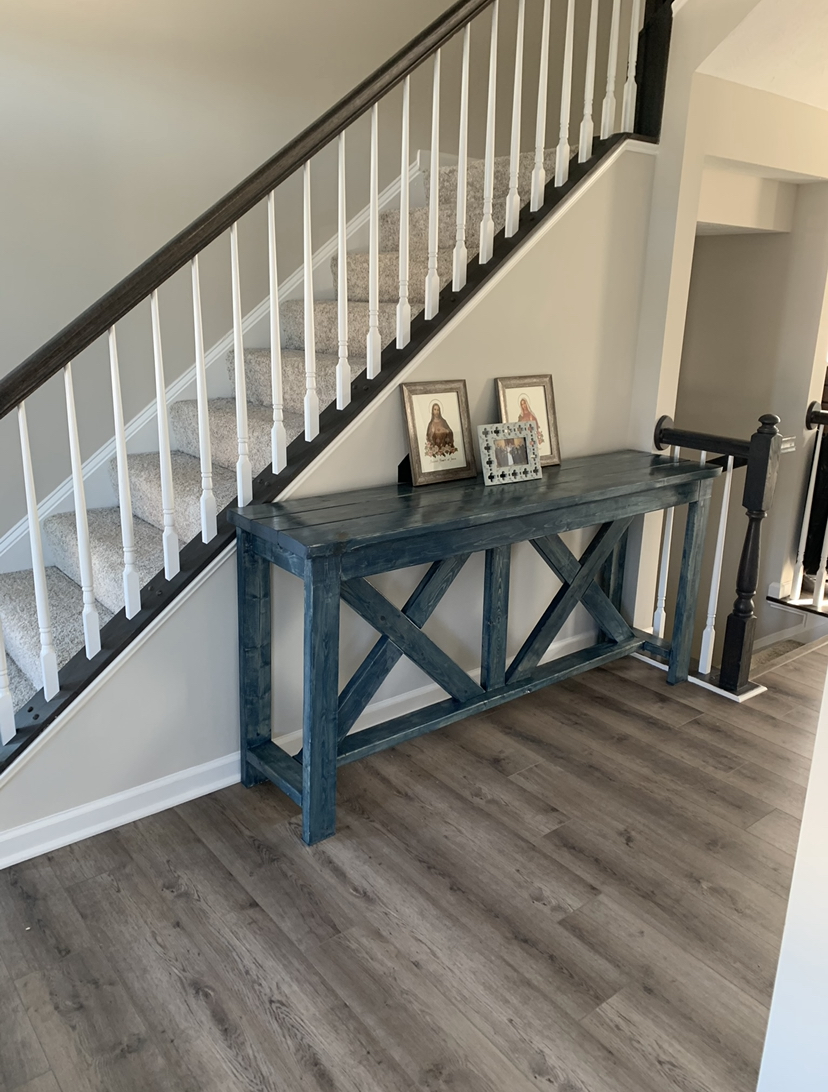
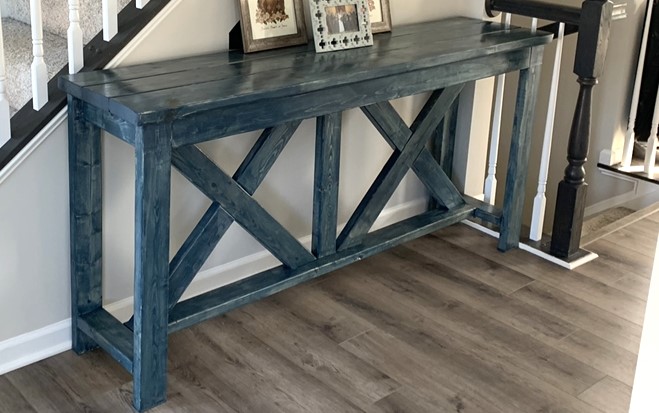
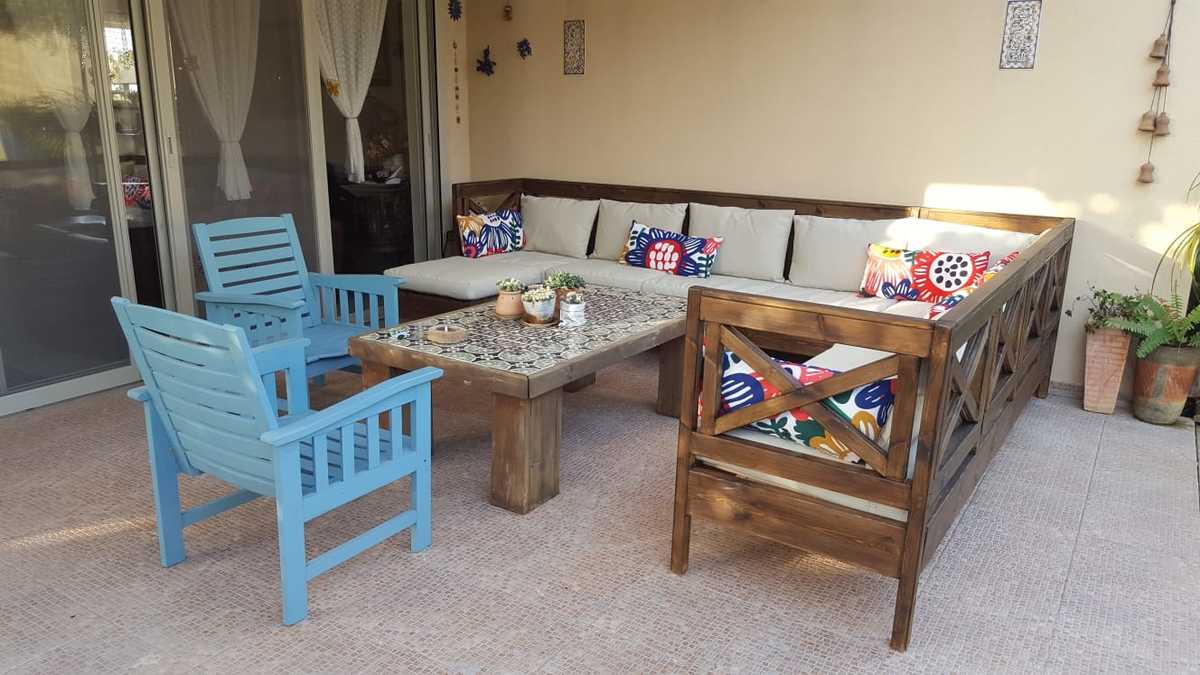
I built this farmhouse style entryway table while we waited for our house to be completed. It was the first of many projects I dreamed of completing. After it was done, I used a “navy” stain that wasn’t quite what I had planned but ended up bringing color to the area.

I've had the Pioneer Bed bookmarked for months, waiting for the right time to build it. It was the perfect twin plan to hide a trundle beneath. We built the bed in a day with our new nail gun, it was so easy! I added 5 inches to the leg height so the pop-up trundle would fit easily. We're loving the new bed.


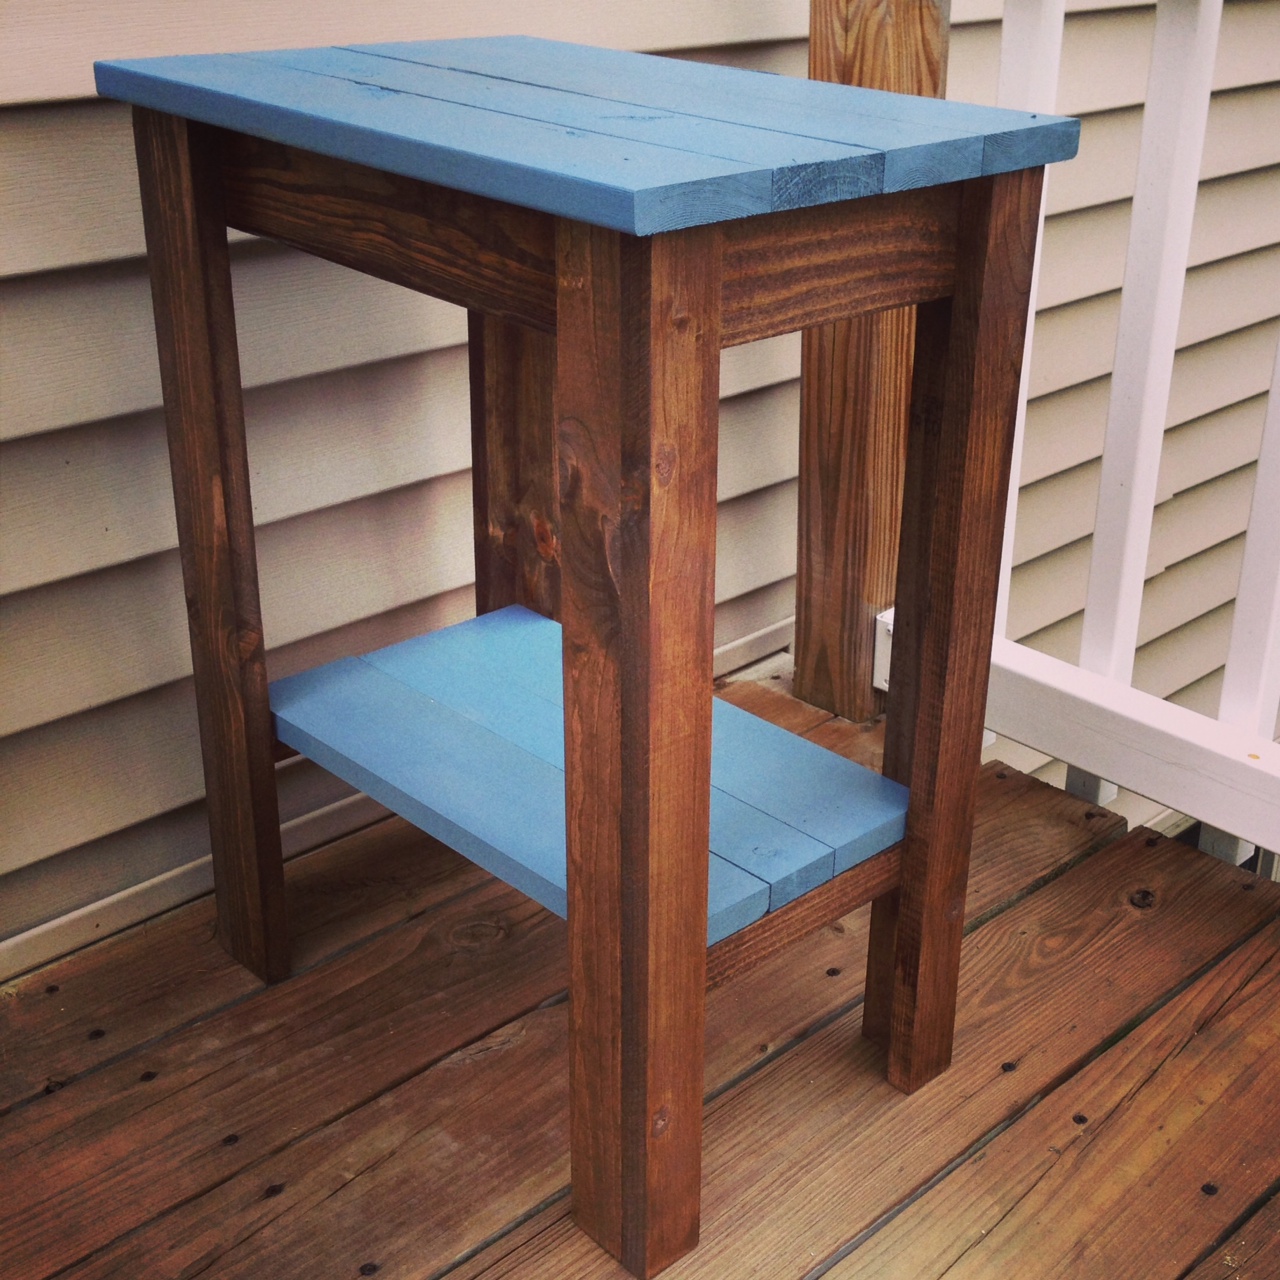
This end table was built using left over pine and pallet wood, finished with Special Walnut Stain by Miniwax and Rustoleum spray paint. The end result probably costed about $8 per end table and they turned out great.
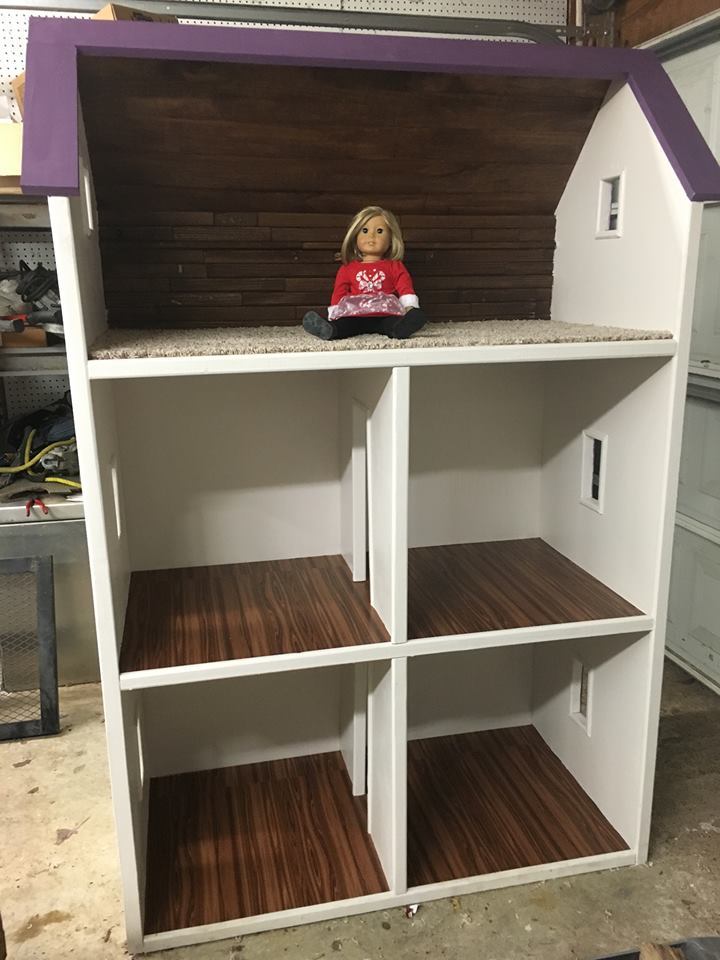
My friend & I made this doll house for a Christmas present for my daughter. The plans were easy to follow!
I put carpet on the top floor & then used contact paper that lookes like wood for the other flooring.
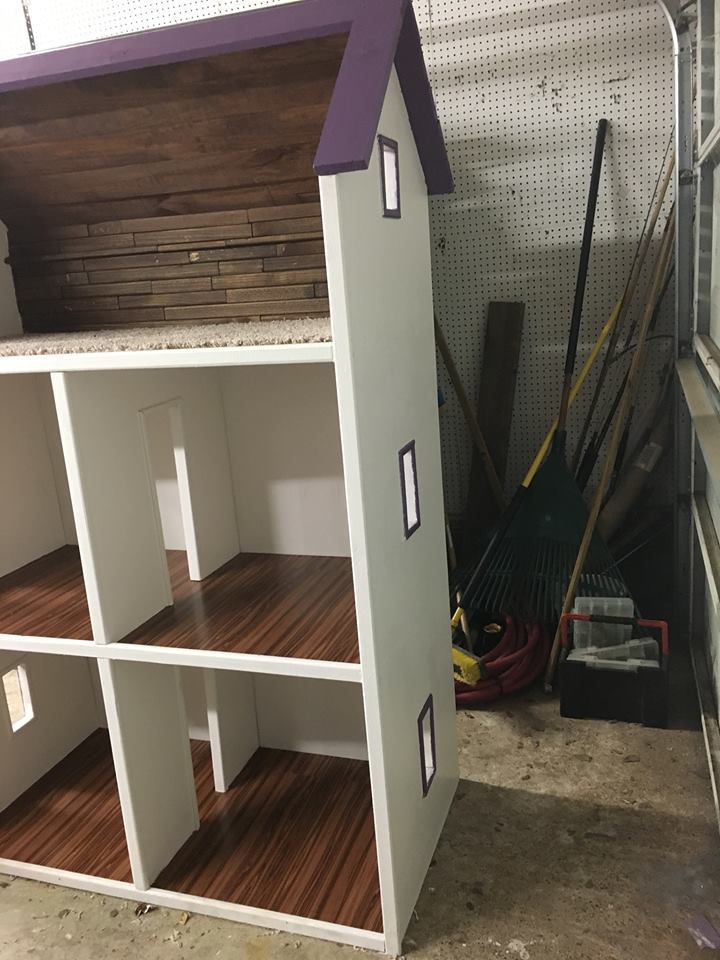
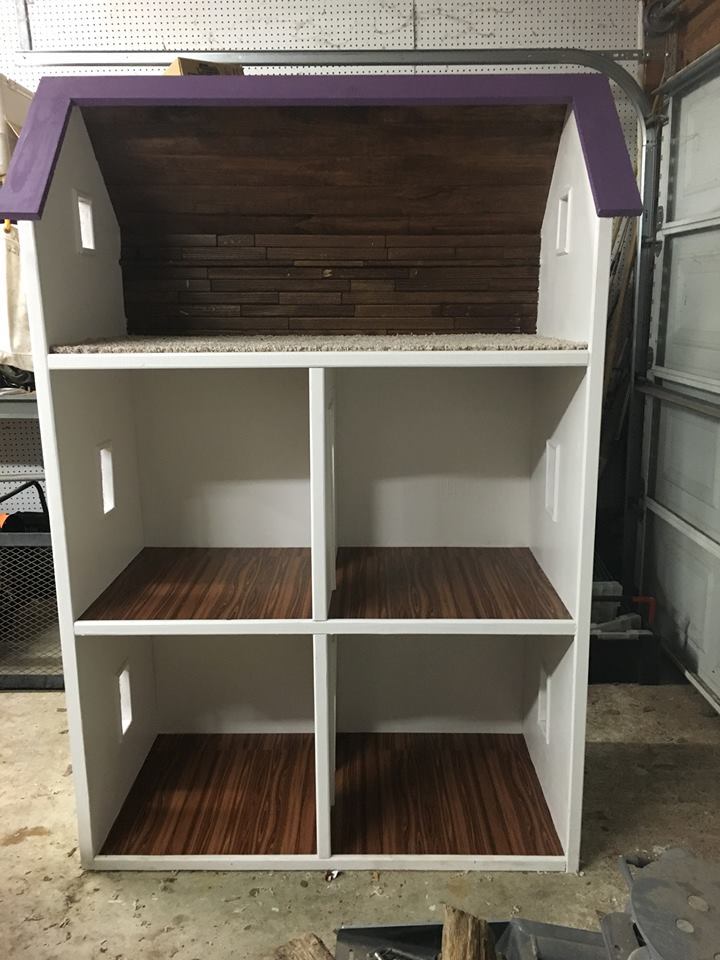
i made a mudification in plans. it takes me two days to finish it.
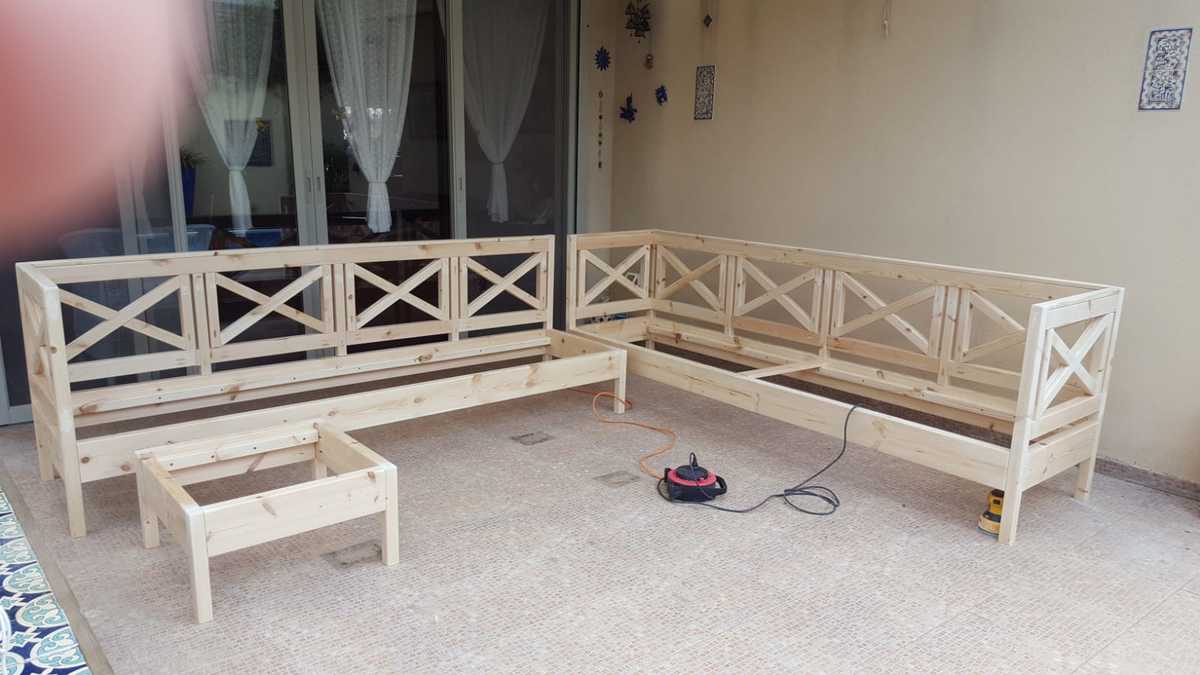
Sat, 05/04/2019 - 13:33
Wow! That is quick work!
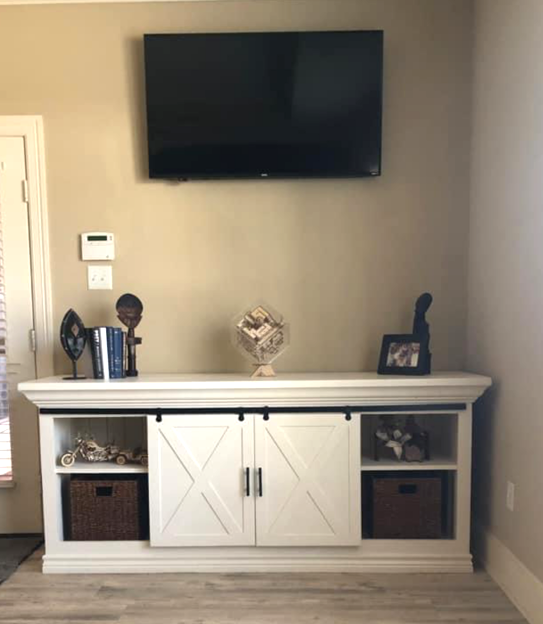
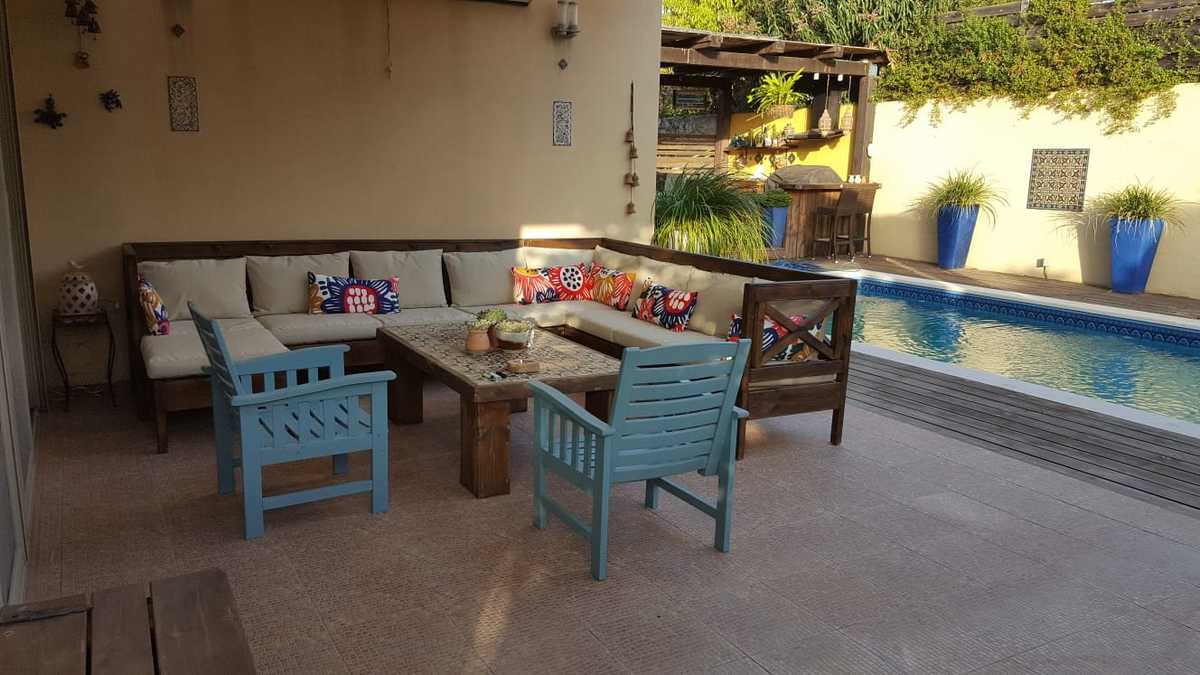
Lovely space! The X detailing adds so much.
Thank you so much for sharing a brag post!
Ana
"I built these from @anawhitediy plans online. Love how they came out. Super cute style too. I've been selling them online to support my DIY habit." Monica
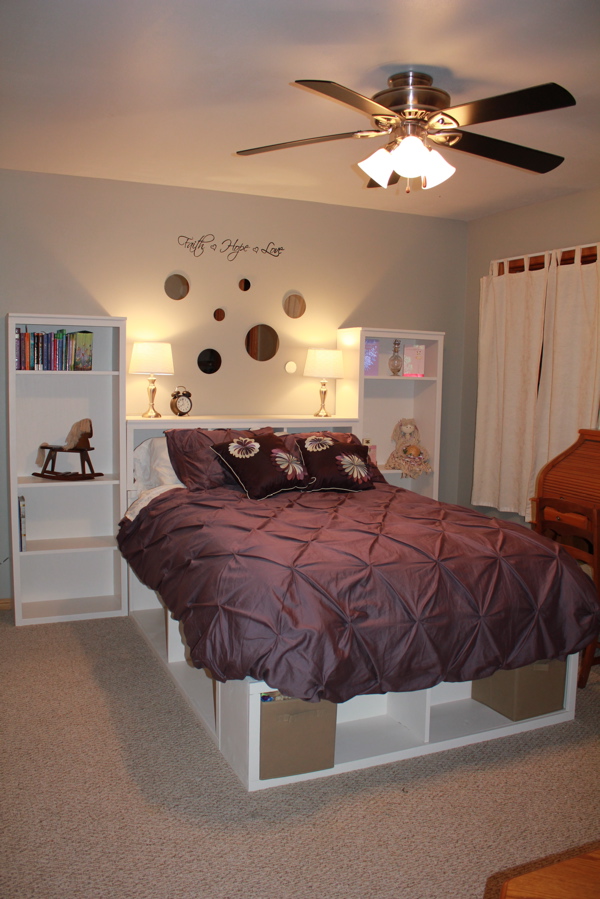
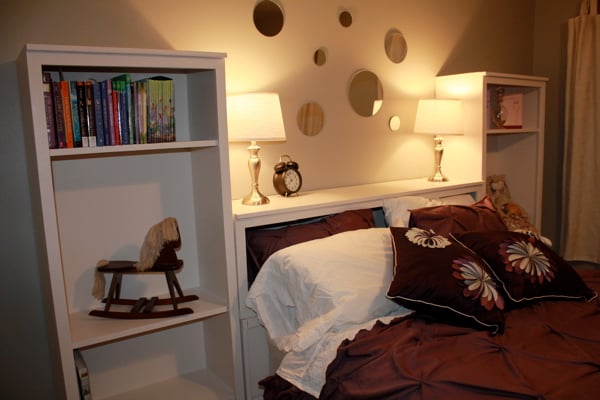
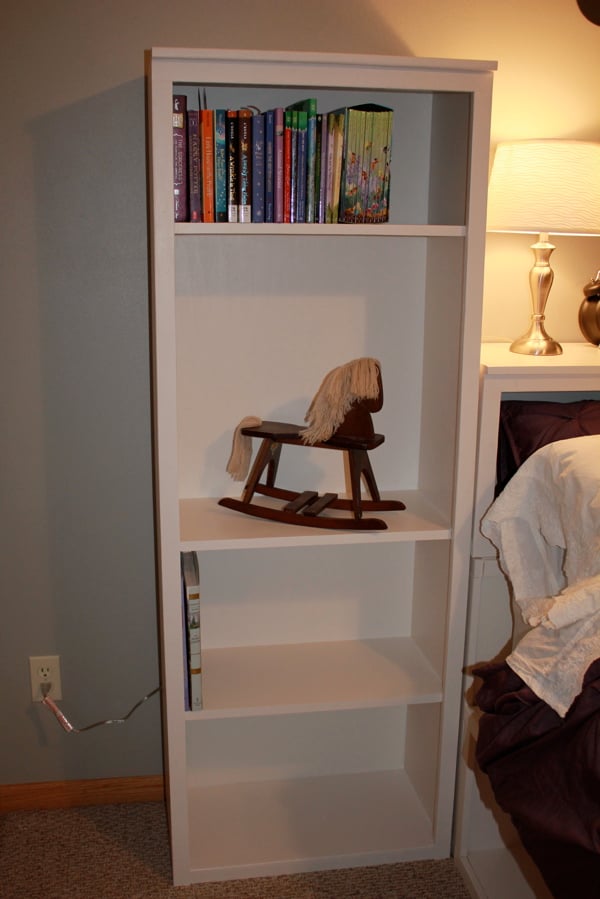
My daughter wanted her room redone for her tenth birthday. We decided to go big with Ana's storage bed plans. I had so much fun building this and really learned a lot. It took me three months to find enough spare time to finish it, but it was worth the wait.

Mon, 11/07/2011 - 19:24
You did a really great job building the storage bed. I am in the process of building this same bed for my teenage son, only I'm not building the towers. Finding enough time to actually get a project finished is nearly impossible when you only have a few hours here and there! Your daughter will love all the extra storage space as she gets older.
Tue, 11/08/2011 - 05:19
Thank you very much! For such a large project, and only the second piece of furniture I have made, I couldn't be happier with the results.
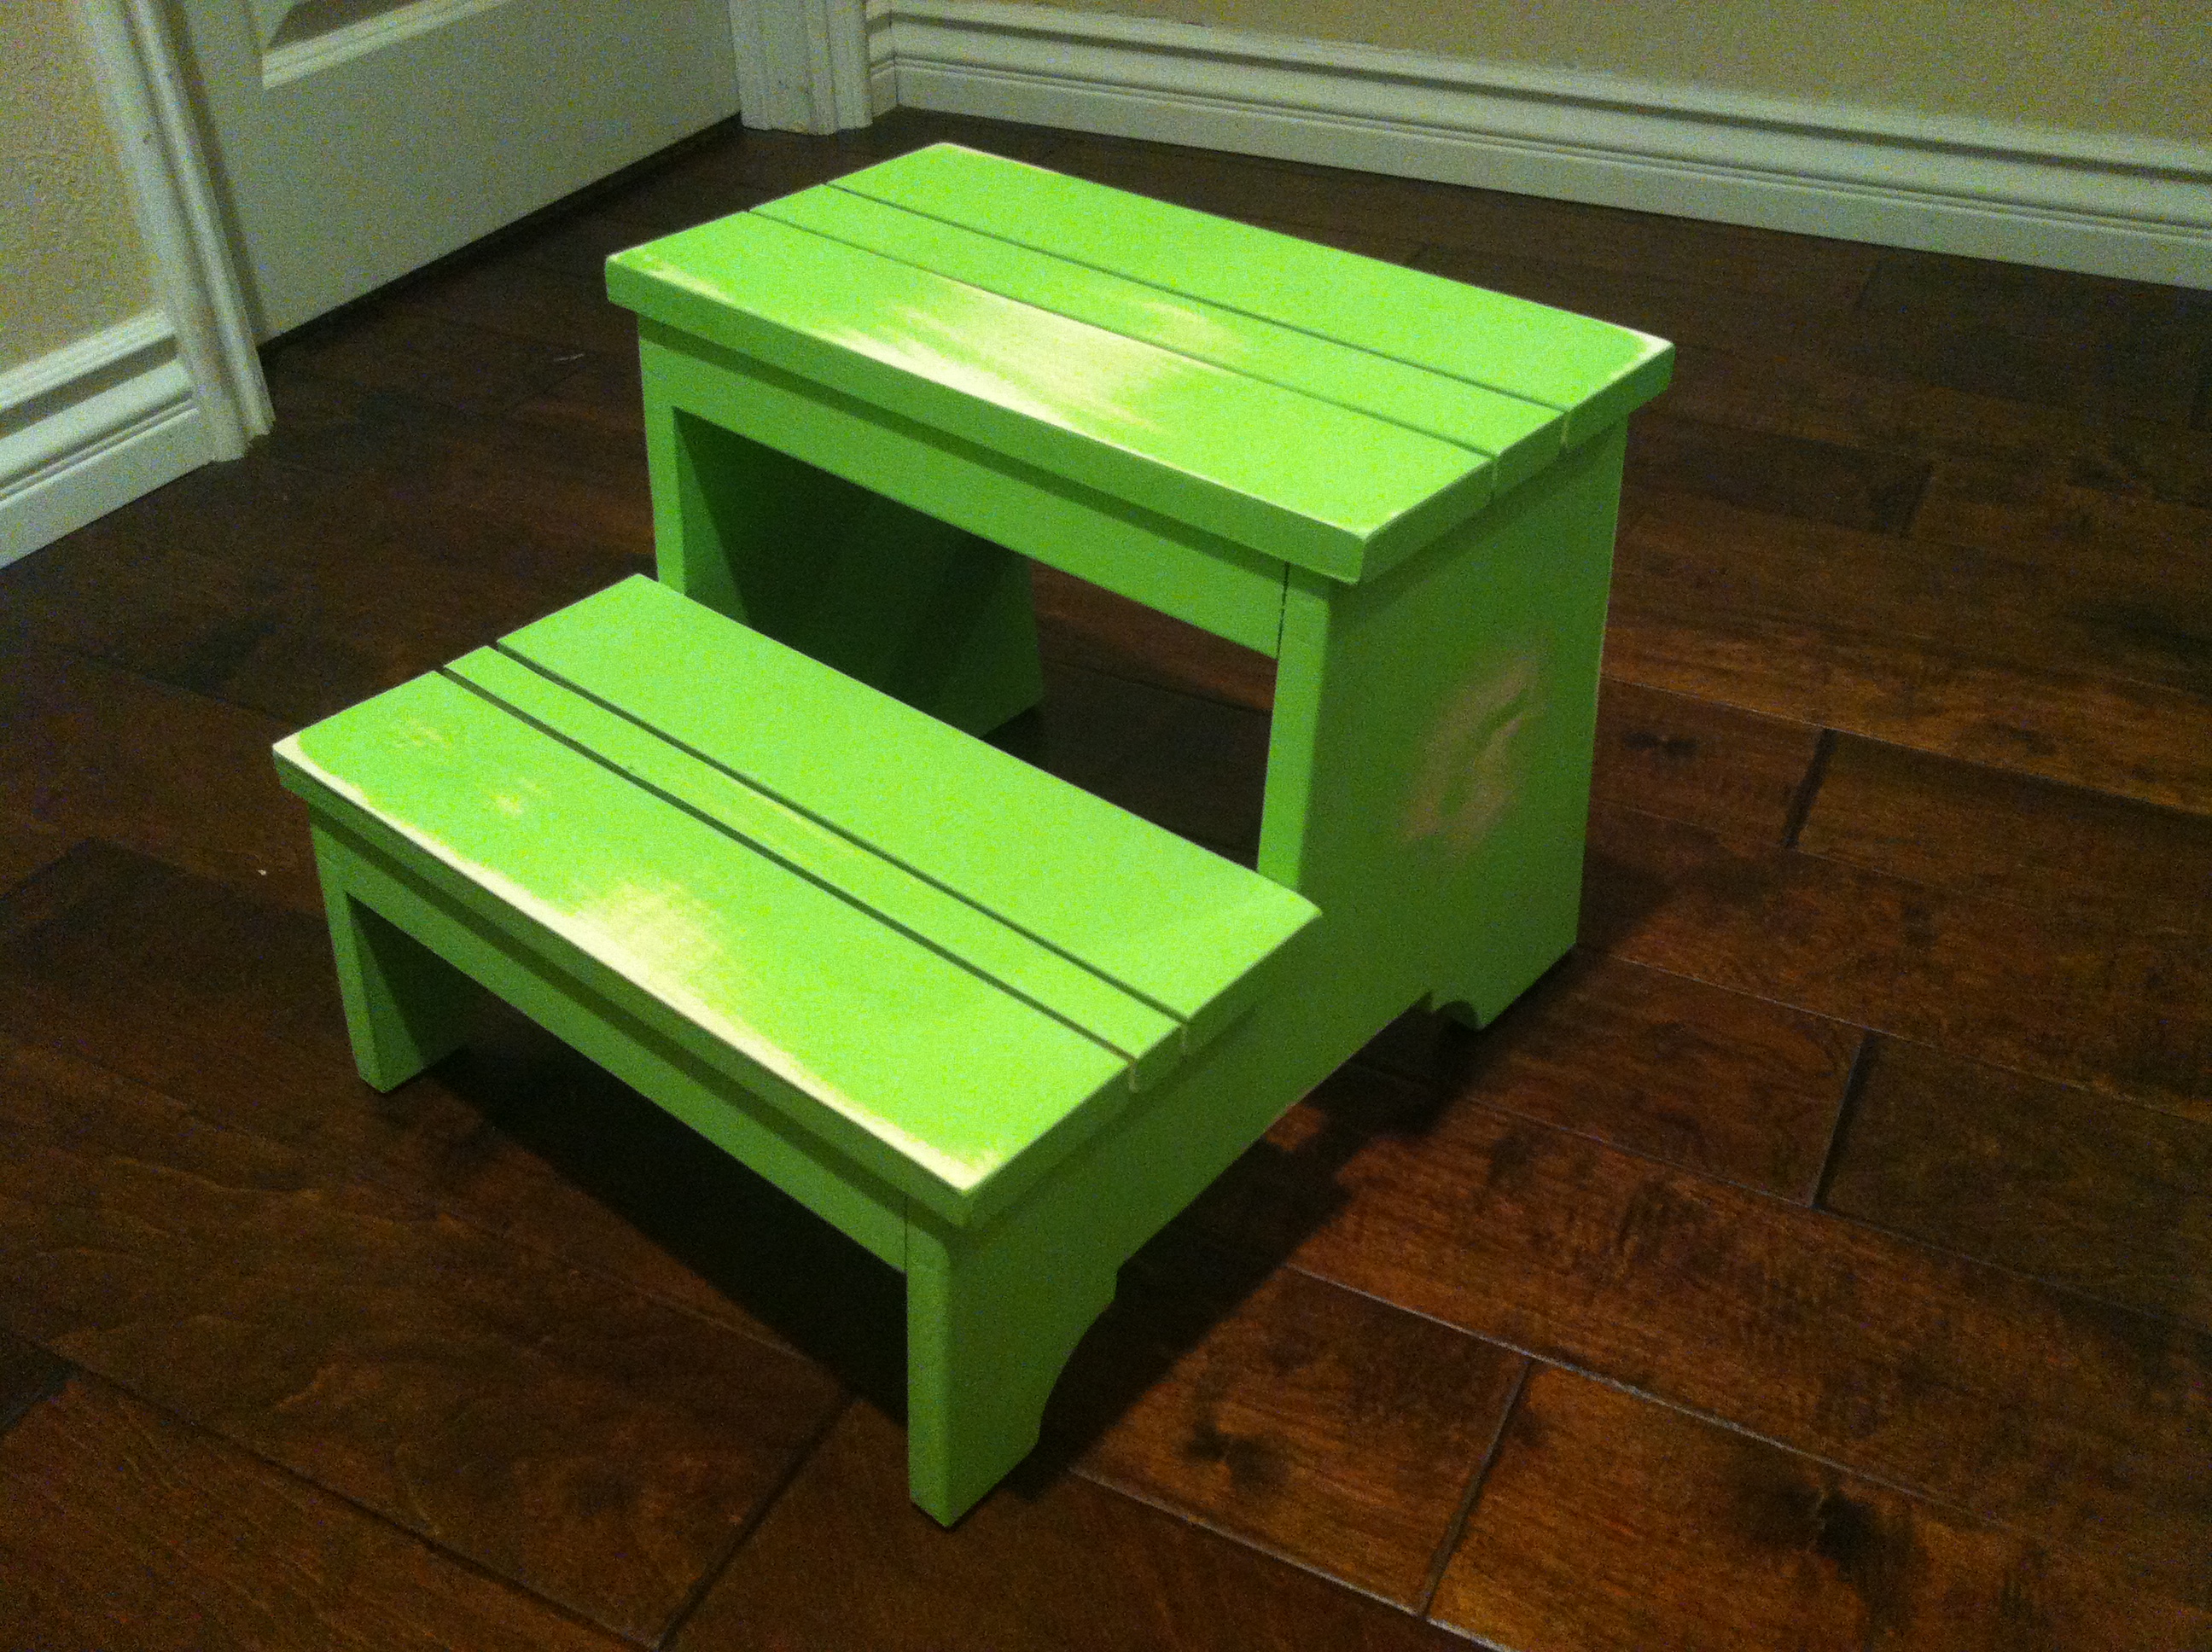
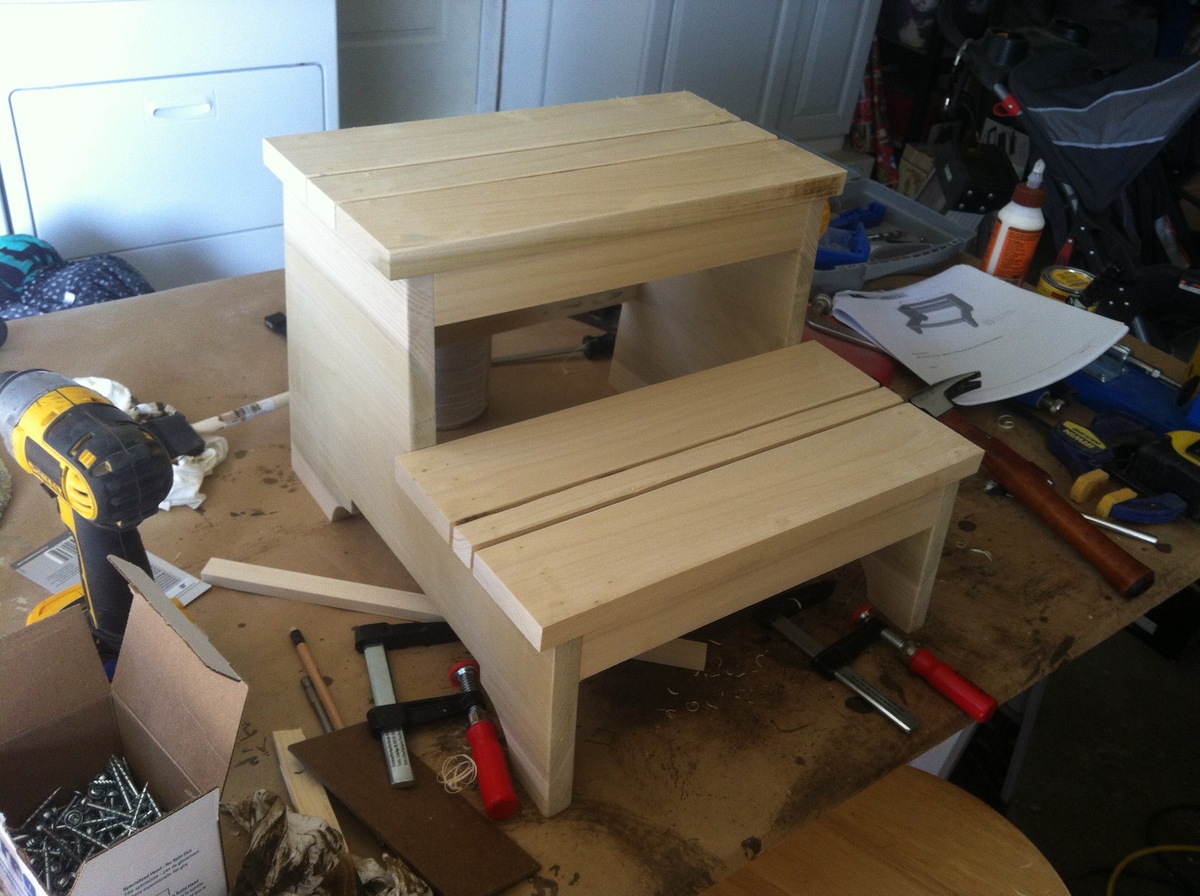
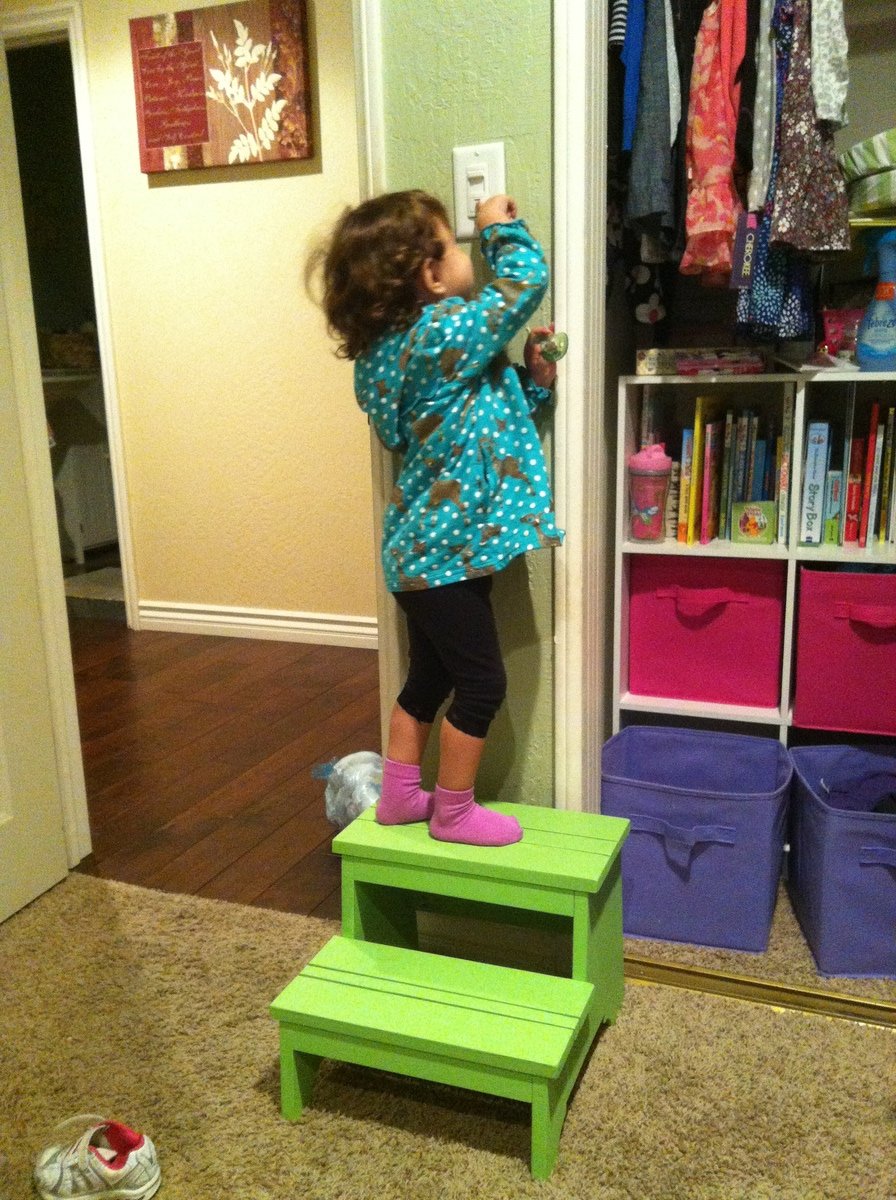
Saw this project on here and immediately knew this was something I needed to build for my daughter who had been standing on toys to reach her light switch as she is now enjoying turning on and off the lights in her room. Took some creative license and made the treads out of multiple boards rather than the single 6" piece from the plan. Also use pocket hole joinery to add to the stability of the project. This is very sturdy and can hold well over 200lbs. Already have many orders from friends.

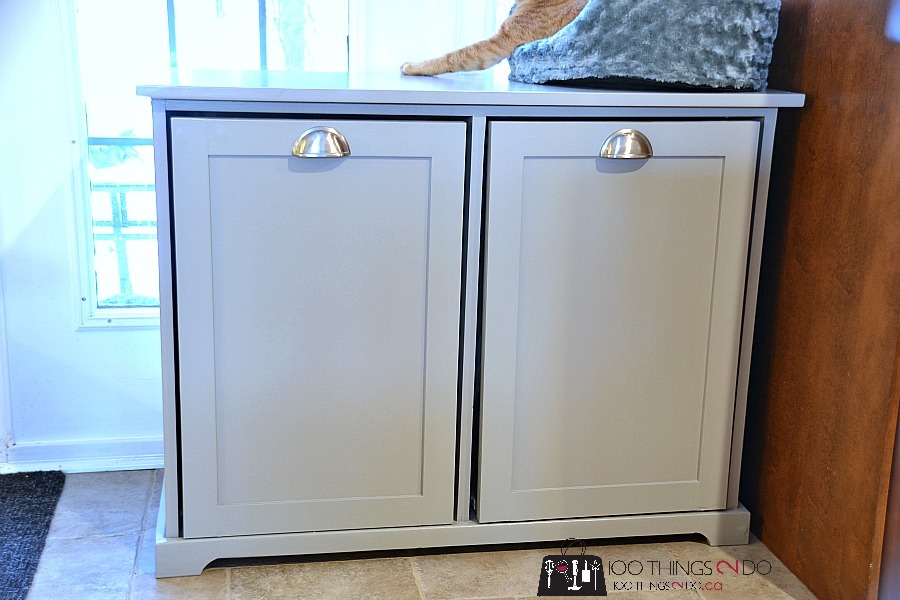
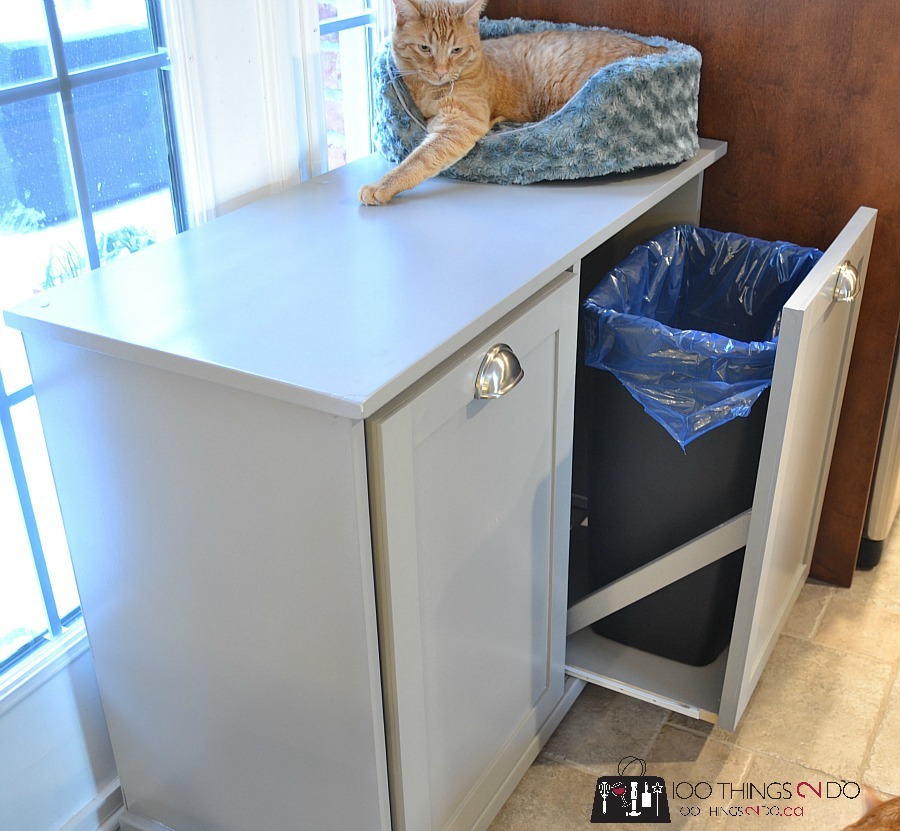
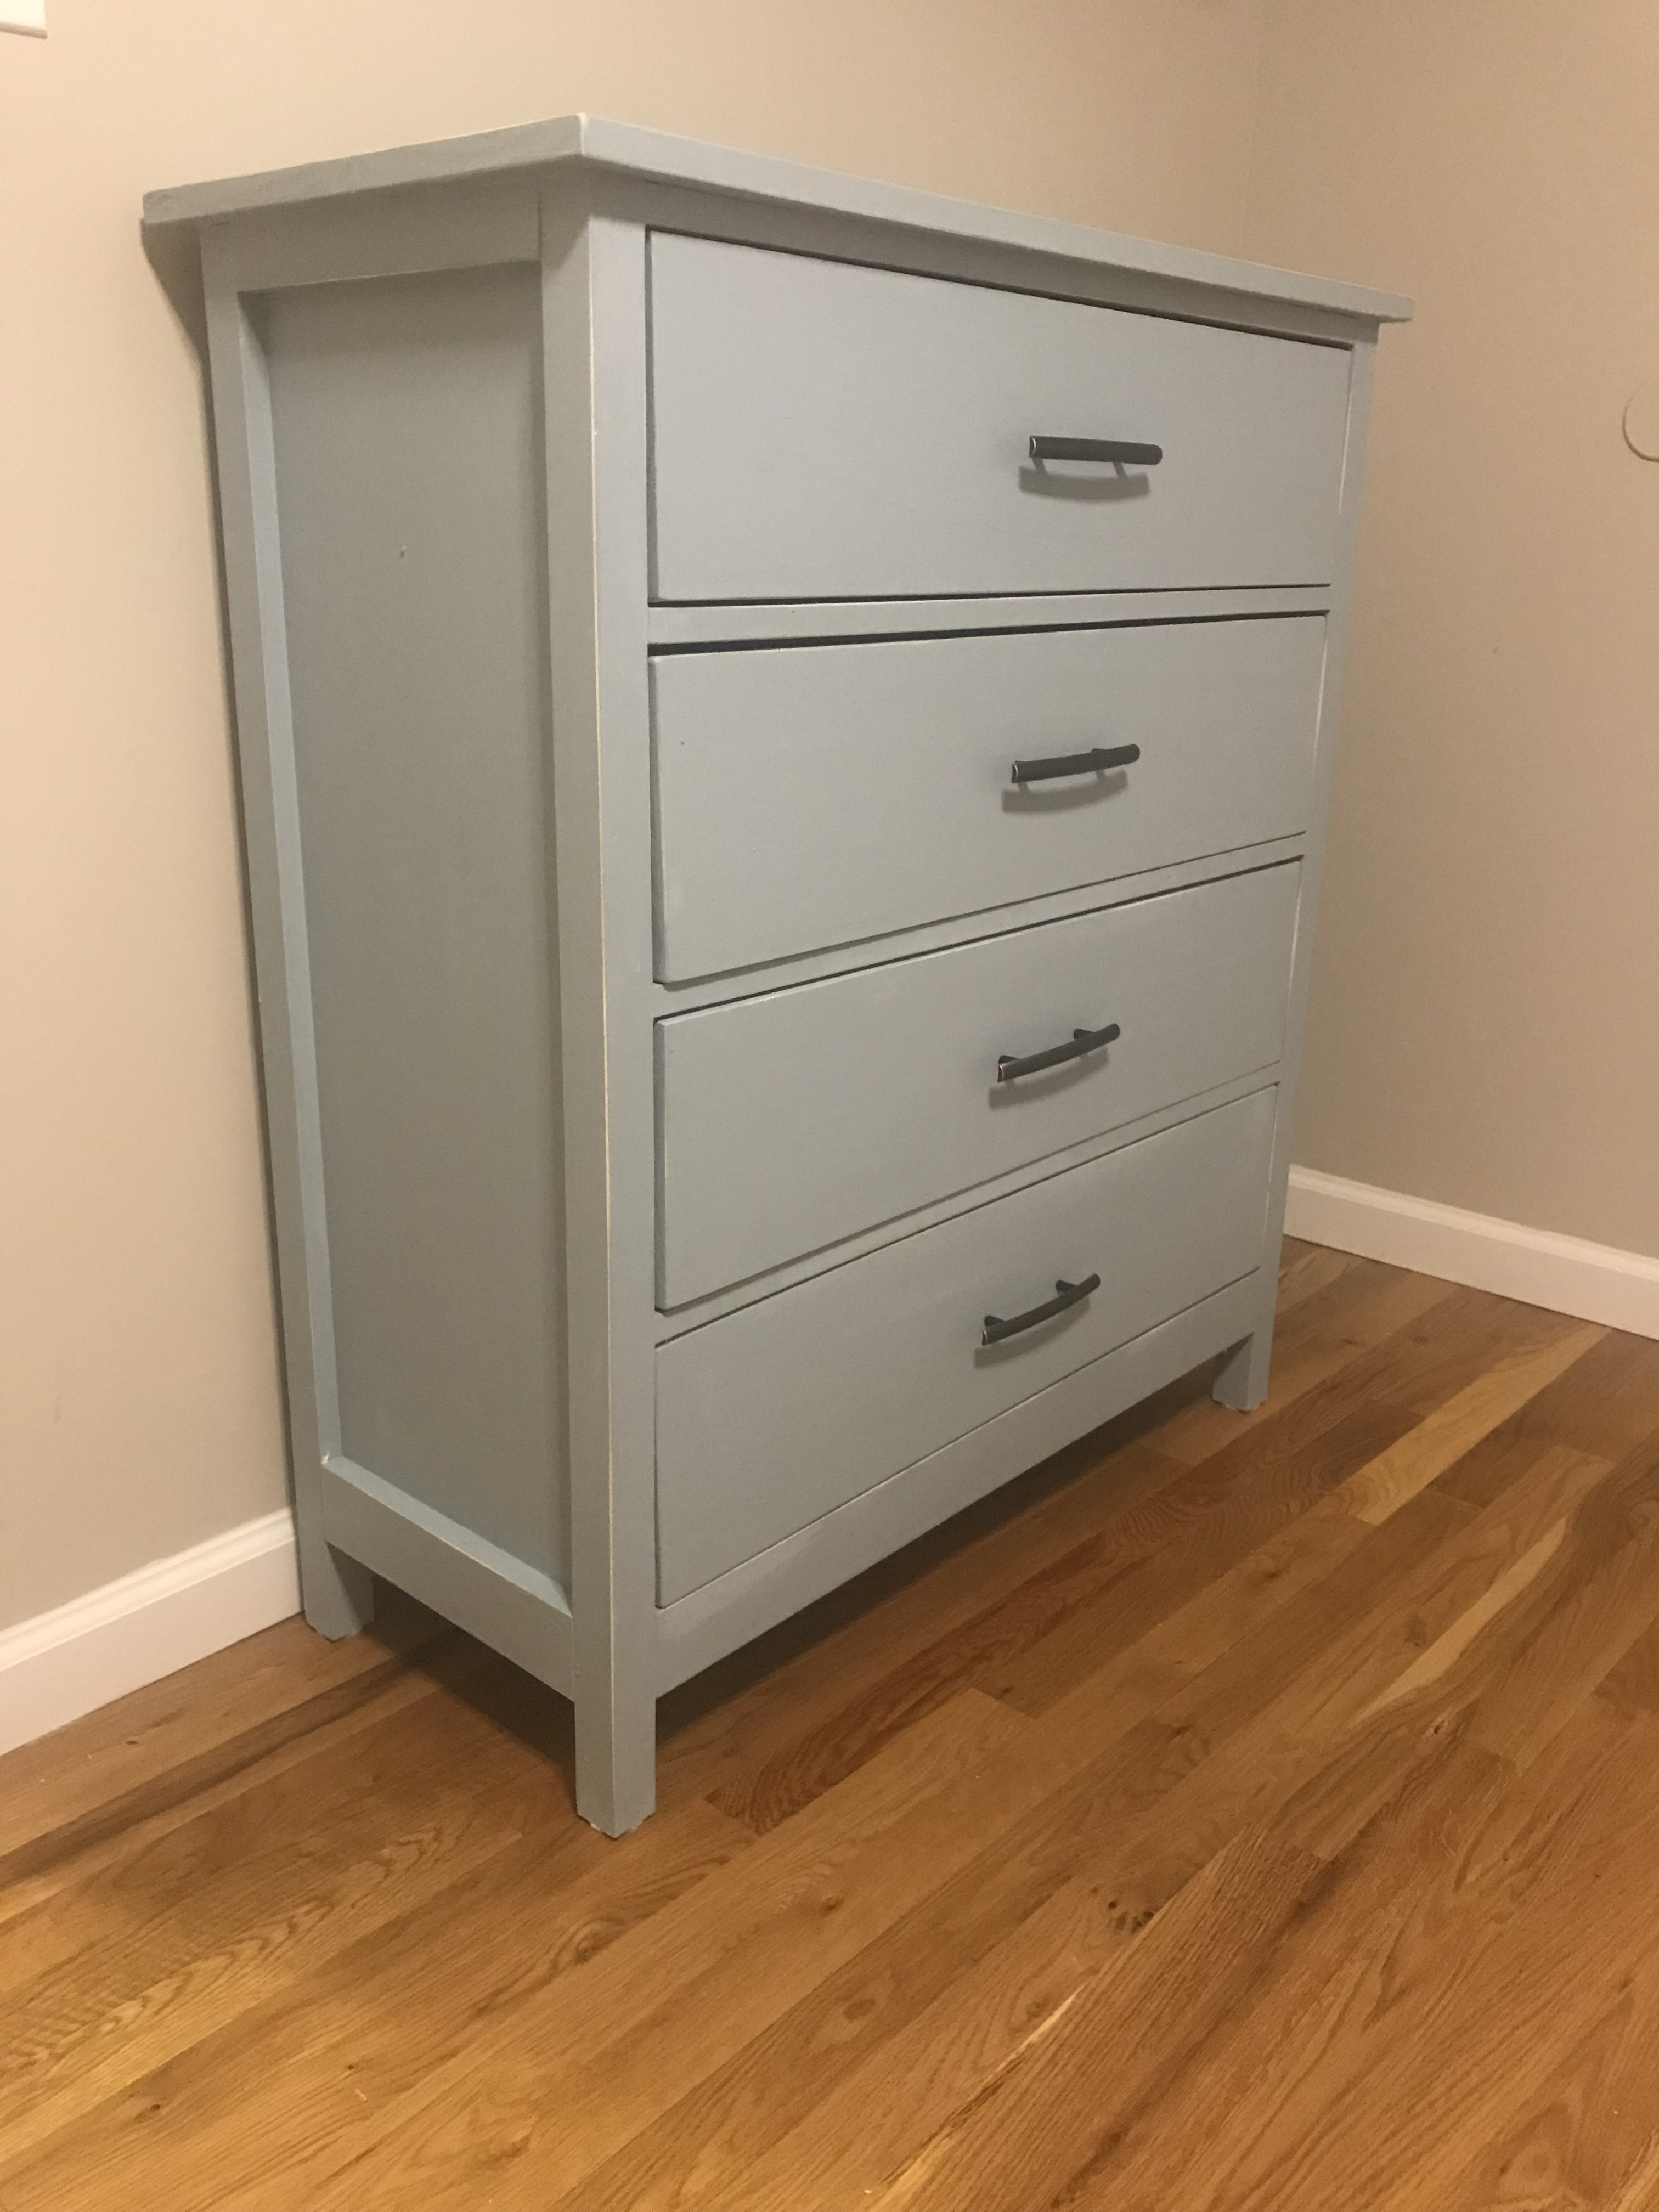
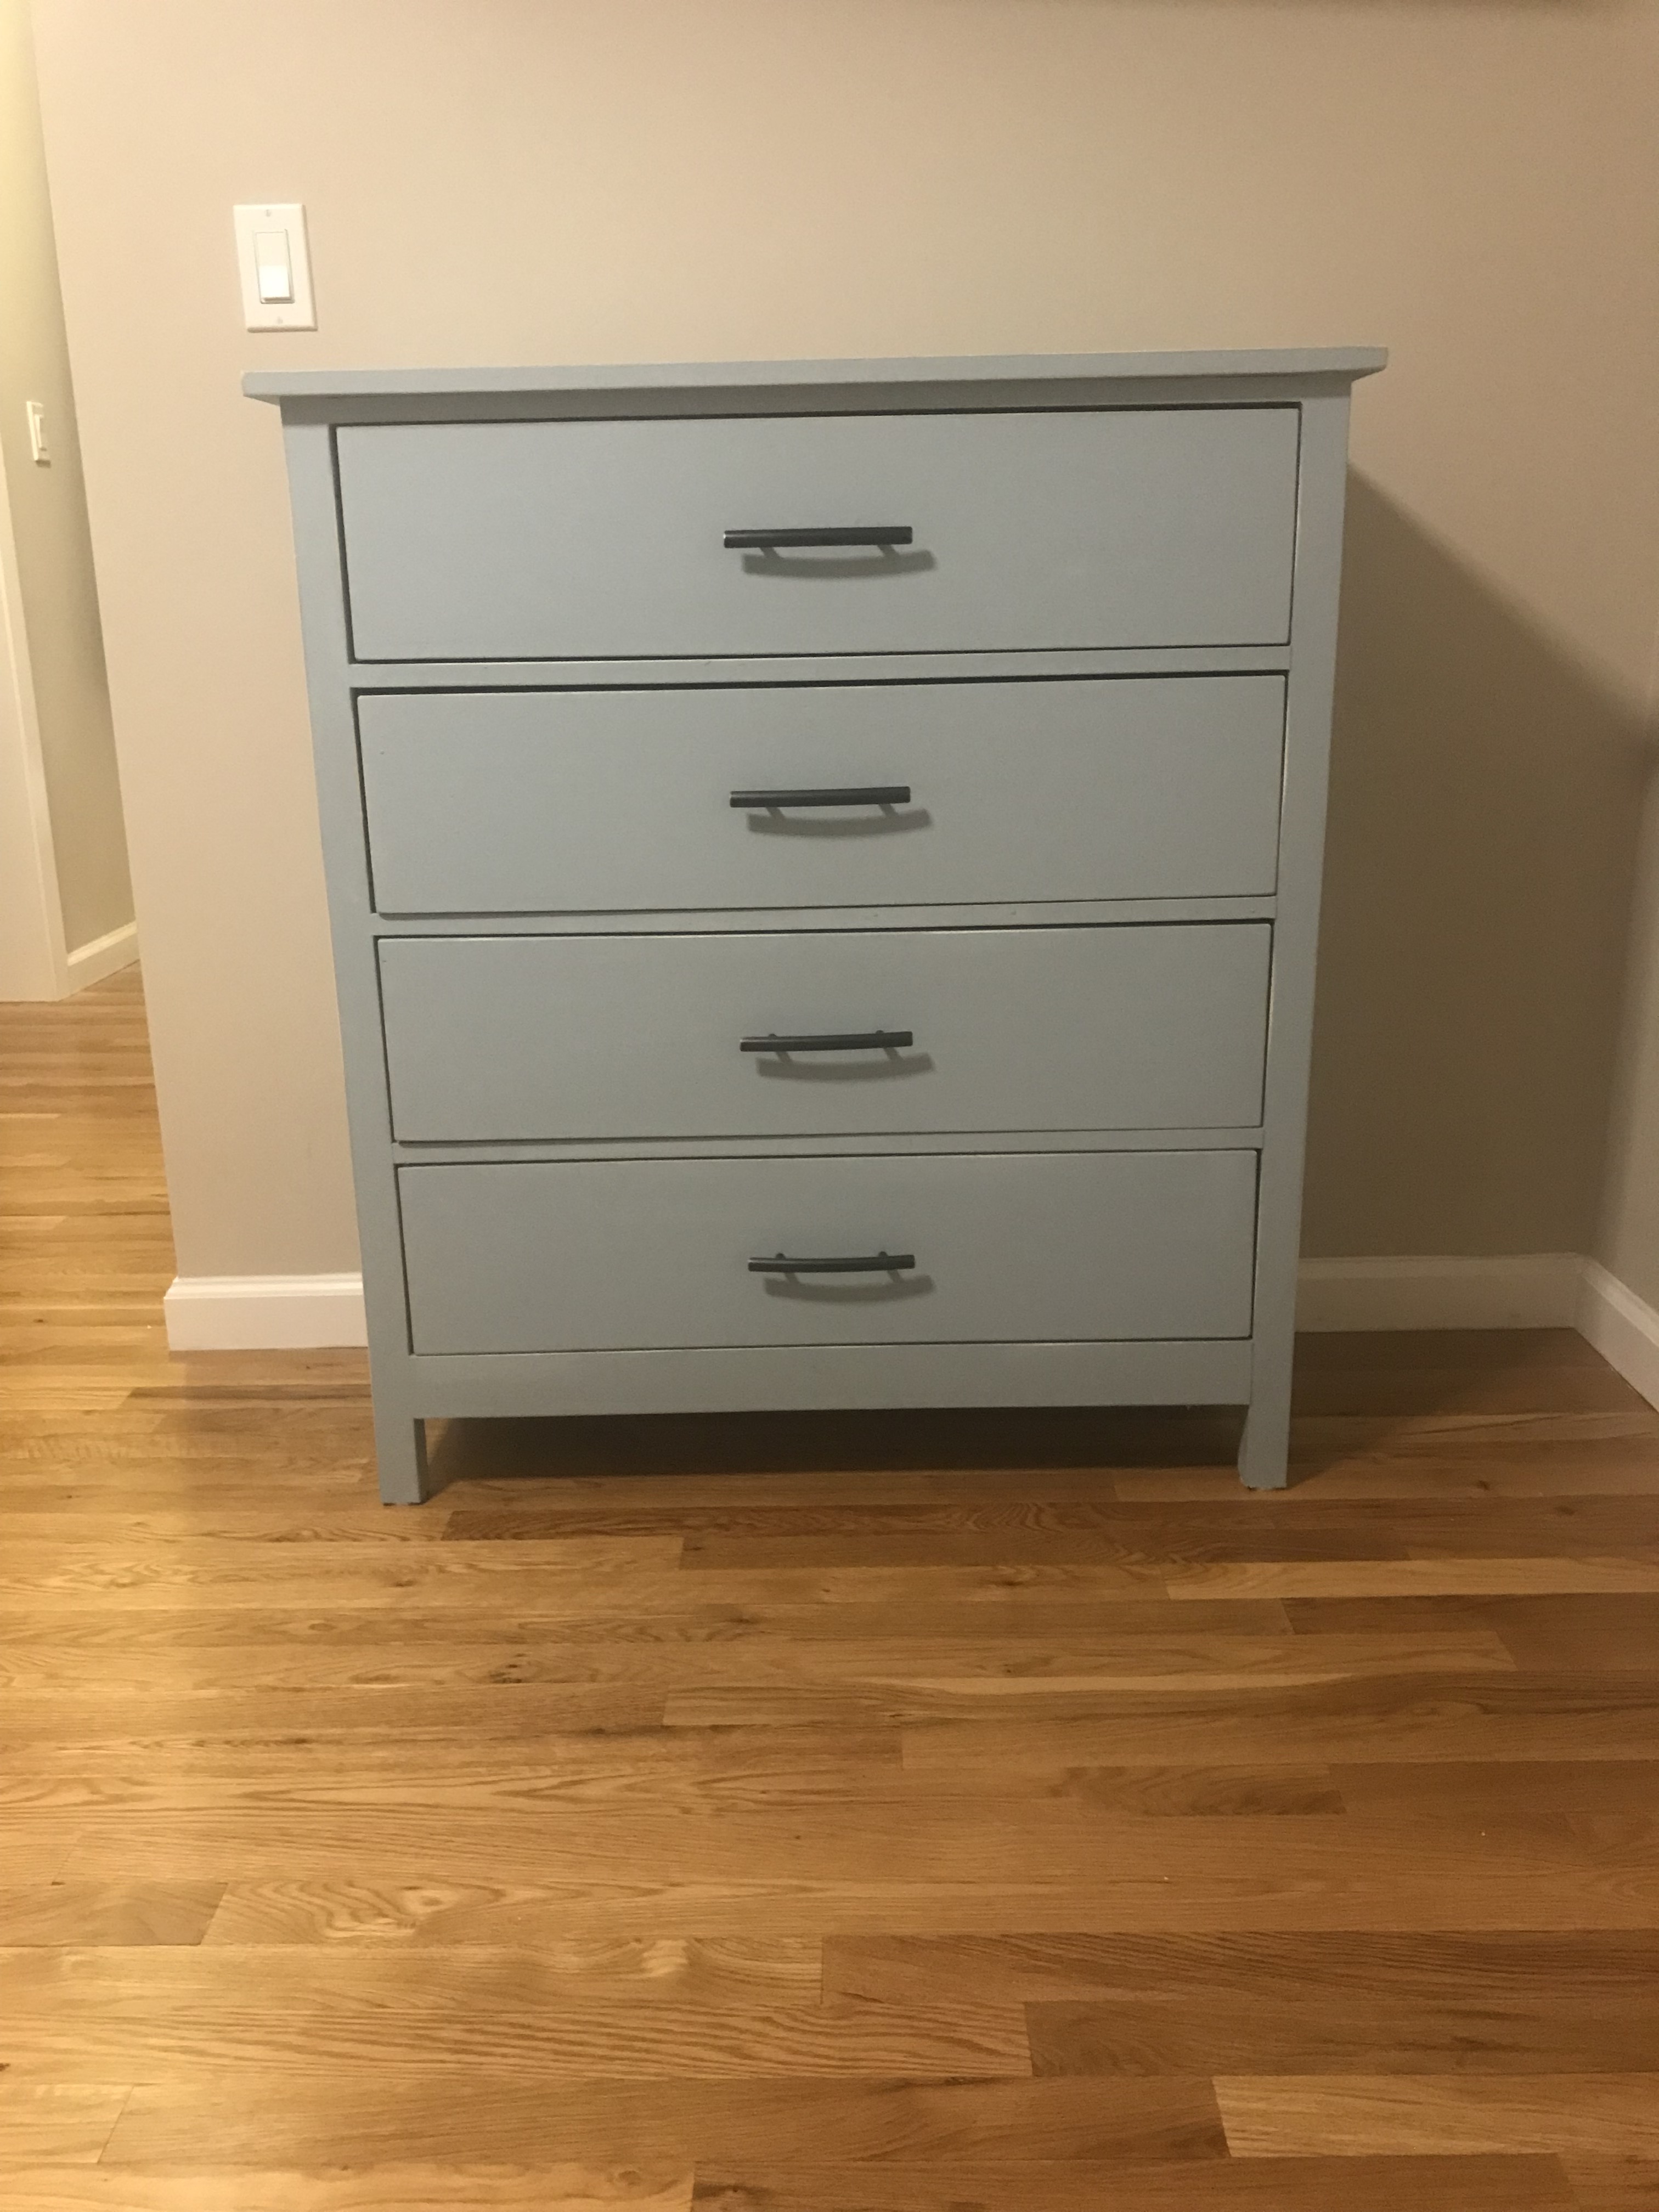
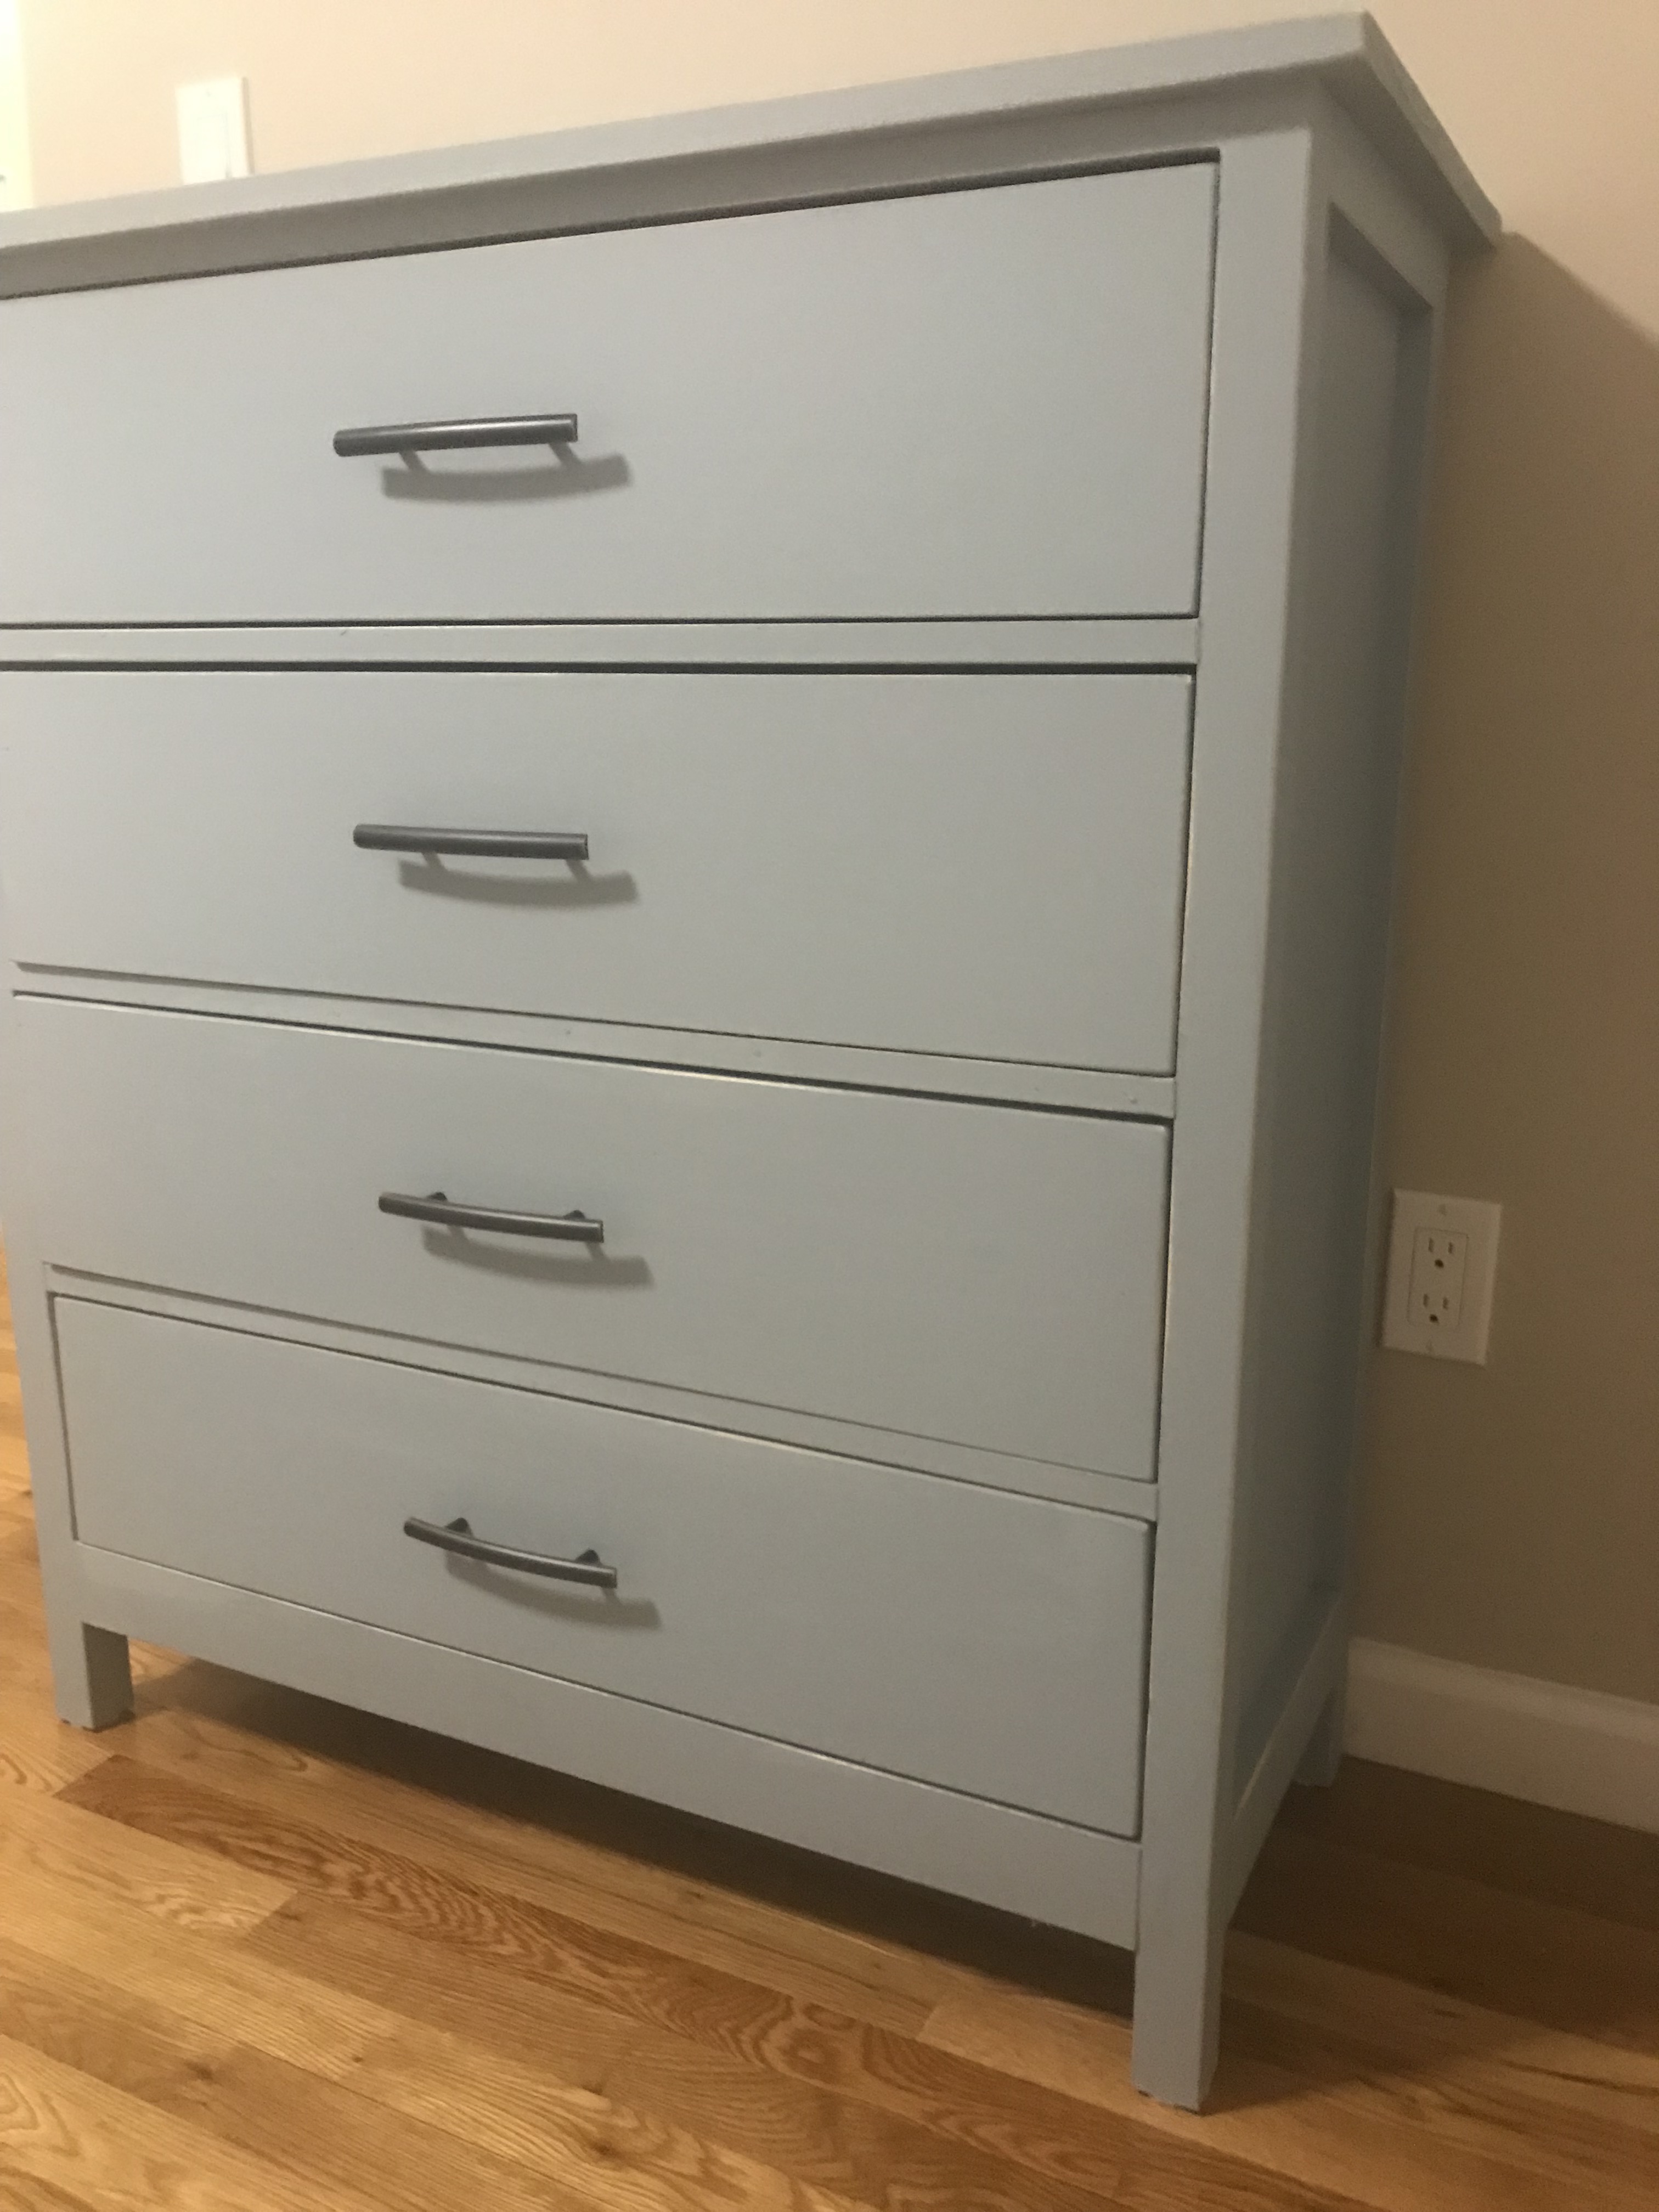
I followed the plans pretty closely (please note, the visual graphic of cuts is incorrect - the panel fronts should be 17 3/4" which is tells you WAY later in the plans). I trimmed it out with 1/4" mdf to give it a shaker-style look.
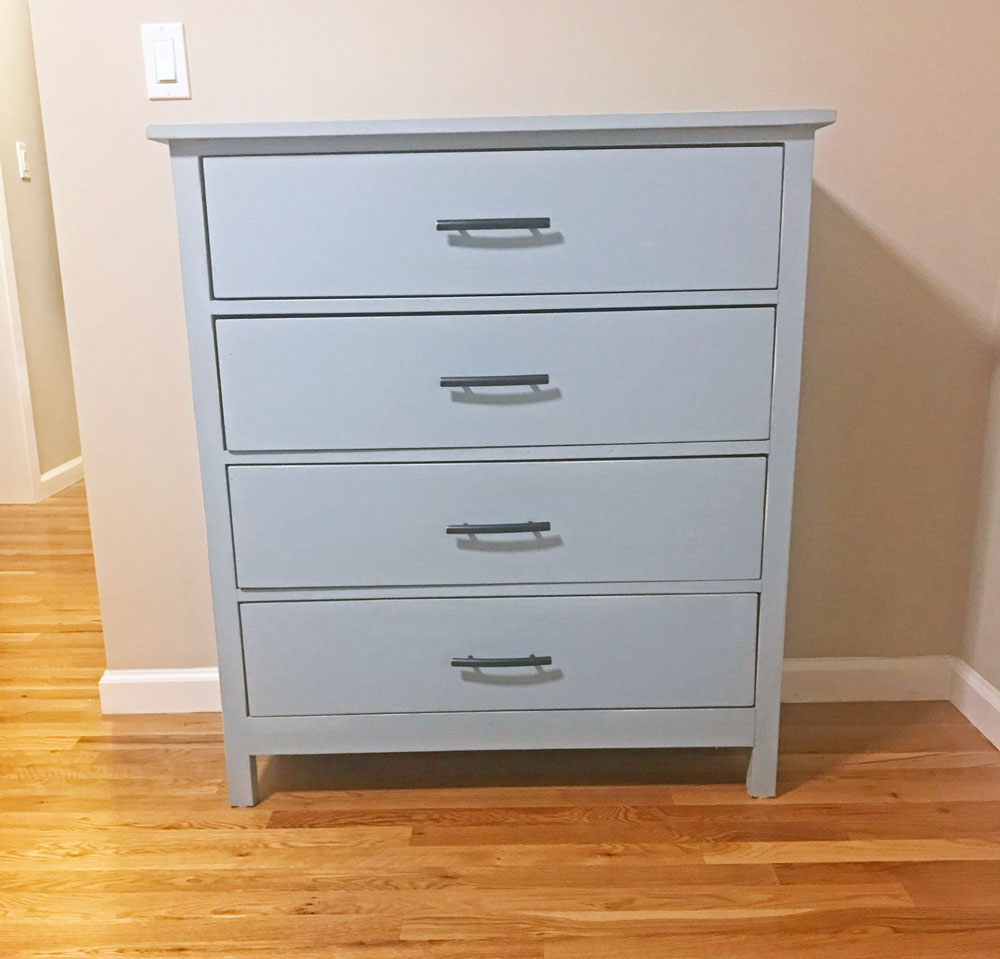
Dresser created for my parents.

My wife wanted a couple of barn doors for the 2 smaller rooms in the house. This is the first one.
For the inner panel I used 12 x 12mm x 140mm tongue & groove boards glued back to back, 6 each side with one of them ripped in half with one half on each side so I had a square edge on the outside.
For the frame I used 89mm x 19mm pine glued back to back.
Finished with Cabots clear finish
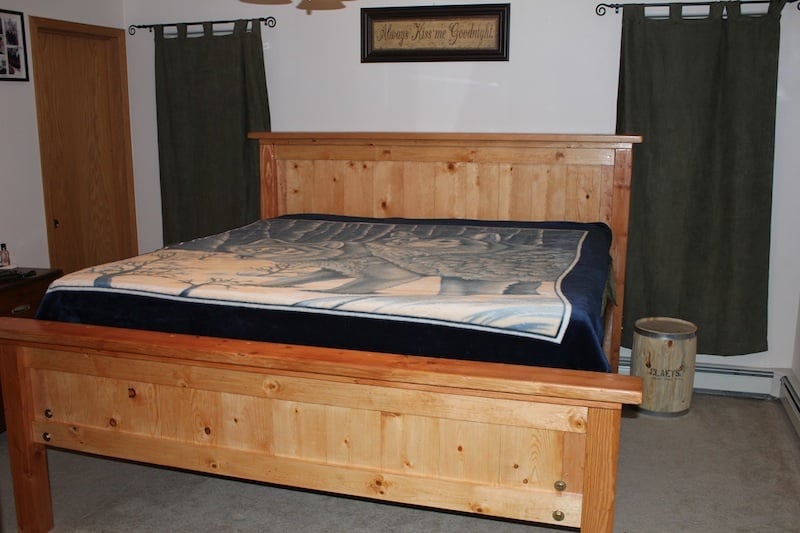
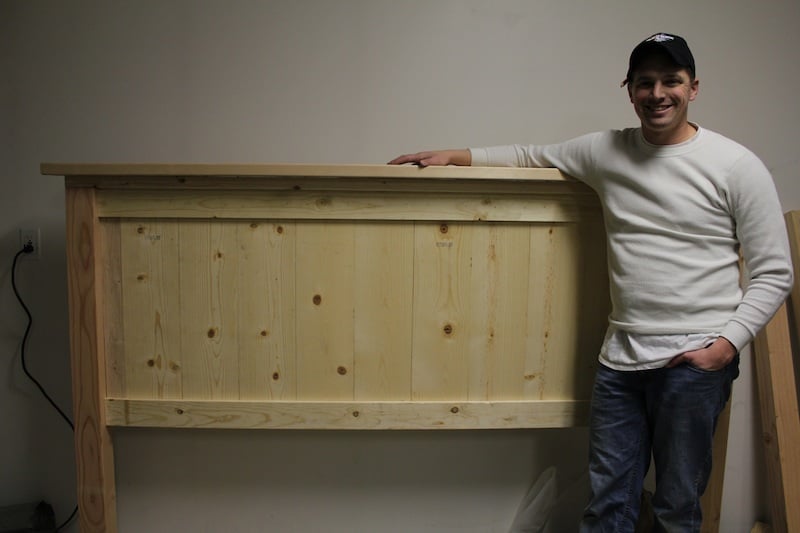
We built this farm house bed but had to modify it. Im in the military and wanted a king size frame that was able to be torn down and moved easy. If you look i used brackets and long 1/2 bolts to attach the side rails to the head board and footboard. I also made foot board legs 30" then lined the 2x10 side rails up with the bottom of the slat boards on the foot board. This makes the actual mattress sit very high.


Thu, 09/13/2012 - 02:36
Hello,great job on this bed. Its very nice. I would like to get the plans/dementions on how you made this so I will beable to take it apart as well since my husband works for the railroad and were always moving. Thank You!
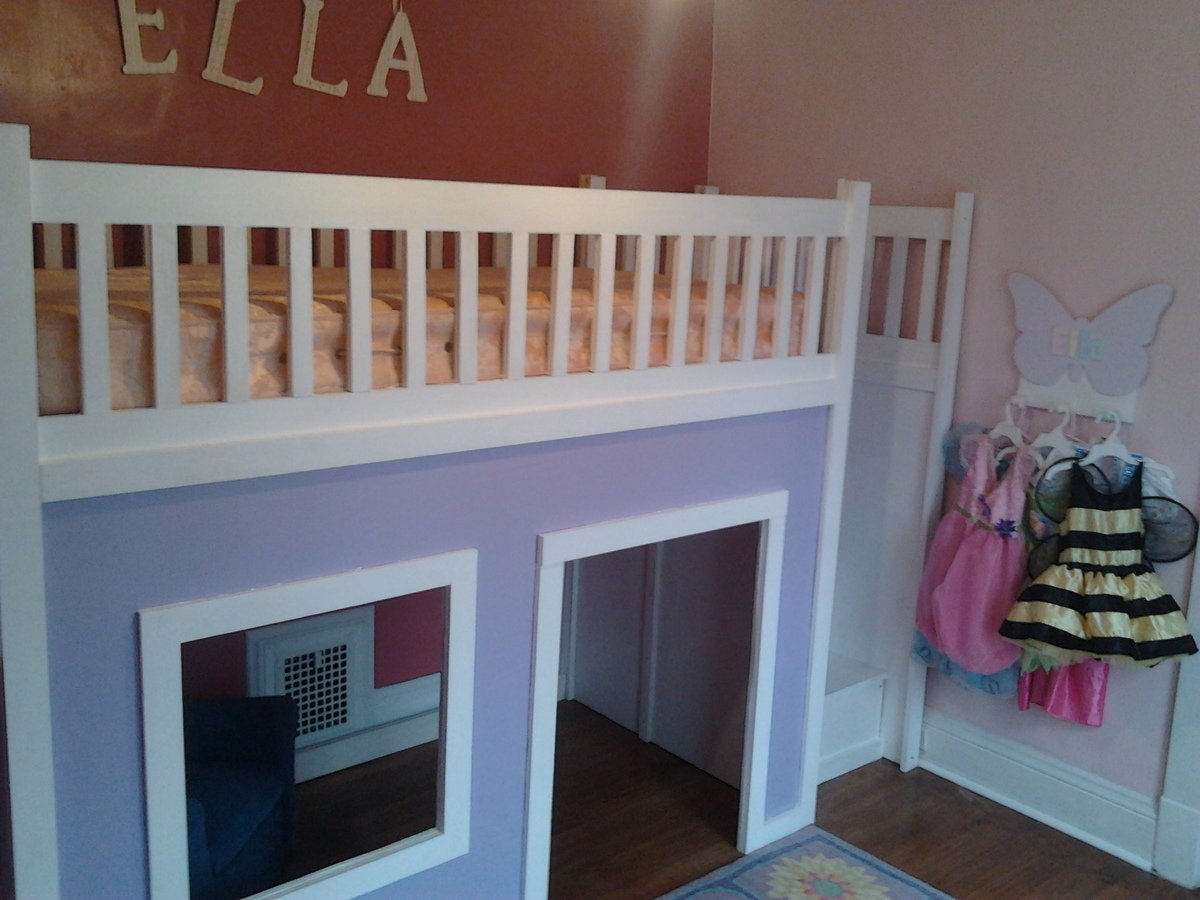
Built this bed for my five year old daughter. In hindsight I might have rounded out the door for entrance / exiting.
We got years of memories and enjoyment out of this bed.
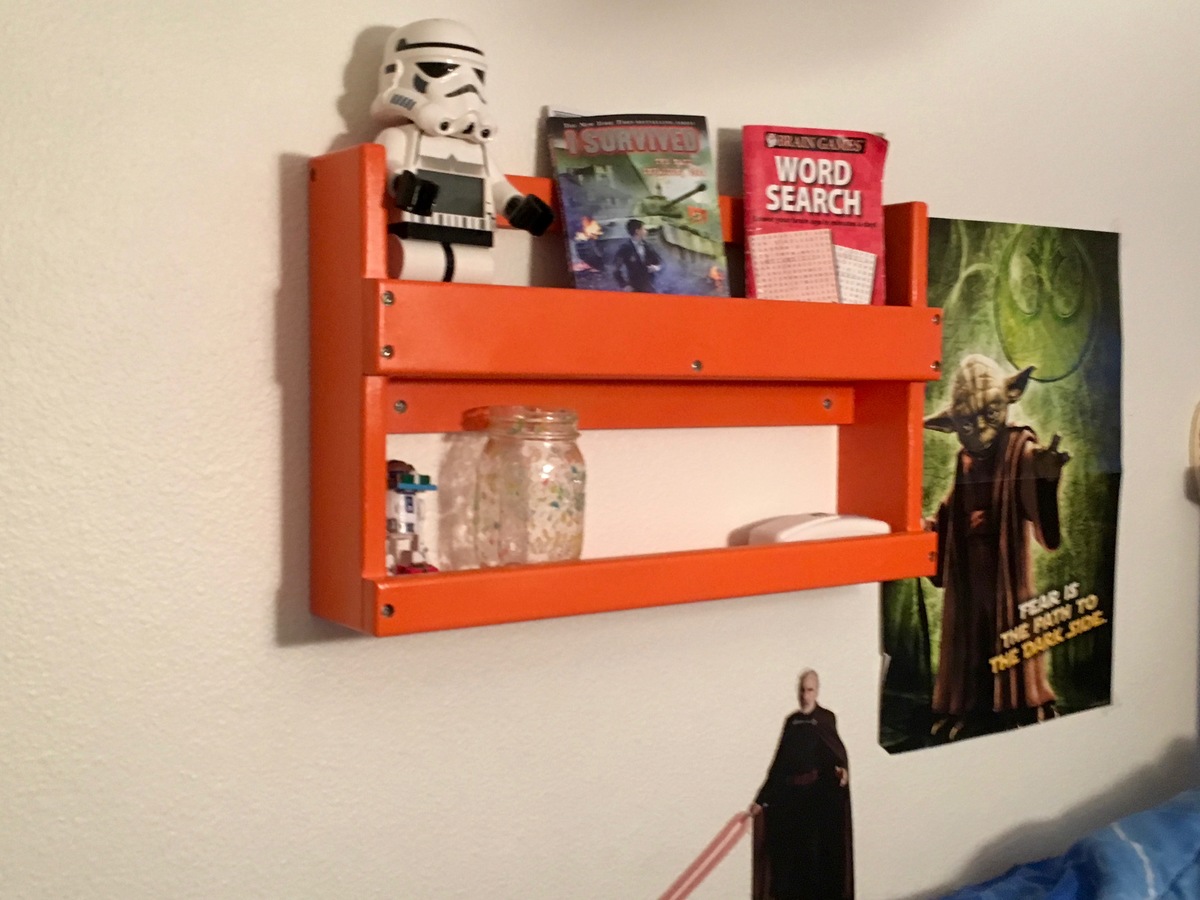
I made this simple Bunk bed shelf so all the stuff my son stored on the headboard, wouldn't keep falling off. It was easy to make and I painted it while working on another project. and I used spray paint to get the orange on a little easier!
Mon, 10/21/2019 - 19:12
My daughter asked for a shelf for her bunkbed—something to hold her glasses, IPad, and retainer case. And maybe a book or two. Thanks to Ana White and free plans...I made the shelf that others have made. thanks!
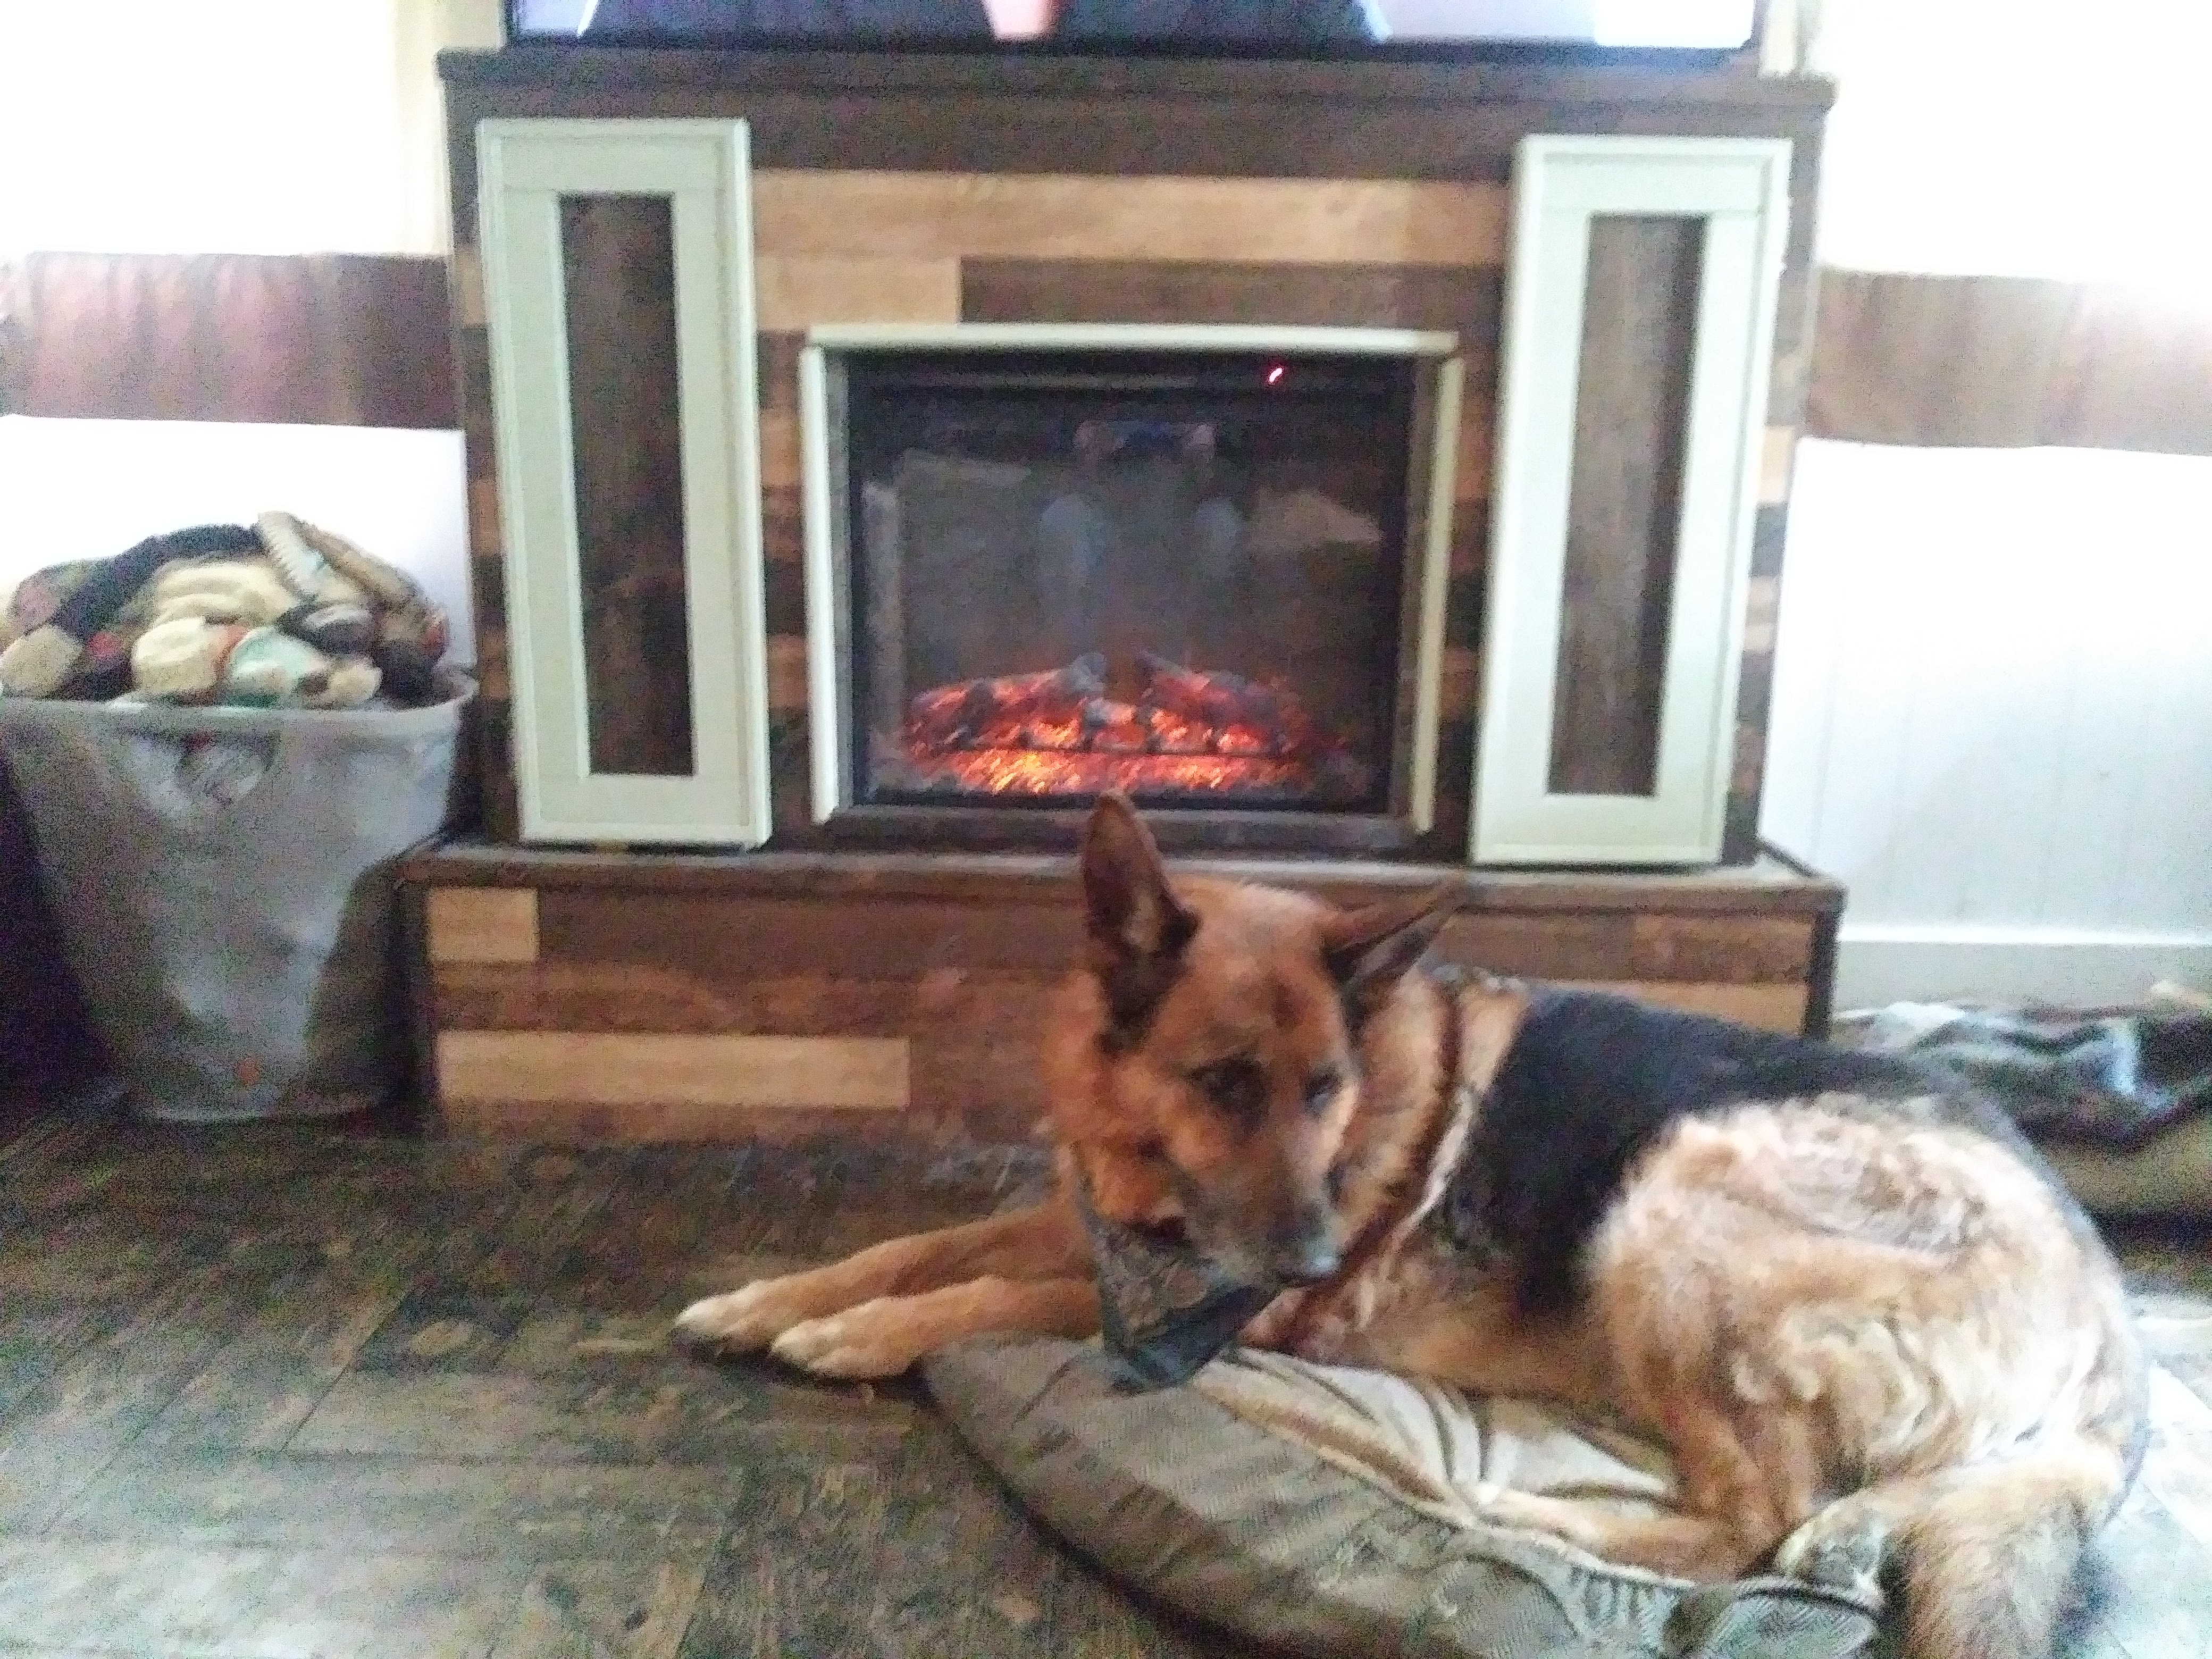
Slowly replacing all of the furniture in my home with things that I build. I used pallets for the structure, maple flooring for the facing, some scrap from shutter doors for the doors, 1×2 for the trim and adhesive tiles from the local ReStore for the top and around the fireplace insert. Perfectly fits a 65" tv.
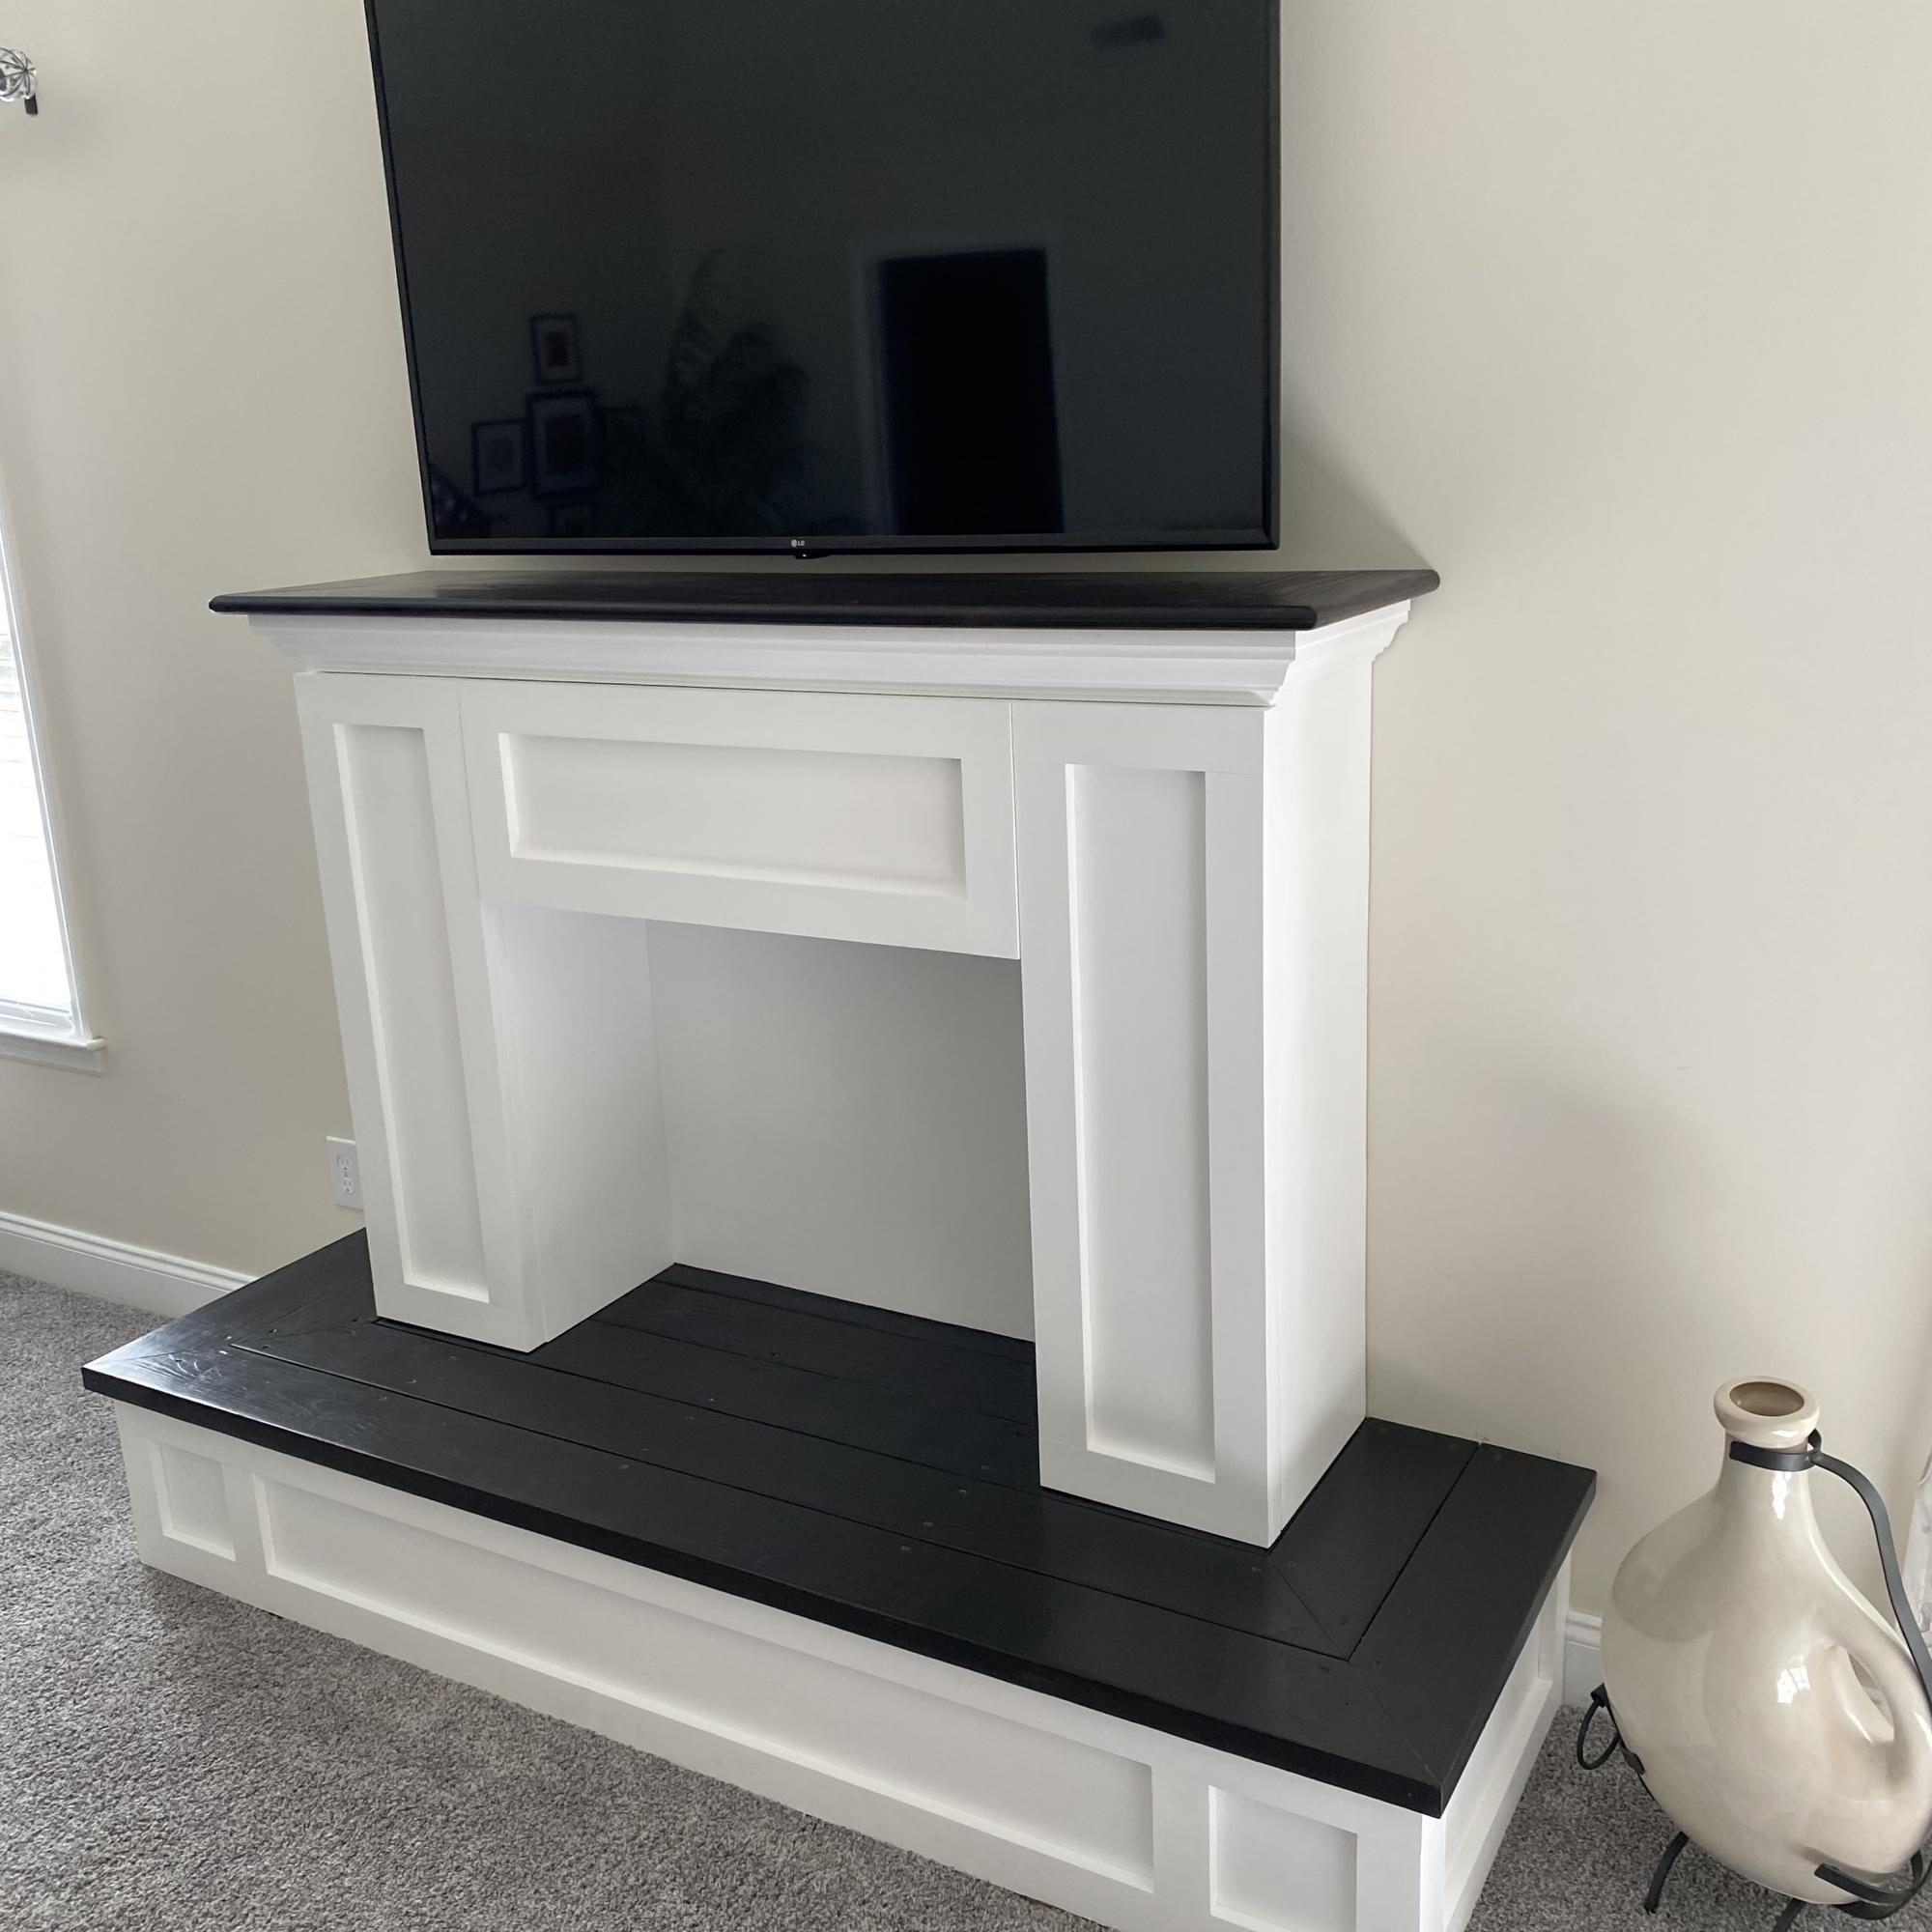
I built the faux fireplace from your plans and wanted to share it with you. Thank you and God bless you. - Joe