Community Brag Posts

Back Deck Bar

i have aqesome neighbors that just built a deck but was missing something. She like the pallet look bars but did not have any pallets. I did have a bunch of 1 x so made my own pallets.

Estimated Cost
30
Estimated Time Investment
Week Long Project (20 Hours or More)
Recommended Skill Level
Beginner

Bookshelf

Submitted by Kast on Wed, 08/06/2014 - 15:47

Love this bookshelf. I do think it just a bit tall.

Built from Plan(s)
Estimated Cost
110
Estimated Time Investment
Weekend Project (10-20 Hours)
Finish Used
Radiant Orchid by Valspar for bead board in satin finish. Quail Egg by Valspar to match her bed and dresser
Recommended Skill Level
Intermediate

12 foot - Triple Trestle Table

Submitted by Anonymous (not verified) on Sun, 11/20/2016 - 06:48

Thanks so much to Ana and Shanty2Chic for the plans!  I modified the design to exclude the arches - my hands are too weak to make the cuts, but I replaced them with black strapping that matches other features in the house.  I also extended the table to 12 feet long in order to perfectly fit the windows overlooking the lake.  I absolutely love it and will definitely be making more things for our new home.  Thanks again!!!

Built from Plan(s)
Estimated Cost
$200
Estimated Time Investment
Week Long Project (20 Hours or More)
Finish Used
Minwax combination of Provincial, Weathered Wood, and Classic Grey
Recommended Skill Level
Intermediate

My Rustic "X" Console Table

Our spare bedroom was in need of some furniture and when I saw this plan for the rustic "x" console table, it was a perfect fit. And as mentioned in the blog, this was perfect for displaying the handmade quilts our grandmother made for us. When I first read the plans, and the materials list, my husband wasn't too sure about furniture made out of 2x4's and 2x6's but when all said and done, the table came out beautifully and we are both enjoying it. Thank you so much for the wonderful plans!

Built from Plan(s)
Estimated Cost
$80
Estimated Time Investment
Week Long Project (20 Hours or More)
Finish Used
I used one coat Minwax water based pre-conditioner applied with sponge applicator, followed by two coats Minwax water based whitewash pickling stain applied with sponge applicator, followed by three coats Minwax water based satin poly applied with a brush. The whitewash requires a 2-3 min set time, then wipe excess. I think I spent four hours alone staining just on a single coat of the whitewash. I thought it was going to take forever to finish but I am very pleased with how it turned out :)

For the hardware, I used 4" L-brackets and bolts sprayed with Rustoleum hammered spray paint.
Recommended Skill Level
Intermediate

Comments

spiceylg

Mon, 10/22/2012 - 05:43

I love this table. For some reason your pictures really seem to show the large scale of this piece. Not sure where I'll put this but have to make it! Great job and beautiful quilts!

THHandcrafted

Mon, 10/22/2012 - 06:37

Thank you! And yes, this is a bulky piece. I didn't really realize how bulky until it was going together. But at that point, I knew I'd find some place for it :) Luckily we had a pretty large room that was mostly empty so I think the scale of the table fit the room size.

kenvermillion

Mon, 10/22/2012 - 12:09

I noticed you did the x's slightly different than the plans, as they have two cuts on both ends and attach perfectly. any advice on doing this?

THHandcrafted

Mon, 10/22/2012 - 18:00

For me, the x’s were the most challenging part of the project. I scratched my head and stared at the table side for a while thinking of how to make the x’s so they would meet the center of the table corner. Here’s what I came up with. Figure out your angle. There are a few ways to do this. You can do this by using an online angle calculator where you enter the height and width of your opening and it will give you the angle, you could use a protractor and hold it up to the corner to figure out the angle, or make a template out of paper and transfer that onto your wood. I will admit, I think figuring out the angle is the toughest part, at least for me. Once you have your angle, cut both ends of your wood parallel to one another at that angle. Then measure and mark the center point of your cut. The next cut is through the center point and 90 degrees off of your existing cut . I find it easiest to lay my carpenter square on my cut side then draw a line 90 degrees through the center point mark. A few things I learned along the way, the more square you can get your corners the easier it will be to cut and fit your x’s and make some practice cuts with some cheap 2x2’s then transfer your measurements over to your final 2x2’s. Hope this helps. Happy woodcrafting!

karejensen

Fri, 07/26/2013 - 09:11

Were you able to find black L brackets or did you have to paint them? I'm trying everywhere to find them and I've had no luck! Any help you can give me of where to look for them would be great. Thank you so much and what a beautiful job!

X Bookcase

Submitted by pcarroll on Sat, 08/09/2014 - 12:09

X Bookshelf. Followed Ana's great plan, only change was to spare 1x4s that I planked for shelves. Finished with antique white milk paint. Very happy with result.

Estimated Cost
70
Estimated Time Investment
Weekend Project (10-20 Hours)
Finish Used
Antique white milk paint (love it).
Recommended Skill Level
Beginner

Comments

Entry Table

Submitted by Jloudon89 on Wed, 11/23/2016 - 14:25

Wife wanted an entry table for when you walked in the house.  Loved the plans we saw from the site, so just modified slightly and here it is.

Built from Plan(s)
Estimated Cost
$60
Estimated Time Investment
Day Project (6-9 Hours)
Recommended Skill Level
Intermediate

Triple Pedestal Farmhouse Table and Bench (modified)

Submitted by nunzi1313 on Thu, 08/13/2020 - 14:34

Thank you so much for sharing your plans! We love to DIY and your plans give us direction. My husband and I built this table for my oldest daughter. We modified the length of the table and benches to fit her dining room.

Estimated Time Investment
Weekend Project (10-20 Hours)
Finish Used
Minwax Wood Finish Golden Oak 210B
Odie's Oil
Recommended Skill Level
Intermediate

Step Stool From Ana's Book!

Submitted by dmcarwin on Tue, 10/23/2012 - 23:23

I am so excited about Ana's new book, I love it! This is my first project from her book and I am planning to do many more.

This was a fun build, the angles were not bad, except for the top angle on the two sides, I had trouble getting it on my miter saw, because the board was so long...

It all worked out in the end and my kids and I are really enjoying having it!

You can get more information on the build and finish at my blog:
http://mylove2create.blogspot.com/2012/10/vintage-step-stool.html

Estimated Time Investment
Afternoon Project (3-6 Hours)
Recommended Skill Level
Intermediate

Blanket Chest

I loved the project and it fits perfectly in my home. It's the 3rd piece I've made. I'm getting both faster and better each tme!

Estimated Time Investment
An Hour or Two (0-2 Hours)
Recommended Skill Level
Beginner

Comments

Flat Wall Bookshelf

Submitted by Anonymous (not verified) on Mon, 11/28/2016 - 07:57

Flat Wall Bookshelf- Just like Pottery Barn!!

Estimated Time Investment
Day Project (6-9 Hours)
Recommended Skill Level
Beginner

small pantry

Submitted by Kyafata on Sun, 08/16/2020 - 16:39

A quick pantry idea using 4 - 1x12x6'. 2 for sides 2 cut into 24" shelves. Start with basic box and then fill in shelves where you need them. Used 4" 2x4 scraps for feet. Put together with screws and nails will eventually add back panels to keep it square.

Estimated Cost
$75
Estimated Time Investment
Weekend Project (10-20 Hours)
Finish Used
painted with semi-gloss , went in kitchen
Recommended Skill Level
Beginner

Scalability is a huge plus

This project scales very nicely, and lends itself to many different variations.
I was asked by my wife to create a sturdy but small table for my child's school that would support an election box for students, and afterwards be used as a decorative hall table. I wanted to use some leftover 1x's instead of the plans instructed 2x's, so I halved many of the dimensions to keep the scale relatively the same. By halving the dimensions, I had enough wood to create two tables, and I'll use the extra as a printer stand or plant stand, but the point is this plan offers many different latitudes. I will stand by the strength of these tables - by using a half lap joinery as a cross beam, not only did i add some mission style faux tenons, but the strength is unbelievable! Considerations for this plan can include making a "well" underneath the desktop, with a hinge access to the well - or slanting the desktop and off centering the I beam to allow for more leg room.
I really enjoyed this project and invite others to try it.
http://ana-white.com/2012/08/plans/55-fancy-x-desk

Built from Plan(s)
Estimated Cost
about $60
Estimated Time Investment
Weekend Project (10-20 Hours)
Finish Used
Same as provided by plan, Used a water based polyurethene.
Recommended Skill Level
Intermediate

Comments

bryanp8269

Wed, 06/10/2015 - 17:54

I love the modifications you made if I get brave I'll try to duplicate them

My First Credenza-like Printer Table

Submitted by rock990 on Wed, 08/13/2014 - 22:54

made out of maple plywood and edge banded. the doors are not totally square but for a first go I am ok with it but its been a great learning lesson. I know where I am and where I want to get to in terms of skills.

def have to give props and shout out to Ana. her "can-do" attitude is infectious and the website is awesome. great resource and inspiration.

still gotta put on the doorknobs which were picked out by my 5 yr old son and are awesome...

Estimated Cost
$70
Estimated Time Investment
Day Project (6-9 Hours)
Finish Used
I started with Miniwax Pre-Stain, which I highly recommend and hit it with two layers of stains and ran out of time. still be to semi-satin polyurethane it (at least 3 coats) and I picked up this beeswax, carnuba wax which gives its a nice "dull-shiny" appeal
Recommended Skill Level
Beginner

Comments

My version of the Small Rustic X Bench

Submitted by JoAnninWV on Fri, 12/02/2016 - 08:23

I've used saws before (radial arm and chop) but had never built anything.  My husband helped me but let me do the work.  This was my first time drilling and using the Kreg Jig. I'm planning my next project... 

I added a cross piece below the X and stained the top. 

Built from Plan(s)
Estimated Cost
Less than $15 for wood, paint, and stain, but we used some of the wood out of our stock.
Finish Used
Behr Premium Plus Ultra Satin Paint (Benjamin Moore Simply White) and Homemade Driftwood stain
Recommended Skill Level
Beginner

Comments

Trestle Desk

This desk as planned was really quick and easy. I choose it for my 13 year old's room so I had him help me with everything. Added in a 2X6 from one end to the other with Pocket Holes in the bottom for a place to put his feet and just that much more support. The top is a door I ripped down from a house that was being torn down. Really Easy!

Estimated Cost
$25
Estimated Time Investment
An Hour or Two (0-2 Hours)
Finish Used
I painted it flat black and then took Cherry Stain and streak that in to make it look like a rusted RailRoad Tie. The top is just brown paint.
Recommended Skill Level
Starter Project

They call it the Castle Bed

Submitted by JimR78 on Tue, 08/19/2014 - 12:15

First, thank you everyone on the site for the excellent contributions, ideas, comments, and inspiration!

I decided to attempt this bed after I made the Clubhouse bed for my 2 yr old and his older brother was jealous beyond belief (to be expected, right?). My 4 yr old has a full size bed, so I needed a plan that was a little friendlier to changing the bedding and with a little more clearance underneath.

I came across this plan and knew it would be perfect. One of the previous comments included instructions for materials and cuts for a full. I followed those and like magic, this bed came together in a little over a week. My 4 yr old LOVES it and calls it his Castle Bed!

I especially like that the materials are pretty consistent - 2x4s and 2x6s.

Thanks, all!

Estimated Cost
$125
Estimated Time Investment
Weekend Project (10-20 Hours)
Finish Used
Stain picked up from Lowe's. Single coat applied after sanding with 80 grit and 180 grit.
Recommended Skill Level
Beginner

Comments

Loving my new swing

Submitted by Anonymous (not verified) on Mon, 12/05/2016 - 20:43

I chose to cut the back supports at 15 degrees to allow a little bit of a slant in the chair. I love it. Every flaw is perfect. 

Estimated Time Investment
Afternoon Project (3-6 Hours)
Recommended Skill Level
Starter Project

Farmhouse table

Submitted by mattpal on Sun, 11/04/2012 - 13:22

This was a week-long project. I love this site because there are so many original tables to get great ideas from! I chose the Farmhouse table plans because of its simplicity and beautiful lines. The length of the table was a little much for my room, so I shortened it a touch. Dark walnut for the stain and Satin Ultra Pure white for the legs to match the trim in my house... a real beauty! Have fun with yours!!!

Estimated Cost
$150
Estimated Time Investment
Weekend Project (10-20 Hours)
Recommended Skill Level
Beginner

Kid's room makeover

Submitted by Geronimama on Thu, 08/21/2014 - 12:52

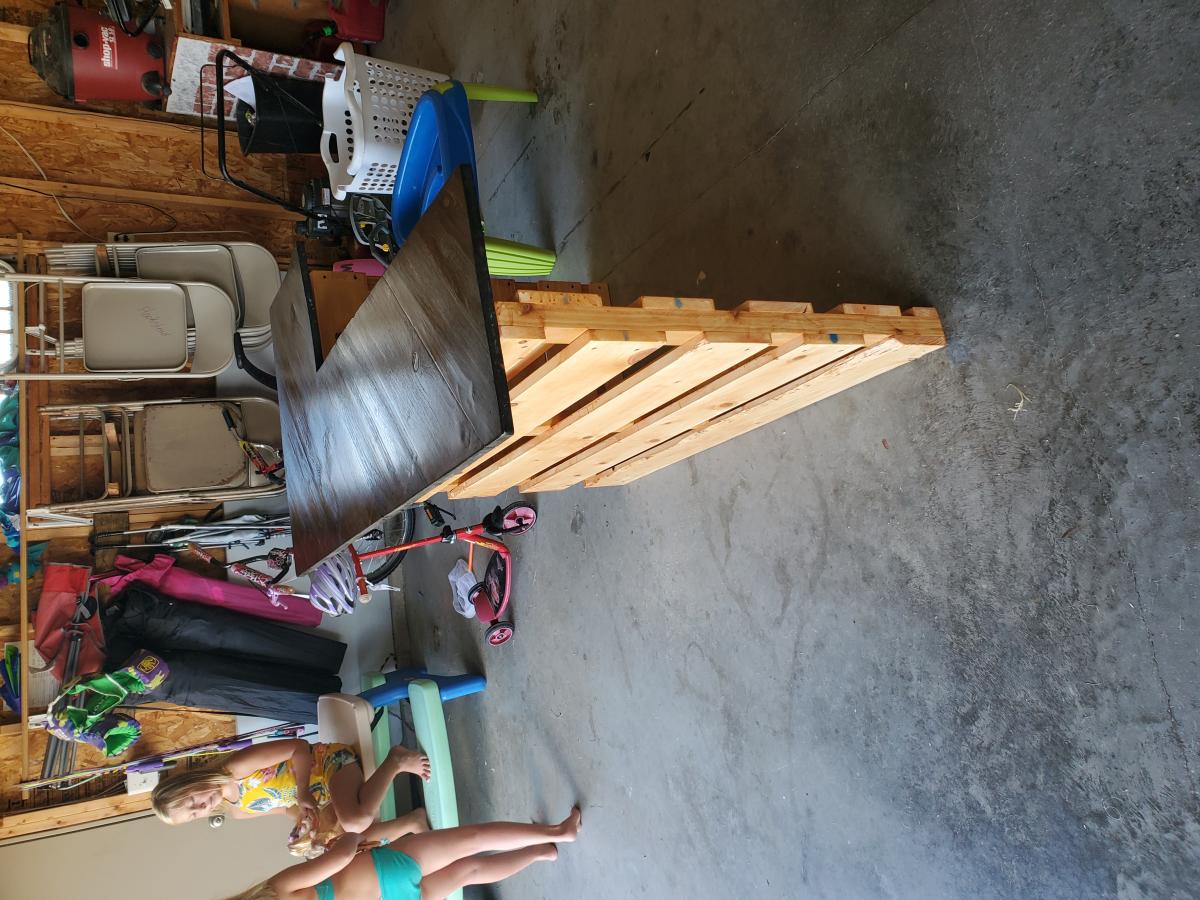
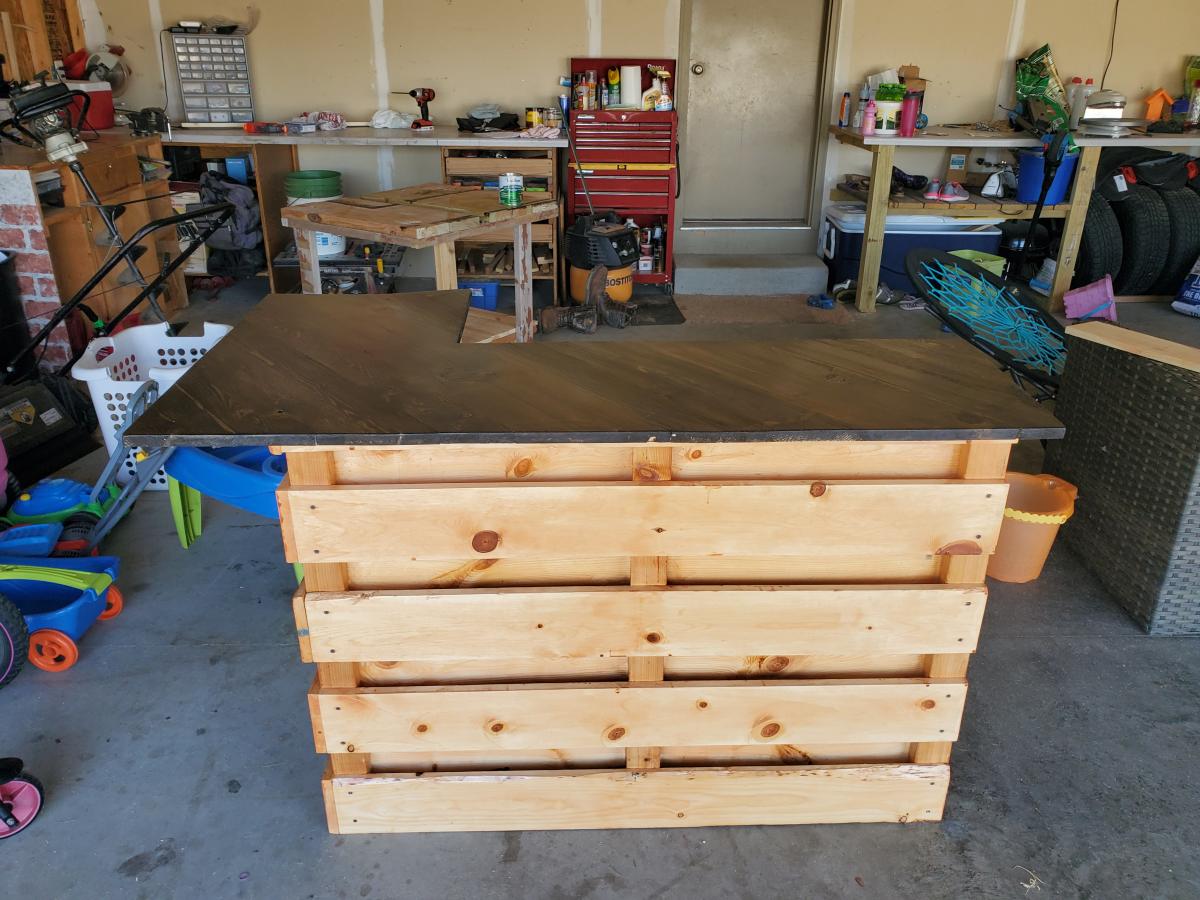
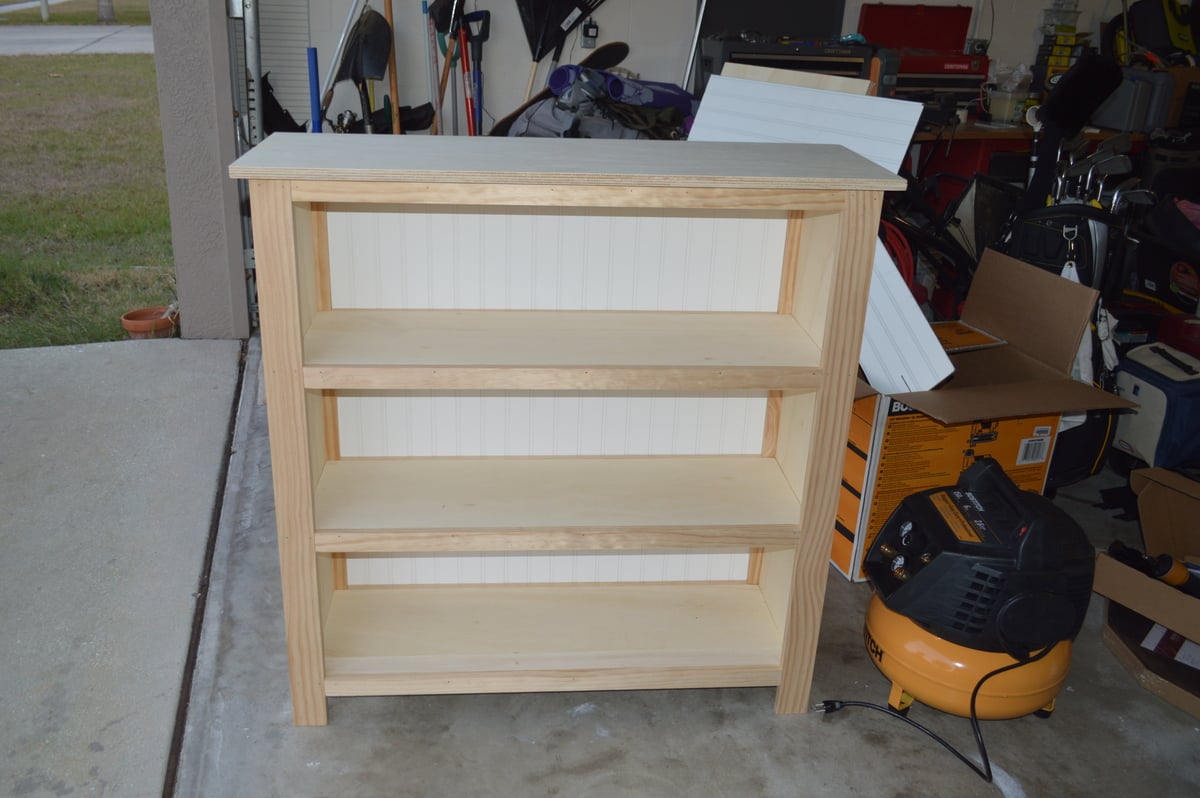
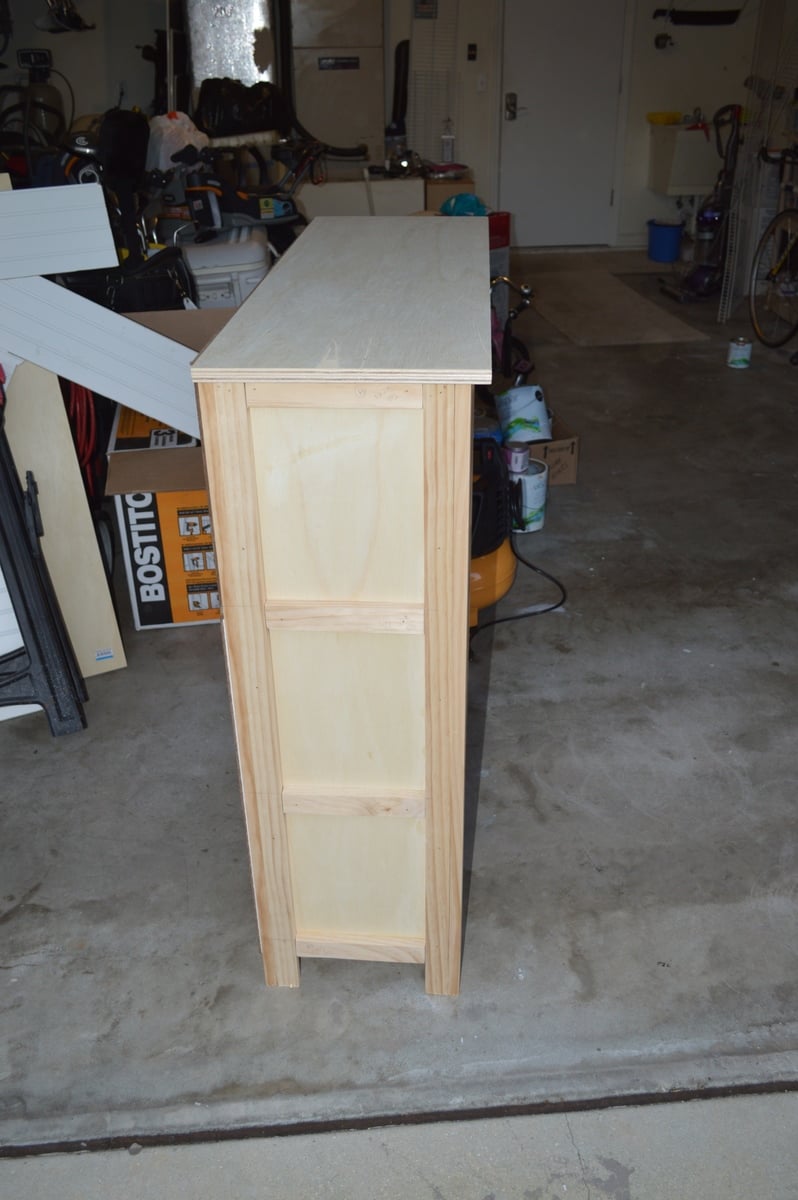
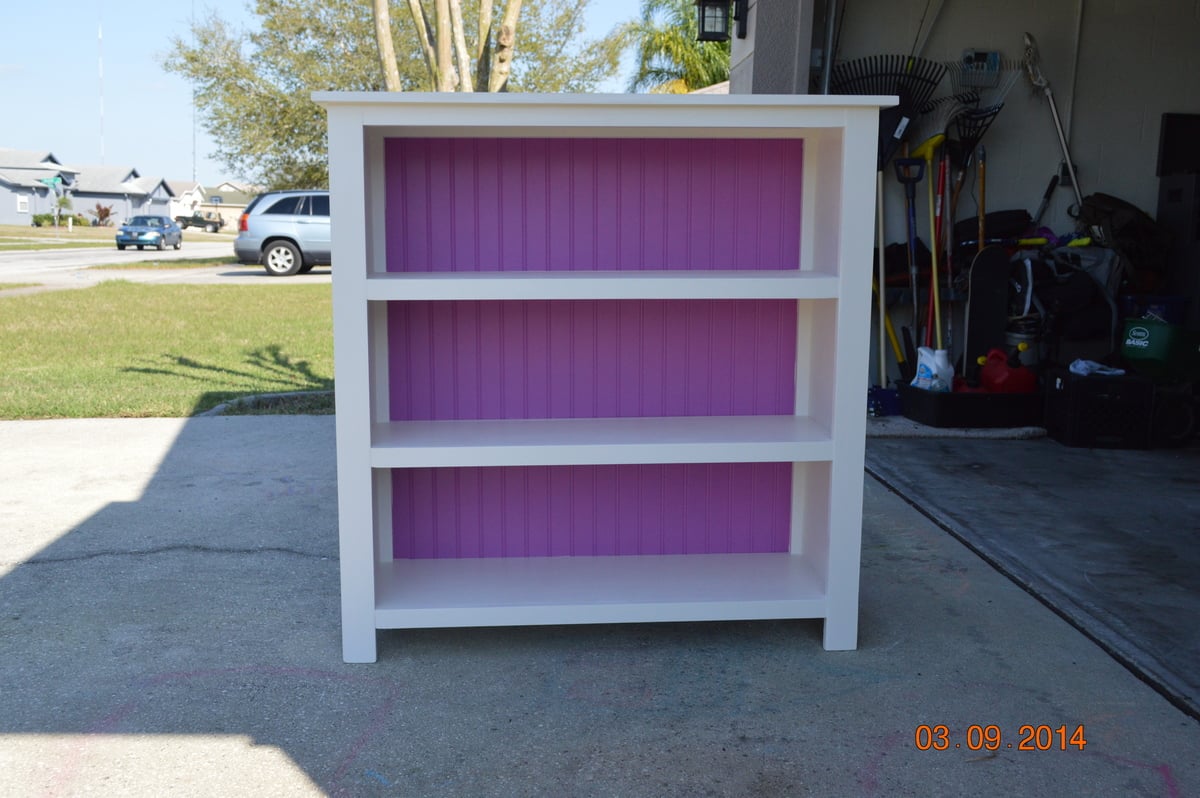
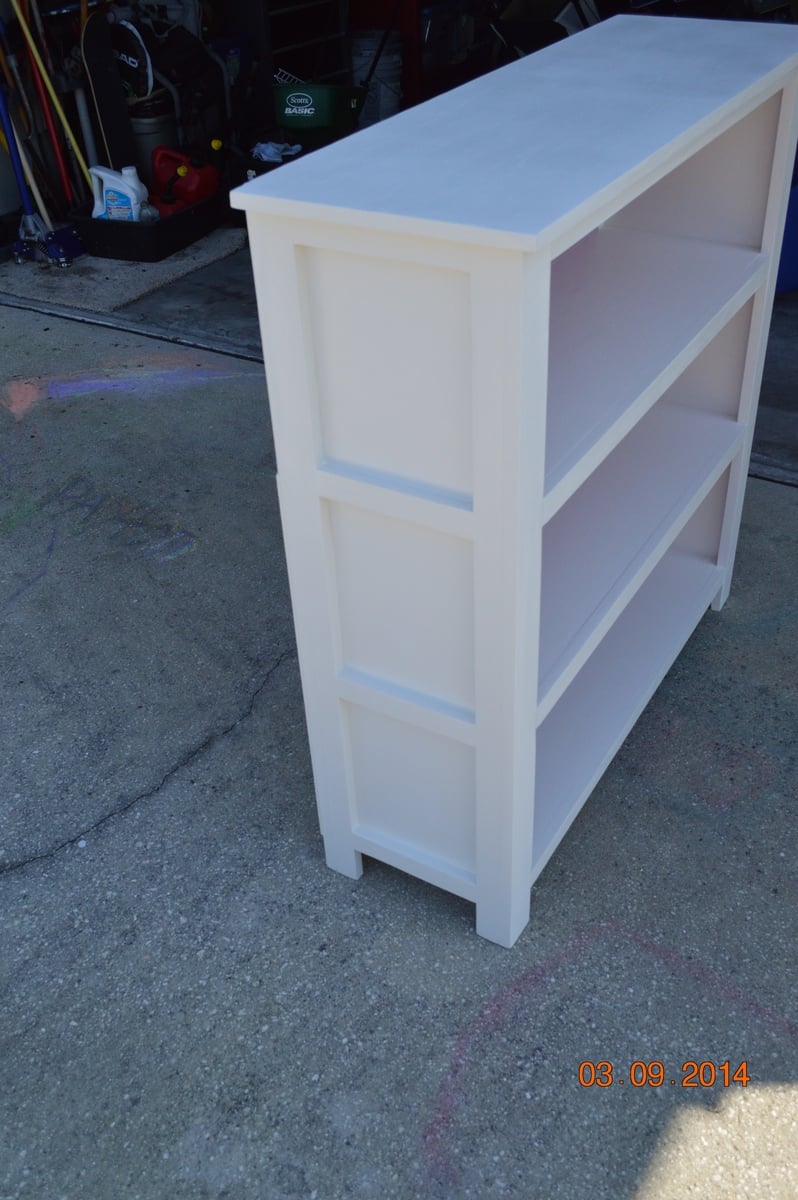
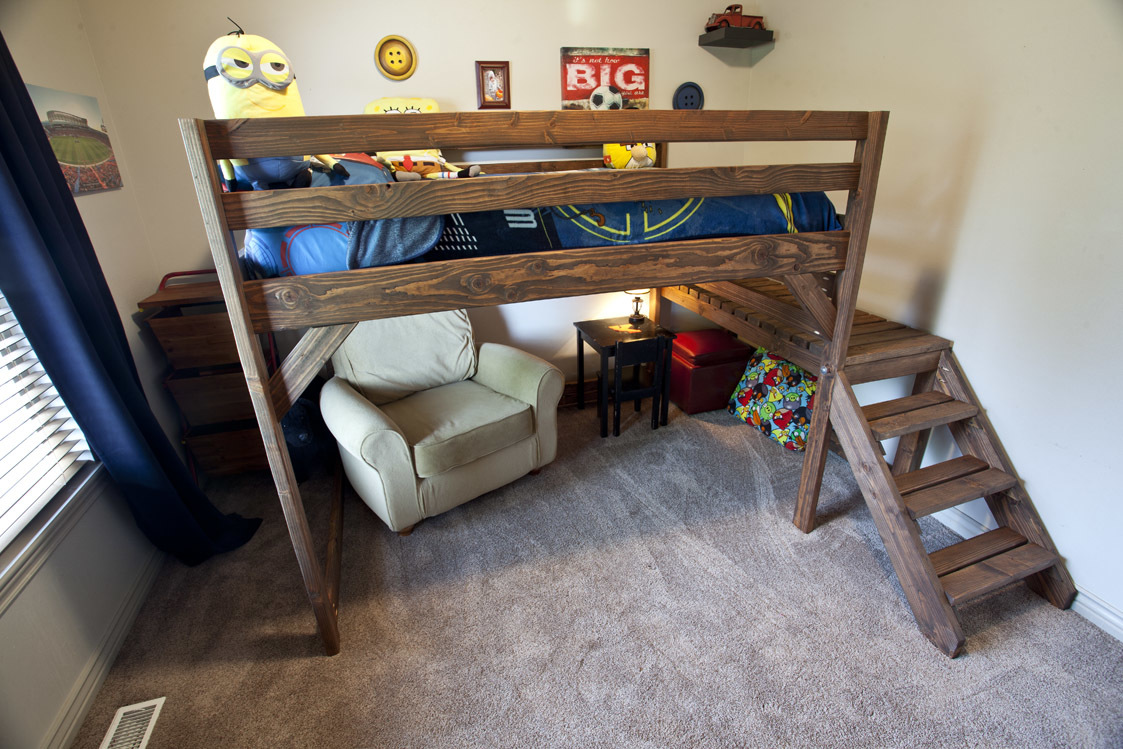
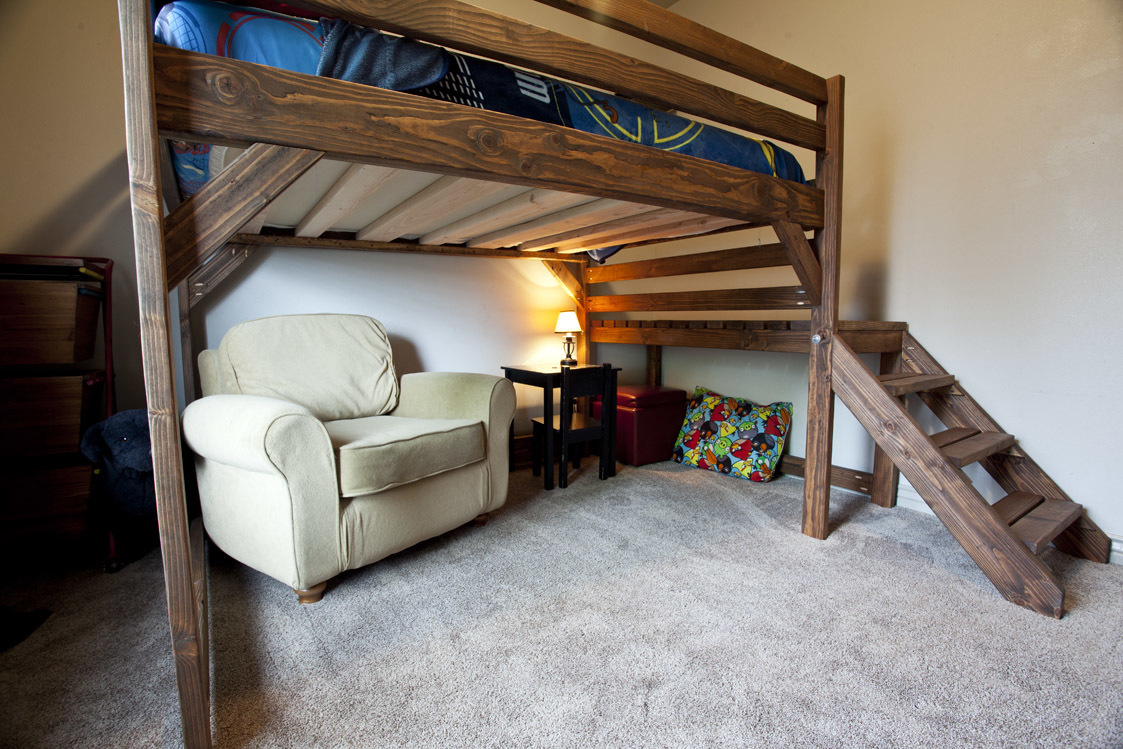
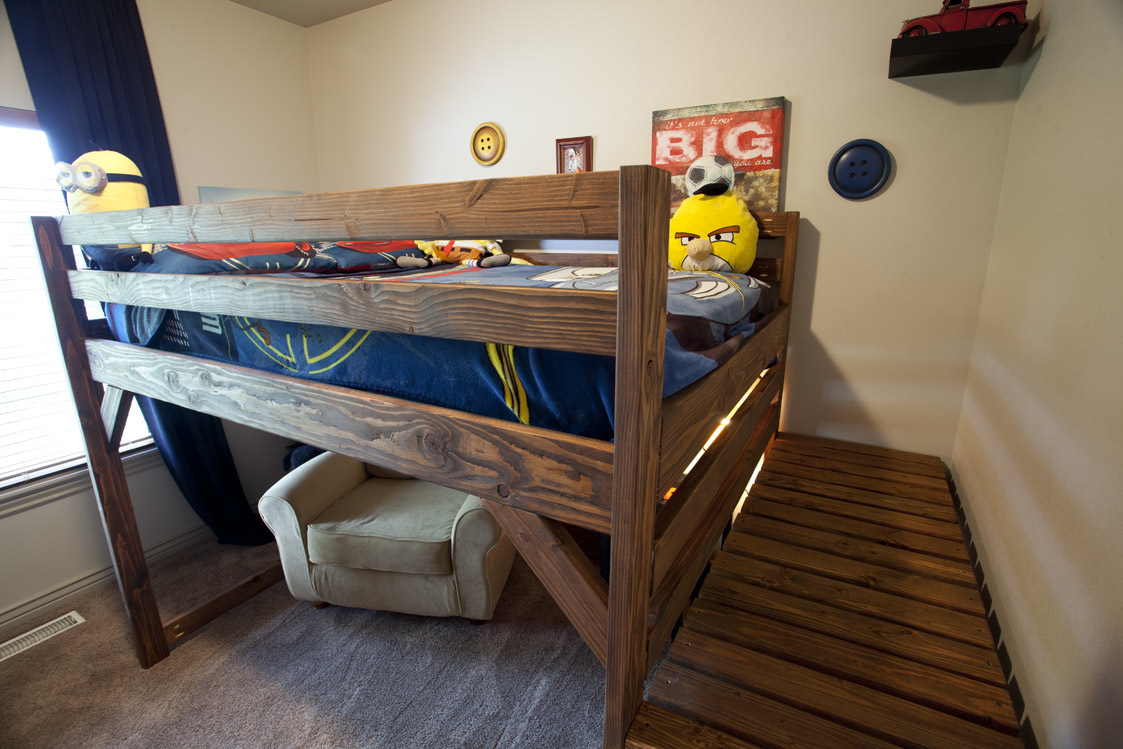
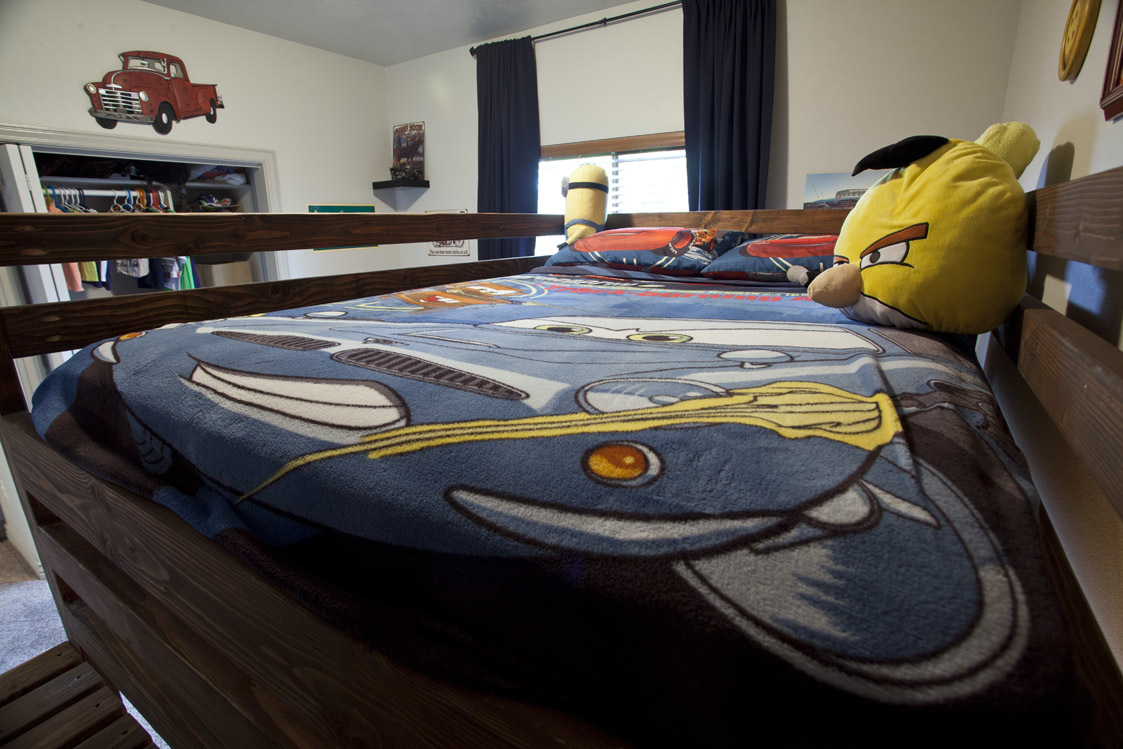
My kids we're spending the summer at their Dad's, so I wanted to surprise them by redoing their room. I've never built anything before, but I've found that I really love it!

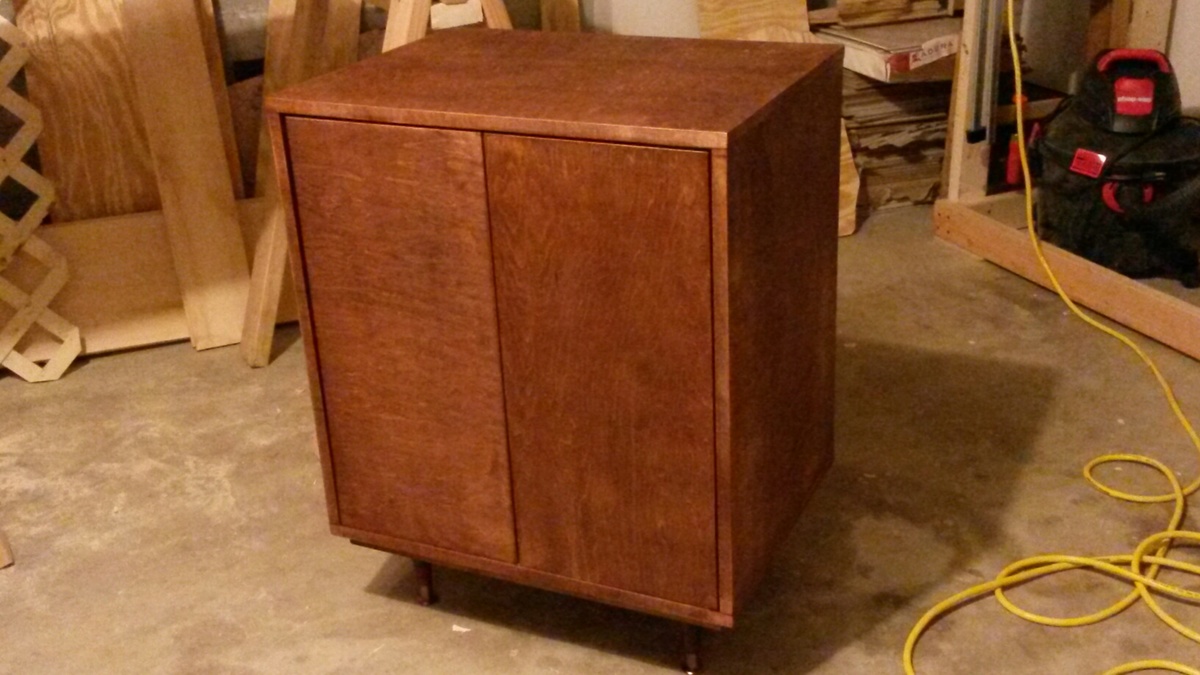
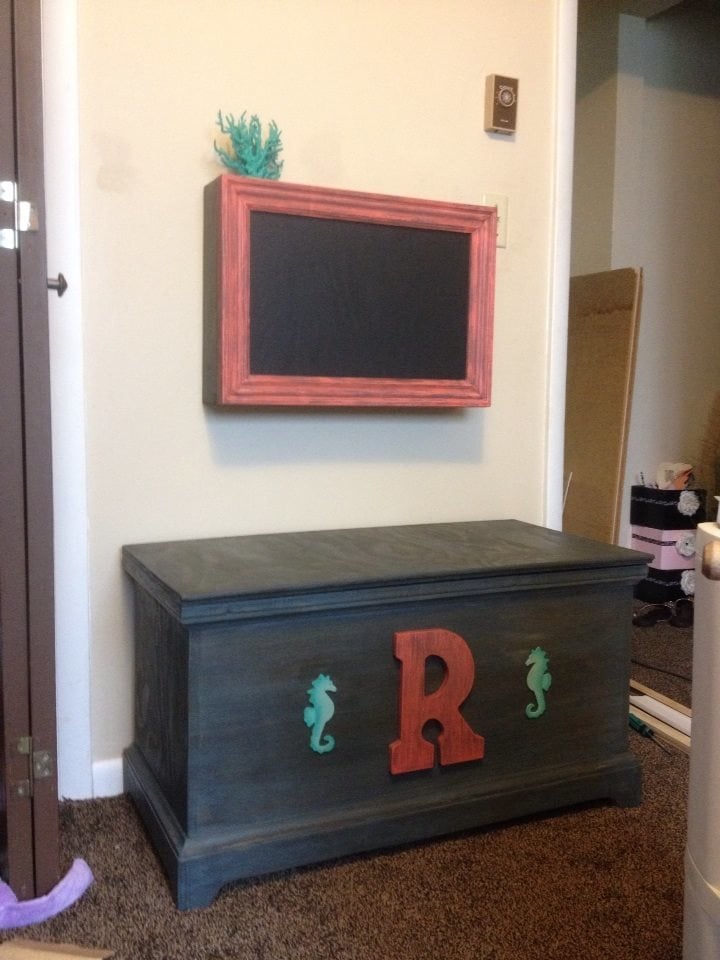
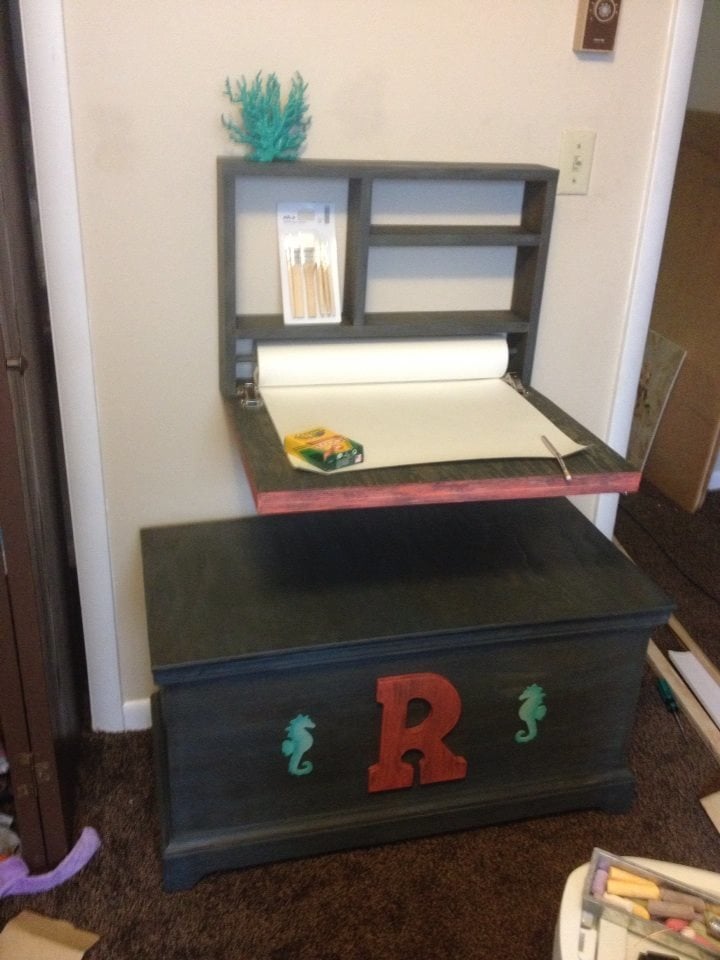
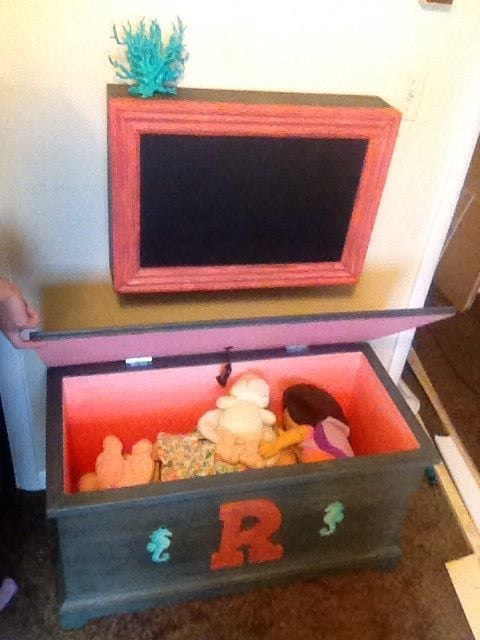
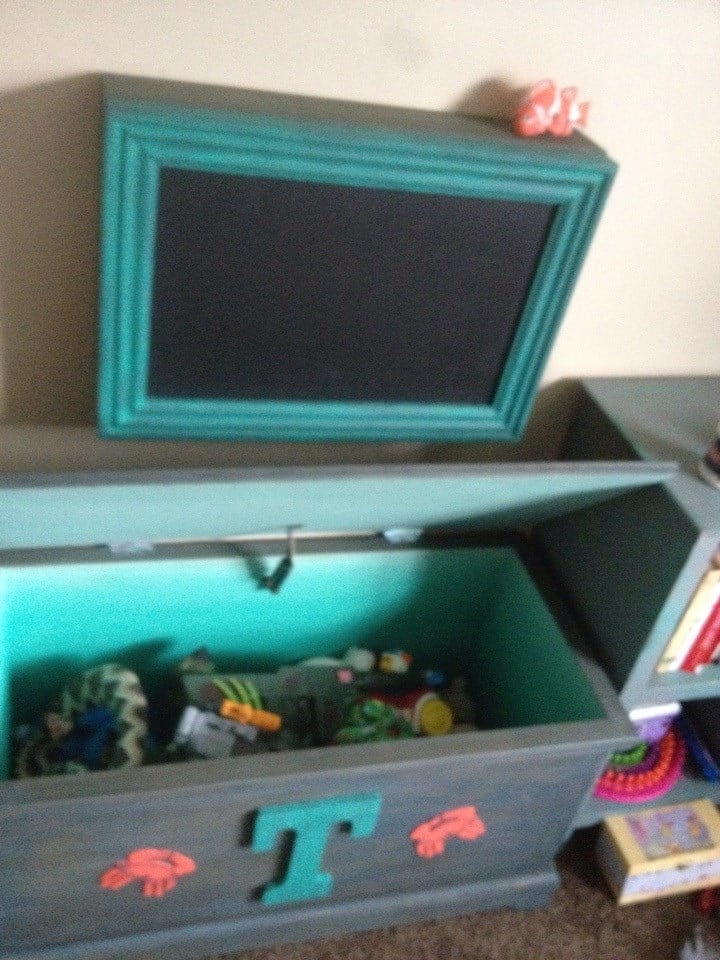
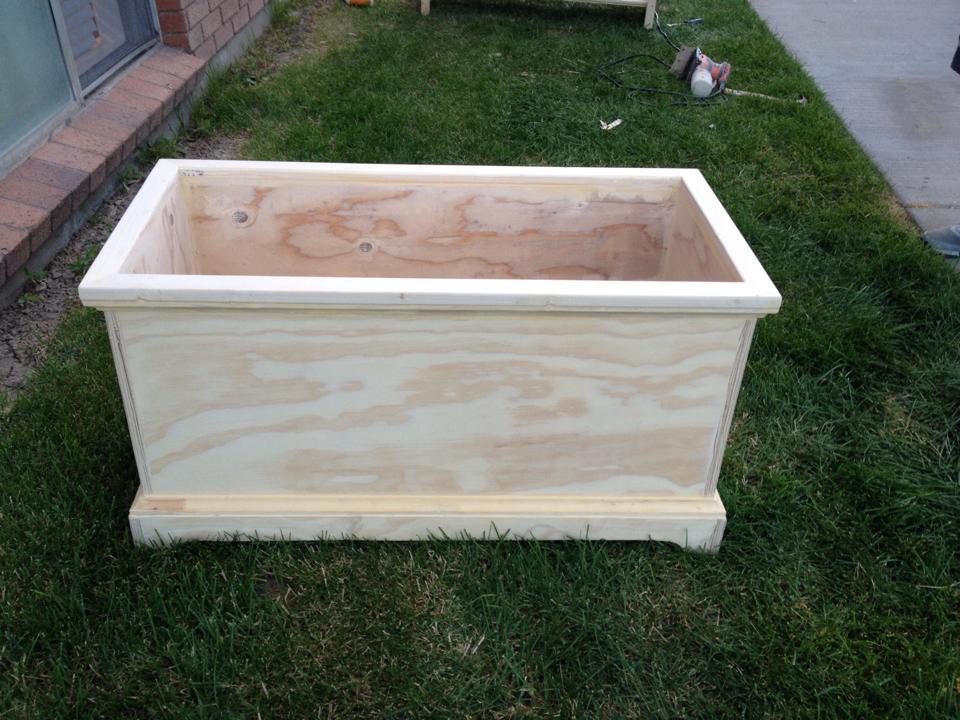
I decided to take the advice of another builder and reduce the width by 1/2 in in order to get 2 toy boxes out of one 4x8 sheet of plywood. I also added a lid.

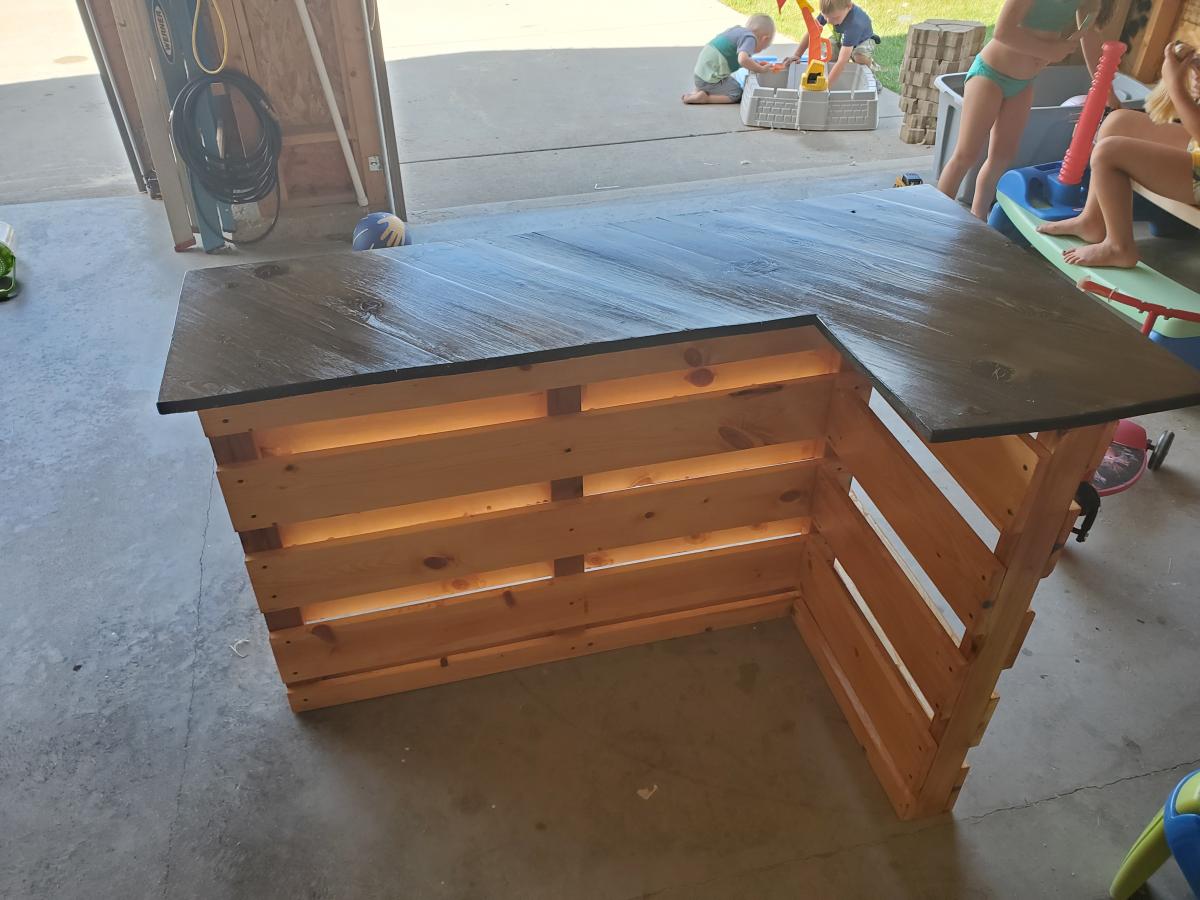
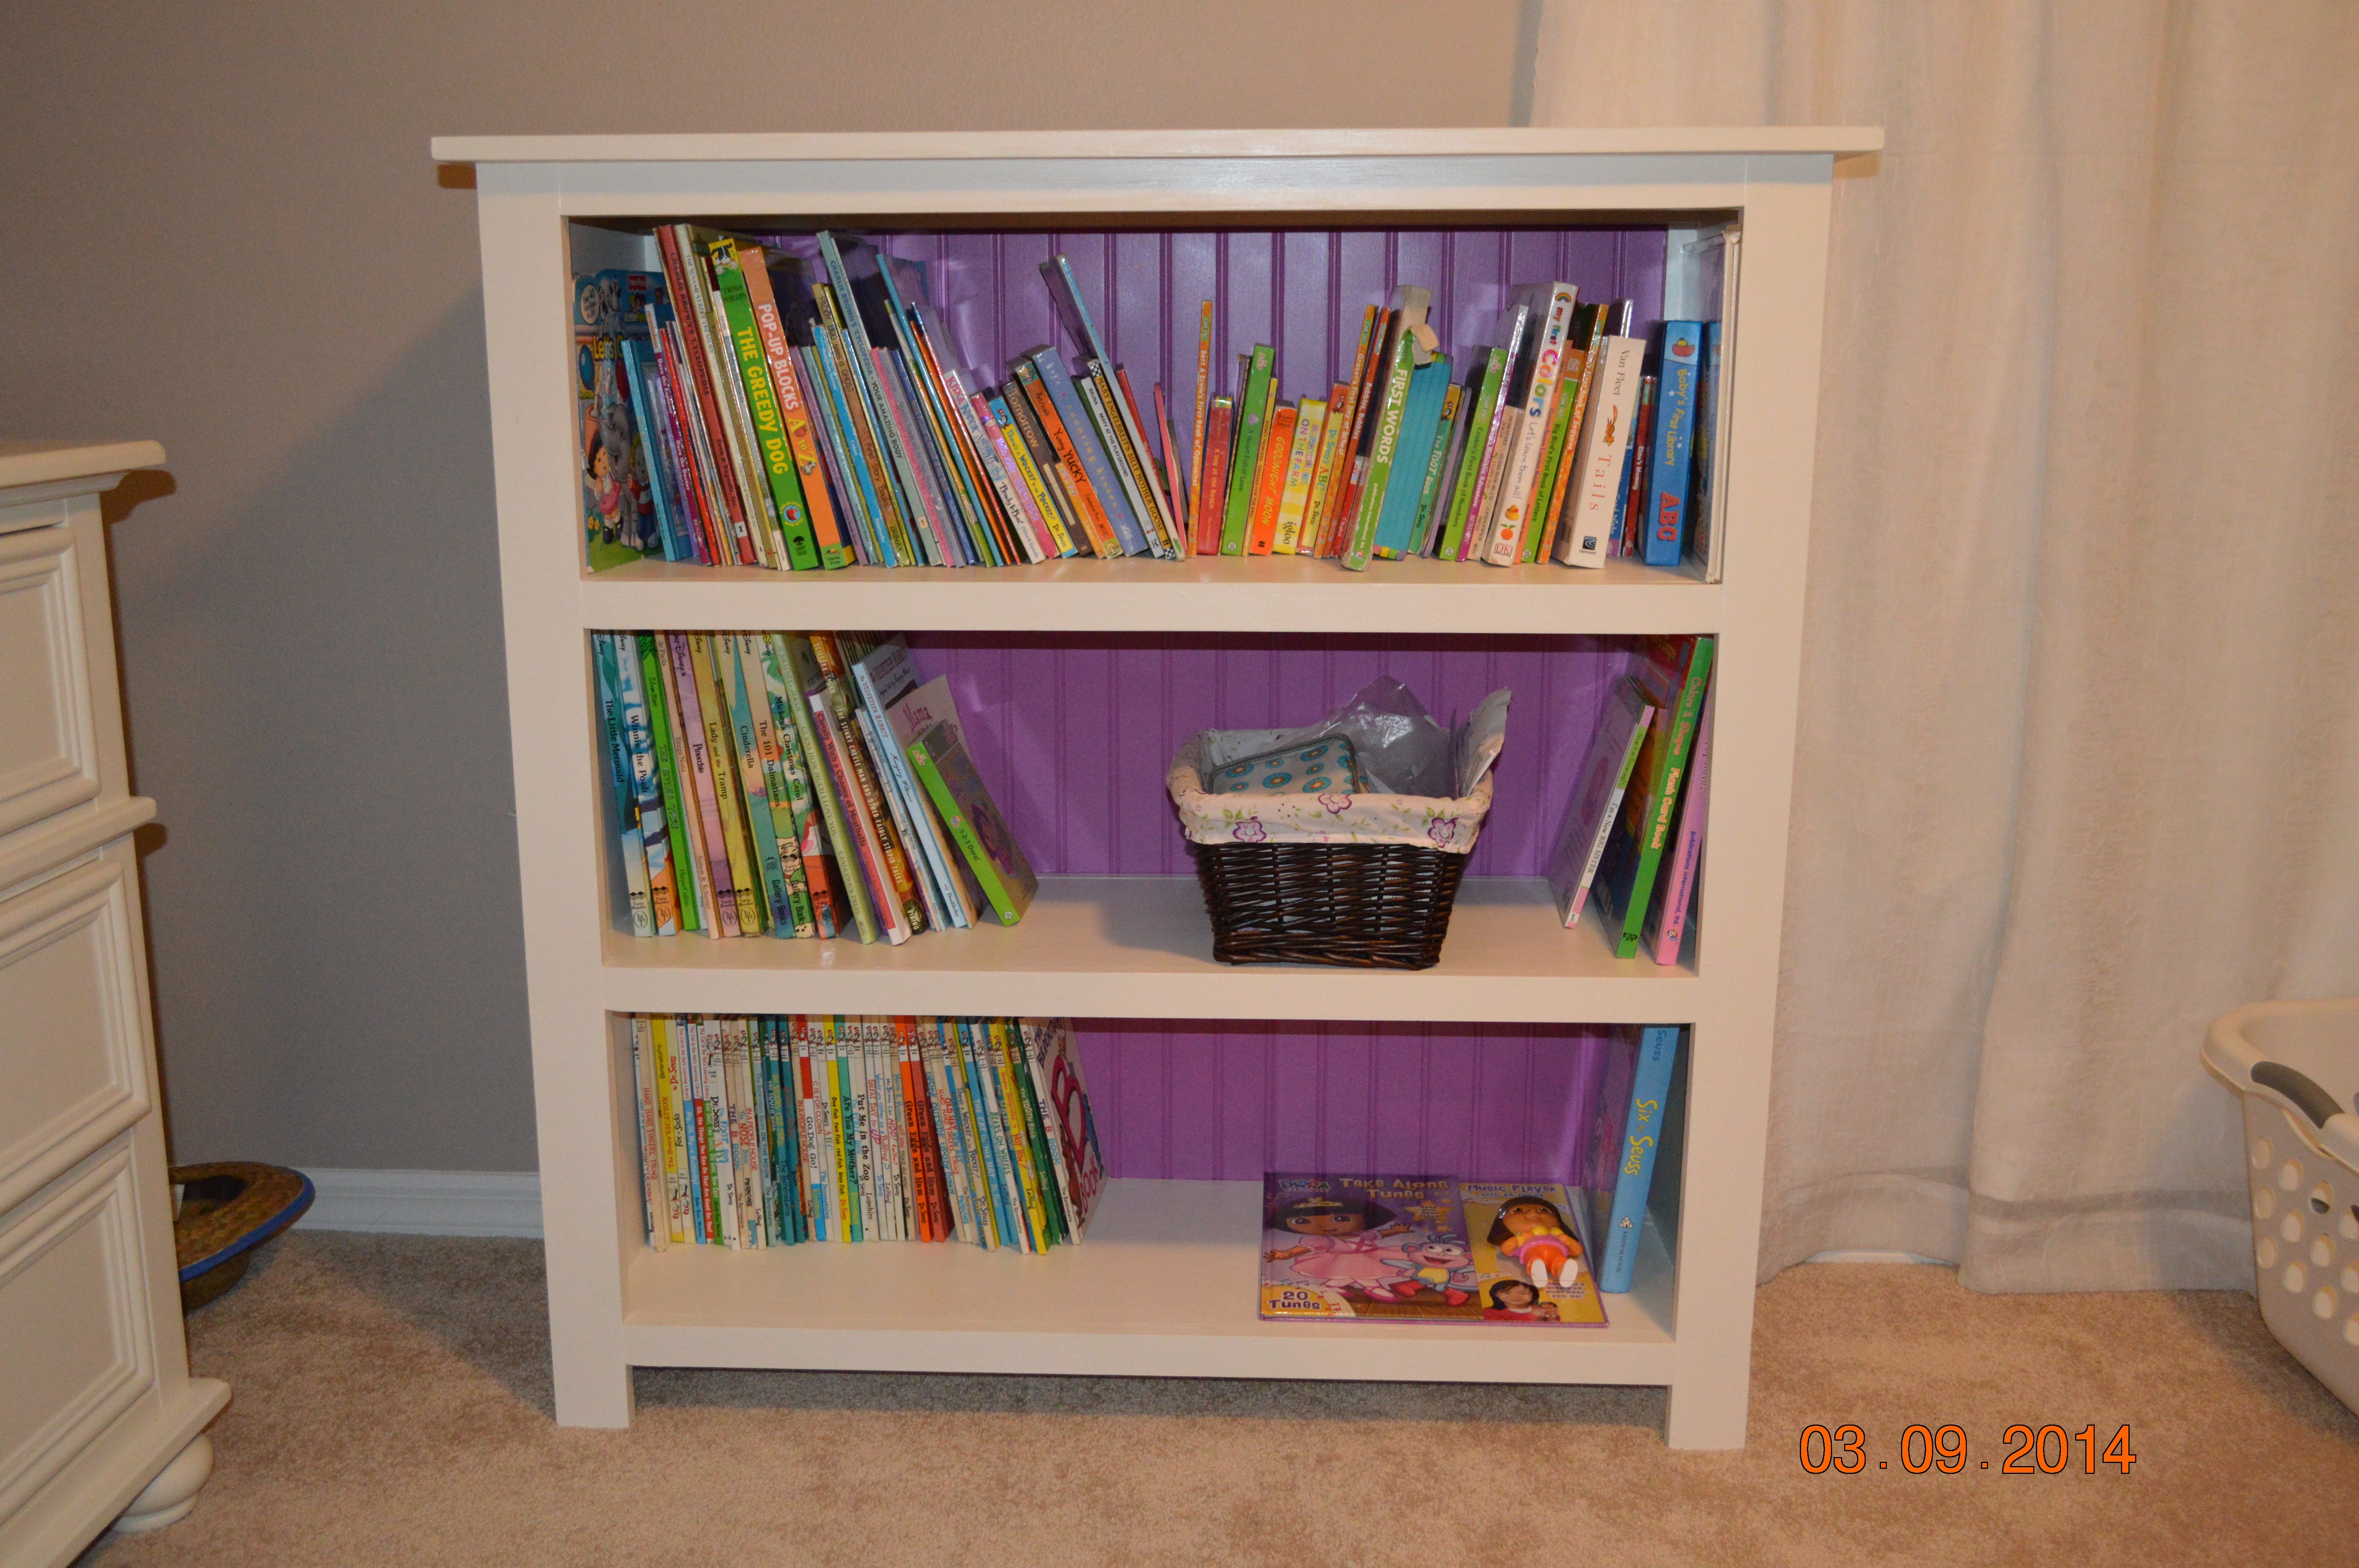
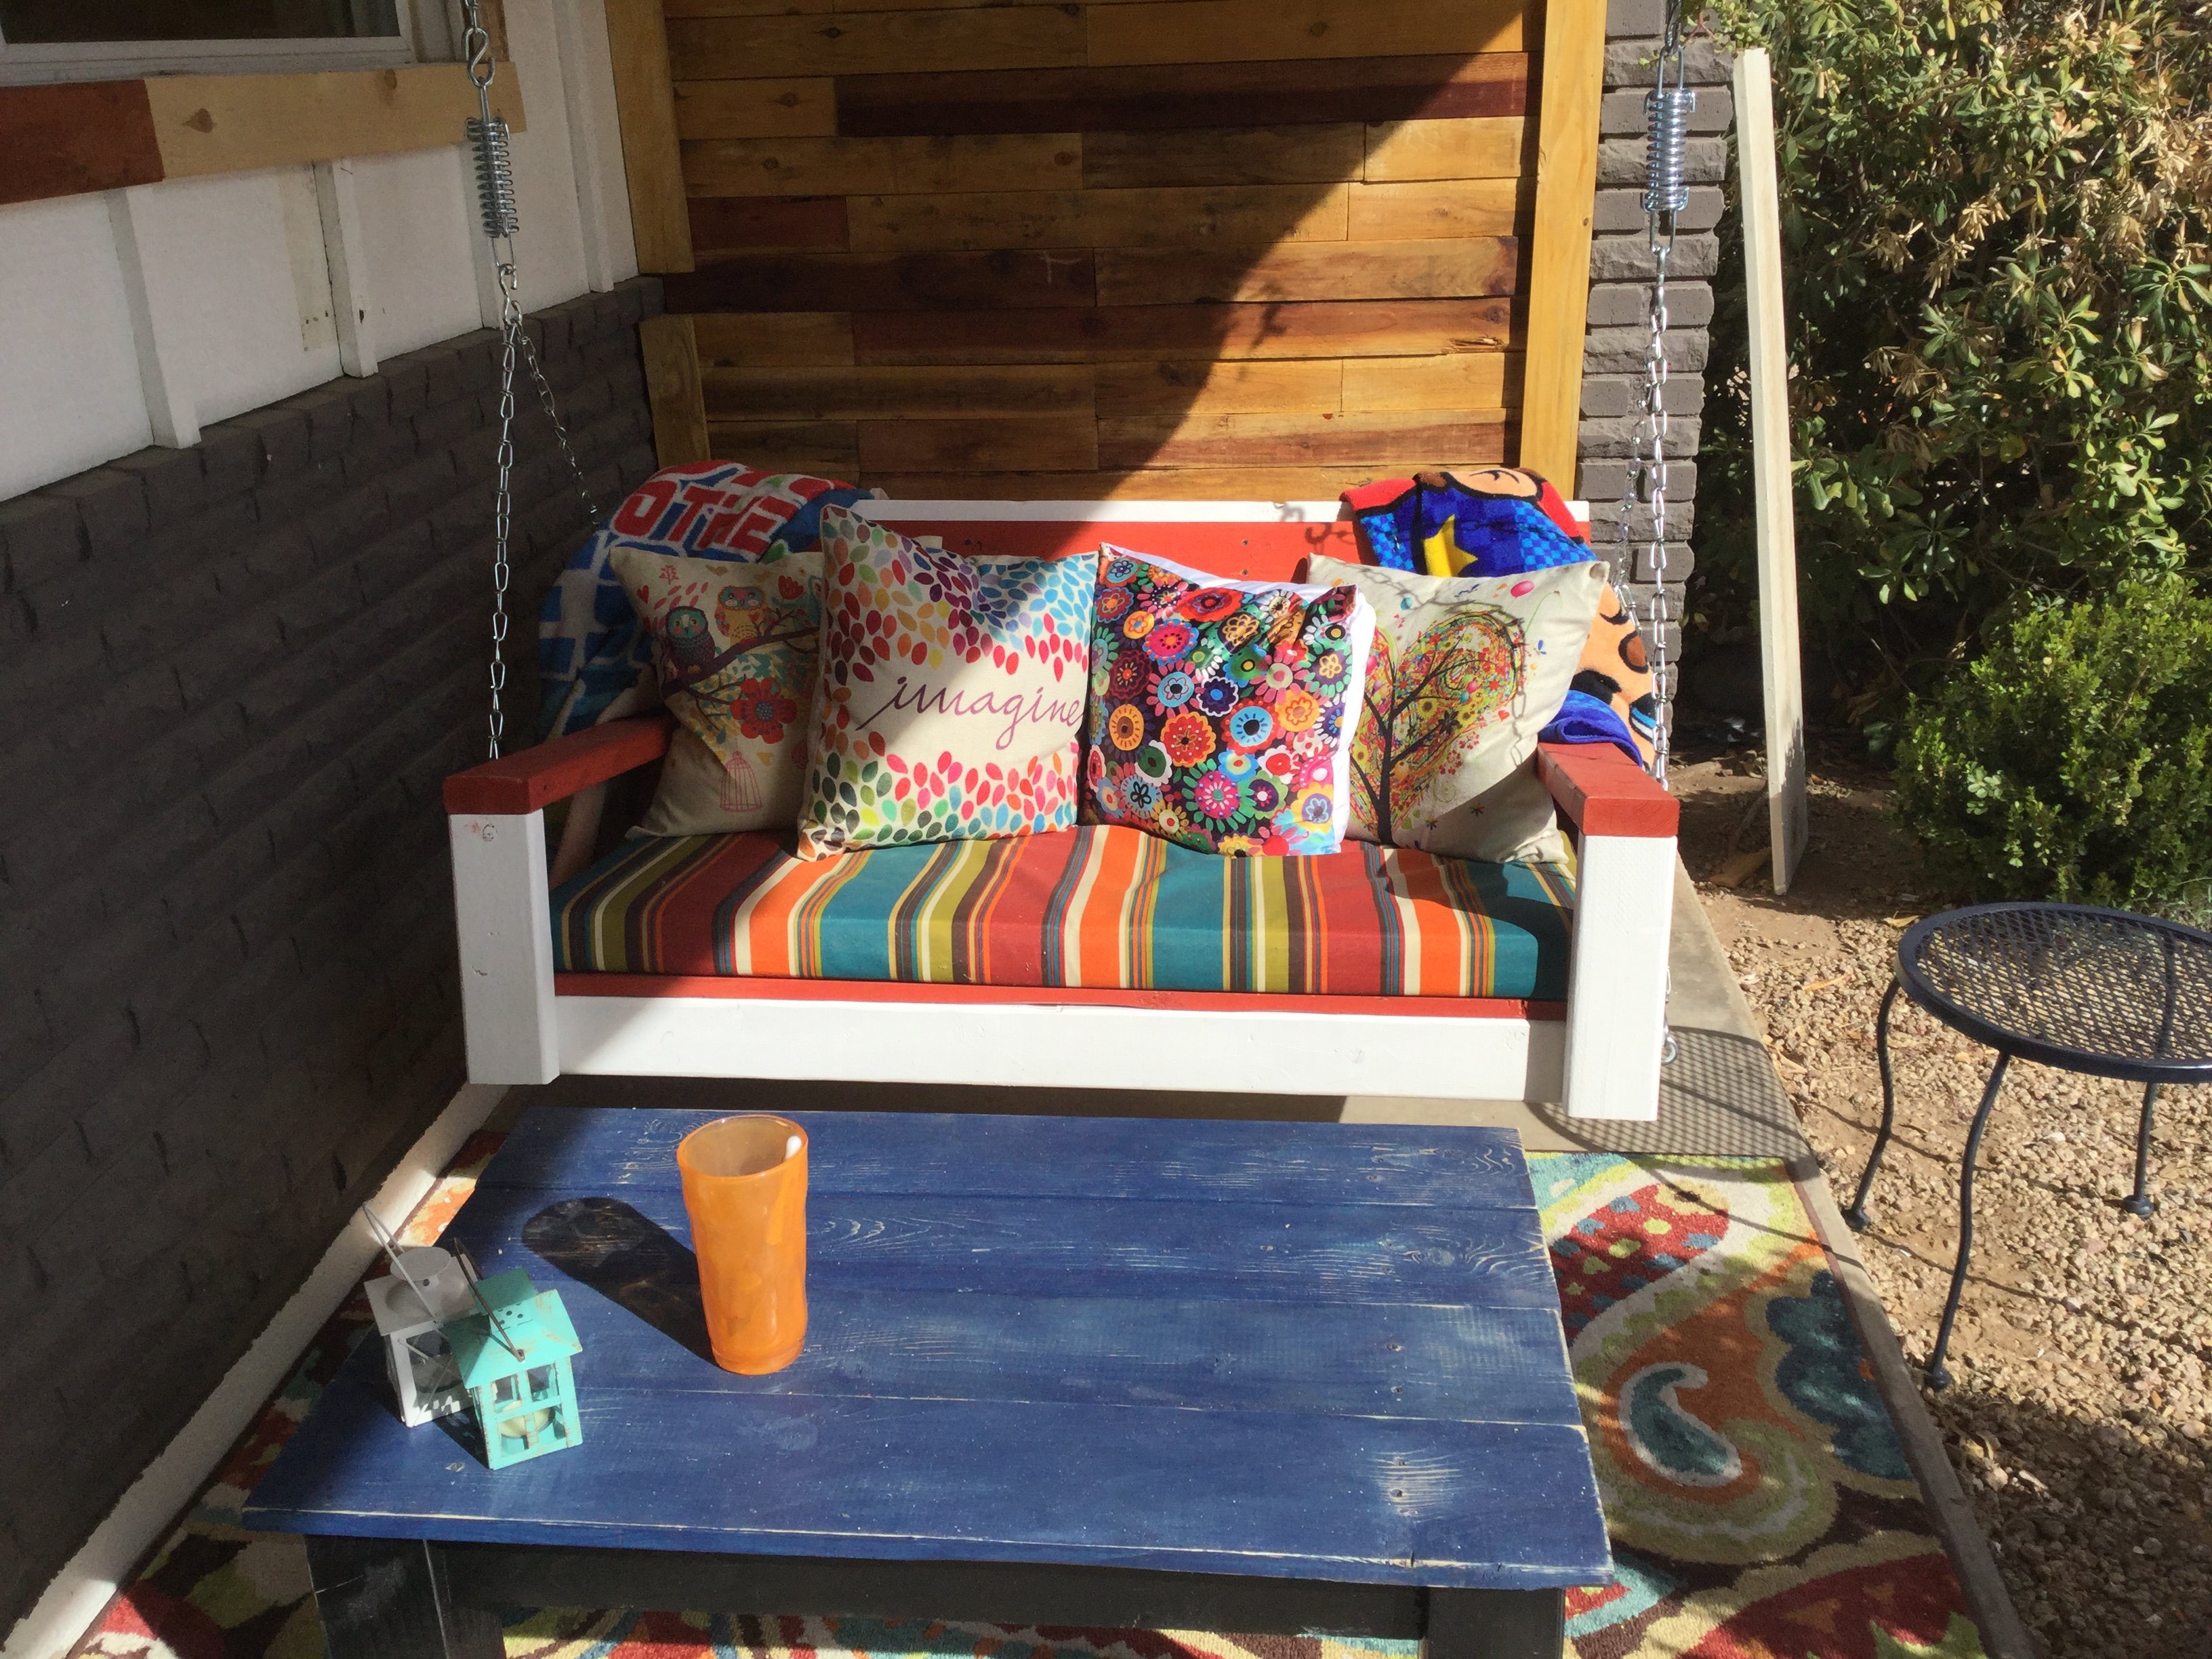
I tried to replicate a driftwood type paint finish by making a stain out of steel wool, and apple cider vinegar. After it was dry, I did a paint wash with a charcoal colored paint, then added a bit of cream paint to lighten it a bit, and dry brushed it on, I did this one more time making it even lighter, then wiped and blended. After the piece was dry, I waxed it using a dark wax made from Howards was paste and Minwax jacobean stain.

The inside is ombre painted too!

I really love the way they turned out!

Estimated Cost
$40 each
Estimated Time Investment
Weekend Project (10-20 Hours)
Finish Used
Homemade apple-cider/Steel wool stain, valspar paint matched to Sherwin Williams- Iron Ore, vanilla craft paint, & homemade dark wax made from Howards paste wax and Minwax Jacobean stain.
Recommended Skill Level
Beginner