Router table w/ rockler table, fence and lift
![](/sites/default/files/3154817183_1351869574.jpg)
Built Patrick's Router table and added a rockler table, fence, and lift to finish off.
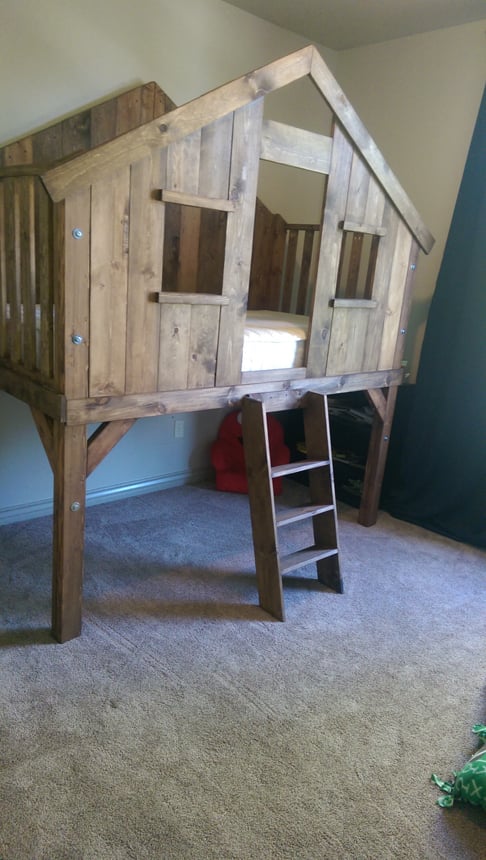
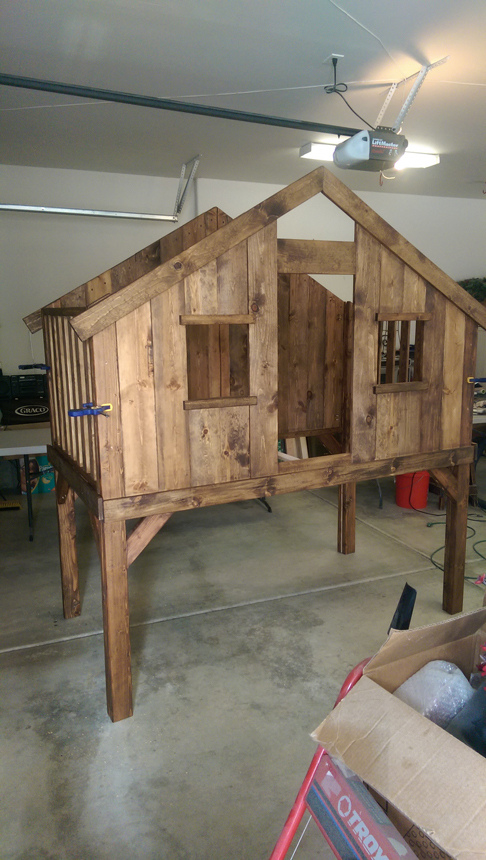
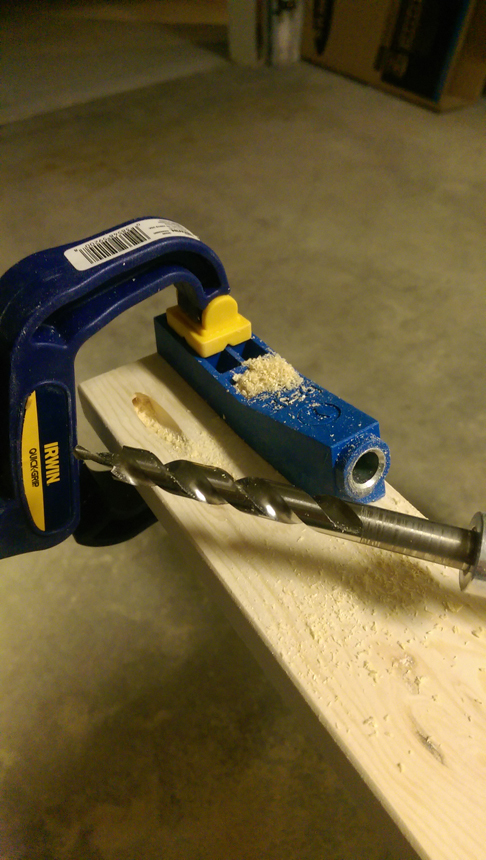
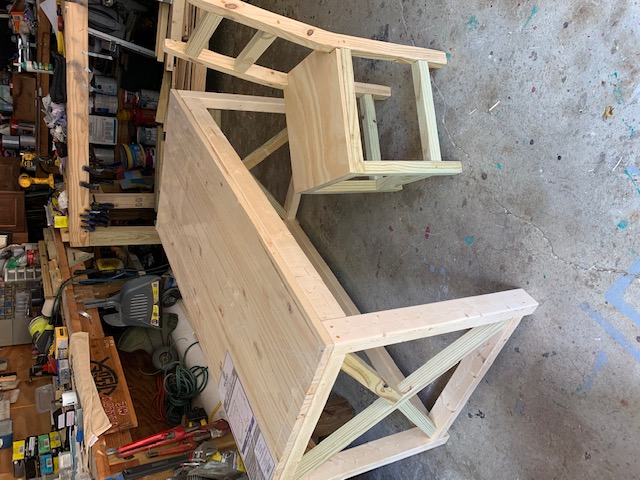
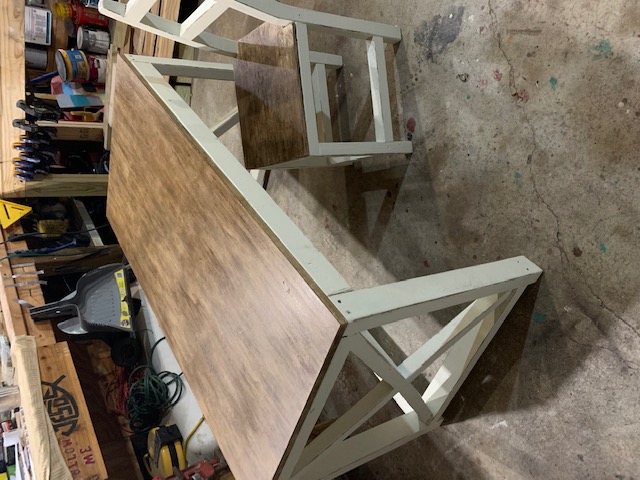
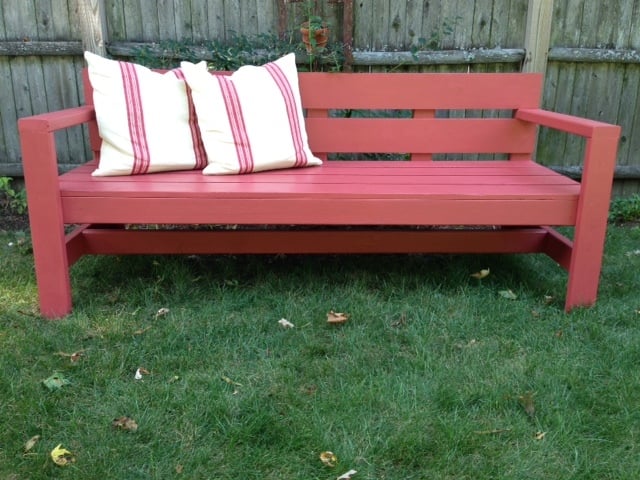
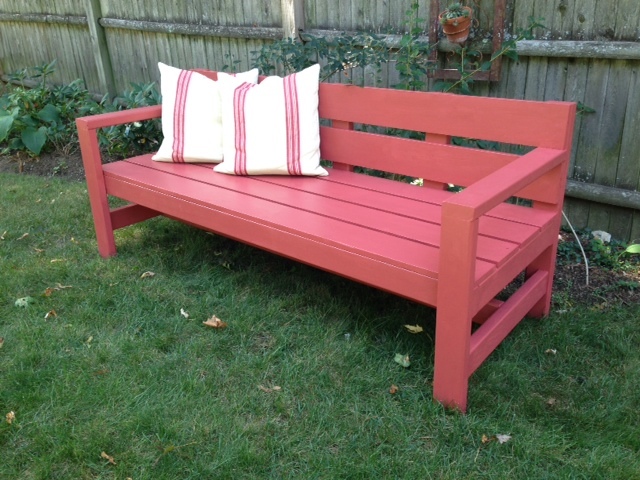
I found this plan after browsing Pinterest for ideas on possibly making a bed for my 2 yr old who had just outgrown his toddler crib. With that, I found this website and the plan for the bed. Instantly, I fell in love with the design, feeling like I was 5 years old all over again. Um, can I just say that this is probably the BEST website on the entire internet??? It's a never-ending candy store for grownups! I haven't built anything with wood since 9th grade shop class. I was a little intimidated at first, but the instructions were very clear and straight forward. I must have read them three times before I read the brag posts three times each, HA! My wife was leaving town for a business trip and I thought this would be the PERFECT surprise for when she got back. And hey, if I messed it up, I figured I could just toss the material and pretend it never happened; no bruised ego if I bombed, complete superhero if it worked out. Win/win. Low and behold, I followed the instructions, took my time, and everything worked out like a dream! This is such a great bed and a great project! As expected, my 4 yr old was CRAZY jealous of the bed, so I built him one as well - I went with a different plan that could accommodate his full size mattress a little better. Again, a no guessing, hassle-free experience using plans from this site. Somehow, I was able to keep this project quiet and my wife was BLOWN away at how well the project turned out. :) One more side note - the Kregg tool is AWESOME! What a great way to easily make pocket holes and beautifully create a project.
Tue, 08/19/2014 - 19:44
First of all, I agree! This is an incredible website. My only issue with it is the bags under my eyes it causes from staying up too late looking through all the fabulous plans and daydreaming about my next build. Lol
You did a fantastic job on the bed. I'd love to know what stain you used as I plan on making this bed as part of a fishing lodge themed room for my youngest when he's a little older and your finish is perfect!
Good luck with any future builds!
I built my granddaughter your doll X picnic table and bench set. My daughter suggested adding a backrest to keep the dolls in place. Painted it the same bubble gum pink as the doll bed I had made her for her birthday.
One of the first woodworking project. Borrowed most of my power tools from my neighbor and even the space.
Used walnut stain and then mine as paste.for the frame chalk grey color.
Cost 40 dollars
Modifed bed side tabe
Wed, 11/07/2012 - 21:50
Very nice! I especially like the trim and finish.
This project was to add some storage behind our new couch or a spot for my wife and I to set our wine glass or beer mug on while we are watching tv. I customized the dimensions of the sofa table to fit behind the back of our 12' wide couch: 8' wide x 12" deep x 28.5" tall. I Added the steel angles and cast iron malleable washers and lag screws to dress up the table a bit. I had also soaked the angles, screws and washers in a vinegar/salt solution to give it that authentic rustic look. Lumber and materials totaled about $80. Beat that Crate and Barrel and Pottery Barn! Bam!
I made 3 of these for a friend. 2 @ 16", 1 @ 20".
Originally the plan was to build bookcases for the family room using Channing Bookcase plan but after the wood was cut, priority switched to 2 year old Nathan's bedroom so I just flipped the height to the length and only added one shelf. Instead of a solid backing we decided on wainscotting for added interest.
Raised panel pine blanket chest lined with 5/8" aromatic cedar.
Fri, 06/14/2019 - 10:03
this looks great, is there anyway you can share plans to build this??
again, great job
Michael
Wed, 11/13/2019 - 07:15
I have searched and searched and cannot locate the plans either. I am making 3, for my daughters for Christmas and this one is amazing. please share plans.
thank you!!
Built the farmhouse bed for standard king bed. Painted bed frame and stained the top boards.
I loved the plan for the cedar picket shed. It was tall enough to block my neighbor's view, so I shaved 20 inches off the height. It is the perfect size for a mower. We made a floor out of 12 inch blocks. The ground we have here packs very well, so I think it'll be good for a long time. We also have a lot of wind, but this thing isn't going anywhere!! It is solid. I also like the fact that it takes a stain right along with the fence and there is no painting involved! The hinges you recommended were great.
My Daughter has only been asking for a Doll House for like 3 years. This Christmas her uncle is giving her her very first American Girl Doll, so I figured it was about time to get on that doll house. I couldn't be more thrilled with the results. Such a great plan and easy to follow. Thank you so much.
We Built this desk for our son who’s having to do online learning for this school year. We modified the plans by using a project panel for the desk top and we used Kreg jig holes to assemble everything.
I adapted the simple Kitty Tree plan to make an outdoor sunroom for my cats. They are locked inside when I'm away, so this was a way for them to get some fresh air. They can access it via a tunnel, visible on the side as a grey box that butts up against the panel for the cat flap.
It's 36"X30" and 68" high.
The walls are made of plexiglas and I made the interior ramps by cutting up a set of wooden shelves.Plexiglas is expensive, but I salvaged some that was slightly scratched and going to the landfill. Otherwise, it would have cost me well over $100.
The frame was built using a Kreg jig, which is now my new favourite tool. I also added some casters so it can be rolled away from the wall for cleaning.
I found the Kitty Tree plan to be easy and versatile.
Wed, 11/14/2012 - 07:39
Very innovative. How did you ventilate it for them to breathe?
Mon, 11/19/2012 - 06:42
The plexiglas is not quite large enough to cover the space between the posts so there is a 1/8" inch gap around many of the edges.
Also the back is open. When it's away from the wall, I can lean in to clean it. So, it's not at all airtight.
Mon, 11/19/2012 - 06:45
One could use a wire mesh instead of plexiglas to save money. It would look okay, especially if painted, but I splurged on the plexiglas because it does look nicer than wire. I wanted to prevent complaints from our immediate neighbours if they thought a wire cage was an eyesore.
Mon, 11/19/2012 - 07:04
Your cats are going to love this. Once the birds (thinking about swallows) figure out they can swoop by quickly without harm, the birds are going to love it too. You could even put a bird feeder nearby to make it more interesting for the cats to look at.
Fri, 11/23/2012 - 20:41
I Love the idea of the bird feeder! It would be like watching Tom and Jerry cartoons! Lol
I built this for my brother's entryway. He has 3 kids and lots of shoes, jackets, etc were cluttered in the hallway. I had a few days to kill while my husband and father were working on a building a barn wall. So his girlfriend picked out the design and I got to building. She used a stain called red barn to match most of the decor at their home. I added an extra shelf at the bottom to help contain more shoes. She also added baskets and their initial to each locker. Turned out very cute and the kids love knowing where to put their stuff when they walk in the door.
With the school year approaching and covid restrictions in place I decided to build my grandson a kindergarten home school desk. The desk dimensions are 2' X 4' X 25" high. I incorporated the Ana White famous X design on the frame. The wood is pine 2" X 3" frame and 2" X 2" for the X's.
The chair:
The back legs 30" high that I ripped from a 2" X 6" to 2 1/2 inches wide and angled the back rest at 6 degrees.
front legs are 15" high and the seat is at 15 1/2 high. The seat is 12" X 14 1/2 made from 5/8 plywood. "My grandson is 41 " tall so this allows for some growth.
I attached some glide felt adjustable to the legs and table for smooth easy movement.
This is my third build and it took about 1/2 a day and cost $50 for lumber and $15 for hardware (decking screws). I previously built Ana's Farmhouse Table and doll farmhouse bed and cupcake stand.
I used the small kreg jig for part of the underseat frame, but it is not necssary. I wasn't using kreg screws so I found it easier to just attach through the end of the 2x4s. I recommend checking for squareness often for this project, especially as the arms and stretcher are attached.
Comments
Patrick Hosey (not verified)
Fri, 11/02/2012 - 09:10
yes!
Yes! Enjoy. It'll be the most valuable tool in your shop trust me.
patrickhosey
Sat, 11/03/2012 - 19:28
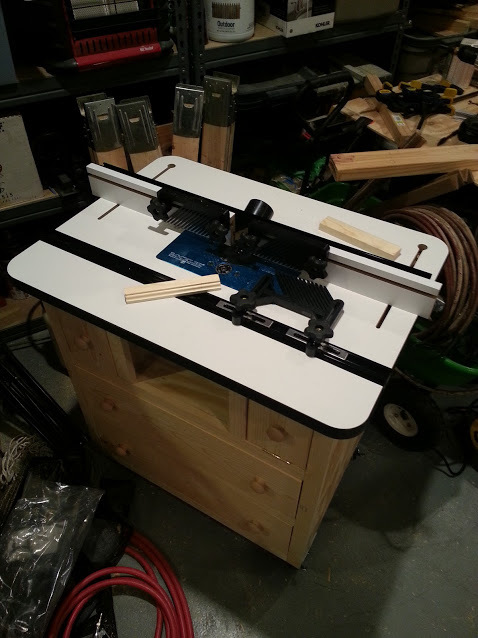
Router set up
Here's a tip for that 1617 router. Try putting a bandaid over the on/off switch. That thing will get gummed up if left uncovered. It's annoying.
Ronald629
Sun, 03/22/2015 - 05:26
Router Table Lifts
Well, you can read this review http://routertablereviews.com/router-table-lifts-kreg-prs3000-vs-jessem… as well.
jimssolidwoodp…
Sun, 03/05/2017 - 21:13
Patrick router table question
My question for Patrick is when he built the top section for 2 small drawers and middle section for the router access..
Did Patrick put on top a 3/4" pc of plywood then the router table top.
Can l attach my router table top to the top pc if 3/4"plywood then my table top is 1 3/4" thick that it would be to thick could you email to let me know please.
Jim