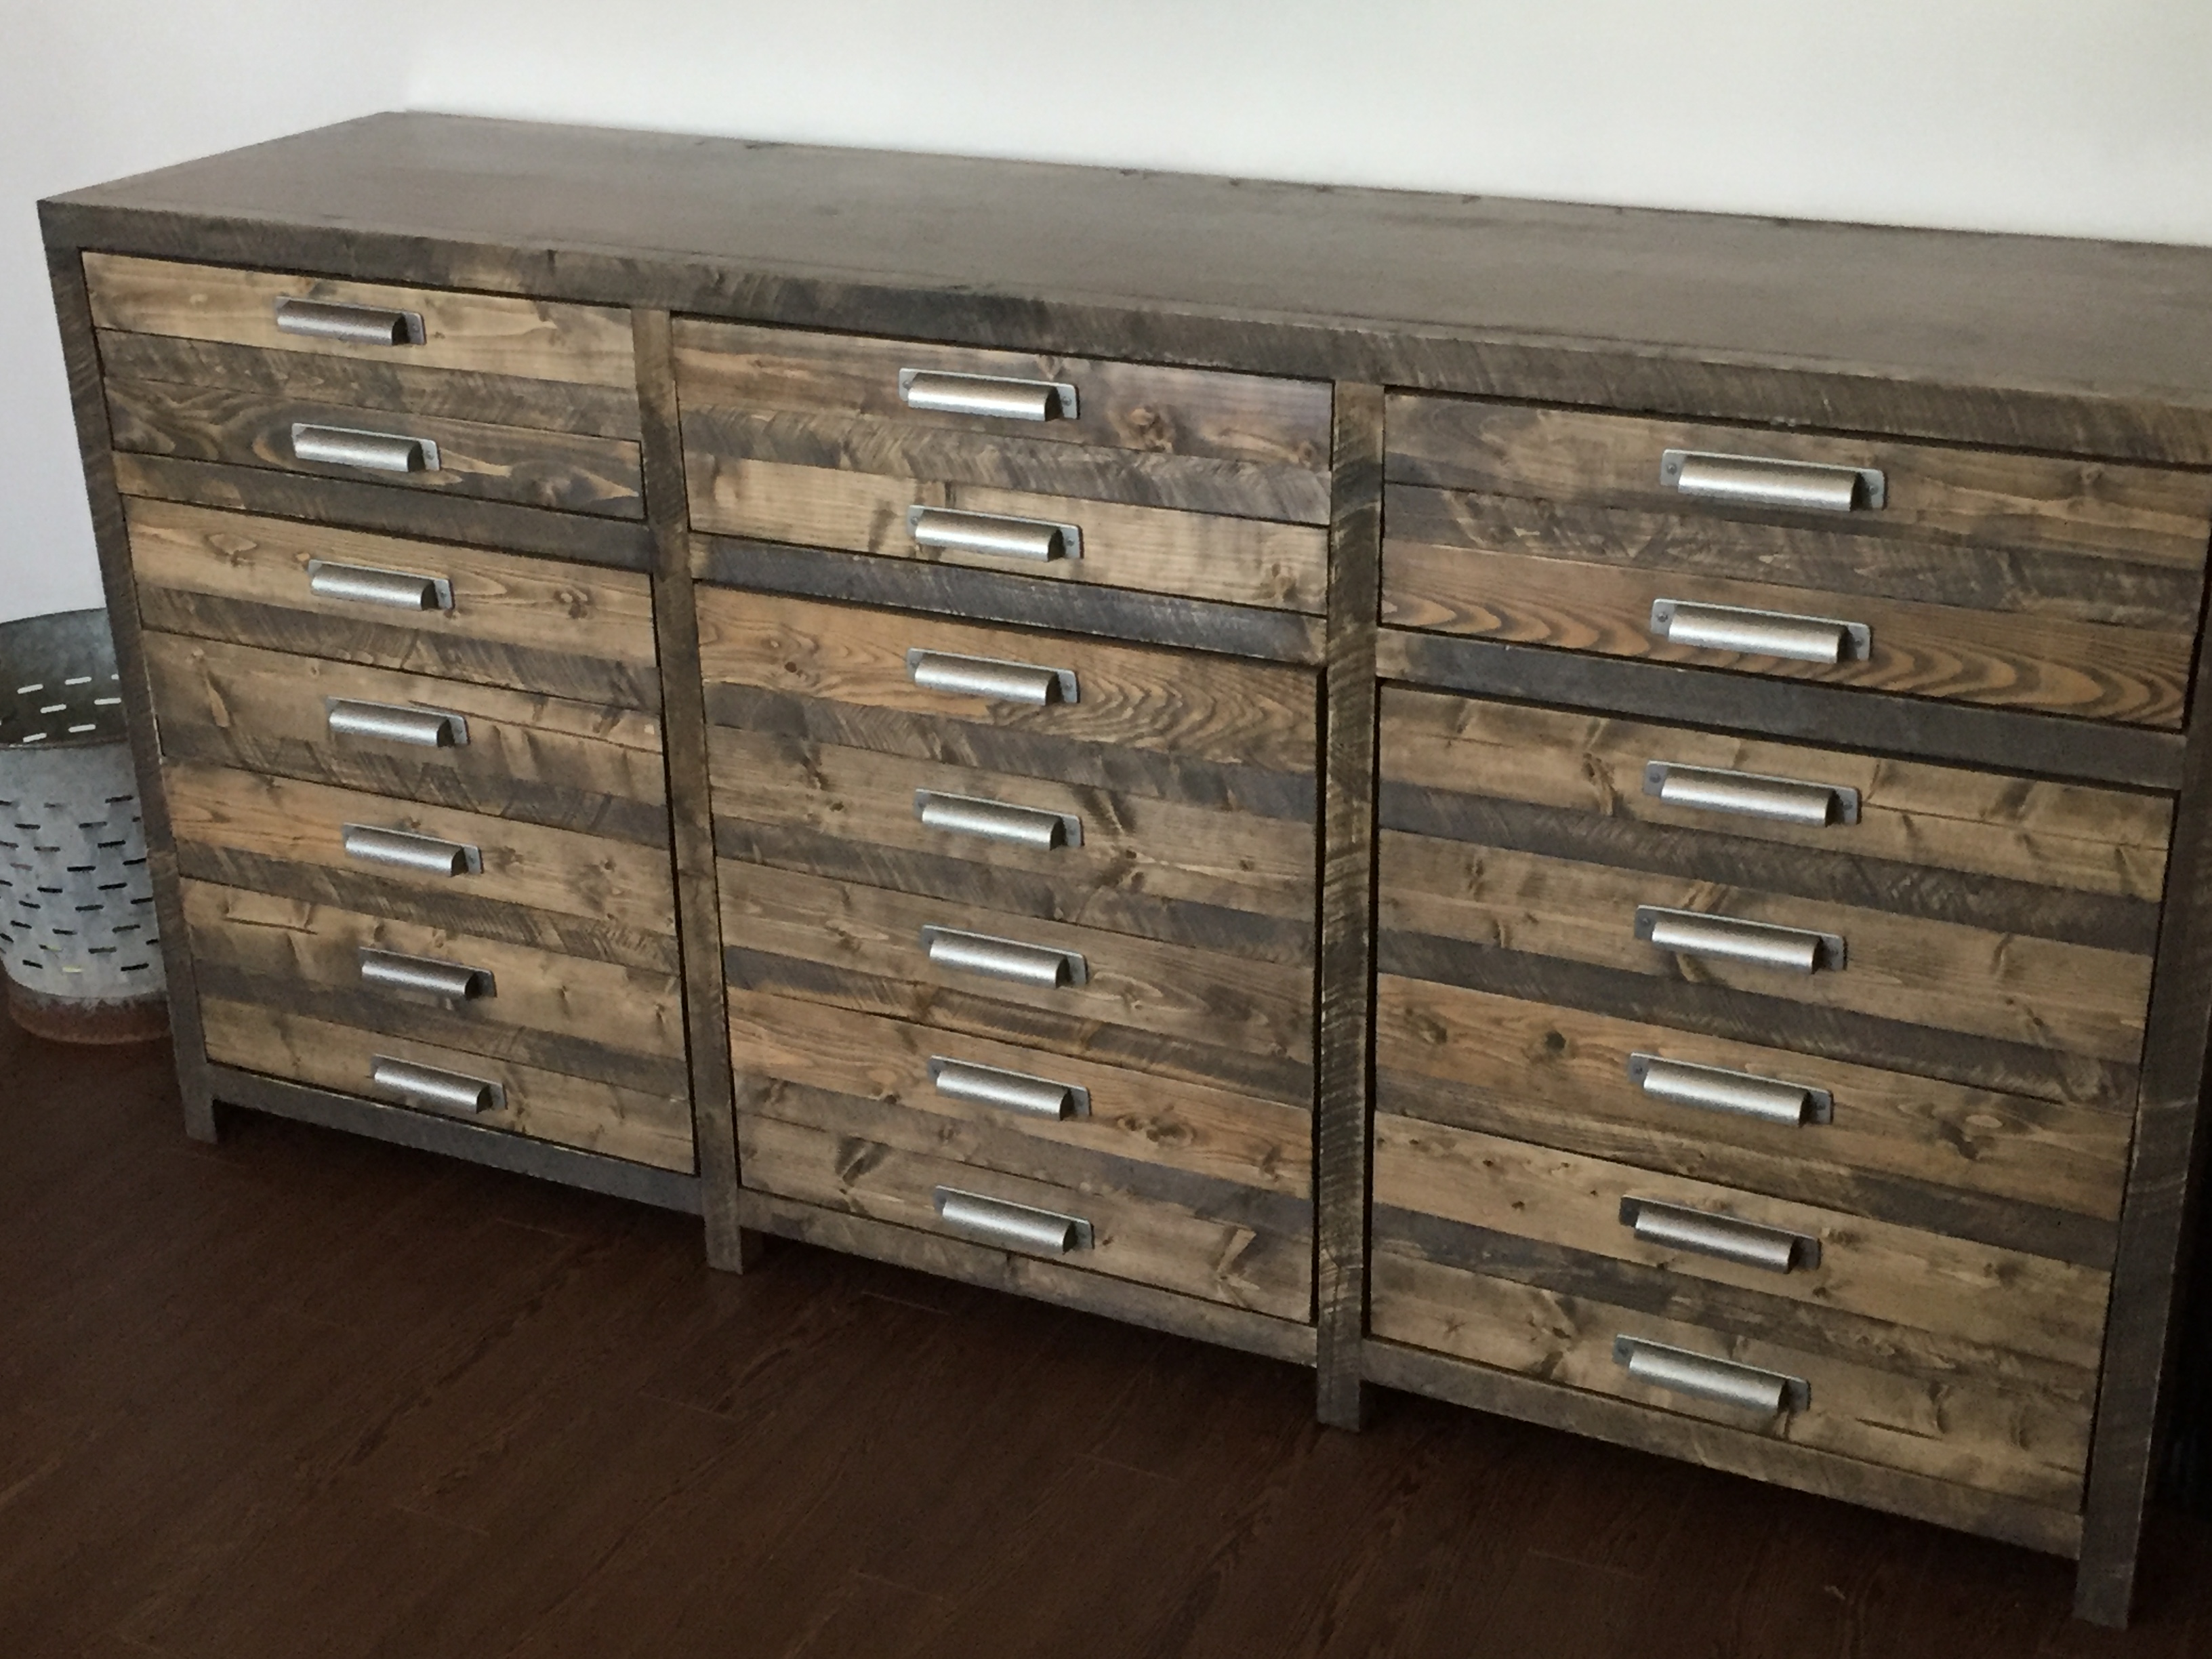
Kitchen Bench
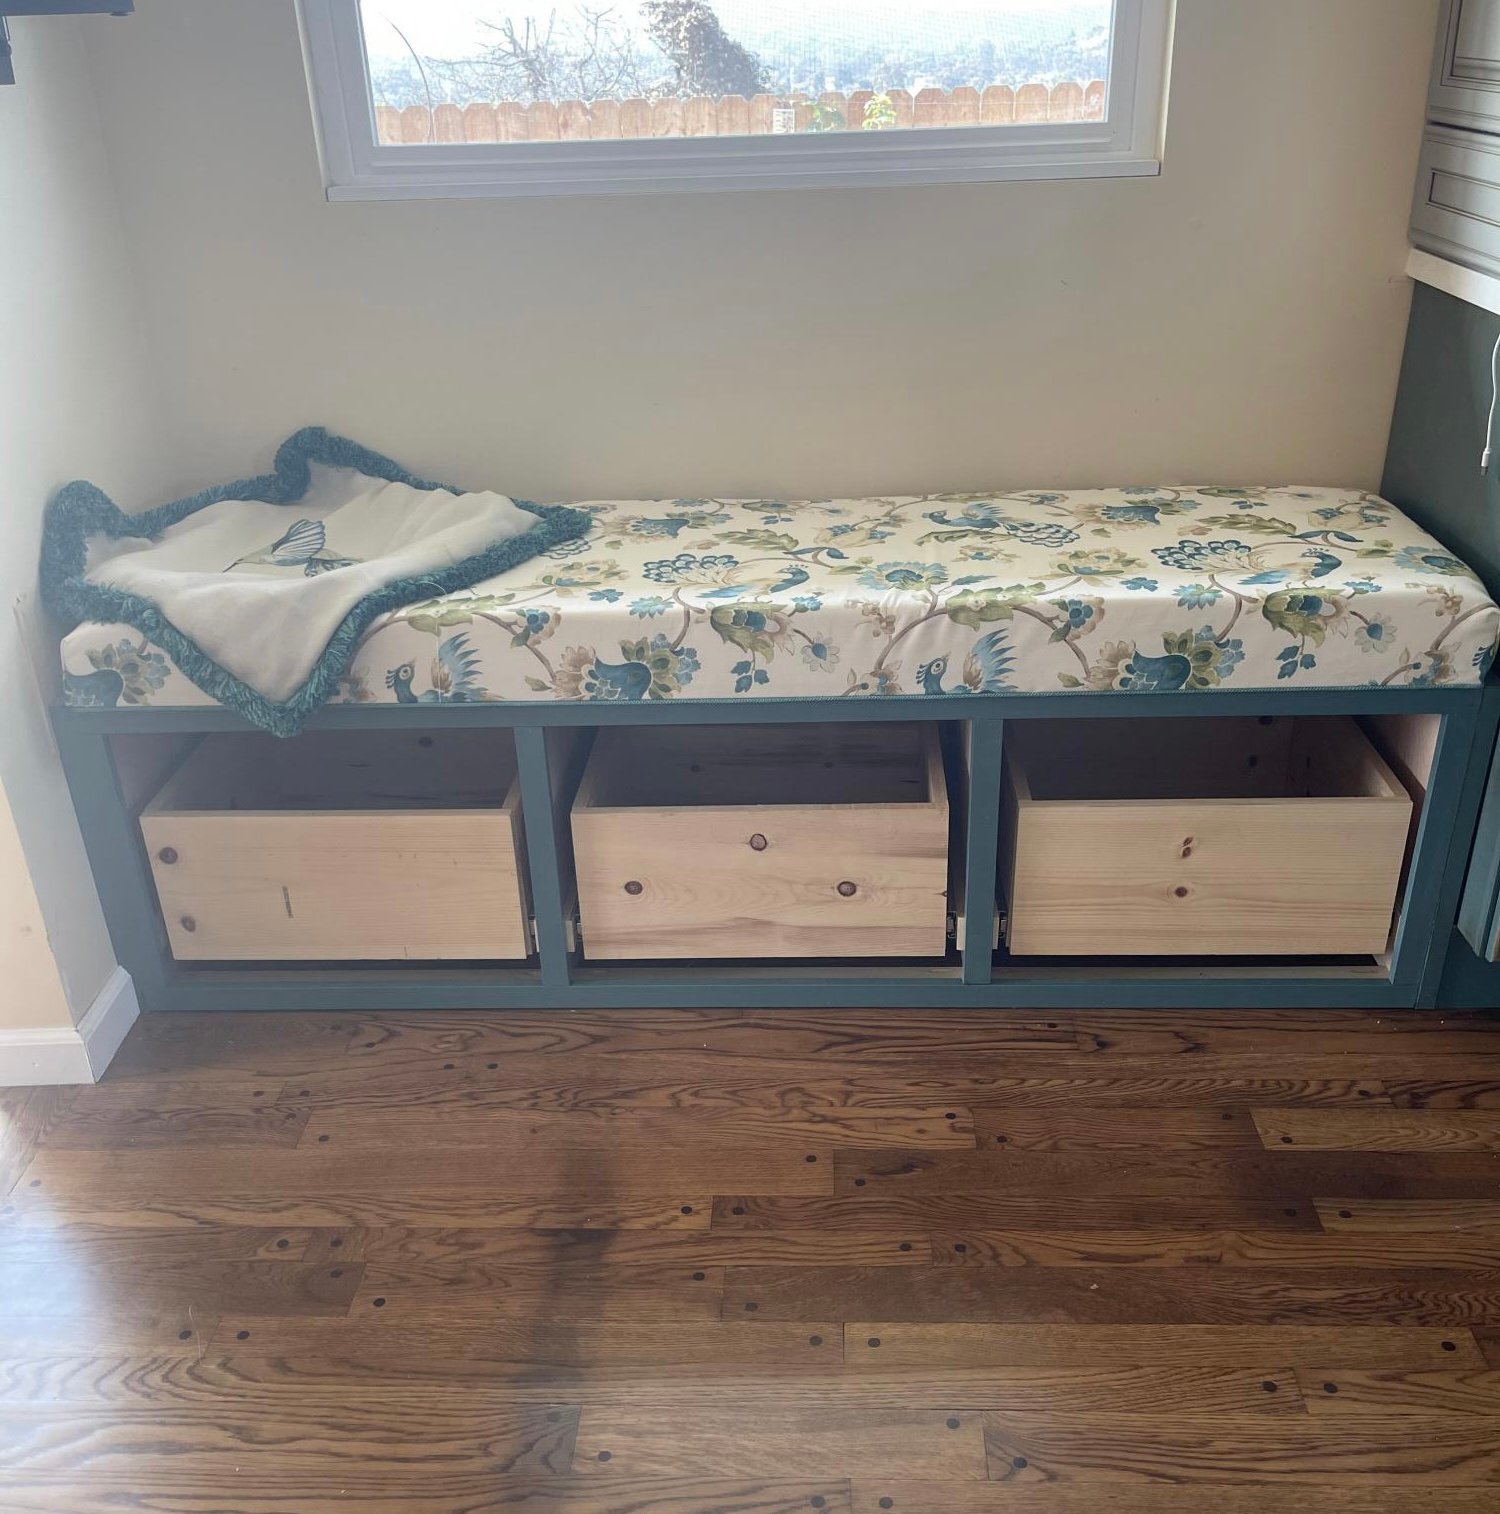
Still in process, just waiting for the cabinet doors to match my kitchen. I got the car us from shelf help. Learned how to make the pocket holes and the face frame! Saved me about $3,000!
Built from Plan(s)
Still in process, just waiting for the cabinet doors to match my kitchen. I got the car us from shelf help. Learned how to make the pocket holes and the face frame! Saved me about $3,000!
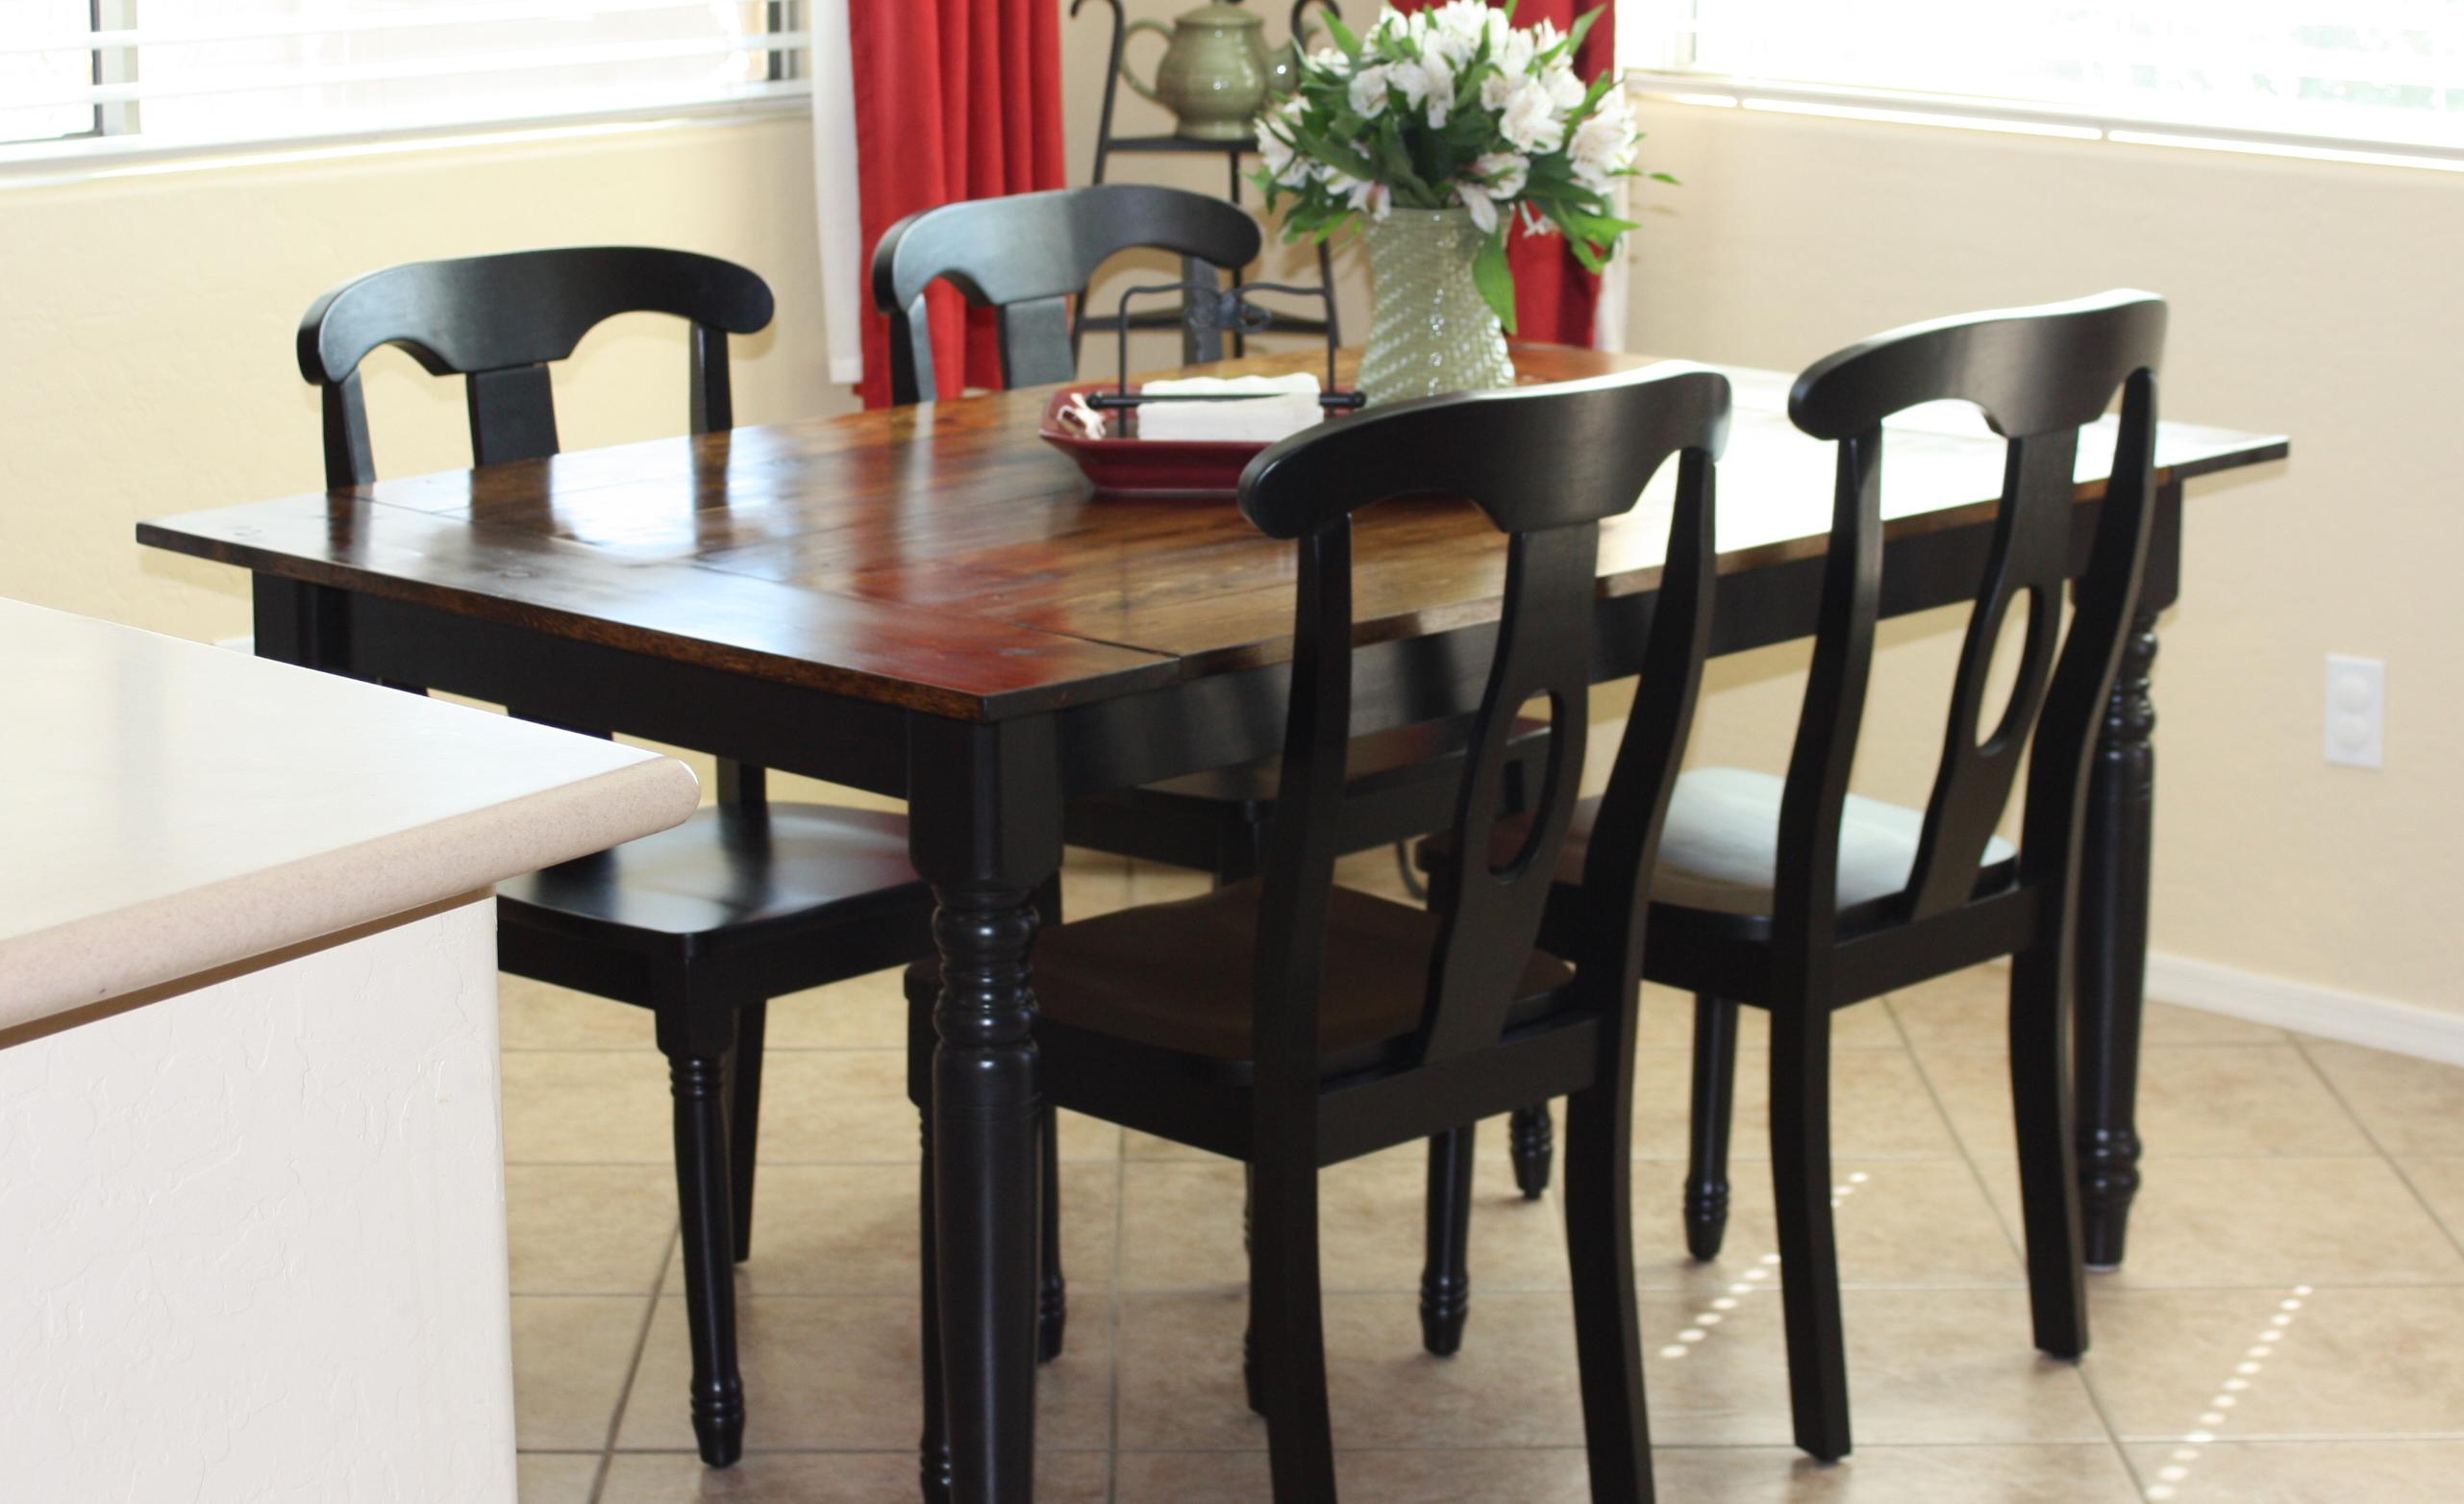
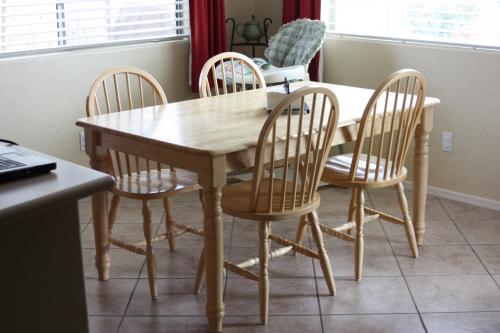
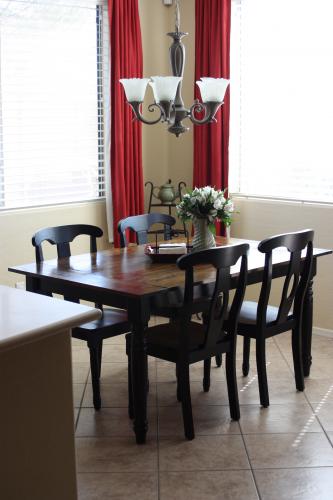
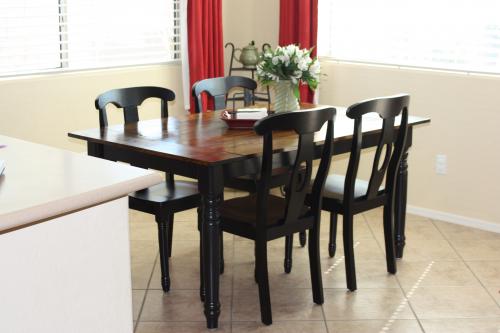
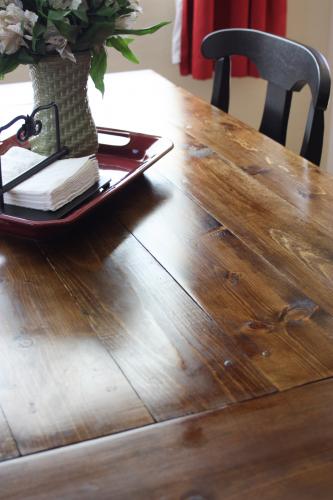
My husband had a hideous kmart table (see the before pic) with target chairs that he bought before we were married more than 9 years ago. I have never liked that table but it was what we could afford at the time. The table managed to make it through 4 military moves before I ripped it apart last week and used Ana's farmhouse table plan to make the planked top with pine boards. Her plan calls for 2 inch boards and I used 1 inch boards but it turned out great and I love it. And I bought new chairs from walmart.com to go with it. I'm a beginner woodworker and have only made a few small projects but this one was manageable for me. I love love love my new table!
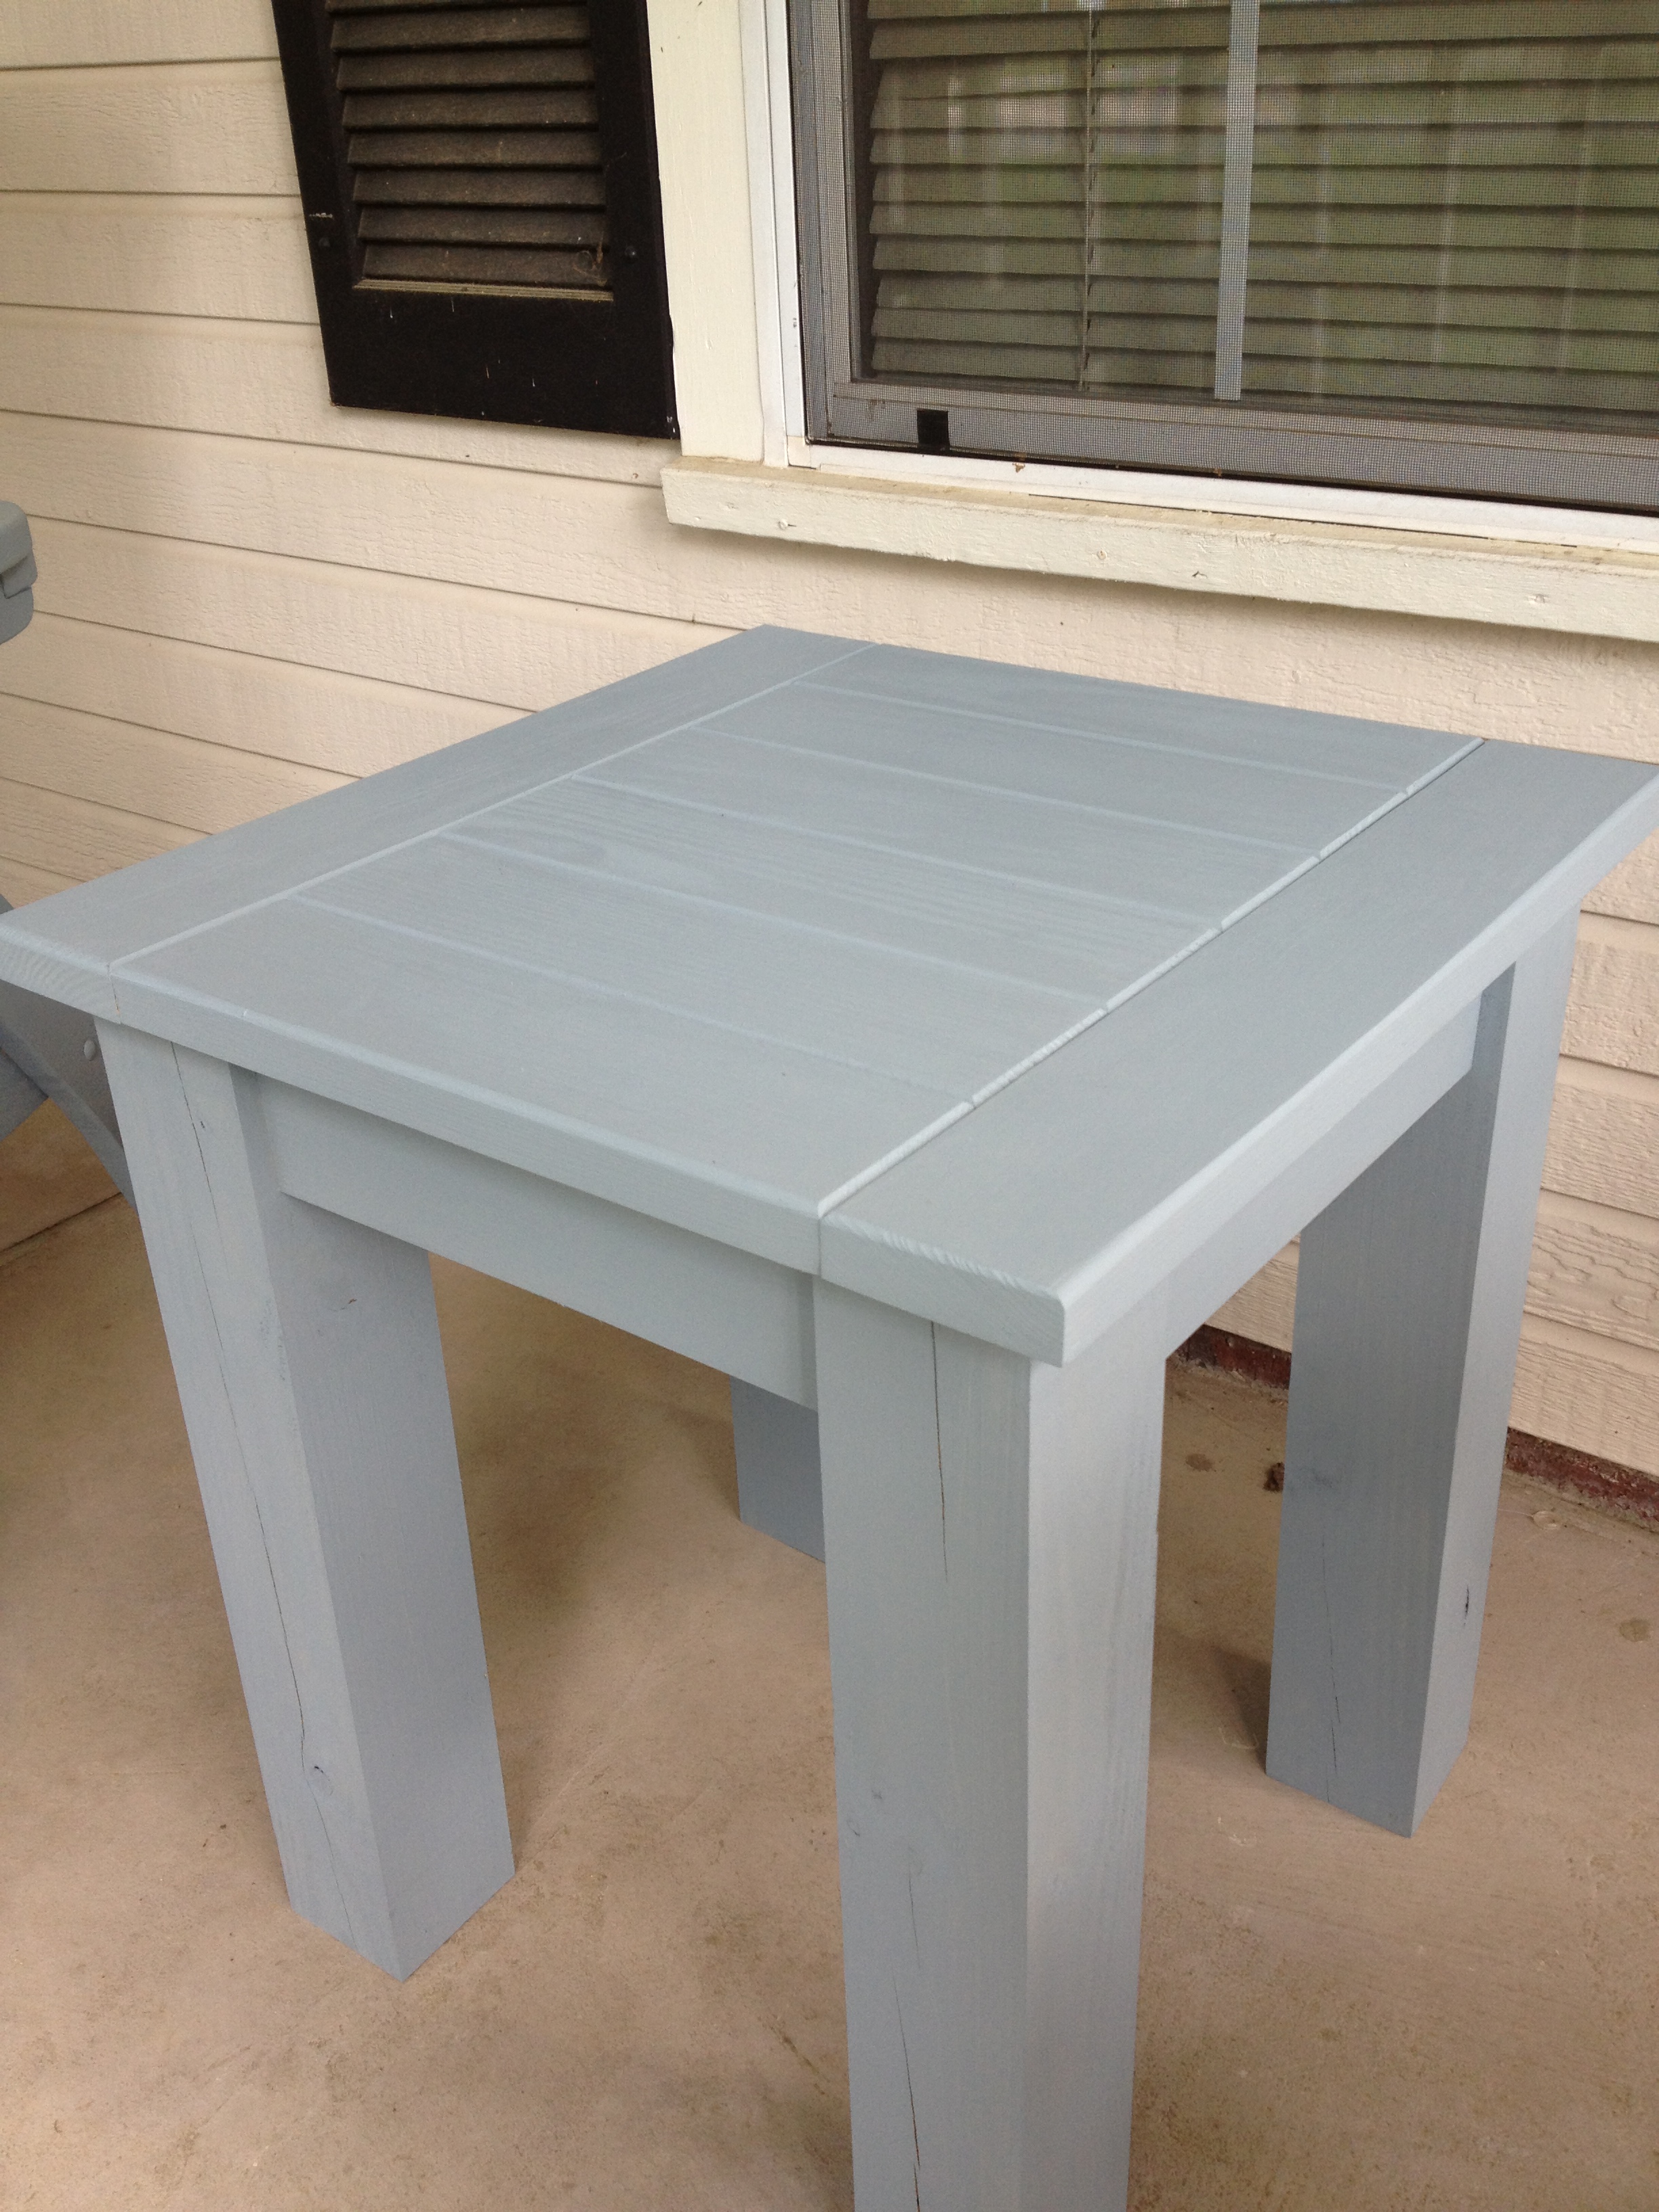
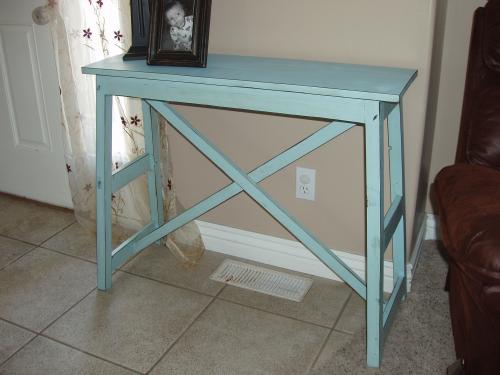
This is made from the Tryed Side Table plans. I made a few changes to it that made it easier for me. I made the top from 5/4 deck boards that I had left over from a deck I built recently and I used pocket hole screws to hold it all together. I also chamfered the boards on the interior and used a round over bit around the edges. I really like the table and it is sitting next to two Adirondack chairs I made. I painted them blue to remind me of the ocean since I don't get to see the ocean much where I live.
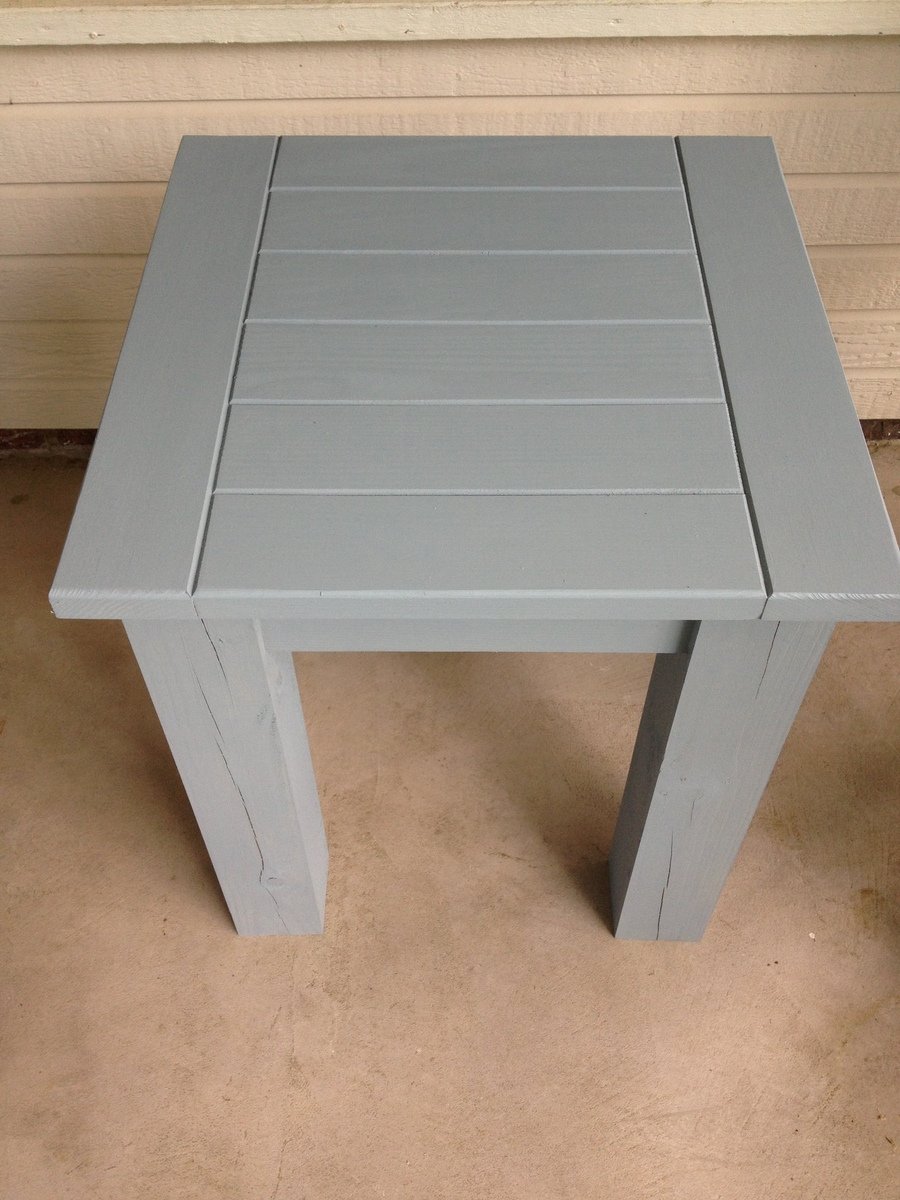
Great little table that is perfect for snacks or drinks while watching the game or a movie.
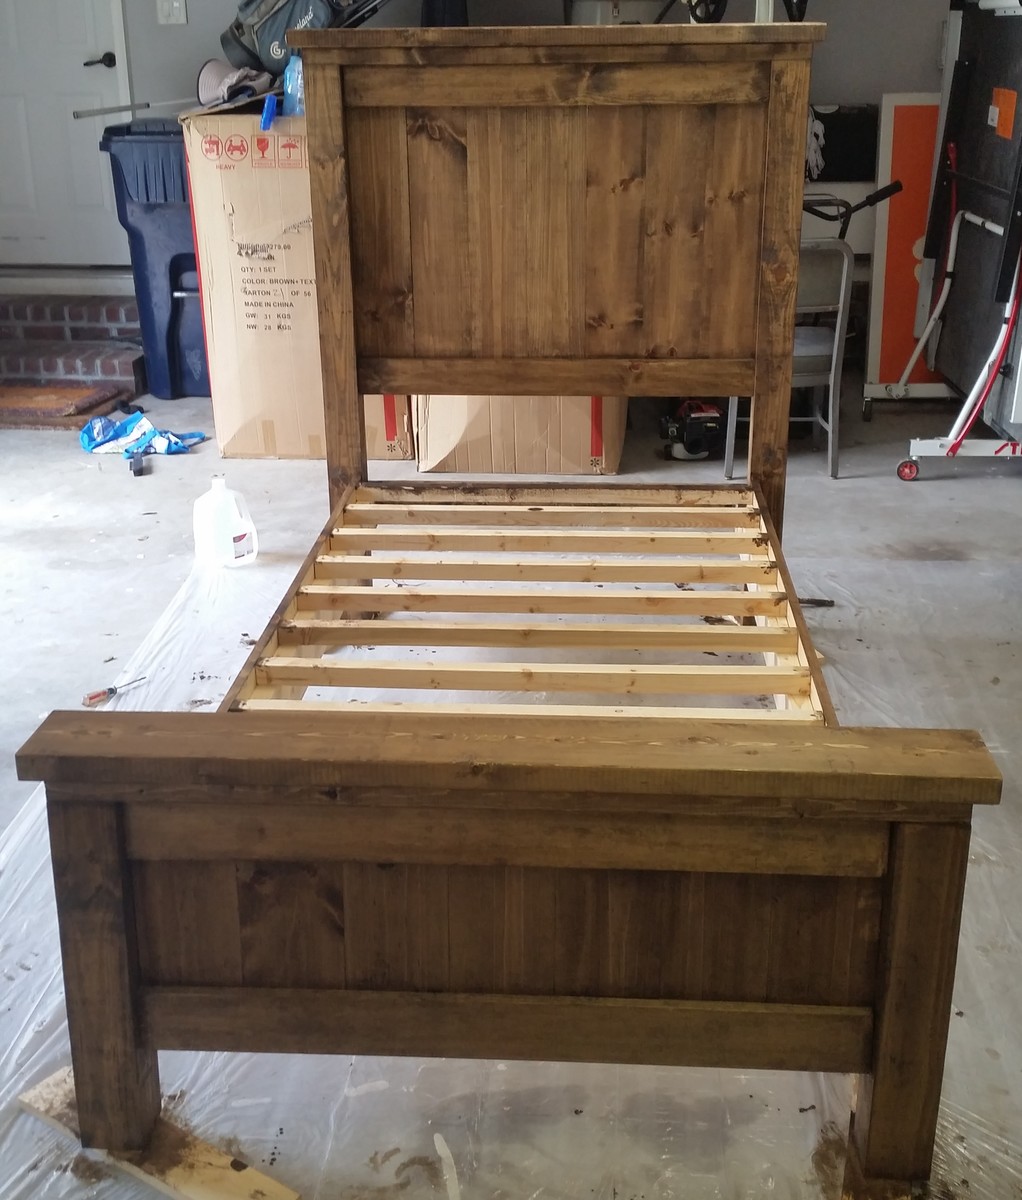
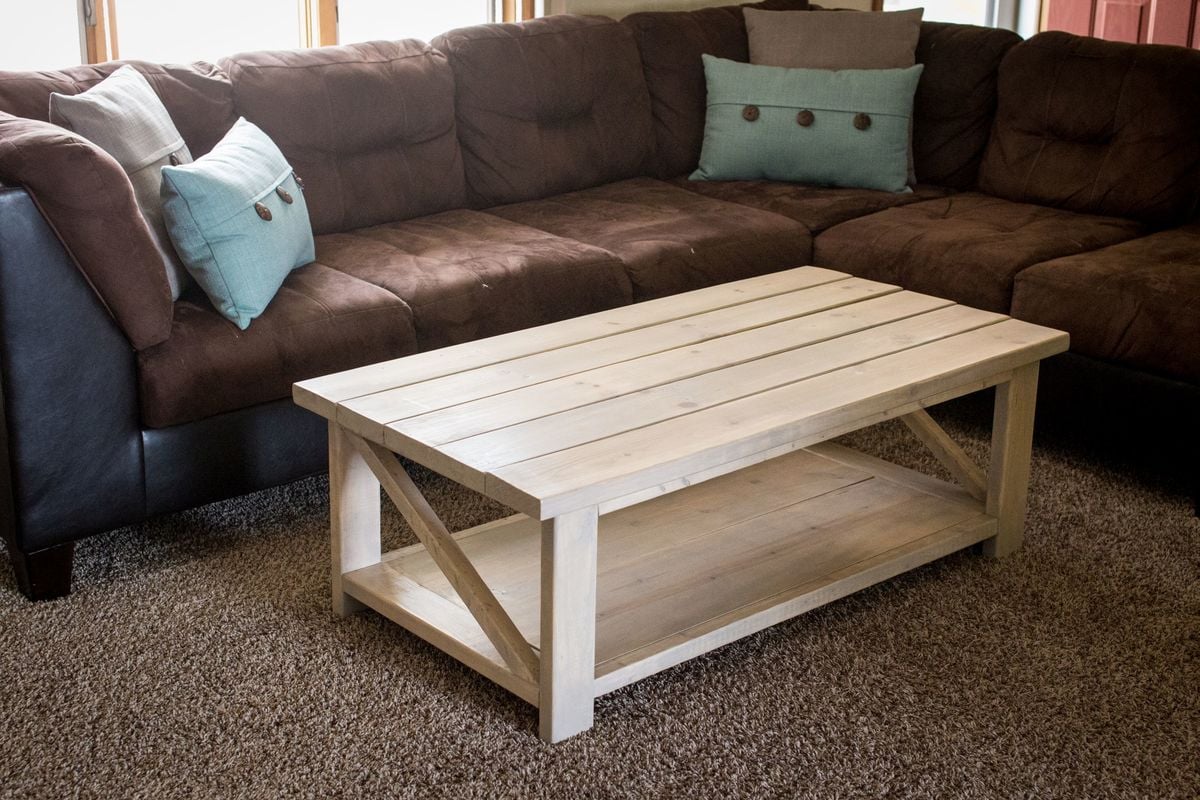
We used the least expensive pine at Lowe's because I really like the variation in the wood. I think it adds character. This was the first time I've used Weathered Oak and boy is it sheer! You can hardly tell it's there over the dark walnut but it did seem to lighten it just a little and give a slight grey to the very dark areas. Really liked the outcome!

Built for my Daughter and Son-in-laws new home
Tue, 10/05/2021 - 09:19
That is very sweet and looks amazing! Thank you for sharing~
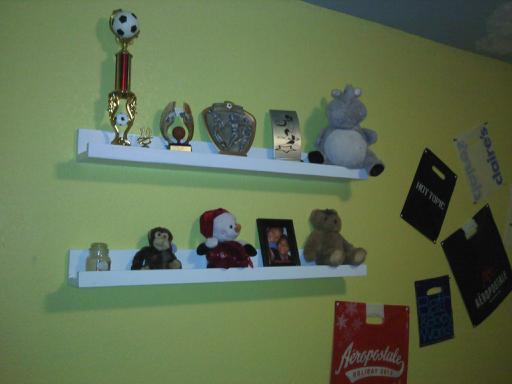
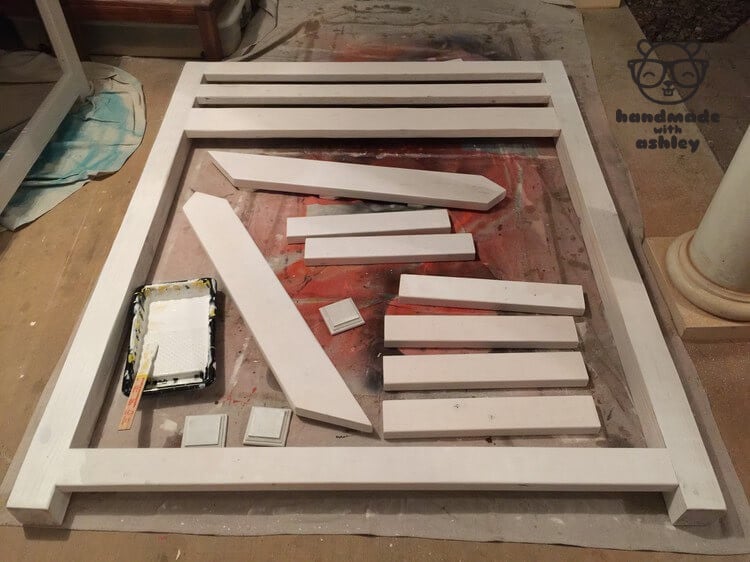
My 13 year old daughter and I built these ledges together. We changed the plan just slightly to make two 36" ledges for her bedroom. She was able to do a lot of it, which was very cool. They are very "rustic" and she loves them. I am really shocked at how sturdy they are! Perfect for displaying some of her trophies that I was previously too afraid to let her put up in her room.
Thanks so much to Ana for giving us the courage to build things of our own!
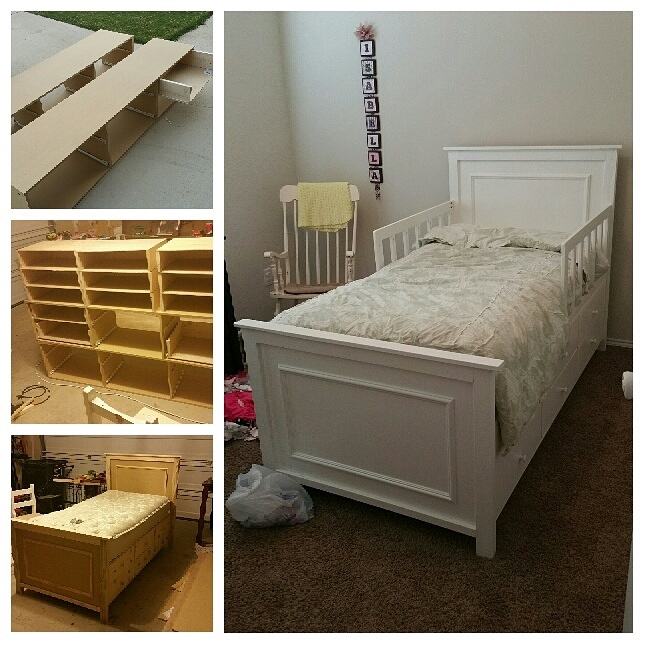
This bed was a lot of fun to make! The plans made it super simple and my daughter loves her new bed! The drawer width was a challenge at first but I learned a lot in the process.
I recommend getting the plywood ripped at the home store if you do not own a table saw. Thanks for the awesome plans!

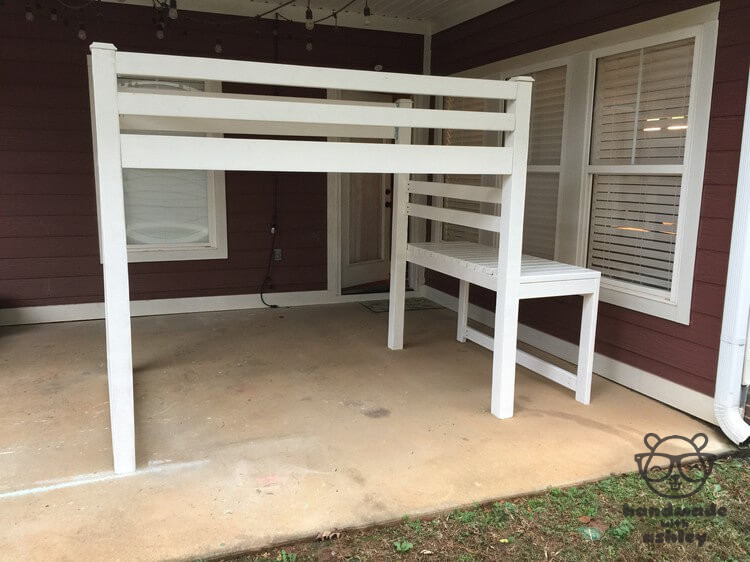
I assisted a friend in building a loft bed for her daughter. We followed free plans by Ana White for the junior loft bed. We made a few modifications such as changing it to fit a full-sized mattress (more details on my blog). The loft bed is the largest furniture item that I have built thus far. I have learned a lot from working on the project.
Cute little bench!
Wed, 10/06/2021 - 20:14
Way to go, super cute, the distressed finish is right on!
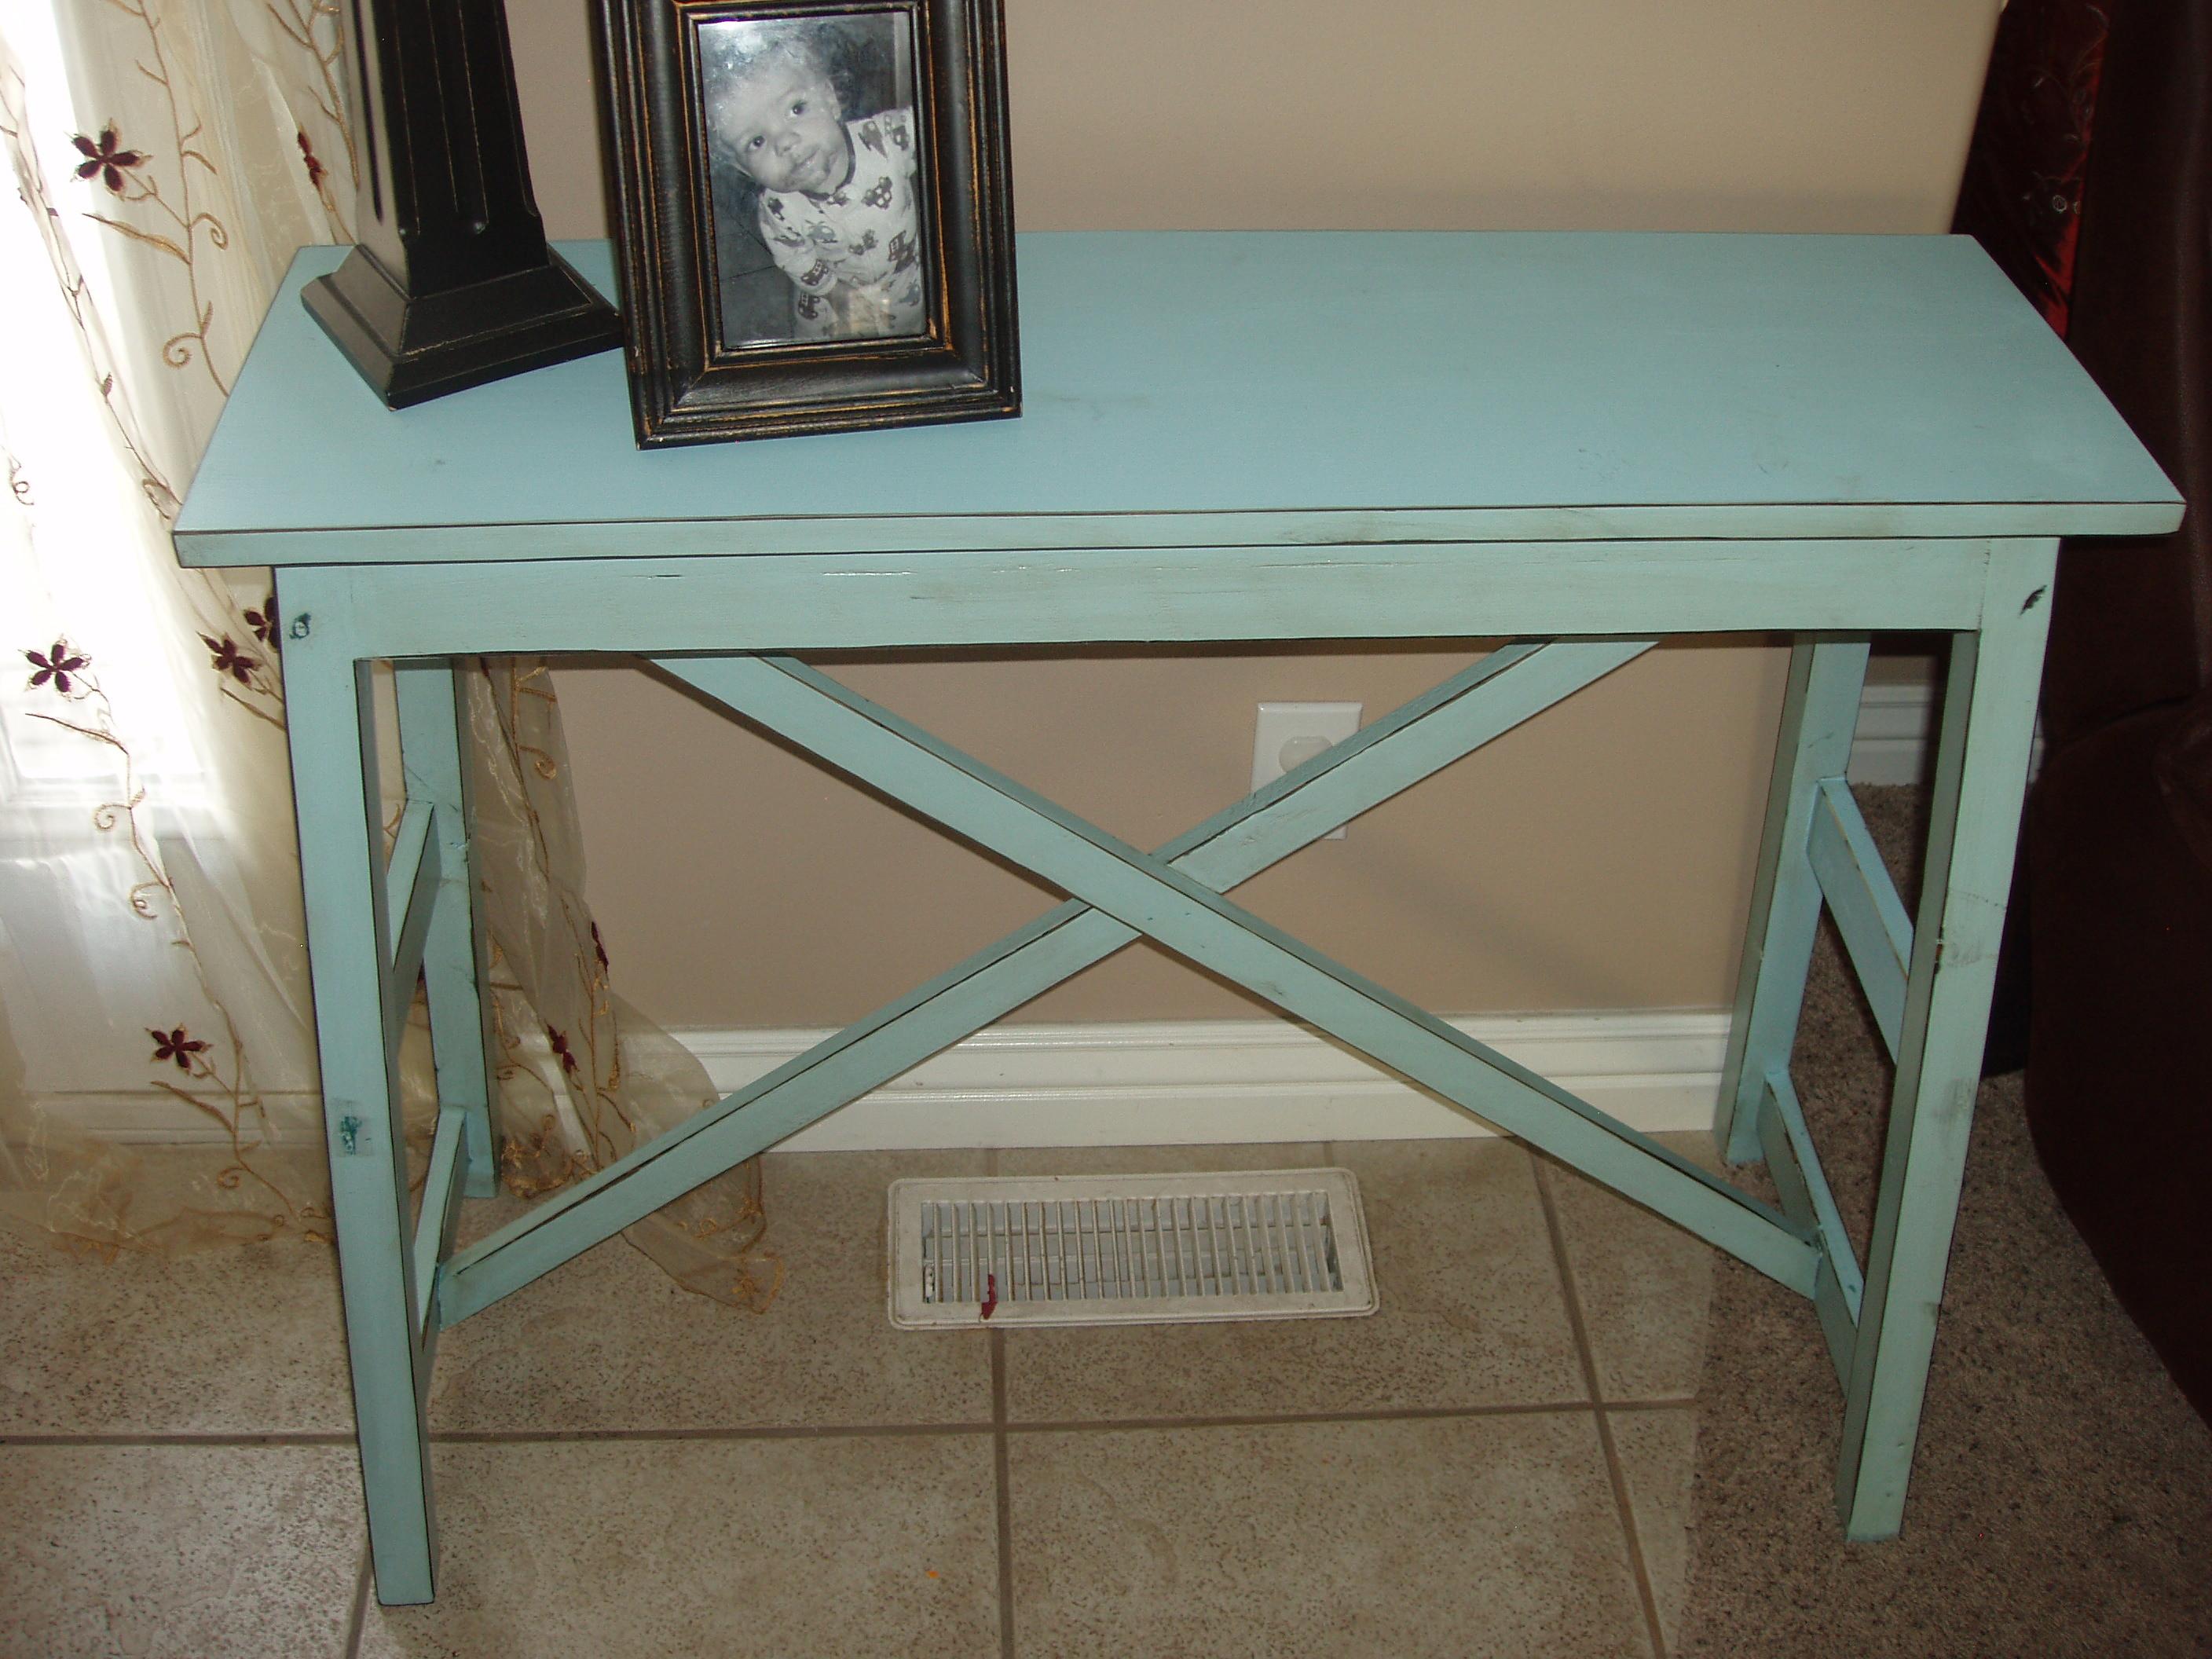
As soon as Ana posted the Rustic X Bench I had to have it, even thought I didn't need it. But I did need a console table! So I made a few modifications and came up with this console table that I absolutely LOVE! You can check out the modifications on my blog. http://isteppedoutofmycomfortzone.blogspot.com/2011/02/and-built-xoxo-t…
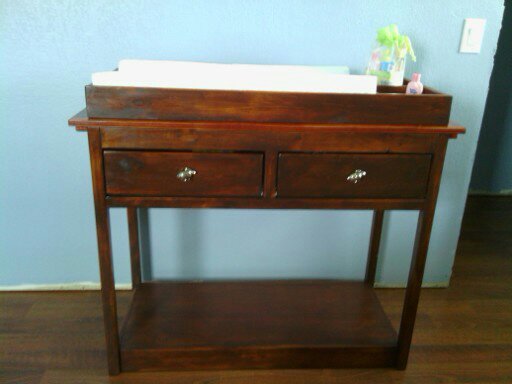
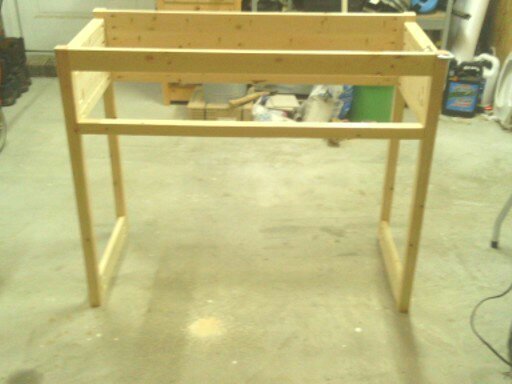
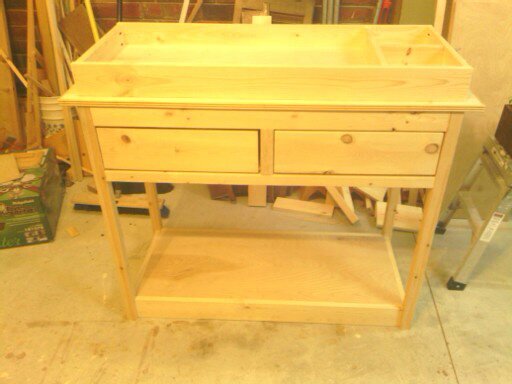
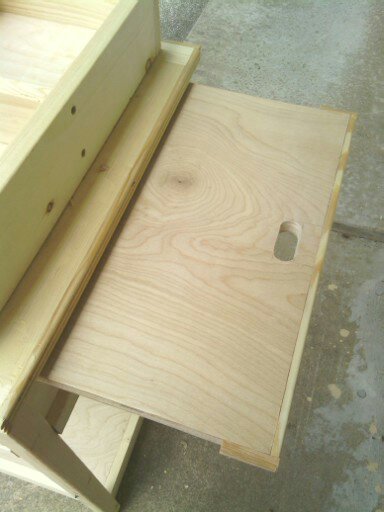
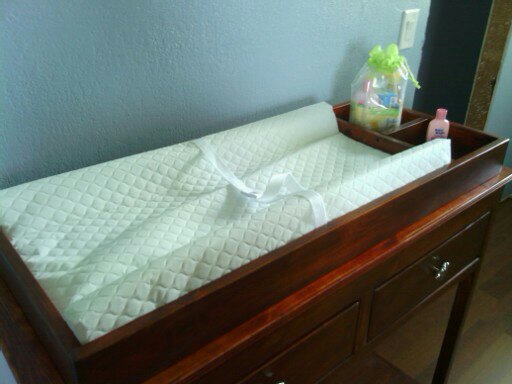
Our baby girl is due to arrive in August, so dad thought it was about time to start building her furniture. We liked different things about two very different plans on the site, so he combined them to come up with plans for his build. We liked the design of the simple changing table, and the wings on the Brookstone plan. The nursery is Beatrix Potter character themed, so we went with bunny rabbit drawer pulls. Now he just needs to find/come up with plans for a farmhouse style convertible crib.

This was my first ever project. I learned a lot about choosing better wood but I made due with what I bought since I live 30 minutes from the home store. I had badly cupped 2x6s and some twisted 2x2s, which is why I ended up not doing the X on the end and just doing one angle.
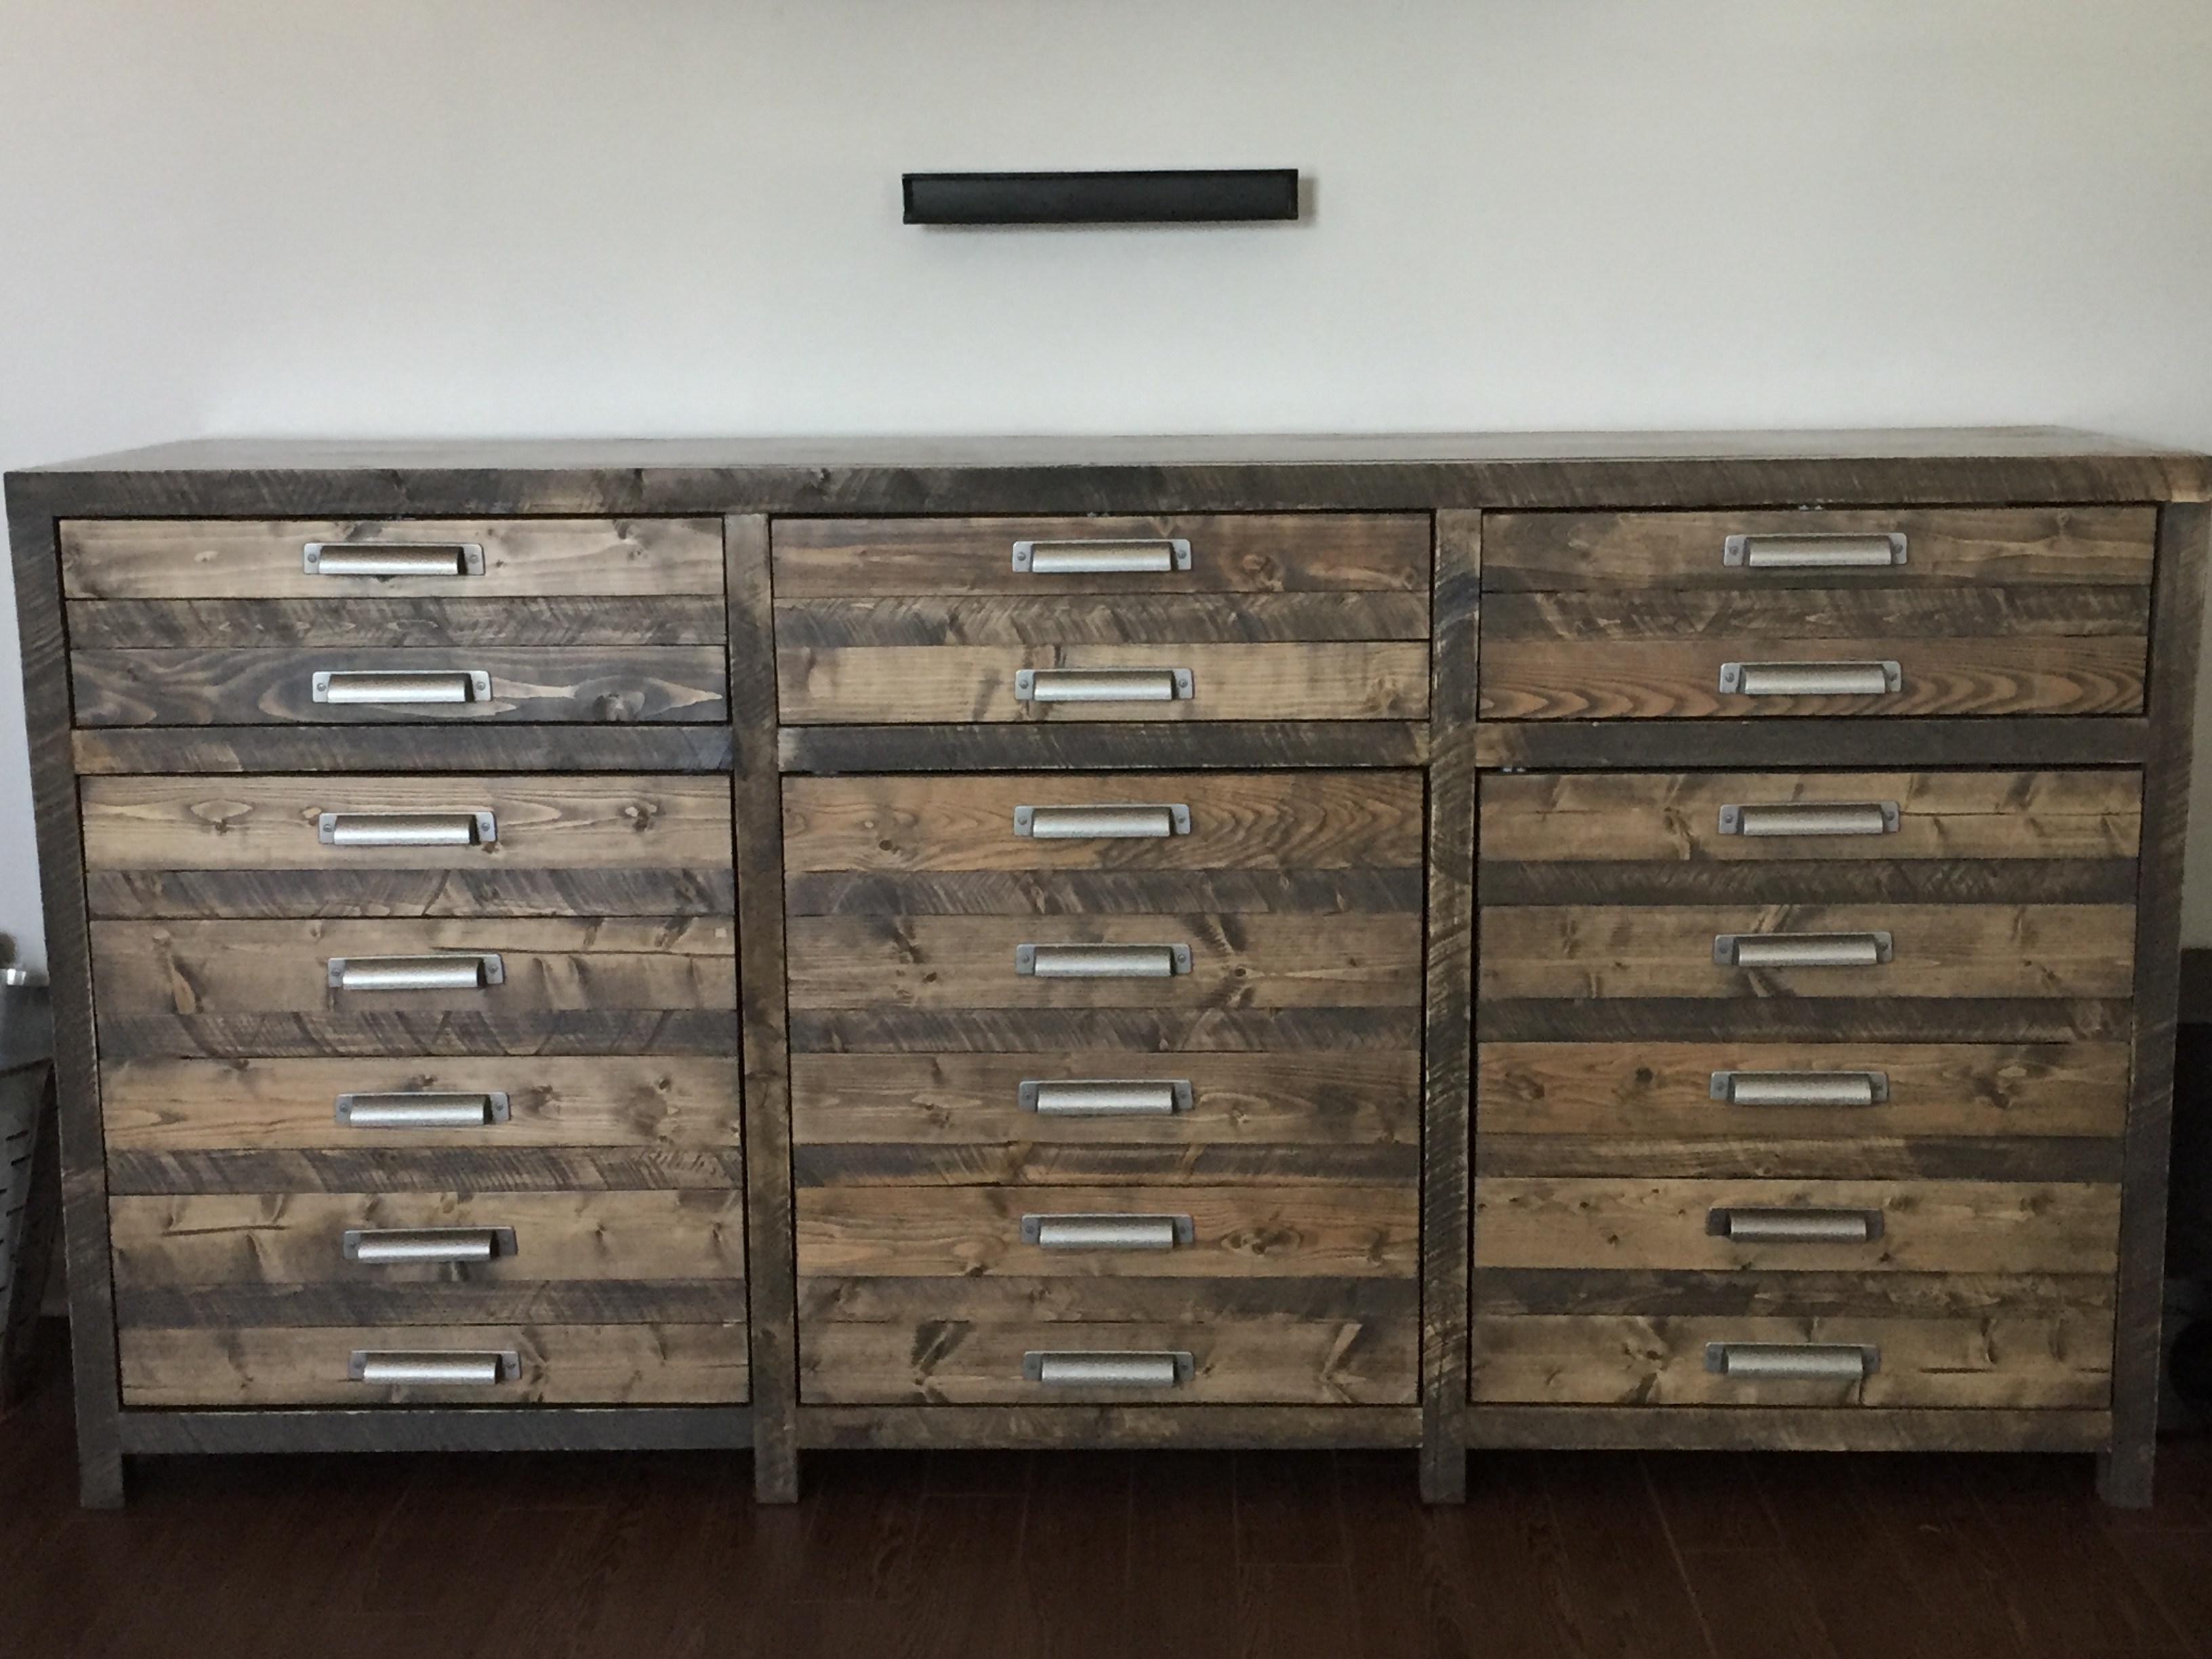
Of all of my Ana White-inspired builds, this is absolutely my favorite so far and the first piece of furniture I've built that I absolutely want to use as the centerpiece and inspiration for my DIY redecorating. I slightly modified the height of the top compartments so that all of our electronic equipment would fit. I also used 2x4's, which I ripped into 2x2's using an old blade where I slightly bent a couple of the teeth to leave the rustic curf marks. Because I altered the height of the top and bottom sections, I had to rip down my 1x3's for the bottom, and I had to use 1x4's (ripped down appropriately) for the top section's flip-down faux drawer fronts.
Fri, 01/10/2020 - 11:28
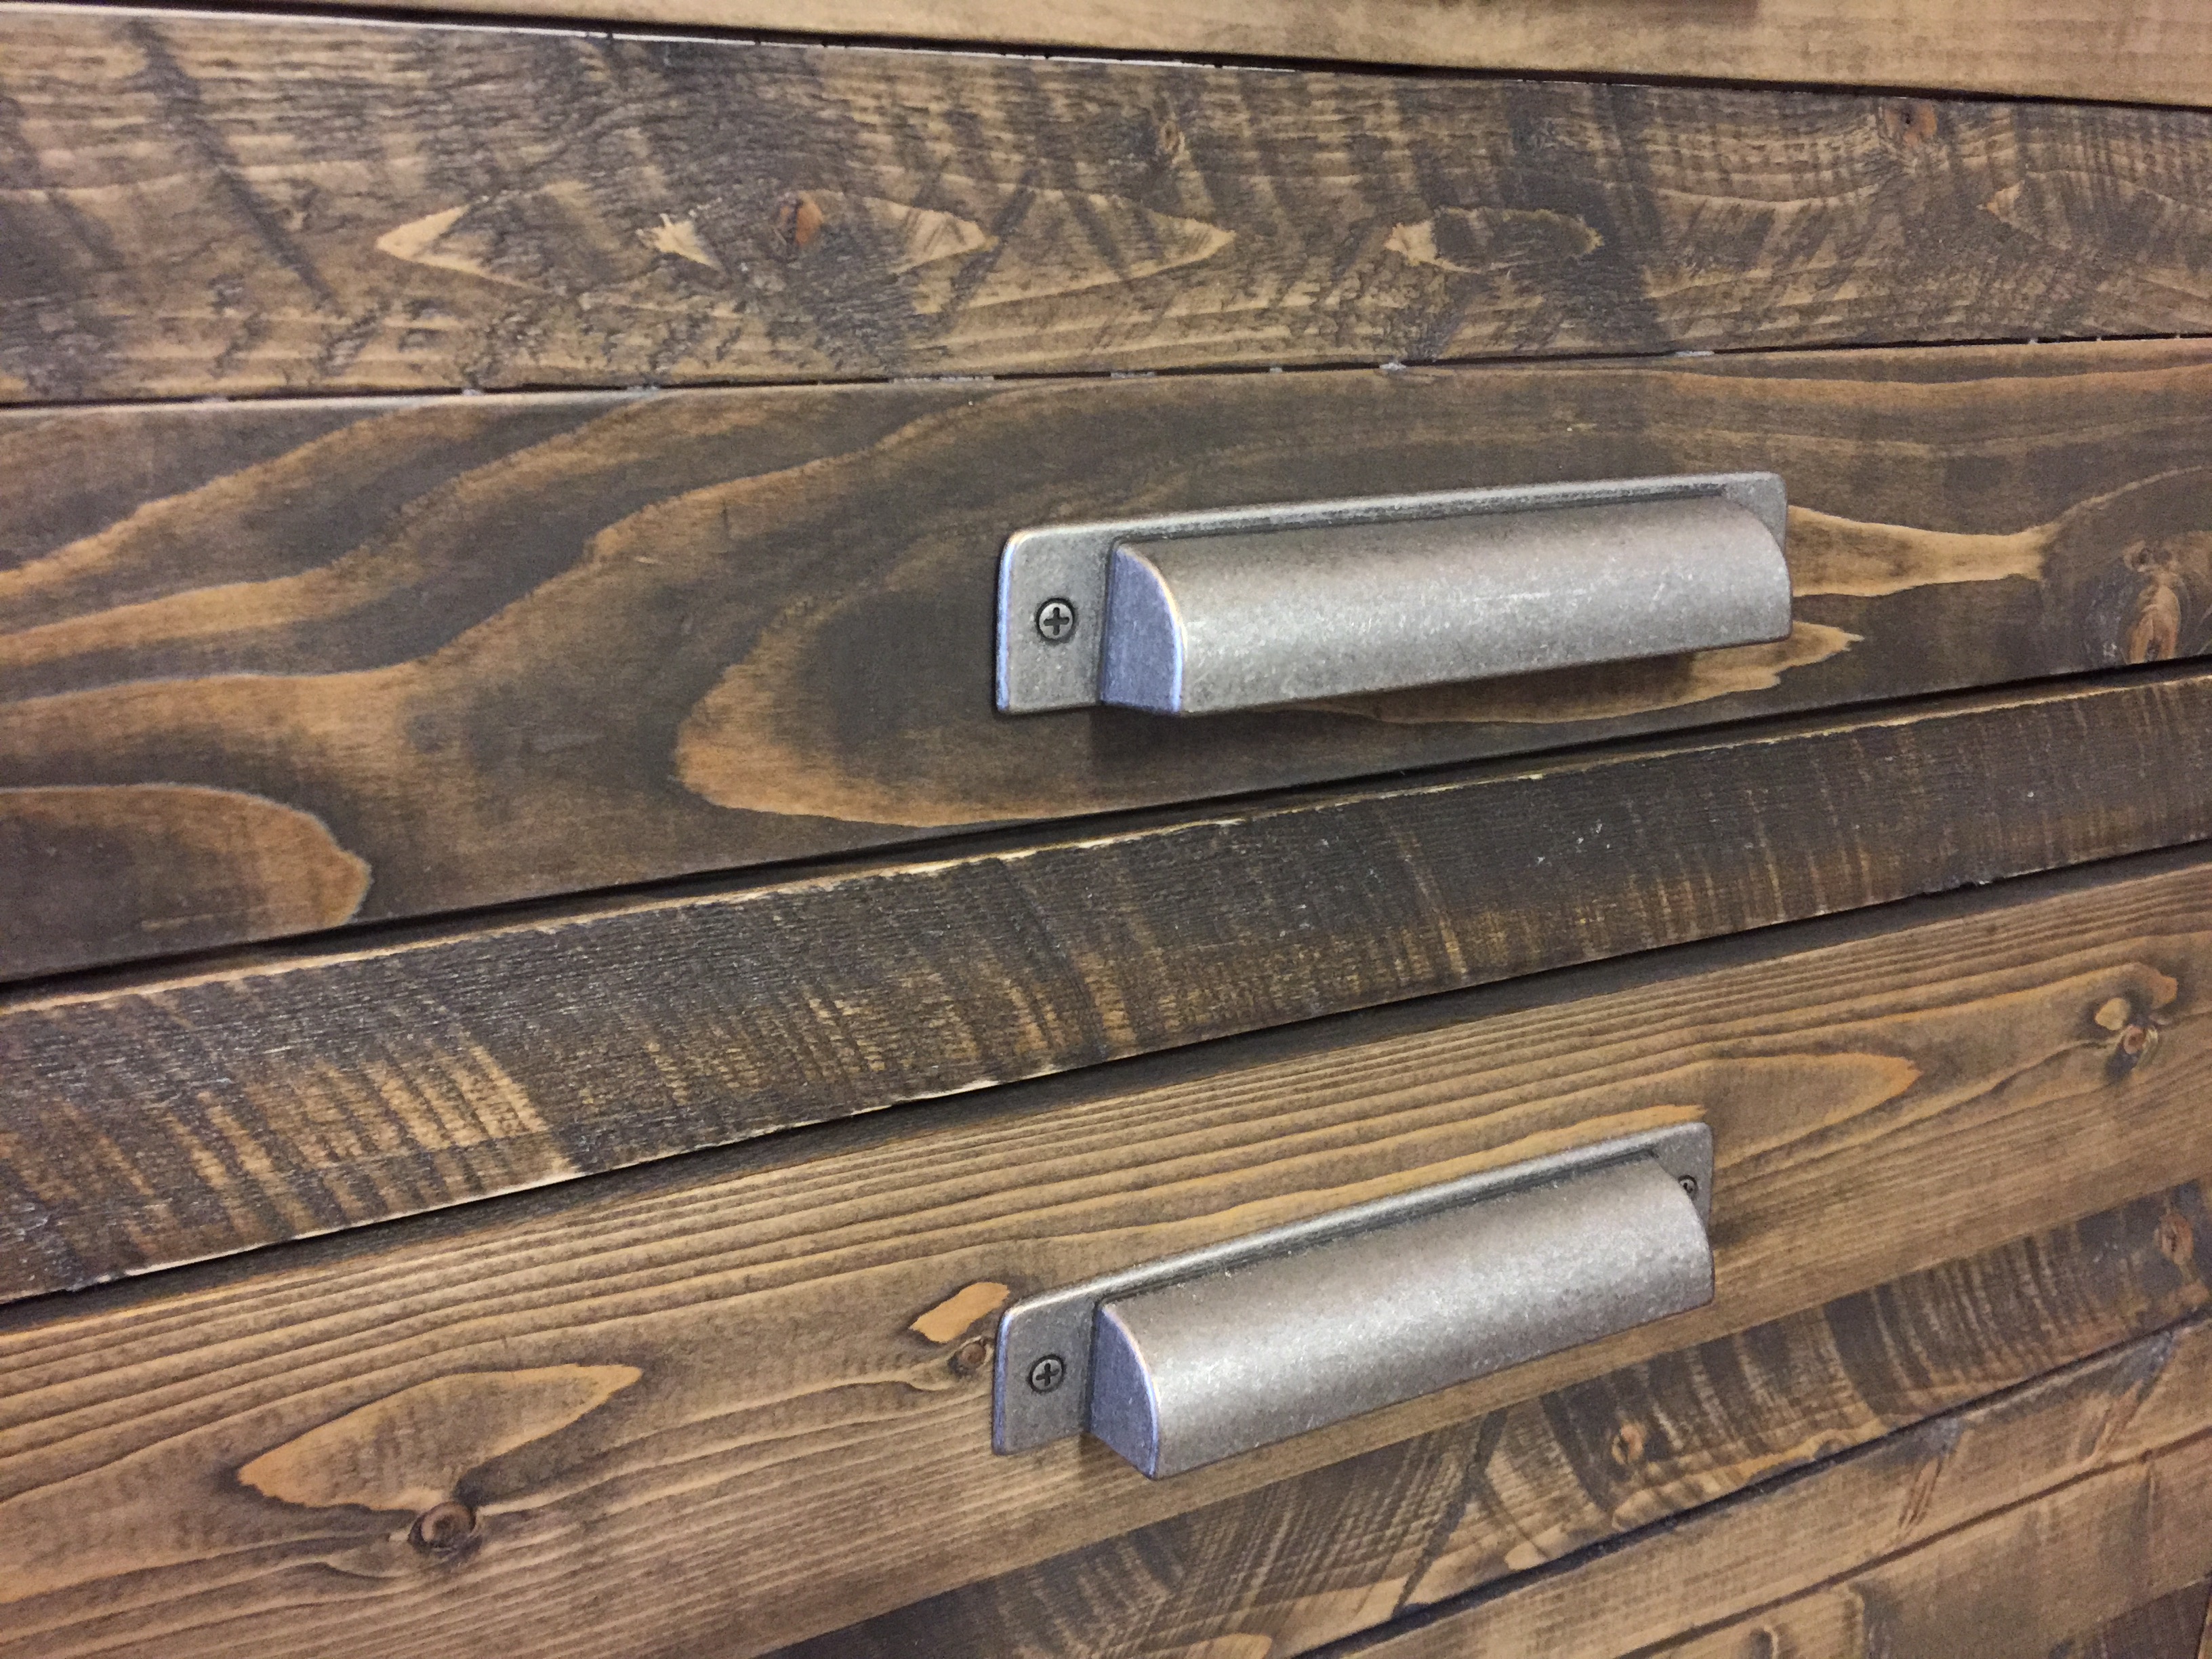
Absolutely beautiful. I plan to build this in two weeks, or start building it. Love your pulls. Where did you find them?
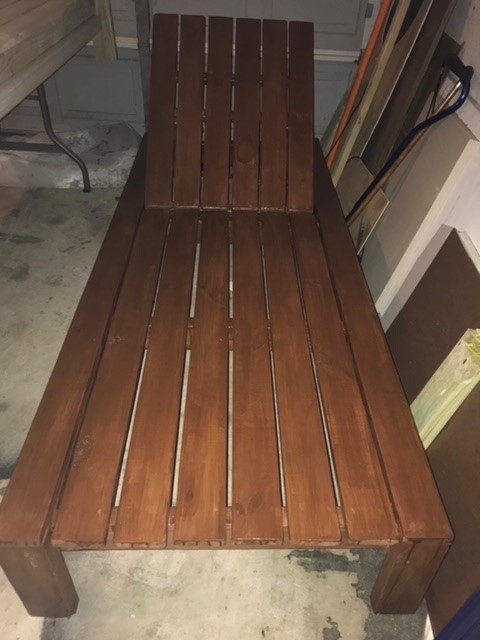
At the beginning of the covid lockdown my daughter who was attending college started looking for outdoor inexpensive chaise lounges to relax on since gathering in public areas was not allowed. We couldn’t find any so, I started searching for simple plans to make from scratch and ran across this plan. It came together very quickly and the instructions were very clear.
Wed, 10/06/2021 - 10:38
Thank you for sharing, looks fantastic and I'm sure your daughter is very happy with it!
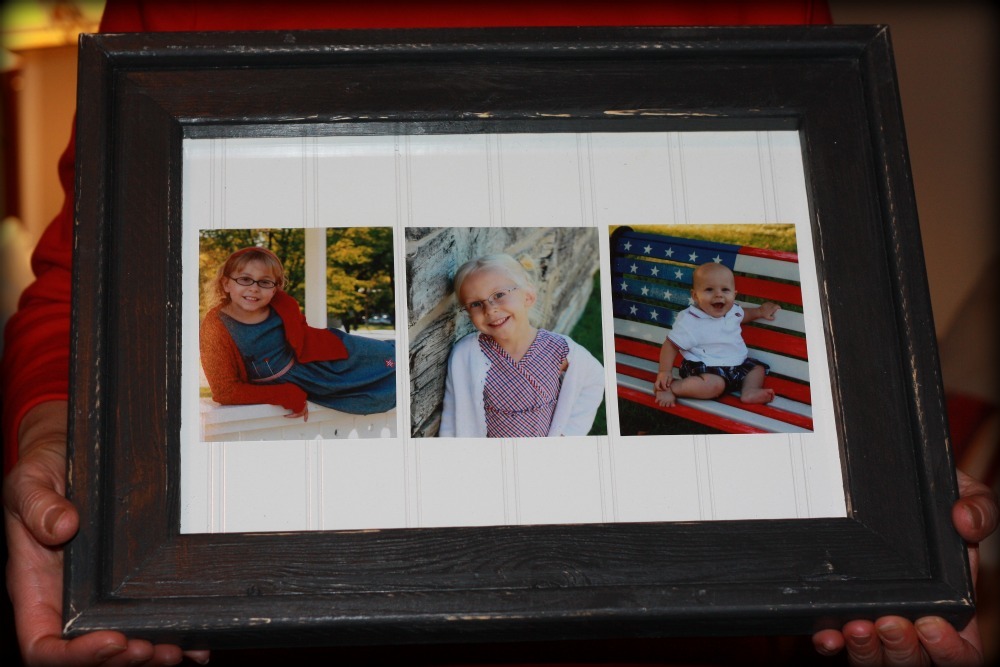
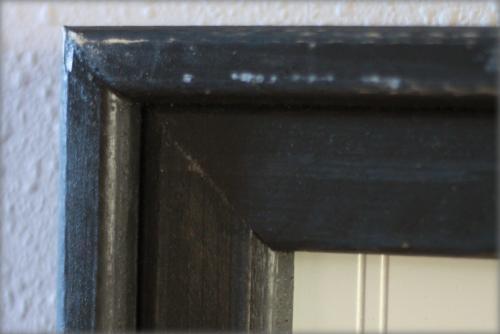
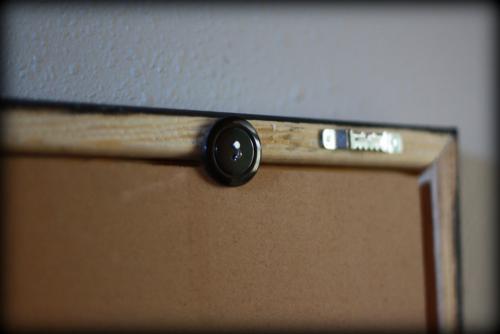
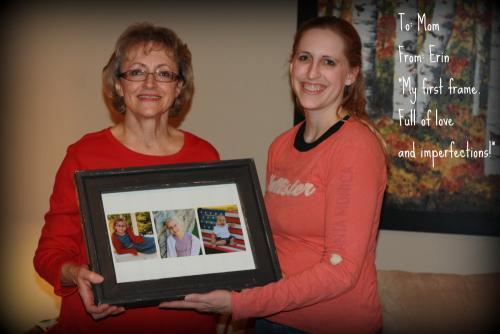
I decided to make a frame for a Christmas present for Grandma (my Mom). I wanted a different size than the plan listed so I did some modifying and thought posting the measurements would save someone else time in figuring it out. I wanted to cut down three 5×7 photos to square-ish shapes so decided on buying glass of 12″x16″ ($3.52 @ blue). The overall frame is a few inches bigger than that but I didn’t measure the exact size. I didn’t know what to do for the matting so decided to use some extra beadboard scraps that I had on hand. I had to get creative for holding the glass and beadboard in the frame (I’m sure there was something at Blue that was really for this, but the guy I talked to was no help!) so I nailed four buttons on the back. They can twist to allow the backing to come out to change the pictures.
Here is my cut list:
12×16 glass
12×16 beadboard
1×2 cut into:
(2) 12 1/4″, (2) 16 1/4″ (mitered at 45 degree angle on each end with the board laying TALL)
(2) 13 3/4″, and (2) 17 3/4″ (mitered at 45 degree angle on each end with the board laying FLAT).
Follow the plan being careful to miter the ends correctly (so you don’t have to cut new boards when you thought you were done cutting). The glass and beadboard fit well with a 1/4″ space as the plans suggest. I also found it helpful to mark the 1/4″ on the outside of the frame when putting in nails…b/c I didn’t and ended up with a little extra ‘character’ poking through than I was planning. :)

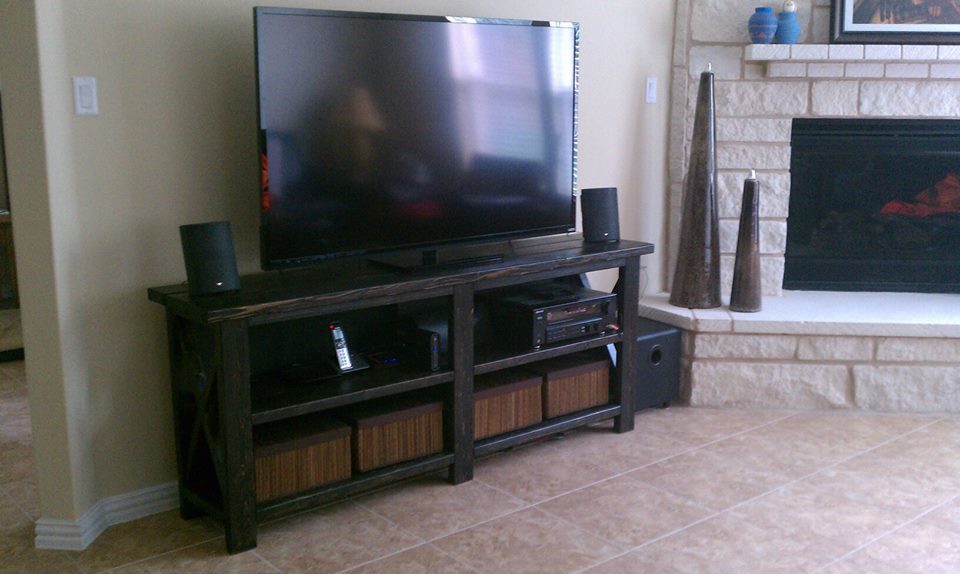
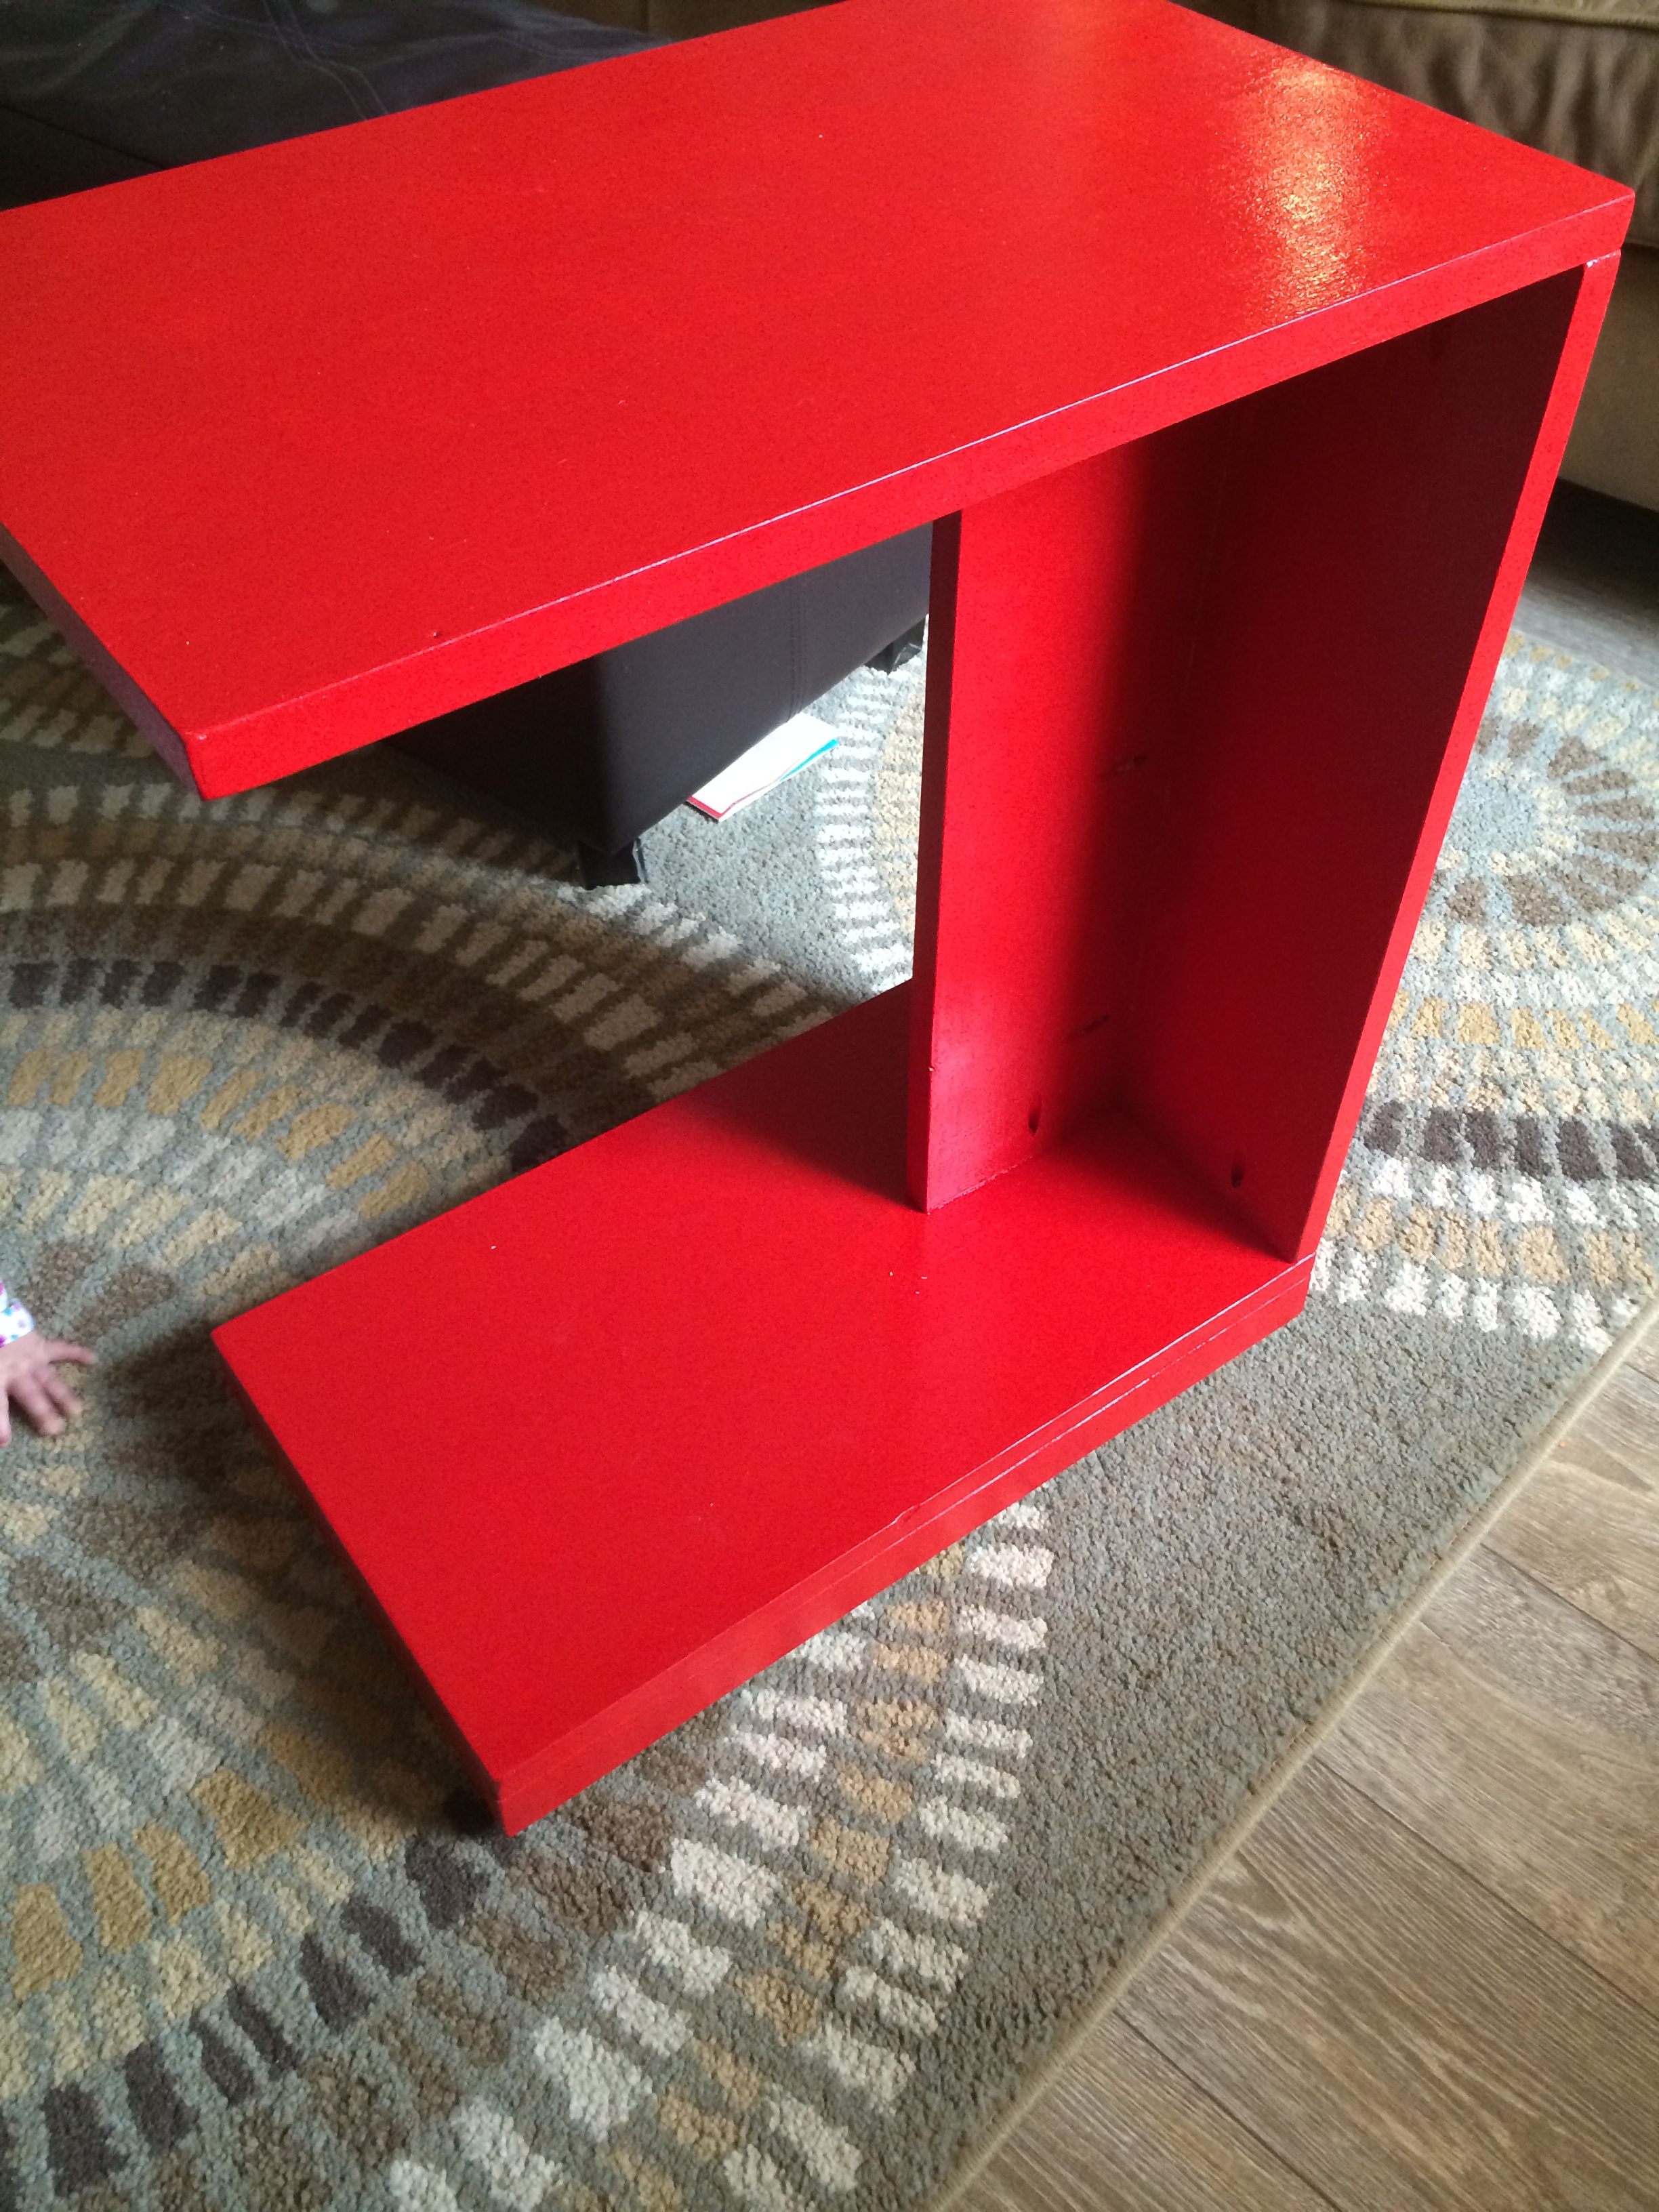
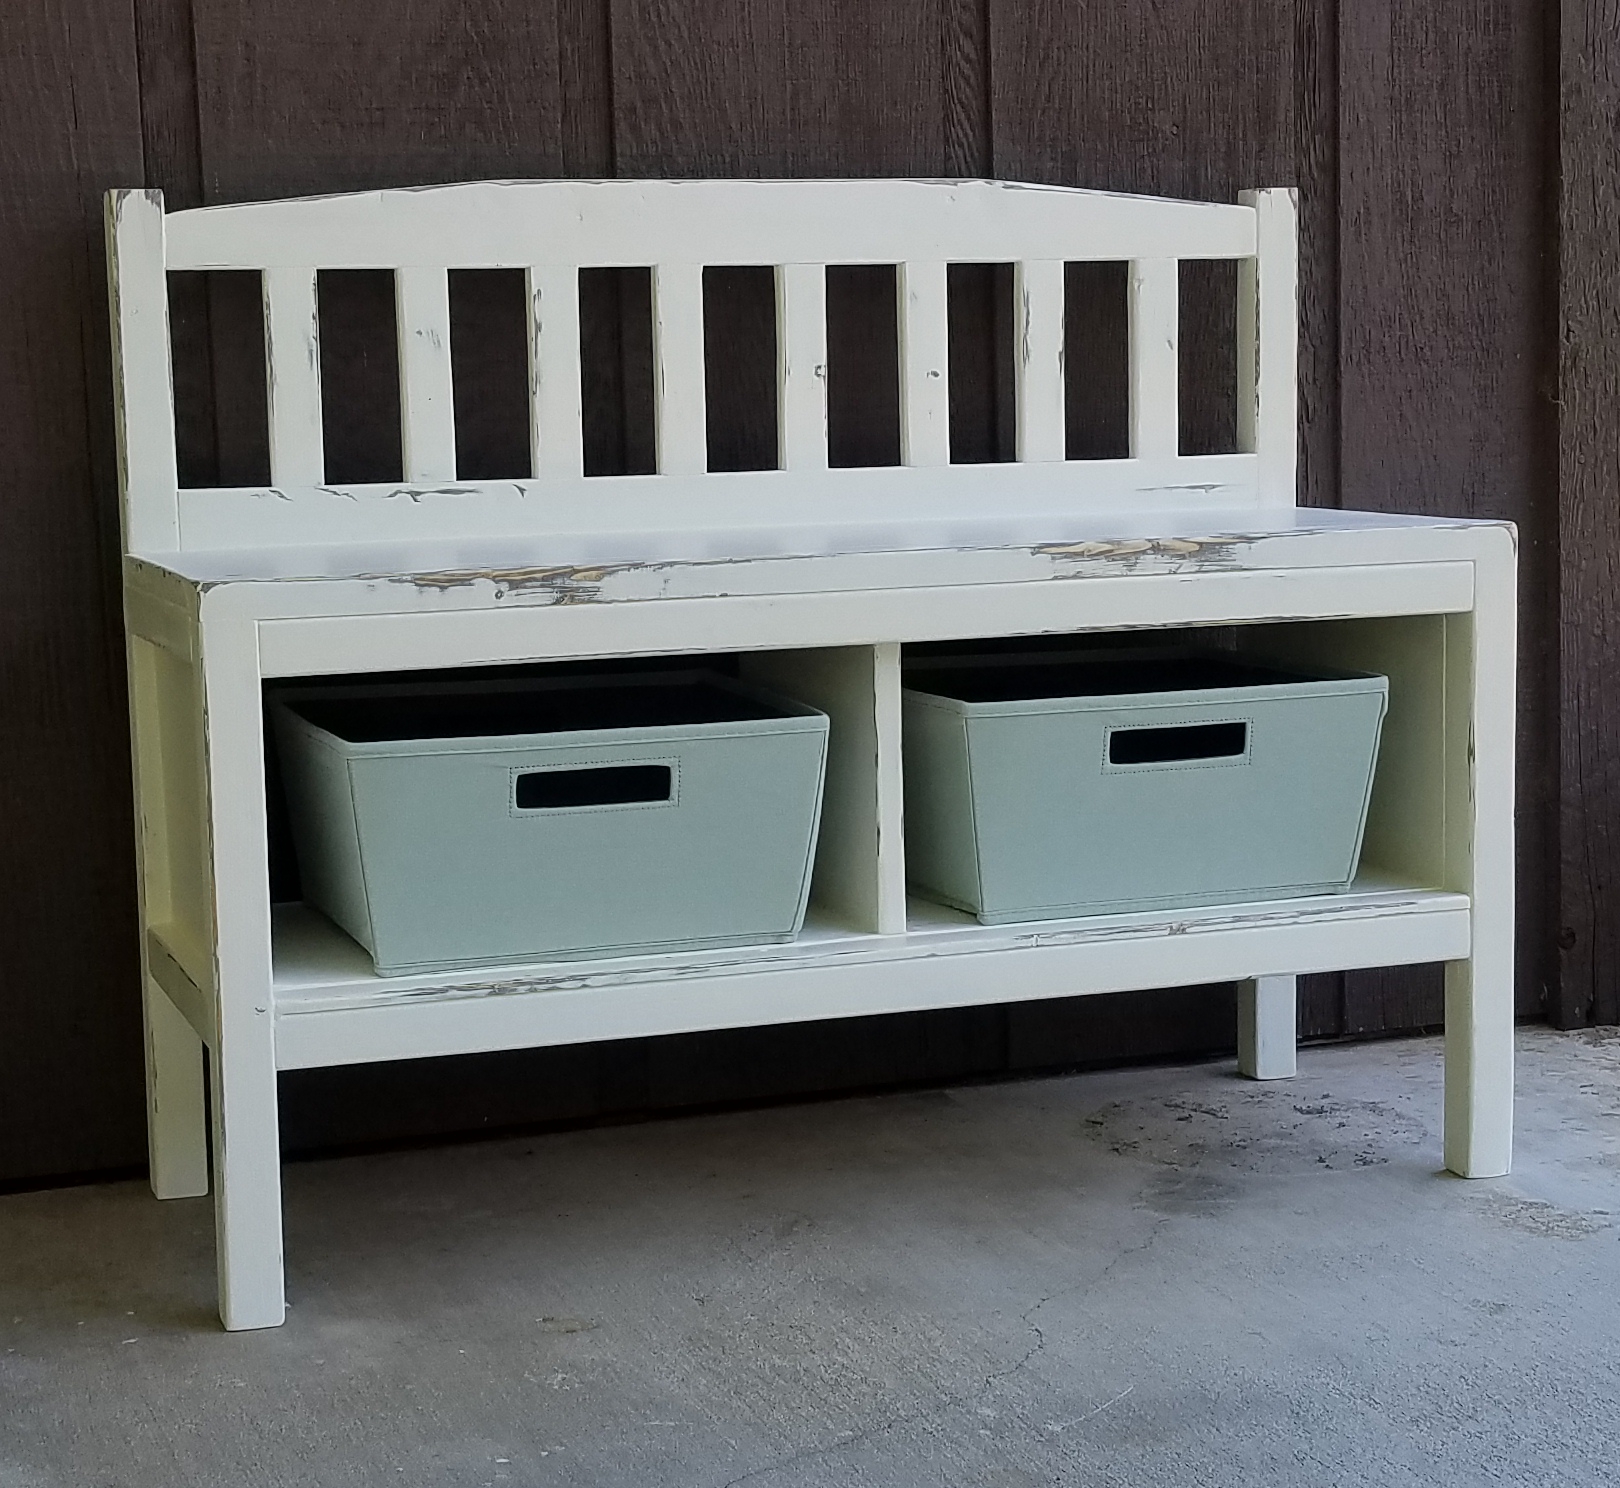
Built of Douglas fir with Minwax Ebony stain (and satin polyurethane) and storage boxes from Ikea. Also added a black plywood backer with cord holes. Planning on building the matching coffee and end tables.
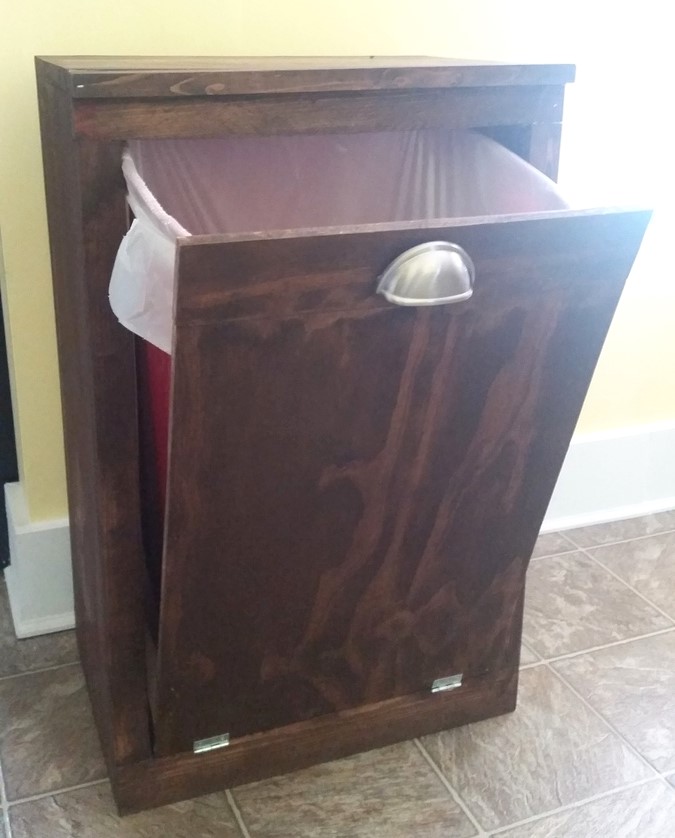
I needed a trash can that did not have a basic lid on it because my nosey dog, no matter how hard I tried to teach him, would continue to knock the lid off the trash can we had. Not only was it to keep the dog from sniffing around the garbage it also made my trash can look alot cuter!
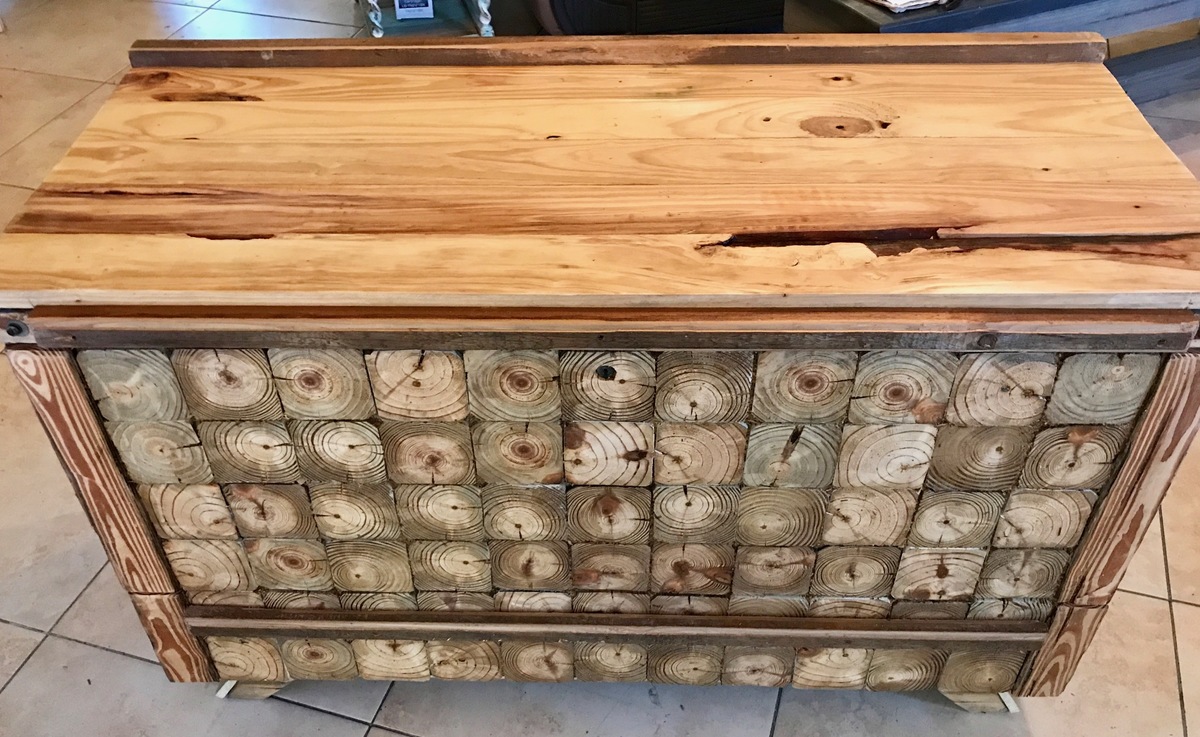
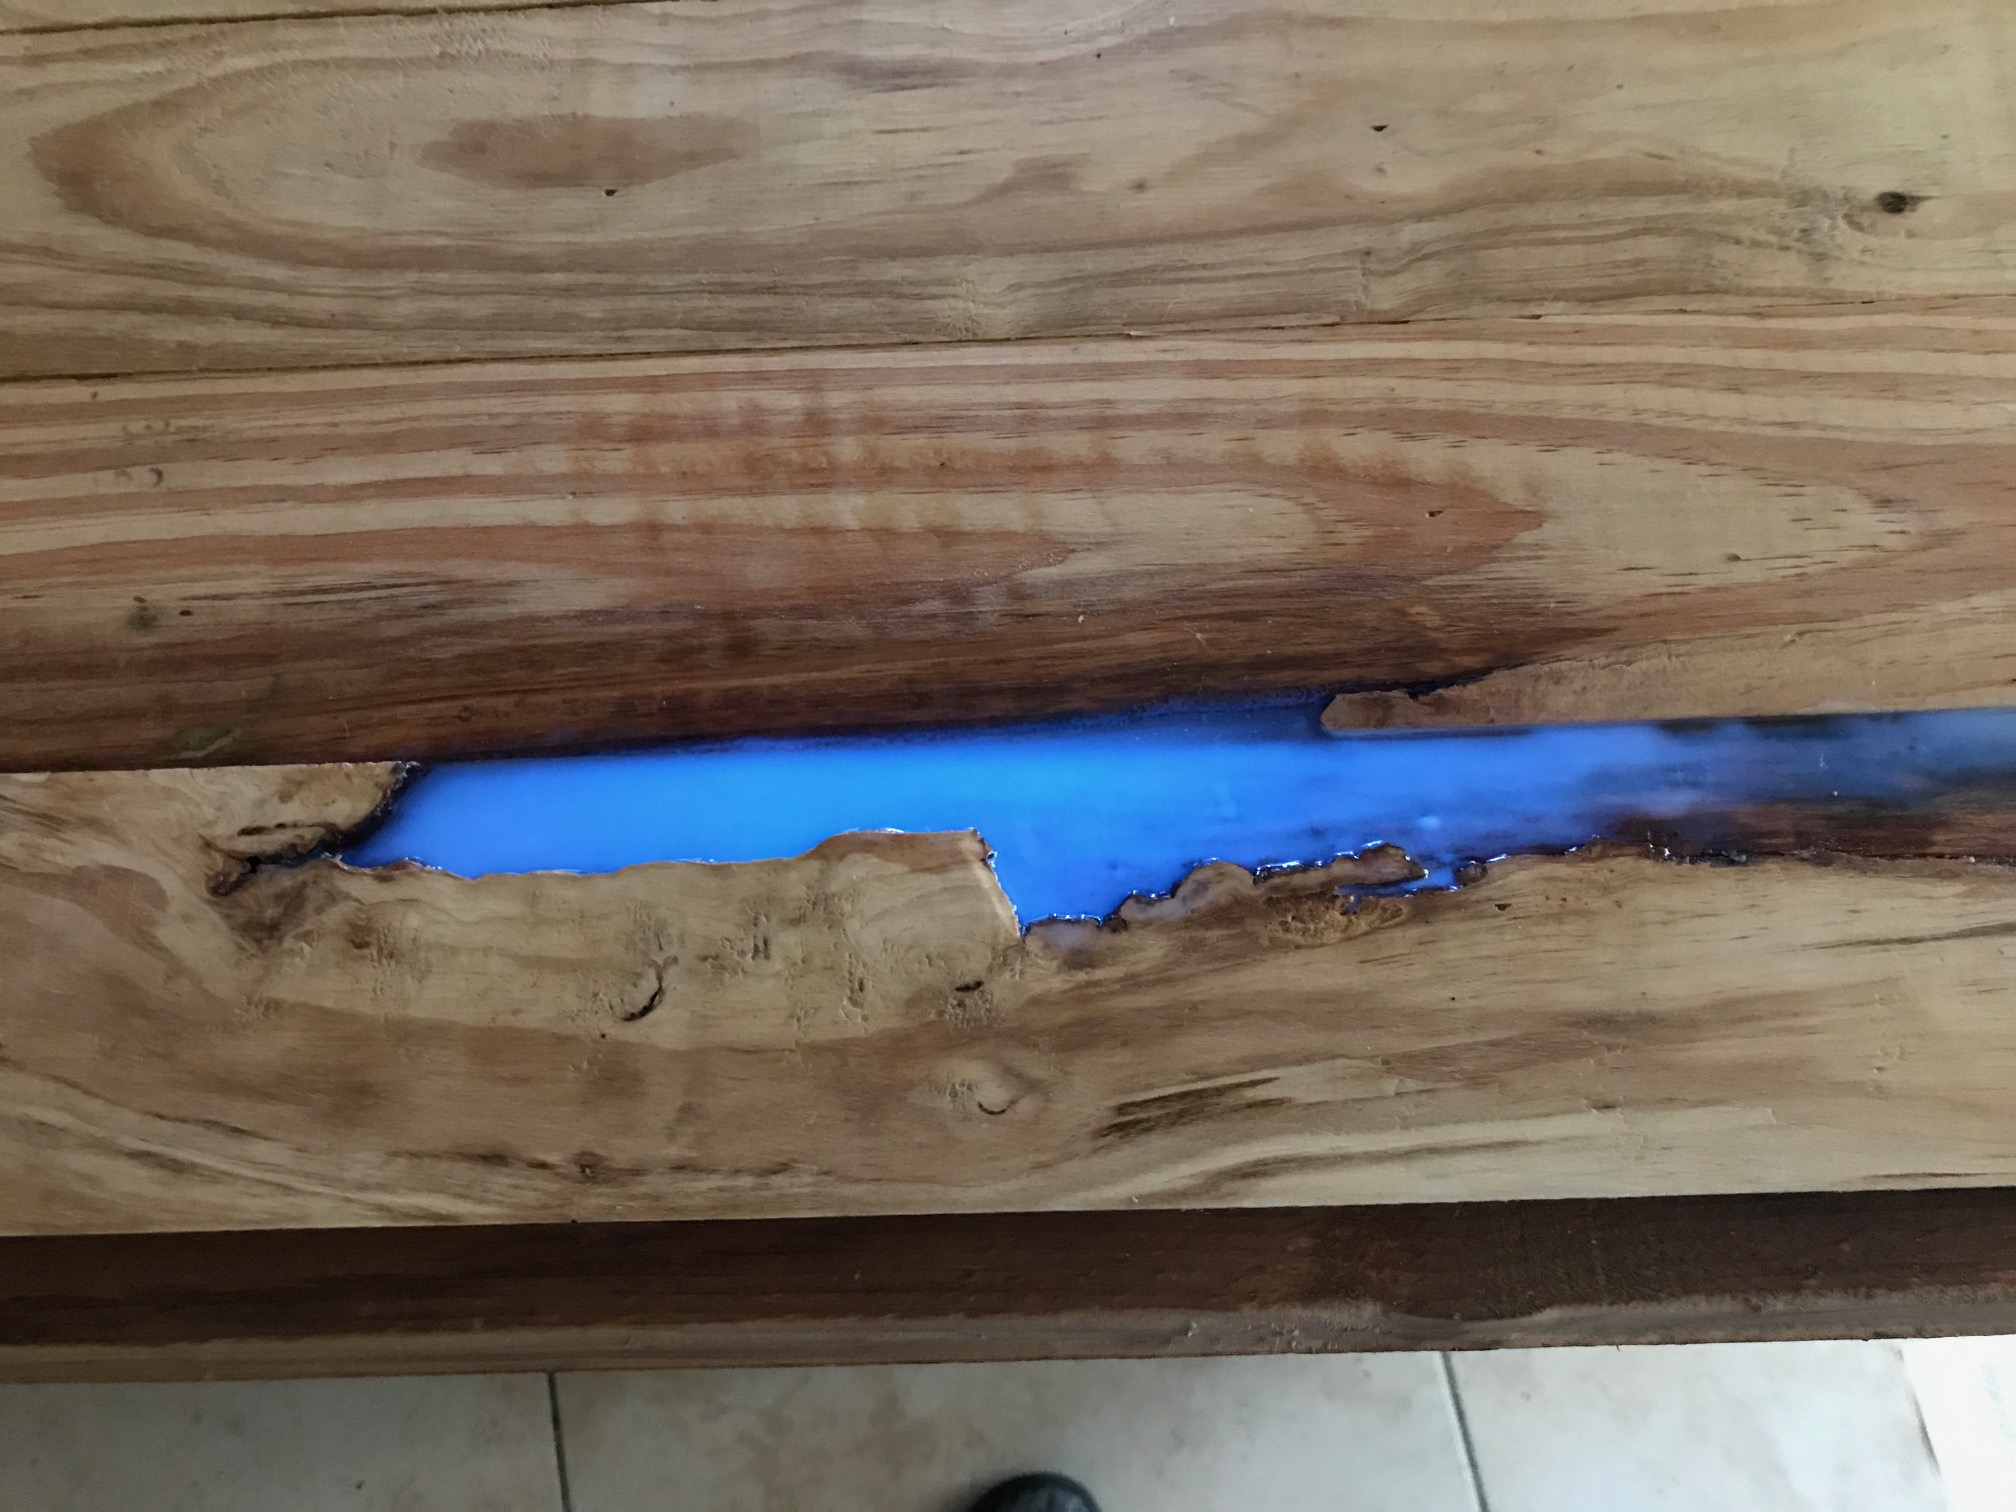
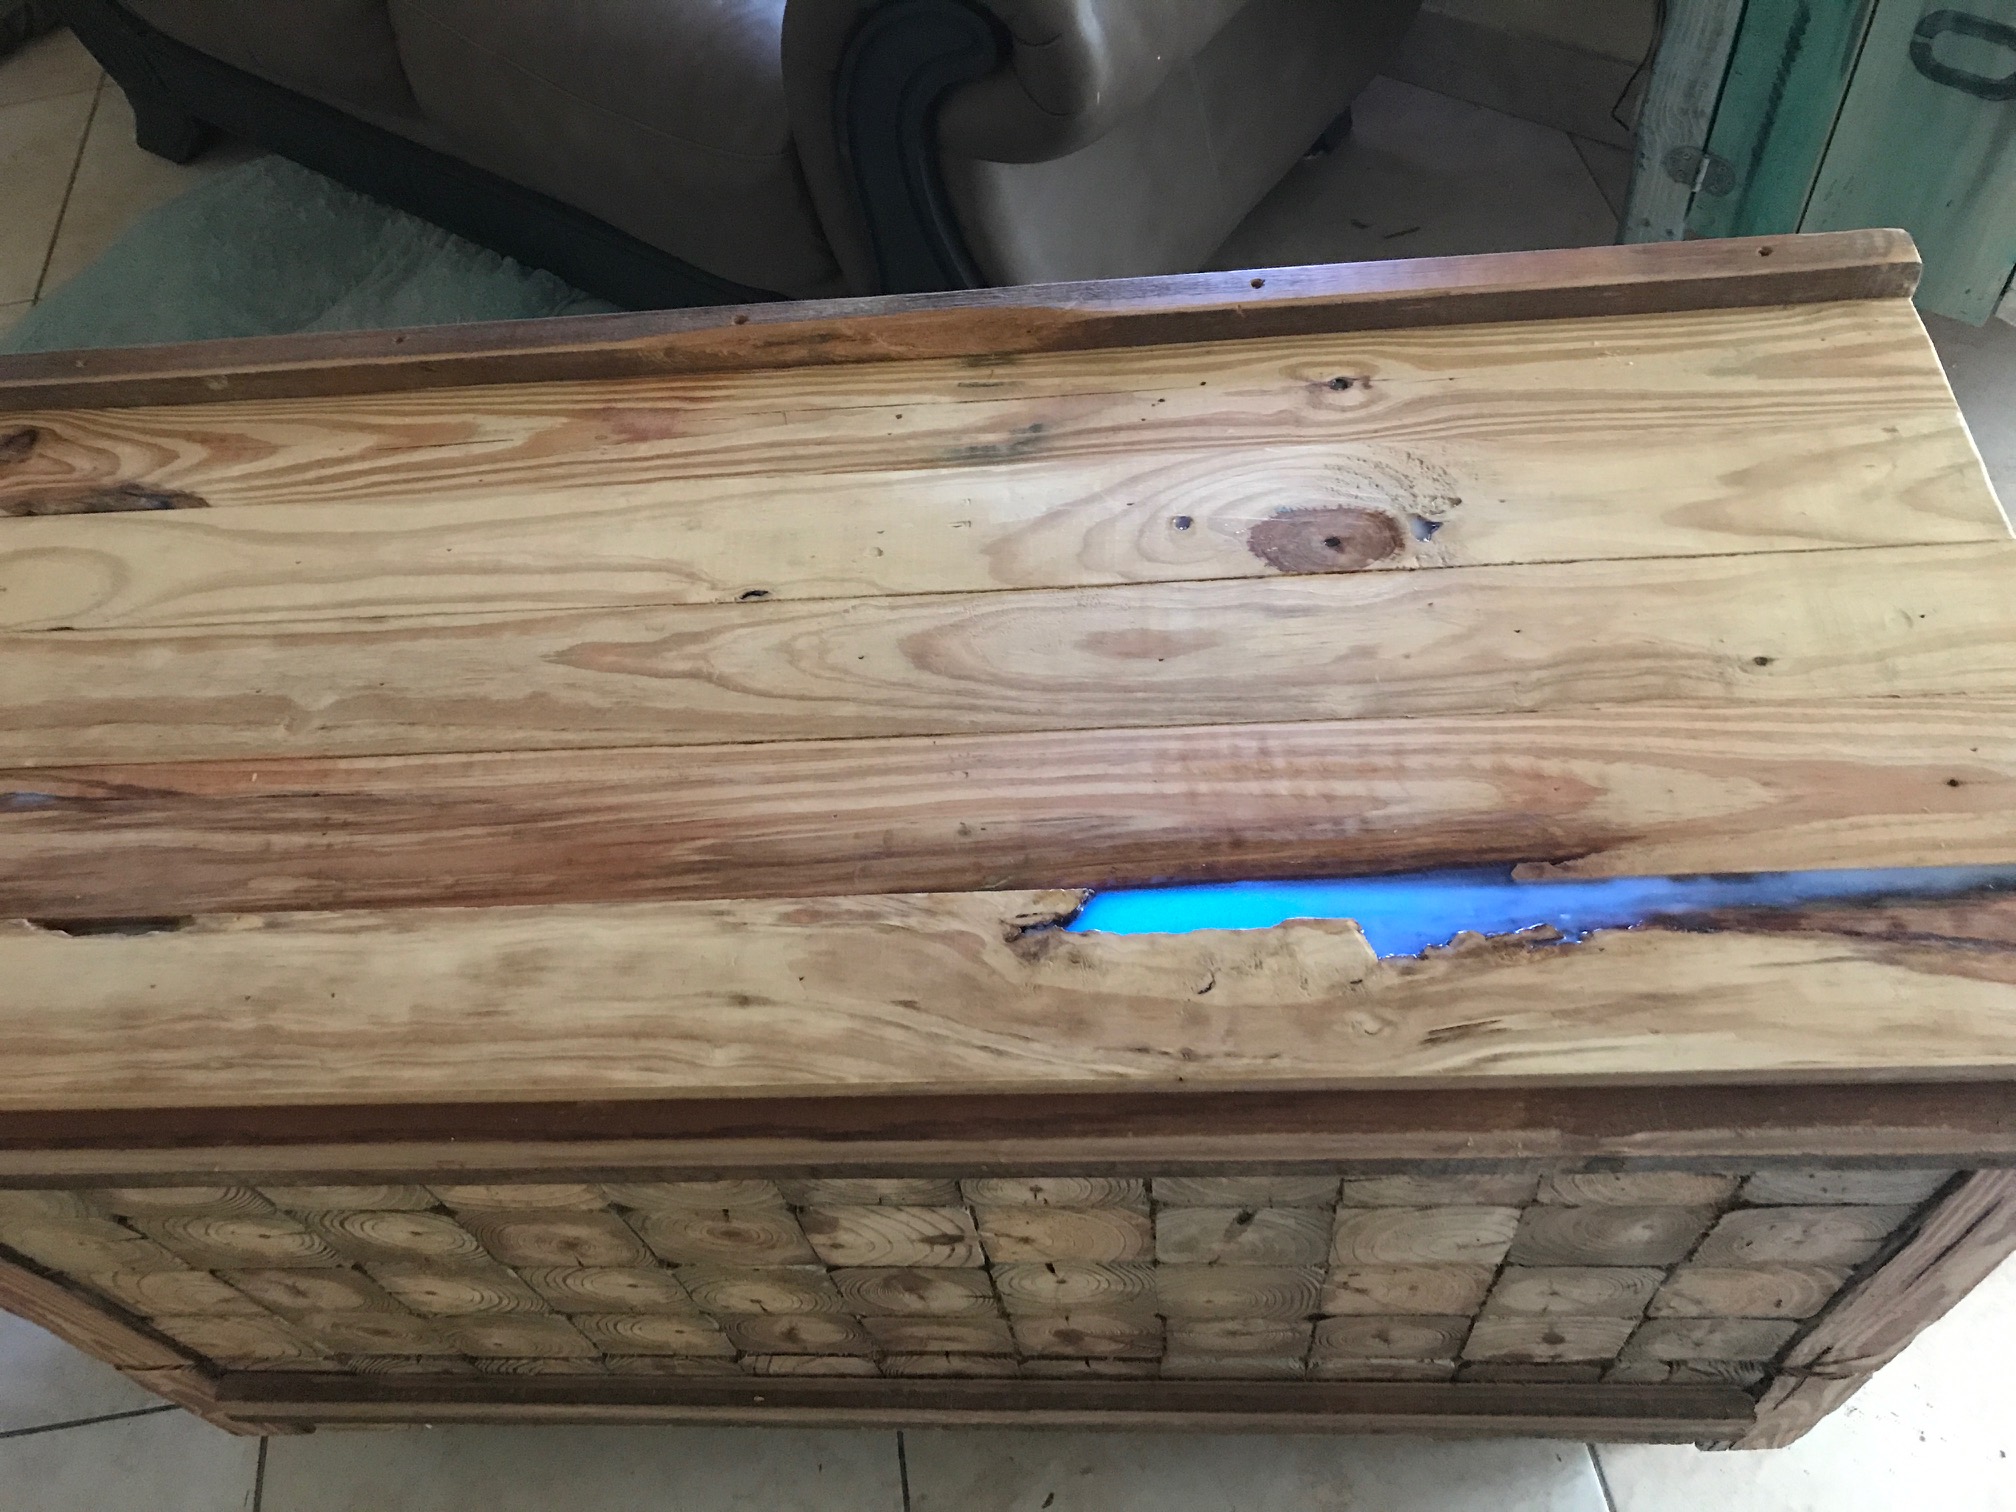
I had this idea, cut approv 150 plus slivers of 4 x 4 and glued and nailed them on. Always wanted to try
the glow in the dark powder, yes it works!!
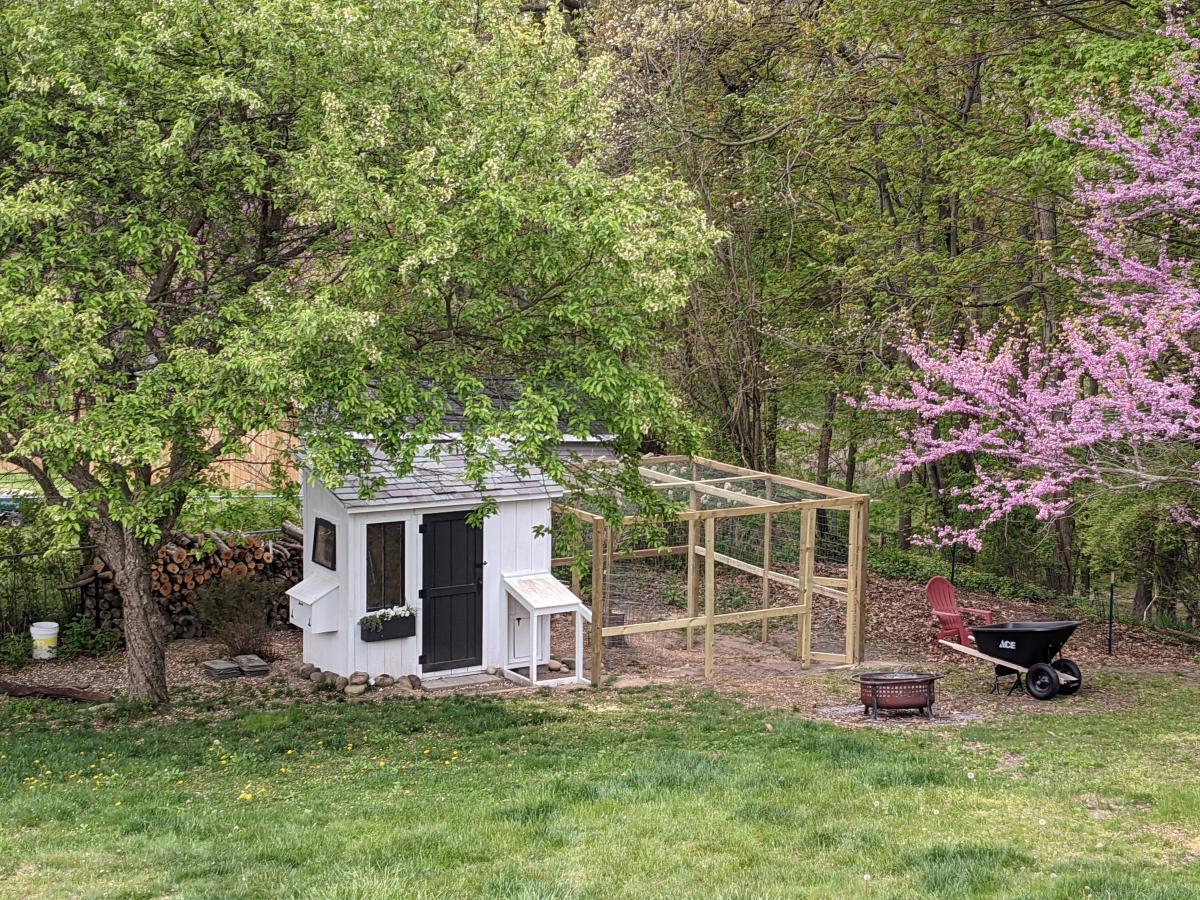
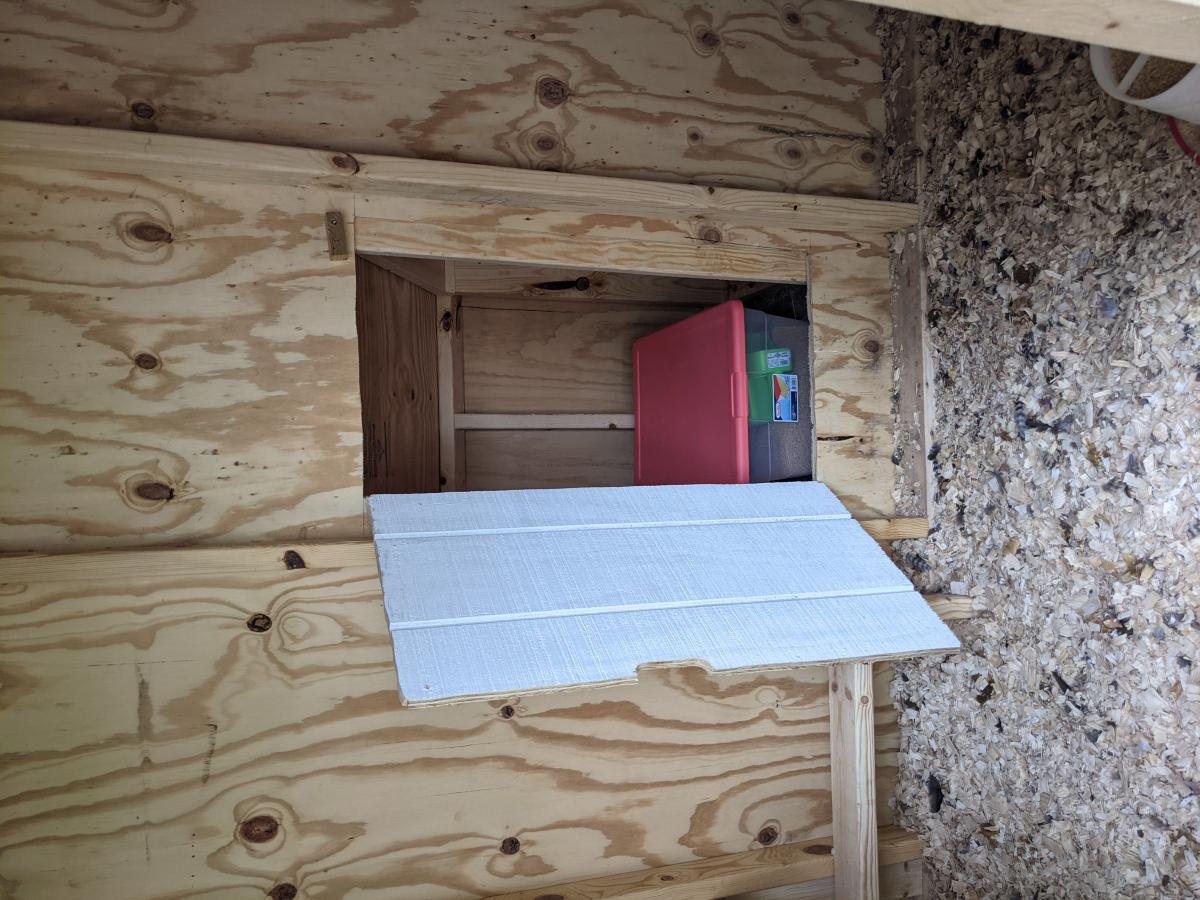
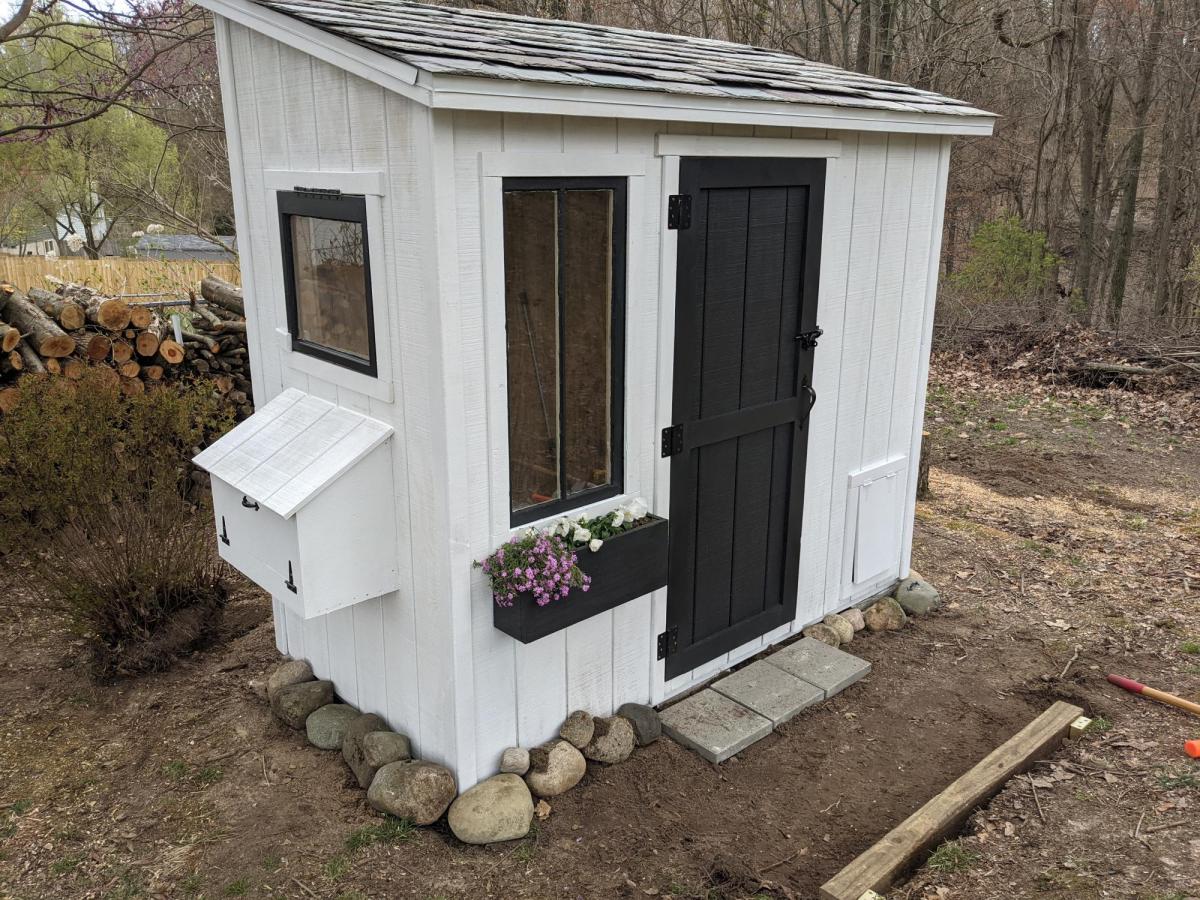
I followed the Shed Coop Plans to make this chicken coop and designed my own run. Because I wanted to view the chickens coming in and out of the coop, I moved the chicken door to the front and built a little covered area to shelter the coop door so I did not have to have the entire run extend over the front. I also made the access to the layer boxes be accessible from the front rather than the top so that my kids could more easily access the egg boxes. I thought these were great plans to follow and easy to adapt to fit what I wanted in a coop. I also ended up adding a lean-to storage on the back with an inside access so I could easily refill their feed.

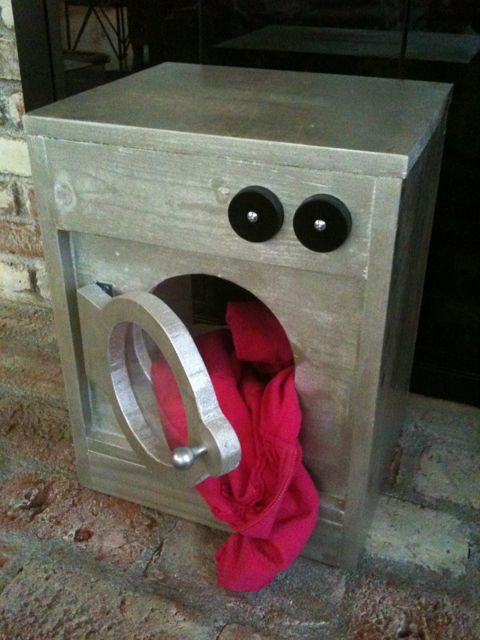
This was A LOT of fun to build, and even MORE FUN to play with!! The hardest part was cutting out the round door and then getting it sanded smooth. My daughter actually calls this her "dryer", and tends to stuff all of her aprons, mitts, tablecloths, and towels from her play kitchen into the "dryer".


Comments
Ana White Admin
Mon, 10/04/2021 - 16:51
AWESOME!
Very cool, thank you so much for sharing and for using Shelf Help! Can't wait to see it all finished, it looks like an amazing addition!
Ana White Admin
Mon, 09/12/2022 - 11:32
This is awesome!
Thanks for trying Shelf Help, can't wait to see finished project!