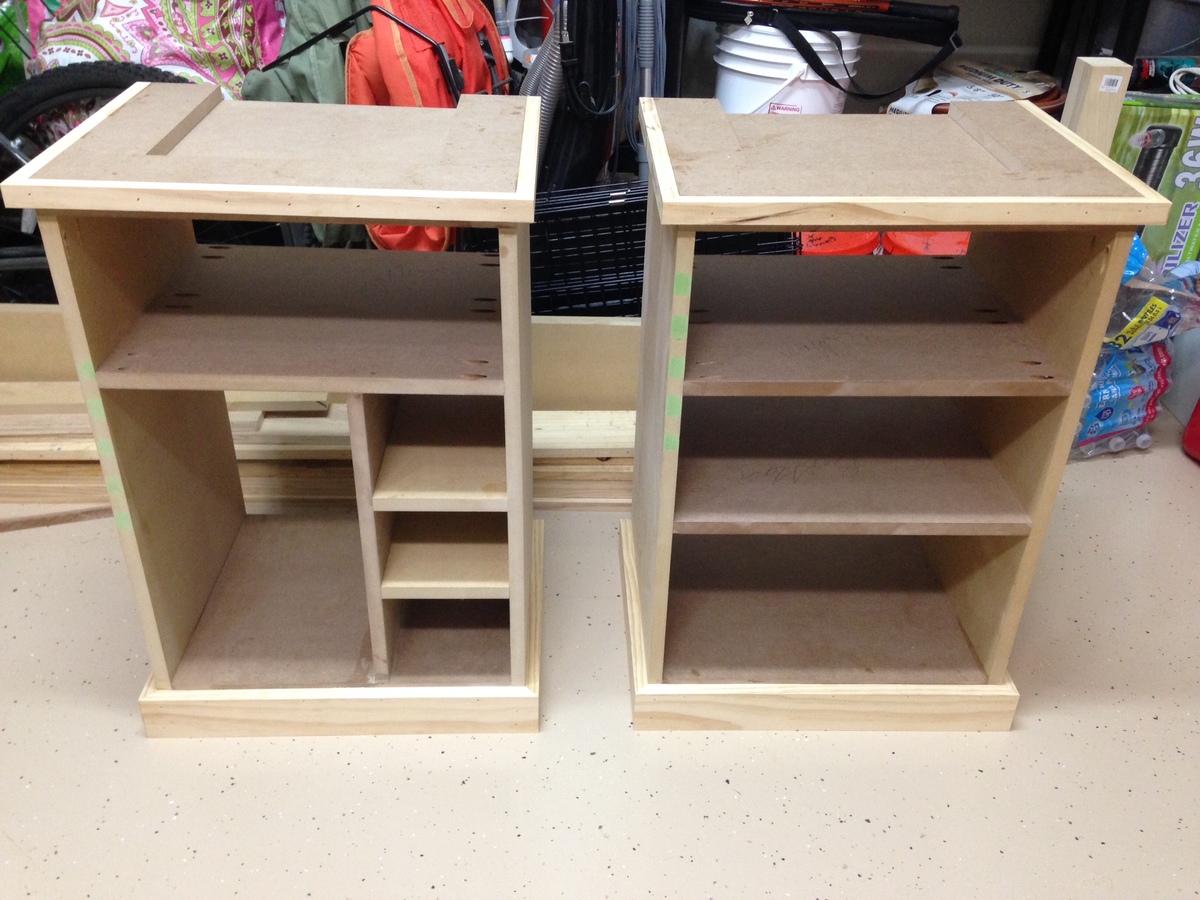
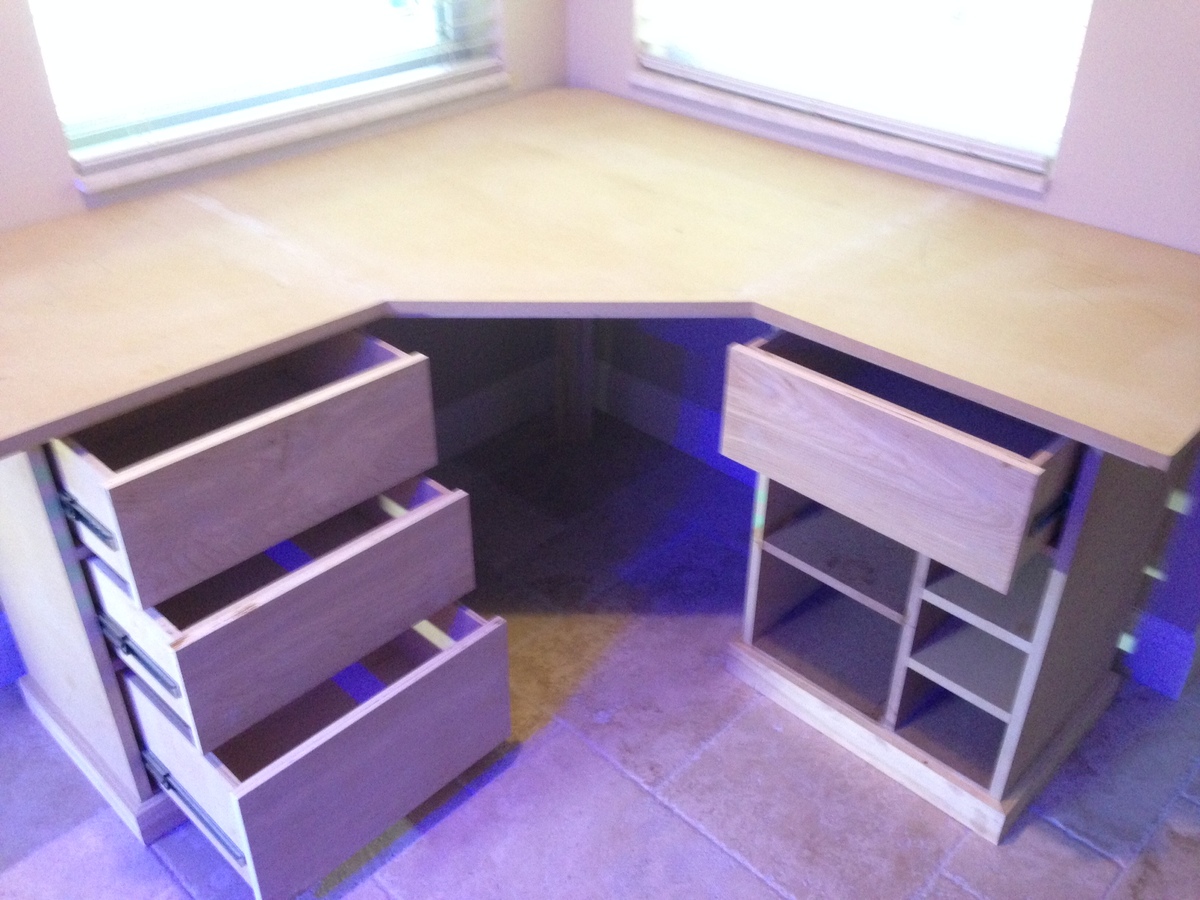
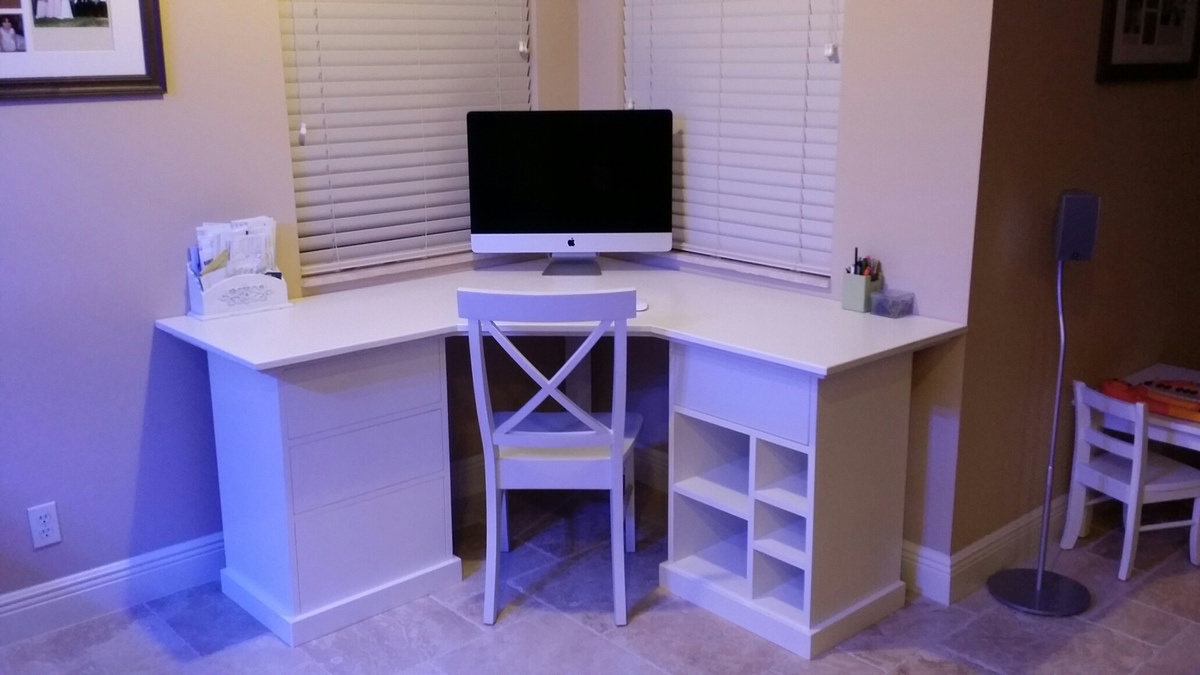
DIY Corner Desk - Bedford Modular Desk Plans
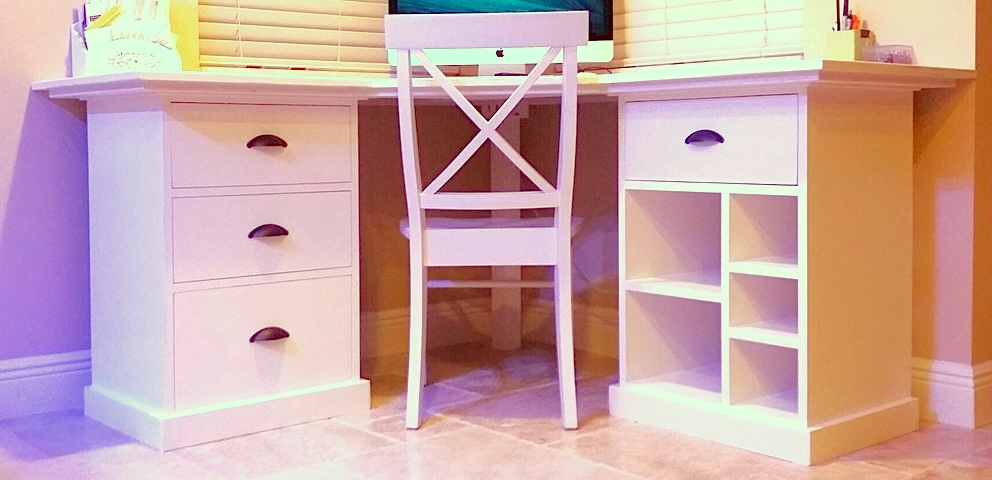
Beautiful Bedford Modular Desk (Pottery Barn)
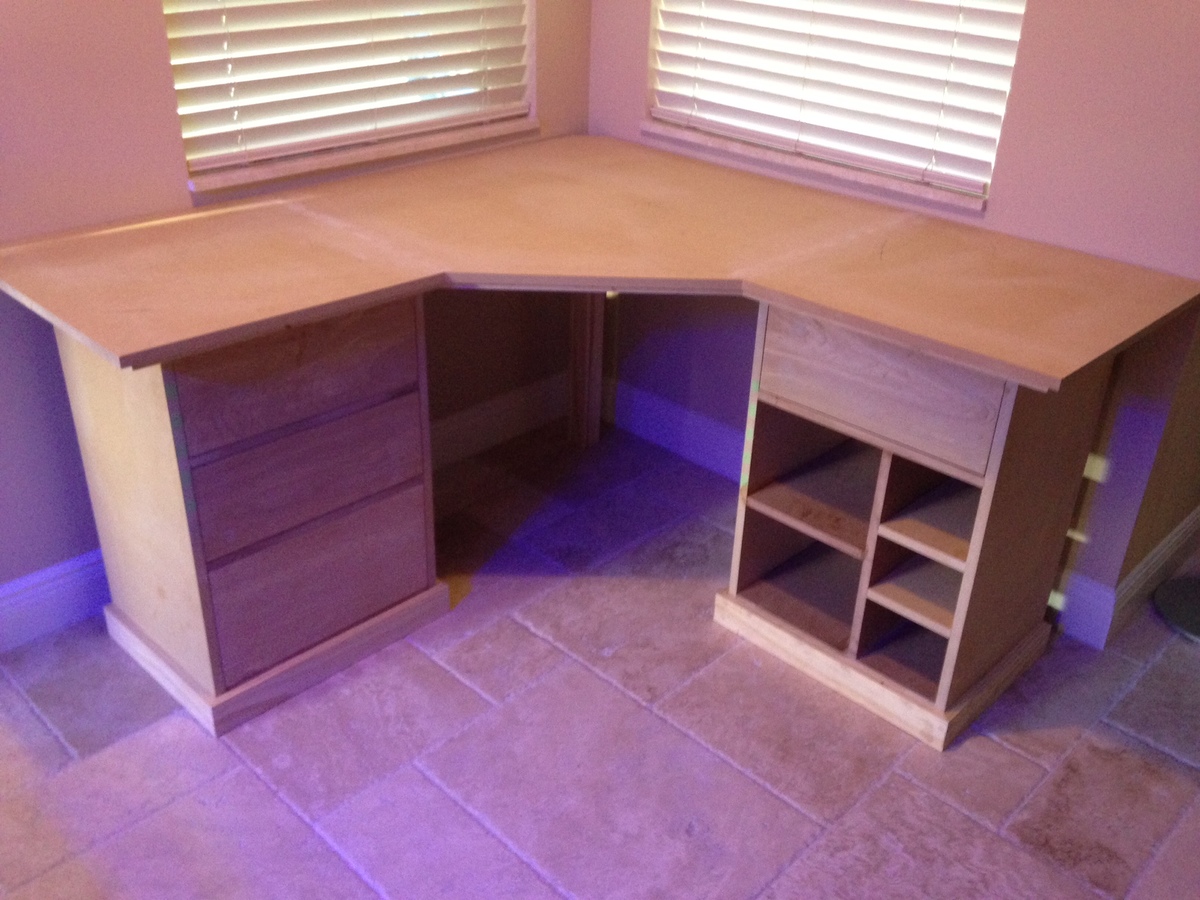
Built from Plan(s)
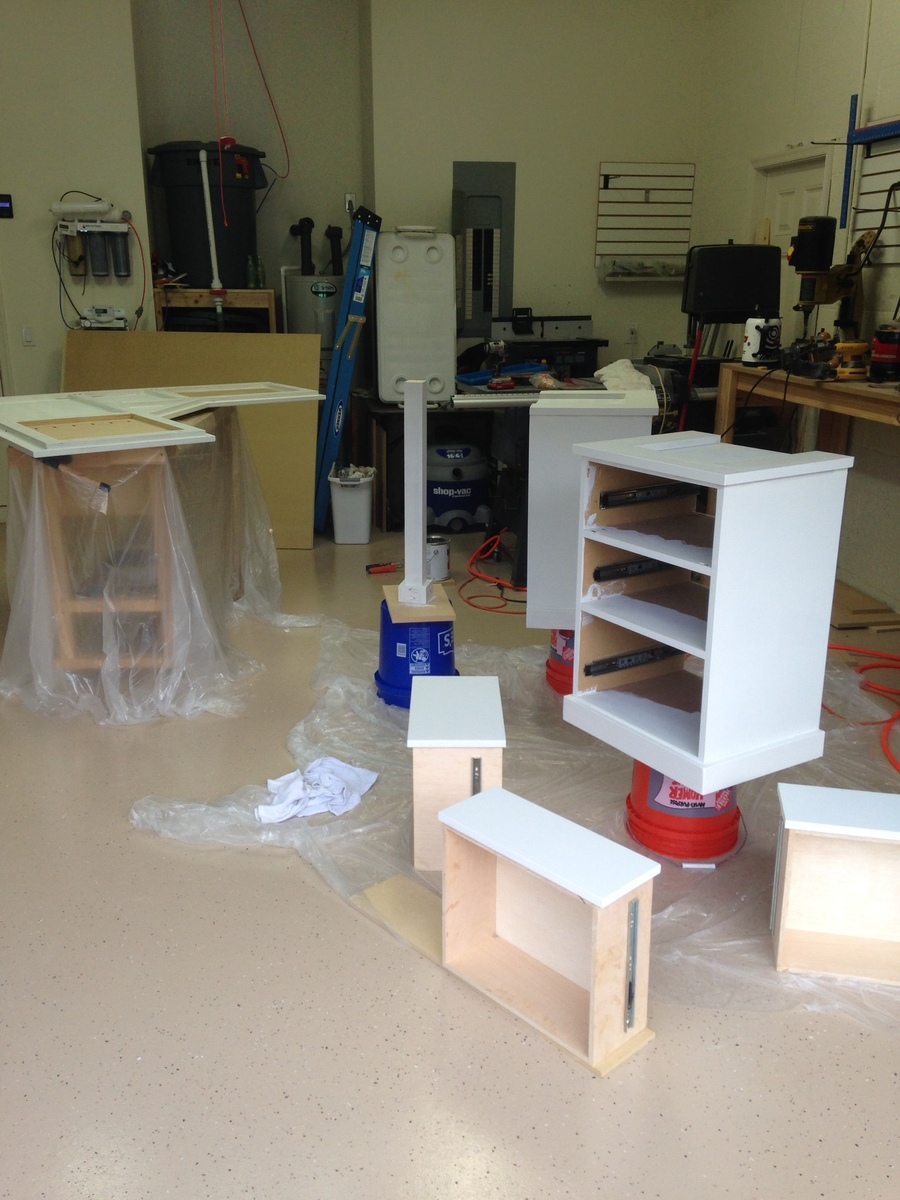
Finish Used
Oil Based Behr Paint (3 coats)
Finished off with Clear Polyacrylic (3 coats)
Finished off with Clear Polyacrylic (3 coats)
Recommended Skill Level
Intermediate