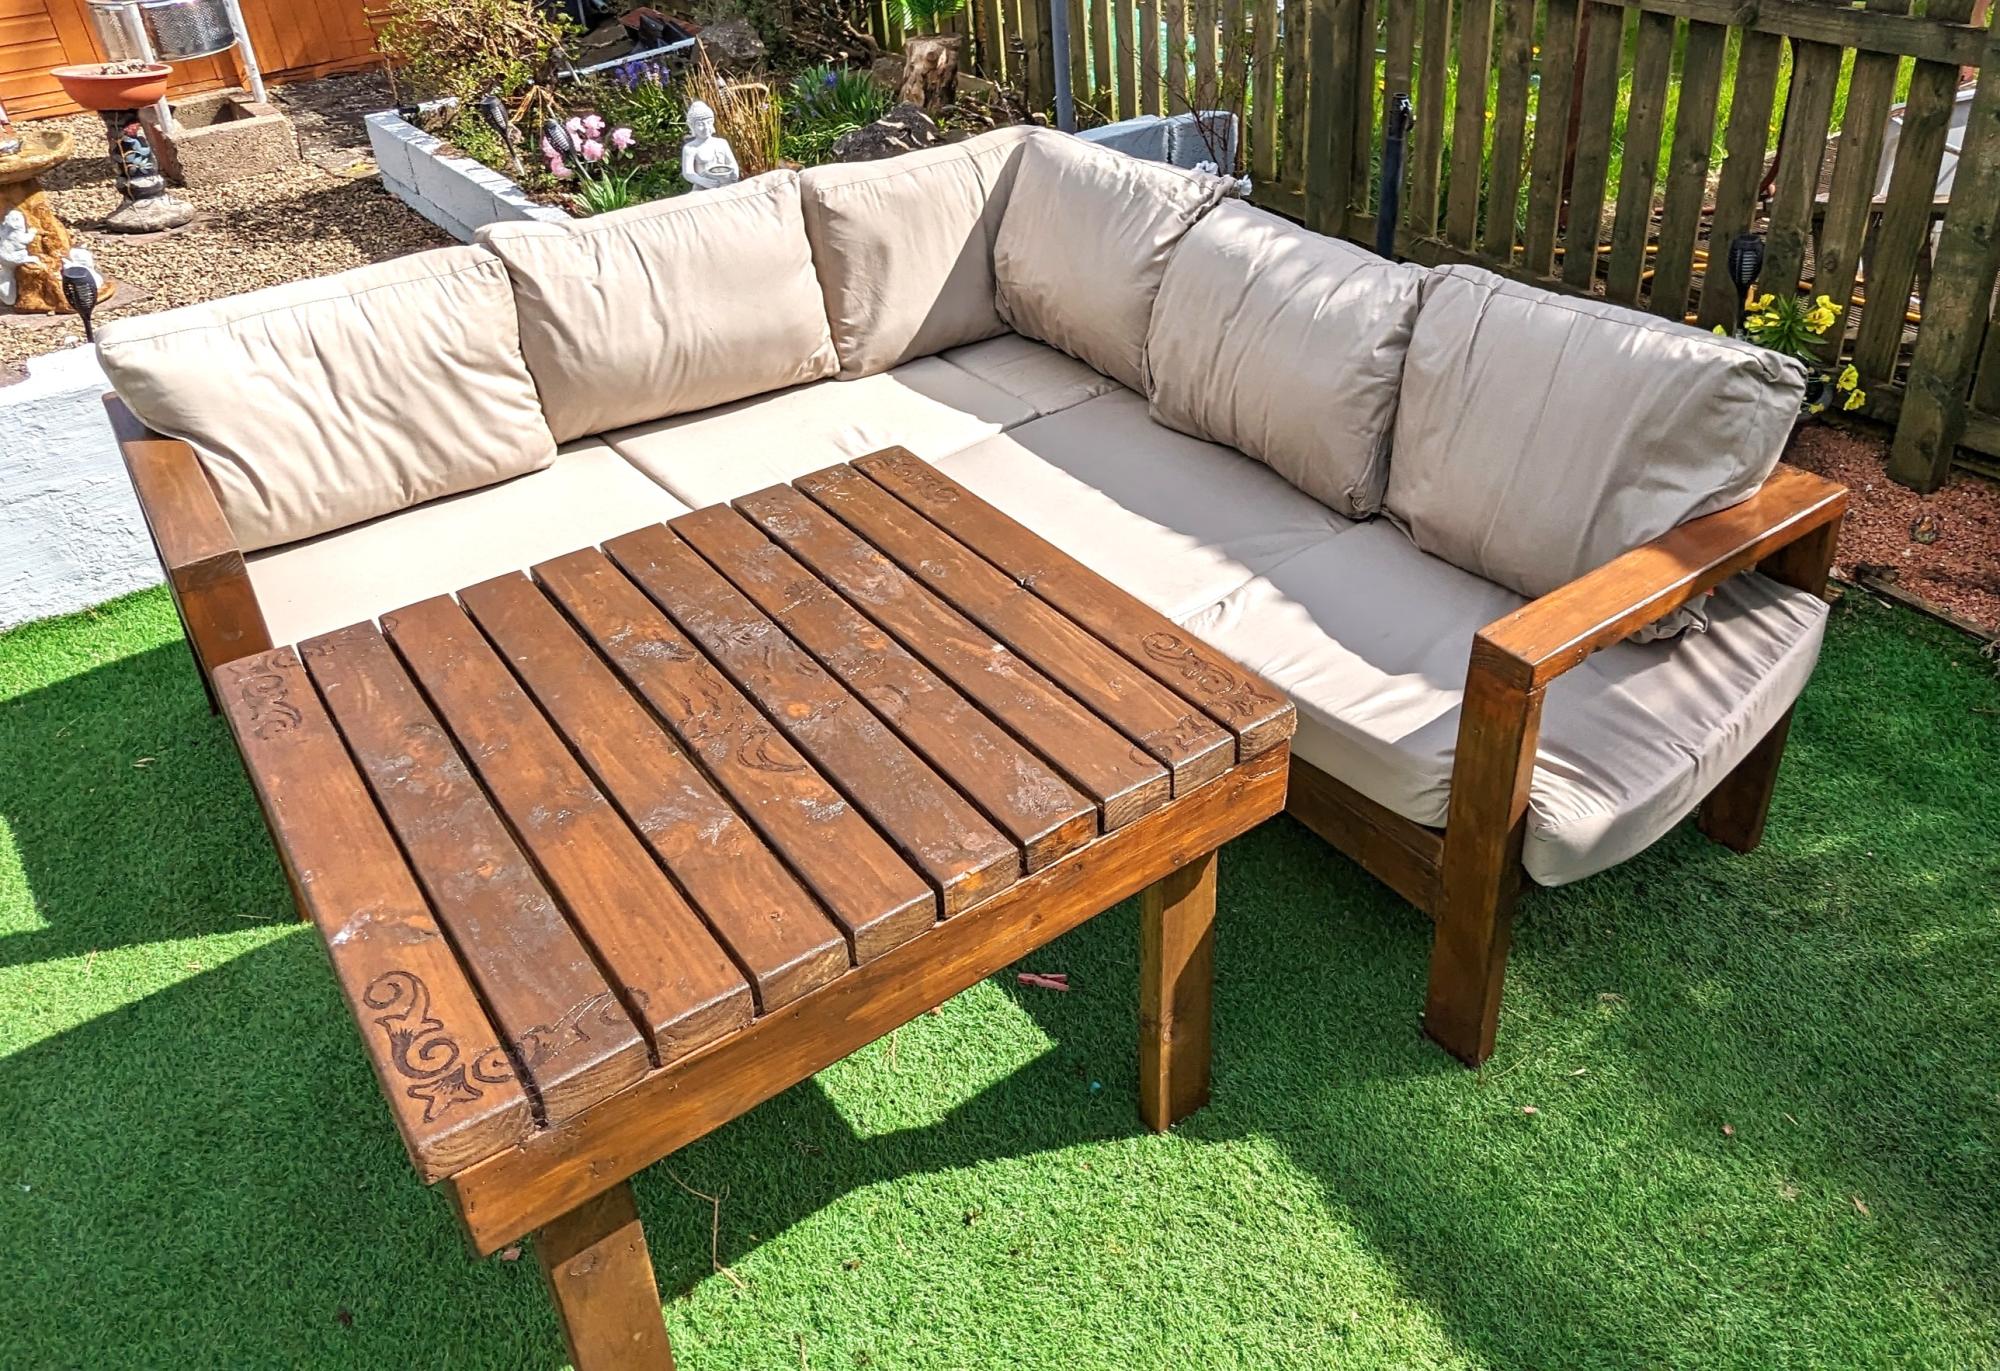
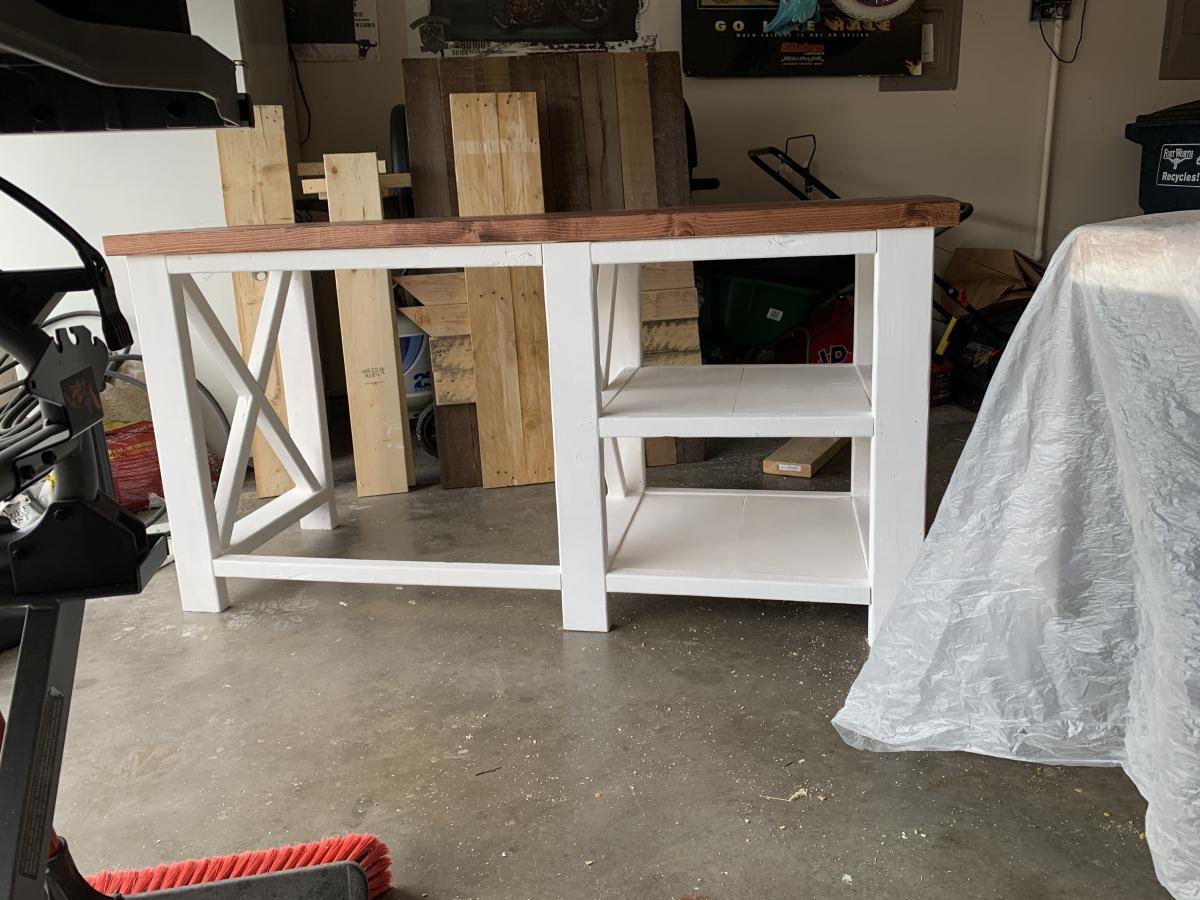
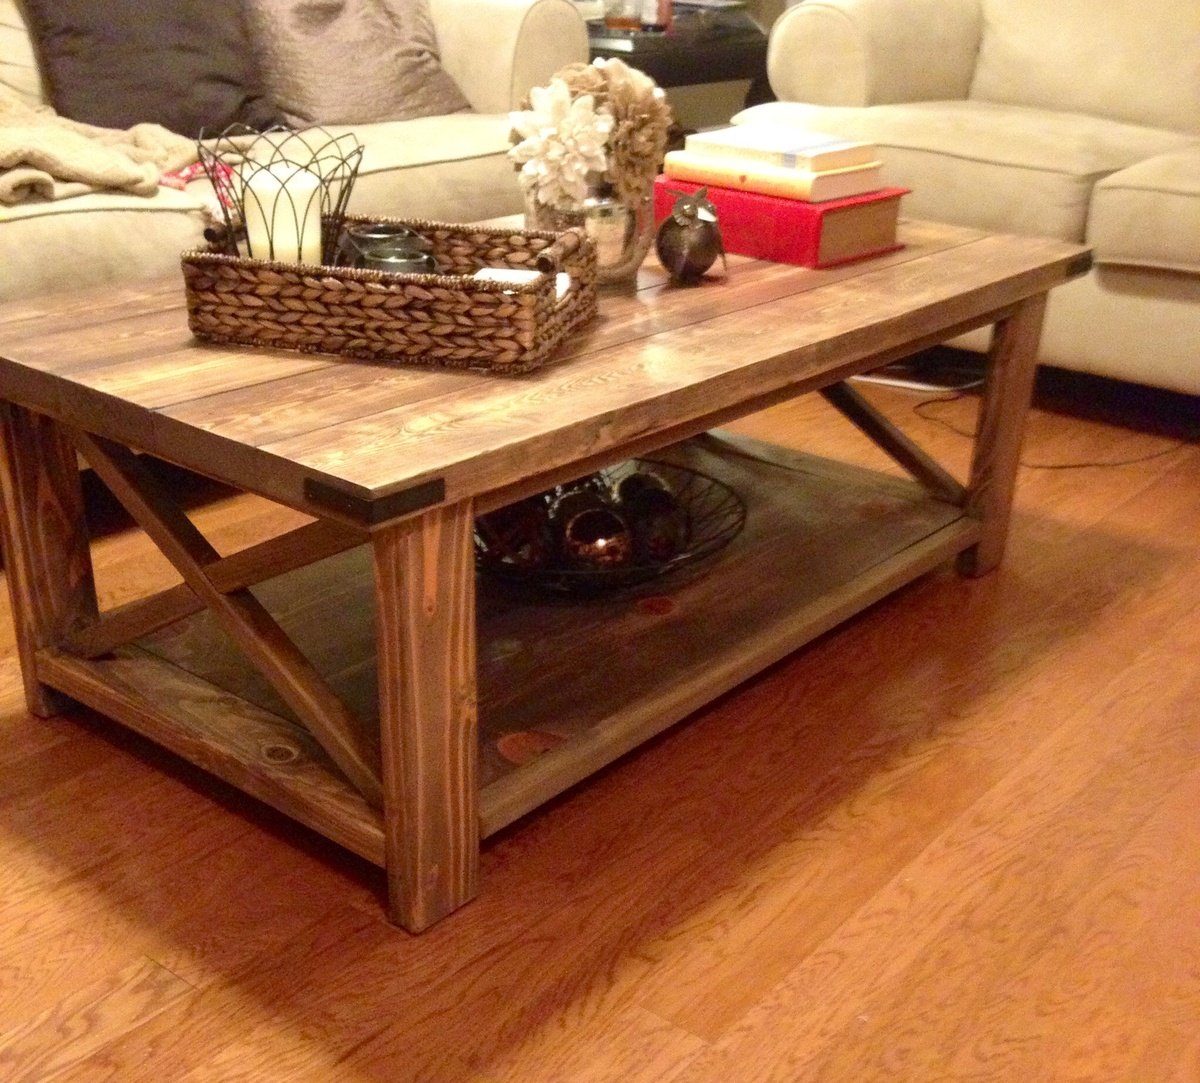
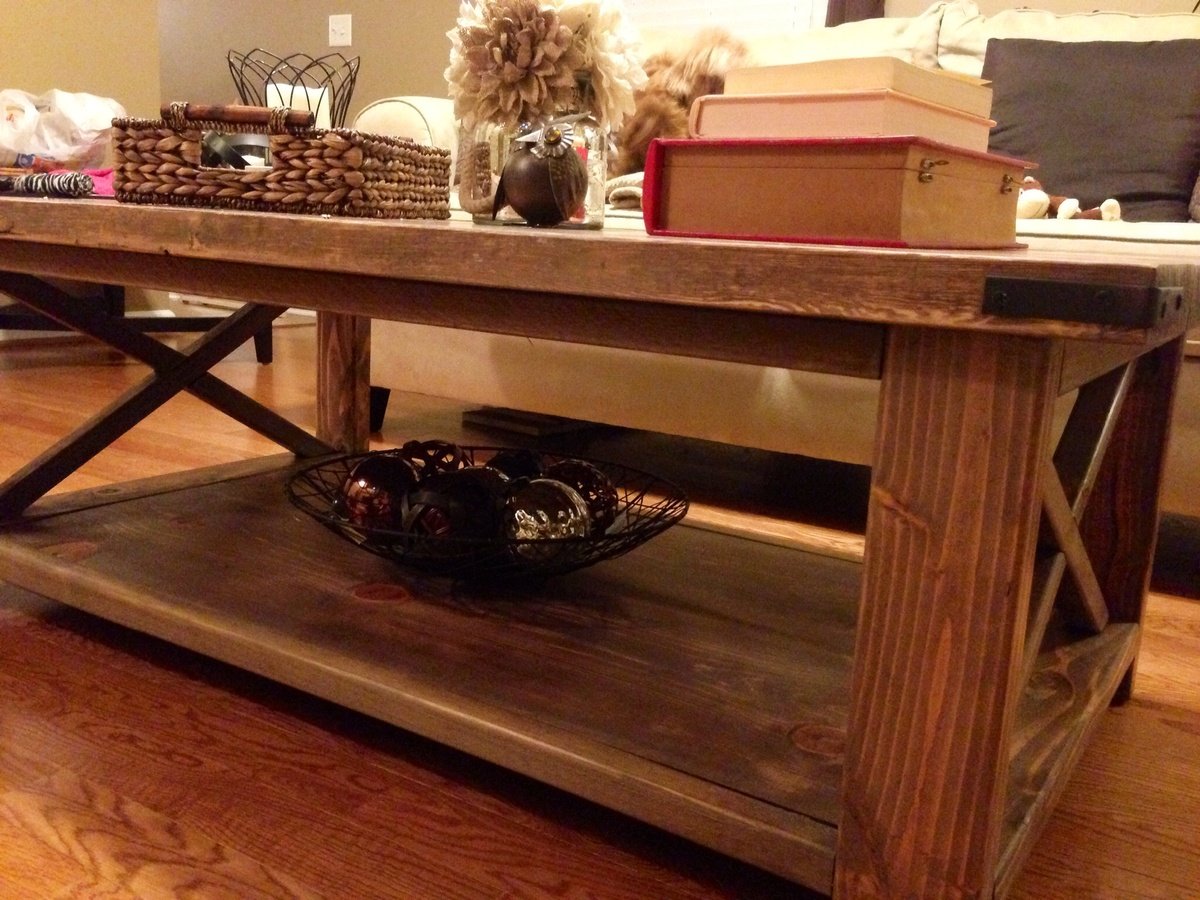
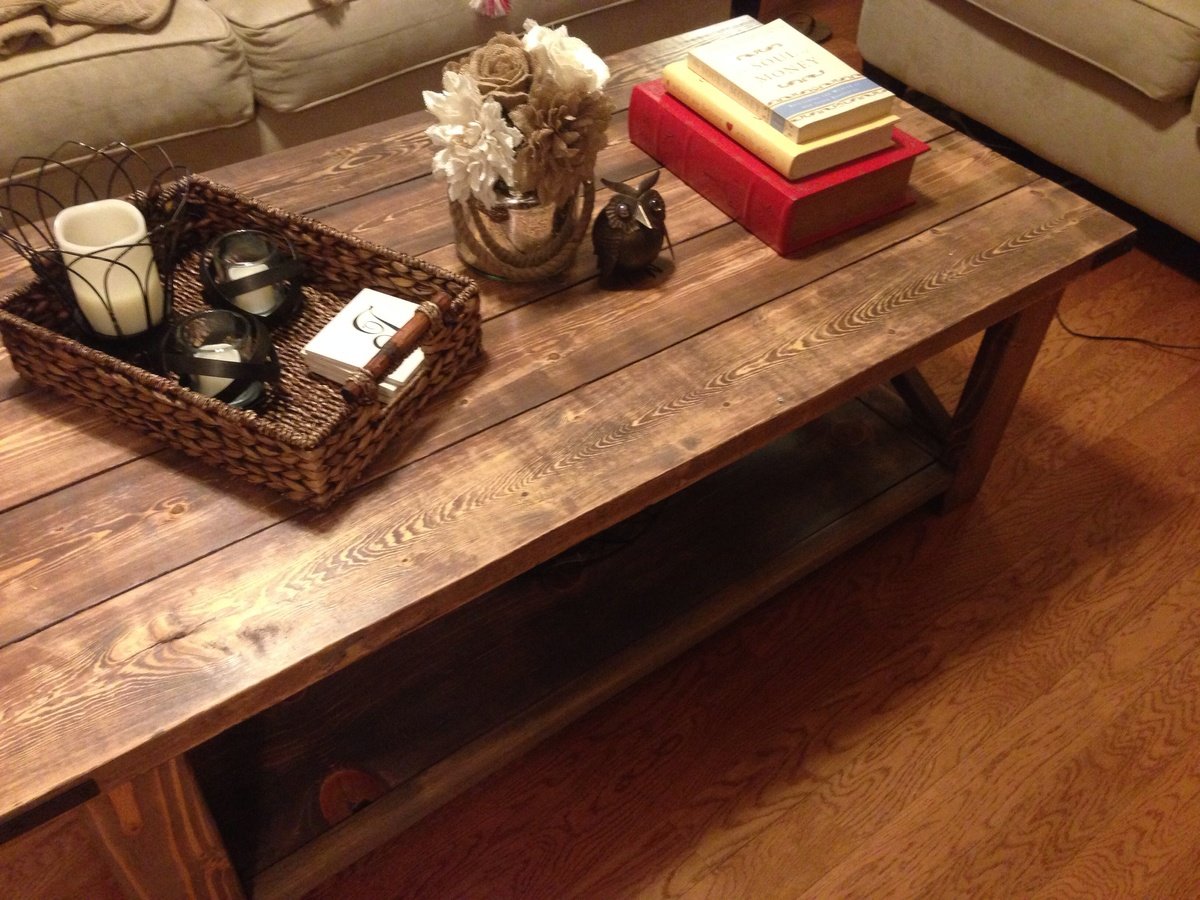
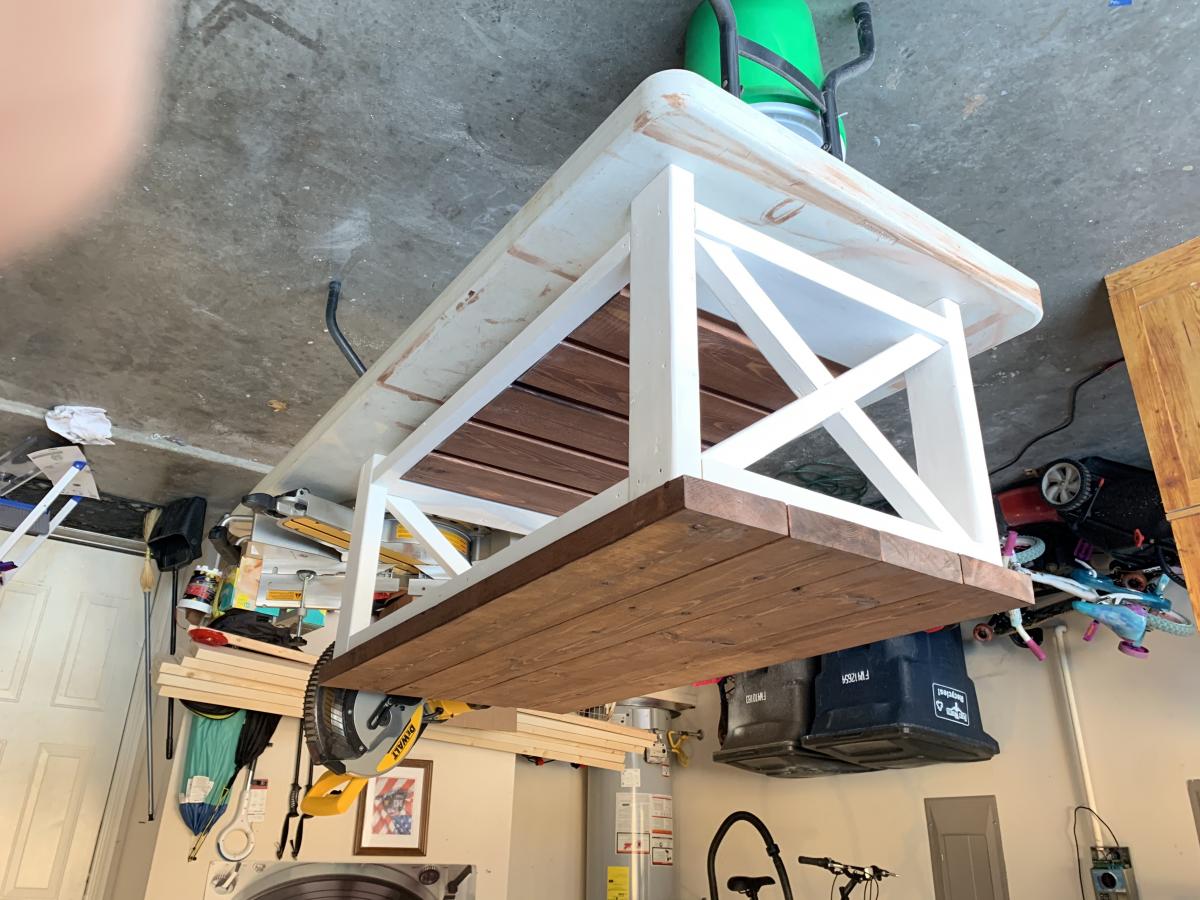
Rustic X Coffee Table (Beginner Version)
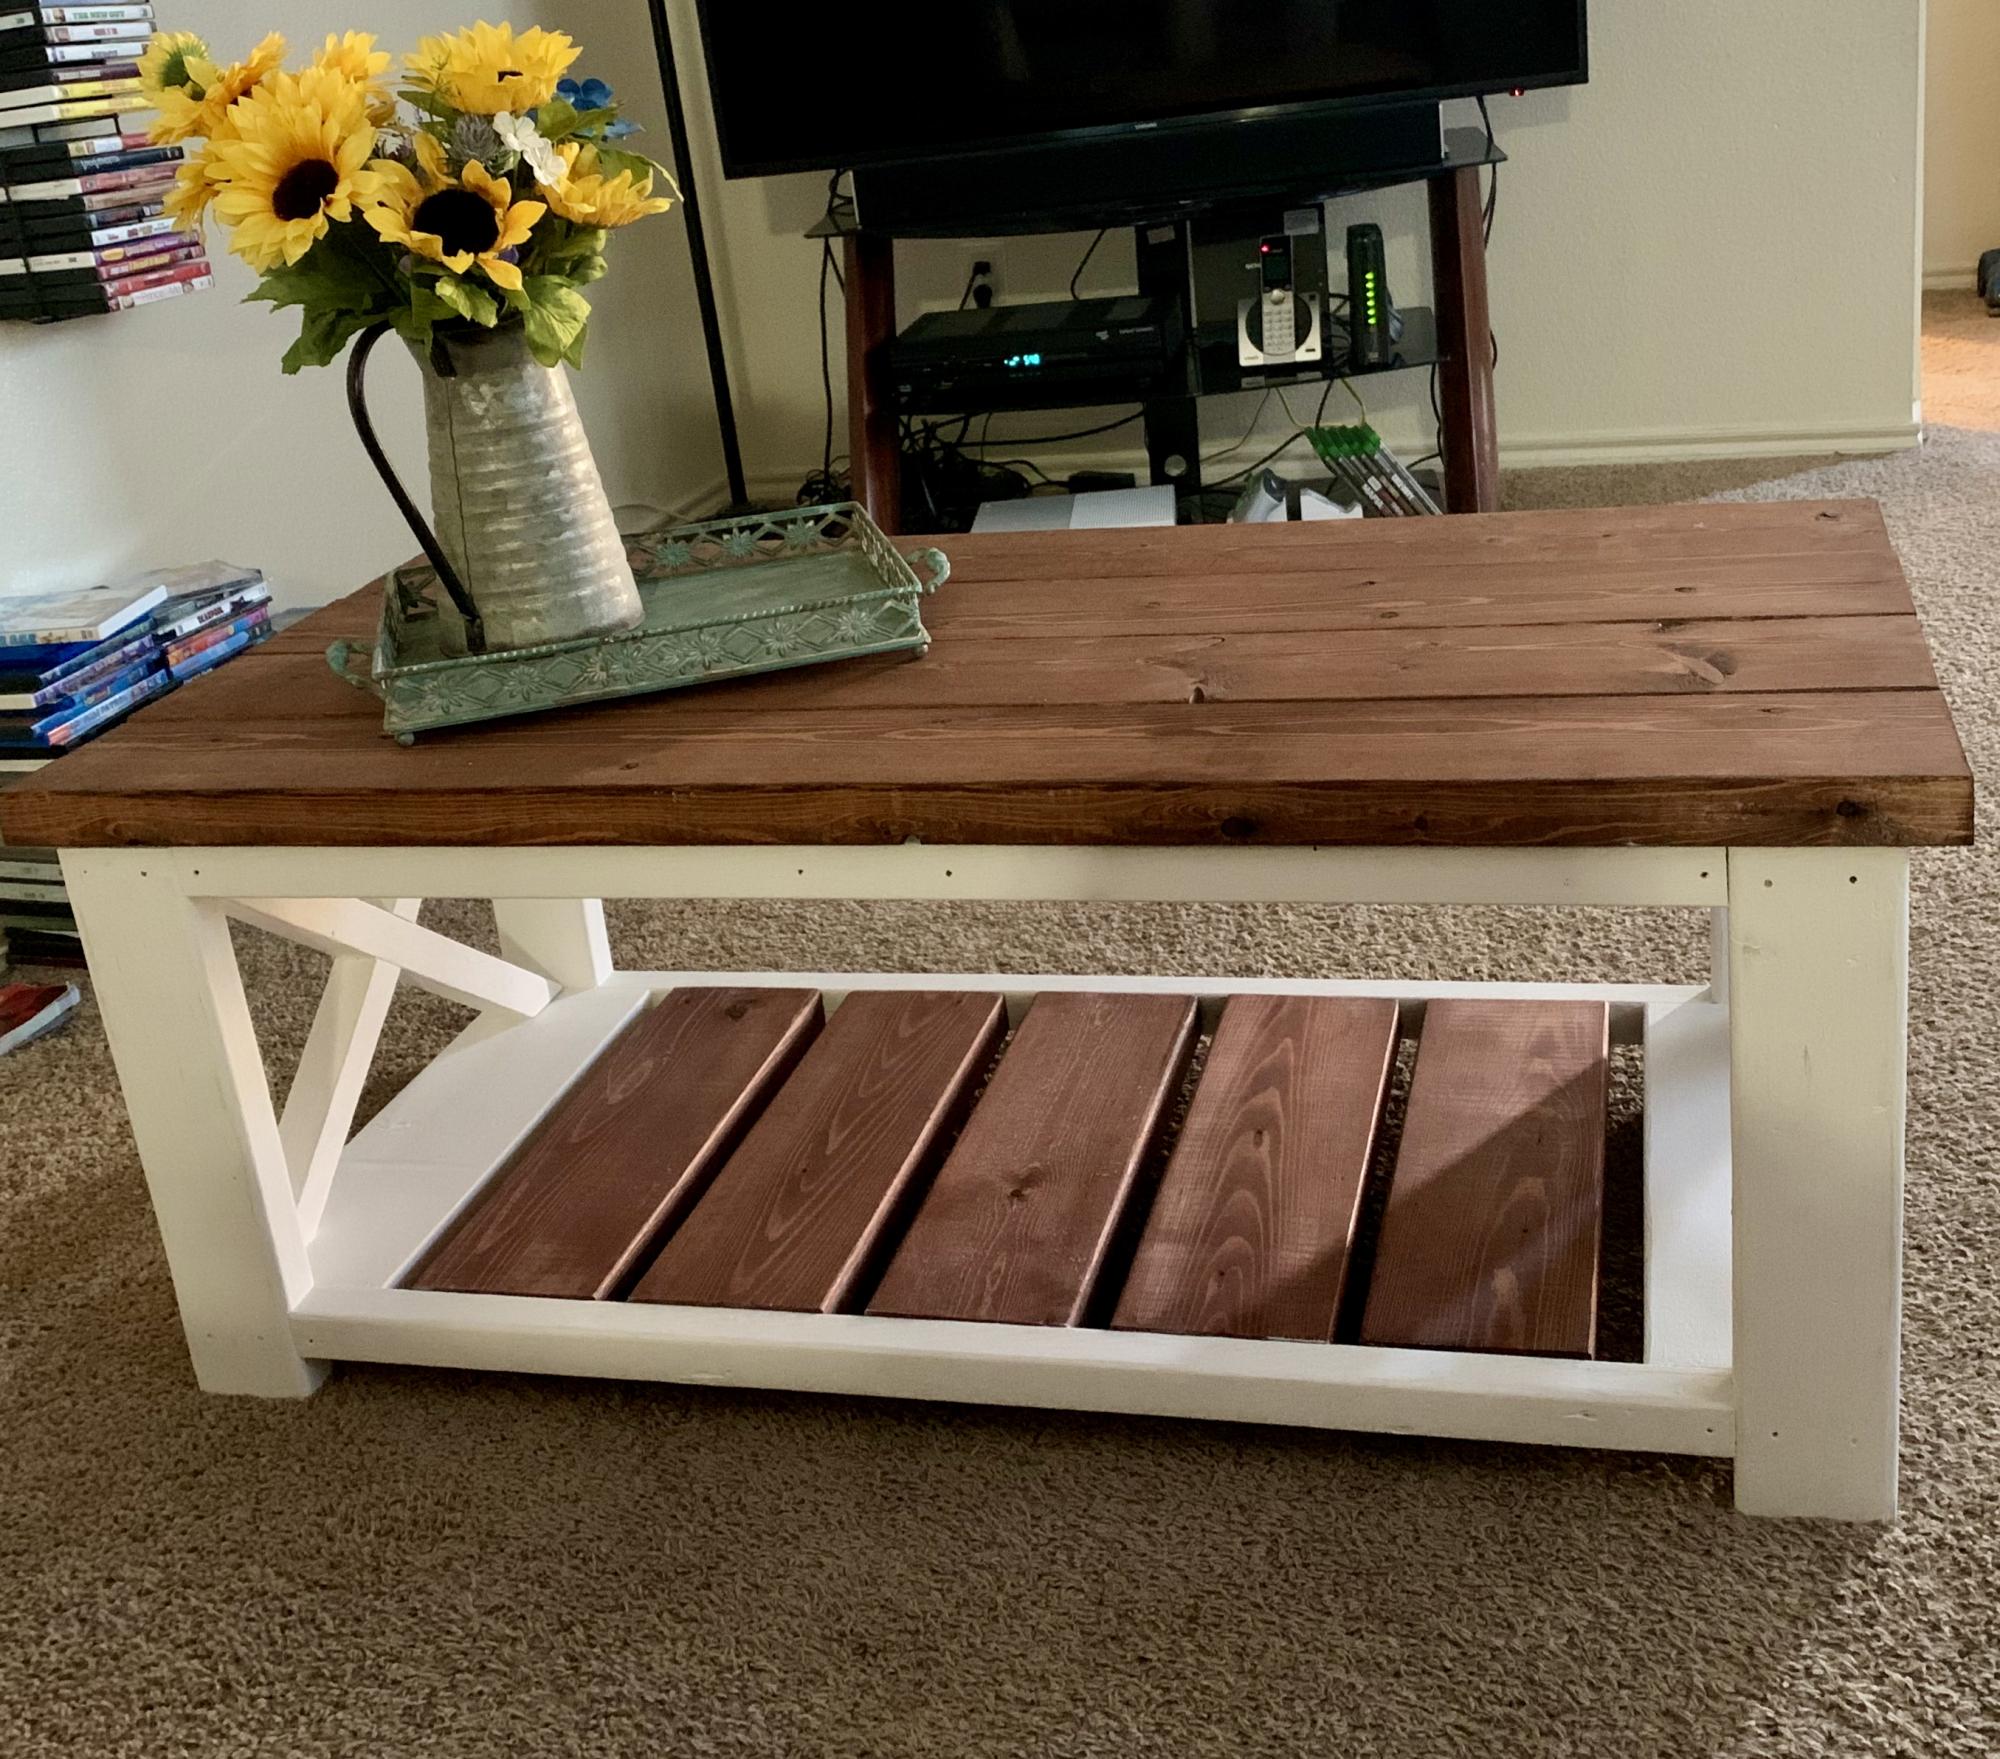
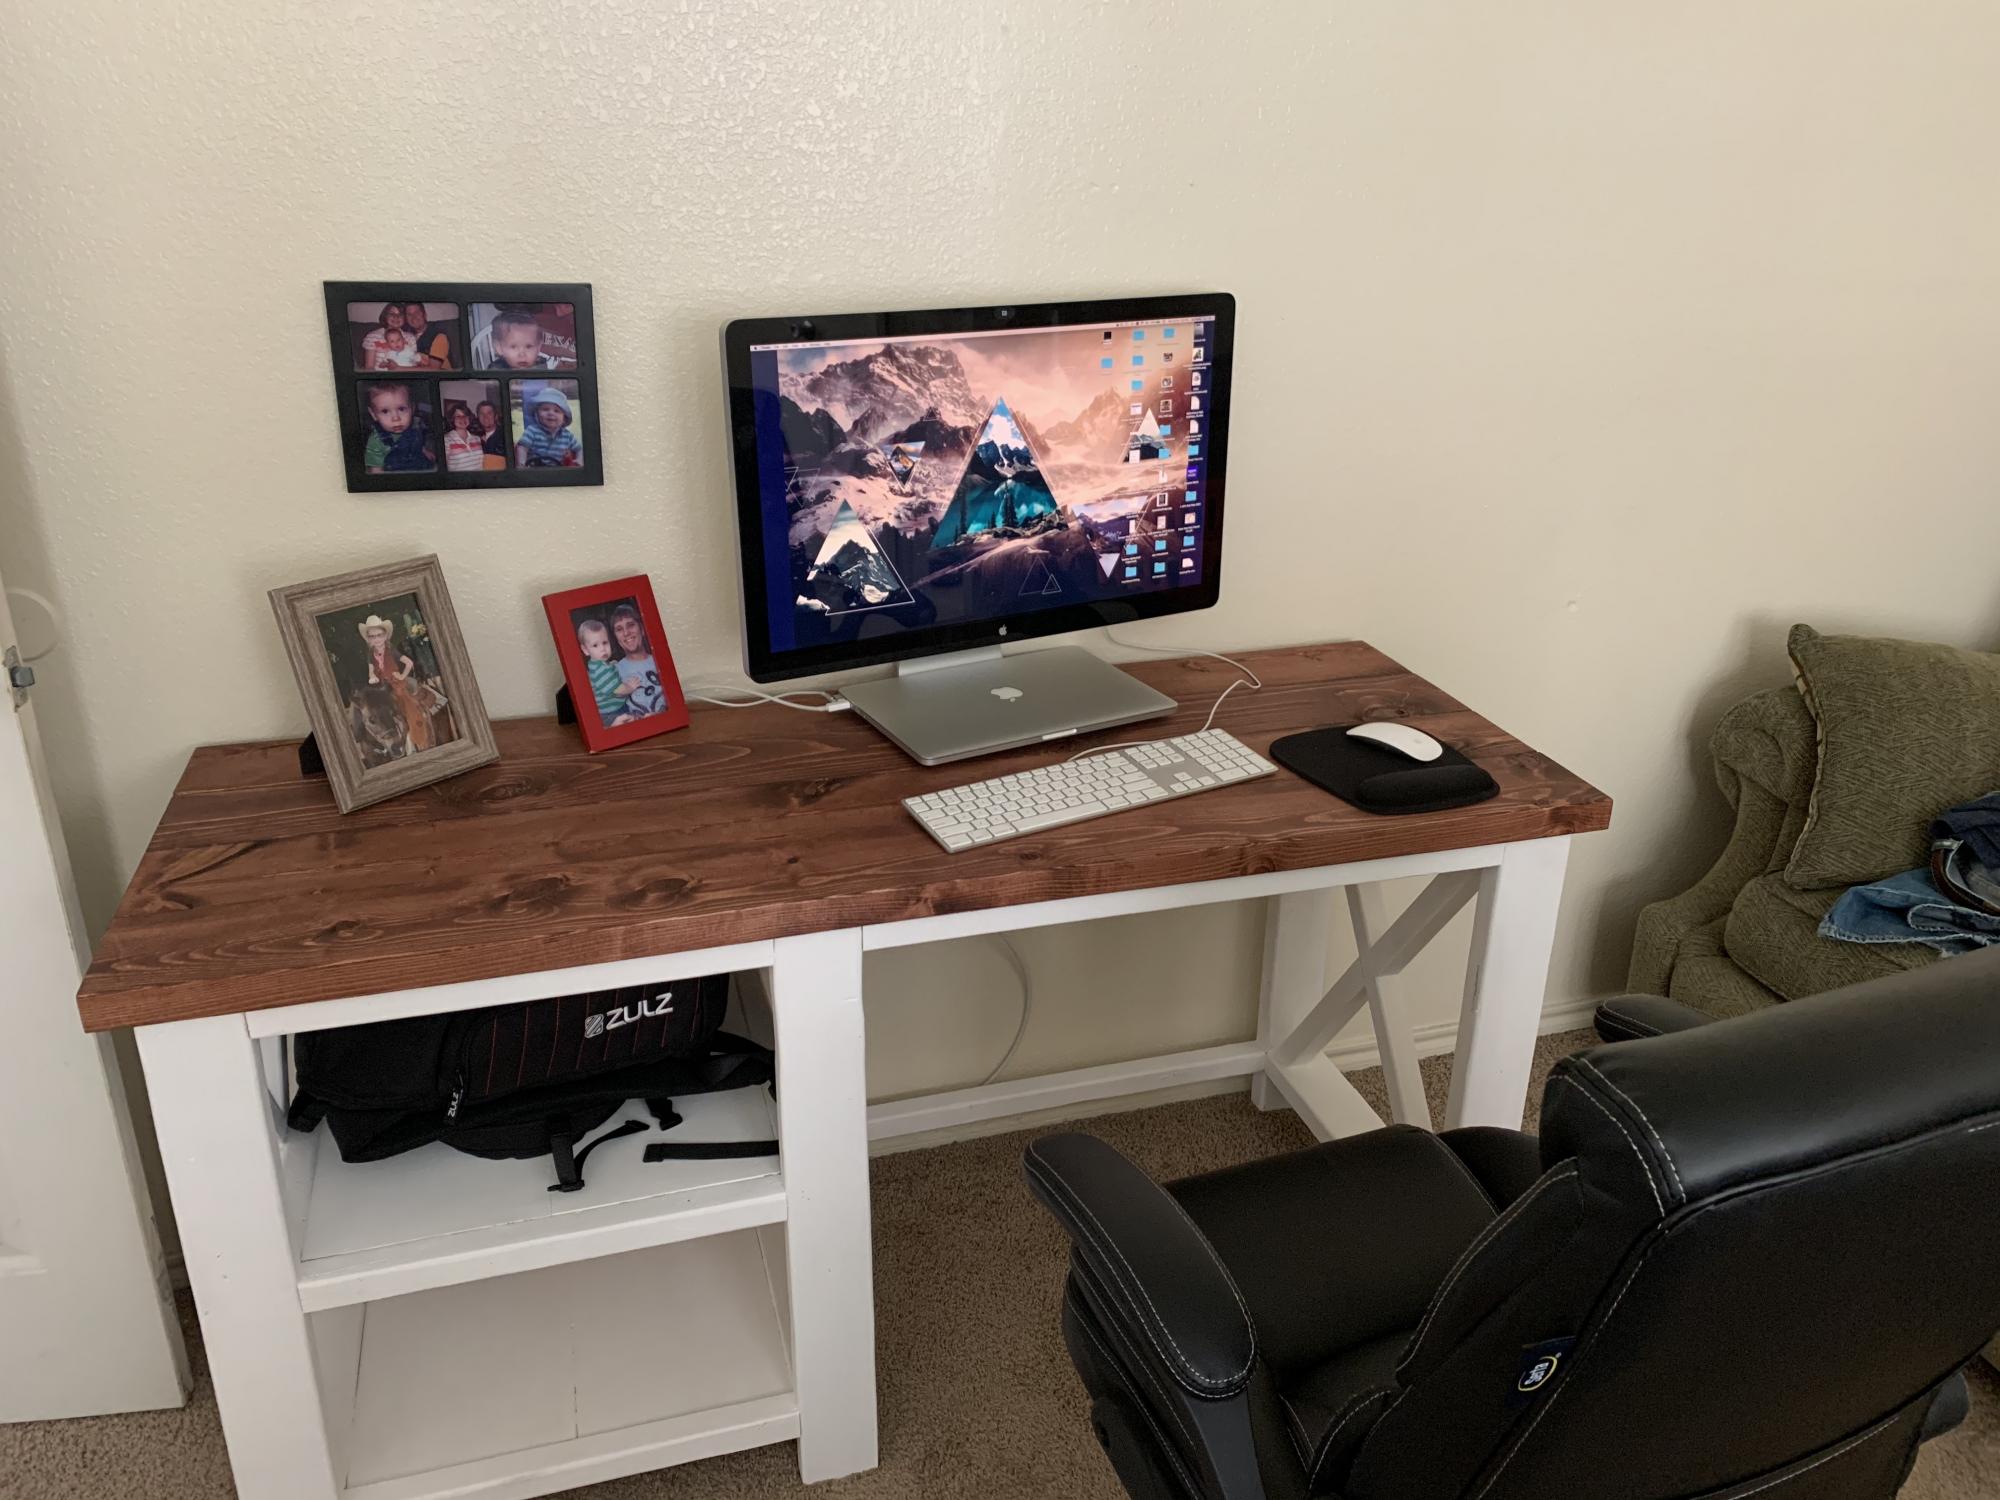
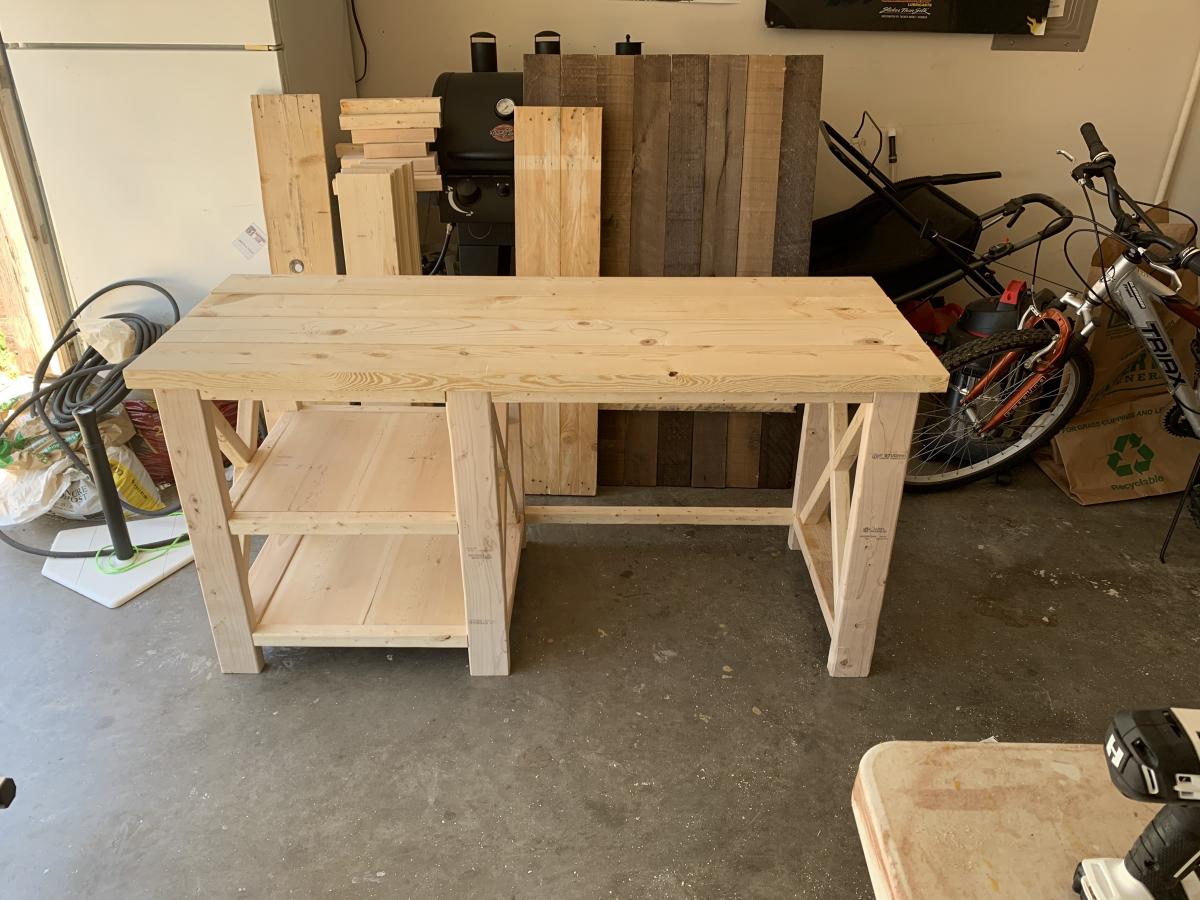
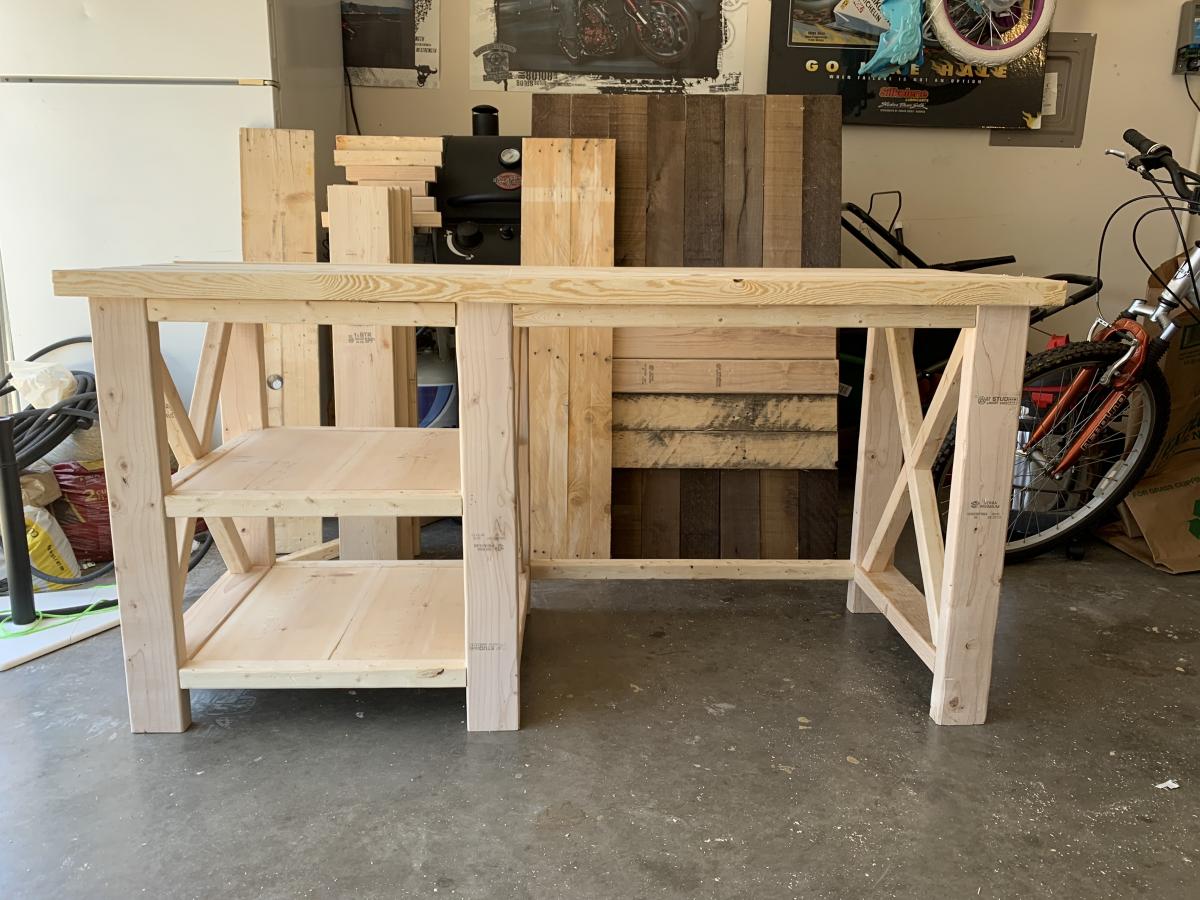
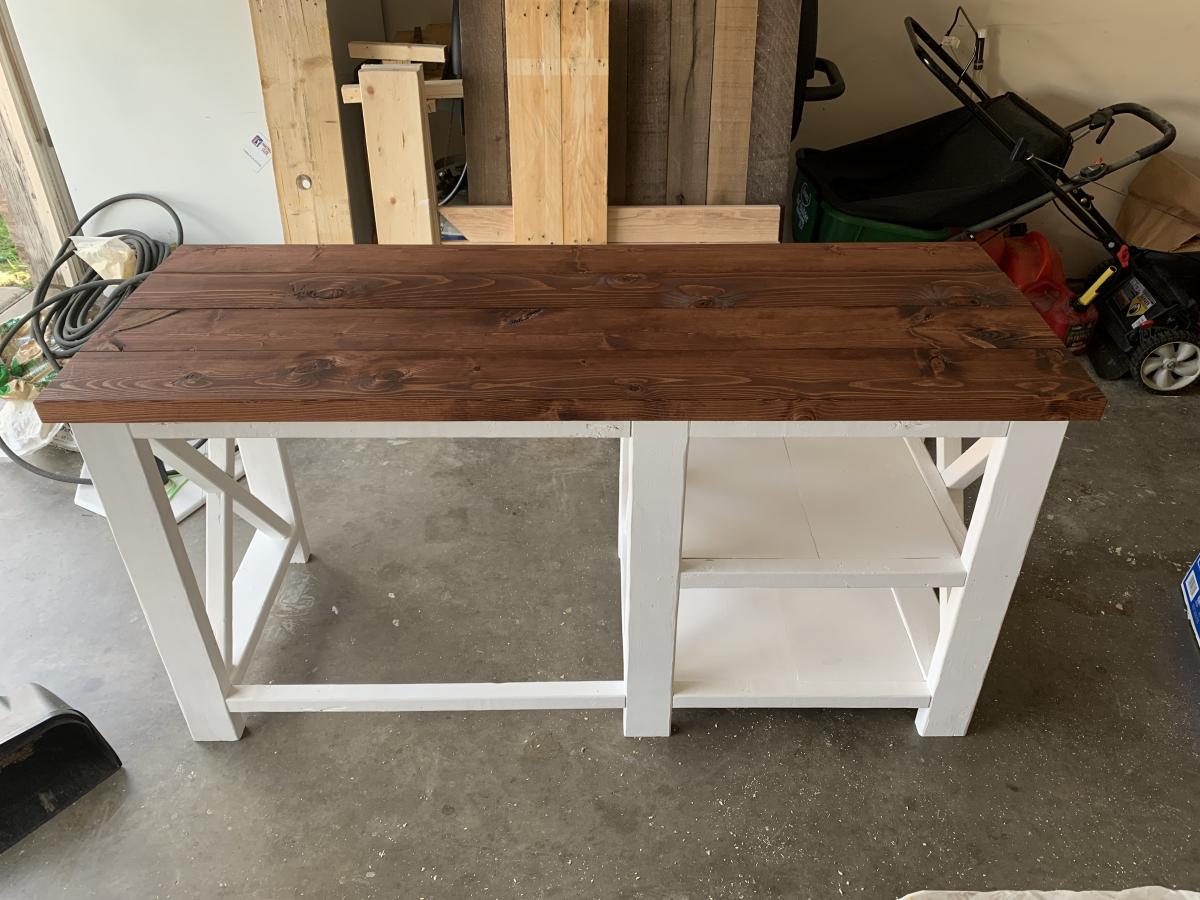
Followed the dimensions and most of the mounting options from the beginner plans and painted frame with White Chalk paint then stained the slats on bottom and table top with Red Oak stain.
I think it looks good adjusted the size to suit worked out well for me. - Ecm
I made a simple queen platform bed from the Hailey plan by omitting the term pieces. See more details at my blog post.
Our old kitchen table was a bargain buy from a nearby outlet store and while I hate to say it...you get what you pay for. This was my second project ever so I was pretty nervous about building a table. My first project was storage daybeds for my girls. They were a lot more forgiving than a table. This project took me approximately 2 weeks of working off and on but only because I'm a bit of a perfectionist and finishing it drove nuts. But it's finished and I am in love! The plans for the rustic table were modified to make a shorter version to fit out kitchen. The bench plans were kept the same but the pesky cross supports were omitted due to lack of functionality and difficulty of cutting angles. End length on tabletop is 6ft. That's the perfect size for the bench to fit under.
Needed a computer desk to work from home, decided to make this to match the coffee table I previously made.
This was my very first real DIY build project - and I loved every second of it! Ana has made me an addict and now I can't wait to get started on another great project she has provided to us here on the blog.
These ledges were incredibly easy to assemble. I painted them using the trim finish in our home so it looks like that have been here all along - love that!
Thank you Ana for the inspiration!!!
This is the large modern porch swing, scaled down to 24" x 36" and made with 1x4 for the frame and 2x2 for the legs. It's put together with the Kreg jig, which I now use to build everything. I may add a photo of the bare bench, once the cat gets off it.
Sun, 07/20/2014 - 15:16
It looks wonderful! Cute kitty. Maybe you'll get a chance to sit on it eventually. ;)
This table is 78 in which is shorter than the plans. I think it turned out great!
Great project! I modified slightly to fit Ikea's outdoor cushions and also used 1x6's for the seat slats as that's what I could get.
Minwax 'dark walnut' supports and minwax 'natural' table and seats; Minwax helmsman polyurethane gloss. 45° angled all corners and quarter round routered all top edges. Countersank screws, and added a bolt here and there on the seat supports (because UNO is a full contact sport in our house...).
The table had 8 adults on it last weekend. Would be a tight squeeze for 8 to eat dinner, but visiting over sweet-tea was perfect.
Two adults on one side only is when the table wants to go opposite of gravity.
My first ever build! I made two of these planters for my deck. They were easy and the cucumbers and runner beans I grew from seed loved the deep soil in them! They make my little space feel like an oasis.
A new table for a new home for my son. Added hole and block for umbrella. Very satisfied with project and plans. Thanks Ana
Frank N.
I built this key locker from a jewelry armoire plan I found on TheDesignconfidential and the link is http://www.thedesignconfidential.com/2012/09/key-locker-aka-small-jewel…
It is a wonderful and simple design. Easy to build. Cost me abut $17 since I went for the S4S poplar wood for the frame and door. I used scrap hardwood flooring for the door face. The key is from Hobby Lobby at $2. All the rest including the knob, hinges, hooks, etc were gathering dust in my garage.
Fri, 09/28/2012 - 08:07
Ana the stool the locker is sitting on is one of my very first projects I got from your site. It definitely is the most useful and used.
This was our first project and I love how it turned out!
Between my day job and daily chores I somehow managed to build this, make the stain with the vinegar/steel wool, and sew all the cushions in about a week and a half. The hardest part for me was lifting the sofa onto the deck by myself after I built it.
I also made the chairs from this site (simple white outdoor chair) and the coffee table.
Thanks Ana and everyone for contributing your plans and for everyone posting their projects. It helps me do it to.
Thanks Ana for your easy to follow plans - I made the sofas and coffee table two years ago, and added the Adirondack chairs in June.
My husband built me a potting bench and I painted it with leftover house trim paint. We did make it several inches wider and added a middle 2x4” under the top surface slats to help with bowing boards. I added iron hooks for tools. Love it!
I made this for my boys and they LOVE it! I opted for a square top, since the flower would not have gone over well...Plus I found a square top for $1 at the Restore and who can pass that up, and the legs were free. The rest of the wood was from the Home Depot Cull bin or furring strips. The chairs didn't get rounded (no jig saw) and I didn't add a hole (not a big enough drill bit). But my boys love them and use them all the time!
Thanks Ana for such great plans!
Check out more at http://mylove2create.blogspot.com/2012/10/diy-kids-table-and-chairs.html