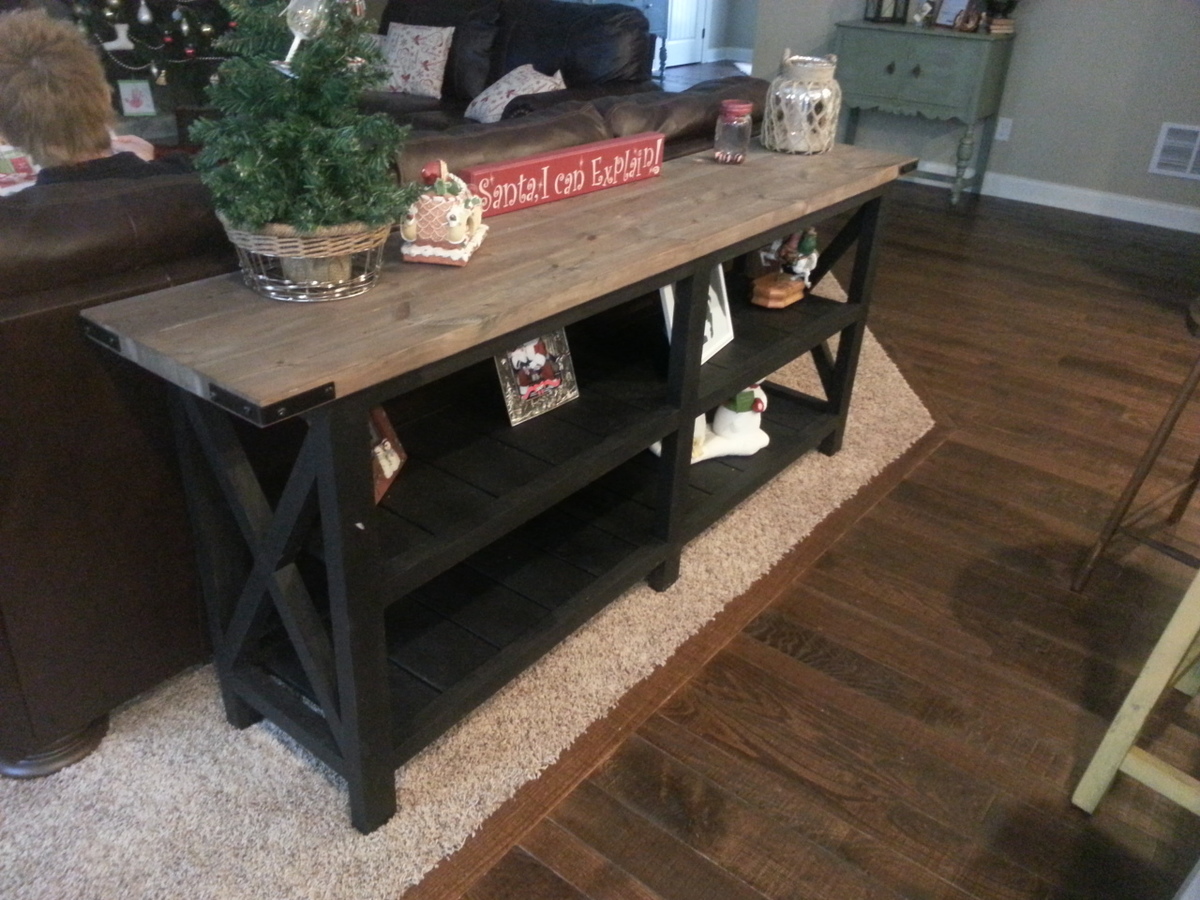
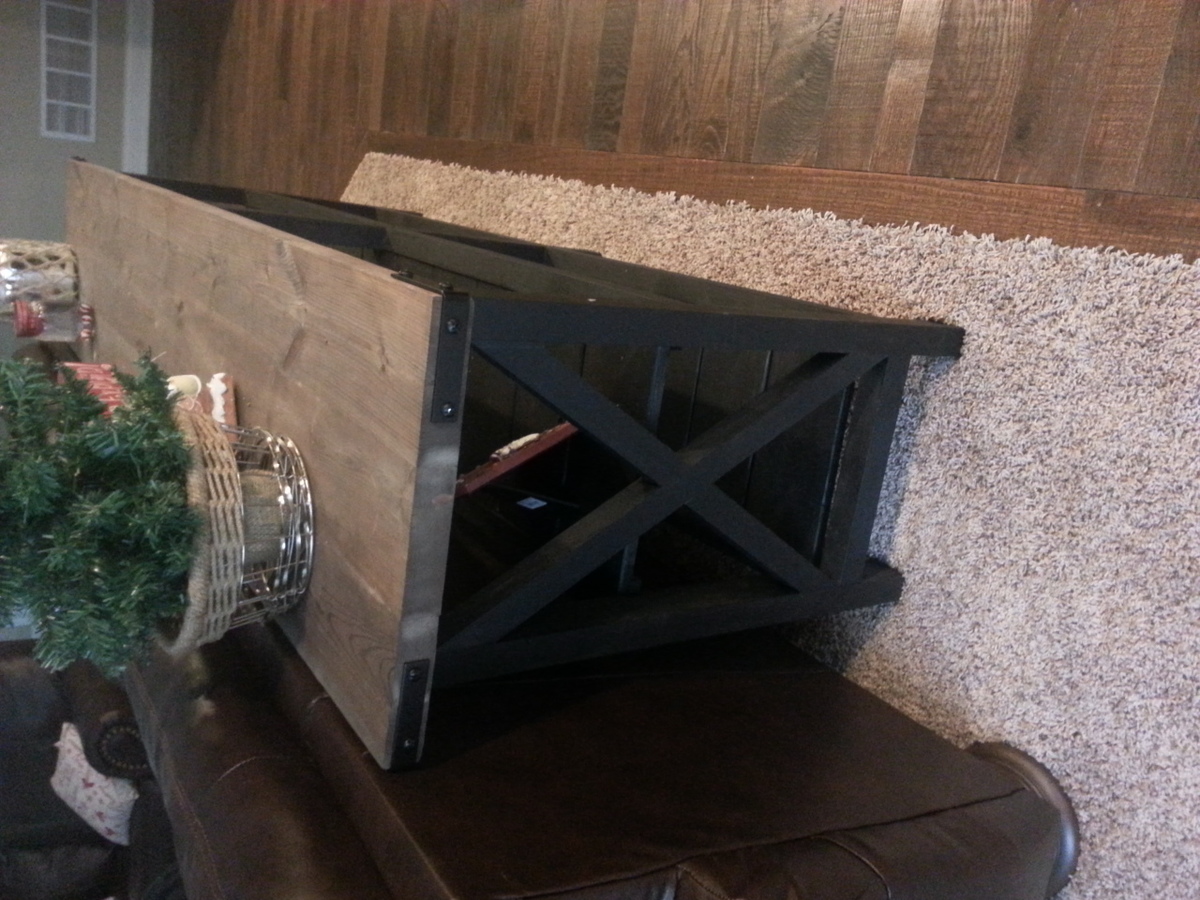
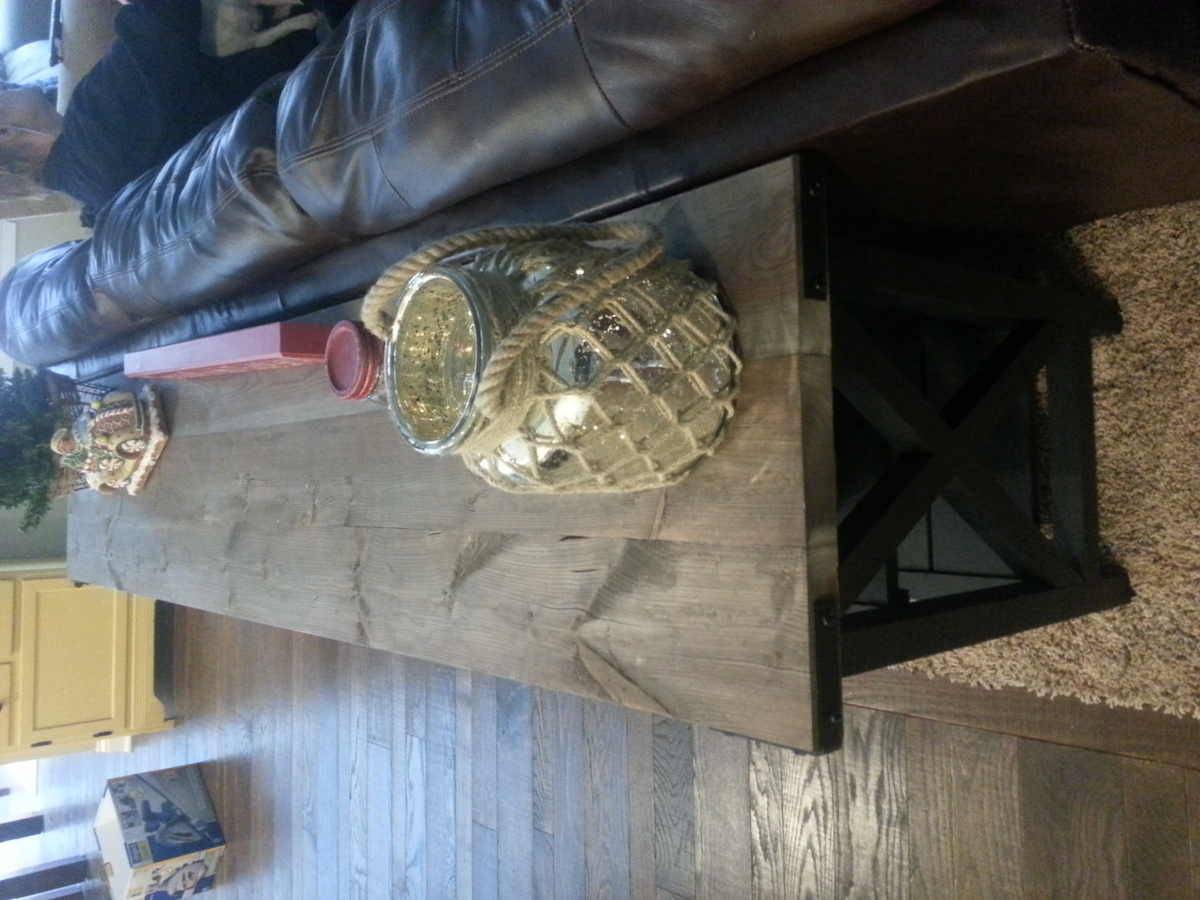
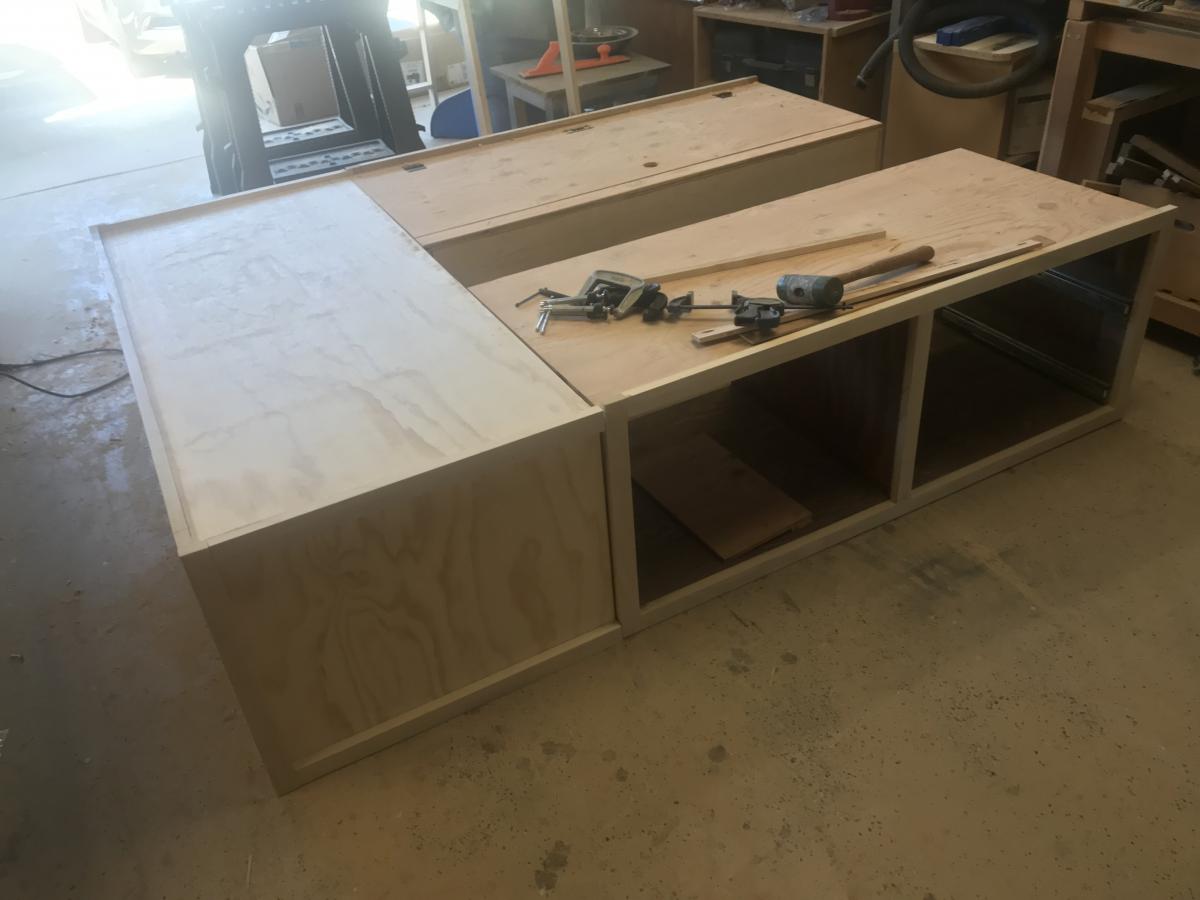
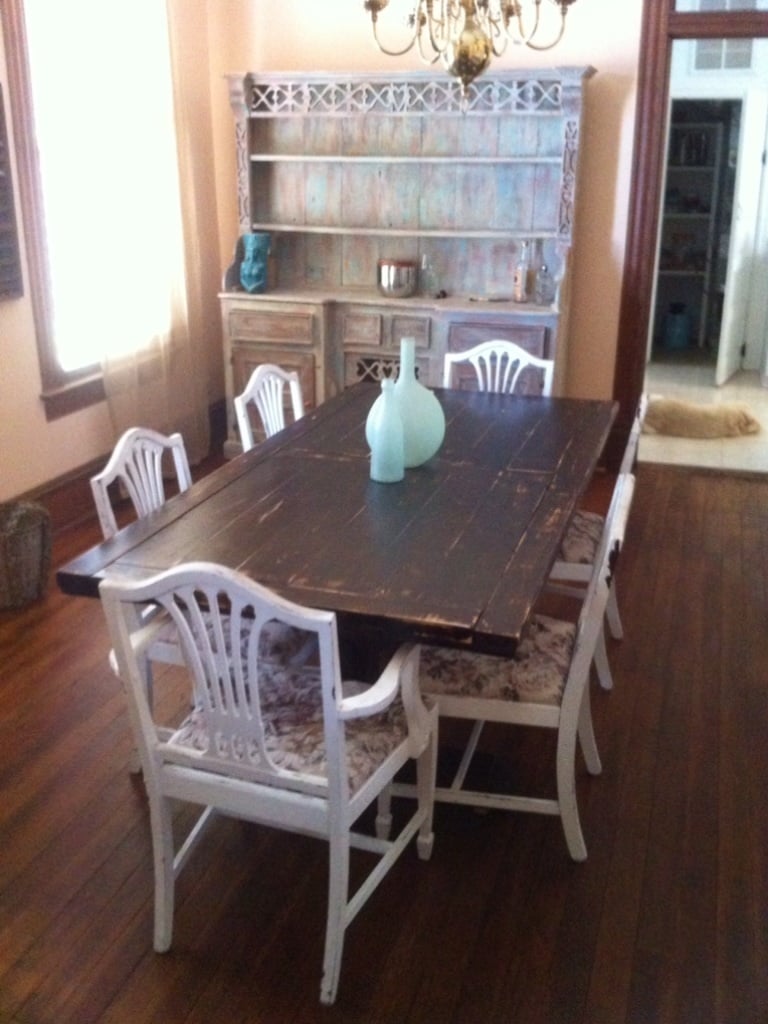
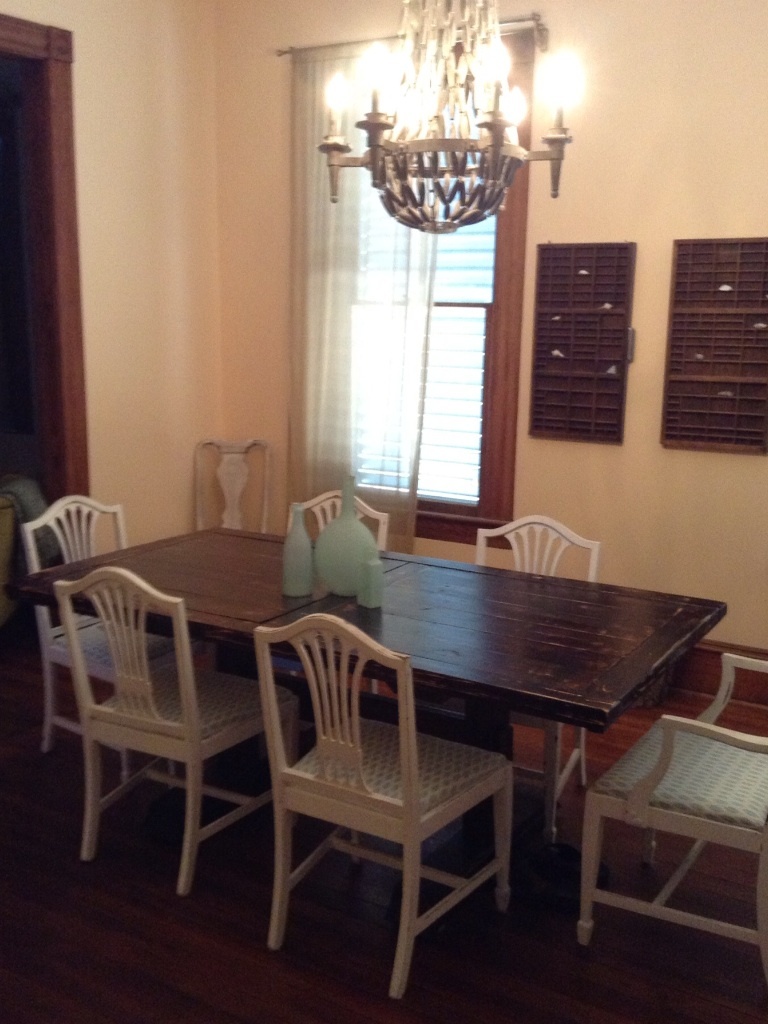
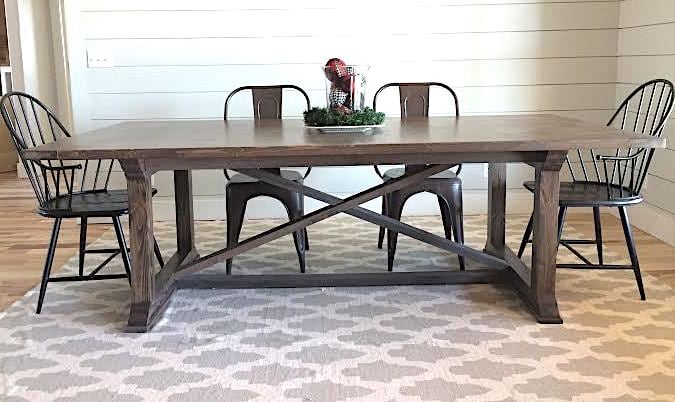
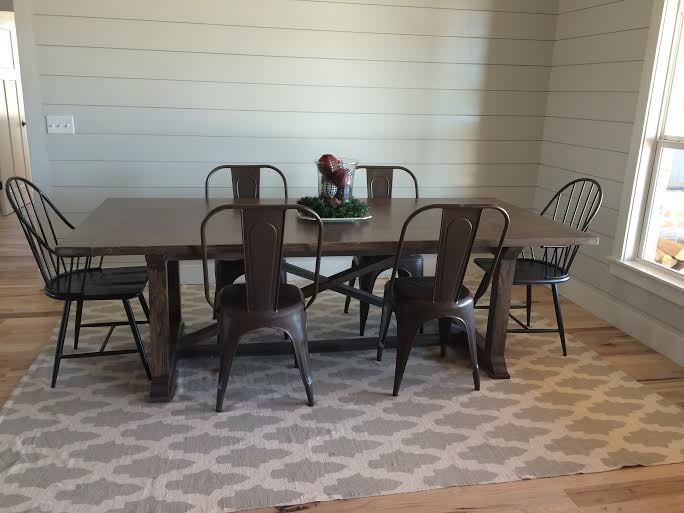
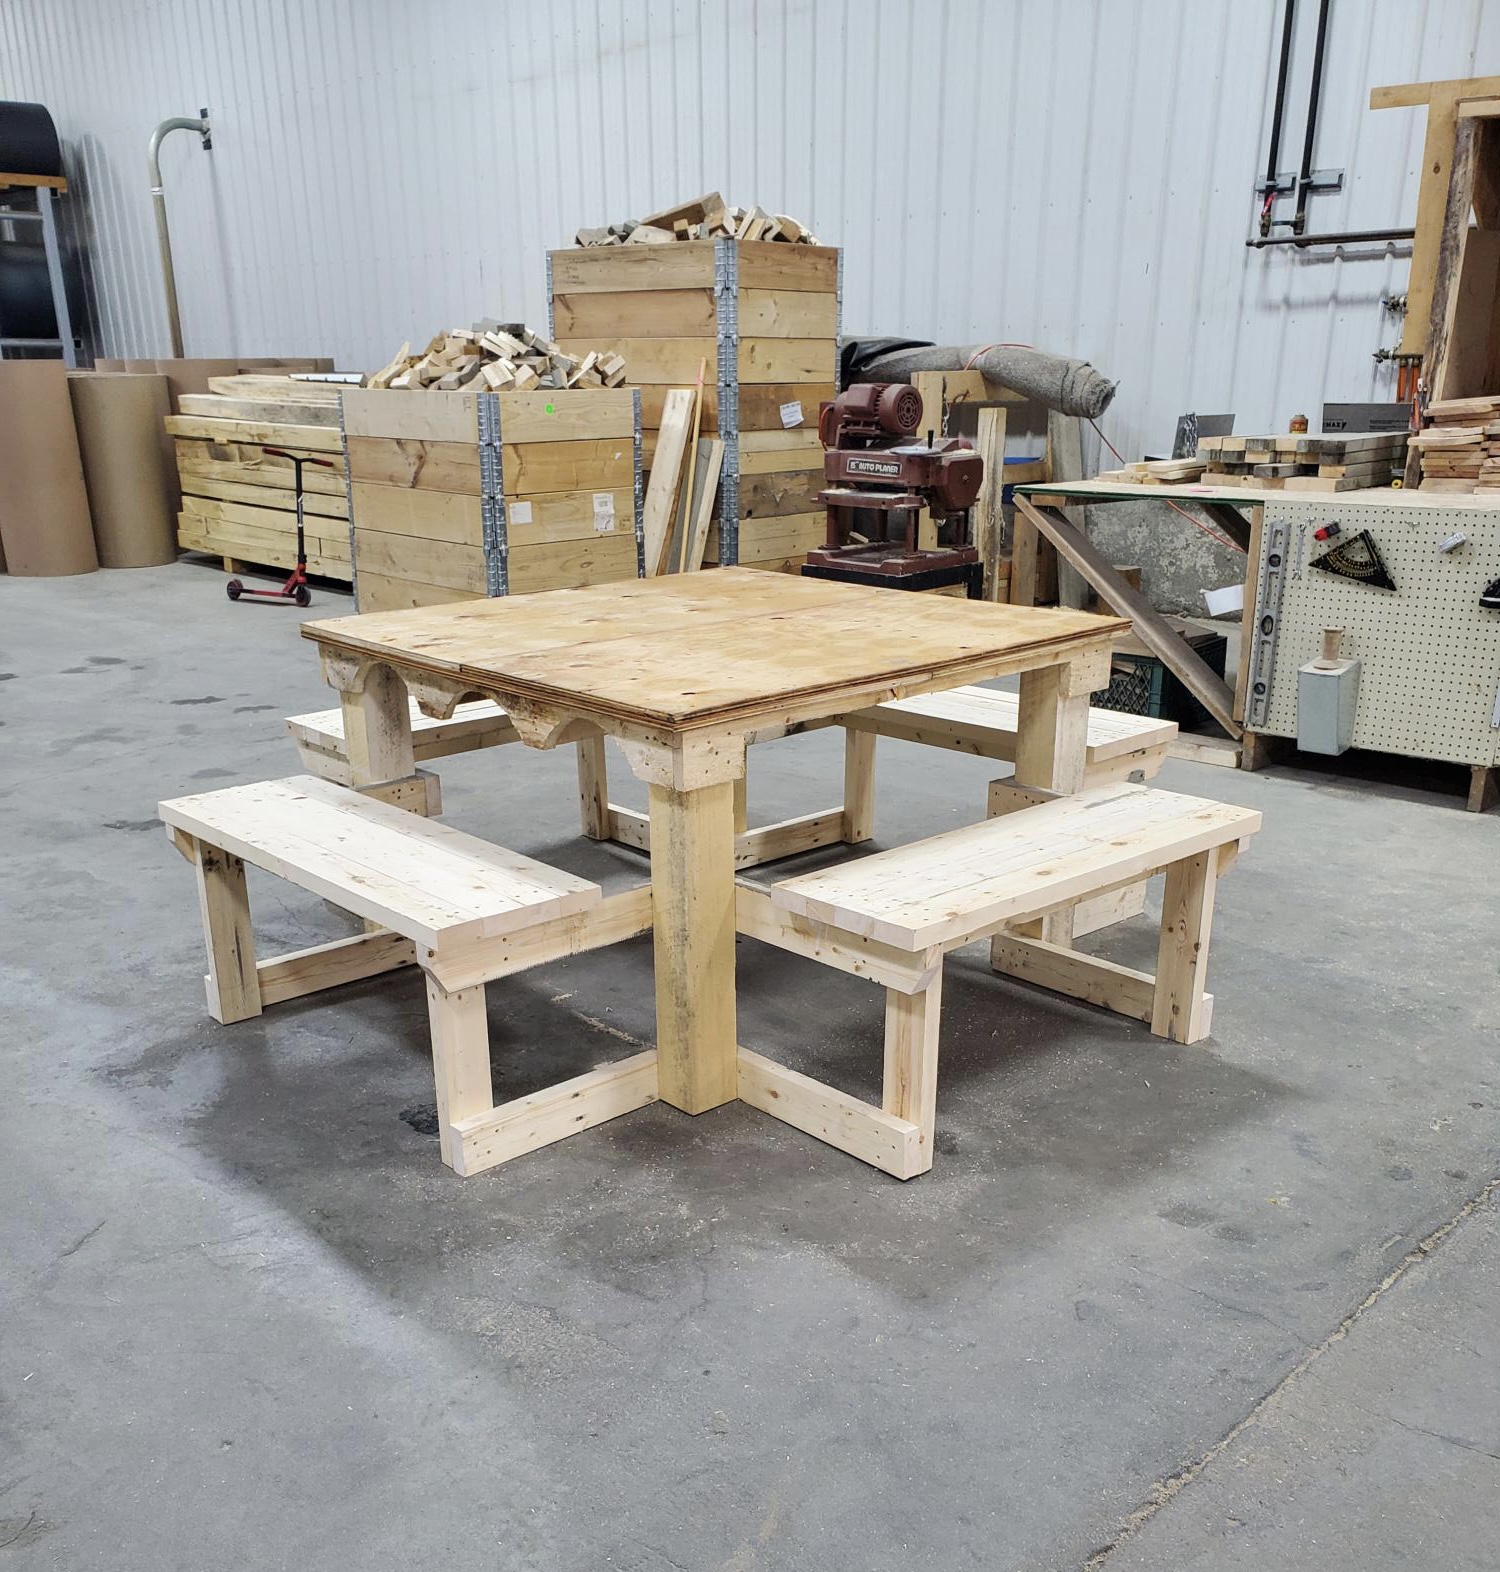
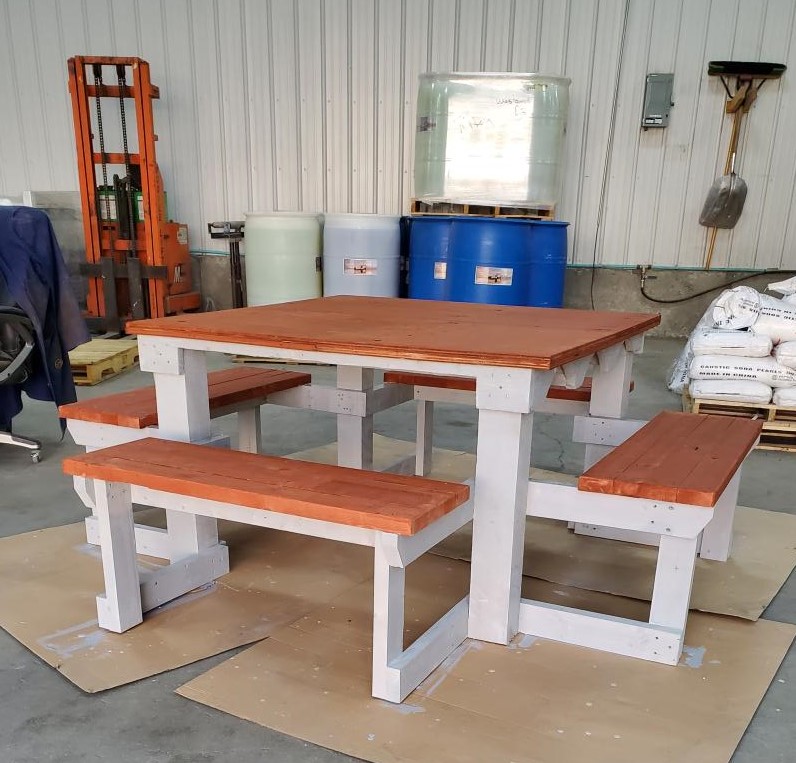
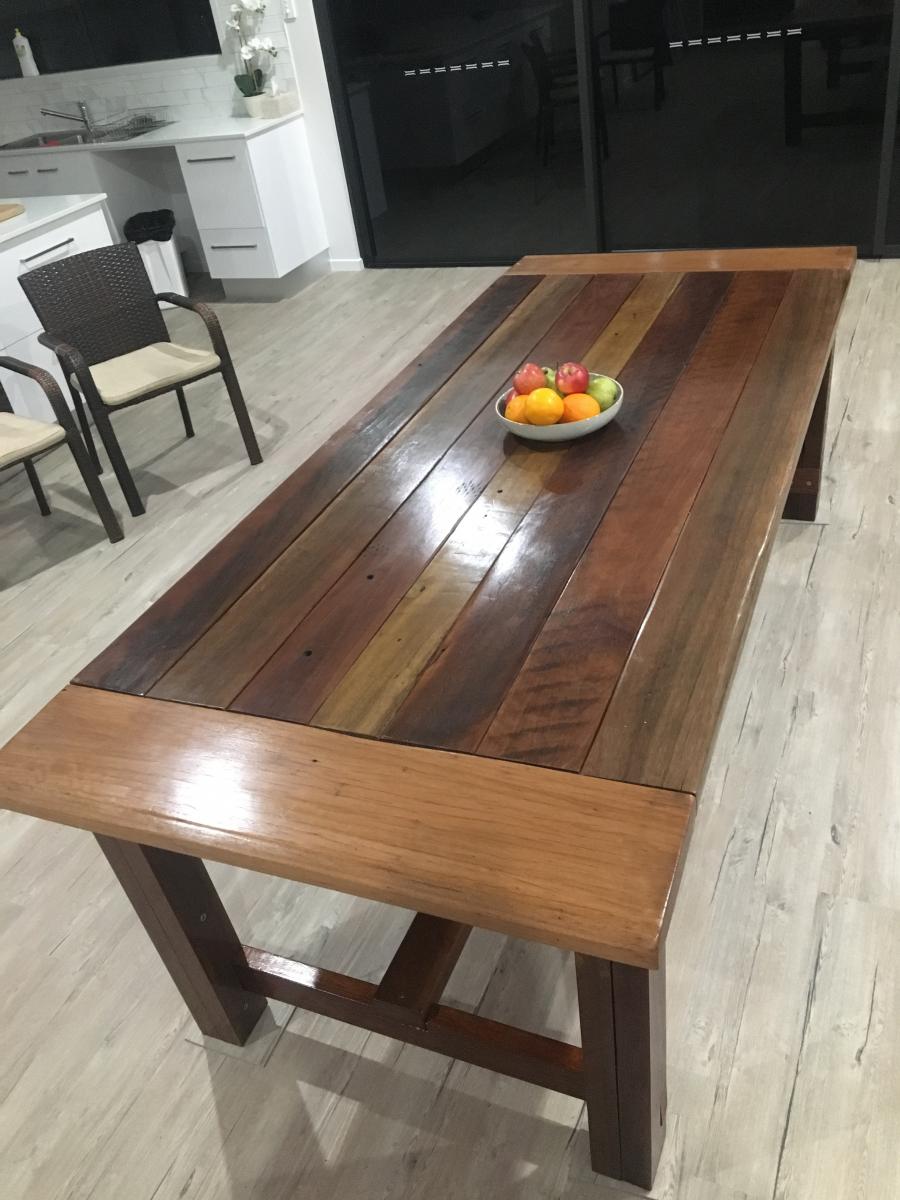
Rustic Farm House Table

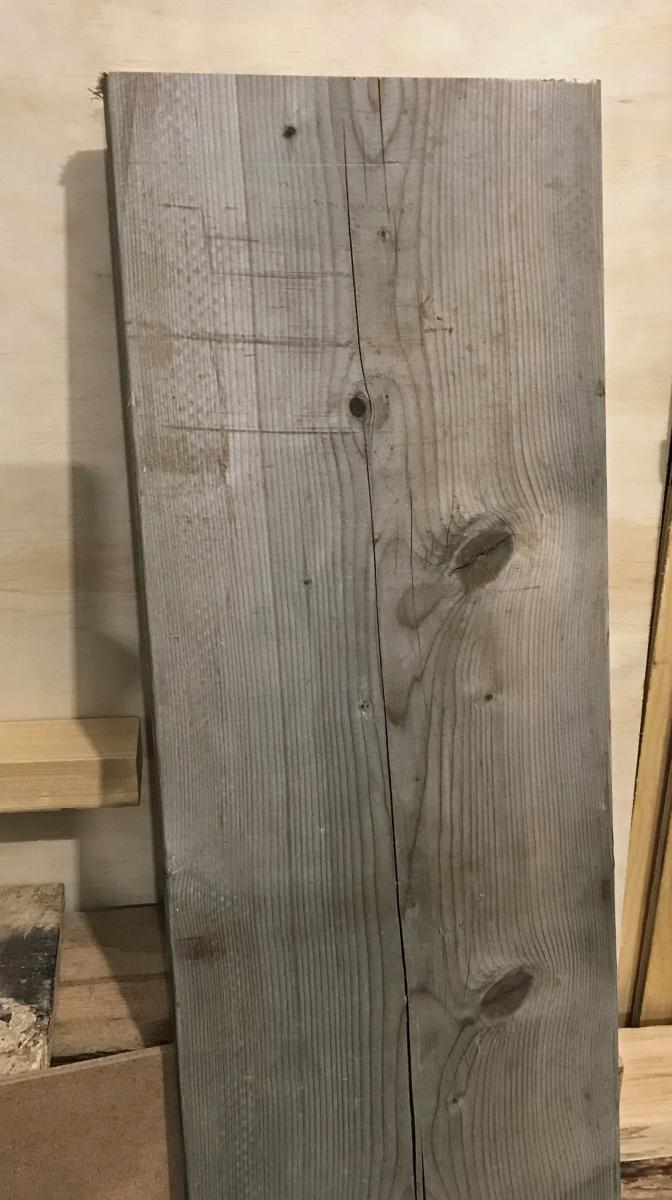
First Crack at any wood work since high school. All timber used was reclaimed hard wood, hours of
planing,sanding and clamping (its heavy). A few mistakes but that's learning.
Built from Plan(s)
Estimated Cost
$300 Australian
Estimated Time Investment
Week Long Project (20 Hours or More)
Finish Used
Estapol - Tung oil
Recommended Skill Level
Intermediate