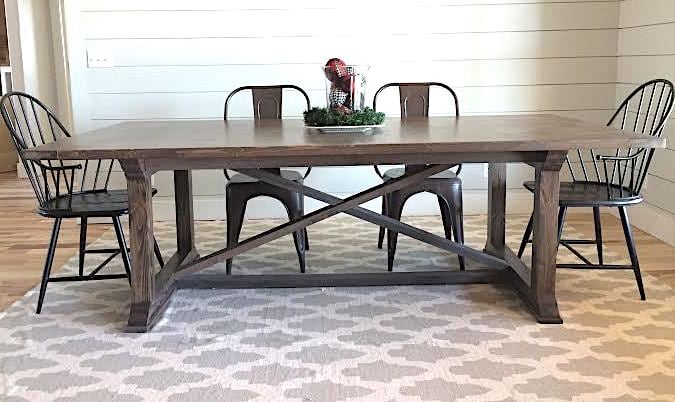
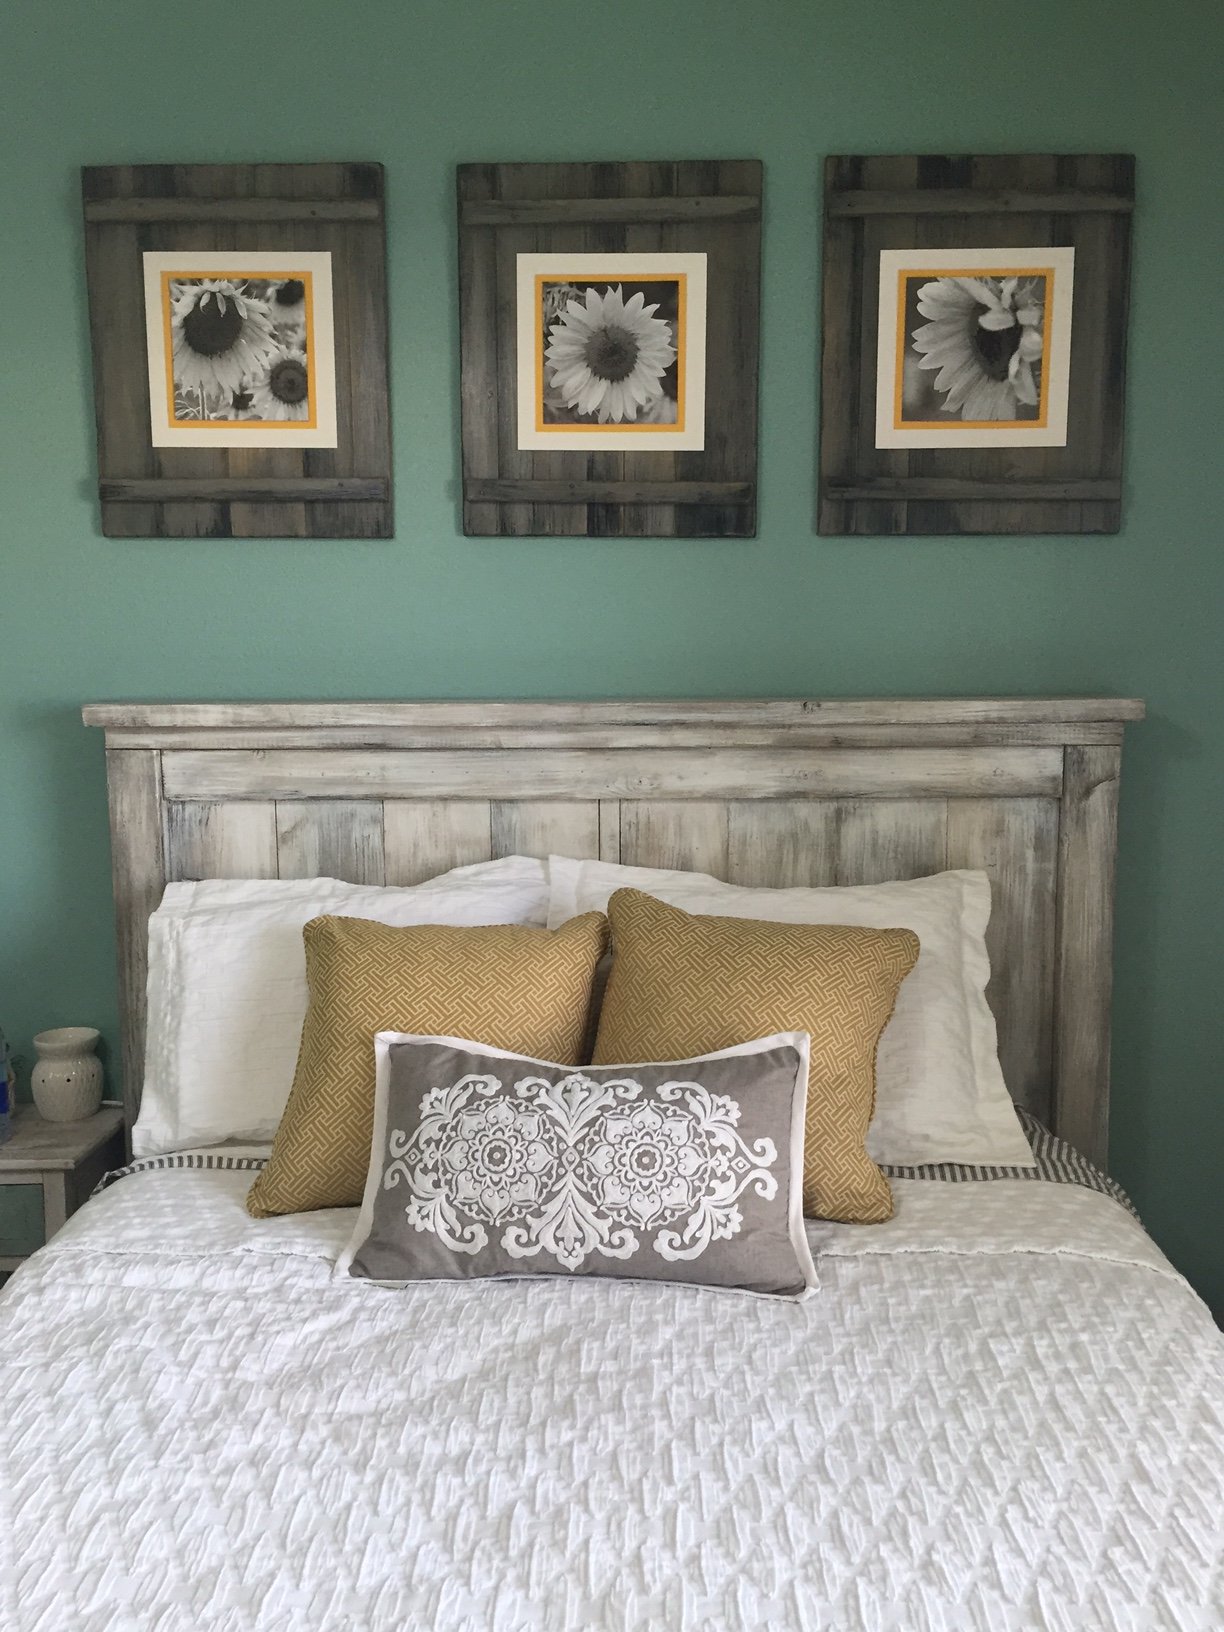
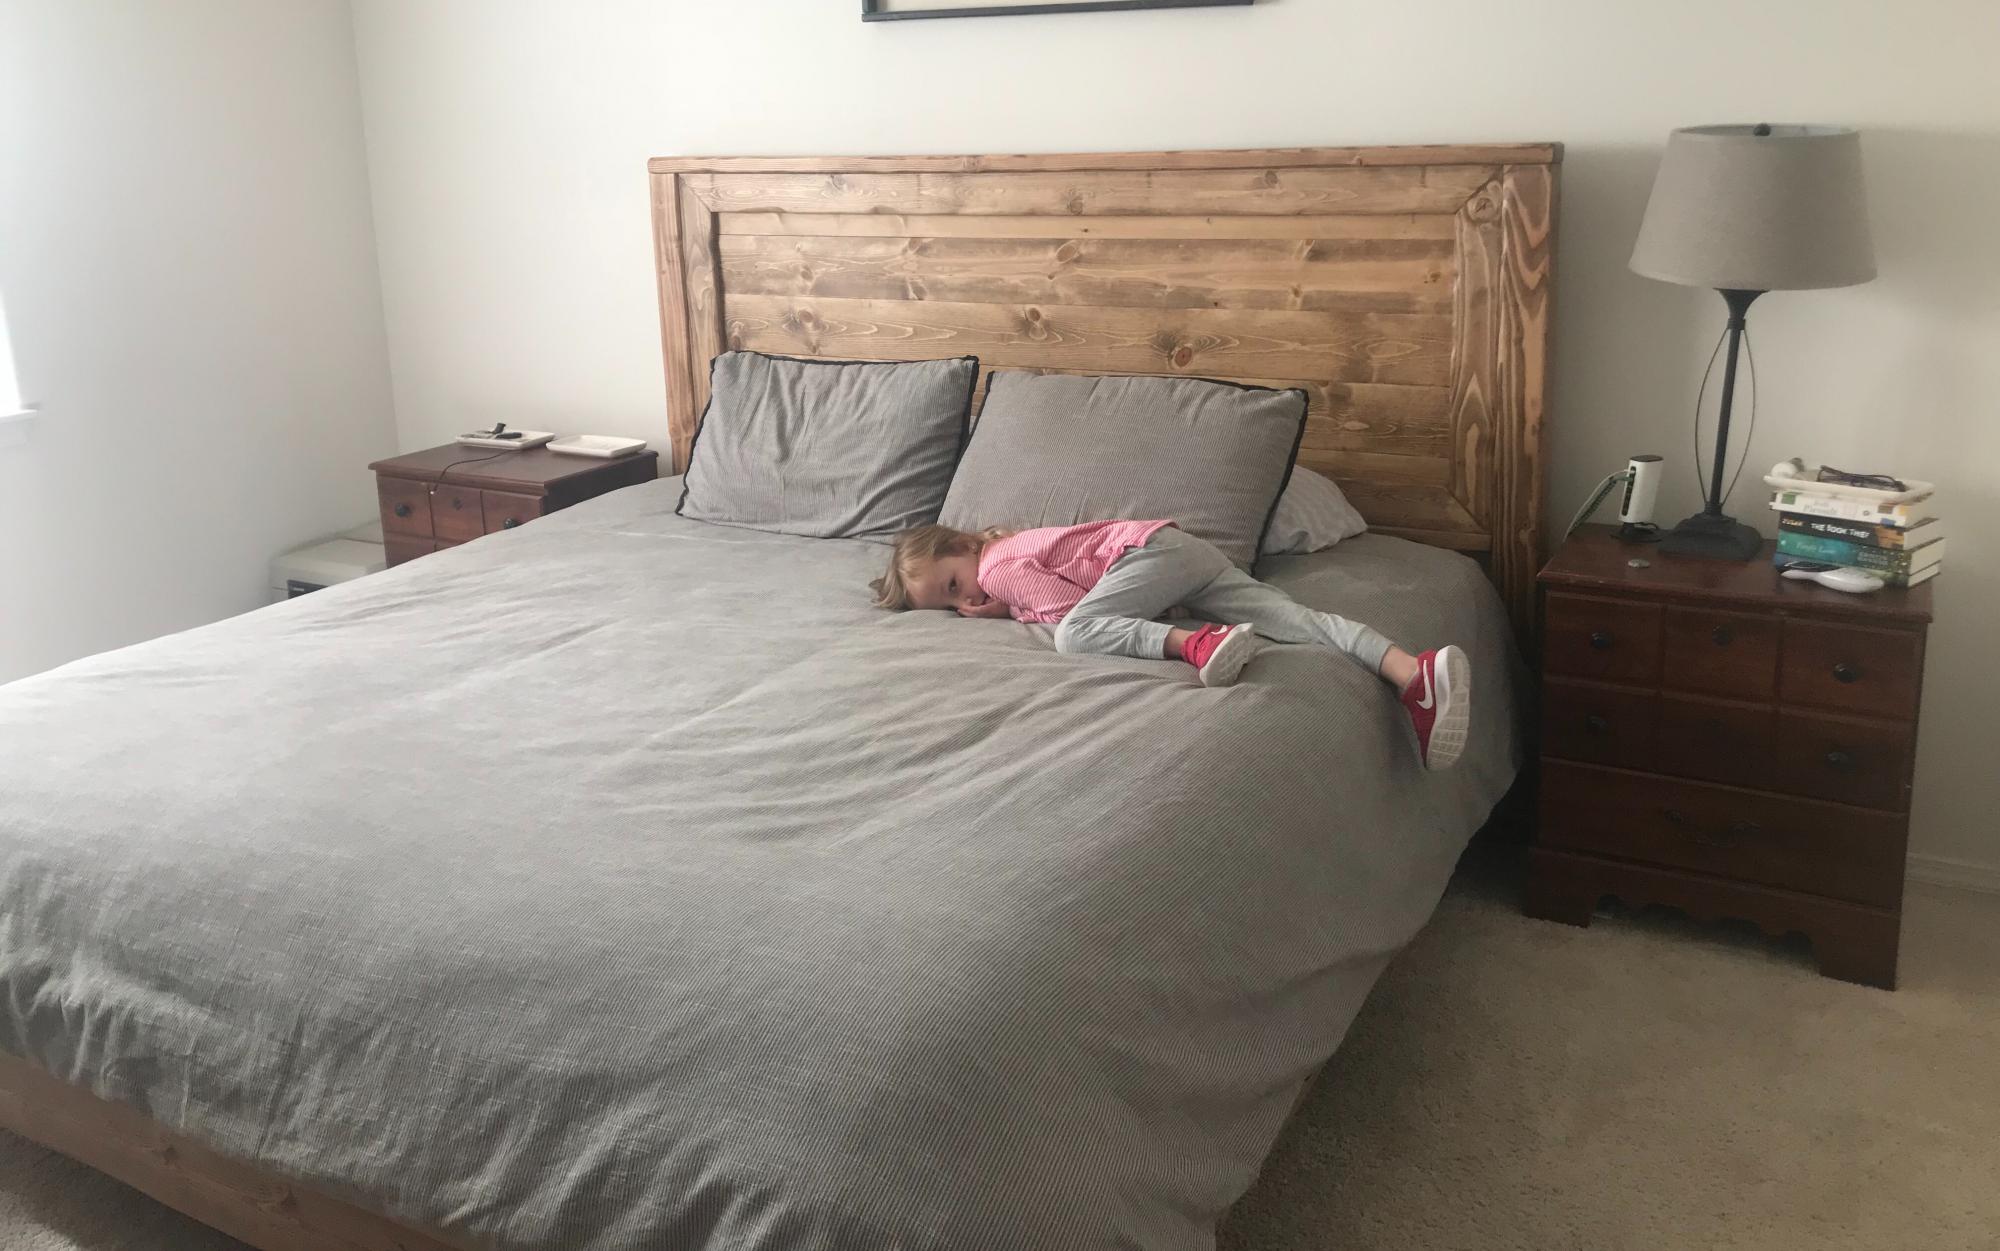
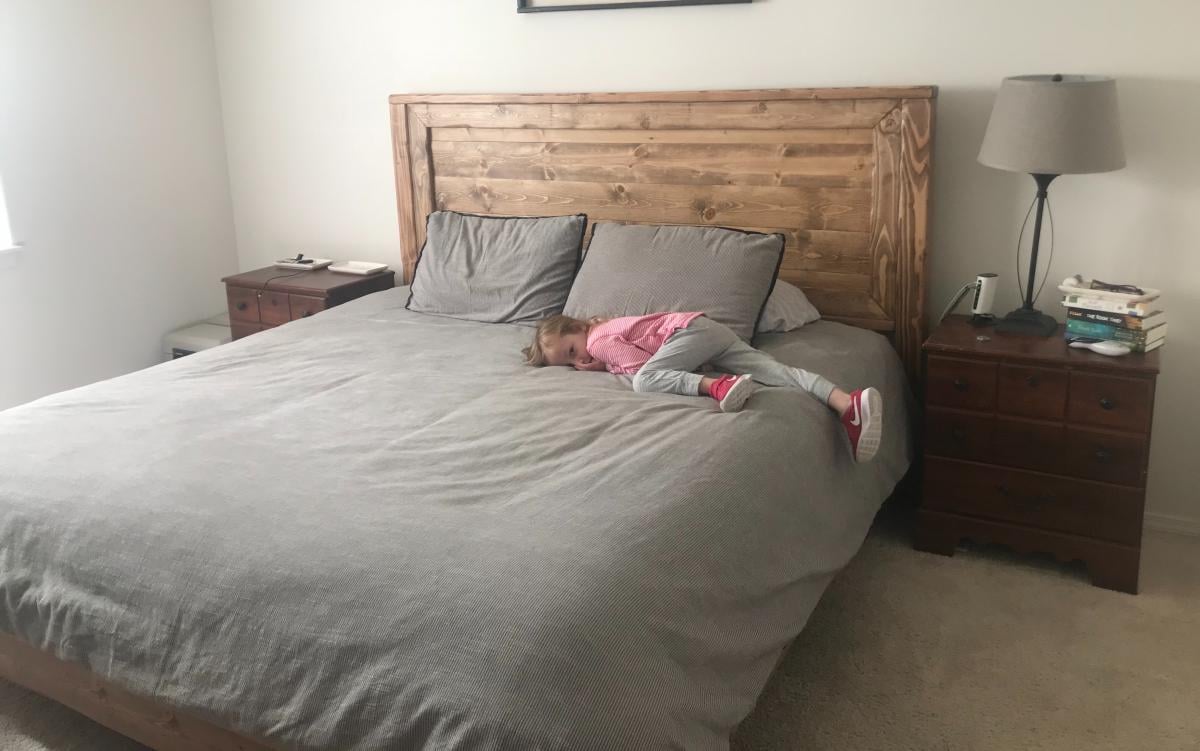
Community Brag Posts

Farmhouse Bed King

Submitted by moldah on Wed, 01/11/2012 - 15:15

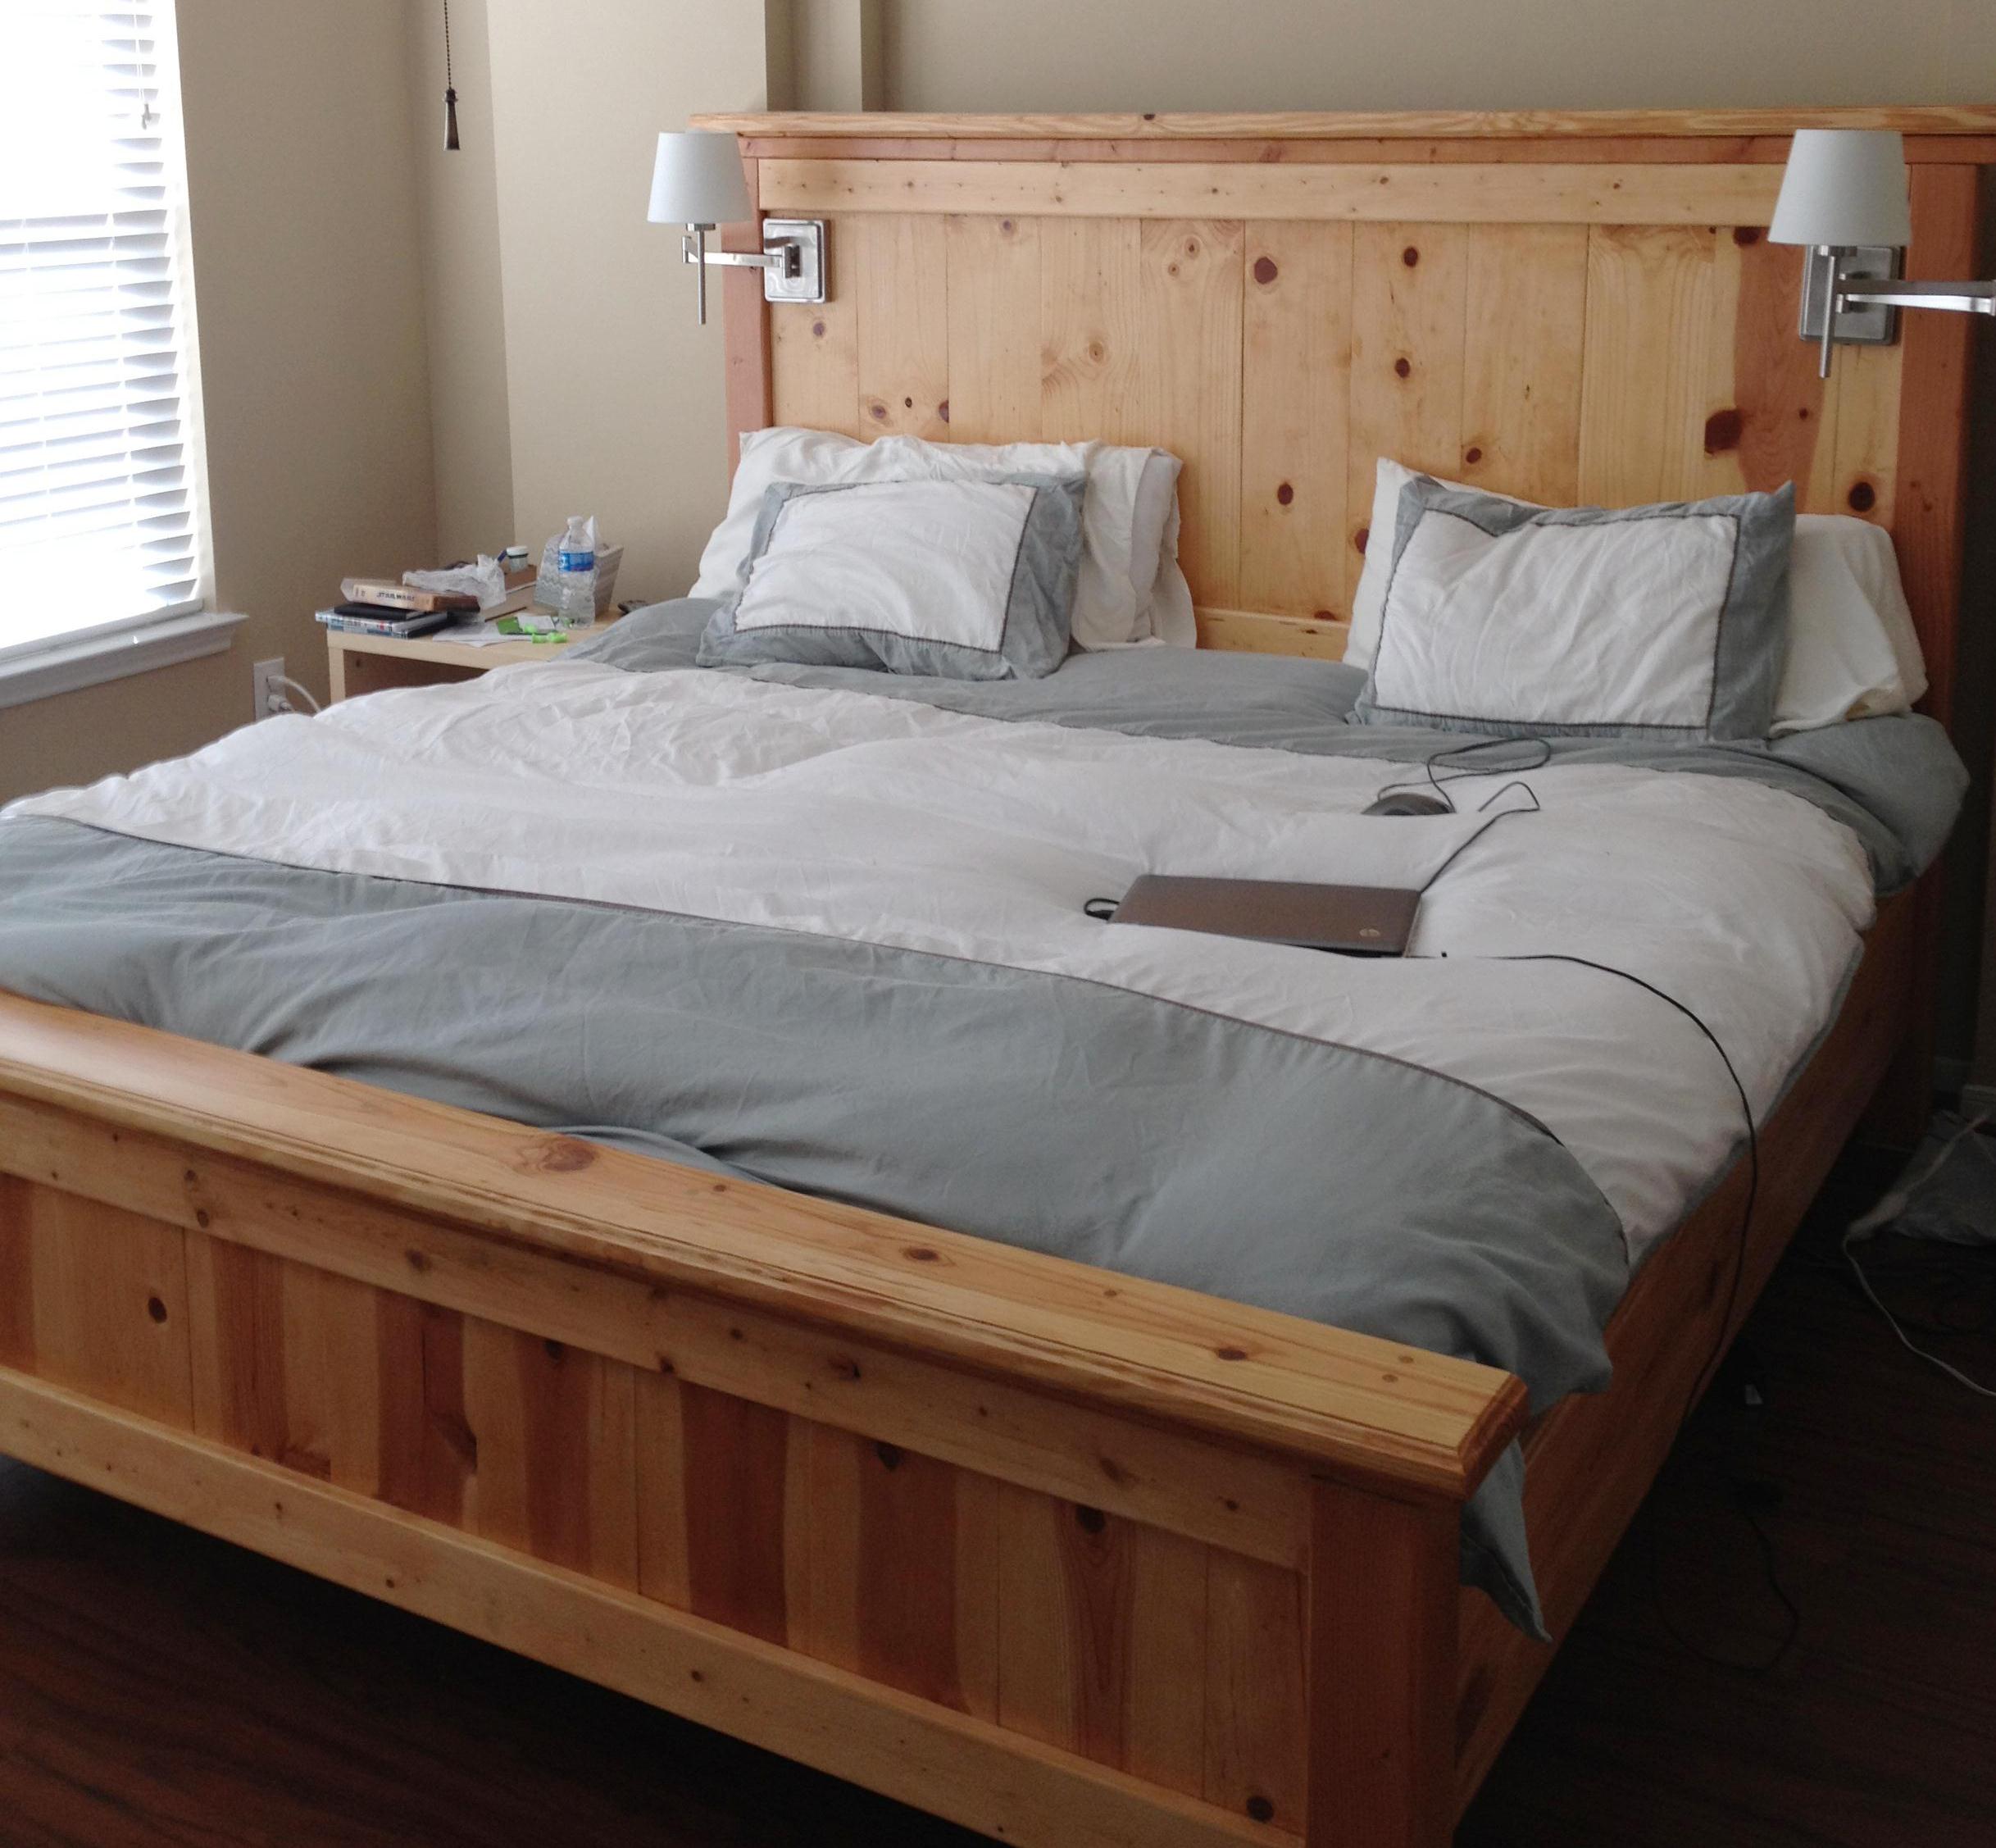
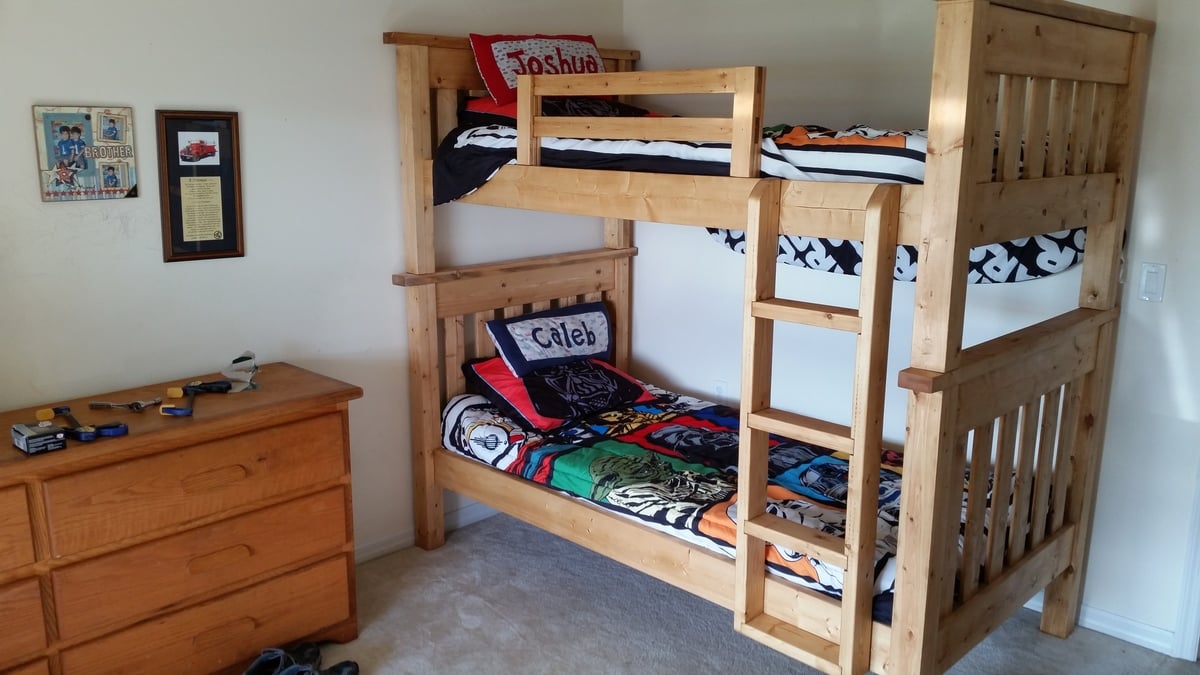
This was the plan that started my addiction! We had just gotten new mattresses, and we needed a new bed frame. All of the furniture stores have dark stains, and we wanted something natural and bright. I was searching one night found your site, and that was it. A few changes, increased the height of the headboard and footboard, wanted a slight overhang on the top of each as well. Also added an additional 2x4 between the legs of the headboard for support.

Estimated Time Investment
Week Long Project (20 Hours or More)
Finish Used
Natural
Recommended Skill Level
Beginner

Comments

Kate (not verified)

Wed, 01/11/2012 - 17:15

That looks great! The natural finish looks really great with your bedding. I love the higher headboard - we're planning to do the same with the farmhouse bed I'm planning so that my husband will be able to sit up in bed without hitting the back.

Did you end up using the boxspring, or is the mattress just in slats? I couldn't tell from your picture.

moldah

Wed, 01/11/2012 - 18:23

Hi, thanks for the positive response :) The mattress and box spring both are on here. In fact, I kept the bed itself on the original metal frame below, and added the side rails to hide it. Purchased the hardware for the side rails from Rockler

MichaelAndMelissa

Fri, 01/13/2012 - 08:42
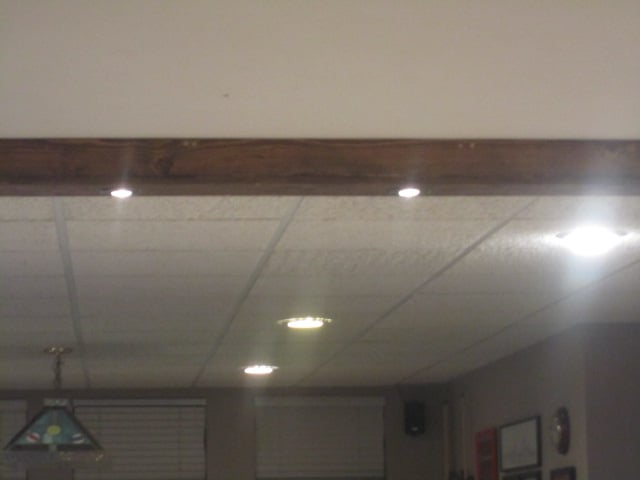
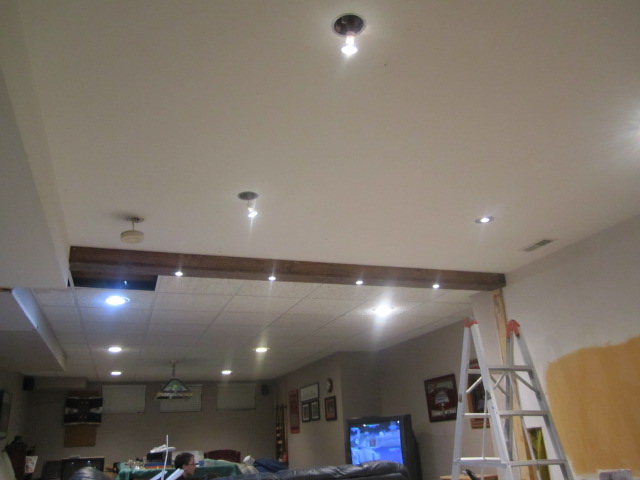
All I can say is wow. Definitely showing this to my wife today. We had plans to do something like this but yours is up up and away! Excellent job!

moldah

Fri, 01/13/2012 - 15:48

I'm glad you like the lights. I go back and forth on them. I hated that I had to drill holes into the wood to run the cord, as it does not give us the option to remove later on. Also, if you go with the lights, you might want to put some double sided tape on the back. Thanks!

RyanJ (not verified)

Tue, 01/17/2012 - 11:15

The bed looks great. The routered edges are a nice touch.

Did you attach the bed to the original metal bed frame at all?

moldah

Tue, 01/17/2012 - 14:20

Yes, the 2x4 I put between the headboard legs for support, I did drill a hole on each side, and attached the top of the bed frame to that with bolts.

Szetoklin (not verified)

Tue, 04/03/2012 - 09:41

My husband just forwarded me a link of your bed.
It is SO SO beautiful!!! Love the reading light. Where did you get that by the way?
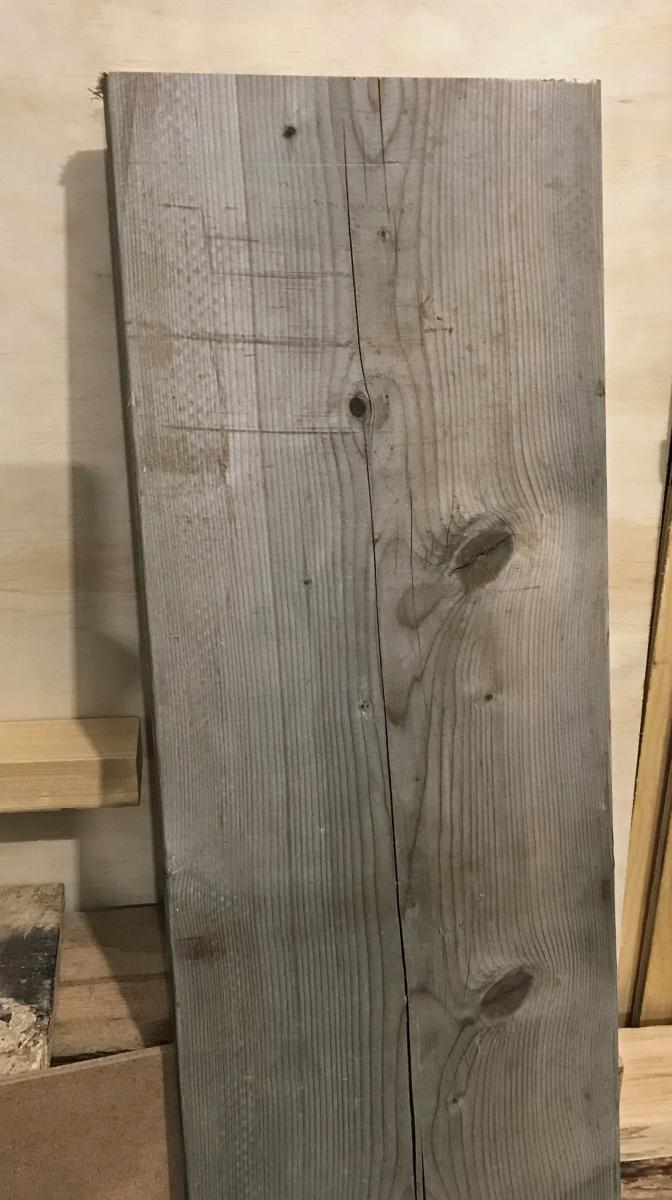
The bed is so pretty. Love the natural wood look and the knots.
We too have mostly dark wood stain in the house and love this light color look. Did you stain it or coat it with something?

igapo

Sat, 04/28/2012 - 15:26

Hi Moldah,

Very impressive and great addition with the lights. Can you tell me how tall your final headboard and footboard are? Thanks.

Elizabeth "Lizzie" (not verified)

Sat, 06/16/2012 - 04:46

LOVE IT! I love doing things like this and I am inspired by seeing your pictures!! I am especially impressed with the Star Wars case noted on your endtable LOL Right there I know you have great taste in films, too!!! I am going to do this project! Great job!

Usmc3mama

Fri, 08/09/2013 - 20:35

Since there were no plans we are making one similar. Thanks for sharing

Marybaileycole

Wed, 09/04/2013 - 17:10

Wow, this is so beautiful! Great Job! We are very amateur builders and I had a couple questions. Do you have a blog with more details? How did you achieve the routered edges? And also, do you mind sharing the cost of the project? Thanks!

rangers_31

Sun, 11/03/2013 - 08:44

By how many inches did you increase the height of the headboard and footboard? I am thinking about doing the same when I build this bed and was hoping for some guidance.

Sofa table

Submitted by thomas3557 on Sun, 12/01/2013 - 16:37

This is a sofa table made from 2x6 framing lumber. I did the bottom shelves a bit different than the plan.

Estimated Time Investment
Day Project (6-9 Hours)
Finish Used
Vinegar/Steel wool on top and black milk paint on bottom.
Recommended Skill Level
Beginner

Comments

philipmcraft

Mon, 11/28/2016 - 15:20

Where are the plans for this sofa table?  I see the pics but don't see anything about dimensions.

Simple Twin Bunk Beds

Submitted by Anonymous (not verified) on Mon, 02/15/2016 - 14:38

I built the Simple Bed into bunk beds. The plans for this project are pretty straight forward. The only change I made in the plans, was use 2" x 4" angle plates to mount the side rails to the head and foot boards. This made it easy to assemble and disassemble if the beds needed to be separated or moved. I also had to use two 2"x4"'s mated together to make the bed posts since 4"x4"'s are only available pressure treated. The ladder is constructed of 2"x4" with the steps spaced 10" on center. 

Built from Plan(s)
Estimated Cost
$300
Estimated Time Investment
Week Long Project (20 Hours or More)
Finish Used
I stained the beds with Minwax "Puritan Pine 218". I prepped the wood with Minwax Pre-Stain Conditioner. Pre-Stain Conditioner prevents the stain from looking blotchy.
Recommended Skill Level
Intermediate

Comments

Full size Storage bed for Grandson

Submitted by Anonymous (not verified) on Tue, 10/01/2019 - 20:17

My grandson needed a bigger bed. His mom needed more storage. So, with a few tweaks, this storage bed was just what they needed. One side will always be against the wall so on that piece I added a hinged too so that seasonal items could be stored there-like gilly suits for hunting season. There’s also room between the two side pieces for more storage. They didn’t want it too tall, But still needed multiple drawers. There are four 8” drawers on the side, with two false fronts on the side of the end piece. The end piece had two large deep drawers that will be perfect for bulky items-lots of sweat shirts. So far so good-they both love it.

Built from Plan(s)
Estimated Cost
$150
Estimated Time Investment
Week Long Project (20 Hours or More)
Finish Used
Minwax Early American stain. Polyurethane
Recommended Skill Level
Intermediate

Comments

Modern Cedar Outdoor Storage Bench

Submitted by Anonymous (not verified) on Tue, 05/30/2023 - 16:39

I had built two outdoor chairs with love seat (modified from the sofa plans) with 2x4s. The cushion seats were 24" x 24". Where to store them? I modified the Modern Cedar Outdoor Storage Bench plans to make the box wider, higher, longer to accommodate the cushions. With five boards comprising the top, it's a bit wider than the box so I didn't need to carve in an opening.

Comments

Land of nod knock-off bankable bookcase

Submitted by Chef Sowa on Tue, 01/17/2012 - 18:43

My third project from the Ana-white.com site. Our daughter's books and toys were outgrowing the toy box and small magazine rack we were using, saw this plan, no brainier. It led me the the land of nod website, to see the real deal, and I liked the version with the closed top better, so I modified the plans to fit my needs. Added some trim and oak veneer for the edges, a little stain, and waa laa... Found some boxes at lowe's, perfect fit. We'll move it into her room after I build a new media console for the living room

Built from Plan(s)
Estimated Cost
$100
Estimated Time Investment
Day Project (6-9 Hours)
Finish Used
Minwax poly shades antique walnut satin
Recommended Skill Level
Beginner

Comments

Media Stand

We built this media stand for our home and we had many that followed. We put a backing on ours to hide the cords and such. It makes it feel a lot classier & takes under 5 minutes to add! We used 1/8" particle board and we used our neumatic nail gun. 

All in all, this is a super easy beginner project that adds a big bang to the space!

Built from Plan(s)
Estimated Cost
80.00
Estimated Time Investment
Afternoon Project (3-6 Hours)
Finish Used
This is our custom beachwood stain. A few stains from Minwax mixed together.
We then Distressed it & applied 3 coats of semi-gloss polyurethane
Recommended Skill Level
Beginner

Tryde End Table

Submitted by frmoody on Wed, 10/02/2019 - 08:49

I had a very old, weathered 2 x 10 and wanted to build a couple of end tables for beside our new couch. All I did with the top was to lightly sand to take away a bit of the weathered wood. I had to purchase two 4 x 4 x 8' fir posts for the legs. I decided against adding the bottom shelves.

Estimated Cost
$50
Estimated Time Investment
Weekend Project (10-20 Hours)
Finish Used
For the top all I applied was two coats of Tung Oil. The legs were given two coats of Minwax Water Based Colonial Pine stain followed by two coats of Varathane semi gloss interior water based finish
Recommended Skill Level
Beginner

Comments

Faux beam

Submitted by vickyand on Sun, 01/22/2012 - 20:07

We took down a wall in our basement which left us with a gap in between the ceilings and two ceilings at different heights...the beam filled the gap perfectly!

Built from Plan(s)
Finish Used
we stained it with Minwax Special Walnut.
Recommended Skill Level
Beginner

Faux Fireplace for Holiday Markets

For the holiday markets this year, some other dog related businesses, along with myself, colaborated on dog stockings! I really wanted to feature the stockings and not just decorate my booth with generic ornaments etc. My boyfriend was kind enough to help me with this project and it has been a hit! I think I am going to change out the decal with chalkboard though. The decal just looks to cheesey and I think the chalkboard will give it a more rustic and crafty fell. Thanks for the idea!!

Finish Used
Stain for the molding and then stain with color added for the interior green portion
Recommended Skill Level
Beginner

Ana White Barn Door Entertainment Center / Closet

Submitted by Anonymous (not verified) on Wed, 10/02/2019 - 17:07

After many months of trying to find the perfect piece of furniture for our bedroom, I stumbled upon Ana White’s barn door entertainment center. I loved it so much that instead, we turned it into an armoire for our bedroom. Behind the barn doors are shelves that holds our clothes, and in the center we added simple pull out drawers. The center space was perfect for our tv. We had to rework the size of the piece and it is 7 feet instead of the 8 feet that the plan called for. This is my favorite build (we have done a lot of them)!

Built from Plan(s)
Estimated Cost
$600-$650
Estimated Time Investment
Week Long Project (20 Hours or More)
Finish Used
Behr Graphite grey
Recommended Skill Level
Intermediate

Comments

Chaise Lounge

Submitted by Anonymous (not verified) on Fri, 06/09/2023 - 15:53

It was so much fun to do and it's perfect for my front porch! I modified it a bit to fit and it was easy to do so.

Built from Plan(s)

Comments

Combined Tryde Media hutch & Rustic Media Console

Submitted by lazyLiz on Sat, 01/28/2012 - 20:56

My very second furniture do-it-myself. This furniture was inspired by both the Tryde hutch and rustic media console built to suit my space and need. Whew! now I feel like I can build anything:-) Thanks Ana!

Estimated Cost
$250.00
Estimated Time Investment
Week Long Project (20 Hours or More)
Finish Used
glossy white paint
Recommended Skill Level
Intermediate

Comments

My first (half) project- built-in cabinets!

Submitted by LE1066 on Tue, 12/10/2013 - 21:11

Using the base cabinets 101 post and other members' ideas and tips, I built these nine cabinets. It's my first project, and I'm very pleased. I live in a 1960's split level with nearly zero storage space... Until now. Next step is to top them with bookshelves, and add some decorative molding. Will start cutting wood once the temperature allows me to set up my sawhorses in my driveway again. Can't wait. Might make something really quick for my husband between now and Christmas. Thanks Ana and everyone else- I'm inspired.

Estimated Time Investment
Week Long Project (20 Hours or More)
Finish Used
Flat white paint inside, then sherwin Williams proClassic enamel for doors and outer surfaces. Sanding between coats seems to be important.
Recommended Skill Level
Beginner

Comments

mezzopiana

Wed, 12/11/2013 - 05:59

You may just be my inspiration for building something very similar for my kids' playroom. Very, very good-looking storage you built there! Well done - especially for a first build :)

Reese

Thu, 12/12/2013 - 07:16

Wow! They look So Good! I'm so impressed that this was your first build. Is the top just plywwod also? It looks so smooth and glossy i can't tell. How much did it end up costing?

Our Farmhouse Sunflower Bedroom

Submitted by cjschulz on Mon, 02/22/2016 - 21:58

We combined two plans to accommodate for a boxspring with a mattress. We also liked the plan with the 4x4 posts so we tweaked the two plans and made it work.

Estimated Time Investment
Weekend Project (10-20 Hours)
Finish Used
To achieve a rustic look I "sloppy painted" with 2 shades of grey, white and some black. Once the paint was thoroughly dry, I used a course grit sandpaper to lightly take off paint in some areas, leaving it thicker in spots. I then applied barn wood grey stain and immediately wiped it. I finished with a satin poly.
Recommended Skill Level
Intermediate

Comments

Dvega

Fri, 03/25/2016 - 09:44

Hi! What grey do you use , latex or it was stain?


cjschulz

Tue, 09/17/2019 - 23:07

I used two shades of grey, white and black enamel paint to "sloppy paint" in various areas.  Then I sanded off the paint, leaving some areas thicker than others.  When I liked the look recreating "rustic barn wood" I then stained over the entire surface with barn wood grey stain.

New farmhouse bed

Submitted by Anonymous (not verified) on Thu, 10/03/2019 - 11:51

I needed to replace my bed quickly. I could not sleep in my old one anymore. Unfortunately I did not have the money to buy a new one so I turned to Ana white and a short time later I had a new bed and a fresh start. My kids and I love this bed. It’s hard to get them to sleep in their own beds now!

Built from Plan(s)
Estimated Cost
$200
Estimated Time Investment
Weekend Project (10-20 Hours)
Recommended Skill Level
Intermediate

Comments

4 sided picnic table

Submitted by Anonymous (not verified) on Fri, 06/16/2023 - 13:59

4 sides for the whole family to sit.

Built from Plan(s)

Comments

Seasonal And Holiday

Media Console

Submitted by Donnalu on Fri, 02/03/2012 - 17:54

Media Console--My first build! Read all about it at http://isthisloadbearing.com/2012/01/15/media-console/

Built from Plan(s)
Finish Used
Behr Swiss Coffee
Recommended Skill Level
Beginner

Comments

jfmiller17 (not verified)

Mon, 02/06/2012 - 13:31

The details really make the piece unique. The additions of the lattice panels and the legs look like simple additions, but they make a bigg difference. It looks great.

RandyE (not verified)

Mon, 04/09/2012 - 15:40

Did you follow Anna's plans for this? Some other comments on the plan had suggested the measurements were off. Did you find this was the case?

Thanks,
Randy

lizzlysamsinson

Mon, 05/06/2013 - 03:58

I like the idea you have in there. It is quite simple but it expresses such coolness and neatness to the place. Simplicity is beauty. It is better that you make your media console not occupied with a lot of stuff.

------------------------
dragon city hack

Simple Work Bench

Submitted by Medickep on Sat, 12/14/2013 - 21:50

This is my spin on the sturdy work bench. I needed some more work space for building projects and for a few tools I acquired. My main work bench always seems to be covered in stuff so the extra space is great!

The first one I made I matched the height of the rollers for my chop saw, so I would have room for longer pieces of wood. I also put it on casters, so I can roll it onto the driveway when do things that should be done outside! The second one is fixed at the same height!

I used 2x4's with MDF on the shelves. I covered the bottom shelf and top with masonite, so it could easily be replaced when it gets nasty!

Built from Plan(s)
Estimated Cost
40-50??? (extra for casters)
Estimated Time Investment
Afternoon Project (3-6 Hours)
Finish Used
None
Recommended Skill Level
Starter Project

Benchright Coffee Table

Submitted by brass2005 on Thu, 02/25/2016 - 19:27

This was my first build other than some outdoor chairs. I learned tons while building and I got to spend time with my sister doing it. Also learned about chalk paint and other finishes from big sis. 

Estimated Cost
$75 I used 1 4' x 8' sheet of pine cabinet plywood for everything but the top to bring the cost down from $150.
Estimated Time Investment
Weekend Project (10-20 Hours)
Finish Used
General finishes Georgian cherry gel stain. Blue coral chalk paint. minwax early American stain with general finishes gel topcoat for top.
Recommended Skill Level
Beginner

Comments