Community Brag Posts

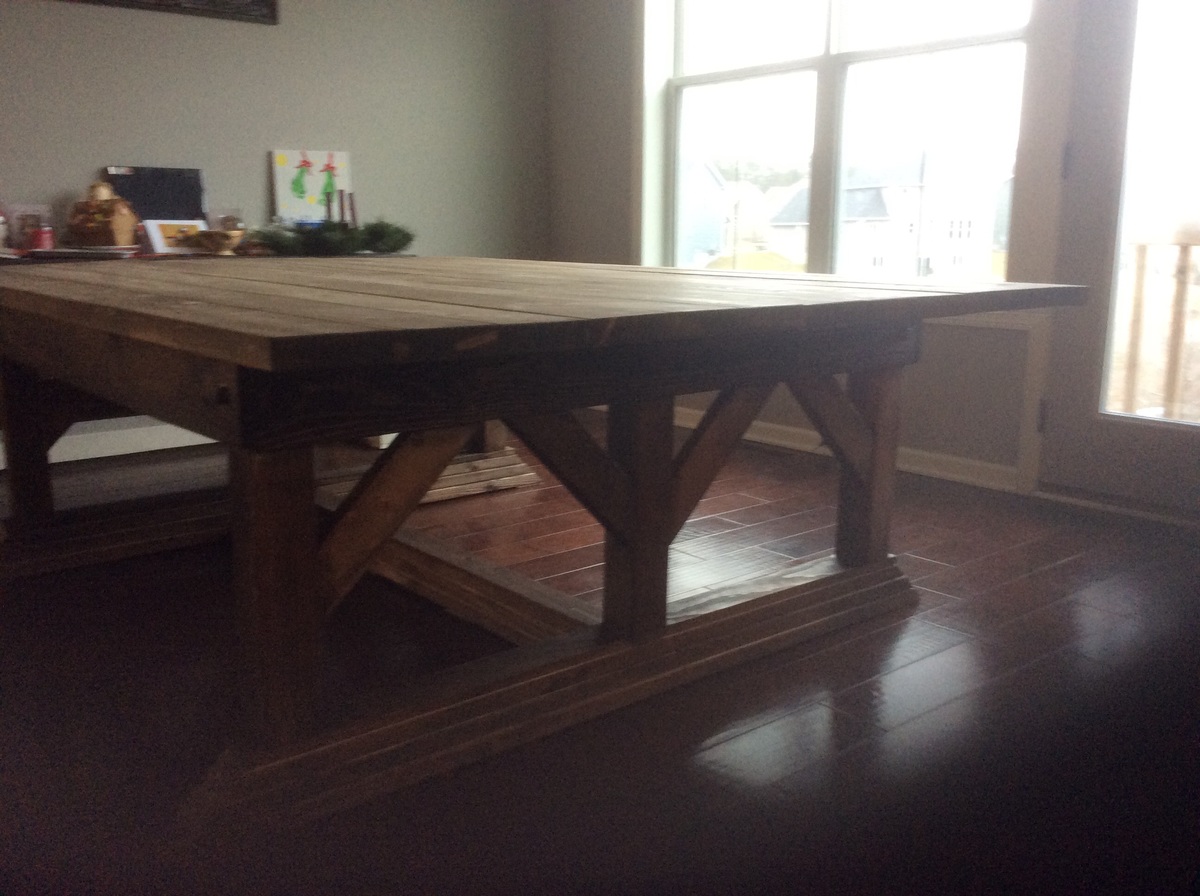
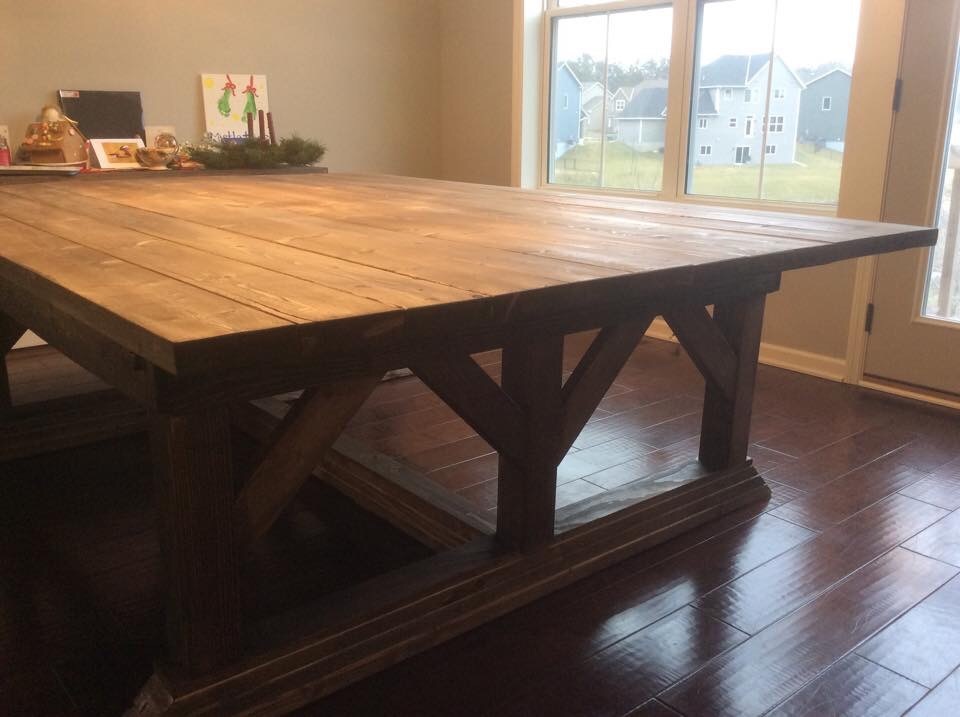
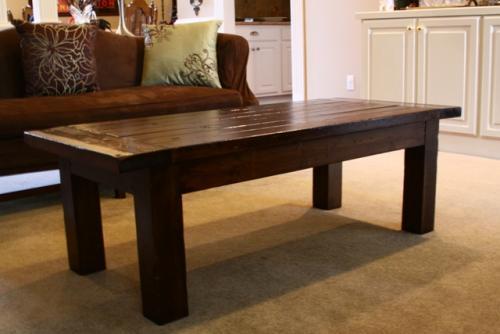
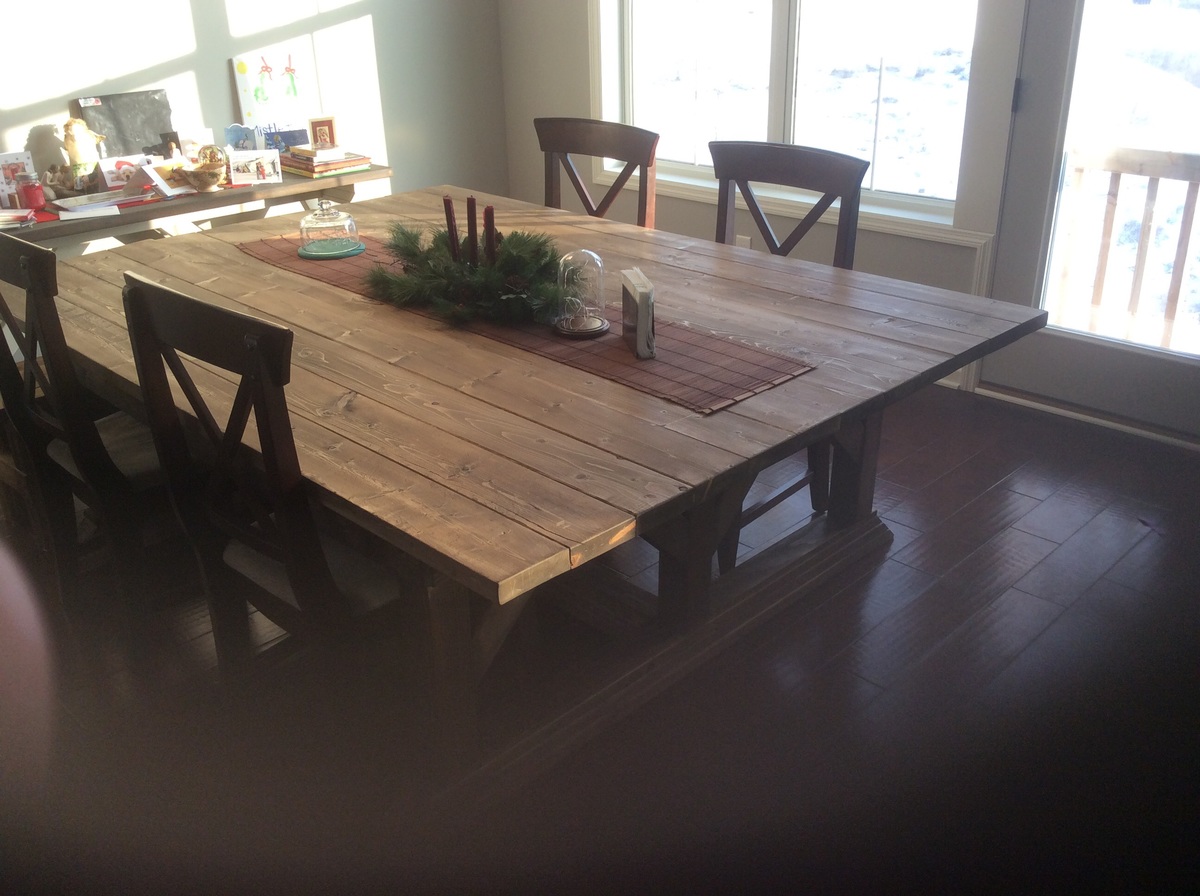
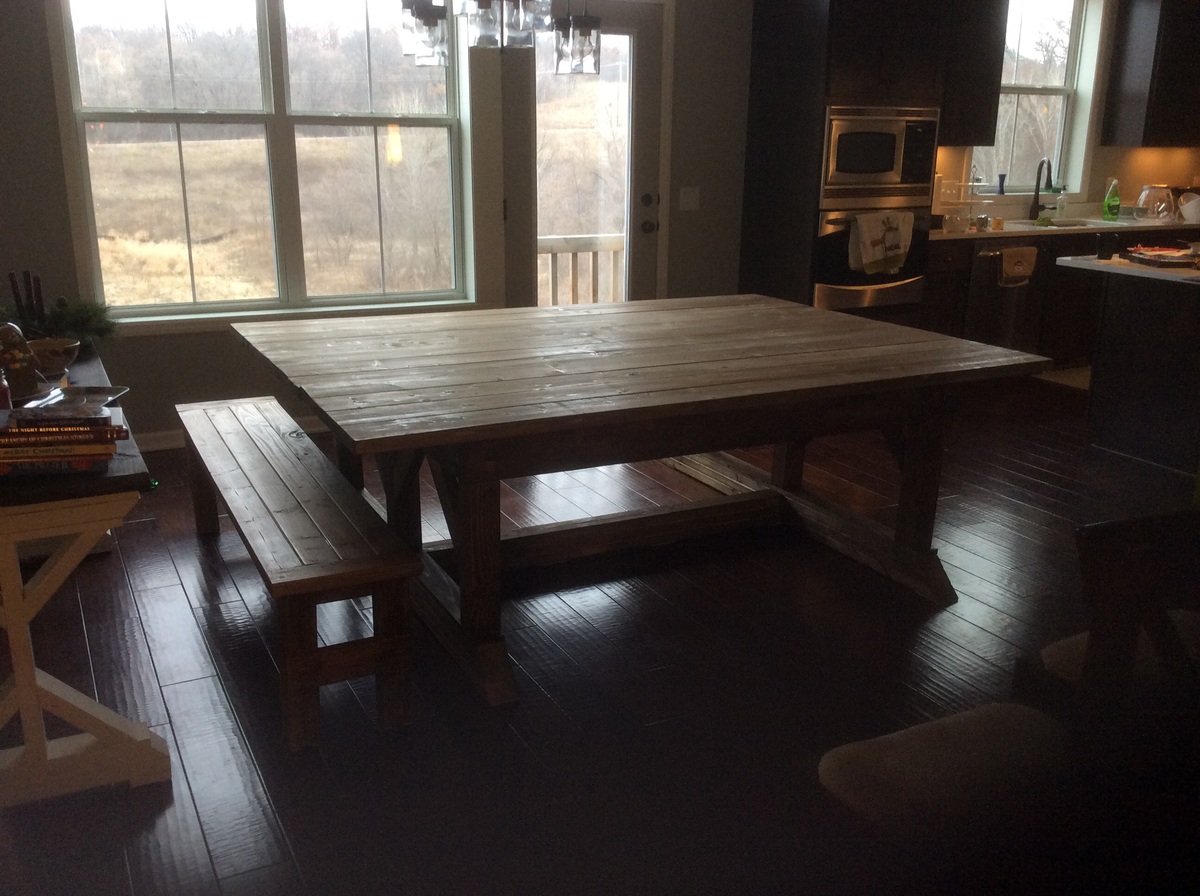
Outdoor table? We are actually using it as our dining room table.

We have an open floor plan and a large dining room area, I wanted a table that would do the space justice and provide a place where my boys could do art projects and play games, etc. This table works perfect in the space!

Built from Plan(s)
Estimated Time Investment
Week Long Project (20 Hours or More)
Finish Used
Minwax dark walnut.
Recommended Skill Level
Intermediate

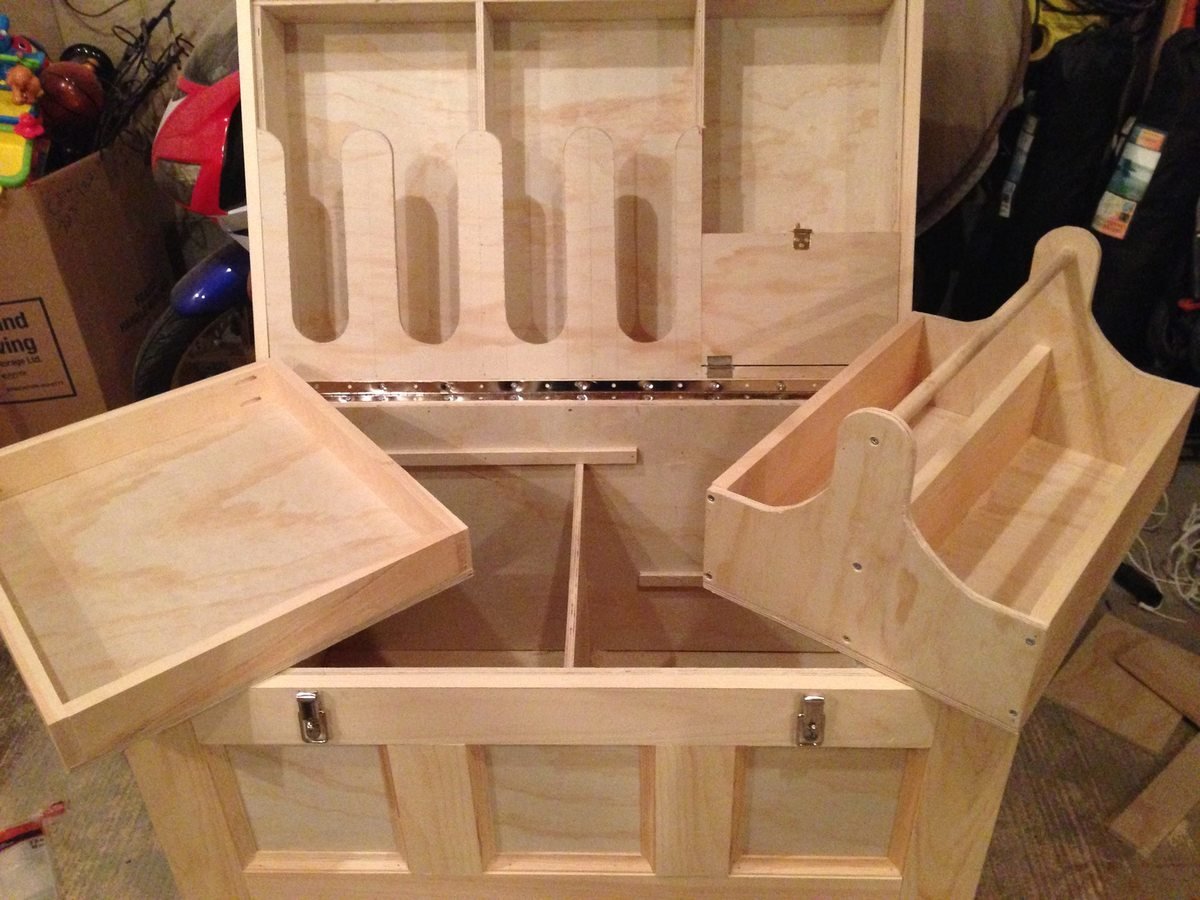
Tack Box

Submitted by Evandgc on Tue, 12/30/2014 - 16:21

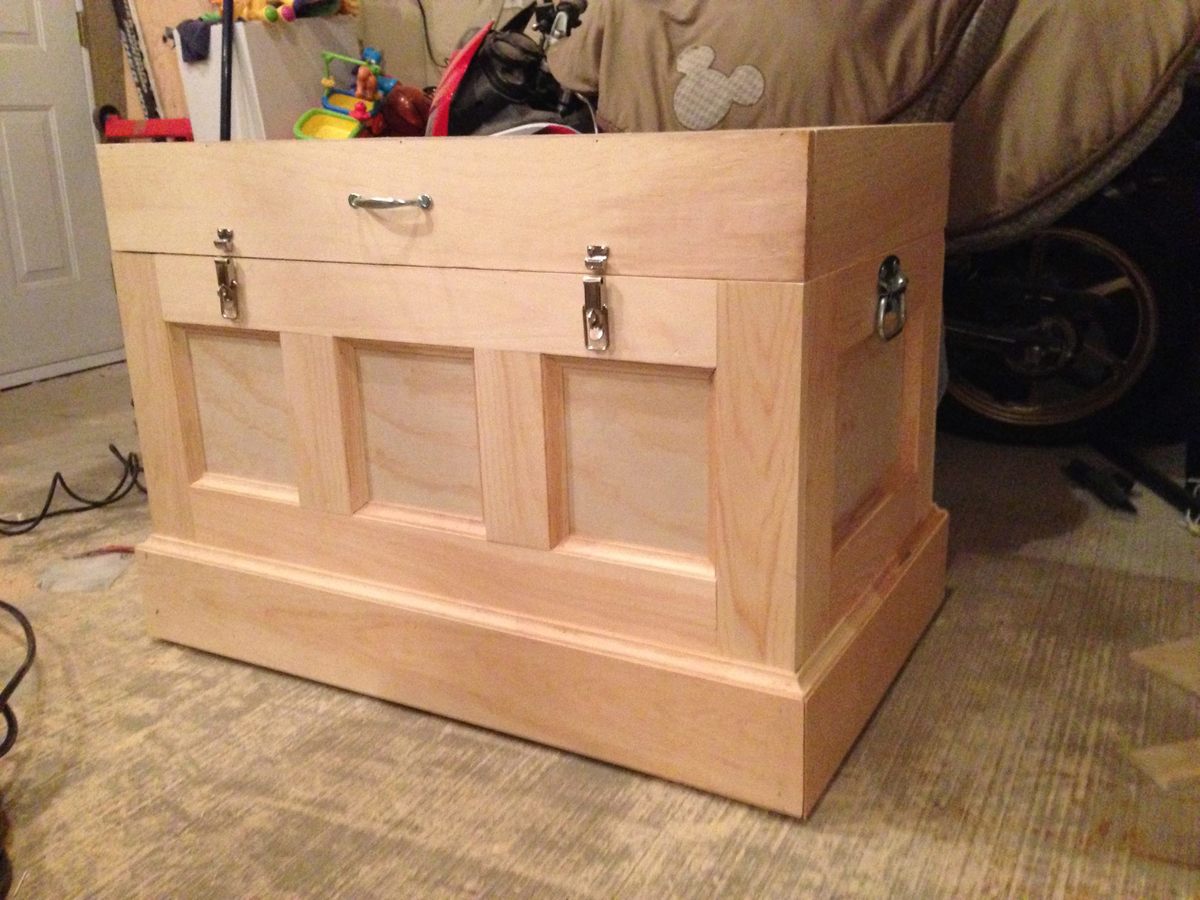
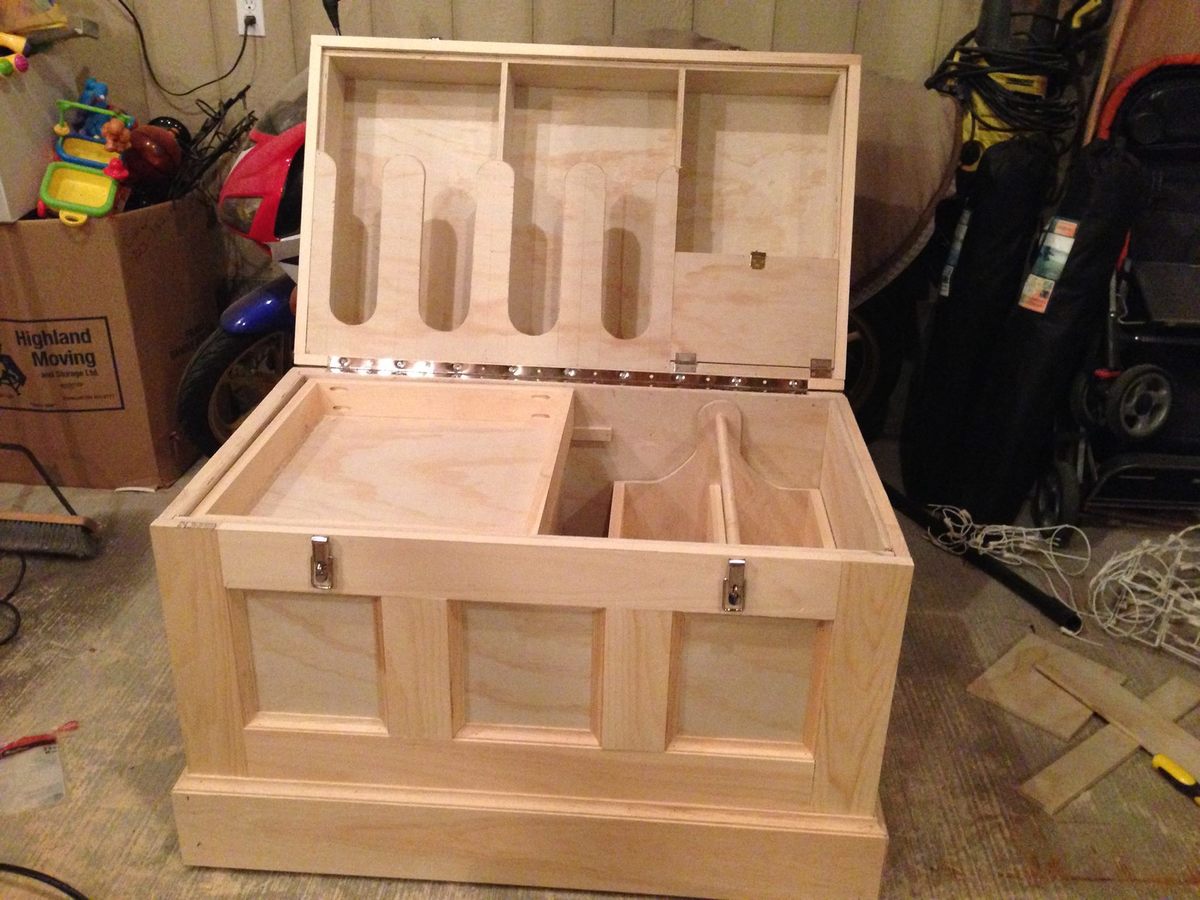
I made this box for my wifes christmas present. She has been riding horses for sometime and is planning on doing some shows. I built this box from Mimi's storage bench design, made it bigger, added a deeper box top and created the rest from looking at pictures online. Its all made of pine plywood and pine boards to keep it light. I added 4 castors to the bottom to make it easily moveable and hid them with the moulding around the bottom. Still has to be sanded and stained before it hits the barn. Its 39W X 24D X 29H. I used a piano hinge and routered the back to set the hing in. Added cove moulding around the bottom and to all the boxes around the front and side. Used a lot of pocket holes and finsh nails. Took me longer than it could have, because I planned everything as I went.  I will add more pictures when its finsihed. I would rate it intermediate to advanced depending on your skills with certain tools. 

Built from Plan(s)
Estimated Cost
Will all the hardware, wood materials, screws etc, I think it cost me around $250-$300
Estimated Time Investment
Week Long Project (20 Hours or More)
Finish Used
not finished yet
Recommended Skill Level
Intermediate

Comments

Farmhouse Table (combined)

Submitted by jb19403 on Tue, 03/05/2013 - 16:30

We don't have a Kreg Jig, so we combined the original Farmhouse Table plan (with the 2x2 supports) with the dimensions of the Updated Farmhouse Table plan. We had to adjust the size of the benches to accommodate the shorter table.

The finished product is great, but keep in mind it's pretty heavy! We built the legs and top separately in our basement and assembled them in the dining room.

Estimated Time Investment
Weekend Project (10-20 Hours)
Finish Used
For the top, we painted a thin layer of white paint. We then sanded with an 80 grit sandpaper, to expose a lot of the grain. Then we went over the wood with a walnut stain. The legs and benches are all walnut stain.
Recommended Skill Level
Intermediate

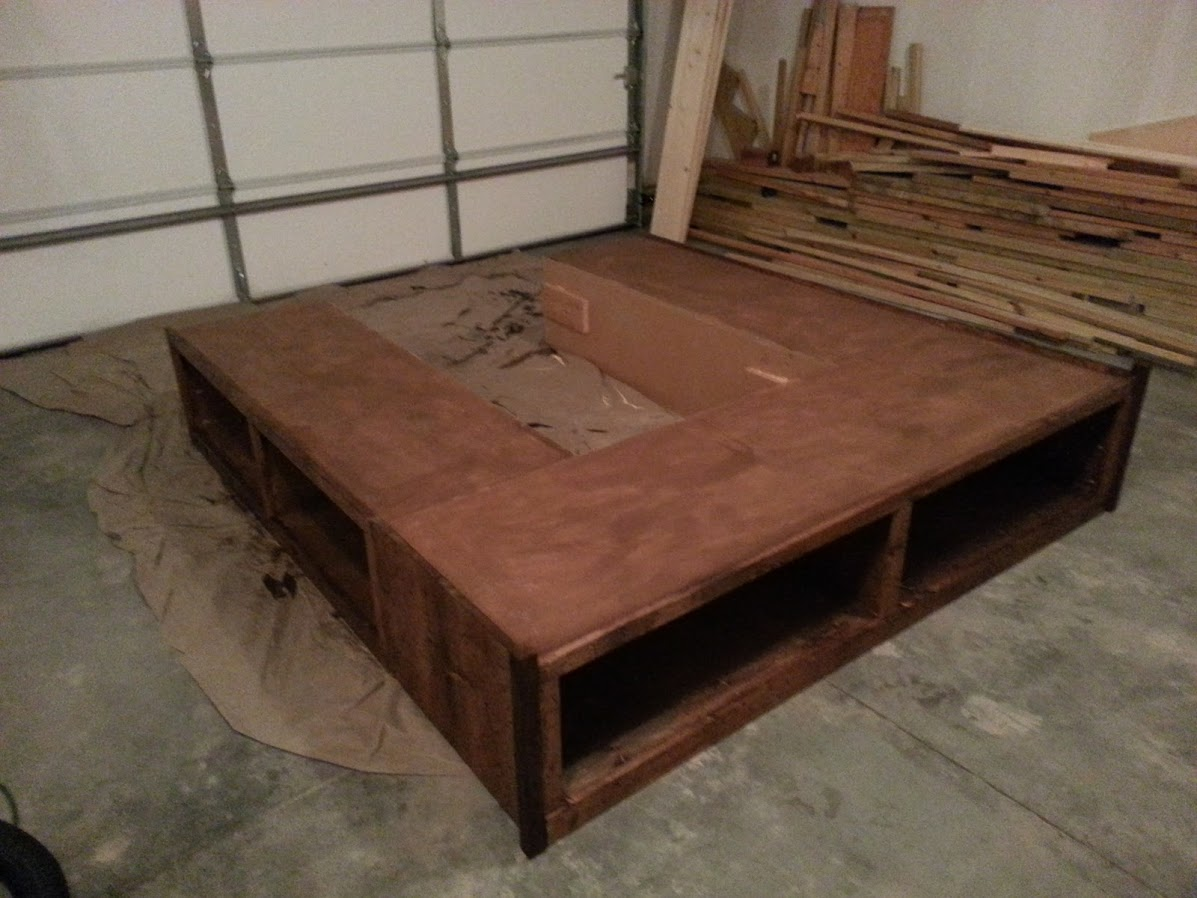
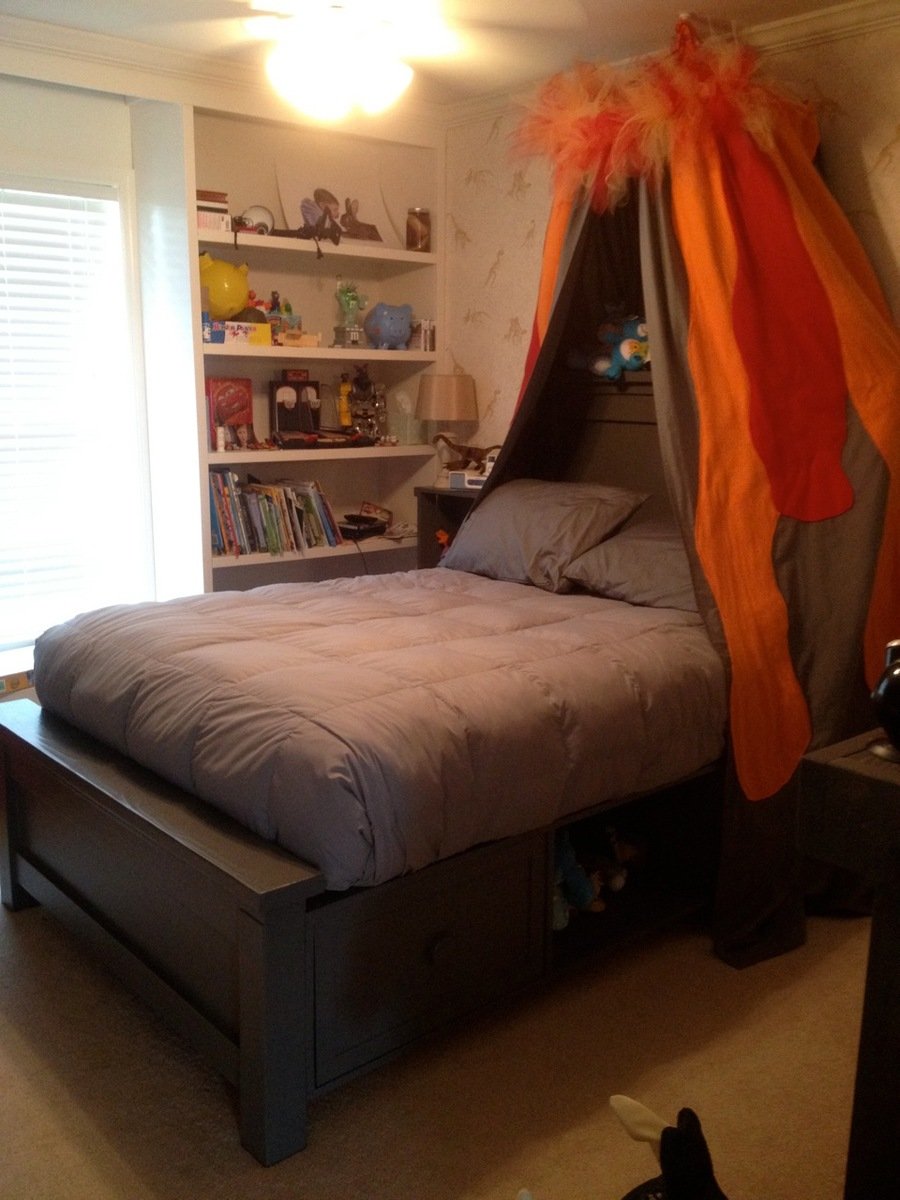
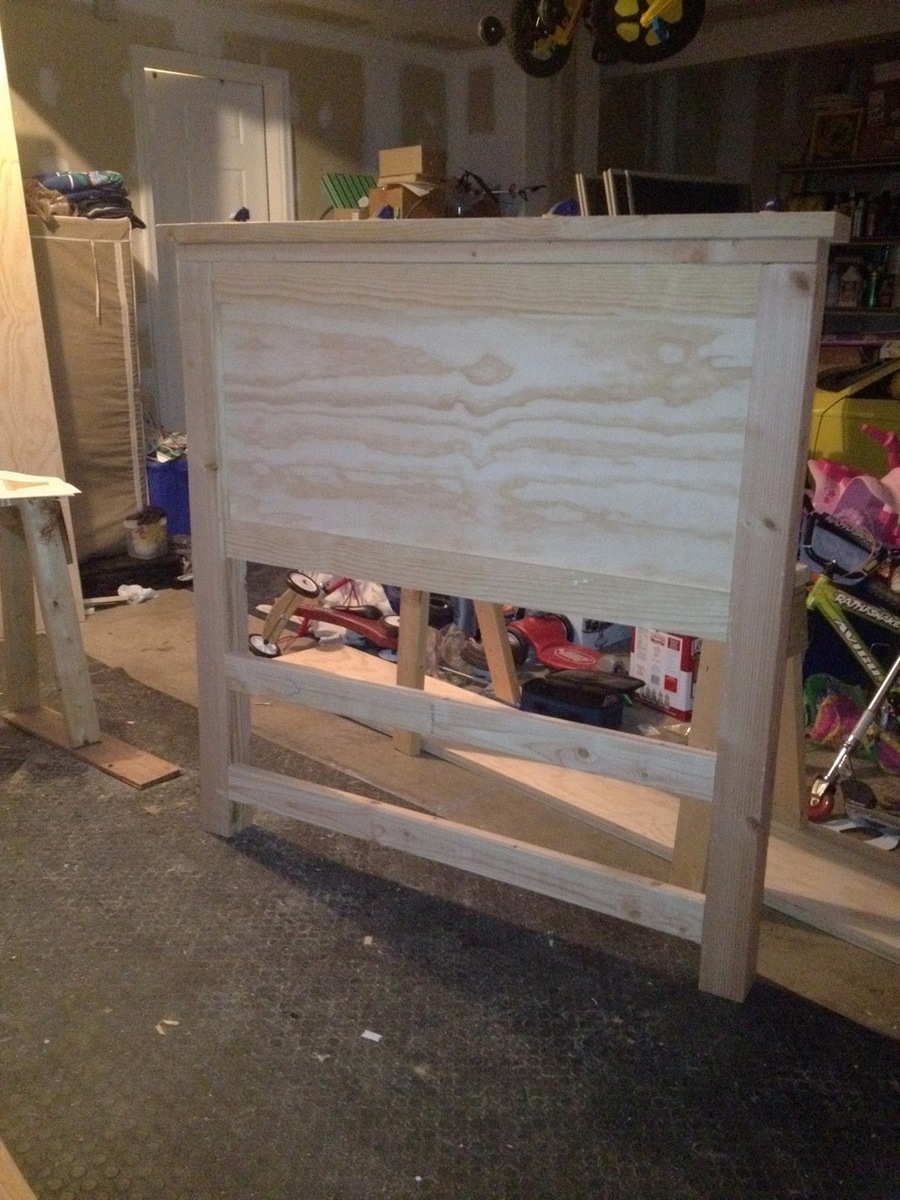
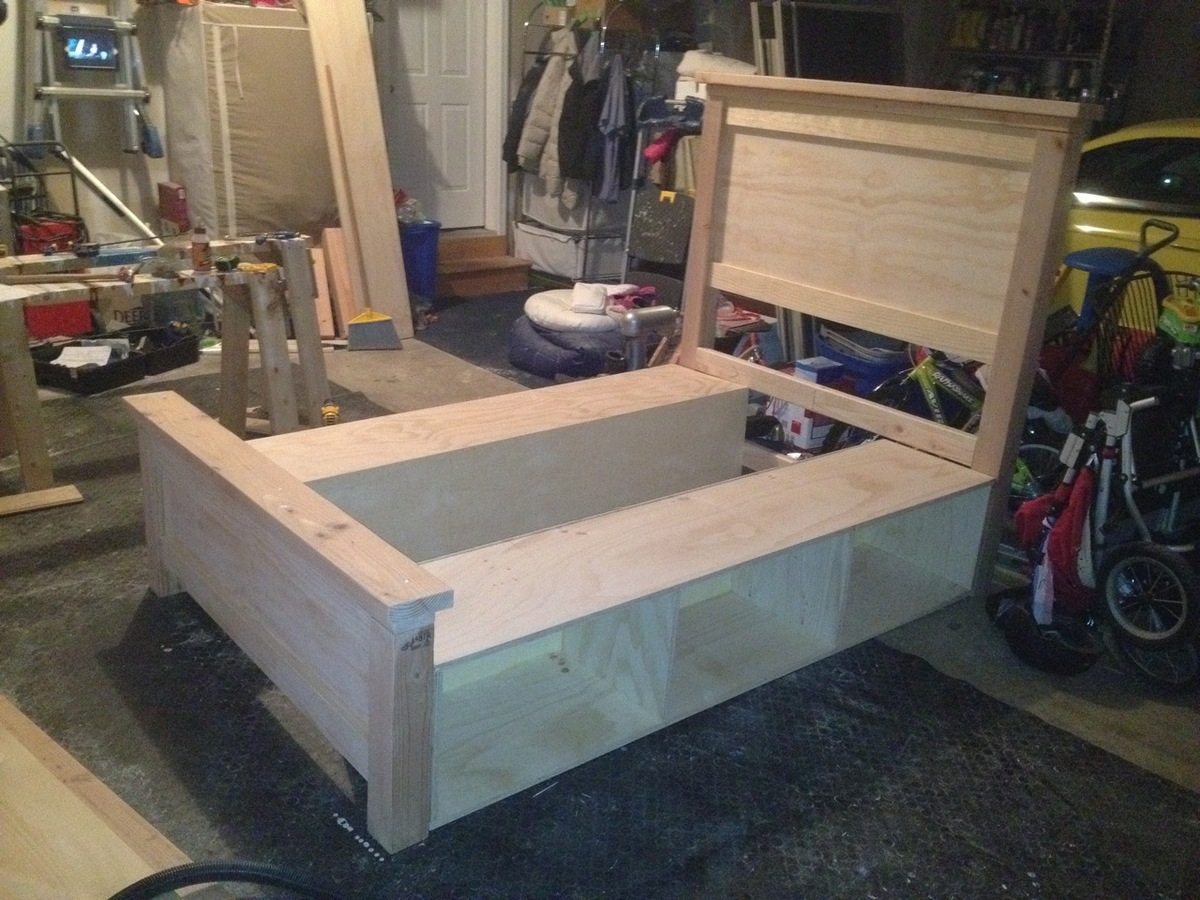
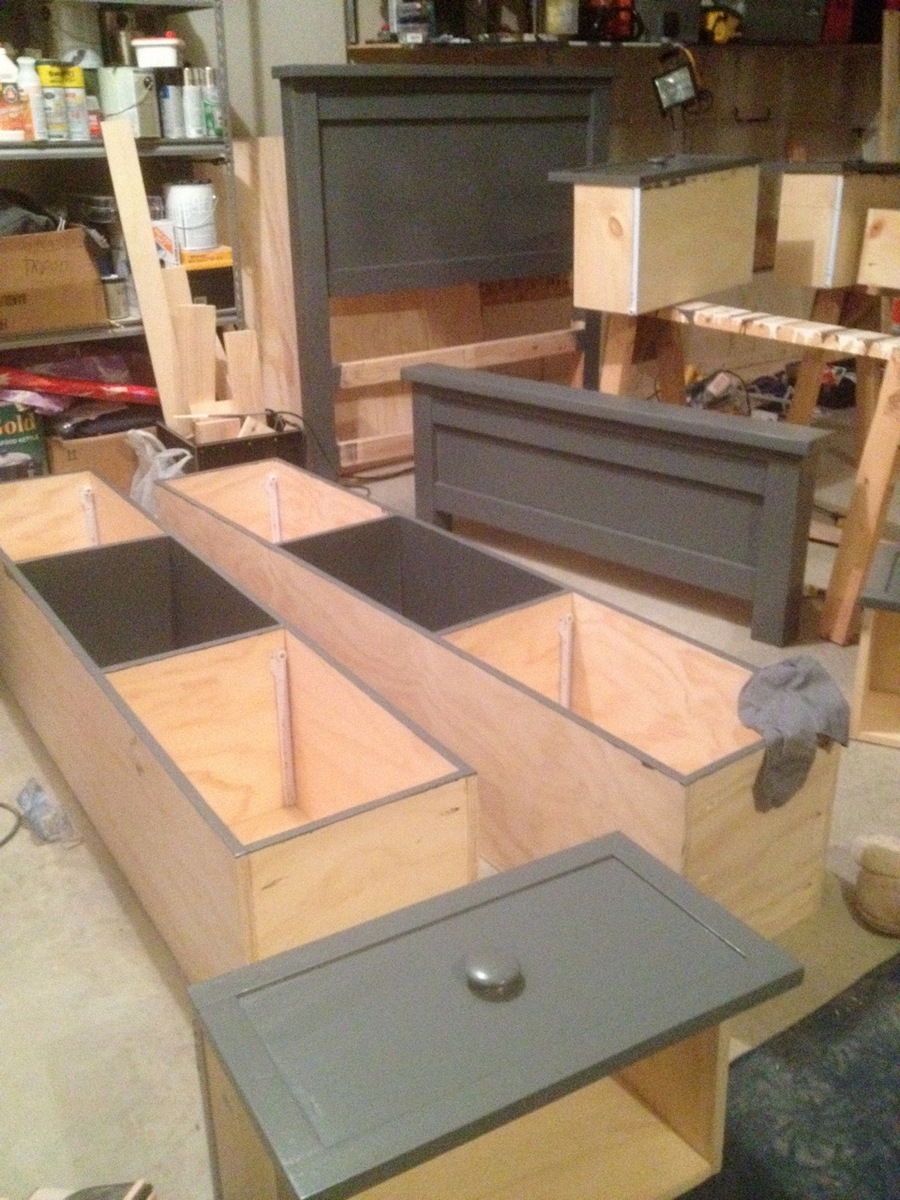
Our King Bed with Open Storage and Bolted Frame

Submitted by webs05 on Sun, 03/10/2013 - 21:20

We followed the links below to create our bed frame and headboard. The last link had some good tips that helped us. My big contribution: Use bolts to fasten everything together. Taking careful measurements I created a track for for the 2x4 spacer. This makes setup of the spacer incredibly easy. Then I put all three benches together and drilled 3/8 holes and used 3/8 bolts, washers, and wingnuts to fasten. This makes everything easy to setup and take down. http://ana-white.com/2010/03/plans-reclaimed-wood-look-headboard-king-s…

Built from Plan(s)
Estimated Cost
500
Estimated Time Investment
Weekend Project (10-20 Hours)
Finish Used
Minwax Provincial with a dash of Golden Oak mixed in (1 coat) / Minwax water-based poly (2 coats)
Recommended Skill Level
Beginner

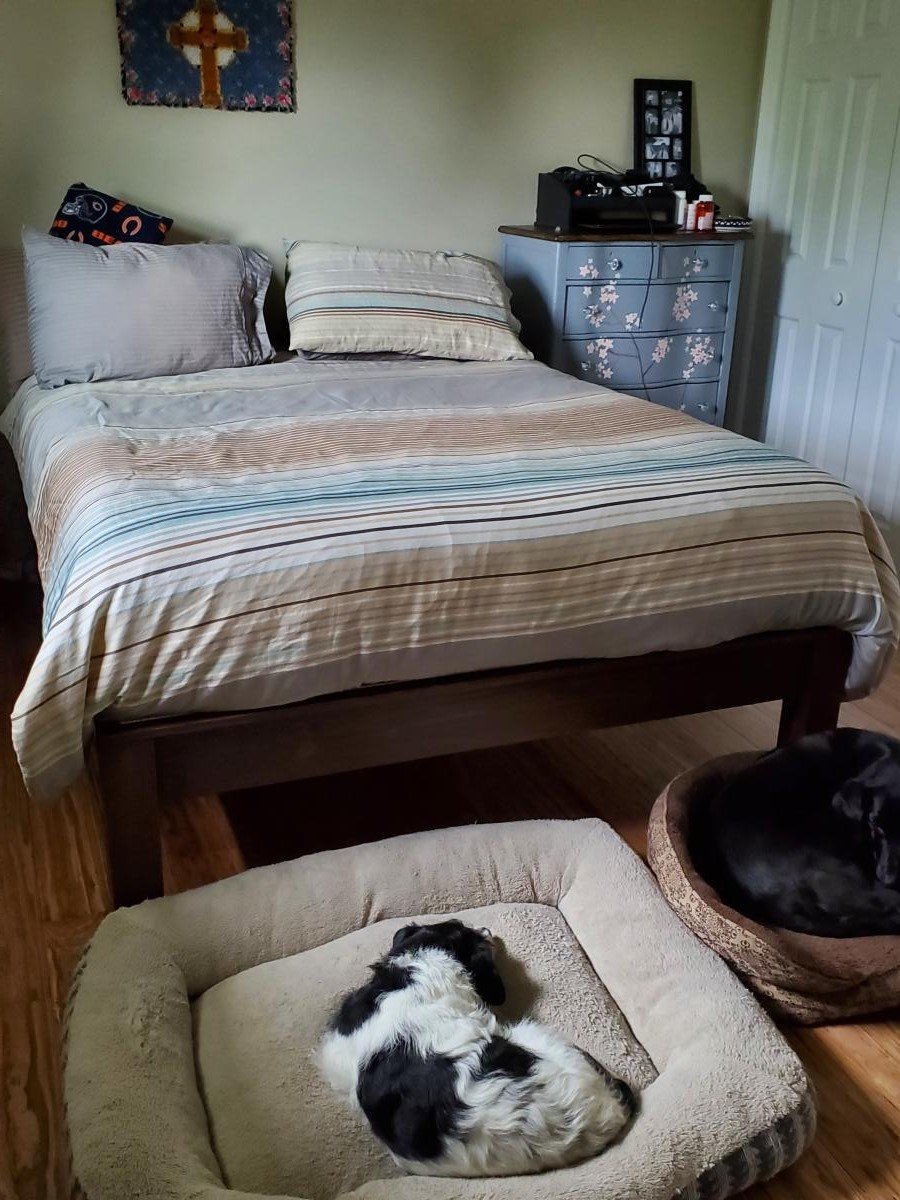
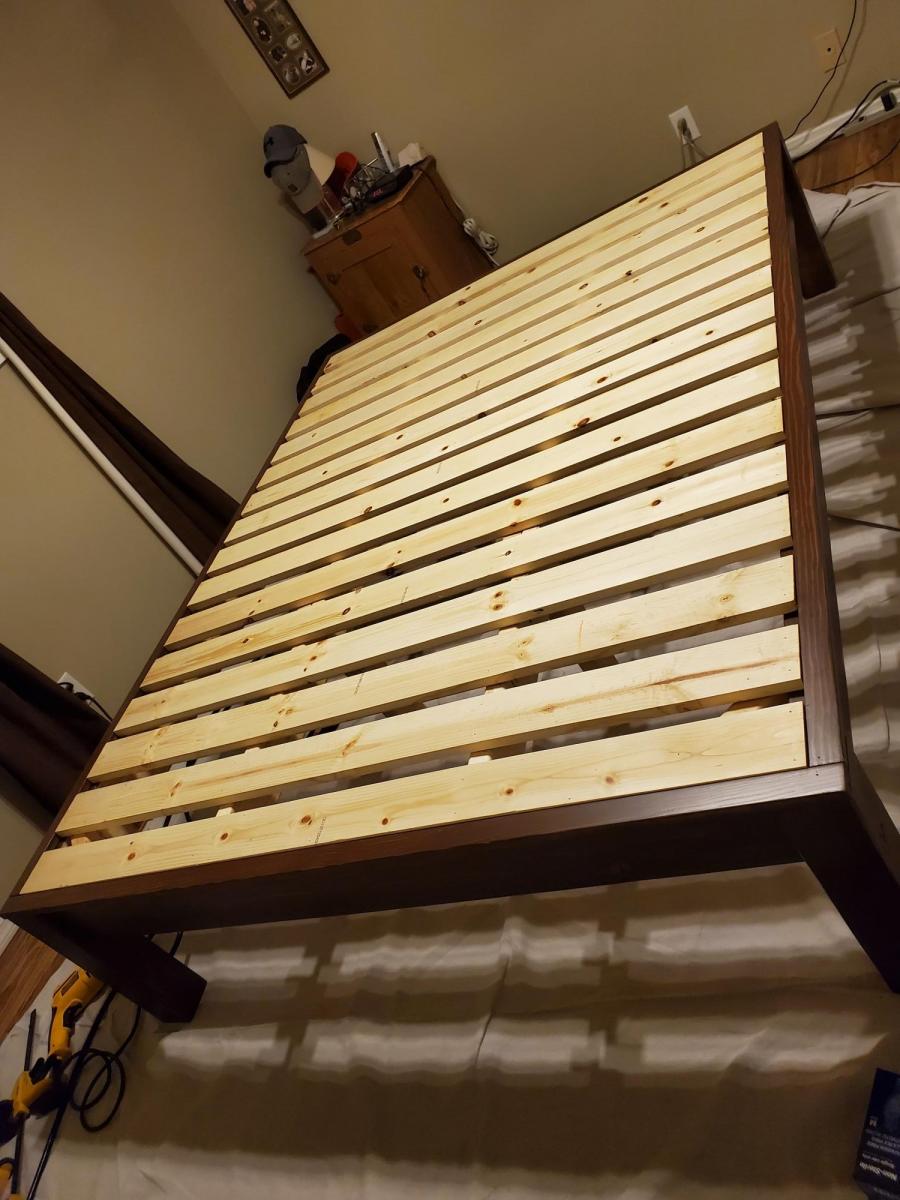
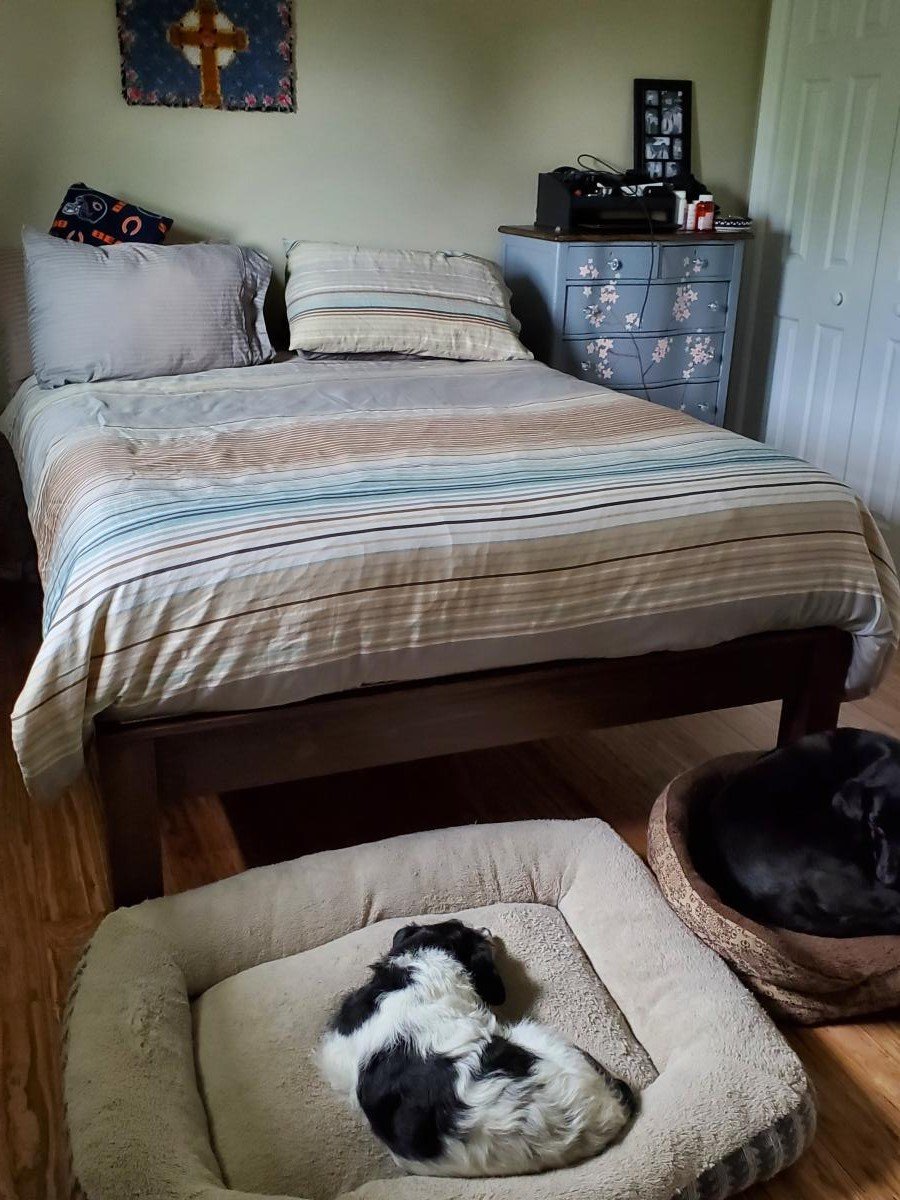
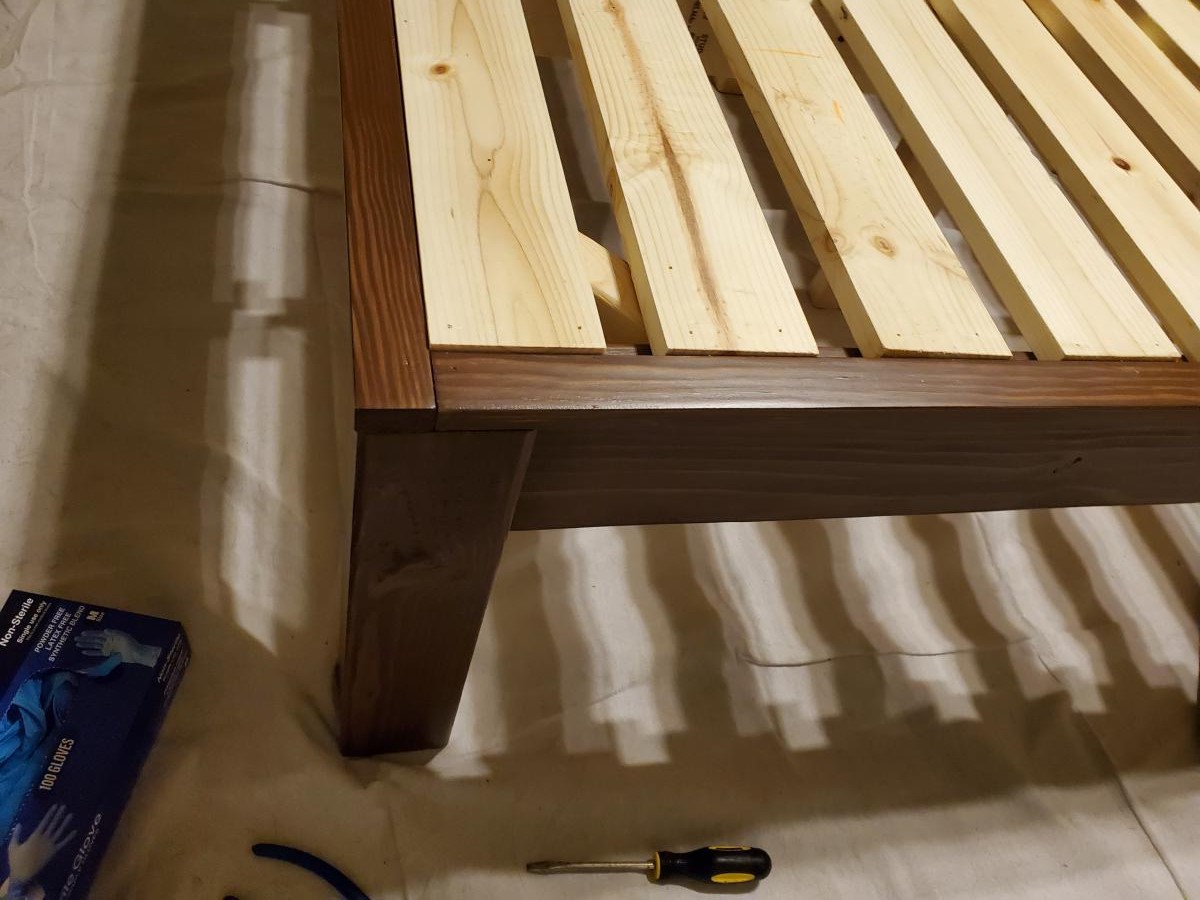
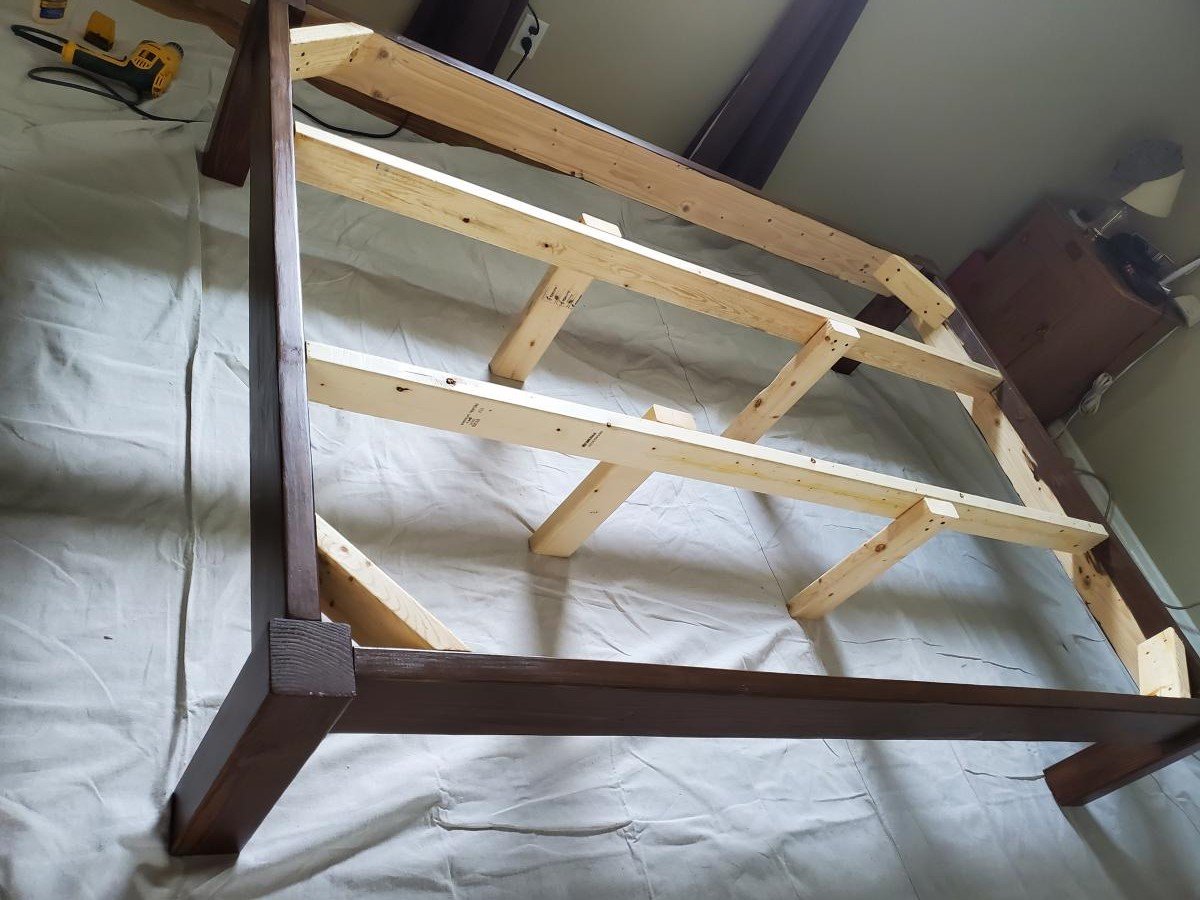
Essential platform bed - Queen

Submitted by kimsteps on Tue, 08/10/2021 - 17:52

I can't thank you enough for these easy to follow plans. I'm not an experienced builder at all, but was able to build this queen size platform bed. I used Douglas Fir for all visible parts, and finished with minwax semi-transparent stain in walnut. I followed this with three coats of poly-acrylic. No one can believe I was able to build this myself, and frankly I can't either. What a confidence boost!

Estimated Cost
$175
Estimated Time Investment
Weekend Project (10-20 Hours)
Finish Used
Minwax semi-transparent water based wood finish in walnut followed by 3 layers satin poly acrylic.
Recommended Skill Level
Beginner

Comments

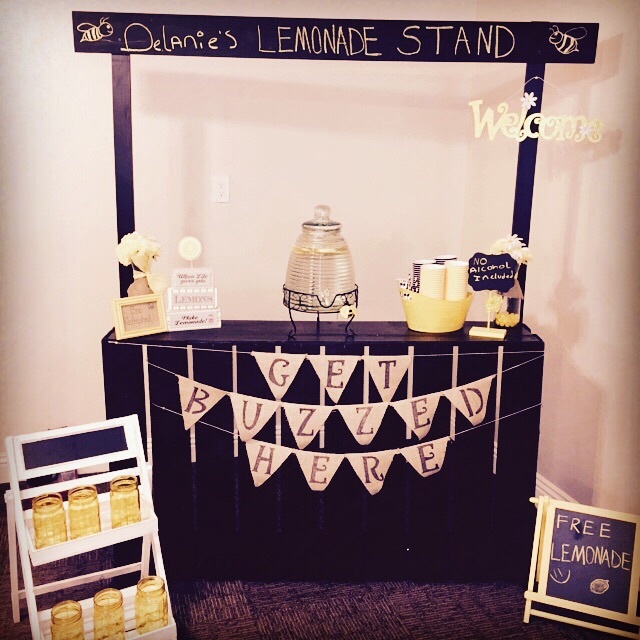
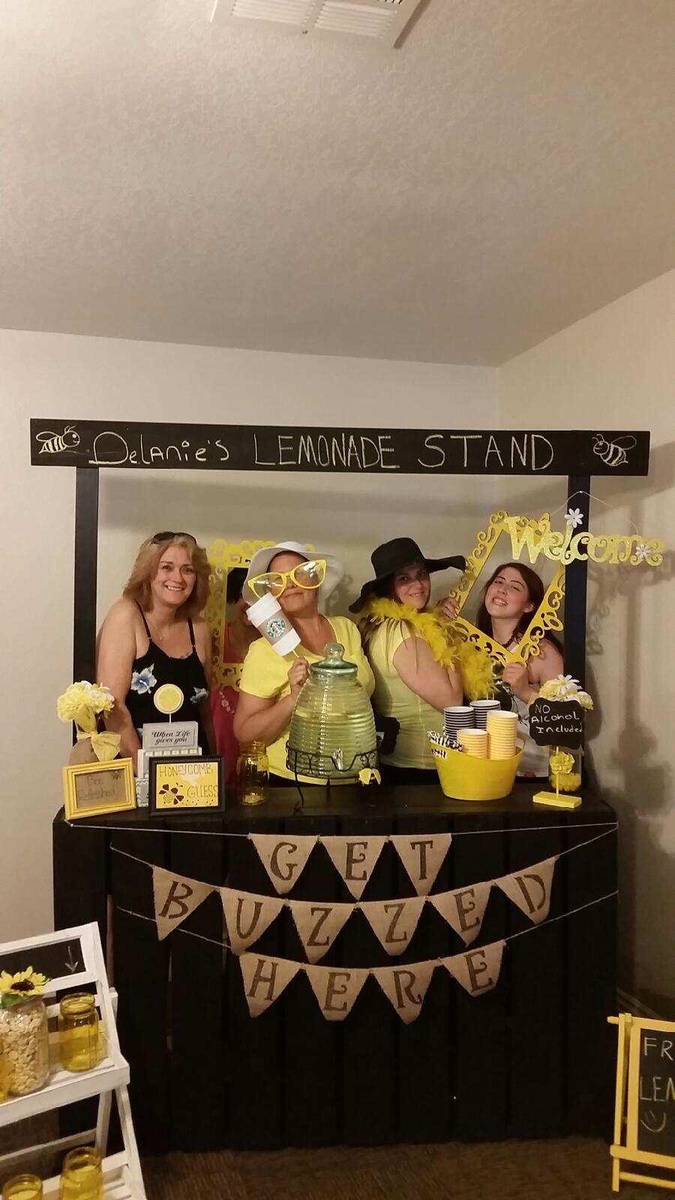
BABY SHOWER LEMONADE STAND

Cutest plan ever

Built from Plan(s)
Estimated Cost
50.00
Estimated Time Investment
Weekend Project (10-20 Hours)
Finish Used
Used everything the same as Ana's plans except for the sign is chalkboard paint
Recommended Skill Level
Starter Project

Comments

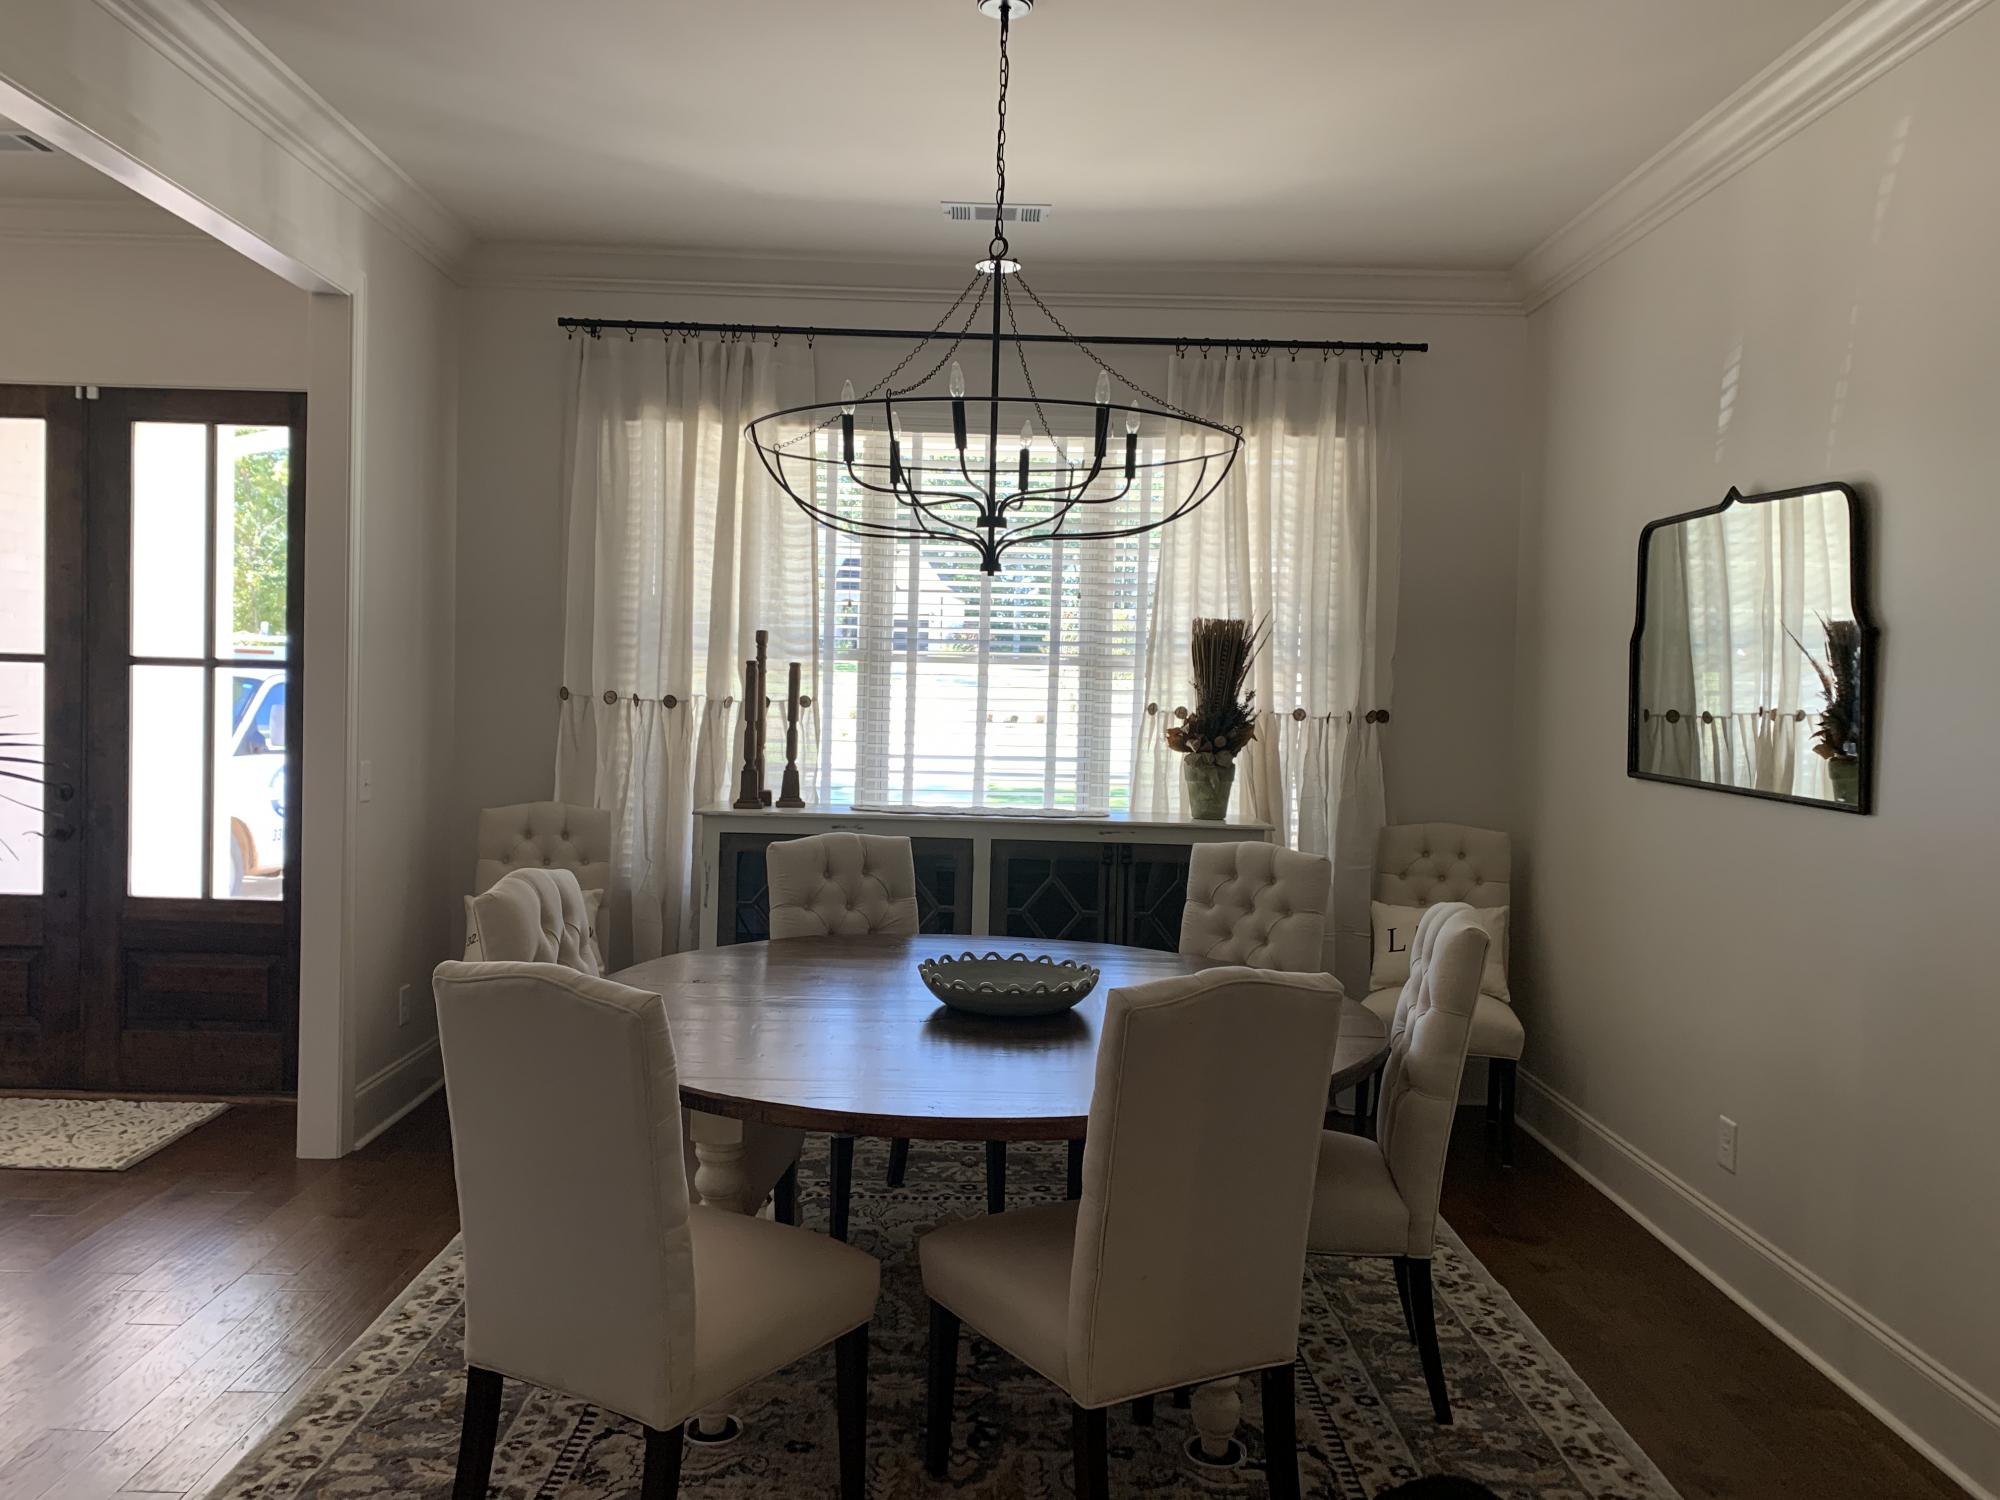
72” round dining table

Submitted by Anonymous (not verified) on Mon, 10/04/2021 - 13:52

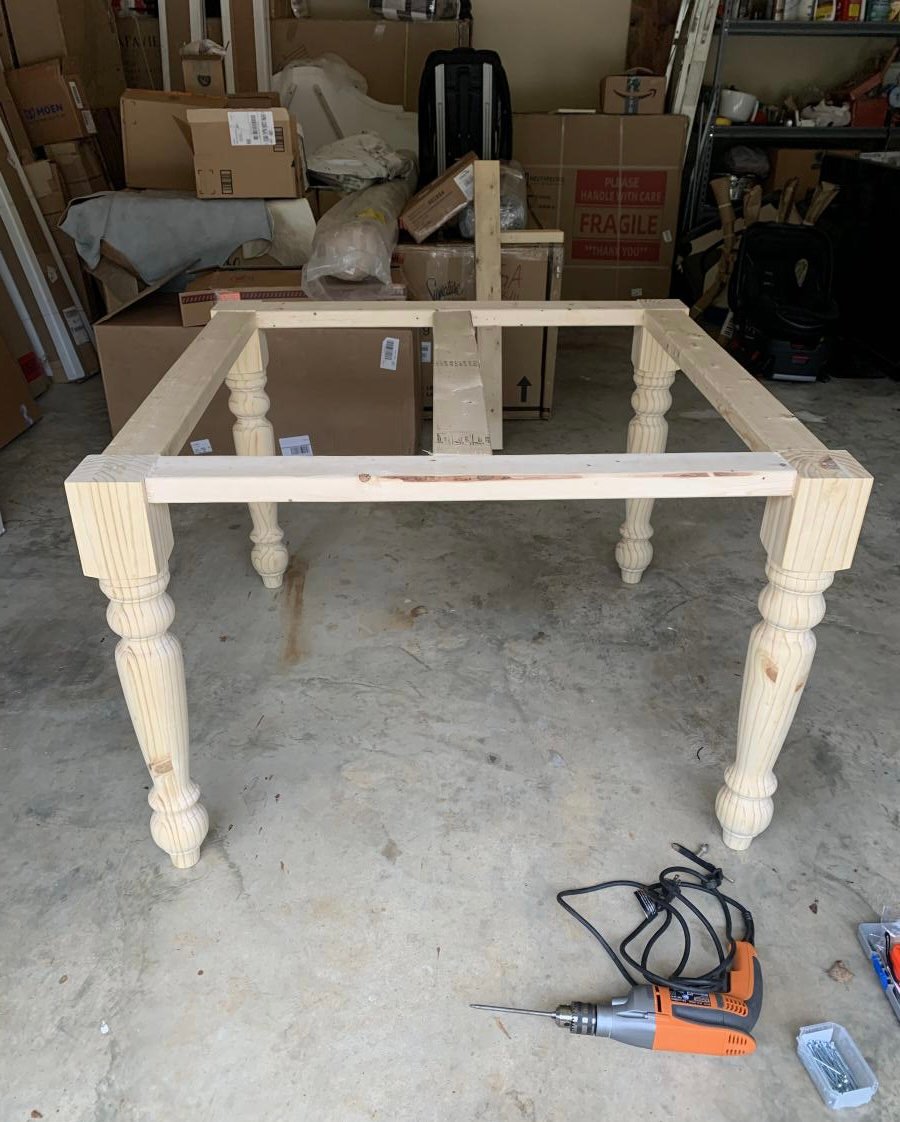
I wanted a 72” round dining’s table for my new home and found your video online. It was not easy to cut a circle, but it was easier than I thought it would be! I’m so happy with the finished product. I used turned legs with a square base instead of the pedestal shown. Have had so many compliments already and it looks fantastic in the space.

Comments

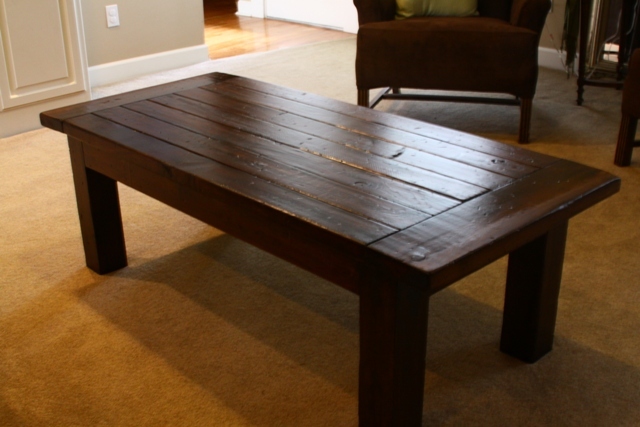
Tryde Coffee Table

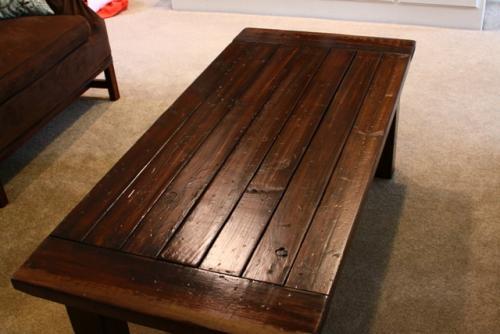
This was my second project and was a little easier than the outdoor bench, since they were all straight cuts. The most time consuming process is the staining.

Built from Plan(s)
Estimated Time Investment
Week Long Project (20 Hours or More)
Finish Used
I used 3 coats of stain. That is the most time consuming process, you can build this in a couple of hours, but need to wait 24 hours between coats of stain. And then seal it. Once they piece "sits" for a few weeks, the color will start to look better also.
Recommended Skill Level
Beginner

Large Wood Storage Chest

Submitted by danicarby on Tue, 05/14/2013 - 07:25

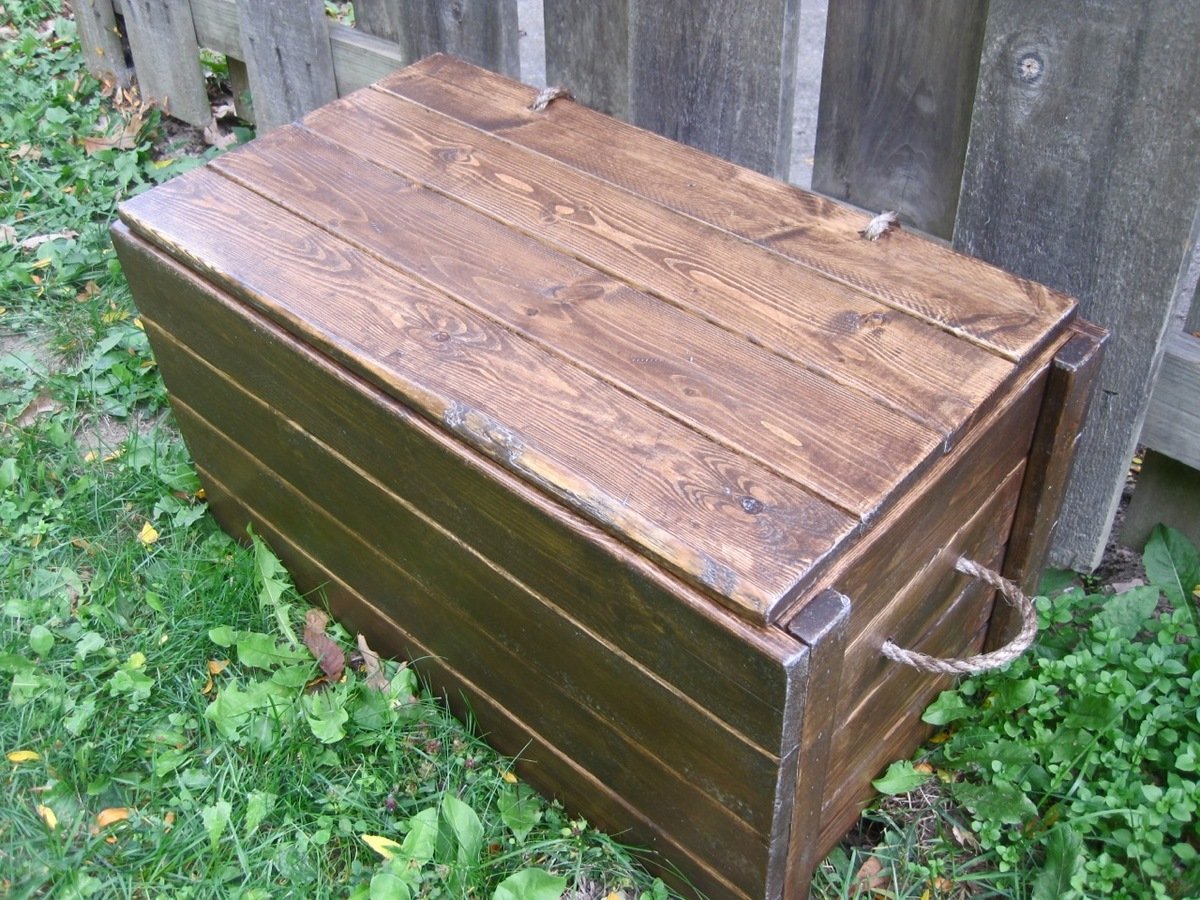
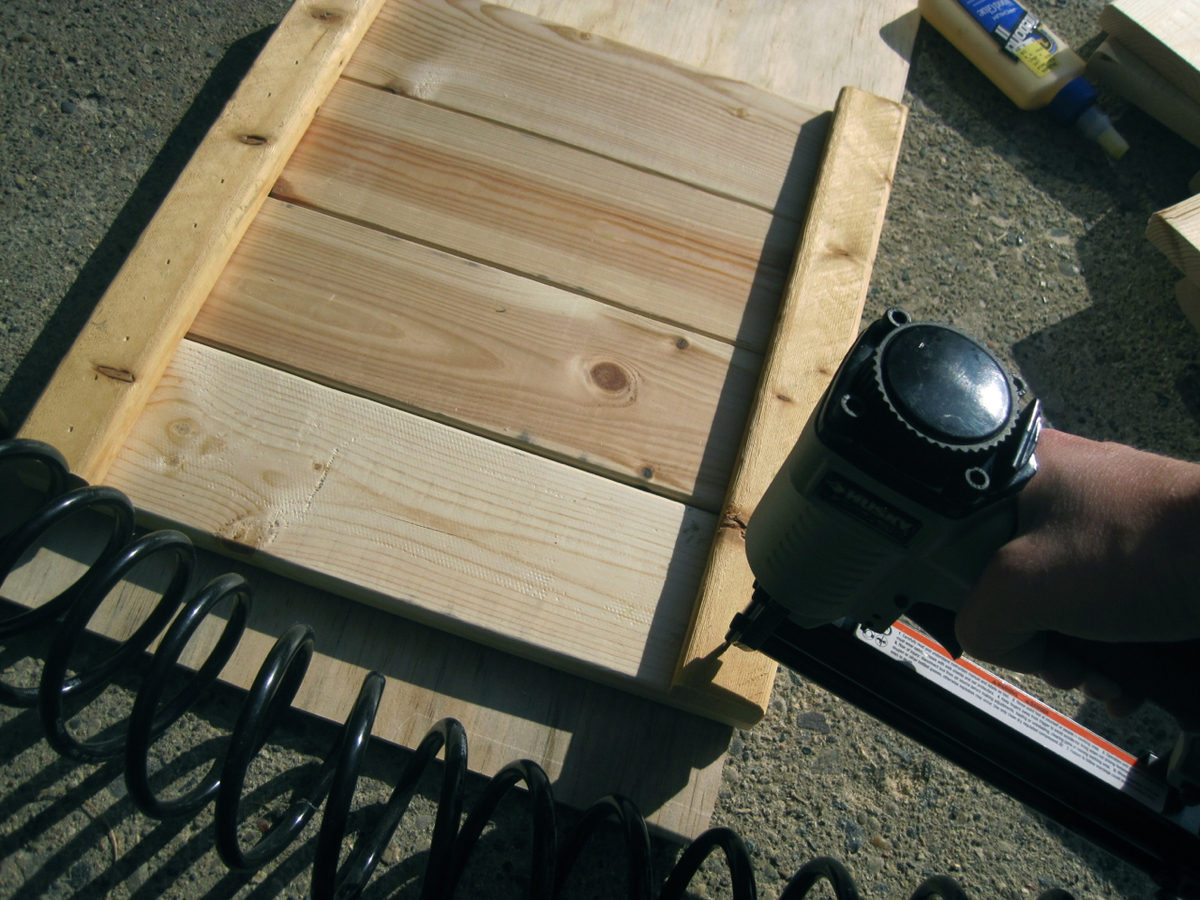
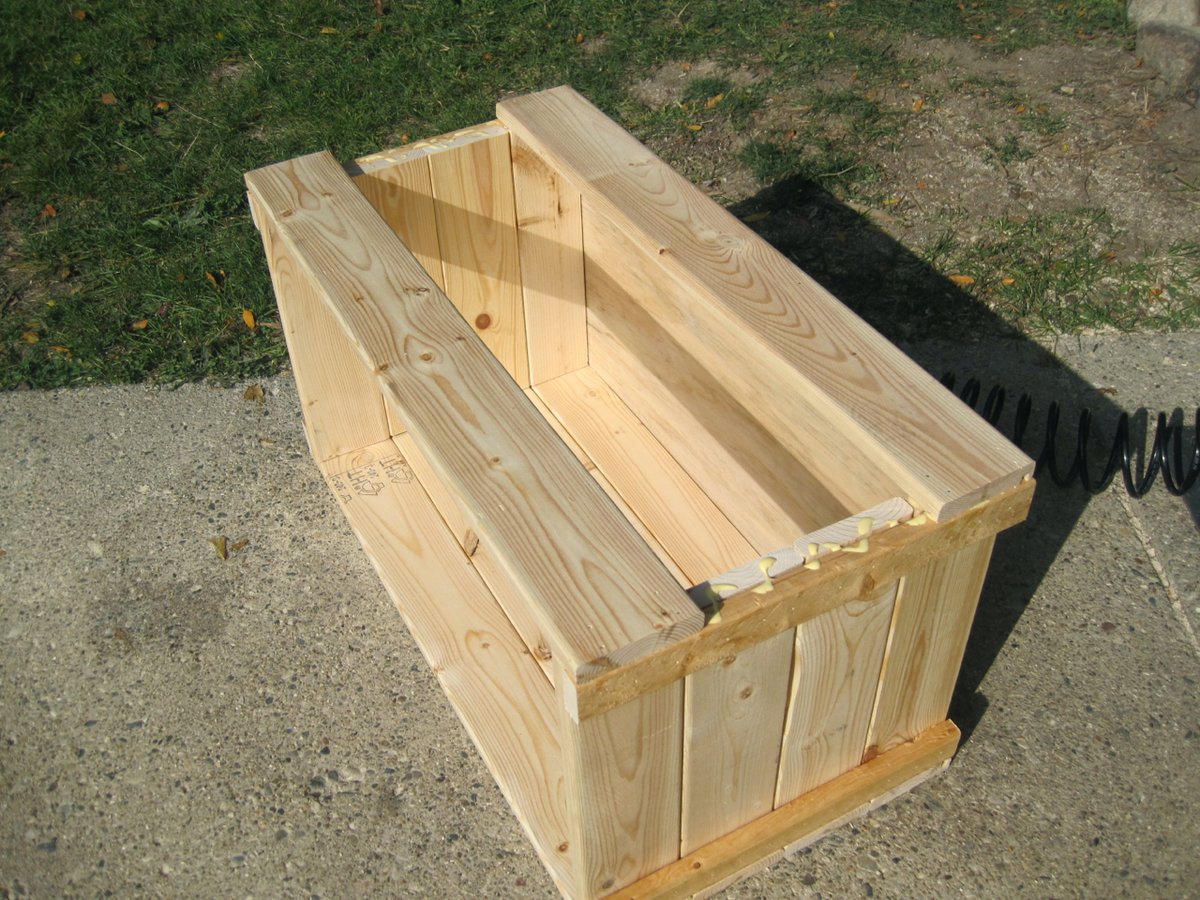
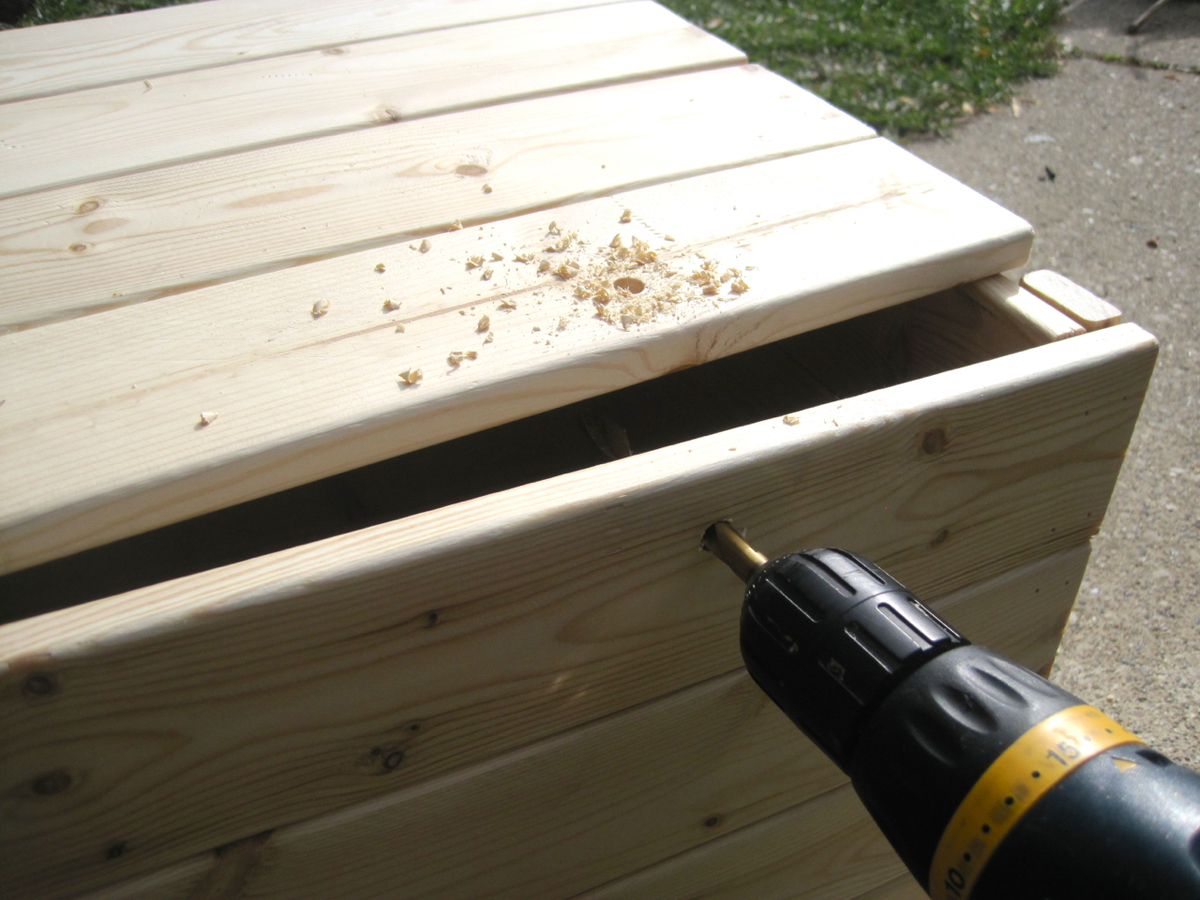
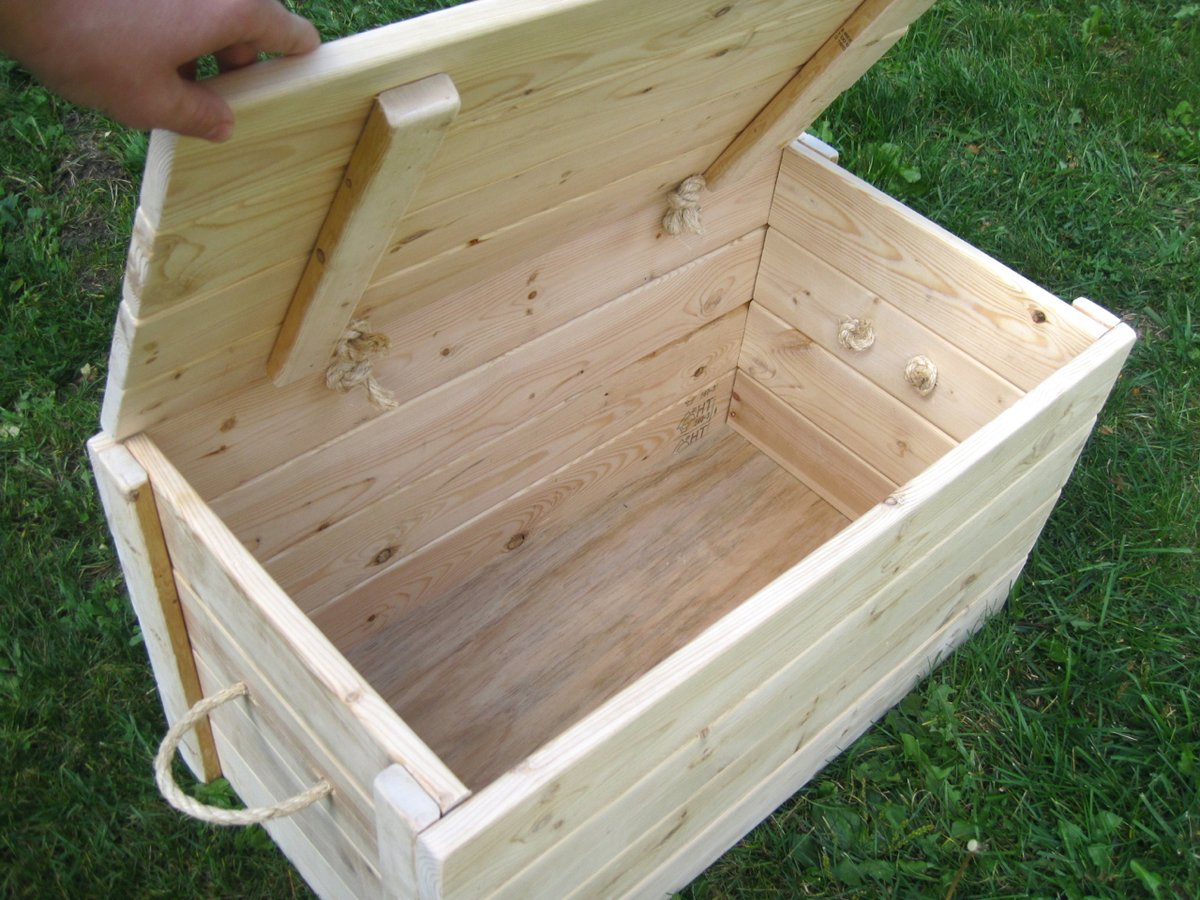
I wanted a large chest to store toys, books or blankets. I wanted it to be cheap to build and be rustic. This project turned out perfectly! I used 2" and 4"-wide furring strips and rope for the hinges and handles. I used 1/4" plywood for the bottom and made a groove with the router for it to slide into while assembling. I helped 16 girls make these who had no previous experience and they loved it!

Estimated Cost
$20-$40
Estimated Time Investment
Afternoon Project (3-6 Hours)
Finish Used
Mixwax Stain and Polyurethane
Recommended Skill Level
Beginner

Comments

benjaminrogers

Fri, 12/27/2013 - 06:21

Can you provide a lumber list for this? I know you said you used 2x4 but the lumber I see in the photo doesn't look like 2x4.

Thanks,

Ben

danicarby

Fri, 12/27/2013 - 07:17

Hi Ben!

I used 1x4's and 1x2's. I have a shopping list and cutting list on my blog. I can't post the link here but you can click on the link where it says "Blog Link" under "About This Project"

Let me know if you have any other questions!

Pergola (attached directly to the house)

Submitted by dwm22 on Thu, 05/23/2013 - 17:34

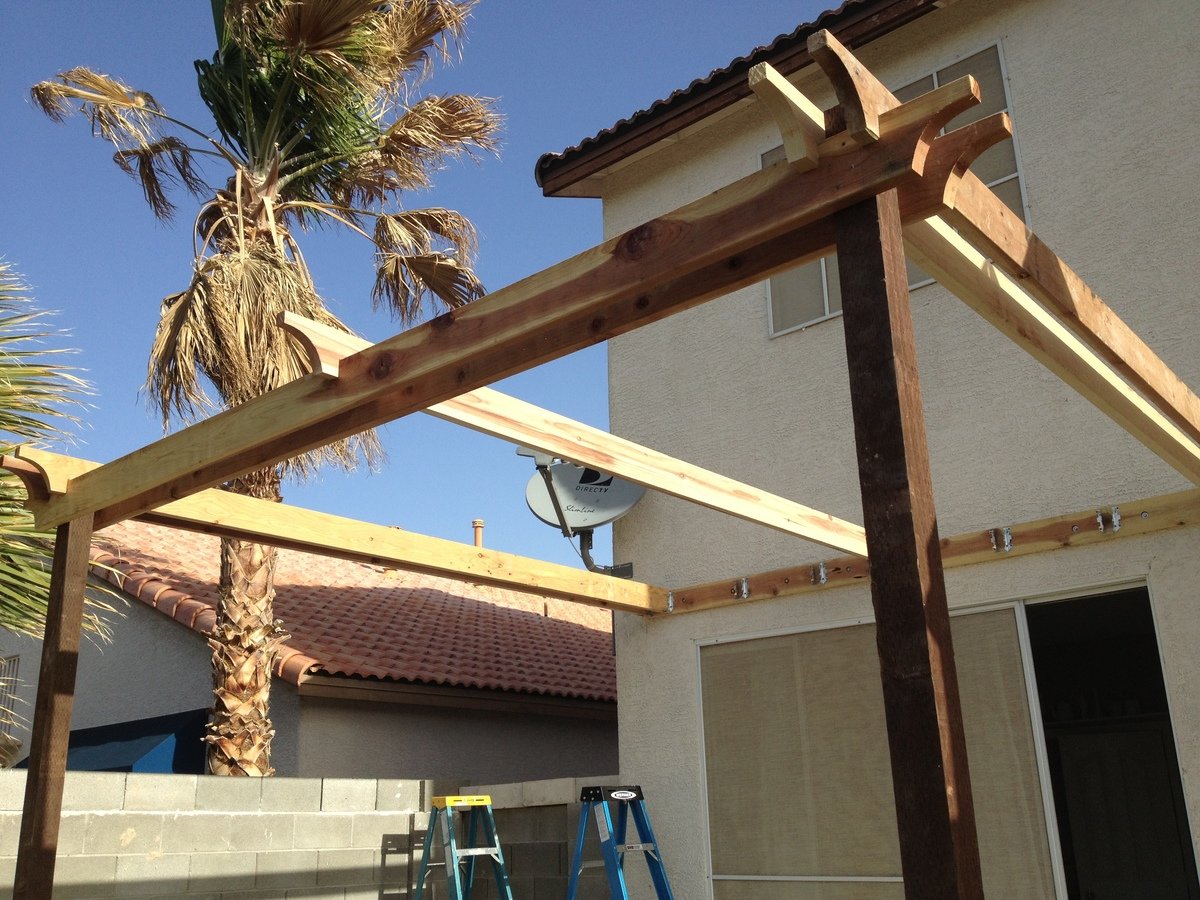
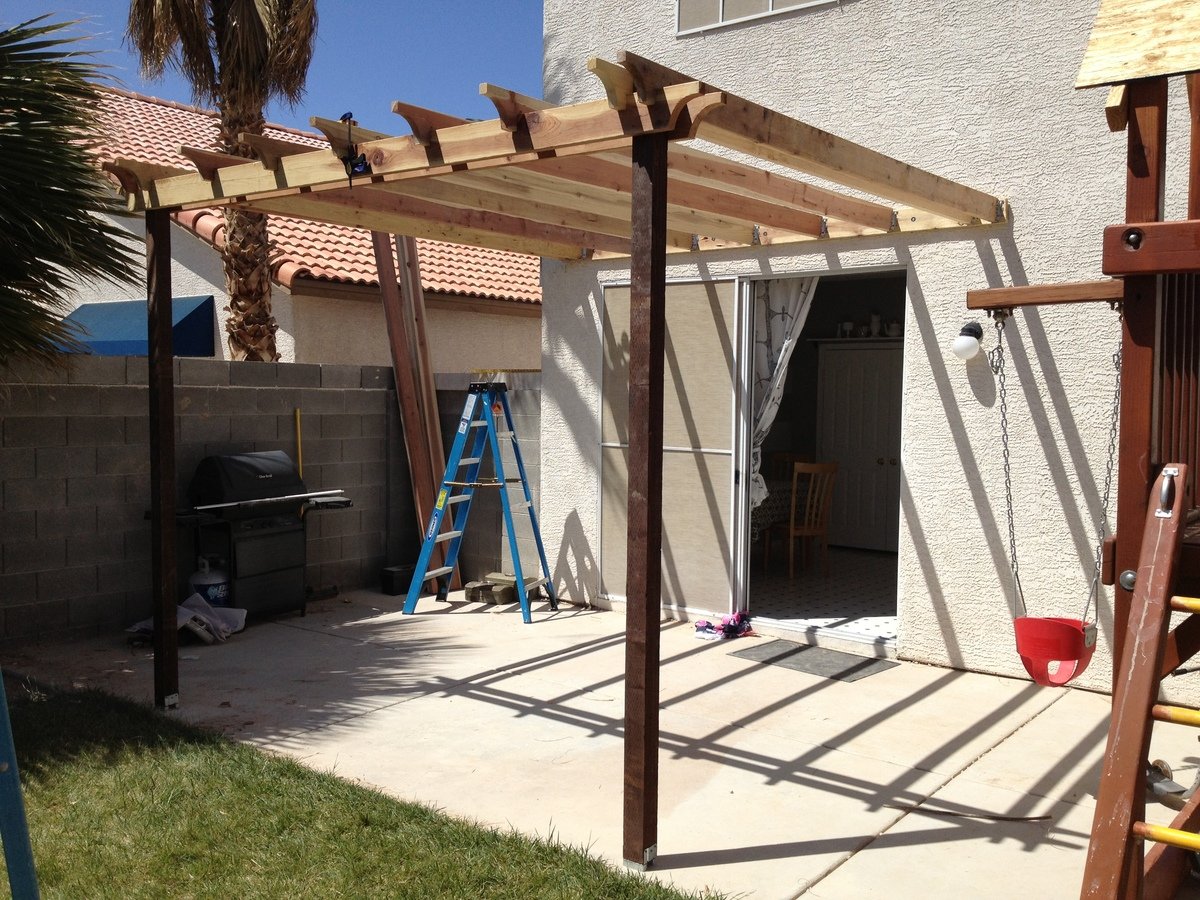
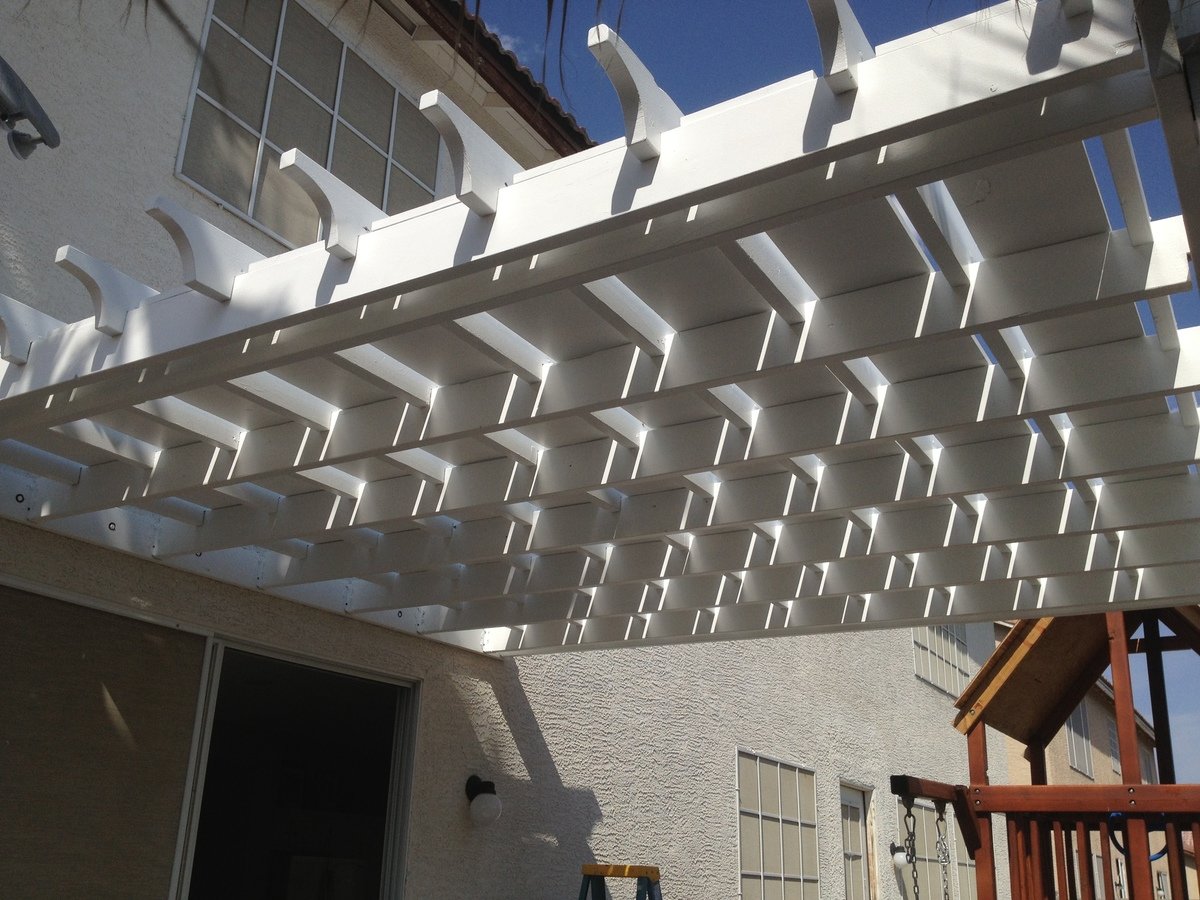
Instead of building a free-standing, 4-poster Pergola, I attached one side directly to the house. There are various Pergola design types and shapes. Simply Google for "pergola" images and decide which design you like best, or combine design ideas together (as I did).

Couple things to consider:
A: Is your Pergola more for decorative purposes or actual shade?
My design was more for actual shade (but with a decorative design), which is why I added the 1in x 12in x 12ft Pine boards between the cross beams at the very end (last picture). If your design is more for decorative purposes, you can space out your support beams and cross beams wider (using less wood and money).

You can also choose to use 2x4s as your support beams with 2x2 cross beams on top (essentially furring strips) either close together or spaced farther apart. This would also reduce the overall cost of your Pergola and make it much lighter as well. I chose to use all 2x6s for both support beams and cross beams.

B: What path does the sun follow across the sky over your Pergola?
If the sun passes directly over your Pergola and you want a lot of shade, you'll obviously need to consider this in your design (i.e., more cross beams that are close together).

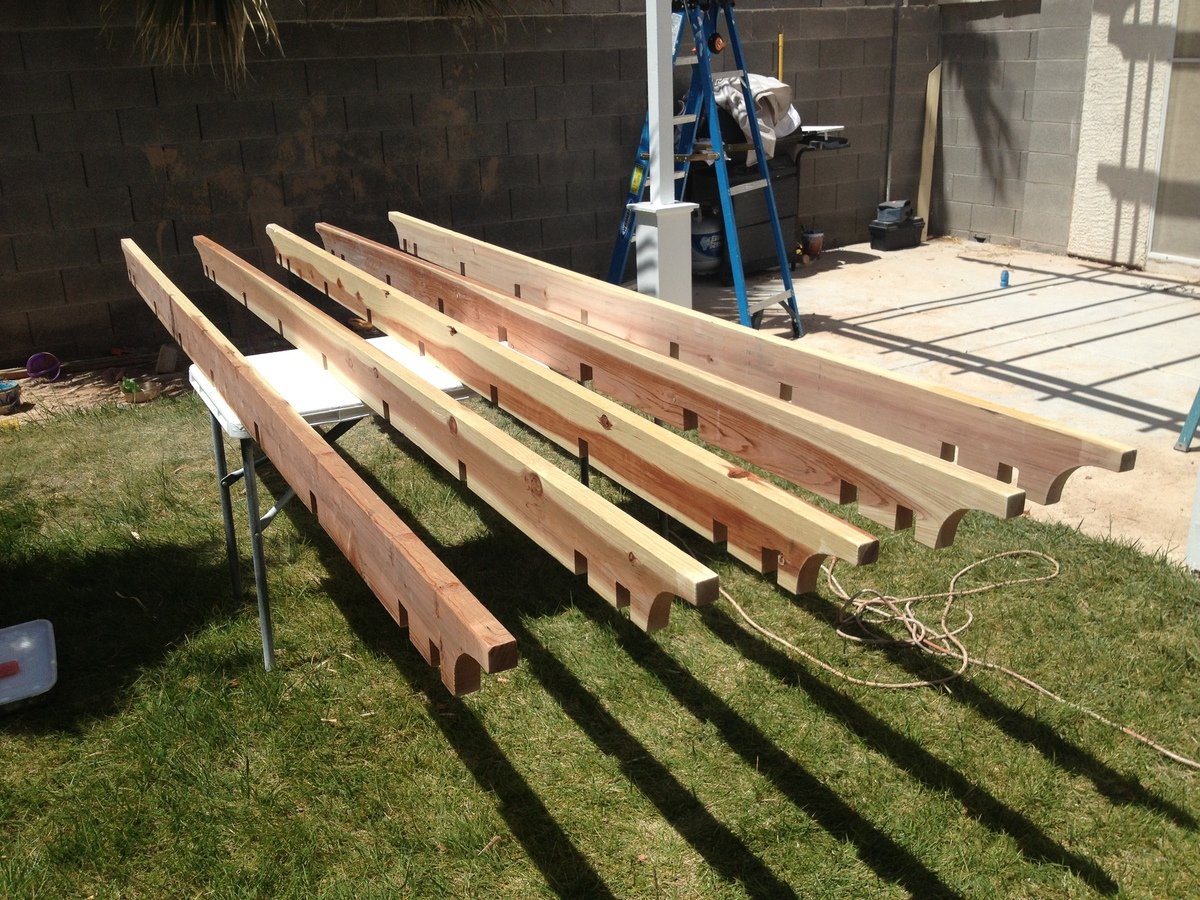
C: Do you want your support beams and cross beams to inter-lock (by cutting square notches and assembling them like linking logs), or simply stacked on top of each other? (Again, Googling for Pergola images will help you see the differences in designs.)

I chose to interlock all of my beams by cutting notches and fitting them together. Obviously more time consuming to measure each notch, cut, and chisel them but the stability of inter-locking beams should hold up a little better in the strong winds of Las Vegas.

HOW TO (abbreviated)

Overall Pergola Dimensions: 10ft Height, 12x12ft

Tip: Paint or stain all your wood prior to assembly. Much easier. You can always touch-up scuffs and scrapes after it's built.

1. 2x6x12 installed directly onto the house (thru the stucco into the studs) using 3/8in. x 5in. lag screws. (Tip: Seal the top edge of the 2x6x12 that's against the stucco so water doesn't run behind it and down into the lag screw holes.)
2. Install the 2x6 Double Shear Hangers (as many as you need for your design)
3. 4x4 post anchors secured directly into the cement patio using Tapcon 3/16 in. x 2-3/4 in.cement anchor screws.
4. 4x4x10ft posts screwed on top of the anchors. Ensure level on all sides (use a partner to help hold the posts).
5. Attach the front and side 2x6 beams to the 2 posts (again, use a partner to help hold posts while you're up on the ladder screwing your beams to the posts)
6. Attach the remaining 2x6 support beams.
7. Attach the 2x6 cross beams on top (whether you inter-lock them by cutting notches or simply resting them on top, be sure to toe-nail screw them in with 2in exterior screws).
8. Lay 1x12x12ft pine boards on top in between the cross beams and secure with 2in exterior wood screws.
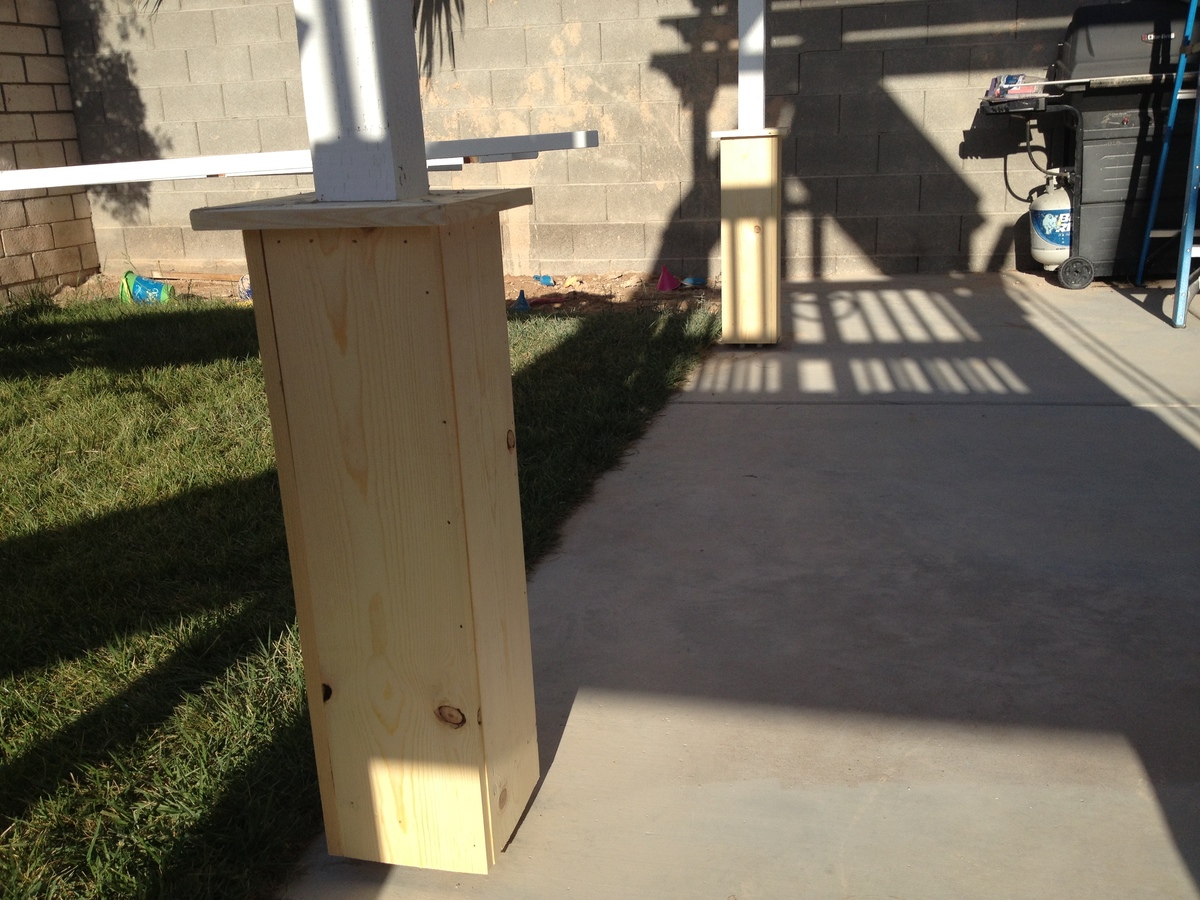
9. Construct the post bases ("sleeves" or "leggings") which greatly adds to the look, as outlined in the "Weatherly Pergola" plans.
10. Touch-up paint / stain any areas you need.
Built from Plan(s)
Estimated Cost
800
Estimated Time Investment
Week Long Project (20 Hours or More)
Finish Used
BEHR Premium Plus Ultra - Ultra Pure White Satin Acrylic Exterior Paint (2 coats applied with roller)
Recommended Skill Level
Intermediate

Comments

bullitt453

Tue, 05/28/2013 - 07:29

Great work and very detailed post. I plan to build something similar for my parents once they are done with their renovation.

Dog Kennel

Submitted by Tamila on Wed, 03/16/2011 - 22:57

I am so excited to post these pictures of the dog crate I built for my boxer. I was a little nervous about beginning this project. It was my first project - aside from the garden boxes. I bit the bullet and bought the Kreg Jig, and I'm glad I did! It is so easy to use. The project was easy enough, I did make a few mistakes along the way, but I was able to fix them easily enough. The pictures show the dog crate without the door, (we were getting our puppy used to the crate before putting the door on). As you can see, the kennel is big enough for a big dog, my niece and my nephew had fun playing in the kennel.

Estimated Cost
$80
Estimated Time Investment
Weekend Project (10-20 Hours)
Finish Used
none yet ;)
Recommended Skill Level
Starter Project

Fancy X table

Submitted by Lukilla on Thu, 10/28/2021 - 17:01

We had a good time building this table. We made it smaller (6 feet) than the original plans, and also changed up the breadboard a little bit. We are a military family so made it so it assembles/disassembles with carriage bolts instead of screws. Hopefully that helps it hold up over time with frequent moves.

Varythane golden oak stain on the top and rustoleum charcoal chalk paint for the base. Sanded lightly and a light touch of the paint on the tabletop to create a distressed look.

Built from Plan(s)

Comments

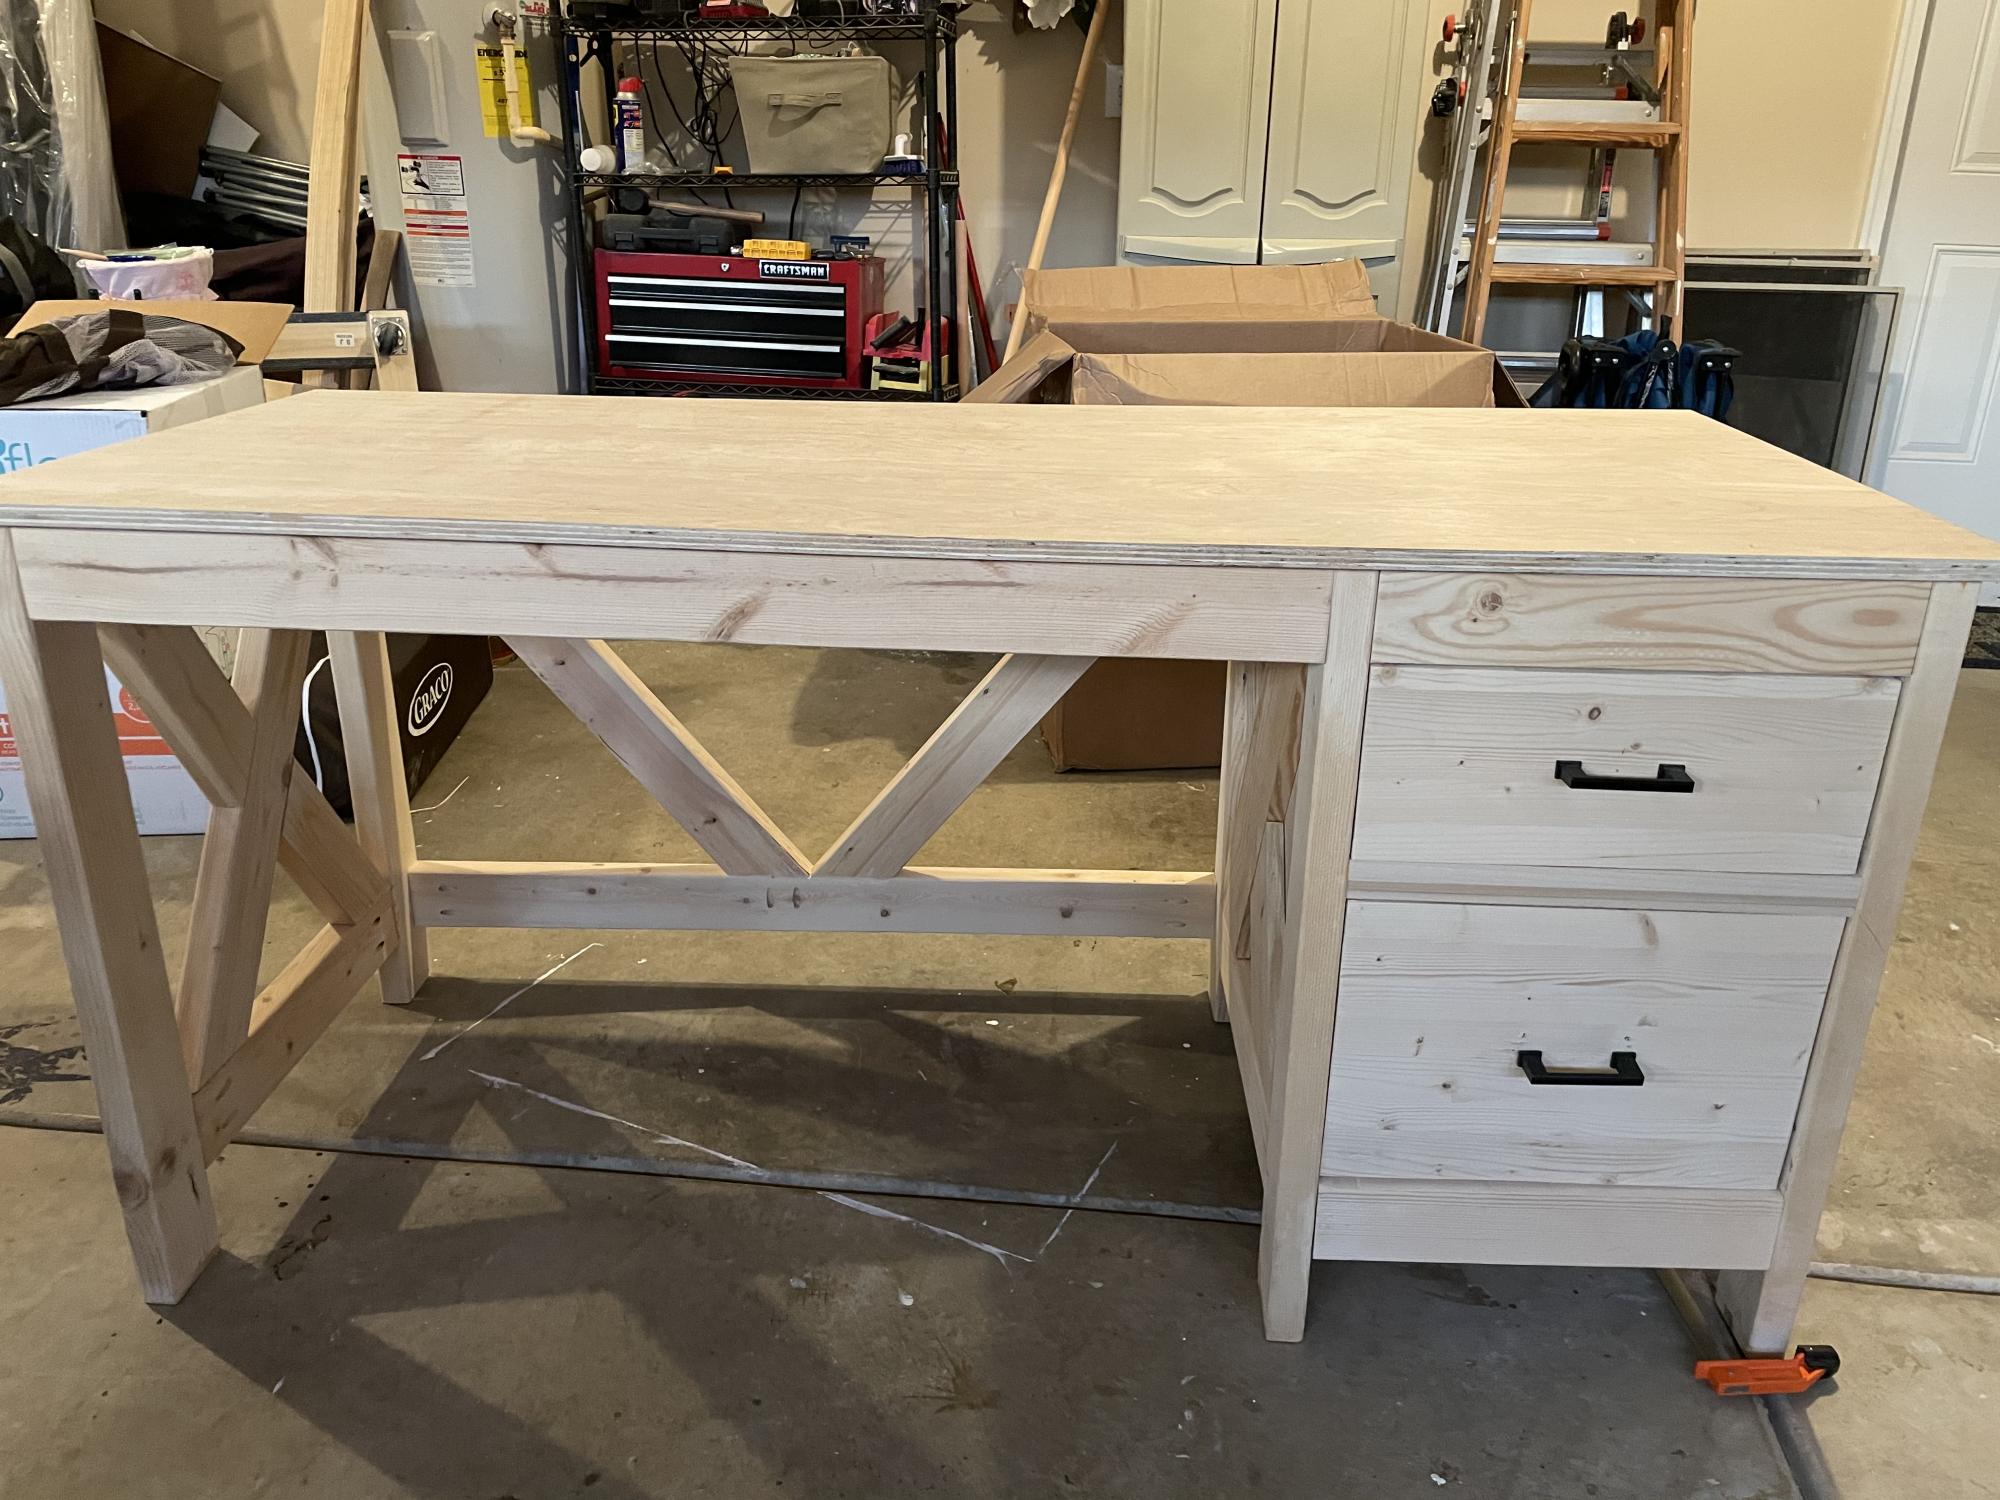
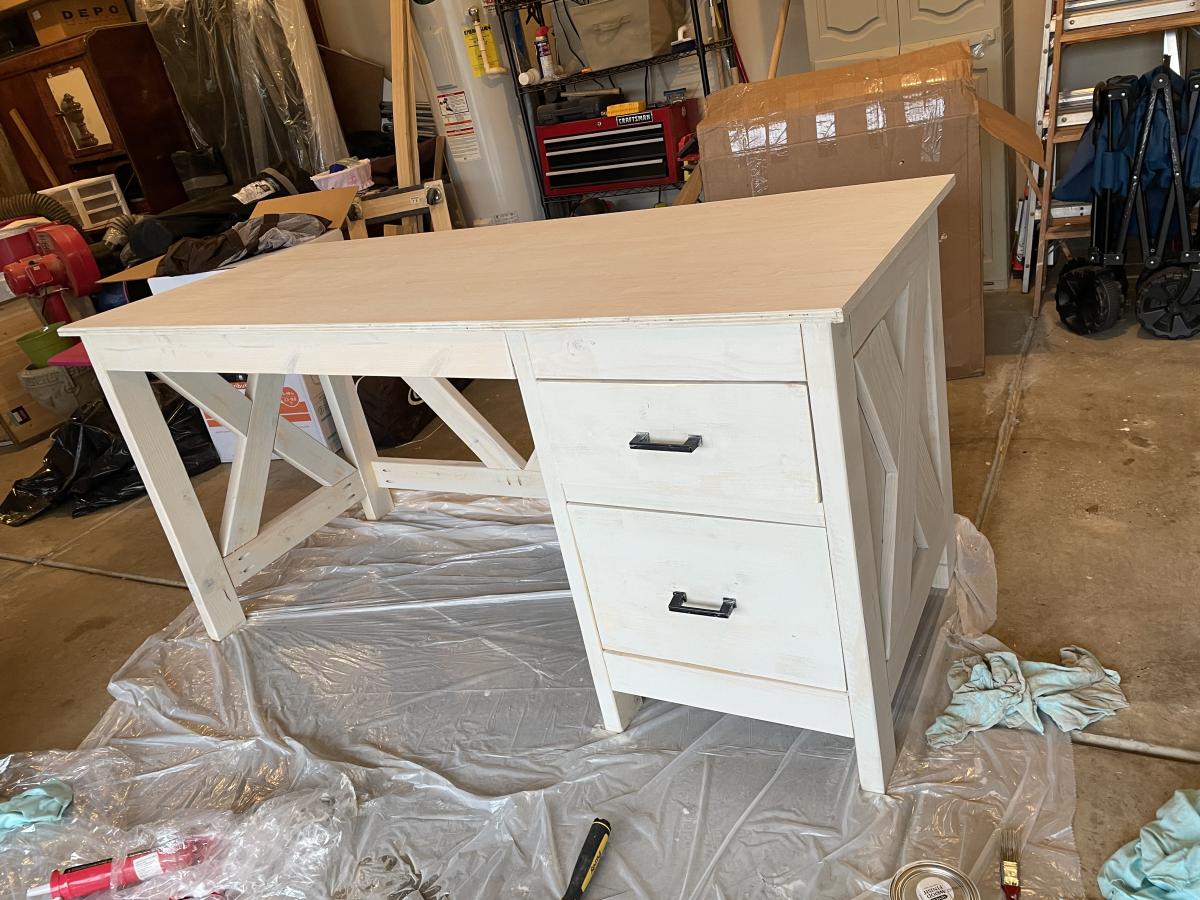
Farmhouse desk

Submitted by Anonymous (not verified) on Fri, 11/05/2021 - 16:02

My first “big” piece of furniture! I have over the last year realized I had a little sawdust in my blood! My dad is a 3rd generation carpenter, he is the youngest of 5 boys and he is now 79. I started with a couple of quilt/blanket ladders for my daughters, then graduated to a headboard. Then last Christmas I surprised my dad with an oak bookshelf (because oak is the best 😉) I knew that’s what my dad loved. It brought him to tears! So, then my daughters began showing me pictures of desks, tv chests, etc and I gained a little confidence with each piece.

Built from Plan(s)

Comments

Drop-Down Door Hutch Desk

Submitted by danicarby on Thu, 05/14/2015 - 13:47

I designed this desk from another desk I built. With this one, I wanted the overall foot-print smaller but still something that was able to organize all our office stuff and be able to close everything to keep it clutter-free. We have a small apartment, and although this desk is about the size of an up-right piano, it works perfectly into our living space!

I made it out of raw hardwood (Ash) and because I knew just the wood alone would make this desk heavy/bulky to move I made the top hutch removable. It's held in place by wood pegs (dominos). All the shelves are adjustable and the drawers are full-extension (something I've never had - wahoo)! The drop-down door is help up by 2 pull-out boards on each side (my first desk had chains). I spend a lot of money on this desk because I knew it was a chance in a lifetime to make and wanted it to be perfect and something that would last generations.

I built the main carcass off of plans/measurements I designed, but then all the insides, drawers, shelves, doors, etc where made as I built (because just a millimeter difference in building changes everything)!

If you want more pictures/descriptions of the building process I wrote about it in a 4-part series on my blog.

Estimated Cost
$1,000 for all wood & supplies
Estimated Time Investment
Week Long Project (20 Hours or More)
Finish Used
To achieve the ash gray color I used "General Finishes" brand water-based stains (equal mixtures of Walnut, Antique Oak & Whitewash) with 1/2 ratio of Pre-Stain Conditioner (bought from Woodcraft). I did 2-3 coats stain, lightly sanded and sprayed 2 coats of Ceramithane clearcoat using HVLP sprayer (sanding with 550 grit paper in between).
Recommended Skill Level
Intermediate

Comments

kids adirondack chairs and a little scrap table too!

I was so excited about how cute these turned out that I had to take a picture before the paint was even dry! Hopefully my niece will love this set when I give it to her for her birthday. Now I have to make time to make 3 more for my boys- they love them too! Great plan-Thank you Ana!

Built from Plan(s)
Estimated Cost
$35 including paint
Estimated Time Investment
Afternoon Project (3-6 Hours)
Finish Used
Valspar exterior semigloss Lucy Blue. I drew the butterfly and the "M" on cardstock and laminated the page then used my craft knife to cut out the shape and make a stencil. I just held up the stencil and rolled over with exterior white for a rustic design. Definitely paint your lumber first! This project has VERY tiny spaces between the slats & I would have been pulling my hair out if I hadn't taken this step. I know this is an old plan, but I had a blast making them.
Recommended Skill Level
Intermediate

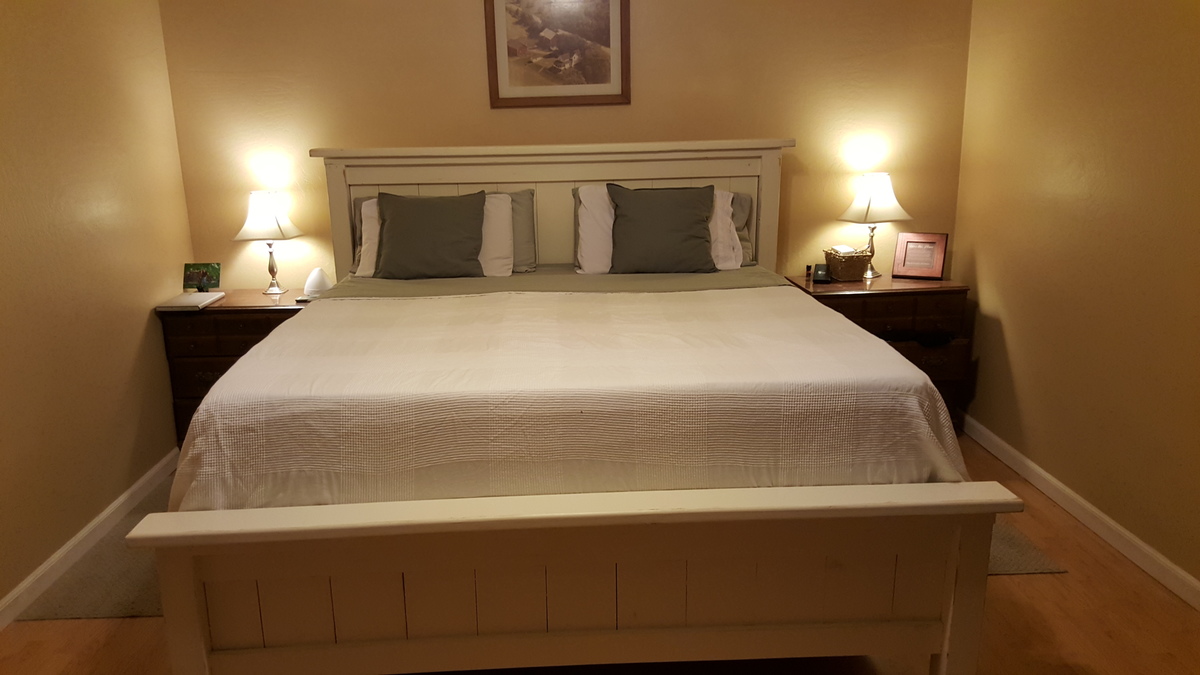
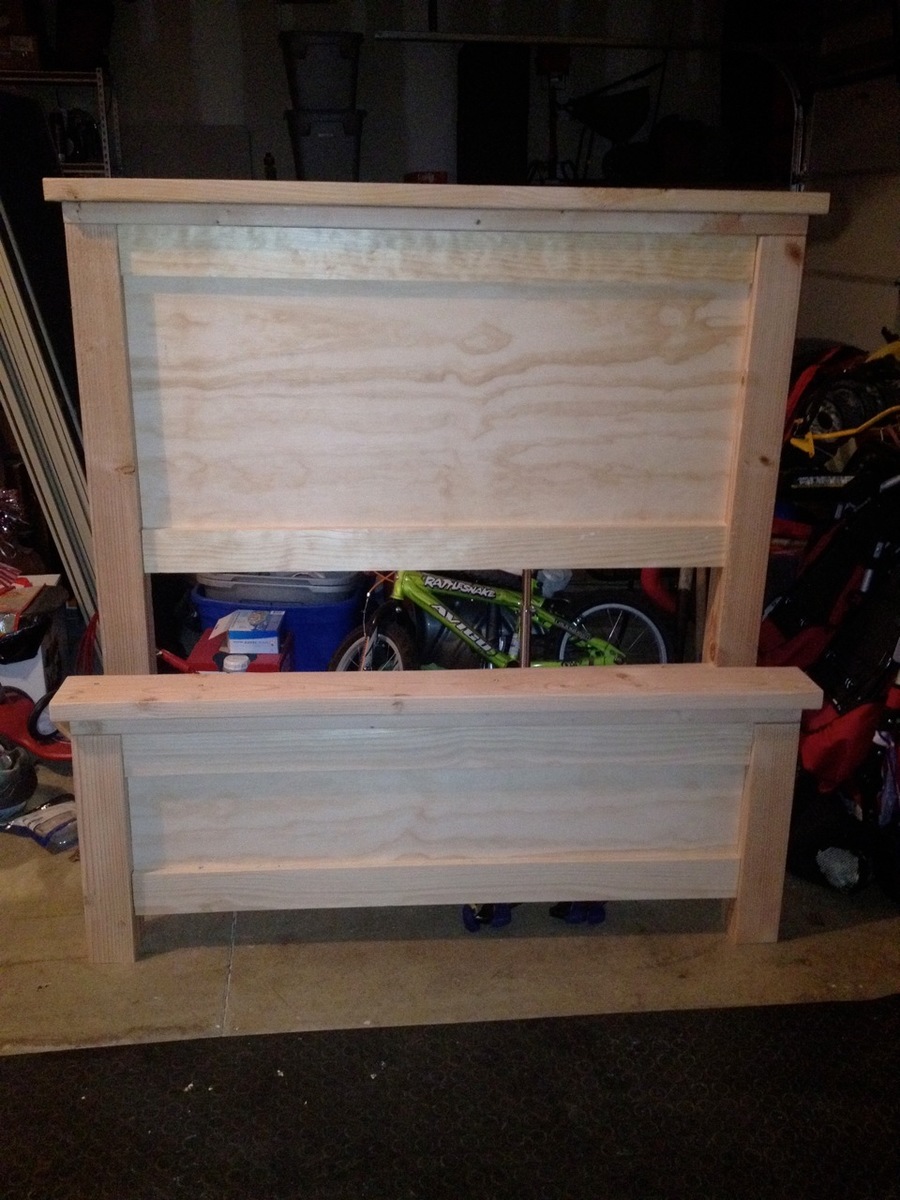
Farmhouse King Bed

Submitted by kterrell on Fri, 06/26/2015 - 19:17

Not much to say, I followed the plans for the King (adjusted from Queen) and built this in 2 weekends. First weekend was construction (maybe 4-5hours) the second weekend was sanding and paint (2-3 more hours).

Pretty sure I built the wood frame incorrectly (supports are on the top instead of allowing the box to sit inside of the 2x6's). it sits a bit high, but it is very sturdy. The mattress shown is a 15" mattress sitting on a standard box-spring. I will probably just convert it to a platform with some plywood or slats and just ditch the box springs.

Estimated Cost
$170 spent on wood for the bed and the frame (Home Depot)
Used some extra exterior paint I had laying around that was the right color - dilute it a bit for a smoother application.
Estimated Time Investment
Day Project (6-9 Hours)
Finish Used
exterior latex
Recommended Skill Level
Beginner

First Project

Submitted by Mightyd40 on Tue, 07/30/2013 - 07:08

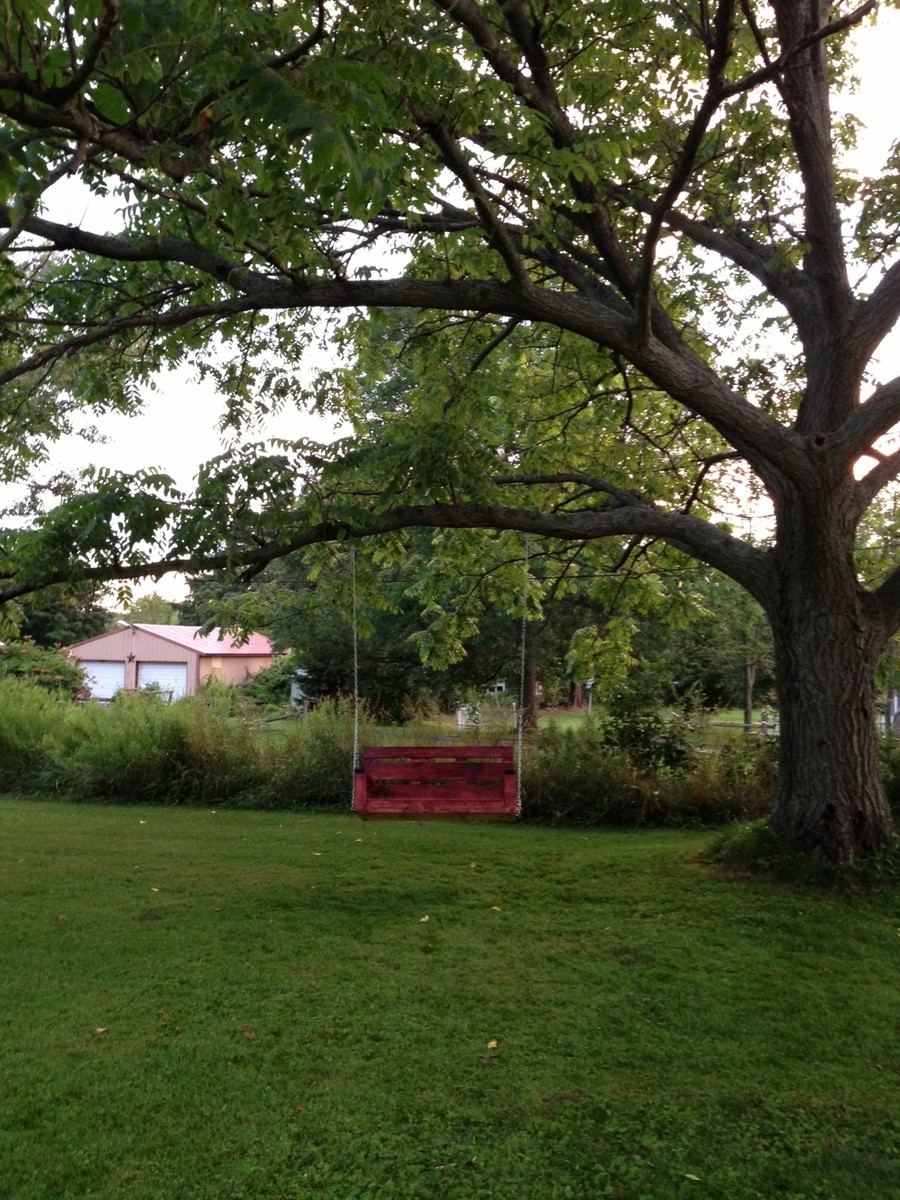
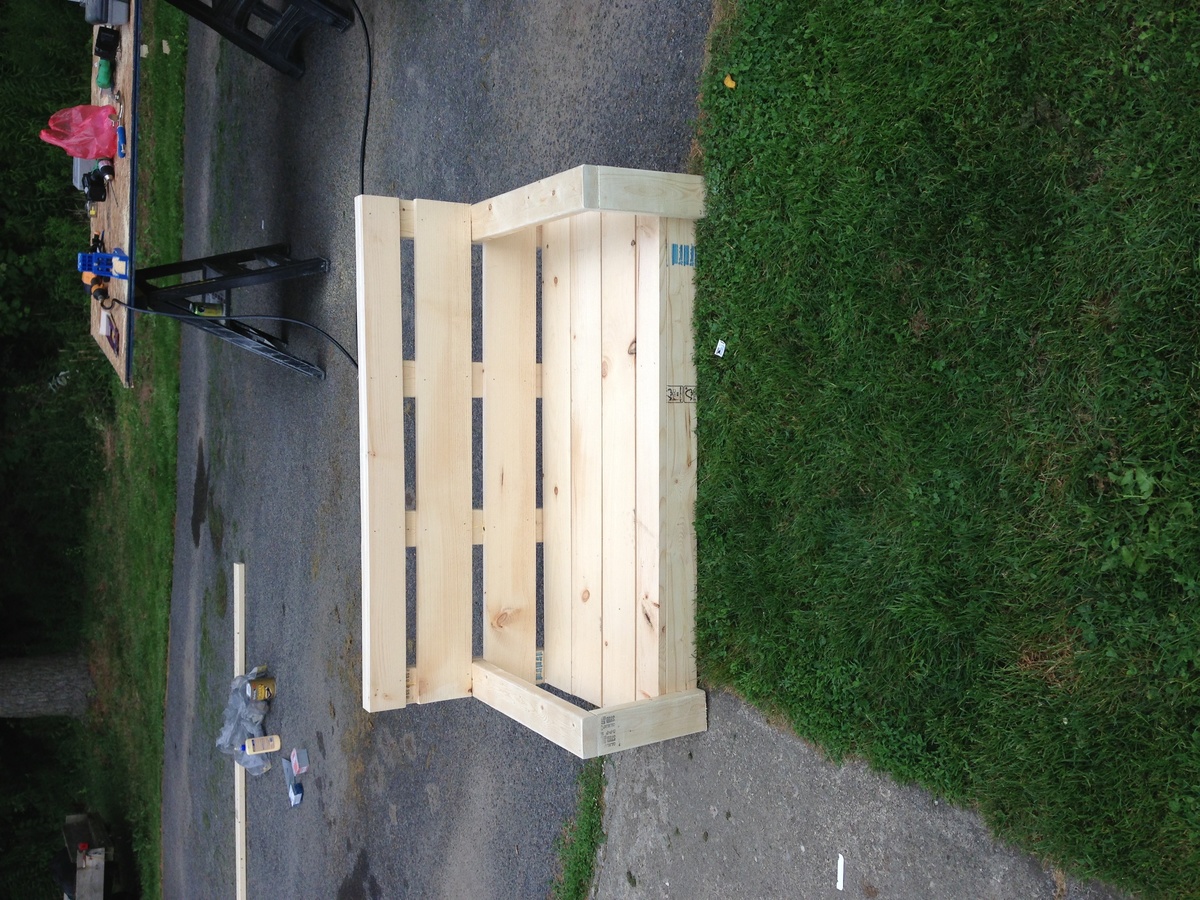
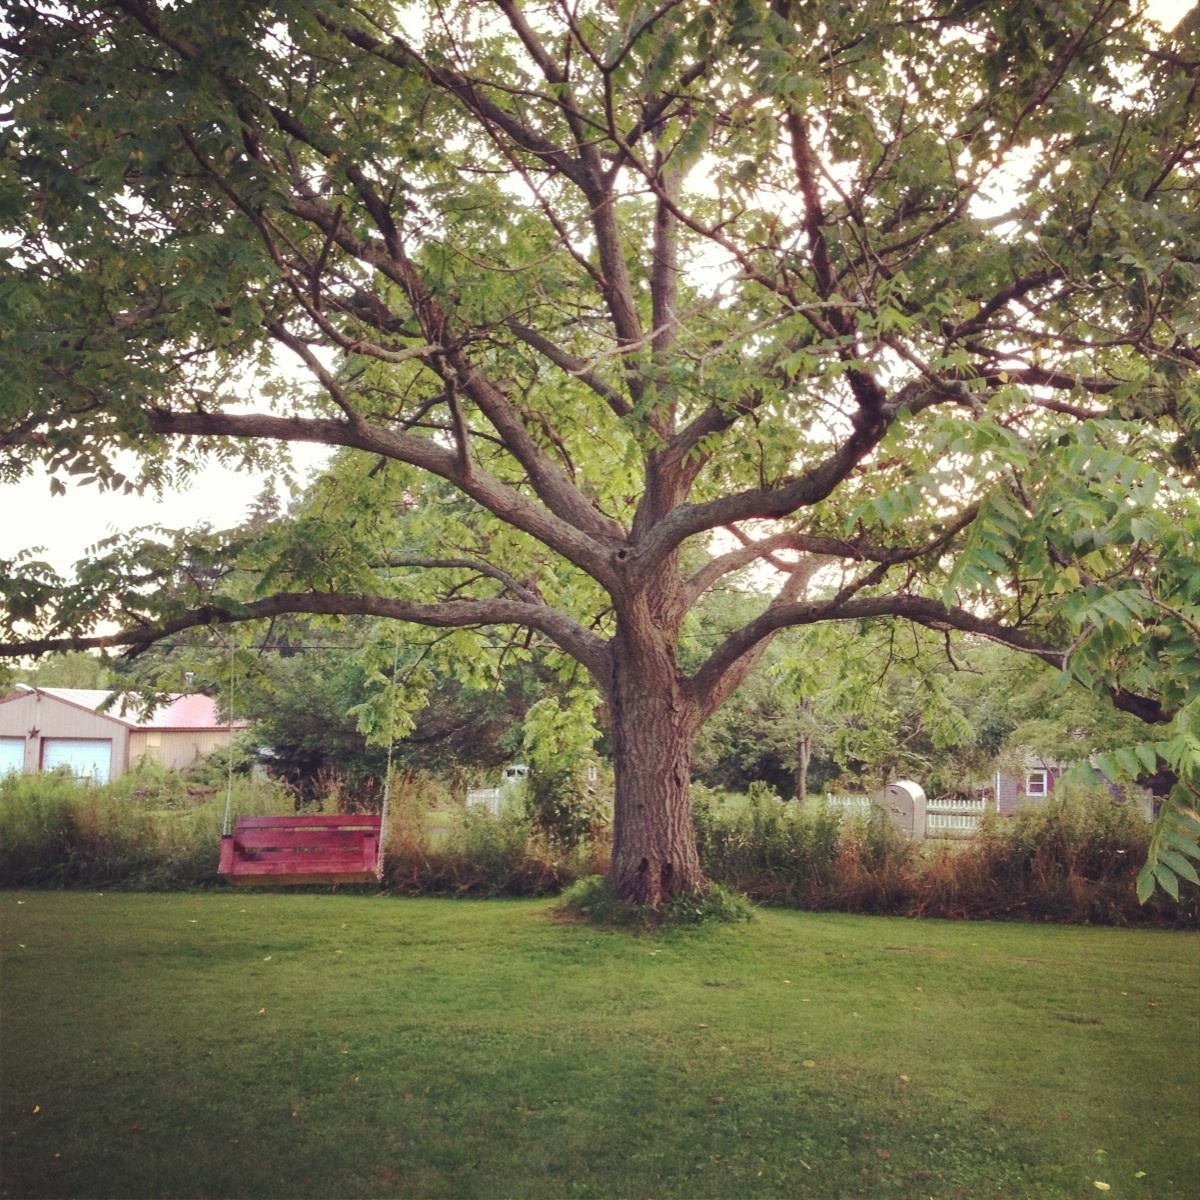
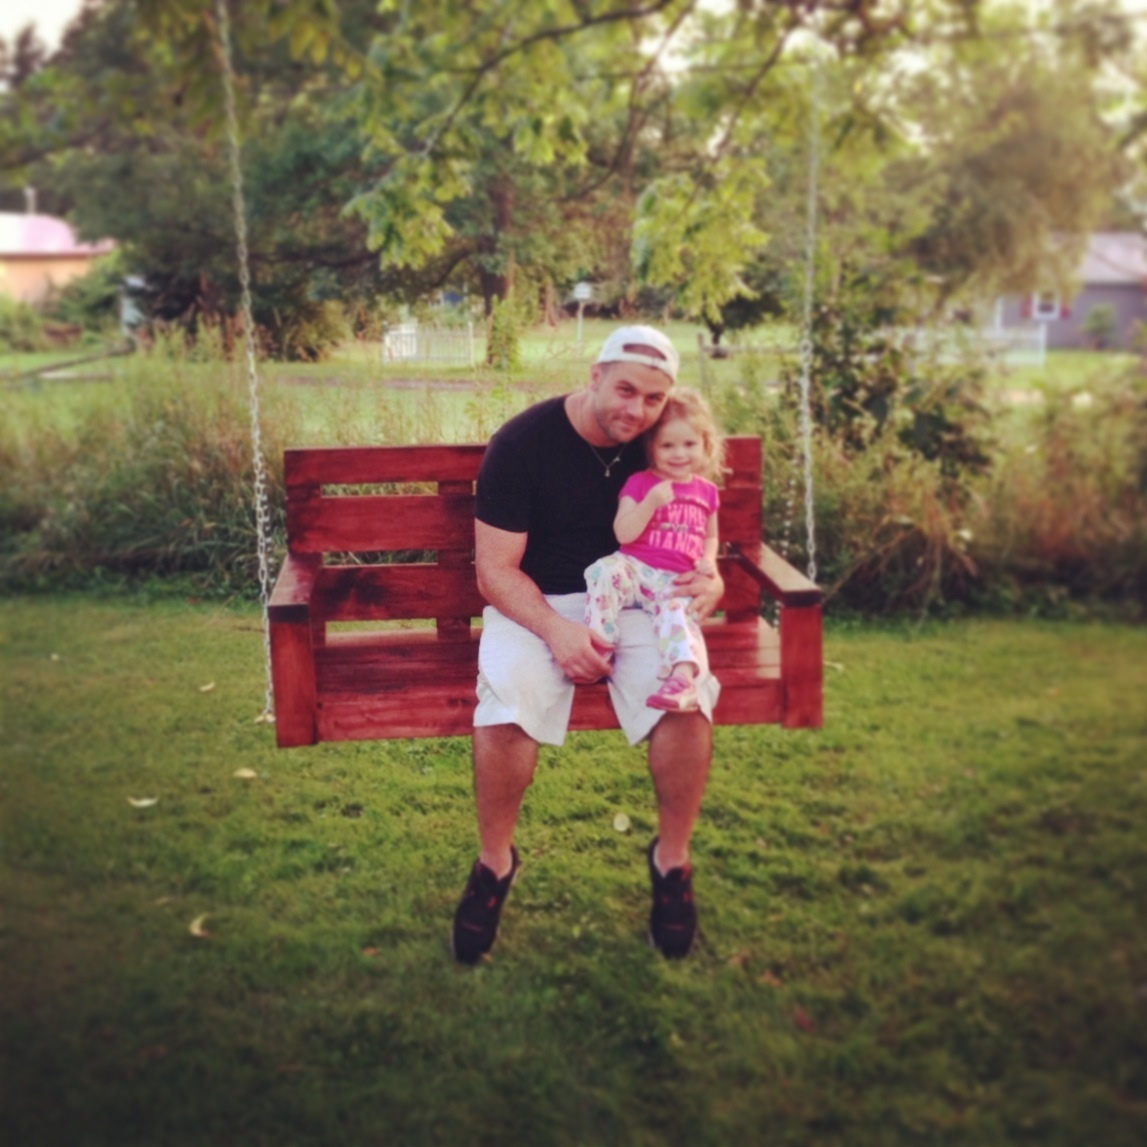
After a couple years out of bodybuilding because of a bad injury, I decided I really needed a new hobby. I've always been impressed with woodwork but it just seemed out of my reach. I wanted a porch swing and saw these plans and though, "even if I mess up it'll only cost me a couple hundred dollars". I bought the kreg jig kit and some lumber and thankfully have all the other tools I need. This only took me a few hours to build and it was so easy and a really good time. I watched a few you tube videos with both ana and Jeff devlin from Kreg Tools and it really prepared me. The job was fun and I plan on going back to the lumber store this week just to build more stuff I probably don't need lol.
Built from Plan(s)
Estimated Cost
$250 for lumber/ kreg jig and a few other reusable initial purchases
Estimated Time Investment
An Hour or Two (0-2 Hours)
Finish Used
Minwax Bombay Mahogany stain and Poly mix
Recommended Skill Level
Starter Project

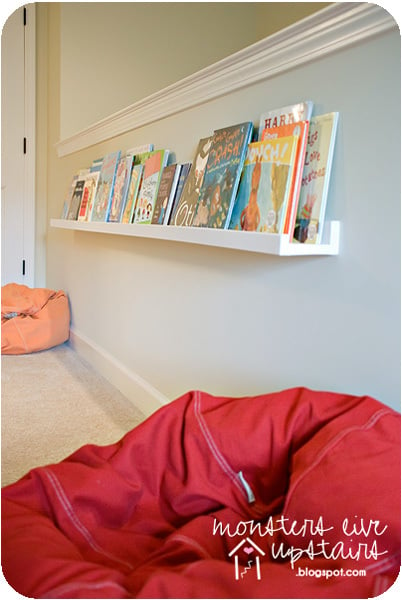
$10 Ledges Reading Nook

Submitted by kelli224 on Wed, 06/29/2011 - 15:22

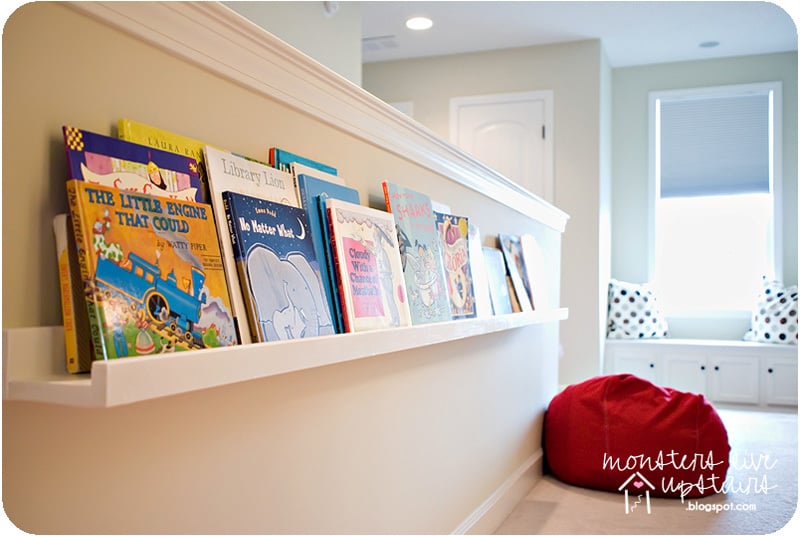
We needed something to help with our book storage problem - something easier for the kiddos to get to and also clean up. We've made the ten dollar ledges before for our kitchen, but this project was way more fun!

Built from Plan(s)
Estimated Cost
$10
Estimated Time Investment
An Hour or Two (0-2 Hours)
Recommended Skill Level
Starter Project

Comments