Community Brag Posts

Simple Outdoor Lounge Chair - Beefed Up

Submitted by Radcrafter on Sun, 06/24/2012 - 10:55

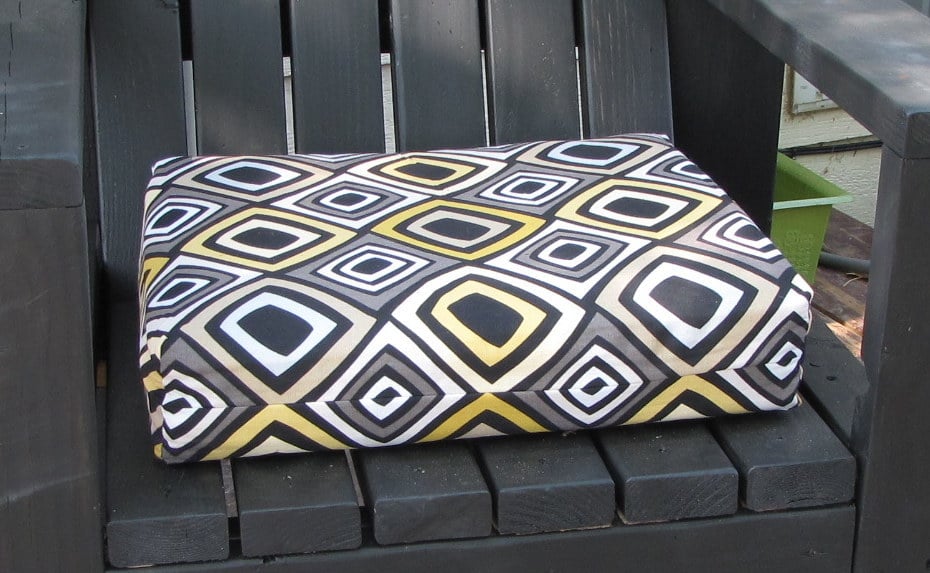
Loved building this chair. Super simple to put together and very sturdy once everything came together.

I modified it to create a larger and taller chair, using 2x6 and 2x4 lumber. Because of this change I felt like my math challenged brain was completing some sort of quiz, but to keep things simple I cut the pieces step by step recalculating lengths as I went.

I marked up the plan as I went, so if anyone is interested just let me know & I'll add the changes.

http://radcrafter.com/2012/06/simple-outdoor-chair-beefed-up/
Built from Plan(s)
Estimated Cost
$20-30
Estimated Time Investment
Afternoon Project (3-6 Hours)
Finish Used
outdoor stain in solid slate
Recommended Skill Level
Beginner

Comments

spiceylg

Sun, 06/24/2012 - 18:18

I thought it looked beefier and I prefer that look. I'm curious, what size cushion is that?

J (not verified)

Sun, 08/19/2012 - 08:29

I would love to see your changes and build the beefier version! Please share!

Tammyctr

Thu, 07/26/2018 - 07:05

I have a large (400+) family member who I need to make chairs for.  This plan looks perfect (even though I will have to probably adjust width and add additional support)  Can you please send me your plans?

Slat Bench

Cost: $45
Made this bench smaller than the plan so it measures 48" X 18". Using it in a spare bedroom so it will eventually get stained to match the wood furniture.

Estimated Cost
45
Estimated Time Investment
Afternoon Project (3-6 Hours)
Finish Used
Haven't stained the wood, can't decide on a color.
Recommended Skill Level
Starter Project

Comments

Rapturee

Mon, 12/04/2017 - 09:17

That was my idea as well, to shorten it. My wife just asked me if we could part with a few chairs on the back side of our dining room table and if i would make a bench or two across the back wall. Well "of course" i said hahah!!  Nice job on yours!!   :{)

2+ Cubic Foot Raised Planter Box

Submitted by B.W.Martin on Mon, 05/11/2020 - 09:29

This is a cedar and treated lumber raised planter that holds over two cubic foot of potting soil and has a built-in drain out the back so your feet do not get wet. The treated lumber is used only for the frame, no dirt or water touch any wood.

The inner dimensions are 12"x12"x32", and it stands 24" tall. There is a seamless double layer of 4 mil plastic that opens into the drain only and is siliconed. There is also a seamless black mesh inside to keep the soil and nutrients from washing away.

Estimated Cost
$30
Estimated Time Investment
Afternoon Project (3-6 Hours)
Finish Used
No finish used, left cedar rough.
Recommended Skill Level
Intermediate

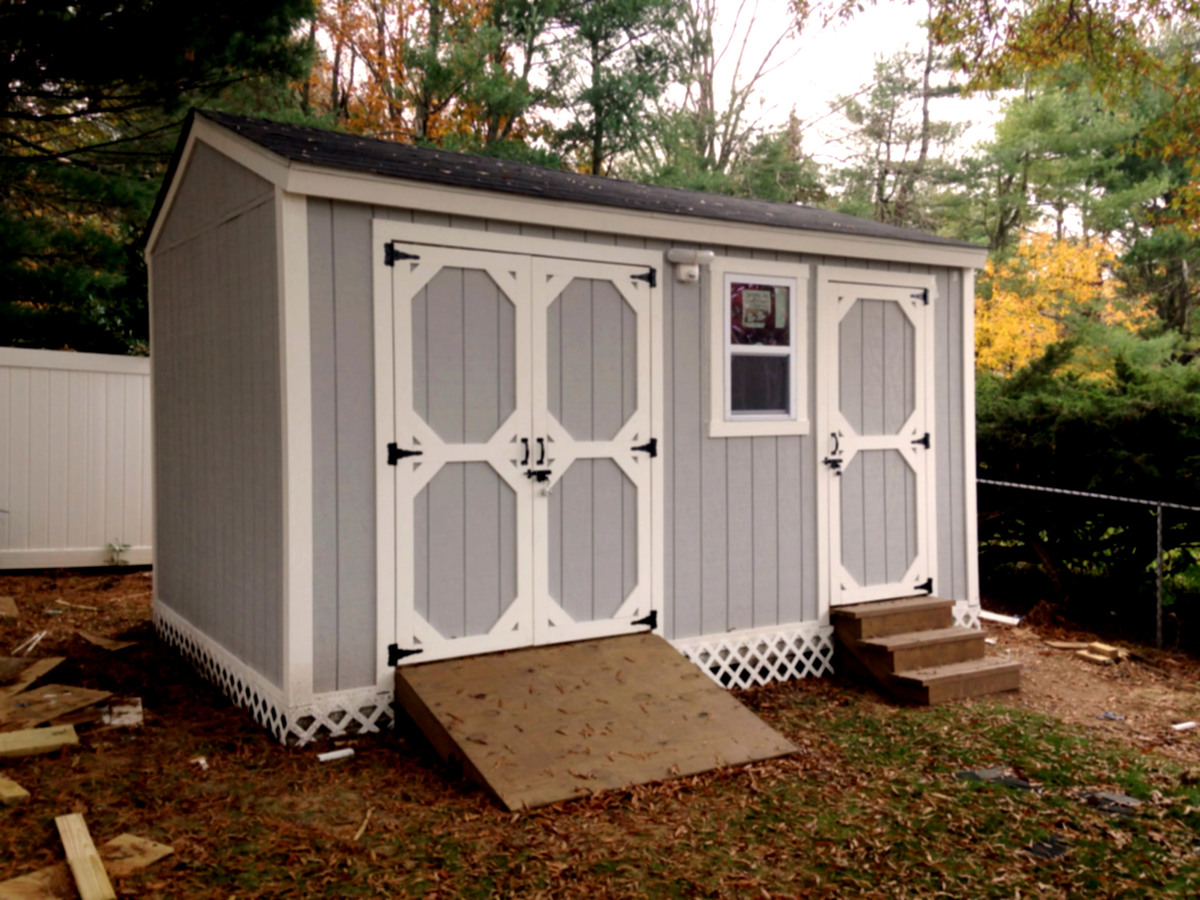
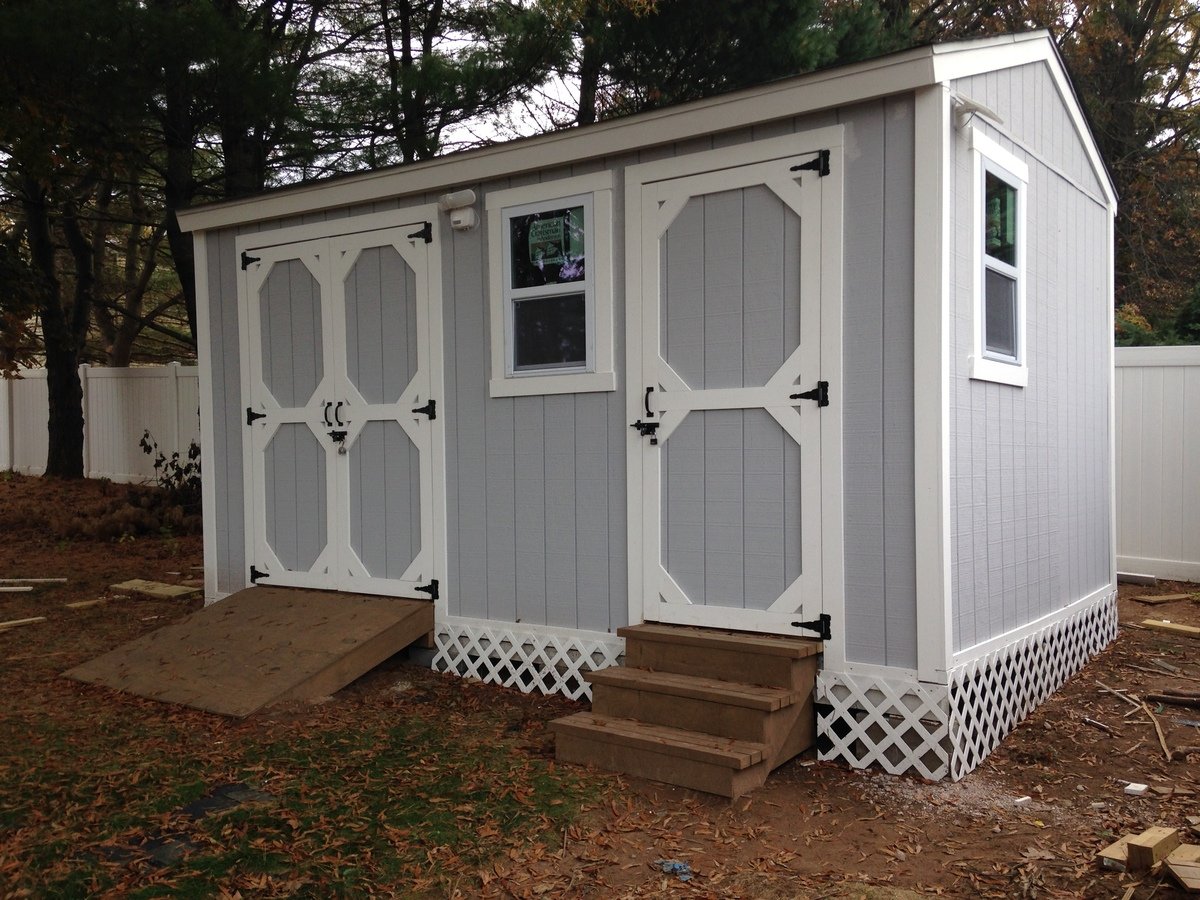
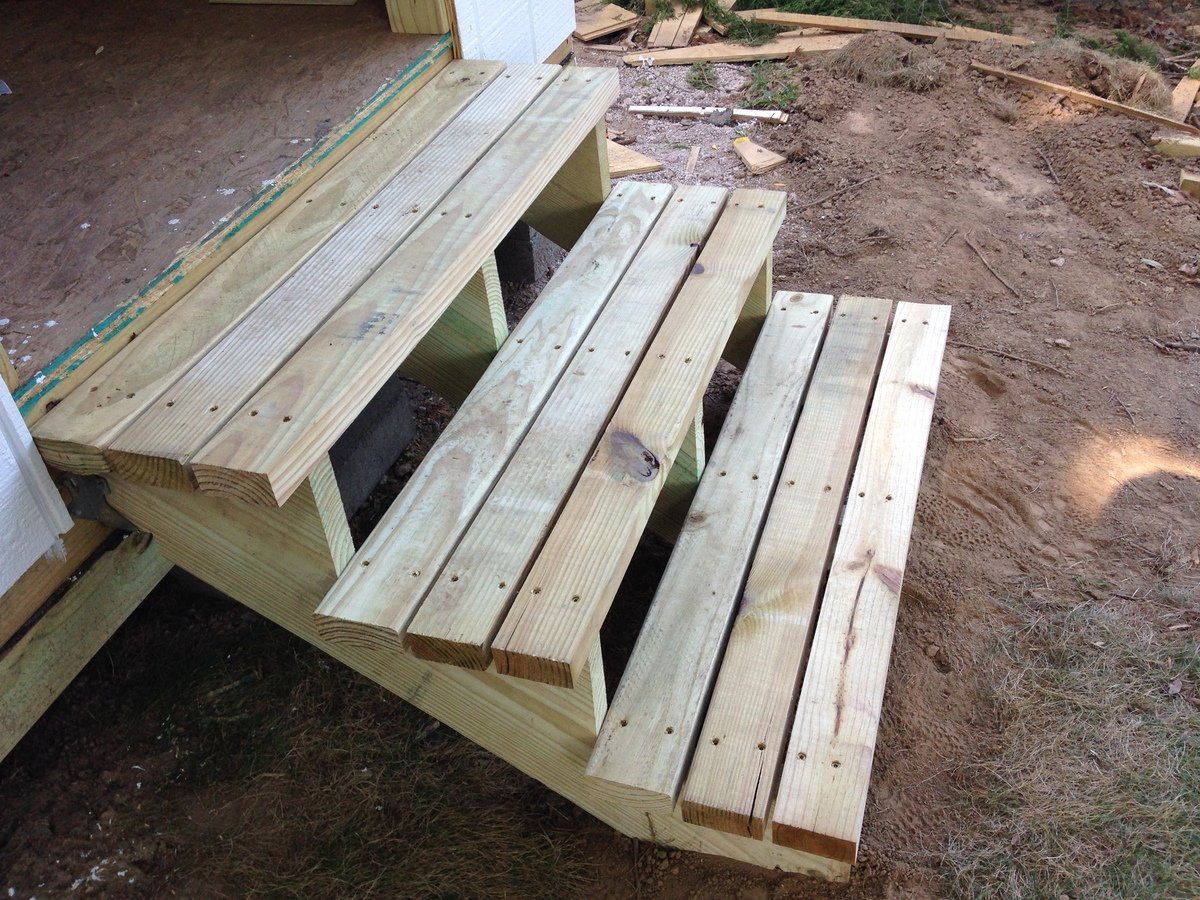
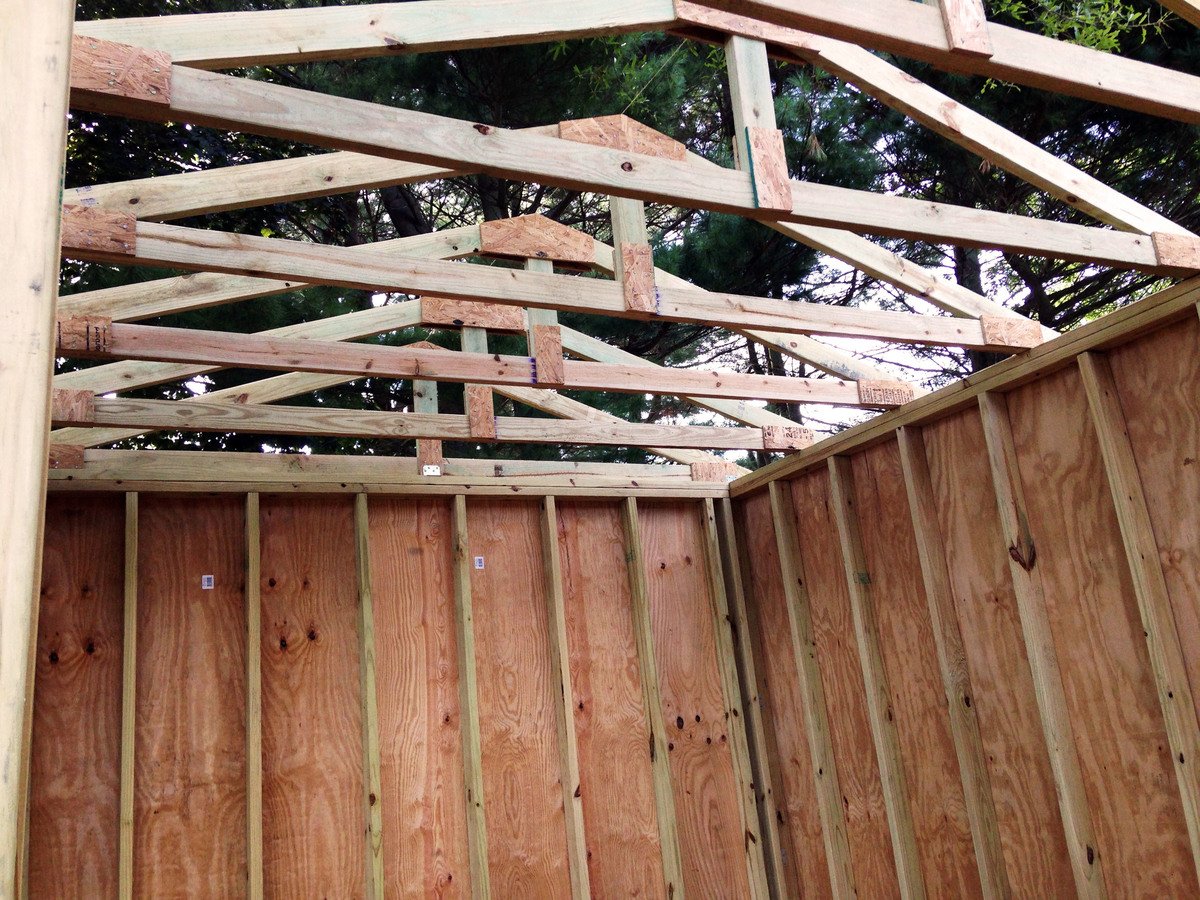
DIY storage shed with mower ramp and steps

Submitted by lookitsash on Thu, 07/28/2016 - 15:29

I used ideas on your site for inspiration for my current back yard shed.  I did a lot of research before choosing one.  If you've never built a shed before from scratch, it can be a little daunting, especially if its a larger shed.  I also documented my whole process from the laying the foundation to putting the last nail on the shingles.  Here's the link for you to my blog post:

http://www.justmeasuringup.com/blog/the-shed-project-phase-1

It was a lot of fun for me, and a huge wow factor to impress my friends ;)  I store everything in there from my riding mower to all my patio furniture in the wintertime.  It's such a useful thing to have.

I spent around $1500 and it took about 2 months to complete (working on it while having a full time job - otherwise would have finished a lot faster)

Estimated Cost
$1500
Estimated Time Investment
Week Long Project (20 Hours or More)
Finish Used
Used T-11 siding with several coats of exterior primer and paint
Recommended Skill Level
Intermediate

Comments

lookitsash

Sun, 07/31/2016 - 17:44

Thanks!   I looked at a bunch of different door trims online and found this pattern that I liked.  The mitre saw made quick work out of it, and it only took about 10 minutes to cut and install.

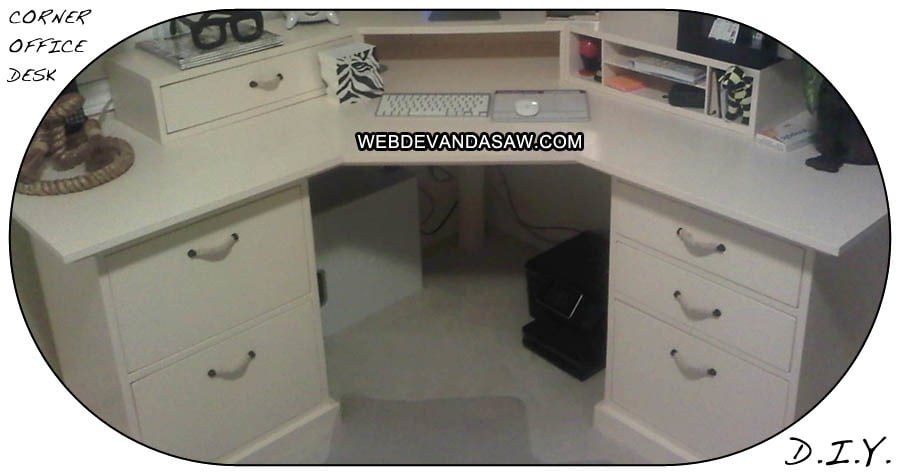
Office Corner Desk with Hutch!

Being my first DIY project - it was a pretty big task not using a saw before or doing any building. Following the plans was easy, just took a lot of time to learn how to do things for the first time.

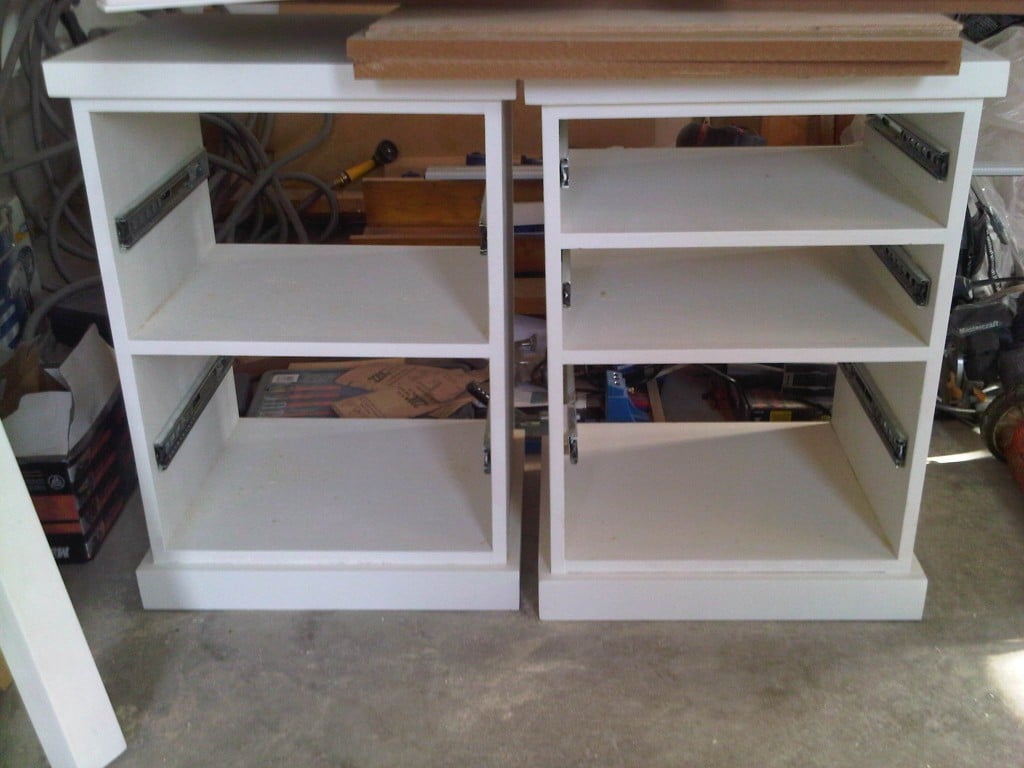
I modified her plans to have 3 drawers on the one side to match the pb design.

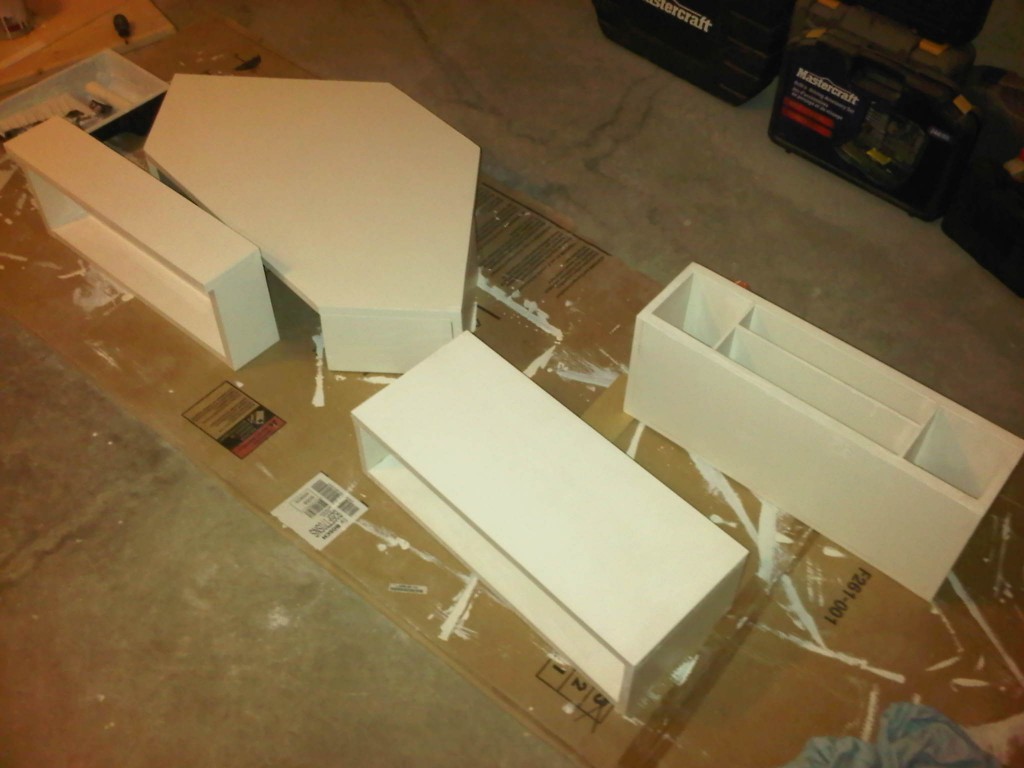
After finishing the table, I knew I needed to create the hutch that is sold along with this desk. After some rough paperwork estimates I went ahead and built the hutch.

Looks pretty amazing and similar to the real deal.

Check out my blog for further pics and details of paint, primer and drawer slides I used. Leave a comment if you'd like me to work on getting a hutch plan organized.

With doing the hutch without real plans, this project took me a while to get those cuts organized and completed.

Estimated Time Investment
Week Long Project (20 Hours or More)
Finish Used
Benjamin Moore Antique White Paint
Recommended Skill Level
Intermediate

Comments

onehandymommy

Sat, 07/21/2012 - 09:56

I would love to see the plans you used to make the hutch! Also, I can't seem to find your website. The site on the picture isn't working. Wonderful corner desk, is it very heavy?

webdevandasaw

Sat, 07/21/2012 - 15:08

I will work on getting some hutch plans up.. I did it sort of on the fly from a rough estimate on paper.. I will post up on my website and a link here when I do.. might take a bit of time to get it up and learn how to draw it up all nicely on the computer. Not sure why the website won't load for you? http://www.webdevandasaw.com/ should work. Had a few people test it :S
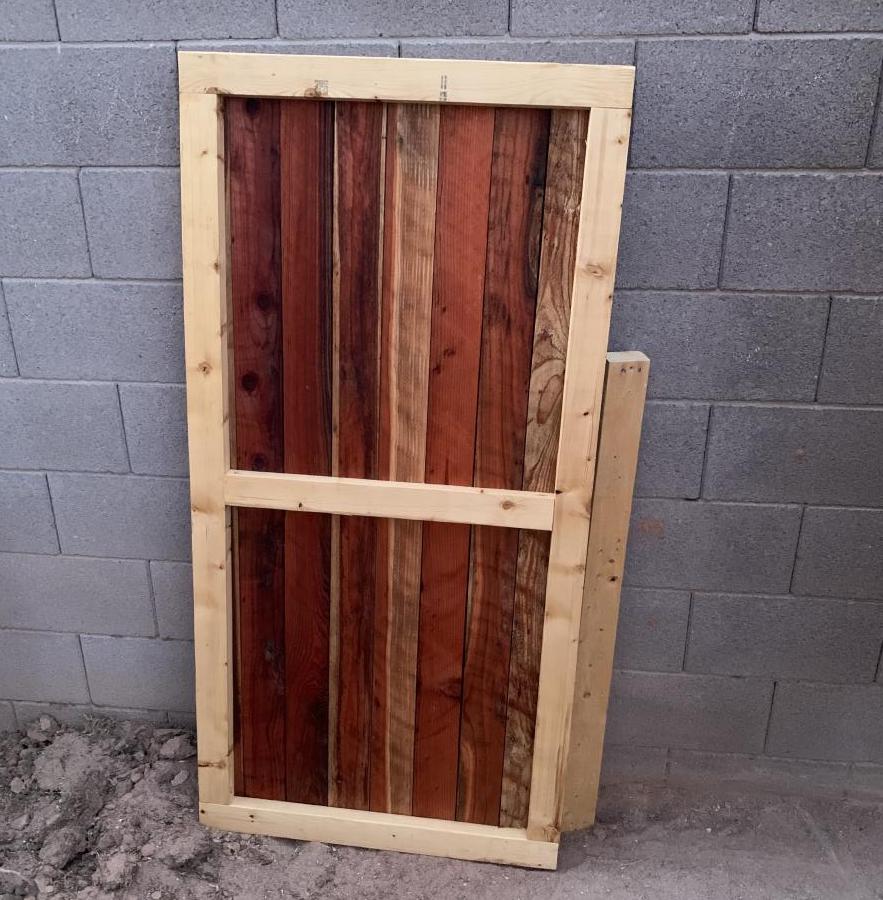
The desk is pretty heavy and solid. I was able to bring each part up a flight of stairs myself (all three parts of the hutch are seperate) - and the desk top is seperate, as well as each drawer I took out before bringing it up the stairs.

allenml2

Mon, 08/08/2016 - 19:50

It's been a while since you built the corner desk with hutch that is posted on Ana White website, and I had a question. do you have a new blog or website where you have posted details on the paint and drawer slides you used as well as the plan for the drawers and hutch that you create? Thanks.

Maureen

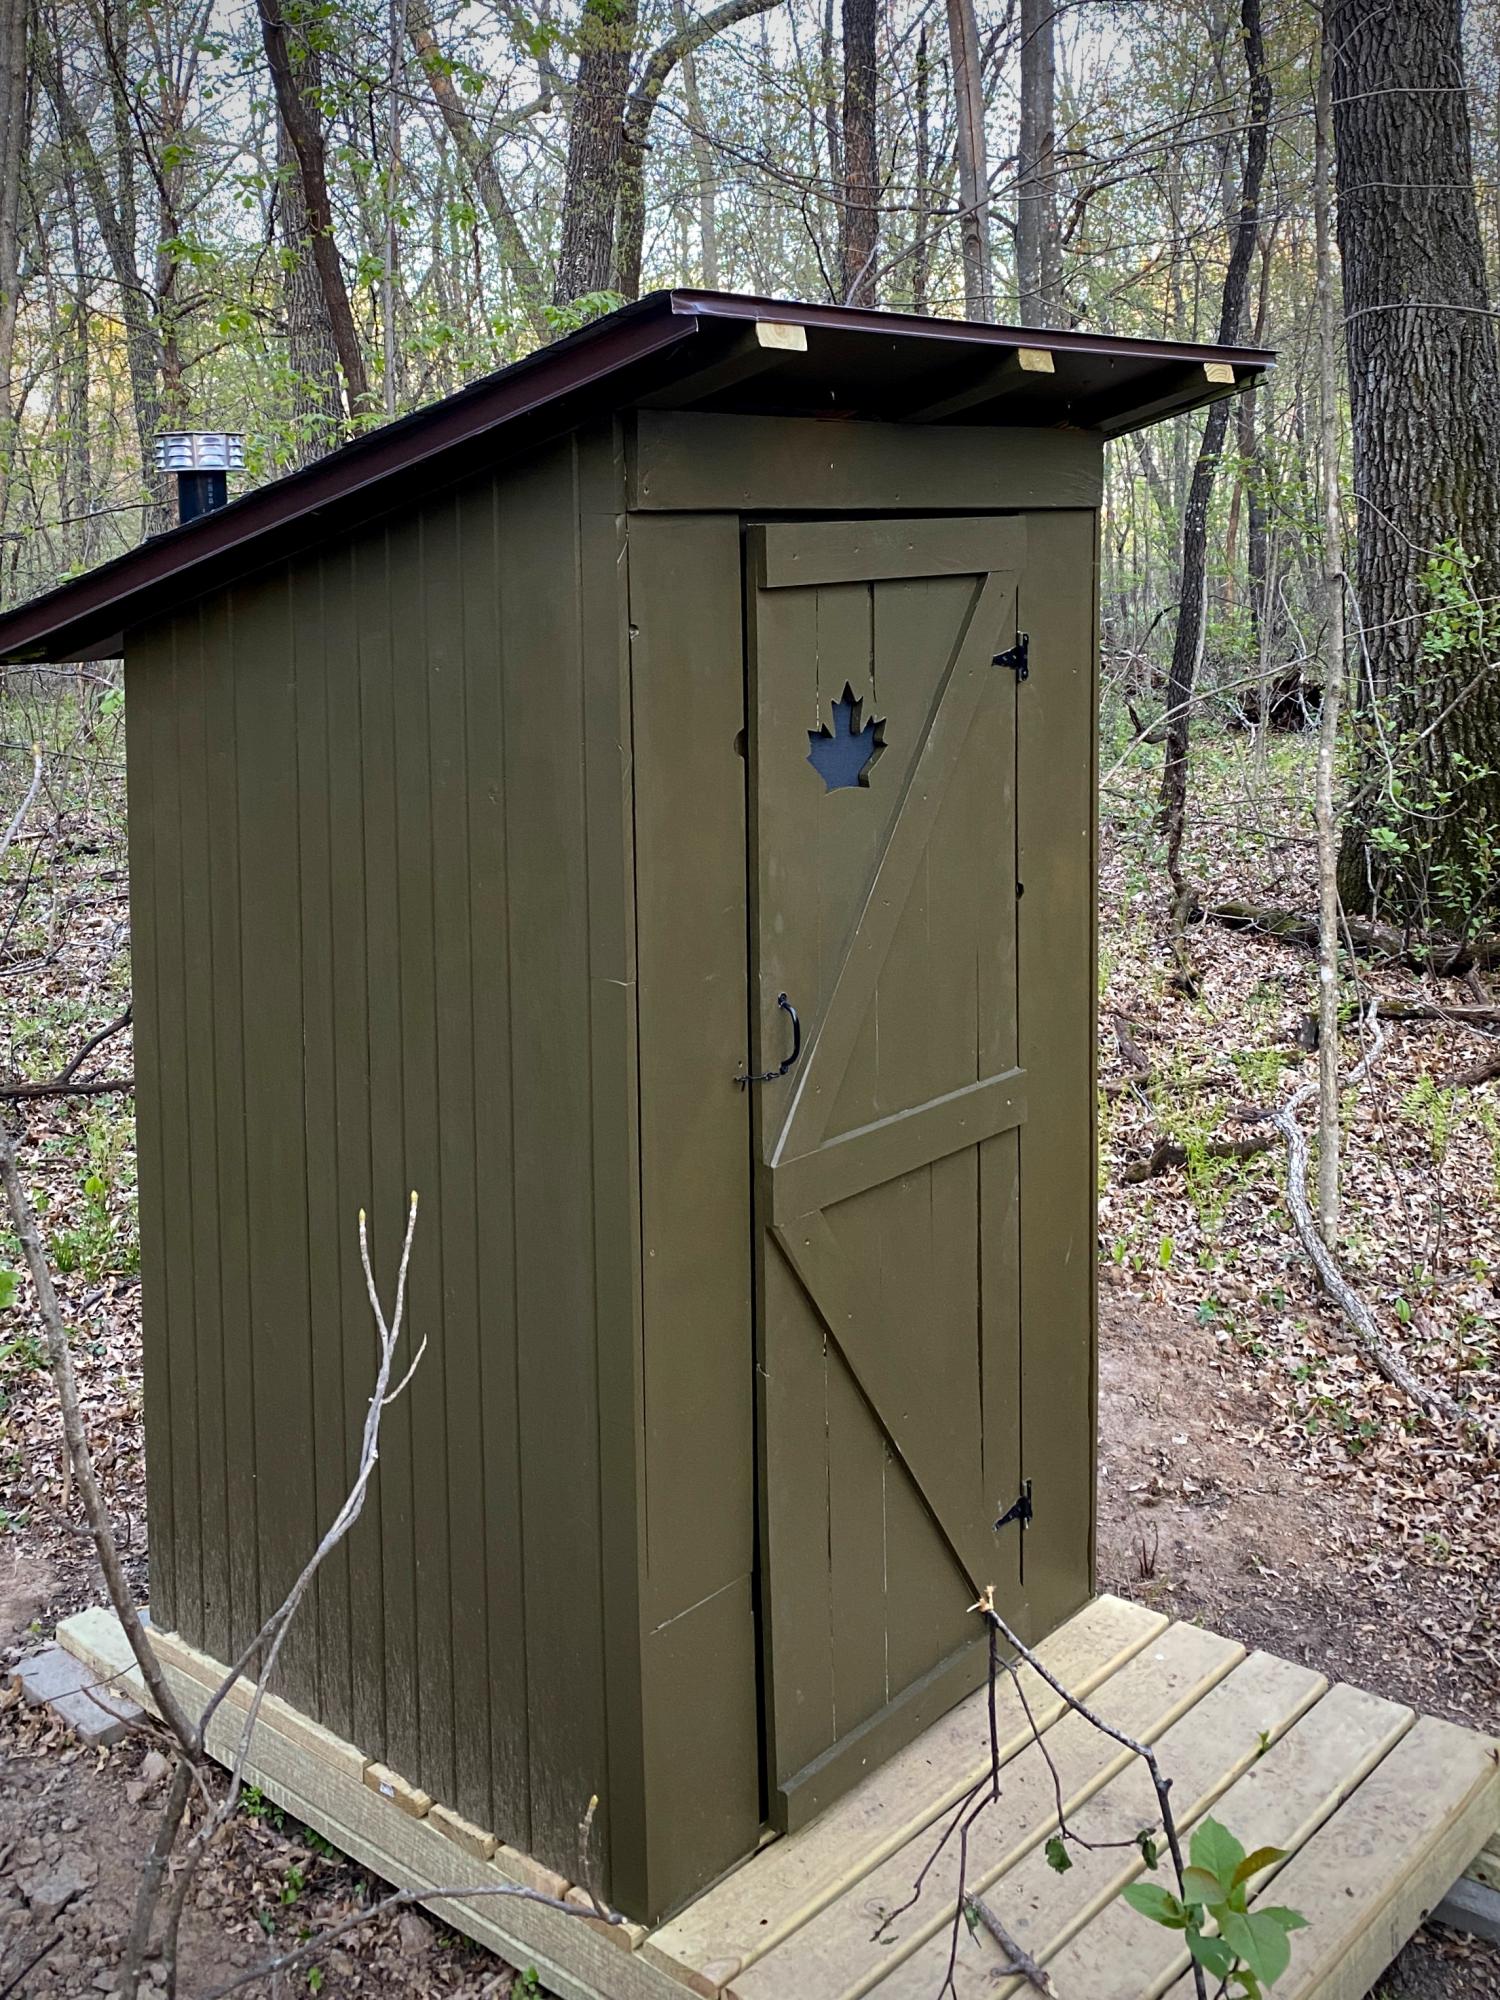
Outhouse

Submitted by kraftdan on Sun, 05/31/2020 - 10:54

Added shingles and a 3" vent in the back. Also made it a 2-seater to prolong time between dig-outs and extended the roof overhang. Two inch T&G siding seemed like overkill. I used regular 1x8. Painted it to blend in with the woods.

Built from Plan(s)
Finish Used
Exterior paint
Recommended Skill Level
Intermediate

Ryobi Nation workshop and shelves

Submitted by Anonymous (not verified) on Tue, 06/30/2020 - 15:48

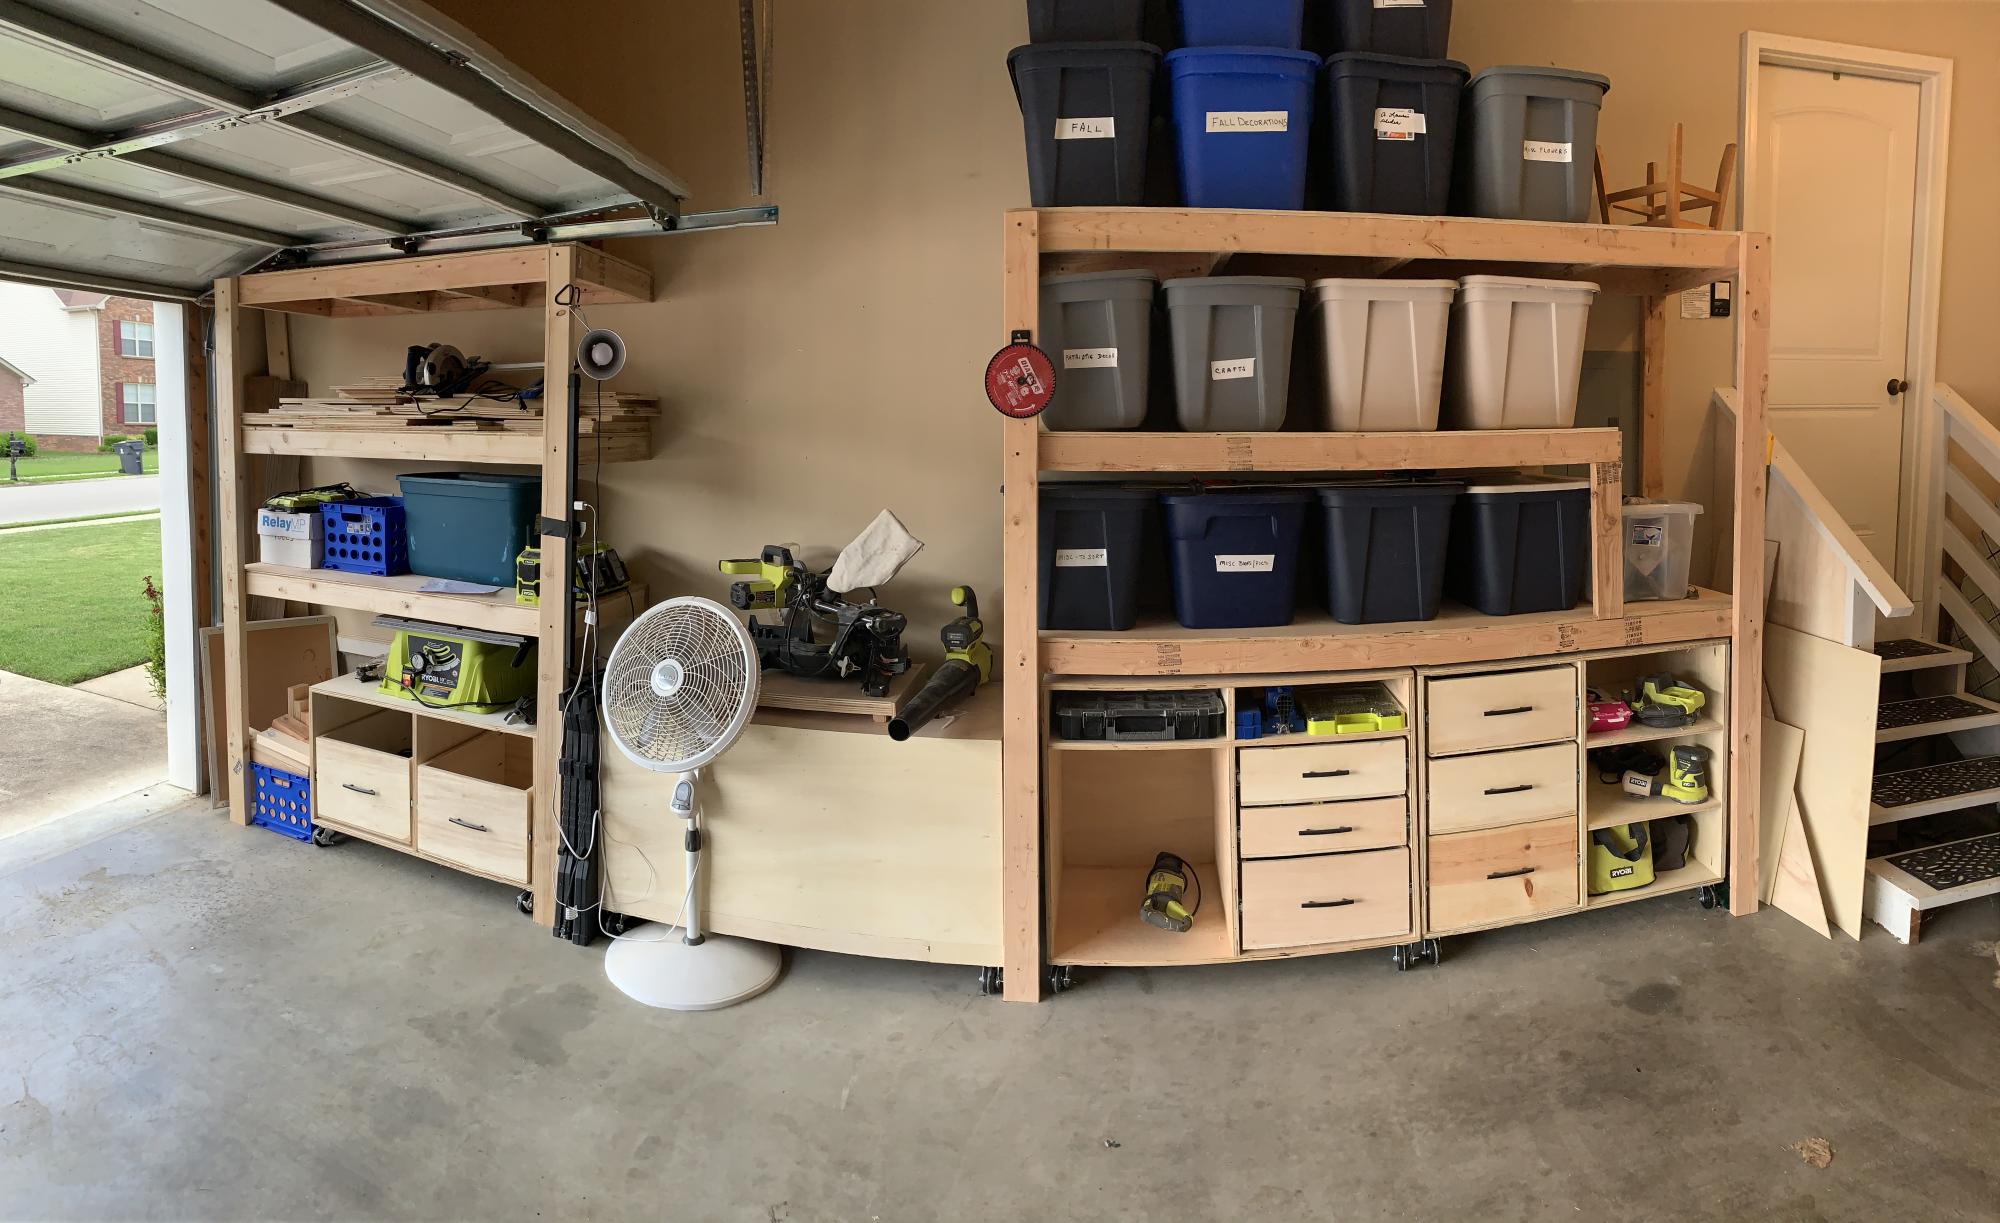
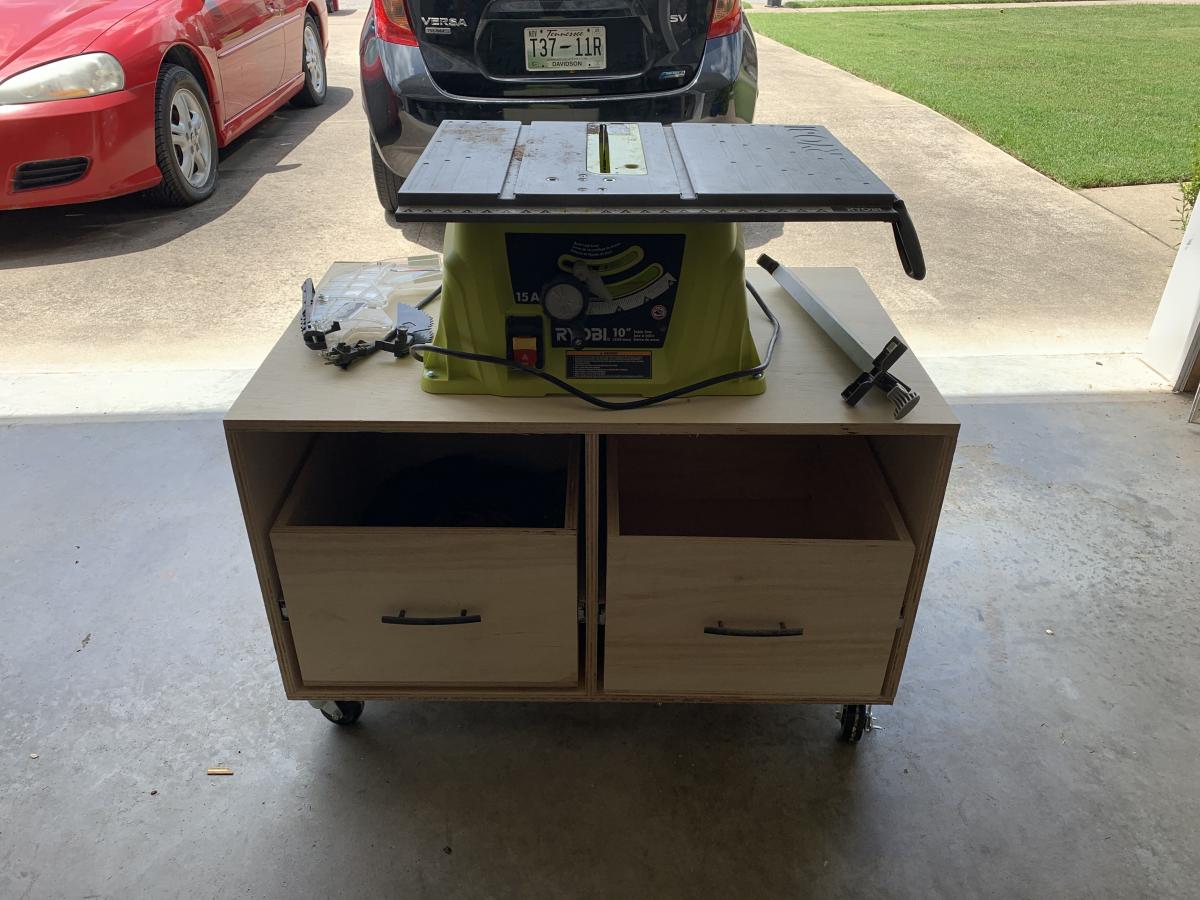
I bought a whole workshop full of Ryobi tools second hand from my brother over a year ago. I started researching workshop plans and came across Anna White’s Ryobi Nation Dream Workshop. I downloaded the plans and spent about 2-3 months working on it in my spare time. I made a lot of mistakes along the way but I’m pretty happy with it overall!

Estimated Time Investment
Weekend Project (10-20 Hours)
Finish Used
None
Recommended Skill Level
Intermediate

Comments

rcjones4

Fri, 08/11/2023 - 11:50

Do you still have these plans for the project? can't seem to find them anymore

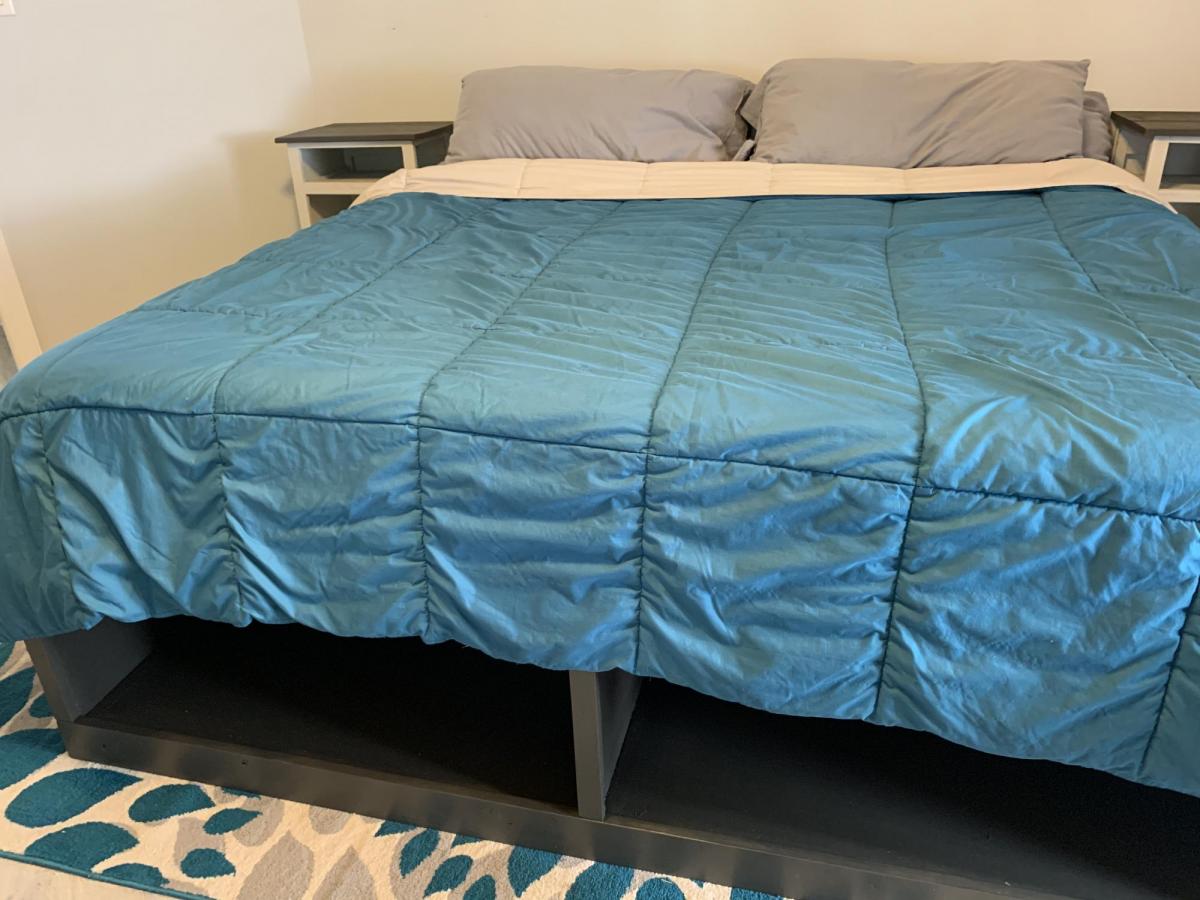
King classic storage bed

Submitted by Anonymous (not verified) on Tue, 07/07/2020 - 10:08

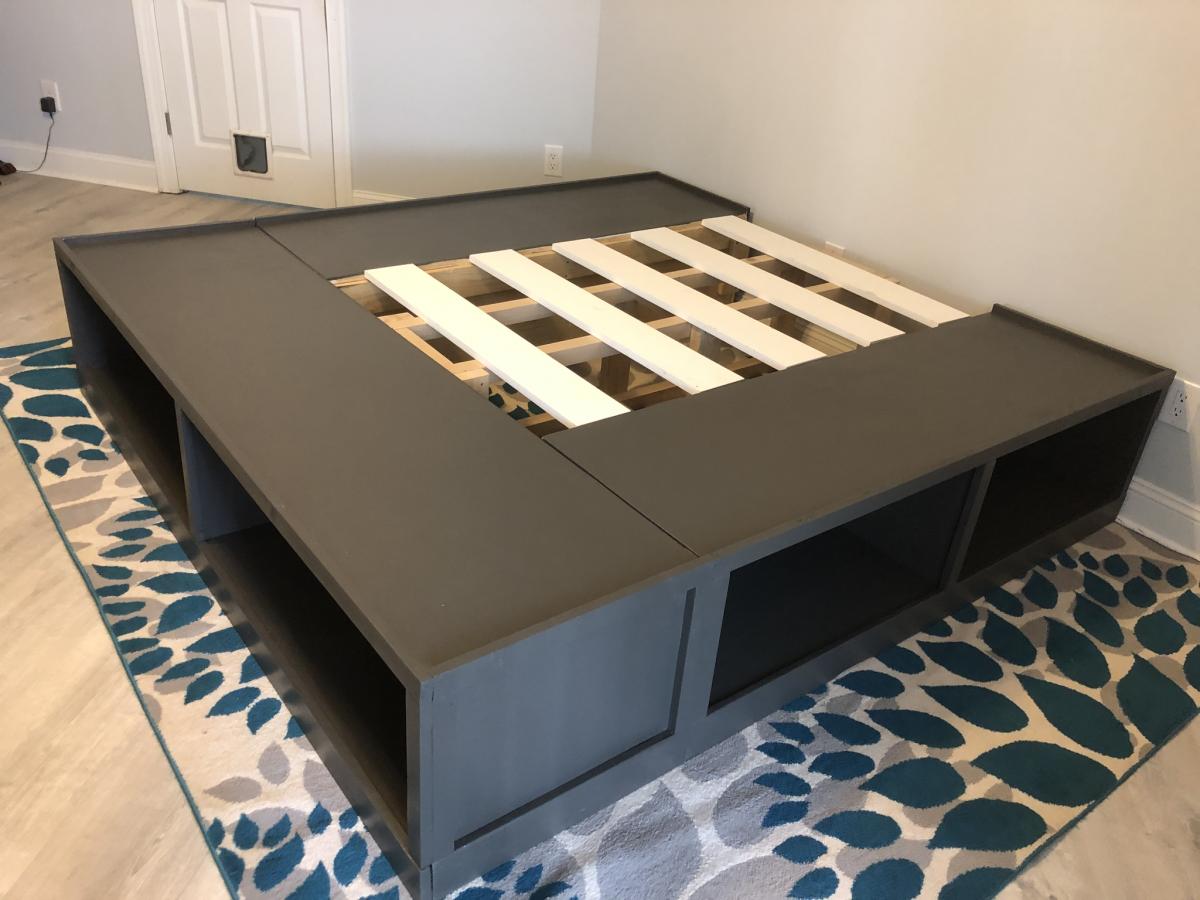
Built fairly close to original plans. Though we did modify slightly to create a slightly taller bed.

We placed a simple - but sturdy 2x4 frame between the sides. The span seemed a bit wide and we did not want any sagging.

We skipped the optional drawers, instead we will be building lightweight wooden storage crates to fit the storage spaces specifically.

Not a hard project. Though be sure to measure twice before you cut. 🤣

Built from Plan(s)
Estimated Time Investment
Weekend Project (10-20 Hours)
Finish Used
VALSPAR SIGNATURE INTERIOR PAINT & PRIMER in ebony field.
Recommended Skill Level
Intermediate

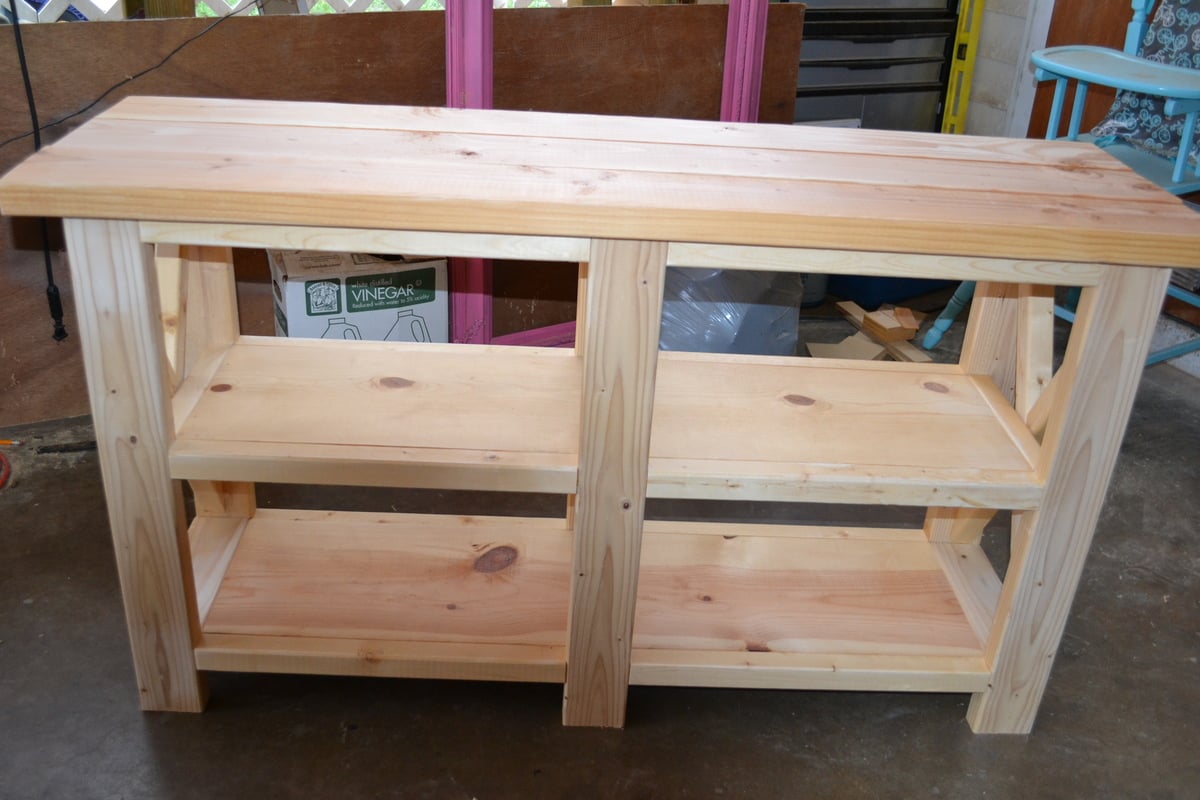
X Console Table

Submitted by MichelleC on Thu, 10/04/2012 - 13:53

I built this a couple feet shorter than in the plans because it is for my neighbor's fish tank! It was fun to build and I'm in love with the finished product. She's going to paint or stain it herself. The pics were taken in my messy, projects-everywhere carport right before the neighbor hauled it off! Her son-in-law wants one now, and I will be building one for MYSELF right away as well! Thank you Ana!!!

Built from Plan(s)
Estimated Cost
75
Estimated Time Investment
Day Project (6-9 Hours)
Recommended Skill Level
Intermediate

Comments

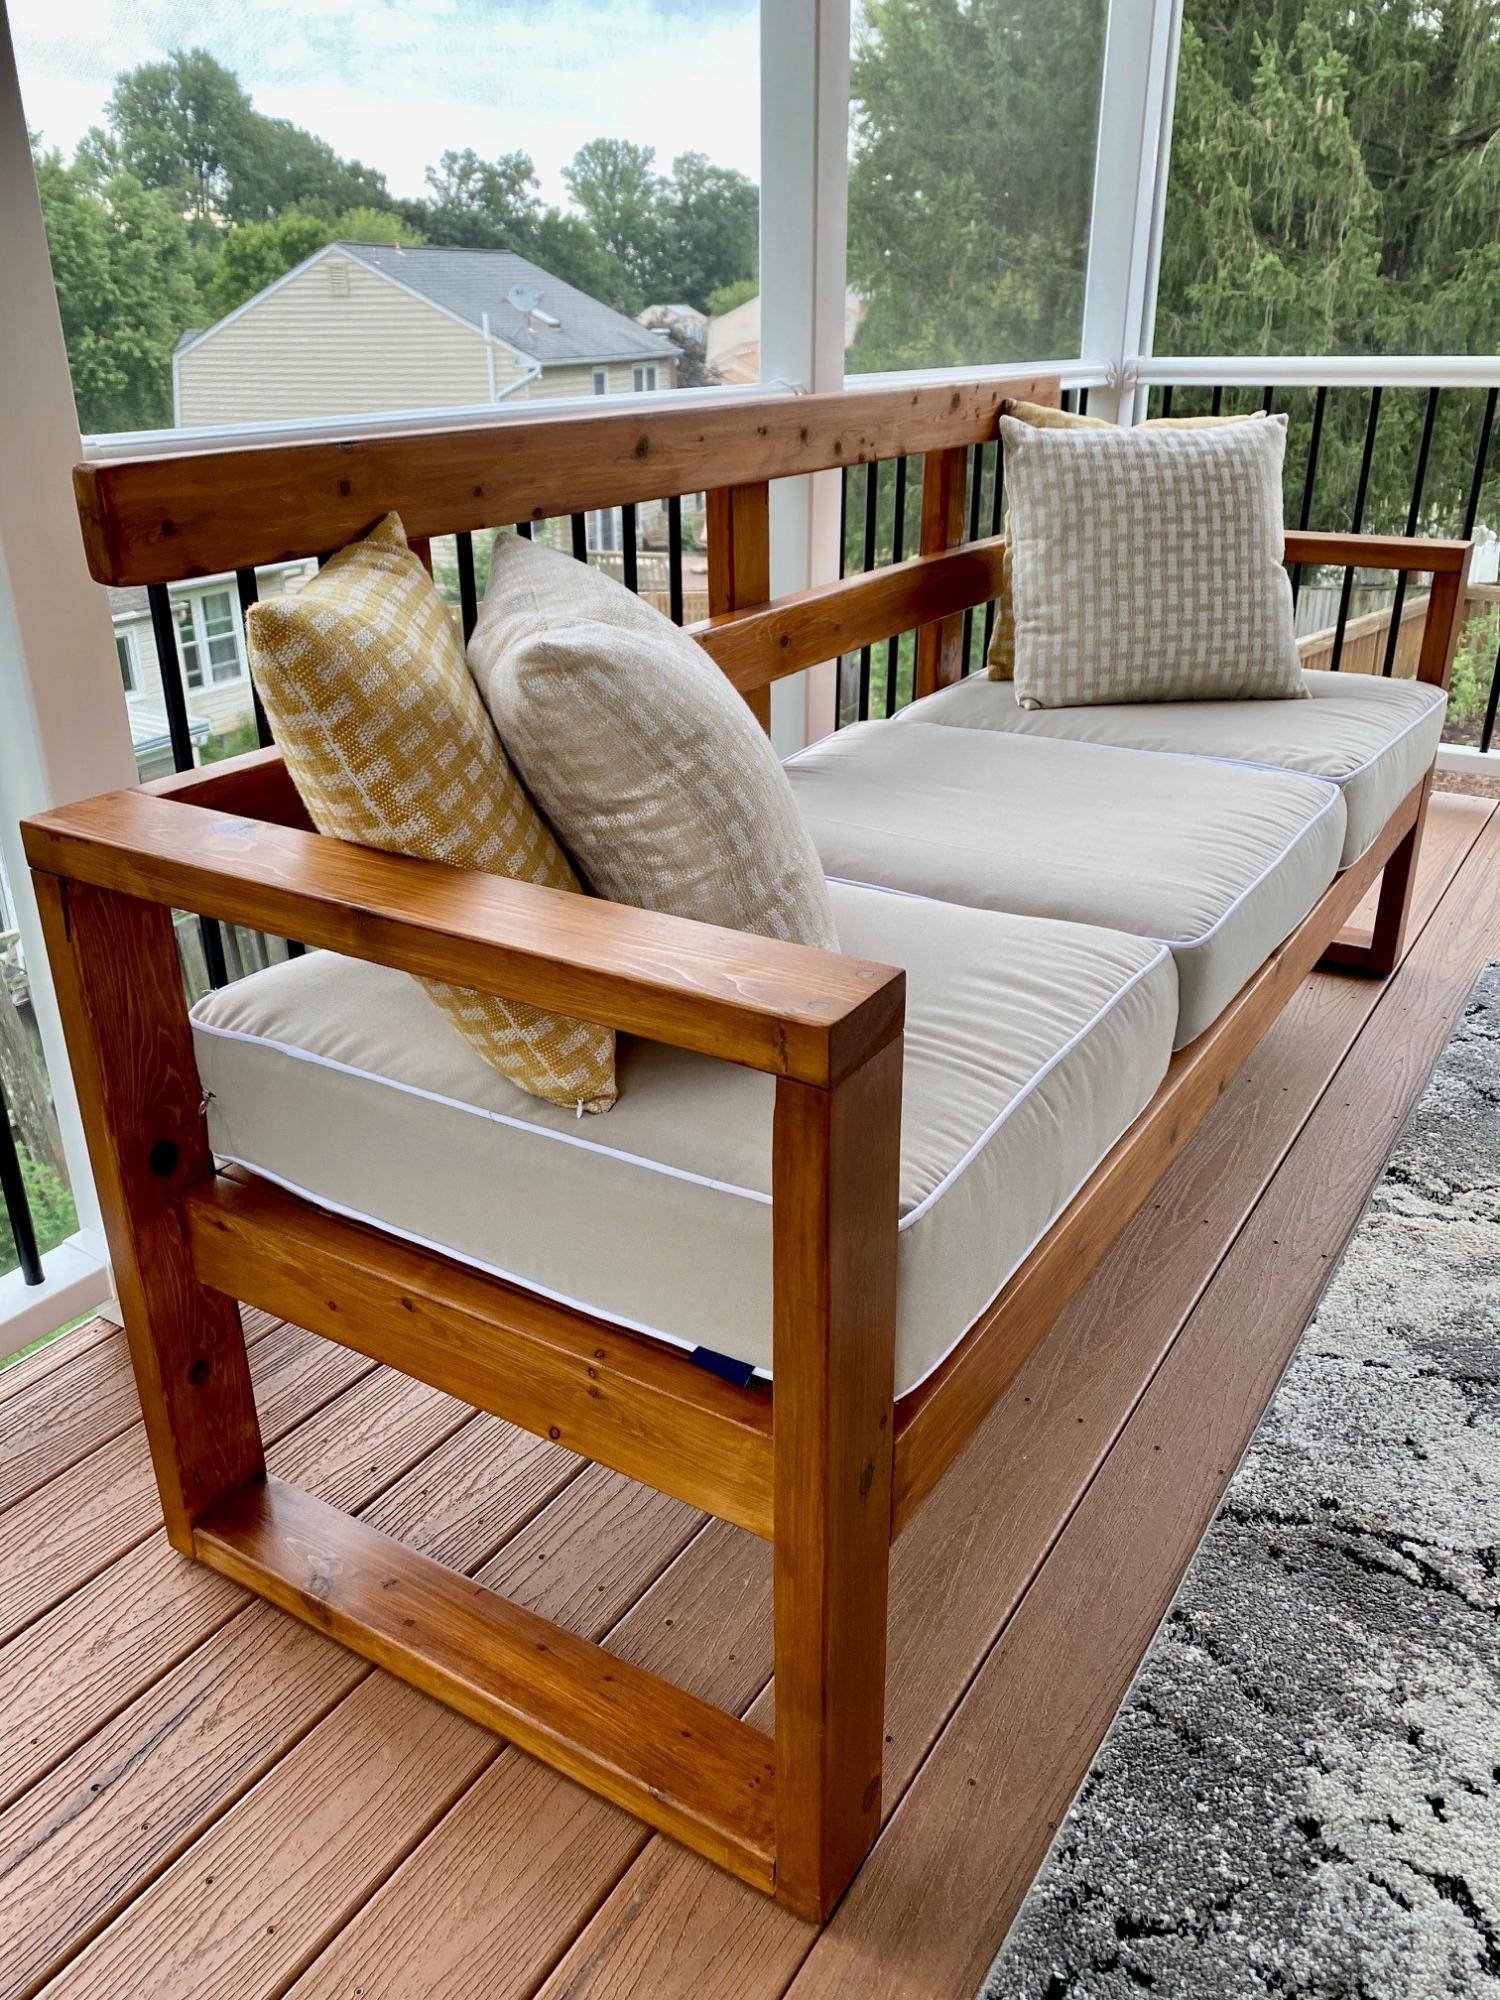
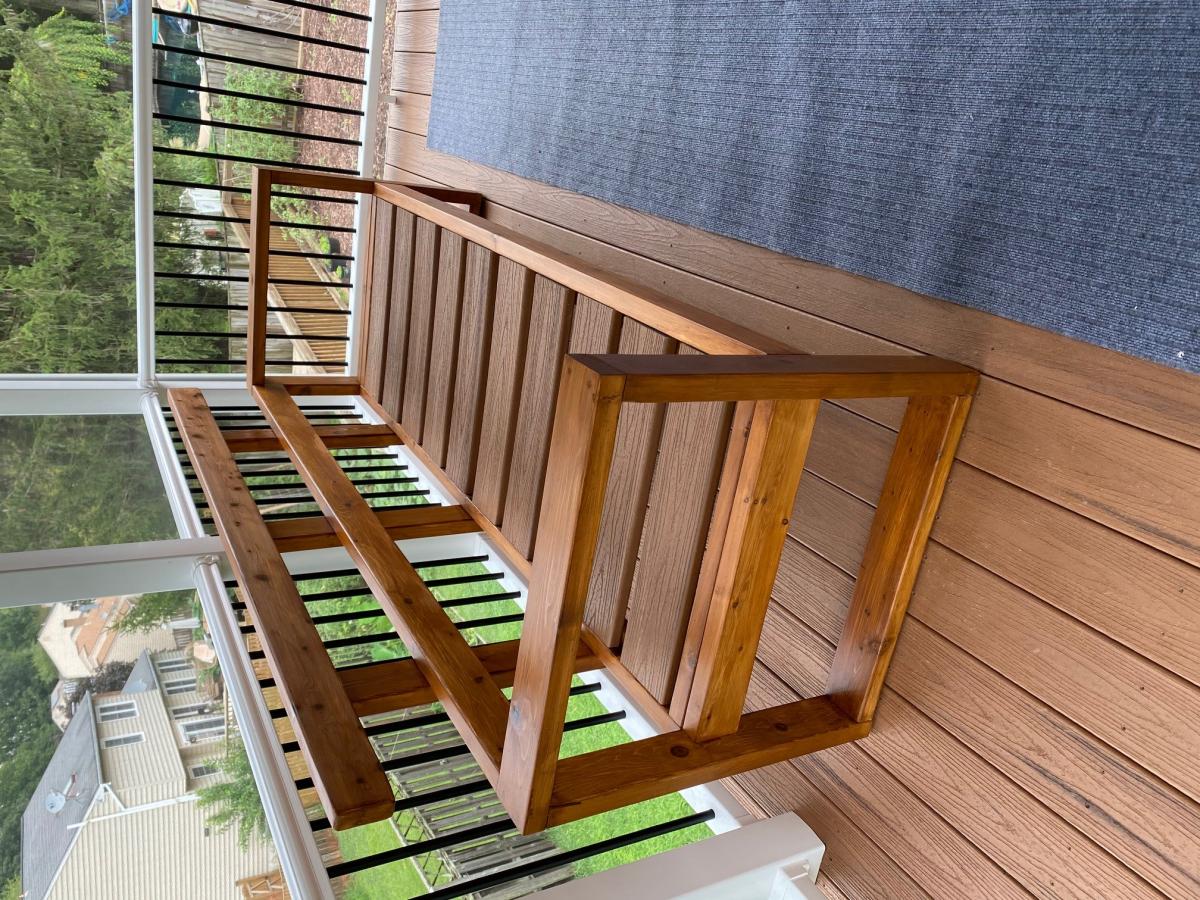
Outdoor Sofa - Front Porch

Submitted by mclaudeg3 on Fri, 11/06/2020 - 16:47

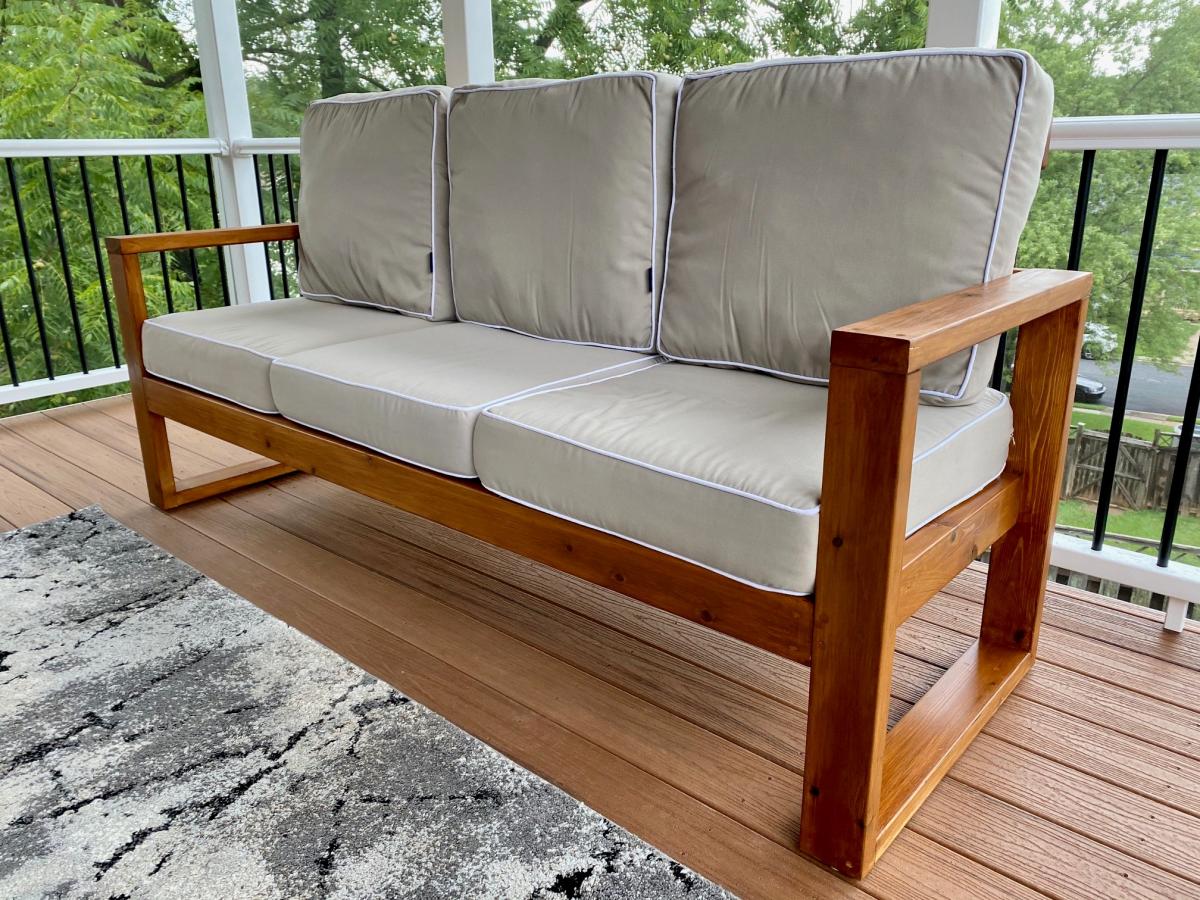
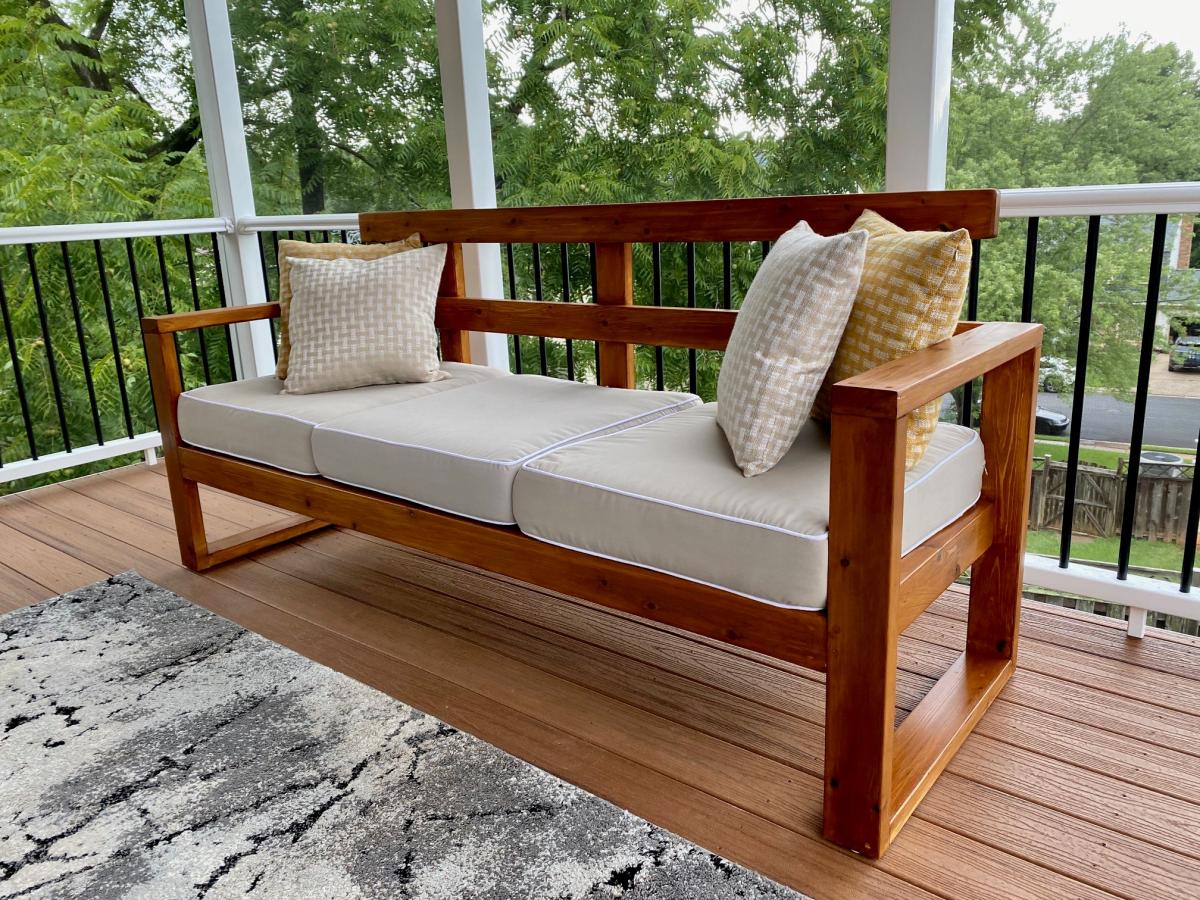
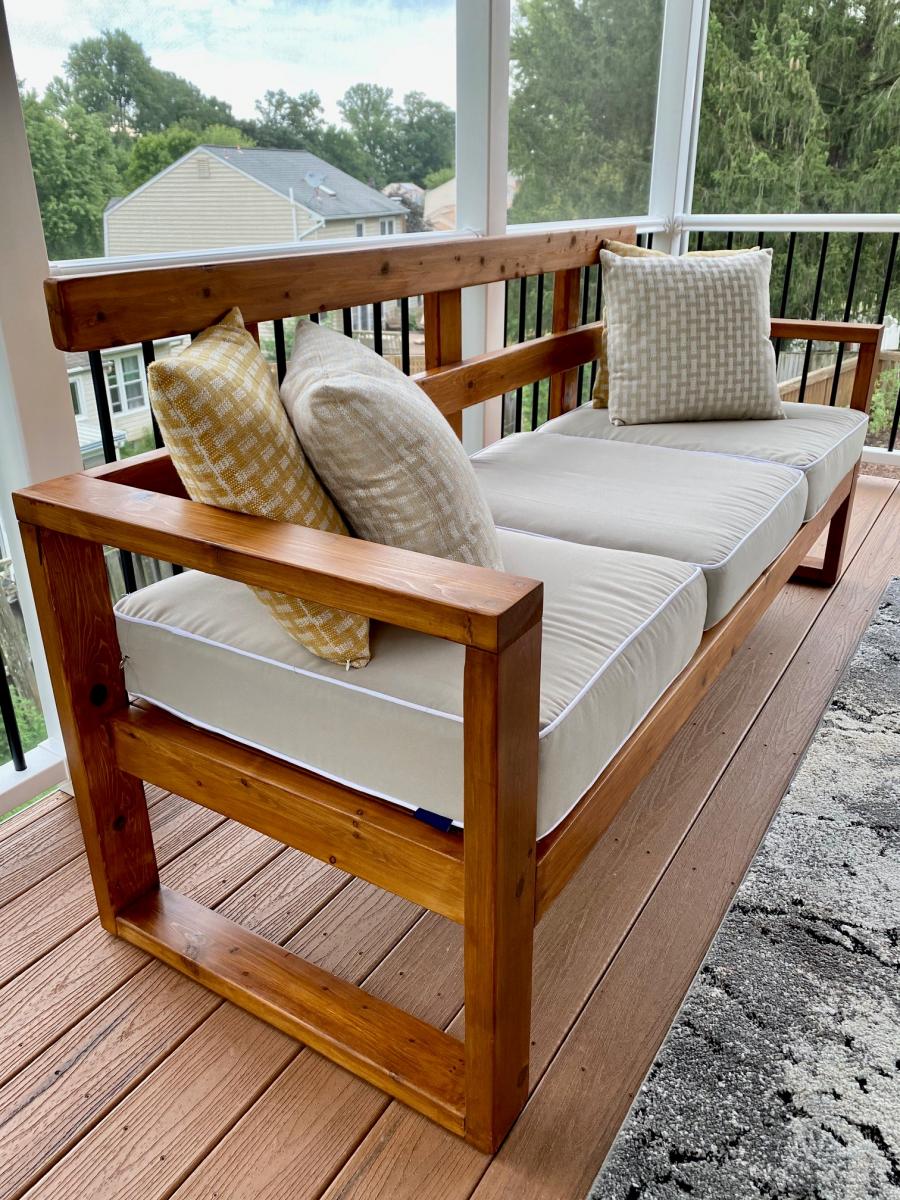
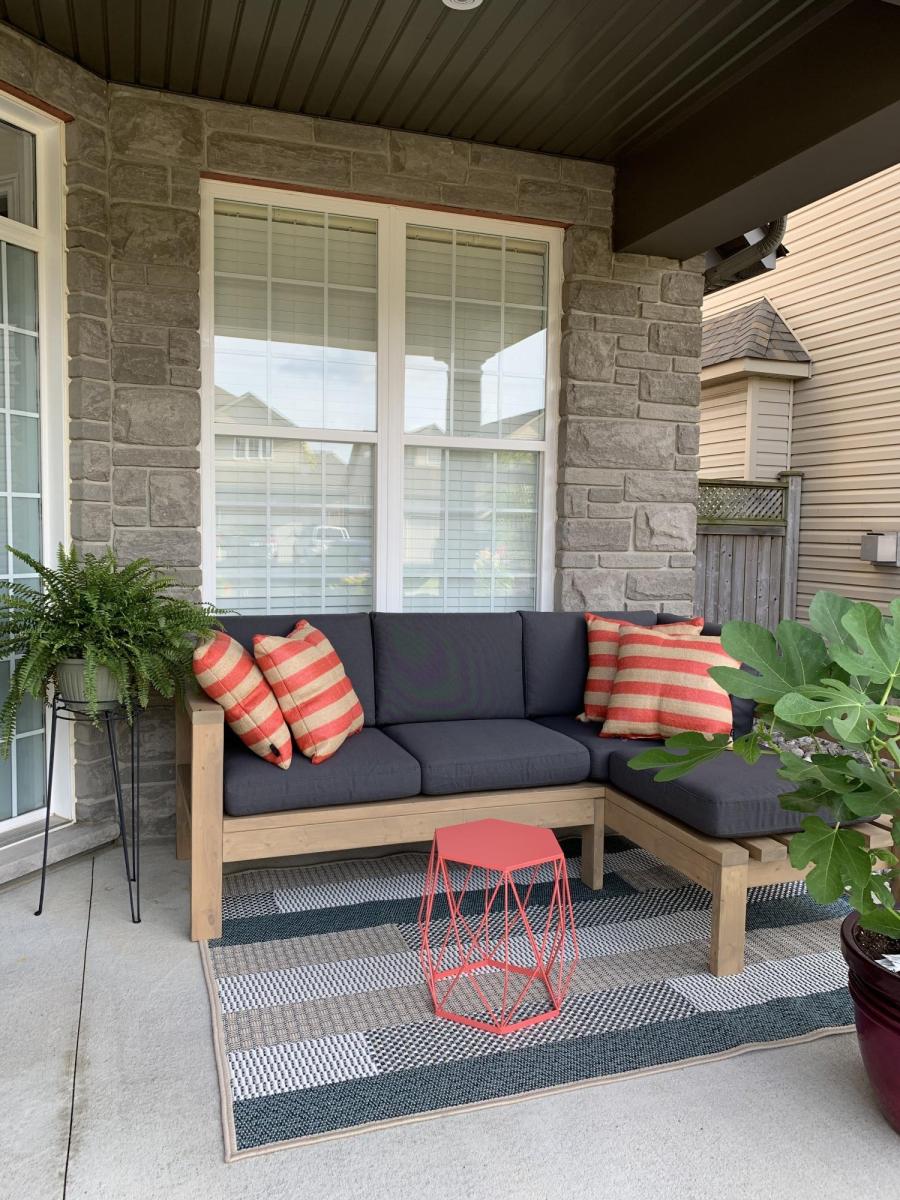
This project was quite easy and did not require many tools. The plan allowed me to adjust the measurements easily so it could fit in that space. I used regular 2x4’s and treated the wood with Mountain Ash colour in a semi-transparent stain from Sherwin Williams, I just love the colour! I build 2 - 2 seaters exactly the same. The one side has no arm, as I wanted it to look like a lounge chair. I love to sit in the corner and stretch my legs 😊. I bought the cushion covers from IKEA, and got good quality foam.

Estimated Cost
Wood ~$300
Estimated Time Investment
Weekend Project (10-20 Hours)
Finish Used
2 coats of semi-transparent Mountain Ash stain from Sherwin Williams.
Recommended Skill Level
Beginner

Comments

Seasonal And Holiday

DARE bookshelves letters

Submitted by Anonymous (not verified) on Mon, 03/15/2021 - 10:10

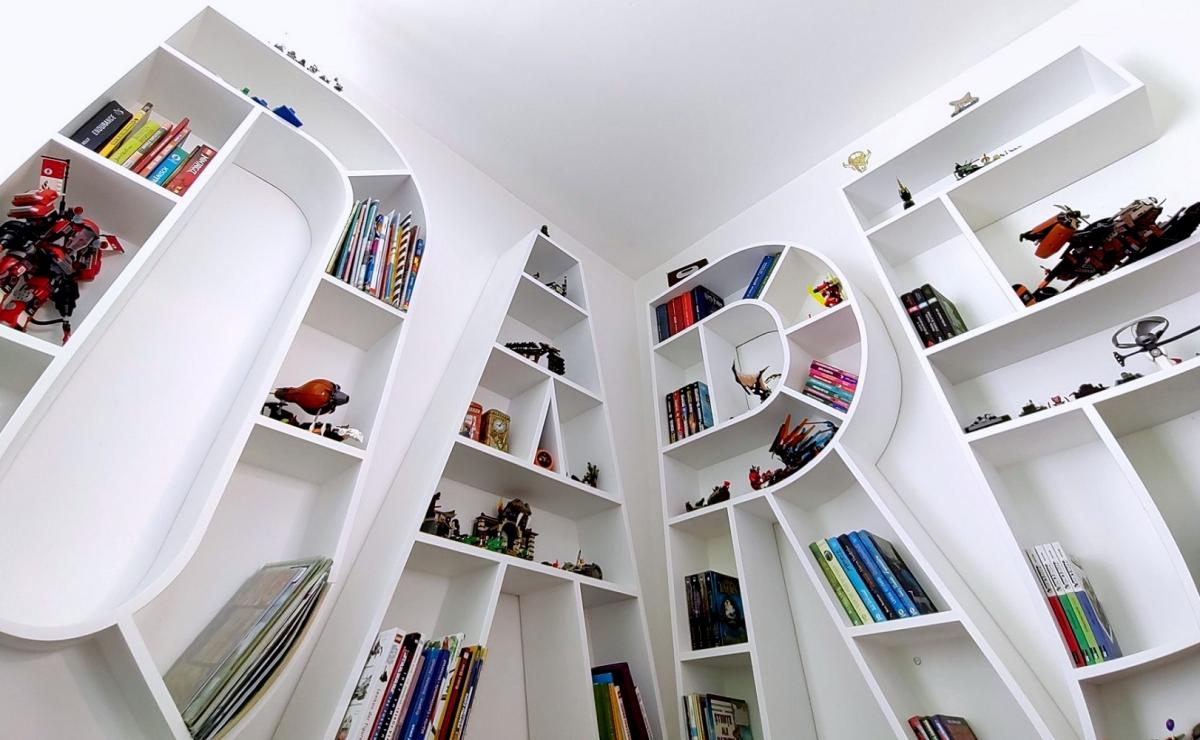
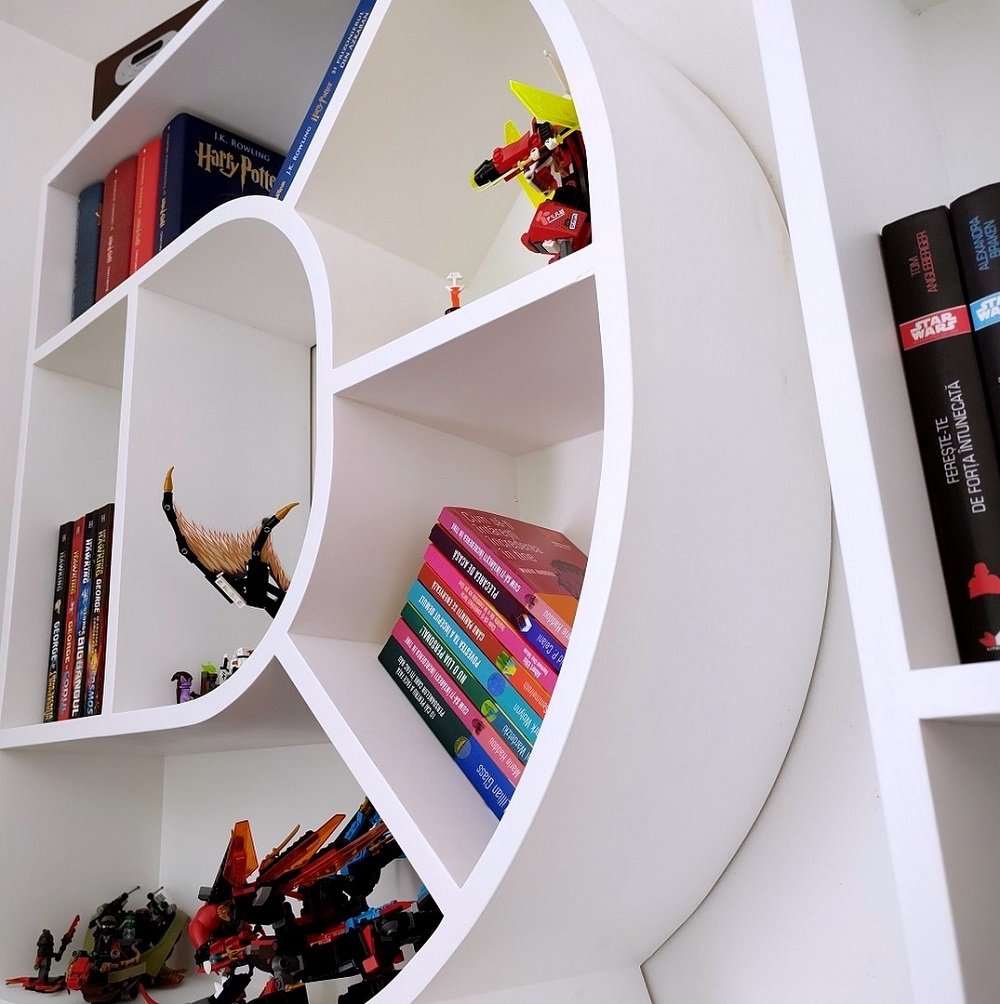
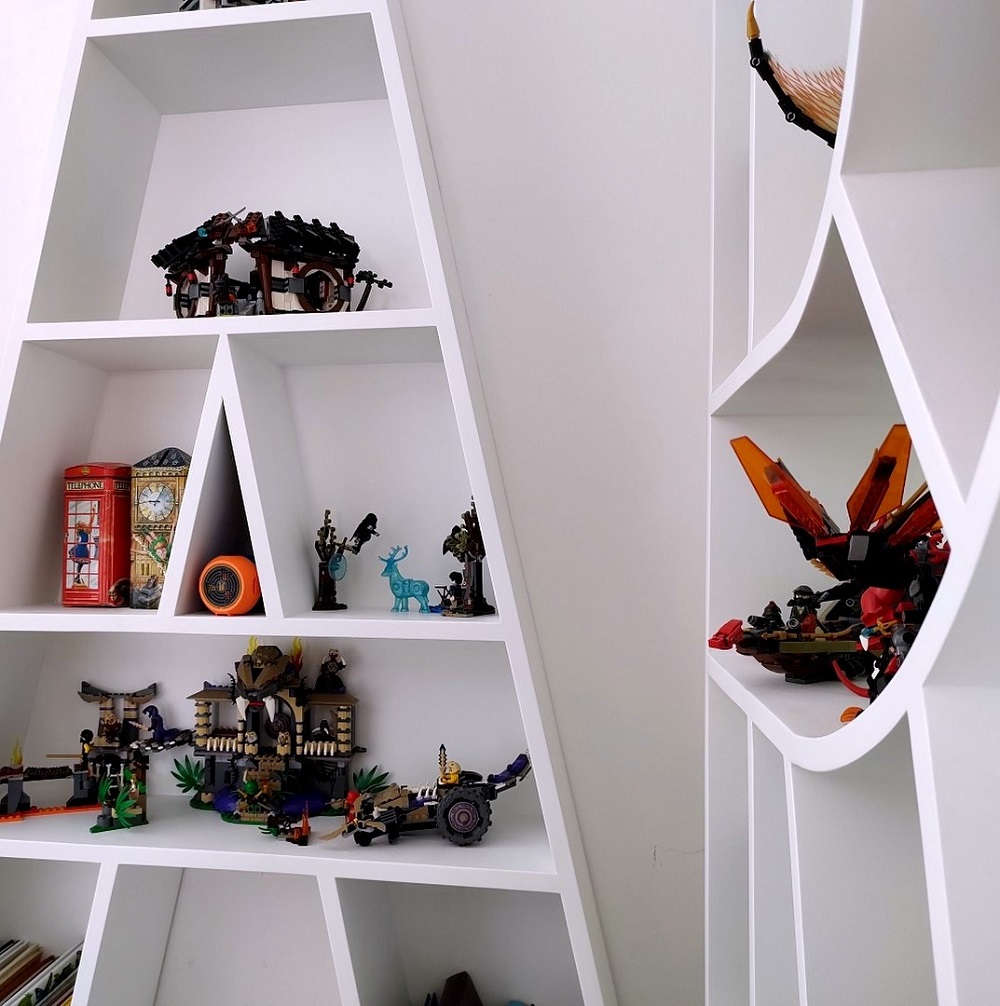
We built the letters bookshelves for our kids' room. First, we wanted to write READ on the wall, but in the end, we arranged them as DARE. We hope it will be a motivational message for our kids to have the courage to make the impossible possible.

The letters are built entirely out of MDF. The hardest thing was to make the curved walls. We cut a lot of curved MDF strips and glued them together to get the rounded shapes.

We described better the process on our blog!

Hope you like them as much as we do!

Estimated Cost
600
Estimated Time Investment
Week Long Project (20 Hours or More)
Finish Used
Polyurethane primer and white paint
Recommended Skill Level
Intermediate

Comments

grace1wilson

Sat, 04/23/2022 - 09:59

Congrats! I am so proud of them. I wish I also could write good essays, but it is very difficult for me to express myself and organize my thoughts and ideas. This is why it takes me a lot of time to write a good essay. So, sometimes I pay for paper writing because I like it when everything is done at the highest level. However, I really hope that these essays will help me to achieve my goals especially since I feel very motivated right now. Wish me good luck!

Kentucky Fried Hilton Chicken Coop

Submitted by redtrek on Tue, 05/18/2021 - 23:12

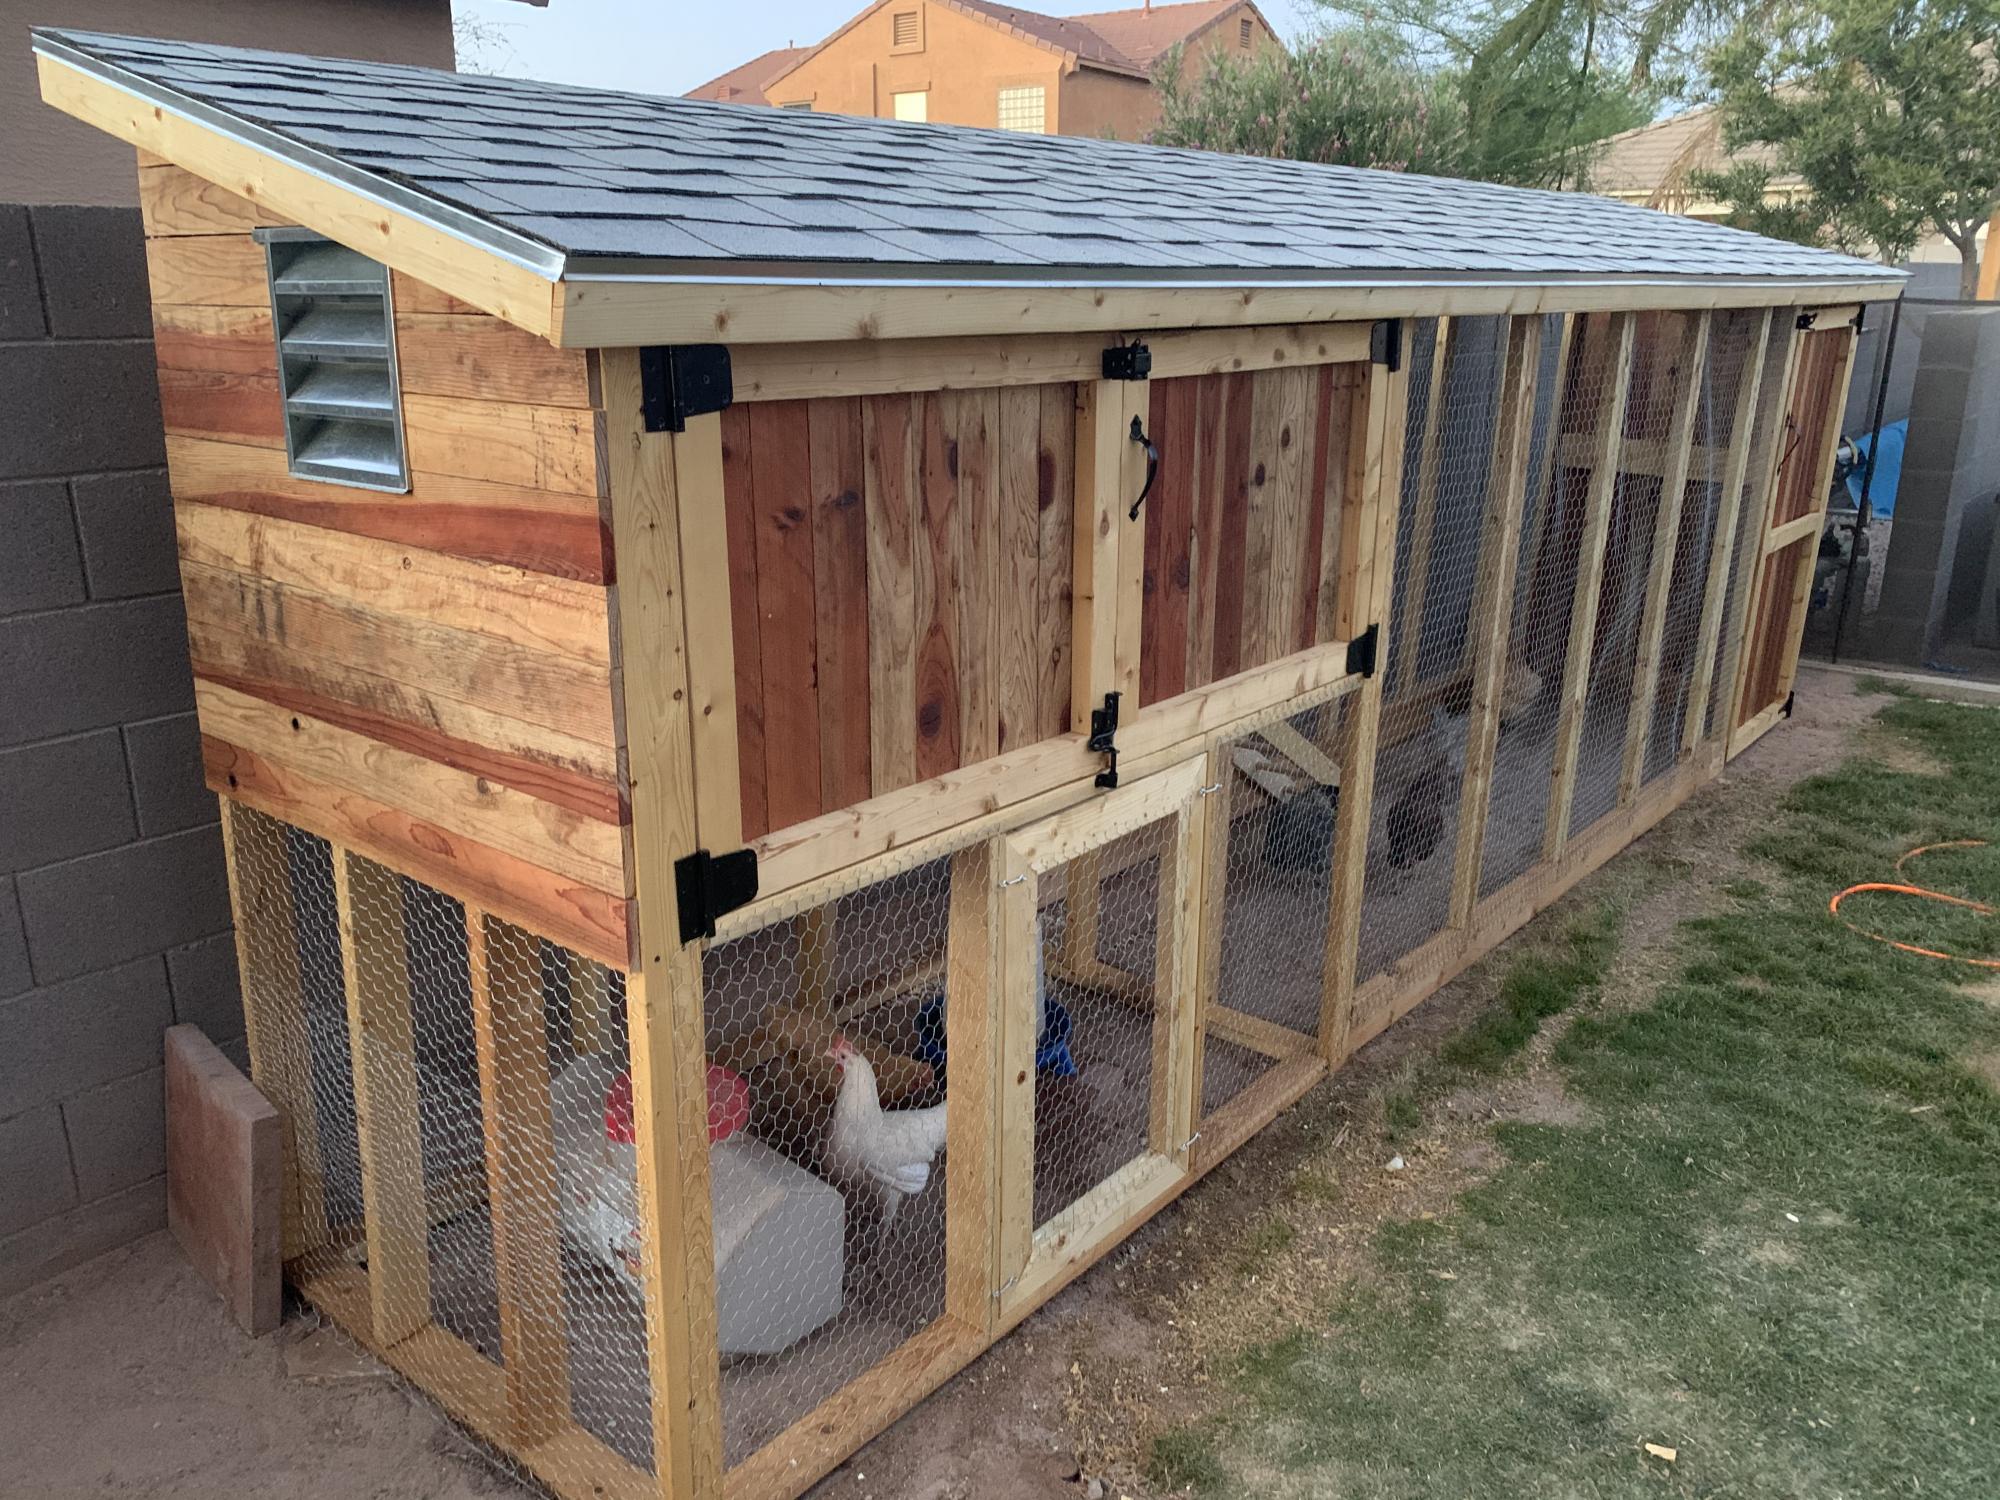
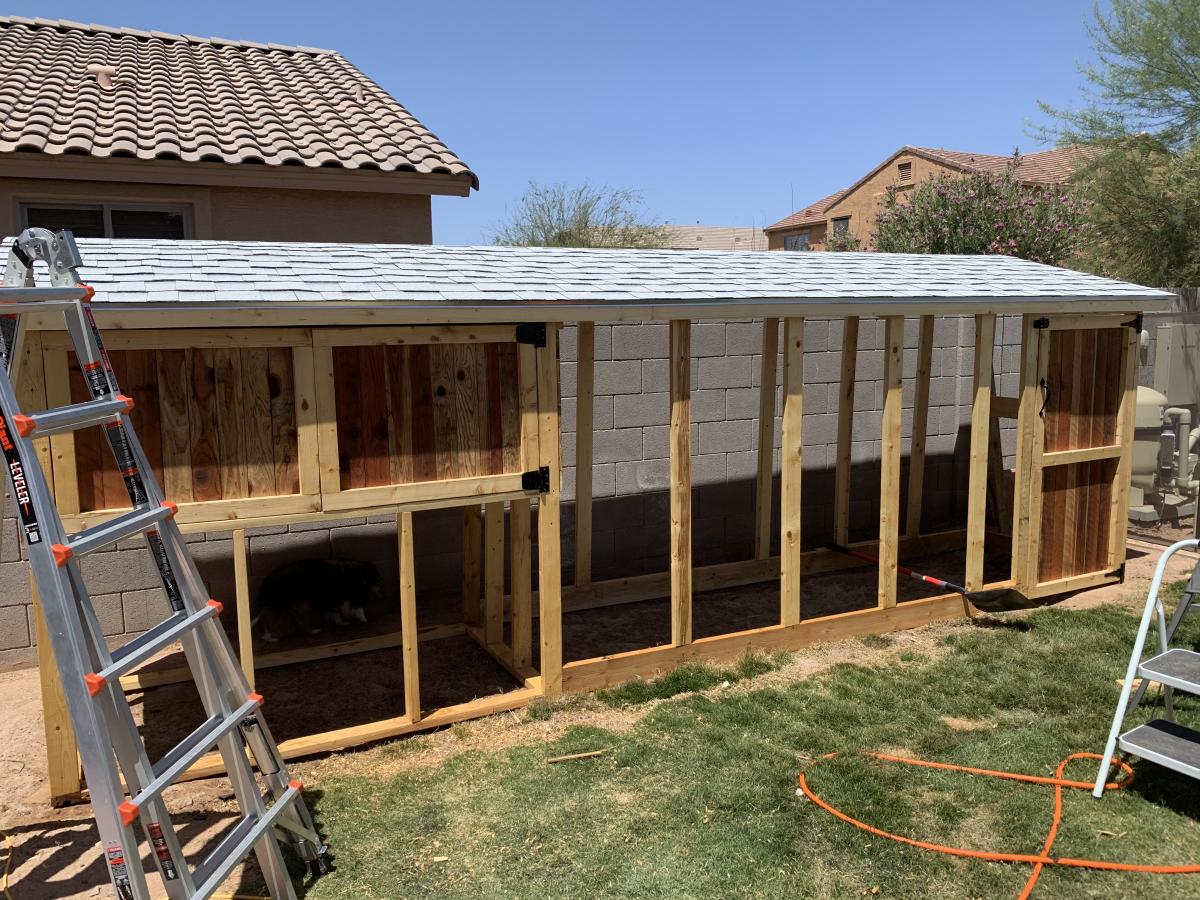
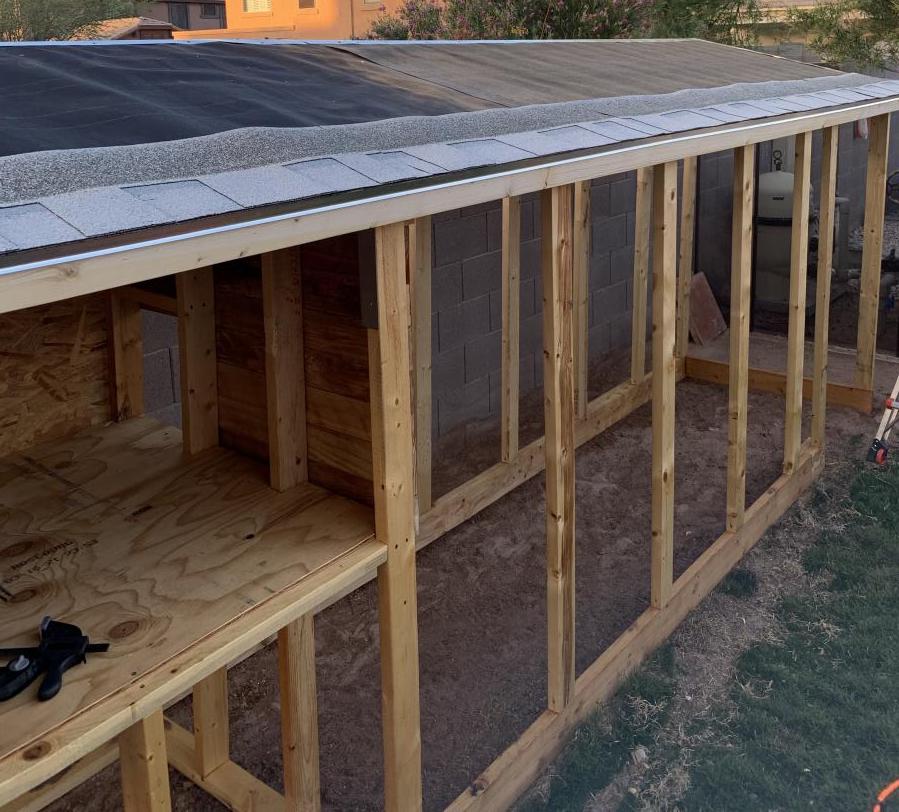
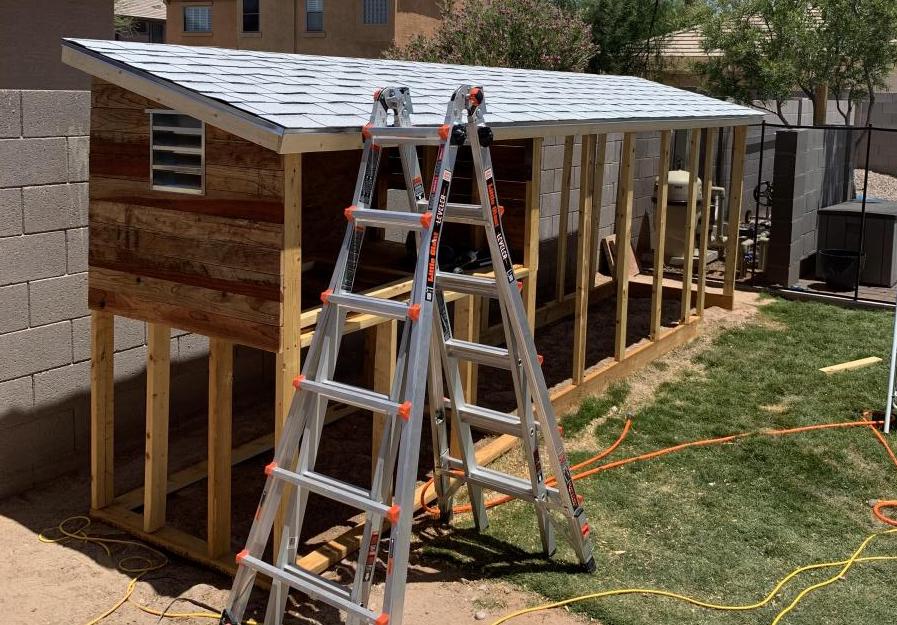
I took the idea of the "small cedar shed" and decided to upsize it for a new chicken coop. Our old one was small enough that we had to let our six hens out to roam the yard. Chickens. Poop. Everywhere. I wanted one big enough to have them live in it. The nesting box is about 24 sf. The whole coop is 18' long, about 6-1/2' at the back with a 15° slope to the roof, and about 4' deep. I built the ladder up to their nesting box and made a mitre-cut panel under the nesting box for cleaning out, feeding, and watering. Total materials cost was about $1000, but a couple of local homebuilders helped by letting me scavenge the lumber for the nesting box from around houses that they were finished framing.

Built from Plan(s)
Estimated Cost
$1000-1200
Estimated Time Investment
Week Long Project (20 Hours or More)
Finish Used
Thompson's Clear Water Seal
Recommended Skill Level
Intermediate

Comments

We love the skylights in our version of your greenhouse!

Submitted by Anonymous (not verified) on Tue, 08/31/2021 - 08:23

This was the perfect post-retirement project for me. It was a lot of work, but very rewarding.
I documented most of it on my blog.

We sure love this greenhouse!

Built from Plan(s)

Comments

rick1956

Wed, 09/01/2021 - 05:37

Thank you! They definitely added a LOT more work, but we've already used them a lot. The plants are sure glad for them. I'll post pictures of the finished greenhouse when it's finally there.

Garage Storage

Submitted by Smokeydog on Fri, 03/20/2015 - 08:59

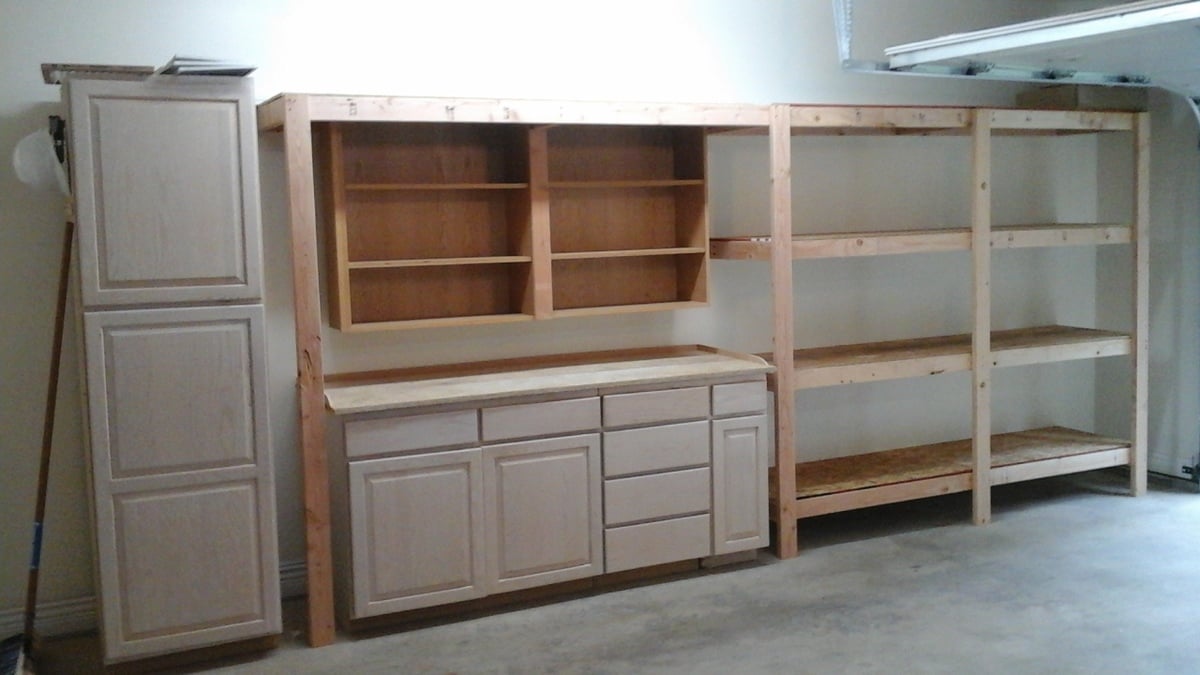
Thanks to Ana's 2x4 storage plan and a neighbor's discarded kitchen cabinets we now have a very clean and convenient storage area  in our garage.  It even features a work bench and sorting area.

Estimated Cost
40-50 dollars
Estimated Time Investment
Afternoon Project (3-6 Hours)
Finish Used
None
Recommended Skill Level
Starter Project

Comments

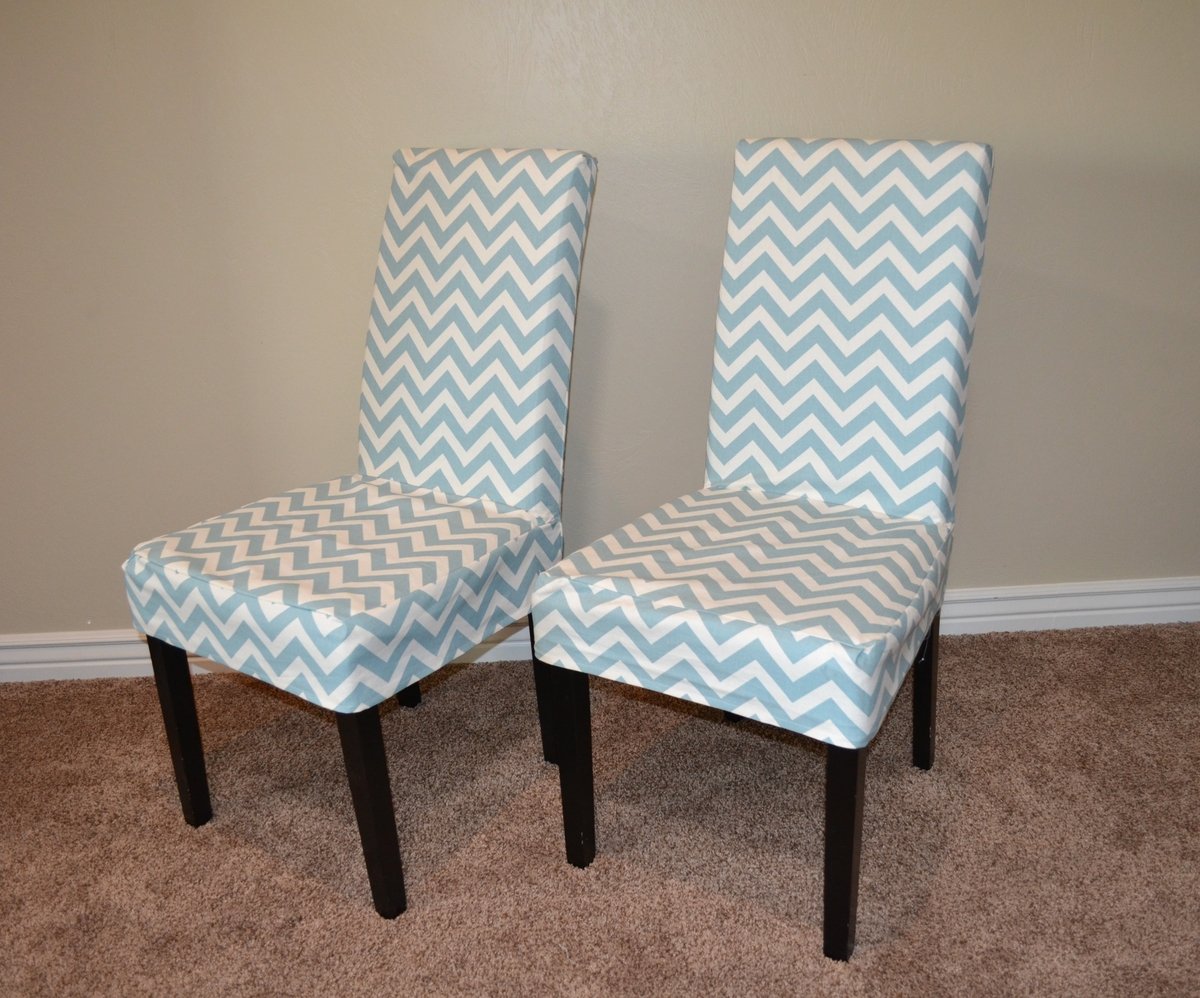
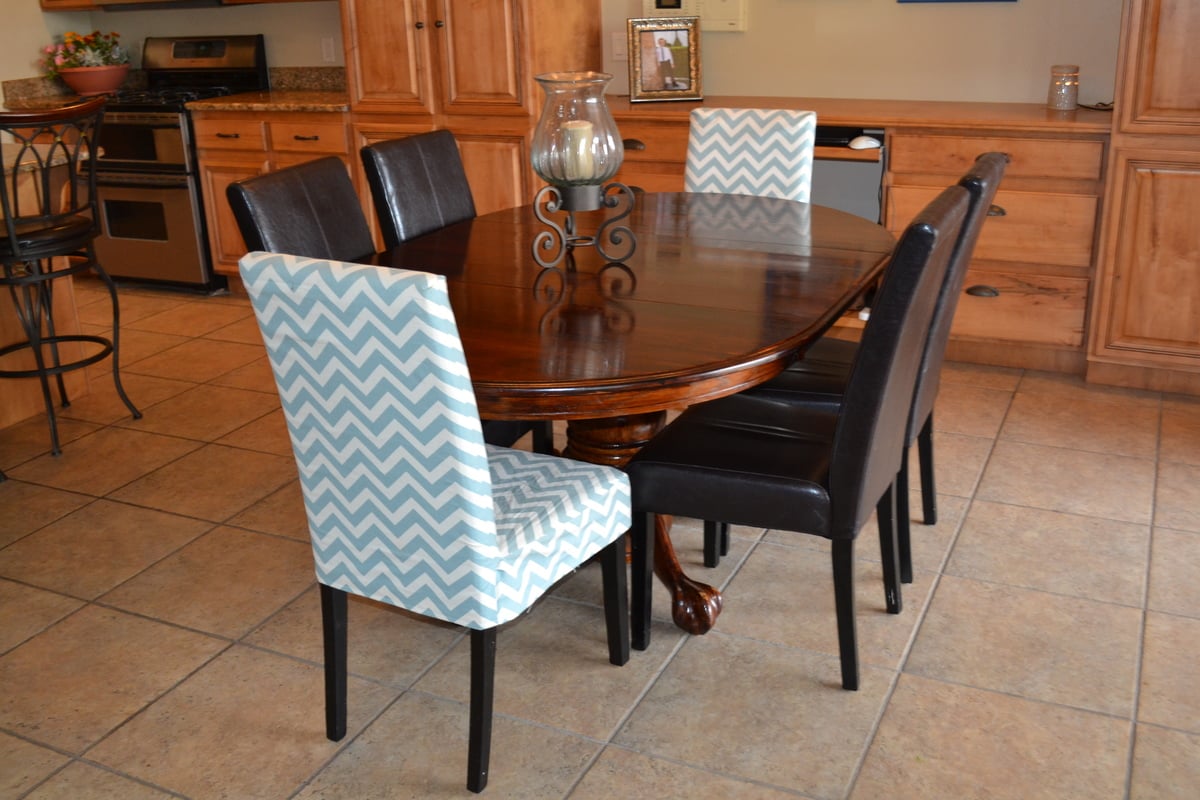
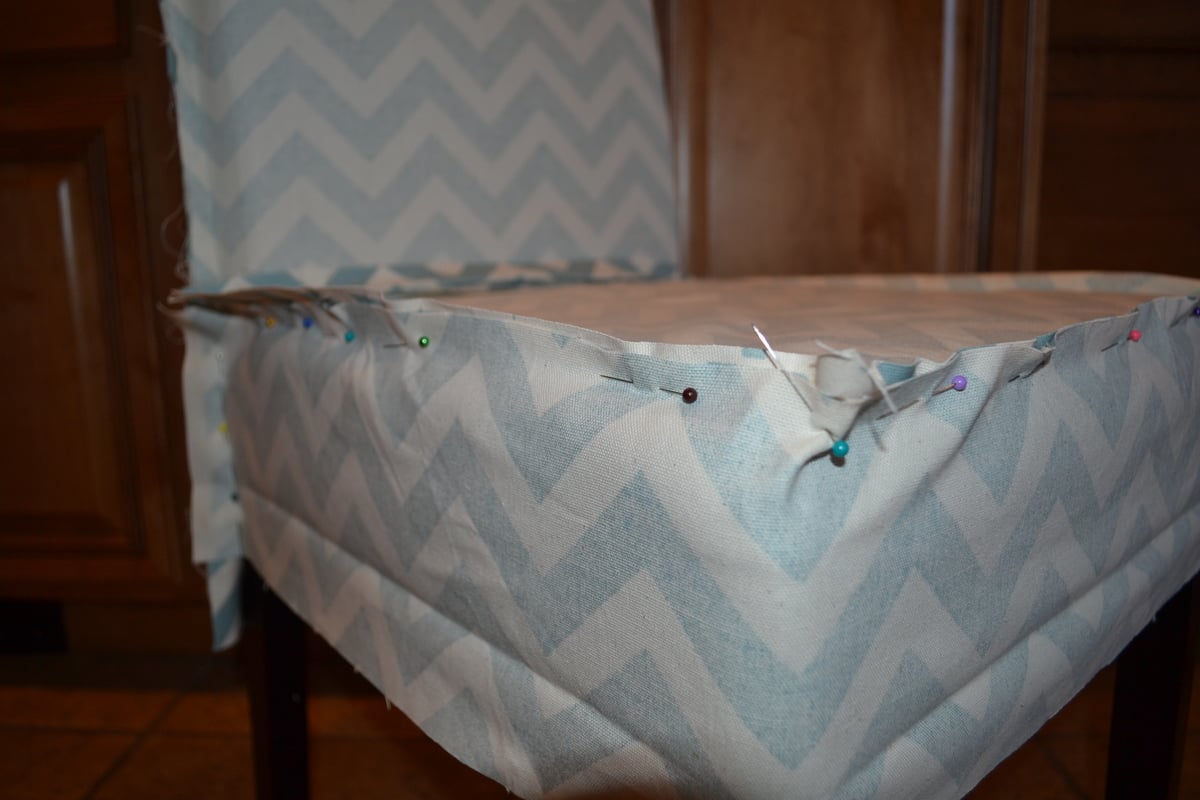
Parson Chair Slip Cover with Chevron Fabric (so easy!)

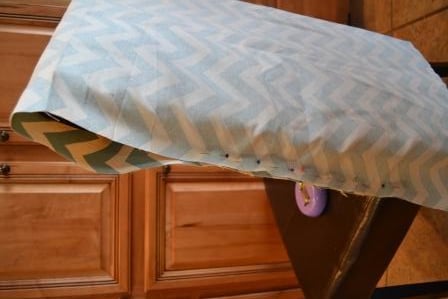
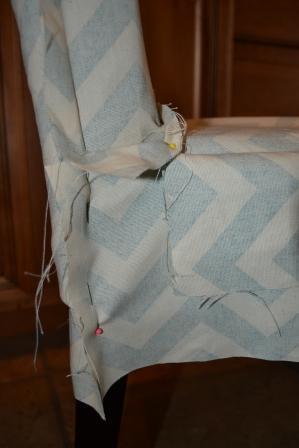
Slip Covers were easy peasy to make and really spruced up my kitchen table with some much needed color. Follow all the detailed steps on iamhardware.com.

Estimated Cost
$10
Estimated Time Investment
Afternoon Project (3-6 Hours)
Recommended Skill Level
Beginner

Comments

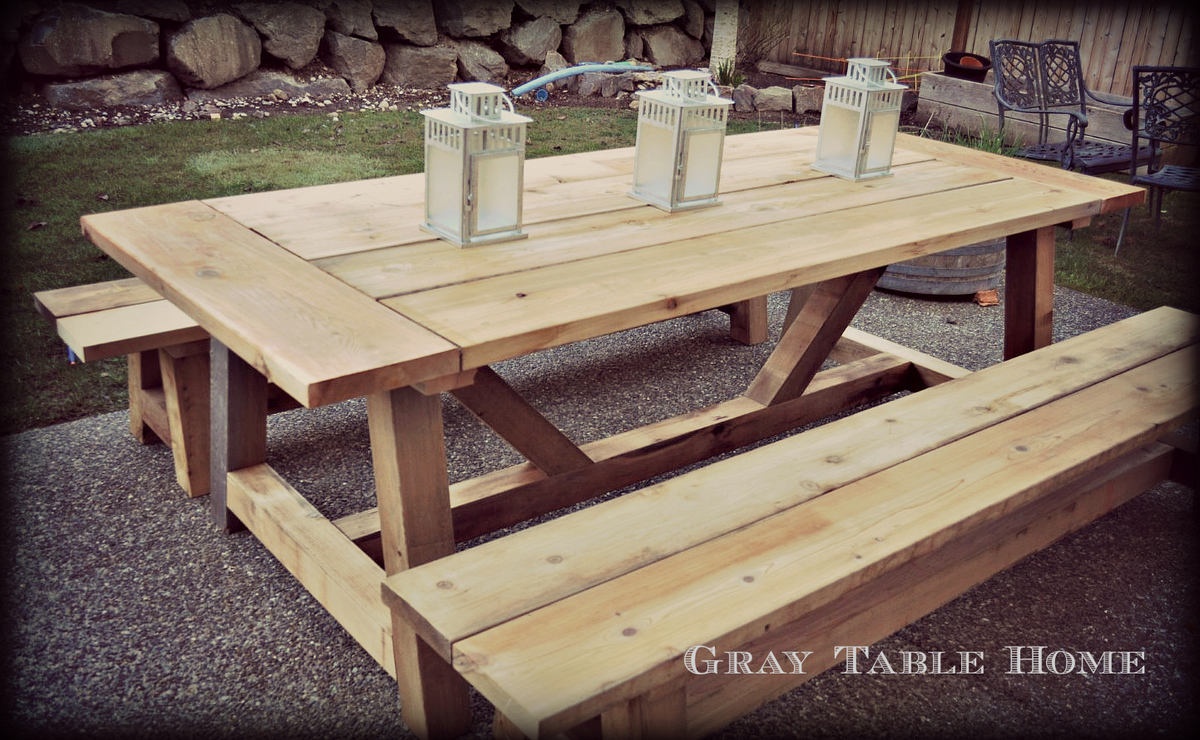
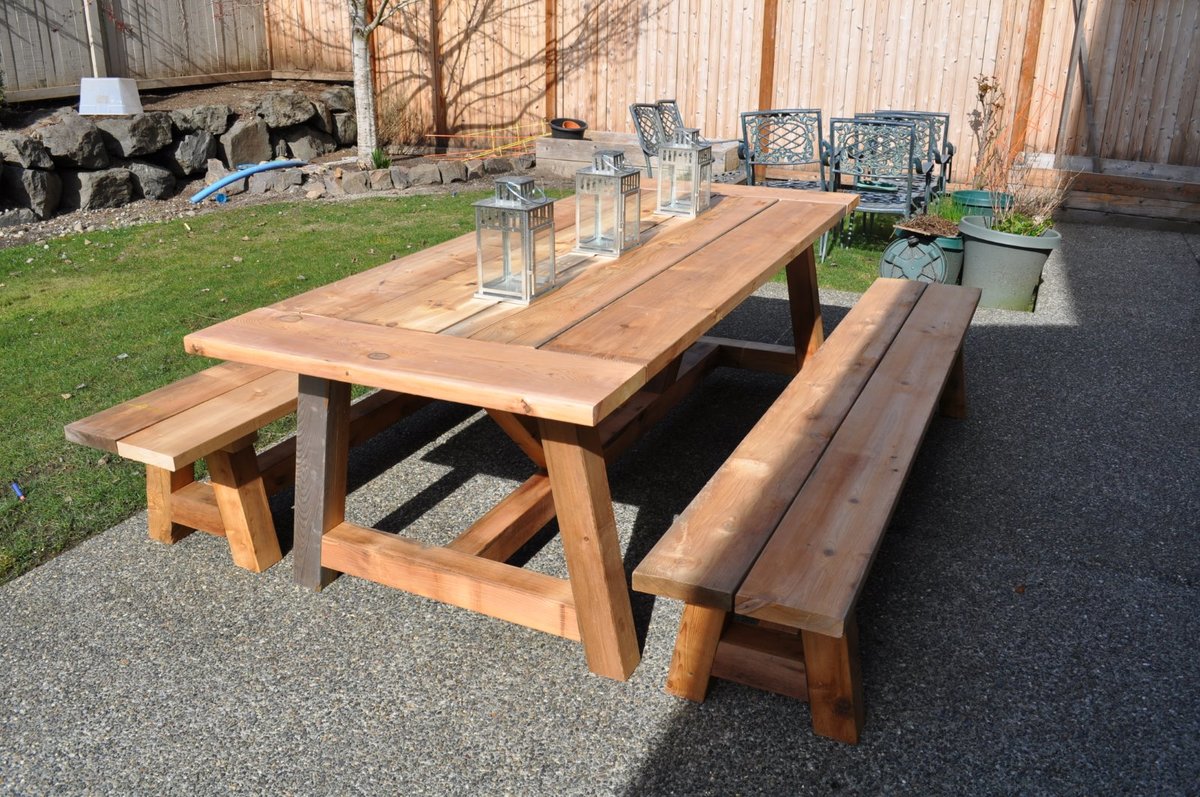
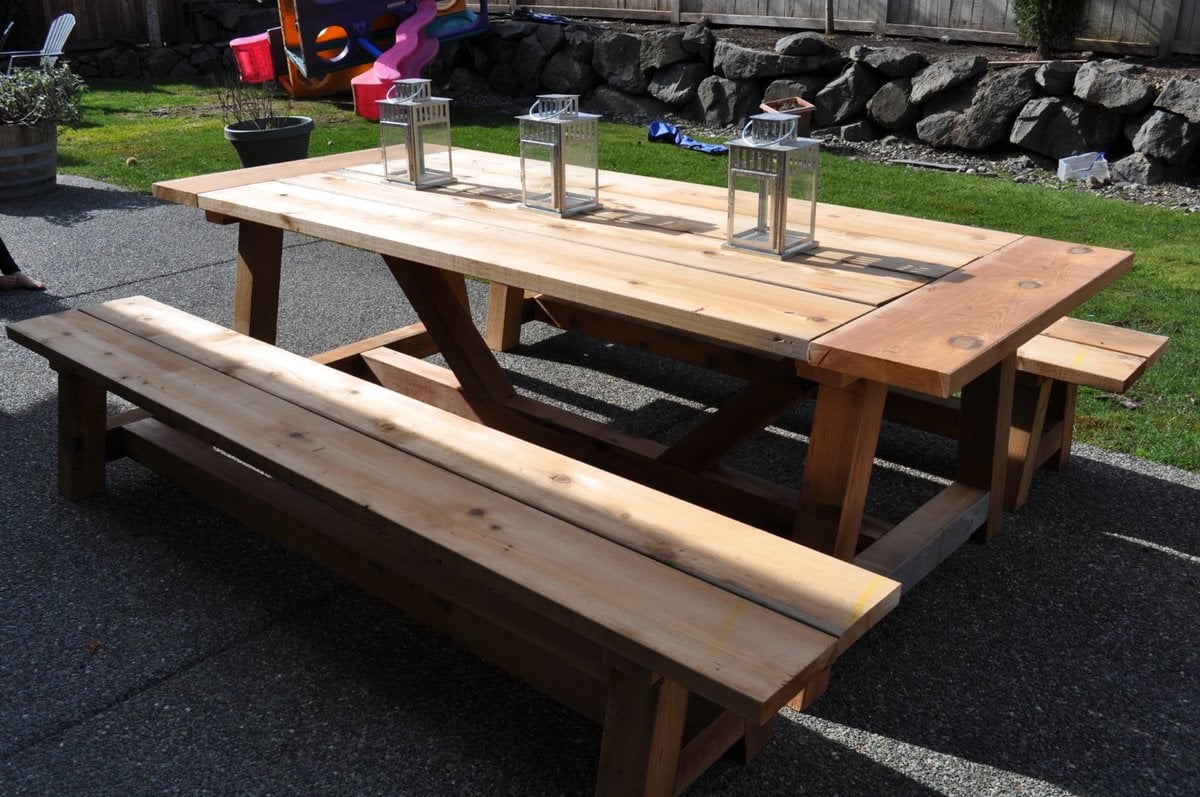
Restoration Hardware Inspired 4x4 Truss Beam Outdoor Table

Submitted by susanshamp on Fri, 04/10/2015 - 23:48

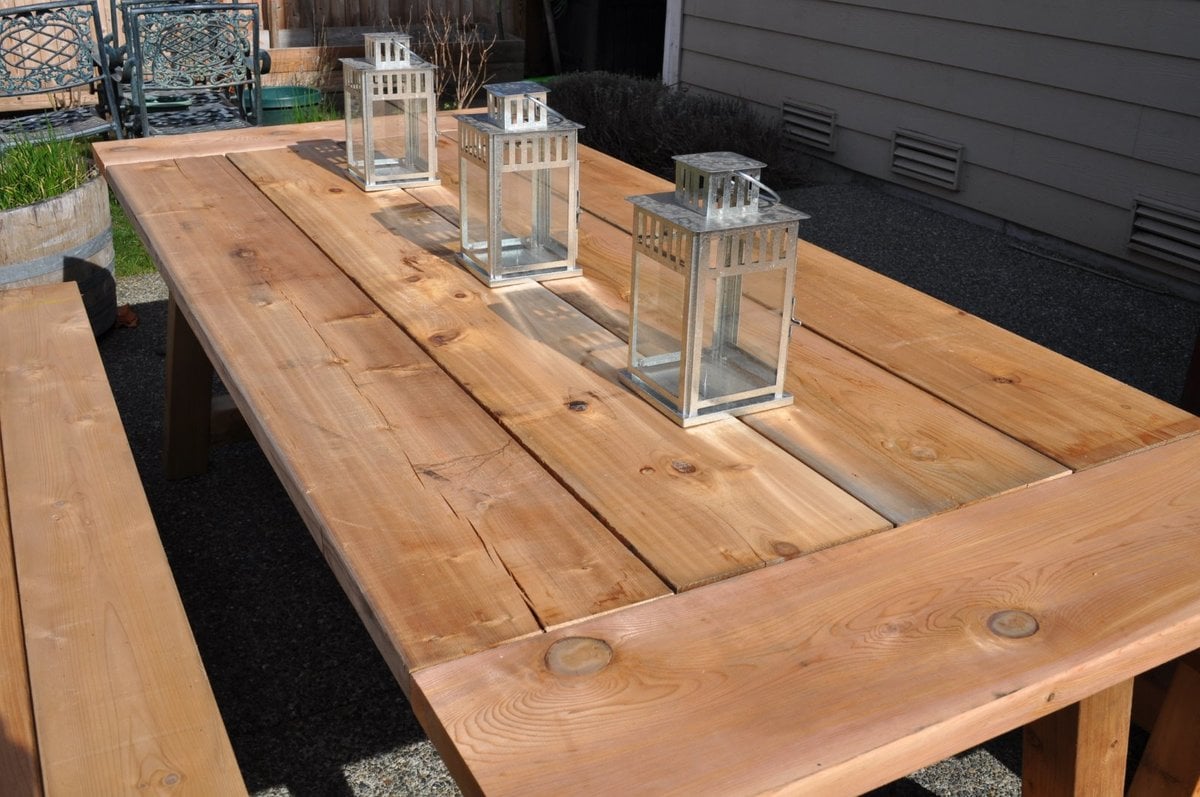
Hi! I was truly inspired by the plans I found at this site and the many brags that I saw! I have now built this table set a few times (first for myself, then for friends & family) and learned a lot each time. The things I have modifiied include...


1) Length = make it longer or shorter as space allows (I've done tables from 84" to 108" long)

2) Outdoor table top = because these are being used outdoors, I use screws as spacers between boards so that they have a 1/8 to 1/4 gap to allow for water to run through

3) Breadboard end support = I found that with just the pocket hole screws, my breadboards were a little 'wobbly' so I added Simpson Stong Tie metal plates underneath to reinforce the ends.

4) End length = in order to provide a little more legroom to those sitting at the end of the table, I recently changed the plan so that I would have at least 15" from the table base to the end of the table top (although this pic shows the regular plan with the ~8" overhang)

I really appreciate all of the plans and brags which have been shared by users of this site. Thank you!!!

Estimated Time Investment
Afternoon Project (3-6 Hours)
Finish Used
I picked cedar boards that had some color variation in order to add interest. To get an even more rustic & weathered look, you could consider using a steel wool & vinegar mixture.
Recommended Skill Level
Beginner

Comments

spiceylg

Mon, 04/13/2015 - 09:38

Beautiful build! I was just curious what your cost was. I want to build this for outdoor use as well and also want to use Cedar. I priced it at a local lumber yard and they said it would be around $400.

In reply to by spiceylg

susanshamp

Thu, 04/30/2015 - 21:38

Thank you!!! That sounds about right for the cost - I spent about $425 on my lumber and hardware. Cedar is more expensive, but I was happy with the results. And it still seems like a good 'deal' when you consider what you would get for that price from a store.

Seasonal And Holiday

Toddler bed

Submitted by Bradnag on Wed, 09/13/2017 - 05:13

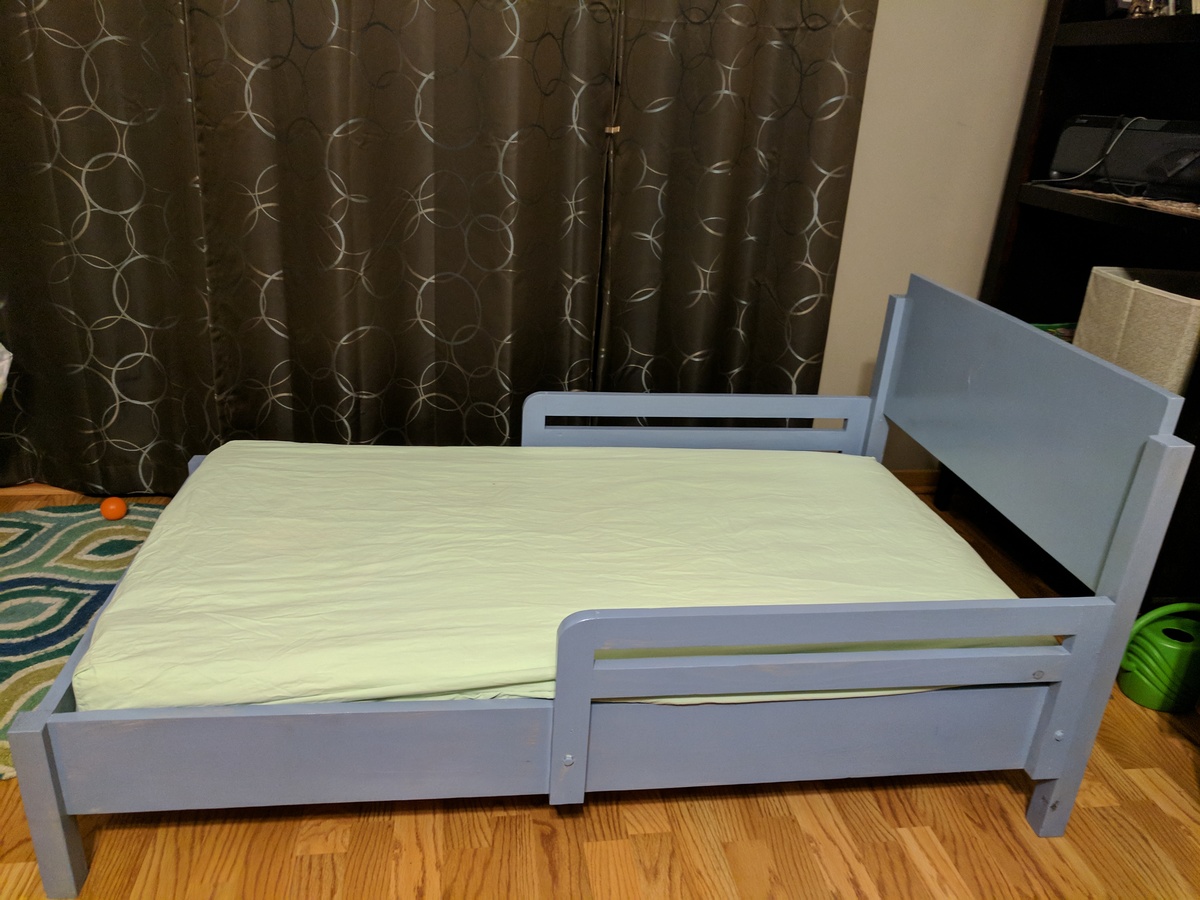
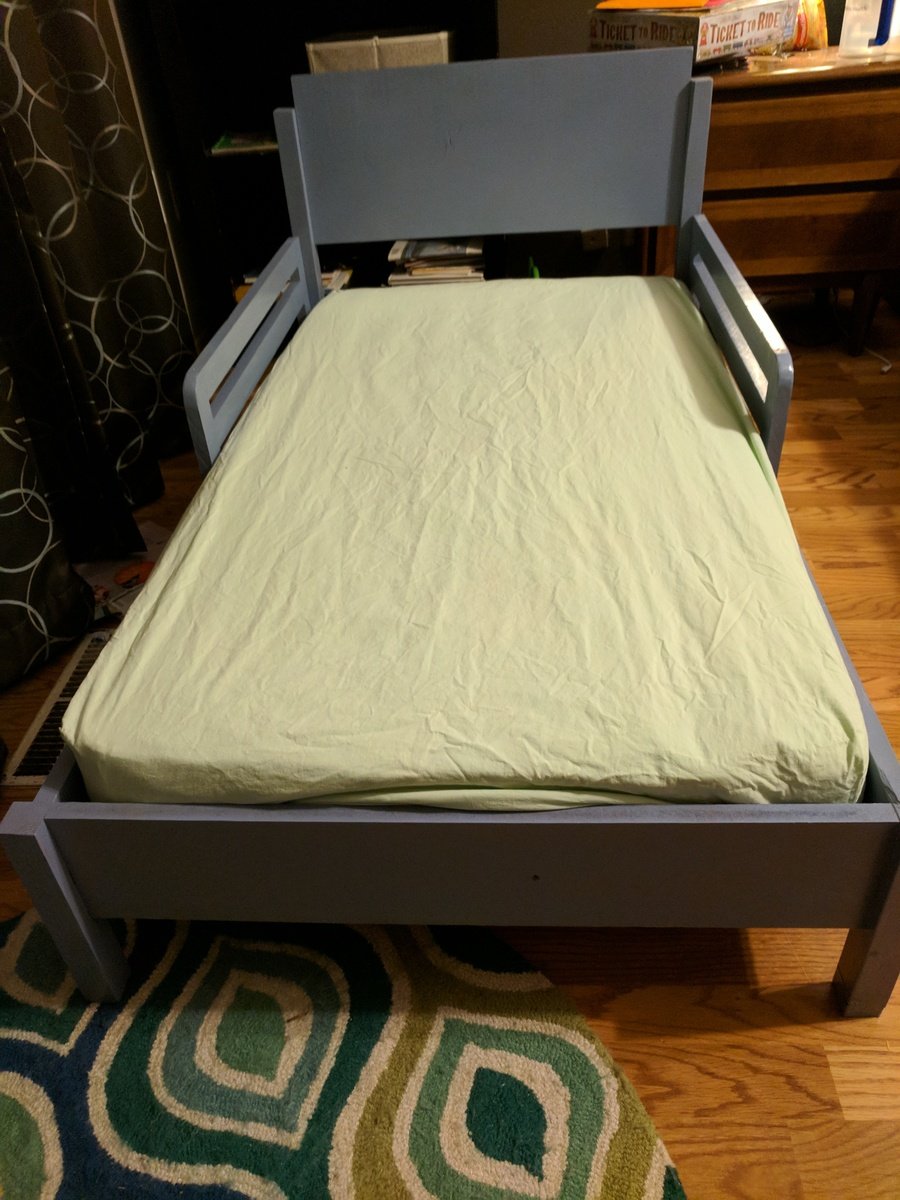
I made a loft bed for my 4-year-old son using Ana's Chelsea Loft plans. When I finished, I was able to build this toddler bed for my 1-year-old using almost entirely scraps left over from the loft (save for the 1x6 runners). I skipped the curved headboard design and went with a solid piece of 1x12. I was going to round the top edges or cut a more rounded design, but my wife said she liked the squared off look better (she has lots of ideas for painting various designs on it, apparently). Since we were going to use paint and not stain, I ripped some leftover MDF board for the 1x6 footers. The whole project took a single afternoon, including cutting, assembly, woodfill and sanding. The end result is pretty sturdy. My wife laid on it with both our small children and the slats hardly bowed at all.

Built from Plan(s)
Estimated Cost
$5
Estimated Time Investment
Afternoon Project (3-6 Hours)
Recommended Skill Level
Beginner

Cedar Boxes made with Pallet Wood

Submitted by flashfire on Fri, 09/15/2017 - 22:19

Thanks for the plans, I was able to make this for a friend's birthday. I made it from pallet wood and it was so easy, I did a mitred top though because I wanted it to look neat and trim. .

Built from Plan(s)
Estimated Cost
Nil
I used pallet wood
Wood glue & screws I already had
Estimated Time Investment
Week Long Project (20 Hours or More)
Finish Used
Linseed oil
Recommended Skill Level
Beginner
Seasonal And Holiday

Foldable Farmhouse Rustic Dining Table

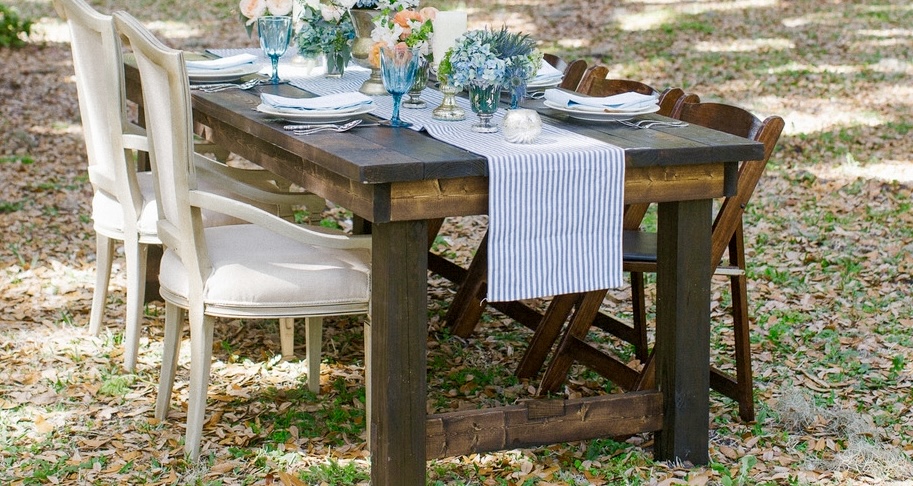
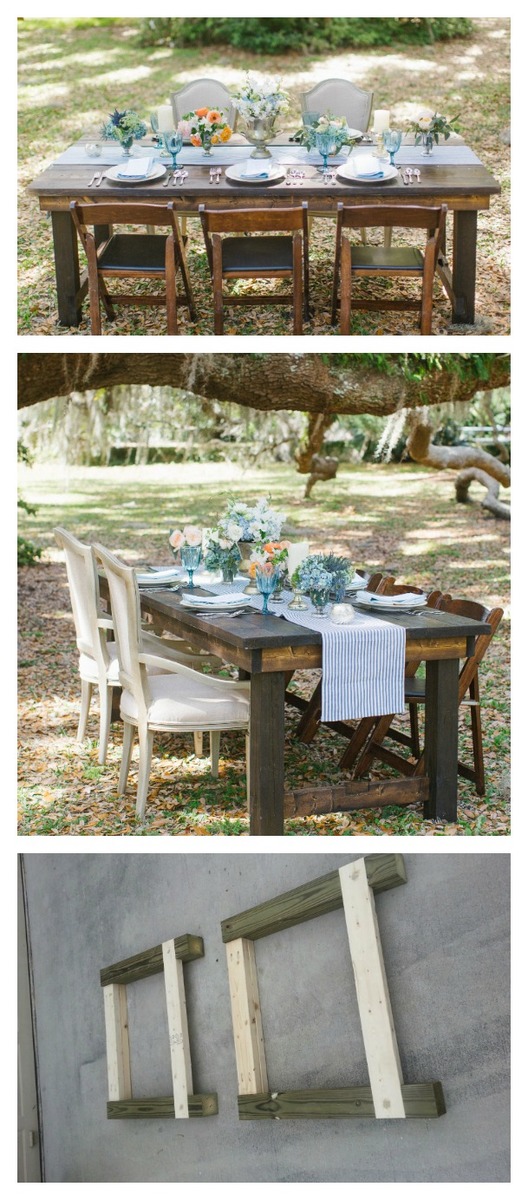
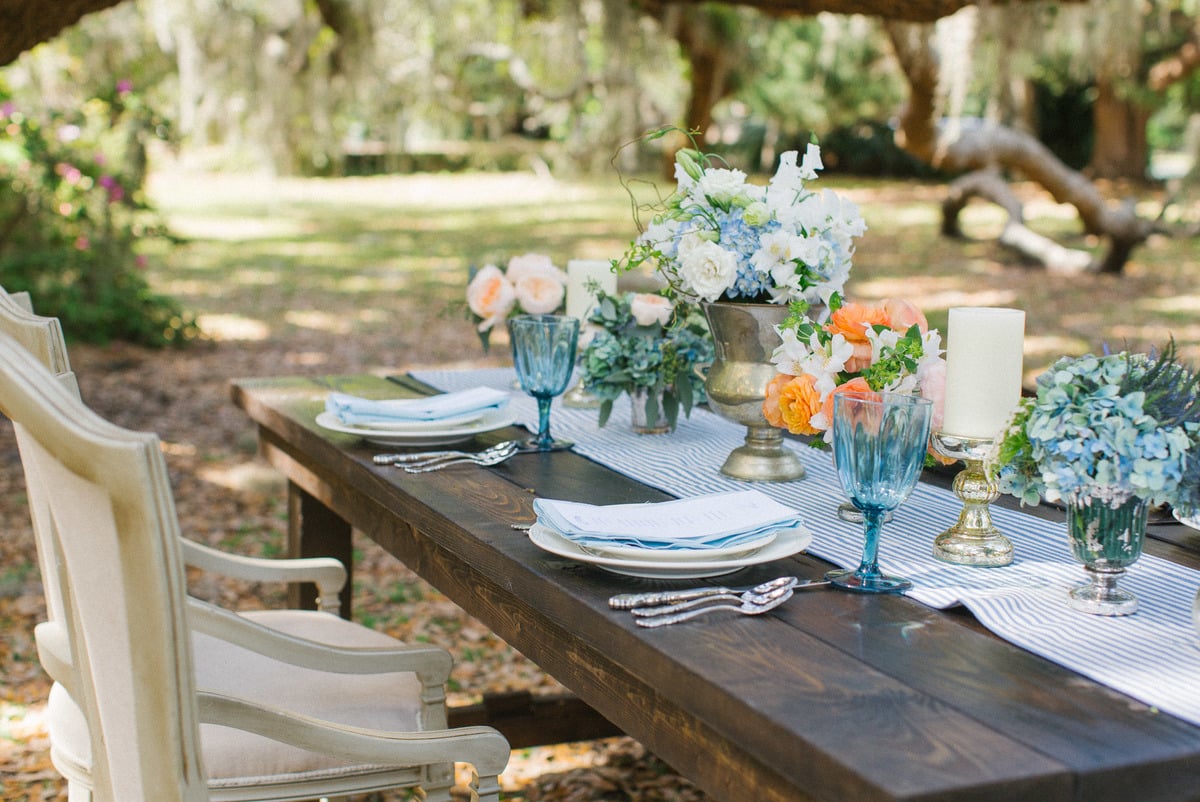
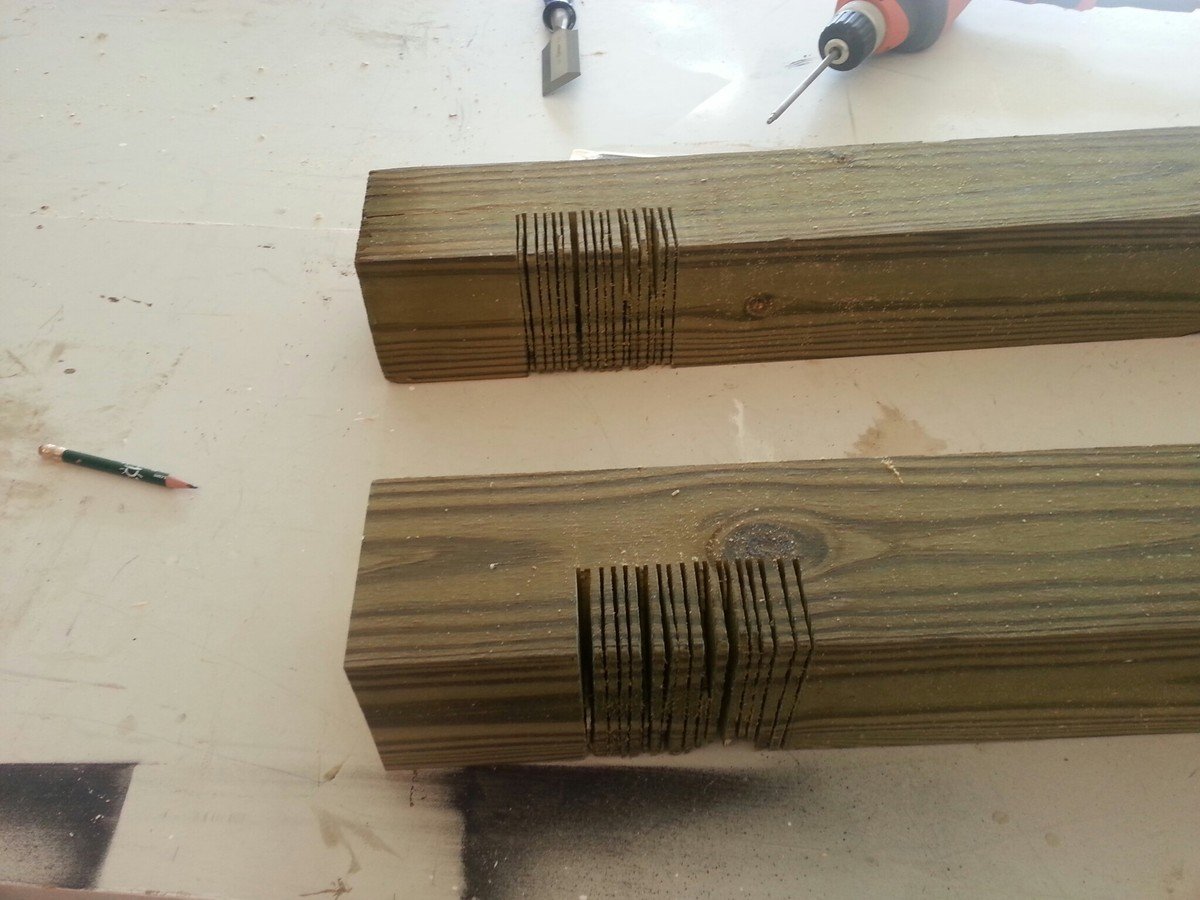
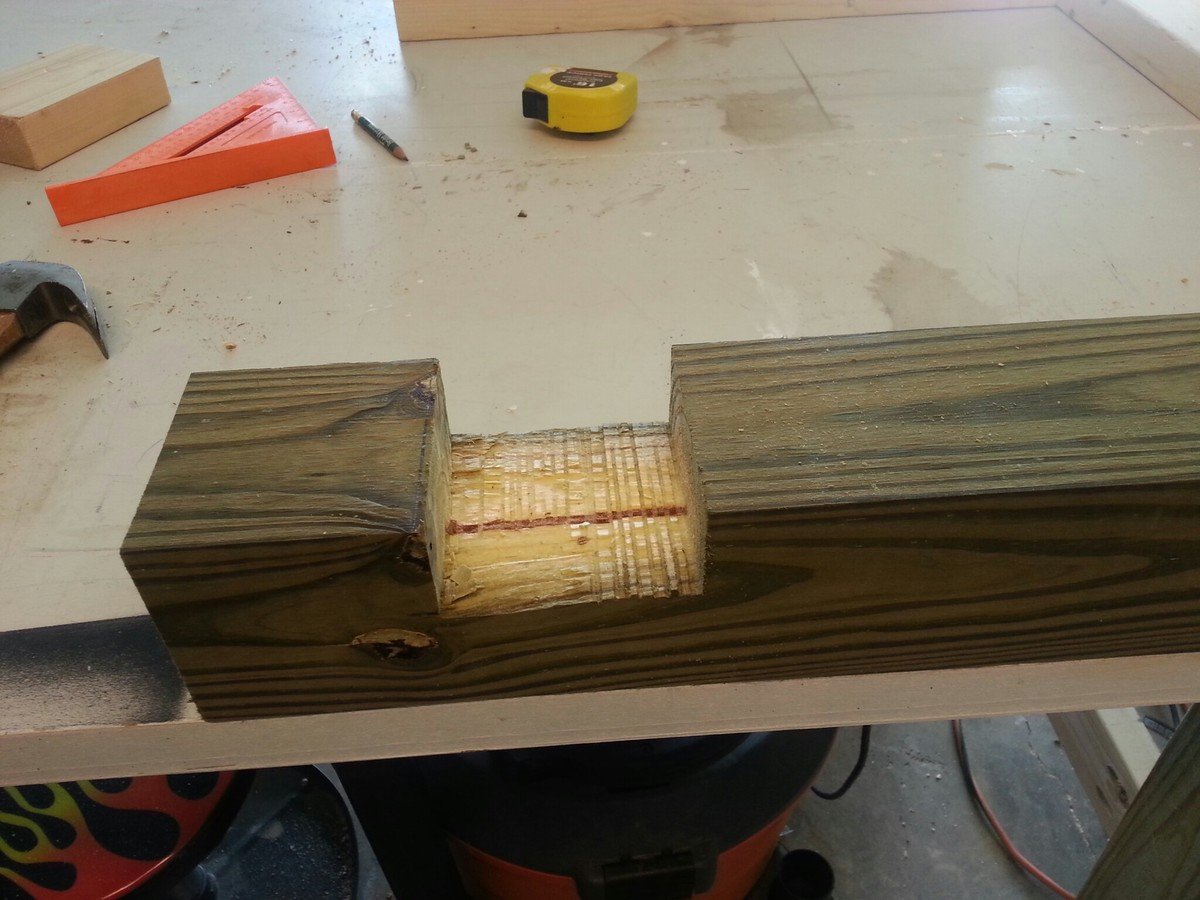
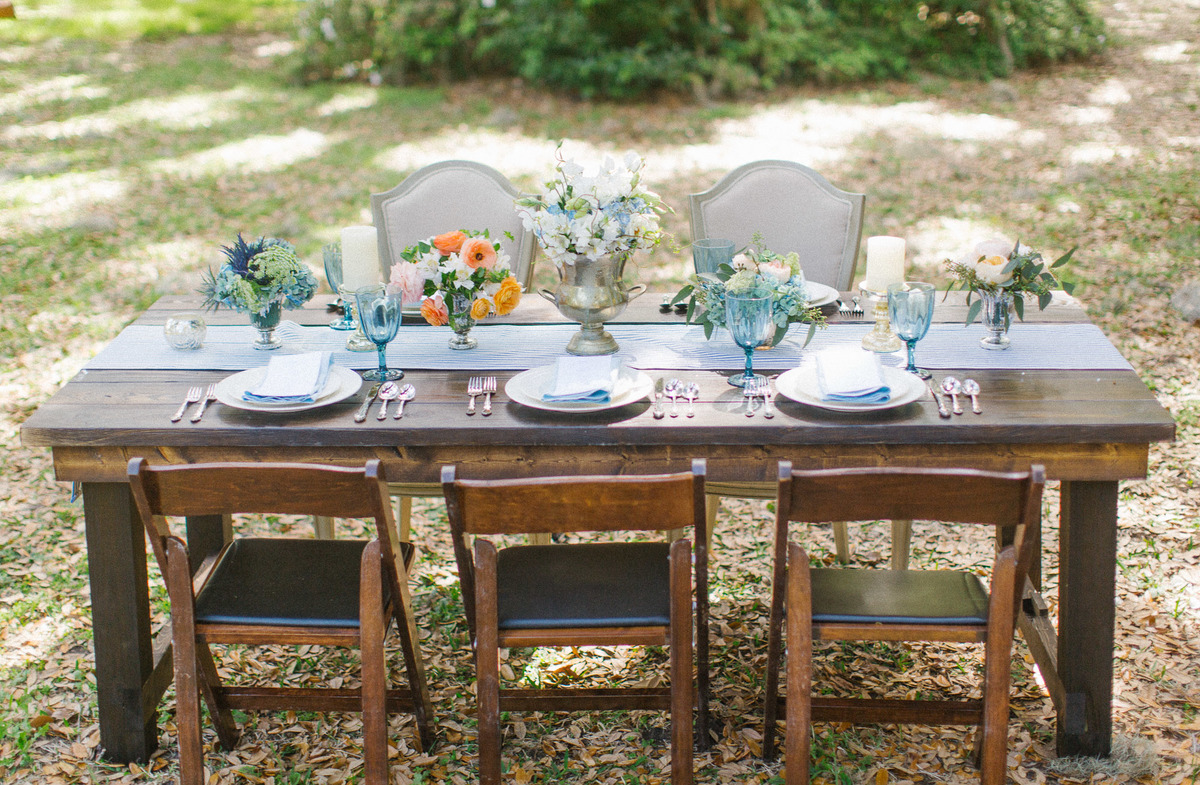
My wife wanted a portable farmhouse style rustic dining table that she could take to photoshoots and other events. I started with a top made with 2x6s and make the legs with 4x4s and the rest with 2x4s. Stain is dark walnut with a clear coat on top.

The legs are attached with door hinges and can fold into the top for more portable use. There is also a board that can be inserted in the bottom slots so that when in use the legs can not fold in.

So far the rustic dining table is working out great, although this table is VERY HEAVY and needs 2-3 strong people to carry it around. I have also made a lighter version using 1x6 tops and all 2x4 frame and legs.

Photos courtesy of Jennifer Blair Photography Designed by Amber Veatch Designs

Estimated Cost
150.00
Estimated Time Investment
Weekend Project (10-20 Hours)
Finish Used
Miniwax Dark Walnut
Recommended Skill Level
Intermediate

Comments

Juanita_r

Wed, 06/12/2013 - 04:15

Oh I really hope that you are able to put these modified plans up!!! A foldable farmhouse table.... what will they think of next!

Unicorn1960

Sat, 10/22/2016 - 17:21

I cannot find the plans for the tiny house drawers any where.  Can someone please point me in the right direction.  Thank you!