DIY Double Chair Bench with Table
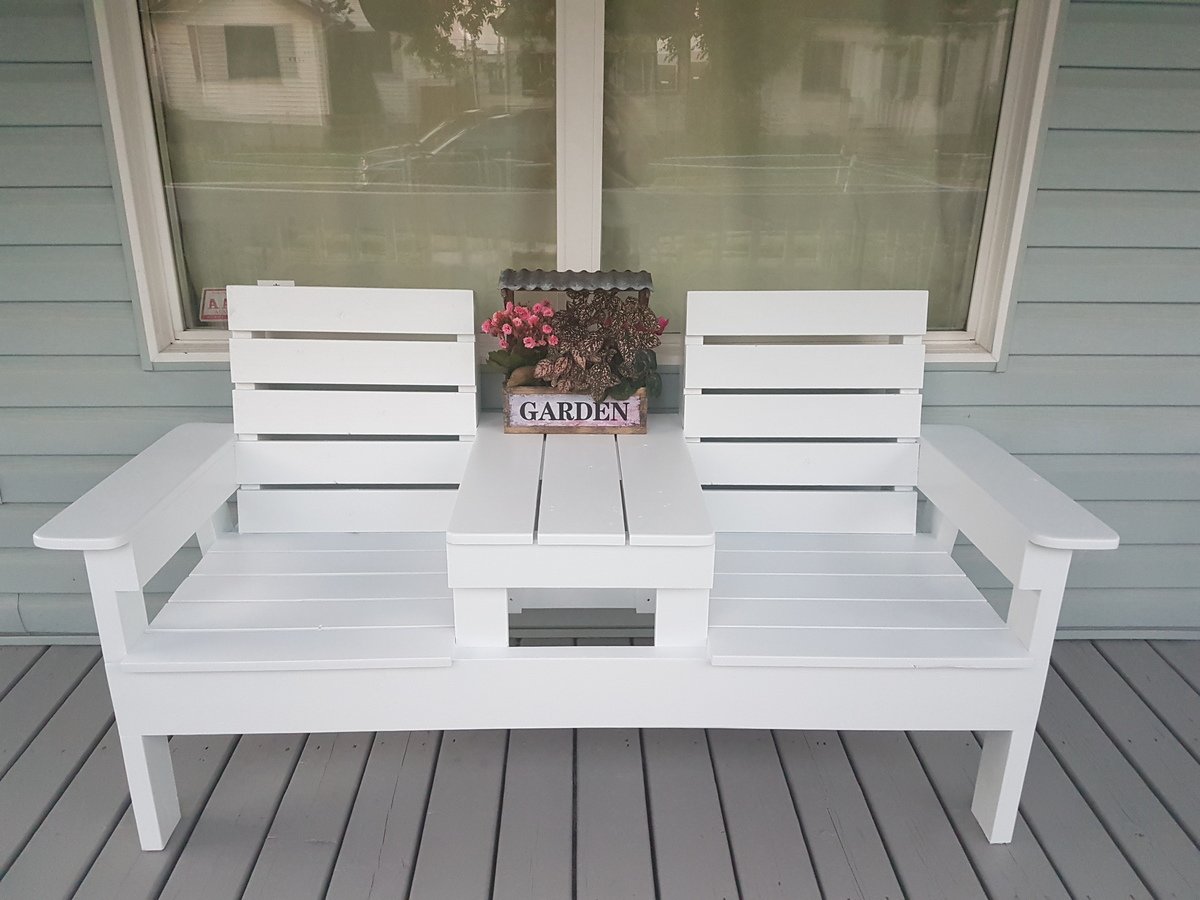
Fun build. Plans were easy to follow!
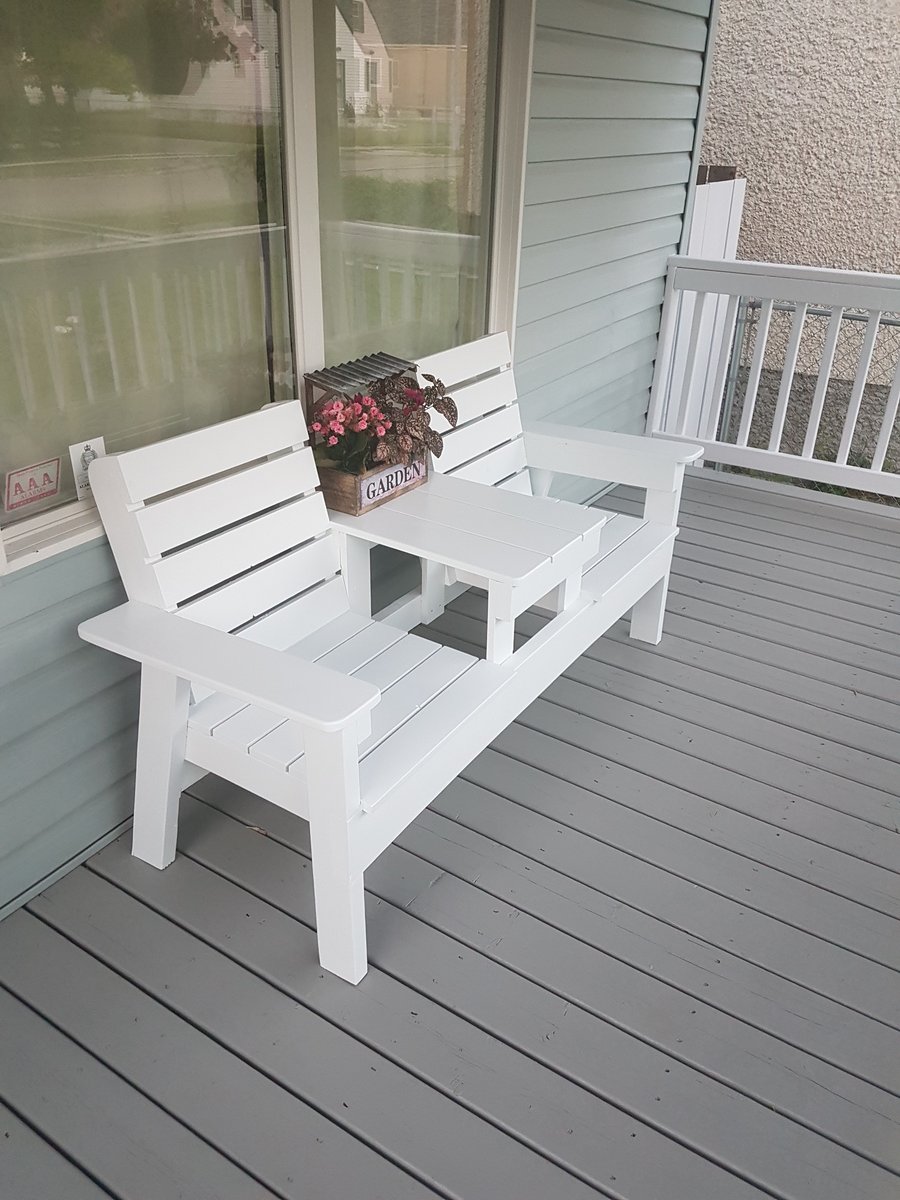

Fun build. Plans were easy to follow!

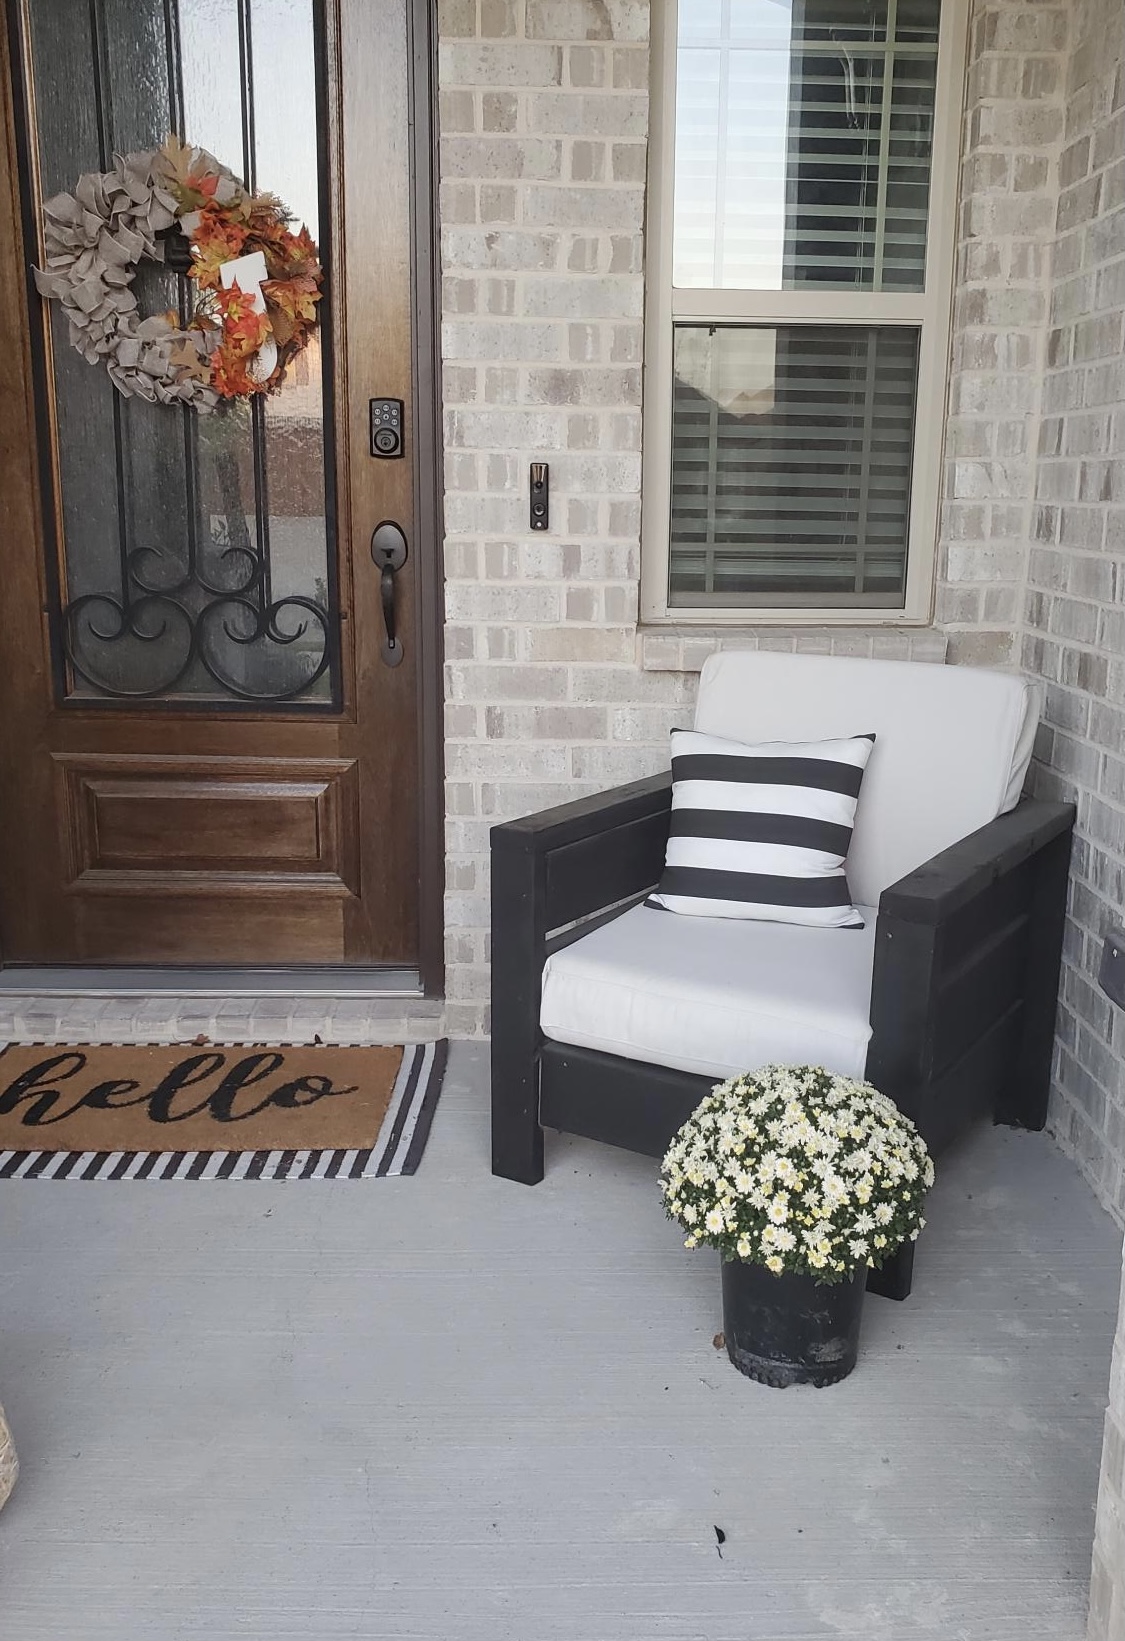
I chose to make the chair which came out great although the plans were only for one chair I thought it waa easy to do.
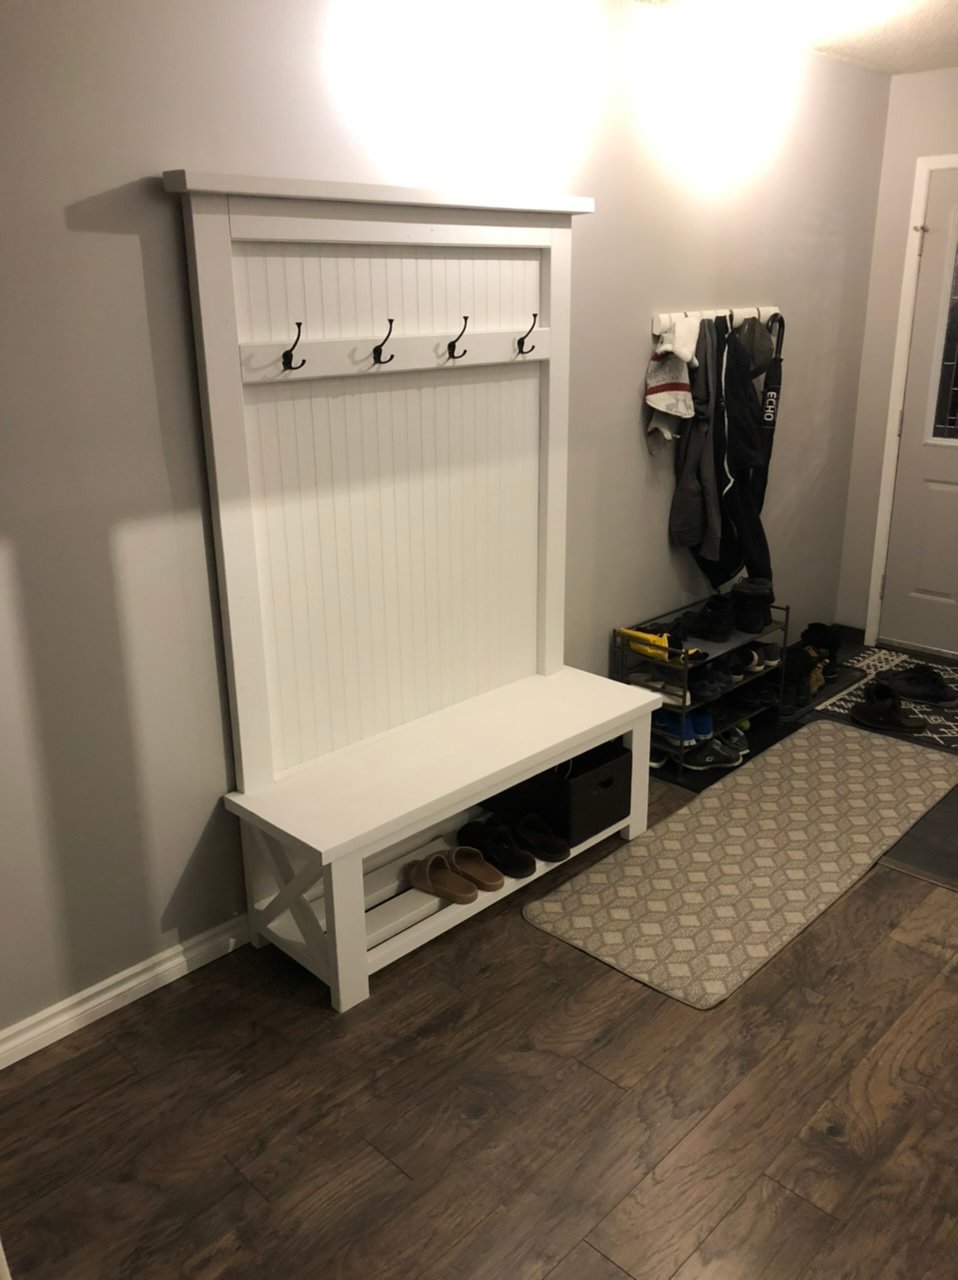
My husband and I love to build together as our hobby so we always look to Ana White for different plans.
It all started originally when I came across Ana’s closet organizer a few years ago and we haven’t stopped! Thanks Ana!
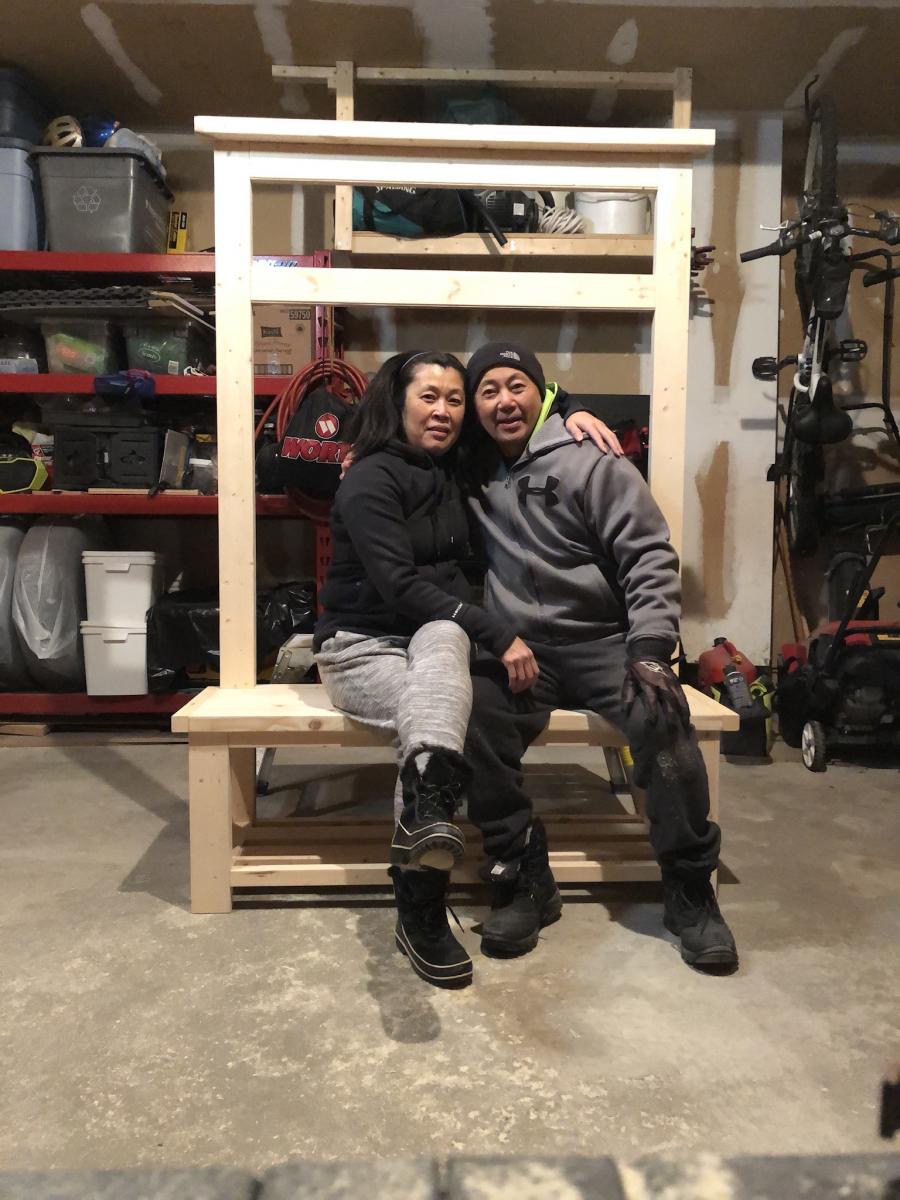
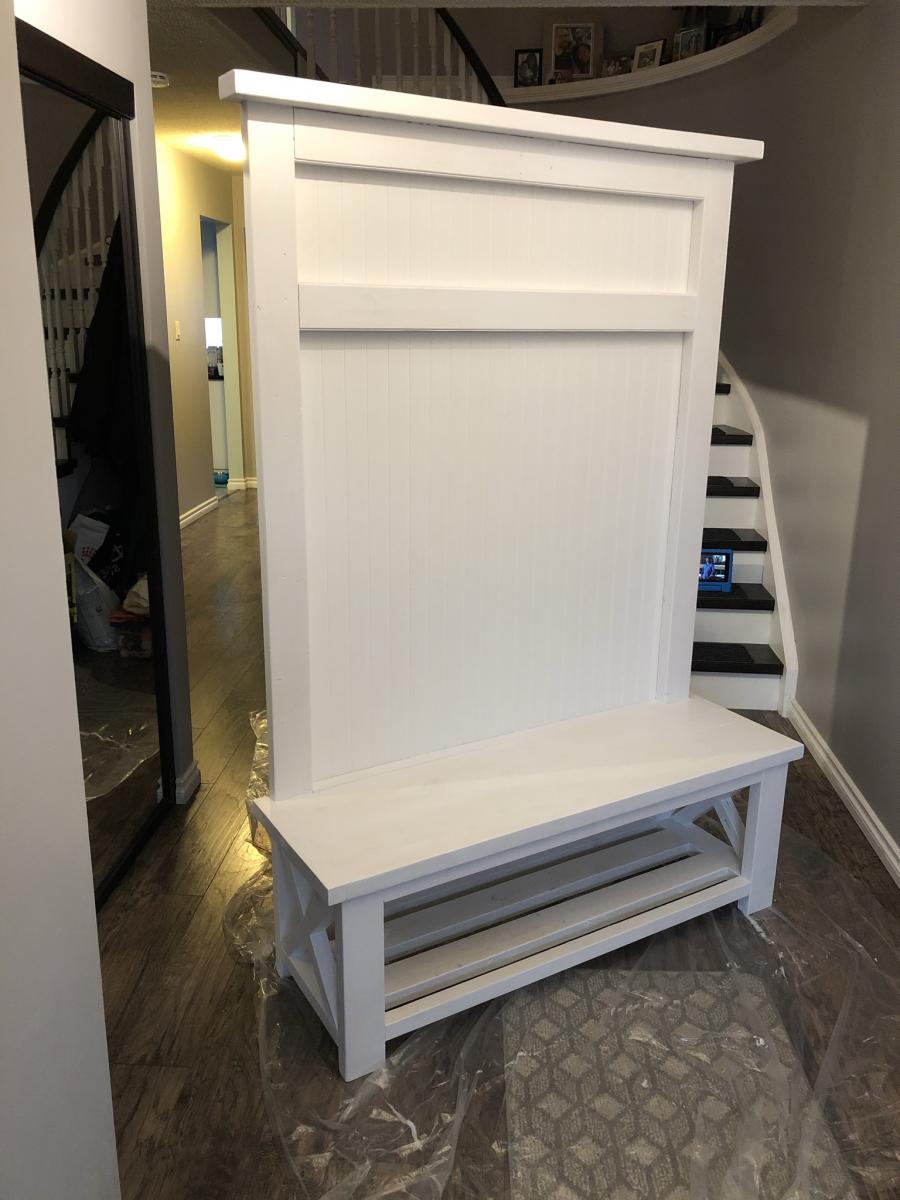
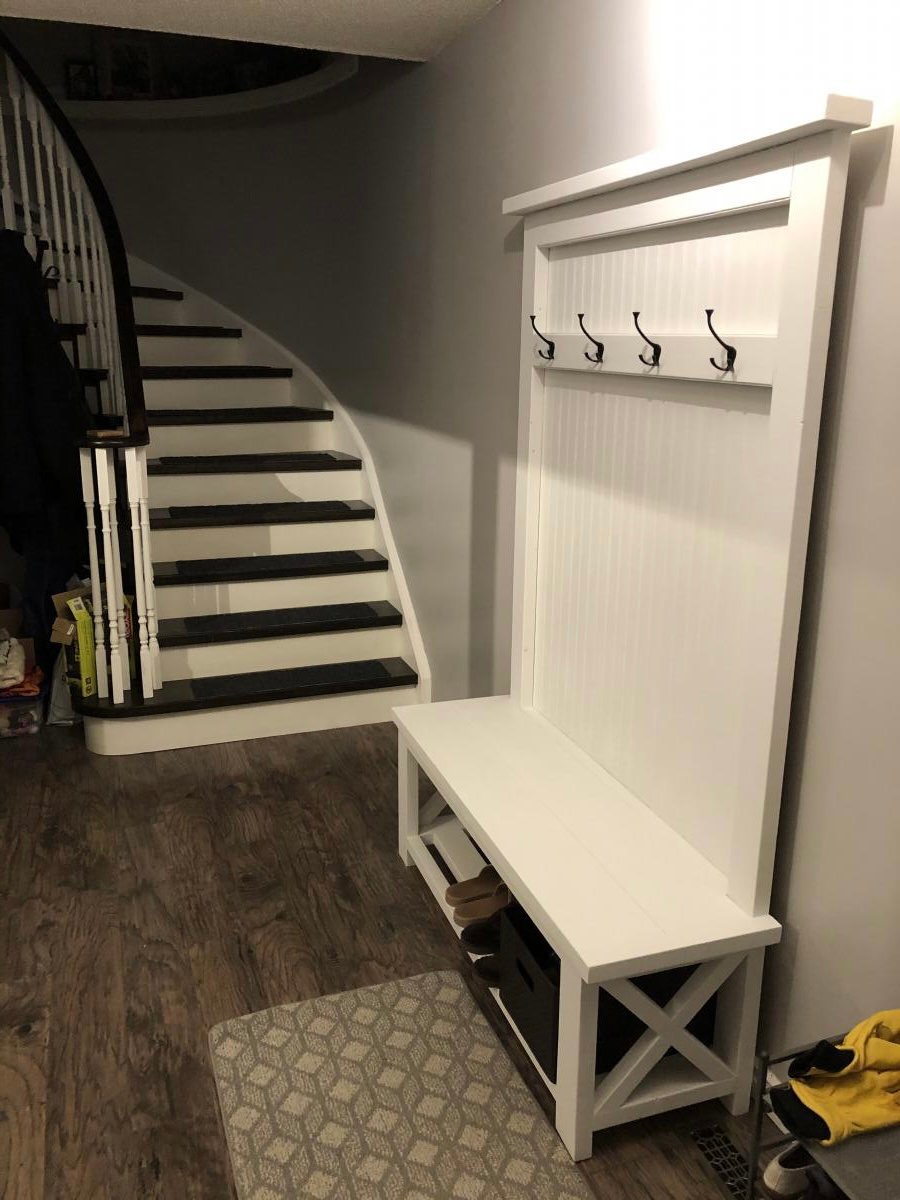

I adjusted the measurements for the console to make a bed bench. The over all length is 66.5", making each horizontal 2x2 26" long. The 2x4 legs are now 18" heigh. Love the end result.
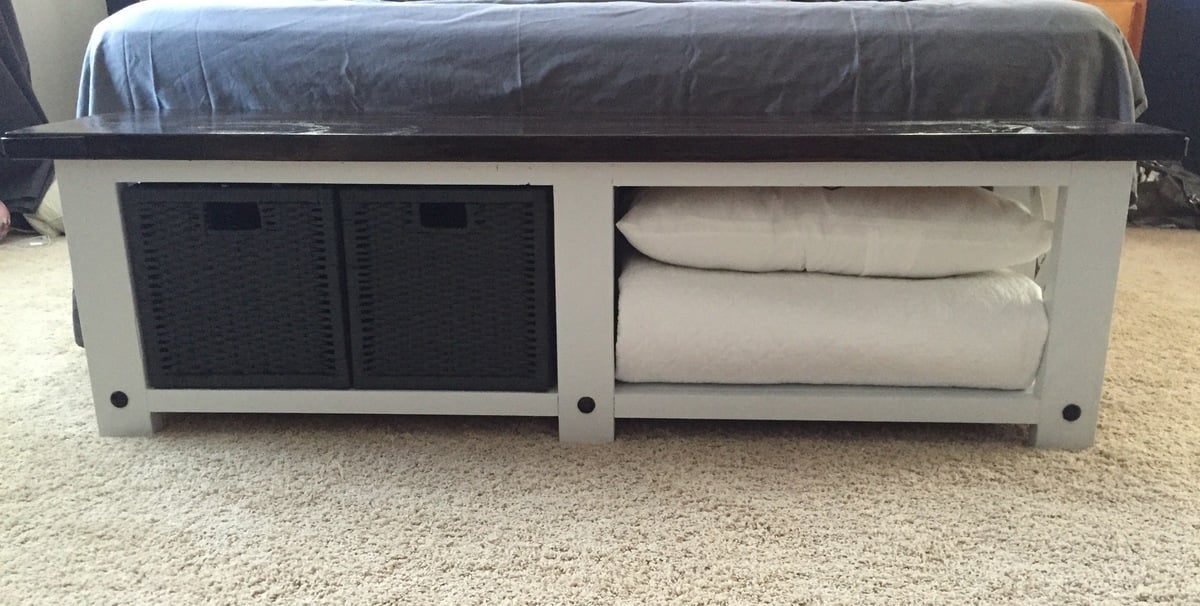
Fri, 01/06/2017 - 19:21
I haven't finished it yet, but thanks for the height modification!
https://mrsonthemove.wordpress.com/2017/01/07/entryway-bench/
In reply to My take on it - as an entryway bench by Cazeliea
Sat, 05/23/2020 - 21:01
Love it!
Wed, 01/22/2020 - 08:14
What are the brown spots on the front of the legs? Are those just glued on buttons?
In reply to What are the circles? by Richard6959
Sat, 05/23/2020 - 20:56
Decorative nail heads. I think they screw in.
Thu, 01/30/2020 - 09:49
What was used for the decorative circles at the bottom of each leg? Its not mentioned anywhere in the plans and I can't tell from the pictures what was used. Please explain. Thanks.
In reply to What was used for the… by Richard6959
Sat, 05/23/2020 - 20:56
Just as a decoration. They serve no actual function!
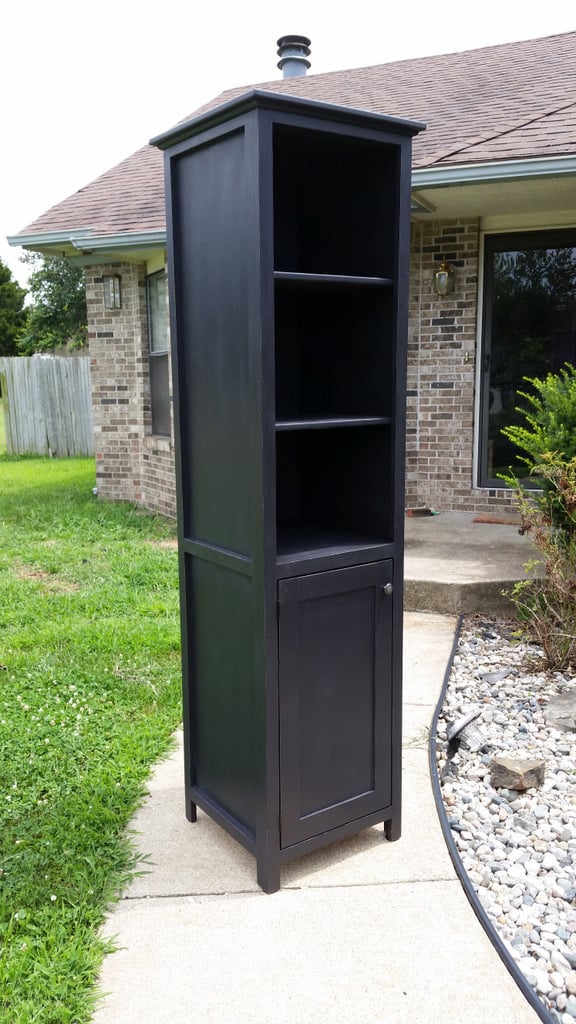
This is our first Ana White project and we're pretty happy with the results. We modified the plans a bit to use 1/4" plywood for the sides instead of the heavy 3/4" ply. Specifically built for our kitchen since we couldn't find one that we really liked or could afford. Pottery Barn seriously sells this for $1200?!?! Score!
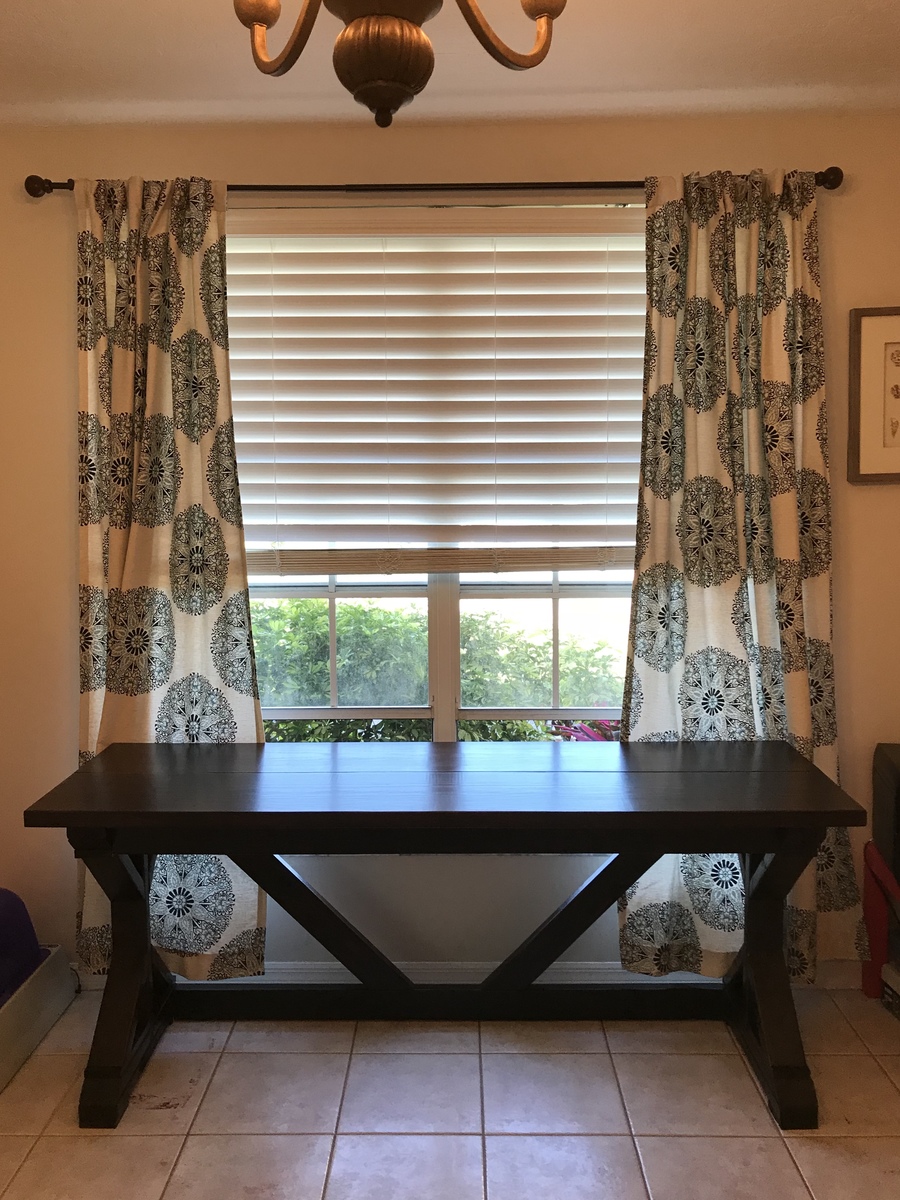
We estimate that the cost of this project was right around $50, but we had a lot of tools and materials already. This was a fun project and a great piece for the cost. I would suggest staining as much as you can before assembling those legs! Staining and applying poly was a pain in the butt! We used a dark mahogany Minwax stain and 2 coats of Minwax poly. It took us a while to do it because we have a 11 month old that keeps us on our toes.
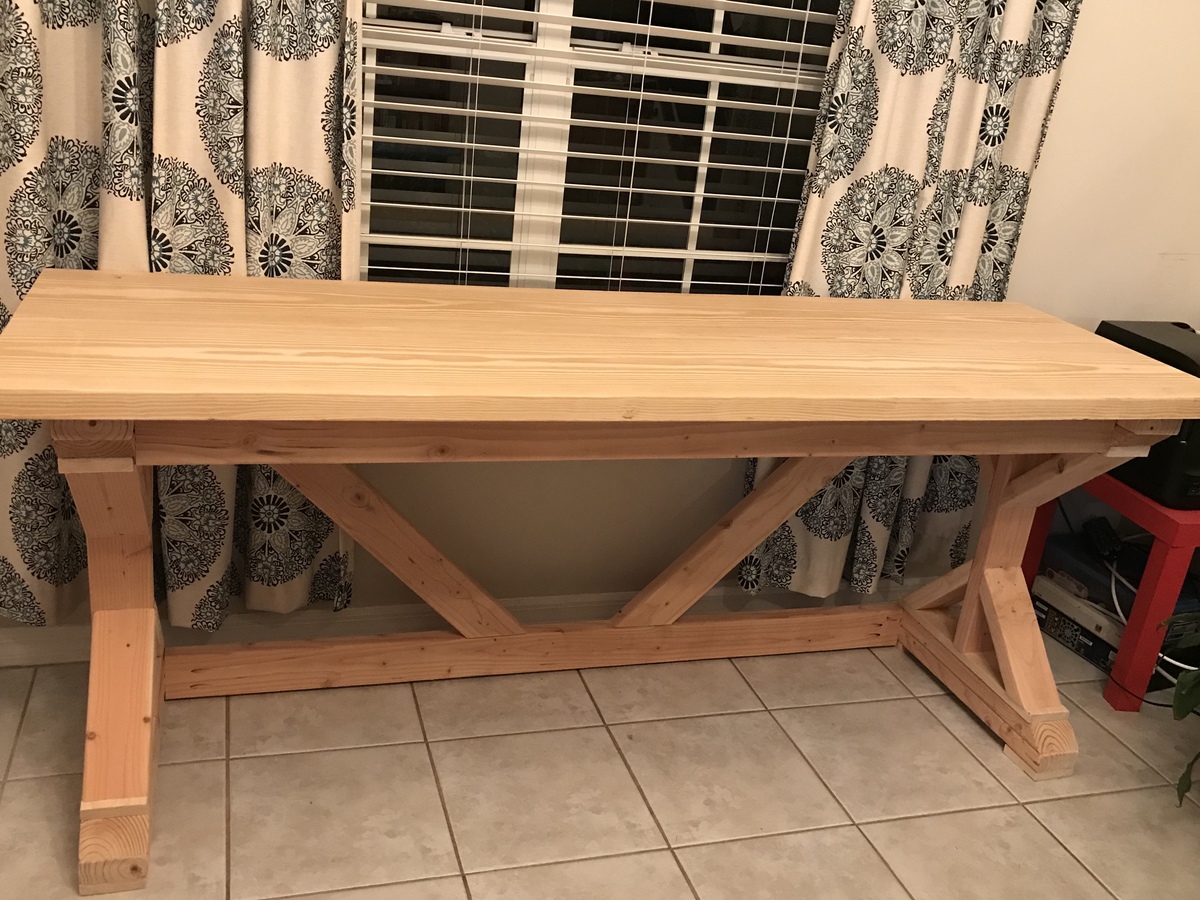
Sun, 05/24/2020 - 15:04
Hello Ana. Will you be posting the plans for this desk? I like it. I would like to build it for my house. TIA.
In reply to Hello Ana. Will you be… by hcorletto
Sun, 05/24/2020 - 15:09
Disregard my comment, I found the plans. Thank you.
Thu, 07/23/2020 - 16:41
Yes I would love to have the plan for this table as well
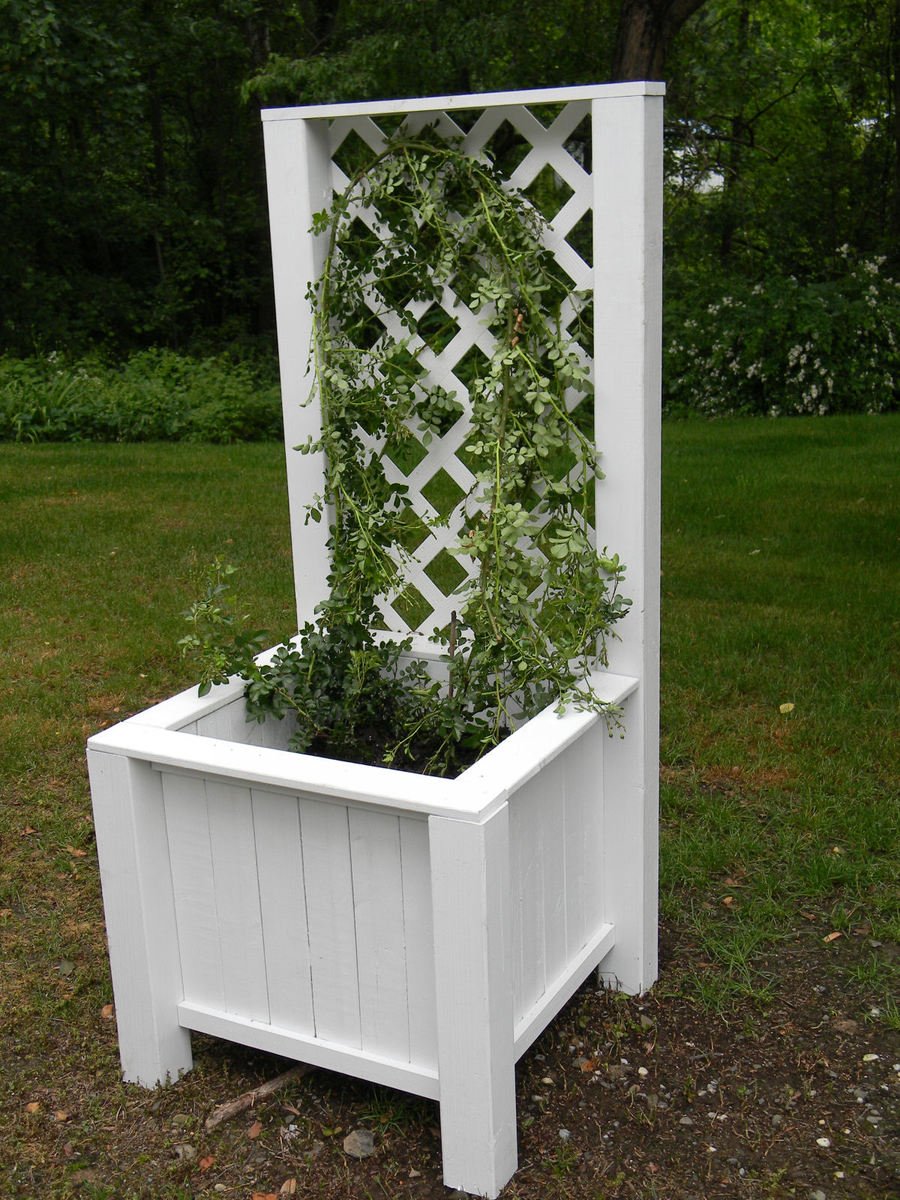
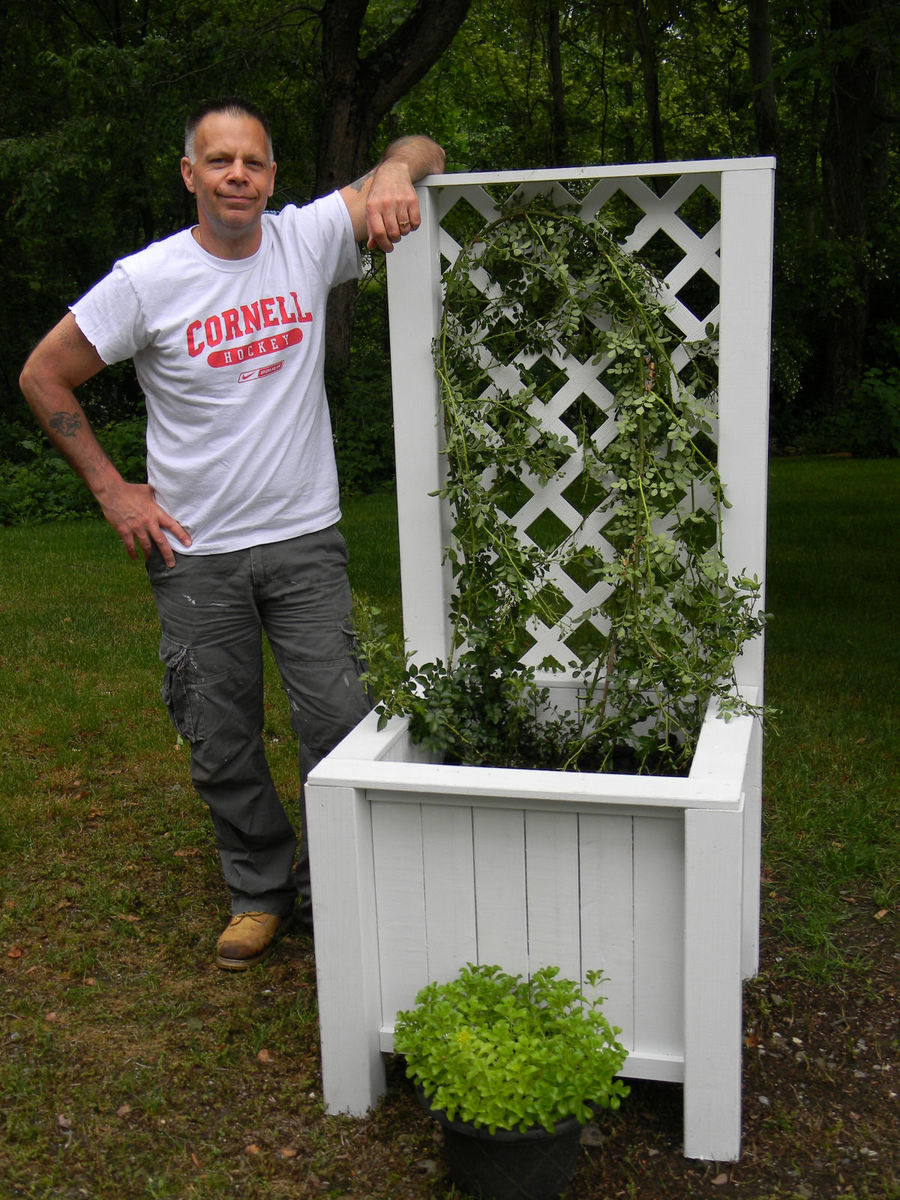
My husband built the Planter Box with Trellis for his mother for her birthday. We planted one of our rose bushes in it. They are pink teacup roses and should look fantastic against this bright white backdrop once the buds blossom.
This was a great project that was easy to cut up beforehand and put together the next afternoon. I think I want one!
Tue, 06/14/2011 - 06:21
I am SO PLEASED that that design came out so beautifully! THANK YOU for using my plan!!! You did a wonderful job! =) I hope your husband's mom loves it!
~Tina
In reply to I wish you could see my happy dance right now! by biz_kid1
Tue, 07/12/2011 - 03:59
Thank YOU, Tina! The plan was so easy to follow and we were just amazed that this thing came out looking almost exactly like the picture. Often times, we are not so lucky and "modify" the project at the time, or "modify" our expectations when it looks a little different. Not so with this one. It's perfect!
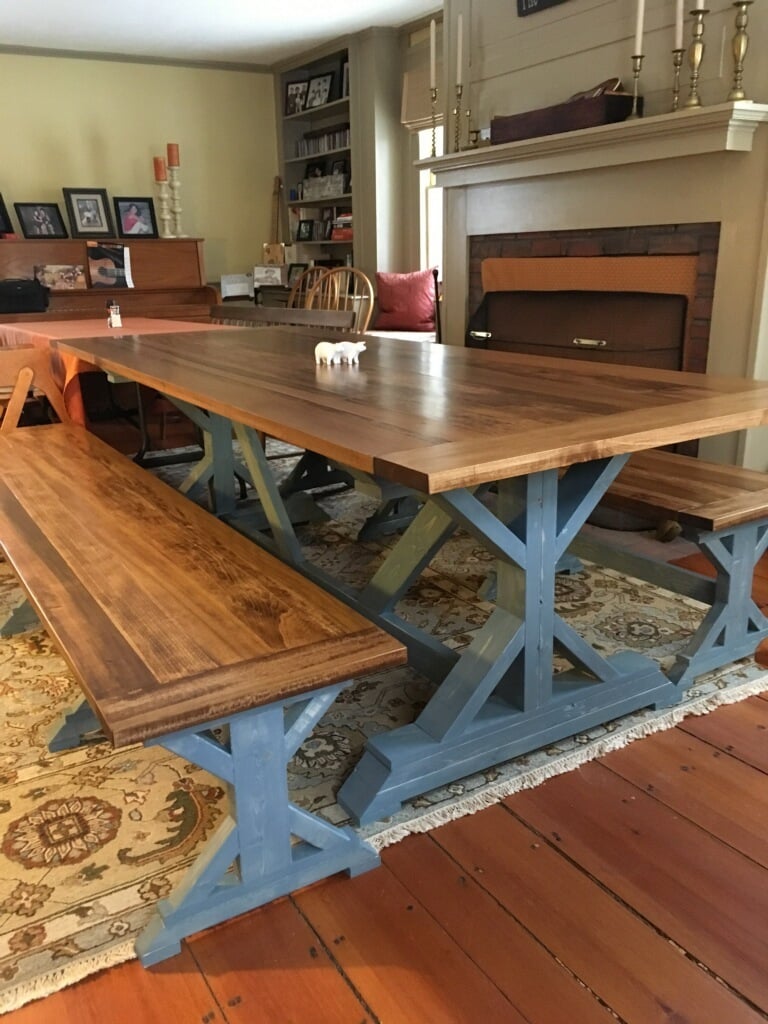
This was my first big furniture piece that I've built. I'm pretty happy with how it turned out. I used 5/4 poplar for the tops instead of the 2x10s for the table and 2x6s for the benches that the plans called for. Finished the tops with Minwax Early American stain then 3 coats of satin oil based polly. Finished the bottoms with water based Minwax tinted River Stone then coated with water based polly.
Wed, 03/14/2018 - 06:18
You did a great job, especially for your first big piece.
I love the River Stone color you chose for the bases, beautiful combination.
I built a pair of cornhole boards following a tutorial on This Old House. I used the Glidden Paint Team Colors line to get the a quart of blue and orange paint in the official Auburn colors. I used my Silhouette Portrait machine to create stencils for the AU logo, Auburn tiger logo and "War Eagle" text.


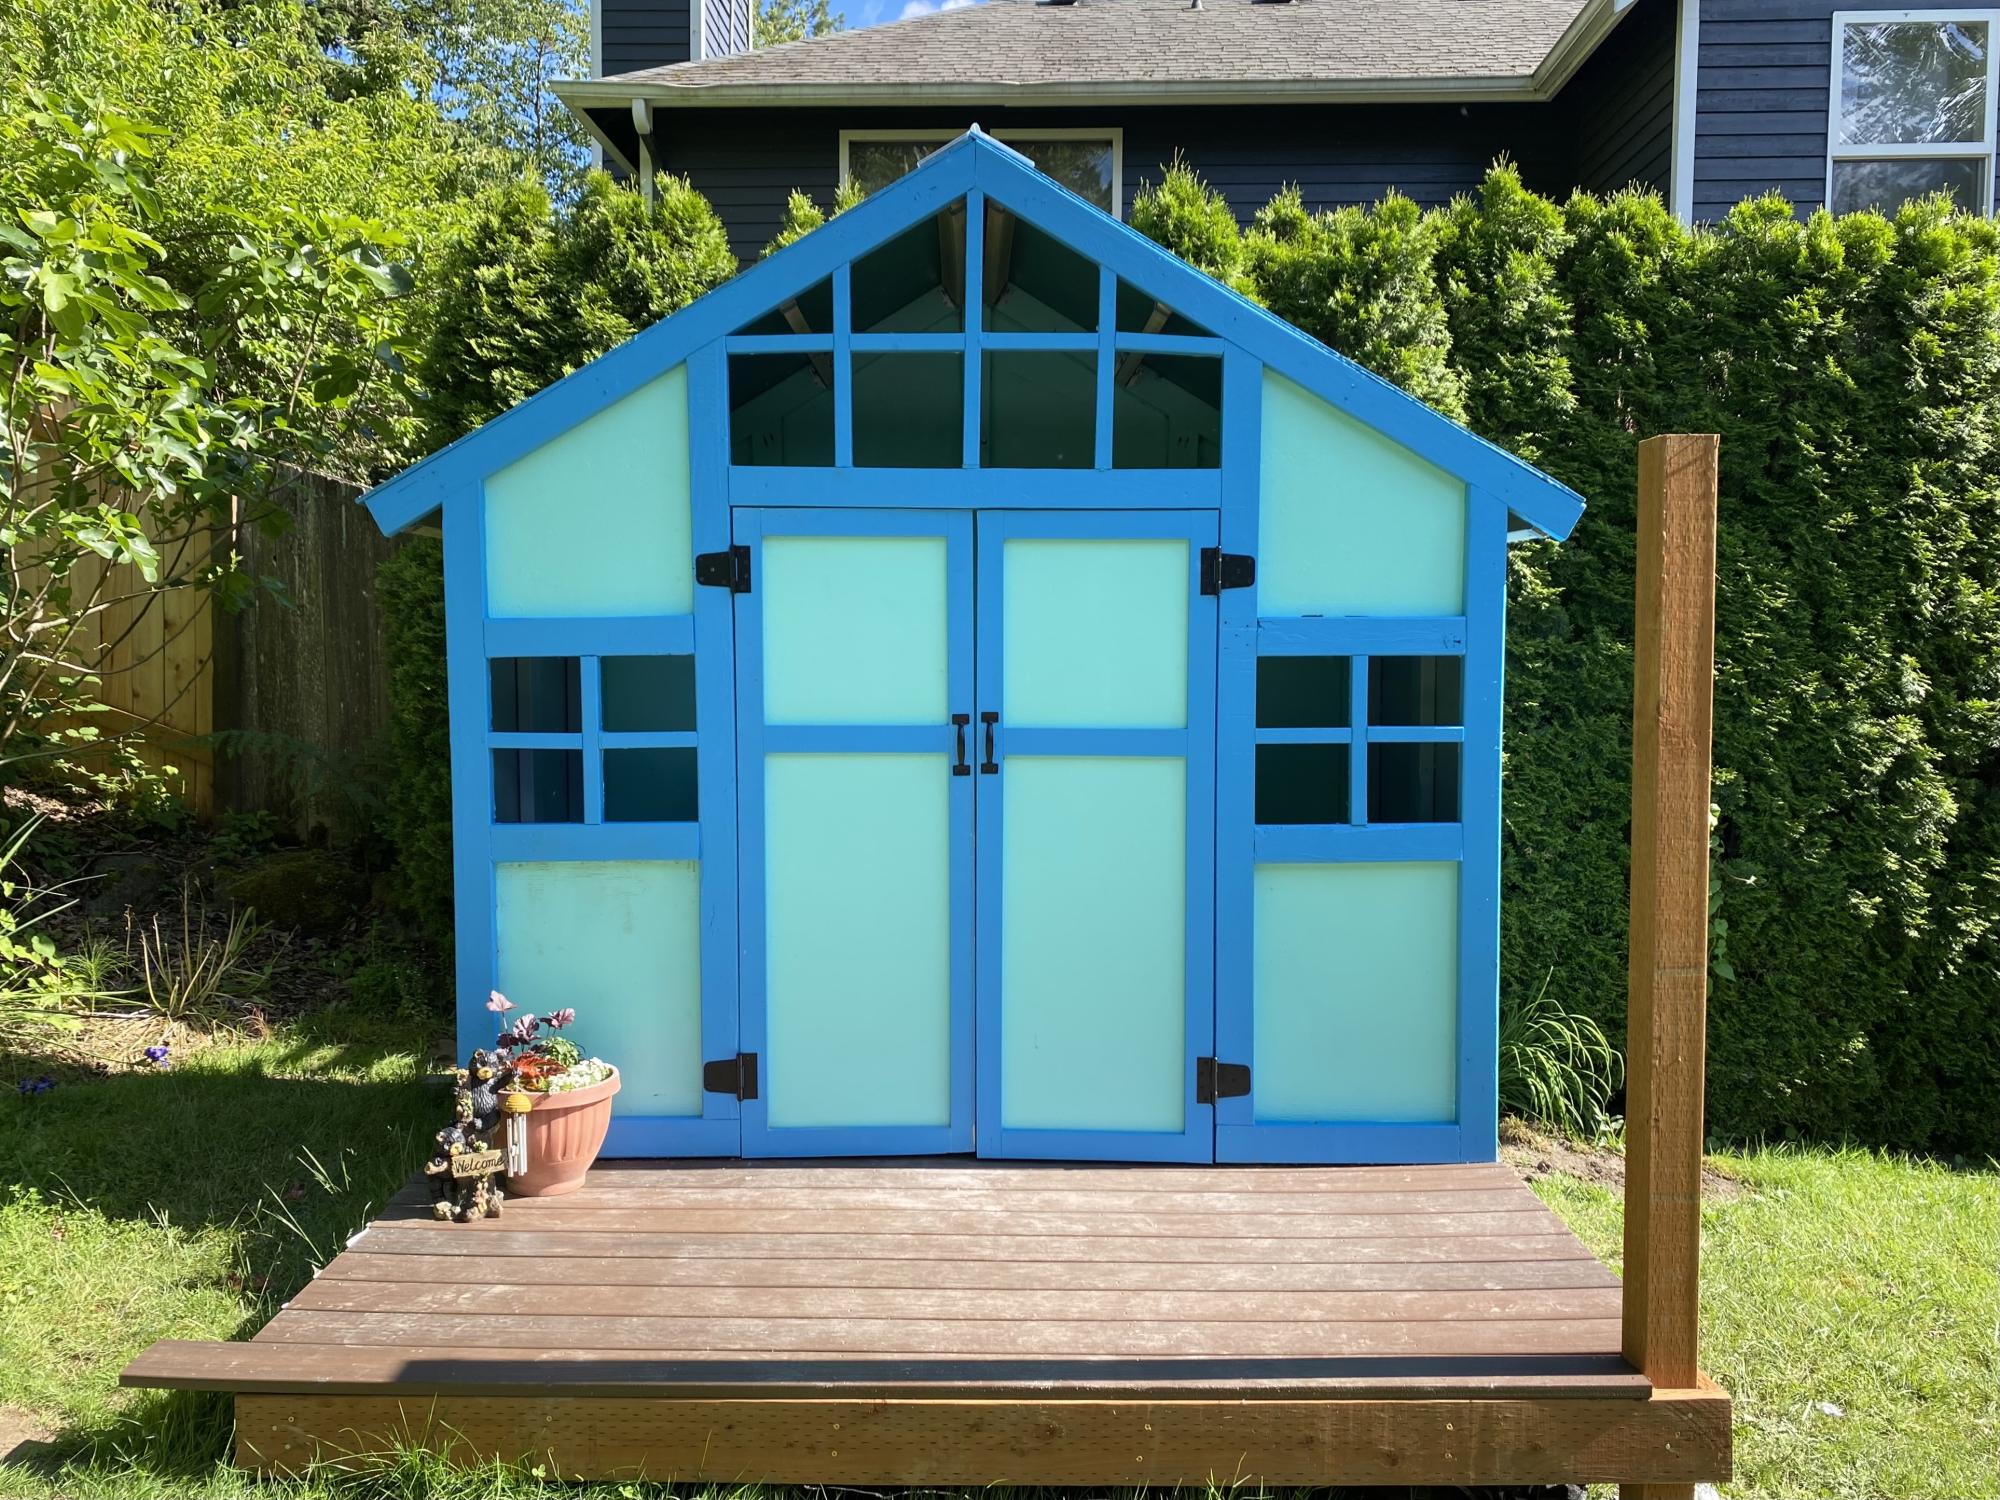
I’ve been working on building up to this playhouse for a while. Just got the doors on and am pretty pleased with what’s my first project of any size. Built on top of a modified version of the playhouse deck with a to be added (hopefully) swing in front. Color selection by the end customer (who’s 8). Modified to add 12 inches for a 5’ doorway. Thankfully I caught that at the last minute for the kiddo. Still a menace if I forget to duck. But super roomy once inside.
Sun, 06/12/2022 - 09:04
Love the shades of blue, thank you for sharing your awesome creation!
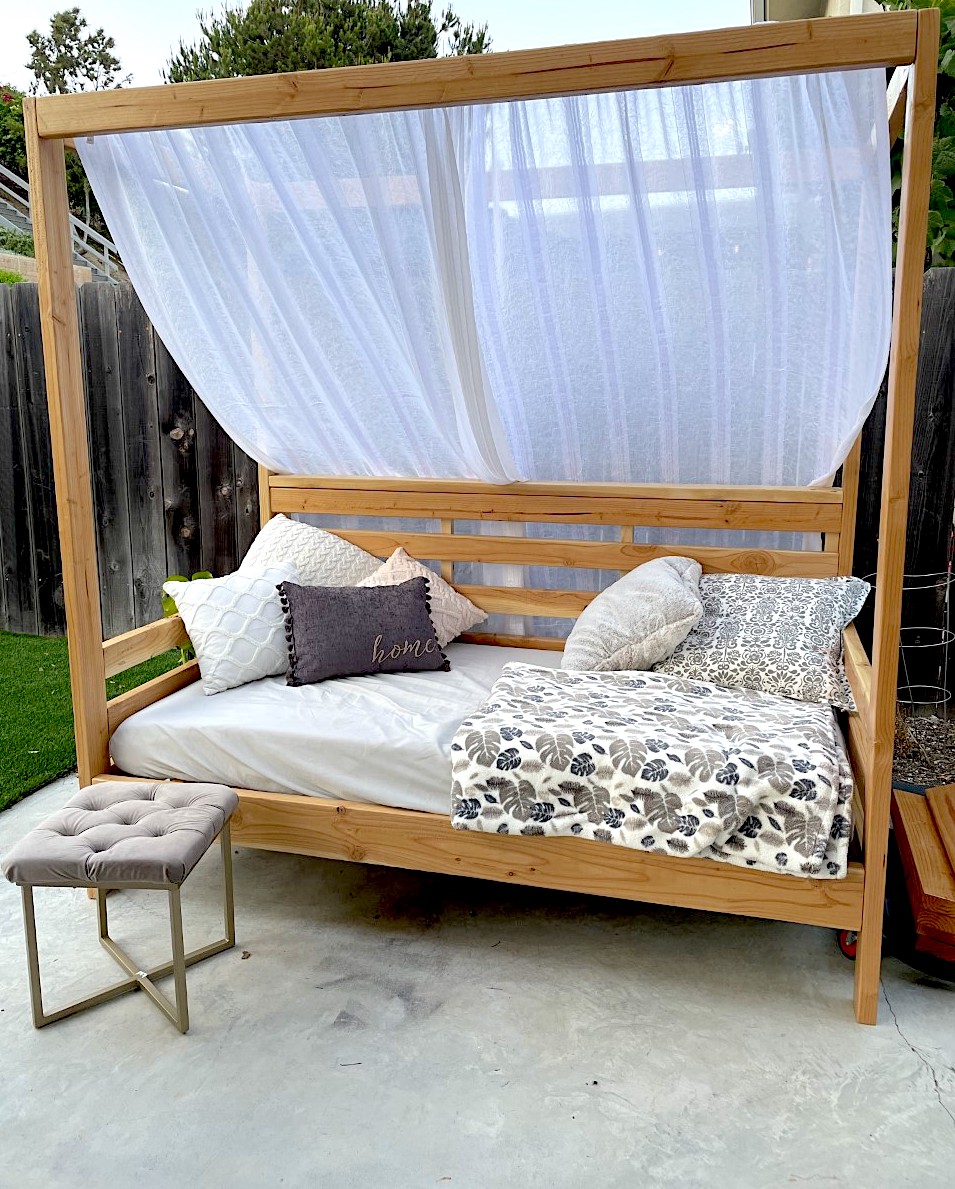
What a great project!! My private outdoor space is amazing. Thanks Ana!!
My second build from Ana's toy box plan. I had my son use his CNC machine to carve boy's name into the front. Depth of the letters is about 0.25". Looks really good.
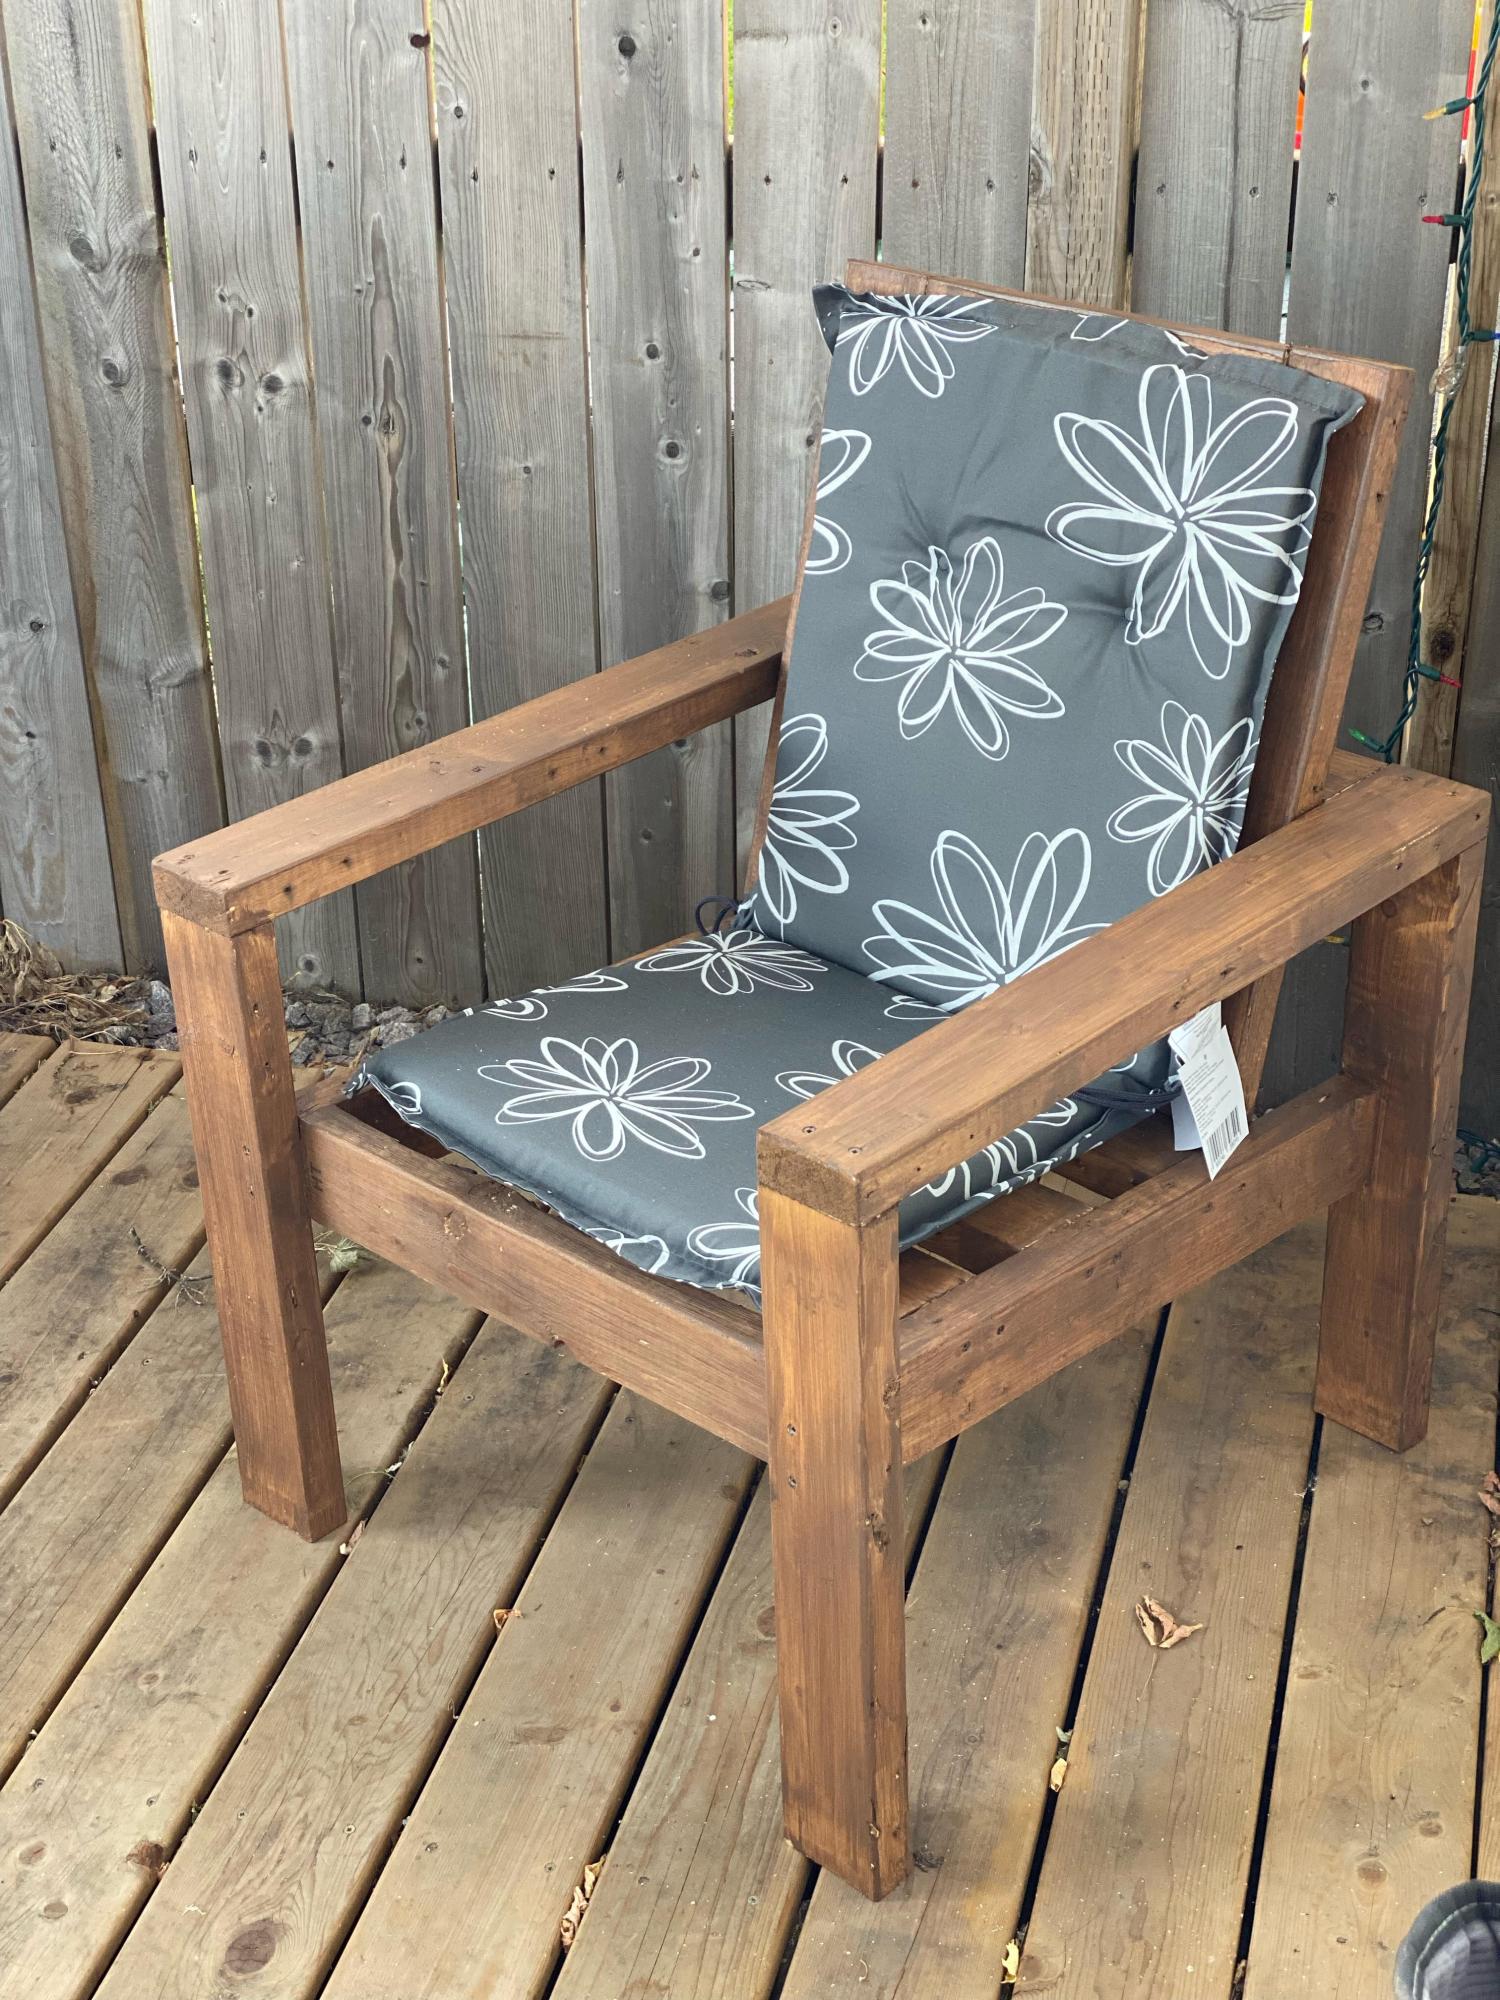
Essential outdoor chair, by Al.
I search many DIY entry benches and ultimately chose Ana White's, it was perfect what what we needed. Thanks for the vid, plans, post and tips that helped me build it. I'm currently browsing your other projects for the next one. Thanks so much
Fri, 12/16/2022 - 13:11
This looks fantastic, thank you so much for sharing, can't wait to see your next project!
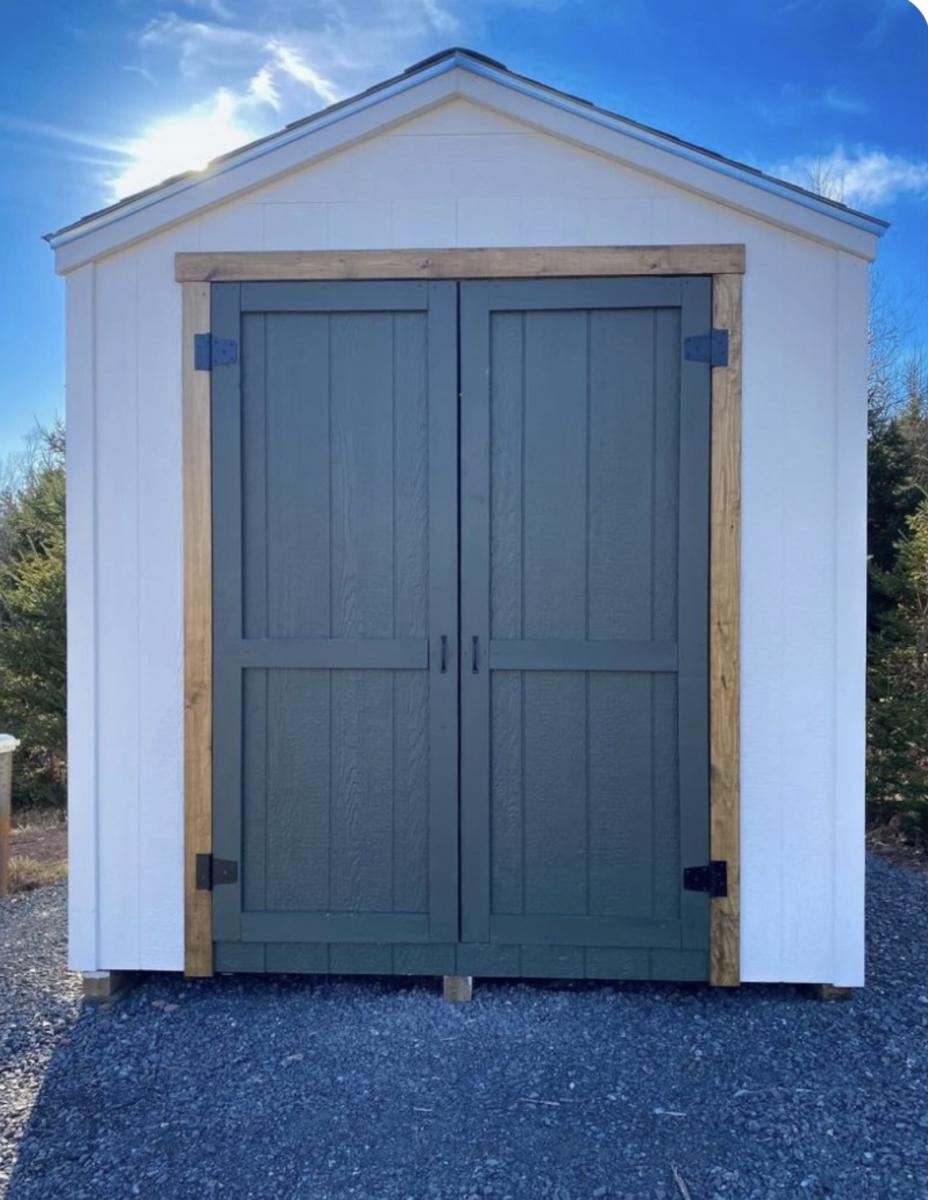
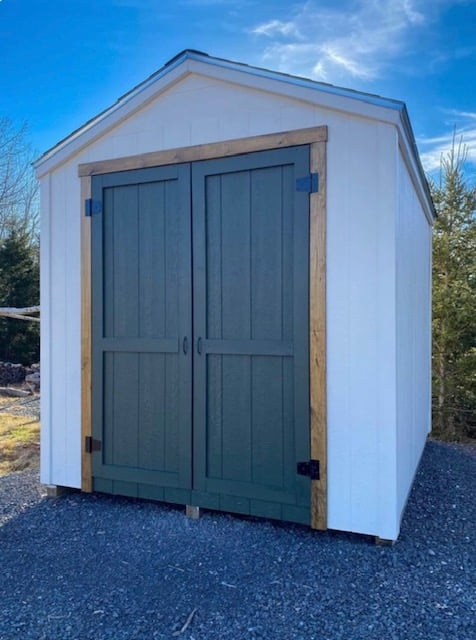
I made your 8x10 shed! Turned out so well, thank you for the amazing plans.
Julia Eliopoulos

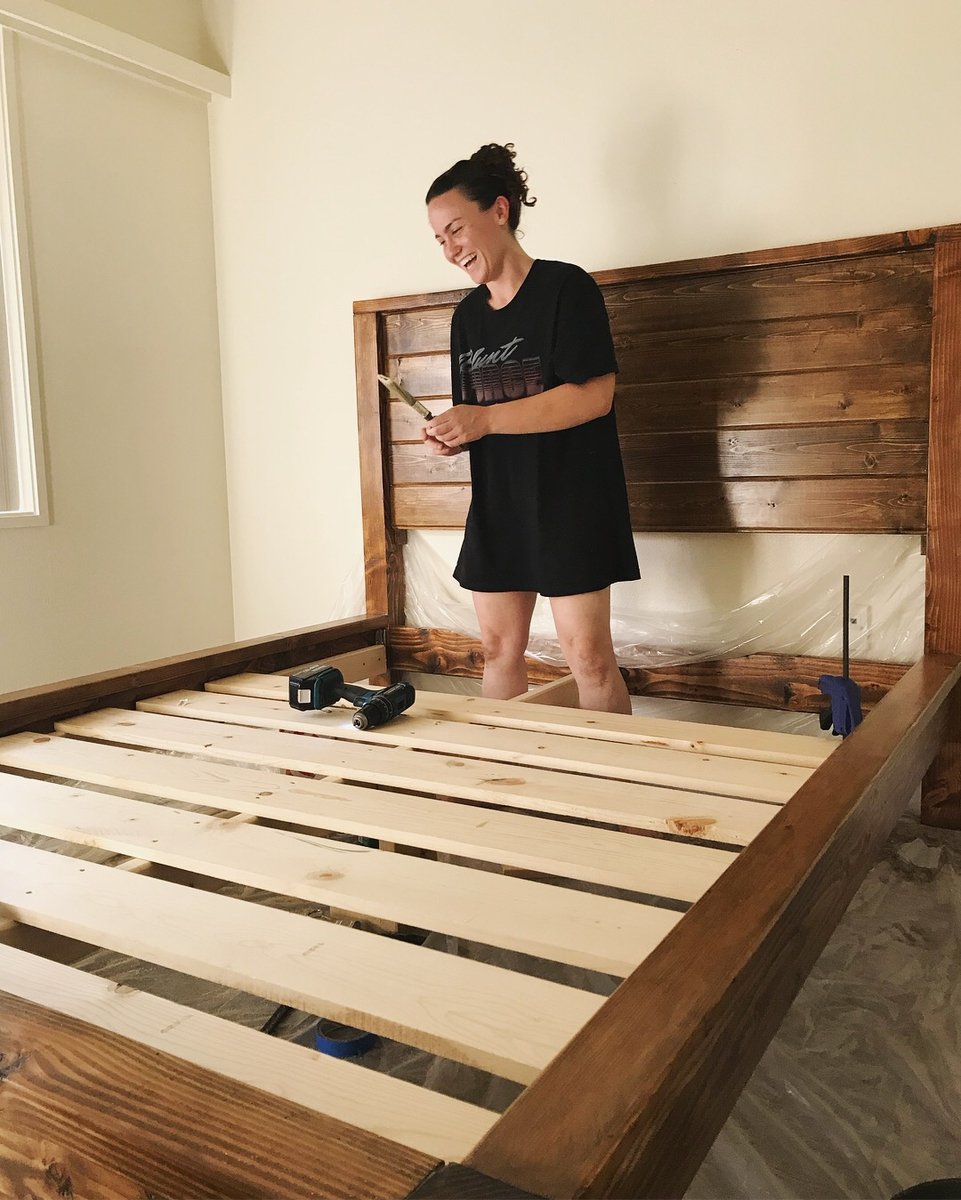
This was my first BIG project. I worked on it for a few hours every day for a few weeks. The most tedious part was sanding, but that is because I wanted to go the cheap way and got my wood from HD. I also did this (mostly) by myself, but having a partner definitely would have made the process go faster (especially for attaching the side rails to the headboard/footboard). I used bed rail brackets to make things easy when I move. I also made the bed a little higher than Ana's plan because I wanted a lot of under-bed storage.
Have questions!? Just ask! This was such a rewarding project :)
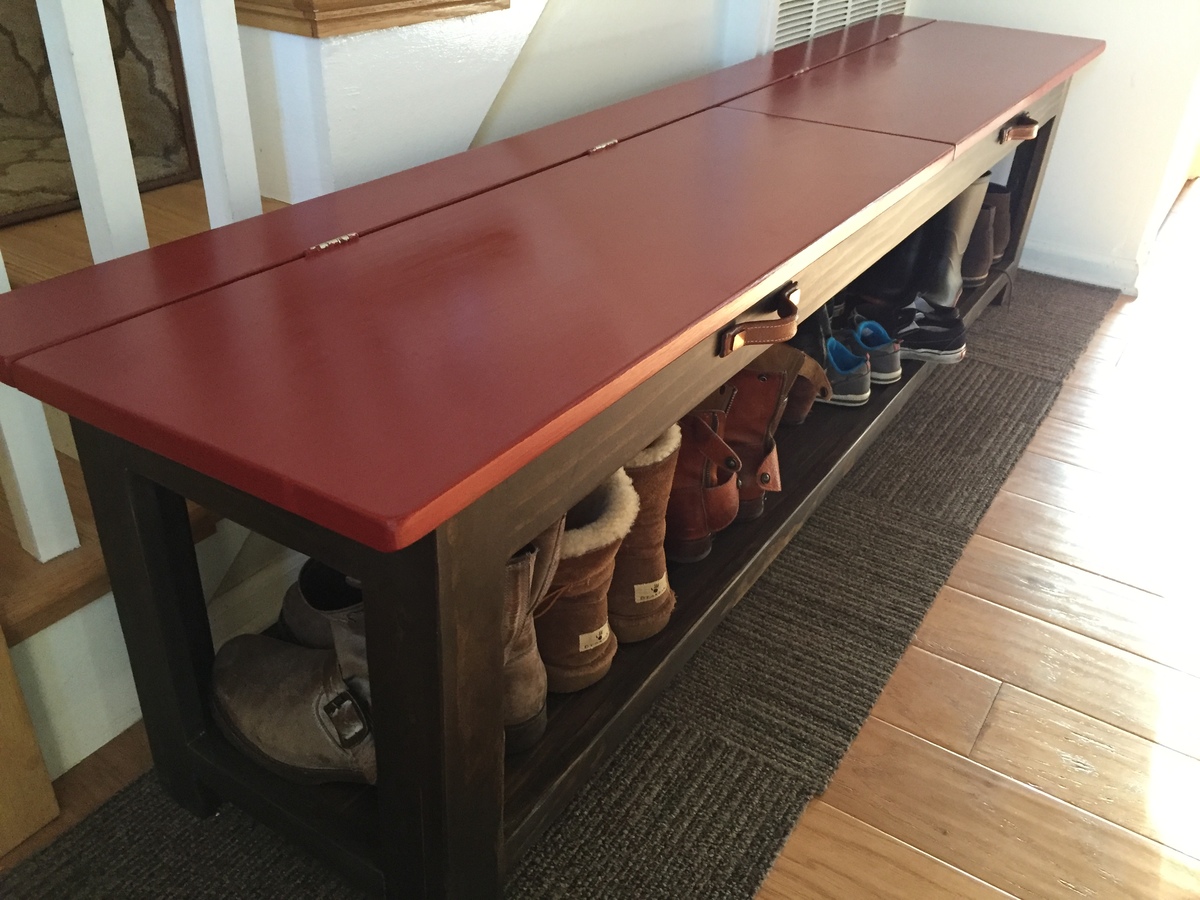
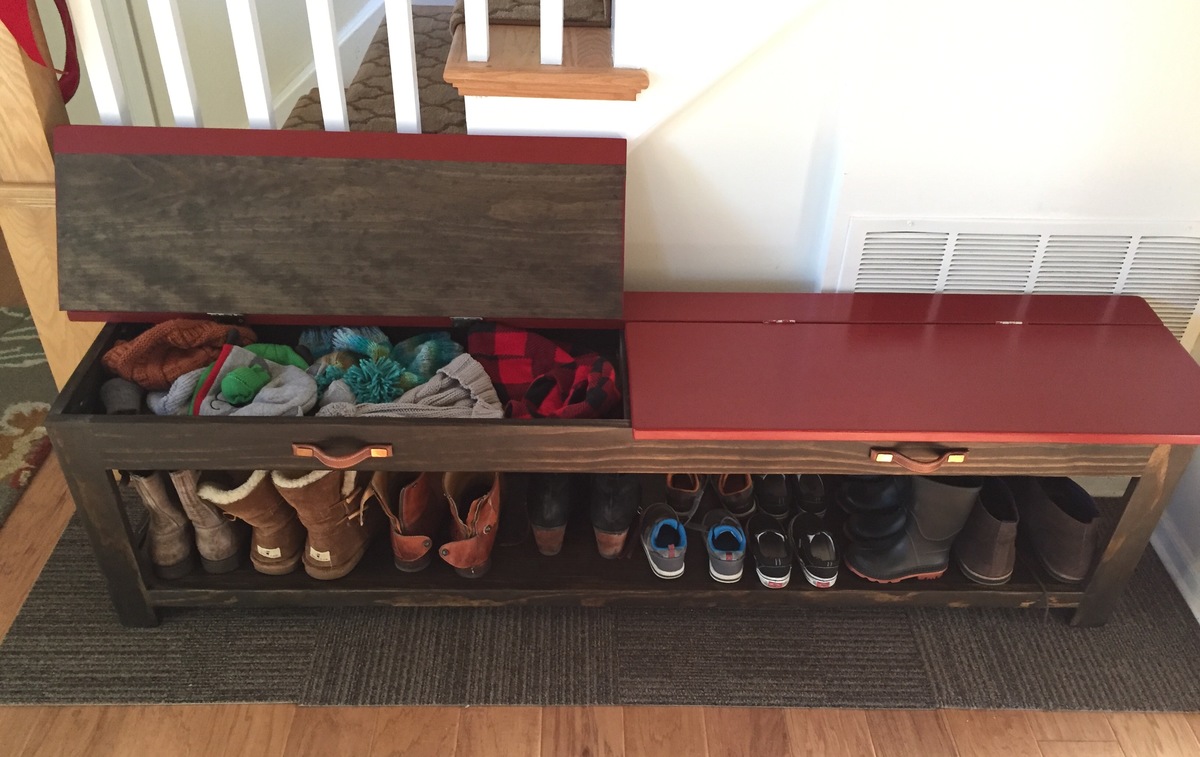
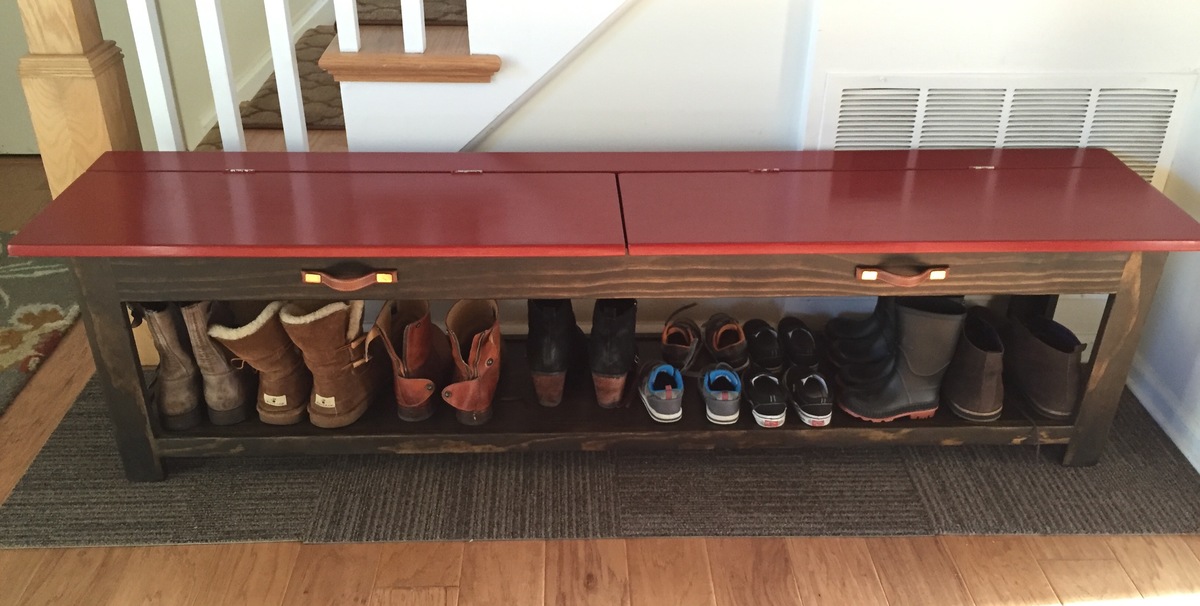
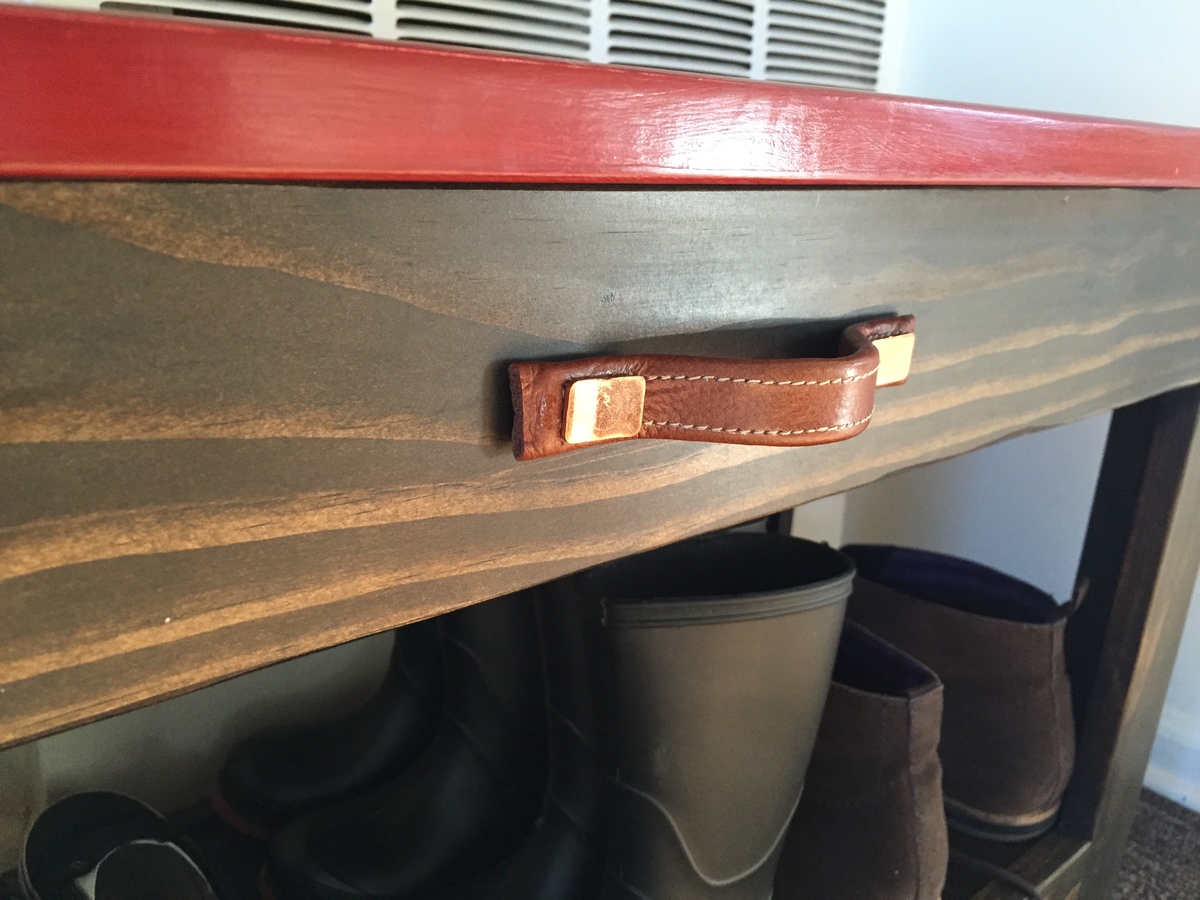
We decided to make our bench 5.5 feet long, without a supporting middle piece. Inside the top storage there is a middle piece of wood supporting the top. So far this is holding up really well and seems very sturdy so I am not worried about the length. The plans were relatively easy to follow, and having the wood cut at the store helped although it was not 100% accurate. For us, the wood alone cost around $100. I also chose to paint the top rather than staying the entire thing, which ended up adding to the cost. I would guess that this entire bench cost around $150 to make, including supplies and paint, and multiple weekends work since I was working only during our twins nap time. But totally worth it! We are getting so much use out of this, and it gets complimented every time people see it.
This is the nightly sleeper for our 6yo (queen) and 4yo (twin) boys, but we have in-laws who visit from out of town frequently and we also wanted a place to allow them to be comfortable as couples.
To accomodate adult headroom on the queen, I raised the entire loft 7" (72" high) and to fit the queen beneath, I had to lengthen the loft rails by 9" (84" long). To fill the resulting gap, I just used some 39" scraps of 2x4 and 2x6 overlapped to create a 4x10 landing which actually ended up a cool addition since it gives the kids a spot lower than the mattress to make the transition from the ladder to the mattress. It also has given us adults a spot to sit off the mattress while comforting them to sleep when needed, so we don't end up waking them when we leave.
I based the height of the queen legs (made four of them) off the size of a standard storage tote, which was ~13". We can fit 12-16 totes of clothes or other random storage under the bed as a result. The queen frame was just a simple 64"x84" rectangle out of 2x6s with 7 2x4s used as crossbeams to hold the mattress.
Note on the mattresses - these 8" memory foam mattresses are just as comfortable as our expensive name brand king mattress, but MUCH cheaper!
https://www.walmart.com/ip/Mainstays-8-inch-Memory-Foam-Mattress-Multiple-Sizes/47826185
Despite raising the loft, I kept the height of the stair platform the same, but just added a second 'ladder' rung to get up to the loft (refer back to the 4x10 landing spot on the loft). To keep with the using available storage space theme, instead of attaching the stairs permanently, I used 1"x4" hinges to that we could swing the stairs up and put 4 more storage totes under there. (However, we quickly found that the kids liked that area as a 'fort', so we've left it open for their use.)
In the picture, you'll note there are four treads/steps on the stairs because I thought to myself "little feet, little steps" would be better. I soon learned that the littles are more than capable of using adult sized steps while adults nearly killed themselves coming down the little feet, little steps. As such, I ended up removing one of the middle steps and moving the new singular middle to a spot between the other two. Much better, stay with 3 steps.
While the queen can stand alone, I still attached it to the 'legs' of the loft so that our rambunctious boys didn't 'sweep the leg' and bring the whole thing down on themselves while under it.
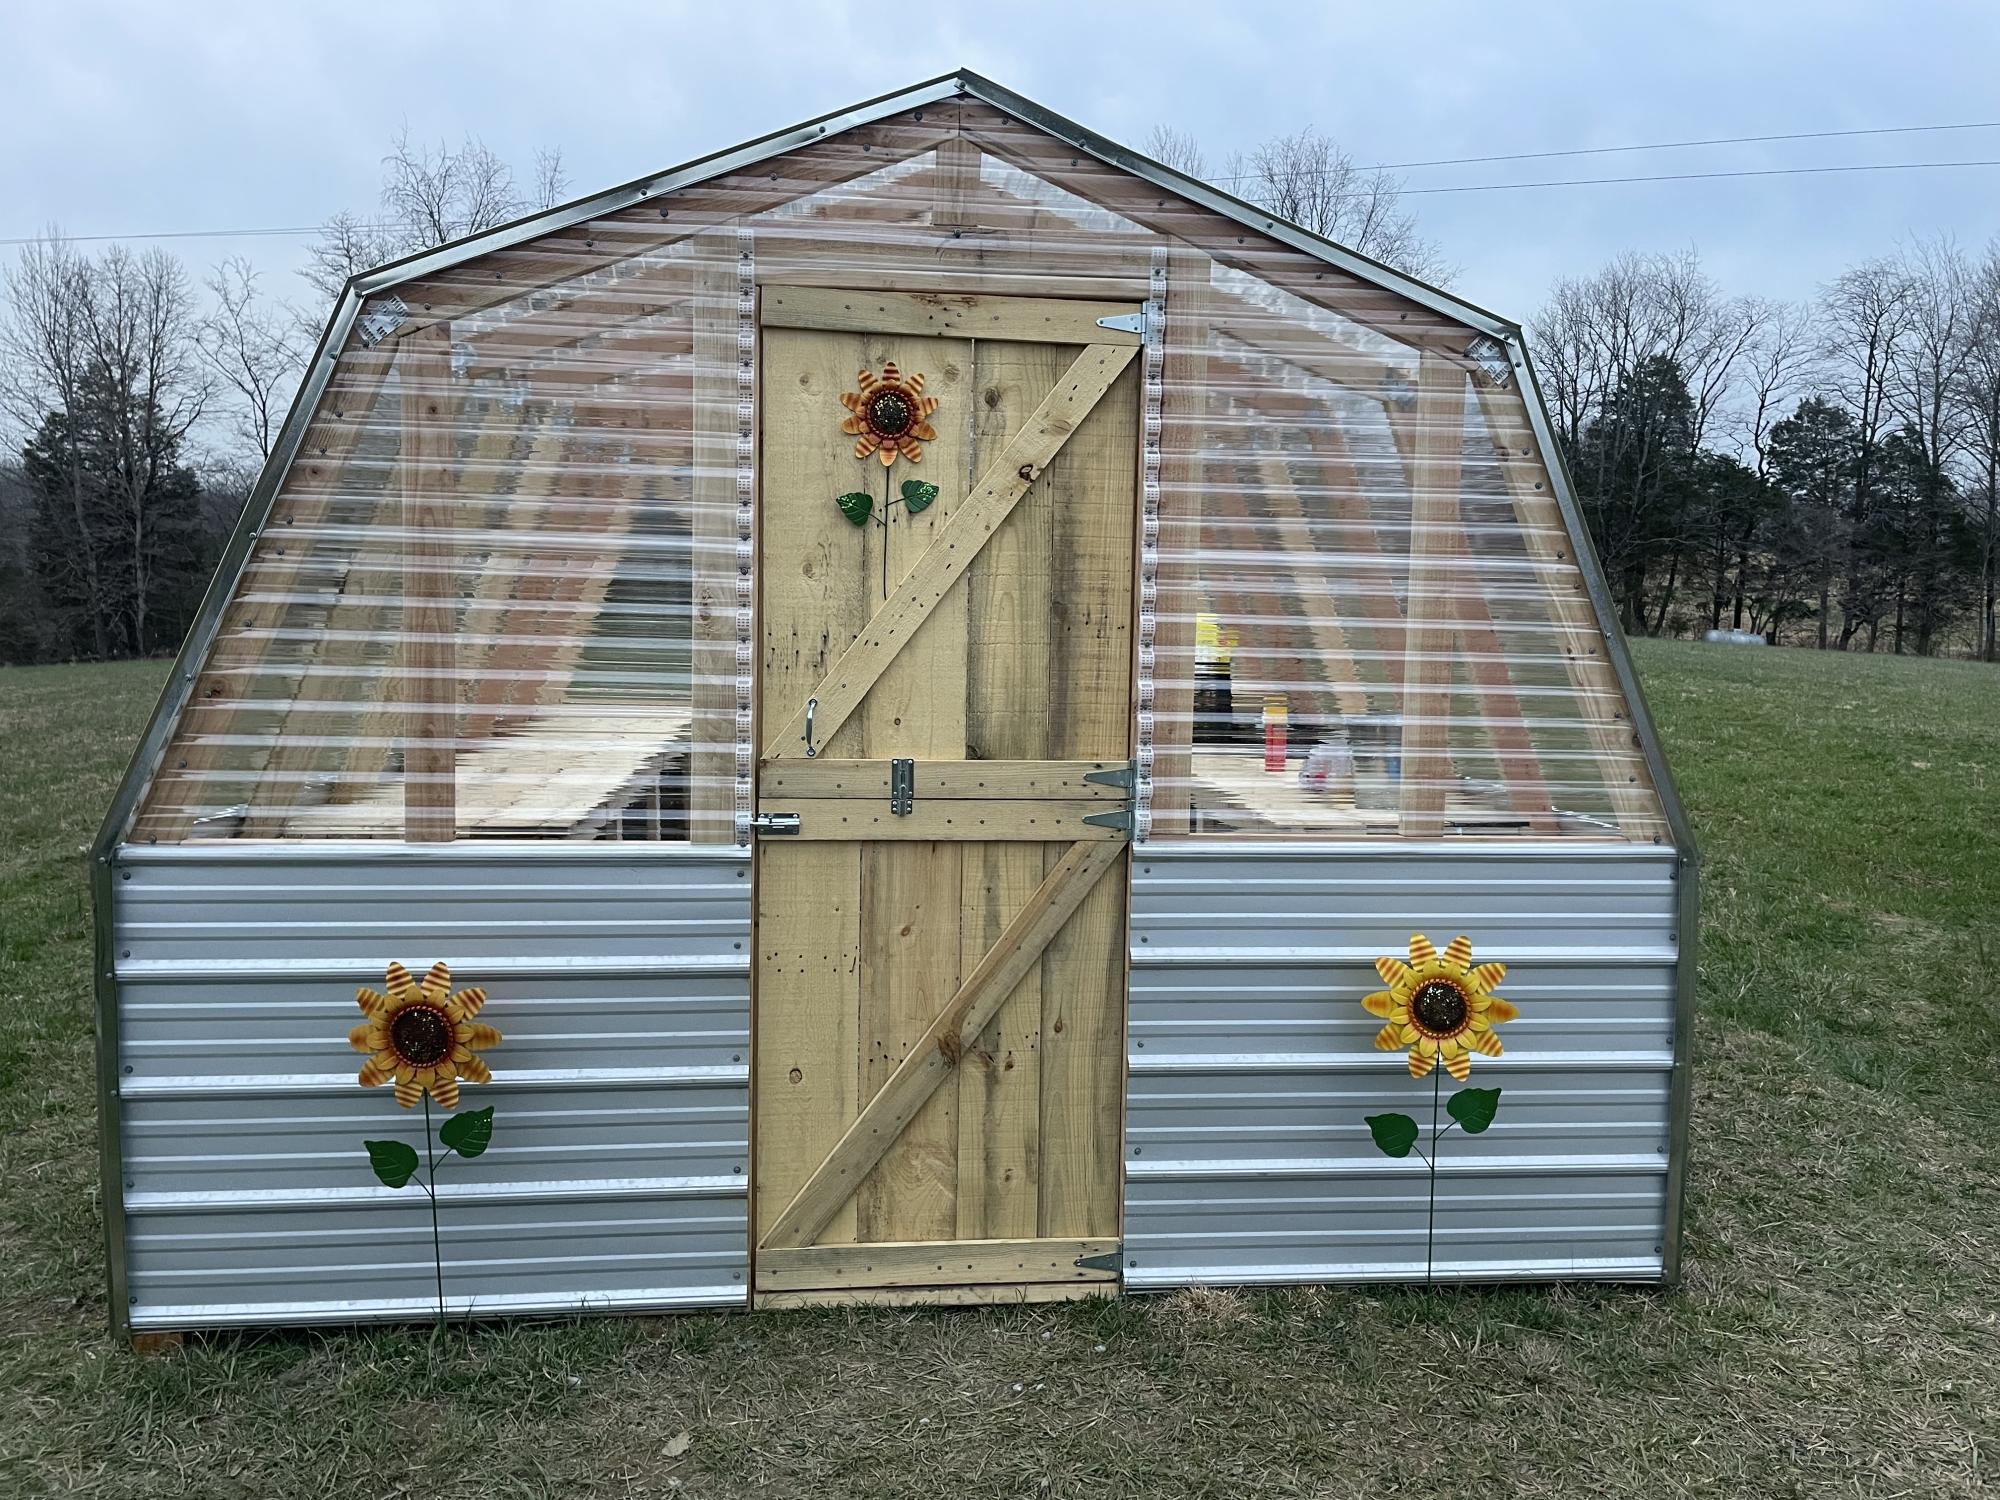
Thank you so much for the plans. We enjoyed building it. We love it!!!
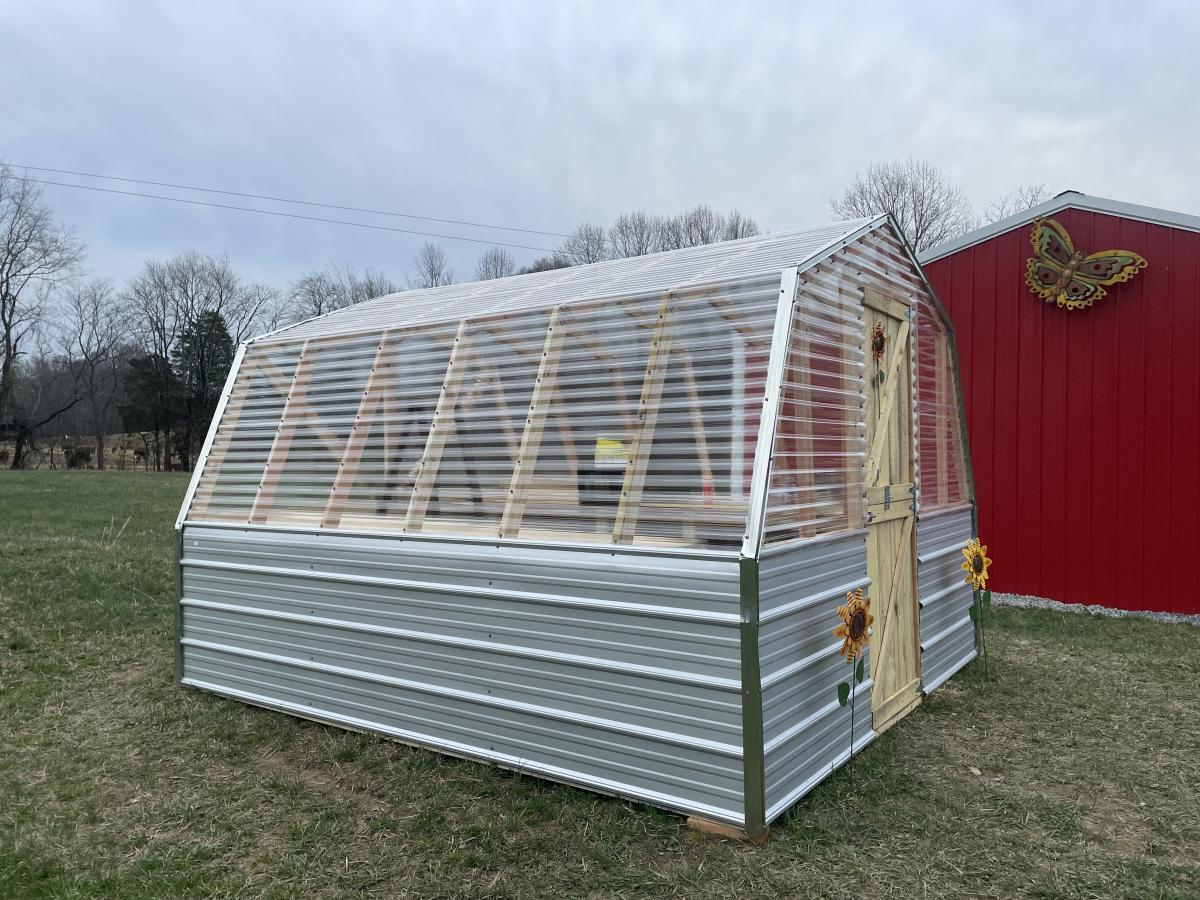
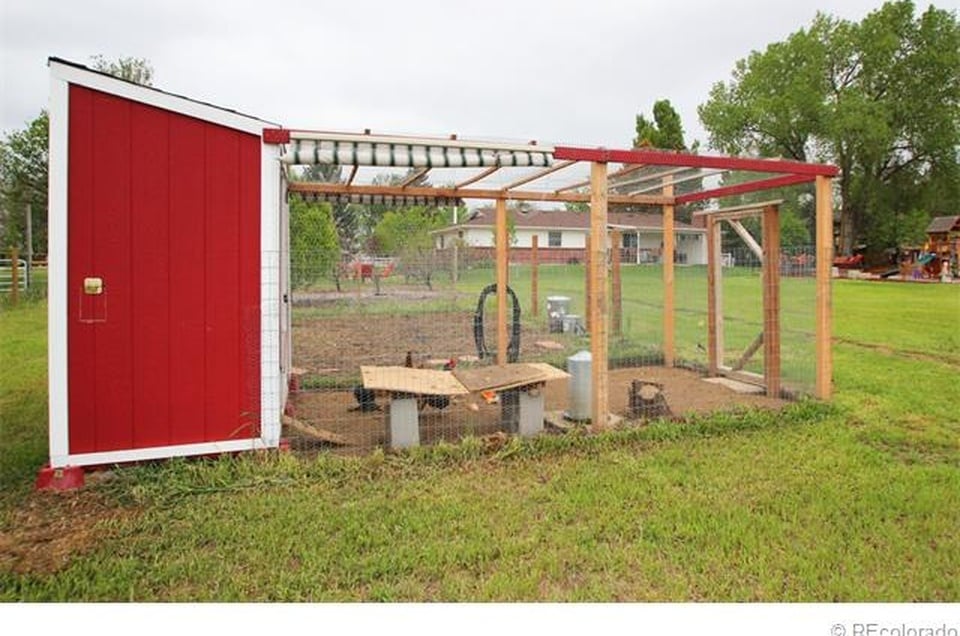
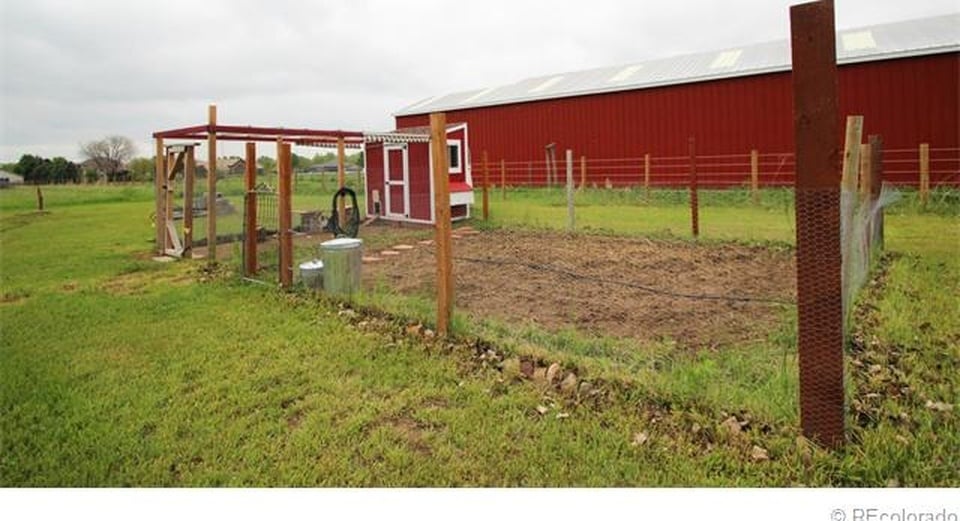
It took a while to come together and made several modifications but it is a great coop and was a major selling point of the house when we were relocated. I had added a main tray under the roosts and a door to srape the poop out. This made keeping the coop clean very easy.
