Community Brag Posts

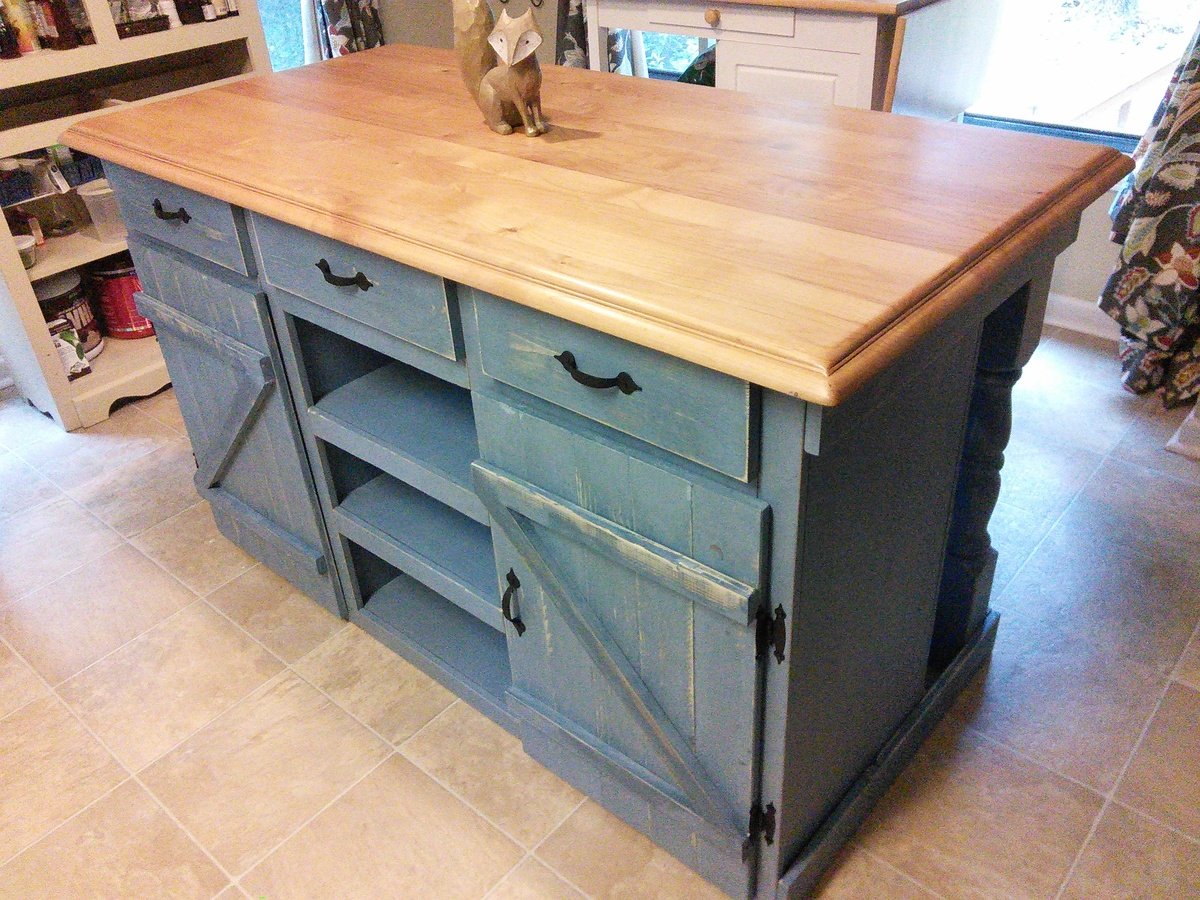
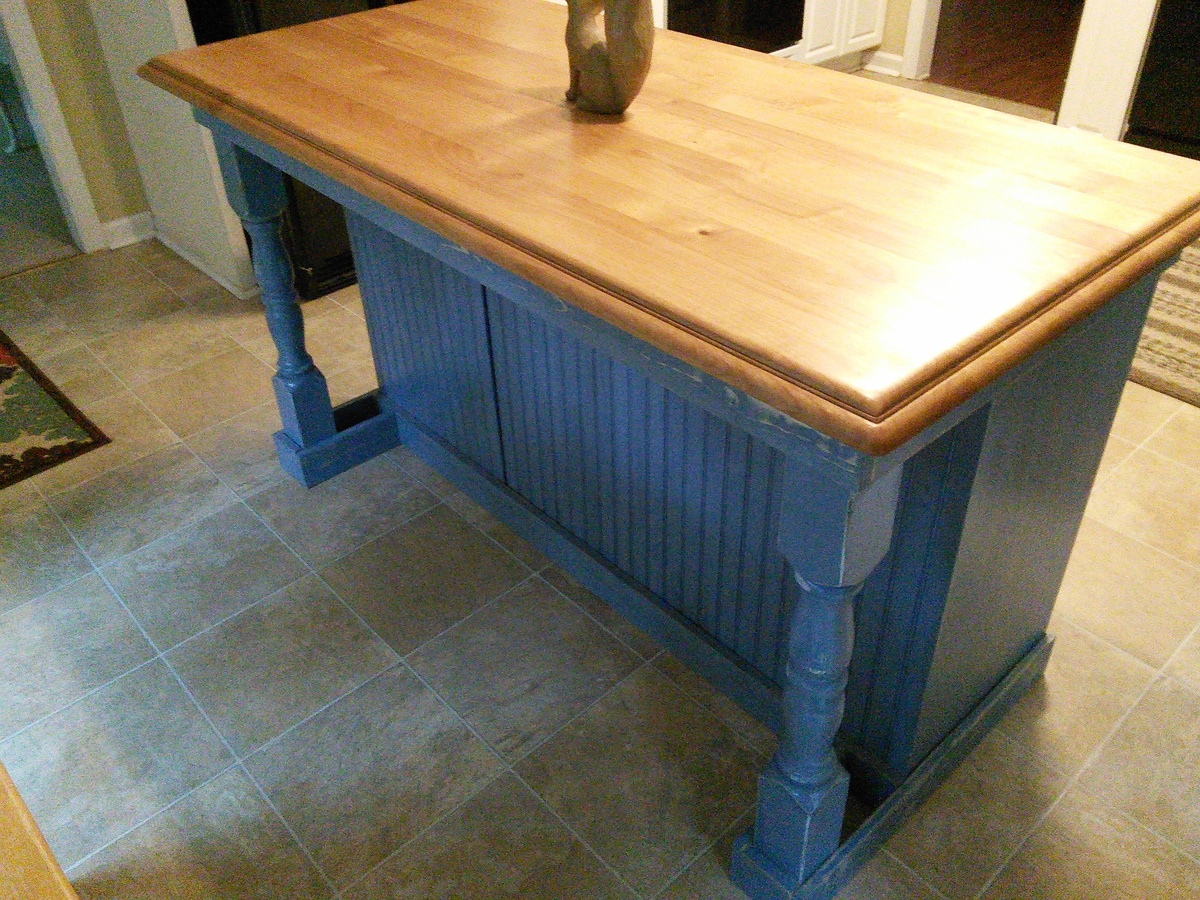
Farmhouse kitchen Island

Submitted by Scrapwood on Mon, 10/20/2014 - 11:26

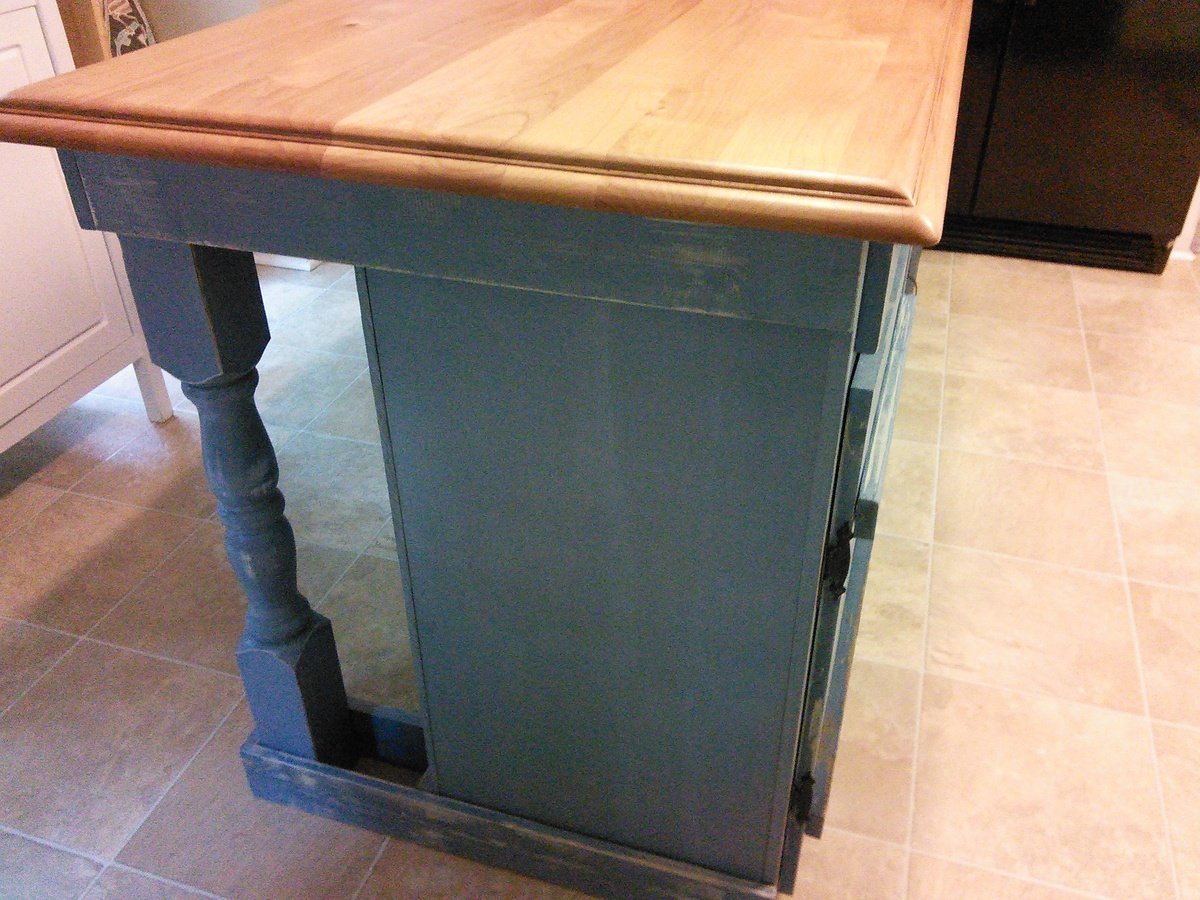
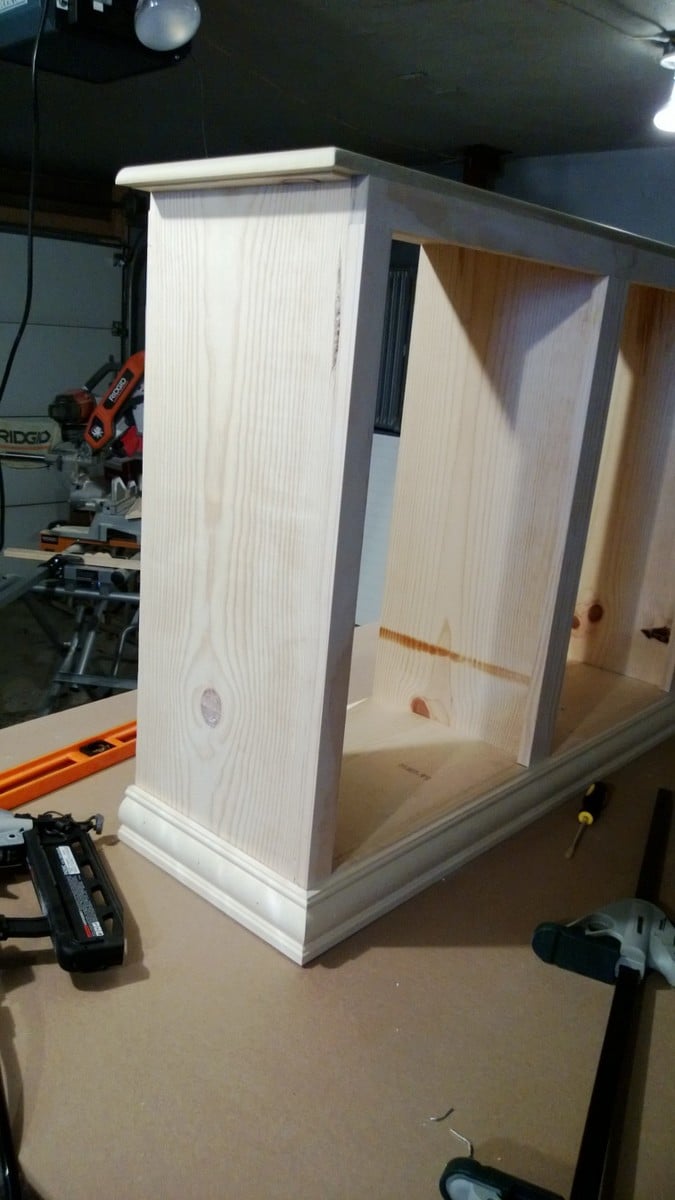
I used the Ana White "Country Kitchen Island" plans to build.  The only changes I made was the table top, bead board instead of pine planks, three drawers, and mostly 3/4" plywood.  For the island top, i used the top of a maple desk and applied butcher block oil.  To make things easier I used plywood to keep everything square and used bead board (very easy to install) instead of having to join boards together.  After putting the shelves together I just used pine boards to cover the edges of the plywood.  I also installed three drawers for convenient storage.  

Estimated Time Investment
Week Long Project (20 Hours or More)
Recommended Skill Level
Intermediate

Comments

hbharshman

Wed, 10/26/2016 - 13:48

Do you have more details on how you did the drawers? demensions, etc? Did you just extend the divider vertical bards that are inside all the way up? Or did you build cut 3 holes out of the front facing horizontal board? If you did that were you able to add tracks? 

Three Bin Laundry Sorter

Submitted by Meyer1120 on Mon, 01/21/2013 - 21:10

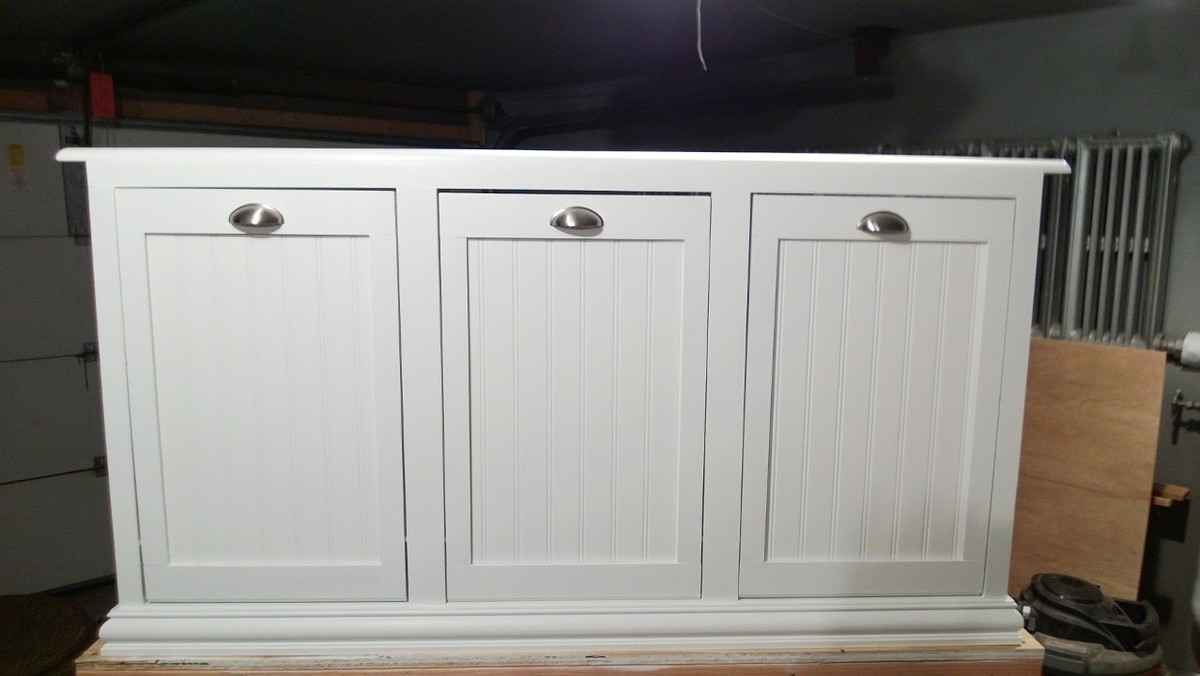
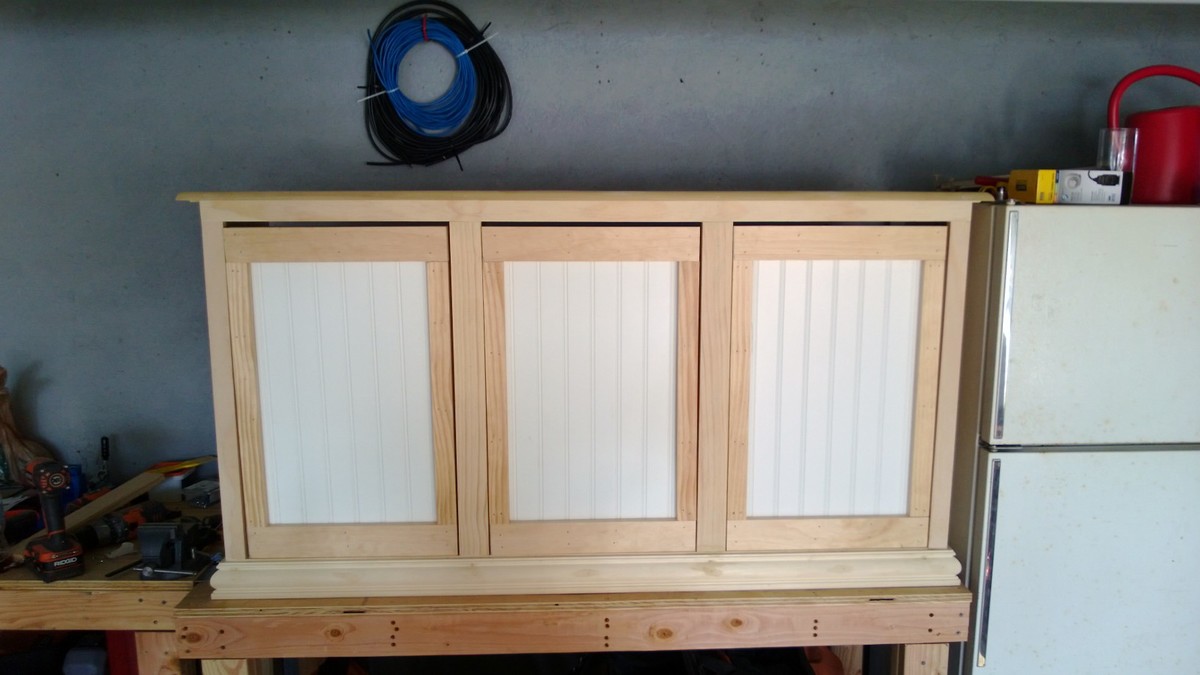
Modified the original plan to meet our needs of a laundry sorter. Had problems with the hinges so ditched them. I used dowels with a combination of a chamfer cut on the bottom of the door. Dado-ed the trim on the doors and slide the bead board panels in. The face frame is all held together with pocket hole screws, which I highly recommend because it eliminates nail holes and keeps the face frame square. This was my first wood working project, took me a little long to get it done. Thanks for looking.

Modified January 28

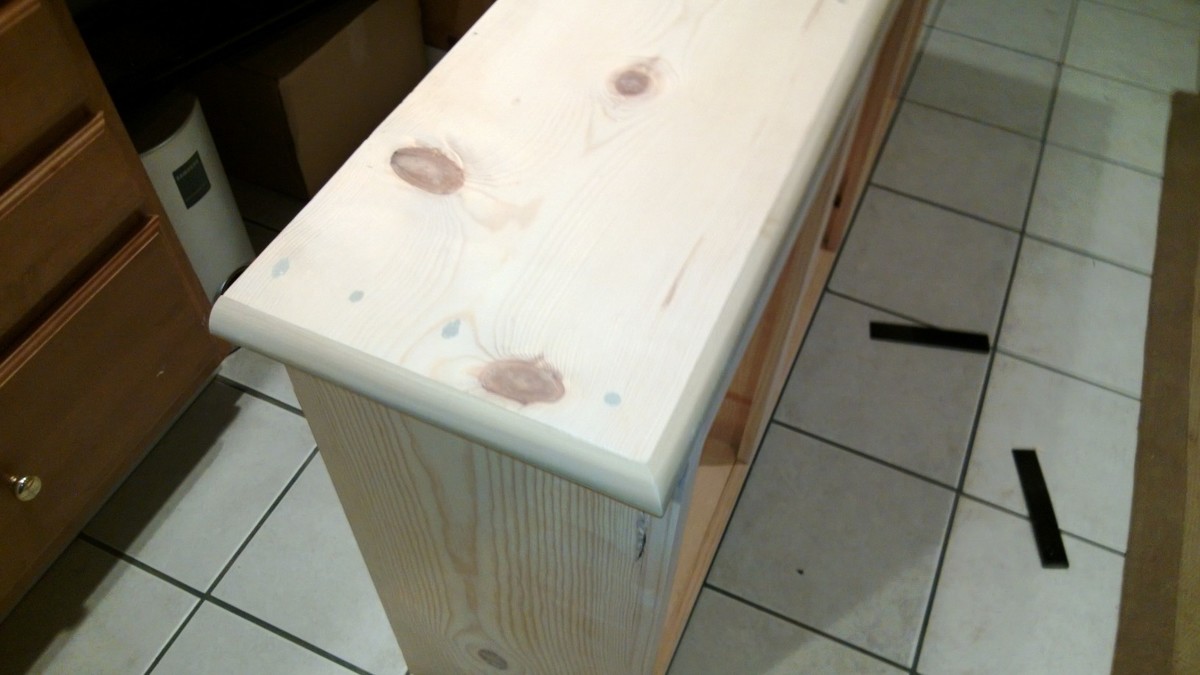
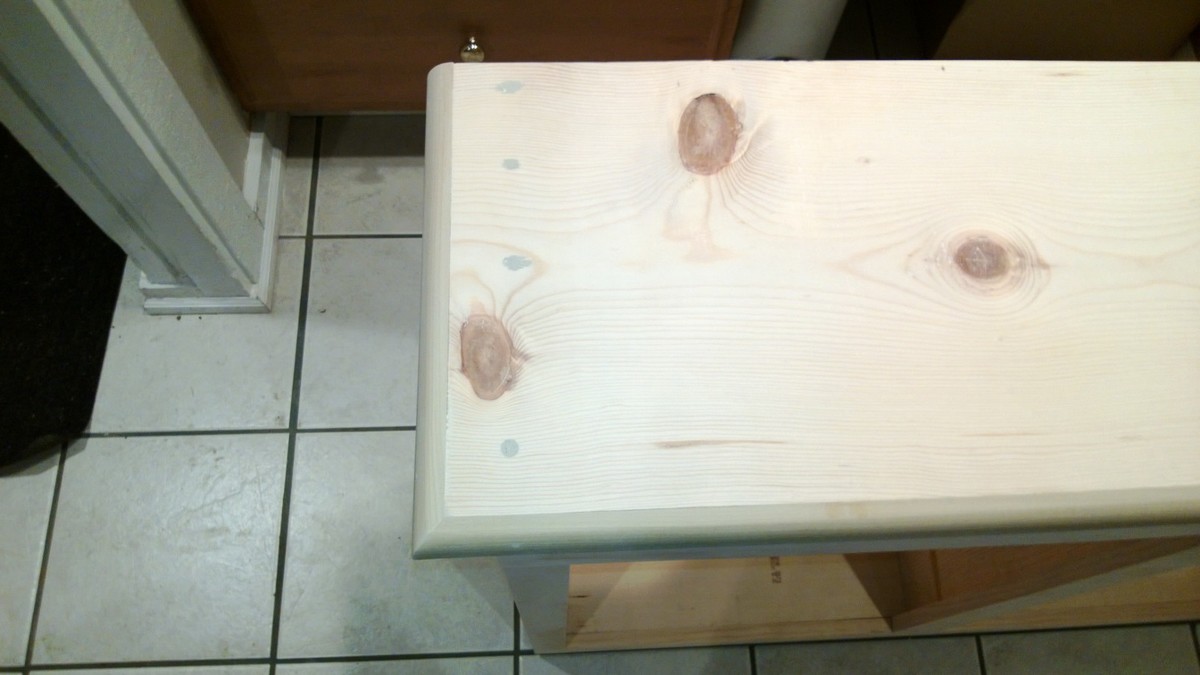
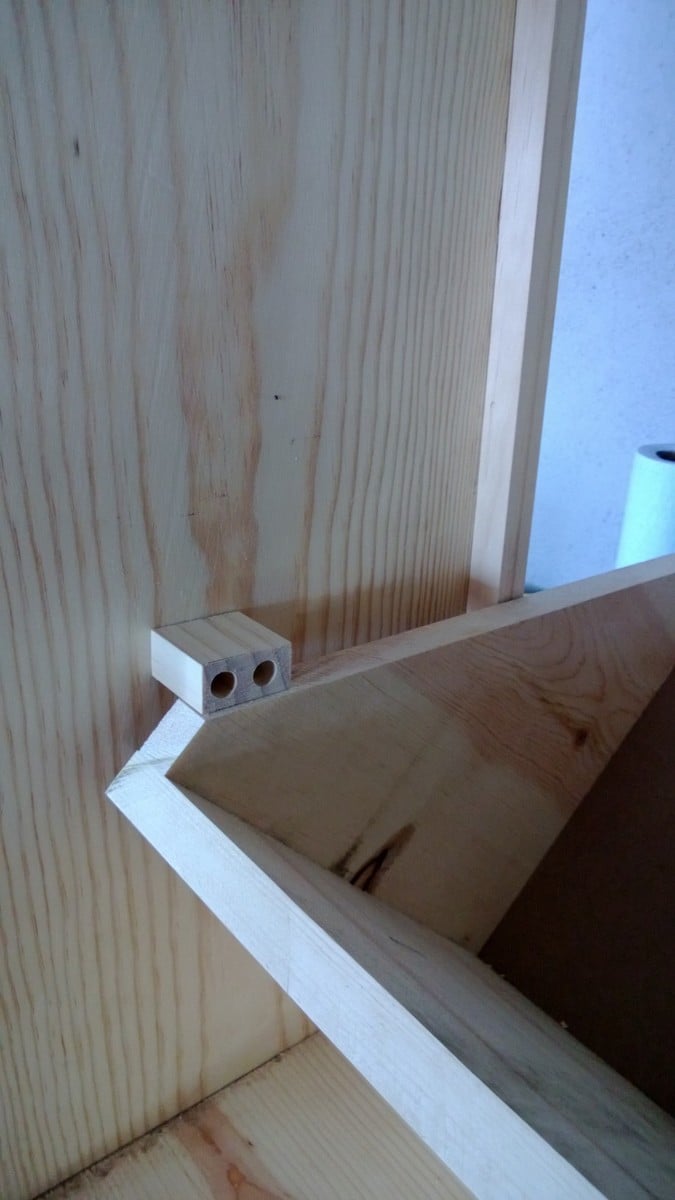
So here are some more pictures of my project. I don't really have any good pictures of the dowels. But what I can tell you is, I drilled holes through the sides of the face frame and the trim pieces and then measured where the holes would be in relation to the "drawer". I then drilled holes in the drawers at those measurements, I was careful to not go to deep. I think I went in half an inch. After that I started at one end and placed the dowels in, then put each drawer in. It wasn't easy but with a little patience it worked. The key is to wax the dowels so they will last longer as well. I also am including pictures of the top and bottom trim. On the top the original plans called for an overhang piece and I didn't like the way that looked. I ran the top board an inch long on each side and then wrapped it in quarter round trim. I did this because I plan on adding the Mimi Hutch Top. The bottom was built per the plan, but I ran into a problem with my bottom trim not being level and you could tell. So I raised the whole unit on 1 1/2 legs then placed it on a level surface and again wrapped it in a decorative trim. The key on both trims was a nice miter joint. Last picture I added was of my stoppers. I took scrap from the 1x2 trim and cut them to an inch and a half or two (can't really remember), then using the Kreg Jig drill bit drilled recessed holes. I then opened the doors until the side 45s were level then mounted the blocks on each side. I feel that it is better than a chain or string catch. Again thanks for looking and I hope I answered all of your questions.

Estimated Time Investment
Week Long Project (20 Hours or More)
Finish Used
Primmer and paint
Recommended Skill Level
Intermediate

Comments

moosmani

Tue, 01/22/2013 - 11:29

Dowels! What a great idea! Would you mind sharing how you did it? Could you possibly add some pictures showing the dowels? You did a great job. It looks beautiful.

mullid1

Thu, 01/24/2013 - 09:27

I love what you have made! Could you post pictures of the top and the bottom trim? I'm very impressed that this is your first project!

mullid1

Tue, 01/29/2013 - 09:12

Thank you for the photos and new instructions! You're awesome!!!

VLT

Fri, 03/15/2013 - 12:05

This is lovely; I like the trim job you did. Is there a way to post the plans so we can all get to them. I cannot believe this was your first project!

Liz82

Sat, 11/16/2013 - 18:23

I am a little confused. I love the three bin laundry sorter, but everyone is mentioning plans. I am not finding plans for it on the site. Also, what goes in to hold the clothes? There may be obvious answers, but I am not seeing them. I'd appreciate any help you could give.

towering inferno

Tue, 12/02/2014 - 02:58

I've been thinking of working up one very similar to this, also with 3 bins, but I didn't want to use chain either.  Those stoppers will be ideal - do you put them on both sides or is one enough?  Thanks for the share!

Karahd

Sat, 01/24/2015 - 11:29

Hi-

Im not sure if you still have the plans to this awesome project, but if you do, would you be able to share them with me? Ive been looking to make something like this forever, but just couldnt find any help!

thanks,
karah
[email protected]

petemoore

Mon, 02/08/2016 - 07:46

hi im the same as everyone can you send me the build plans with dimensions etc

many thanks

virginie D.

Wed, 03/02/2016 - 14:49

Hi

It's exactely what i need. so amazing. Someone can send me the plan please? I'm so newbie to do tat all by myself without plans. Thanks you.

virginie D.

Wed, 03/02/2016 - 14:49

Hi

It's exactely what i need. so amazing. Someone can send me the plan please? I'm so newbie to do tat all by myself without plans. Thanks you.

ajbreaux

Mon, 05/02/2016 - 14:22

My wife loves this . if its possible could i get the plans and hopefully have time to build it to give to her for mothers day ? thanks 

Kimhubbell

Fri, 12/02/2016 - 11:01

I would also love to have the plans for the 3 bin sorter. I am barely an intermediate so more specifics would be a huge help! Thanks to anyone who could help.

lworthy

Mon, 07/10/2017 - 04:19

 I absolutely LOVE your laundry sorter!!!! You did a fabulous job and the TRIM, WOW amazing!!!! I've searched Ana's website and cant find the plans' could you please email me the plans to [email protected].  I started building my own furinture back in October 2016 and the reward is amazing... Keep up the good work.

Happy Building,

Lisa

woodmama

Tue, 01/16/2018 - 22:18

I'm too new at woodworking to be able to tackle this right now, but would love to download the plans for future. My most successful project so far is a pretty standard bookshelf. I got a free plan, with lots of guidelines and explanations, at https://tinyurl.com/ydeup8lo -- it came with a 440 page guide, "The Art of Woodworking" that has tips and techniques, and am plowing through that right now.

momto3

Wed, 02/28/2018 - 12:53

This is amazing.  I am very new to woodworking.  Could you send me the plans please?  I would be most appreciatative 

Ljohns

Wed, 03/11/2020 - 23:27

I would love to have the plans for the three bin laundry sorter to build for my laundry room. Are the plans available? Awesome work!

Turned-Leg Media Console turned PB Printer's Keyhole Desk knock-off

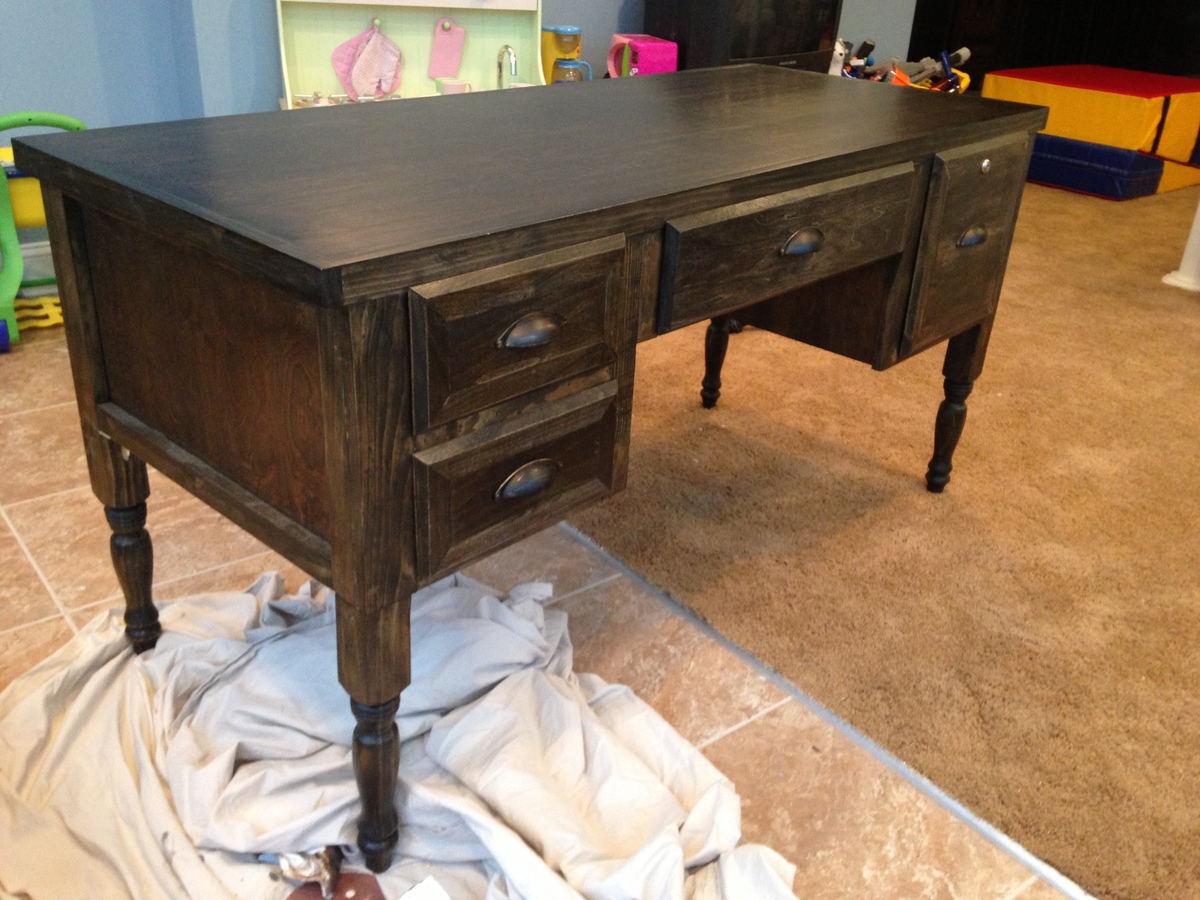
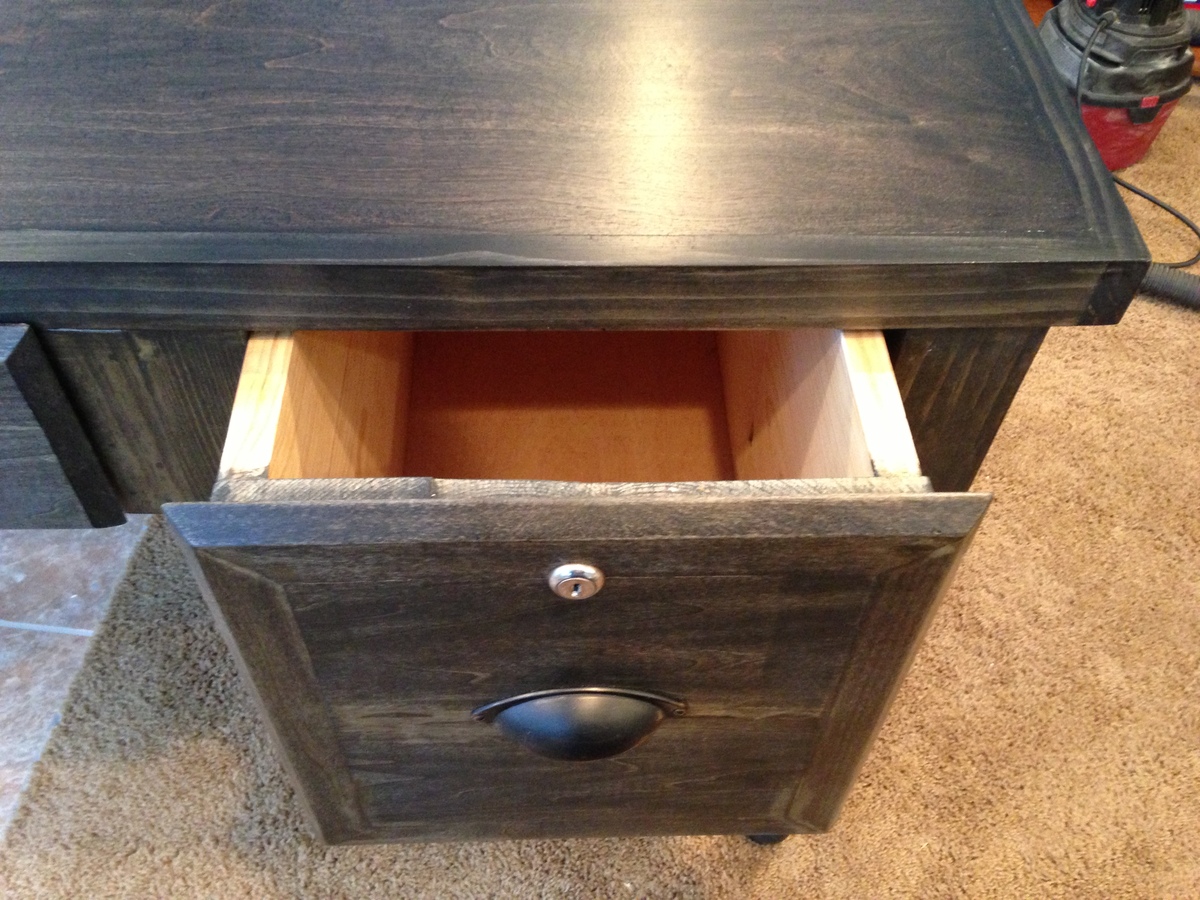
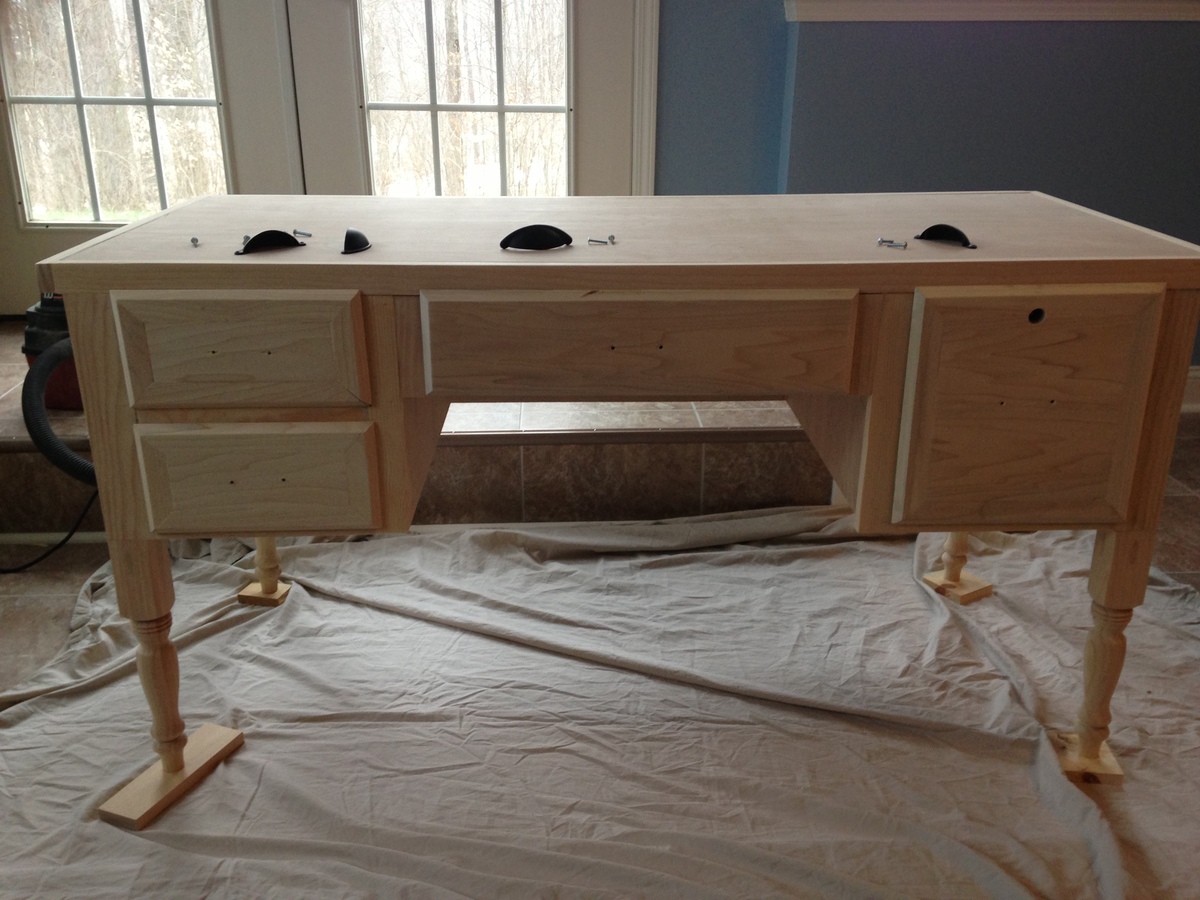
I wanted to build a desk for each of my 3 kids. We have an unused loft space in our home that I wanted to convert to a kid's homework area. Initially, I was going to build cabinets and create two walls of built in bookshelves and desk space. But decided I wanted free standing desks in a style that would last them into adulthood. (And possibly move with them into their own homes:) I really liked Pottery Barn's Printer's Keyhole Desk for the first desk but couldn't find a plan to build something like that. I ended up modifying the Turned Leg media console plan instead. It was a lot of work trying to figure out the correct changes to the plan. It totally made me appreciate how easy Ana's plans are to follow. I changed the depth to 24 inches and also changed the basic box from the plan into 3 boxes (left side drawers, middle drawer, right side drawer) then attached the boxes to each other then to the top. It was a heck of lot easier to say that in a couple of sentances then to actually do it. I also found it easier to put face frames on my drawers to hide my not perfect drawer boxes.

This project took me about a month to complete. I am a SAHM, and was not able to work on it every day.

The finish is Minwax Ebony oil based stain. I've had success using Annie Sloan waxes on other projects but was not happy with how the top looked after using it on the desk. Eventually I sanded the finish off and re-stained it 2x then topped it with 3 coats of Polycrylic. I left the rest of the desk with the original stain/Dark Wax finish.

I am too lazy to attempt sanding off the rest of the desk and restaining and sealing it. Kid #2 is already asking when I'm going to start on his desk (I'm thinking RH St. James style) and Kid #1 came home from school today and wanted to do his homework in the basement (where his desk is currently drying) so I think I should just say it's done and move on!

My experience comes just from reading this site and a few others. I've made AG doll furniture, picture frames, a console table, 2 benches, built-in bookshelves and a dollhouse bookcase. I used pocket hole joinery, glue and nails in this project. I don't have a table saw, so I made my long cuts with a circular saw fitted with a Kreg Rip Cut and occasionally a jig saw.

I would like to add some sort of hutch to it and am considering the Channing Hutch from this site. Thanks for reading!
Built from Plan(s)
Estimated Cost
$200
Estimated Time Investment
Week Long Project (20 Hours or More)
Finish Used
Minwax Ebony Stain
Annie Sloane Dark Wax
Polycrylic
Recommended Skill Level
Intermediate

Comments

tracysmith

Tue, 02/05/2013 - 05:57

I've been looking for a desk plan to replace the antique desk my mom recently took back to her house and this just might be my saving grace! Where did you get the legs for this? Thanks in advance and what a great job you did!!! Looks awesome! :-)

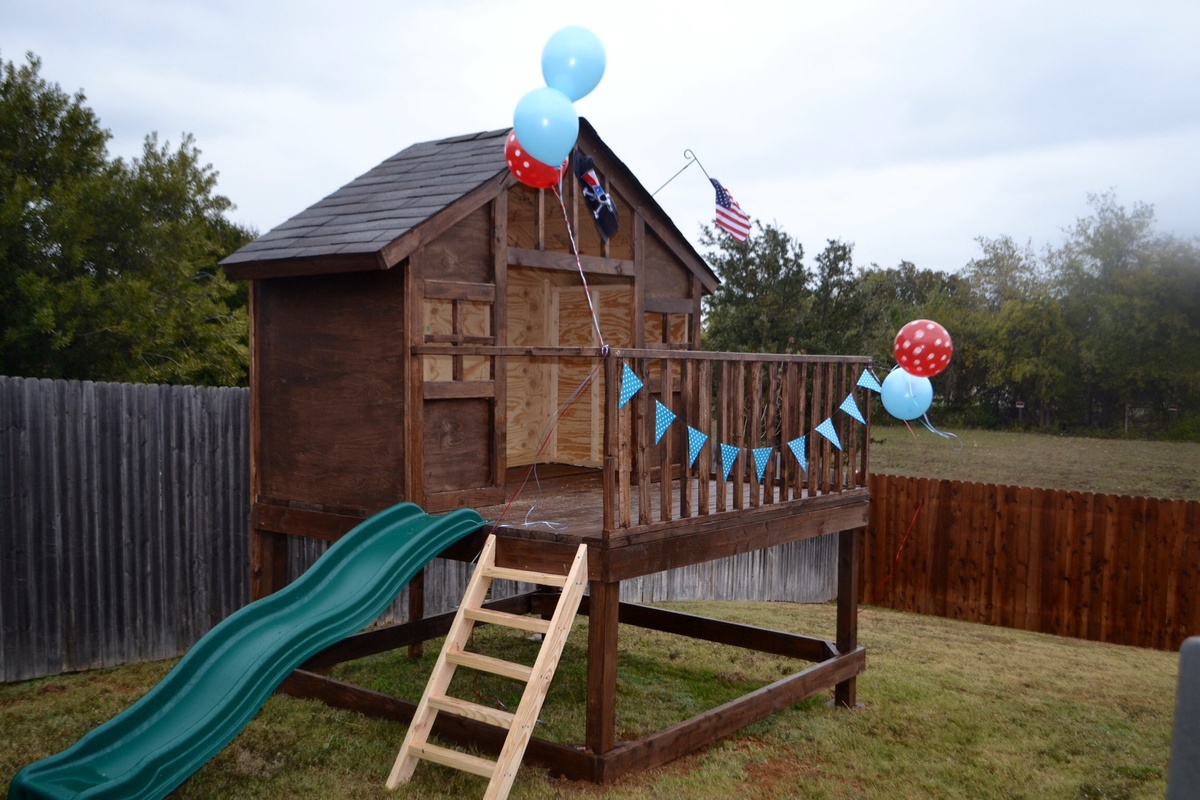
Craftsman playhouse!

Love how this turned out!! Thank you thank you Ana!! Plans were great, I think we got it done for just about $250! 

Thanks again!

Built from Plan(s)
Estimated Cost
$250
Estimated Time Investment
Weekend Project (10-20 Hours)
Recommended Skill Level
Intermediate

Comments

mega coop

Submitted by Anonymous (not verified) on Sun, 03/26/2017 - 13:42

milled a bunch of cedar with the intention of building adirondack chairs, but we got chickens instead :)

Estimated Cost
$50 in hardware milled all the wood
Estimated Time Investment
Day Project (6-9 Hours)
Finish Used
just going to let it weather naturally
Recommended Skill Level
Intermediate

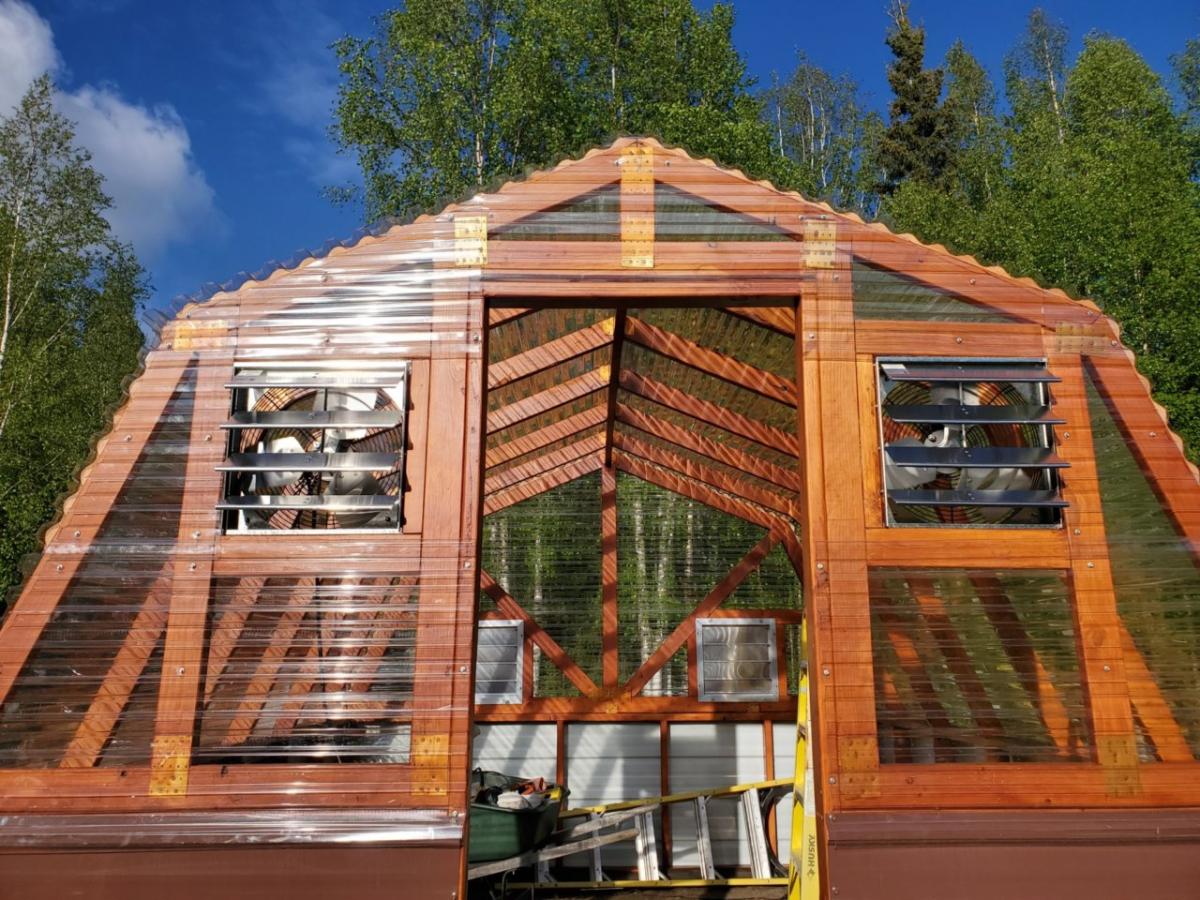
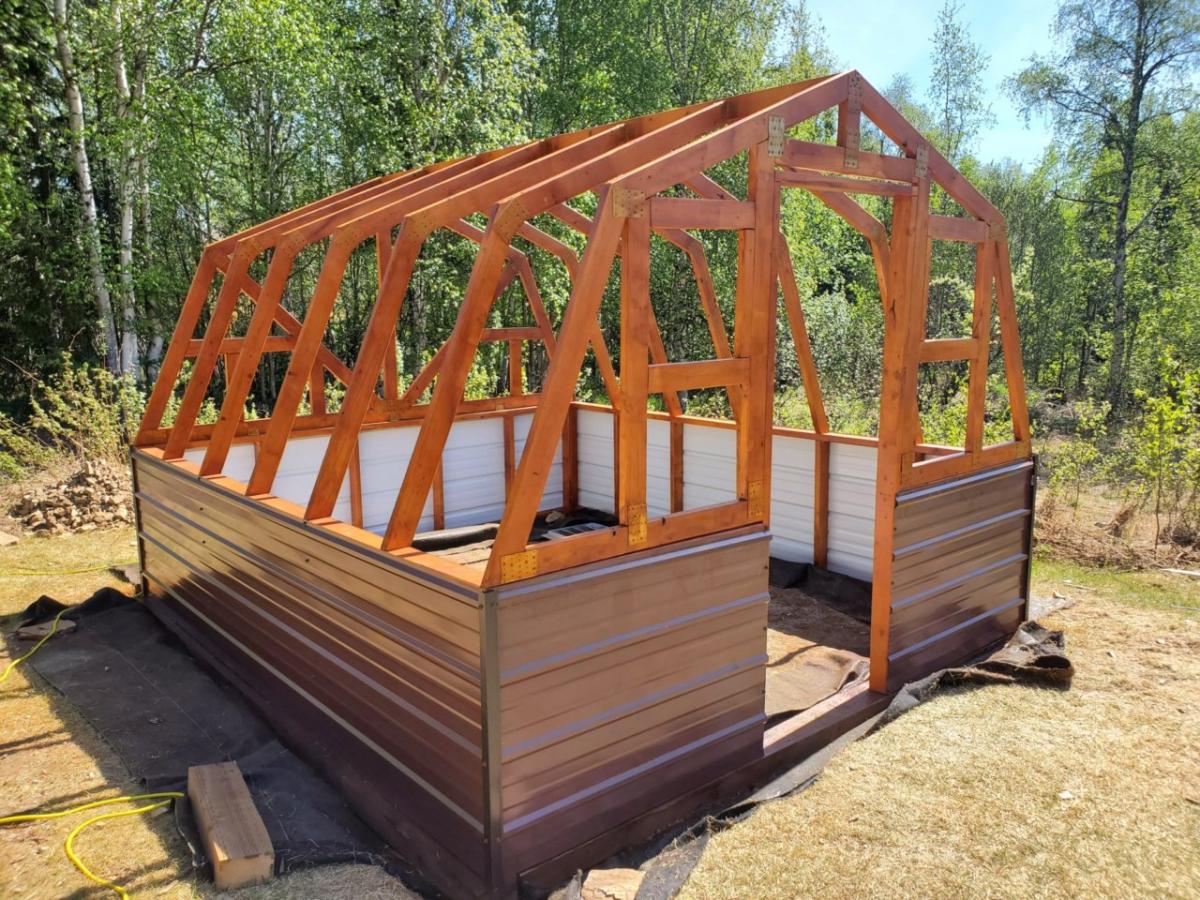
Frosty Garden Greenhouse

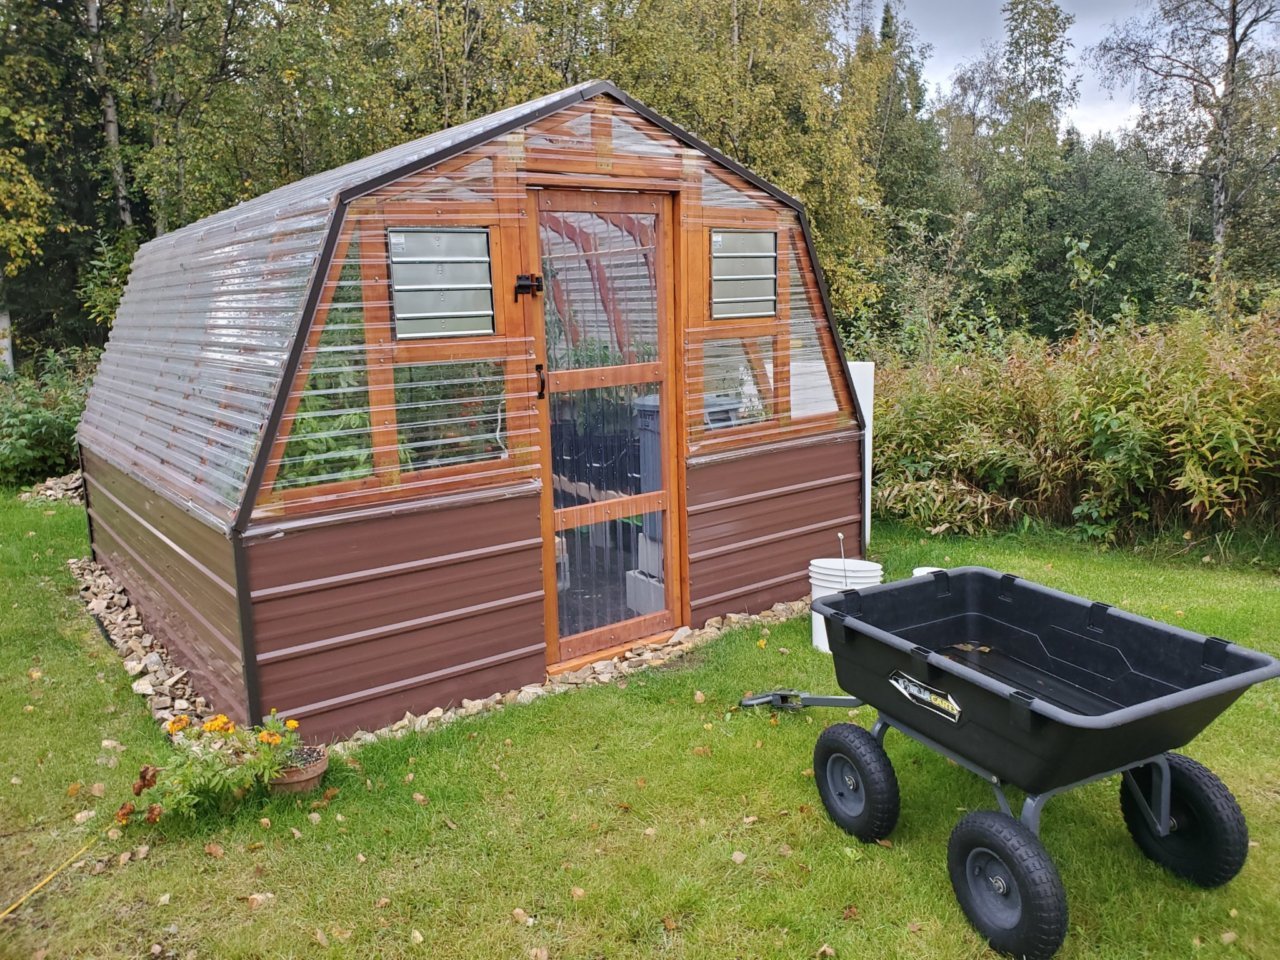
It was truly great for us to find a greenhouse design from a fellow Interior Alaskan blogger. We kept coming back to this design, enough times to where we decided to actually build it.

We would be the first to admit that tackling a gambrel style building was slightly intimidating and not what we had in mind for our very first self-built building! But, we faithfully followed the cut lists and directions. It turned out beautifully! If you're in the same boat, have confidence that you can build this too!

We love the options available for making it your own. We decided to stain the greenhouse lumber of ours to match our cedar sided home. We also built a semi frost-resistant foundation, since we're a little north of Ana at 65 degrees and sometimes experience frost heaving. We also added full climate controls to ours, adding both fans and louvers that keep our greenhouse at perfect temperatures.

The performance has been great! Building this greenhouse has been the single greatest thing we have done in our years of subarctic gardening. We might even consider building a second greenhouse down the road. No matter how big your greenhouse is, it's never quite enough!

Thanks for the great plans, Ana! We appreciate your work!

Built from Plan(s)
Estimated Cost
$2400
Estimated Time Investment
Week Long Project (20 Hours or More)
Finish Used
Transparent cedar stain
Recommended Skill Level
Intermediate

Comments

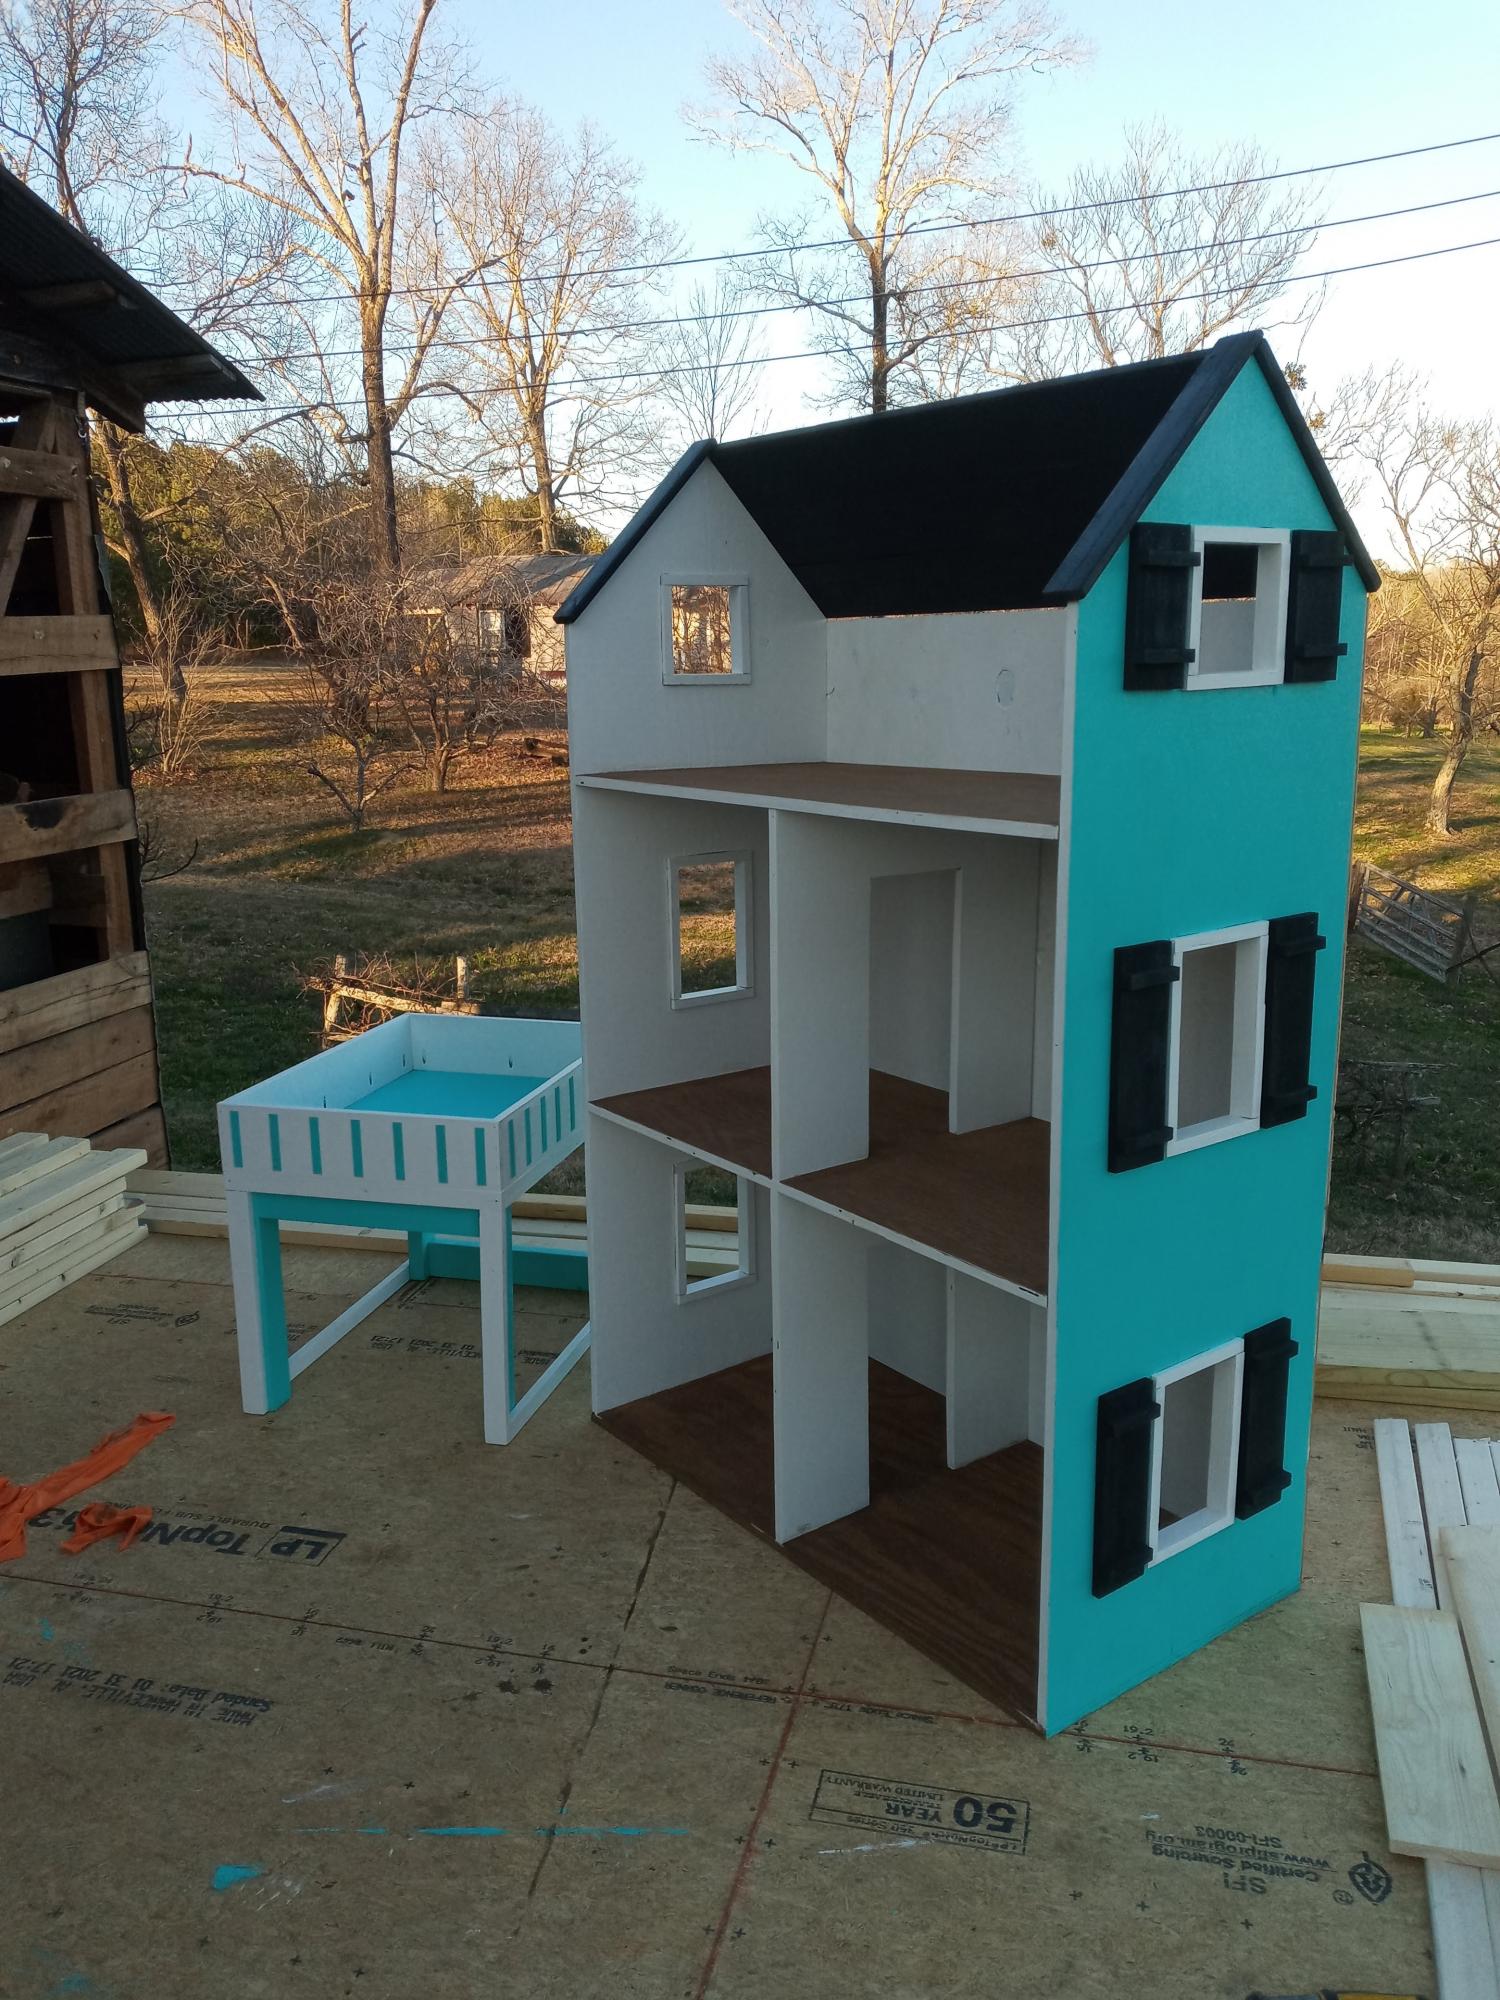
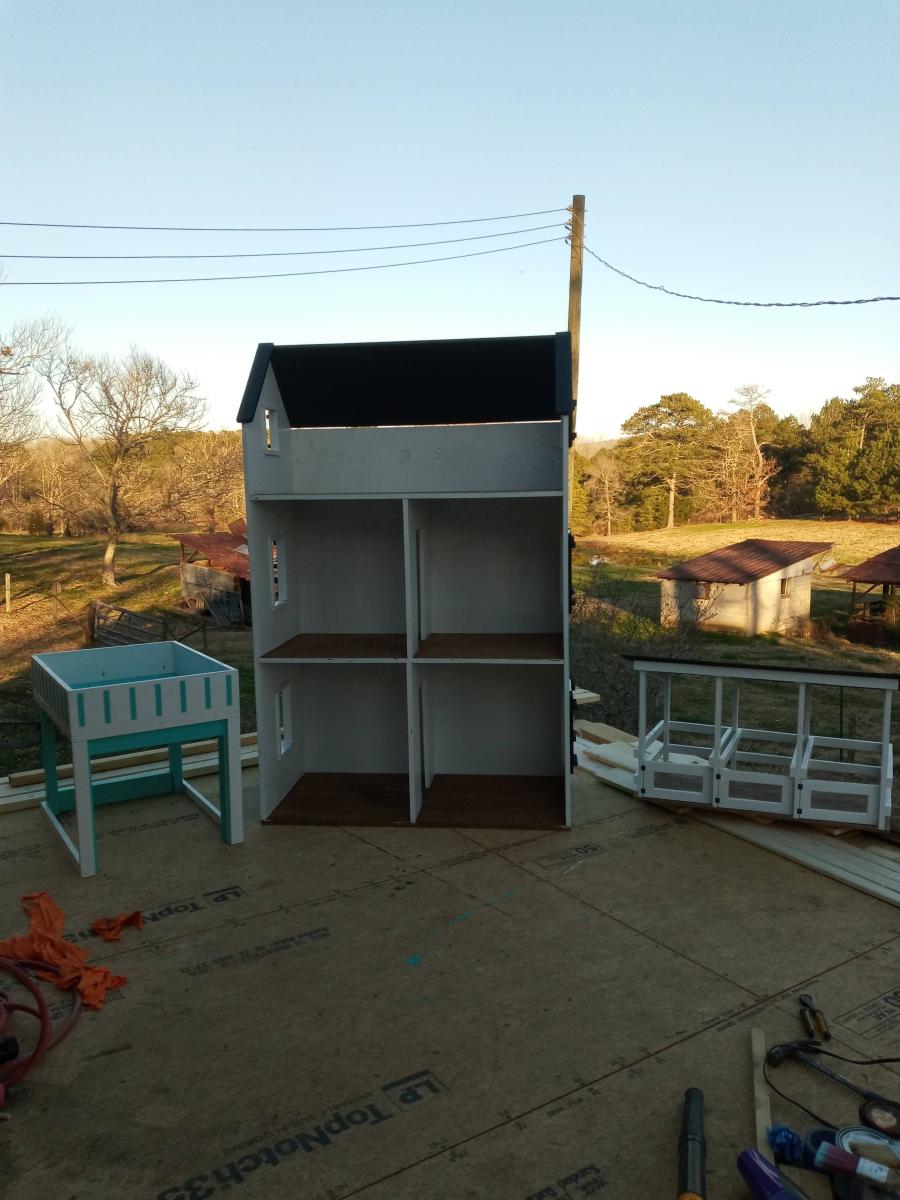
American Girl doll house with stable and carport

Really good plans helped make these.

Estimated Cost
500
Estimated Time Investment
Week Long Project (20 Hours or More)
Recommended Skill Level
Intermediate

Comments

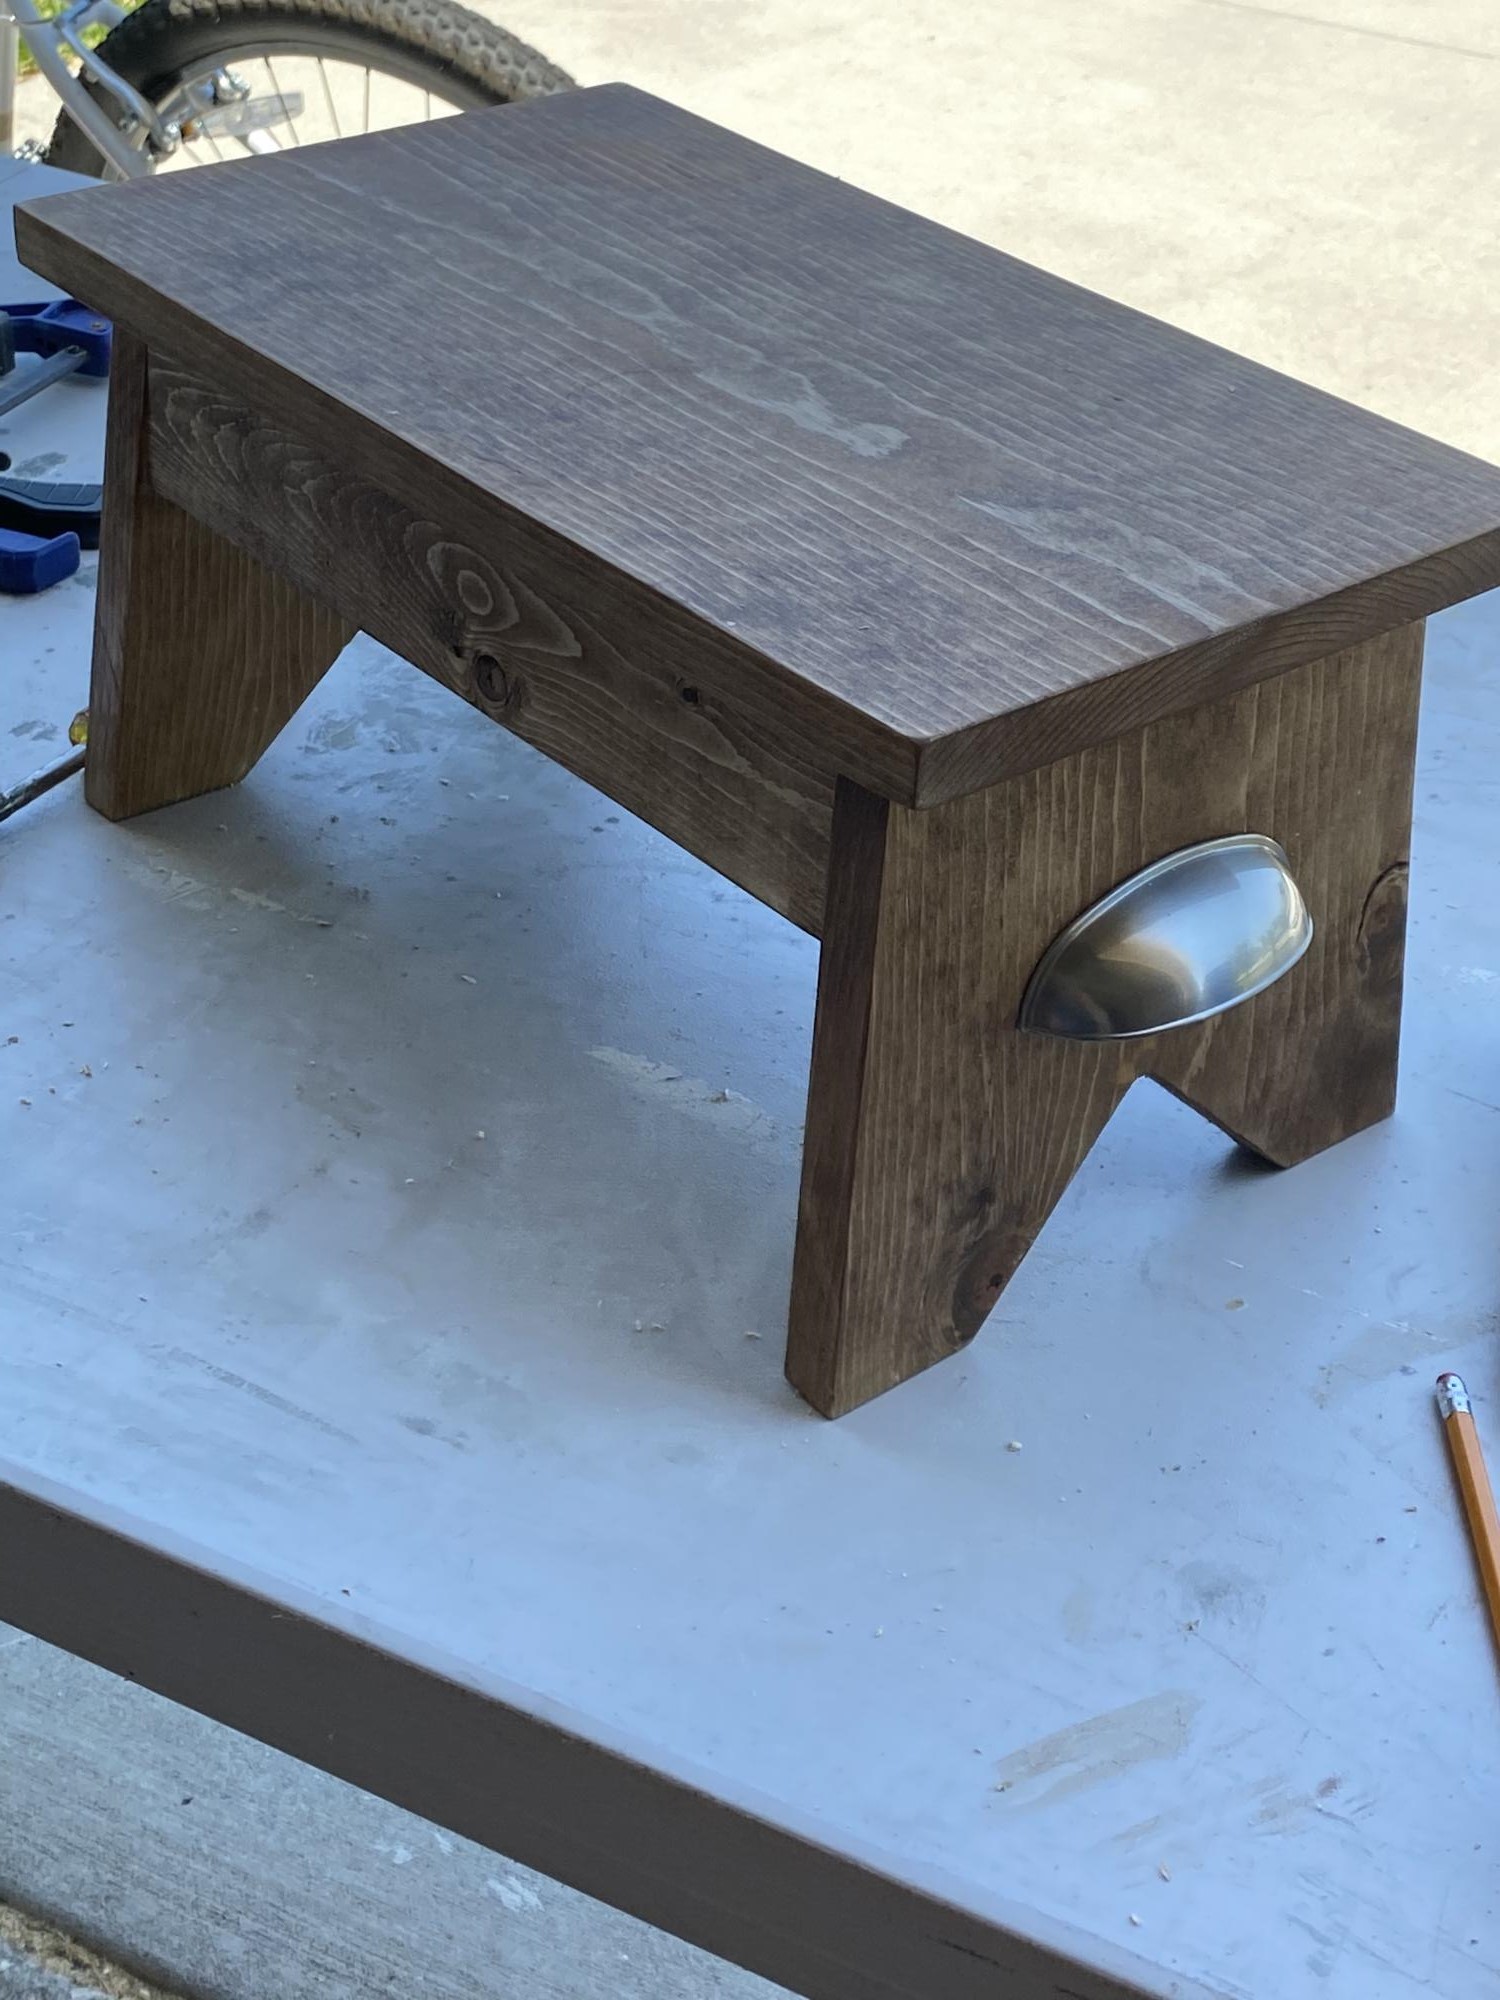
Step stool

Submitted by brittrad14 on Sun, 05/09/2021 - 10:22

Love, love , love this step stool. It’s perfect and relatively easy to make.

Estimated Cost
$10
Estimated Time Investment
An Hour or Two (0-2 Hours)
Finish Used
Wood finish early american
Recommended Skill Level
Starter Project

Comments

Twin Over Full Bunk Bed

Submitted by sapperstan on Mon, 04/01/2013 - 14:47

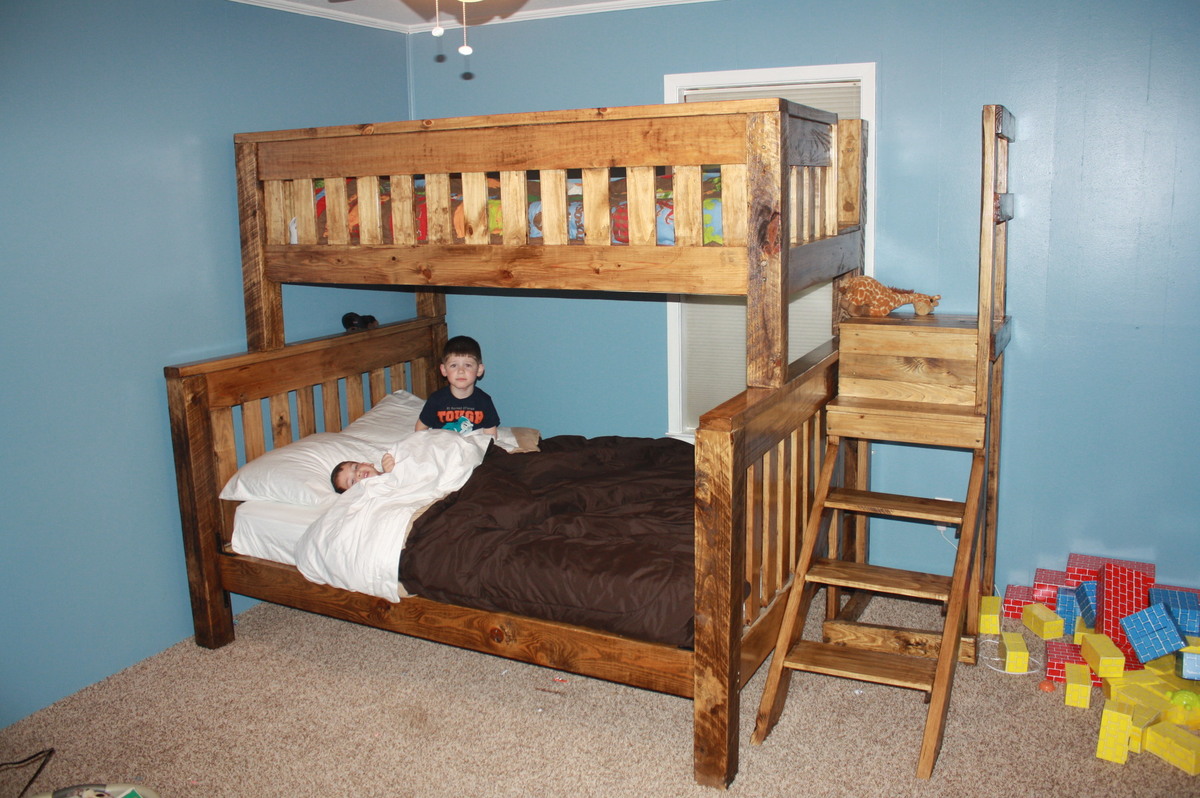
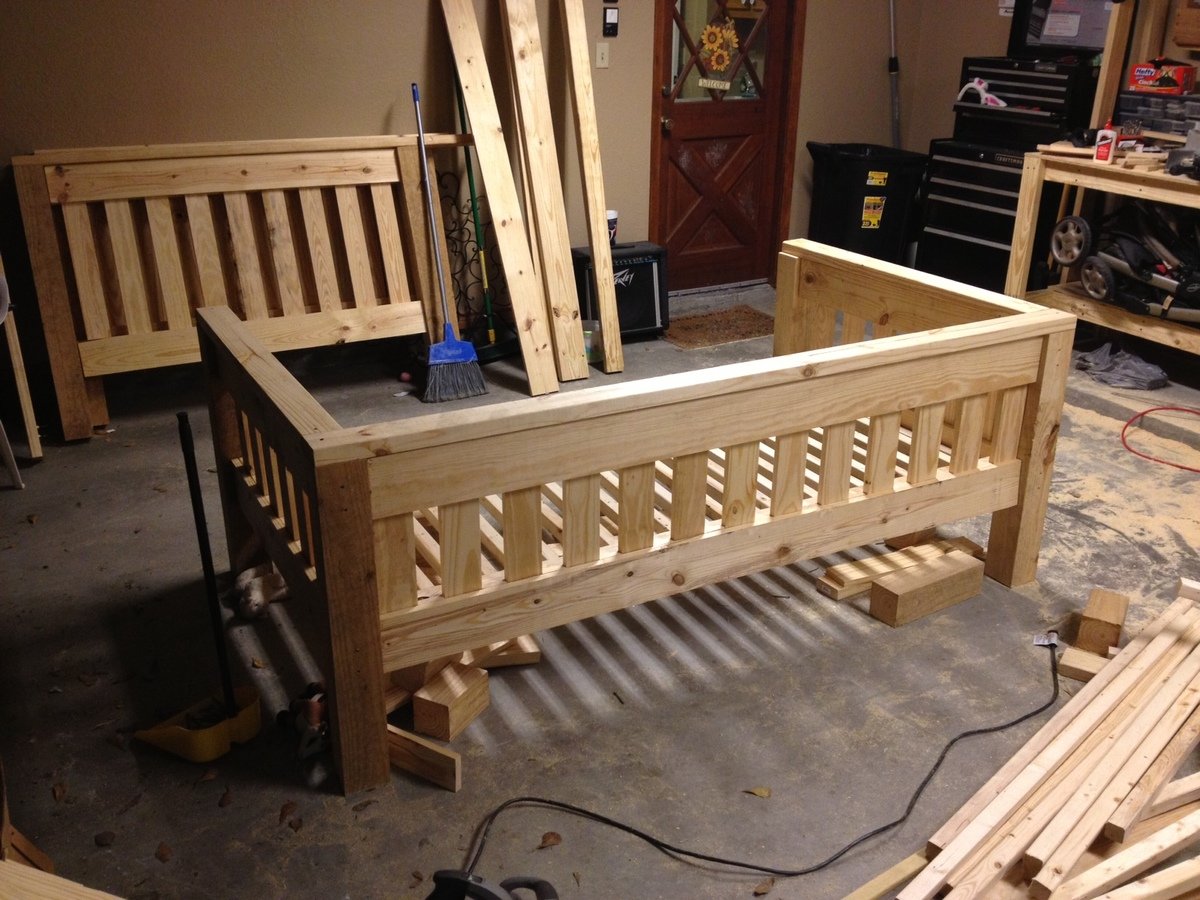
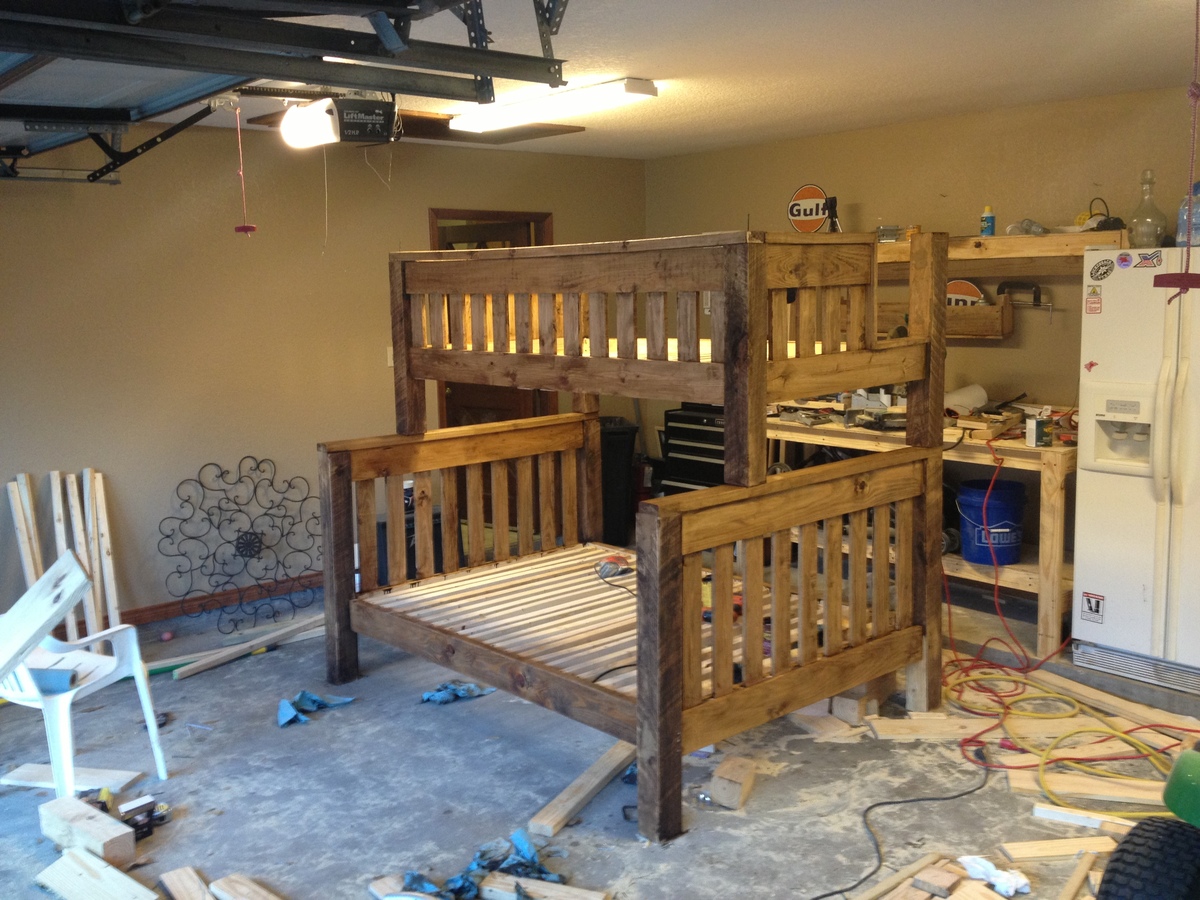
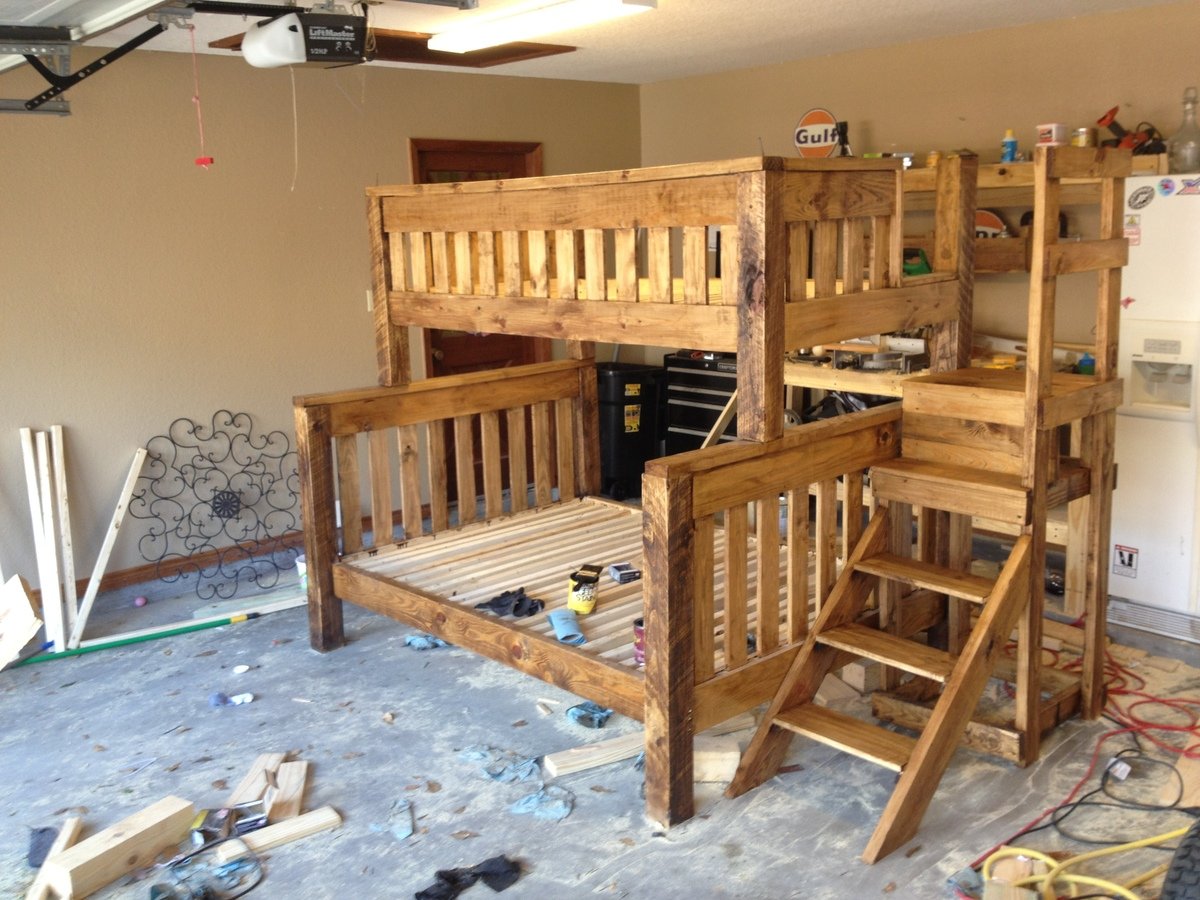
My 4 year old kept asking for a bunk bed, so my wife and I went to the furniture store and saw we would be paying close to $1000 for a junkie bunk bed. We told him it cost too much and left it at that. Then he started bringing us pennies, dimes and all the change he could find to pay for the bed. So I found this website and decided to attempt to build him one. I started building it after work on Monday, continued for a few hours every evening and finished Saturday morning. It turned out amazing, and both the boys love it. It is extremely sturdy, and will last beyond my lifetime. It's just a good quality design. Total Cost was about $300. Not bad for what we would have been paying for a lesser quality bed. Changes I made: I added the railing on the front of the upper bed to match the headboards and railing on the back side because my wife is a worrier. I also designed and built the stairway and bolted it to the lower bed. I am no professional carpenter, a novice at best. Most people with a little carpentry knowledge can build this. Thanks Ana, we all love it!

Estimated Time Investment
Weekend Project (10-20 Hours)
Finish Used
Sanded with 220 grit
Applied wood conditioner
Applied Minwax Aged Oak gel stain
Applied Polyeurathane for protection
Recommended Skill Level
Intermediate

Comments

spiceylg

Tue, 04/02/2013 - 05:17

Wow, you did a wonderful job! What a sweet story with your son bringing you any change he found. Adorable. I'm sure your sons are so proud of you and it means so much more than just store bought. In looking at that first smaller picture of just the top part, it looks like a view from the back side of a day bed. You can take apart the bunk beds when they get older and you have one full bed and one day bed. Awesome!

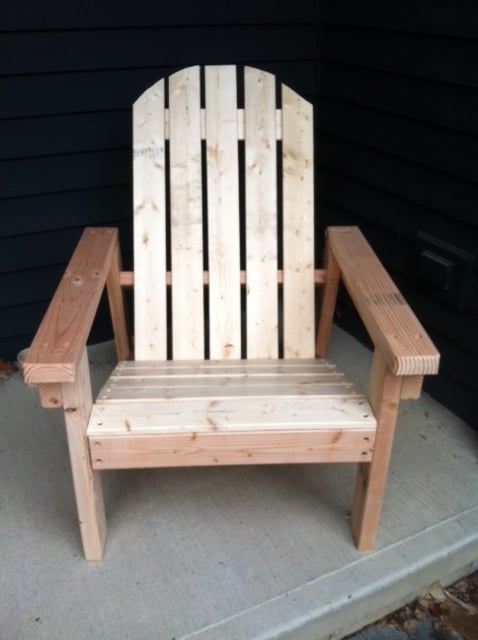
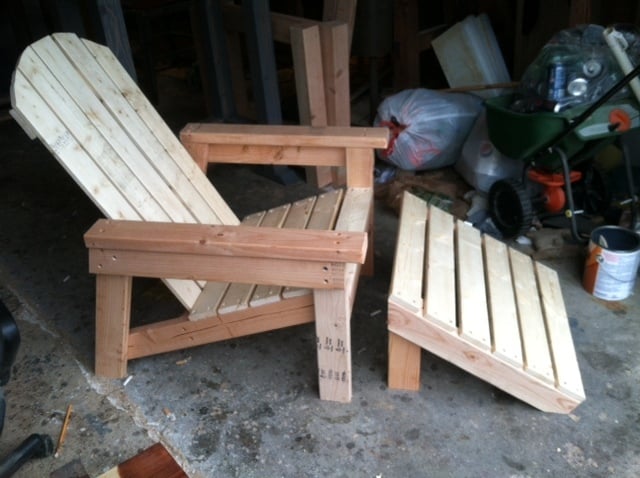
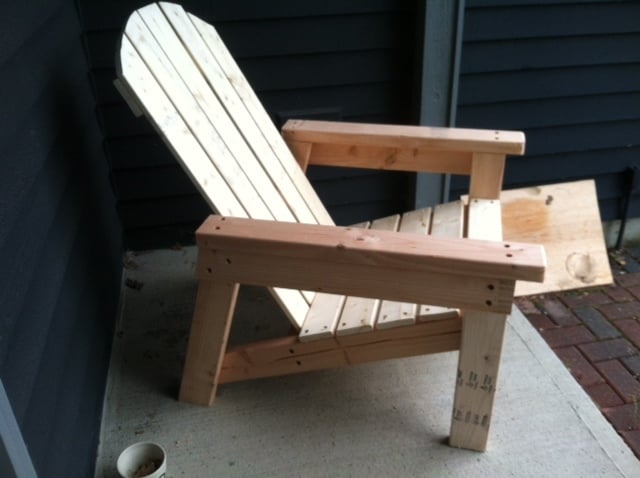
Modern Adirondack Chairs and Adirondack Table

Submitted by jer727 on Mon, 08/30/2021 - 12:18

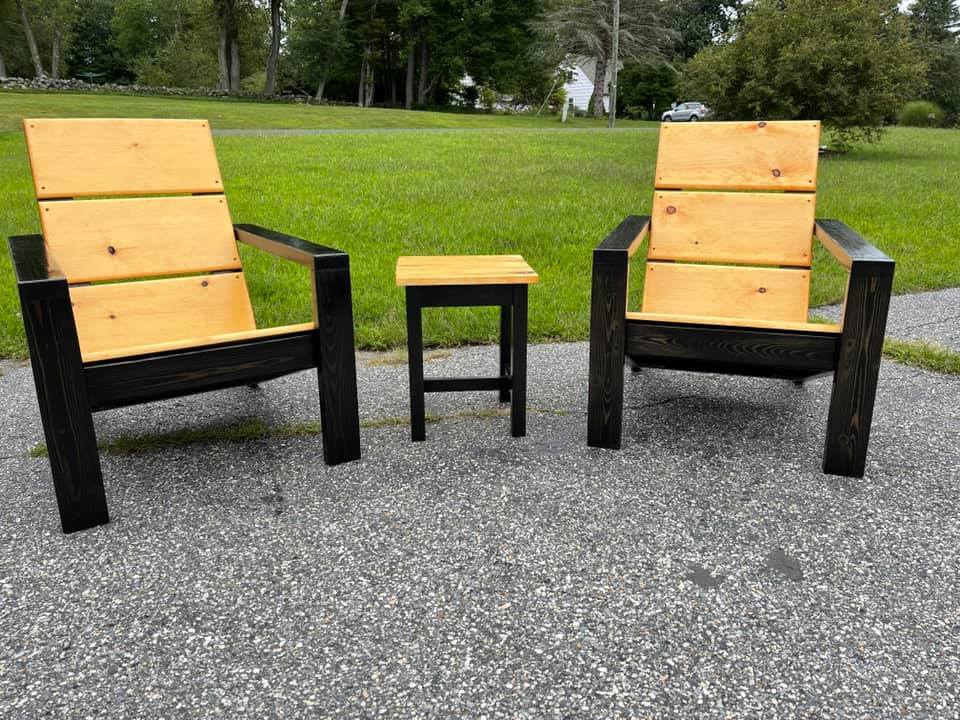
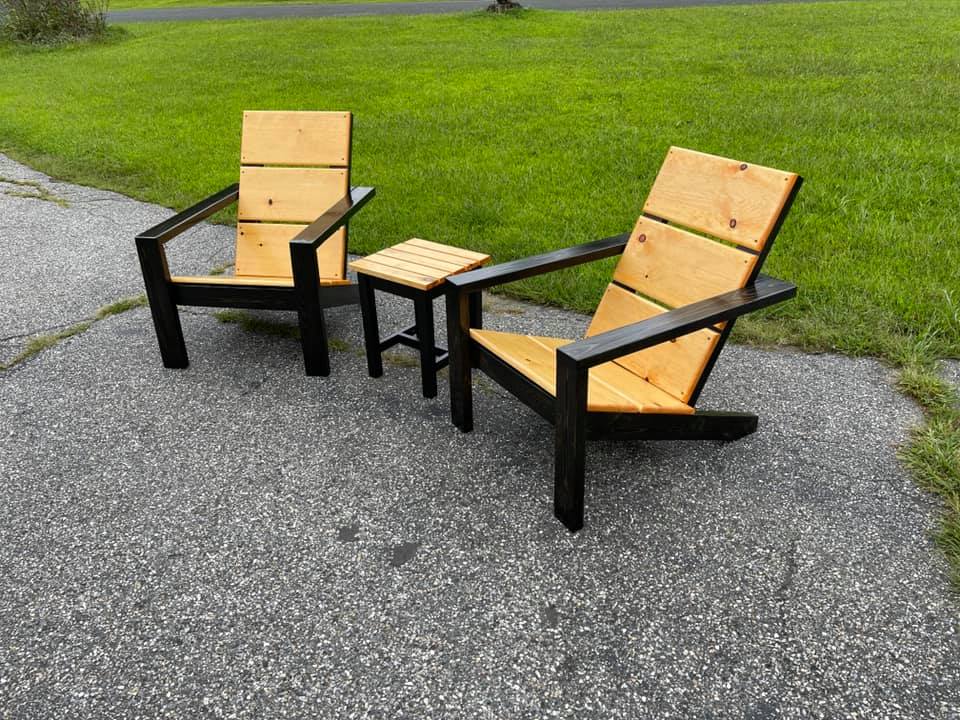
This is one of my first wood working projects I have accomplished and these two plans were some that I really enjoyed making.

Comments

Seasonal And Holiday

My first dining table!!

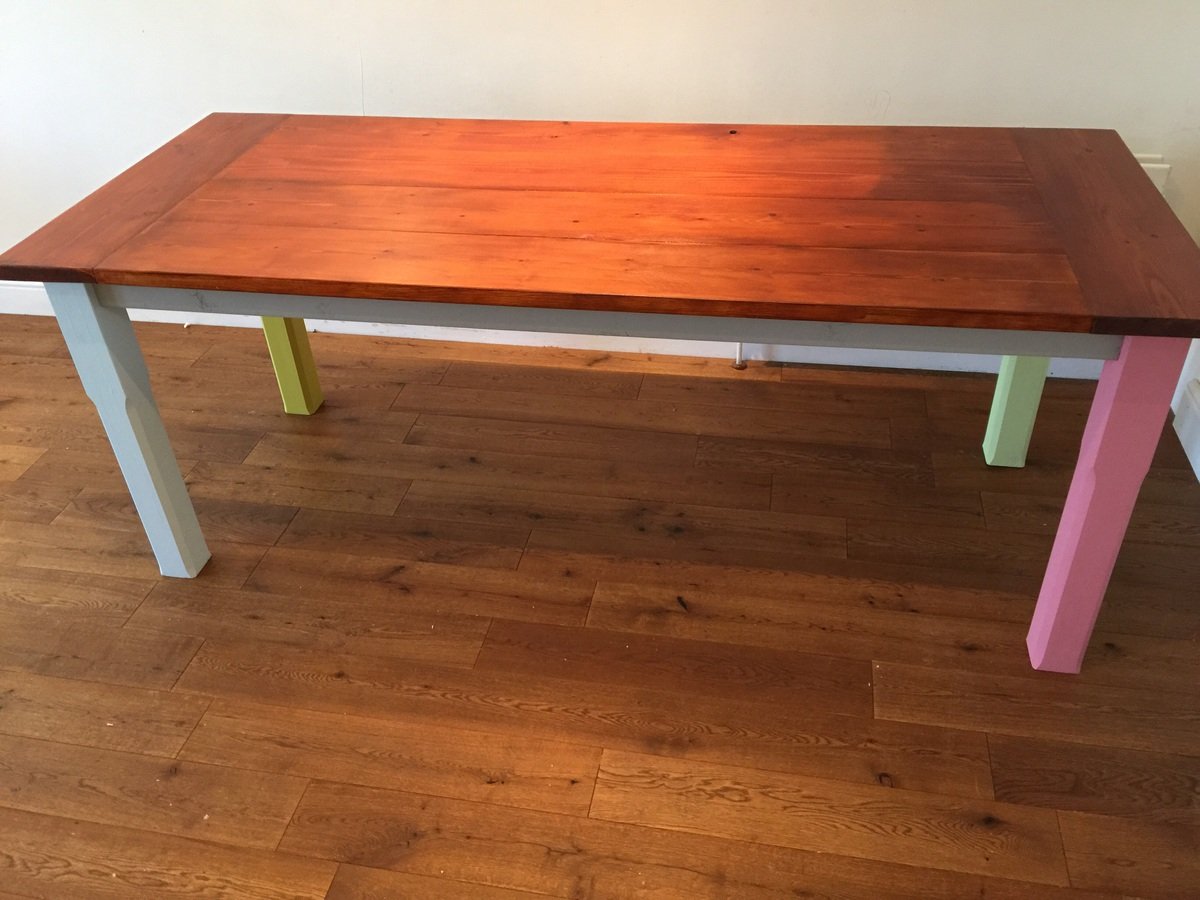
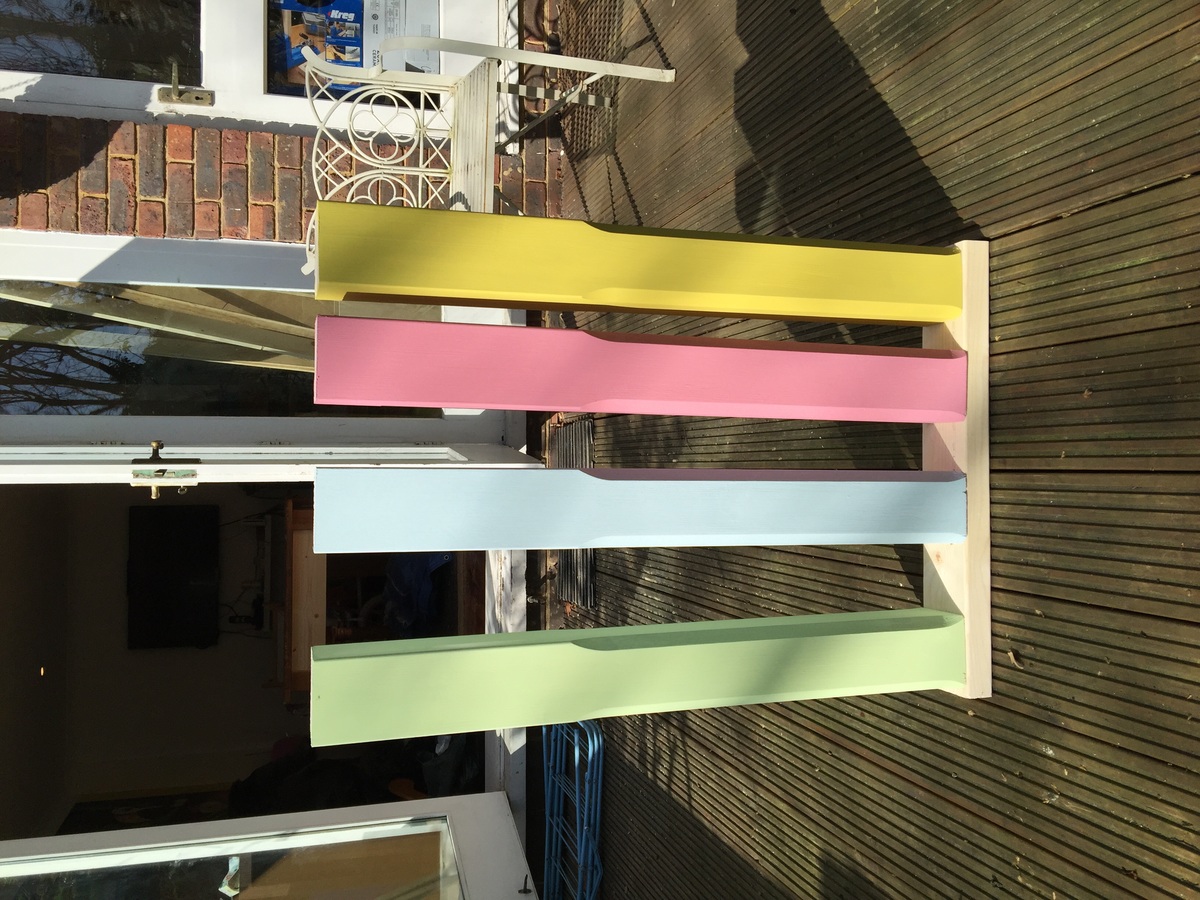
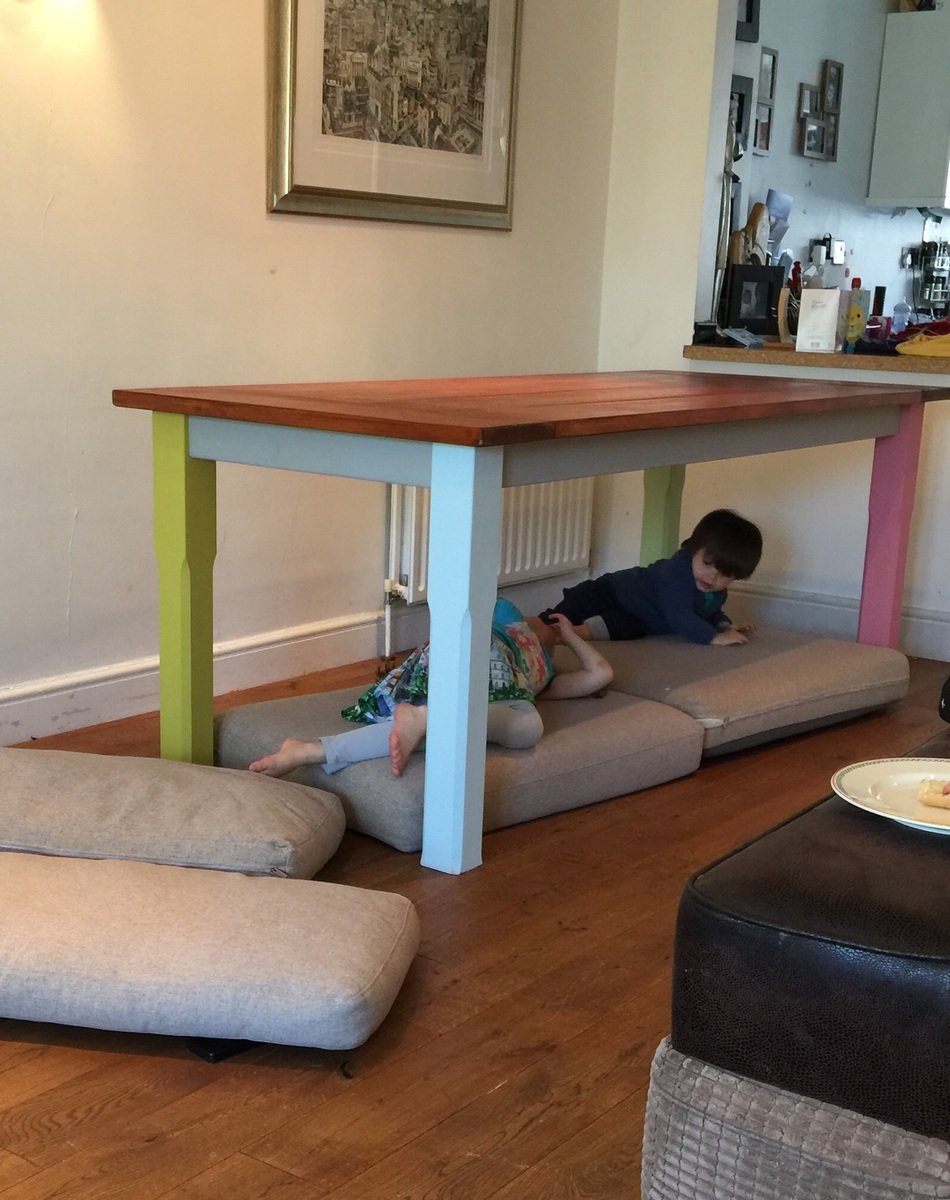
My first attempt at a country farmhouse style dining table, my children managed to also use it as a playhouse within minutes!!

Estimated Cost
Approx £200-£250 timber seems to be a lot more expensive here in the UK compared to the U.S.
Estimated Time Investment
Weekend Project (10-20 Hours)
Finish Used
Chalk paint for the legs and a mahogany stain for the top.
Recommended Skill Level
Intermediate

Our Thanksgiving Family Project

Submitted by loniwolfe on Wed, 03/09/2011 - 16:50

My husband, step father and I built these Thanksgiving weekend (2010) and my mom got us a half bushel of oysters to snack on and made awesome steamed mussels with bread for dinner. This was a very fun family weekend.

I modifyed the plans a little to make the arms angle in a bit instead of being straight boards and also created the curved front. Then after building the first chair, Pat decided to make the second chair's back rest taller and cut angles to match the arms.

I picked intermediate because of needing a miter saw for all the different angles needed for getting the front right.
Also, It took one day for each chair

Built from Plan(s)
Estimated Time Investment
Weekend Project (10-20 Hours)
Finish Used
To my knowledge, Pat has not yet stained them, but once he does I will take more pics and find out what he used!
Recommended Skill Level
Intermediate

Triple Pedestal Farmhouse Table & Bench

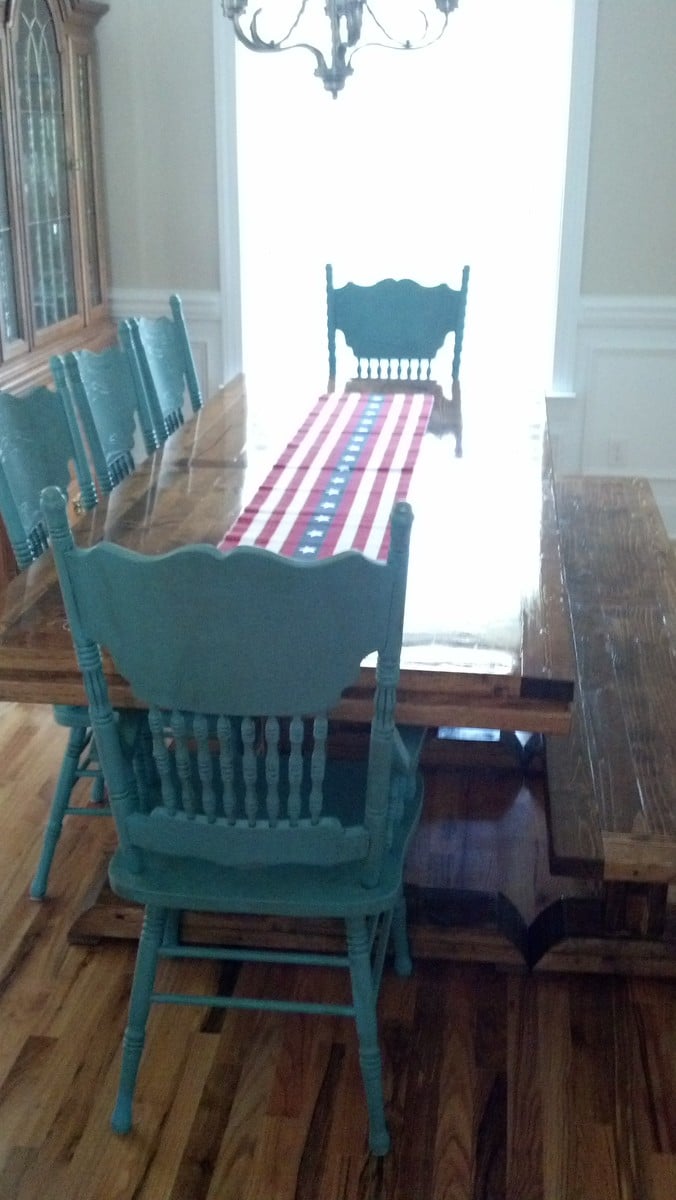
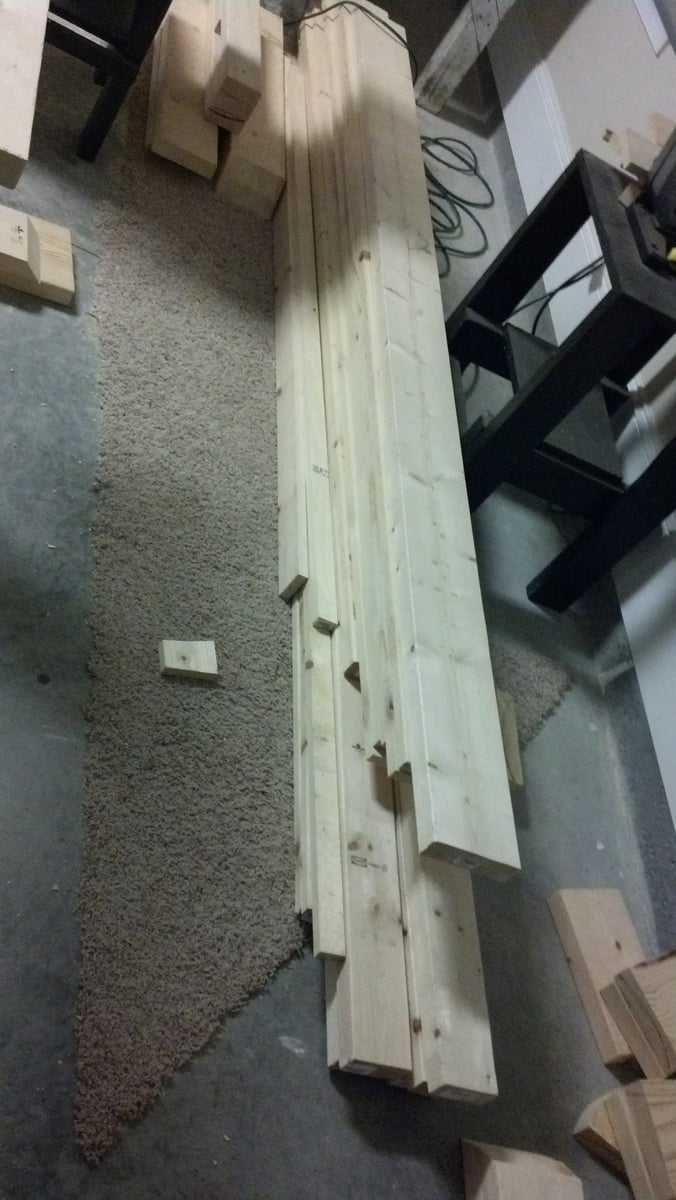
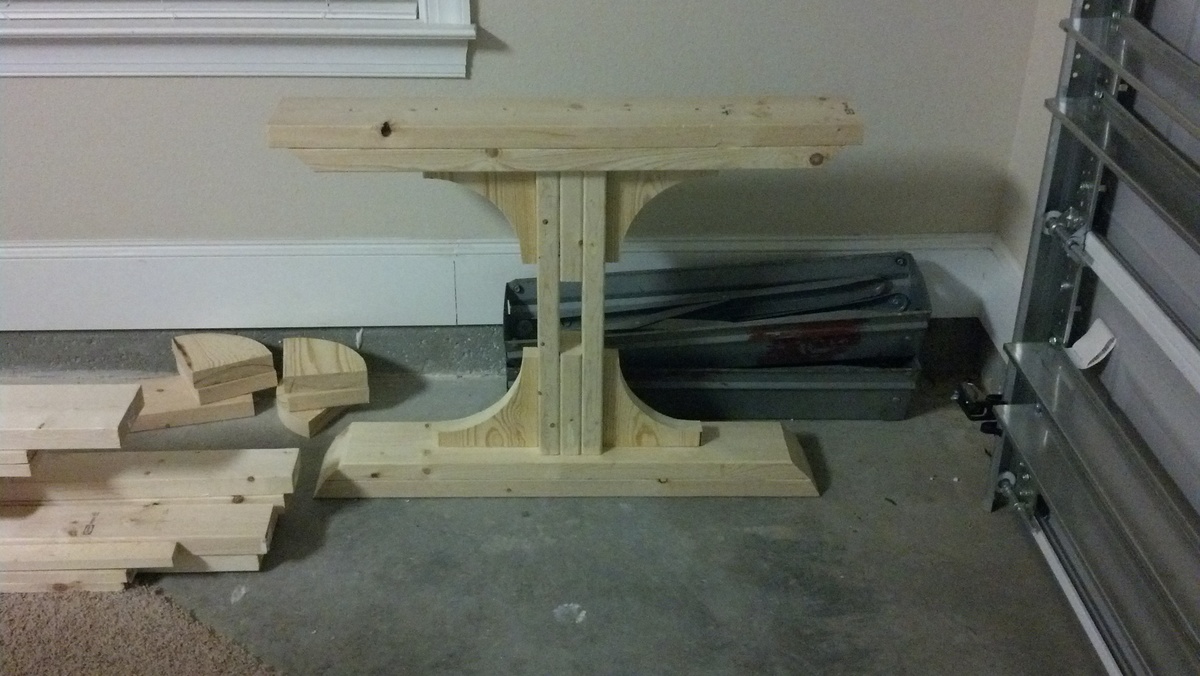
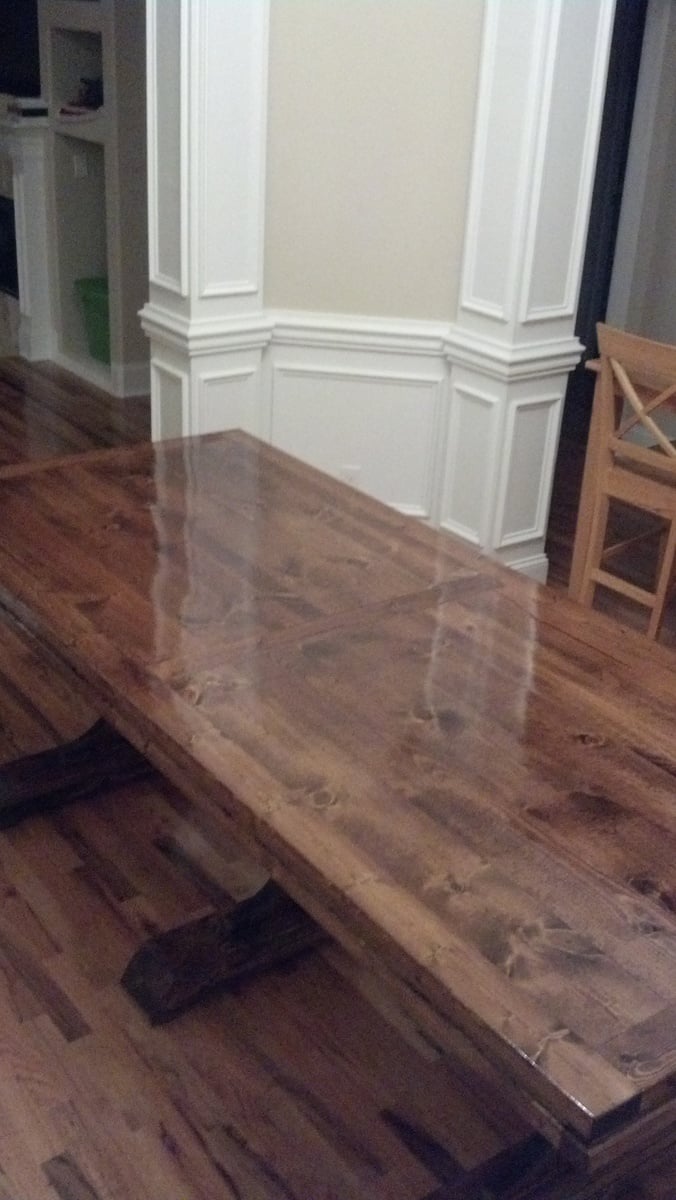
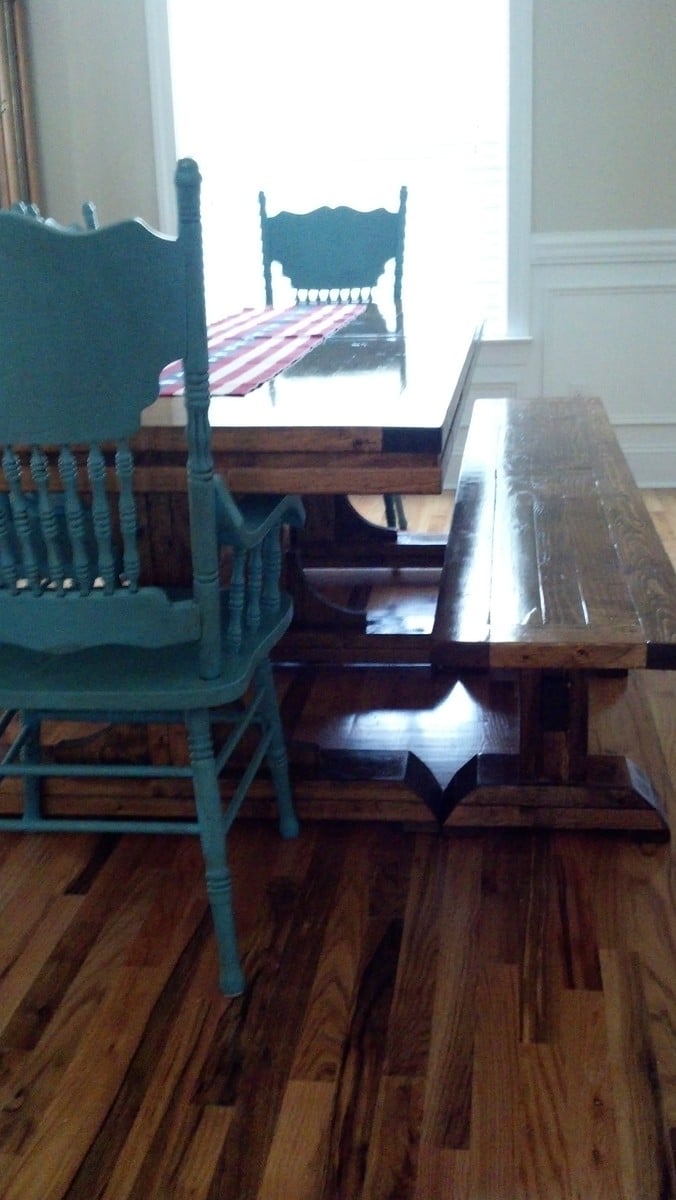
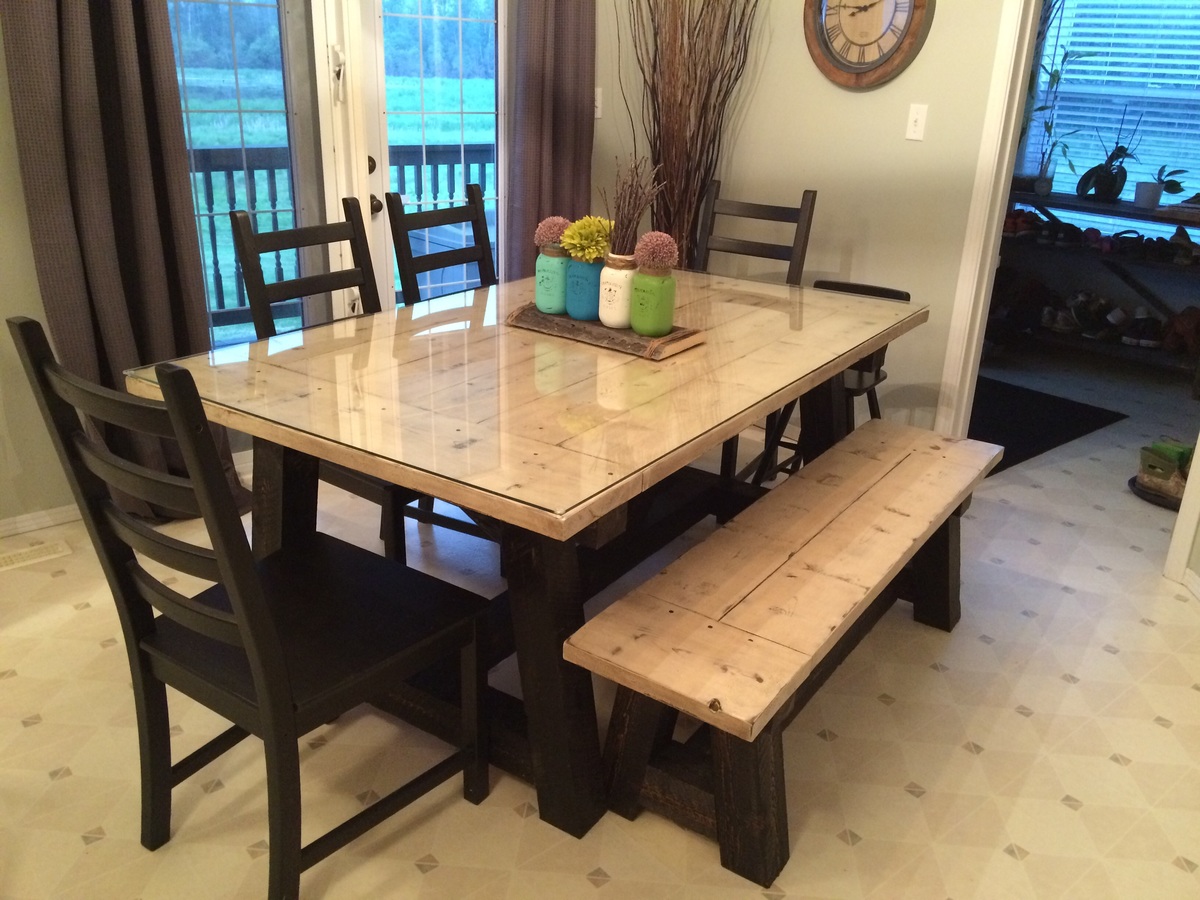
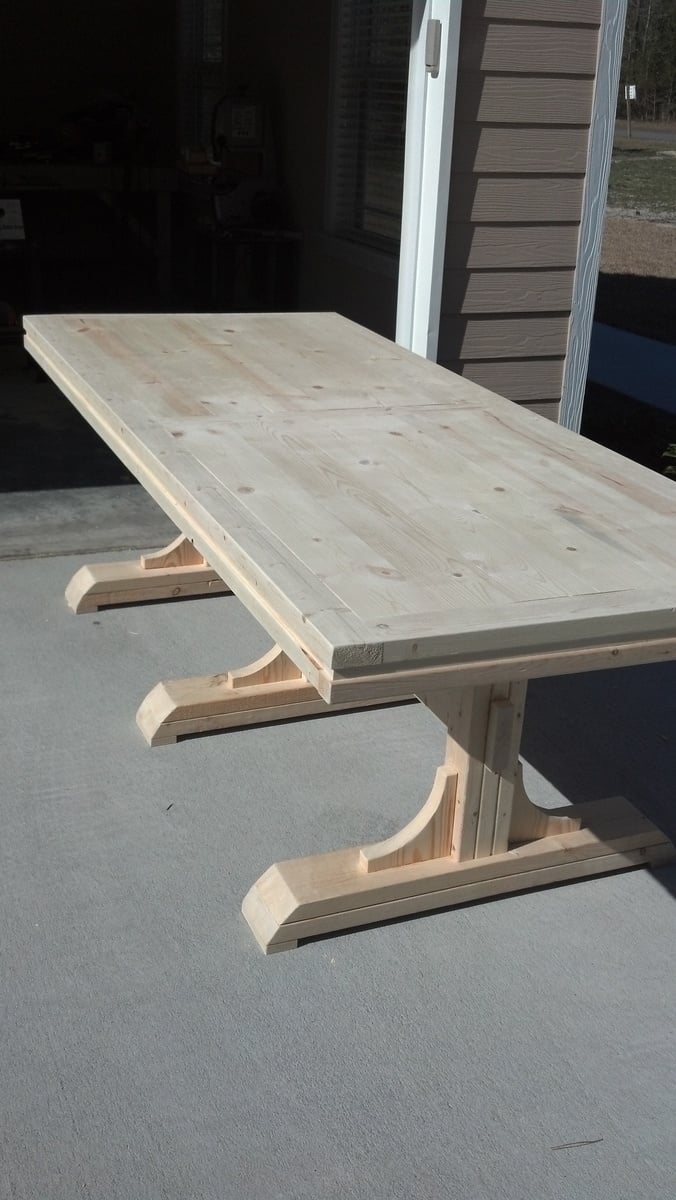
When my wife and I bought our new house, our little apartment-size table looked dumb in our new dining room. With the help of Ana White's plans, my first ever building project was a great success. The project took some extra time because I was doing it by myself in the afternoons and whenever I found the chance. The plans were for a 9ft table and matching bench, but our dining room wasn't quite that big. I shaved about 14 inches off the length and planed the boards for a flat surface (making the table and bench slightly narrower.) As an absolute amateur, I cannot stress how important the use of the Kreg Jig was for this project! With a little bit of patience, love, and faith in yourself, you can do anything you put your mind to. I am so honored to have built the table at which my children will grow up sitting. Thank you, Ana White!

Estimated Cost
$300 + necessary tools
Estimated Time Investment
Week Long Project (20 Hours or More)
Finish Used
Minwax Brand, Early American Stain and Minwax Brand Polyurethane
Recommended Skill Level
Beginner

Comments

Building for six

Wed, 08/21/2013 - 12:26

I love how smooth your tabletop looks! I grew-up with a kitchen table with a grove all the way around it and can't imagine dealing with that again. Can you go into more detail about how you planed the boards and how difficult the process was? I have built a couple pieces from Ana's site but am still new to all of this...any advice would be greatly appreciated.

Thanks,
Sarah

Adirondack Chair (Home Depot Version)

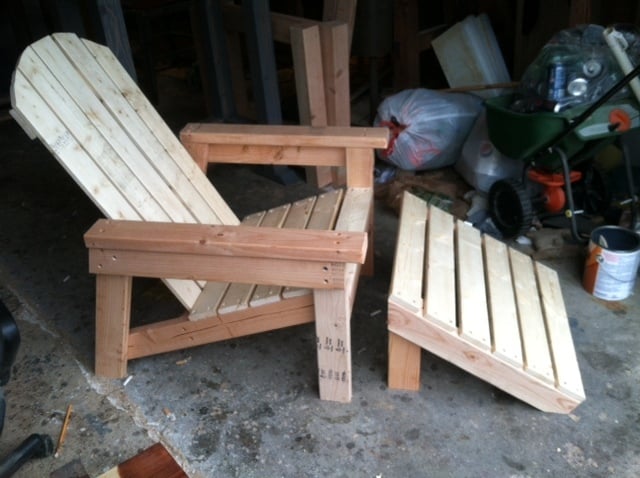
Followed the new home depot plans, only change I made was using 2x4 instead of 2x2. Getting ready to build another one, but this time will also change the arms to be wider on the ends to accommodate wine holder on one arm and cup holder on other arm. :0)

Estimated Cost
$60
Estimated Time Investment
Afternoon Project (3-6 Hours)
Finish Used
Going to use English chesnut stain and then marine spar varnish for protection
Recommended Skill Level
Beginner

Comments

acer211

Fri, 11/13/2015 - 20:36

Hi Ana,


Thanks for all your free sharing and advice.  I'd like to return the favor (hopefully)...  

Just wanted to say (as I am a painter) that it is best to avoid using any sort of "clear" varnish (such as poly, or spar, etc...) on anything that sits outdoor (such as furniture, doors, decks), because UV rays from the sun will break-down the varnish and cause them to fail.  

Instead, it is best to use a stain that is suited for decks, like Cabots Semi-Transparent, or semi-solid, etc,,

best regards,

Aaron

c3663b

Wed, 03/02/2016 - 12:21

The plans for this adirondack chair are no longer available on the Home Depot website. Where can I get them? Does anyone have them to share?

Seesaw

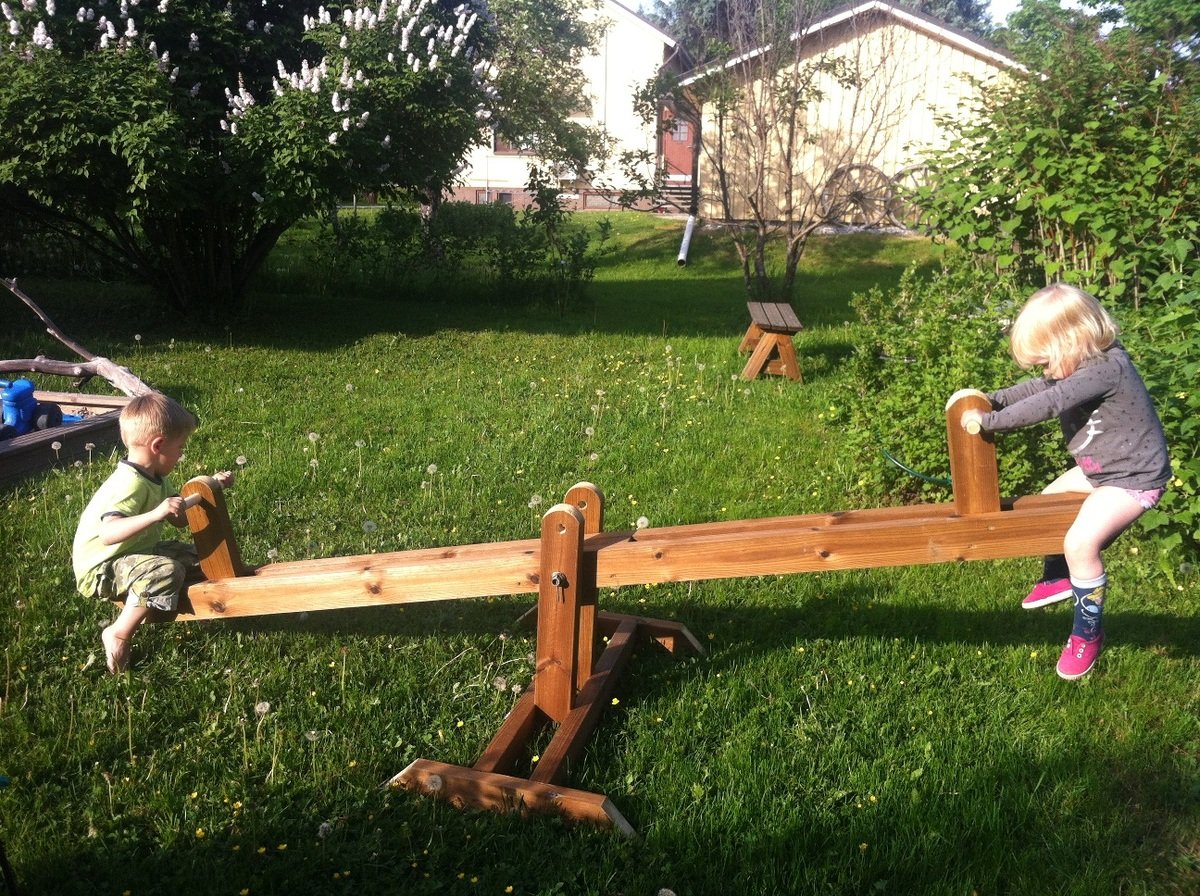
Submitted by KimmoPT on Wed, 06/12/2013 - 02:38

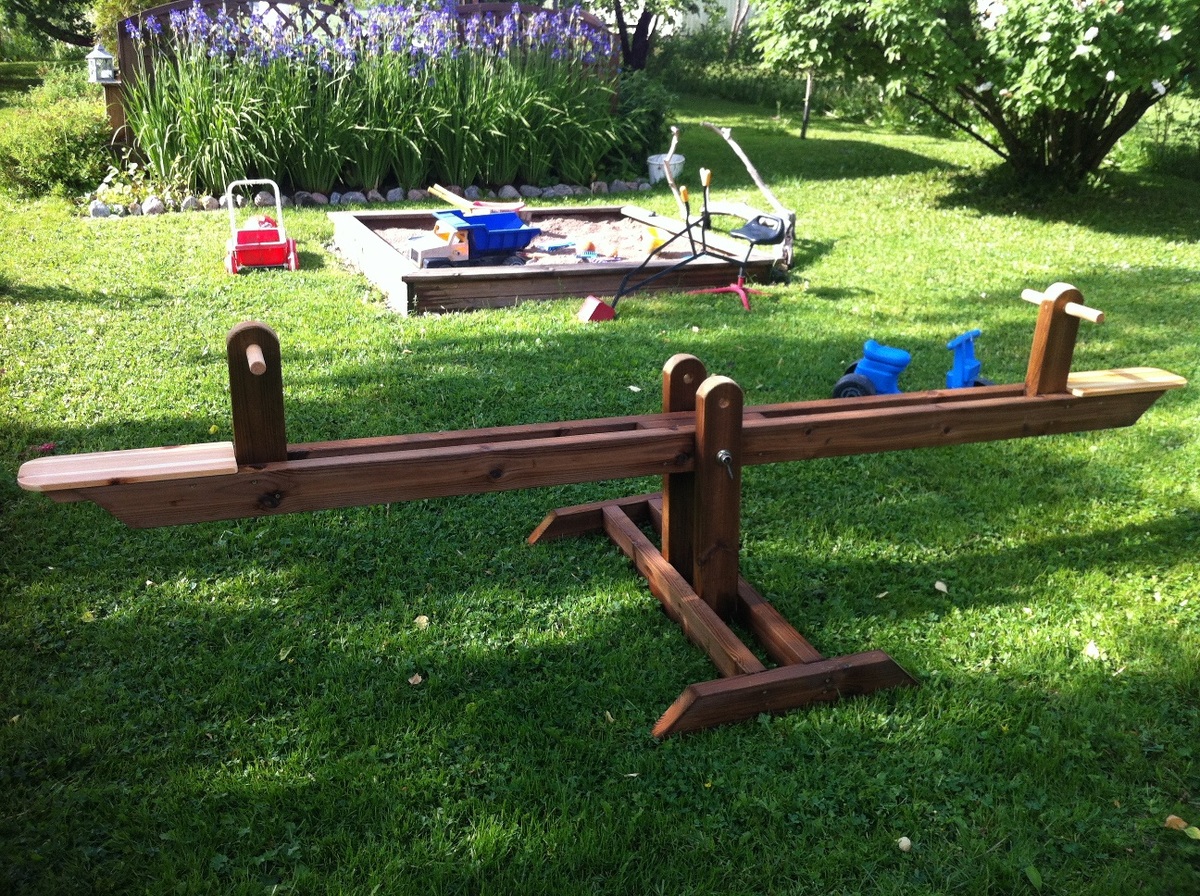
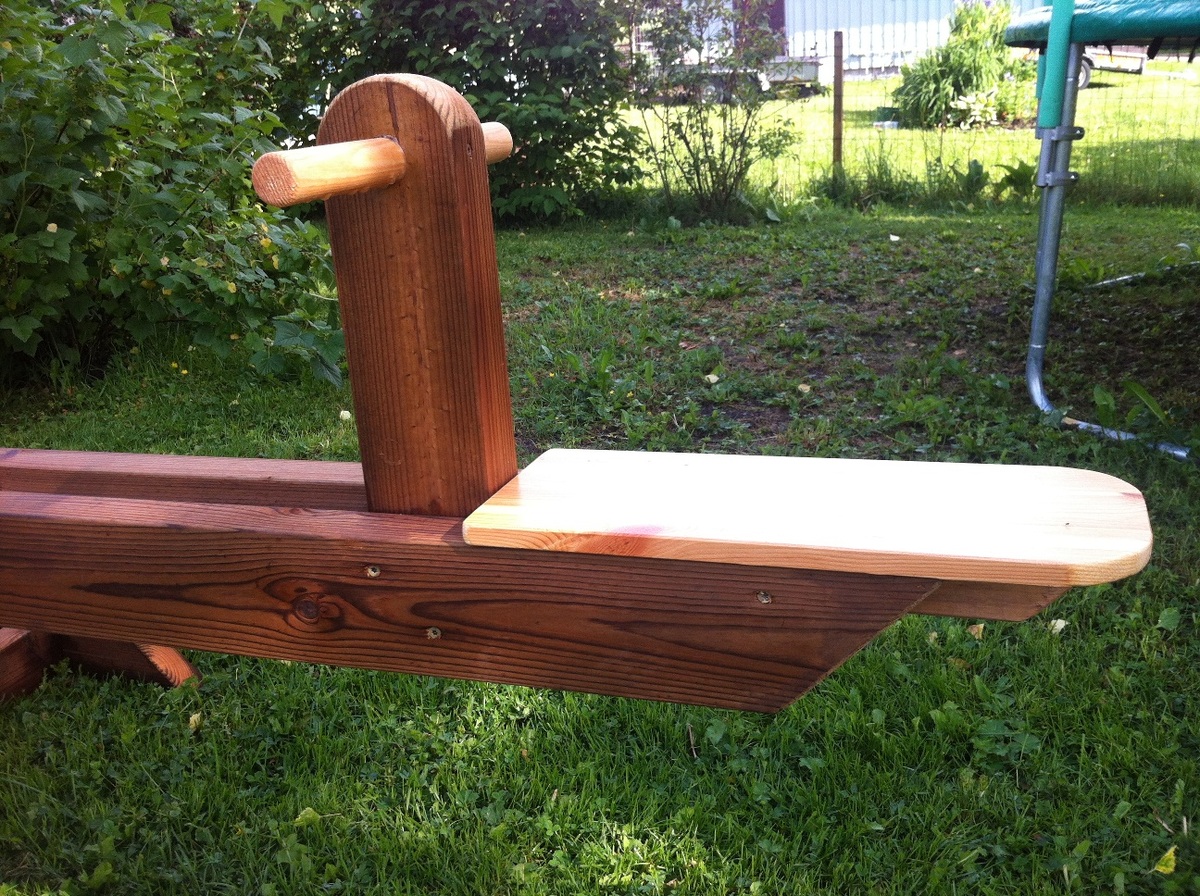
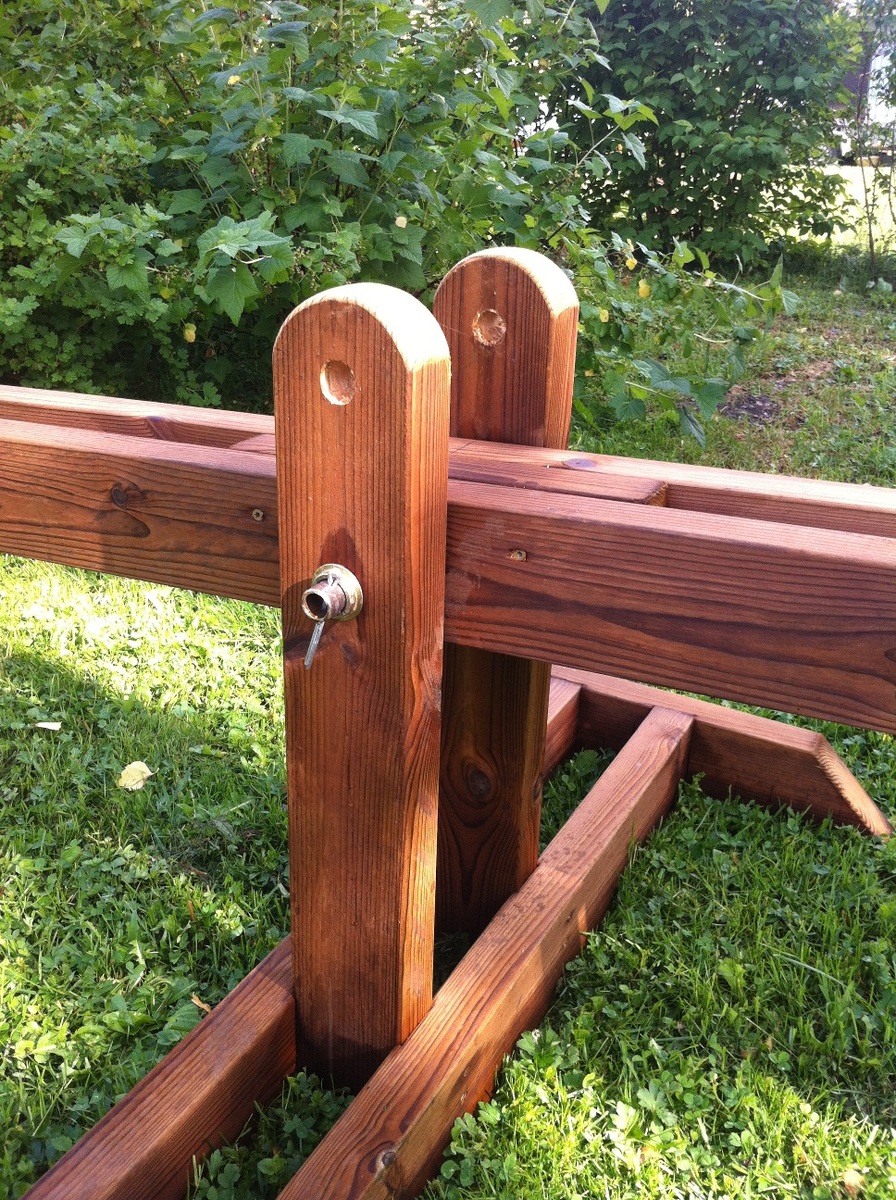
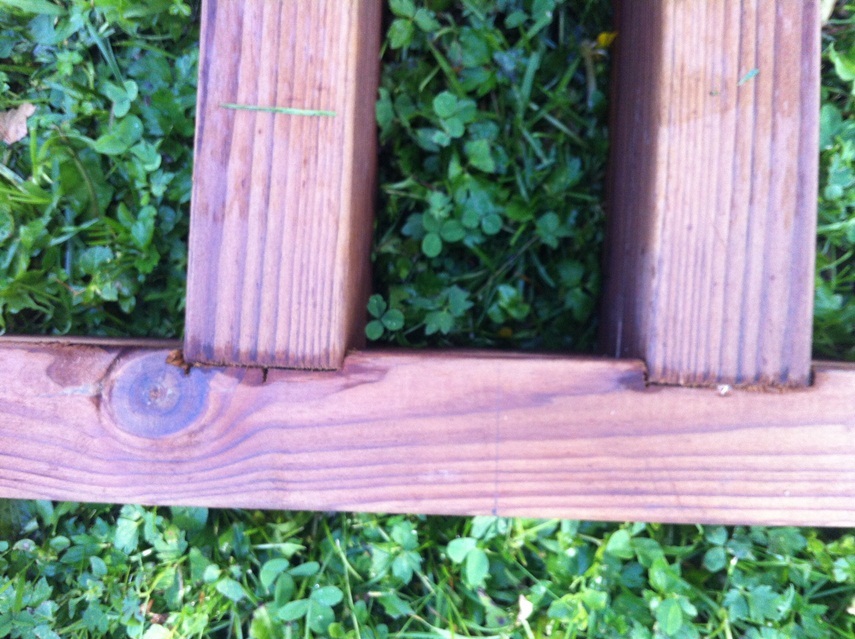
Greetings from Finland. I made teeter-totter from excellent plans Ana has donatet for all of us. I used treated wood, so I didn't need to paint the project (and never will :-) Handles and seats are made from raw wood. Gives also nice twin color look. To add some extra support I embed the beams at foot.

Built from Plan(s)
Estimated Cost
37€
Estimated Time Investment
Afternoon Project (3-6 Hours)
Recommended Skill Level
Beginner

Comments

Seasonal And Holiday

Dog Bunk Bed

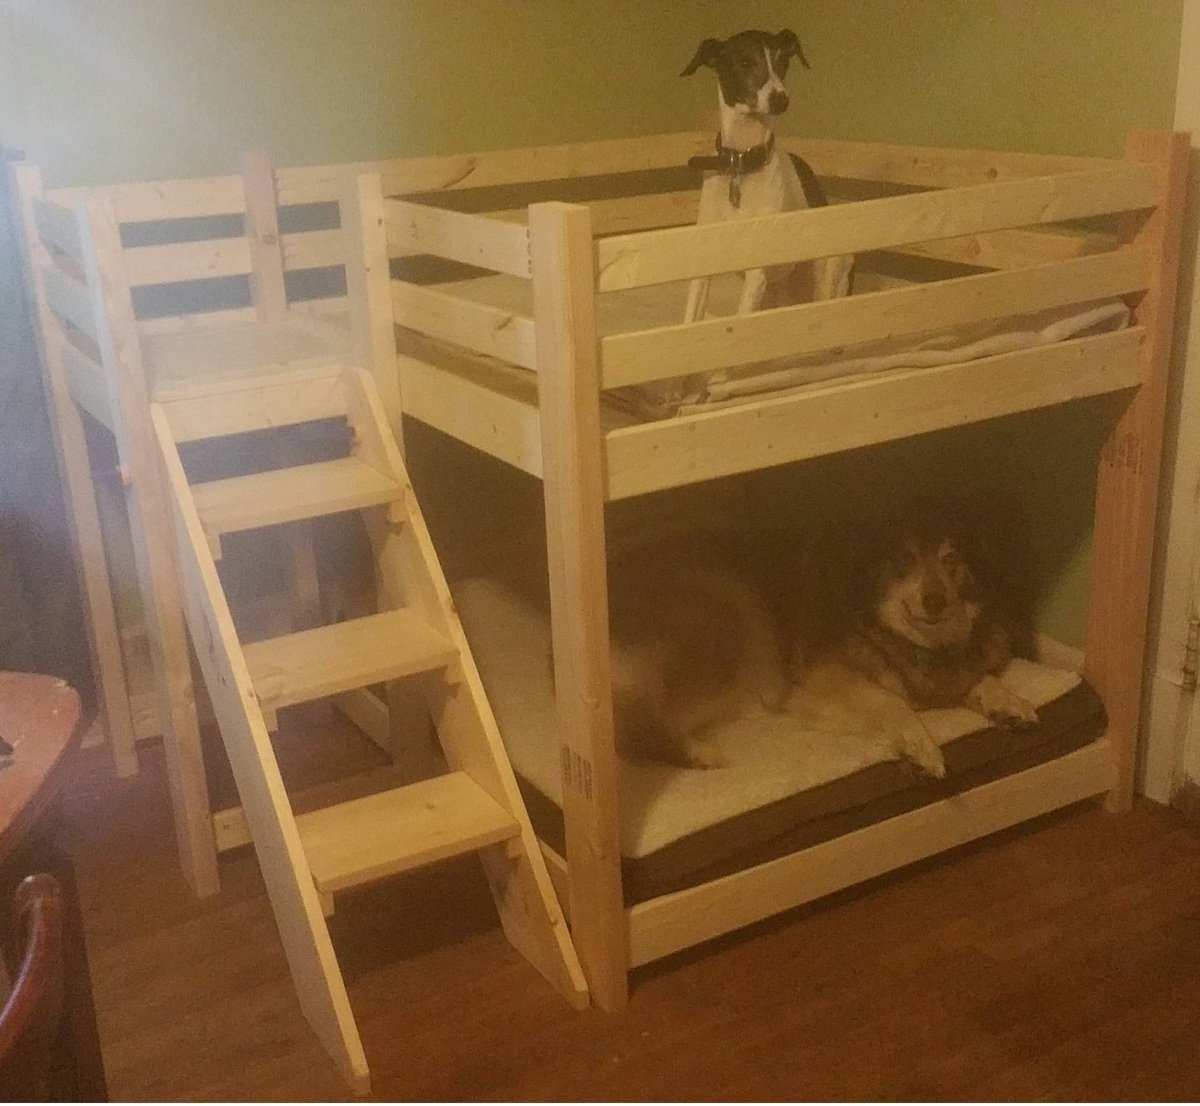
We’ve been looking around for some plans for a doggy bunk bed for a while now, but couldn’t find anything that we liked so I decided to build it from scratch. This is a huge bunk bed that was built based on the size of our larger dog’s bed which is 44 x 35. This was pretty simple to build although the stairs we’re quite challenging as I have never done them before so if I can make it, anybody can.

I must stress that before I found Ana’s website about 6 months ago I could barely cut a piece of wood straight. Over this time I have made several things based on the easy to follow plans on this website which ultimately gave me the confidence to go it alone and build this bunk bed. Friends and family are shocked at some of the furniture I’ve made and some don’t even believe I made them and think I’ve bought them from IKEA. My wife has got a list of furniture she wants to make now including a TV console, an armoire and a twin bed for one our daughters. Every spare second I have now is spent is making furniture and I LOVE it.

For anybody who has never built anything and is apprehensive to do so I would just say, do it. Grab what you need and dive right in. You may get frustrated and scream a bit at first, but the reward at the end is well worth it and each project you do will get easier and easier. Be warned though. The better you get, the more people will pester you to make things for them.

Thank you, Ana.

This was made using cheap 1 x 3 and 1 x 4 furring strips for the railings and bed slats, 2 x 4s for the posts and 1 x 10 board for the stairs.

Estimated Cost
$75 - $100
Estimated Time Investment
Weekend Project (10-20 Hours)
Finish Used
I haven't sanded or finished this yet as we are still deciding on what to do with it.
Recommended Skill Level
Beginner

Comments

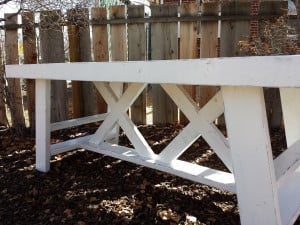
$2 Farmhouse Table

Submitted by Handy Andy on Tue, 04/19/2011 - 14:29

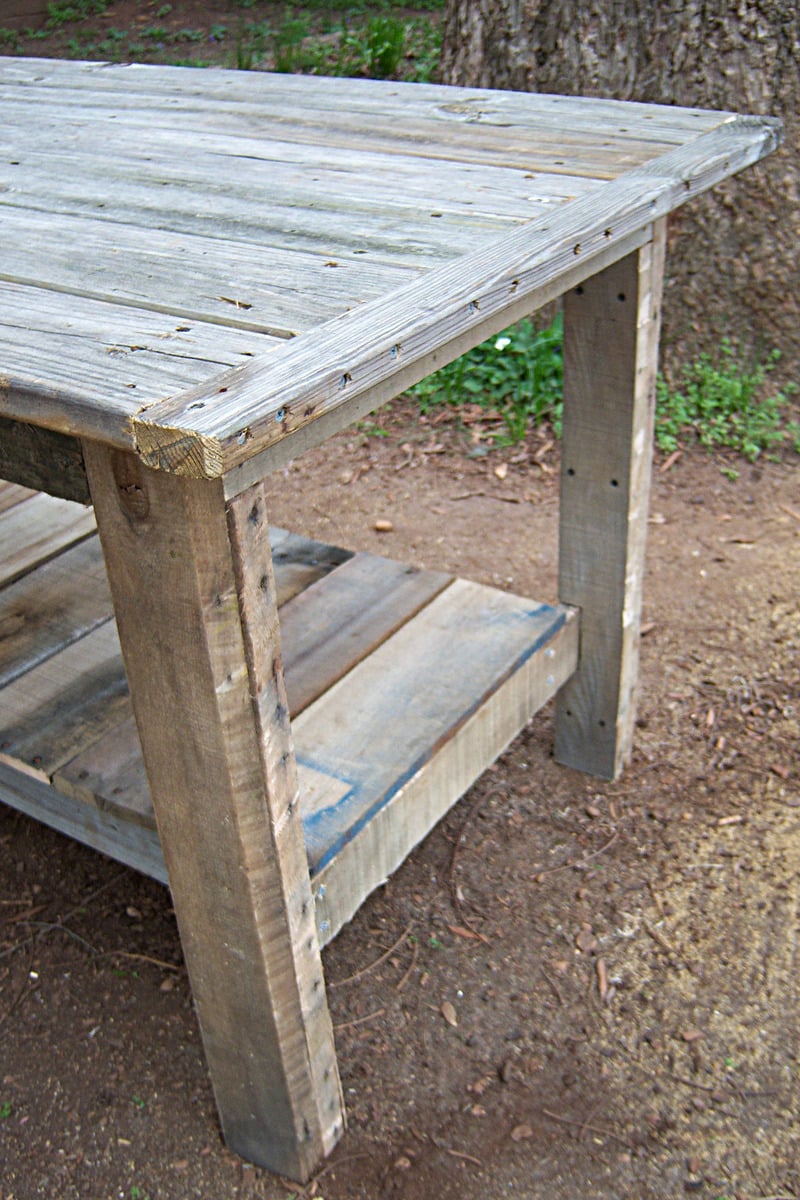
I am starting to work on more and more projects and I'm limited with space. I needed a worktable that could double as a backyard dining table (should the occasion arise). We have been planning to build the farmhouse table for a while now, so this was a great opportunity to build a prototype. I did some repair work for a friends deck and she gave me the leftover decking material. This became my table top. I purchased 4 2x4's at our local Habitat for Humanity ReStore for 50 cents each (this was the only money spent on this project). While I was at the ReStore I also picked up 4 pallets (they are free). After cutting them apart, the 2x4s from the pallets became the table legs and the 1x4's & 1x5's from the pallets became the shelf underneath. The shelf has been great for holding extra tools while I'm working on projects. My daughter likes to stack her toys on it too! This was a super quick and easy build. My wife even suggested we just refinish it and bring this one inside!

As always, I have to give thanks to Ana for such great plans!

Estimated Cost
$2
Estimated Time Investment
Afternoon Project (3-6 Hours)
Finish Used
We haven't yet decided on the finish, we might just use a clear coat and call it done!
Recommended Skill Level
Beginner

Outdoor Sectional

I scaled back the length of the sofa by a few inches and I made the sectional only one seat to fit my space on the deck. This was my first woodworking project that I did by myself. I got the cushions for more than 1/2 off at Ikea so the whole project cost about $150 ($80 for the cushions). It took me about a week to complete but the total time was less than 10 hours to build and stain. I'm pretty happy with how it turned out.

Estimated Cost
$150
Estimated Time Investment
Weekend Project (10-20 Hours)
Finish Used
Pittsburgh Paints Stain & Sealant in One for Decks, Fences, & Siding in Walnut. I brushed on the exterior stain just like a paint. I did the top part of the sofa first, then flipped it over and stained the bottom. Read instructions on the label.
Recommended Skill Level
Beginner

Comments

Farmhouse table

Submitted by Camberjak on Tue, 06/30/2015 - 20:23

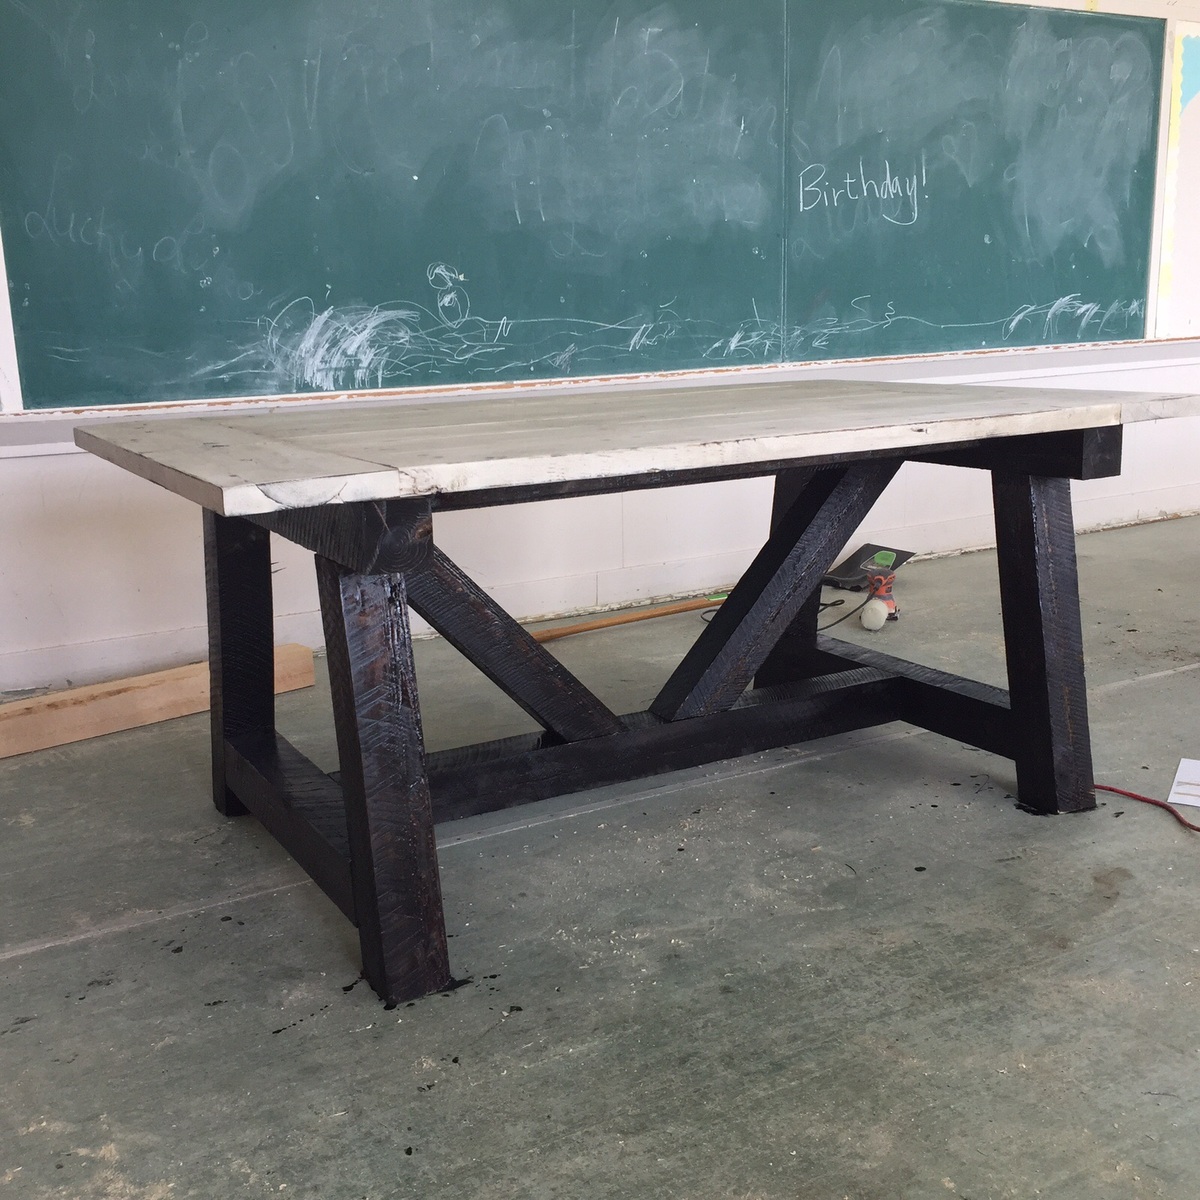
First large wood working project my husband and I completed. In love with Projects and plans by Ana white !

Built from Plan(s)
Estimated Cost
150 dollars
Estimated Time Investment
Weekend Project (10-20 Hours)
Finish Used
Minwax dark walnut and table top was pure white and sanded down and minwax dark walnut was rubbed on with a rag
Recommended Skill Level
Beginner

Comments

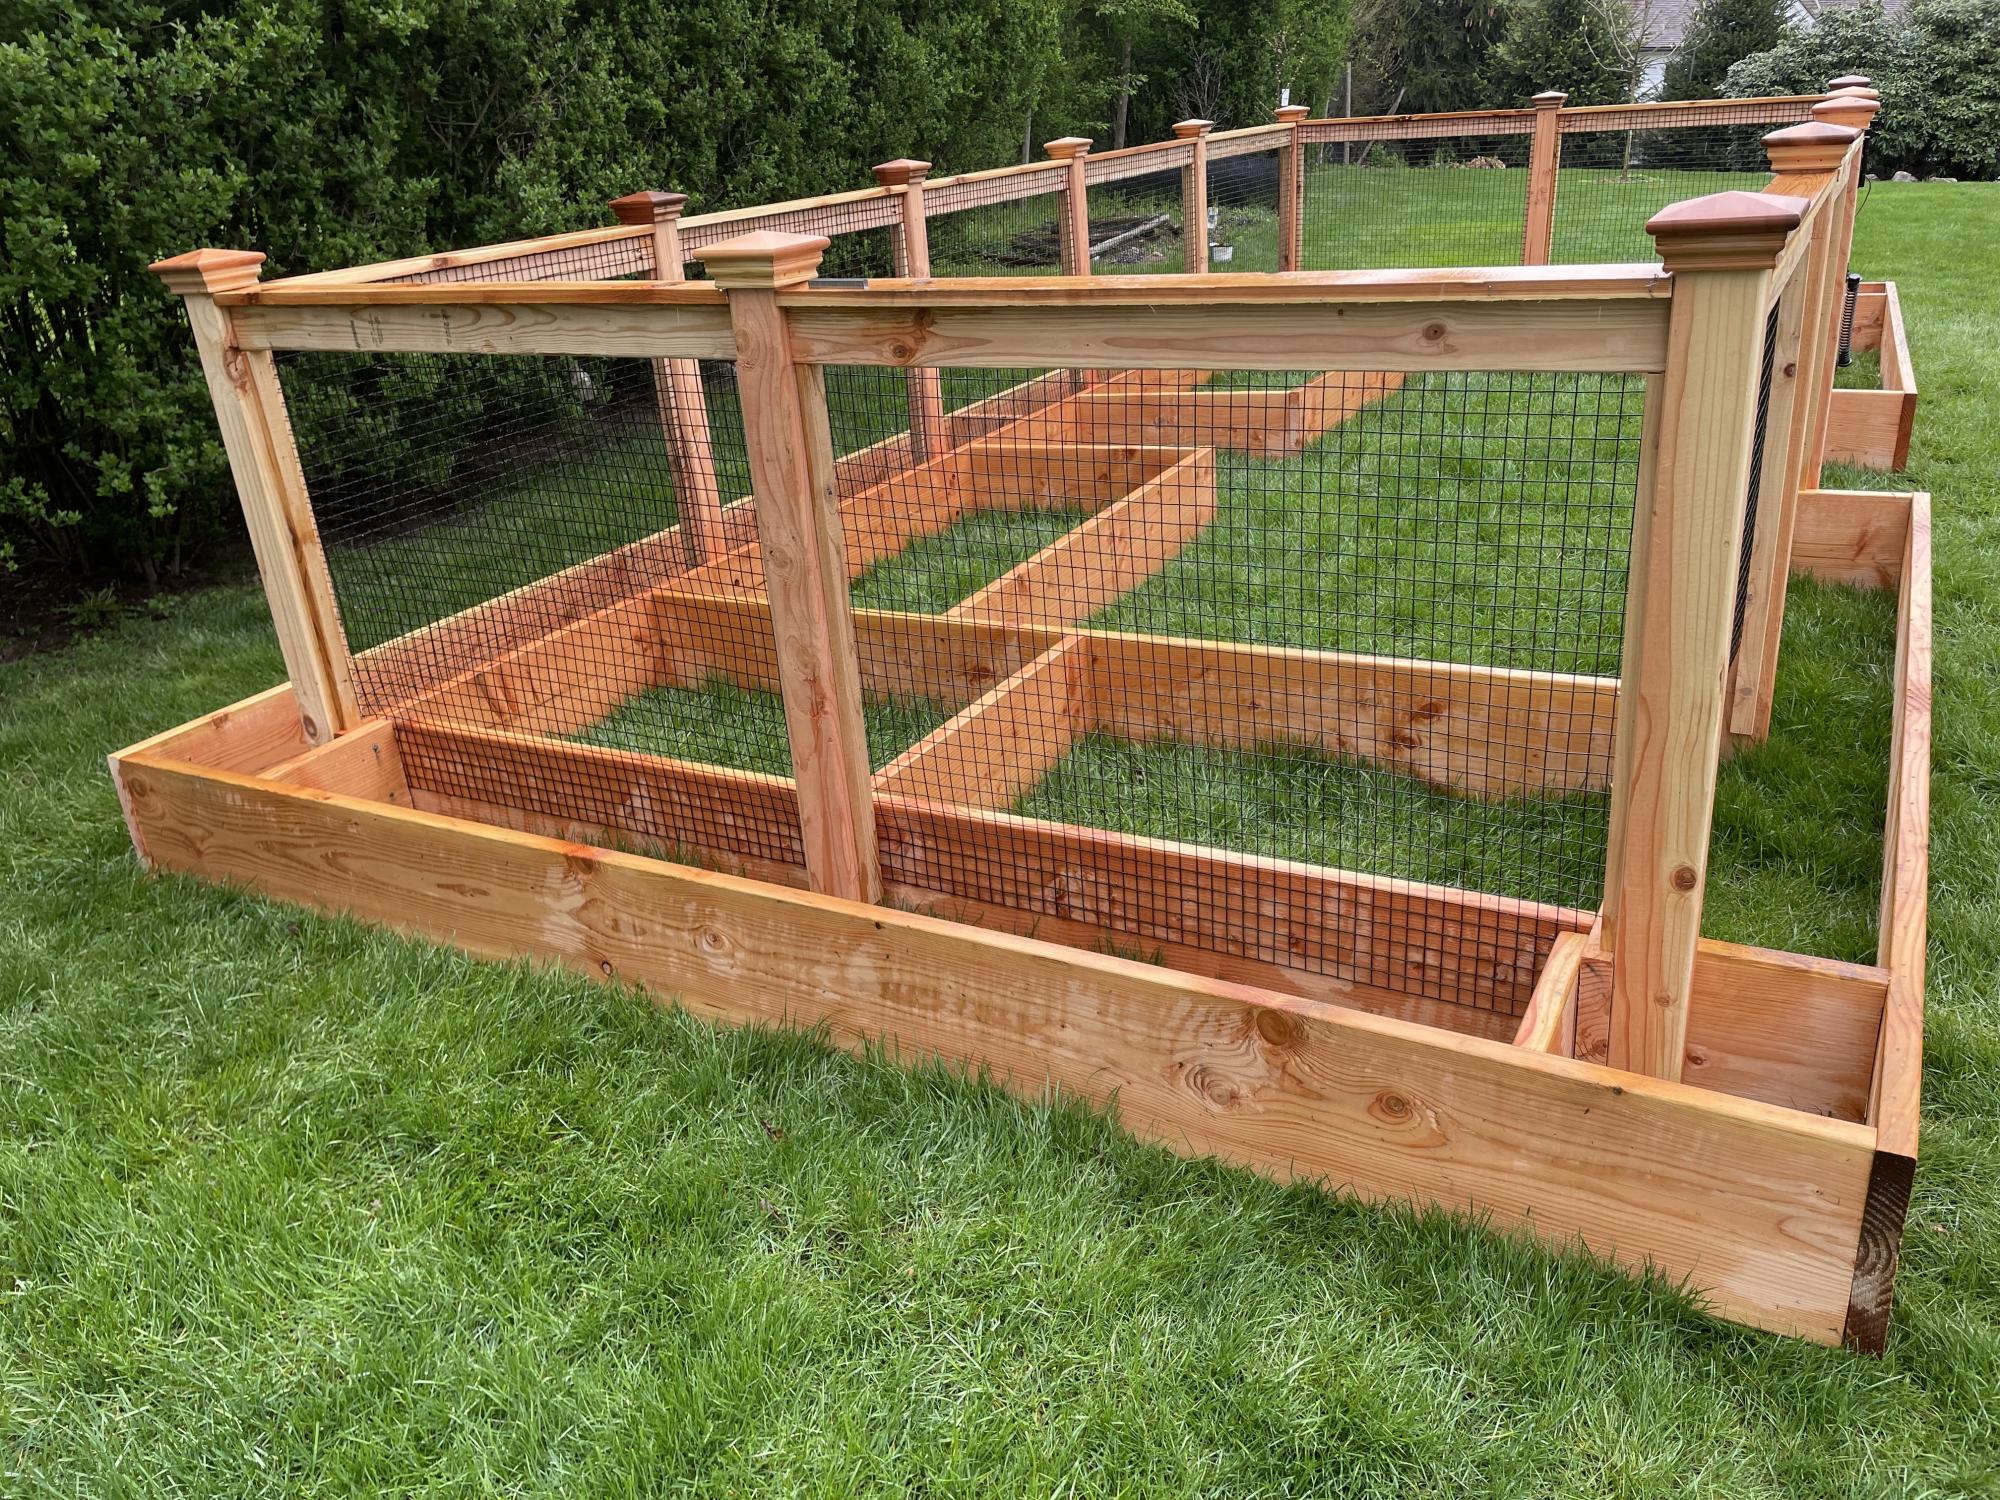
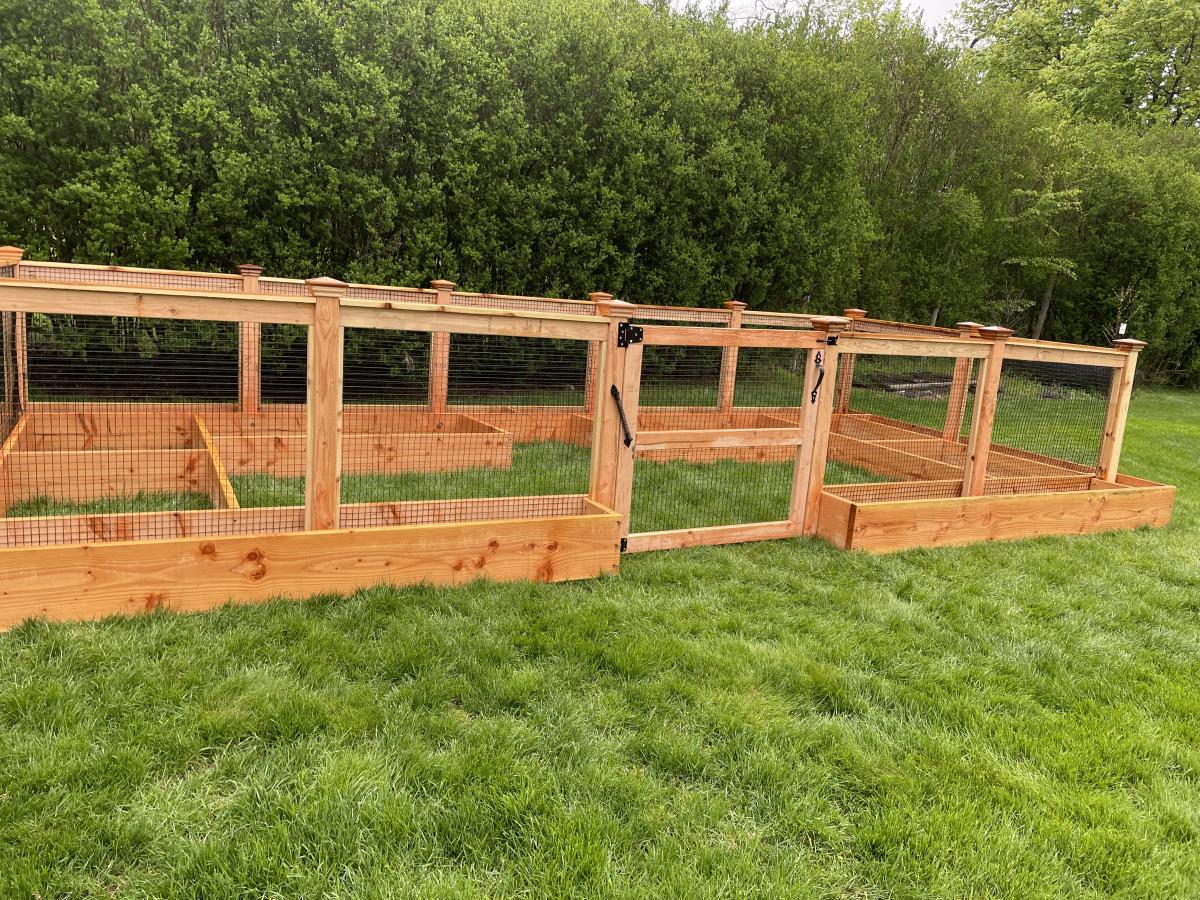
Nicole’s Garden

Submitted by Anonymous (not verified) on Sat, 05/07/2022 - 14:27

A vegetable garden with an outside ring to plant marigolds to keep deer away.

Built from Plan(s)

Comments

Small Bathroom Shelf

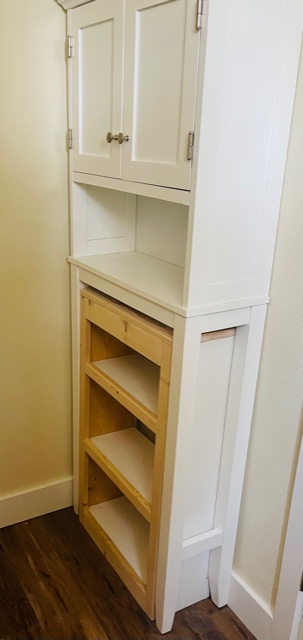
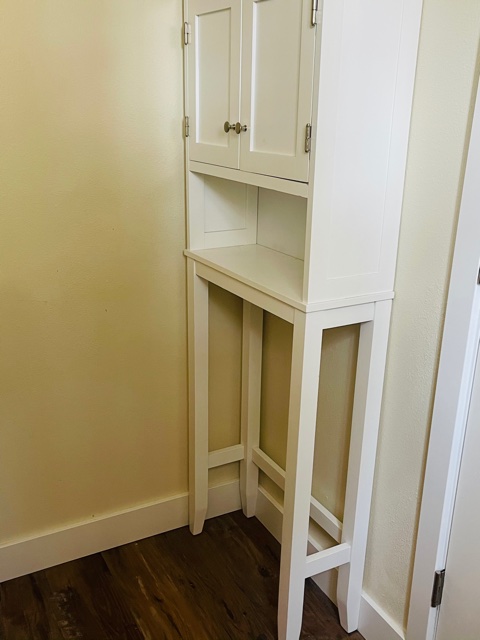
Submitted by vendo on Mon, 09/26/2022 - 10:05

We had an existing cabinet in our small bathroom, so I build this small "bookshelf" to fit perfectly under it for more storage. Always inspired by Ana, this is just a bookshelf made with 1x8 boards with a 1x2 face frame. Quick, easy and functional, that's how I like it.

Built from Plan(s)