Community Brag Posts

Beginner Farm Table & Benches

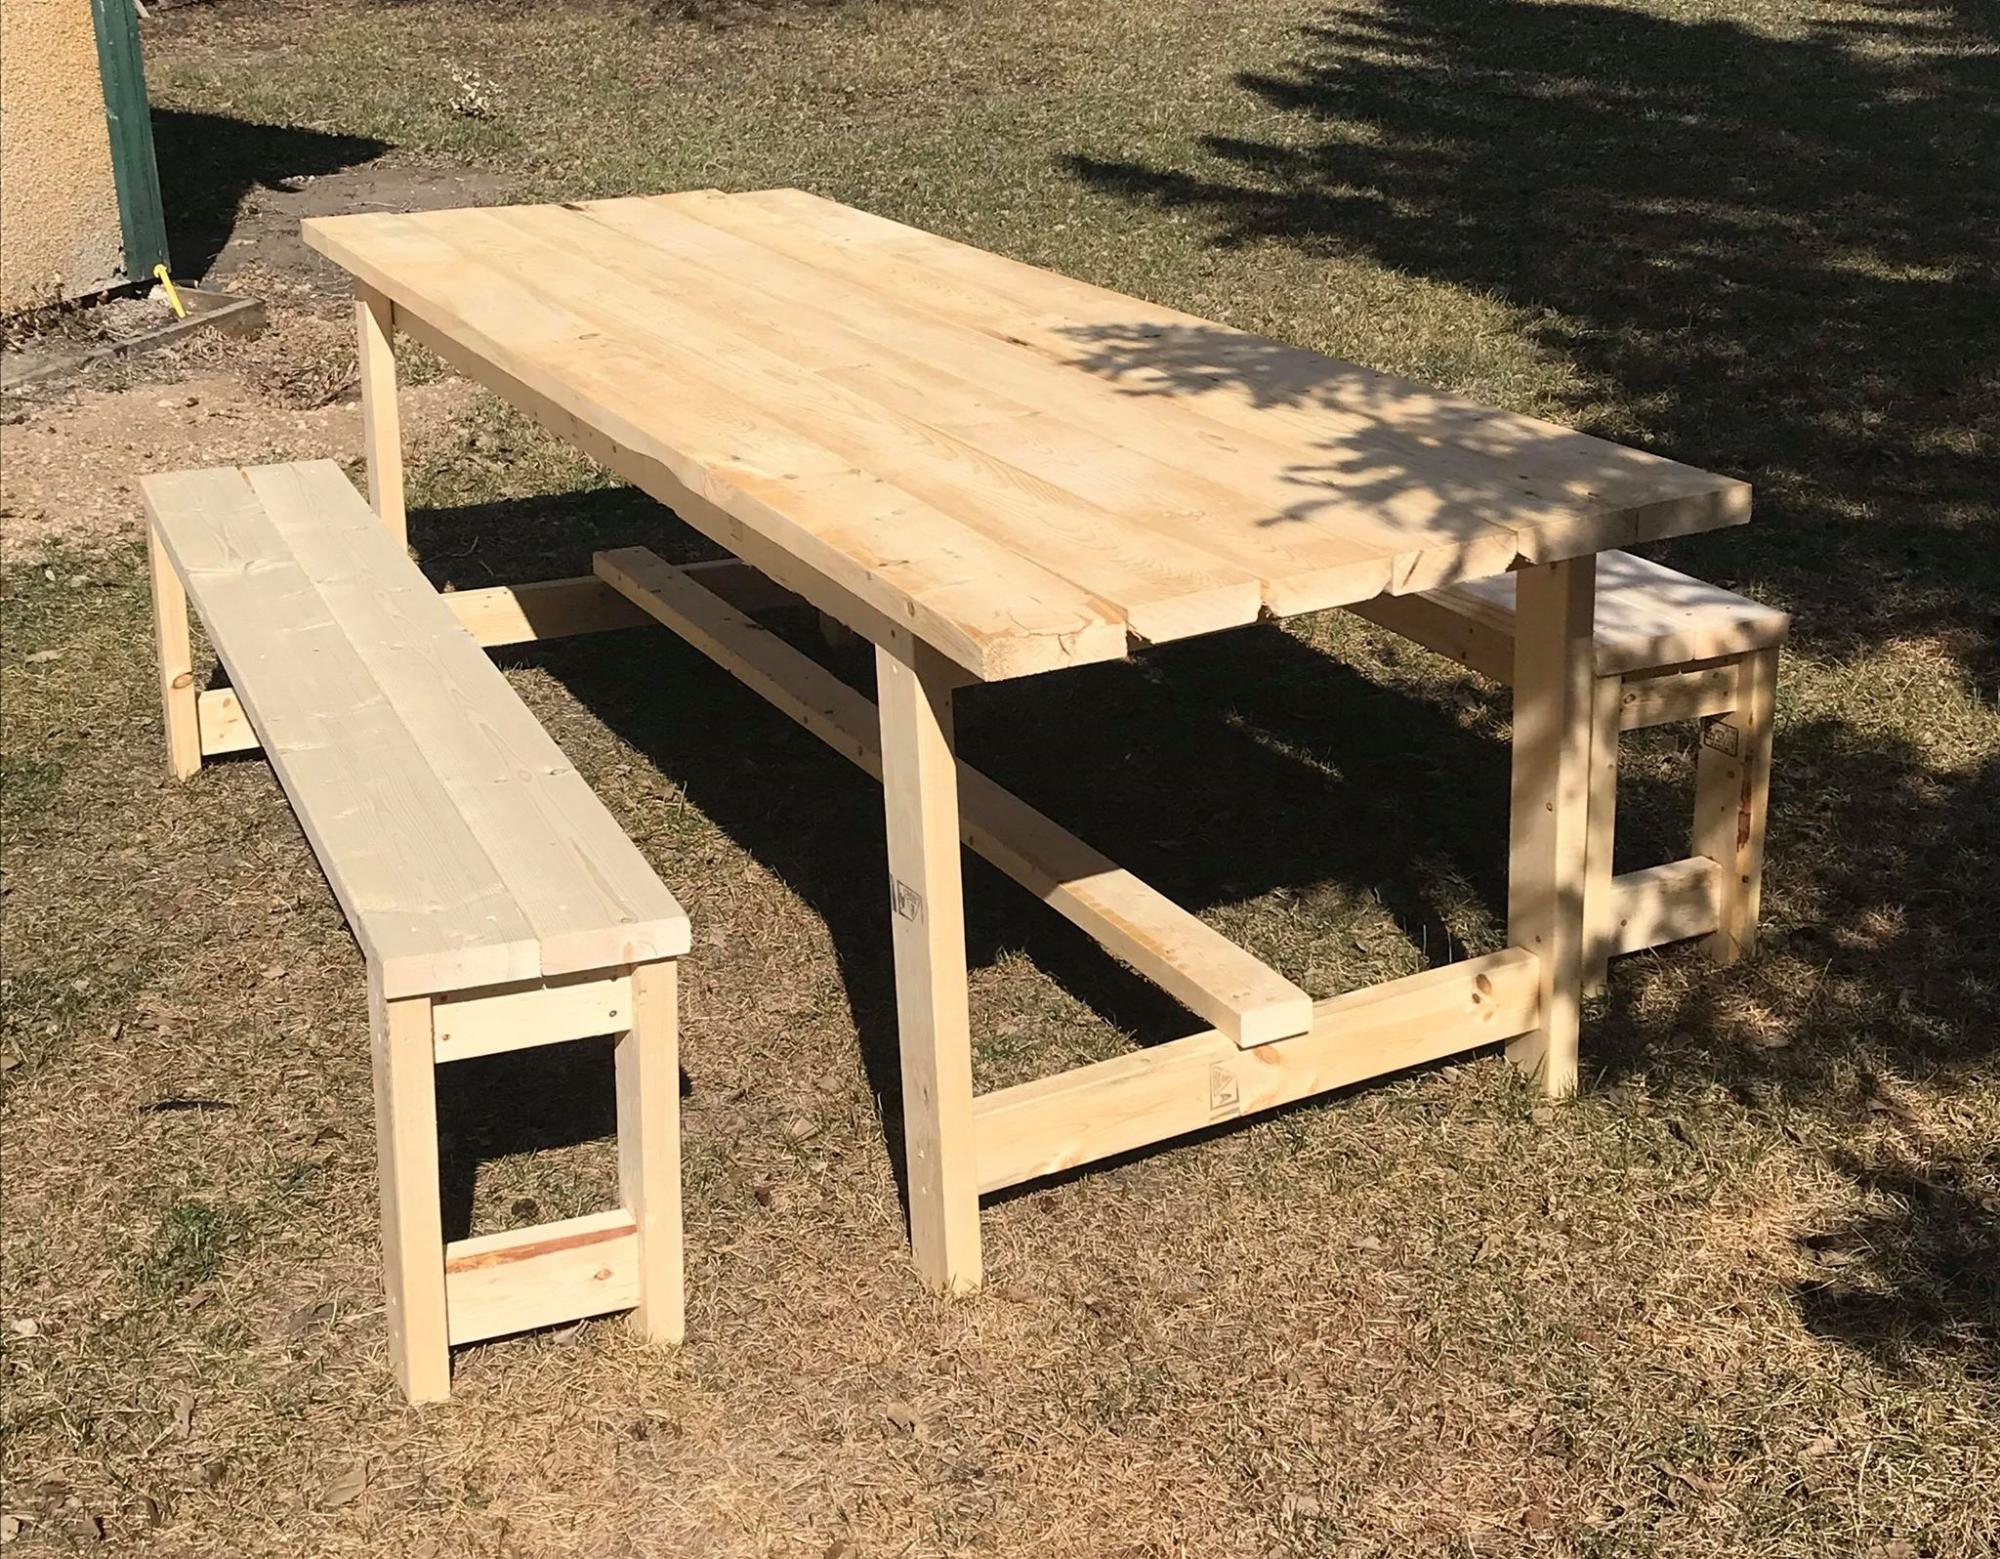
This was my first time building anything! The plans were so easy to follow along! Once I master some things like this, I can work on fine tuning things a bit more so I can build some more intricate plans. Thanks so much for your website! My kids are loving the BBQ's outside at the table!

Estimated Time Investment
Afternoon Project (3-6 Hours)
Finish Used
I haven't added a finish yet but will be soon.
Recommended Skill Level
Starter Project

Comments

Beryl

Tue, 06/02/2020 - 15:09

re the farm table. your cut list calls for 8 2 x 4 at 28 1/2 inches but the plan actually only needs 4 of them. The pics do not show you doubling the 2 x 4s for legs. Am I missing something.

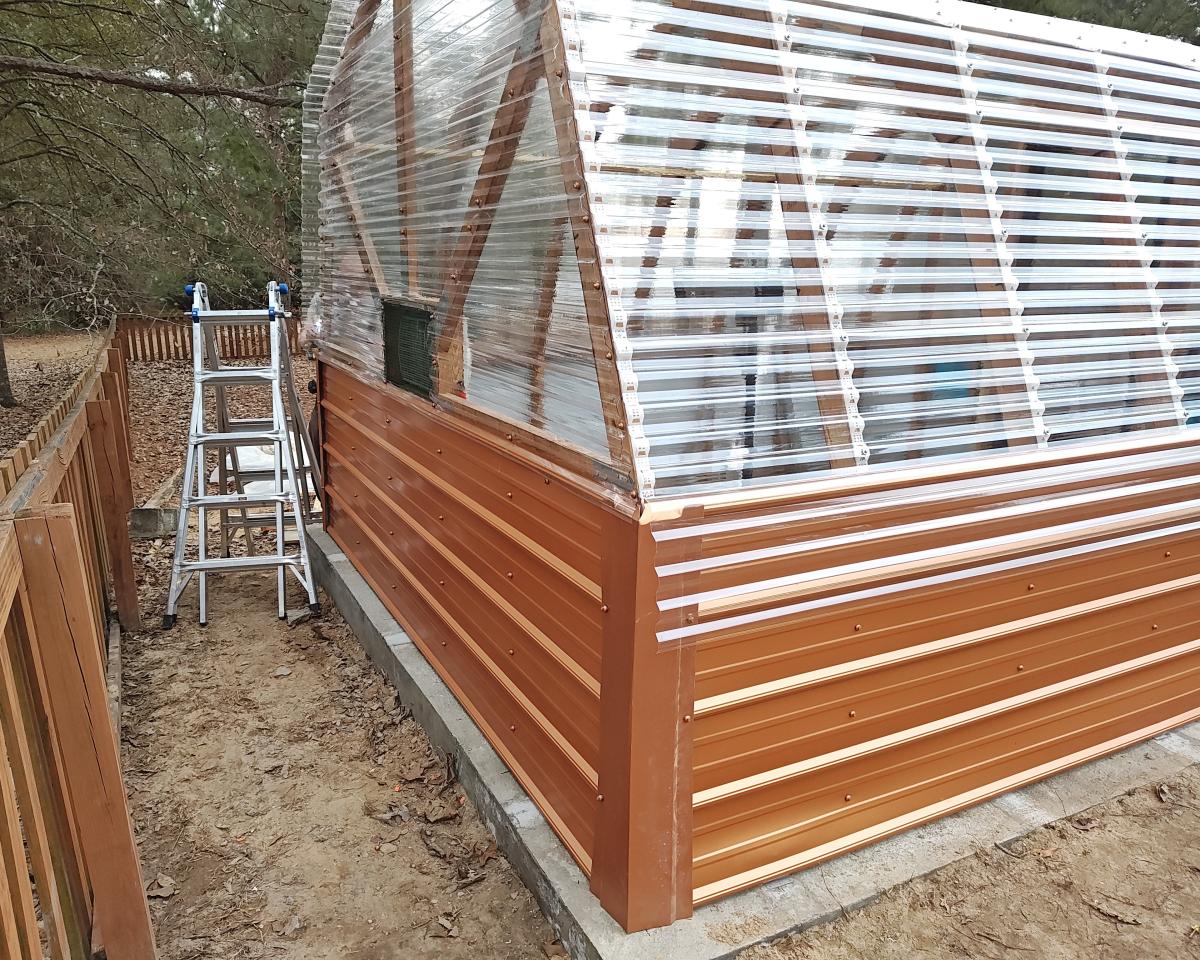
Short version of cedar shed

Submitted by Anonymous (not verified) on Sat, 05/16/2020 - 14:35

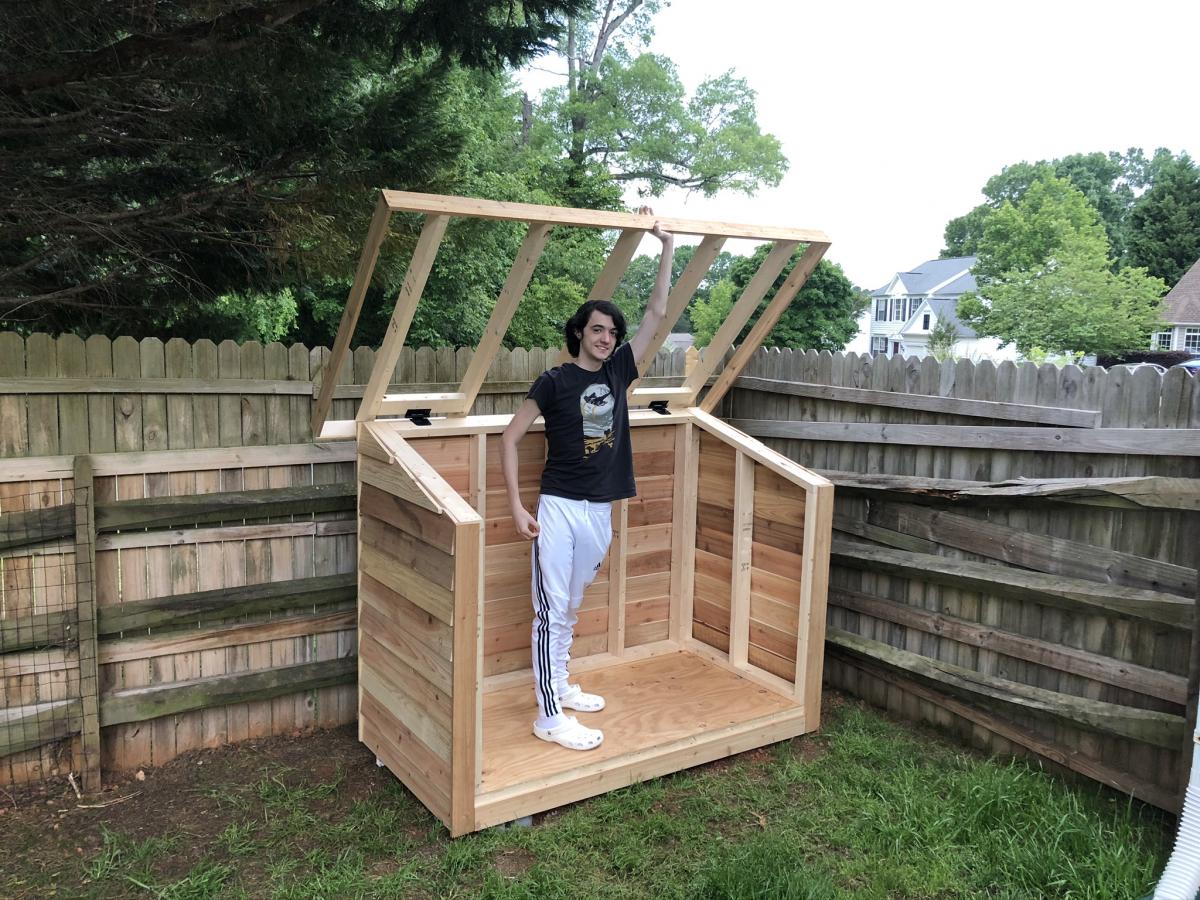
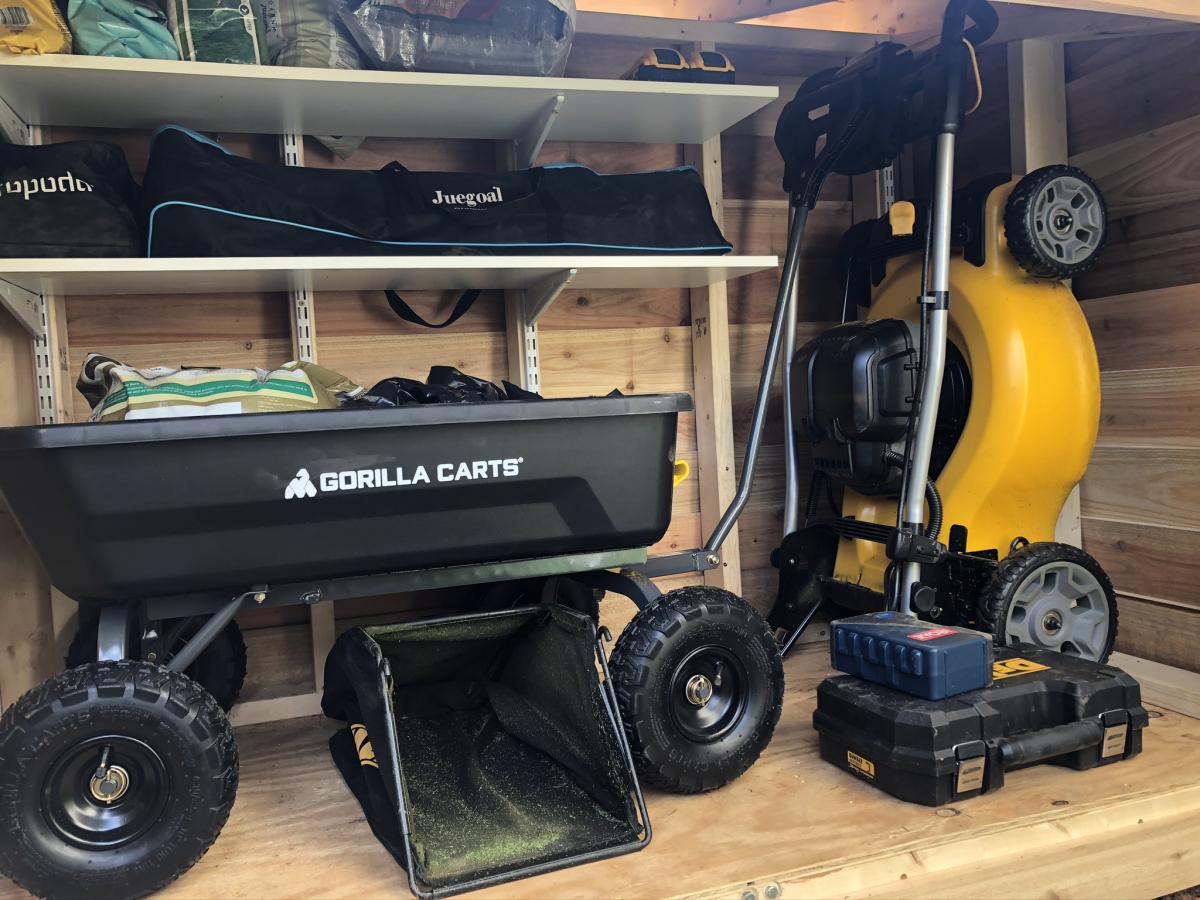
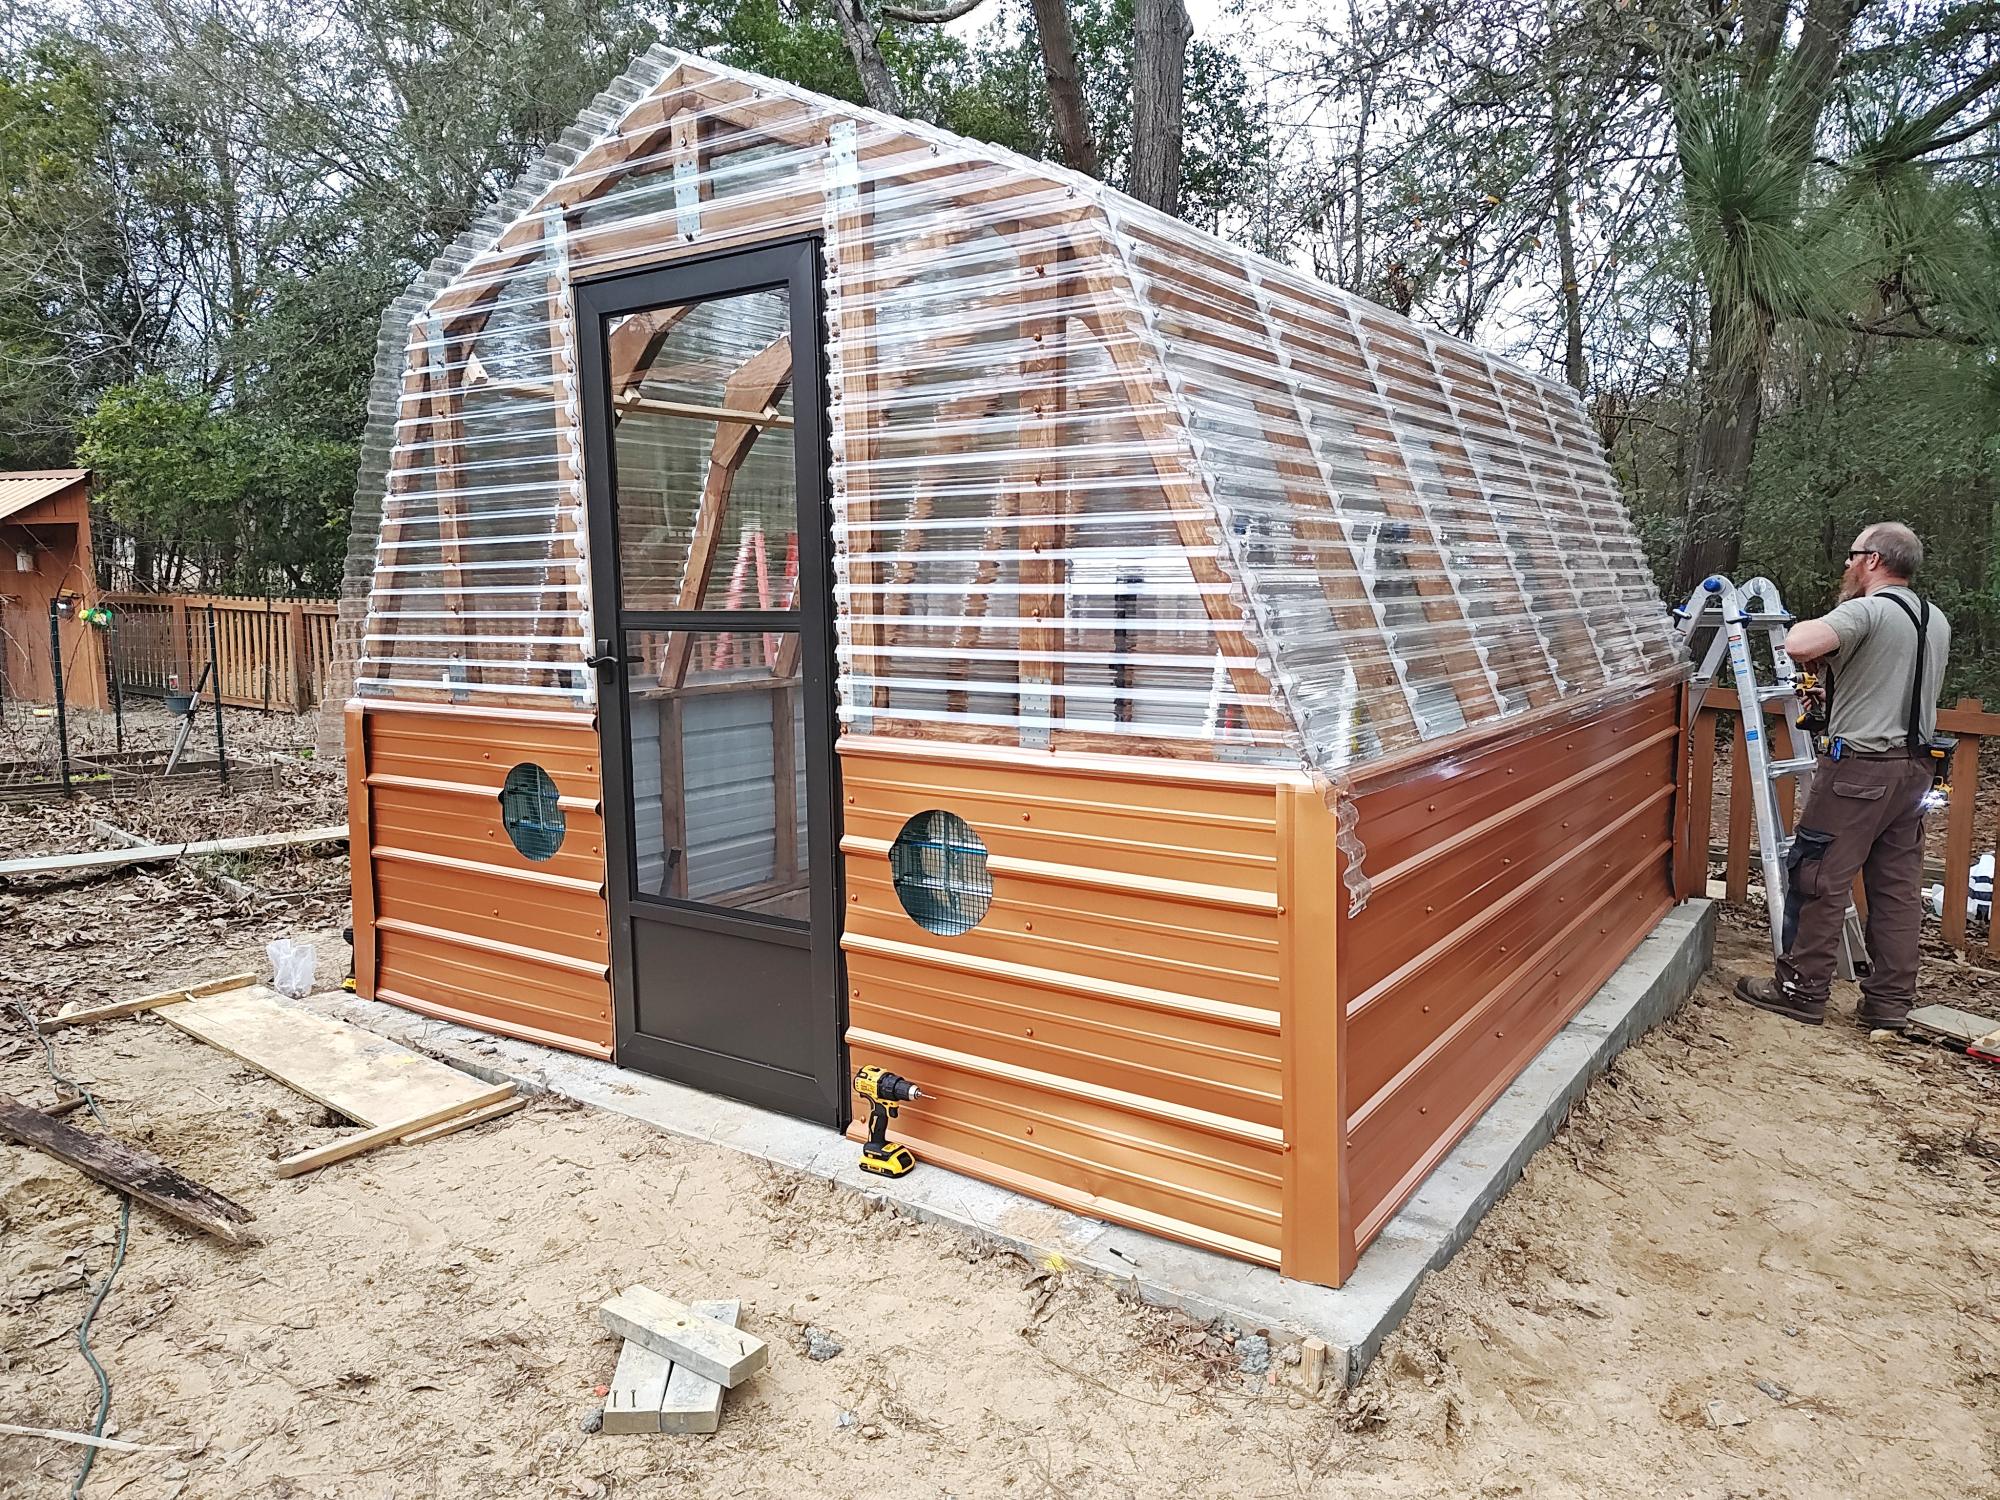
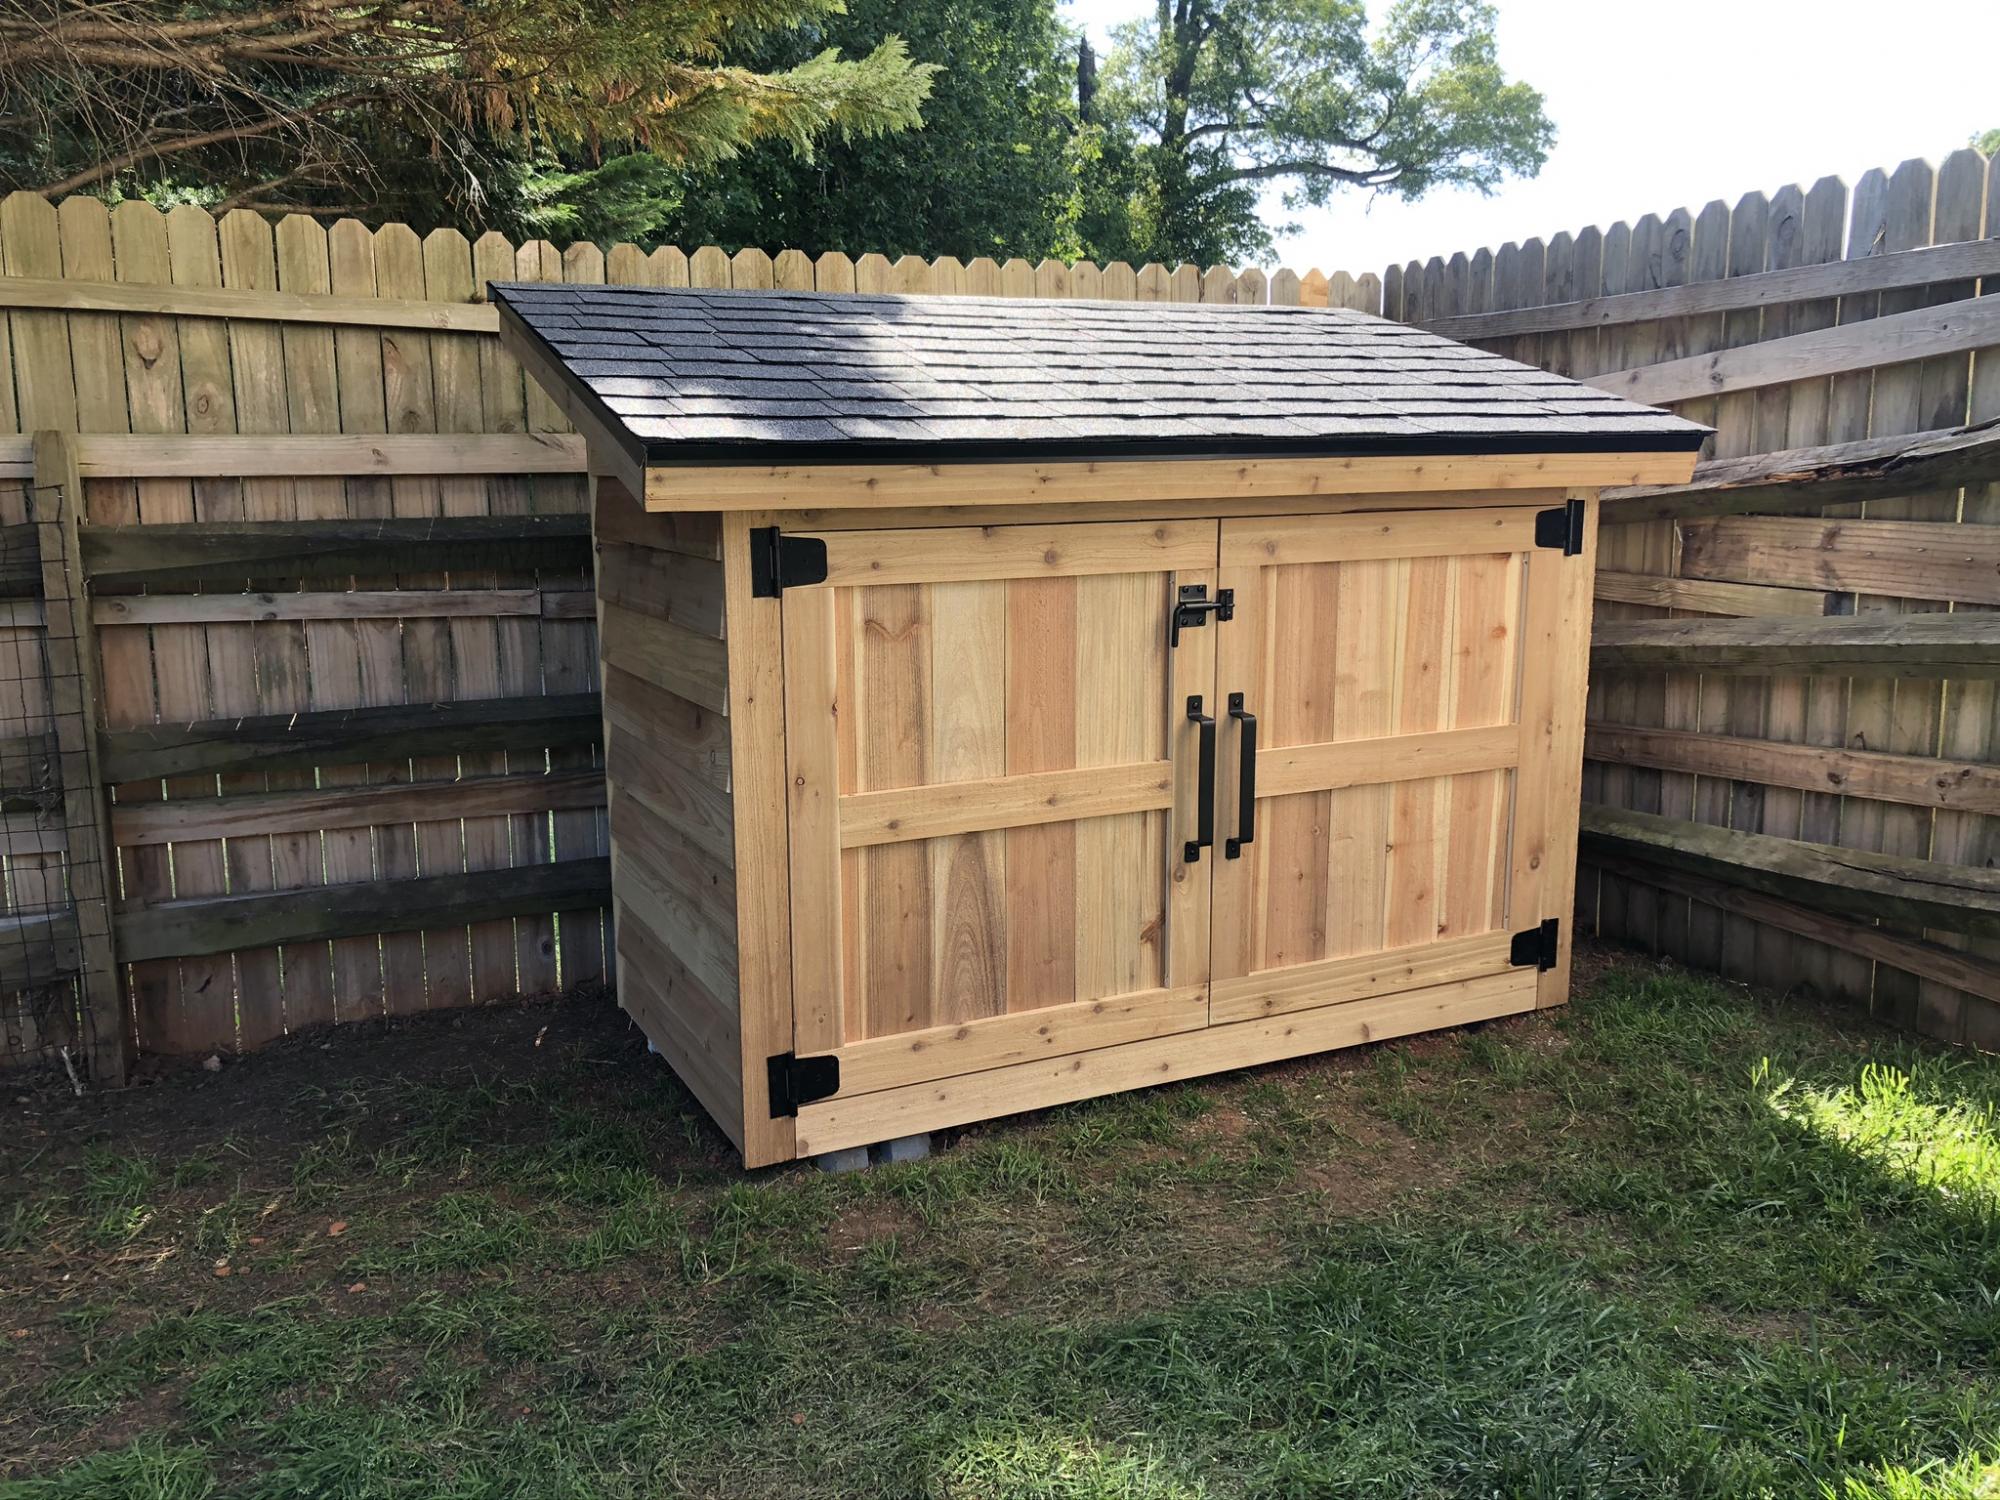
We wanted a shorter version, so that it would hide behind this fence. I just needed somewhere to store lawnmower, wheelbarrow, and a few yard supplies. I started putting the roof on hinges, but the gas struts couldn't support the 170 pound roof. So it's fixed in place (stronger structure anyway). That's why I went with 2x4's for the framed walls instead of 2x2's.

Built from Plan(s)
Estimated Cost
600
Estimated Time Investment
Weekend Project (10-20 Hours)
Finish Used
Not yet finished, will get to that.
Recommended Skill Level
Intermediate

Comments

Bookcase Dollhouse

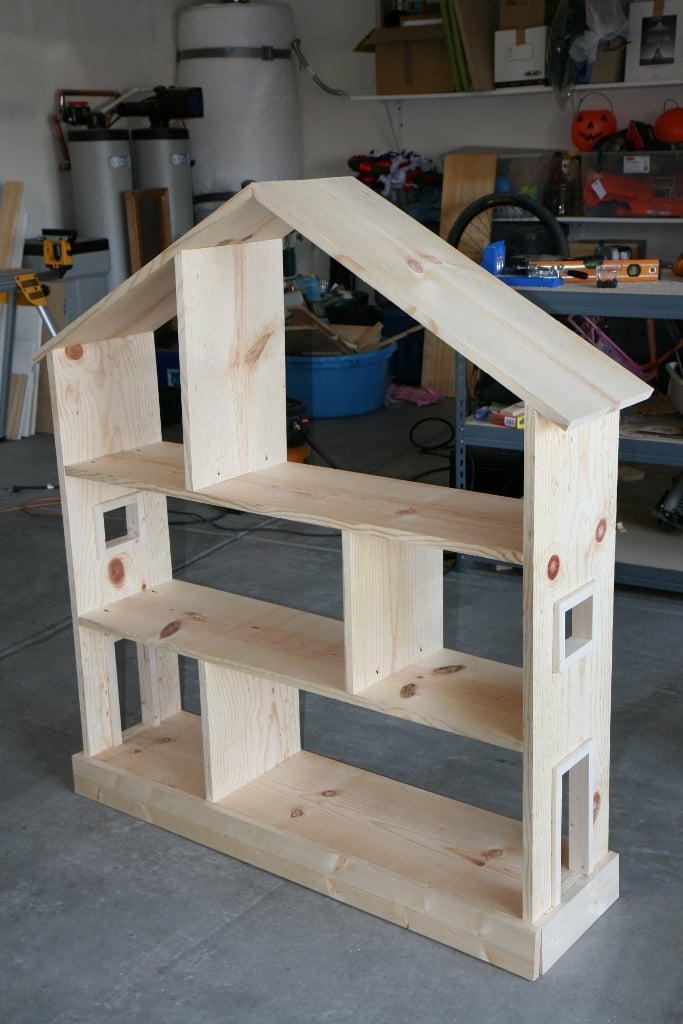
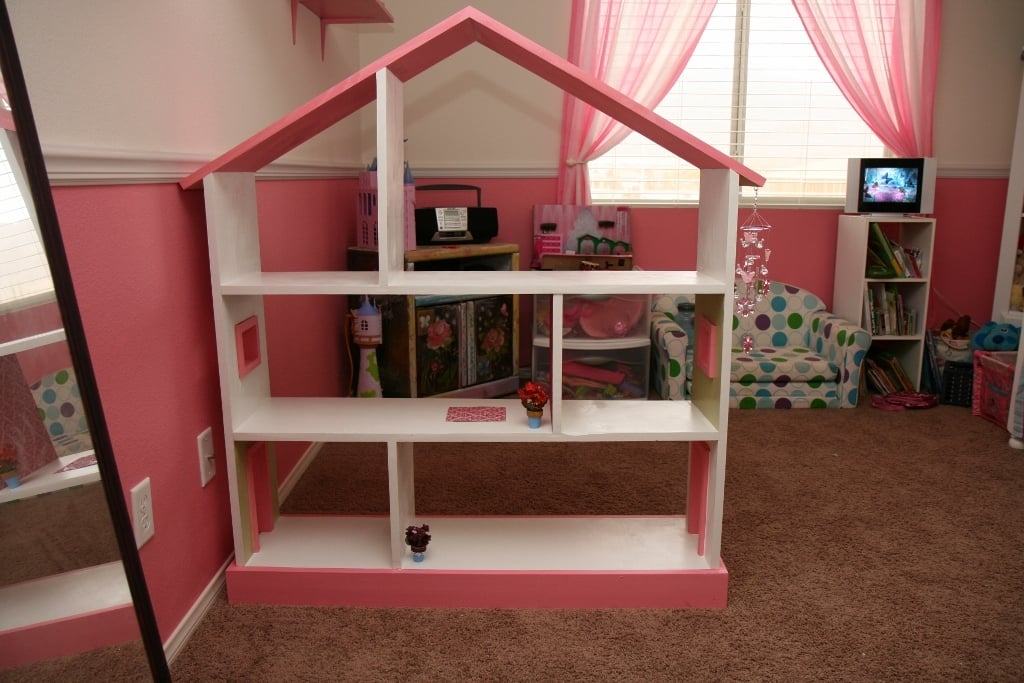
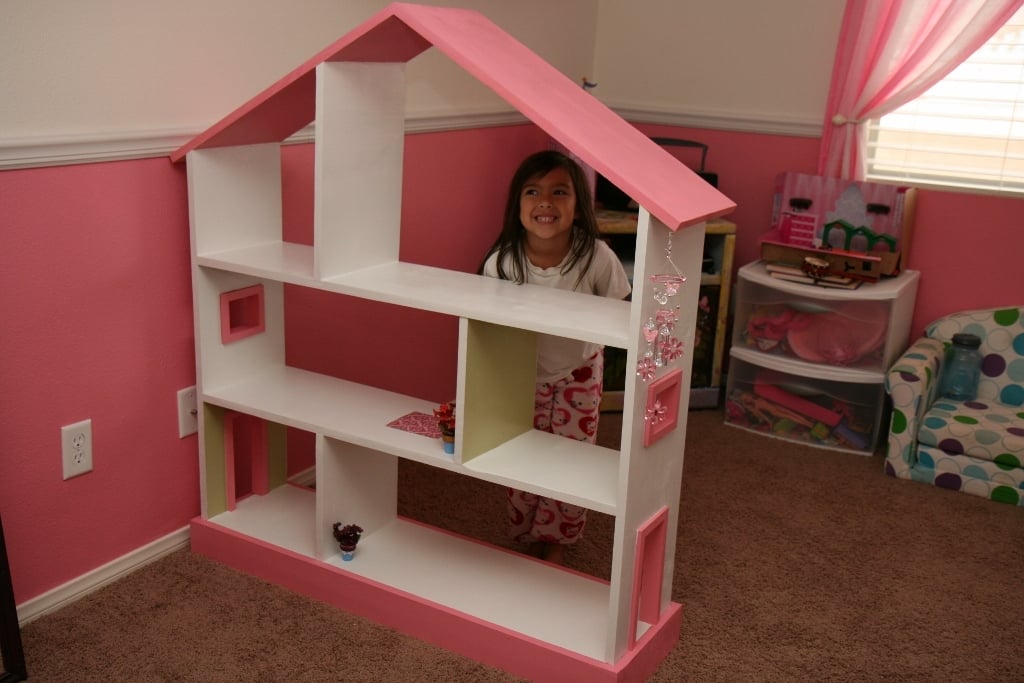
We built this for our daughter's 6th birthday! Love how it turned out :D  As you can see we opted to leave the plywood backing off for the time being so she can use it as a doll house and play on both sides. When she grows out of the doll house phase we will either convert it to a book shelf, donate, or sell in a yard sale ... so many options!

Built from Plan(s)
Estimated Cost
$74 wood & white paint
Estimated Time Investment
Afternoon Project (3-6 Hours)
Finish Used
One quart semi-gloss white paint (2 coats) bought at Walmart. Pink and green colors were left over paints from when we painted the walls in our home.
Recommended Skill Level
Beginner

Comments

Doggy Door or Baby Gate

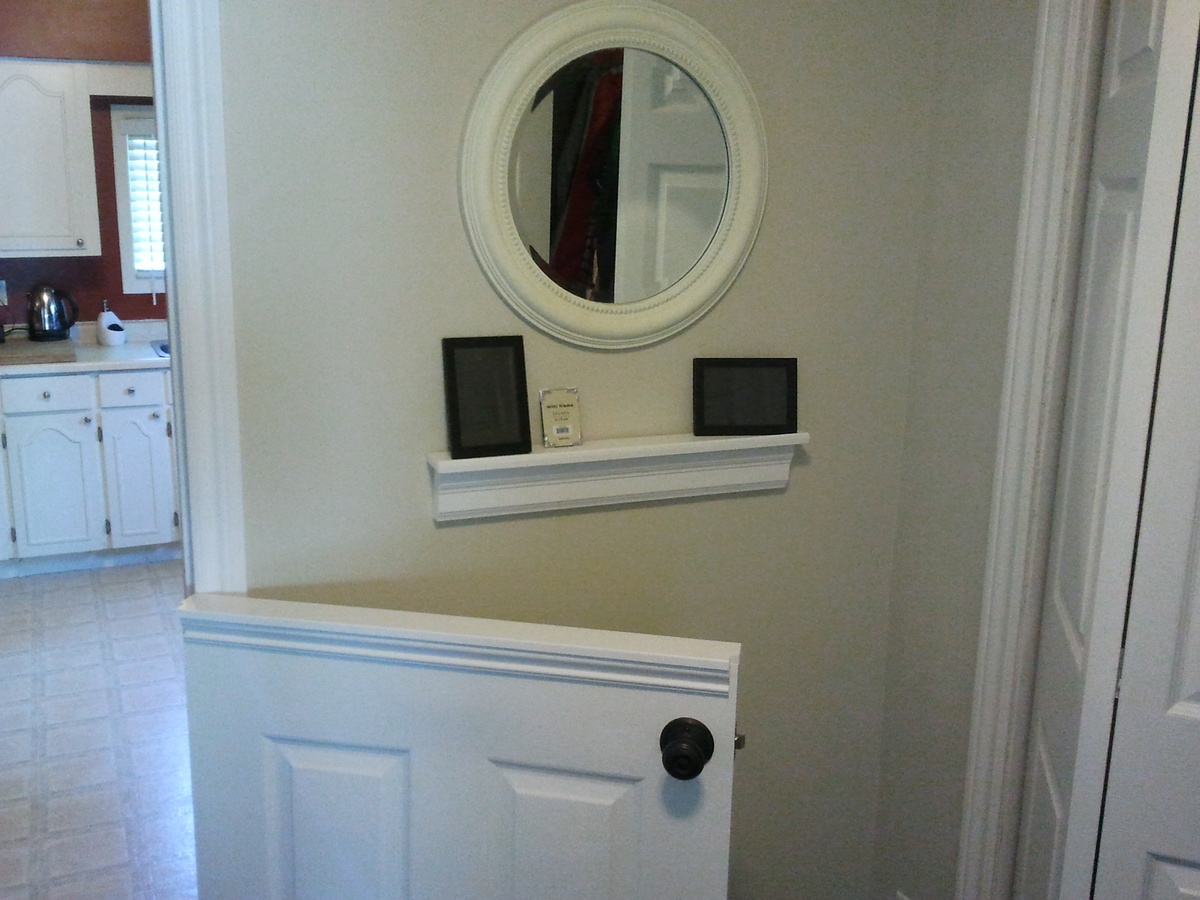
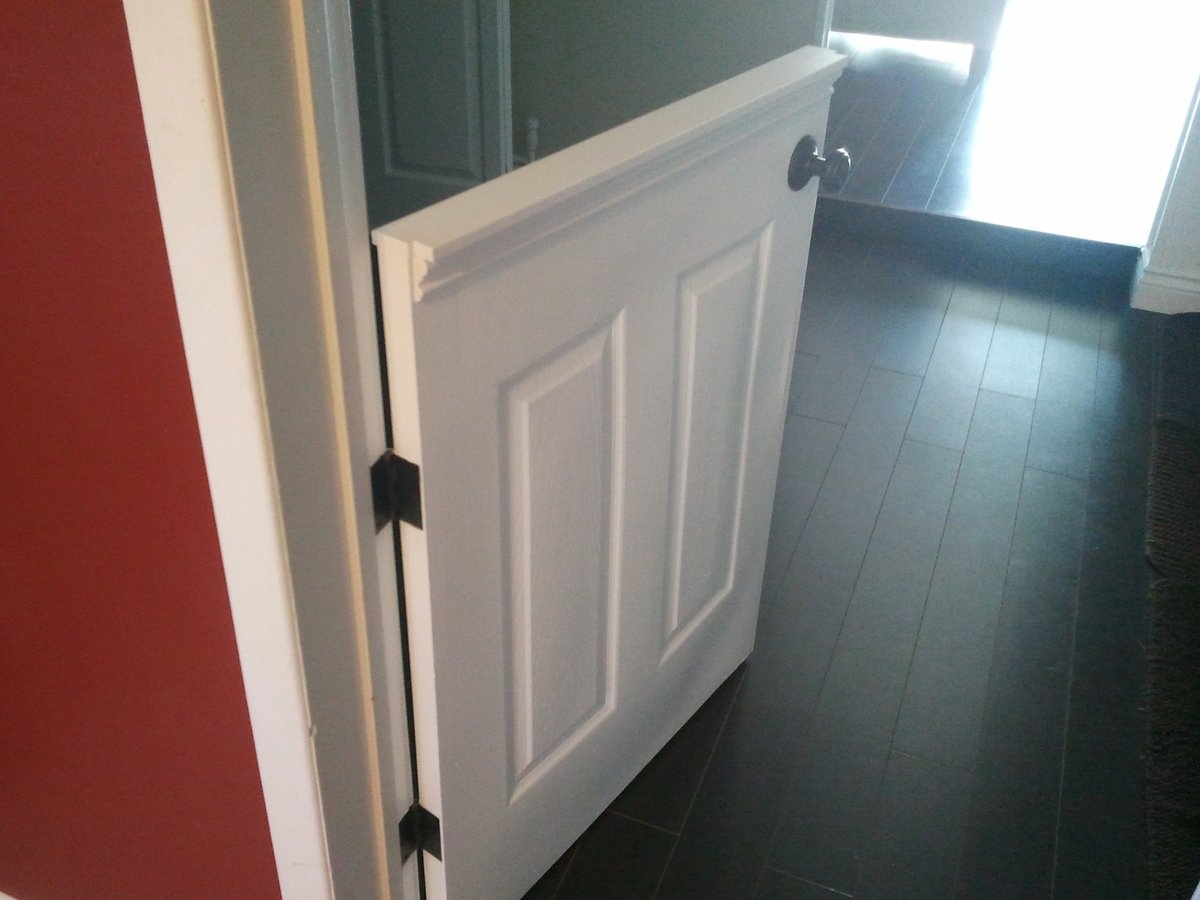
I installed a half door to isolate our dog from the laminate flooring when he sleeps at night.

It was only $25 for the hollow core 6 panel door from HD, which got cut in half.
$25 for the passage knob.
$10 for top plate and trim
Less than $5 for the hinges.

Not having to replace the laminate flooring priceless!

Some Tips:

The $25 door is not prehung. Buy the $14 dollar irwin door jig to install the door "http://www.homedepot.ca/product/door-lock-installation-kit-carbon/904157" It will come in handy if you are remodeling and installing new doors to replace those old flat panel doors. You will also have to chisel out the hinges.

When installing and marking the hinge locations in the door frame shim the door a 1/4" off the floor.

Estimated Cost
$65 materials + $15 jig = $80
Estimated Time Investment
Day Project (6-9 Hours)
Finish Used
White paint
Recommended Skill Level
Intermediate

Comments

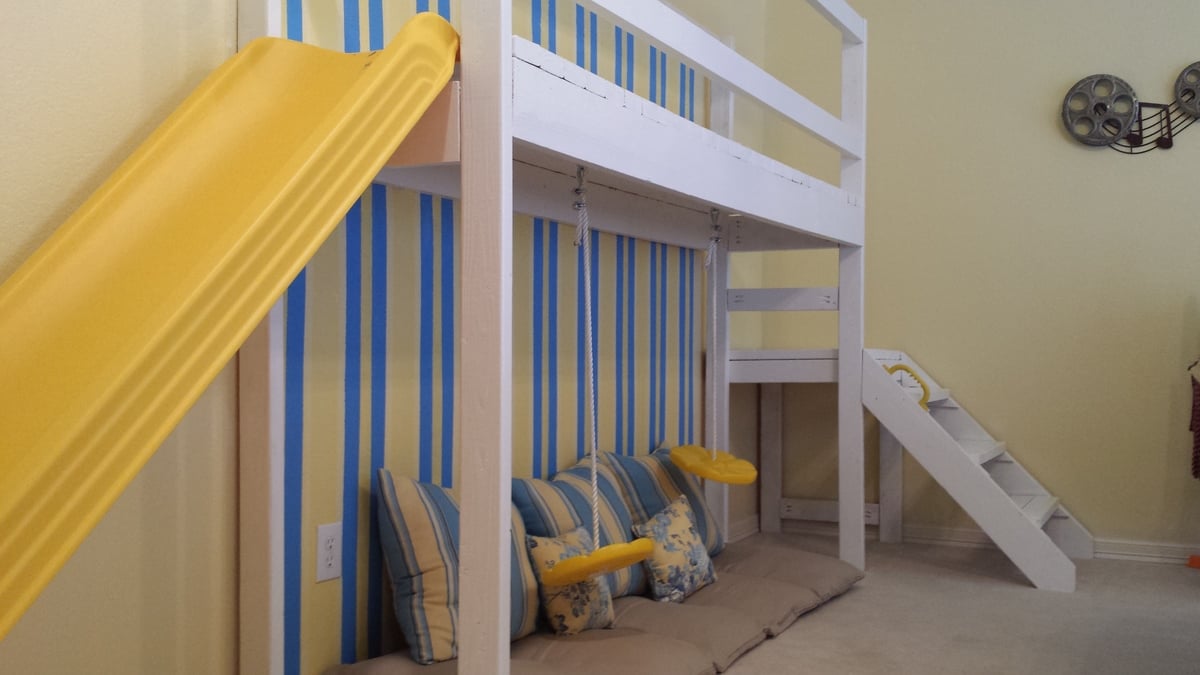
Indoor Playground slide fort

Submitted by Glenda544 on Wed, 05/28/2014 - 18:49

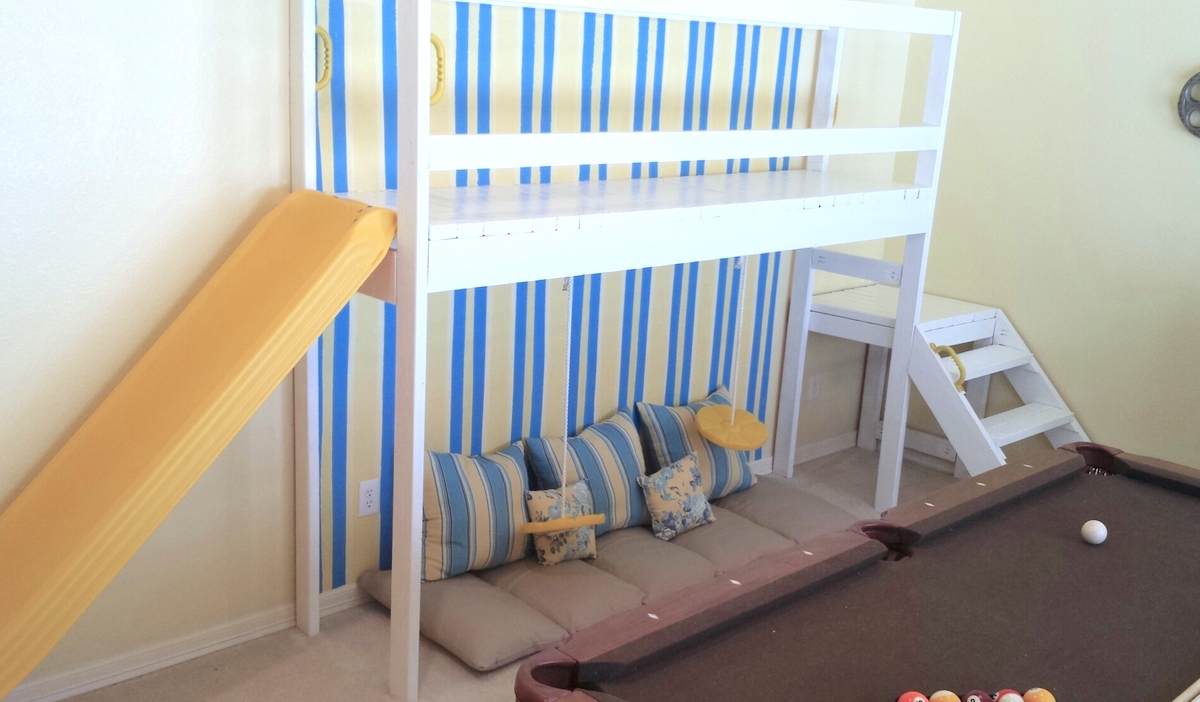
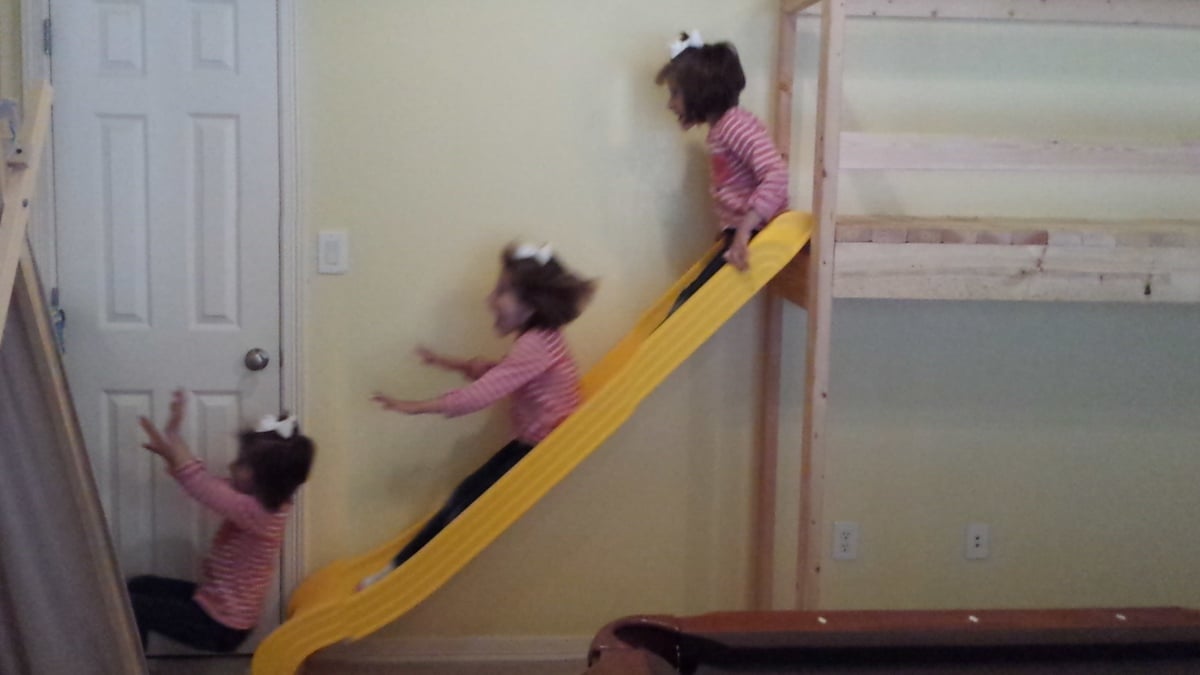
We wanted a place for the kids to play when the weather outside is unbearable. So, we modified the camp loft bunk bed plan to work in our game room. We have a pool table in the room and we didn't want it to interfere with any shots. Subsequently, we cut the width down to 24 inches and extended the length to 93 inches to fit in our space. Additionally, we pre-ordered a slide that had to be mounted at 48 inches and measured 71 inches in length. So, my husband framed it out so the planks that are meant to hold the mattress would sit right at 48 inches and we could mount the slide. This has been the best idea ever for our kids, because they can't get enough of sliding and swinging indoors.

Estimated Cost
$100 plus slide ($89), swings ($16 each) and handles ($4 for 2)
Estimated Time Investment
Weekend Project (10-20 Hours)
Finish Used
Hmm, I believe it was a gallon of Snow Fall finish with primer all in one from Home Depot. We used about 1/2 but have more projects planned.
Recommended Skill Level
Beginner

Comments

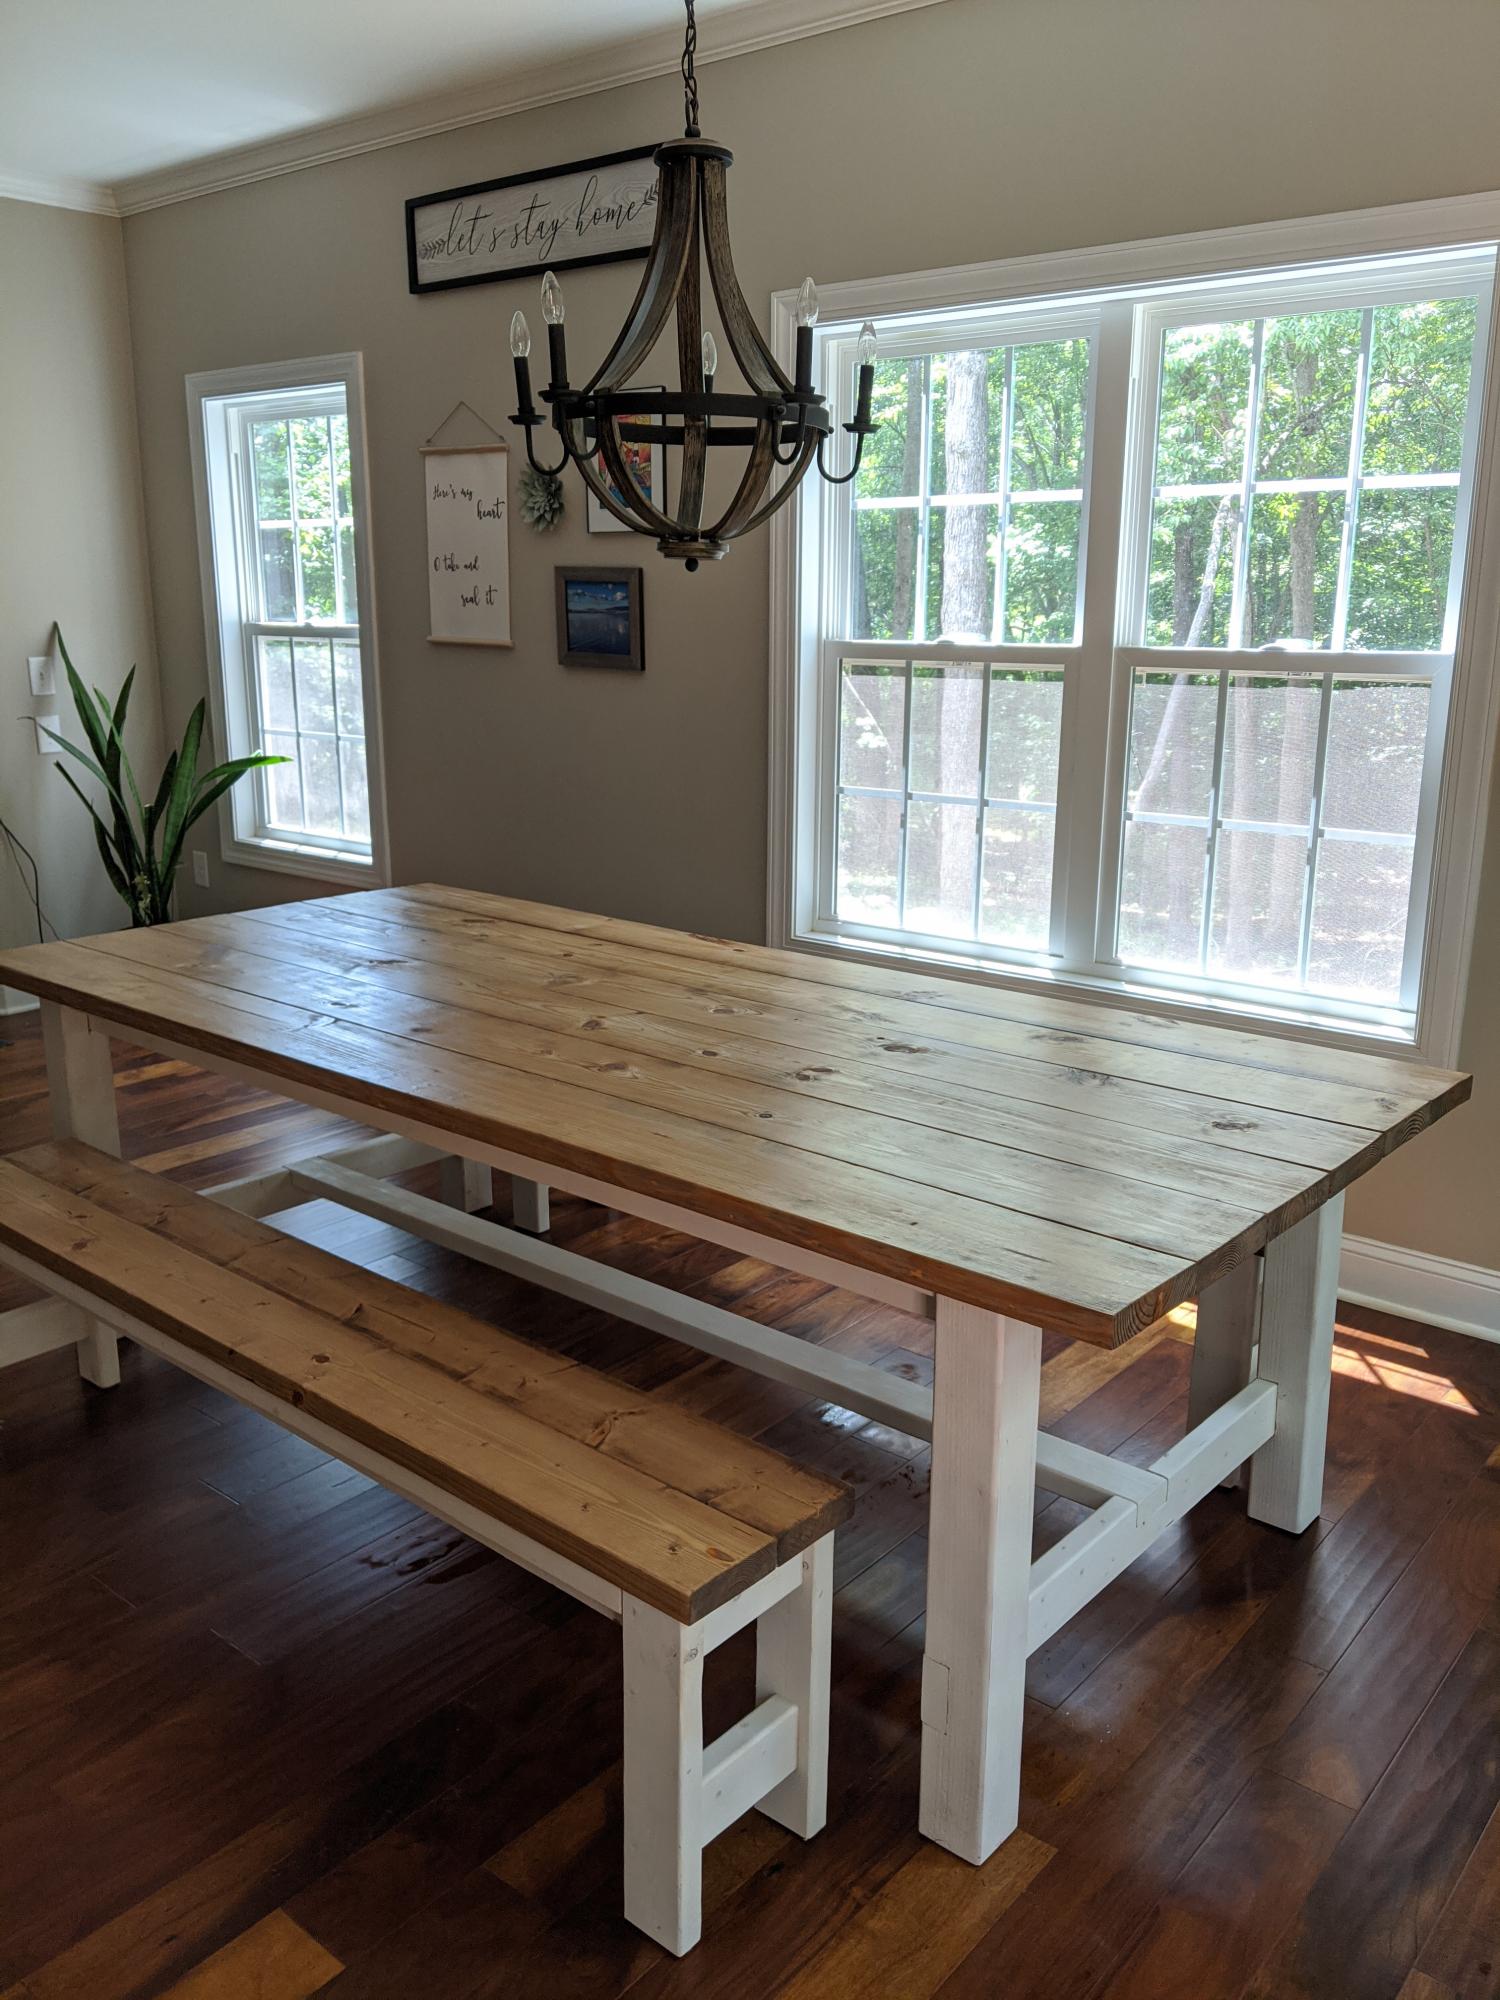
Farmhouse table

Submitted by Anonymous (not verified) on Thu, 06/18/2020 - 19:25

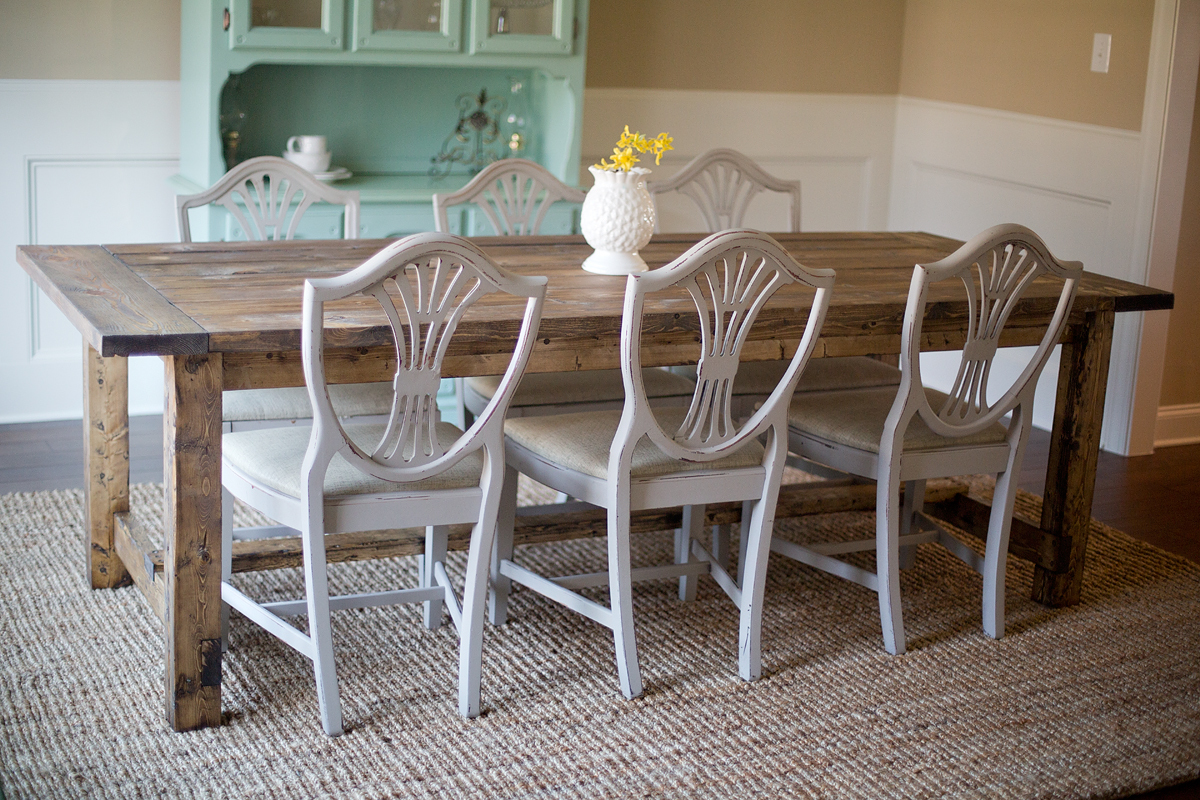
First table build! We modified the plans with no breadboard ends since we live with lots of humidity and wanted to allow the wood movement. We also used 4x4s for the legs. White chalk spray paint legs and custom mix of special walnut and weathered oak stains. We LOVE it!!

Estimated Cost
200
Estimated Time Investment
Weekend Project (10-20 Hours)

6' Square Sandbox

I've been wanting to buy or make a sandbox for my son for a couple of years now. Since seeing this on Ana White I knew I had to make it. My son is 4 yo and I didn't think the 4' square sandbox would be big enough for him, so I made it bigger. Ours is 6' square.

Materials:
4@1x8x6'
12@1x6x6'
2x4 - used leftovers from another project
8 hinges
4 handles
decking screws

Cut lengths:
2@1x8 cut to 71.5 (long sides of the box)
2@1x8 cut to 70.5 (short sides of the box)
did not cut the 1x6 boards (top planks) - actually designed the other boards to fit their length to prevent cutting (saving time) (note that original plan uses 1x4 planks - I used 1x6s so I could use the same number of planks but cover a larger area)
4@2x4 cut to 11.5 (arm rests)
4@2x4 cut to 18.5 (back supports)

followed instructions for assembly otherwise. At my husbands suggestion we put the handles on the sides and can easily open from either side - prevents having to lean over to the middle to open (back saver)

I finished the project in 4 hours including clean up and a couple of small breaks. This is my first Ana White project. It was a lot of fun to build and I hope my son will enjoy it for years to come!

Built from Plan(s)
Estimated Cost
$190
Estimated Time Investment
Day Project (6-9 Hours)
Finish Used
Sand and stain with sealer included
Recommended Skill Level
Beginner

Comments

Mrs. Chellebelle

Sat, 09/01/2012 - 20:59

Wow, this is just what I need! I've been wanting to make a sandbox for under the playhouse but the other plan was too small. This would be great for the little guys. Thanks!

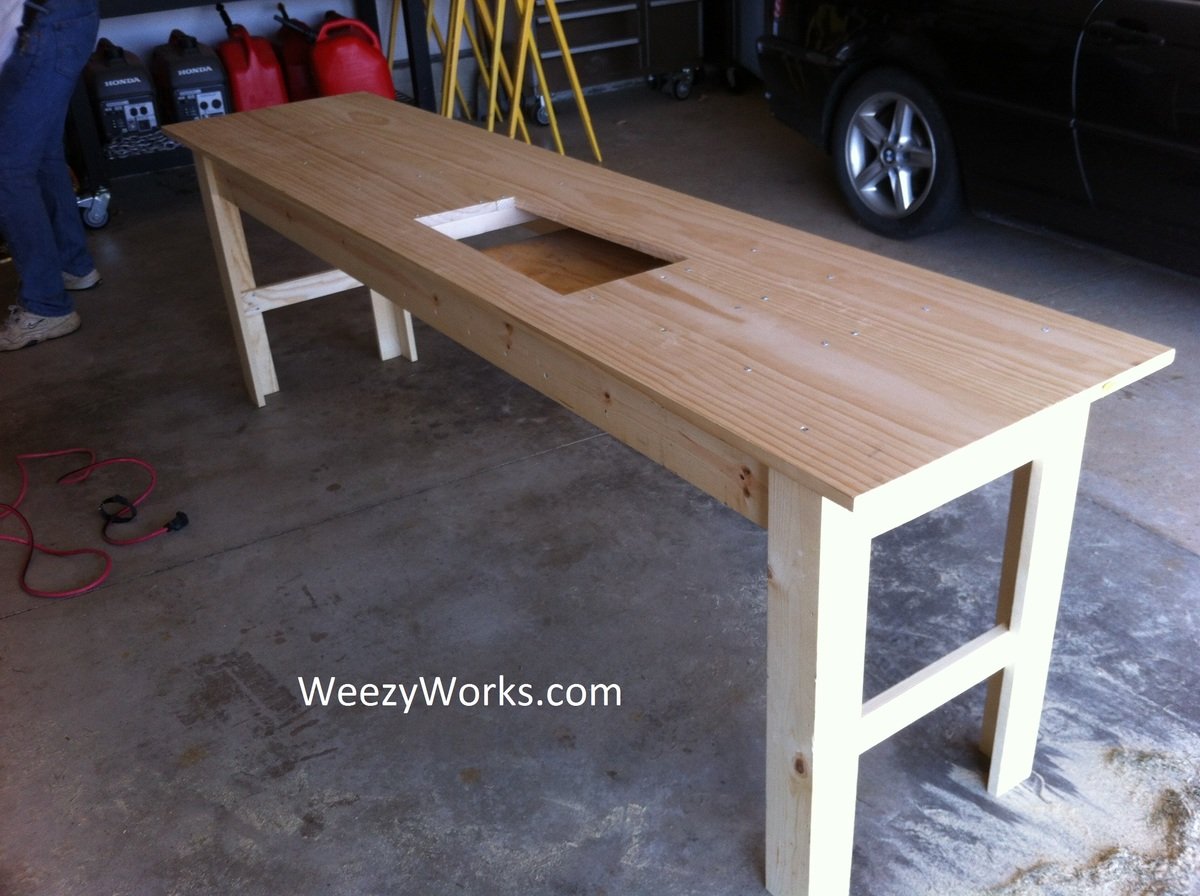
Narrow Sewing Table

Submitted by WeezyWorks on Tue, 09/11/2012 - 18:06

Ive been looking for a sewing table to fit my space. but found none for less than $500 and they were quite small. I found a post at quiltedcupcake.com that linked me to another blog, linking me here. I modified the plan to be about 2 feet wide and cut a hole to fit my sewing machine. There is a support in the bottom to hold my machine level with the tabletop. When I make this in the future, I will splurge on a fine hardwood. This plan was easy to build and looks great! Just what I was looking for :D

Estimated Cost
$125
Estimated Time Investment
Weekend Project (10-20 Hours)
Finish Used
Dark stain and satin polyurethane
Recommended Skill Level
Beginner

Comments

tommirhea

Fri, 09/14/2012 - 09:45

I'm jealous of your organization! I've had a folding table for my sewing table since I started sewing :(

tommirhea

Sun, 09/16/2012 - 10:11

Now, I've just got to make it! I love to free motion quilt and that would make it easier. With each baby I've had my quilting space has diminished (of course it's worth it) but now I think I will reclaim some space ;)

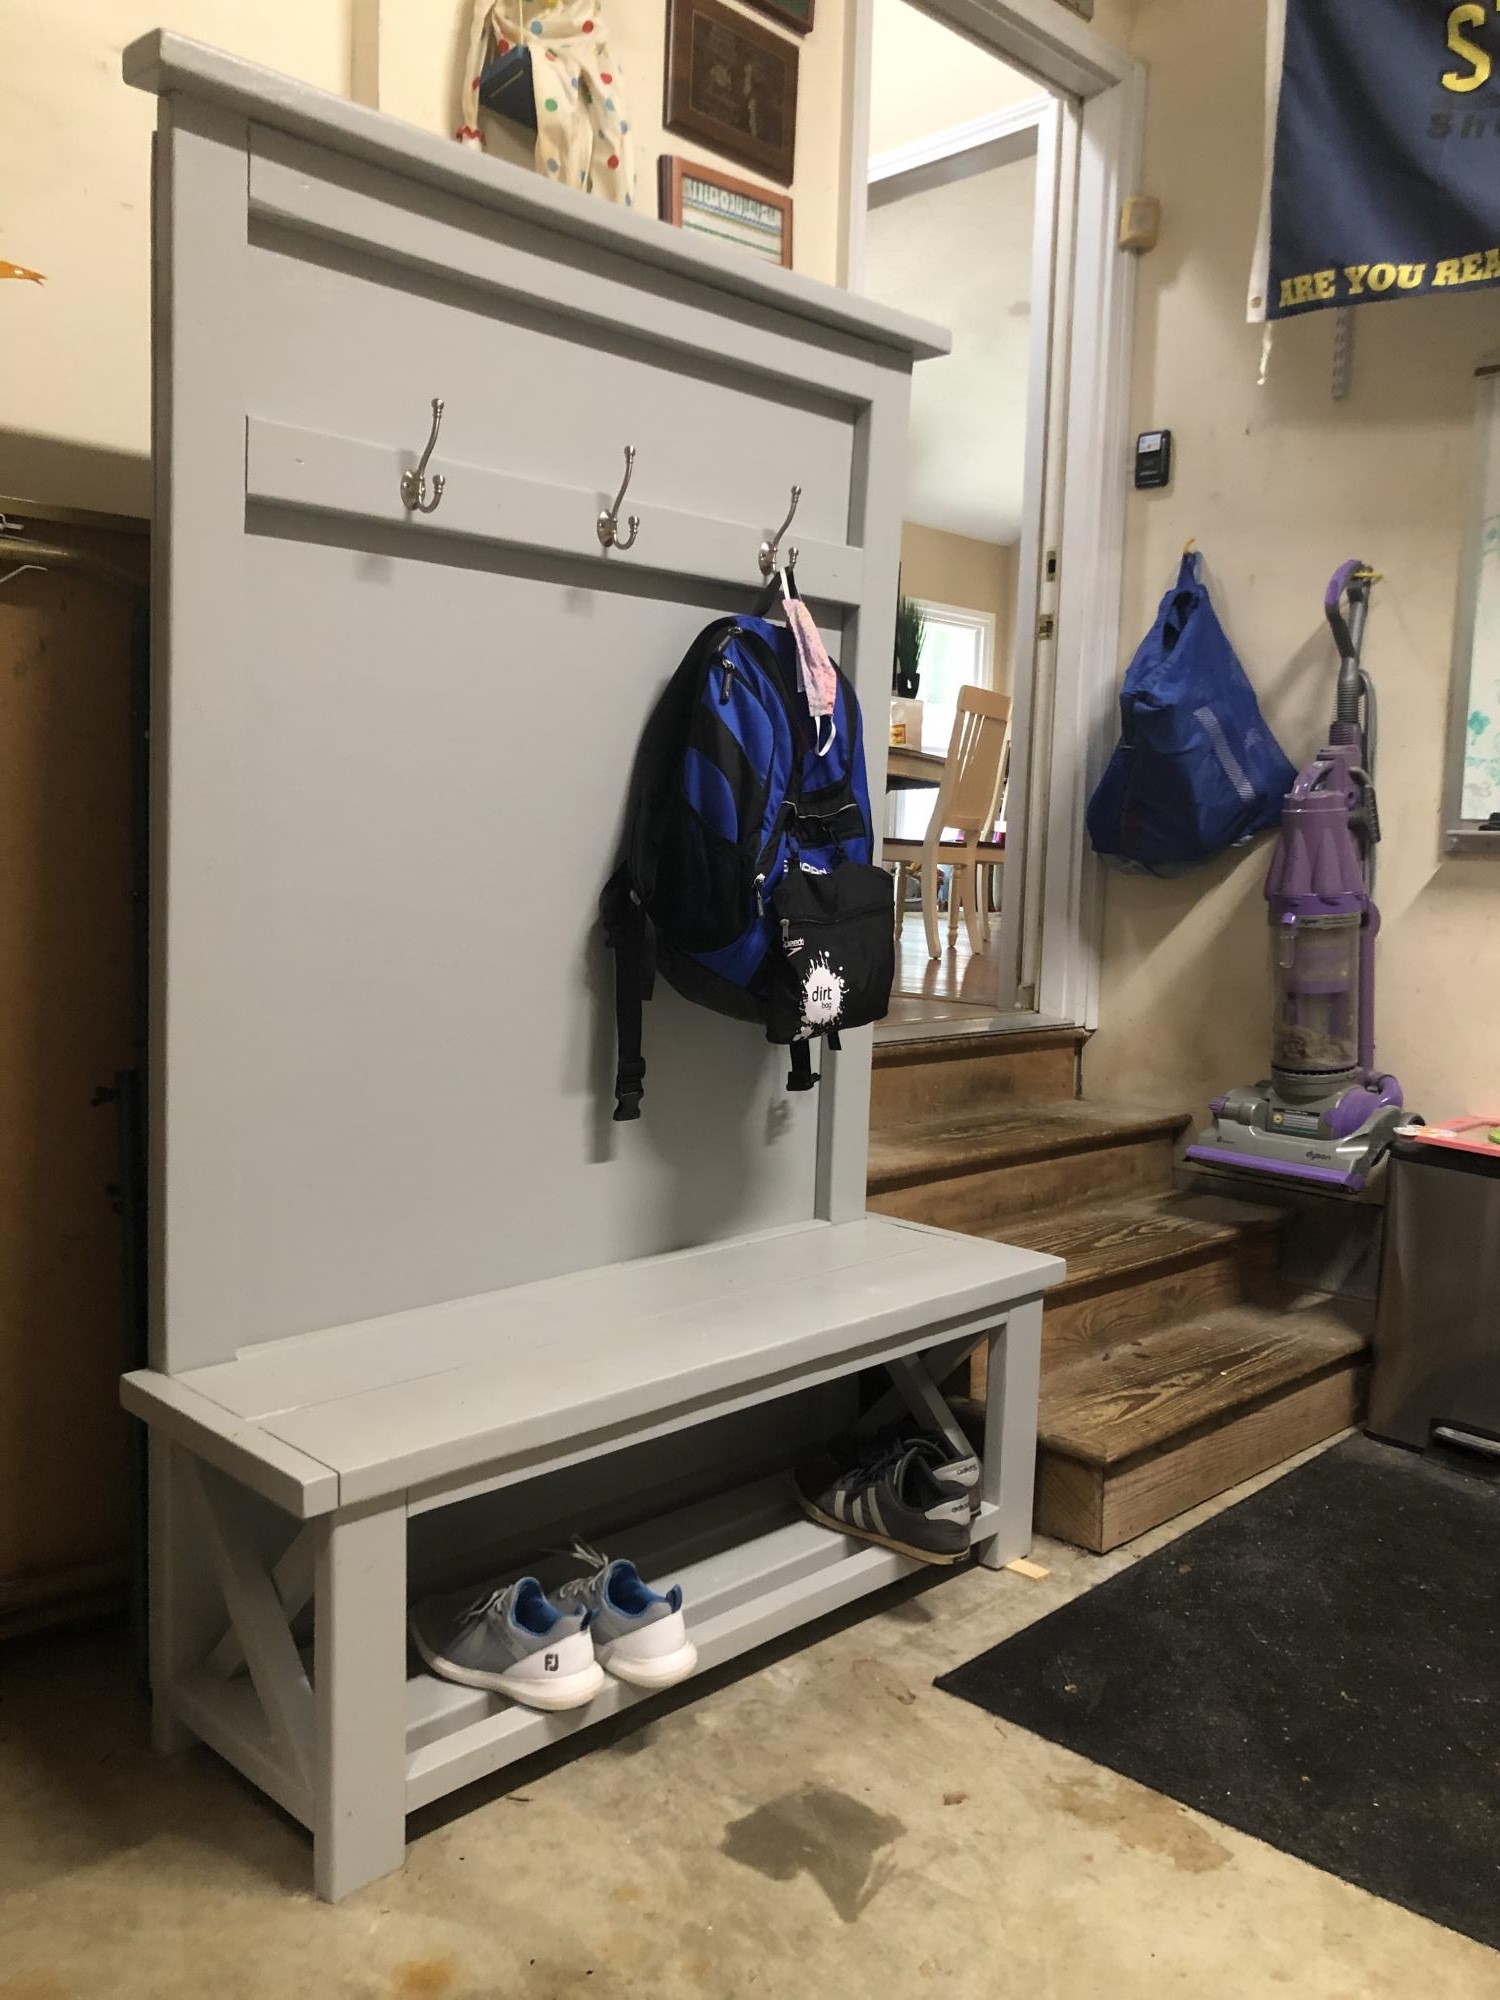
Rustic x garage tree.

Submitted by johnpkuly on Sat, 07/18/2020 - 08:49

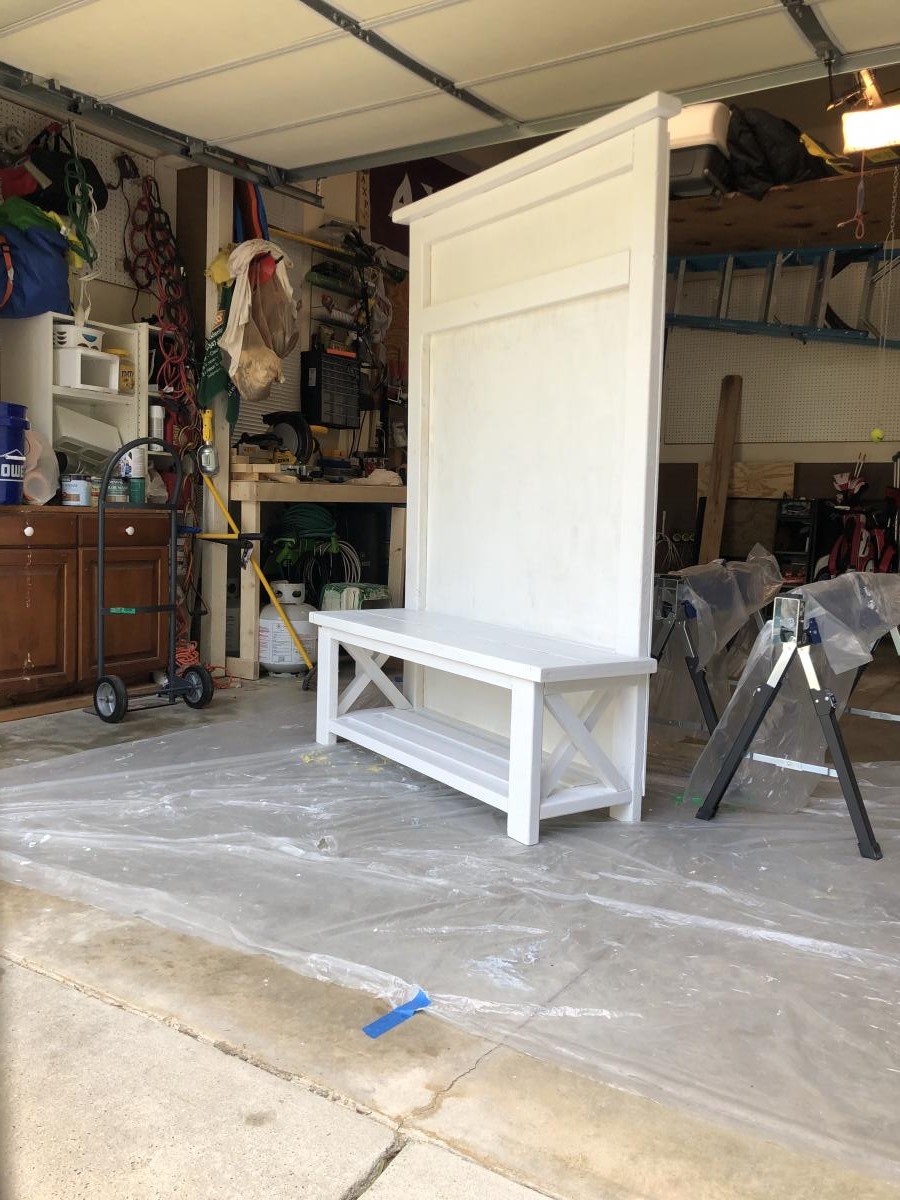
Fun project. Had the kids helping with the build. Easy to follow directions. Made the x side by side rather than cut. Sanding and painting took the longest. Had to put 2 good coats to protect it. Thanks!

Built from Plan(s)
Estimated Cost
$200
Estimated Time Investment
Day Project (6-9 Hours)
Finish Used
Vale par signature urban sunrise semi gloss
Recommended Skill Level
Beginner

Perfect College Student's Desk Combo

I combined the Dorm Desk and Flip-down Children's art desk plans to make a perfect combination for my school work.

The Dorm Desk was designed to be used with bar stools, so it would be rather tall. I simply made the dimensions shorter to fit with a computer chair. I also tweaked the children's art desk a bit for use as a laptop desk, just took out the shelves and put a piece in to hold binders and whatnot.

Another note, most of the materials used were scraps from other projects, so the dimensions are a little different there too. For instance, I had some 6" strips of 3/4" plywood sitting around, so I used those for the shelves instead of 1x8's, and I used a piece of 1x12 for the front of the wall-mount desk instead of plywood.

The estimate cost is not at all what it would cost if you were starting from scratch. The only things I payed for up front for these two projects was the D-ring hangers for the wall-mount desk, a piece of plywood for he desk top, some tin flashing, and a 2x2 for the frame.

*the tin flashing I got ended up not being magnetic, which was disappointing, but it ended up working well with wet-erase markers (the kind teachers use on overhead projectors) so at least it still has a function. I may also end up puting a cork border around the edges so I can still hang things from there.

Hint: I used an old wallet chain for support on the wall-mount desk. I also found some left over hinges and a small clasp I had bought for a keepsake box I made years ago. If you're pretty handy, you probably have plenty of stuff you can use just lying around the house.
Built from Plan(s)
Estimated Cost
$15
Estimated Time Investment
Weekend Project (10-20 Hours)
Recommended Skill Level
Intermediate

Outdoor Modern Sofa

Submitted by Anonymous (not verified) on Sat, 08/08/2020 - 07:31

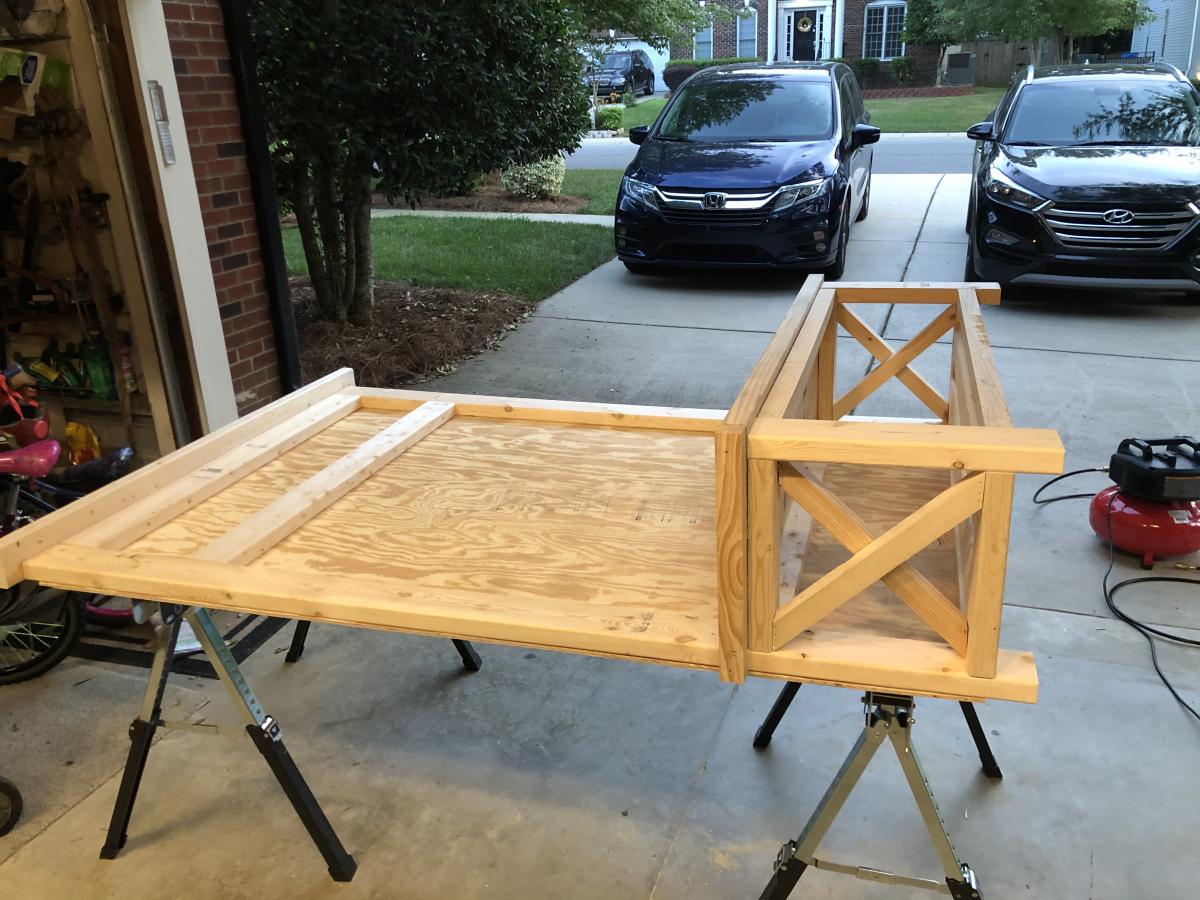
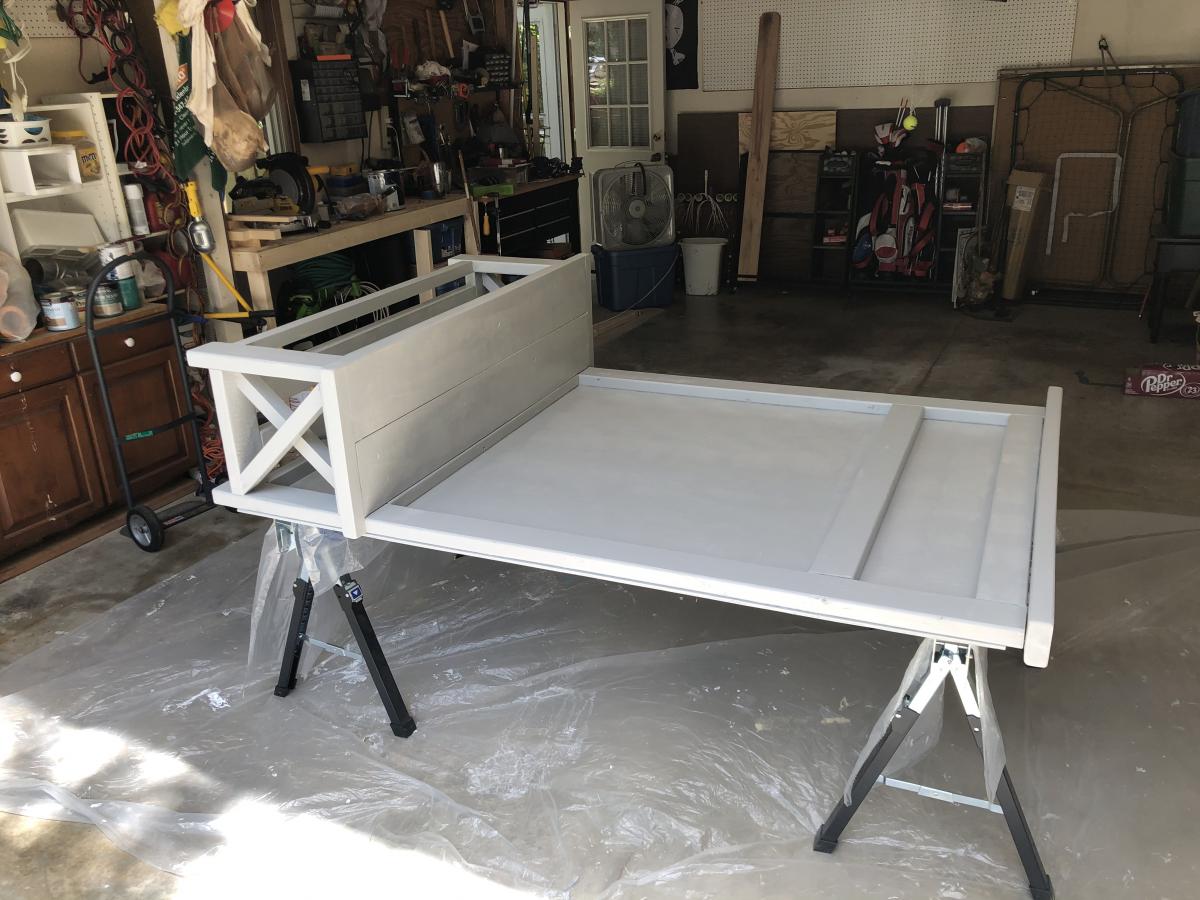
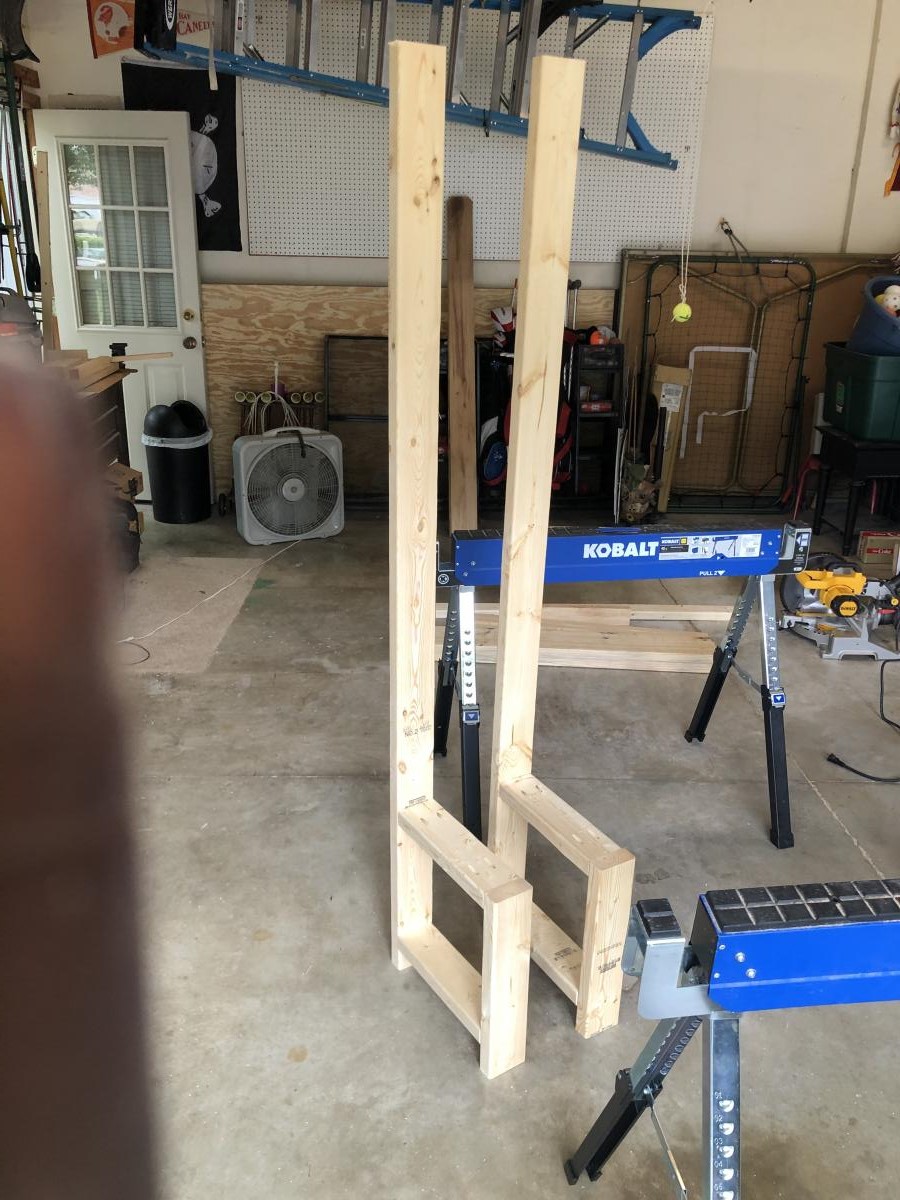
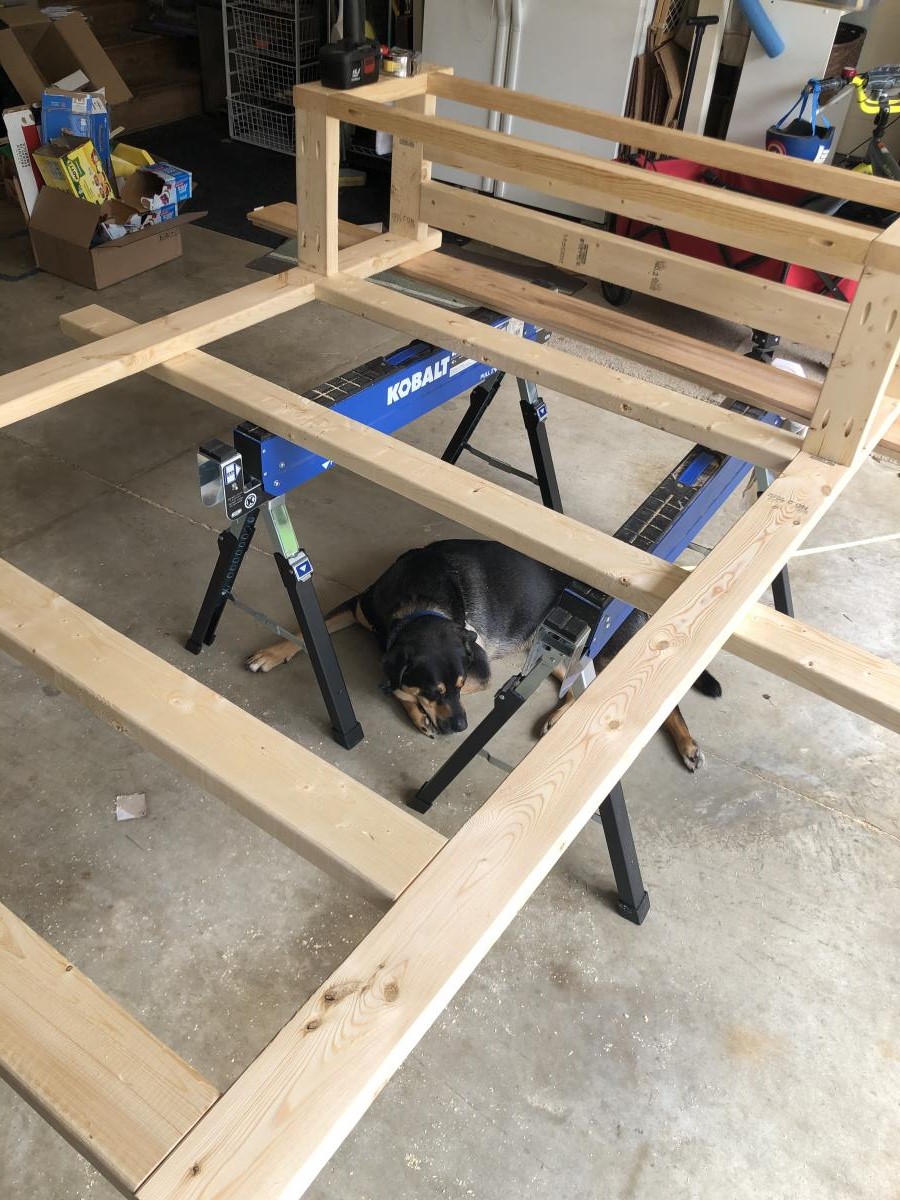
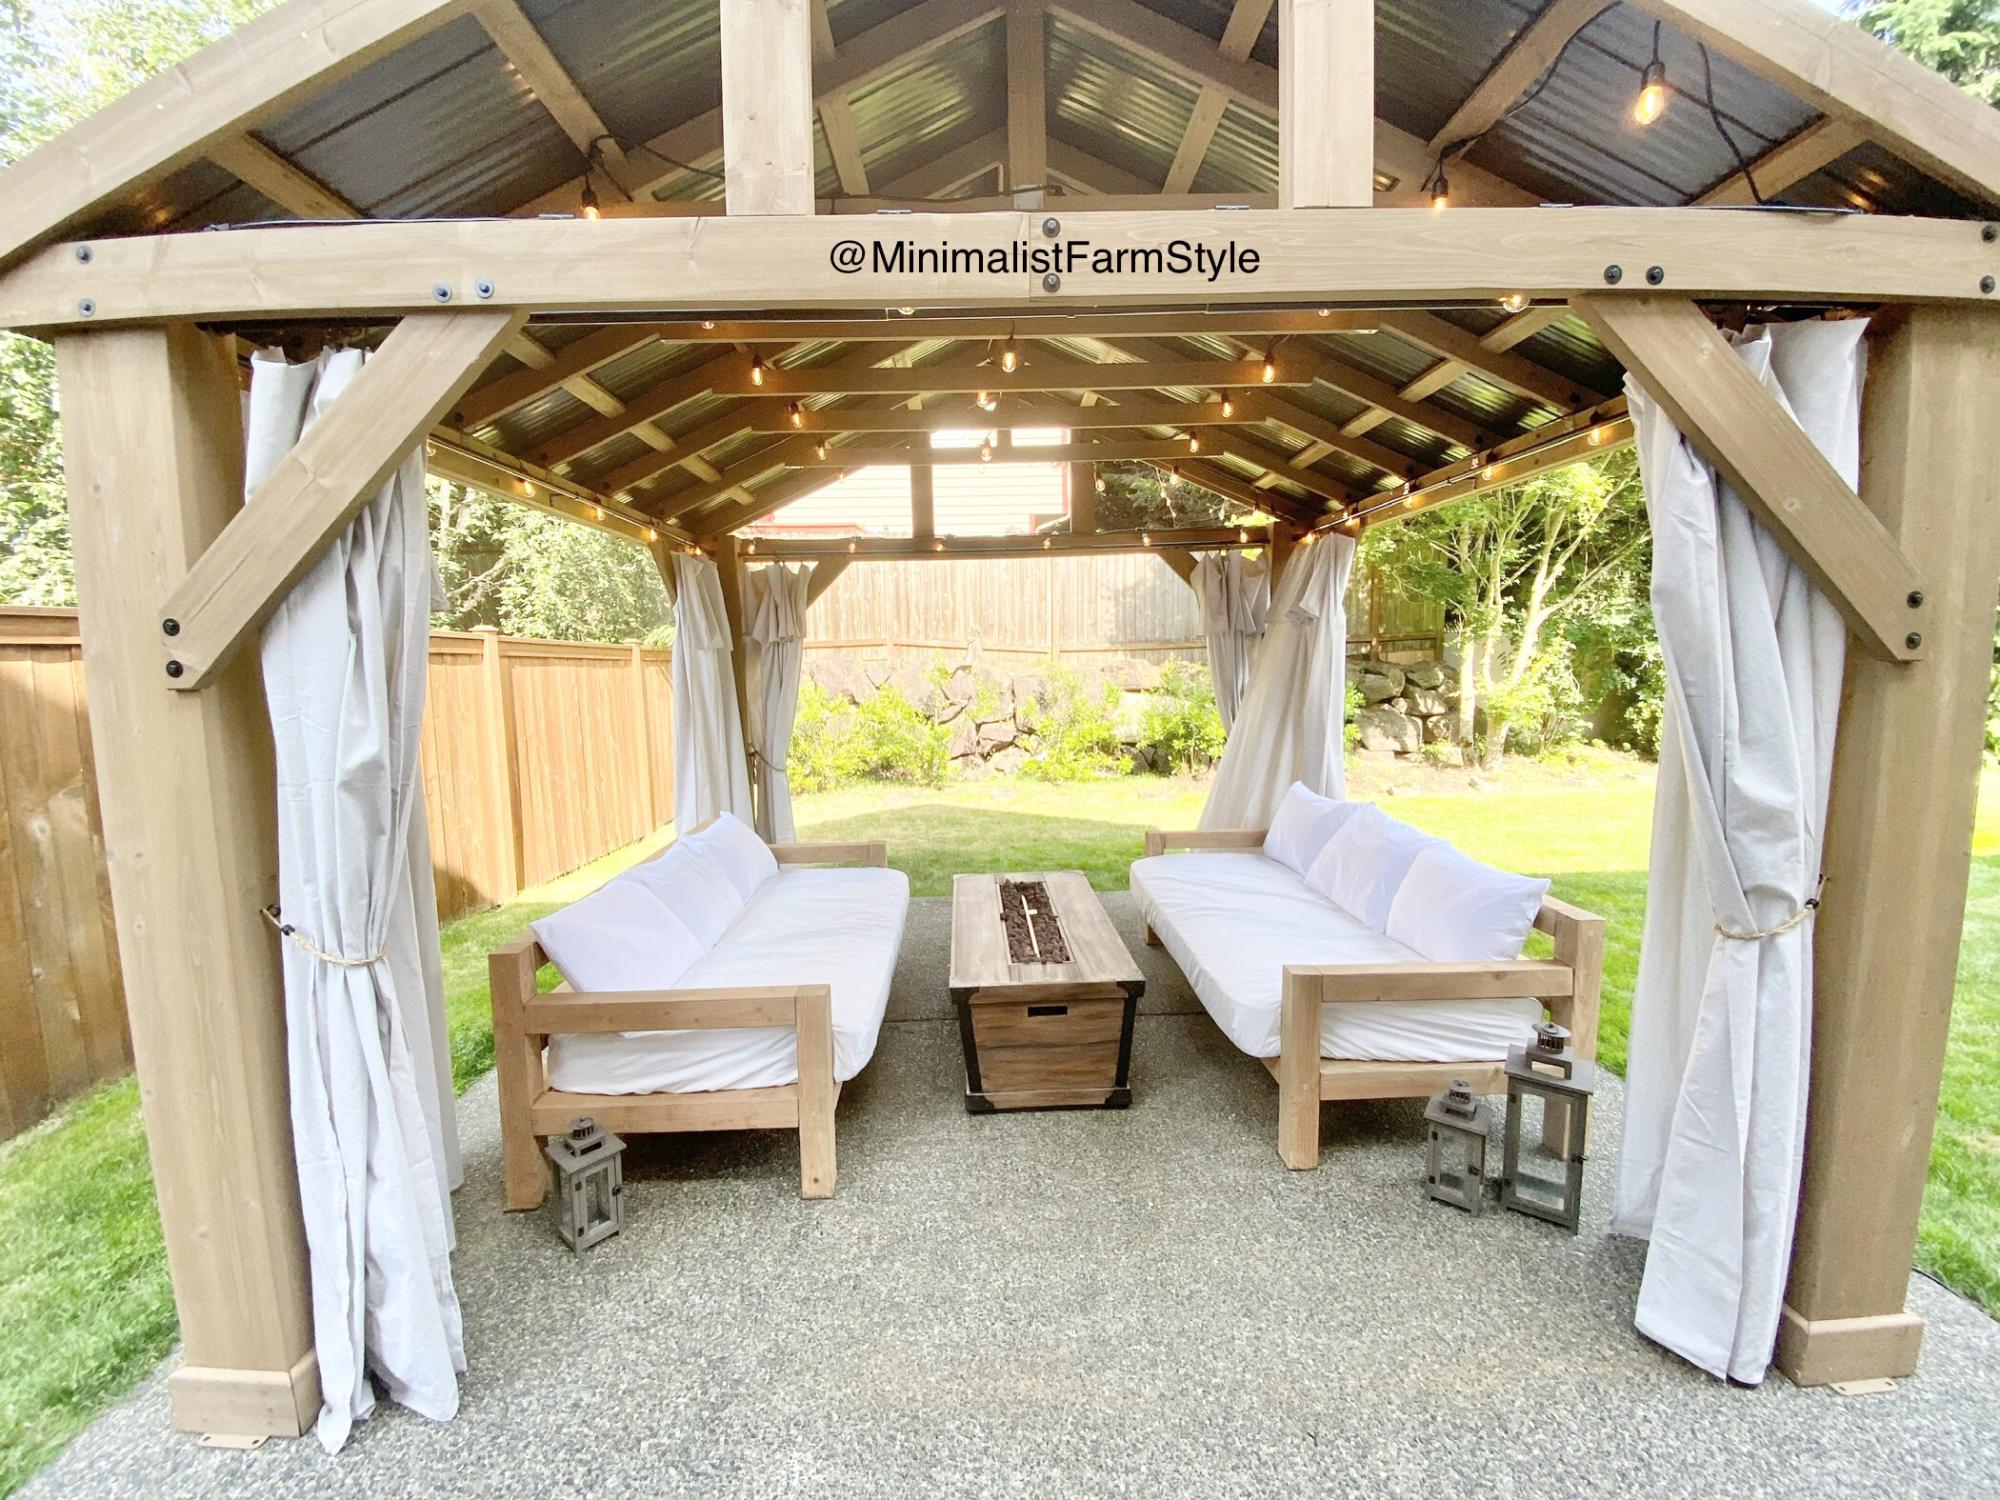
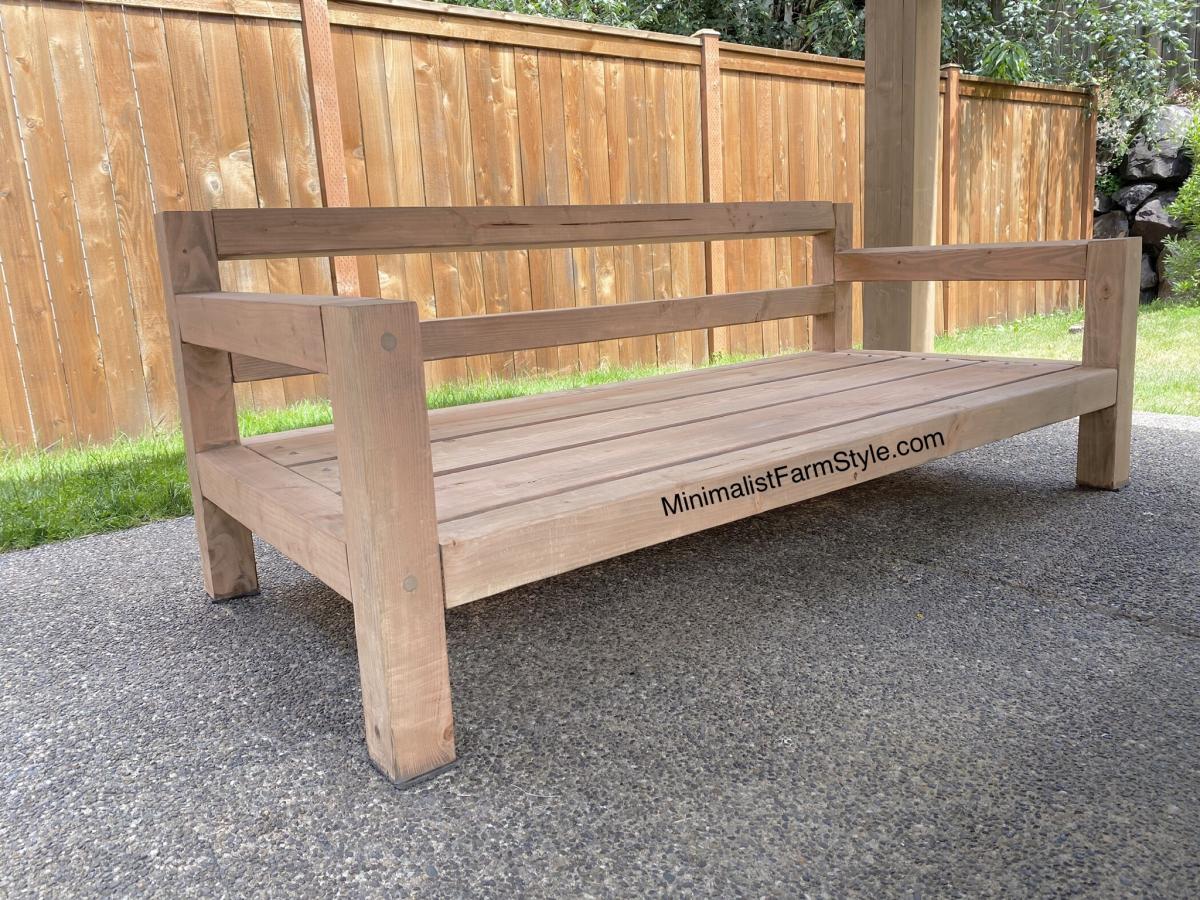
This was my first time DIYing furniture, so I definitely came up with a very easy design!

The dimensions for this sofa are modern as it sits low to the ground and has a squarish appearance.

Free detailed plan on Blog: www.MinimalistFarmStyle.com

Estimated Cost
$100
Estimated Time Investment
Day Project (6-9 Hours)
Finish Used
Watered down Varathane Water-based Java Bean.
Recommended Skill Level
Beginner

Playhouse

Submitted by Dawnybb on Thu, 11/22/2012 - 09:32

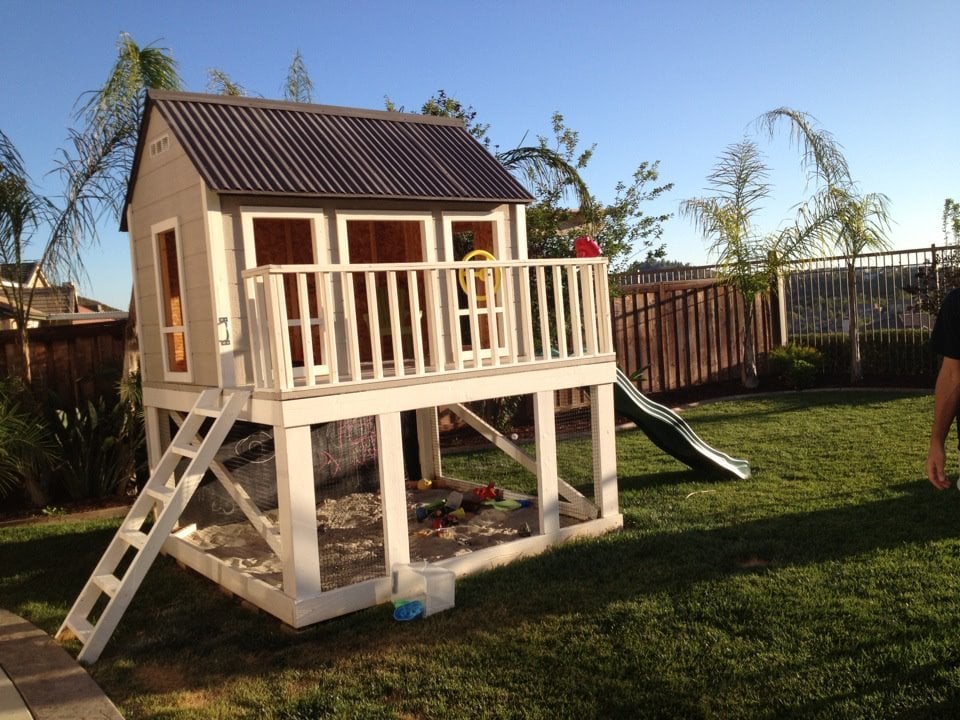
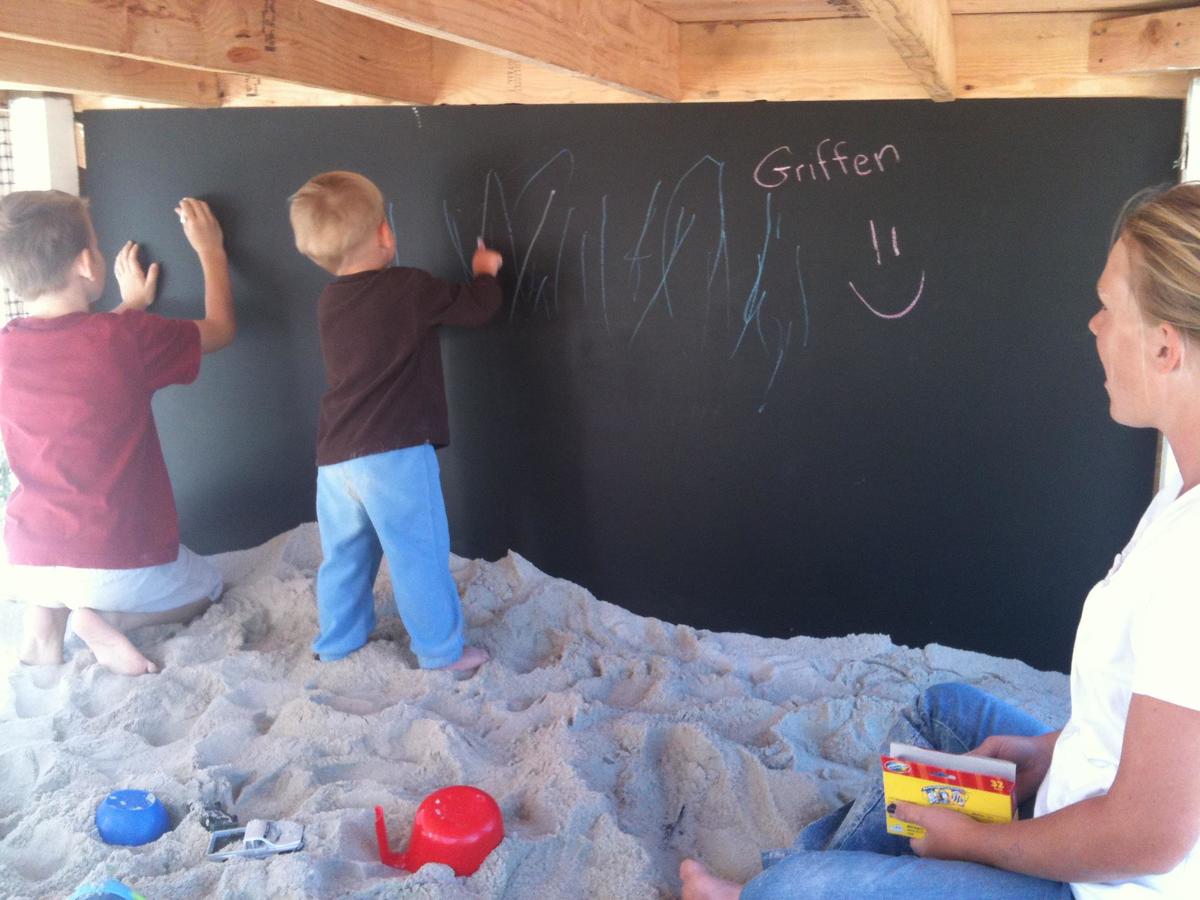
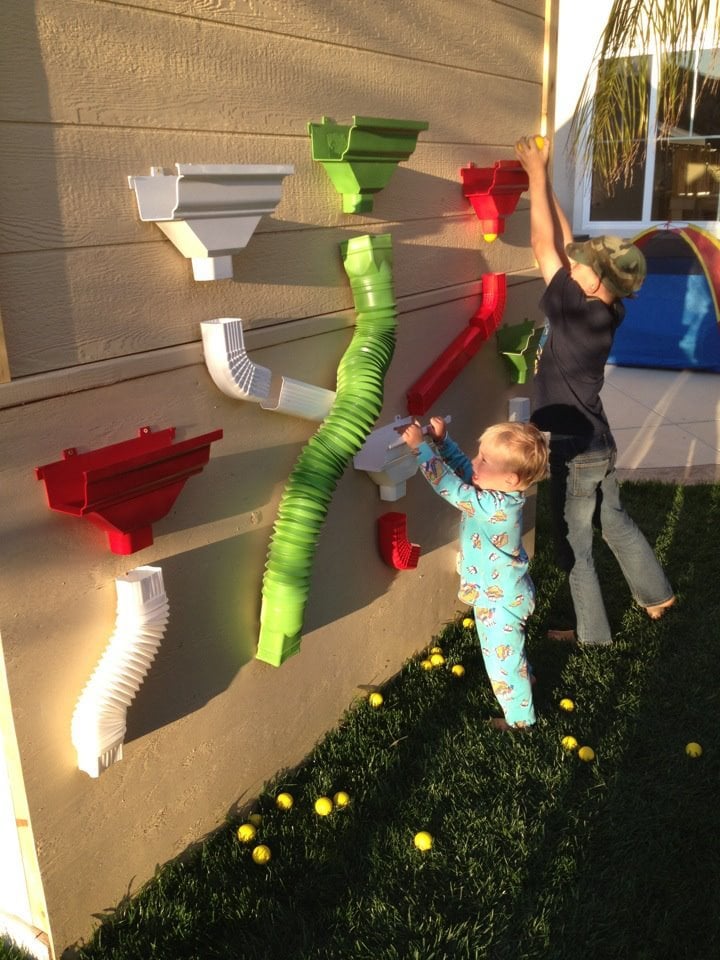
This was so much fun to do! Very easy and I added some personal touches. I made the lower level an enclosed sandbox area with a chalk board on the back wall. On the outside of the back wall, I added a "ball wall" that my kids love. I enclosed the bottom sandbox with plastic "chicken wire" to keep the cats out. :)

Estimated Cost
$500
Estimated Time Investment
Weekend Project (10-20 Hours)
Finish Used
Paint
Recommended Skill Level
Intermediate

Comments

Dawnybb

Thu, 11/22/2012 - 15:34

Thanks! Glad you like it!

The paint was from Dunn Edwards: Roof was "Louisiana Mud", playhouse walls were "Drifting" and then the white was a snow white from Lowe's.

The slide and accessories were also from Lowe's.

m7hennen

Tue, 04/15/2014 - 09:35

I LOVE this! This is exactly what I'd like to build. Do you have plans you can share with us? I think I'd also like to add a couple of swings on one of the sides too. Thanks so much!

In reply to by m7hennen

Dawnybb

Sun, 04/27/2014 - 08:39

I know I messed with the dimensions a bit but I don't remember exactly. I made the playhouse larger (deeper and taller than original plans) . I also cut the roof line on the deck side for more room. I put aluminum over the wood on the roof and then painted. The Ball Wall was made out of plastic gutter pieces that I painted and we used practice rubber golf balls to throw into them. I hope that helps! We sold that house, so I can't go out and measure it :)

eegad1973

Thu, 05/28/2020 - 15:32

You may not get this as this is an old post. Did you dig post holes? I have older kids and I am thinking about building a plan like this but at a 6ft height. Wondered how much it moves around when there are a bunch of kids on there. The house I will build is also 6 ft heigh.

Seasonal And Holiday

Miter Saw Cart

Submitted by ivyfamily5 on Sat, 09/19/2020 - 13:49

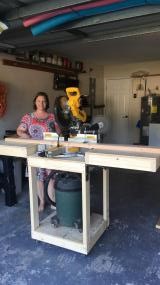
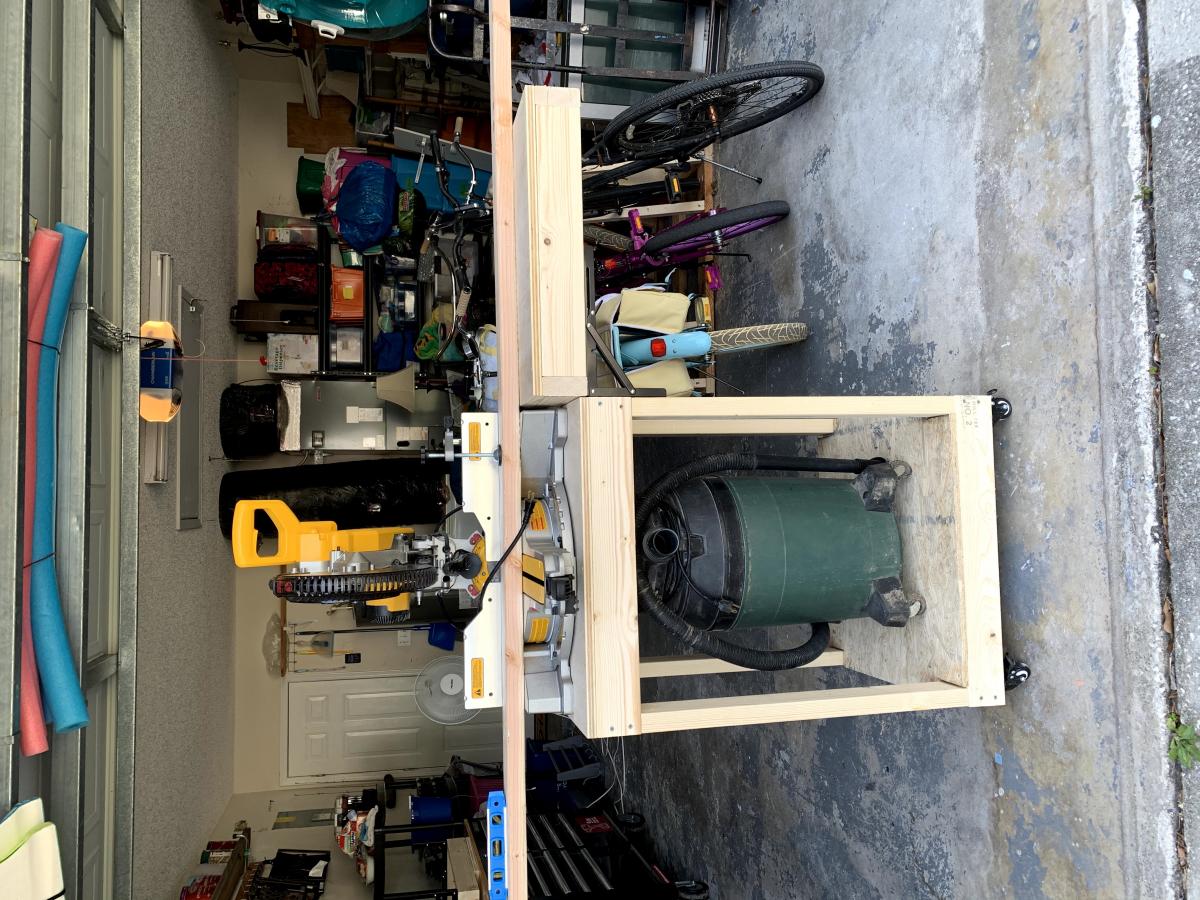
I love this Miter Saw Cart. The plans were easy to follow and tweak to work with what I had on hand. I love all of Ana White's plans, passion, and inspiration. Happy Building!

Built from Plan(s)
Estimated Time Investment
Afternoon Project (3-6 Hours)
Finish Used
I left it raw, but I might paint it later. I also plan to add a Stop Block to it soon.
Recommended Skill Level
Beginner

Comments

Modified Eco Modular Desk

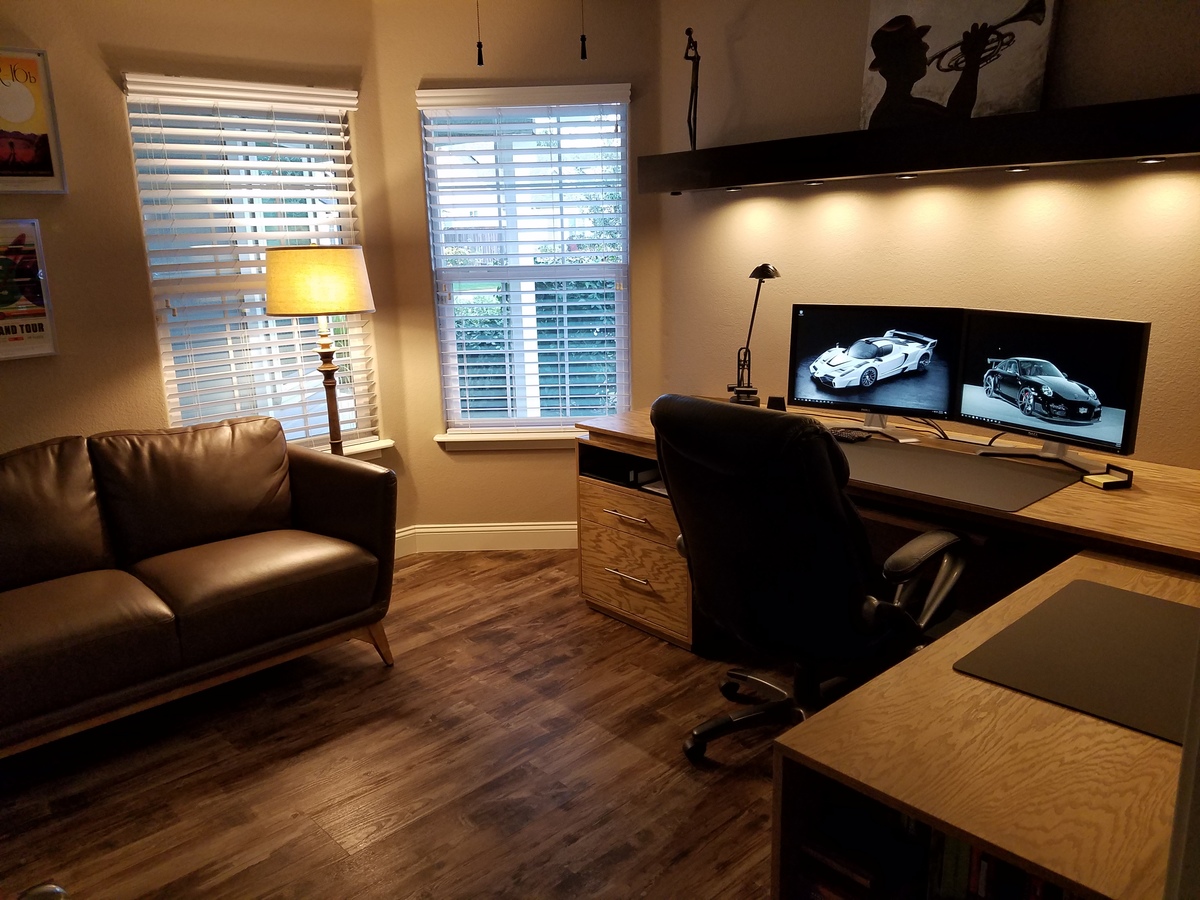
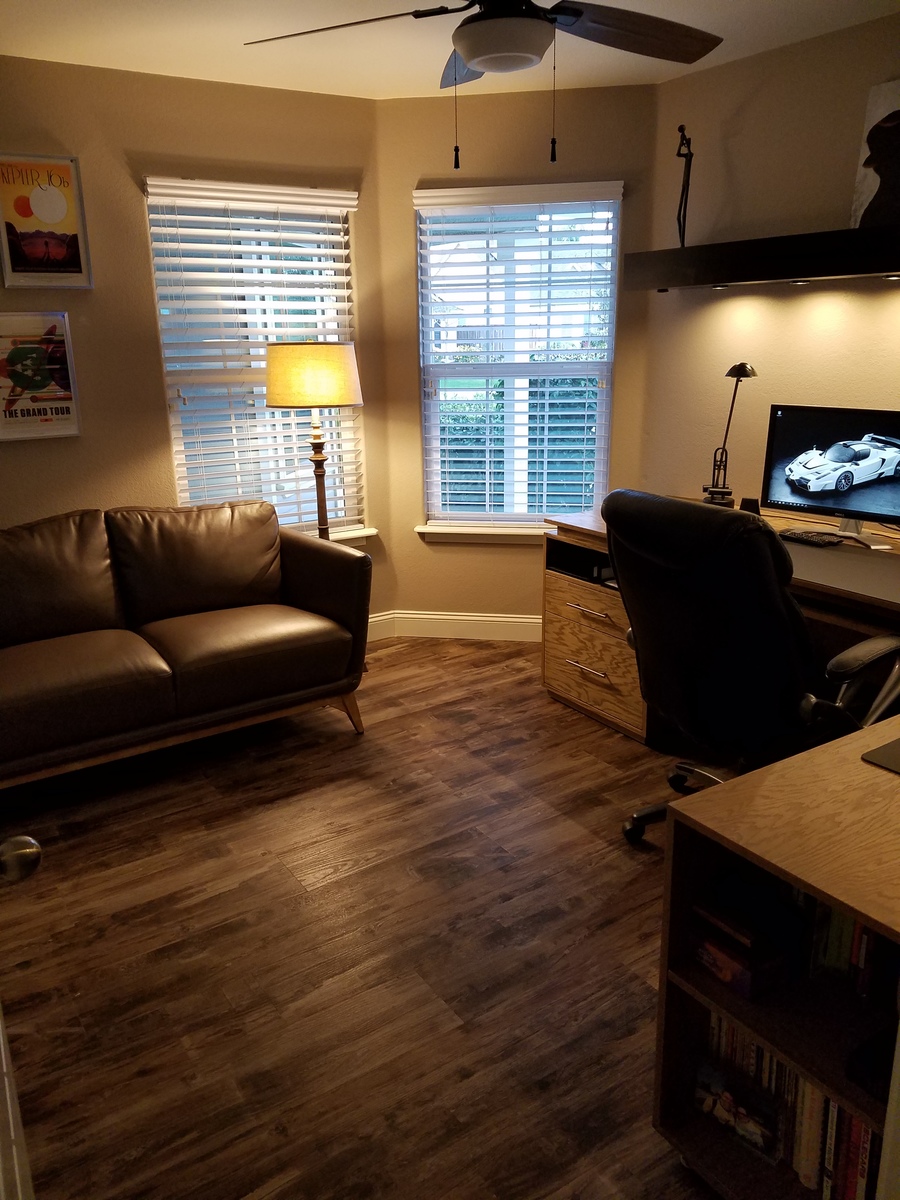
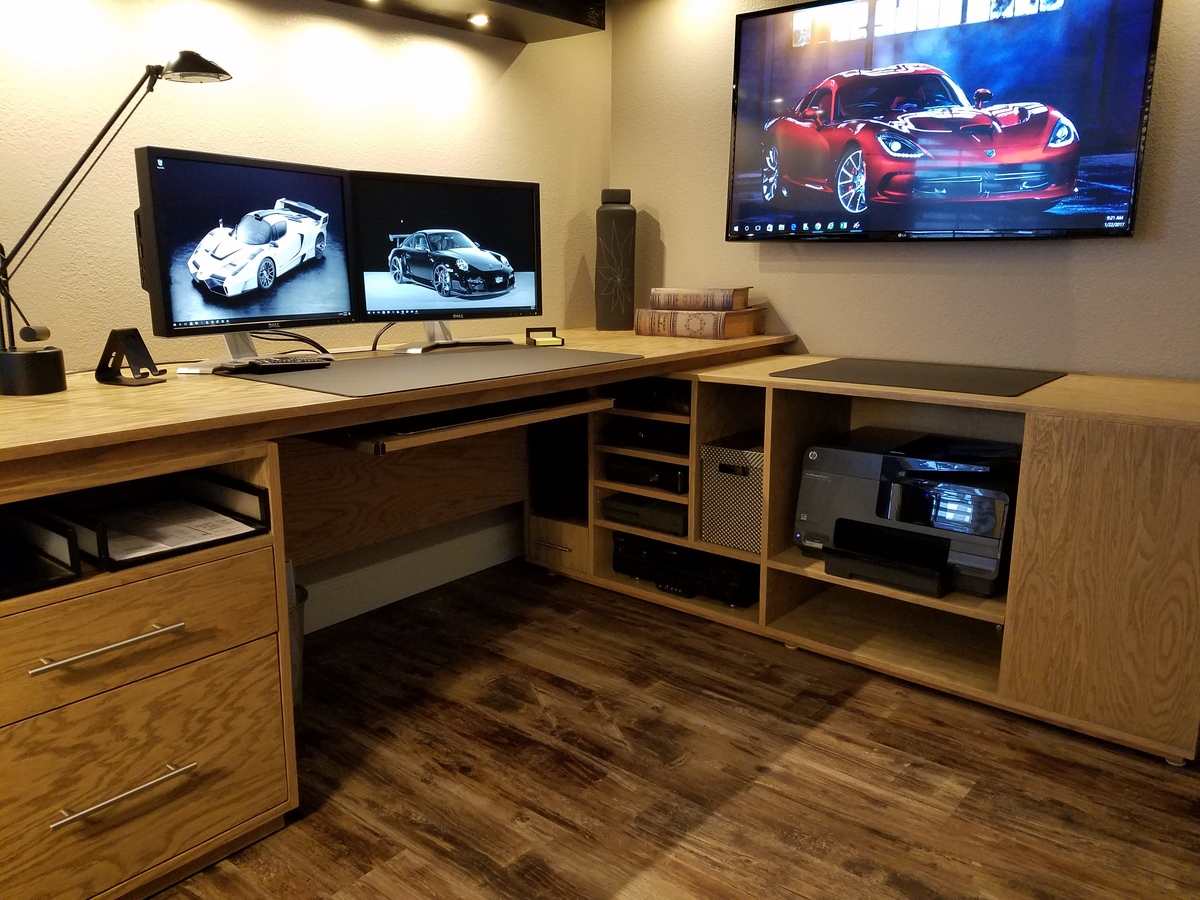
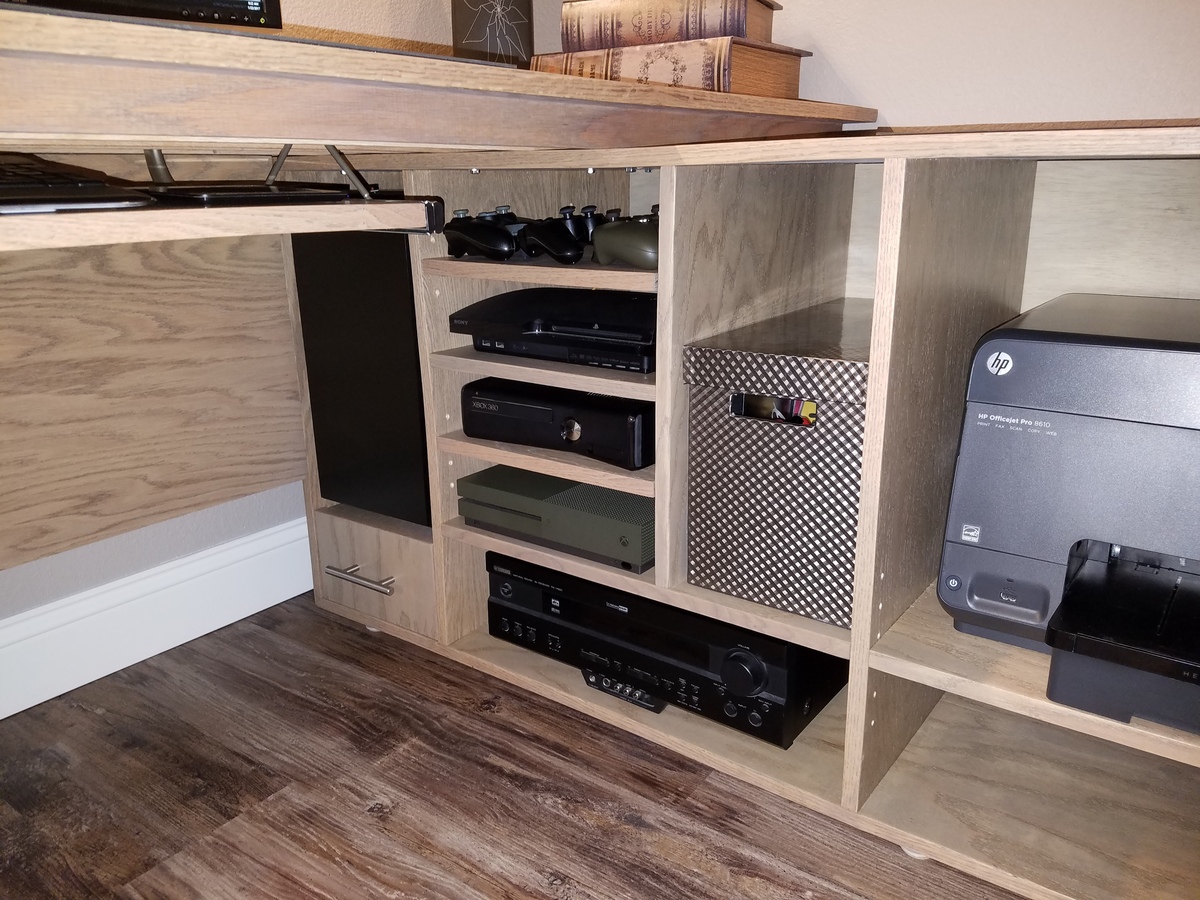
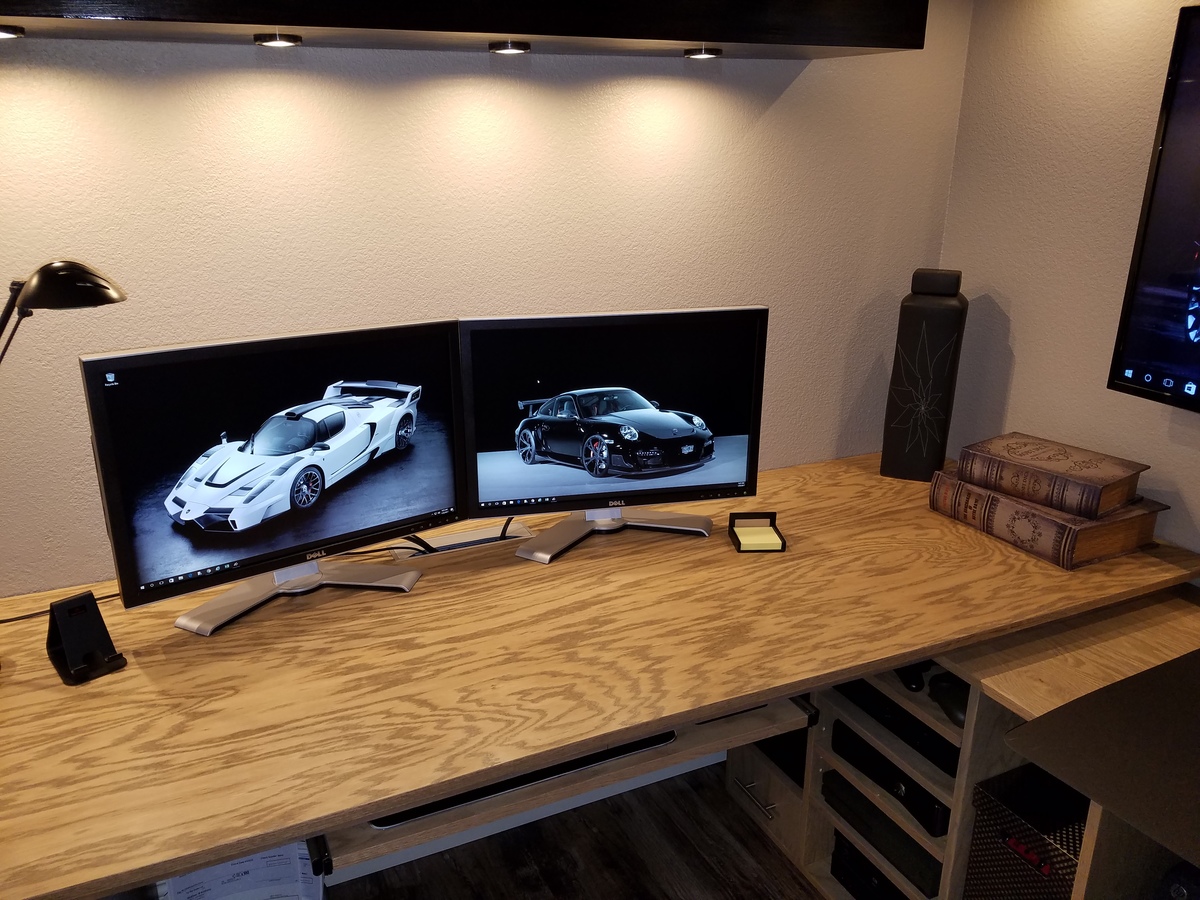
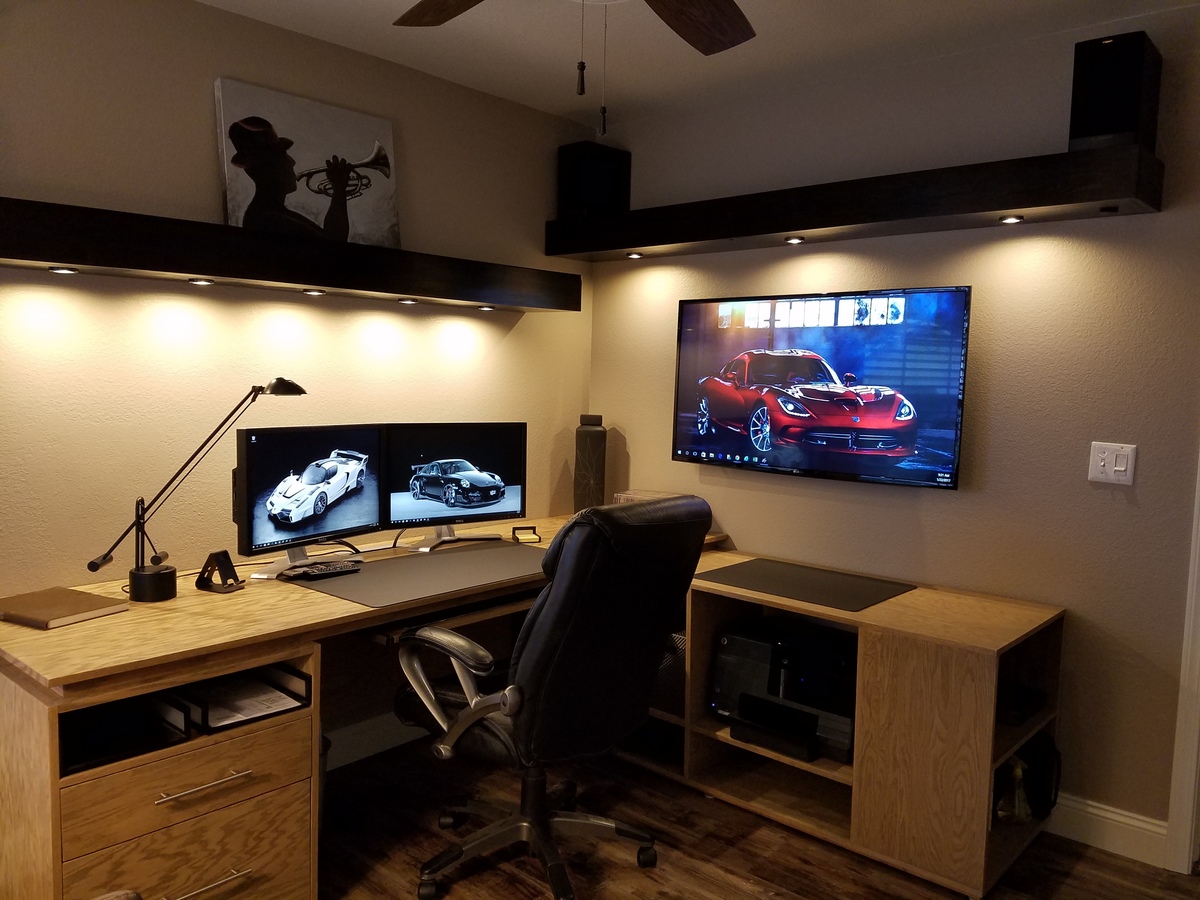
This was my first real project. I started with the base instructions from this site and plugged them into Sketch-Up. From there I modified them a bit to fit my space better and to accomodate my PC and Audio/Video equipment. The desk fir perfectly in the room. My wife and I put the flooring in plus new baseboards, window sills, and paint. I also used some plans for floating shelves from another site and incorporate lighting to complete the look of the room. Can't wait for my next project!!!

Finish Used
Weathered Oak - Minwax
Satin Poly
Recommended Skill Level
Beginner

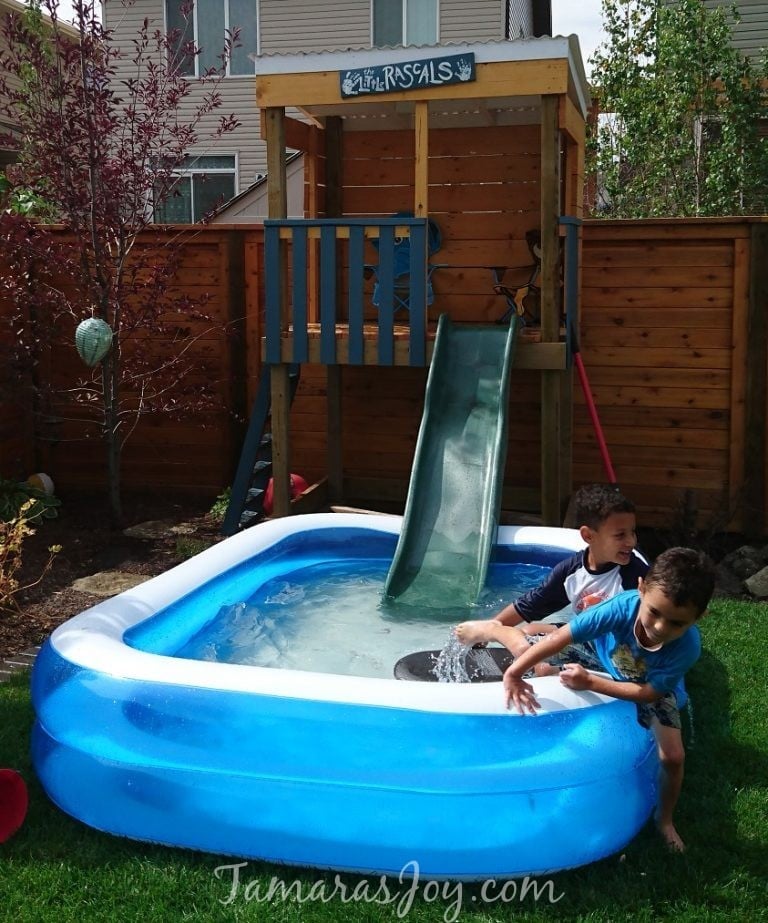
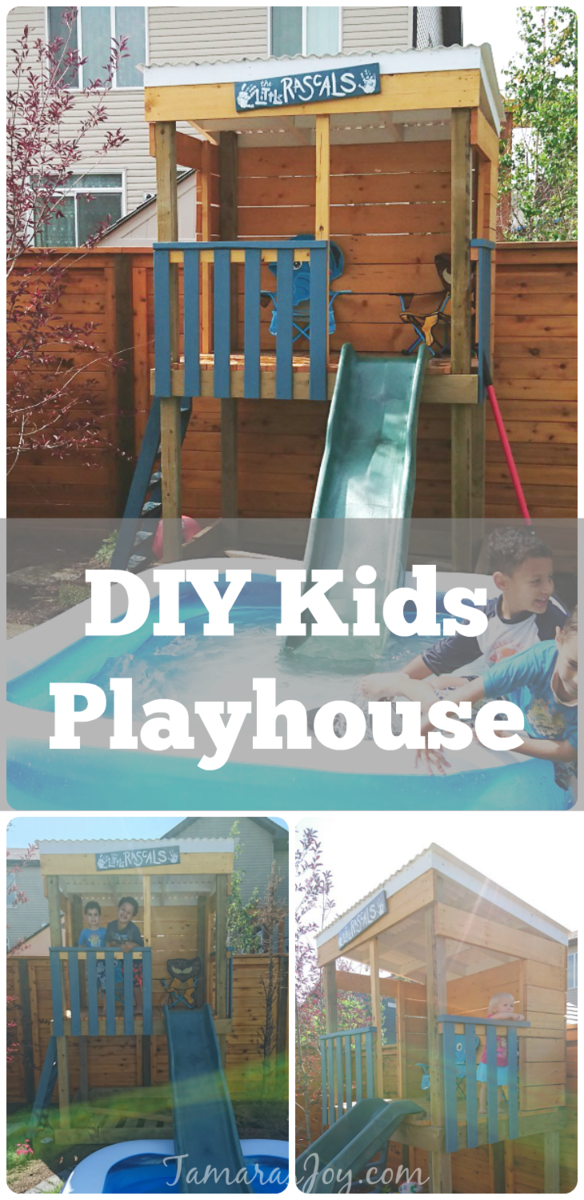
Tree house without a tree

Submitted by TamarasJoy on Thu, 02/02/2017 - 18:52

Full Tutorial with a LOT more photos on the Blog HERE

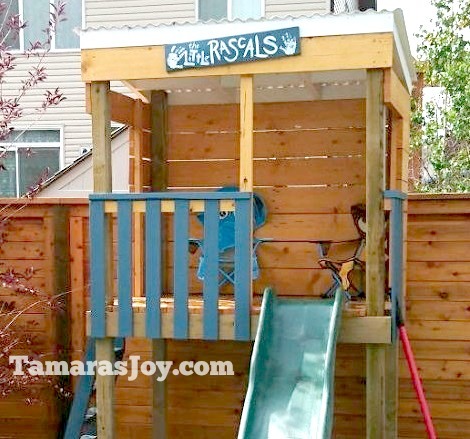
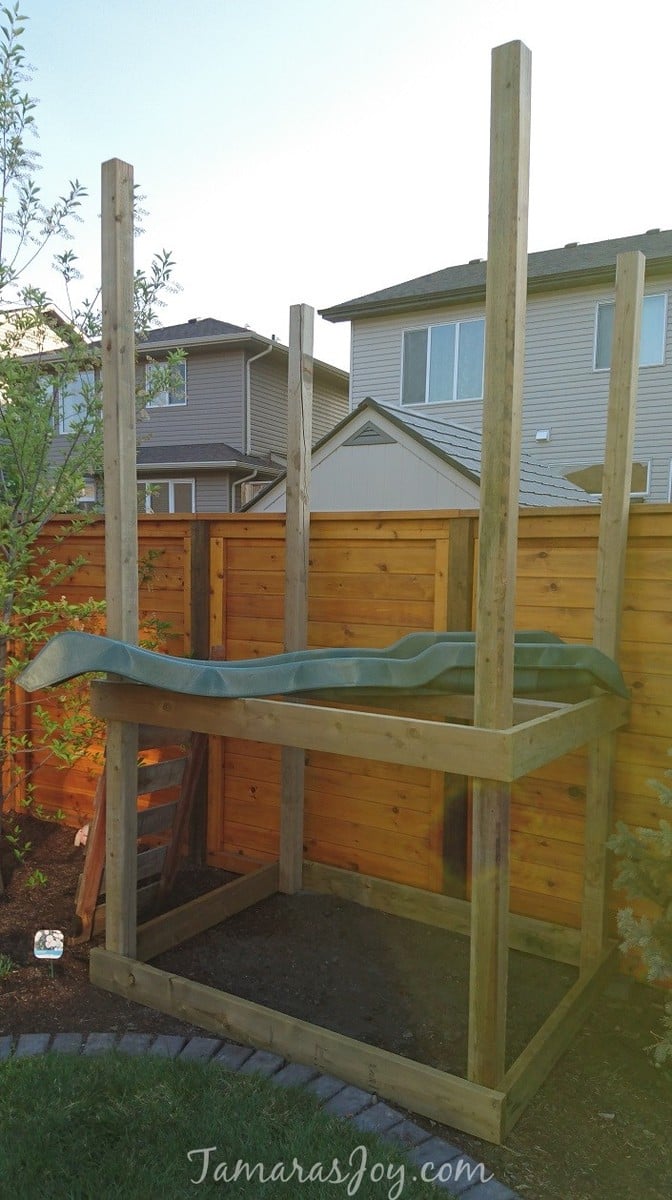
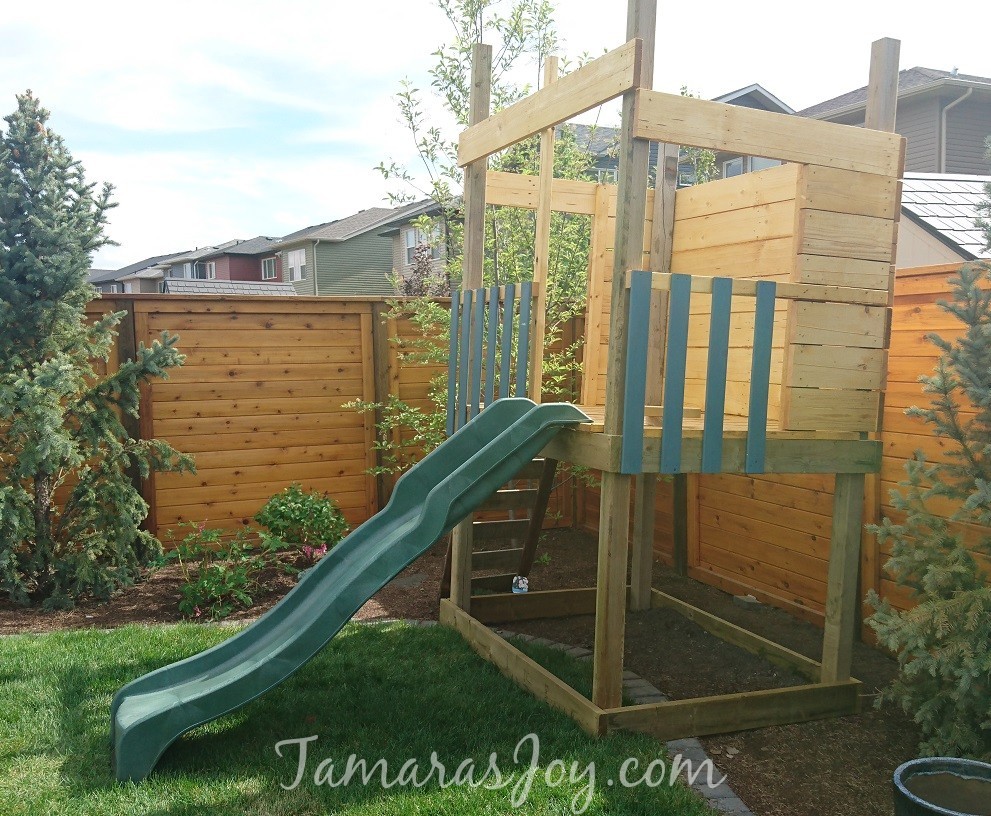
We had measured the garden space so we could build this frame to fit the space. The deck frame was made to be the correct height for the slide that we would attach later.

Once all the boards were put onto the frame I added some rails for safety of course. Then stained everything....
 

PS This IS a beginner project! I promise!!!! I am a beginner and I built it, it's still standing so you can do it too! I promise!

Estimated Cost
$300

IF you can't scrounge around for old wood and someones old slide!
Estimated Time Investment
Week Long Project (20 Hours or More)
Finish Used
Used blue & white outdoor paint & simple stain (left over from our fence)
Roof was a a green house product.
Recommended Skill Level
Beginner

Farmhouse Table

Submitted by ssshindler on Fri, 11/07/2014 - 05:39

This is my first project and I am thrilled with how it turned out. Thank you Ana, you have empowered this stay at home mom! 

Finish Used
minwax dark walnut stain, polyvore wax varnish
Recommended Skill Level
Starter Project

Comments

sagey

Sun, 11/09/2014 - 18:41

I  love this table sooooooo much .

please explain exactly how you achieved the finish on it > is the wood reclaimed!!!!

sagey

Sun, 11/09/2014 - 18:42

I  love this table sooooooo much .

please explain exactly how you achieved the finish on it > is the wood reclaimed!!!!

Love this coop!

Submitted by ladybug7 on Sun, 11/30/2014 - 06:03

The plans are so easy to follow! They are a great jumping off point for customizing the coop for your own needs! We added a run door, ladder support, insulated floor and wall, removable window, and a loft door. The girls LOVE it!

Built from Plan(s)
Estimated Cost
After modifications, $250
Estimated Time Investment
Week Long Project (20 Hours or More)
Recommended Skill Level
Beginner

Comments

Cascading cedar planter

Submitted by Anonymous (not verified) on Sat, 04/08/2017 - 17:18

Instead of the 2X6, we used an additional cedar board to complete the sides and the ends of the planters.  This was more cost effective and still provides enough support to hold the planters.  This is a great alternative to the more expensive items we found online.  We will be building multiple to put in an unused space in our yard.  Great project!!
Built from Plan(s)
Estimated Cost
15 each
Estimated Time Investment
An Hour or Two (0-2 Hours)
Finish Used
no finish, we prefer the look of aged cedar
Recommended Skill Level
Starter Project

Square Picnic Table

Submitted by frmoody on Tue, 08/10/2021 - 07:05

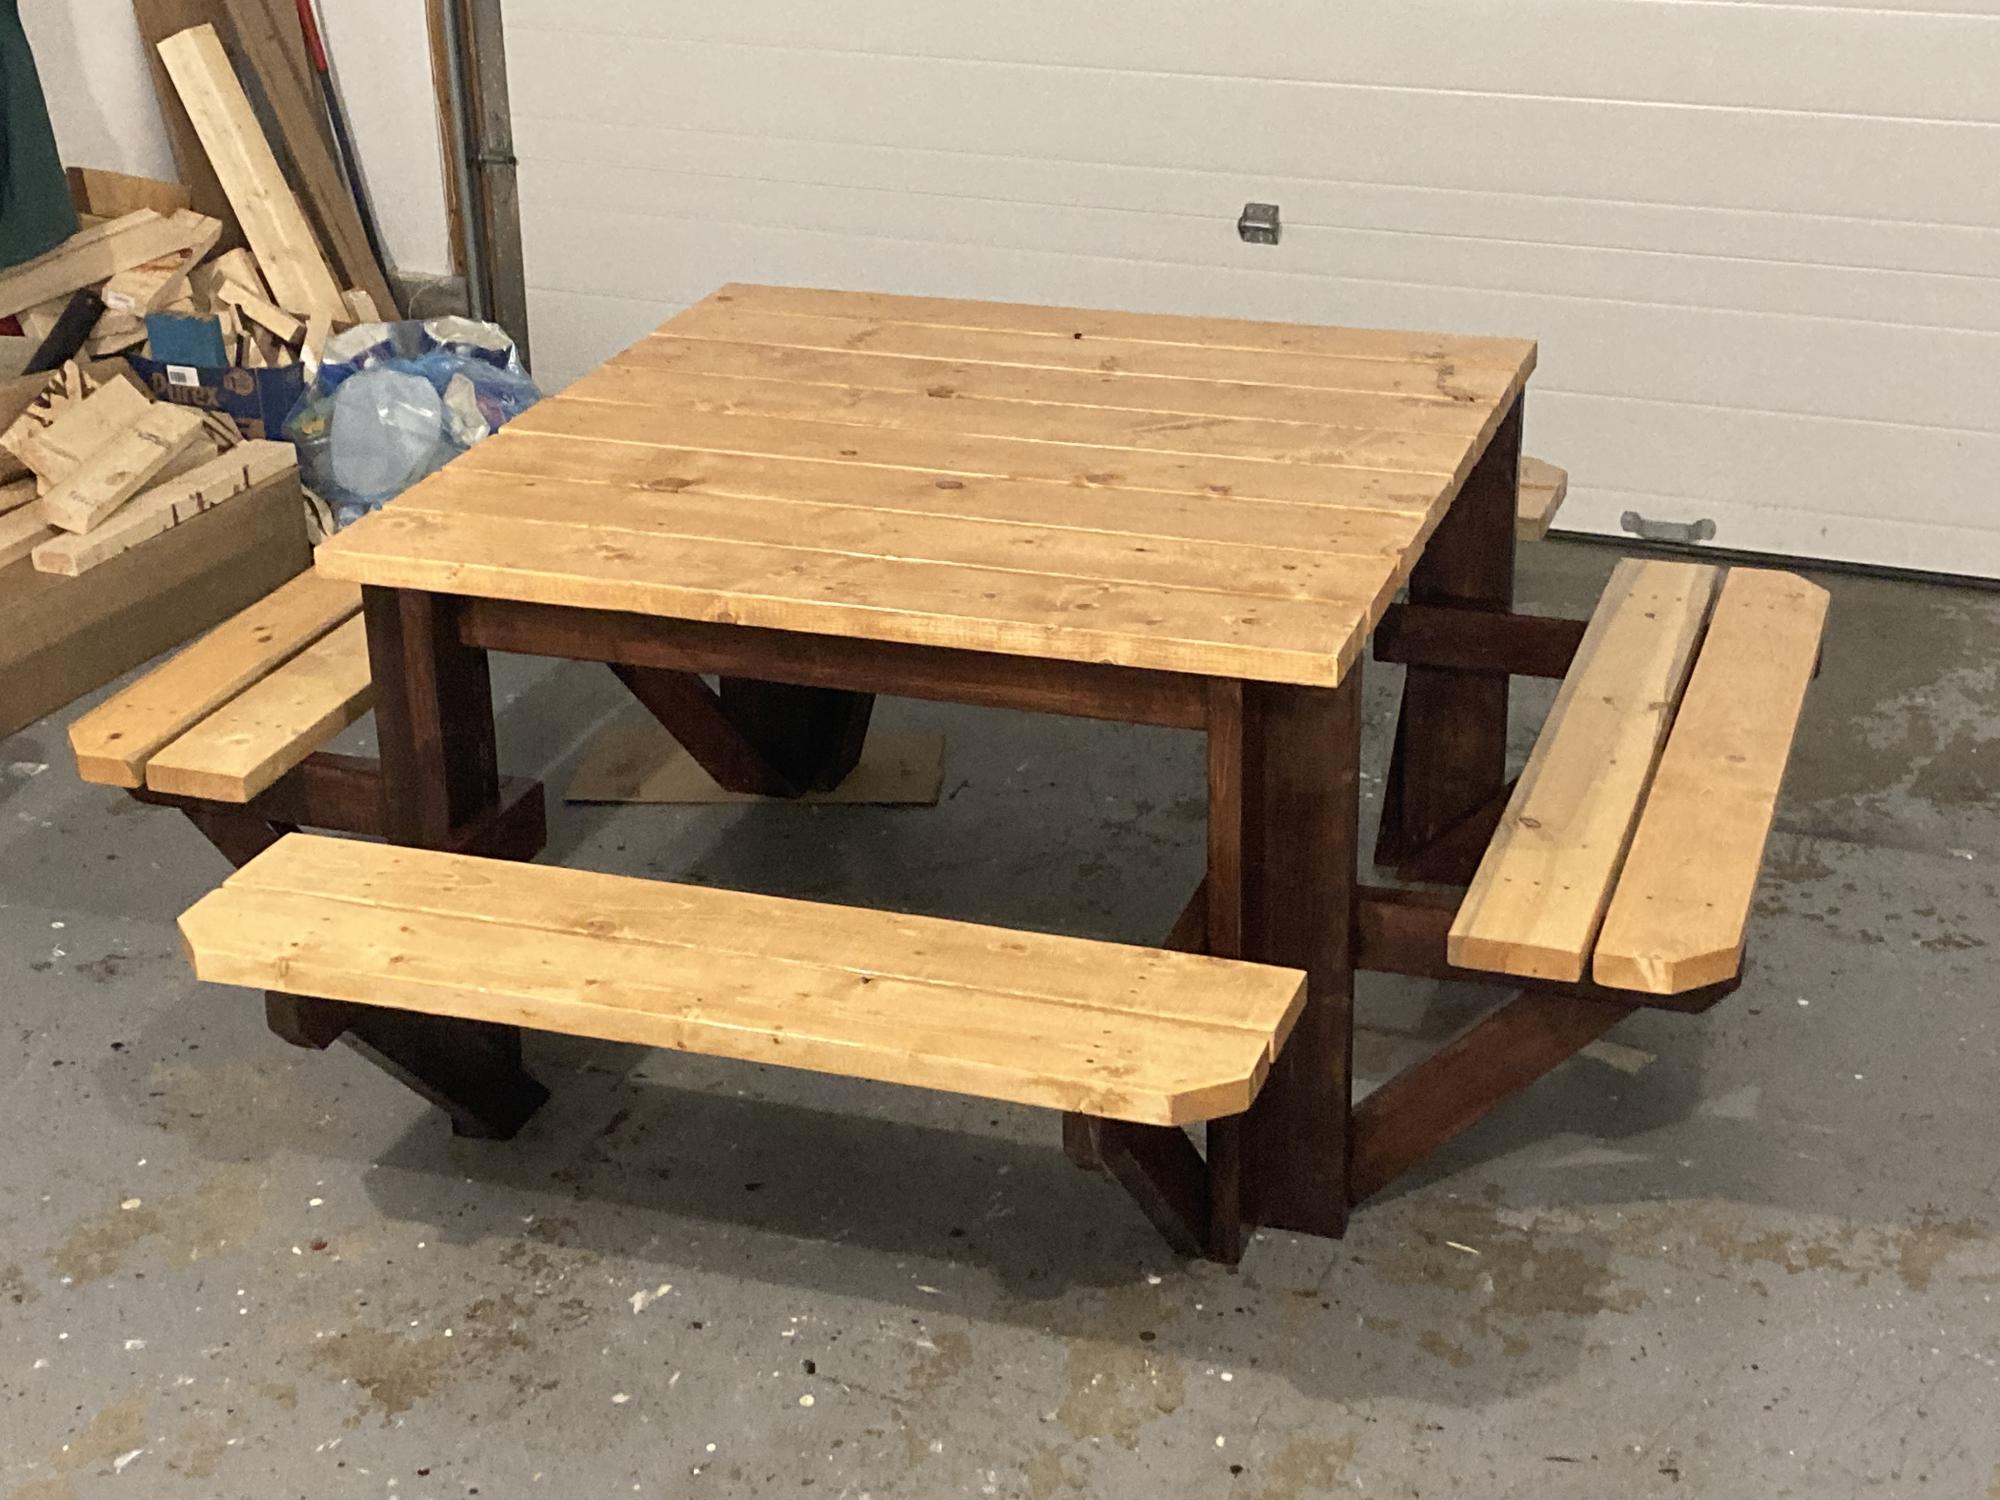
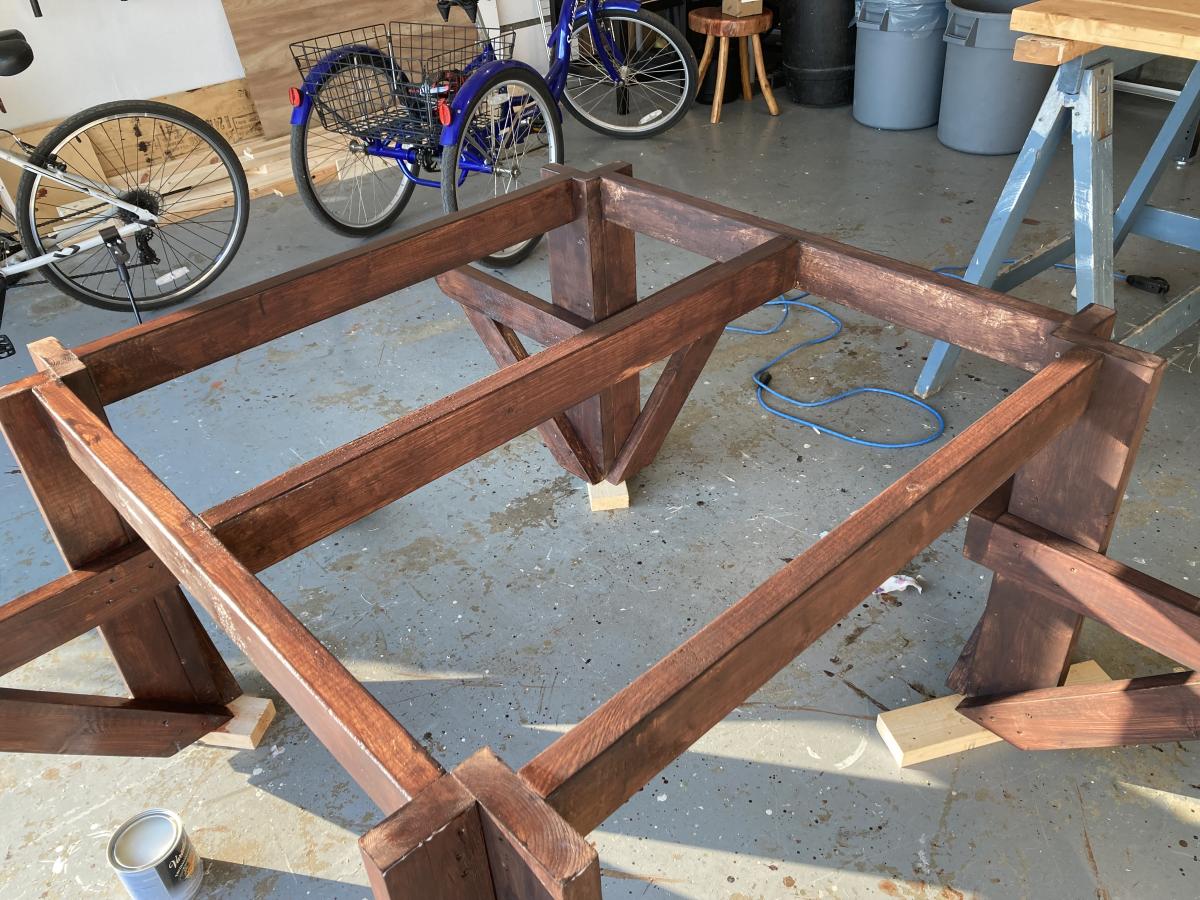
Enjoyed this project although with the price of lumber it was a little expensive to build. The only modification I made was to put a cross brace in the centre of the table top. That allowed me to attach the top boards a little more securely as some of them were a little bowed. I'll add a better photograph once I get it out of my garage and on to the back deck. It is a little heavy.

Built from Plan(s)
Estimated Cost
$240
Estimated Time Investment
Weekend Project (10-20 Hours)
Finish Used
I stained the dark part of the table with Behr water based English Chestnut and the seat and top with Minwax Ipswich Pine followed by four coats of Varathane Exterior Gloss.
Recommended Skill Level
Intermediate

Comments

Storage Bench/Daybed

Submitted by Anonymous (not verified) on Fri, 06/23/2017 - 20:49

This was my 2nd woodworking project, so I was very pleased with the results. I wanted more seating and storage for my office area. I liked the look of the Farmhouse Storage Bed, so I decided to modify the plans and turn it into a bench. I made the seating area 30" wide and 68" long. Instead of headboard and footboard, I made 2 sides that were about 40" tall (36" 4x4 plus the 2x4 and 2x6). I made 3 24" deep drawers and left the back side open so that I can store electronics that need to be charged in them with the cords hanging out the back of the drawers. It was a lot of fun to make, and I know that my family will enjoy it!

Estimated Cost
$350 for wood and hardware, then paint and cushions
Estimated Time Investment
Week Long Project (20 Hours or More)
Finish Used
Flat black oil-based enamel paint, then finished by lightly rubbing with fine grit sandpaper
Recommended Skill Level
Intermediate
Back