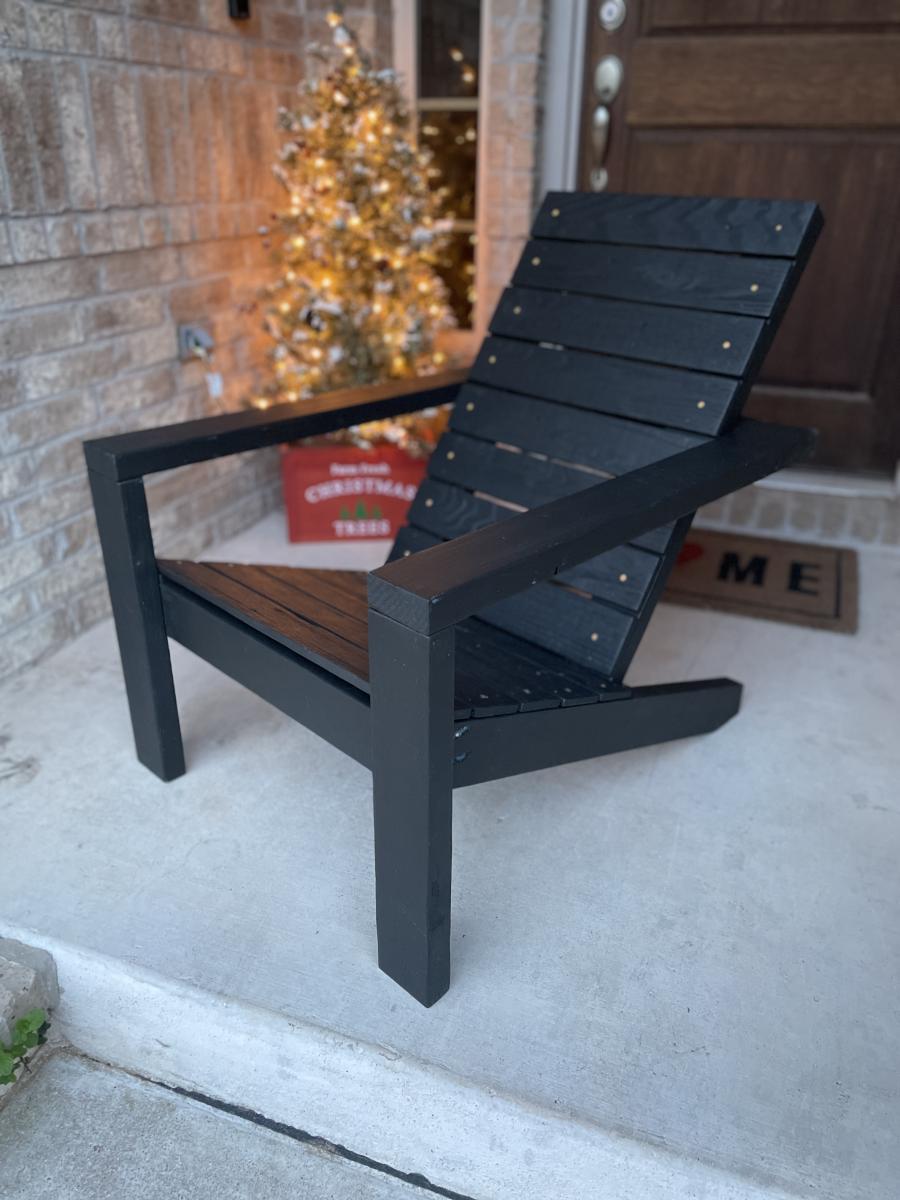
Adirondack Delight
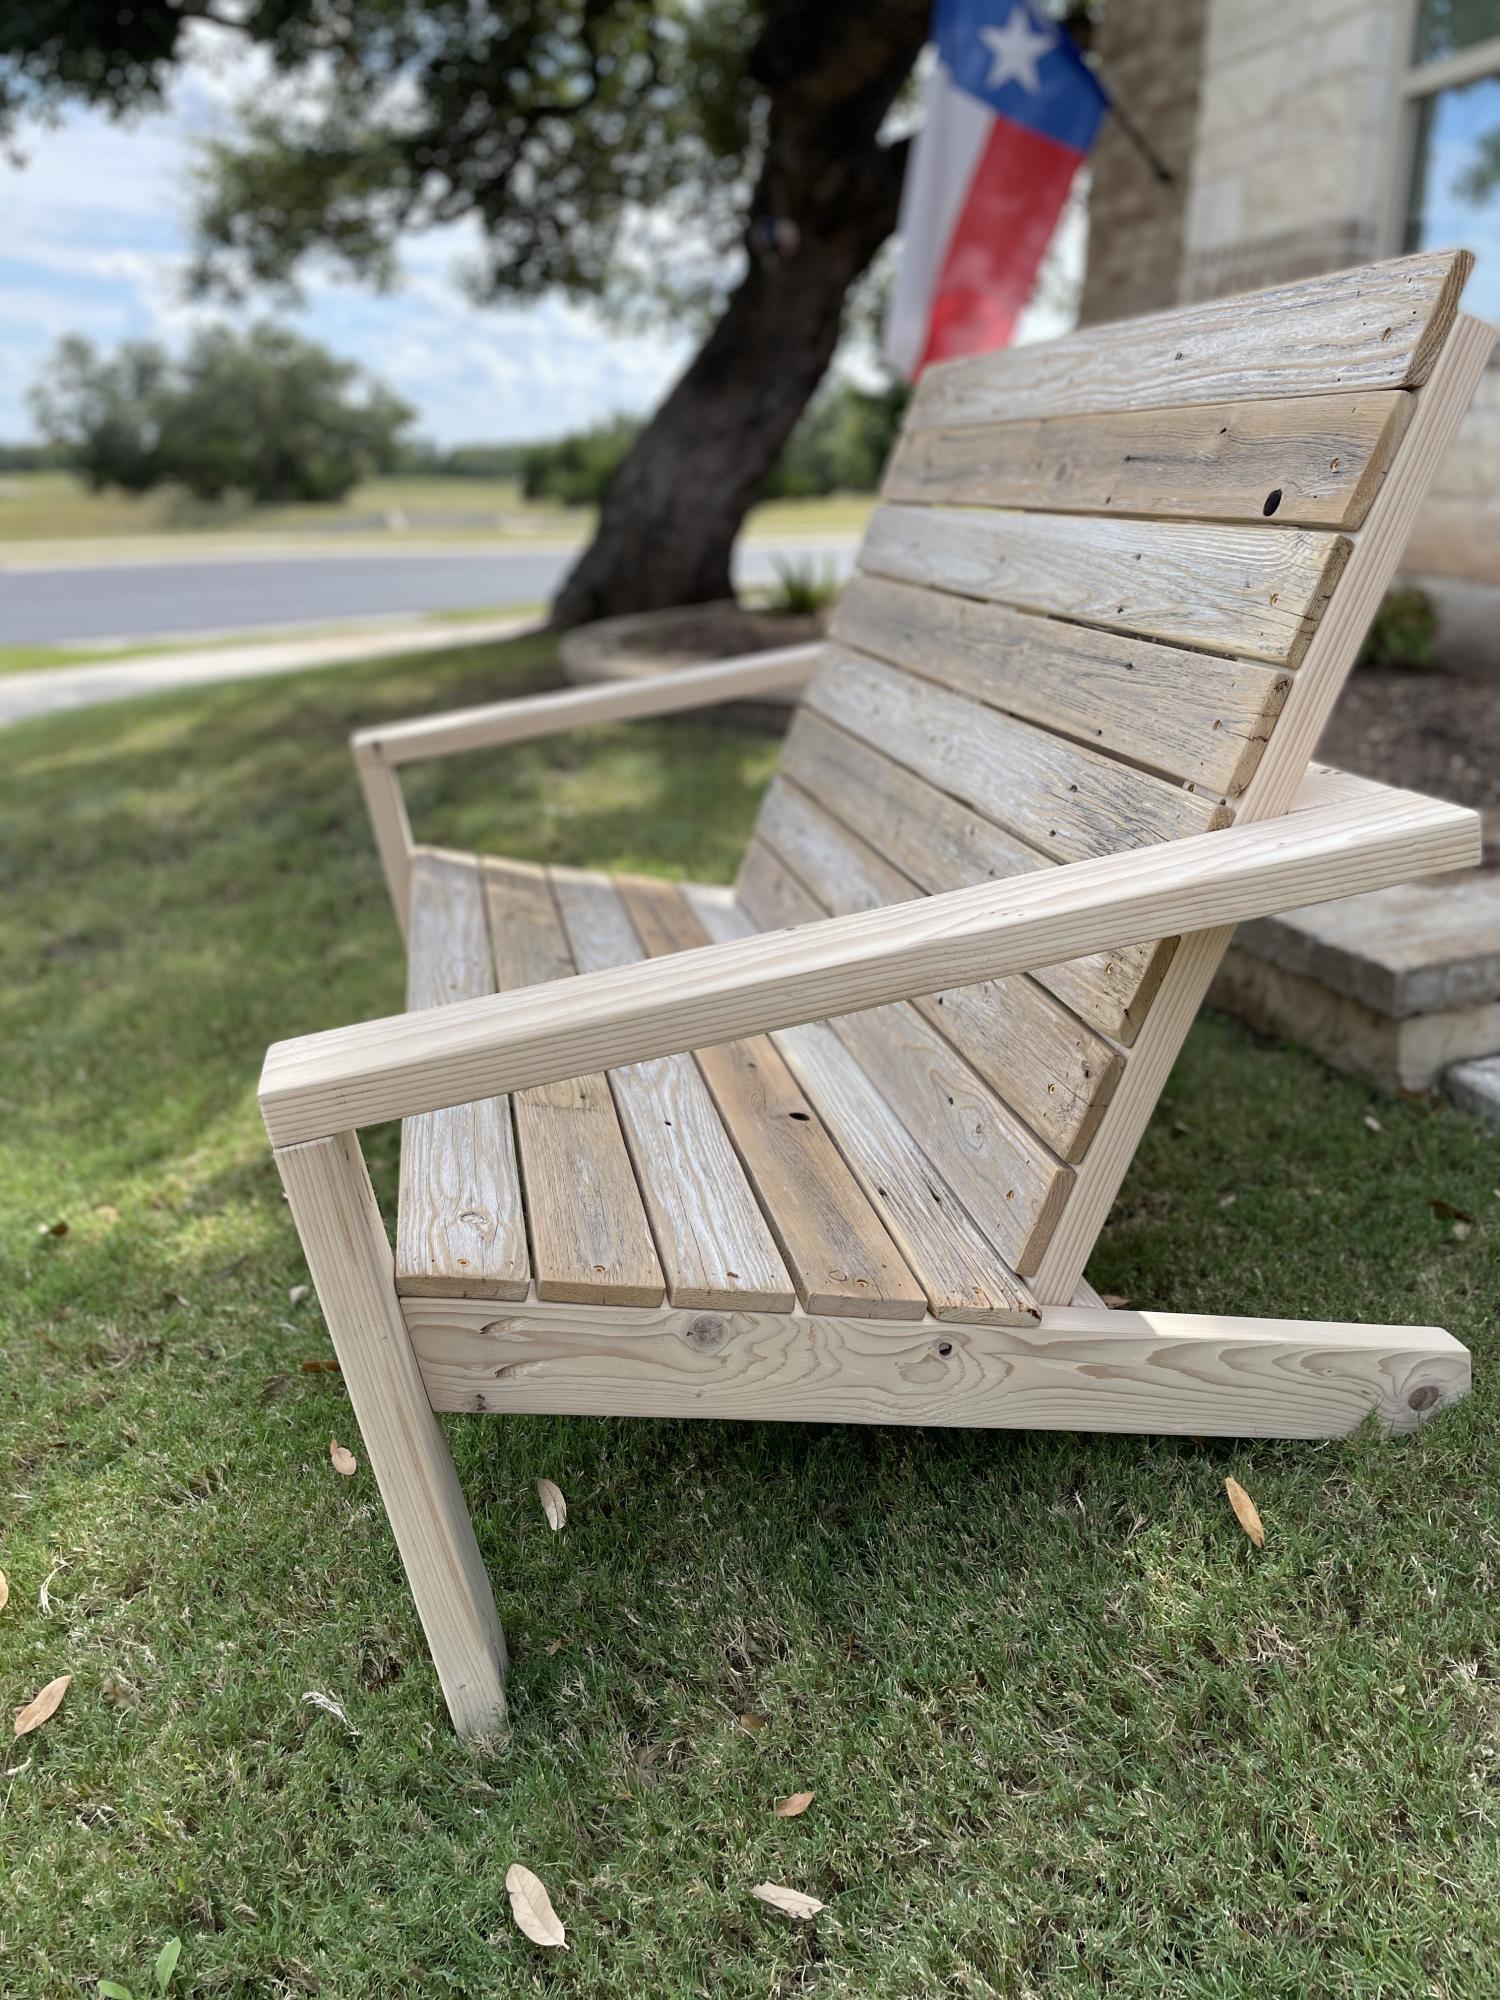
Great adaptations to the adirondack chair plan!
by Kevin
Built from Plan(s)
Great adaptations to the adirondack chair plan!
by Kevin
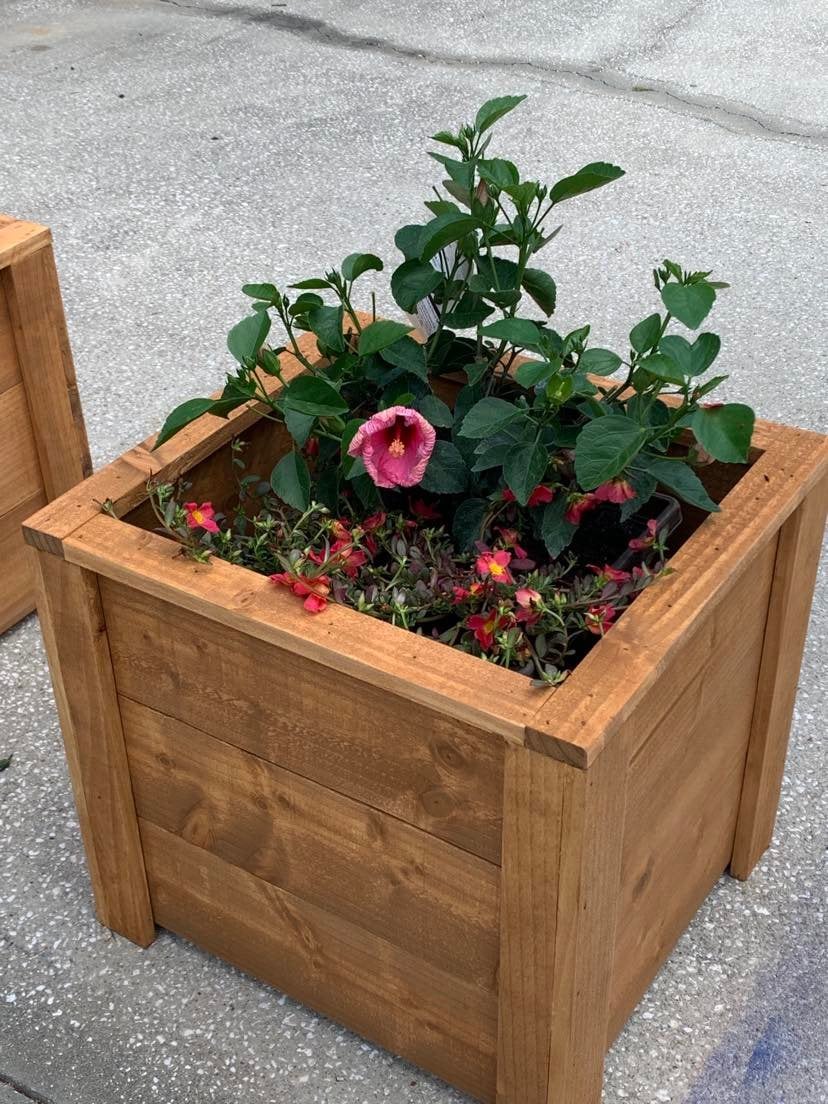
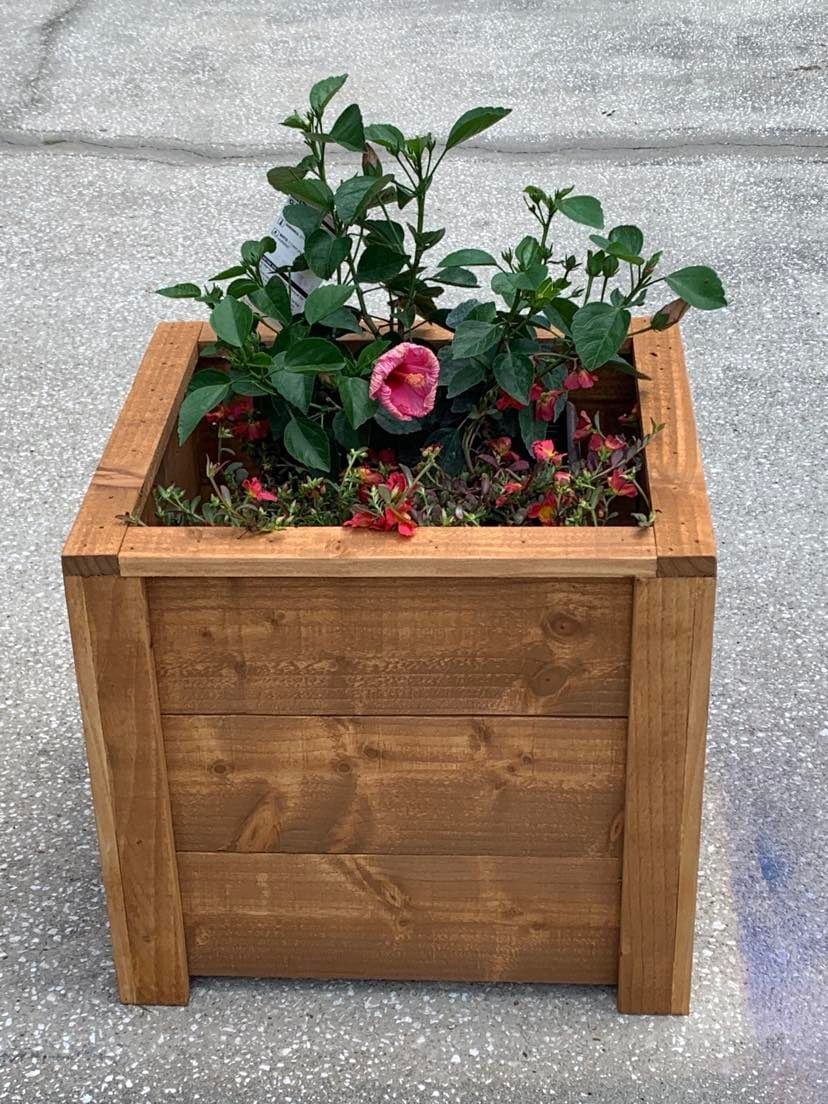
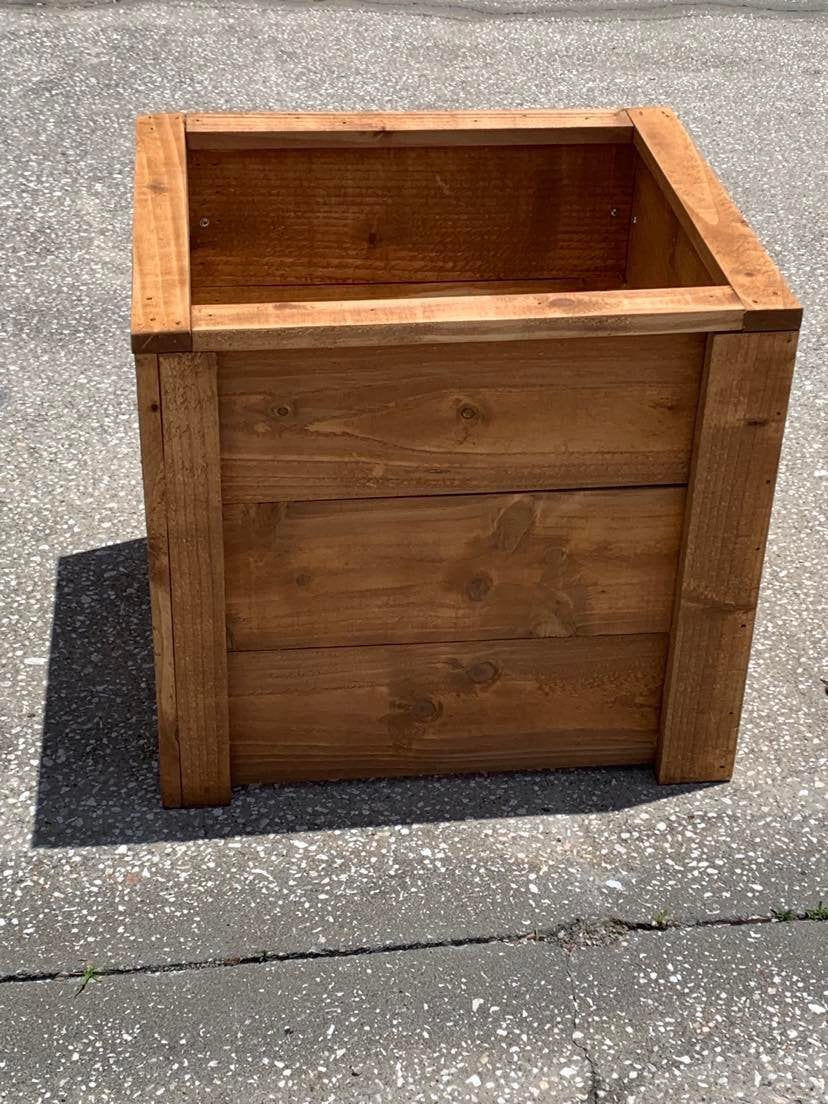
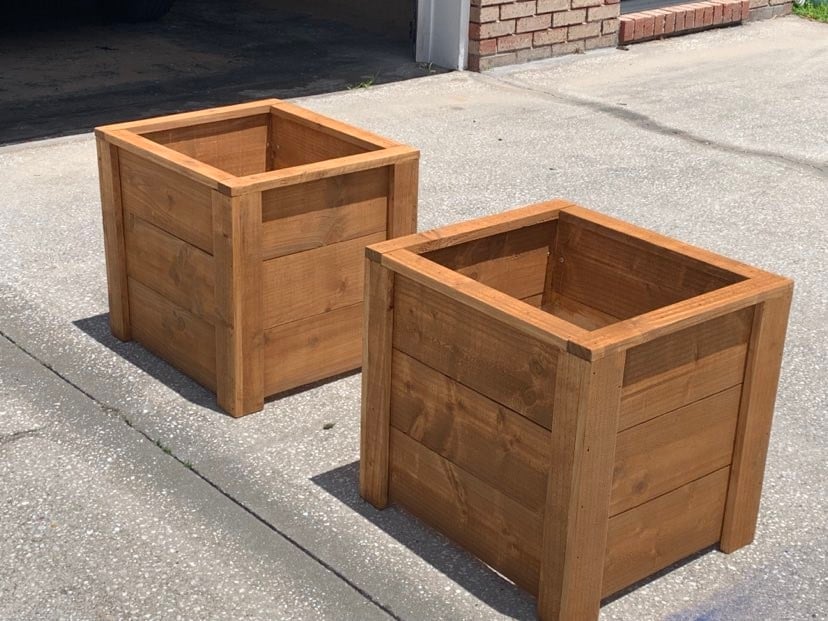
Thanks Ana, I built your planter box, actually built 2 of them, one for each mom. The were a huge hit and I already have people asking me to build them one.
So loved building this planter box. Thanks for all you do for your fellow woodworkers!
Dale G
Callahan, FL
Tue, 05/10/2022 - 07:05
Love these, wonderful idea for a mother's day gift, thank you for sharing!
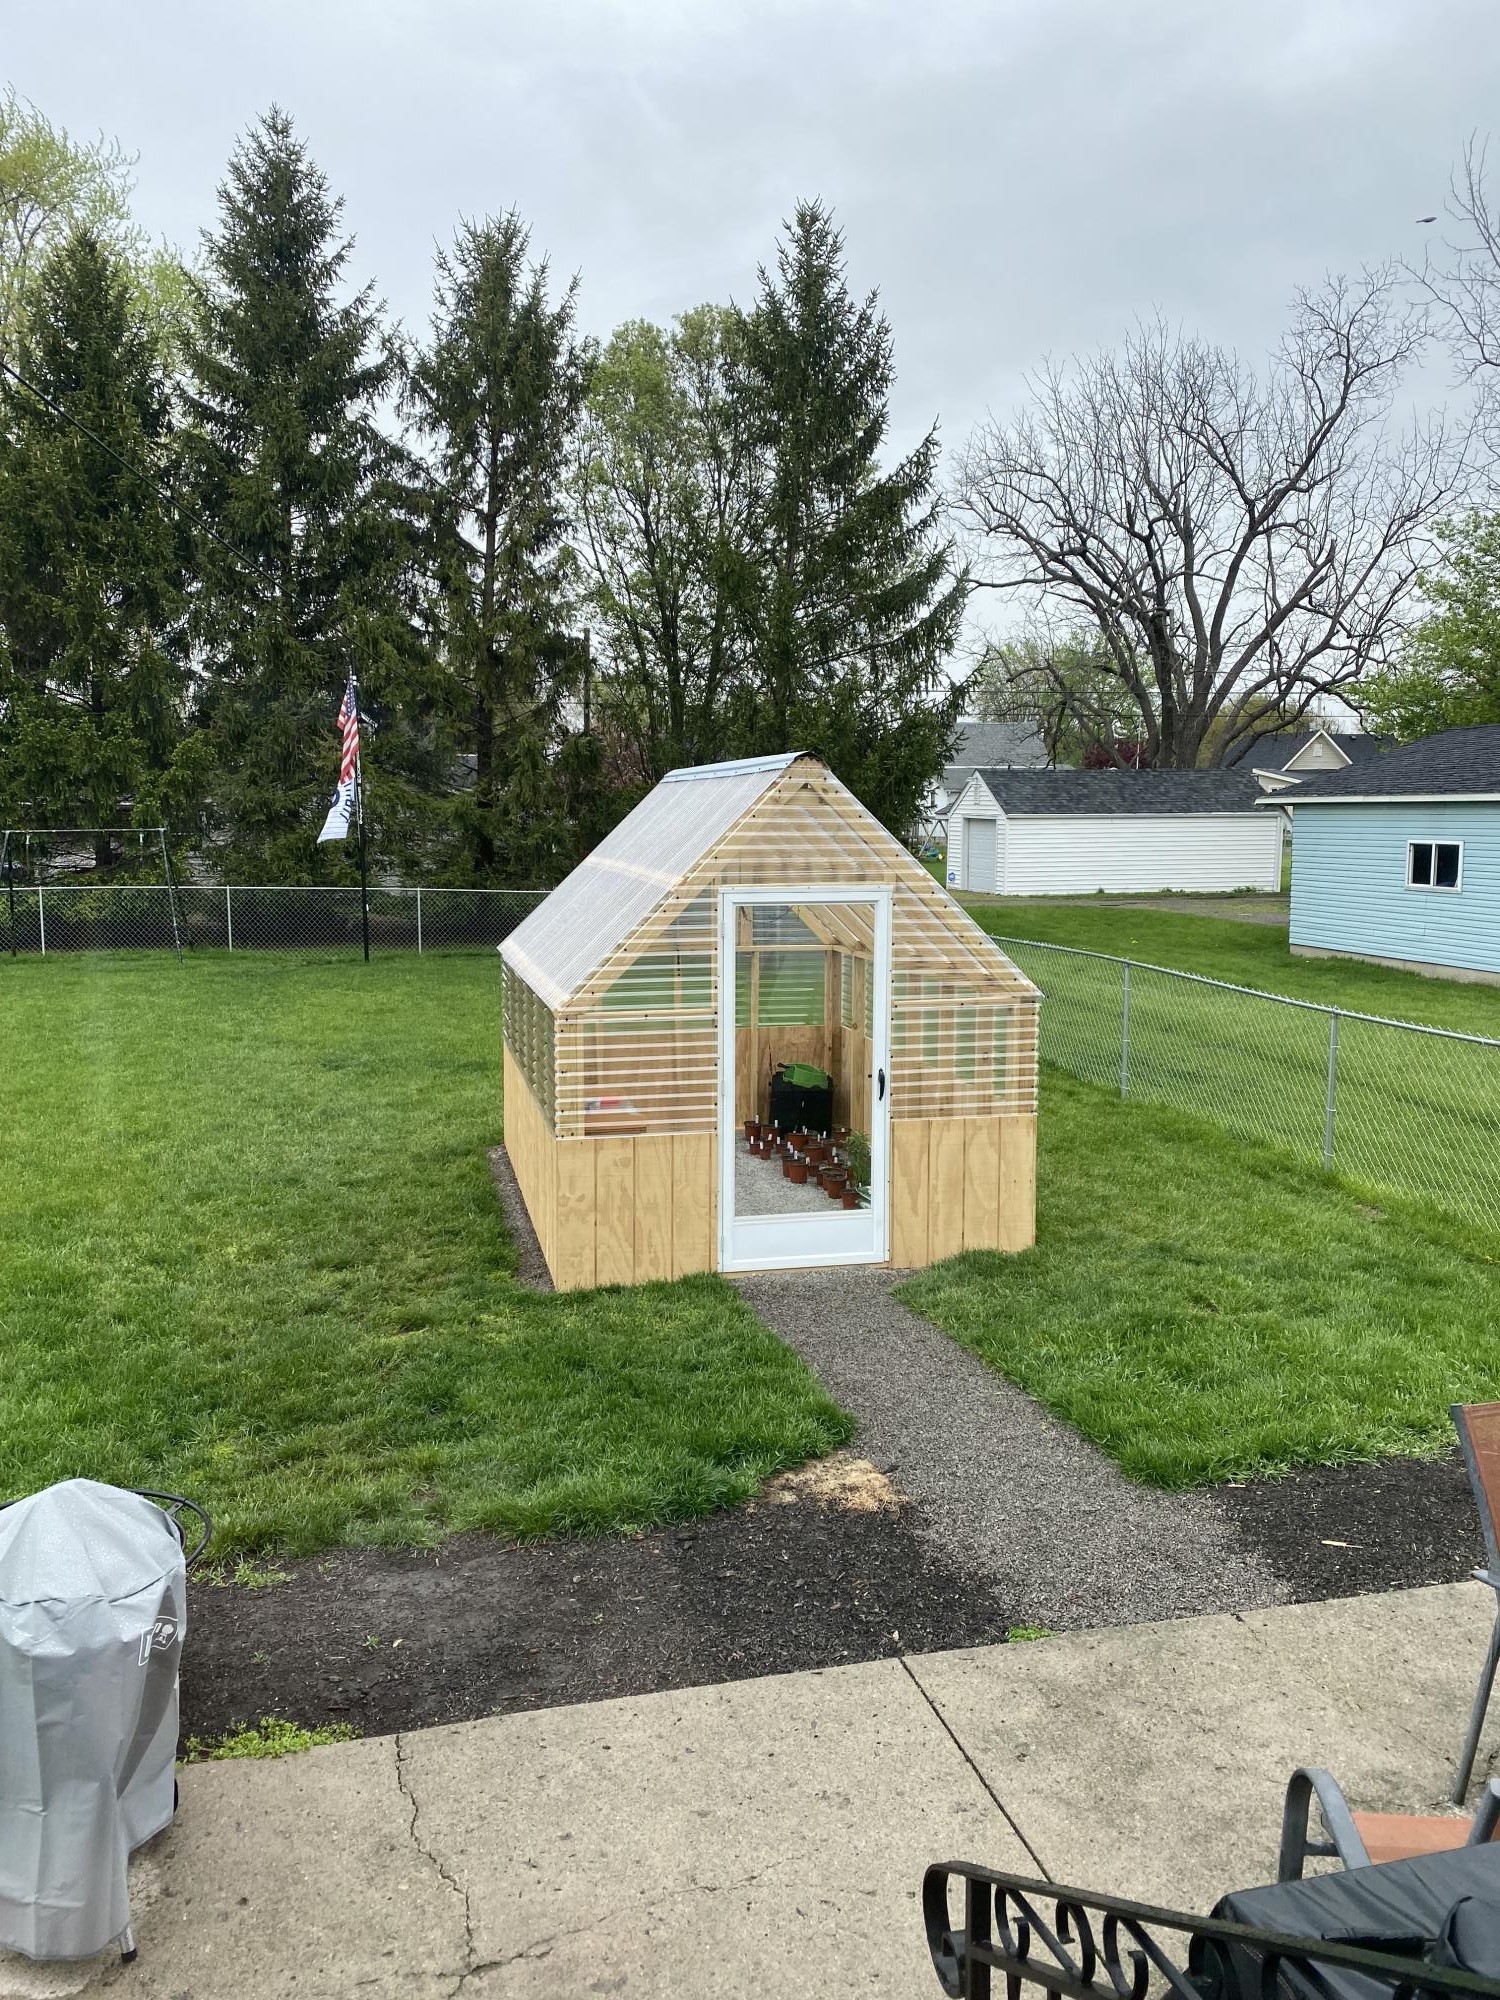
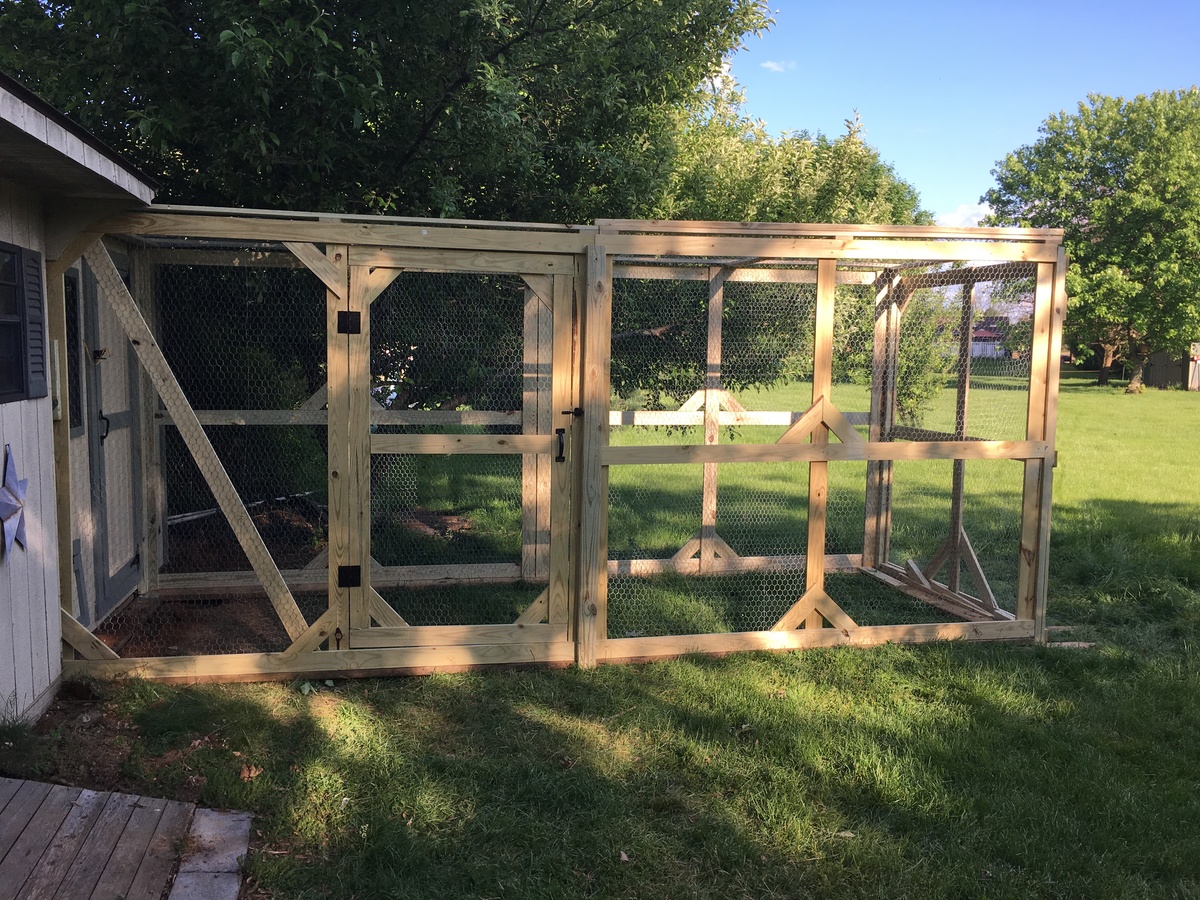
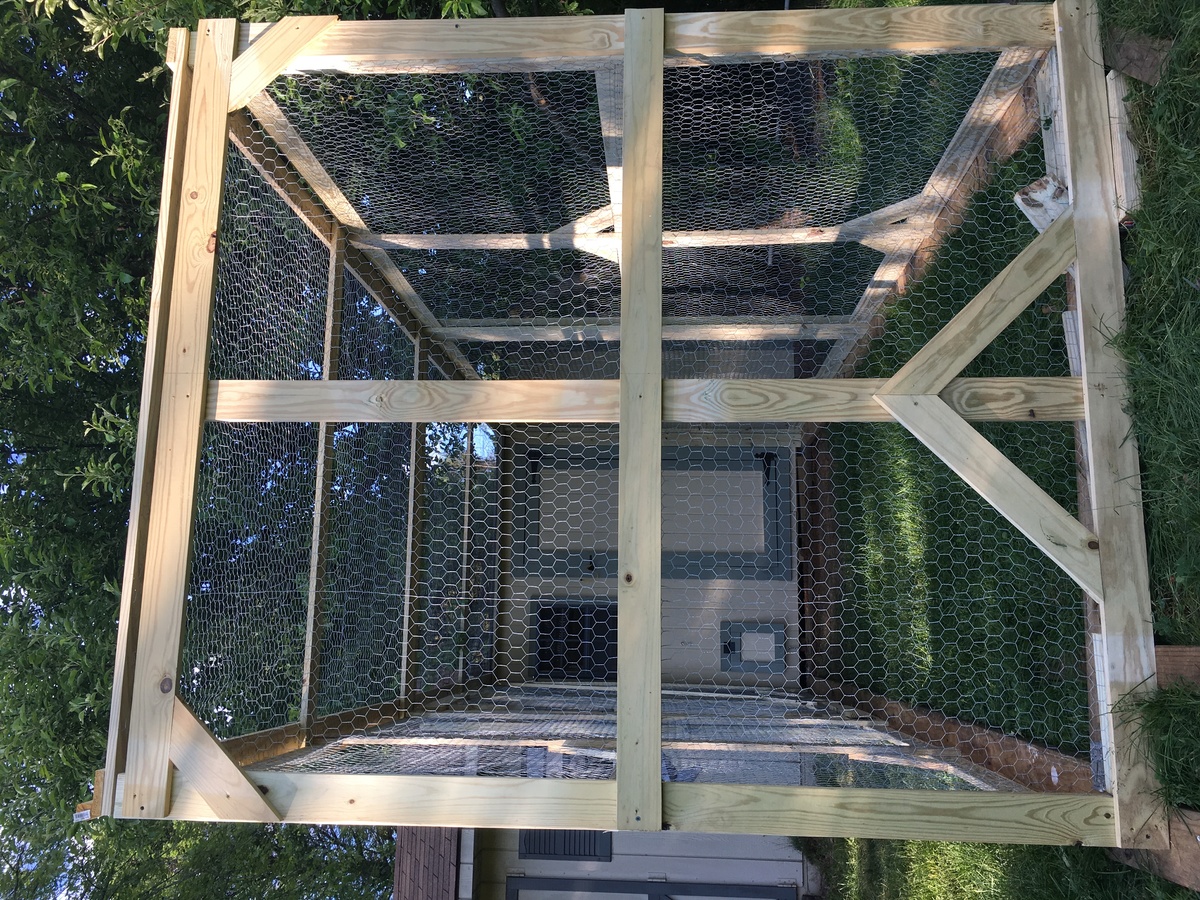
I am so in love with my greenhouse, it is amazing the plans were perfect and it went up without any problems, your designs are amazing and beautiful. We are going to do the chairs next!!!
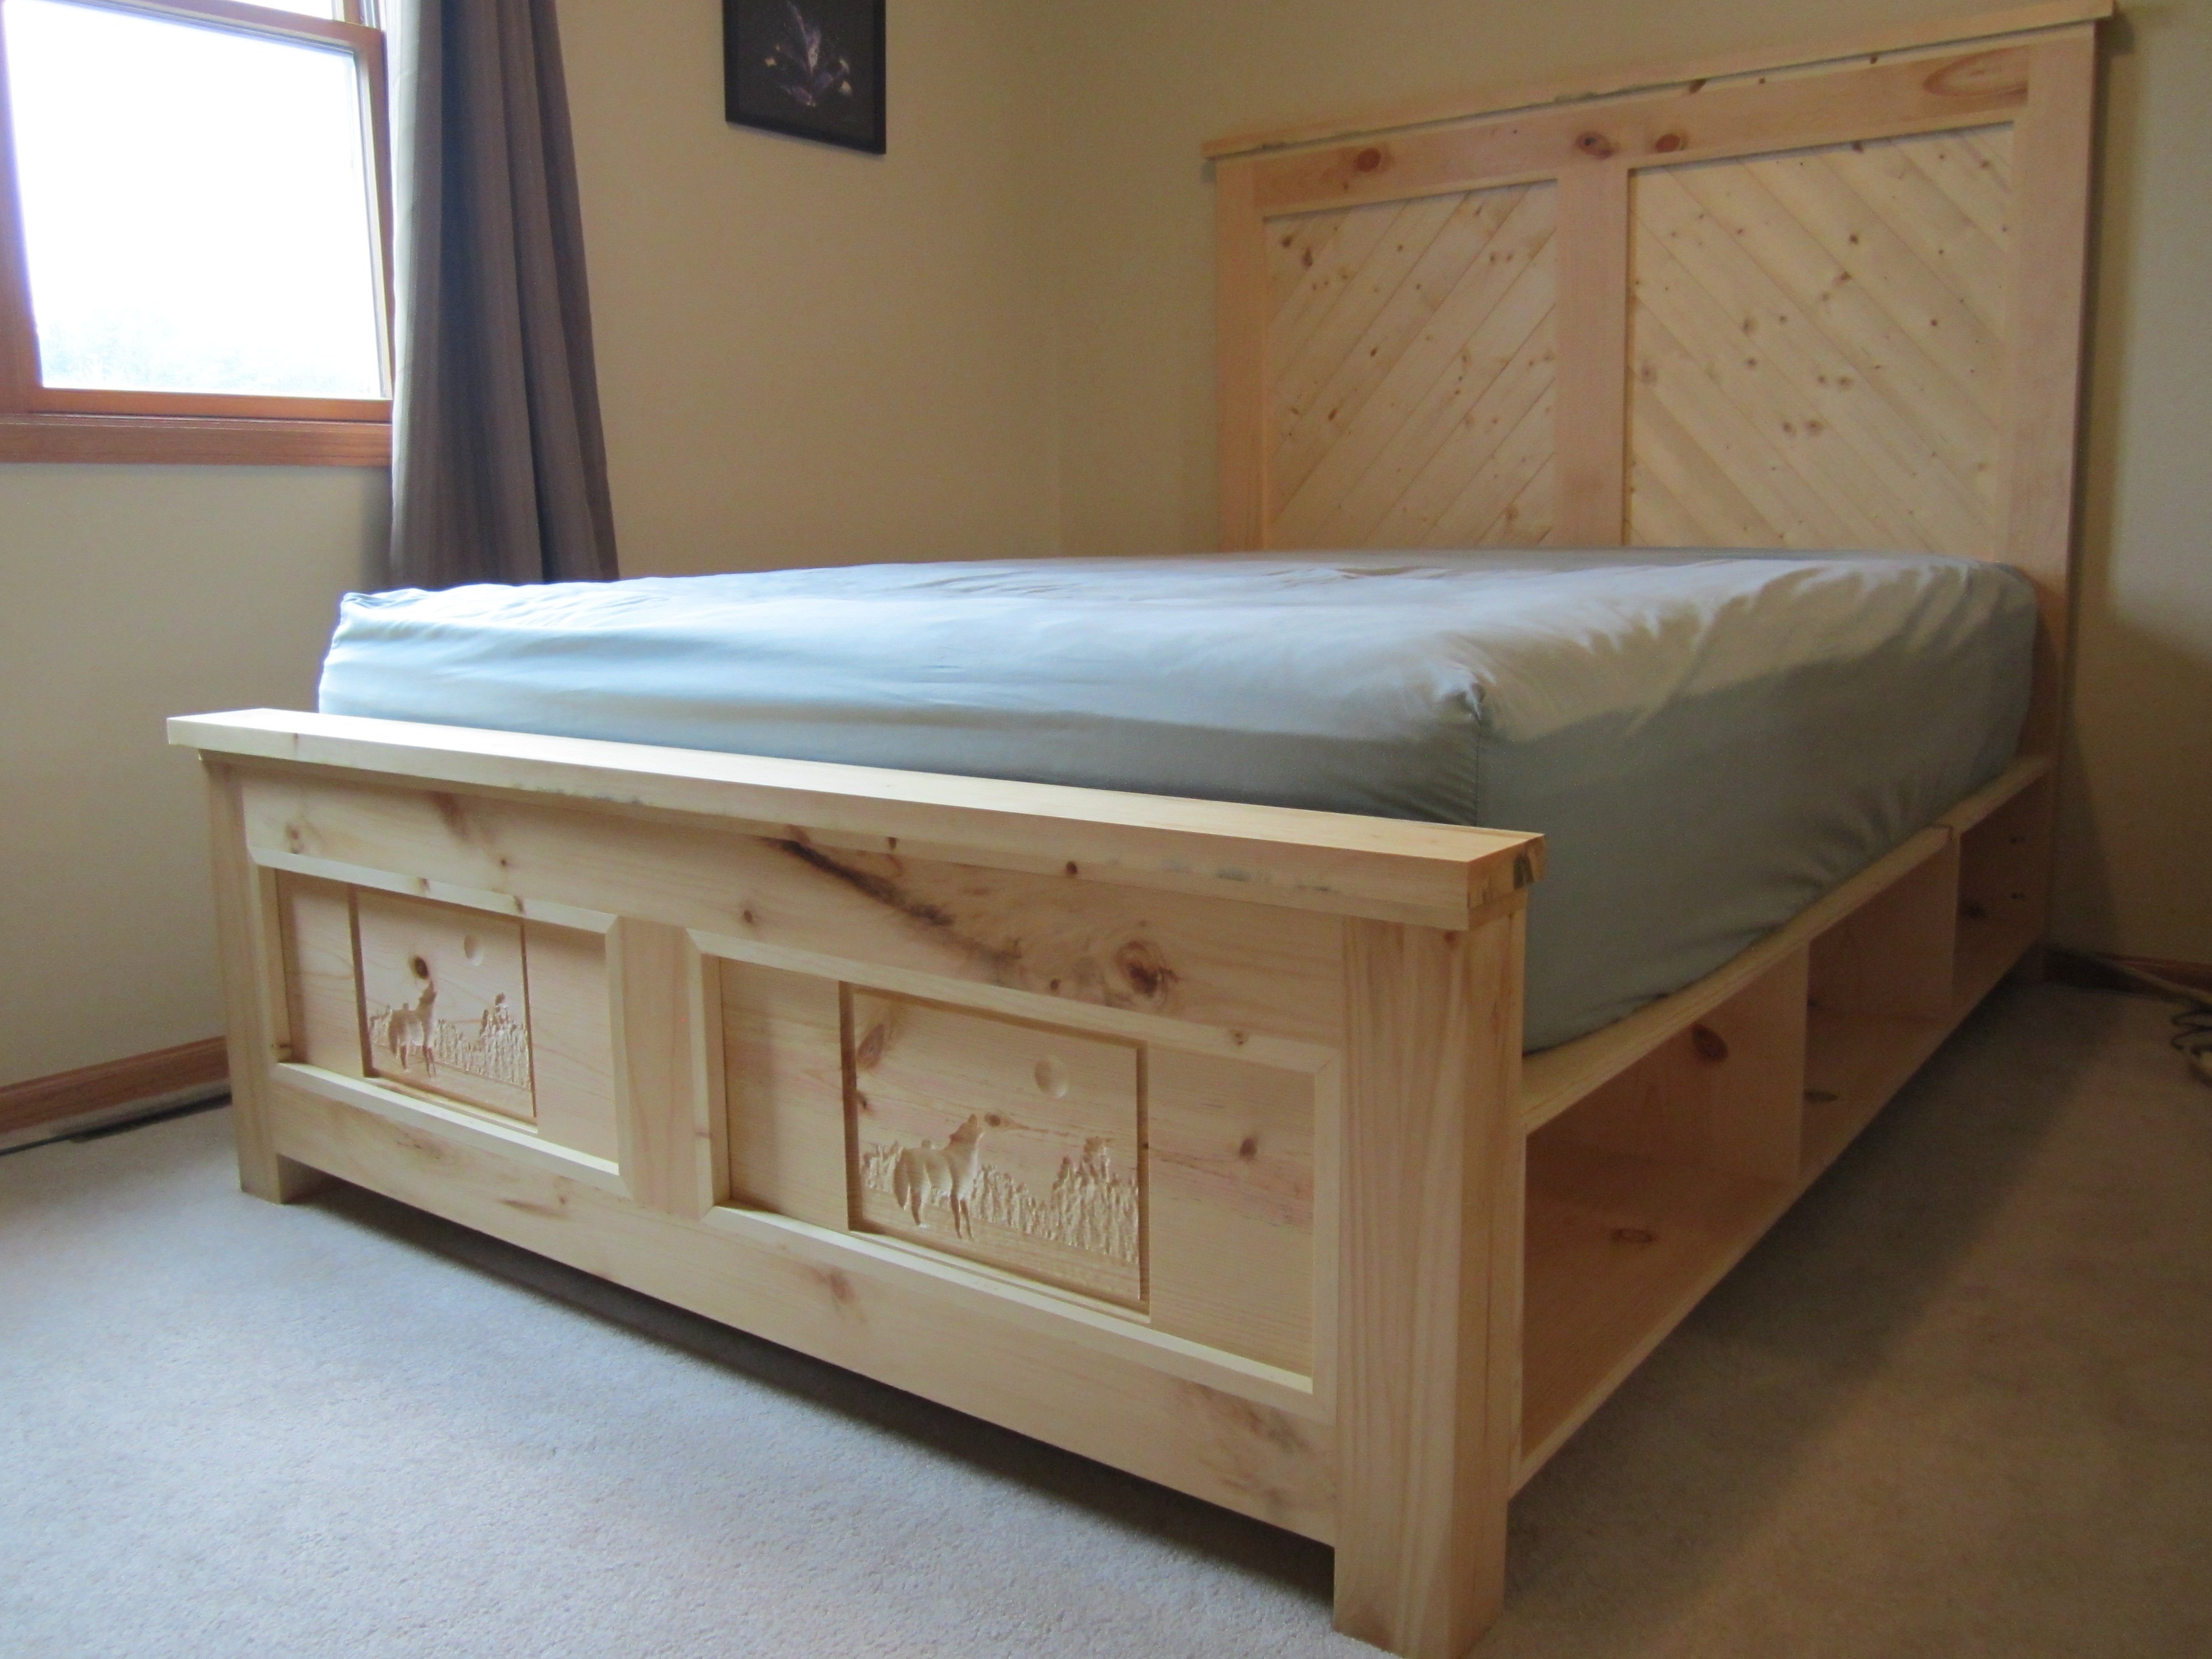
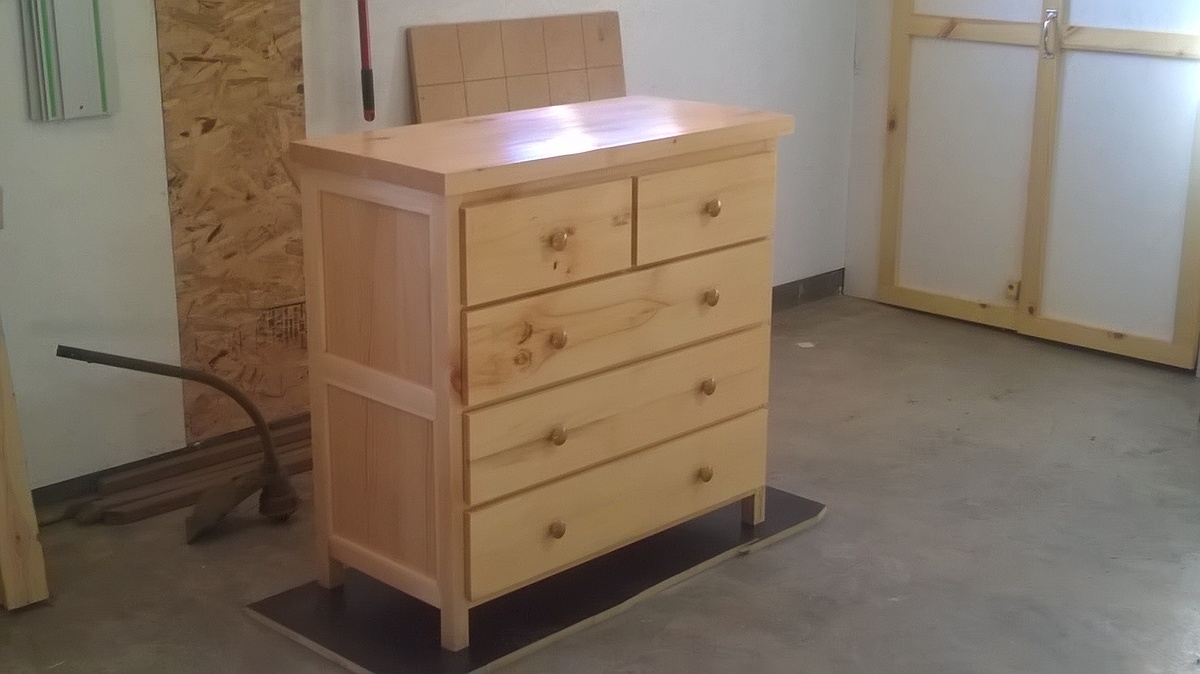
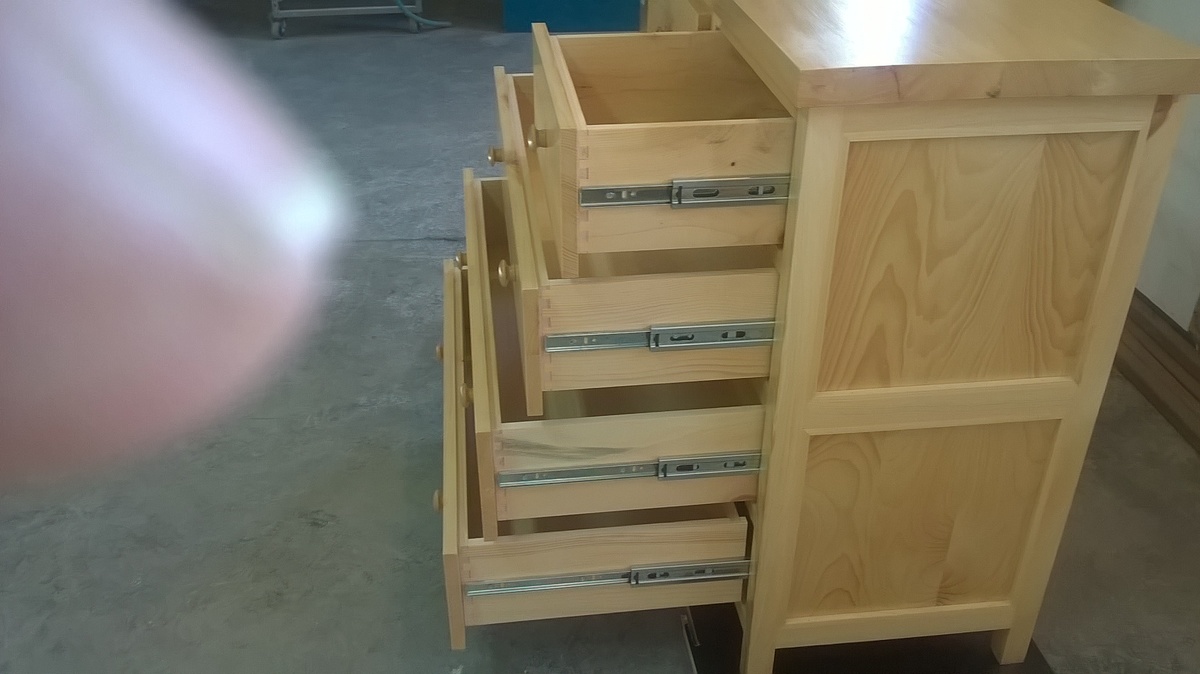
In need of outfitting the spare bedroom for overnight guests I came upon this site and found the storage bed plan we liked. After building the bed of course a dresser was in order. My sawyer has some northern white pine that came from the Wisconsin Northern State Fair grounds in Chippewa Falls. Having never worked with white pine before I found it rewarng and was happy with the finished product. Hope our guest enjoy it as much I had building it
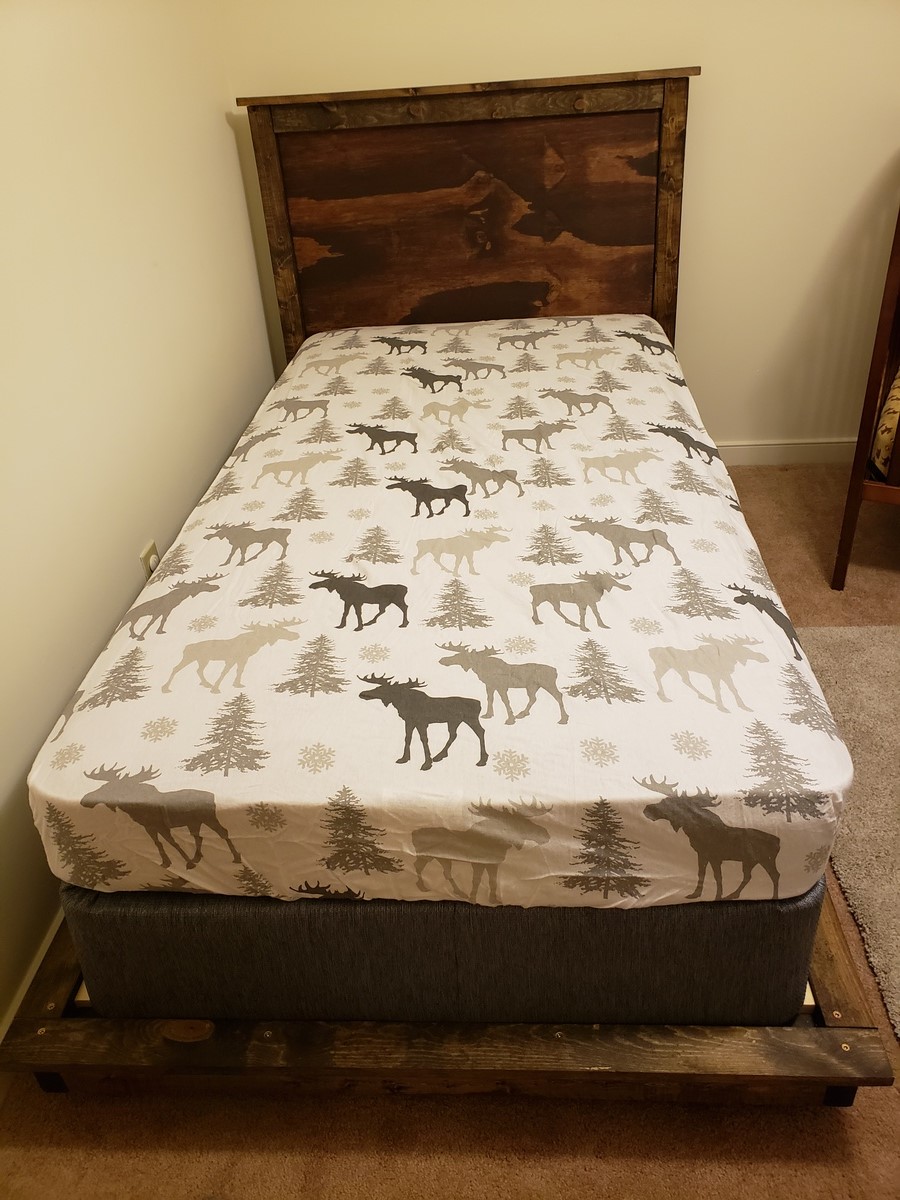
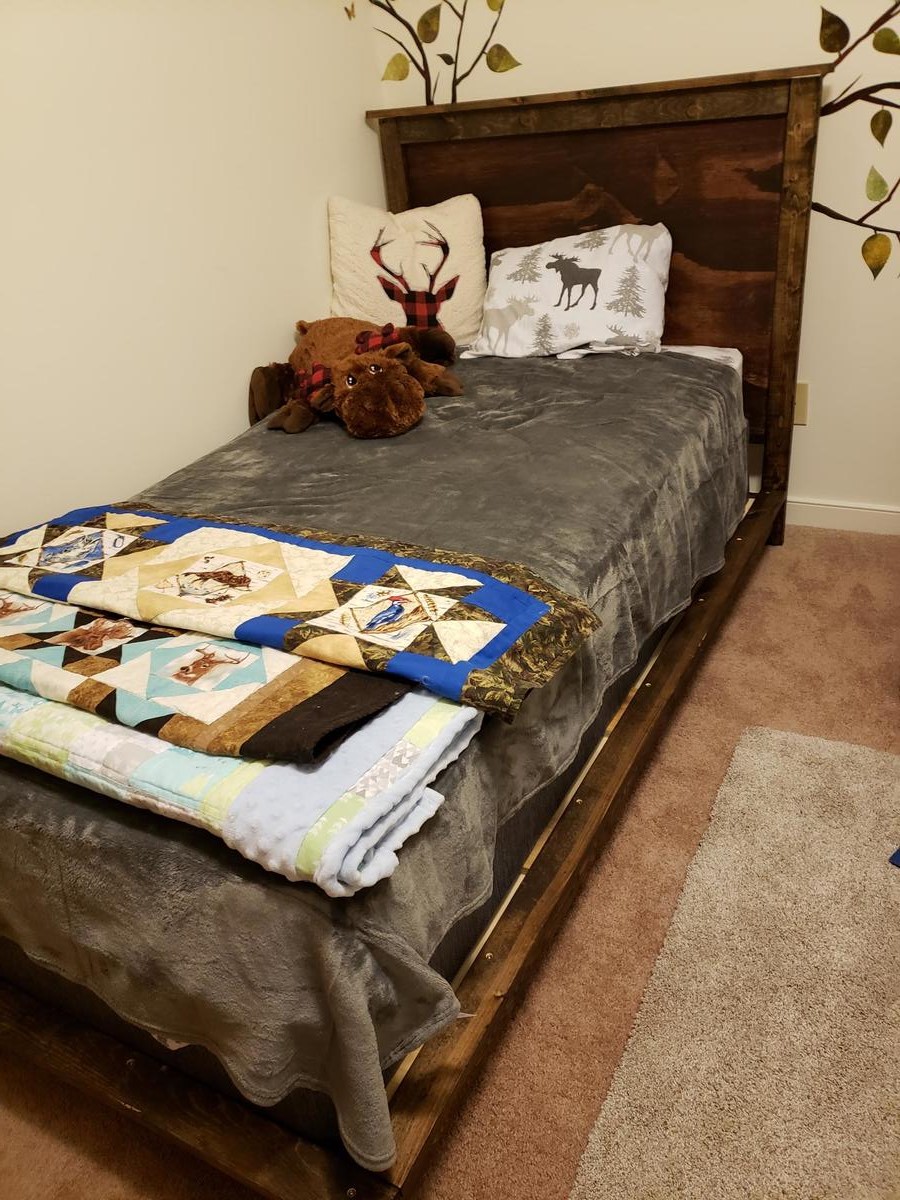
Our little guy decided at about 2 years old that his crib just wasnt going to cut it anymore. My wife and I had a blast throwing this together. A good tip is to use leftover pieces from the headboard to cut slats. We love our wood projects, check out our facebook page. Wyvace woodworking.
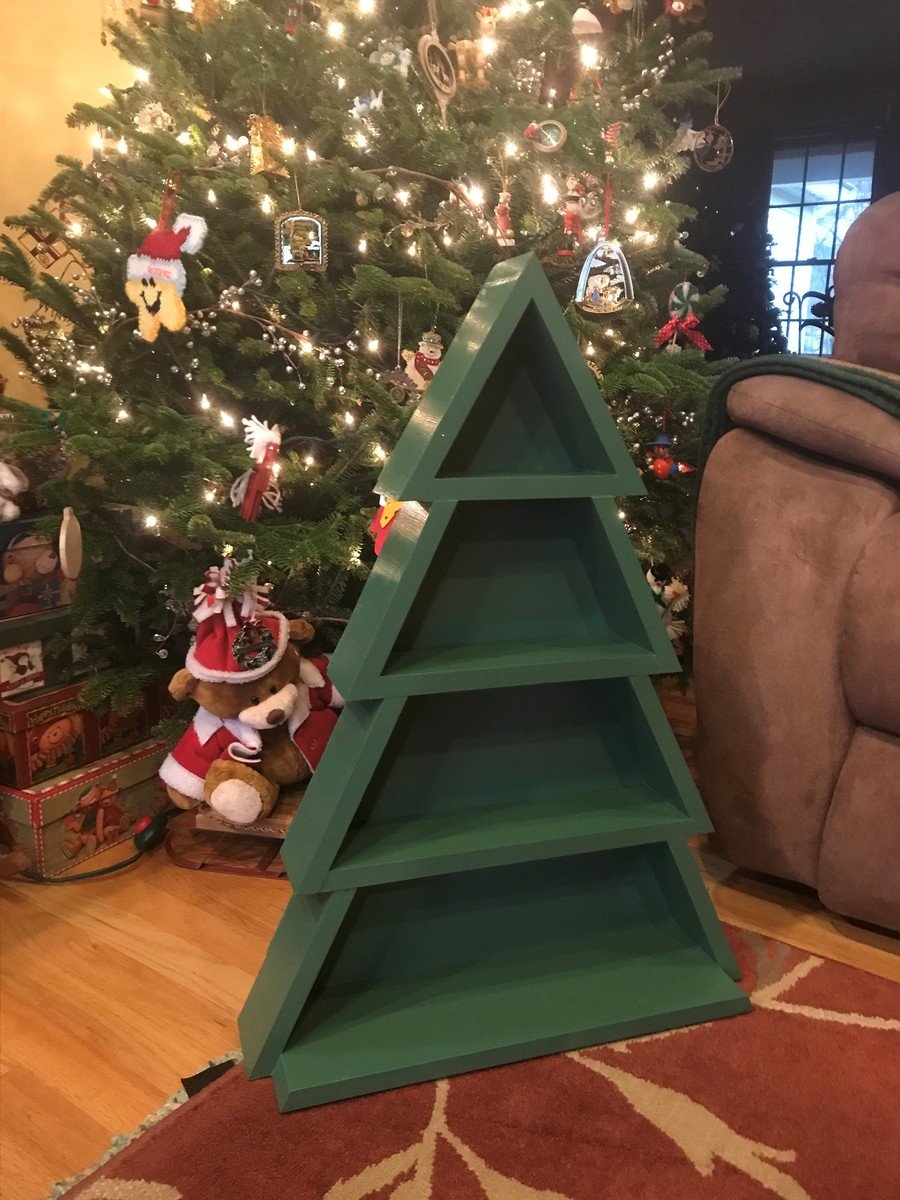
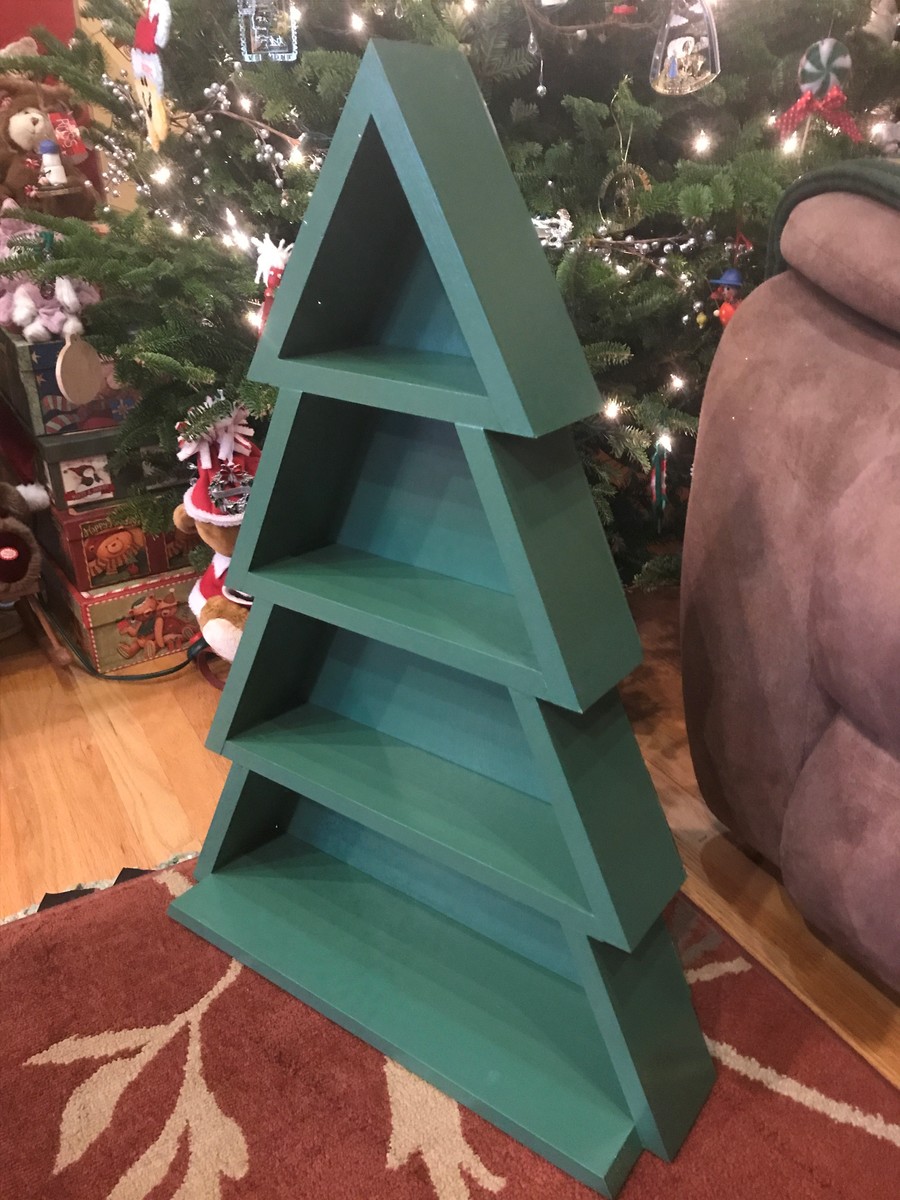
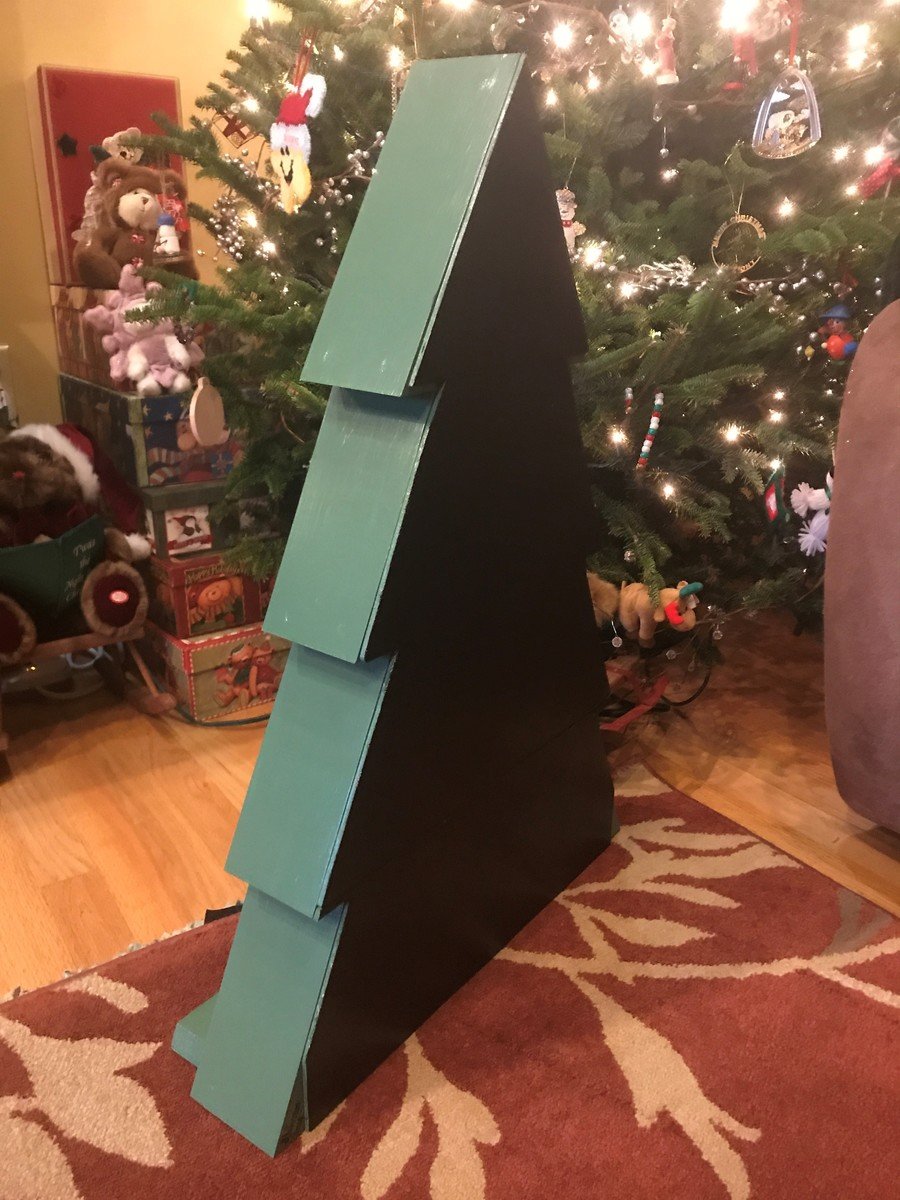
I found the Christmas tree shelf plans and since I had drawn my wife's aunt's name for this year I knew she'd appreciate this build. I chose 1x6 top choice pine and a wider piece for the base since she may decide to set this on the floor instead of hanging it. I also had some oak plywood I used for the back. I screwed all the pieces together, countersunk and filled the screw holes with wood putty. The paint I used was Benjamin Moore, the color was Balsam (567) and I really like how the color came out. I painted the back and the bottom with standard black interior paint just to protect the wood a little. I coated it with a couple of coats polycrylic and bought a couple of Christmassy items for the shelf to get her started. Can't wait to see what she thinks on Christmas day.
This can easily be built in less than a weekend depending on your skill level. I had to recut one of the boards when I caused some damage while putting it all together. The sanding, painting and finishing takes as long as you want depending on the finish and care taken.

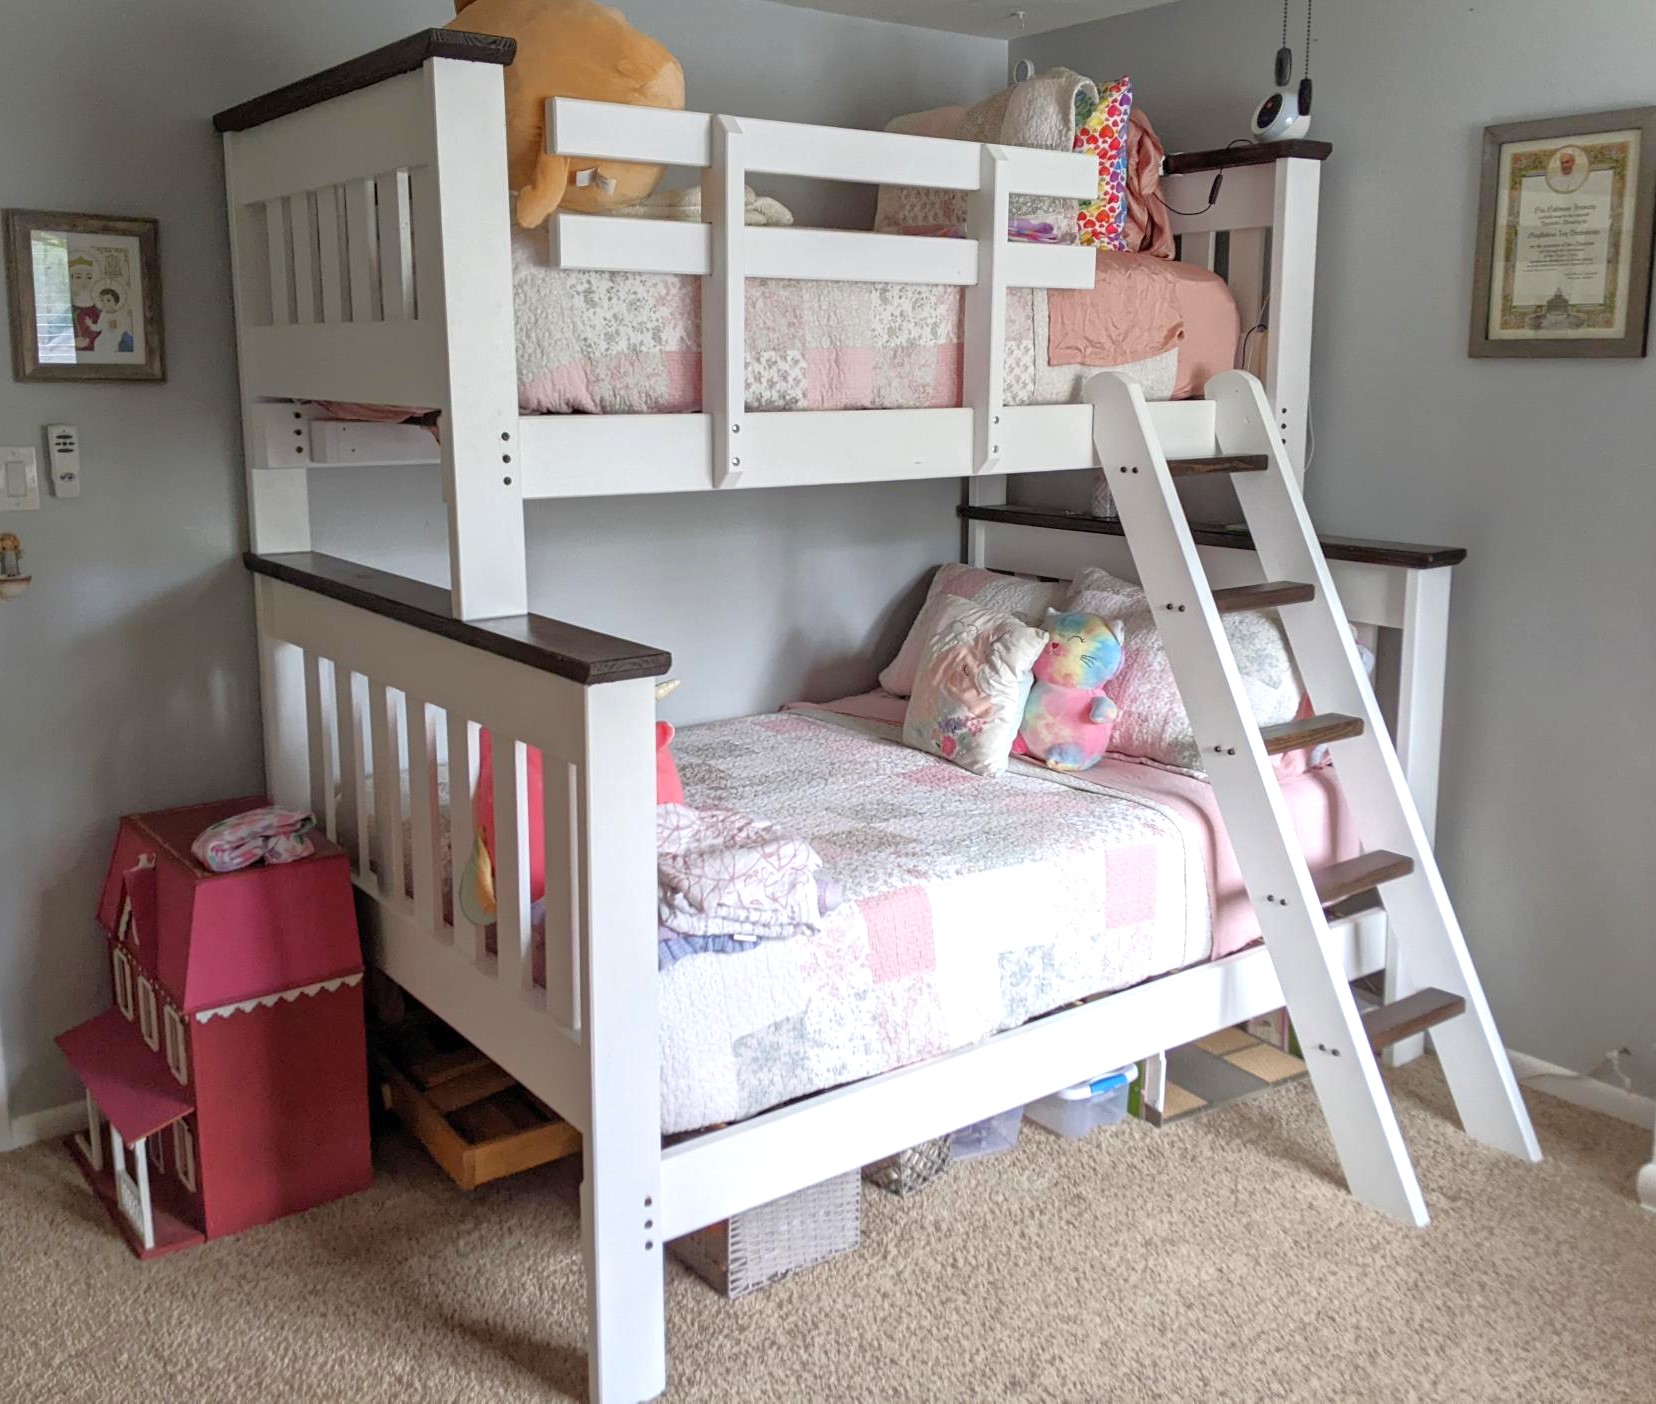
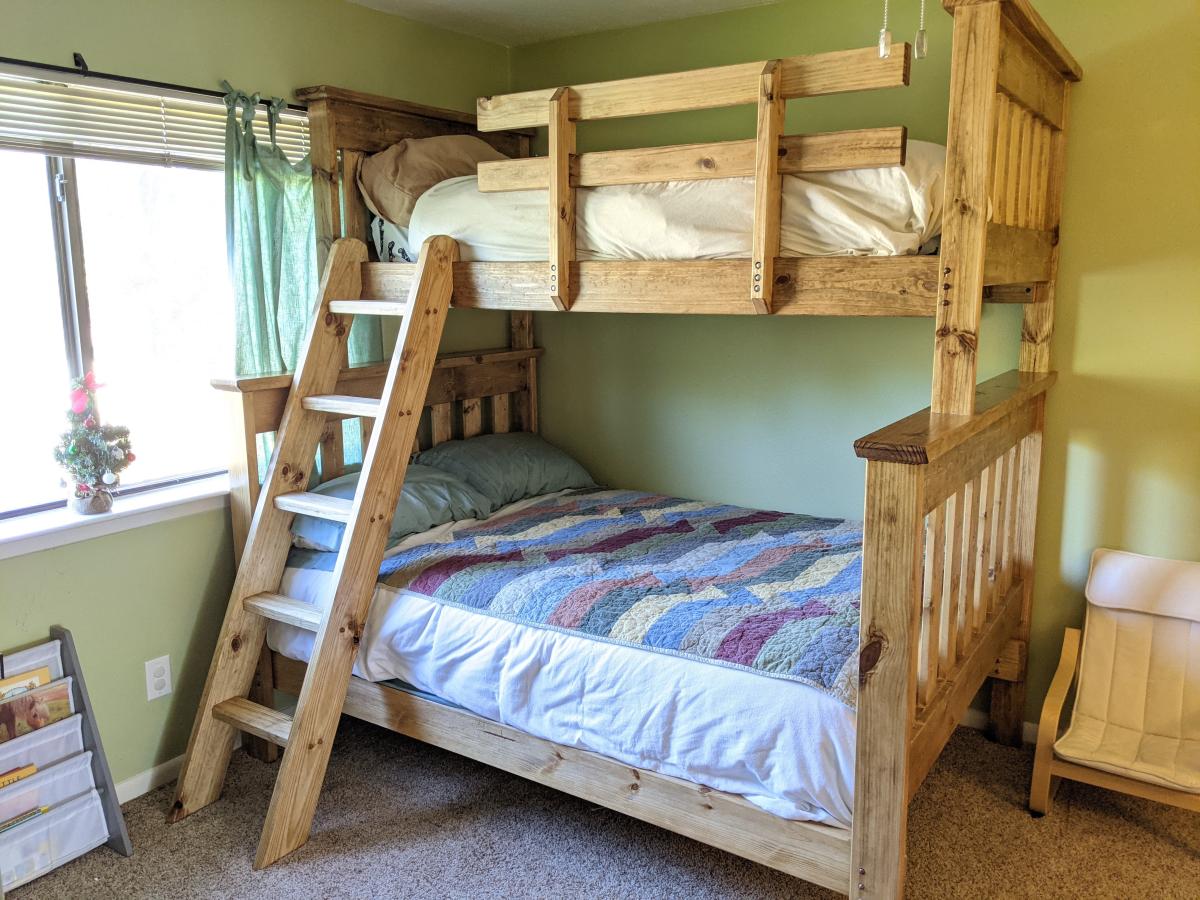
Utilized the plans from this website to frame out the general idea, but as typical with my projects, I took it to a little further and utilized more traditional joinery (mortise & tenon, oak dowel pins, dado). Guard rails are bolted with carriage bolts. Hand planed all boards and added chamfers to every edge (zero sandpaper). Both beds are joined together with 1 inch oak pins (x4 legs). Each bed breaks down very easily by knocking out the three 1/2 pins that join the legs to the stretchers (x4 legs).
Both beds were built out of structural southern yellow pine lumber. The boy's bed was merely varnished with Danish Oil (dark walnut) all over - on Southern Yellow Pine, this color choice gives it a rustic look. Girl's bed was two toned: painted white and stained with Varathane (Kona), to give it that country look.
I think the total installed cost of the beds was just over $300 - $350 for the lumber, oak pins, any hardware, and finish material. This was a while back, so with lumber prices high, I'm not sure that's easily done anymore. But, it's solid as a rock and will last an extremely long time for our family.
Great project. Thanks for the ideas! Steve
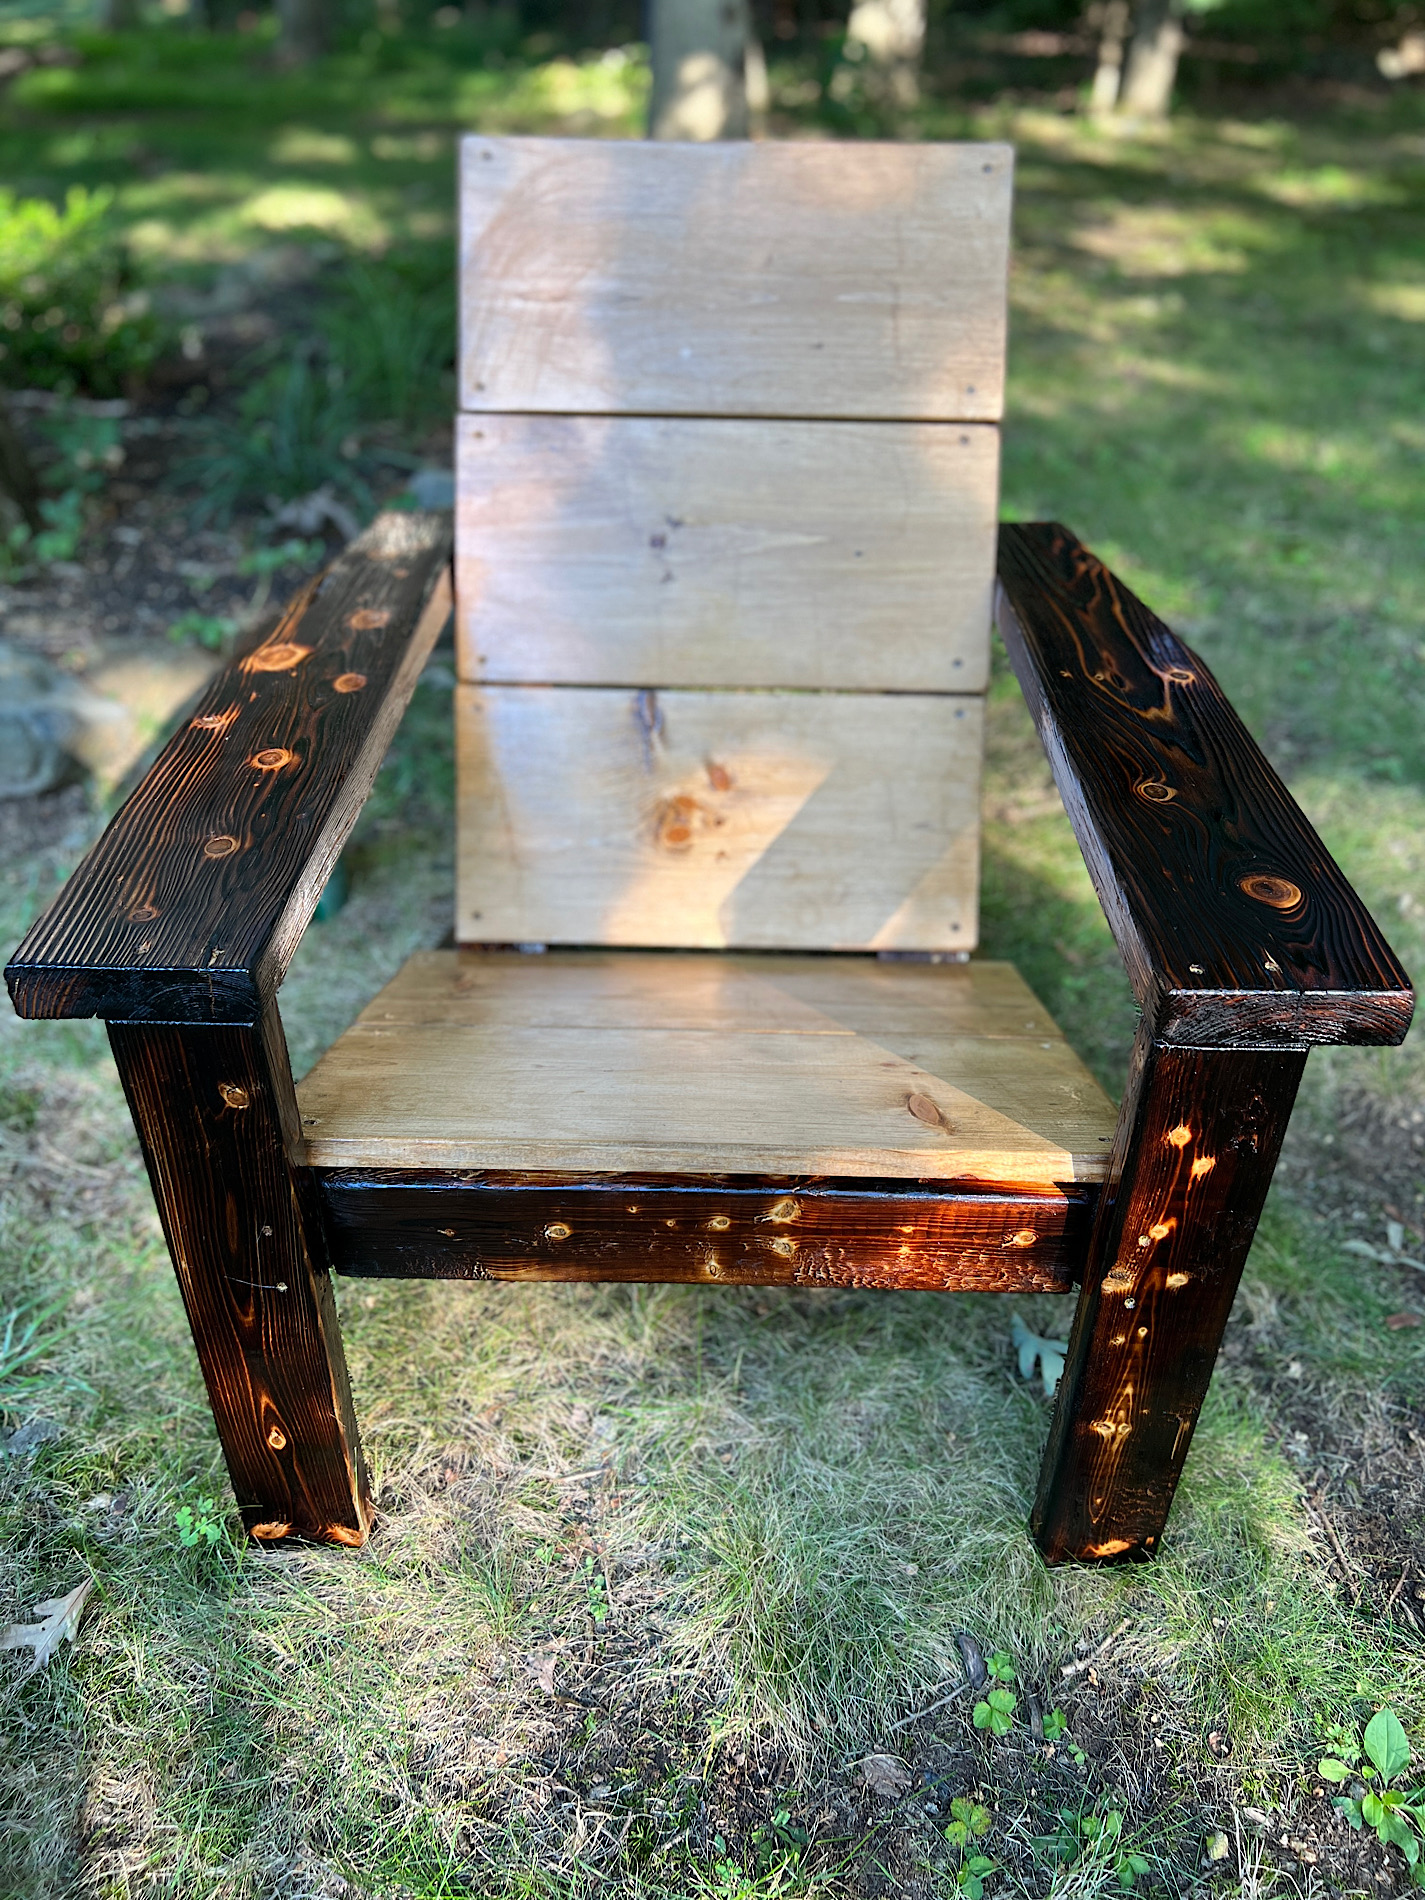
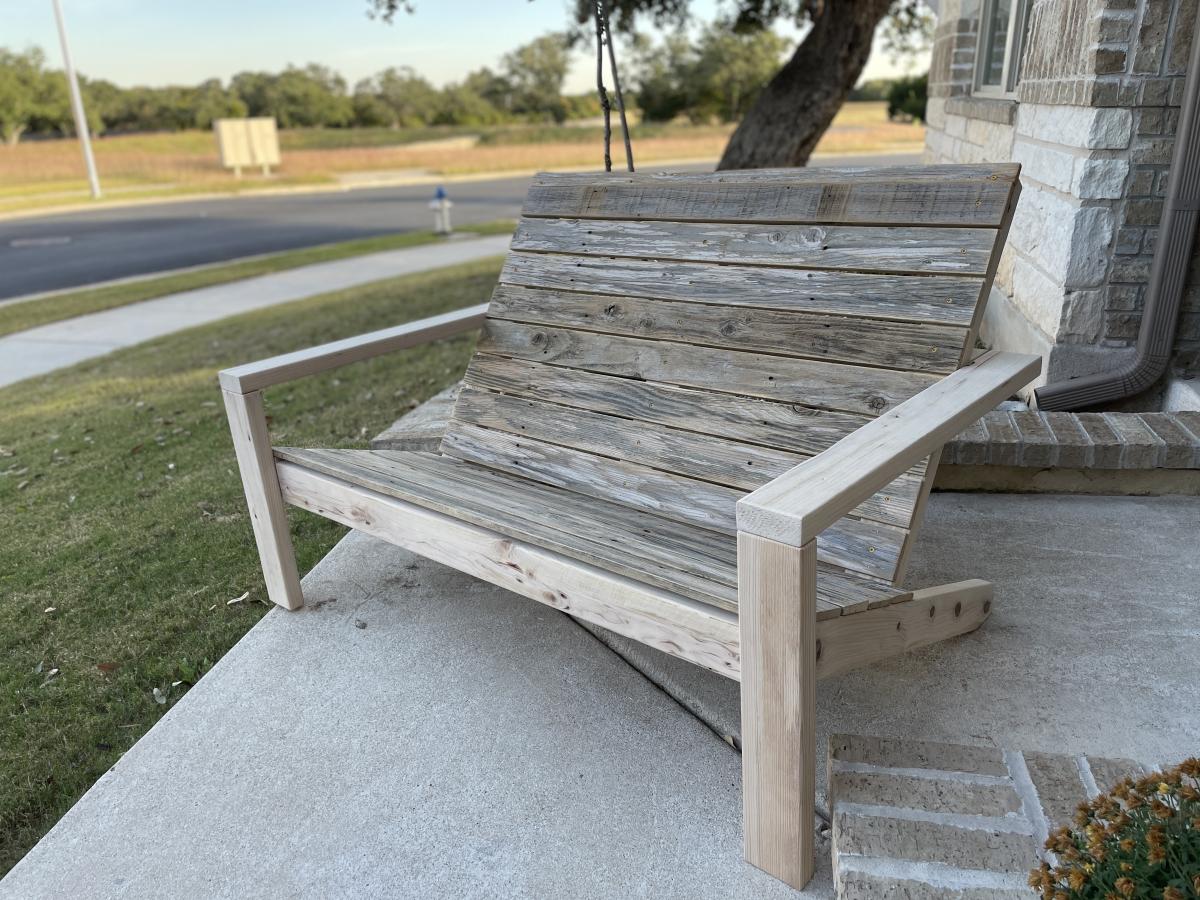
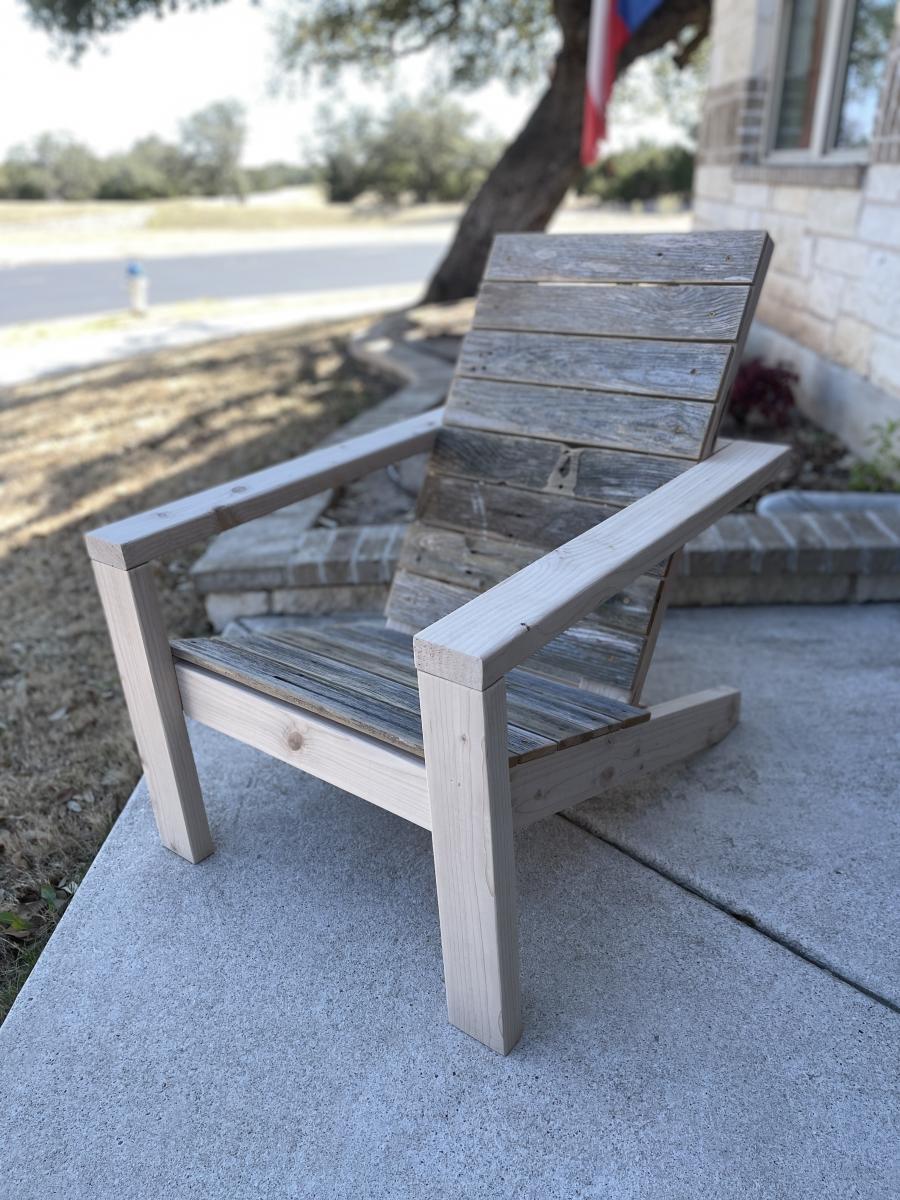
Made one change to plans. I used 2x6s for the arms. I used the Shou Sugi Ban burning technique to finish the 2x4s and 2x6s. I stained the back and set and the applied a couple coats of poly. Love the chairs! Building a couple more sets for around the fire pit. Thanks!
Thu, 09/15/2022 - 08:25
Love the wider arms and the finish is beautiful! Thanks for sharing.
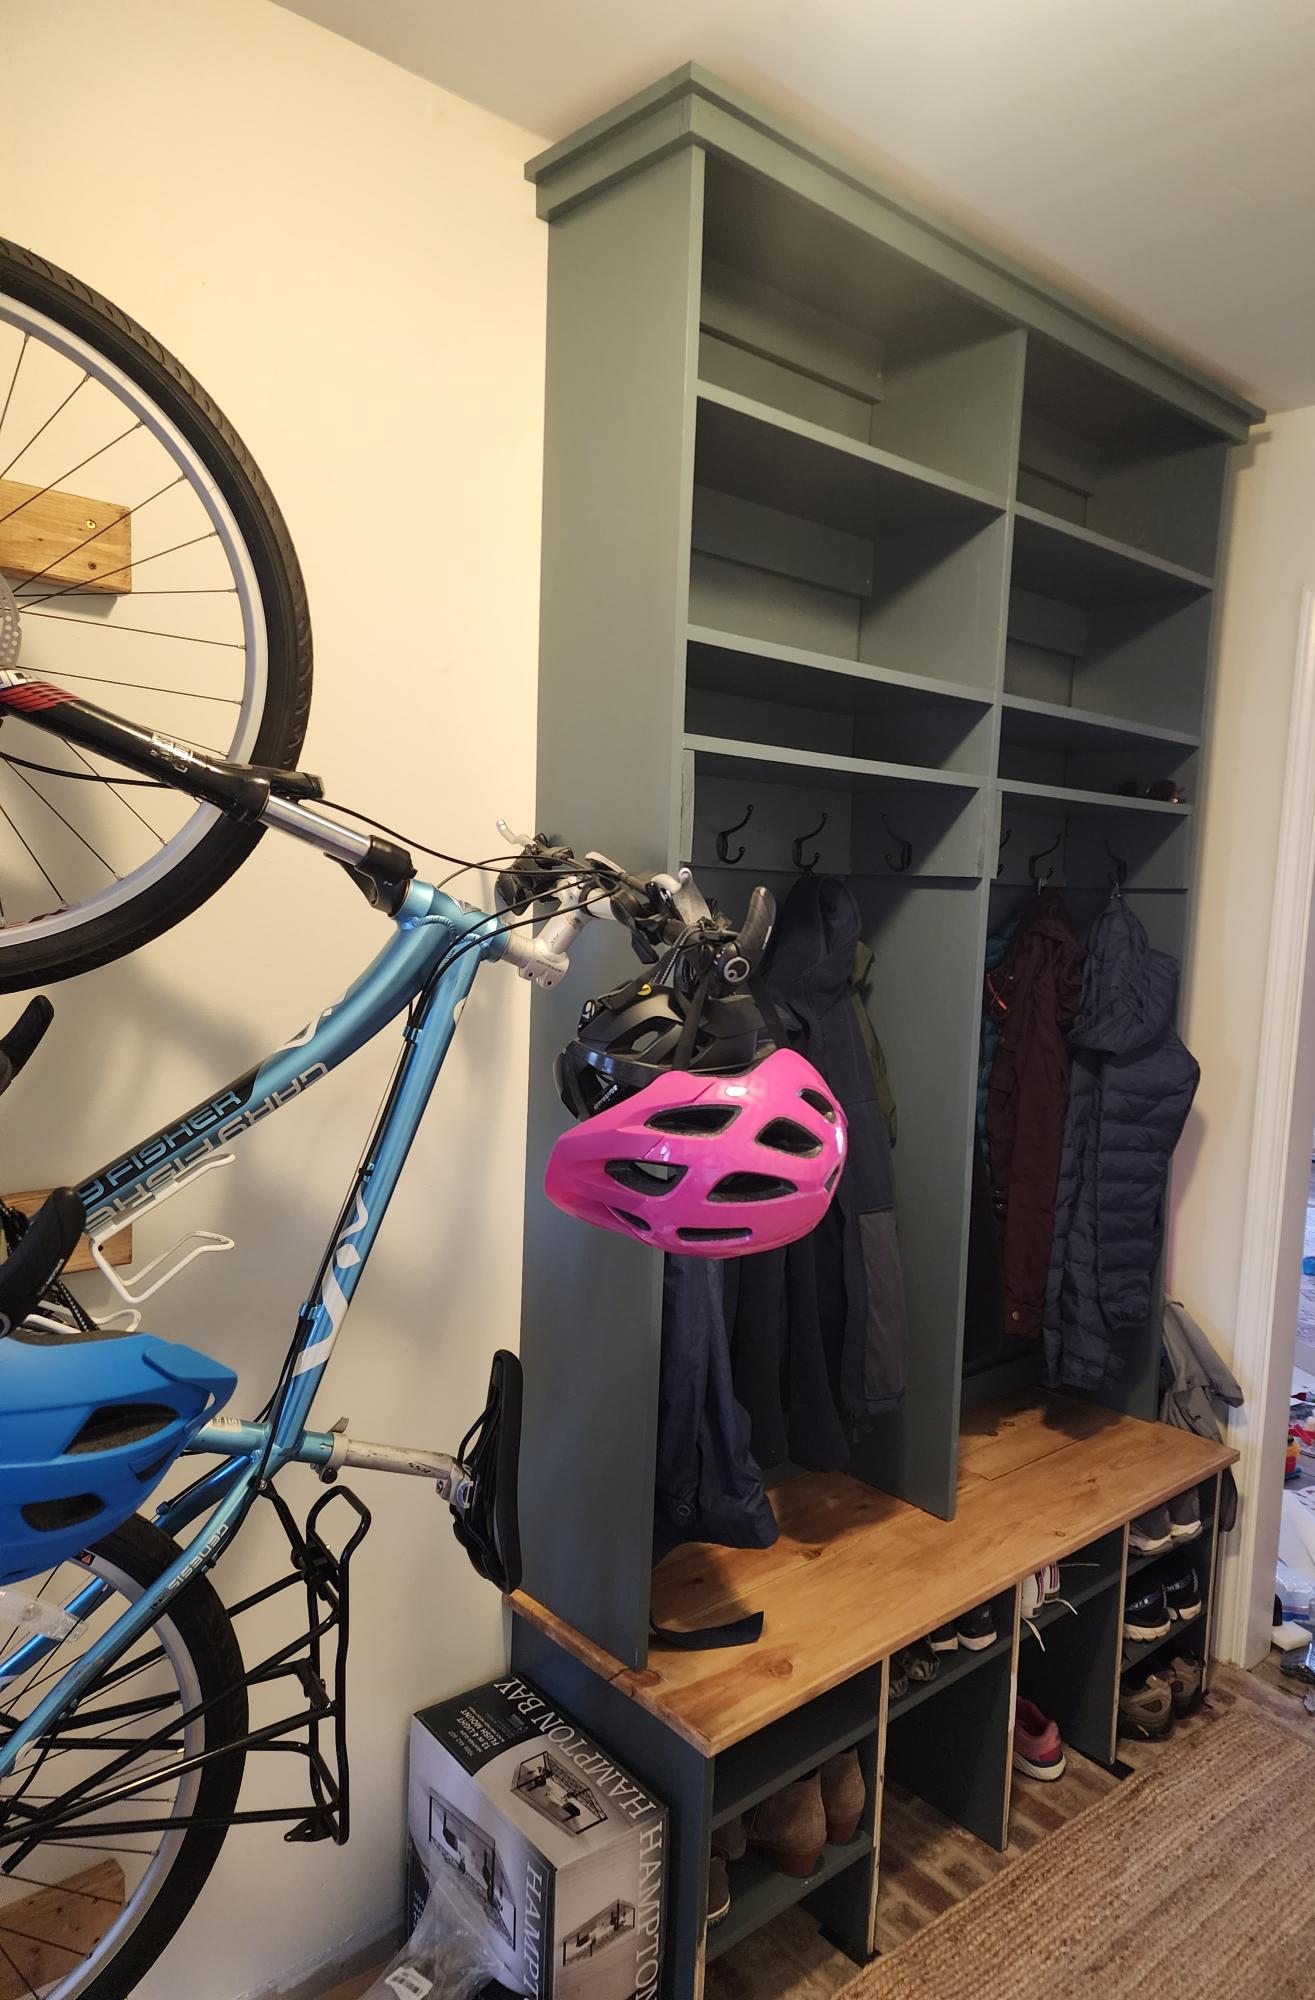
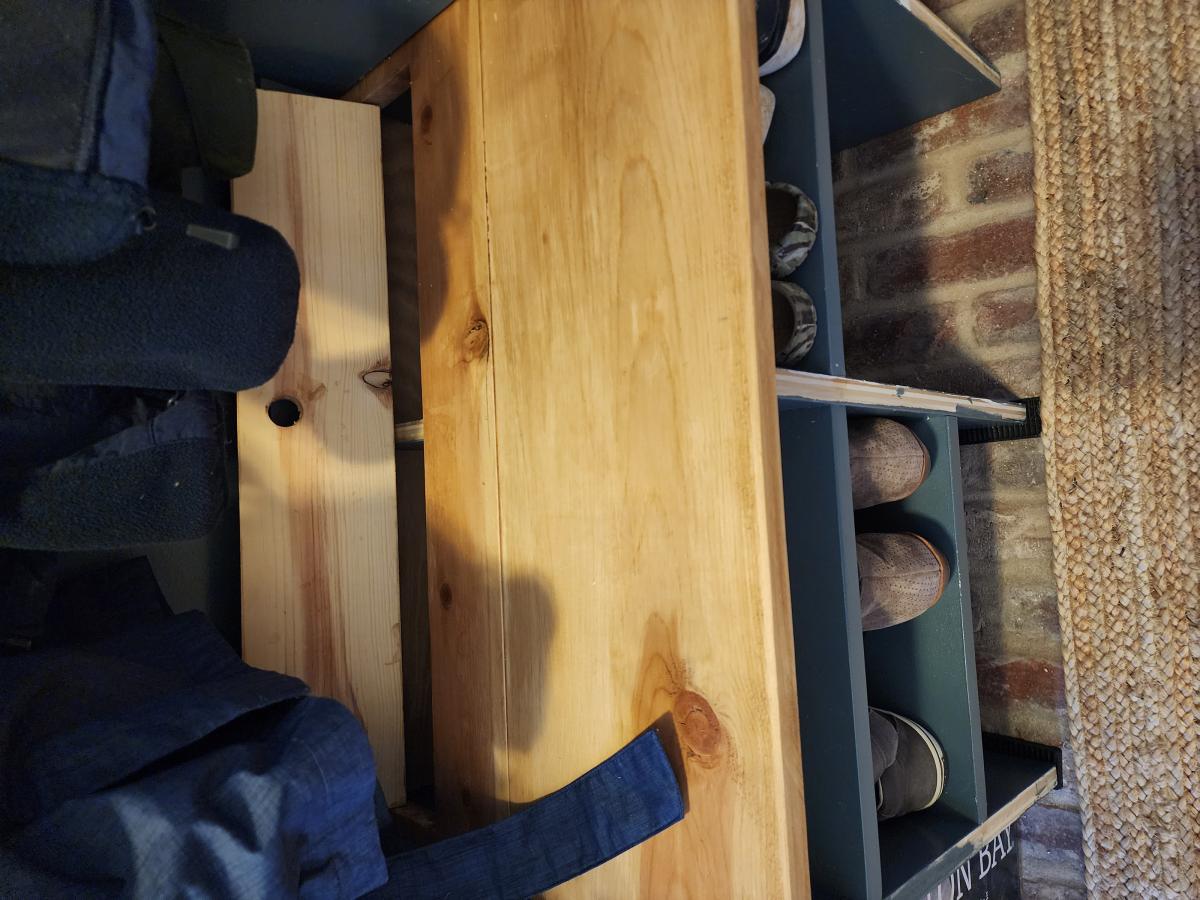
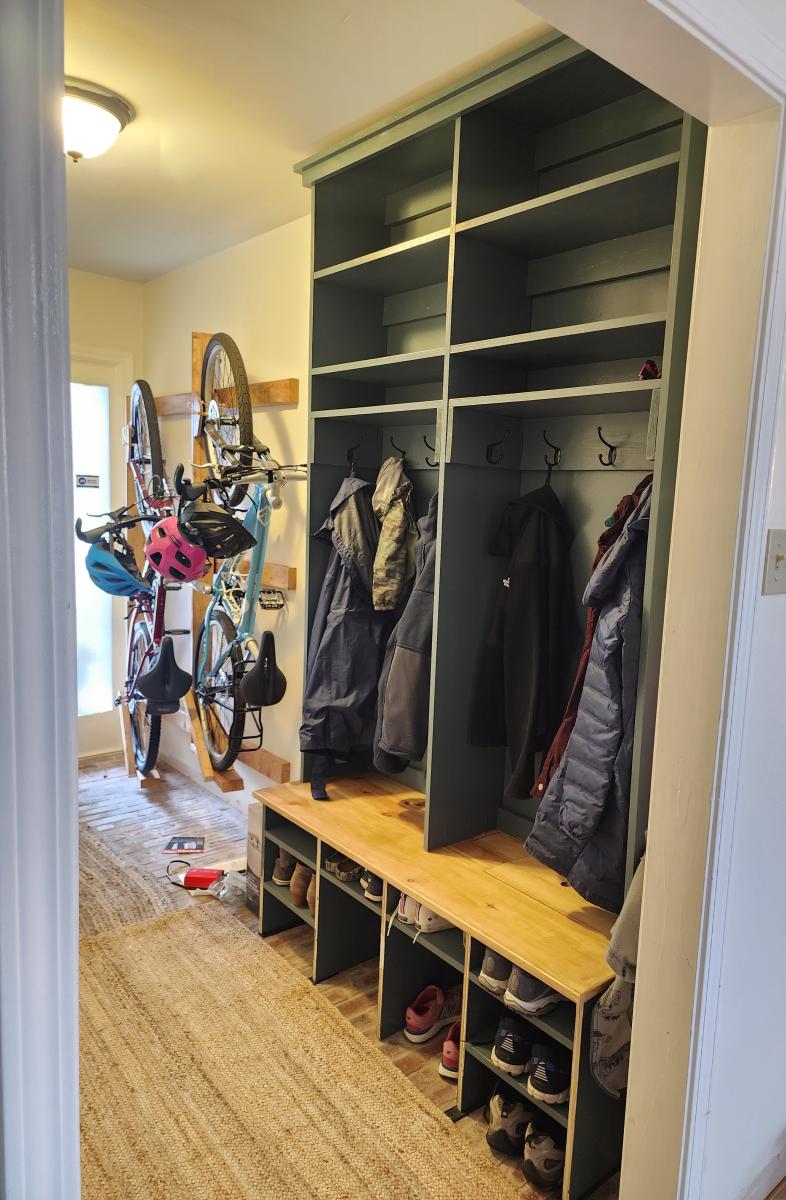
I have been dreaming of this project for YEARS! I used shelfhelp to design the shelf size and the open bottom mudroom plans with matching hutch and the plan with lift up boot storage for inspiration. I still need to add trim but I'm so excited I couldn't wait to say THANK YOU for all the inspiration and help! We absolutely LOVE it!!
Sun, 11/20/2022 - 12:36
Love the color choice, and the build is phenomenal! Thank you so much for sharing.
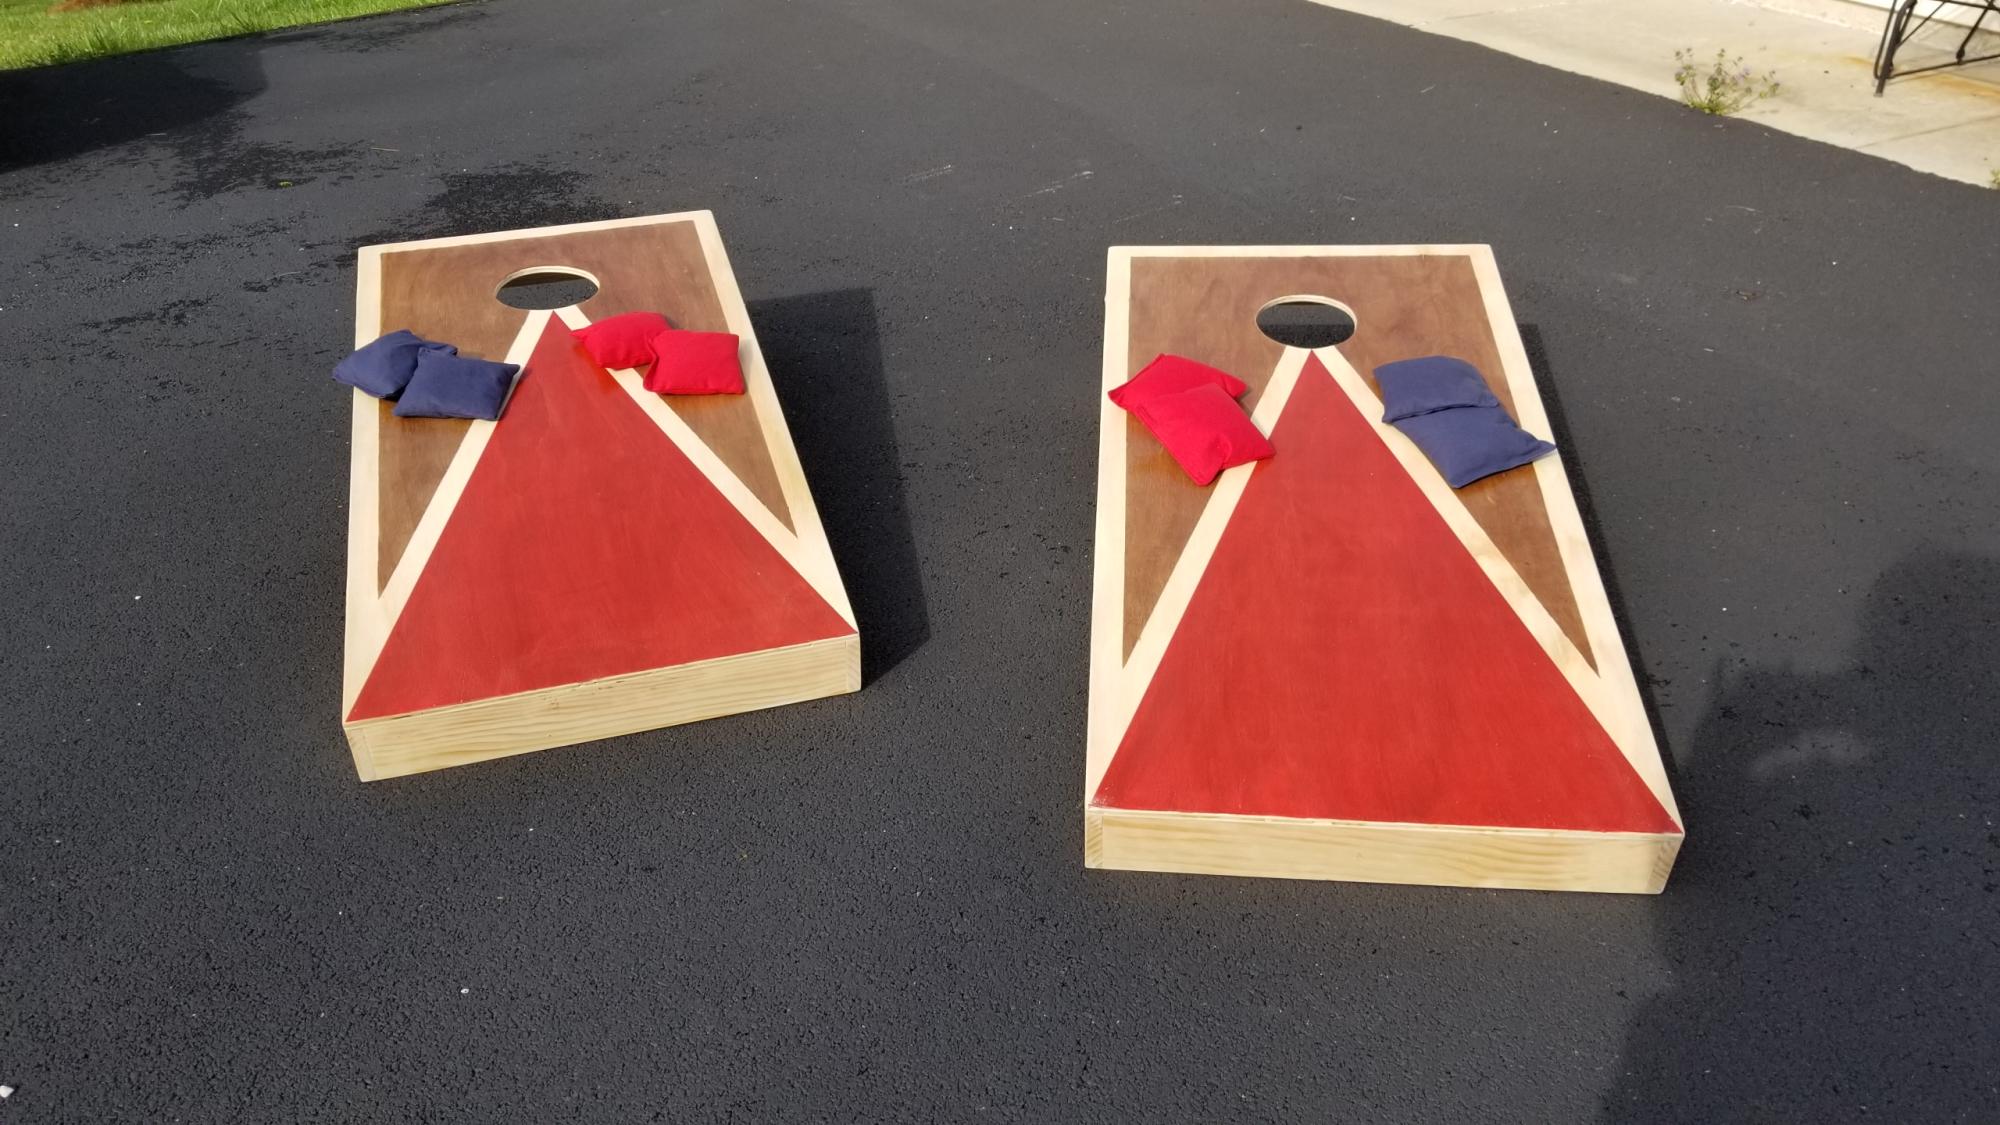
I made one set for my son, the one with the stained top. His friends liked it so much and kept borrowing his set, that he wanted to surprise them with their own and asked me to build them one with the LSU colors. Thought they turned out great! Thank you for the plans!

Thu, 02/09/2023 - 09:40
These look fabulous, ove the paint/stain job! Thanks for sharing.
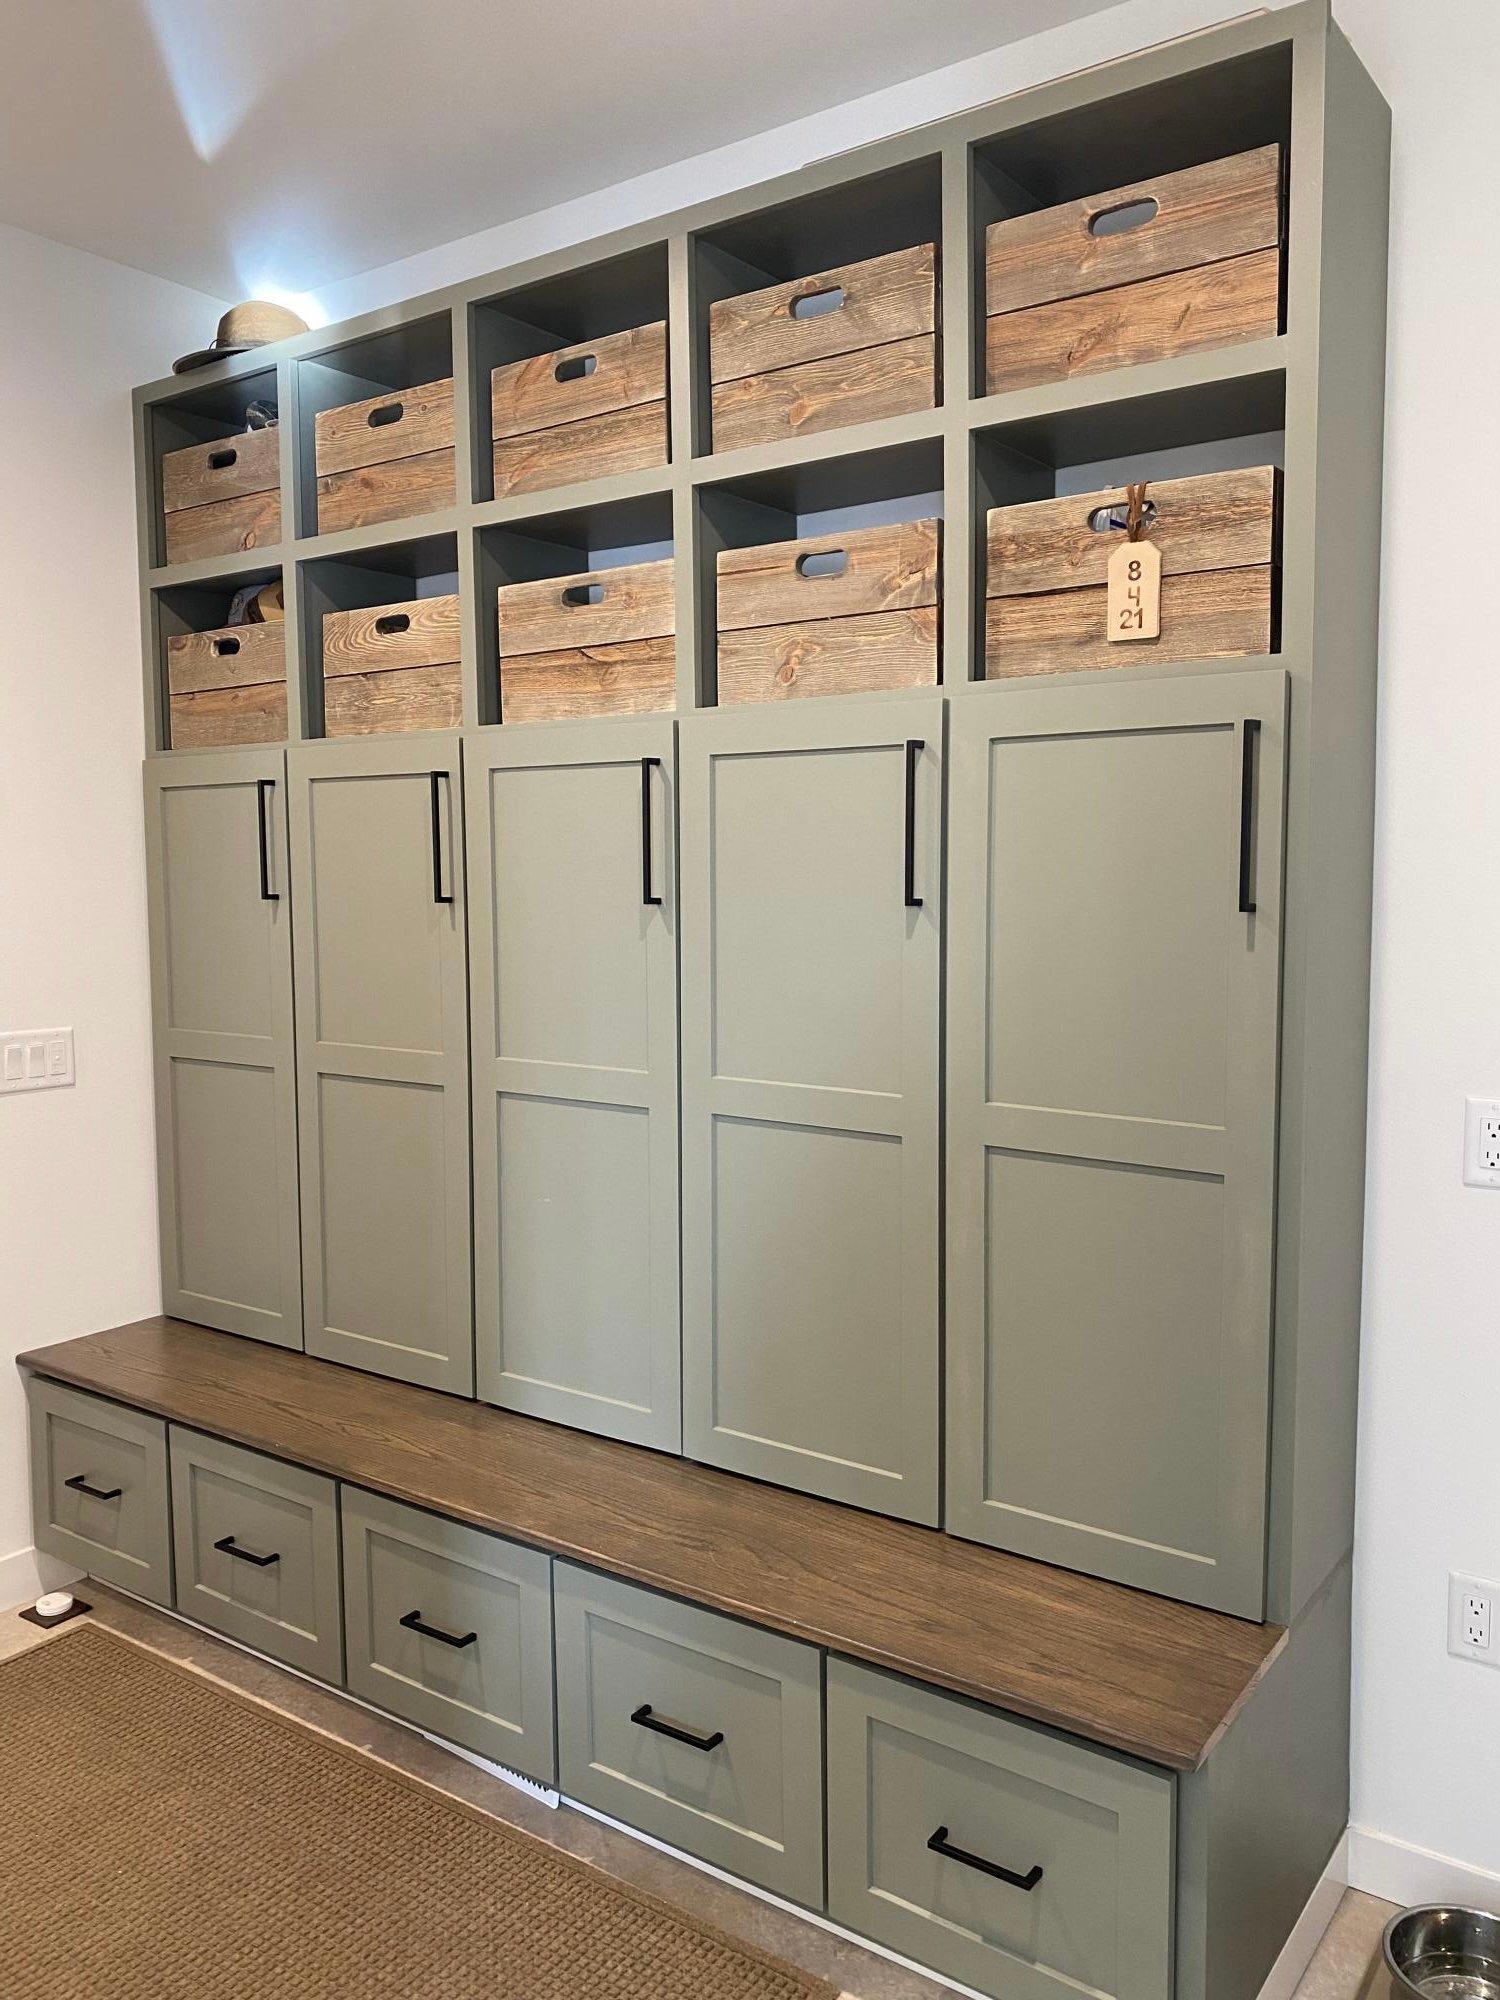
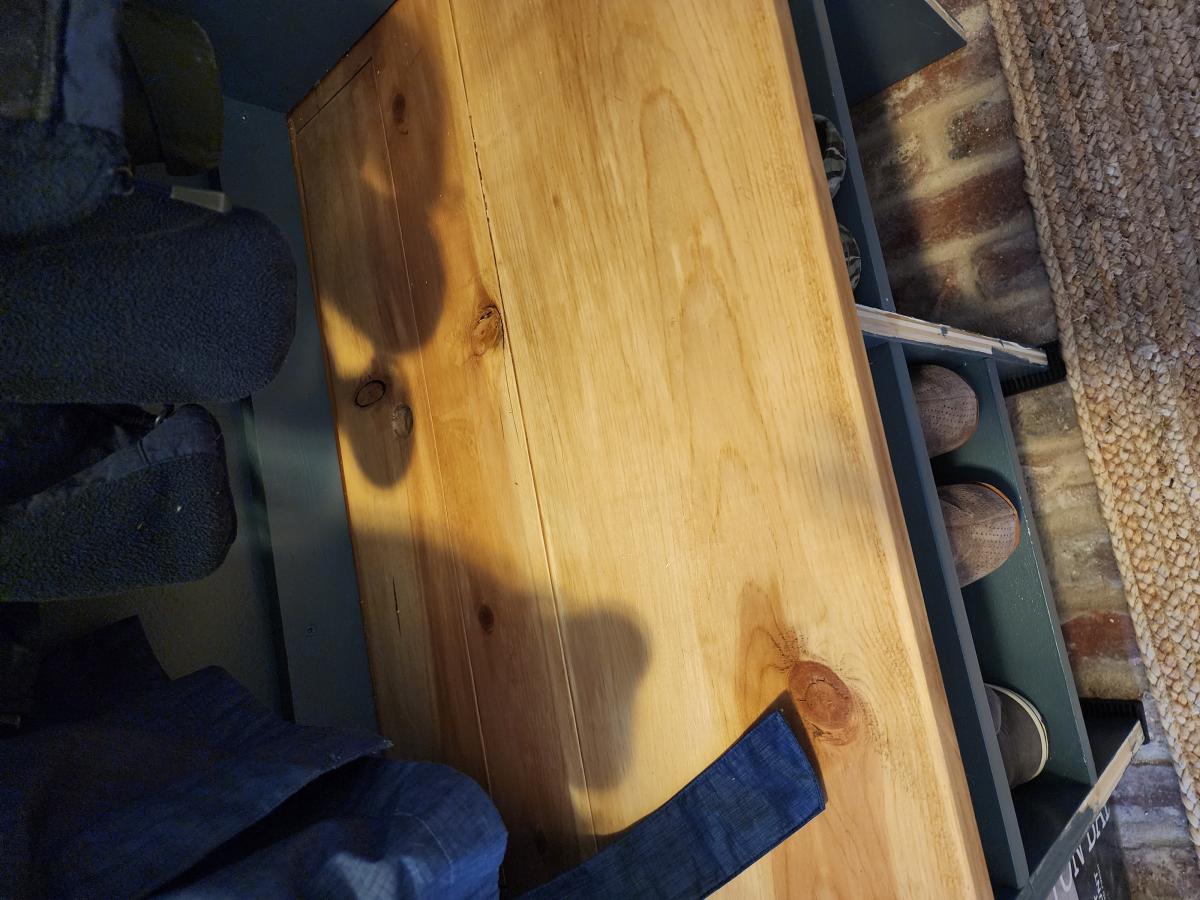
Thanks to Ana White we learned how to make these cubbies. The wood for the stained bench is from trees milled from my husband’s family farm.
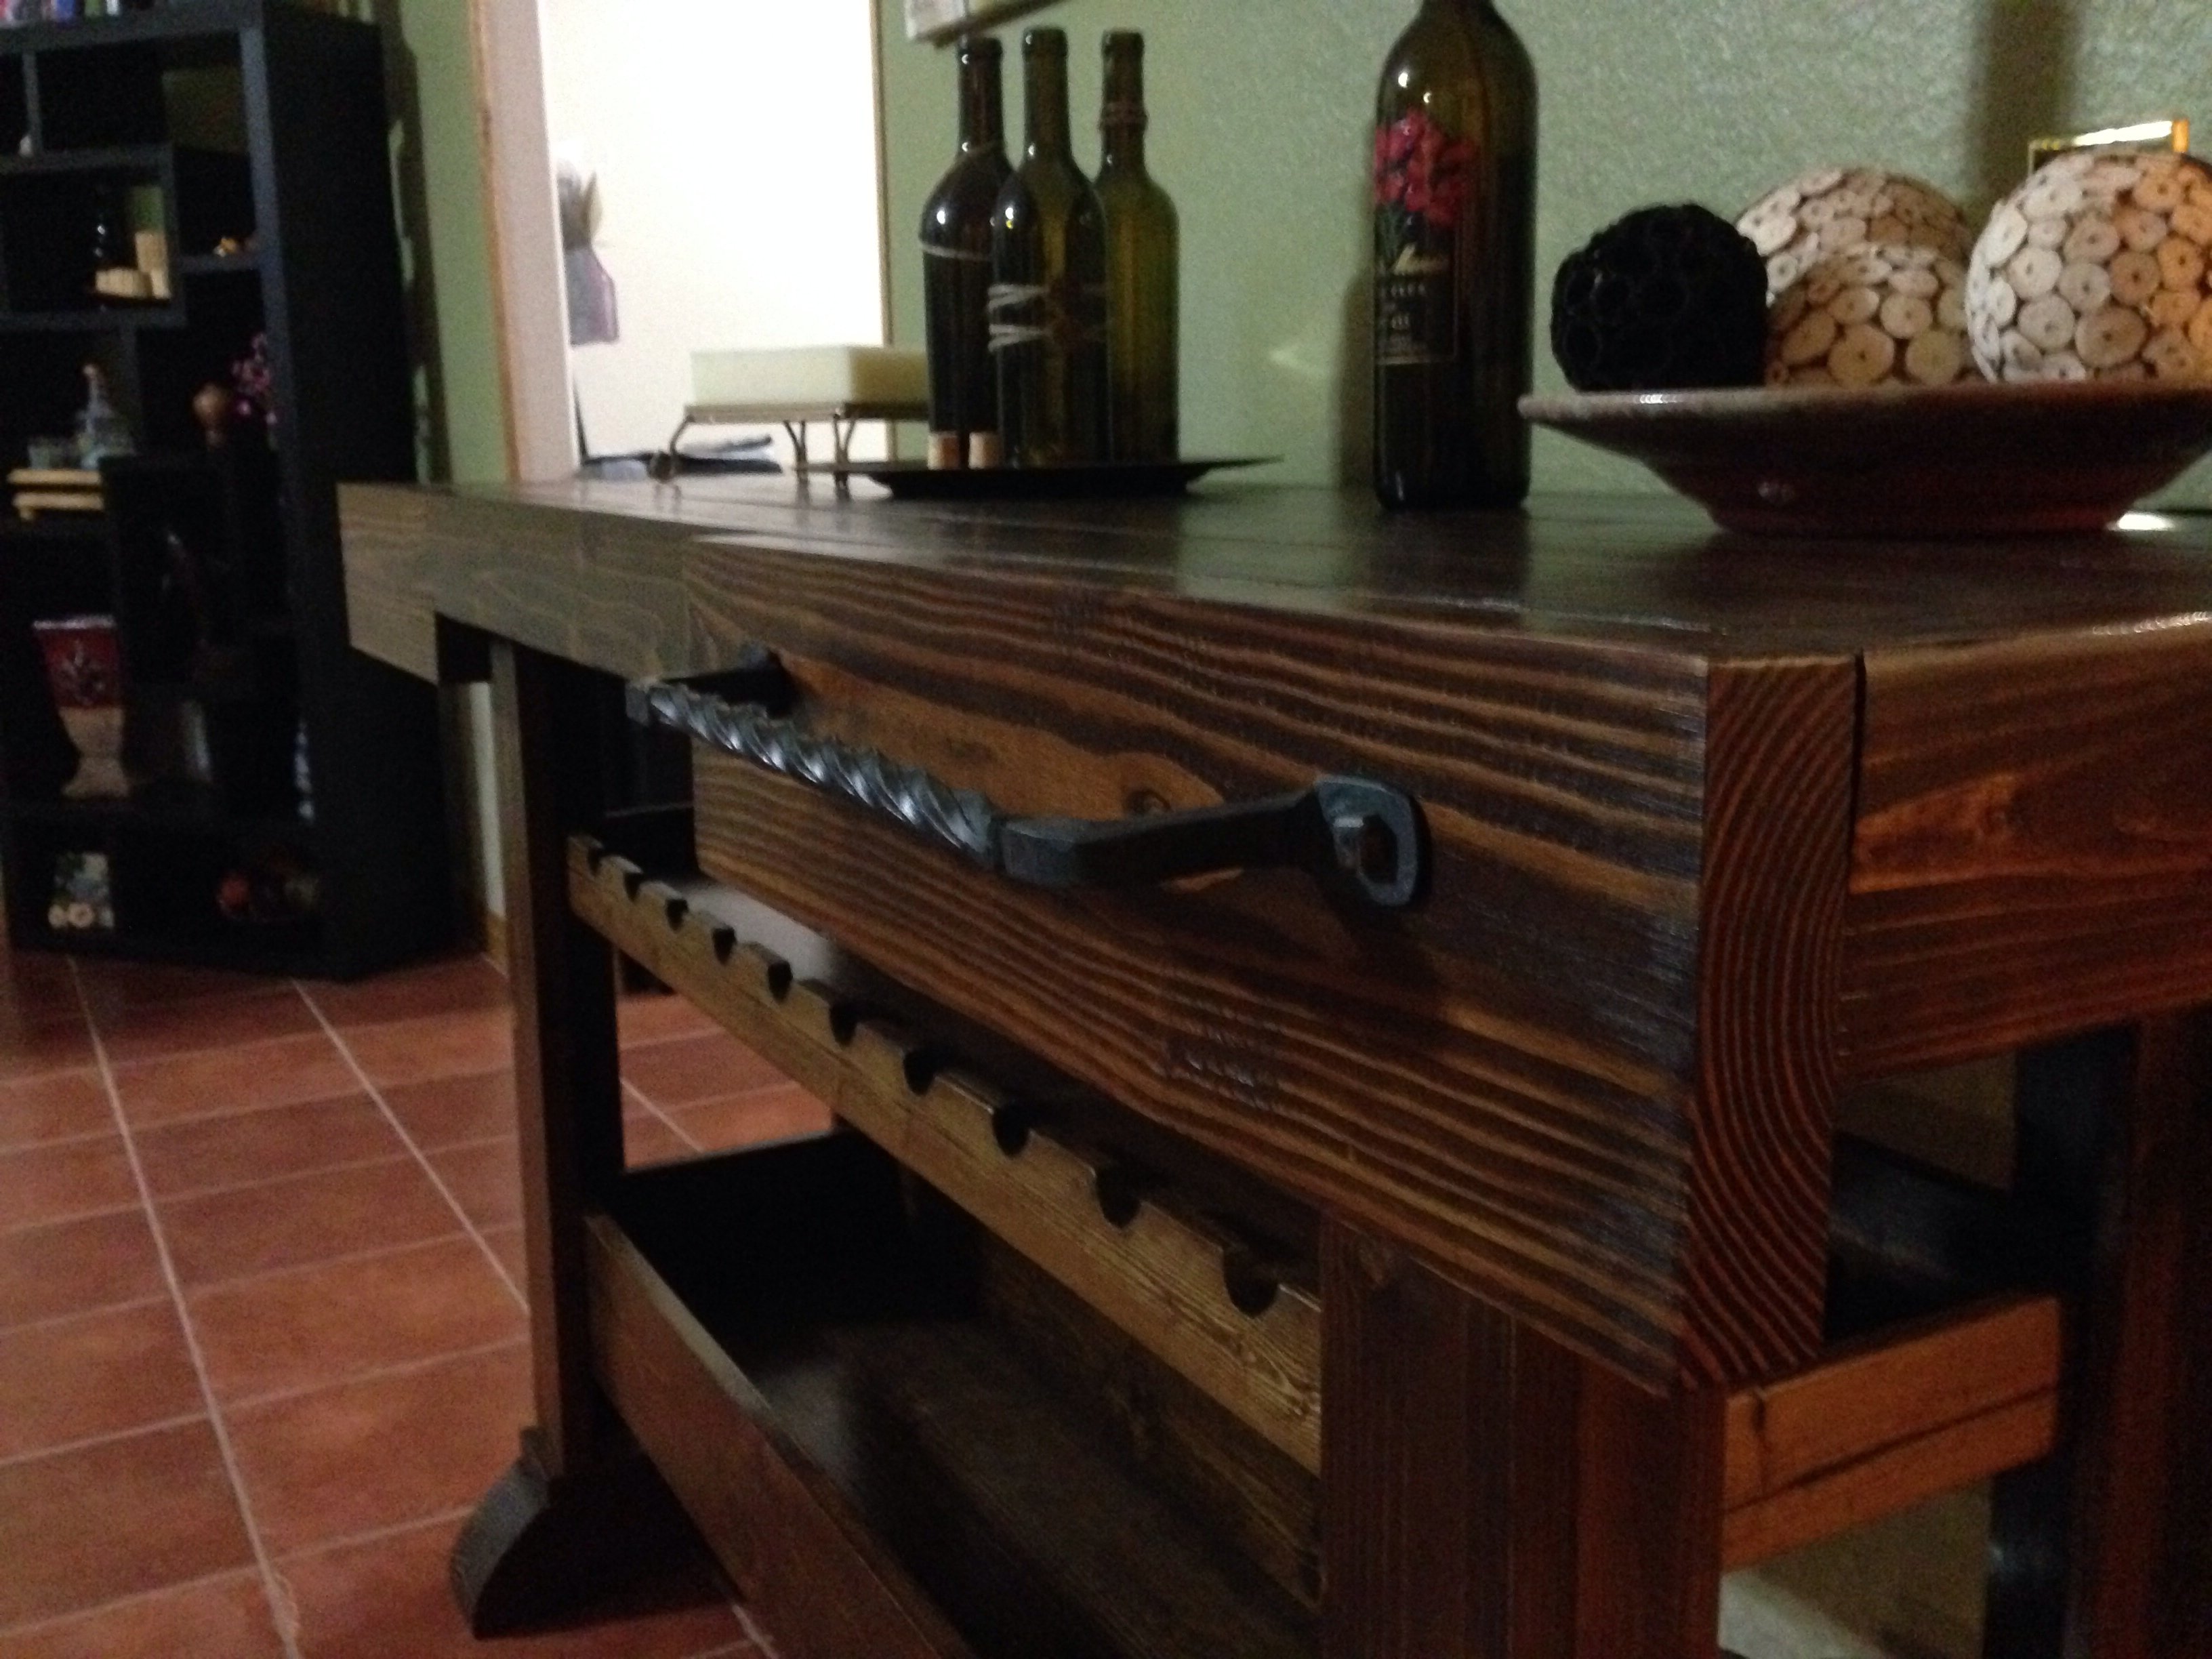
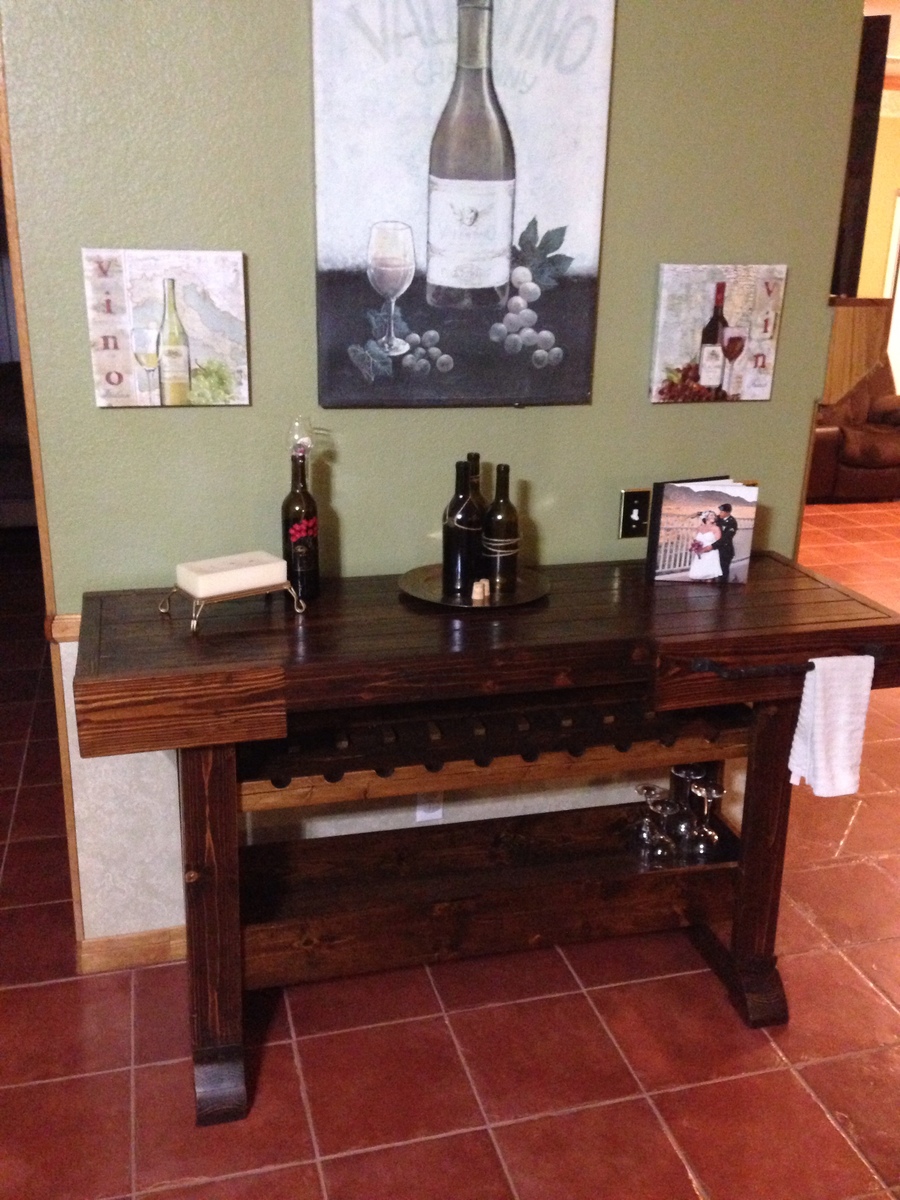
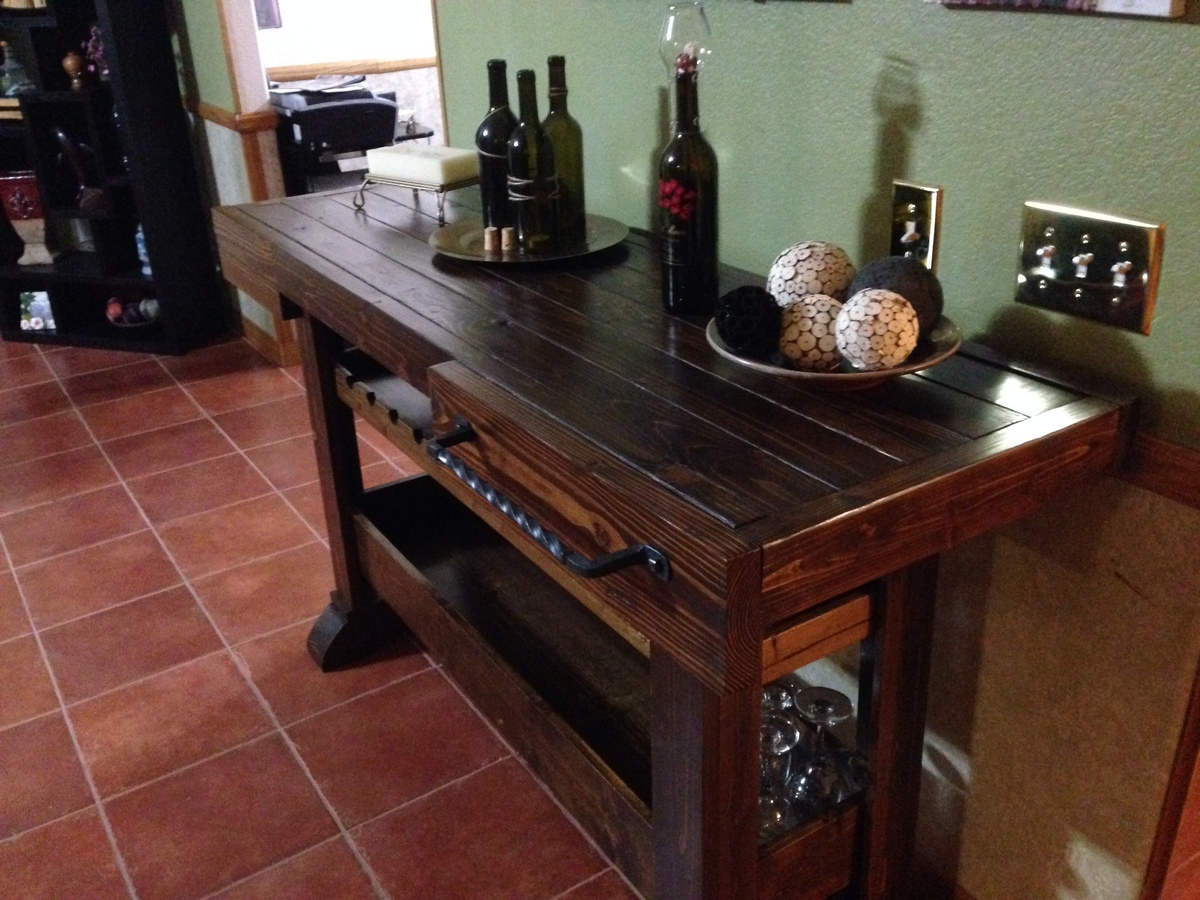
So this is my first attempt at woodworking. In fact it's the first time I've really created anything with my hands. I came across this website and saw all of the wonderful creations people have made and decided I wanted to give it a try. I saw the Workbench Console and loved the design of it. I knew my sister-in-law was looking for a console table for her new house and being a wine lover I figured I'd give those plans a go. I added a second shelf for wine bottle storage and flipped around the tabletop. I really wanted to have a towel rack attached to it as well but after scouring the hardware stores I couldn't find anything that "fit" the look I wanted so I called a buddy of mine who is a blacksmith and with his expert guidance he taught me how to make the towel rack I wanted. I'm proud to say I made everything on that table including the hardware (minus all of the wood screws of course ;)
To be honest, when I went into this project I wasn't too sure about what the results would be, but I was very pleasantly surprised with how well it turned out when it was finished. So much so that after surprising my sister with her new table I've already started on another console for my own living room wall. This site has been very inspirational and has shown me that anyone can build fantastic pieces as long as the desire is there! Thanks Ana!
P.S. This project took a long time for me to complete mainly because I had no experience at all going into it. Now that I've put one together I've noticed the next one coming together much faster.

Fri, 11/08/2013 - 10:20
YOu have created an amazing piece that will last a lifetime! Thanks for sharing, so glad you found a new love for building!
Fri, 11/08/2013 - 21:27
Thank you for the kind words. It's been fun to see the response from friends and family. It's kind of hilarious to me that I've only built one table and now I have requests coming from family, friends and co-workers for everything from end tables to entertainment centers! But first things first, I'm piecing together my new console table for the living room. I just wish I had more time during the day to spend on it!
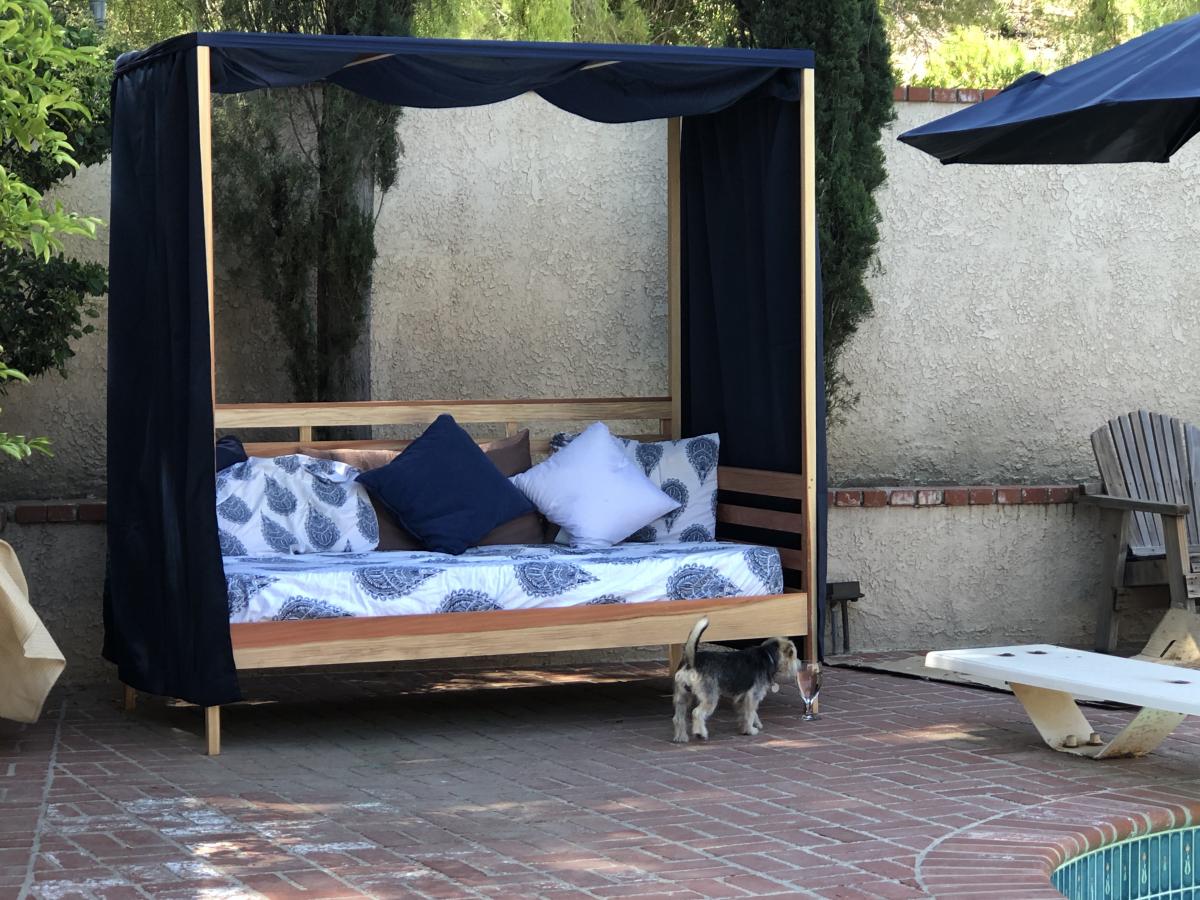
Loved making this. Used old sun curtains and a sheet for extra splendor.

Wed, 07/03/2019 - 11:19
This is beautiful! Thank you for sending in a brag post, we very much appreciate it!
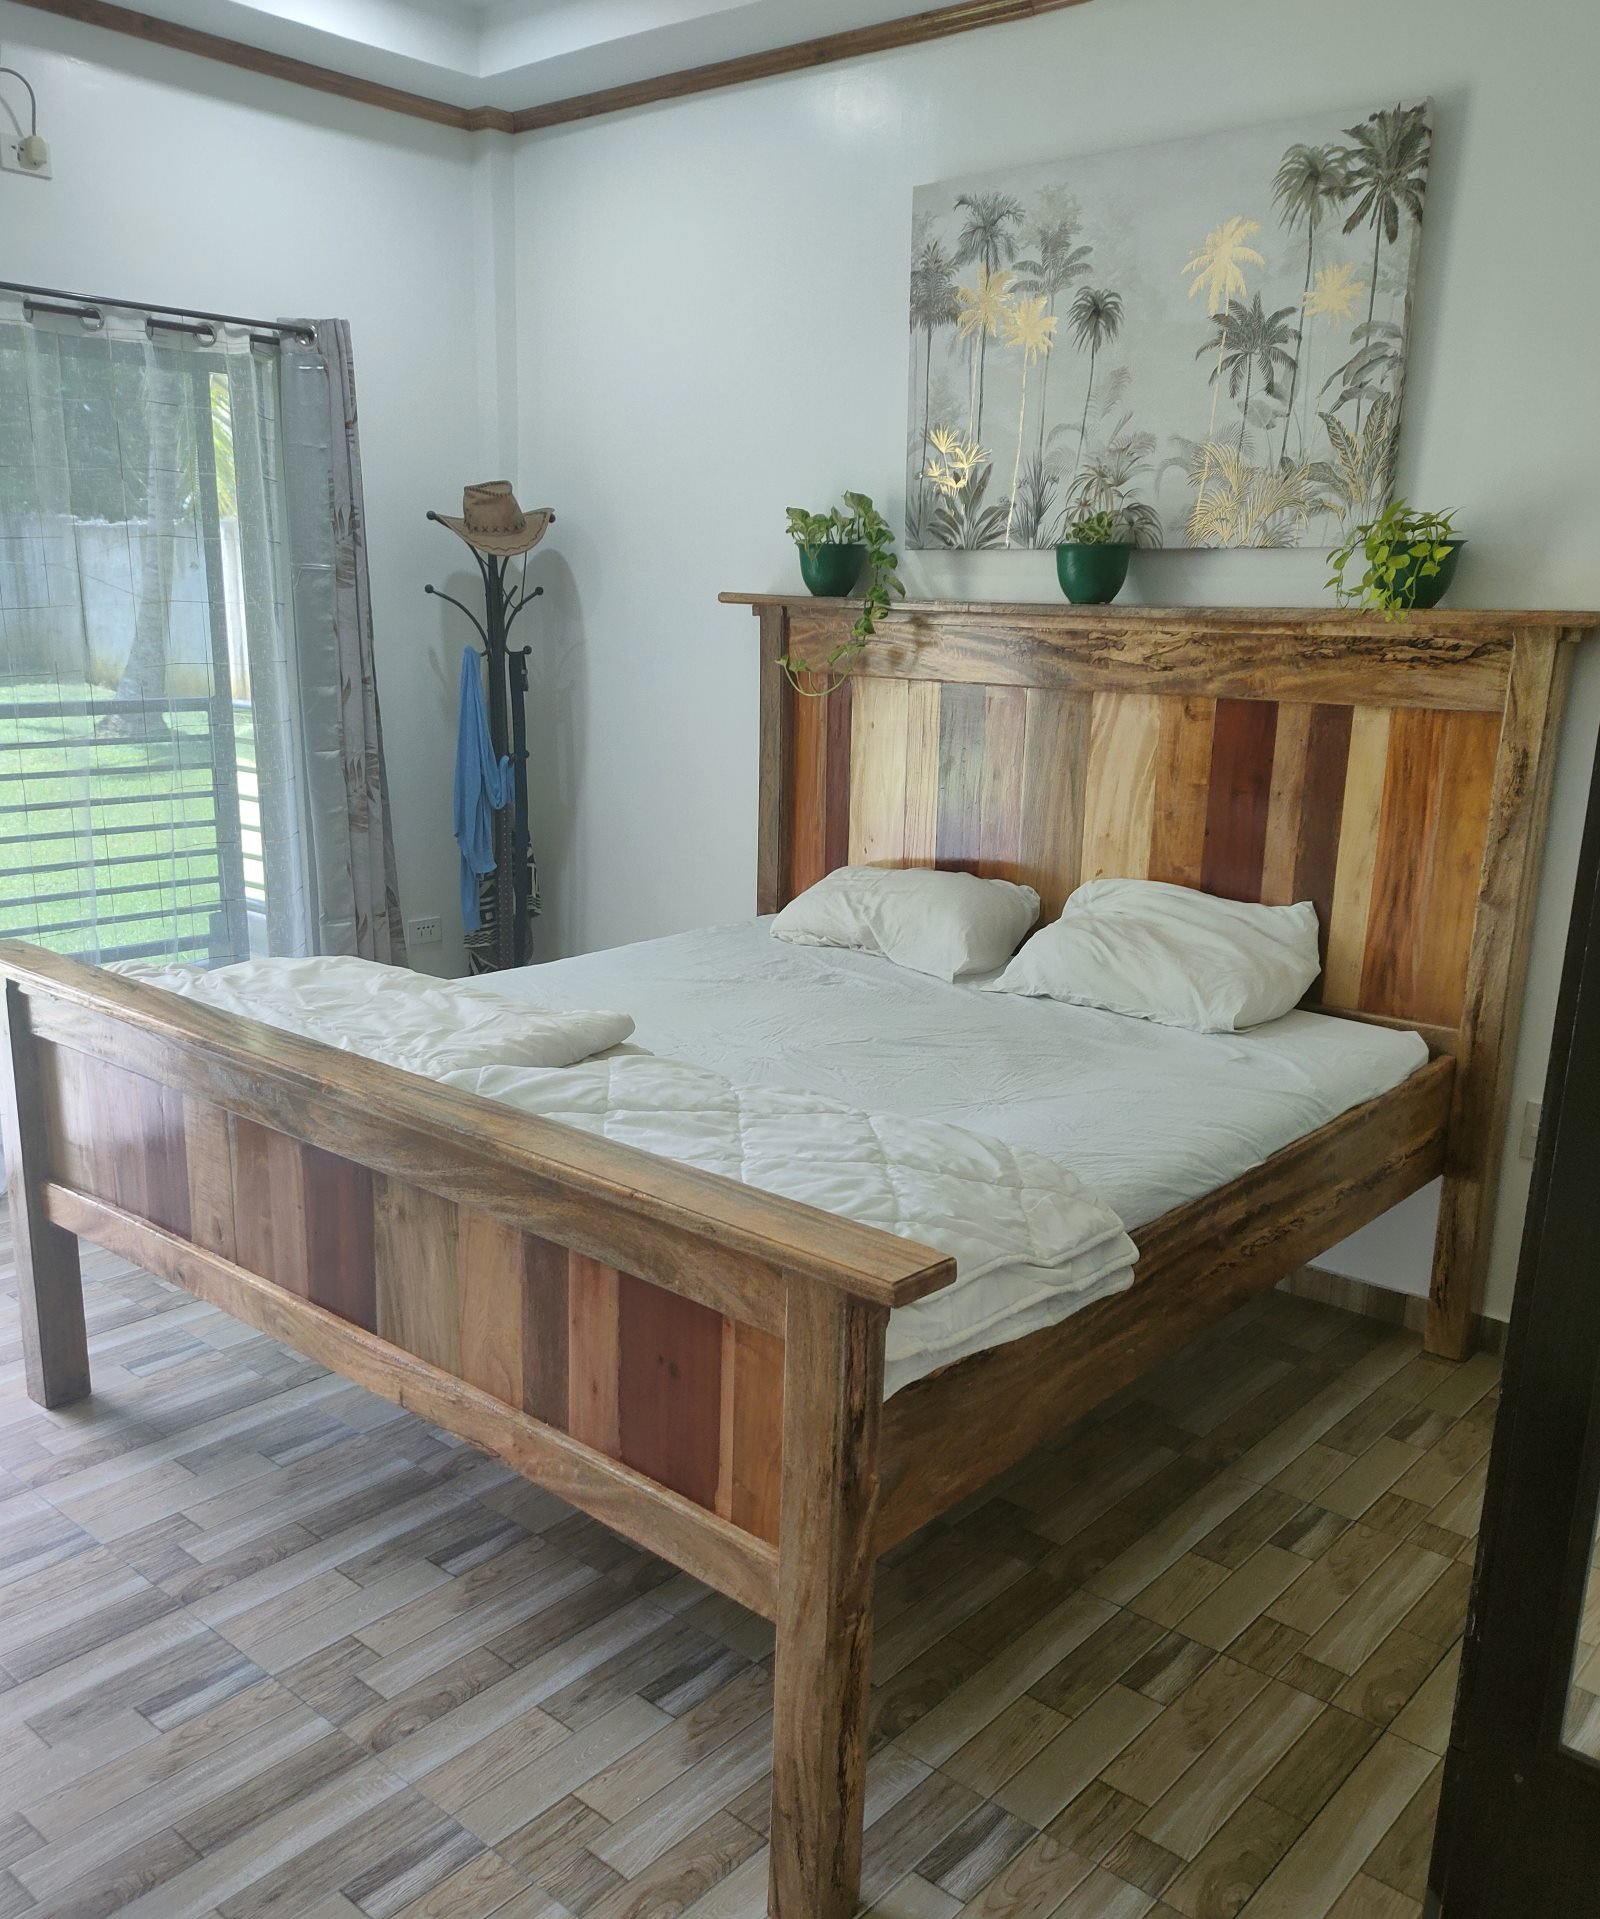
I loved your farmhouse bed , so decided to make my own , but with wood wat is available here(Philippines) the post and the frame is made of Mango wood , the tree fell down during the typhoon, so I made boards and beams out of it , for the headboard and also the footboard used Moldave/Mahogany/Ipalipal/and a few kinds I don't know the name
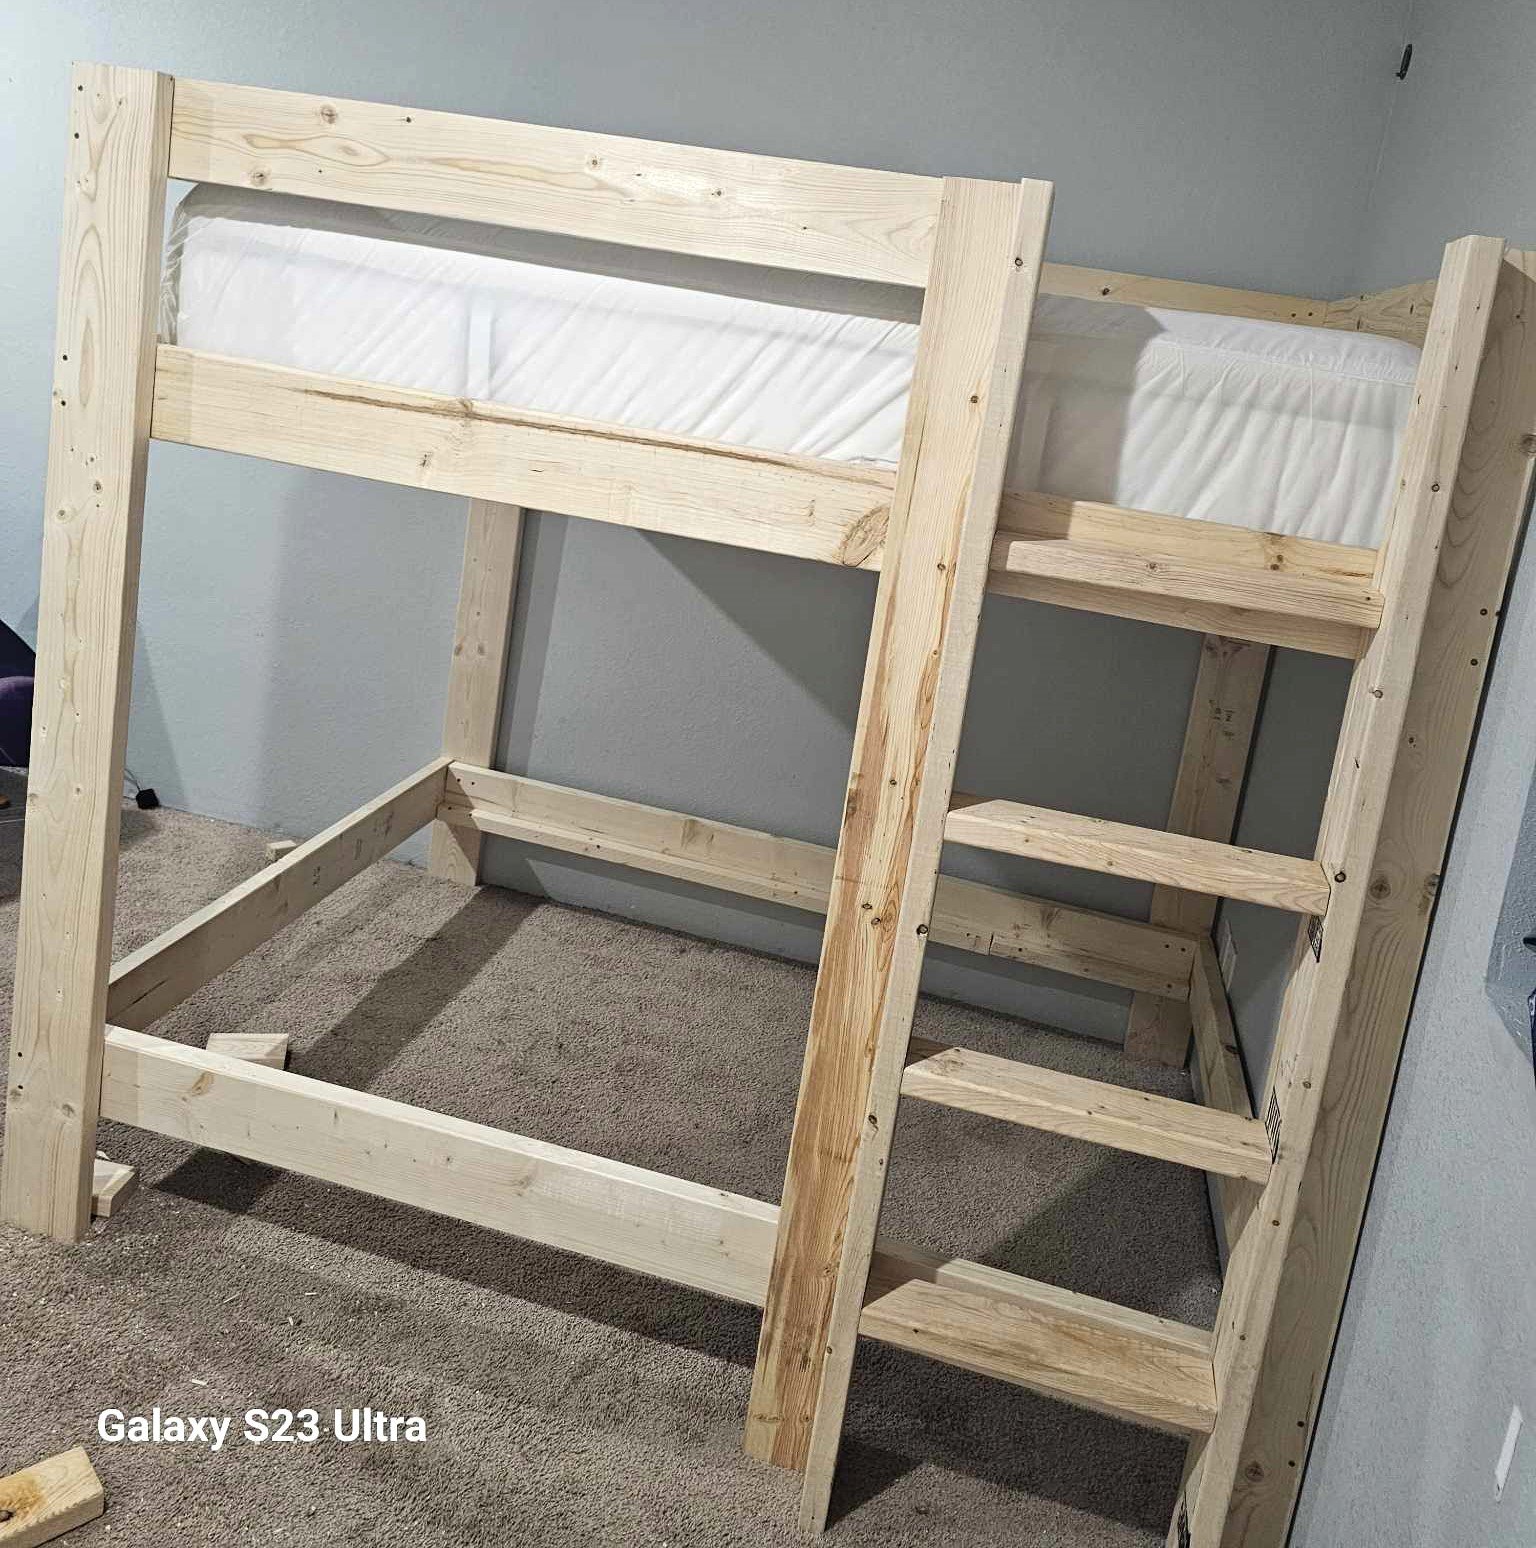
Almost finished but I managed to alter the plans into a full over full! Just use 2×4 instead of 2×1 and use 2×6 for the legs.
Antonio
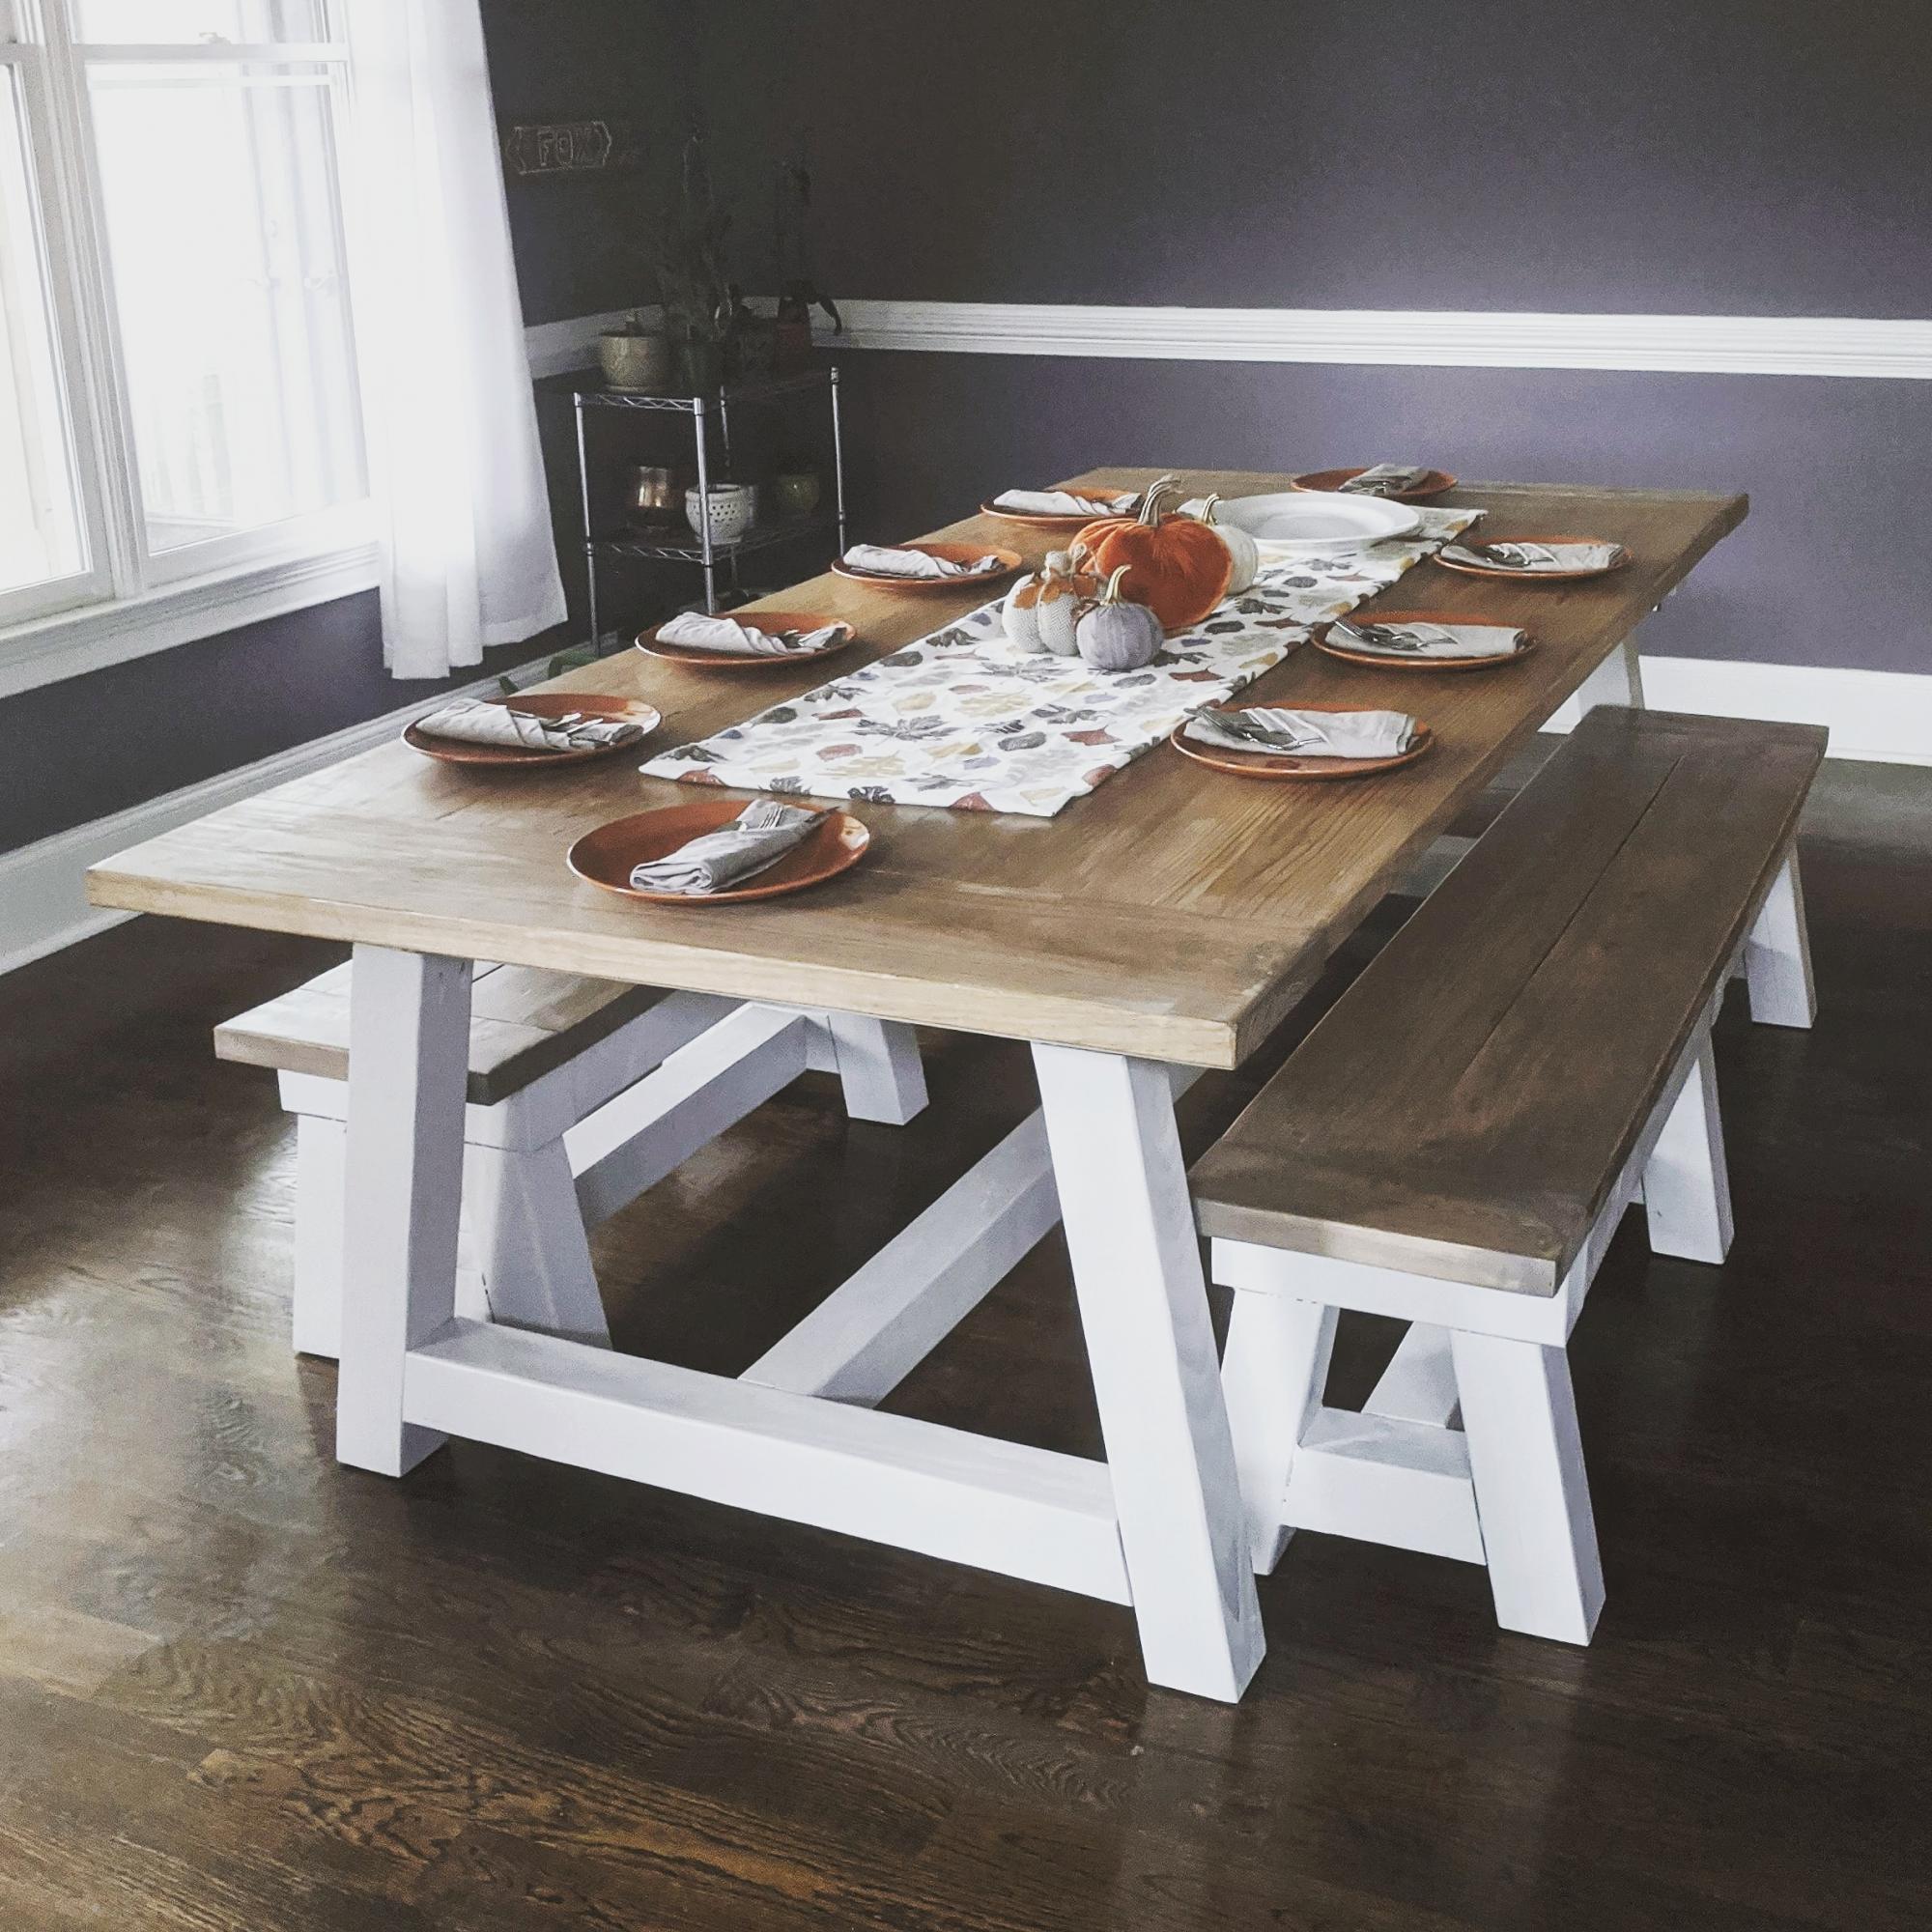
Modified so that it could fit 12 people comfortably.
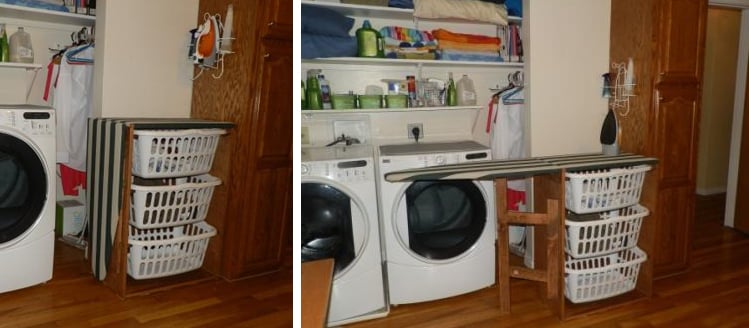
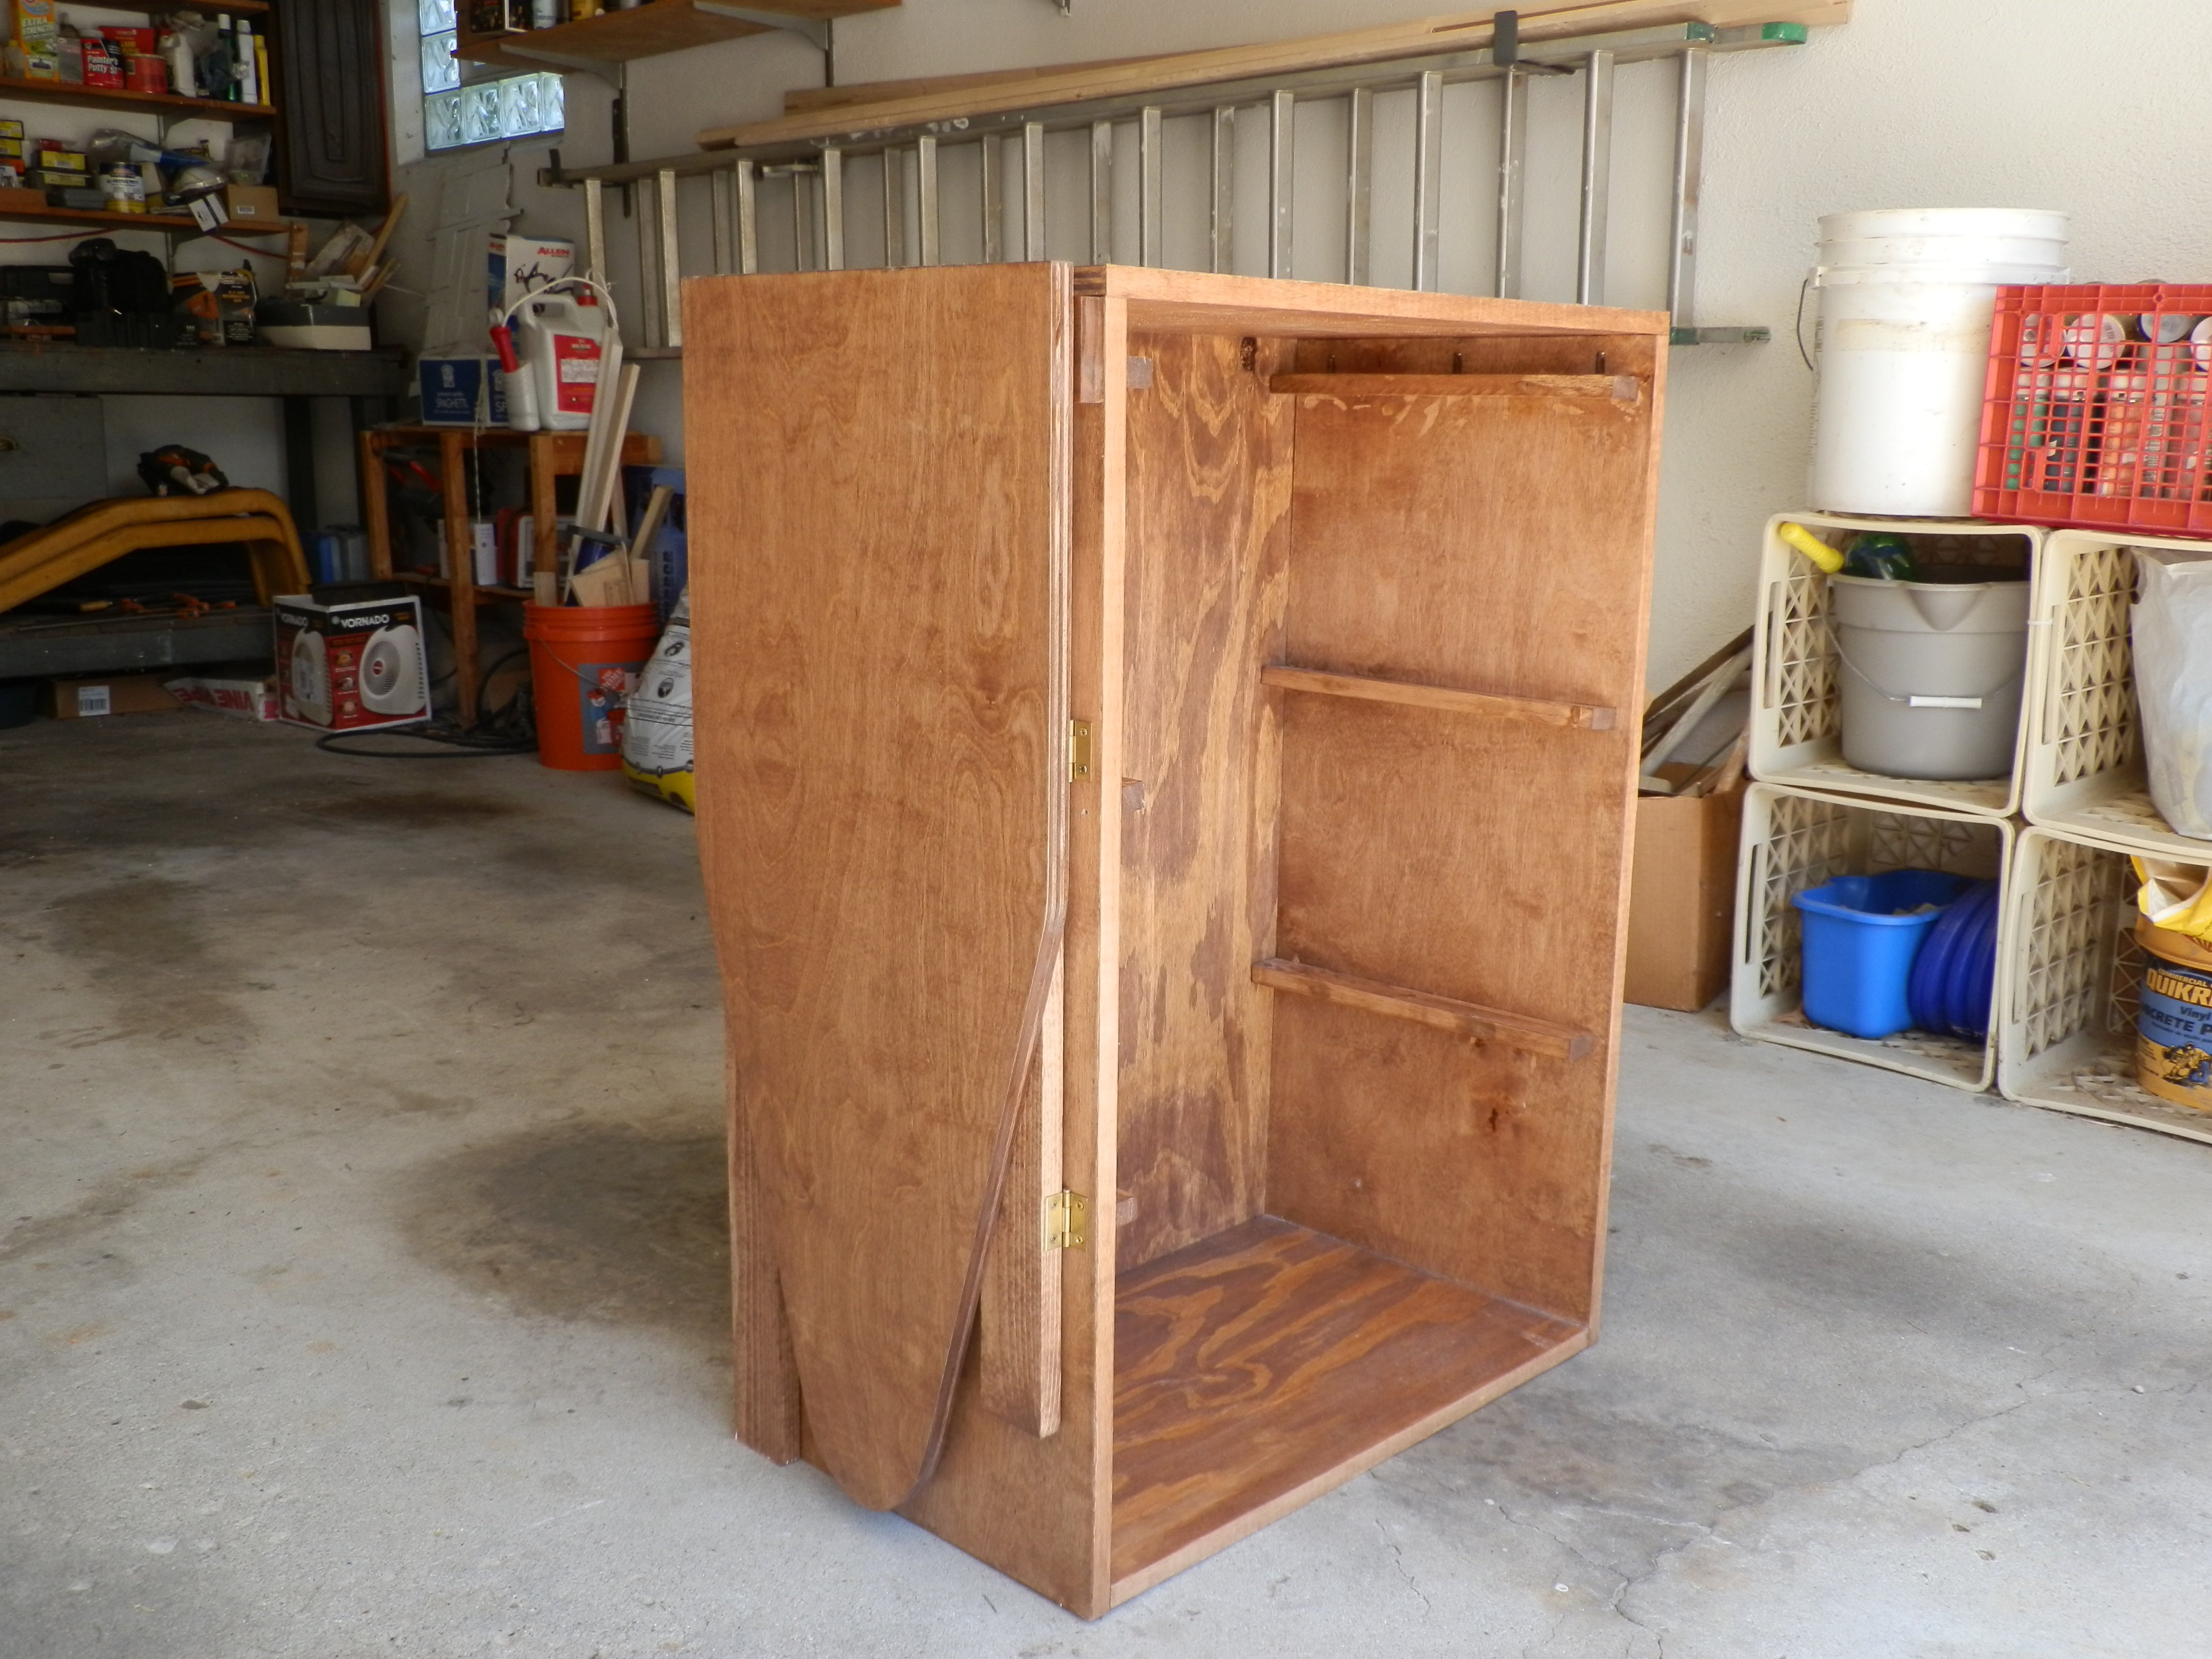
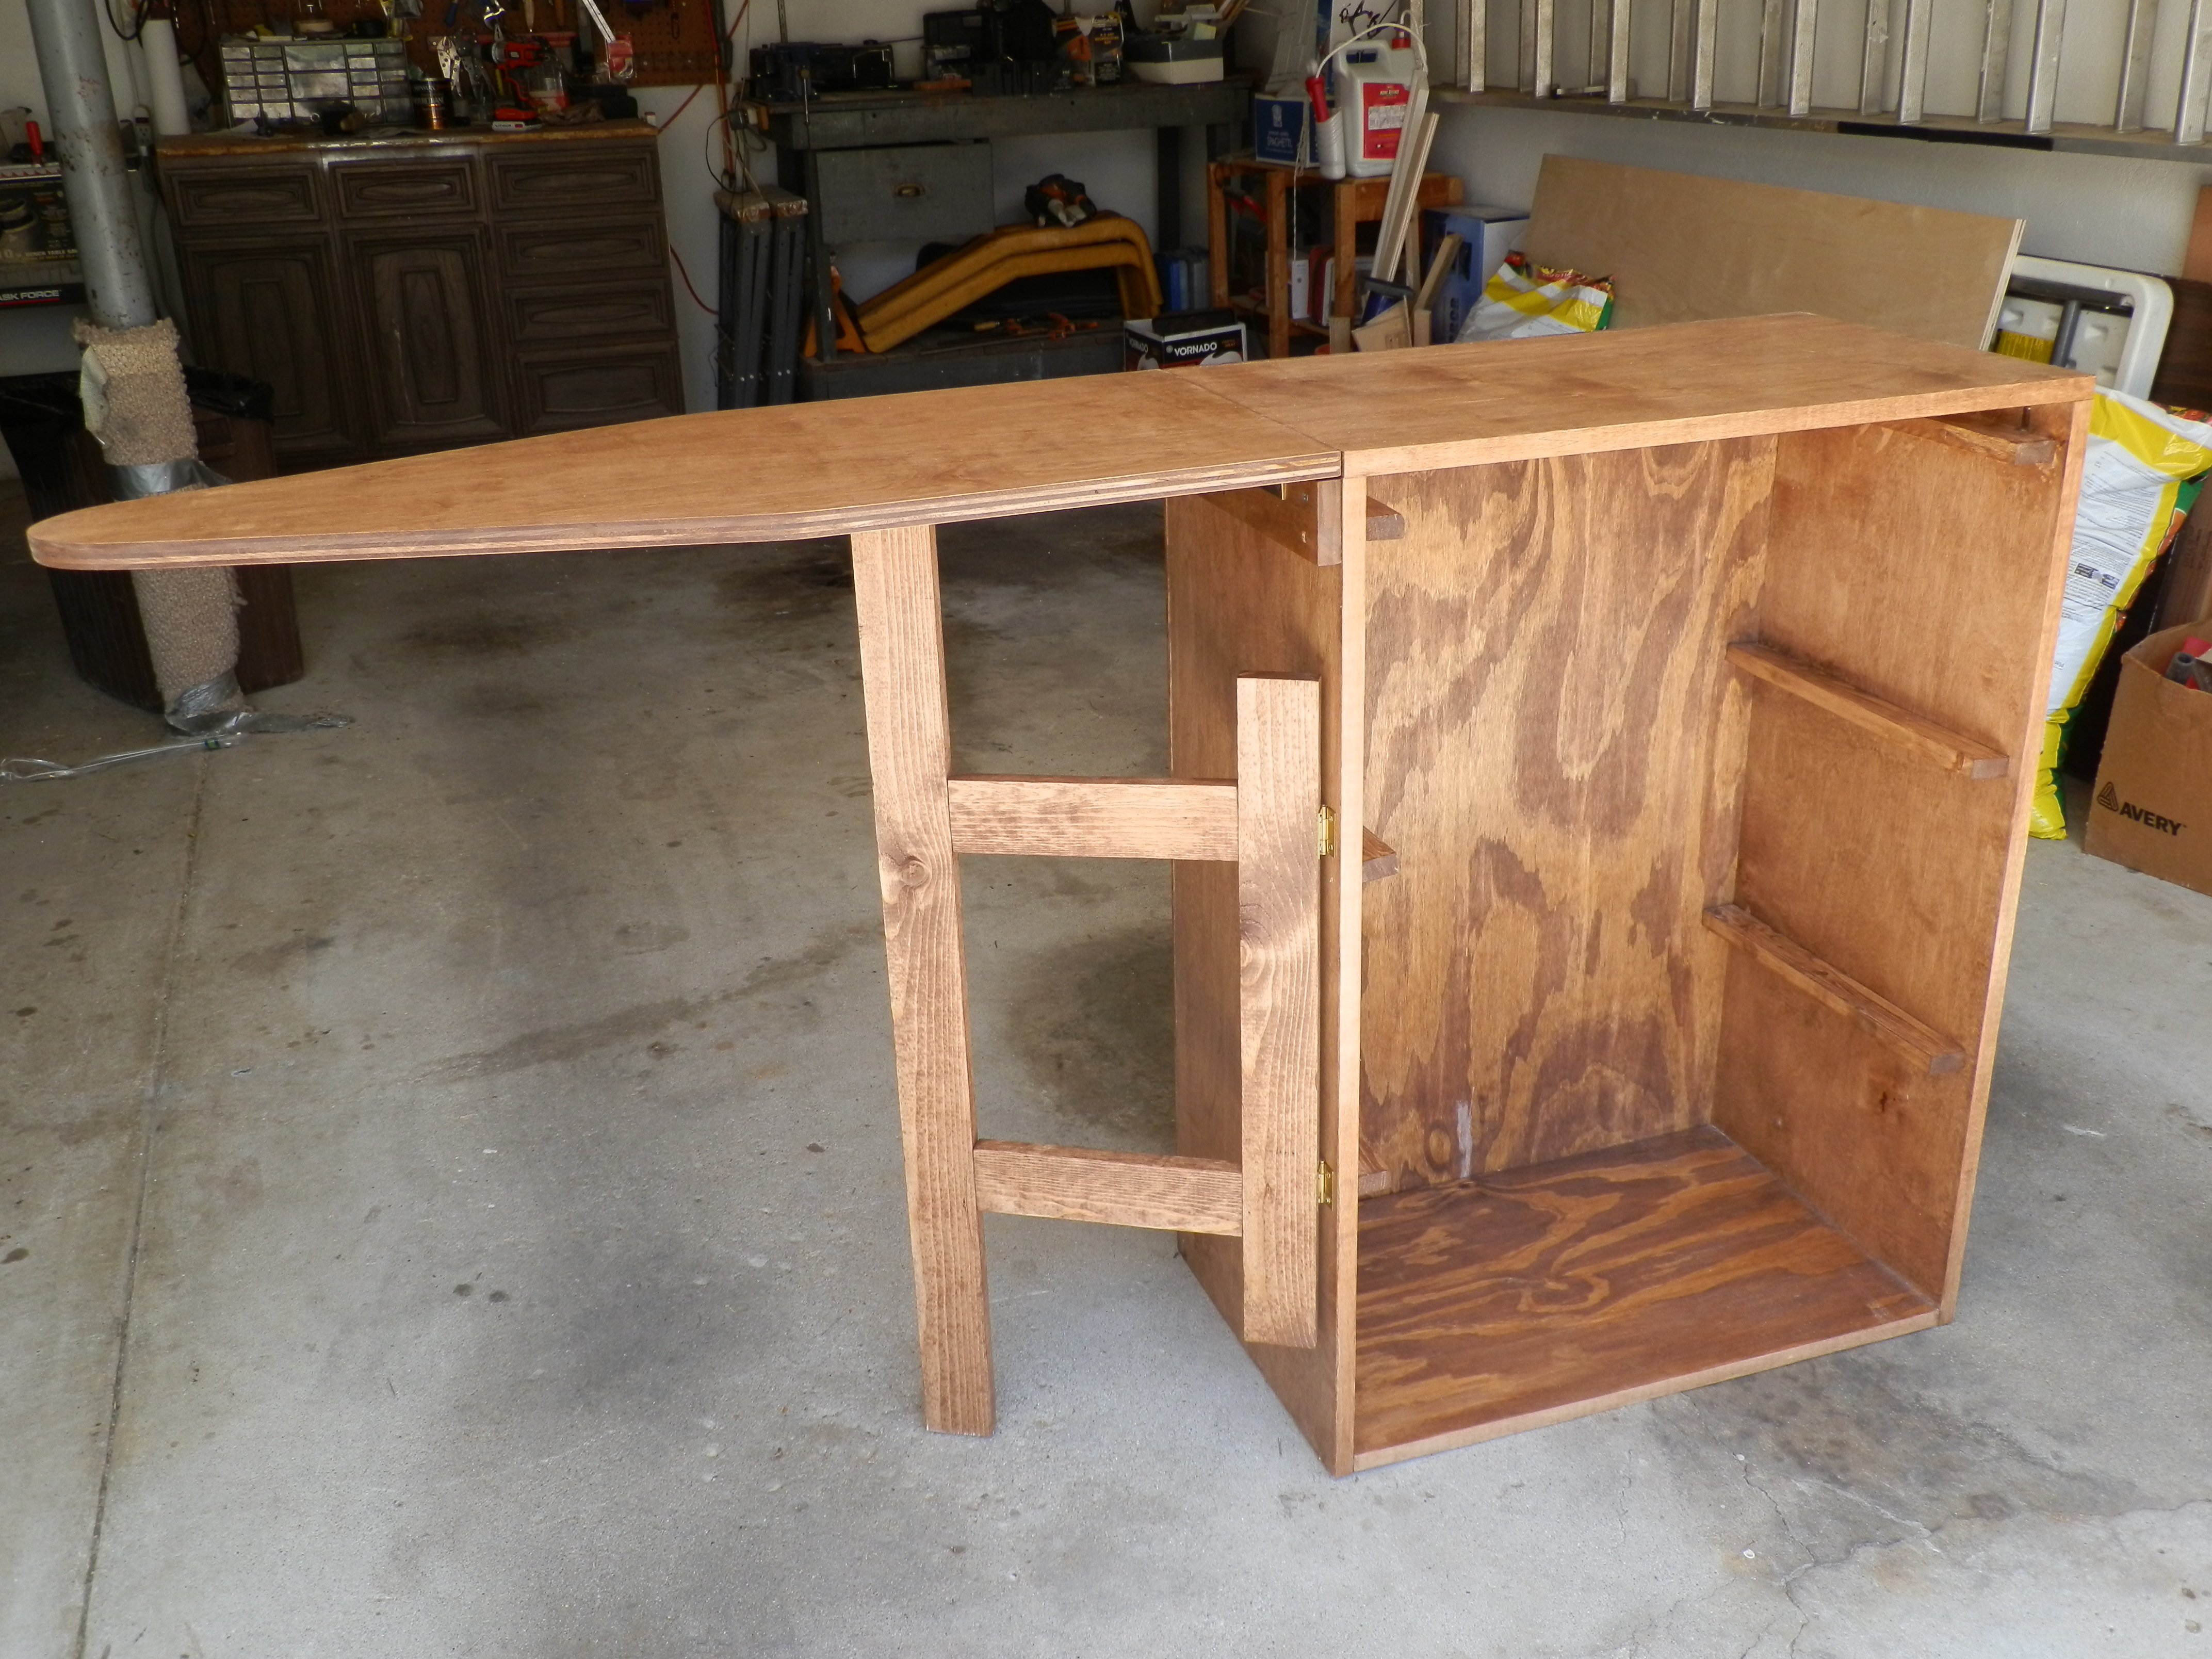
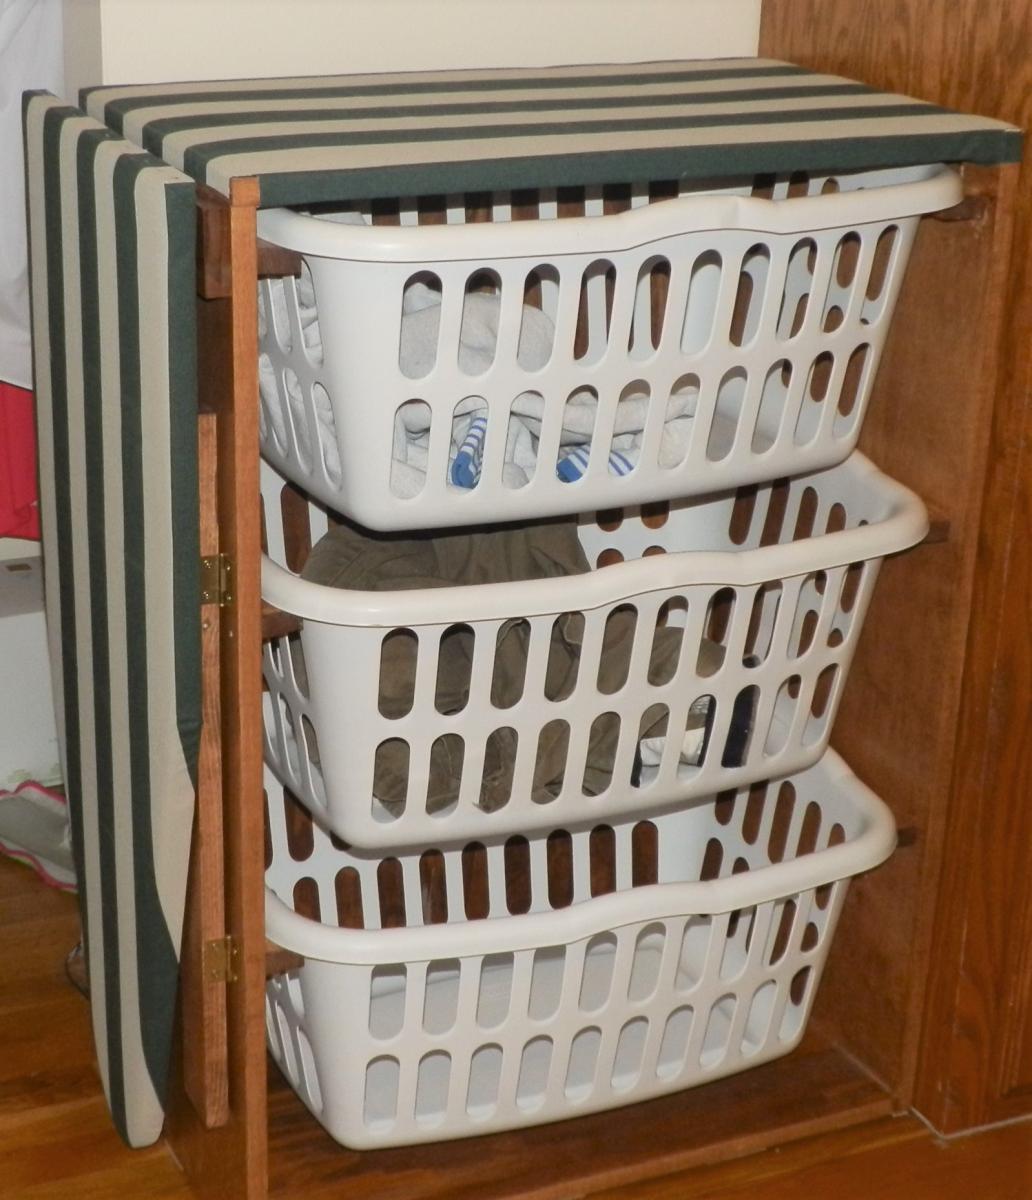
I used Ana's Laundry Basket Dresser plans but I added a drop-down ironing board and and made the entire top surface ready to iron on. A swing-out leg under the ironing board helps to stabilize while ironing.
Mon, 04/23/2012 - 16:25
You really figured out a way to make the most of your space. Ironing boards are always such a pain to find room for - this is perfect!

We built Two children's table and 8 stackable chairs for one of our daycare's. It took a lot of work but once we figured out the first chair it was a breeze for the other 7.
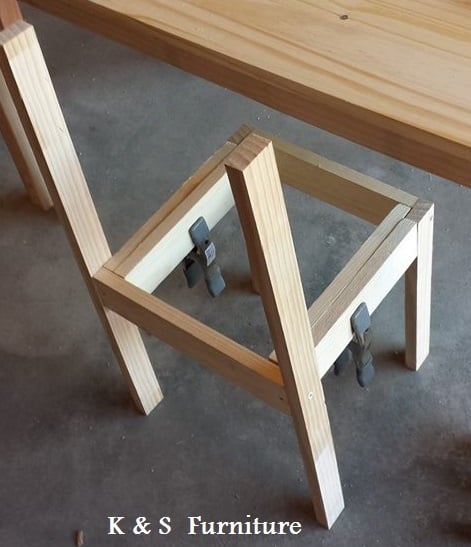


Sat, 02/08/2014 - 15:54
Awesome! I built one for our homeschool and it works great. Yours look very nice.

Had a great time building the Farmhouse Coffee Table plans from Ana! As with the Farmhouse Queen Bed, I used the old barn wood, ran it through the planer until I liked the look of the grains and then built away. I haven't decided on a finish yet but I'm more than likely going to epoxy the top only, so as to protect it from drink spills and water rings. THANK YOU ANA!!

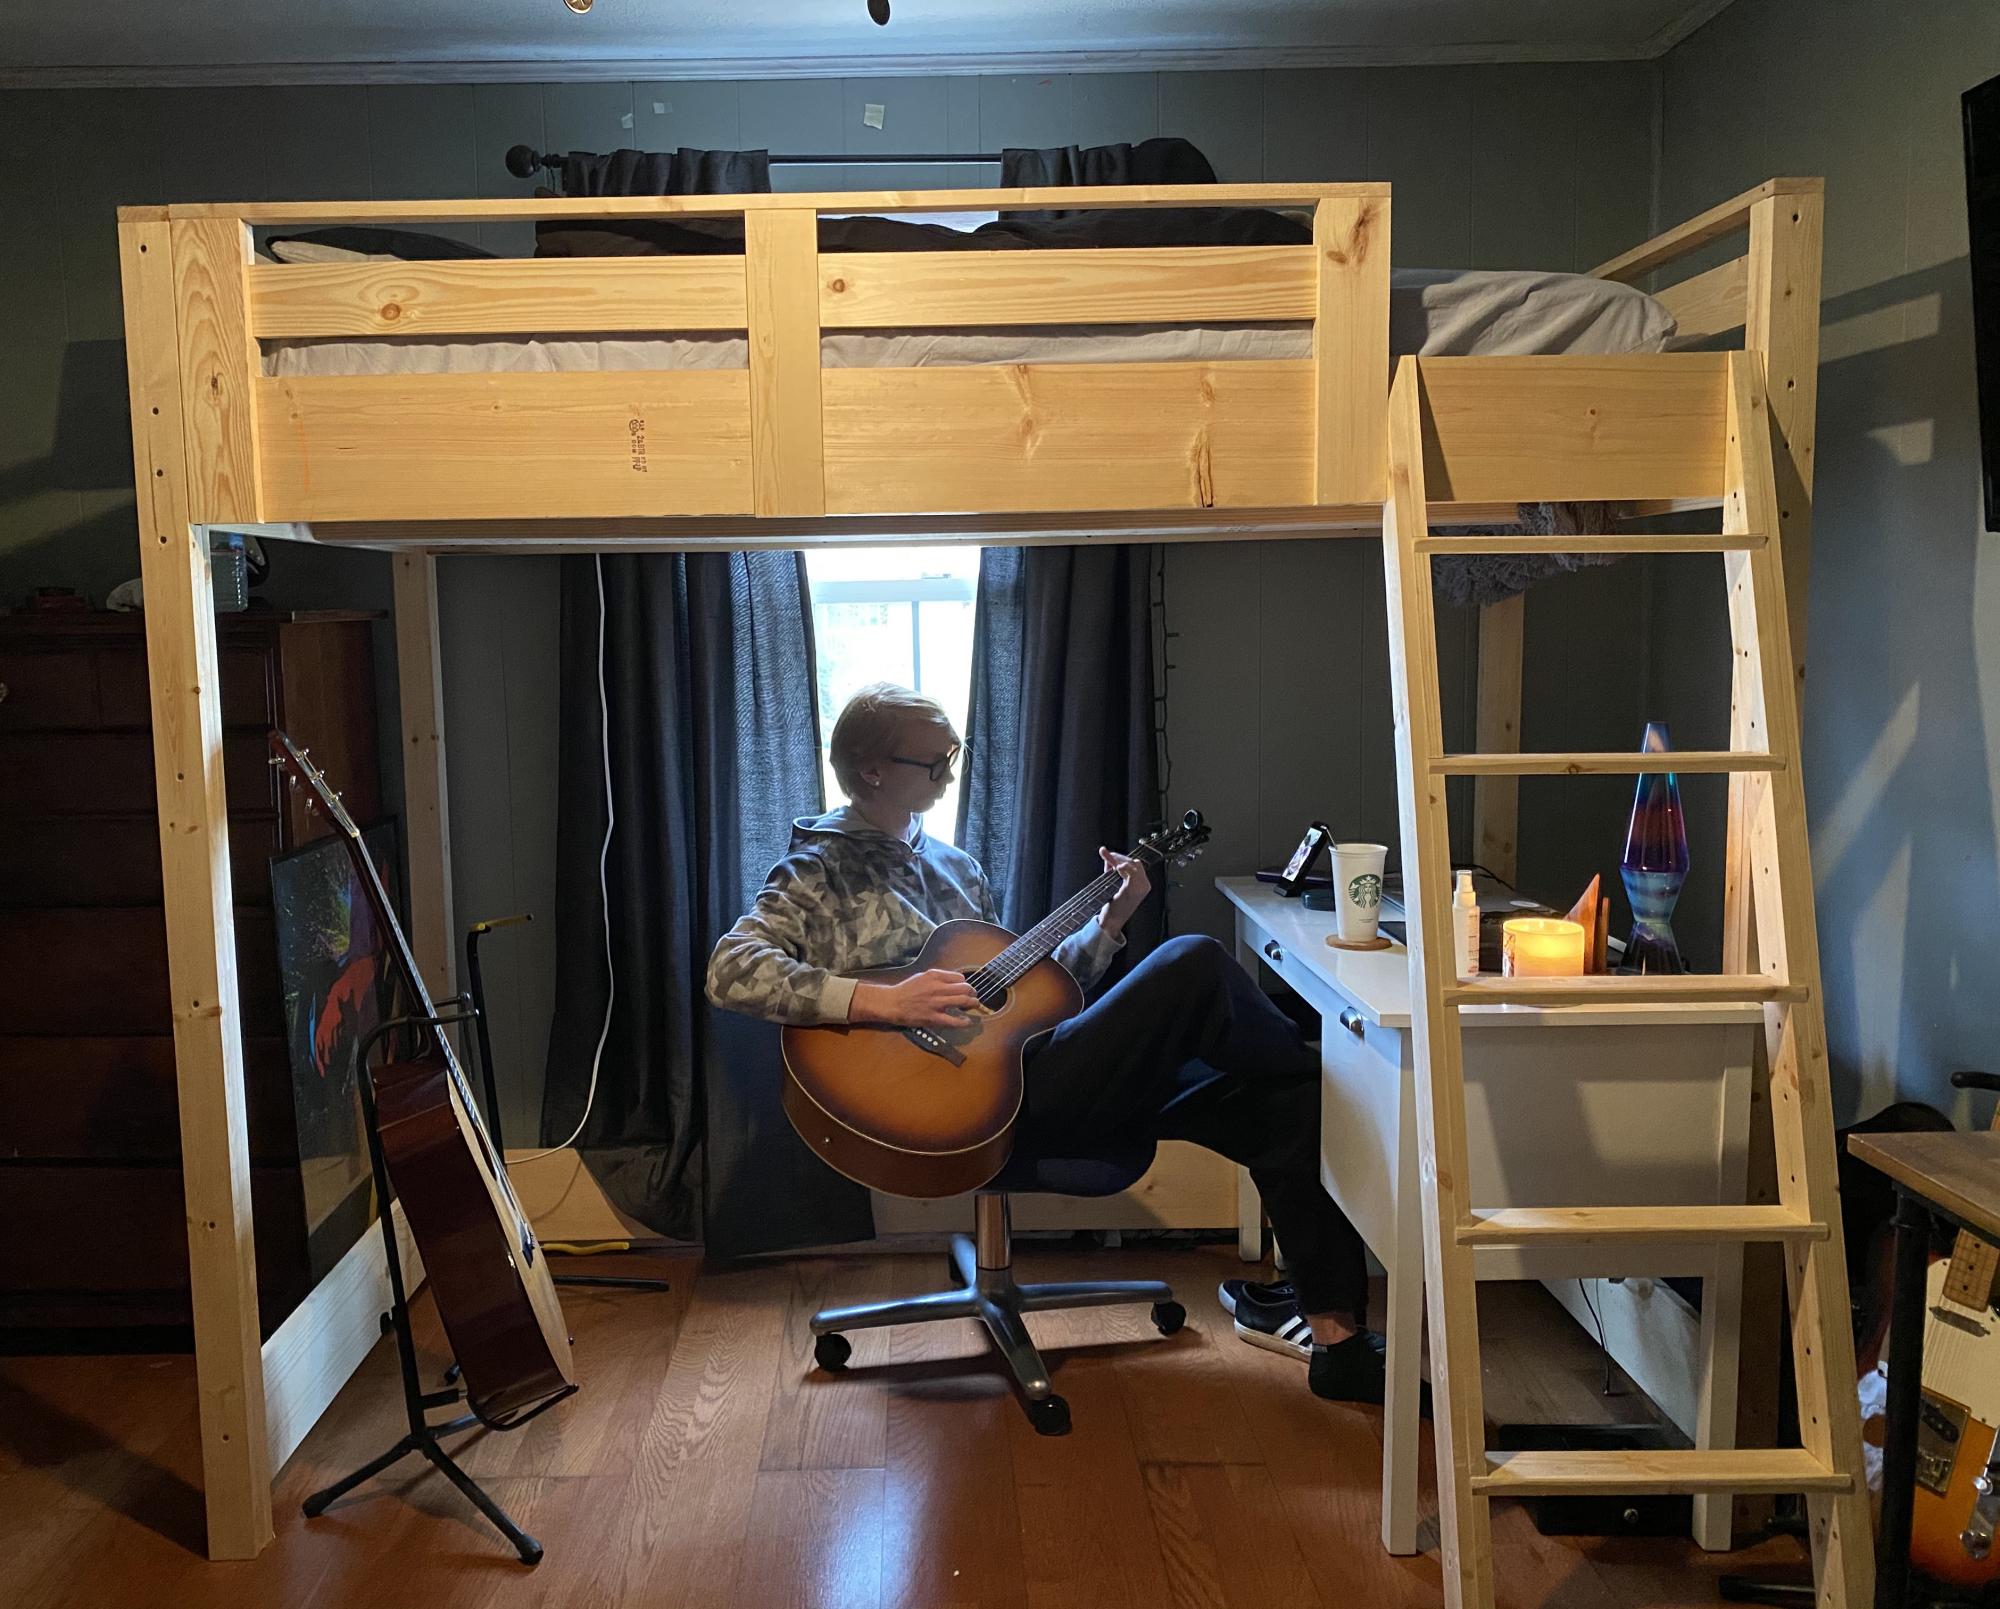
Modified to a twin xl from the loft bed plan. Wood has not been finished.
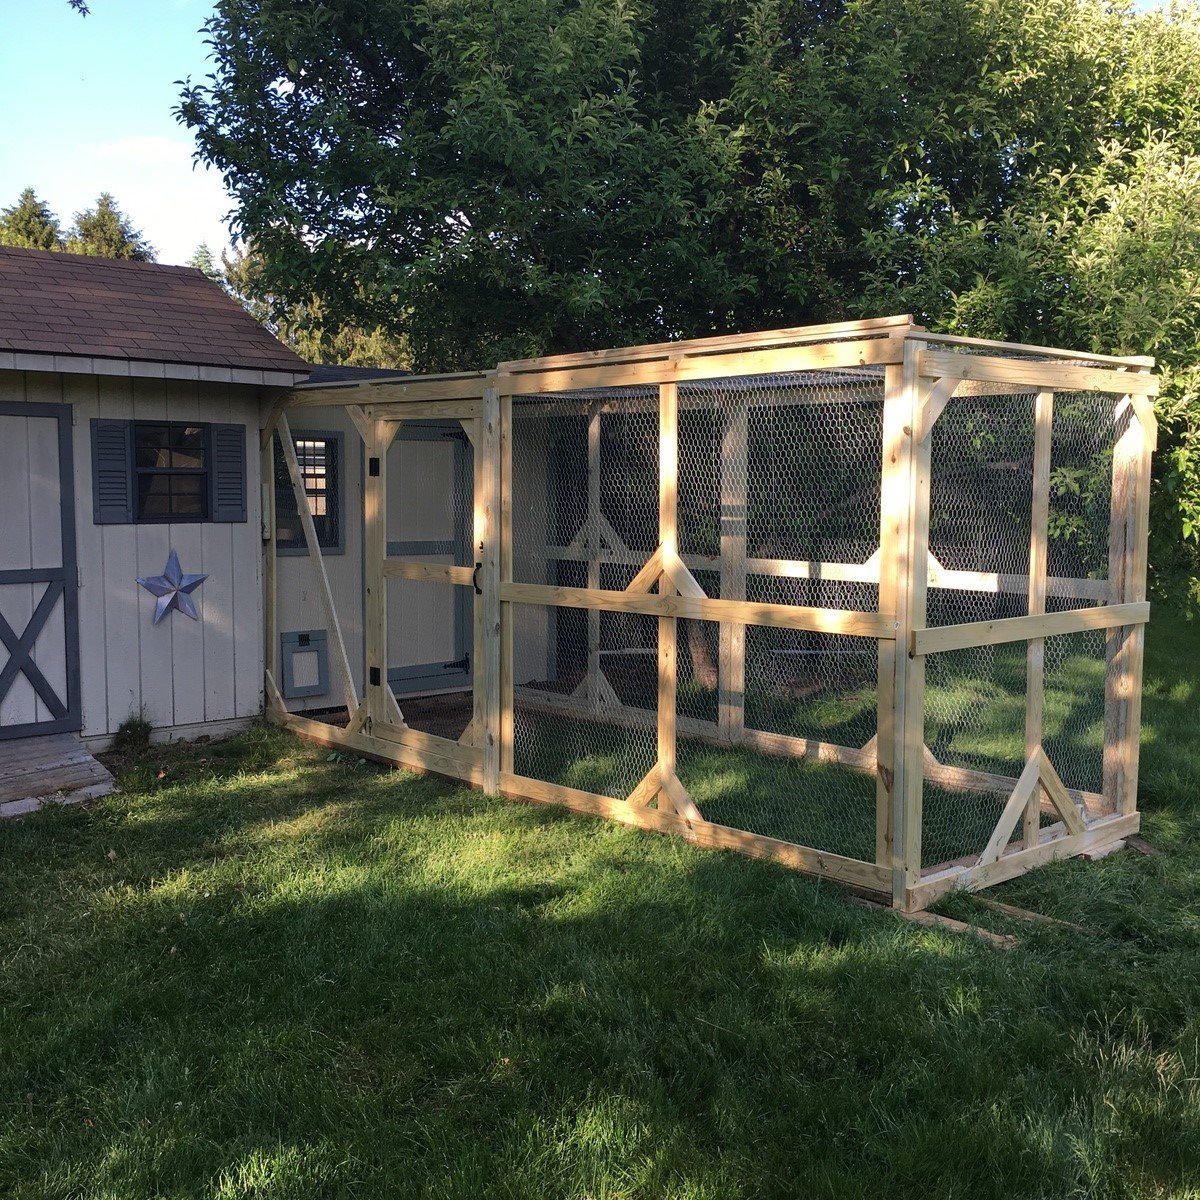
Or use the same plans with the exception of I extended the height so I could actually walk into the run fairly simple to assemble I would strongly recommend an air compressor staple gun or you'll end up with four arms like Popeye