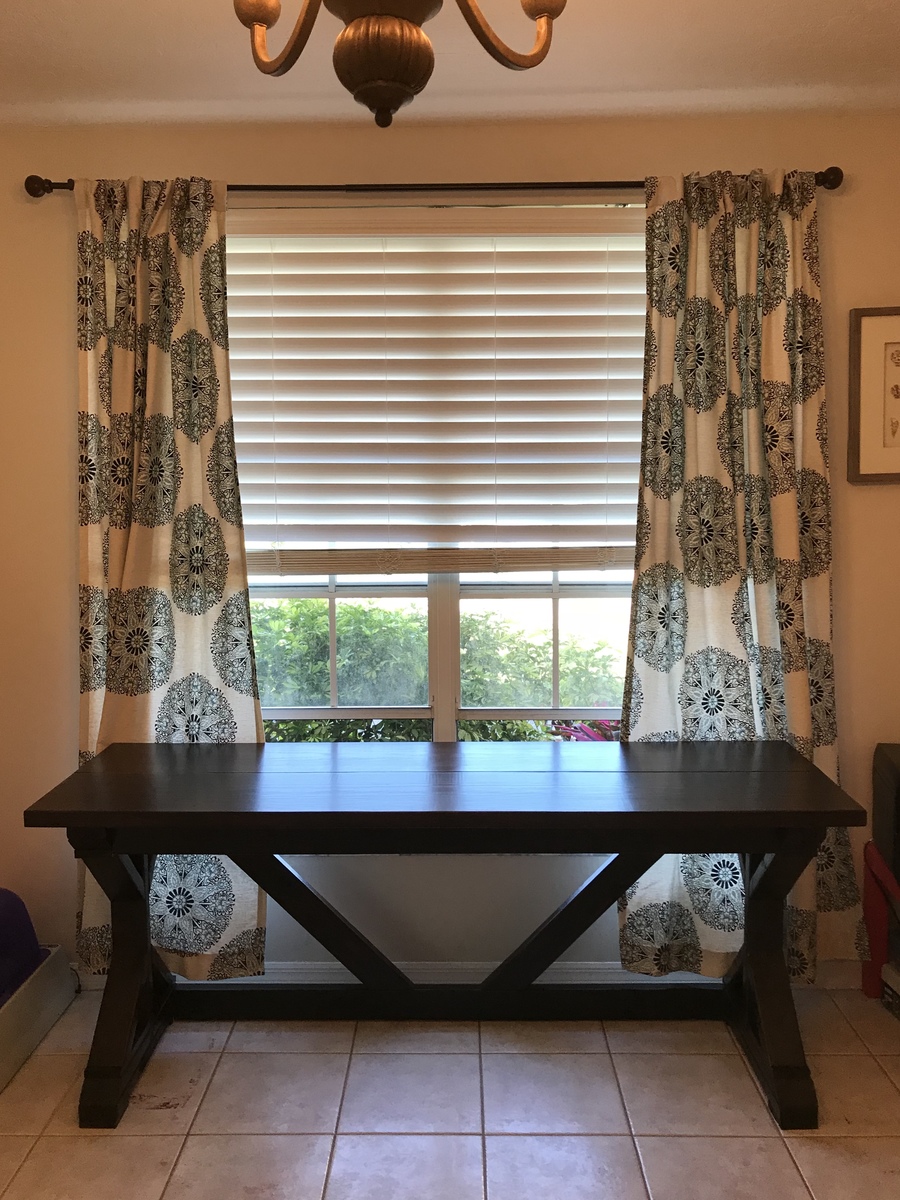
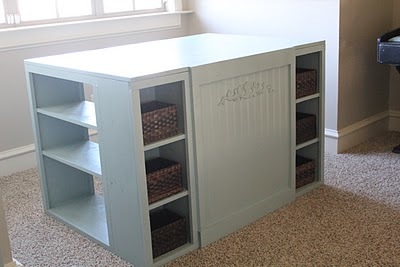
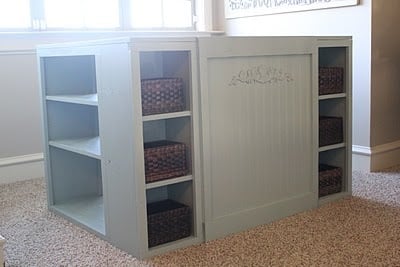
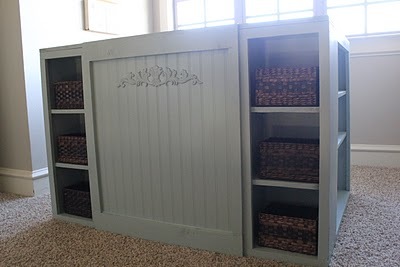
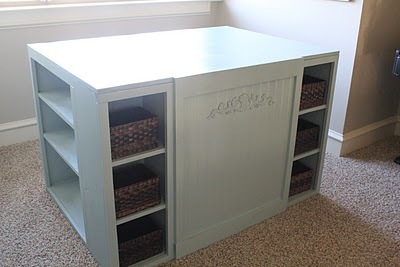
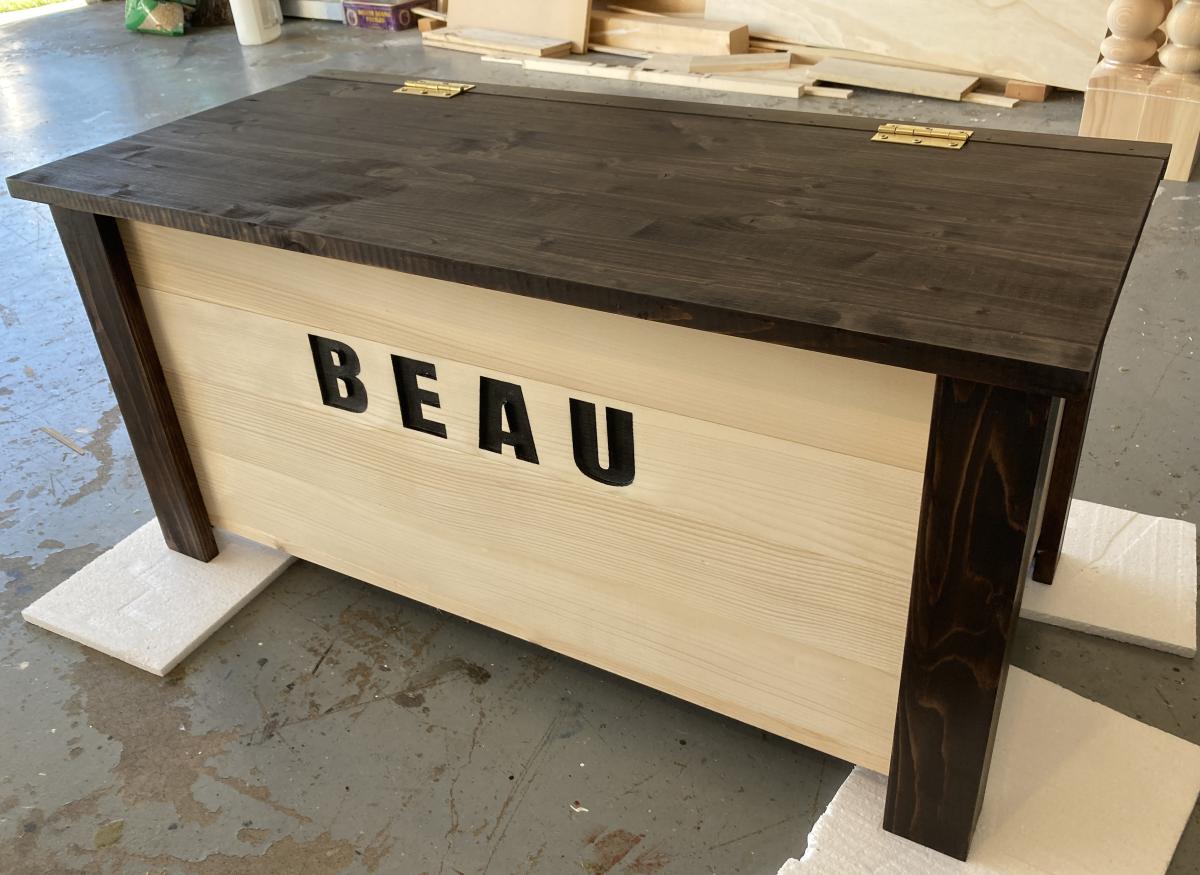
Zach's new desk
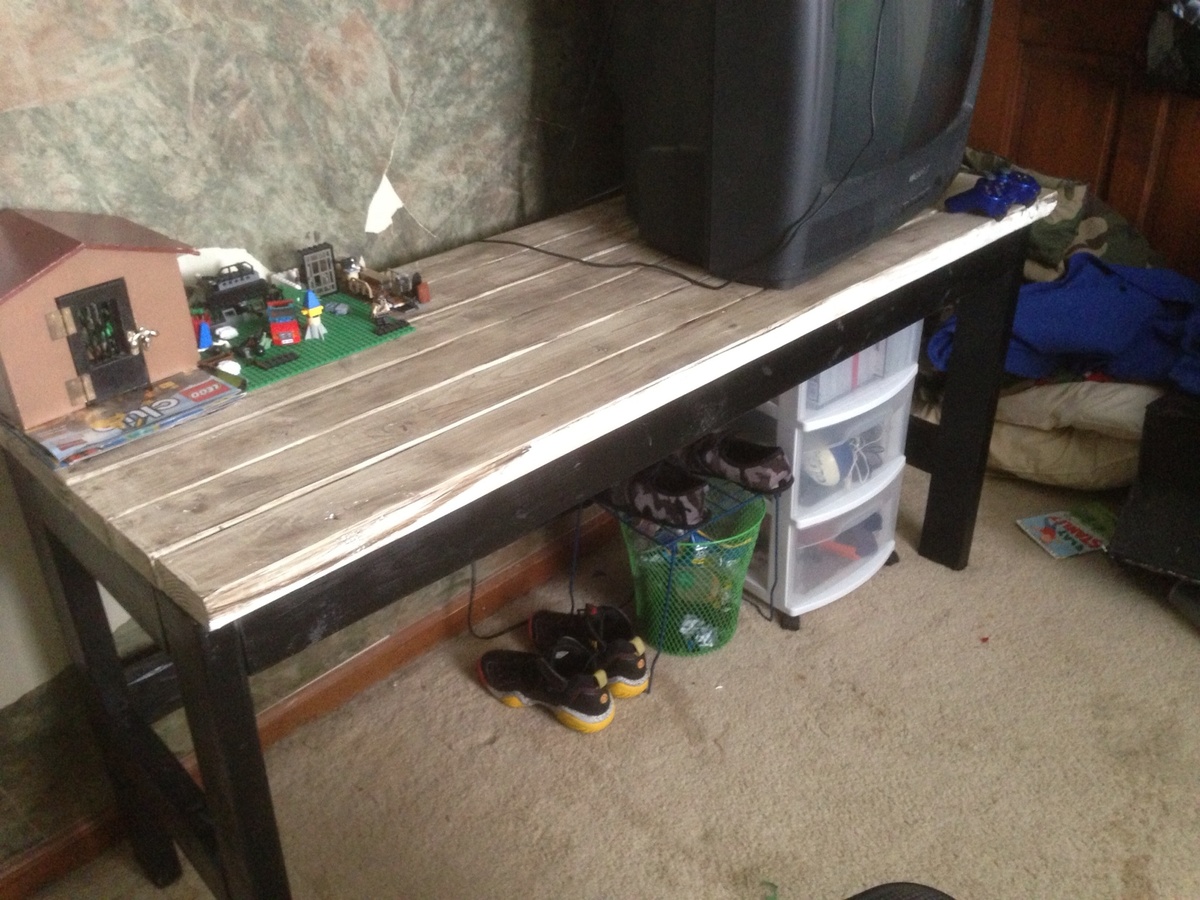
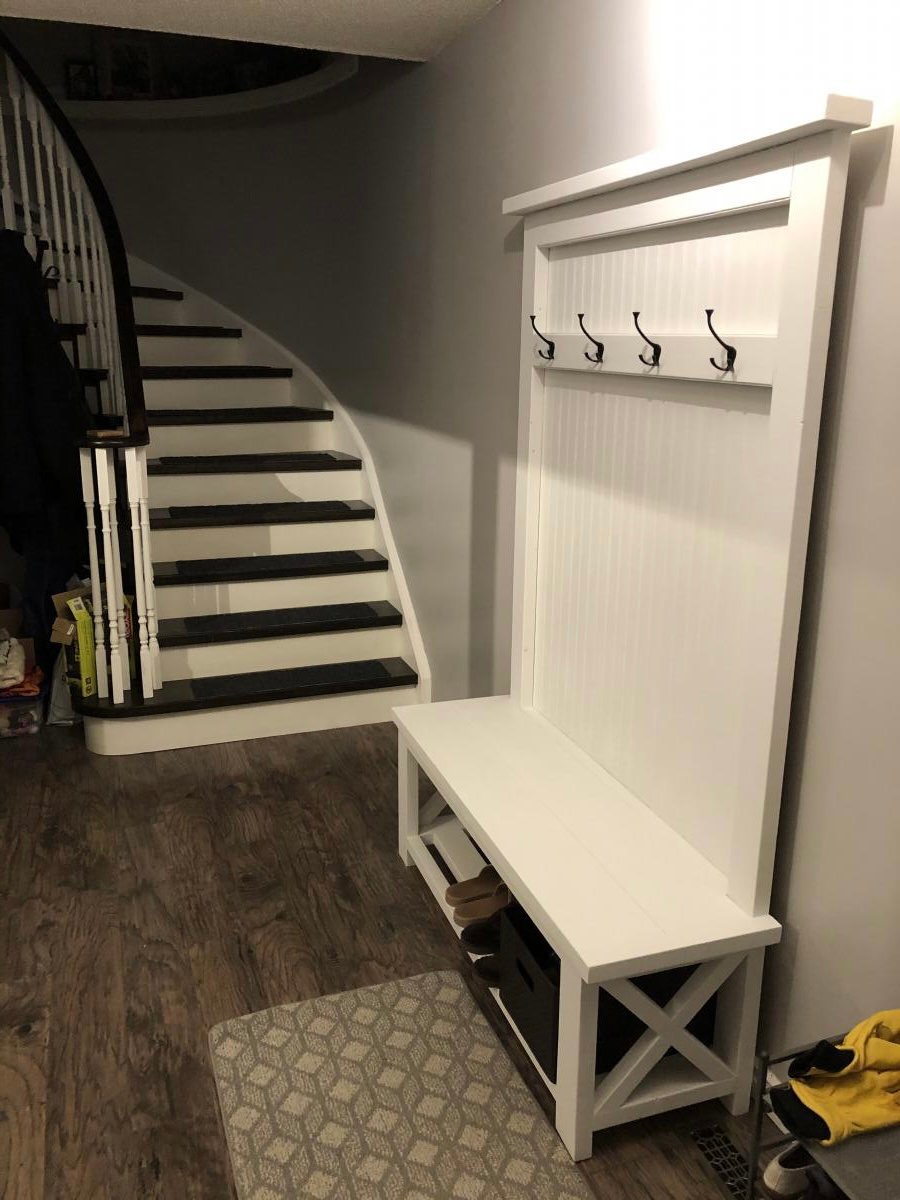
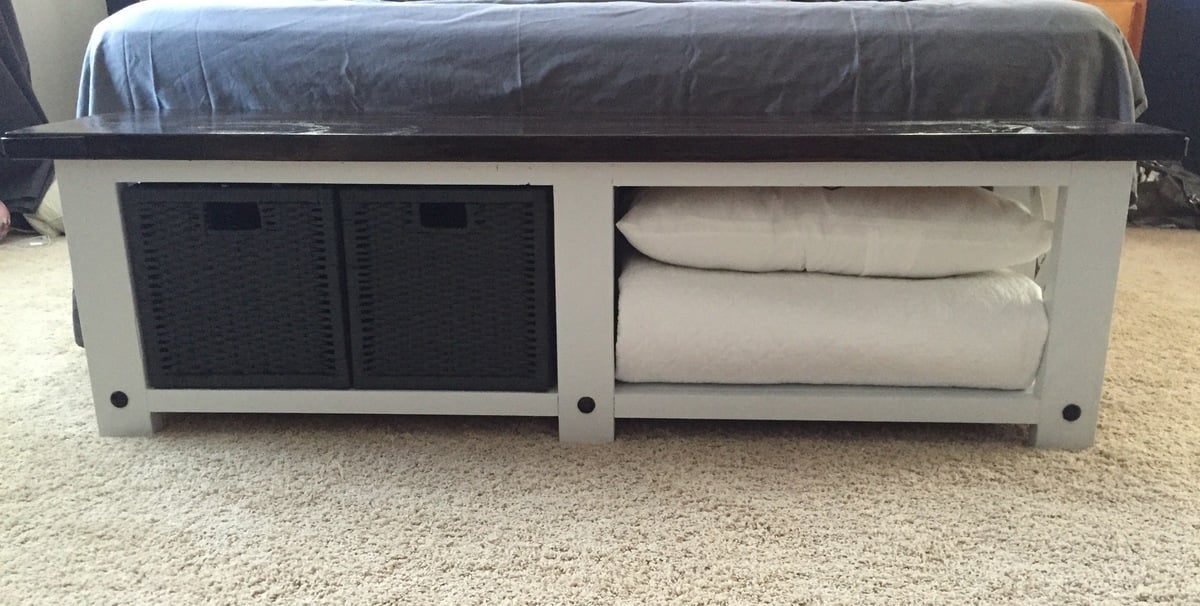
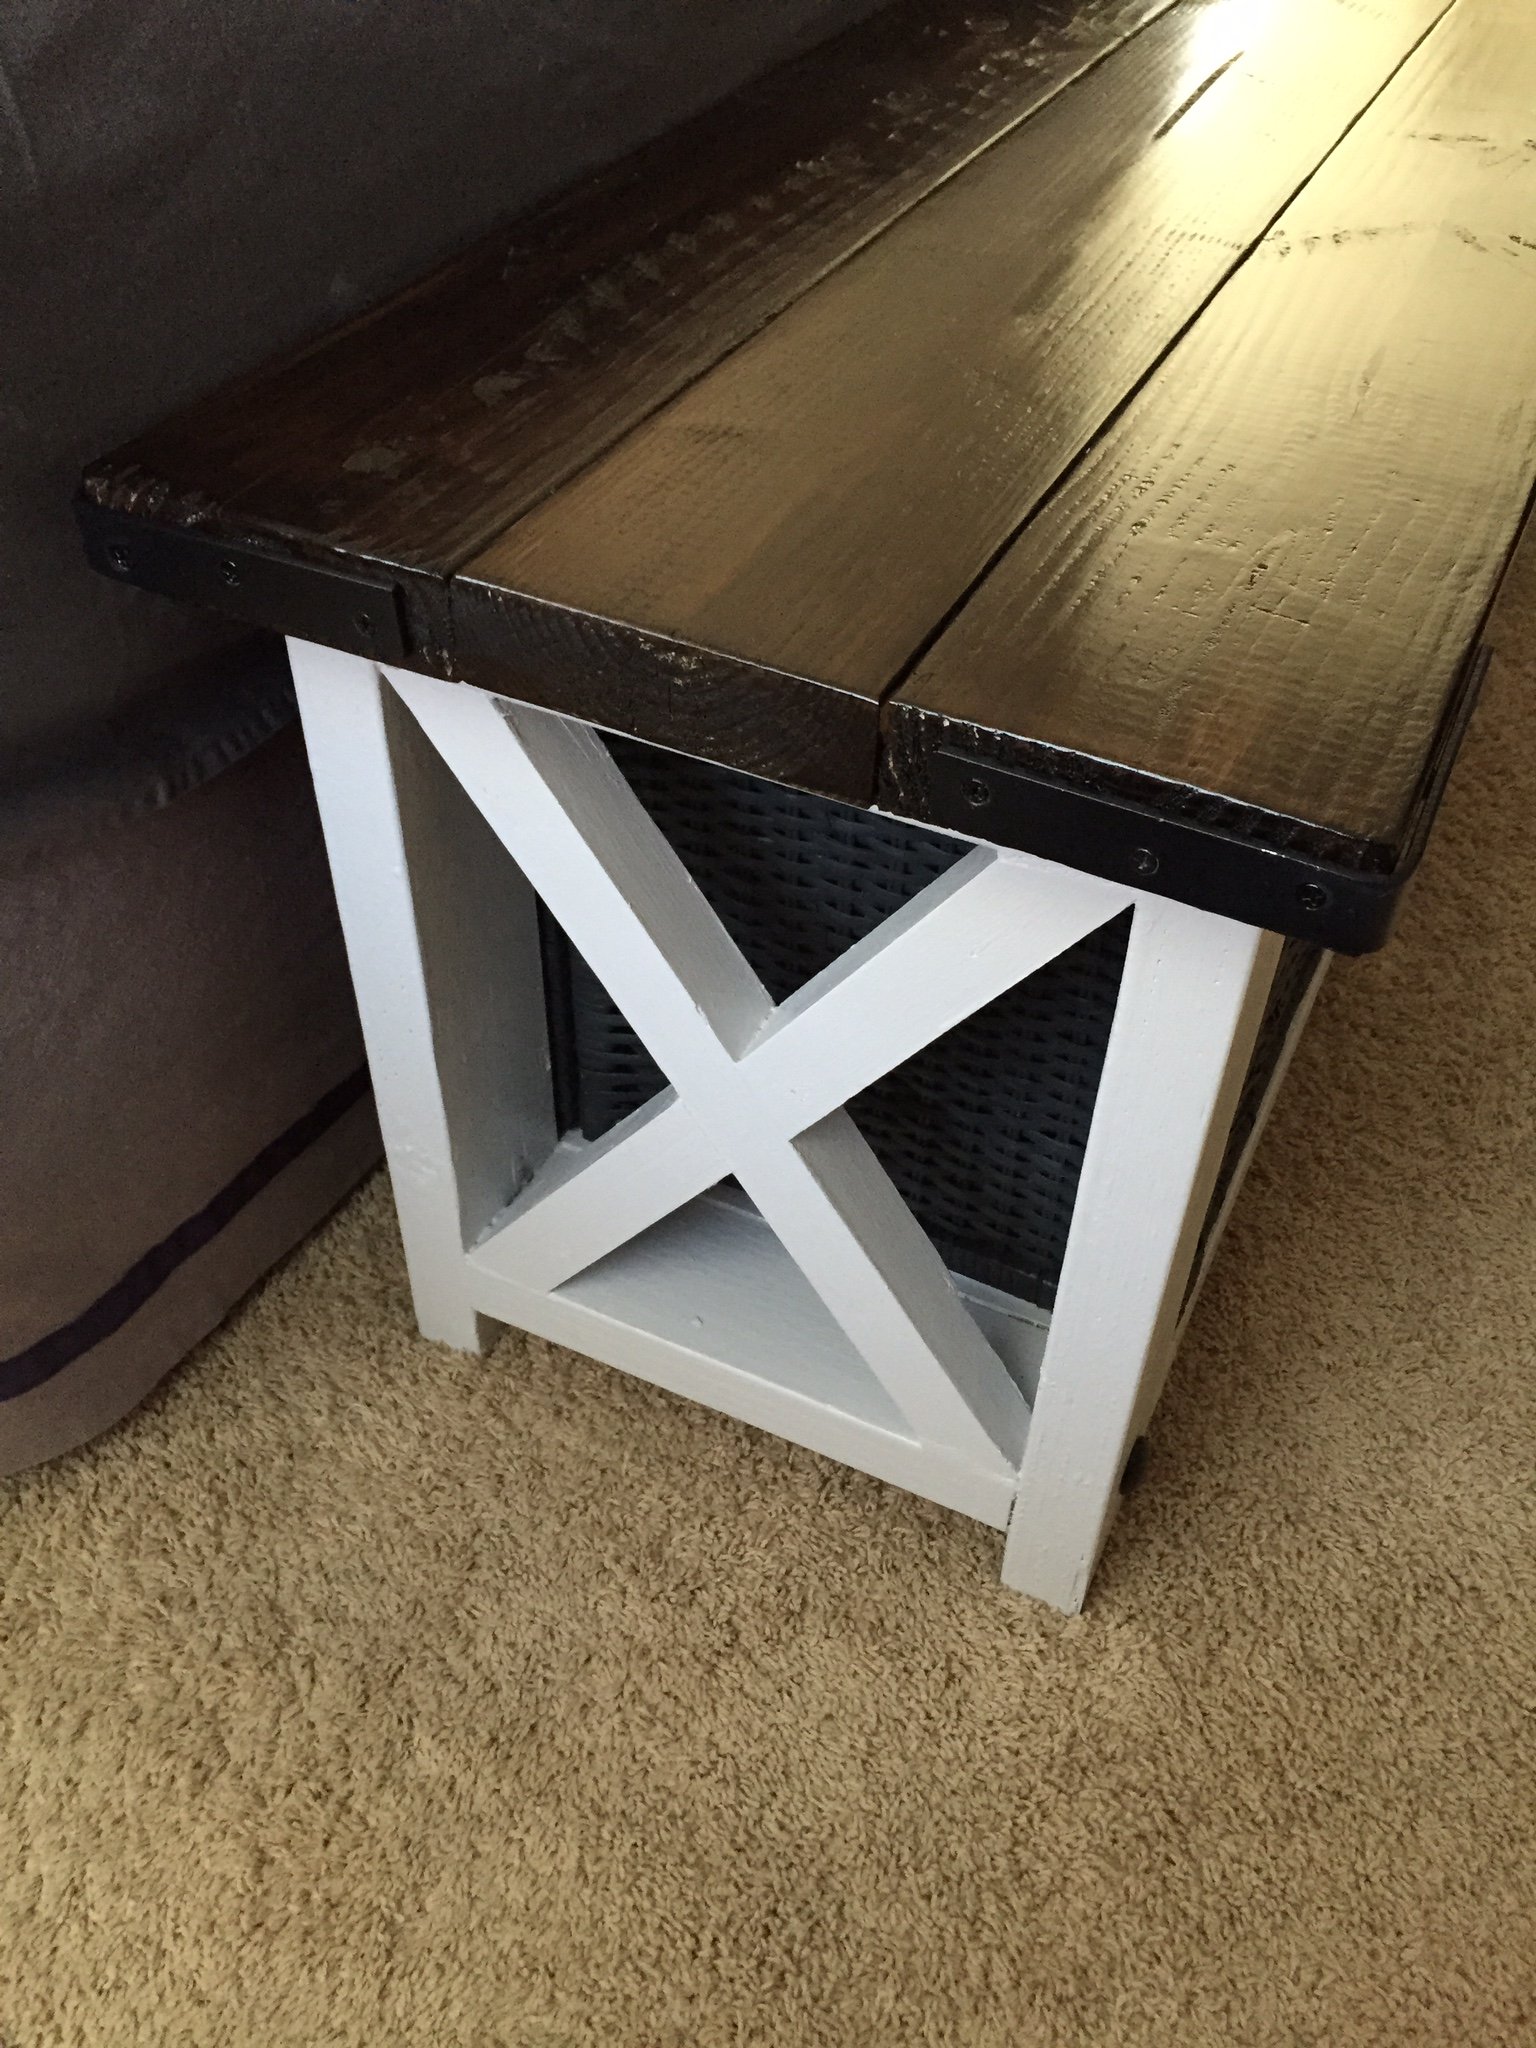
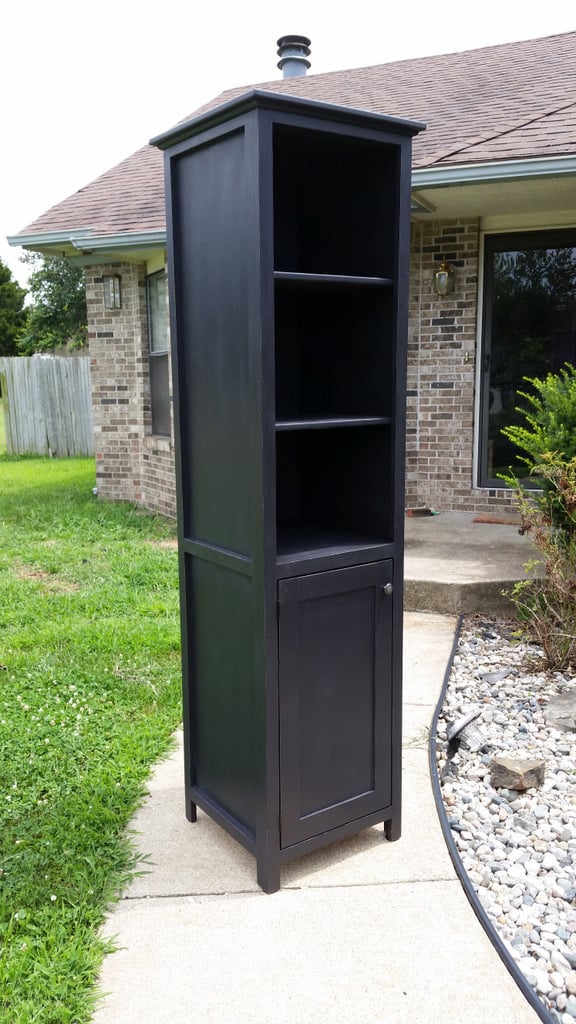
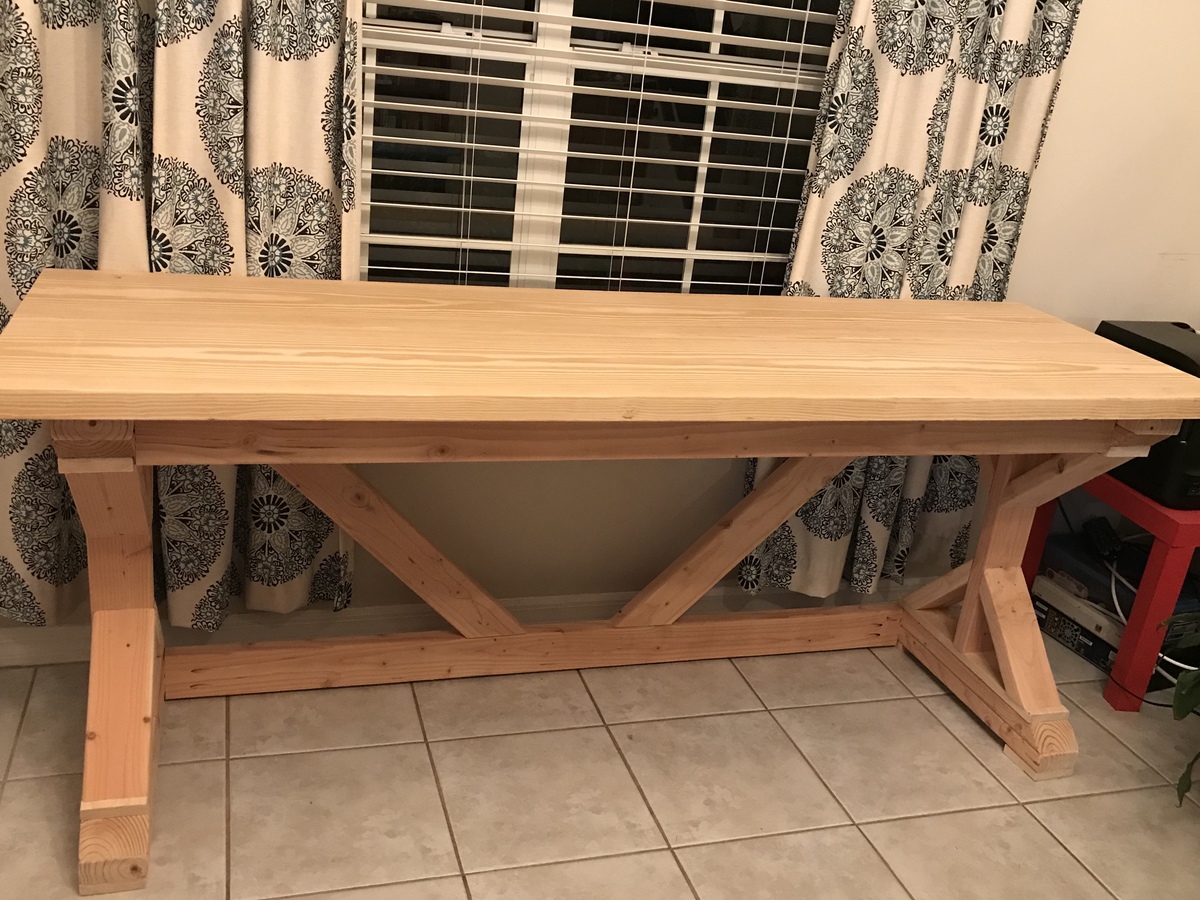
I built this desk so my son would have a place for his old school tv and to do his homework! It was super easy and I love how the finish came out! His room is a huge work in progress but this is the first step:)
Built from Plan(s)
Estimated Cost
20.00 as I had scraps and finish supplies
Estimated Time Investment
Afternoon Project (3-6 Hours)
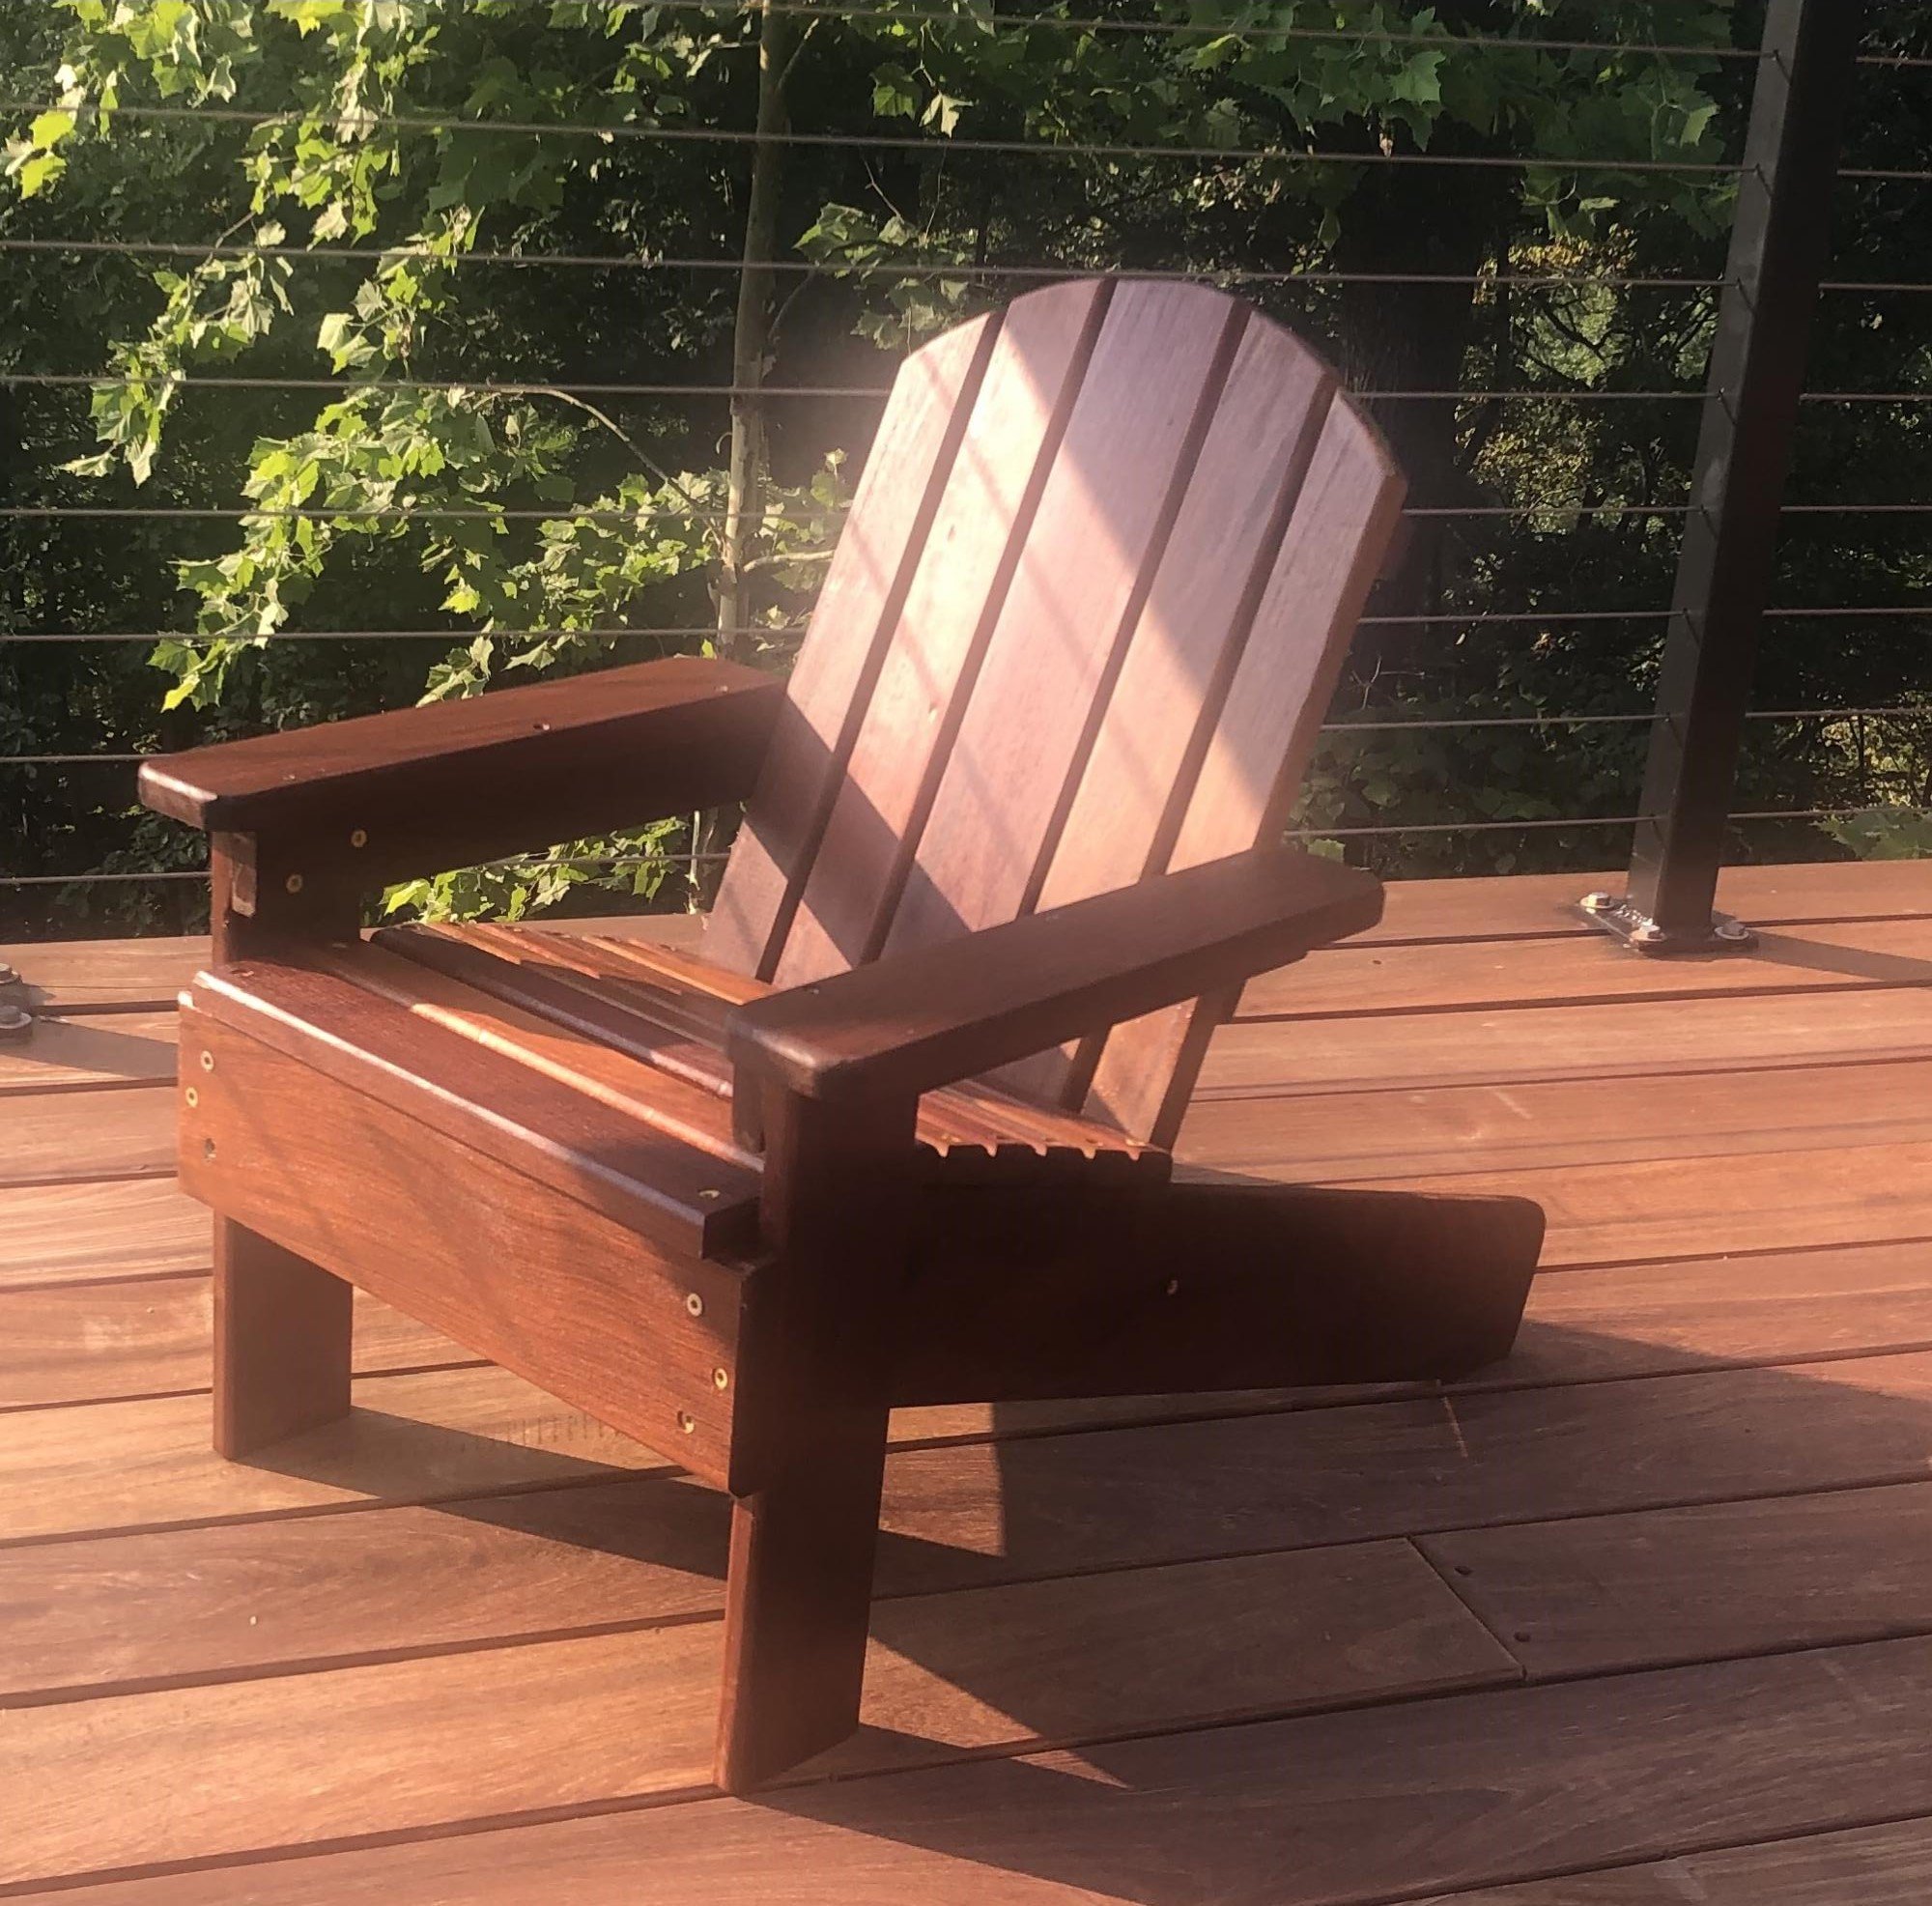
Finish Used
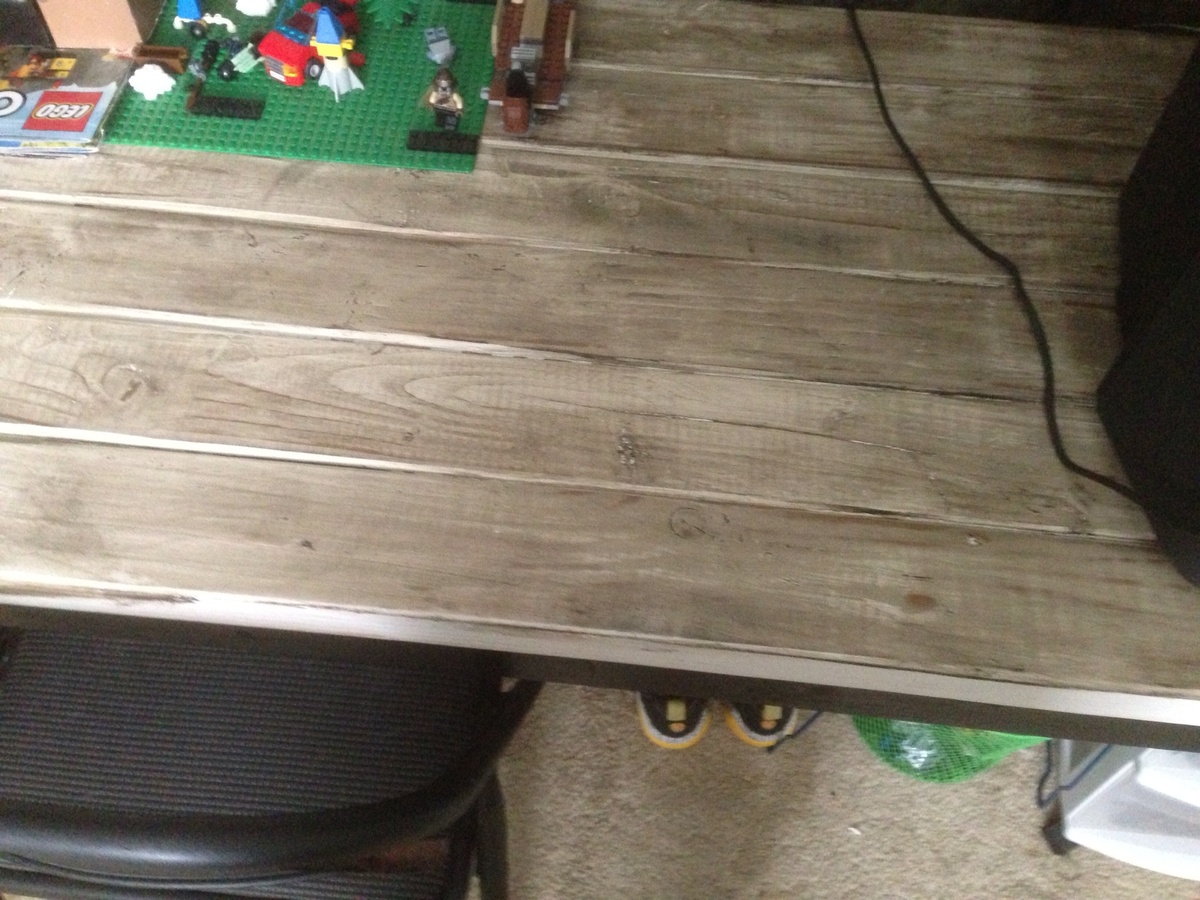
I sprayed the bottom with satin black paint The top I painted white then sanded it down with 80 grit and rubbed on then rubbed and wiped minwax poly espresso stain until I got the look desired. Easy!!!
Recommended Skill Level
Beginner