Community Brag Posts

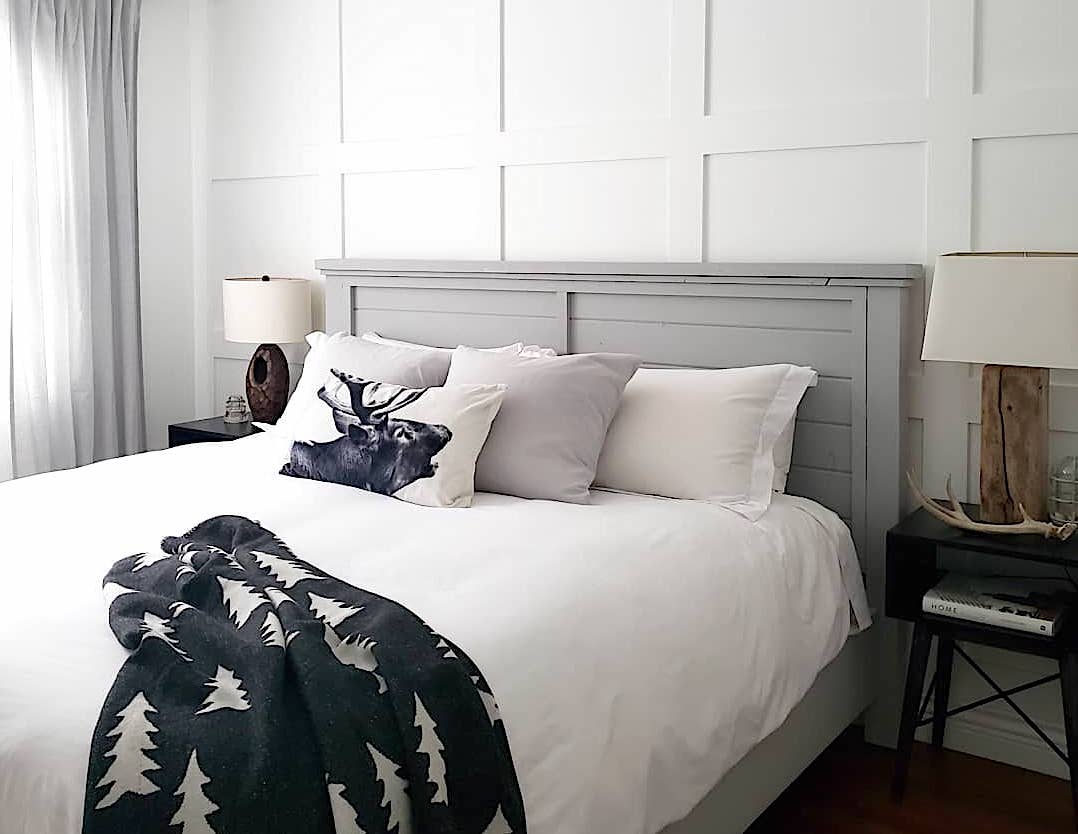
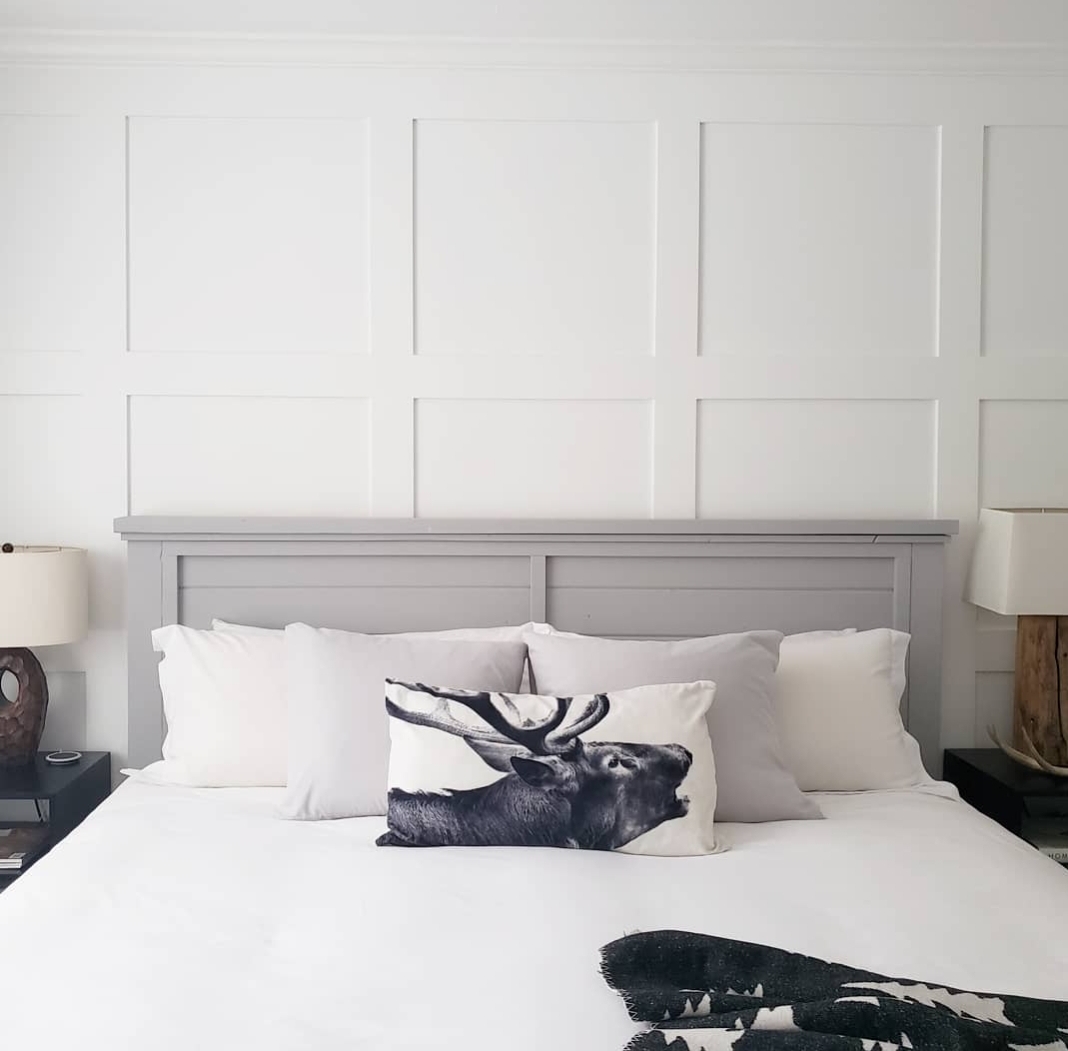
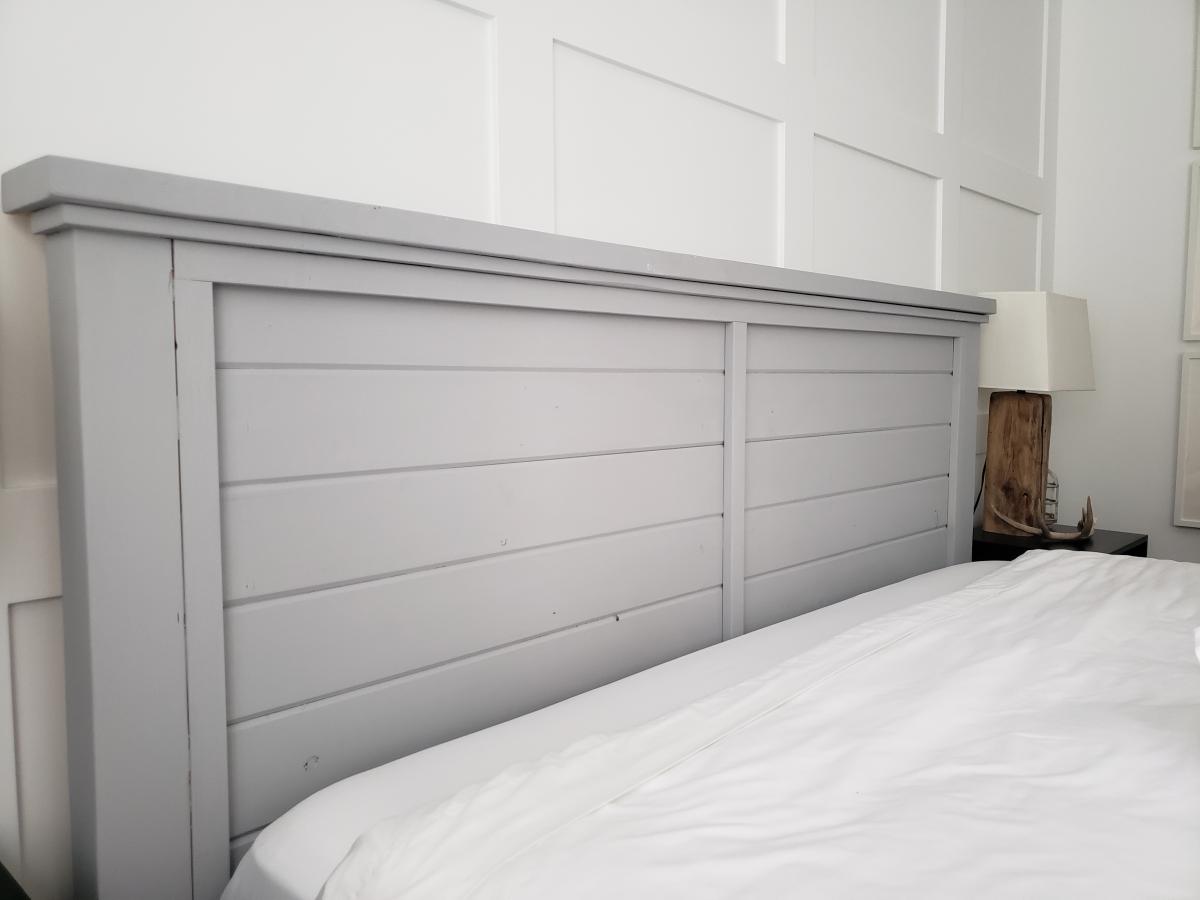
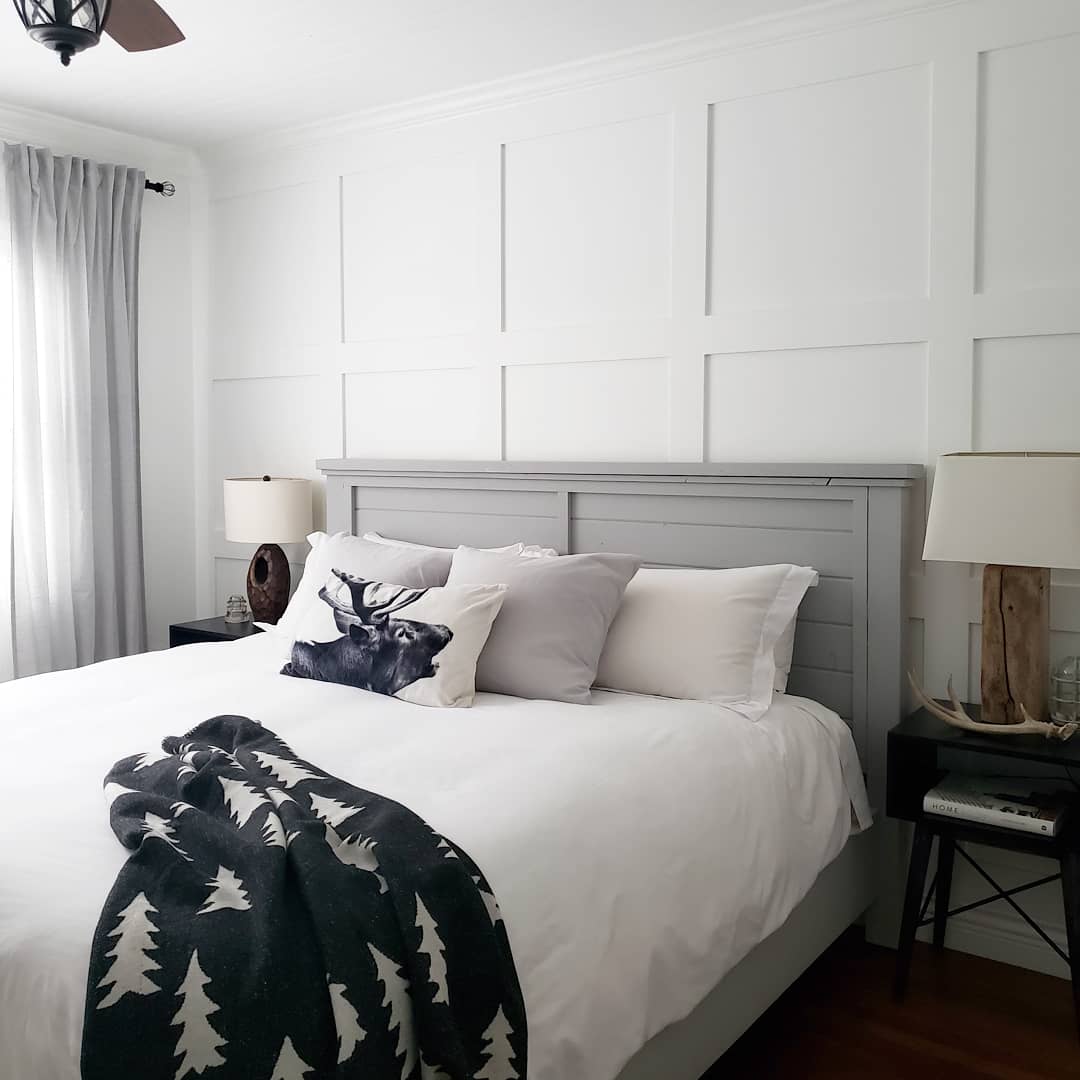
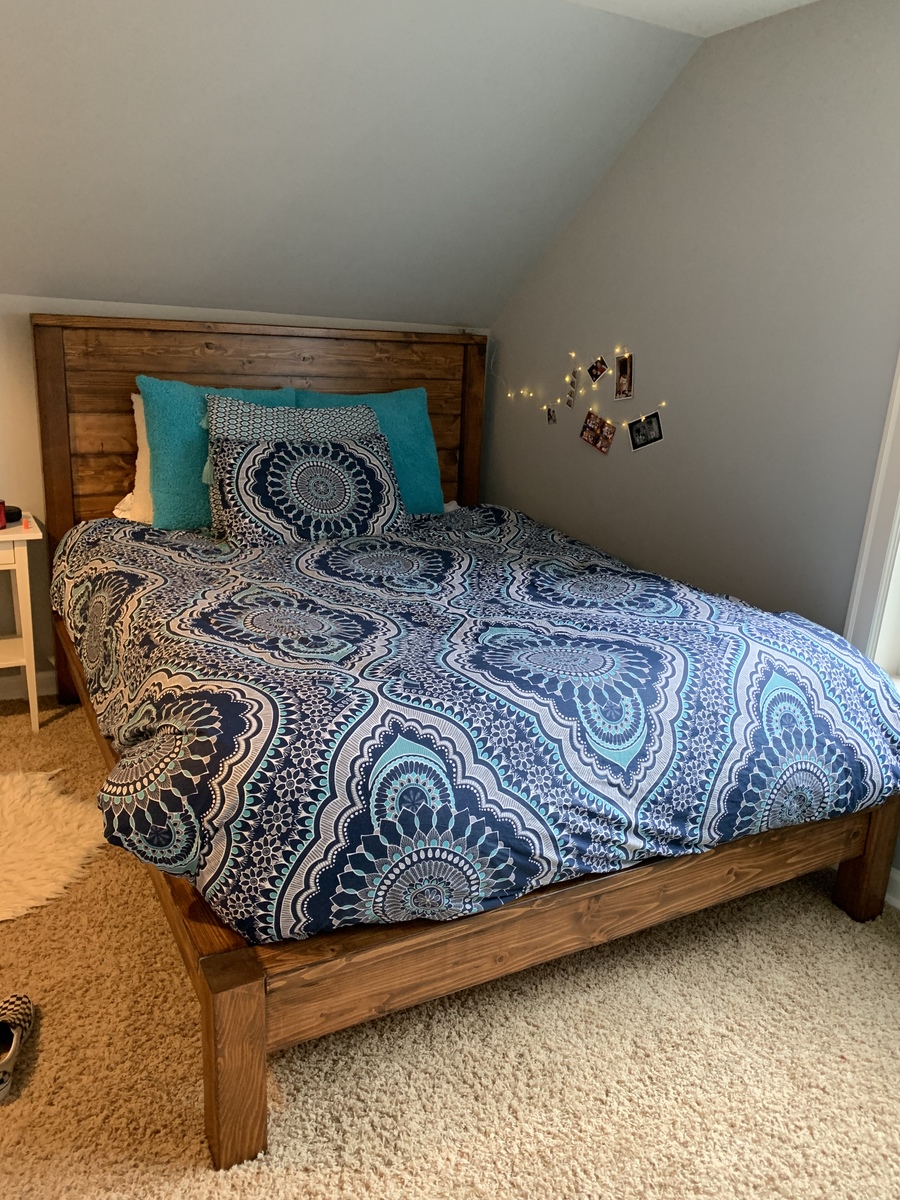
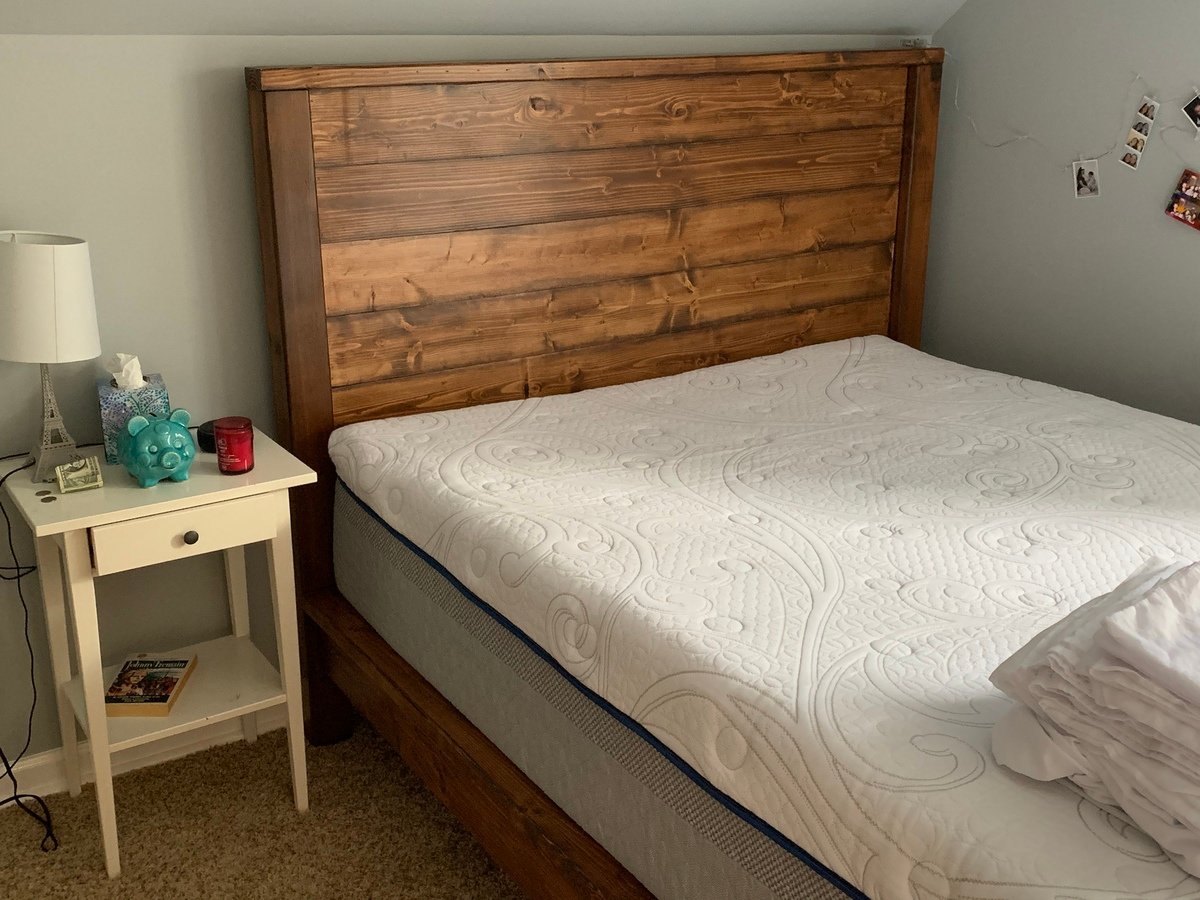
Modern Farmhouse Bed

Submitted by Anonymous (not verified) on Tue, 02/26/2019 - 08:33

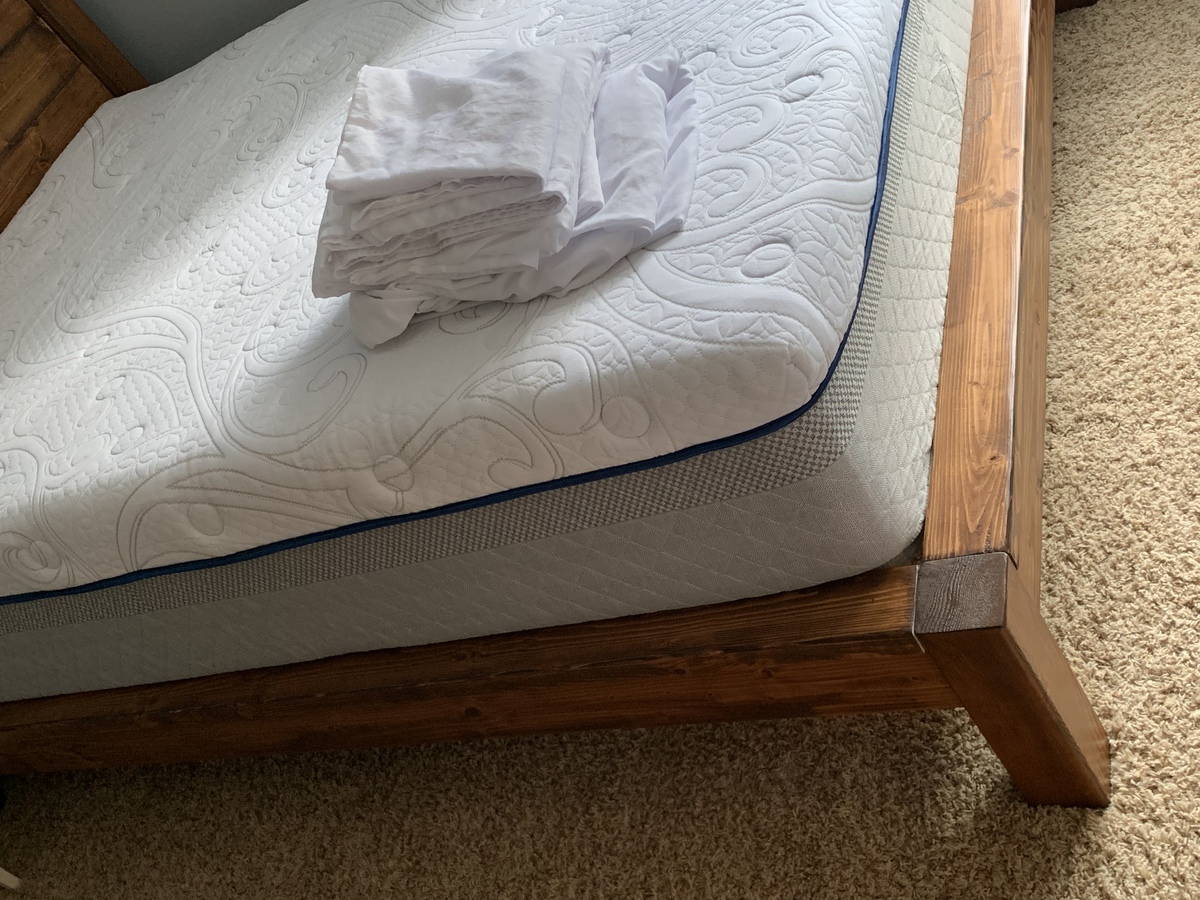
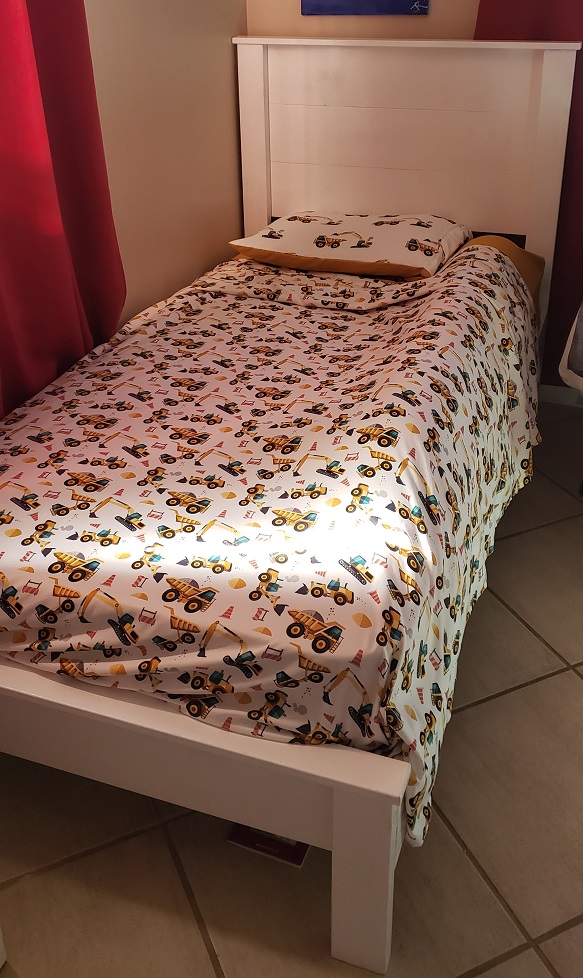
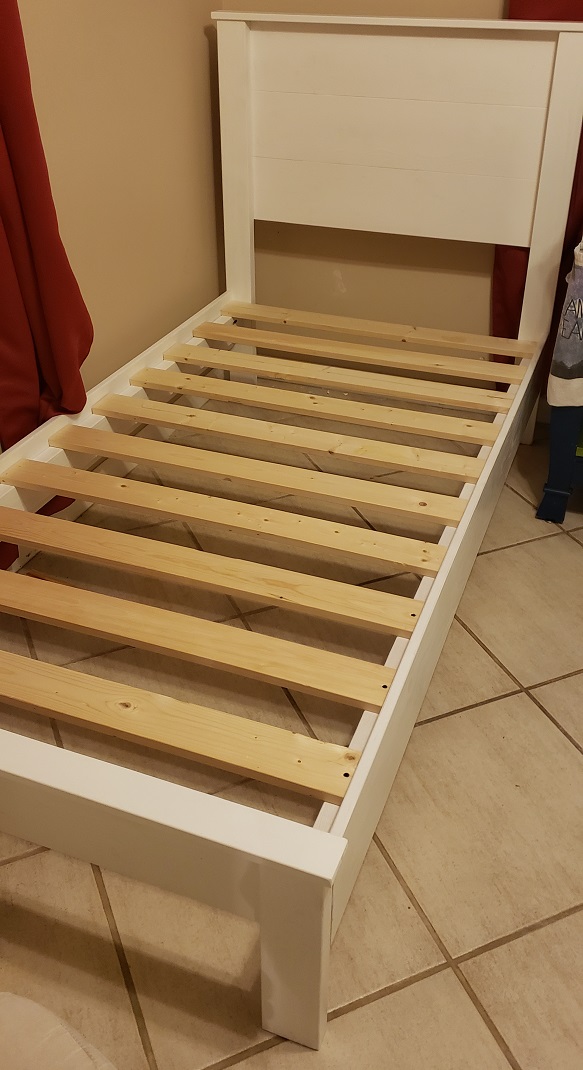
I made this as part of a room makeover for my teenager. It was my second furniture project, the first being Ana’s original farmhouse bed. This was my first project with the Kreg jig and I watched a great YouTube video by shanty2chic to learn the basics of pocket holes. This was also my first staining project and I love the results. My daughter loved it so much she had me stain her closet doors to match! The lumber for the bed was only $120, I spent an additional $80 on wood and screws for the slats to support the mattress, my new kreg jig came with enough screws to make the bed frame. I spent another $80 on wood conditioner, stain and poly since she didn’t like the first stain (Briarsmoke, which I will definitely use on another project).

Built from Plan(s)
Estimated Cost
$200
Estimated Time Investment
Day Project (6-9 Hours)
Finish Used
I started with a wood conditioner and then used Varathane Early American stain applied with a rag and dry brushed on top of that with varathane Kona, again watching a shanty2chic video for technique. Poly is water based satin finish. I used the triple thick but still had to do 2 coats, partly for coverage but also because the water based poly raised the grain so I needed to do a light sand and a second coat of poly for a smooth finish.
Recommended Skill Level
Intermediate

Comments

okstout4

Mon, 10/19/2020 - 19:49

This is very nice. Love the color too. I used Special Walnut in Behr brand and it came out too dark. Wished I had looked at some of these builds before I did the Behr brand stain.

Doll Farmhouse Bed

Submitted by kmatt55 on Mon, 12/19/2011 - 07:26

I made these for my two nieces and soon to be born daughter for Xmas. I used 1" hobby foam for the mattress.

Estimated Cost
Scrap Wood = FREE, $30 for bedding.
Estimated Time Investment
Weekend Project (10-20 Hours)
Finish Used
Primer, Interior semi-gloss white.
Recommended Skill Level
Intermediate

Comments

Rustic X

Submitted by khump1990 on Tue, 04/25/2023 - 10:57

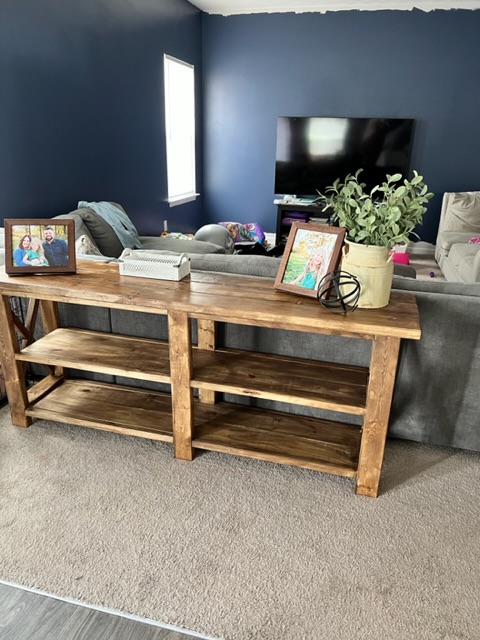
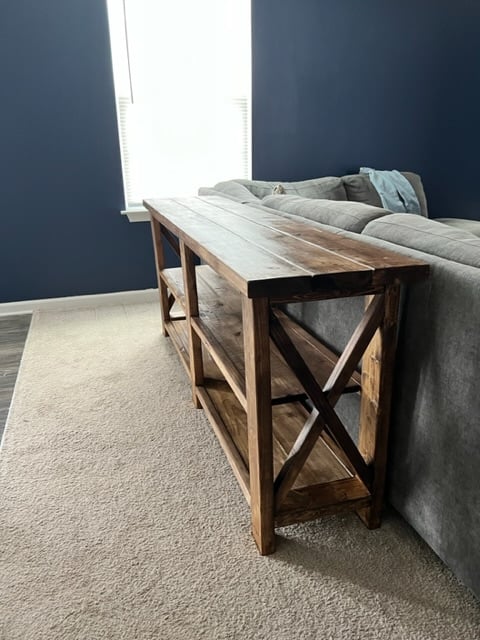
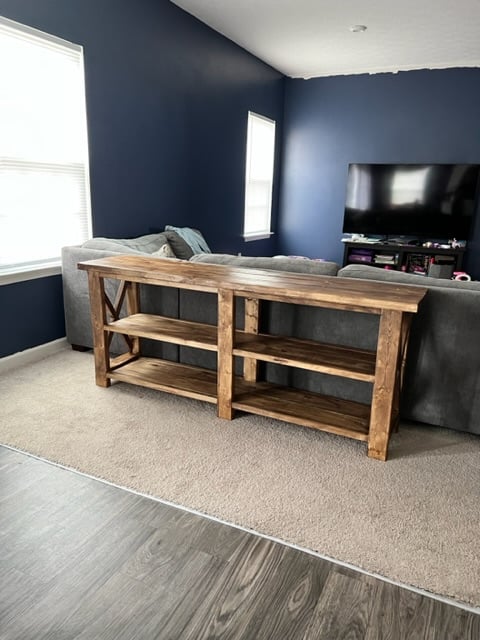
This was a big undertaking for indoor furniture and I learned so much! I slightly adjusted the size to what I had available with some scrap wood from my old stairs so saved a little on costs with lumber!

Built from Plan(s)

Comments

2x4 Outdoor Sectional and Coffee Table

Submitted by Anonymous (not verified) on Tue, 10/01/2019 - 17:56

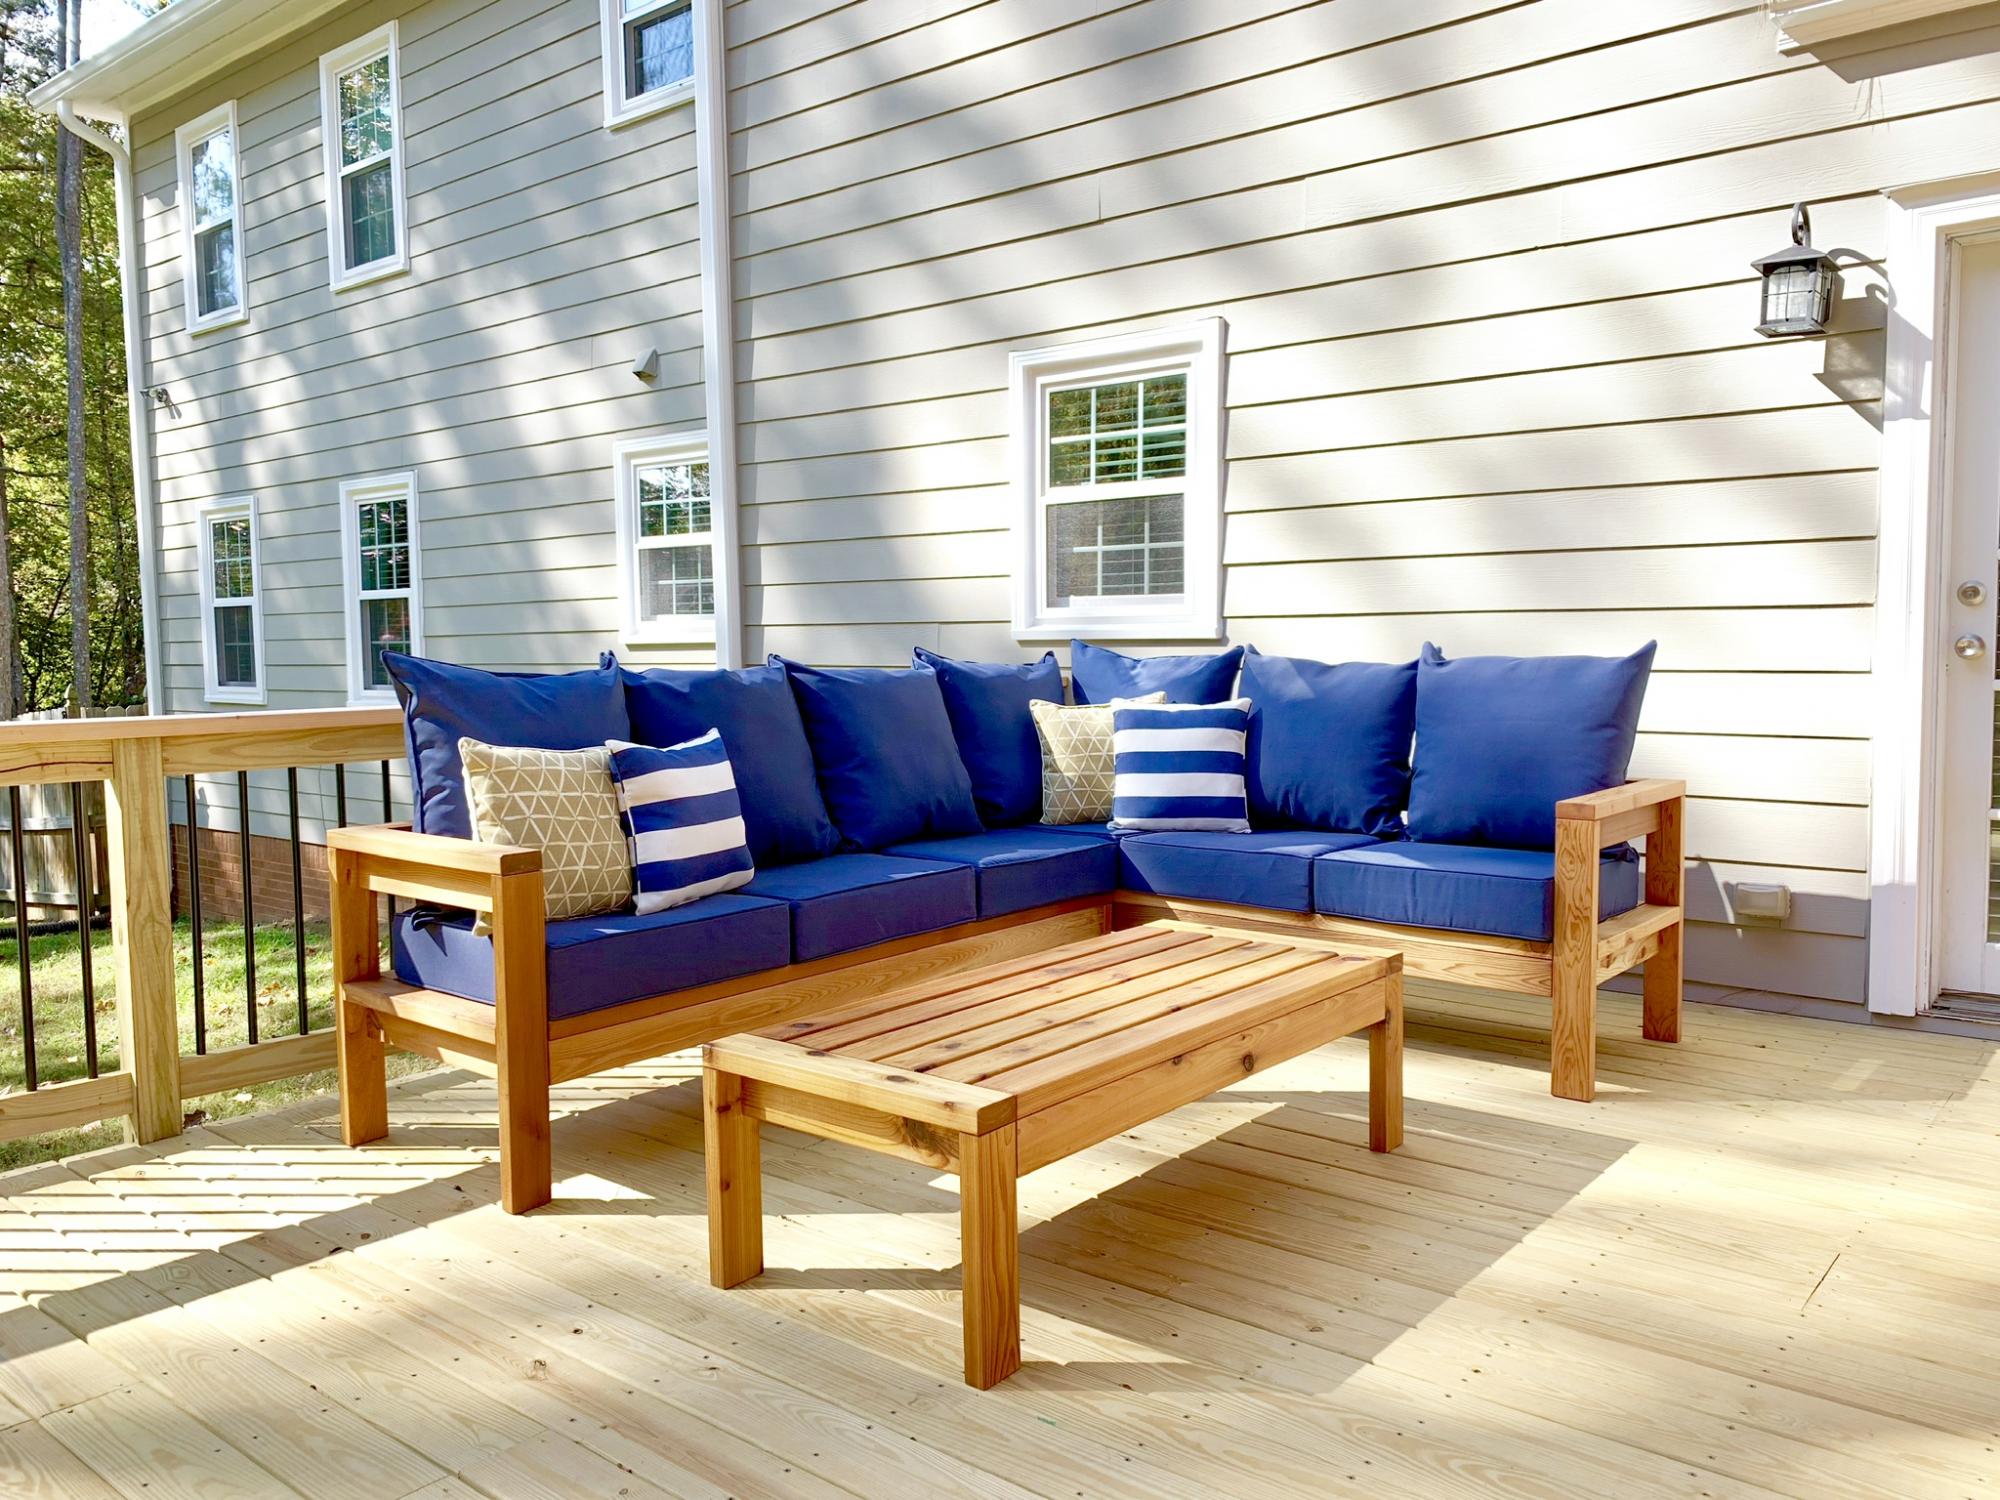
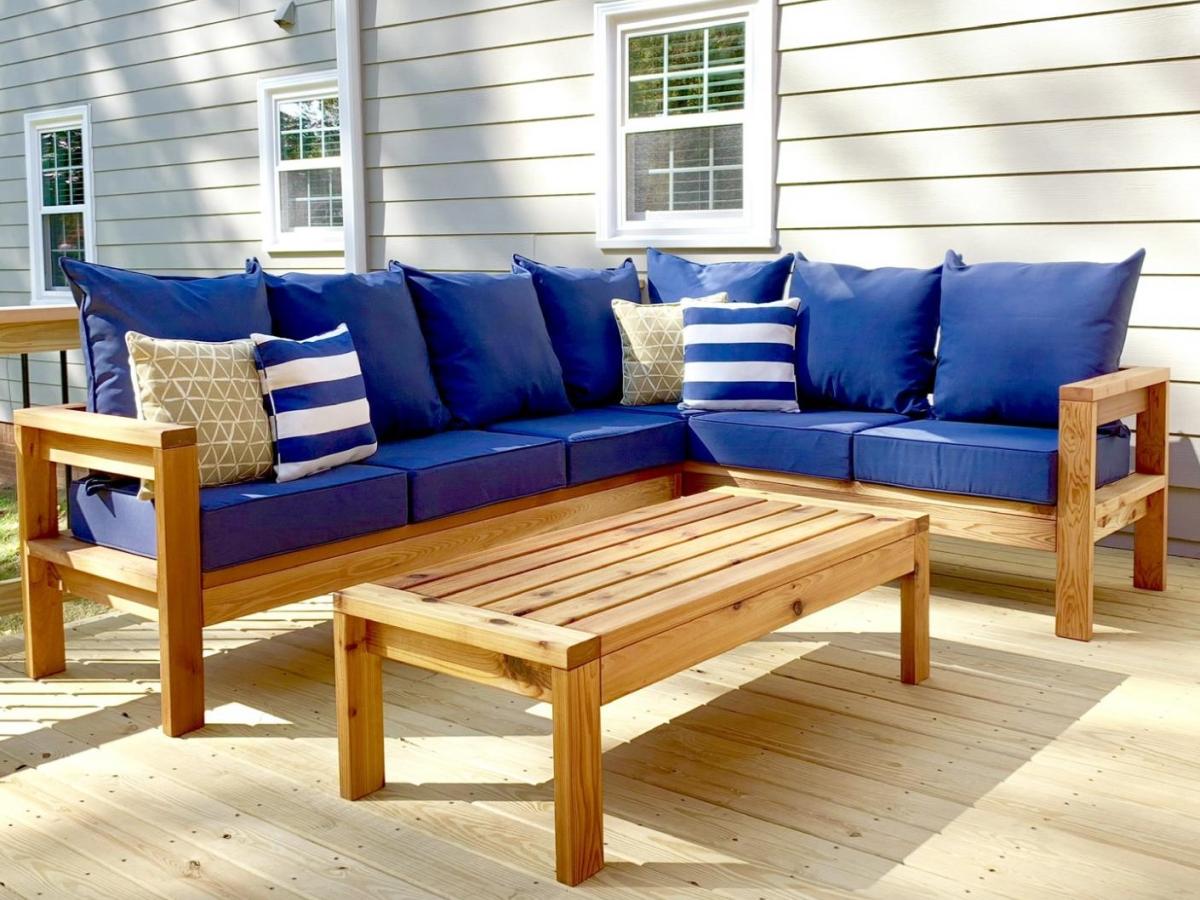
I followed the instructions on the Ana White website, and followed a few of the commenters ideas to reduce the size slightly to minimize the wood costs. I used pocket holes wherever I could to try and reduce the amount of visible screw heads. The cushions were purchased at Big Lots and the cedar was purchased at the big home improvement store. My 5 year old and I worked on this and are so proud of how it turned out.

Estimated Cost
$250
Estimated Time Investment
Day Project (6-9 Hours)
Finish Used
Teak Oil
Recommended Skill Level
Intermediate

Comments

Seasonal And Holiday

King Size Farmhouse Bed

Submitted by Anonymous (not verified) on Thu, 10/03/2019 - 13:02

This farmhouse bed is a combination of Ana White's Farmhouse Bed/Modern Farmhouse Bed plans as well as some slight modifications. I modified the bed using materials already on hand and leftover from past jobs. The 4x4 posts are 2 - 2×4s glued and filled together. The headboard was made using 2x2's and tongue and groove boards. The side rails, foot board and matress supports are 2x10's since this was old material from a job site my husband was on. I opted for no footboard to make the bed feel less bulky. The finish was done using chalk paint in a light gray, giving it a more modern look.

Estimated Cost
$200
Estimated Time Investment
Day Project (6-9 Hours)
Finish Used
The bed is a painted finish using Rust-Oleum Chalked in Aged Grey. The paint dries quickly allowing for two coats to be applied on the same day. Between coats, I lightly sanded the paint to remove any roughness. I find chalk paint to be durable and easy to apply. I opted not to apply a clear coat as our bed doesn't see a lot of wear and tear.
Recommended Skill Level
Beginner

Comments

My first build. Queen size playhouse loft bed.

Submitted by Bunnie1978 on Sat, 03/10/2012 - 18:57

Aiden's Clubhouse.

I can't even believe I was able to build this! Everyone thought I was crazy for undertaking such a huge project. I made it a queen size because my son would always sleep in my bed anyways... so I just gave it to him. The bed took 4 weeks because I could only work on it on Saturday afternoons. The first week, I made a frame with cleats on the wall. The second week I built the house and stairs. The third week I built the slide and did some of the painting. Today, I finished painting and trim.

I did modify the plans and merged the plan for the slide into my plan, which was a last minute addition. As such, I had to "measure-and-cut-as-you-go" build this bed. I would highly recommend to anyone considering such a task, don't do that. Make a plan, cut all your wood, paint before assembly, and stick to the plan. My stairs all lift up, and under the top landing there is also a cut out inside Aiden's clubhouse-you can see it behind him in the picture below. Also under the slide is a cut out for storage. I have not done anything with the inside of the clubhouse yet. Someday...

I designed the bed specifically so that I could take it apart if we ever move... we live in an apartment. The stairs/stairwell are only connected to the rest of the bed with a single screw. The other wall is a bit more difficult to remove, but not impossible.

I learned a few things doing this, that I want to share with you all..
1. The Kreg-Jig is the best thing ever.
2. I LOVE LOVE LOVE power tools.
3. 4x4 sheets of MDF are difficult to carry upstairs by myself.
4. I can do anything.

I hope you all like it. This was my son's 4th birthday present and he really loves it.

It isn't finished yet though. The far wall in the room is about 2 ft away from the bed, and I haven't decided what to do with that side of the bed, so it's still plain. I would love some ideas! What do you think?
Estimated Cost
$800 including the new tools.. table saw, nailer, kreg, new drill
Estimated Time Investment
Week Long Project (20 Hours or More)
Finish Used
Behr paint. I coordinated the colors on the Behr website to try and match the colors already on the wall.
Recommended Skill Level
Intermediate

Comments

Bunnie1978

Sun, 03/11/2012 - 06:30

I did make a couple mistakes with the slide. I made it too narrow. Right now it is 1 foot wide. Next time I would do 1 1/2 feet wide. I also would make the landing at the top bigger. I like the angle of the slide now at 45 degrees, but my son did have to learn how to slide down it without falling foward at the bottom. So, a more well designed slide would be less steep, wider, and with a bigger landing at the top. Another tip... for the top of the stairs, take extra care to make sure they swing straight and are about 1/2 inch less wide than the space so they don't scrape the side of the stairwell walls.

spiceylg

Sun, 03/11/2012 - 03:56

This is you FIRST build? Impressive indeed. You did a great job and Aiden is one blessed boy!

Bunnie1978

Sun, 03/11/2012 - 06:32

Technically, I did finish the ten dollar ledge above his bed earlier this week, before I completed the bed, but it was all part of the same project! :) The only other thing I've built is 2x4s slapped together to hold aquariums. My other hobby is breeding fish. :)

Ganny Girl

Mon, 03/12/2012 - 11:01

This is amazing! I can't believe it was your first build! Did you add any extra support to accommodate the queen size mattress?

Bunnie1978

Mon, 03/12/2012 - 11:29

Yes I actually made a whole frame. Basically just studs - on the walls they are just screwed into studs in the wall, then the other two sides are supported by the walls of the house and a vertical frame piece also. There are two stud slats connected to that, so that bed isn't going anywhere. This is the same method I use for supporting 1500 pound aquariums. I have a bunch of 1x3 slats in there as well...

So, if I want to move the bed, I would remove the side with the stairs (~62 inches)- that whole side is one unit, secured to the frame with one screw, and secured to the other wall by about 5 finish nails and one screw. The longer wall (~85 inches) is secured to the frame by 6 screws.

Queen mattresses are HEAVY. :) I learned that too.

Dani83264 (not verified)

Sun, 01/06/2013 - 08:21

we're making the Playhouse Loft Bed for a queen bed as well. Maybe you can answer a question for me. Are the dimensions to fit a queen size bed as written, or do we need to convert them. A queen mattress is 75 x 80 and it looks like that's what this is made to fit, but I don't wanna find out i'm wrong after I already have that thing hoisted up over my head :) Thanks for any advice you can offer!

ashleymyers233

Thu, 06/25/2015 - 00:53

Can anyone guide me as to what parts of the clubhouse and castle bed plans were used here to make this bed

DIY Brew Station

Submitted by Anonymous (not verified) on Sun, 07/30/2023 - 14:38

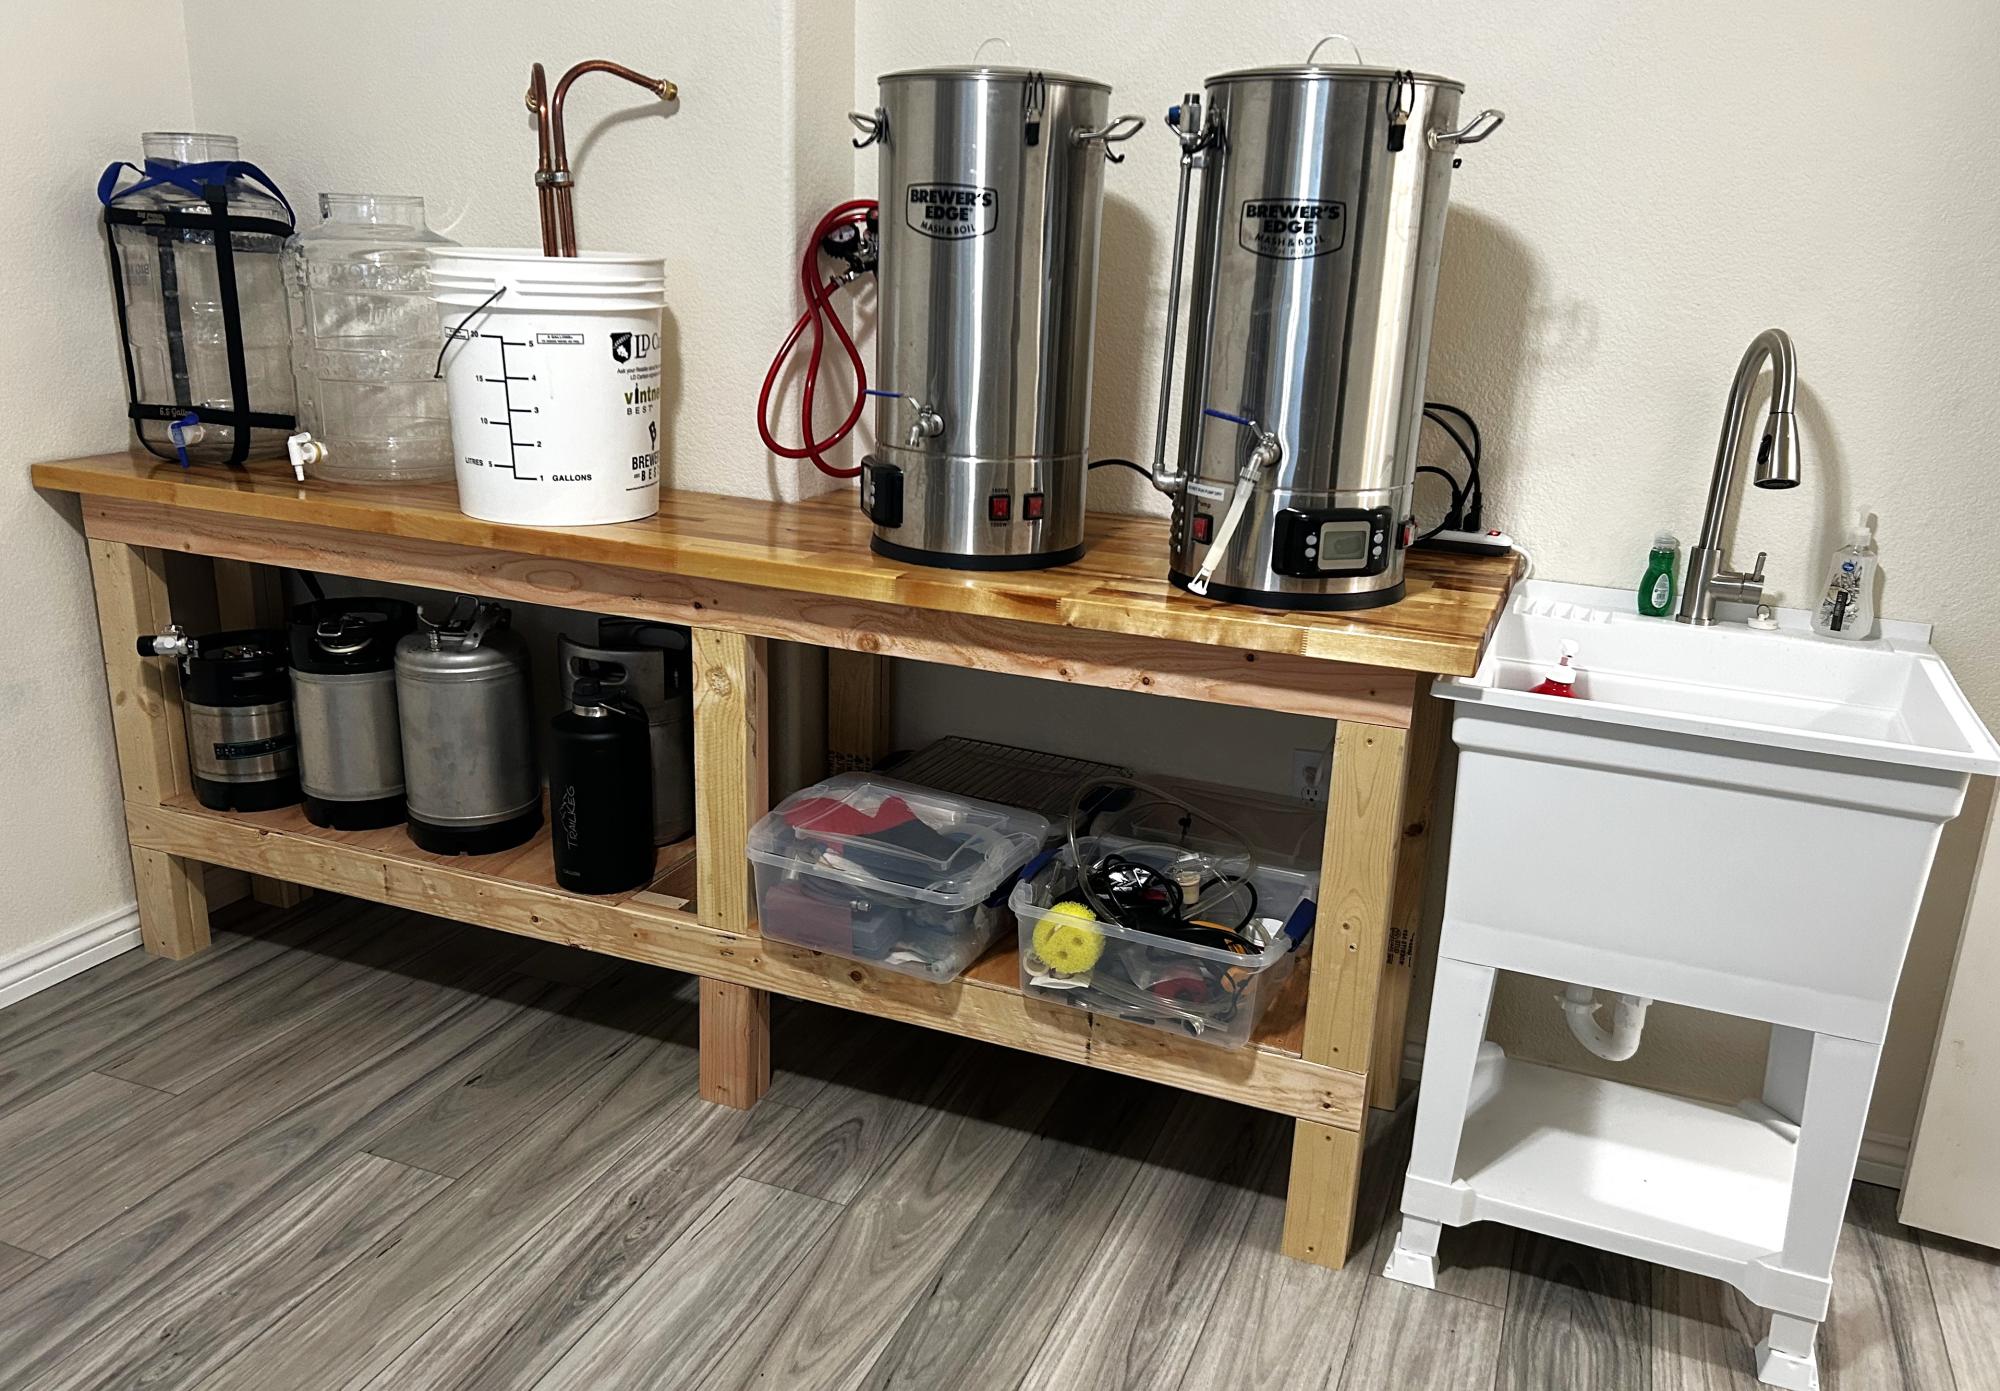
I used your workbench plan to build my Brew Bench. I changed the measurements to fit my space and used a butcher block for the countertop. Very sturdy and pretty easy project. Took one day to build.

Scott R

Comments

Simplest Armoire

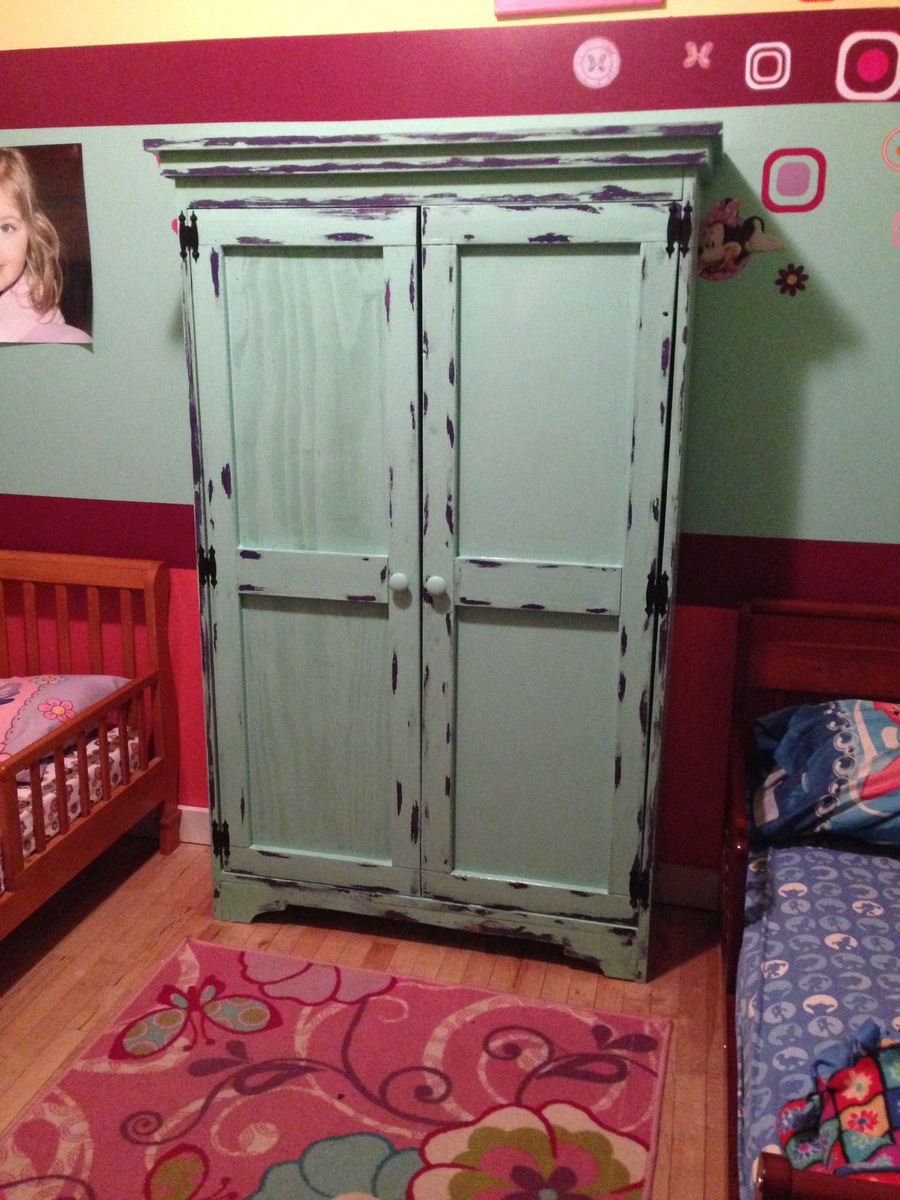
Submitted by carongirls on Sat, 01/11/2014 - 16:20

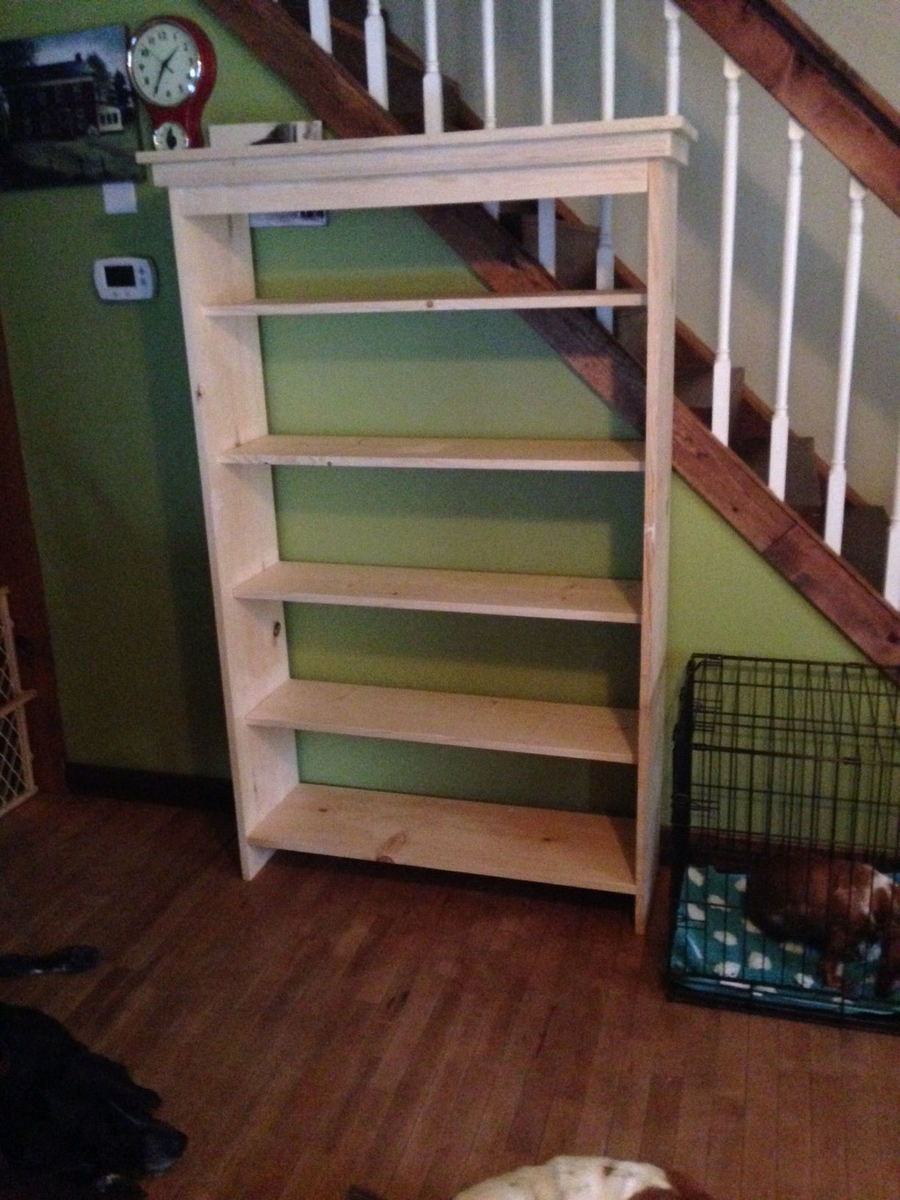
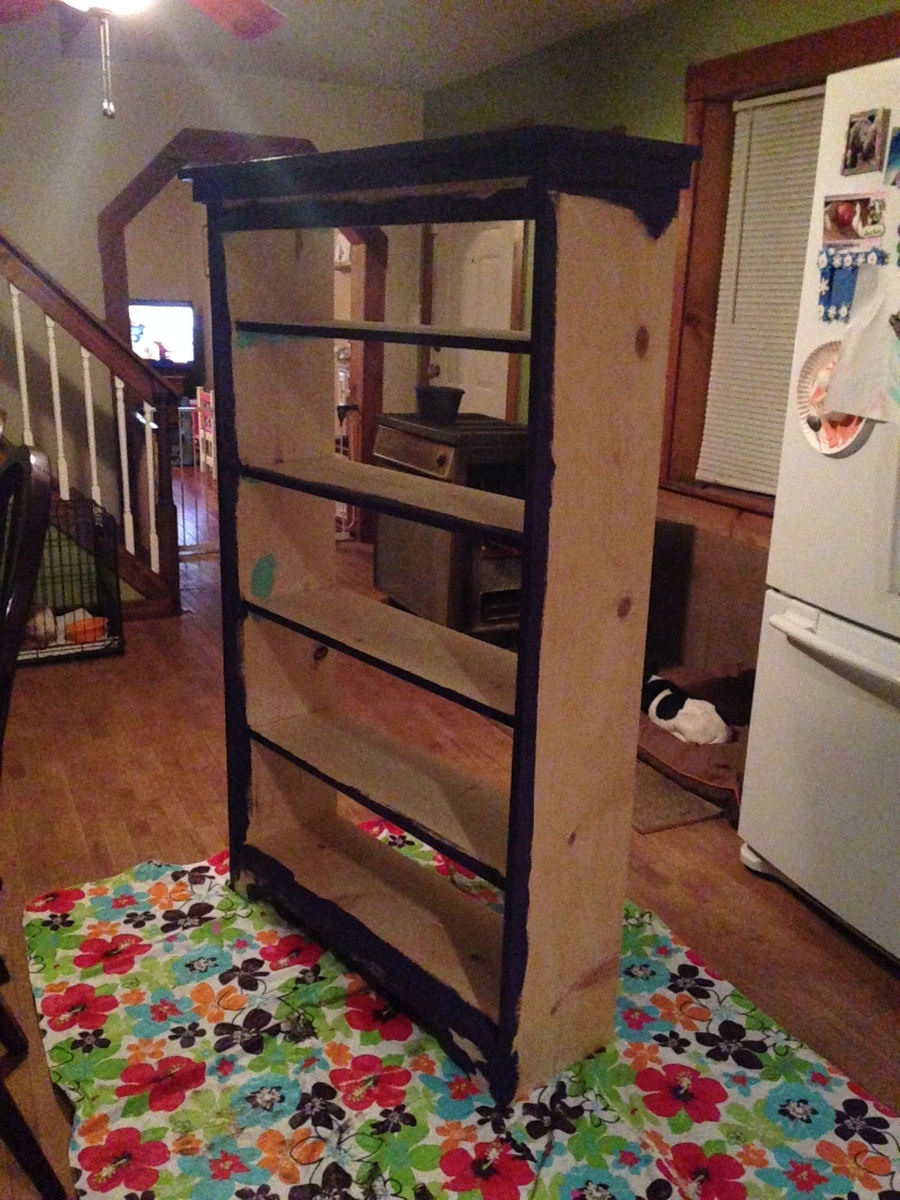
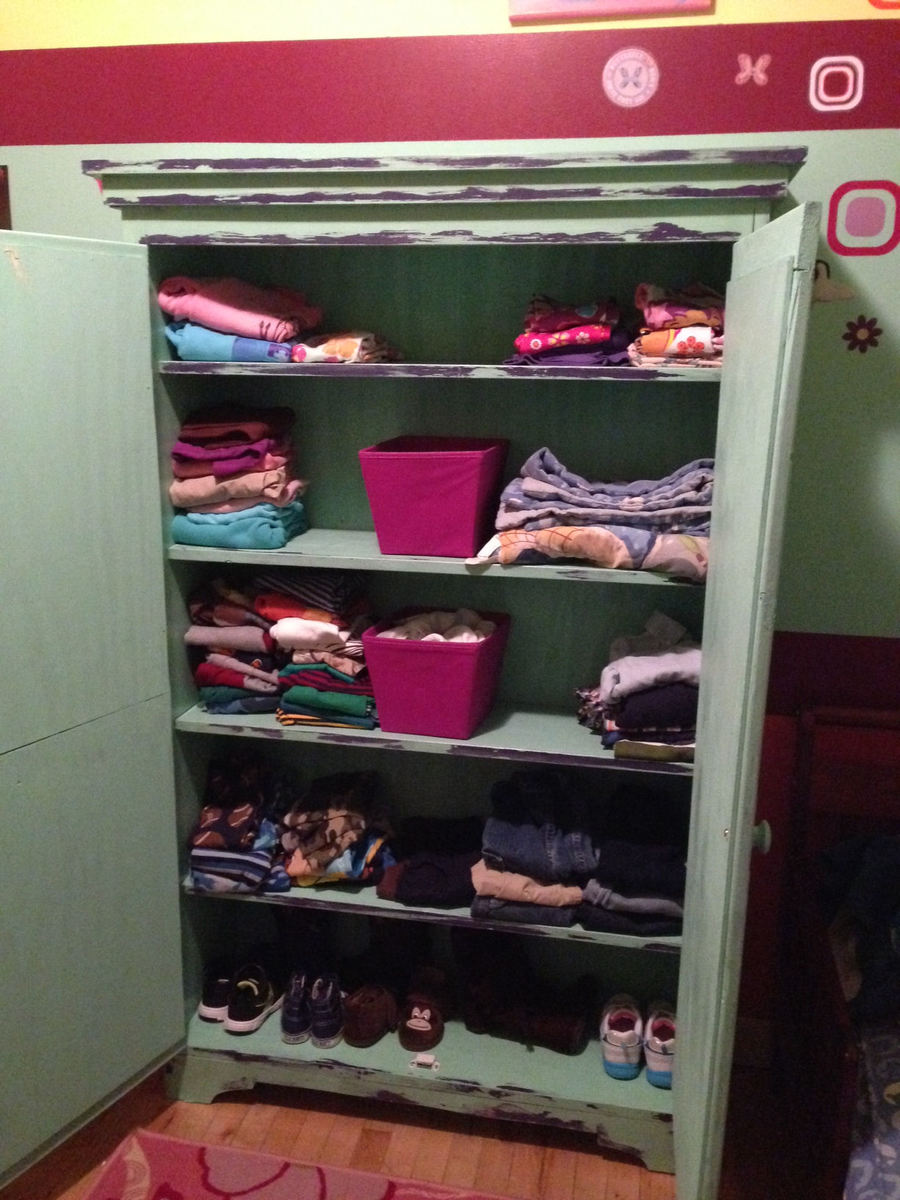
We needed something to put clothes in. A dresser wouldn't of been big enough, so I decided on the armoire. I shortened the height so I'd only had to buy 2 1x12's. Everything else is the same. The 1x12's were so warped I had a heck of time with the doors.
I'm not digging the distressing. I tried the Vaseline thing. Never again it was a mess. I'll just stick to sanding it down from now on.

Built from Plan(s)
Estimated Cost
$100
Estimated Time Investment
Day Project (6-9 Hours)
Recommended Skill Level
Beginner

Ladder planter

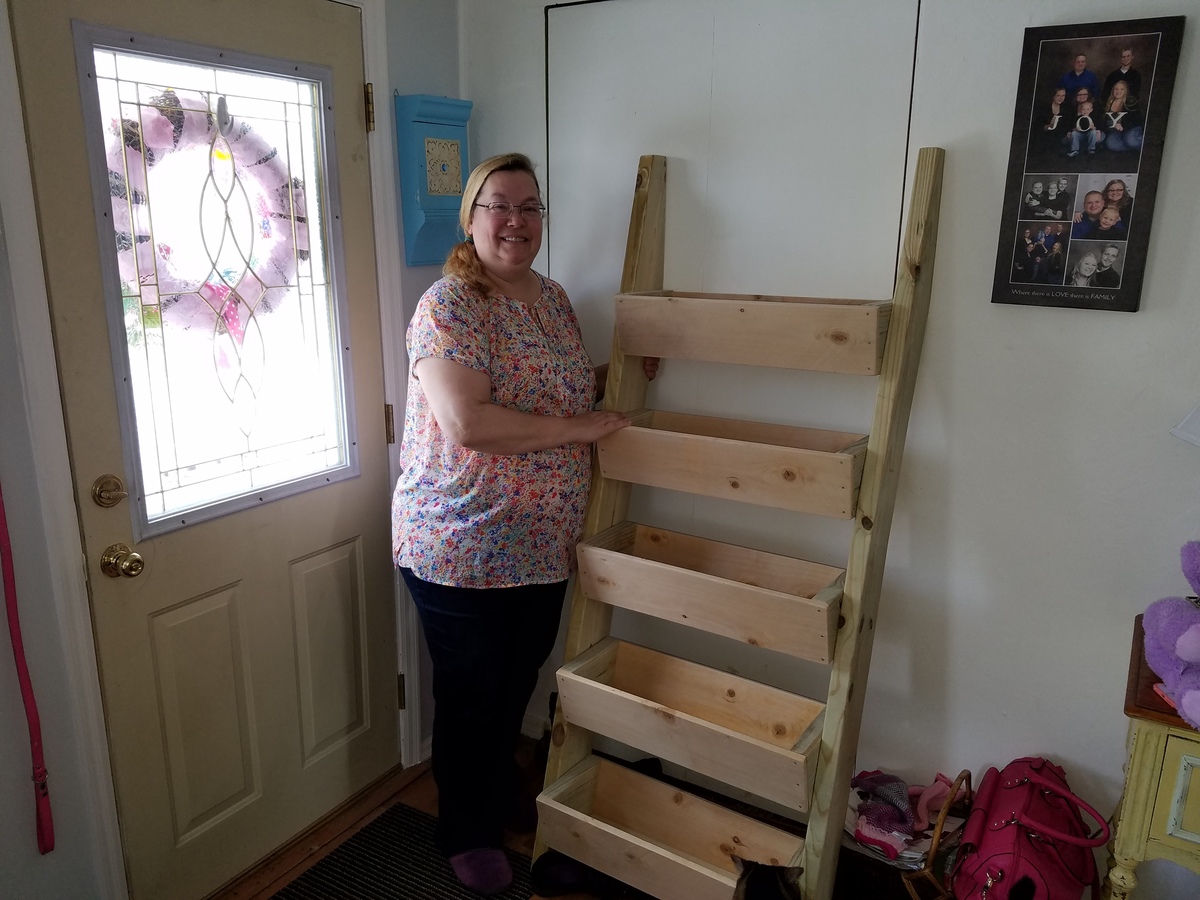
Submitted by Anonymous (not verified) on Tue, 04/05/2016 - 15:26

Had a blast building this for my mother. Only problem now is everyone in my family wants one!

Estimated Cost
$20
Estimated Time Investment
Afternoon Project (3-6 Hours)
Recommended Skill Level
Beginner

Easy to Build Workbench

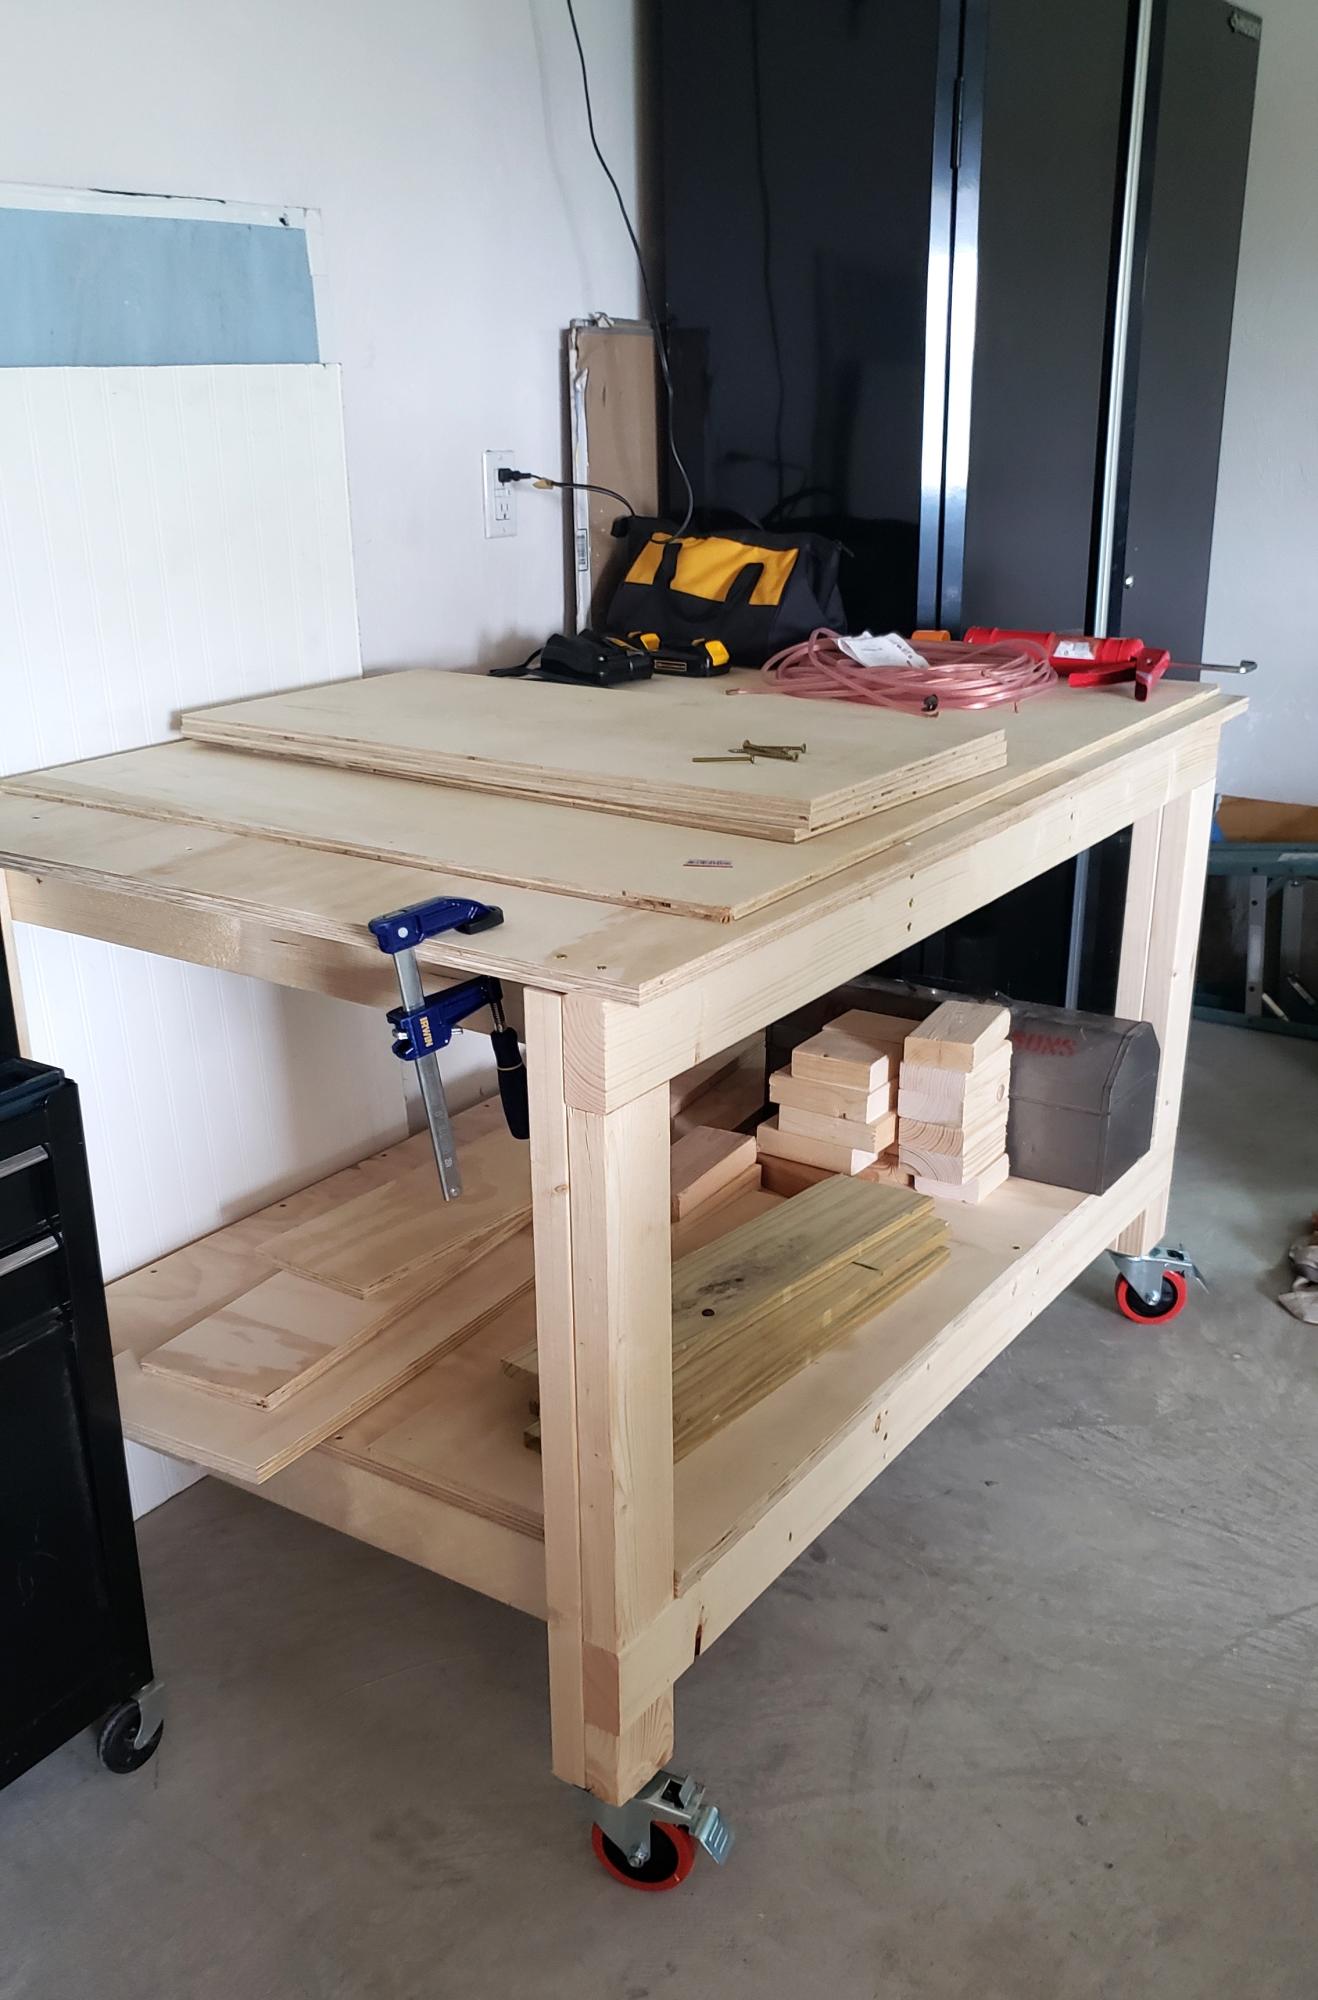
Submitted by Anonymous (not verified) on Thu, 08/17/2023 - 13:40

Easy to build workbench. I added an extra 2 1/2 inches (width) to the top plywood cut. This gave me a 1 1/4" lip to the front and back sides. I wanted to be able to clamp on all sides of the bench. Also added casters since I wanted to use this as an outdoor table for entertaining if needed and to simply have mobility with the bench. So far I love it!

Bed made to order - Twin XL

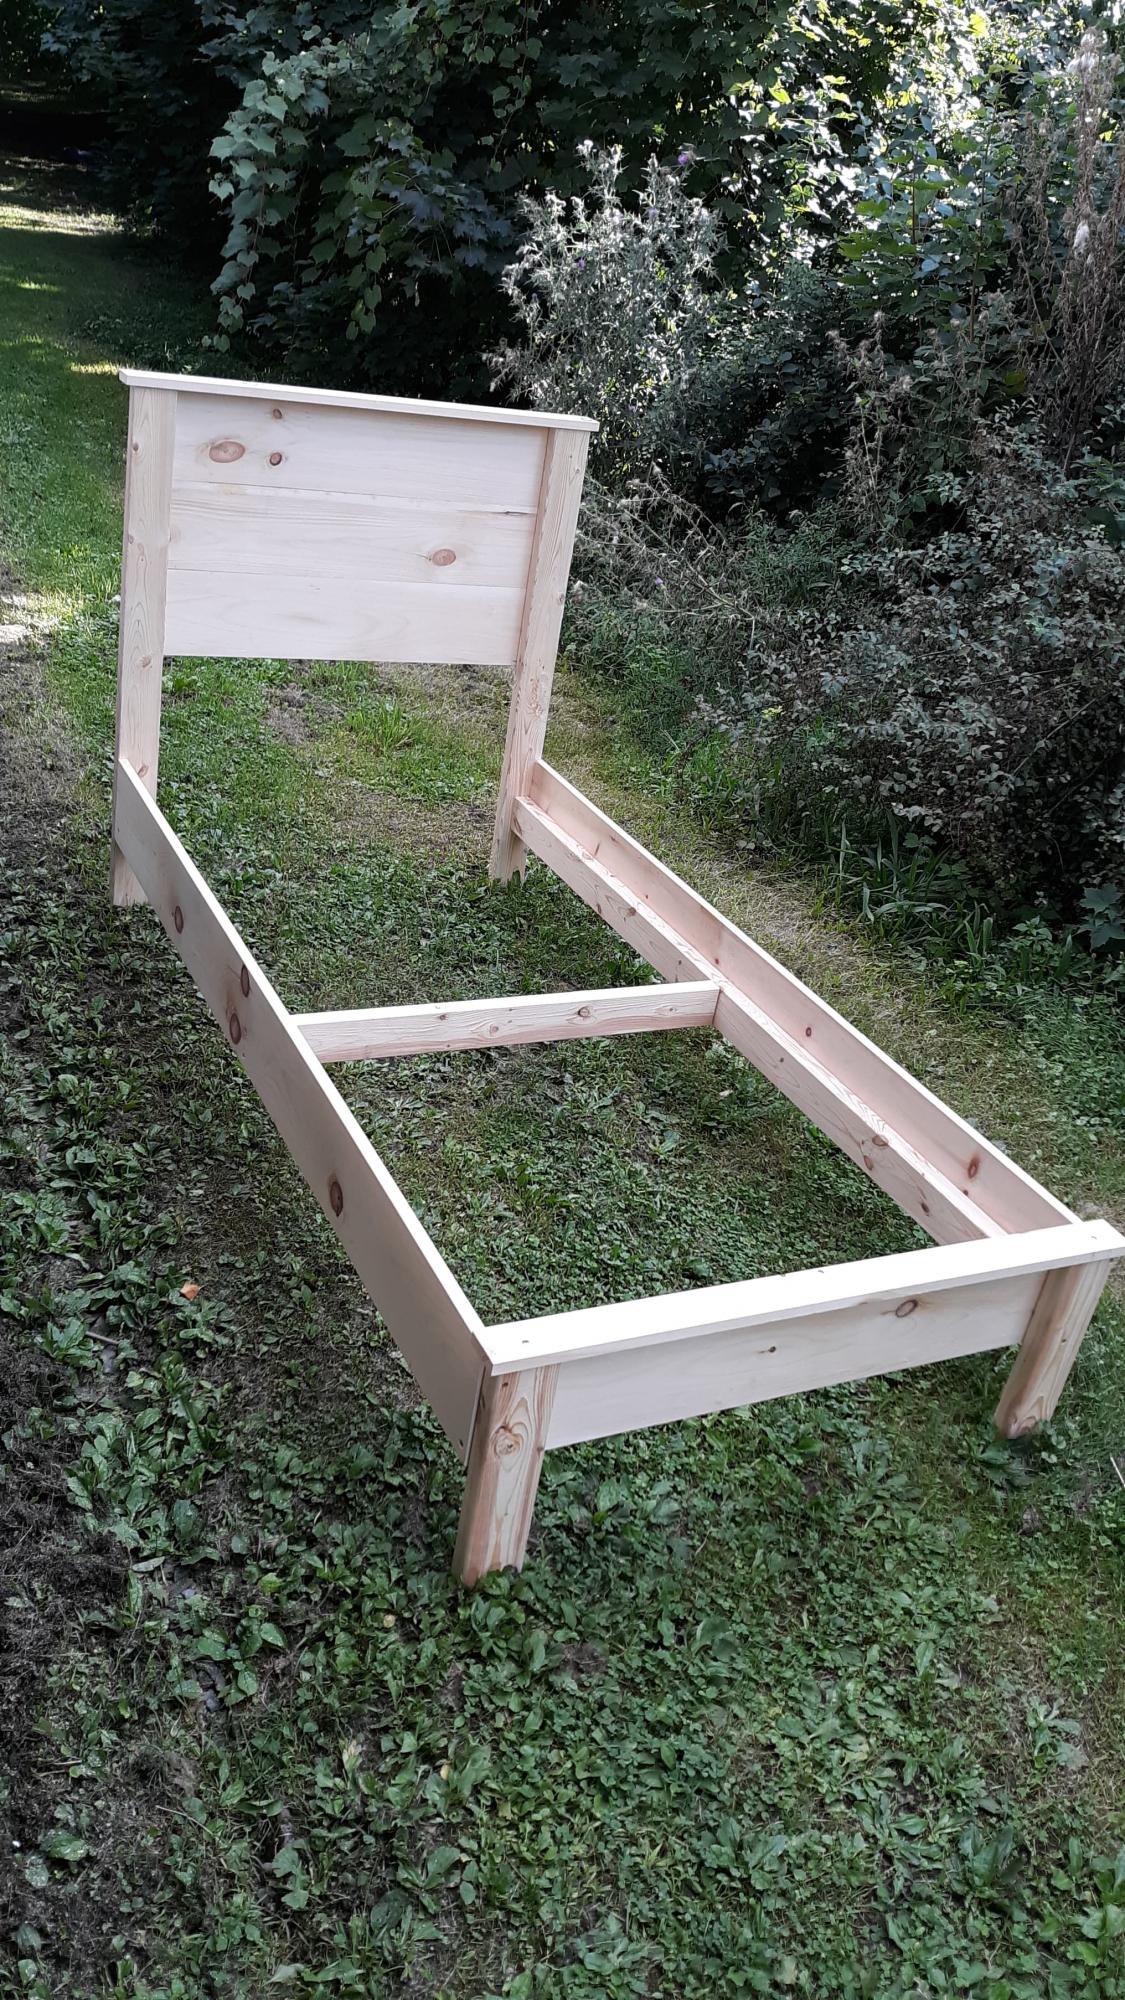
Submitted by kjoslyn78 on Sun, 12/22/2019 - 10:40

My daughter has a twin XL bed, which we had been unable to find a frame for since getting it. After 2 years of her mattress and box springs on the floor, this plan came out and a plan was hatched to get it made. The biggest change we needed to do different from the twin plans was to make the side rails and the side rail cleats 5" longer to accommodate the XL length. We also added a middle support to keep the side from bowing out, and the cleats are at the bottom of the siderails, as we are using a boxpsring and mattress. 

Estimated Cost
$110
Estimated Time Investment
Weekend Project (10-20 Hours)
Finish Used
I dont remember what we finished with, but the kid spilled half the can in the grass :)Photo is after sanding, and before finish
Recommended Skill Level
Beginner

Comments

amymarie02

Mon, 03/28/2022 - 09:47

Hi do you have the measurements and what to buy for this bed frame? We also have a twin xl mattess and cannot find a frame anywhere

Tall Rustic X Bookshelves

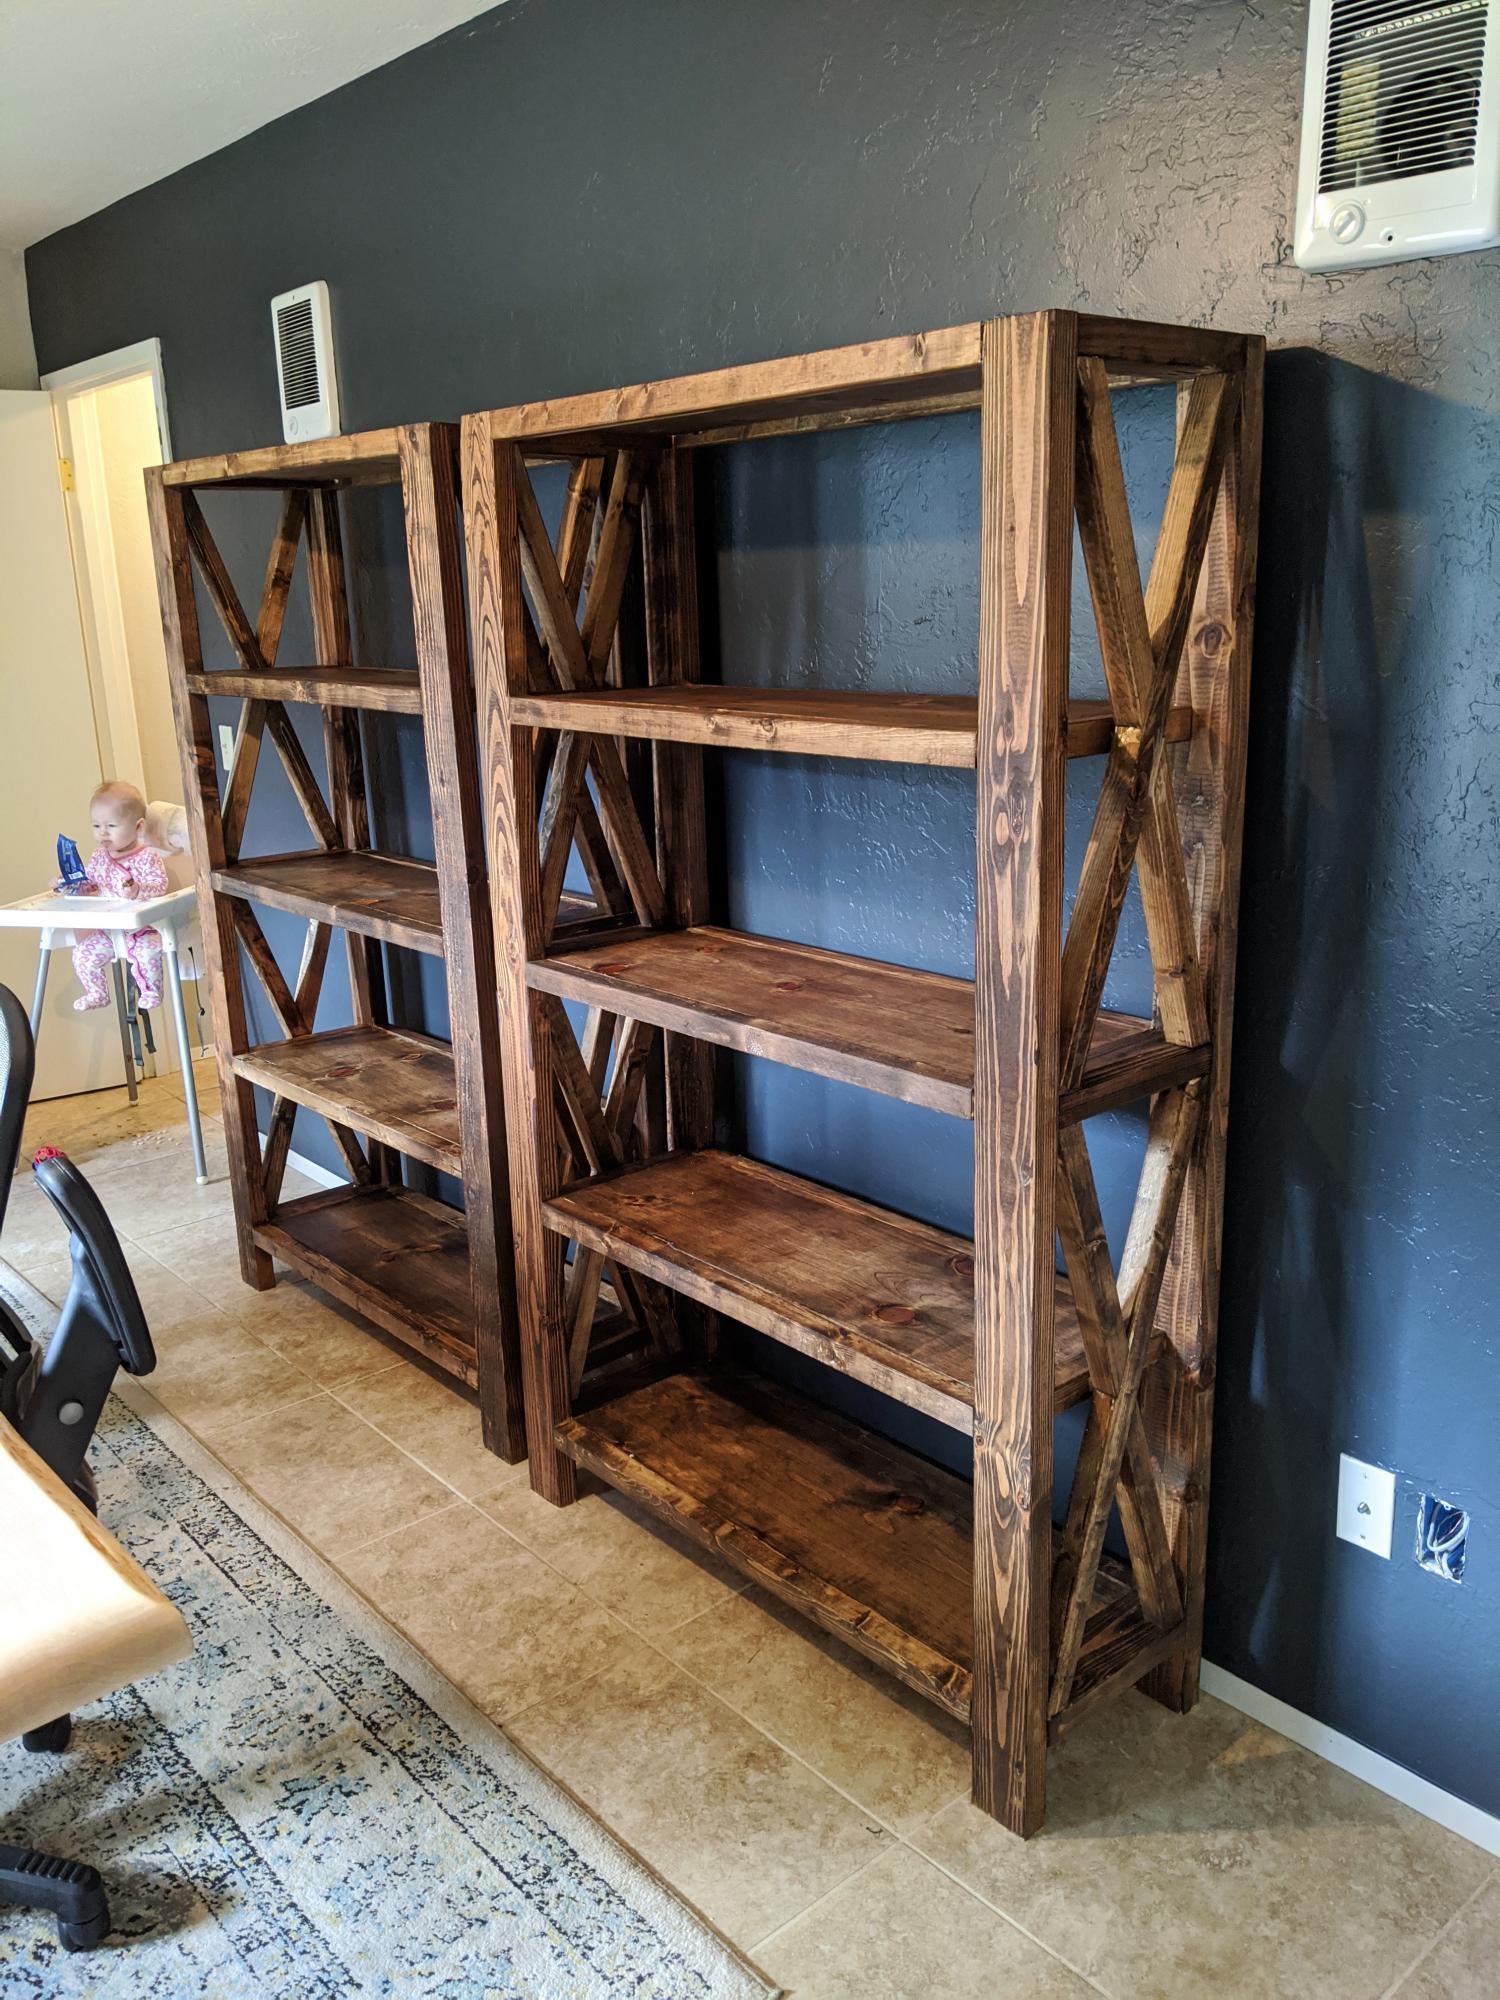
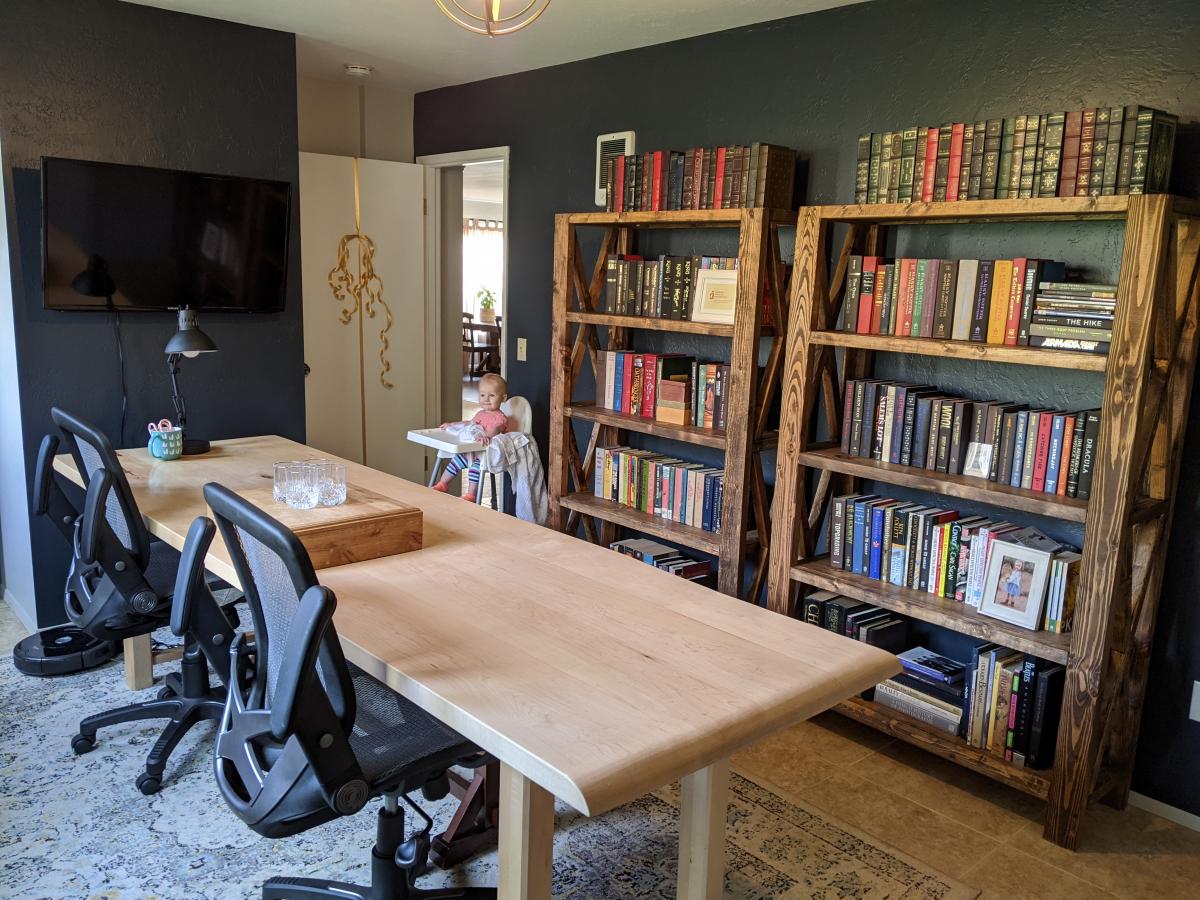
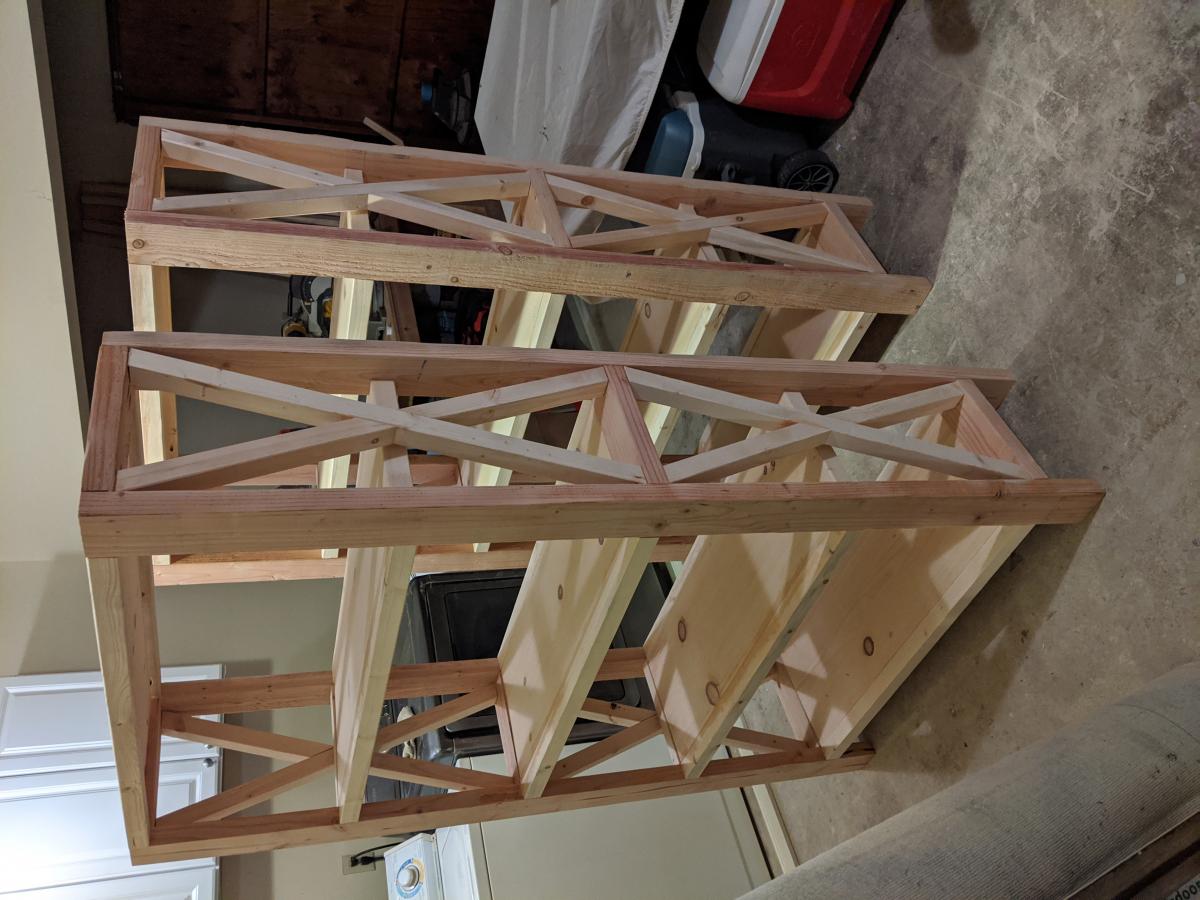
I followed the Rustic X Tall Bookshelf plan to make a set of bookshelves for my husband for Christmas! It was my second ever woodworking project. The plan was really easy to follow and so fun to make! I ended up using an additional shelf piece on the very top for a more modern spin on it. I also bought a pocket hole jig to use on this project. I'm happy with how it turned out!

Built from Plan(s)
Estimated Cost
$75 per shelf
Estimated Time Investment
Weekend Project (10-20 Hours)
Finish Used
MinWax English Chesnut Wood Finish and Paste Wax
Recommended Skill Level
Intermediate

Folding workbench

Submitted by mellyc_fl on Mon, 12/30/2019 - 17:42

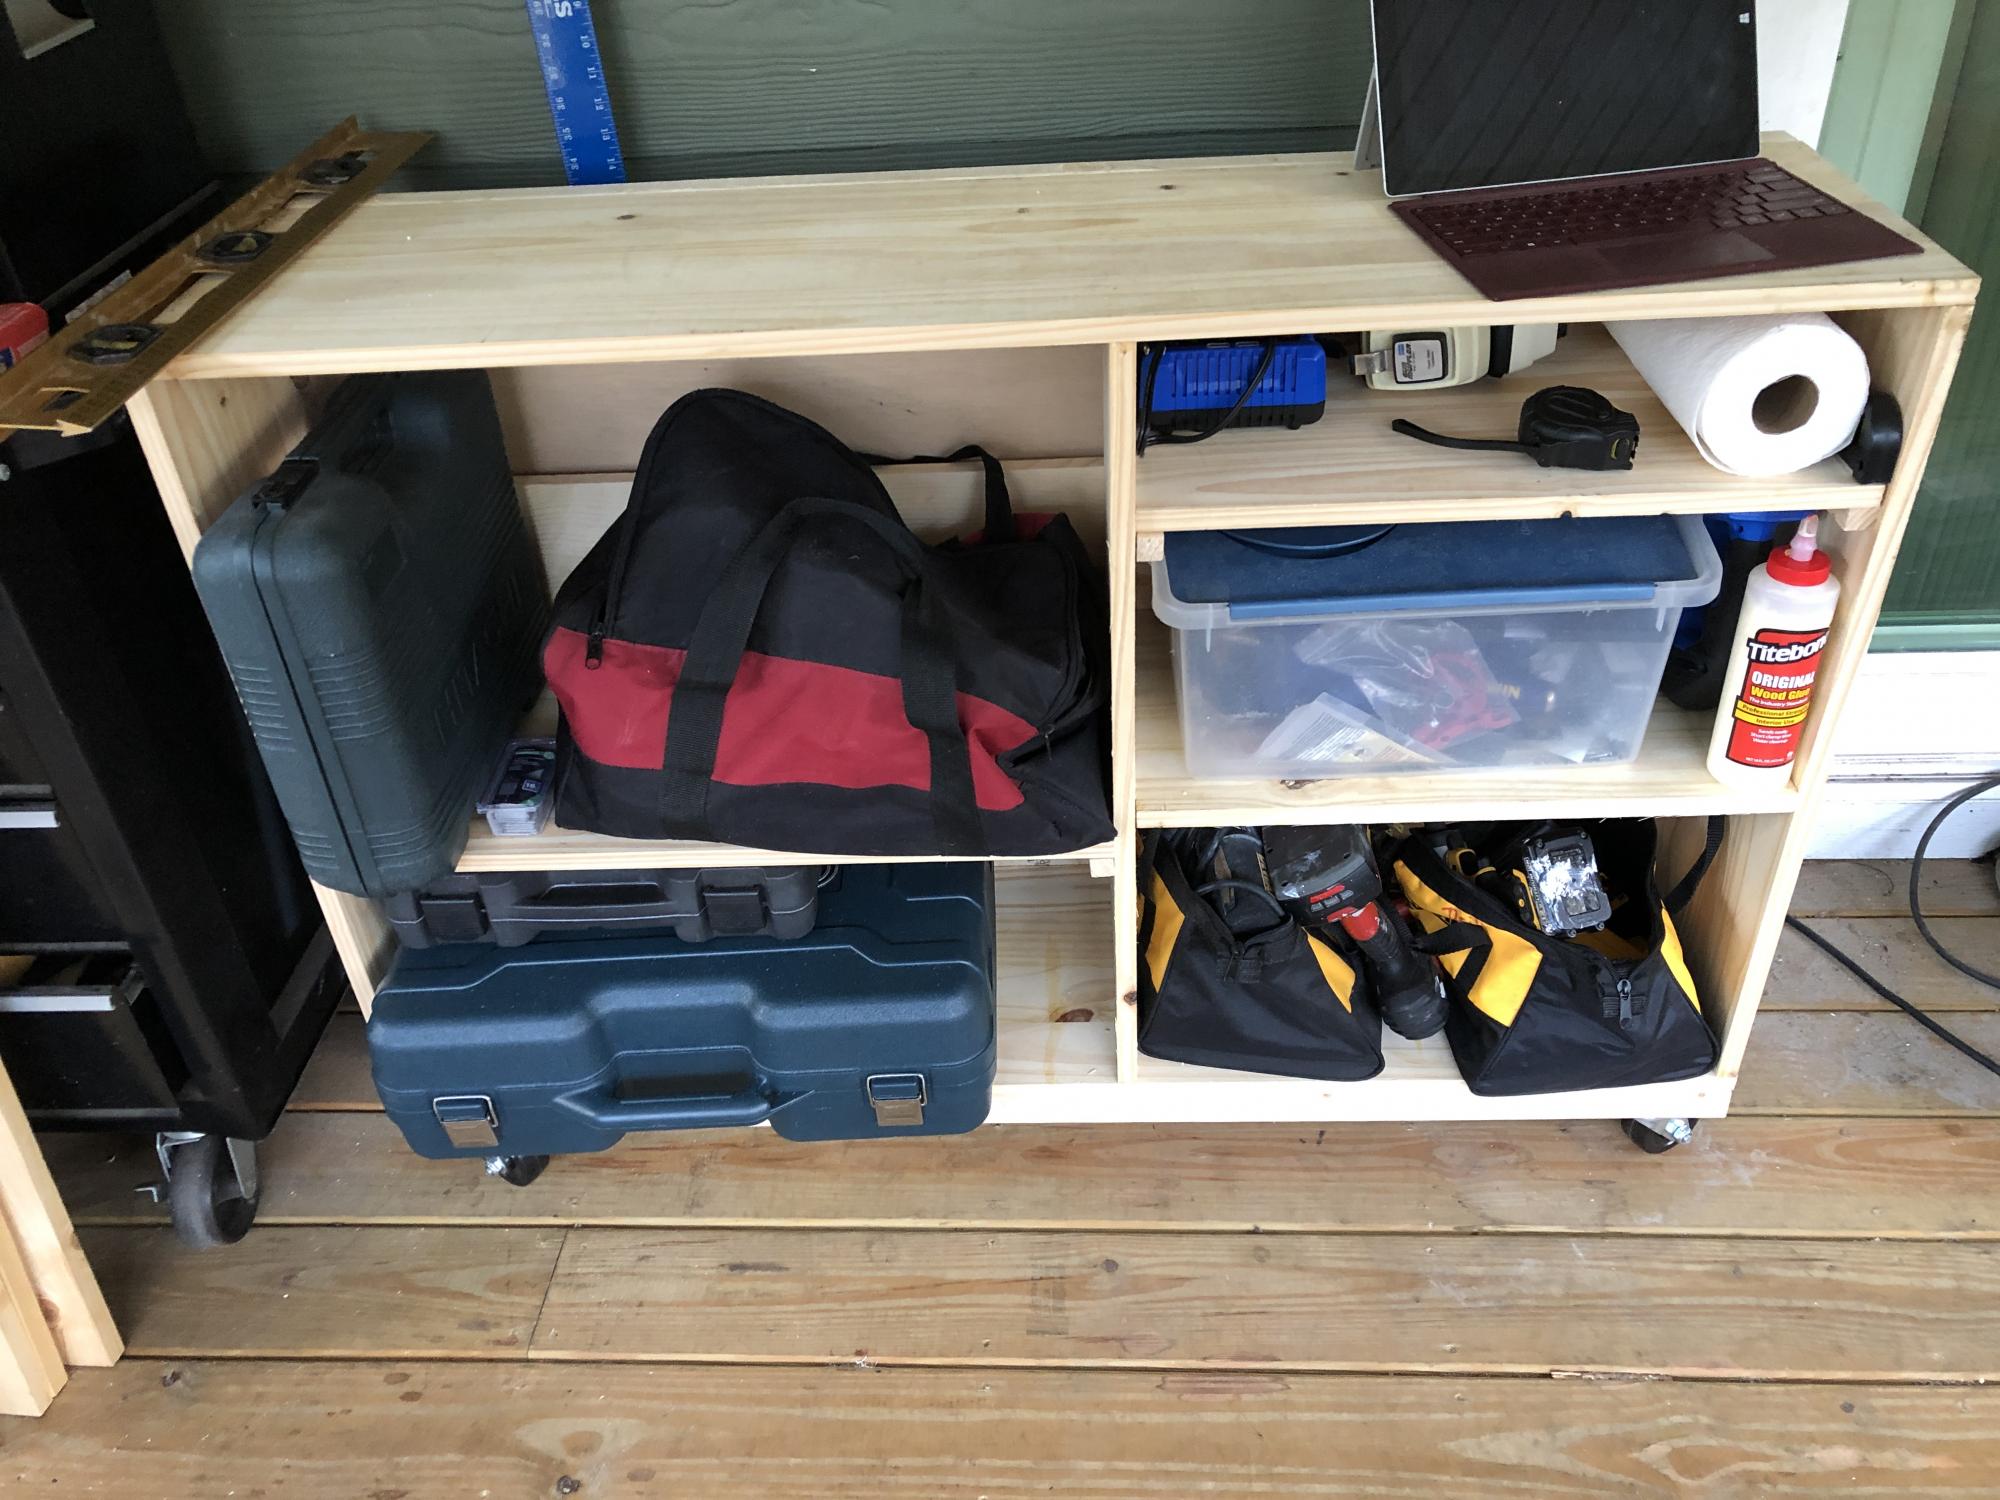
We do not have a garage yet, so this size works great to push out of the way when not being used and pull out for a workbench and also to extend the table top for the saw.  The plans were easy to follow and easy to modify.  I added a base made of 2x4’s to make it sturdier since it will be moved across a deck vs a level floor.  I also added some boards behind the shelf to keep things from falling out the back and adjusted the height to match the table saw top.   Next up will be a router table stand to replace the camping footlocker. 

Built from Plan(s)
Estimated Cost
$100
Estimated Time Investment
Afternoon Project (3-6 Hours)
Recommended Skill Level
Starter Project

Kids Twin Bed

I built this for my second son who was tired of "being in jail", he's almost 3.  His older brother is now jealous!

Was a nice easy build - the hardest part was paint spraying for the first time!  I would cut the slats pieces about 1/4" smaller to give a bit more wiggle room when lining up the pieces, and make sure to keep the headboard and footboard square when lining up.

The cost was higher for me being in the Bahamas. I used fir for the frame and spruce for the planks, why, I thought it would save some money but didn't really.

I used pocket holes to attach the bed rails to the headboard and footboard.

Estimated Cost
$250
Estimated Time Investment
Day Project (6-9 Hours)
Finish Used
Wonder-Tones interior primer/paint
Recommended Skill Level
Beginner

Entry table using Cottage Media Table plans

Submitted by KelleighW on Wed, 04/18/2012 - 15:17

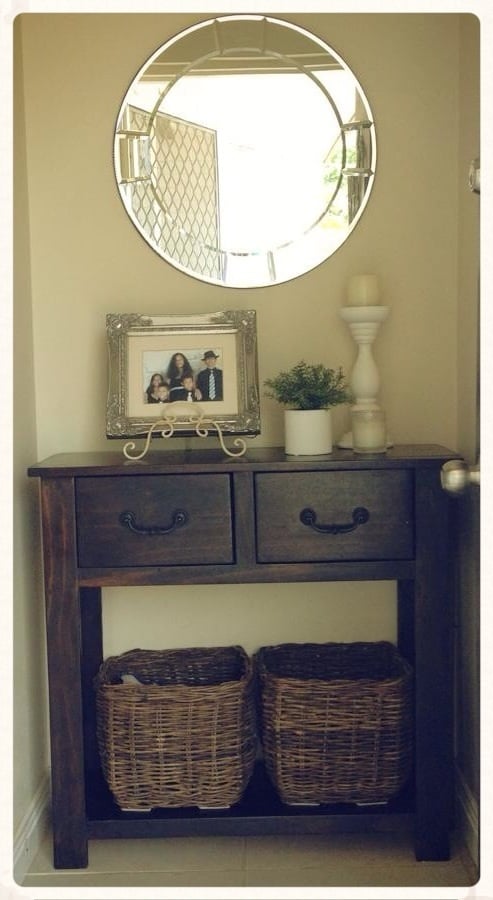
I used the Cottage Media coffee table plans and modified the length and height to suit for the space I needed. Ana's plans were super easy to follow and am pleased with the end result.

Estimated Cost
$100
Estimated Time Investment
Weekend Project (10-20 Hours)
Finish Used
Chocolate Walnut
Recommended Skill Level
Beginner

10 foot long Provence Table with 4x4's

My mom was looking for a new outdoor table, and asked me to come up with something. I found the link for these plans (http://www.thedesignconfidential.com/2011/04/free-diy-furniture-plans-t…) to knock off Restoration Hardware's $4000 Provence Beam outdoor table. Overall I liked the plan, with the chunkier look of the 4x4's. But there were a lot of errors in the diagrams, and the finished height is 34" which is ridiculously tall for a table. So we took it apart and cut the legs back down to change the finished height to 30". We chose rough-cut cedar for it's look and outdoor properties, not wanting to use treated lumber for a dining table. We couldn't find 2x10's like the plan, so we substituted seven 2x6's just like Ana's plan, but left a 1/2" gap in between so water can drain and not pool on top and rot the wood. Also, since we were working with 4x4's for the legs, we chose heavy duty lag bolts instead of screws to join them together. I love the finished look they give. Overall it's a sturdy, yet lightweight table that my mom loves and has already used for entertaining!

Built from Plan(s)
Estimated Cost
$230
Estimated Time Investment
Day Project (6-9 Hours)
Finish Used
outdoor sealer
Recommended Skill Level
Advanced

Comments

brookifer86

Wed, 04/25/2012 - 10:02

Thanks Brook! It was so much fun to build. I put my dad and husband to work while I was the "project manager" ;)

First Project - Farmhouse Storage Bed

Submitted by kmac1036 on Fri, 04/27/2012 - 11:55

Working on getting furniture done for my kids. Gives me something to do when they are away on visitation. New furniture from a store is too expensive right now & gives me something to work on to keep my mind off of things.

Modified to fit a Twin XL mattress.

Estimated Time Investment
Week Long Project (20 Hours or More)
Finish Used
Passion Pink latex enamel semi-glass from Sherwin Williams. top coat with polyurethane for chip/scratch resistance
Recommended Skill Level
Starter Project

Comments

birdsandsoap

Fri, 04/27/2012 - 13:37

Beautiful job! I love the color. I have memories of being gone for weekends on visits and coming home to a newly decorated "Rainbow Brite" bedroom and my mom assembling a waterbed for me on the kitchen floor (it was the eighties); it felt great to know that my mom was thinking about me while I was gone, your kids will not forget those things.

amercado

Wed, 05/16/2012 - 09:48

Hi!, i am new to all of this and would love to make this bed for my daughter, could you share the measurements for the twin version? thanks!

fortmac (not verified)

Sat, 06/02/2012 - 03:12

Hi, I like this bed for my son, also looking for the measurements for the twin version.Thanks

Nicole 1016

Mon, 08/27/2012 - 11:05

This is gorgeous! I would love to know how wide you made this and if you only had to adjust the headboard and footboard?

grreenbeans

Sun, 01/17/2016 - 09:17

Hi! I know this question has been posted before and replied to but, for some reason, I can't see the replies so... would anyone mind maybe sharing their converted measurements for a twin sized bed? Thank so much! This will be our first project and I'm sooo nervous!

Firemedic

Fri, 02/05/2016 - 20:20

I made this bed in a twin. The twin mattress is 39x75. That's 21 inches narrower and 5 inches shorter than a queen. So just make the head board, foot board, and slat measurements 21 inches shorter keeping the height the same. The length is five inches shorter but to get three drawer slots the same size I made mine 75 3/4 long. ( 24 1/4 for each drawer slot).

My very FIRST build!! LOVE IT!!

Submitted by AmJoy37 on Sun, 02/23/2014 - 09:11

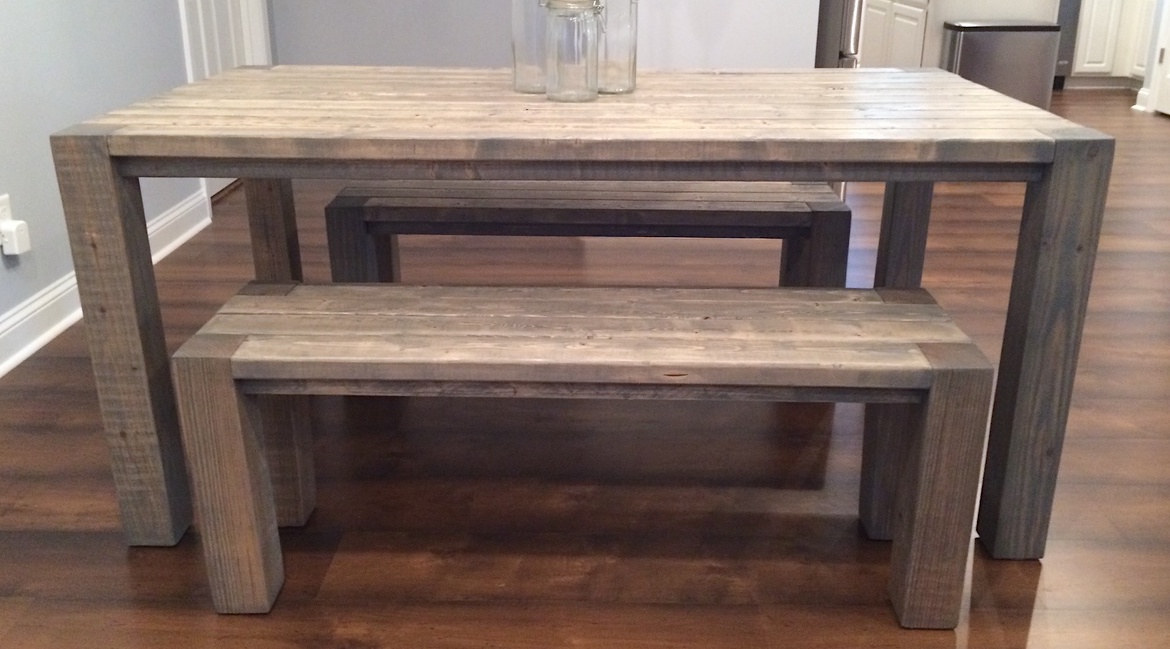
My husband is deployed and I just decided to start building, to keep my mind busy. I built this table & benches, sanded, stained it & had it in my nook in just 6 days!!! I worked on it every night when the kids went to bed. Thank you Ana White!! :) I will be using this site quite a bit to keep me busy!

Built from Plan(s)
Estimated Cost
$140
Estimated Time Investment
Week Long Project (20 Hours or More)
Recommended Skill Level
Beginner

Comments

Back