Community Brag Posts

Eagle Project Workbench - Ultimate Roll Away Workbench with Miter Saw Stand

Submitted by nelsoncc on Mon, 10/18/2021 - 11:32

My son chose to make a workbench for his high school theater for his Eagle Scout project, and selected the Ultimate Roll Away Workbench with Miter Saw Stand as the basis for the project. The theater teacher wanted pegboard for tool storage, so we extended the rear legs on each workbench and notched the top to allow them to pass through. We built two frames from 1x3s to fit inside the rear legs, then put a pegboard inside each one.

To secure the extended legs, we added a riser shelf from 1x8s. We put a storage station for drills at one end of the riser shelf.

We also made all the cart shelves adjustable and added an adjustable shelf under the miter saw, and added lighting and power strips.

We left out the panels at the end of the workbench to allow access to the shelves there without having to remove the carts. Once we had constructed it, we added a brace at each end of the workbench to better support the outside front legs.

This plan was the perfect one for the theater, giving a stable work area for the miter saw and allowing for tool and materials storage. The carts can be rolled around to where a work surface is needed. This will come in handy for years of set construction in the theater. So proud of my son and all the leadership and hard work he put into this project!

Comments

Storage beds (twin) with Corner unit

Submitted by Dinabu on Tue, 05/03/2011 - 08:48

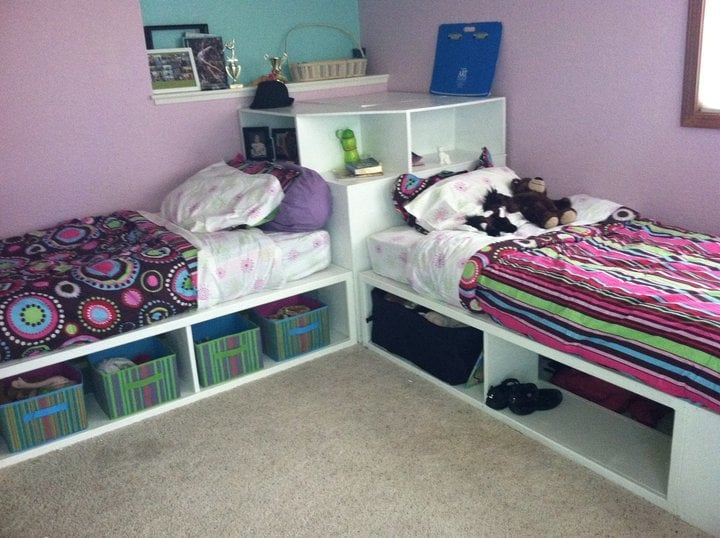
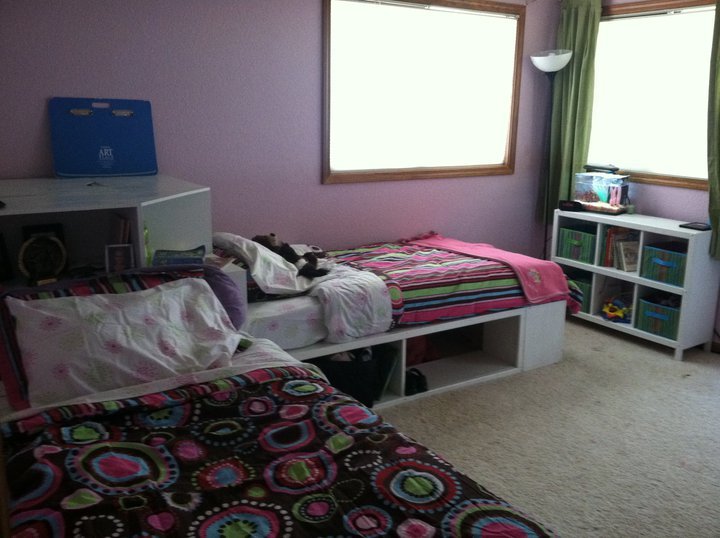
We made these beds for my daughters, who were ready to pass on the bunkbeds to their little sisters. We have 4 girls in one room, so use of space is crucial! I originally wanted the hutch as well, but as you can see in the picture, we had to work around a wall cut out, so we modified the corner unit to have a larger shelf area to fit the space. We also left the sides open to be able to slide containers in to store out of season clothes and blankets, though the ends have a backing.

Estimated Cost
$250-$300.
Estimated Time Investment
Weekend Project (10-20 Hours)
Finish Used
Gloss white paint.
Recommended Skill Level
Beginner

3 drawer rolling dresser

Submitted by Kamabrewer on Fri, 09/20/2013 - 17:07

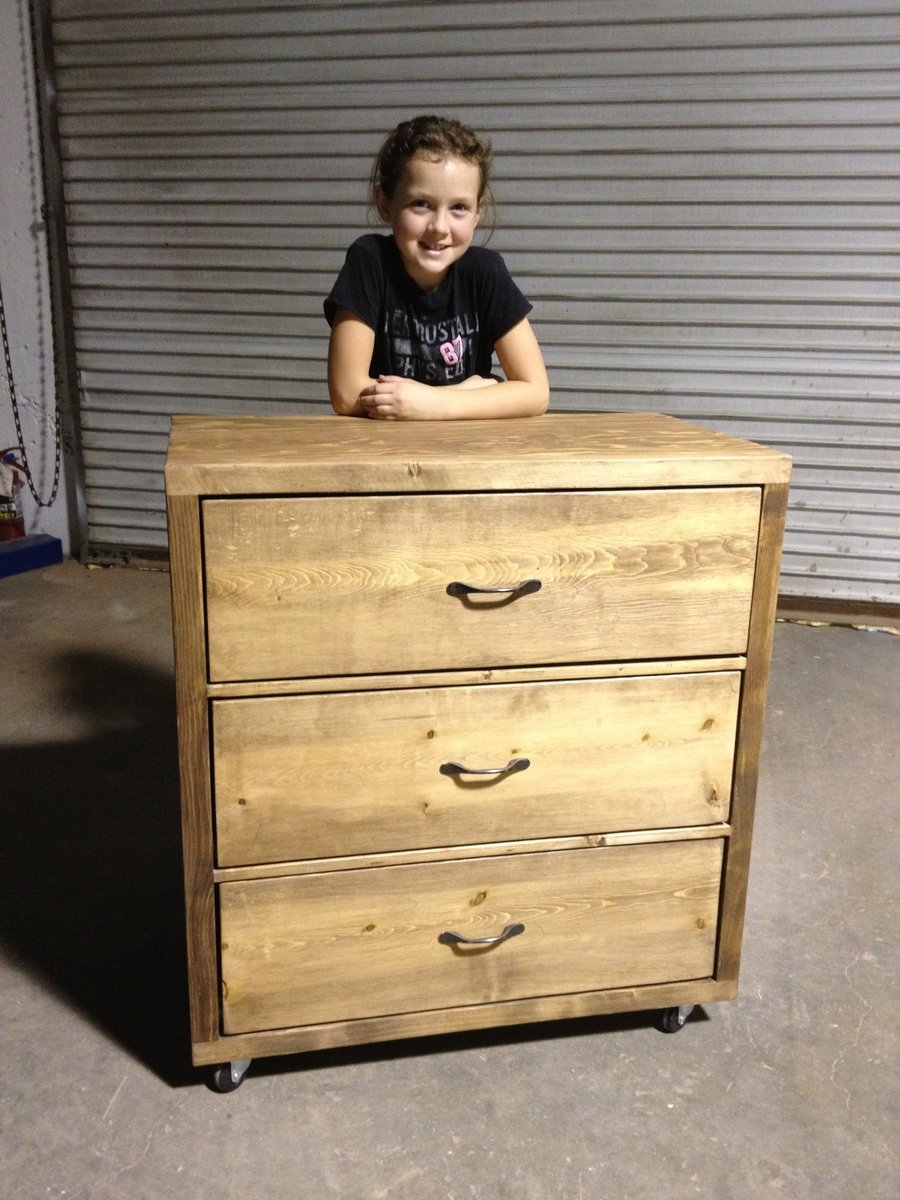
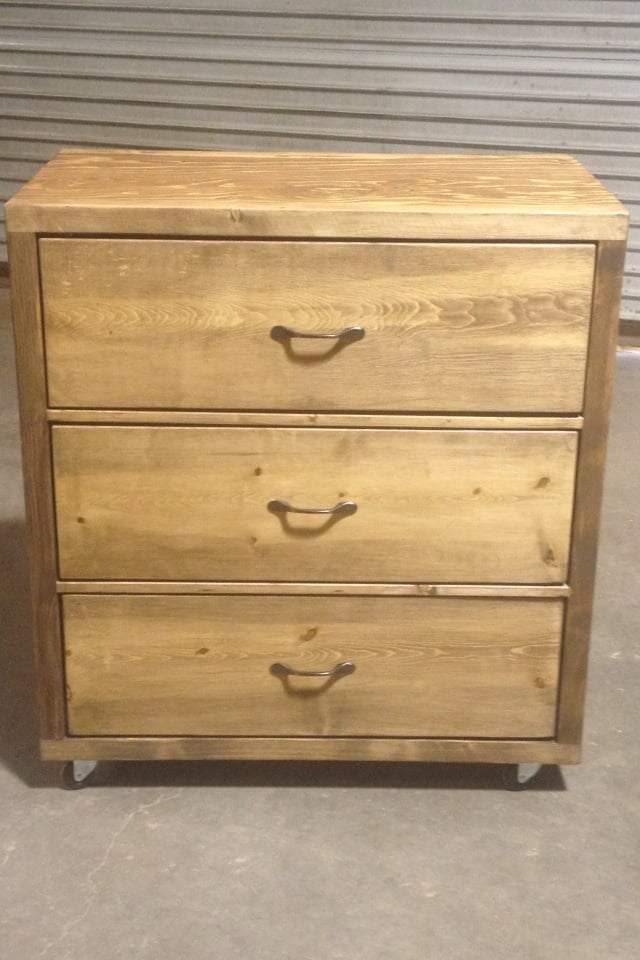
Super fun and easy! This was my first kreg jig build! Not sure how I got by before I got one!

Built from Plan(s)
Estimated Cost
$130
Estimated Time Investment
Day Project (6-9 Hours)
Finish Used
Dark walnut wiped off after 5 min.
Recommended Skill Level
Beginner

Comments

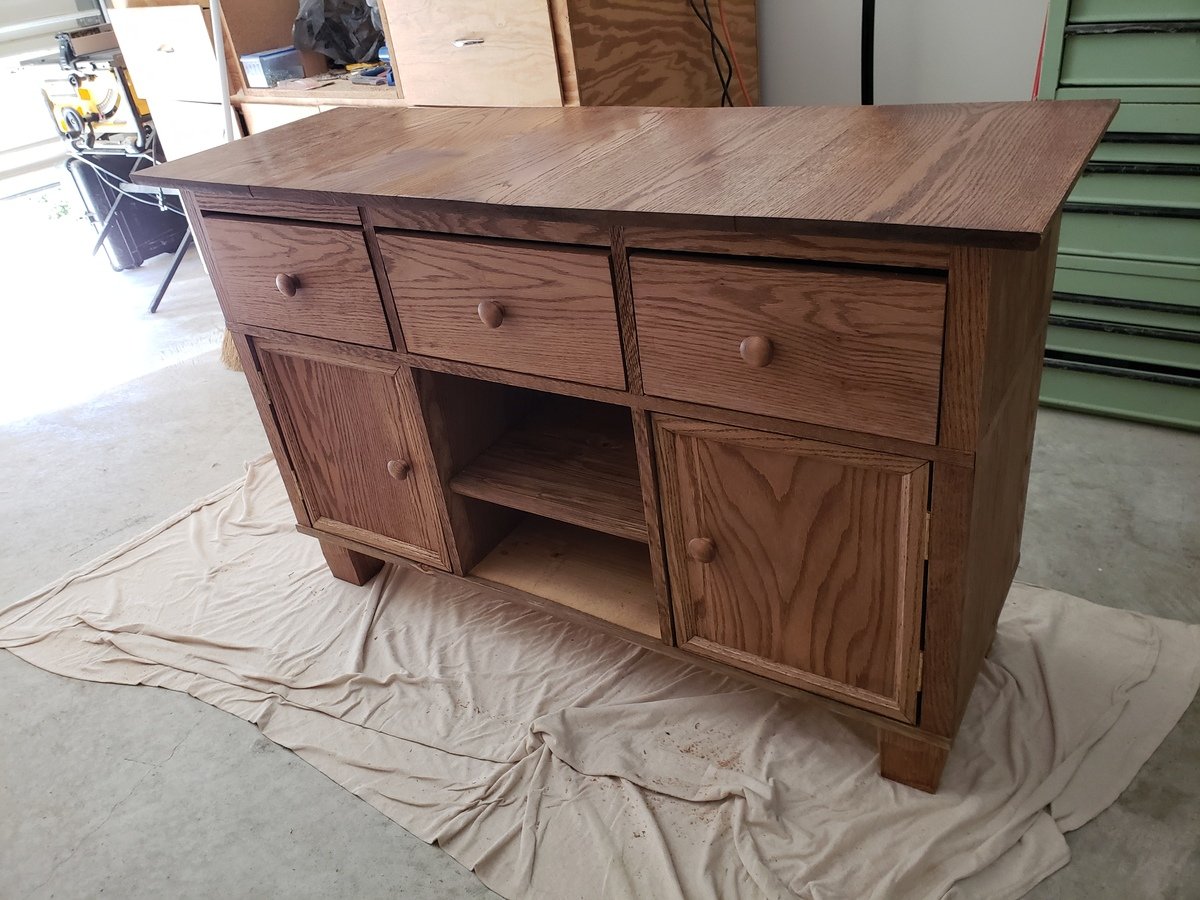
Modified salsa console buffet

Submitted by Anonymous (not verified) on Tue, 01/22/2019 - 16:25

Made a little smaller than original plans and completely out of oak  

Built from Plan(s)
Estimated Cost
400 (oak is expensive)
Estimated Time Investment
Weekend Project (10-20 Hours)
Finish Used
Minwax early american.
Recommended Skill Level
Intermediate

Christmas Kitchen Set

Submitted by Fuchsia on Mon, 12/26/2011 - 10:44

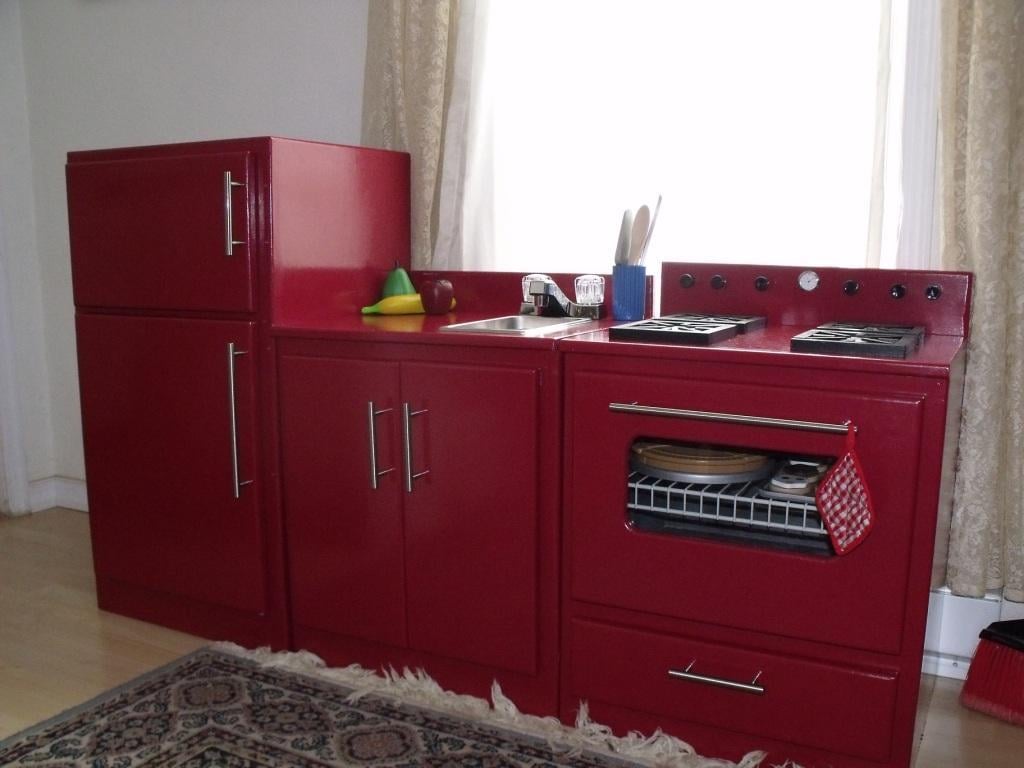
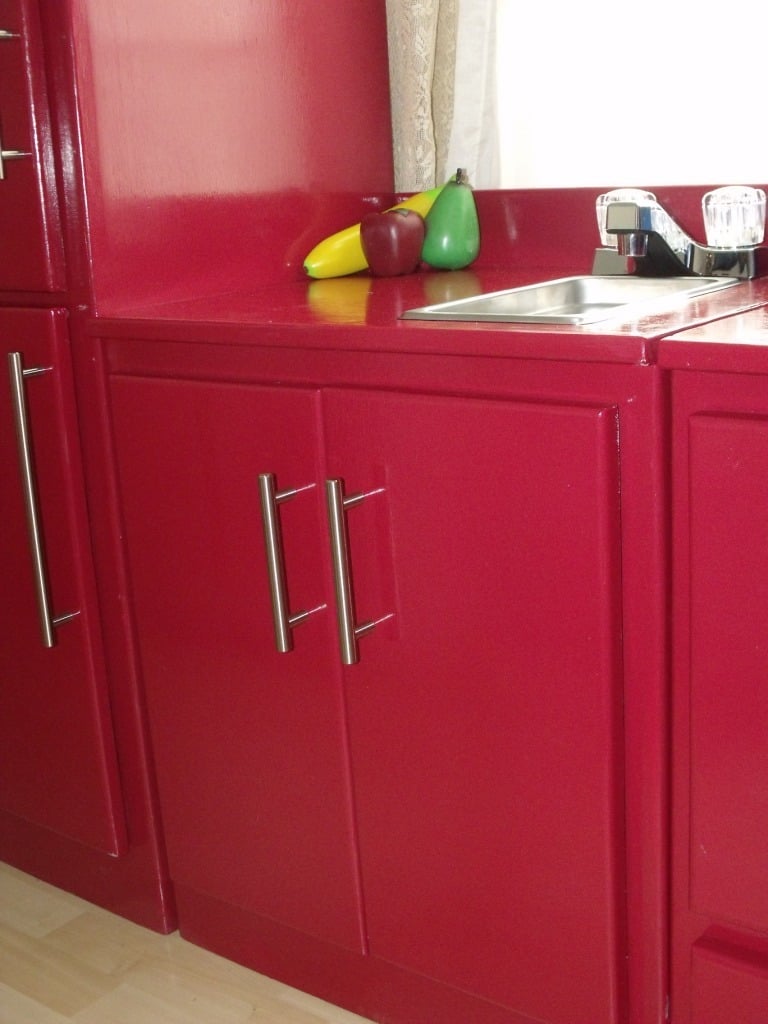
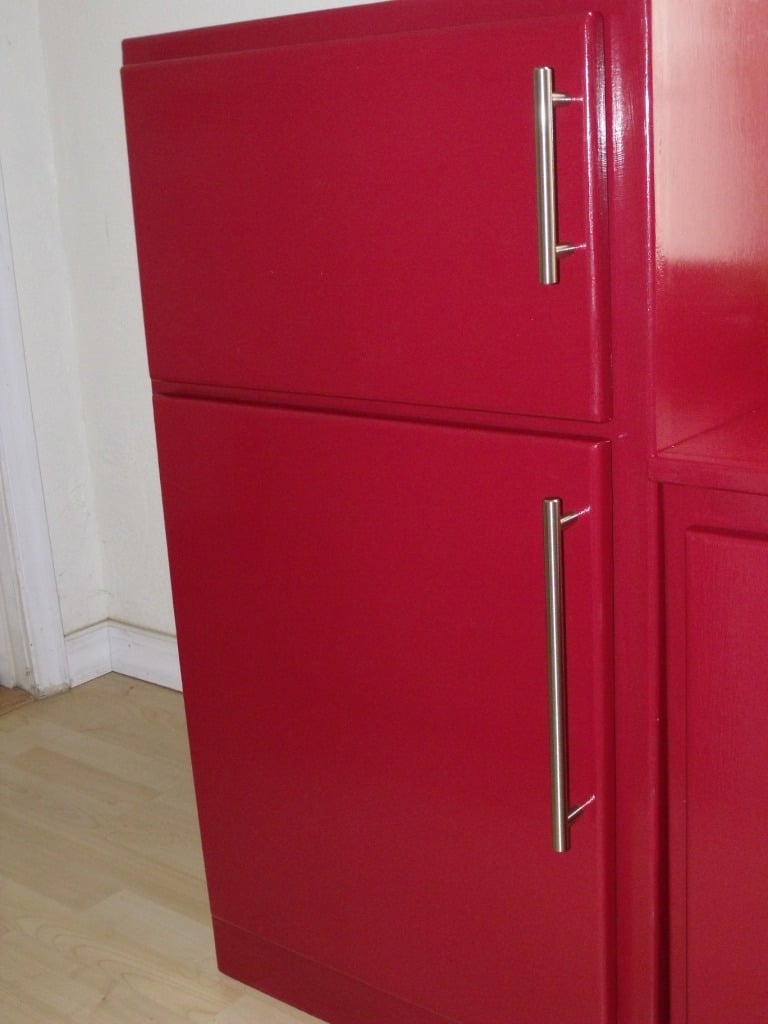
My father in law and I built this kitchen set for my two daughters, ages 3 yrs and 9 months. It was so fun to work with my father in law. I have built a few things before (table, chairs, doll bed, etc.) but nothing of this quality or magnitude. He is a great woodworker and knows how to do all the neat finishing touches that just make the project look really professional. I learned a ton working with him and had a blast!
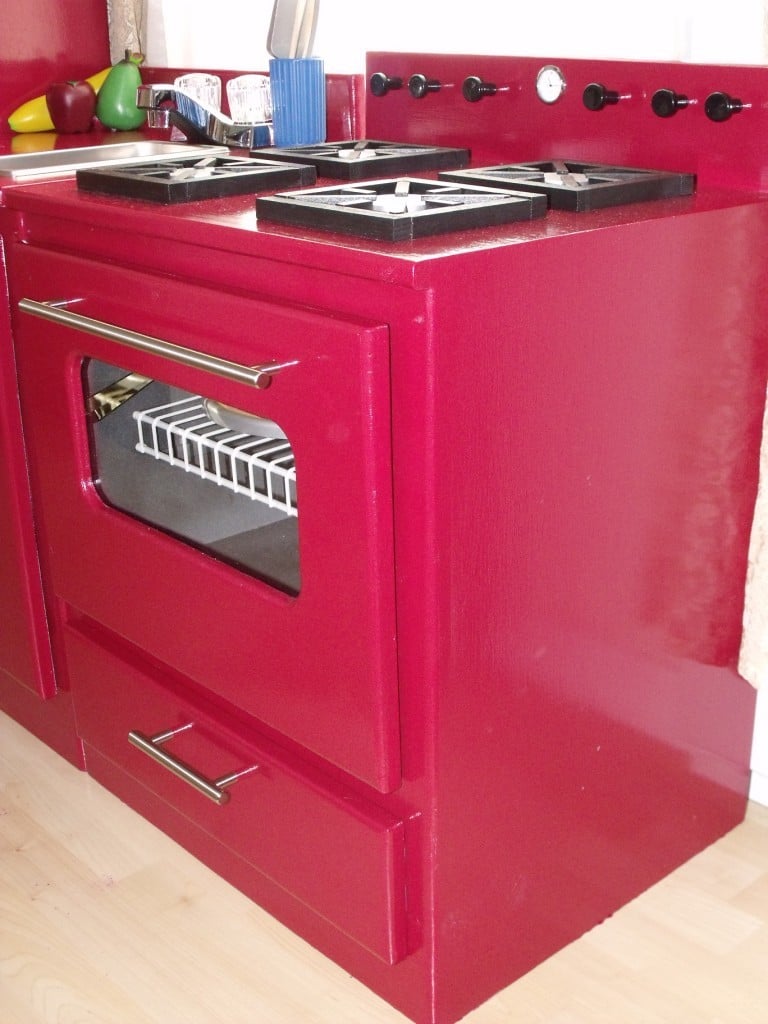
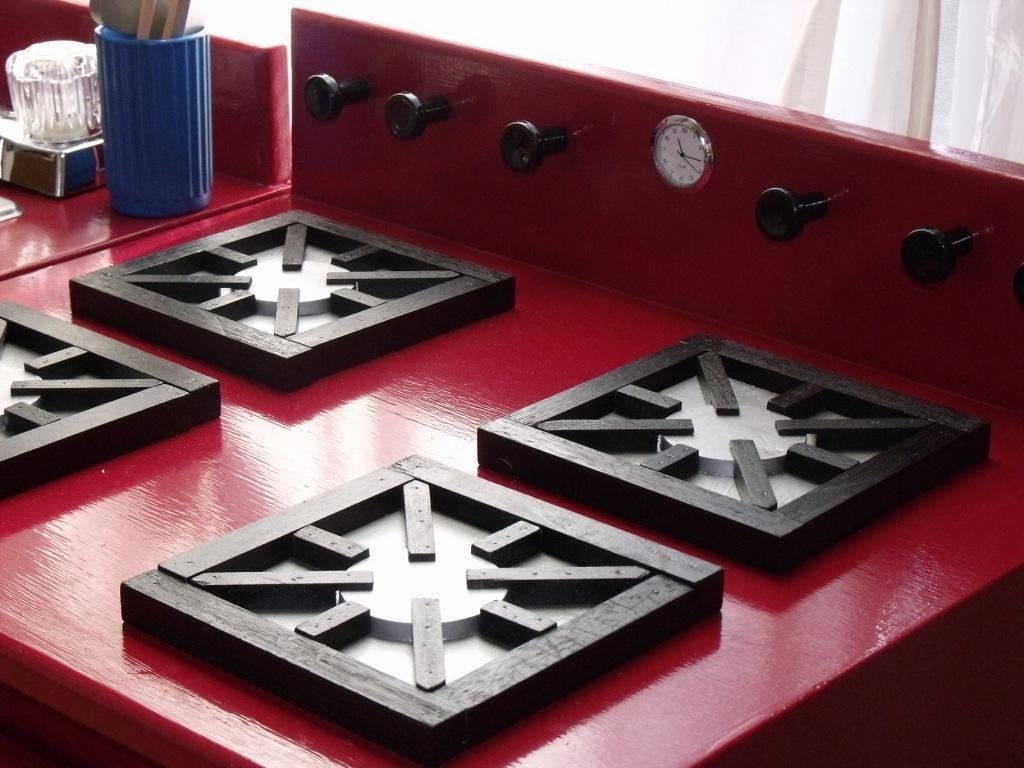
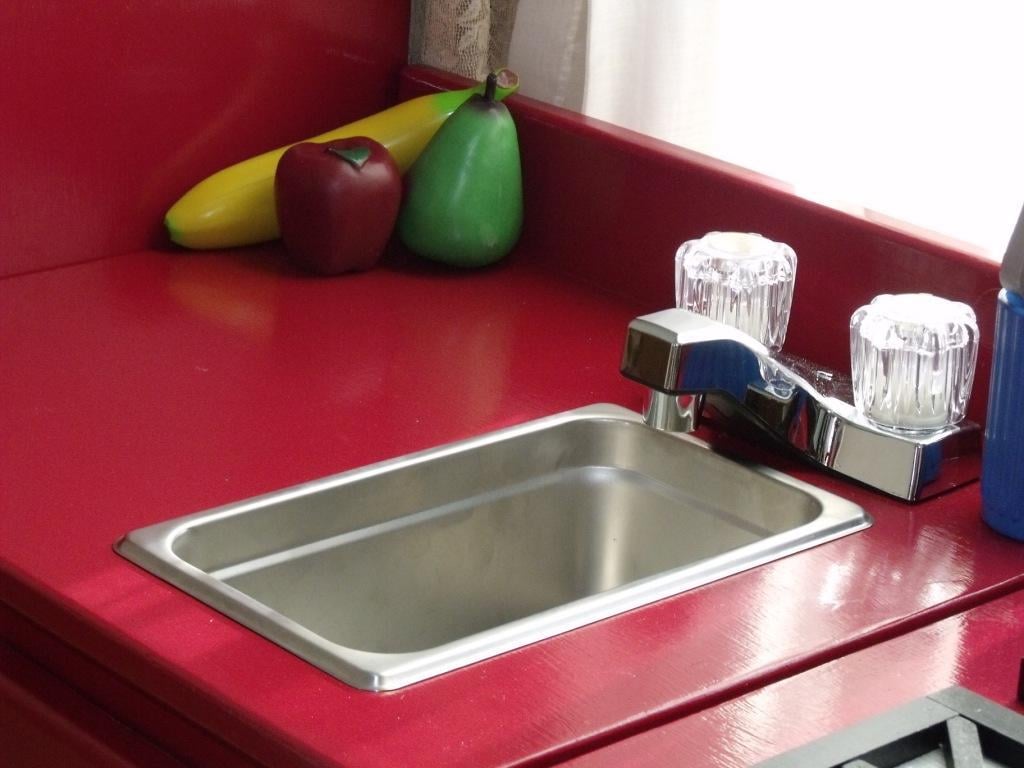
I was inspired by Ana's kitchen sets and used a combo of then and the Lowes plans and I was very happy with how it turned out. I changed a few things: put two doors under the sink, made "gas" burners instead of "electric", used half the sink cabinet top for the sink and left the other half for counter space, added a clock to the stove, made the oven door open down.
The sink is a food service warming pan 1/4 size and the faucet came from Wal-Mart for $10. I will probably replace it with a nicer one from the ReStore when I get a chance
Break down of costs:
Lumber: $100
Hinges and pulls: $40
Paint and primer: $45
Burners: $20
Sink: $24

Estimated Cost
$230
Estimated Time Investment
Week Long Project (20 Hours or More)
Finish Used
Exterior: Glidden Red Delicious high gloss enamel
Interior: White
Oven: grey stone textured spray paint
Recommended Skill Level
Intermediate

Comments

Cindy from Indiana (not verified)

Mon, 12/26/2011 - 13:09

Holy cow! Fantastic job! You guys really pulled it together and I really love the creative use of hardware, etc.
Fuchsia

Wed, 02/29/2012 - 10:03

Sorry I didn't see your comment sooner - I made the burners with craft wood circles and squares and 1/2 inch pieces of wood. I notched the ends over the circle with a chisel.

Rustic X Kitchen Island - DONE!

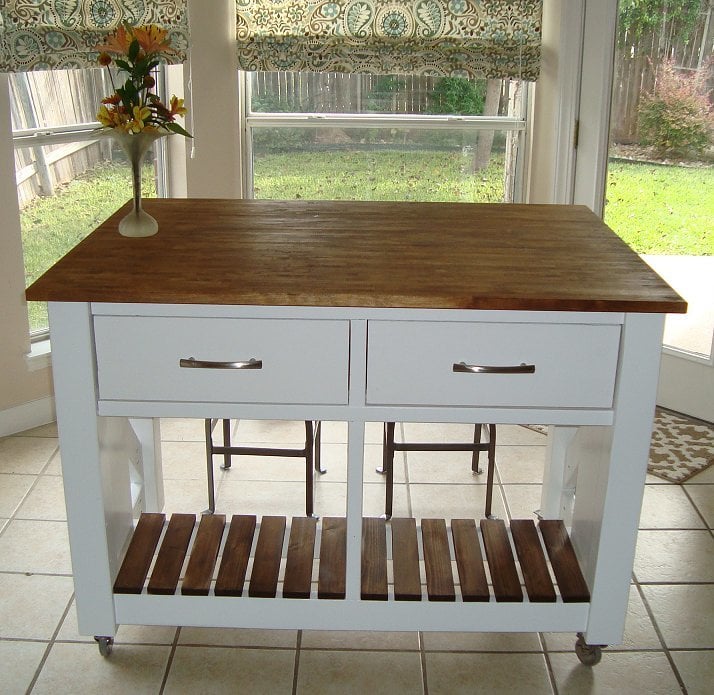
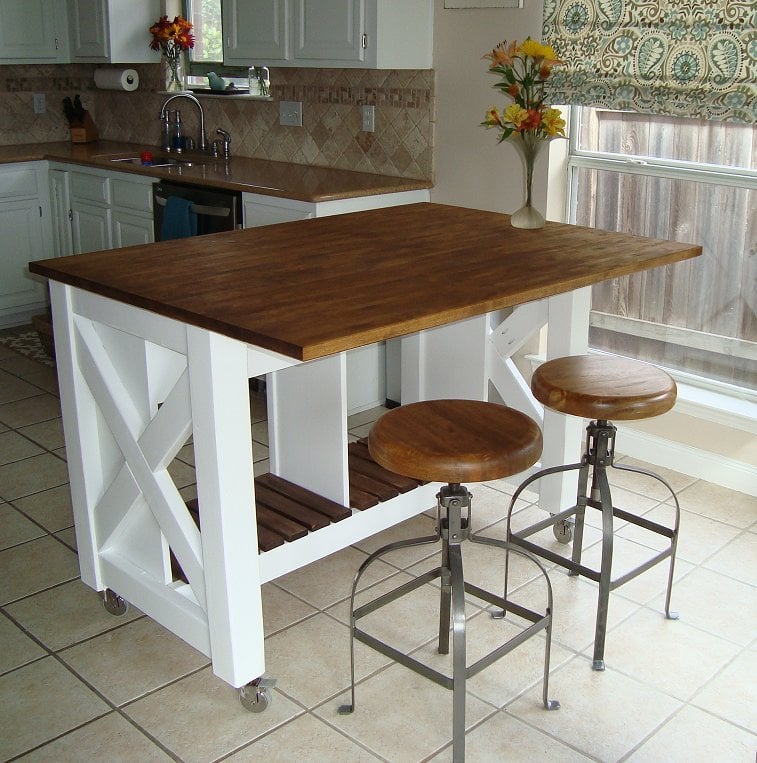
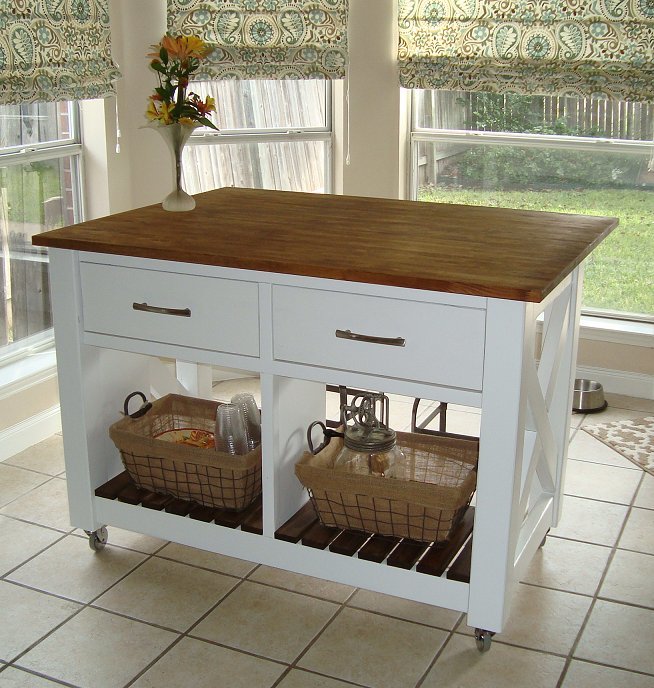
I had always wanted a kitchen island and saw this project. Seeing that the plans were well written I decided to tackle it. In addition I made a few small modifications to enhance the style of the island. These included using 4x4's on the corners and a IKEA butcher block top. The top allows for a larger surface area to work with and more space to sit under. The stools in the picture are from World Market and they were the perfect pair for the island. The island is great for family gatherings or just sitting with your morning coffee. I had family over for Thanksgiving and received lots of compliments. Thank you Ana!

Built from Plan(s)
Estimated Time Investment
Weekend Project (10-20 Hours)
Finish Used
Valspar white latex paint from Lowes on the bottom and Minwax Mission Oak stain on the top.
Recommended Skill Level
Intermediate

Comments

MaryMurray

Tue, 12/03/2013 - 17:43

I love how this looks. This is actually next on my list of projects, thanks for the inspiration!

Jcalloc

Thu, 03/05/2015 - 08:13

May I ask what kind of wood you used for this project?

Rustic Console Project

Submitted by Anonymous (not verified) on Wed, 04/06/2016 - 07:31

This was my first project building something from this site. I absolutely love it! We didnt add the X's because the miter saw was at my dad's house, which I was kind of sad about, but I think it still looks good. Not too bad for mine and my husbands first build! 

Built from Plan(s)
Estimated Cost
$75
Estimated Time Investment
Weekend Project (10-20 Hours)
Finish Used
Minwax Jacobean
Recommended Skill Level
Beginner

Plate Rack adds much needed storage

Submitted by tayljerr on Sat, 05/07/2016 - 20:48

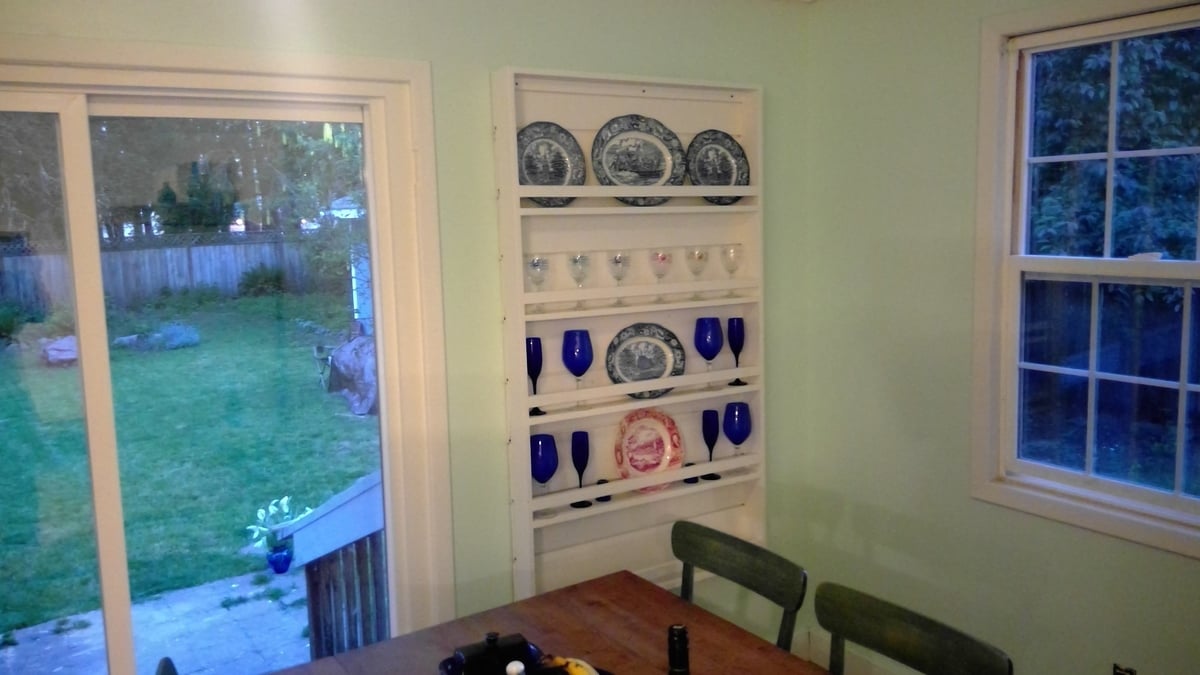
I came across the plans for the pate rack and realized it would be a perfect fit in my dining room. My house is just shy of its 100th birthday and I have been tackling renovation one room at a time. I have been trying to find new ways to use all of the materials that have been removed or replaced during my renovation. I was able to use the damaged shiplap and warped baseboards from my first room's renovation and create a plate rack shown.


Thank you for the plans!

Built from Plan(s)
Finish Used
Used primer and "Swiss Coffee" white paint
Recommended Skill Level
Beginner

Peanuts Adirondack Chair for Kids

Submitted by Anonymous (not verified) on Sun, 06/19/2016 - 21:08

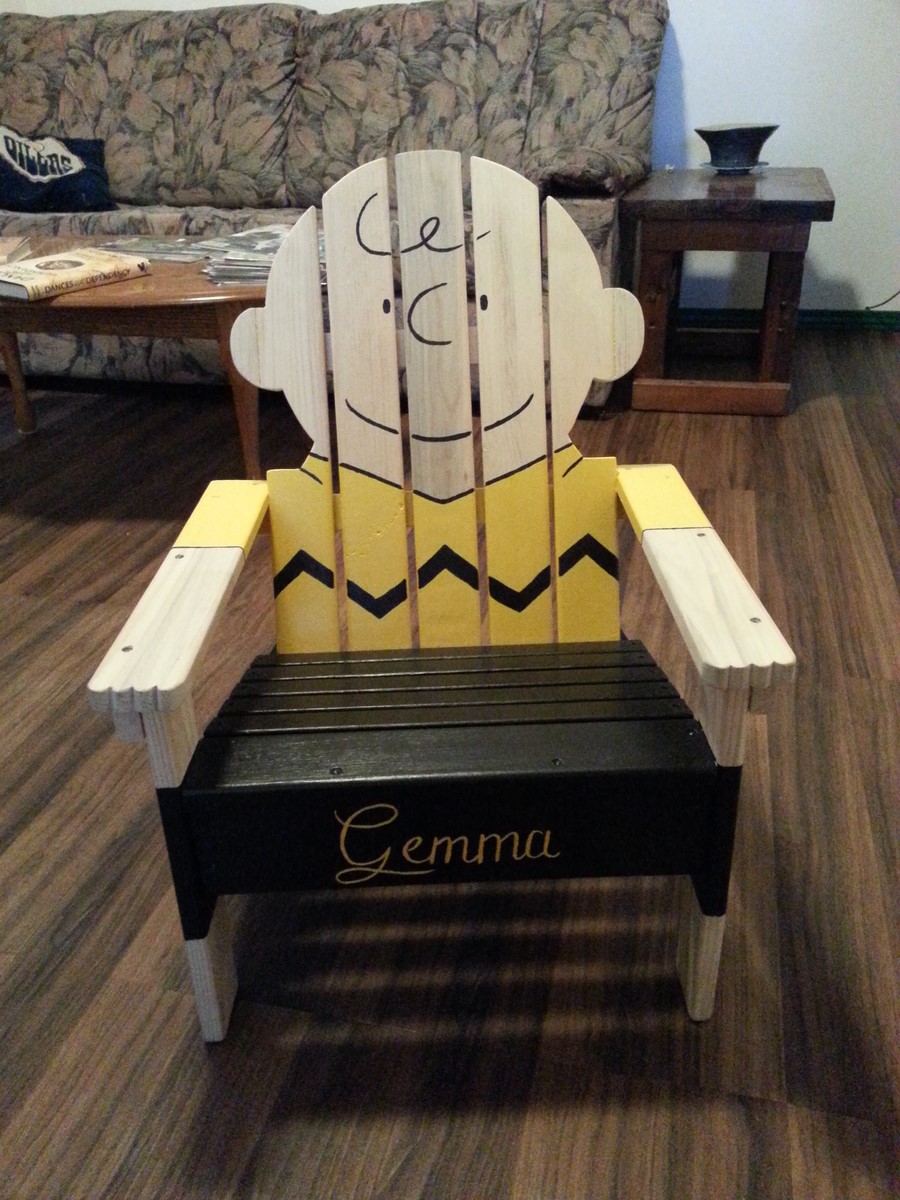
Had just watched the new Peanuts movie.Kind of liked it.

Built from Plan(s)
Estimated Cost
$100
Estimated Time Investment
Week Long Project (20 Hours or More)
Finish Used
Varathane. Many coats of paint along with a lot of taping. All outdoor water-based from primer to Varathane
Recommended Skill Level
Intermediate

Beach Cottage Dresser

Submitted by stacynabby on Mon, 03/24/2014 - 20:36

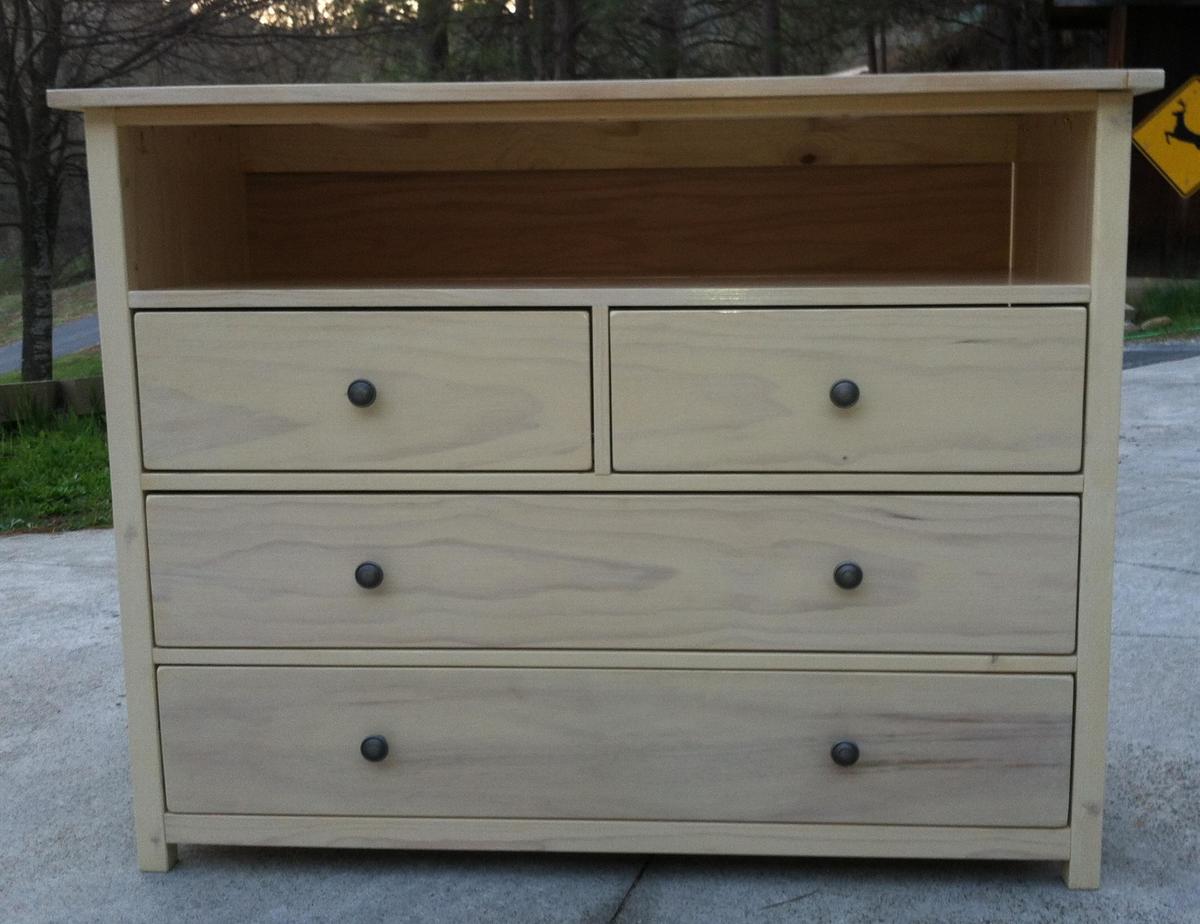
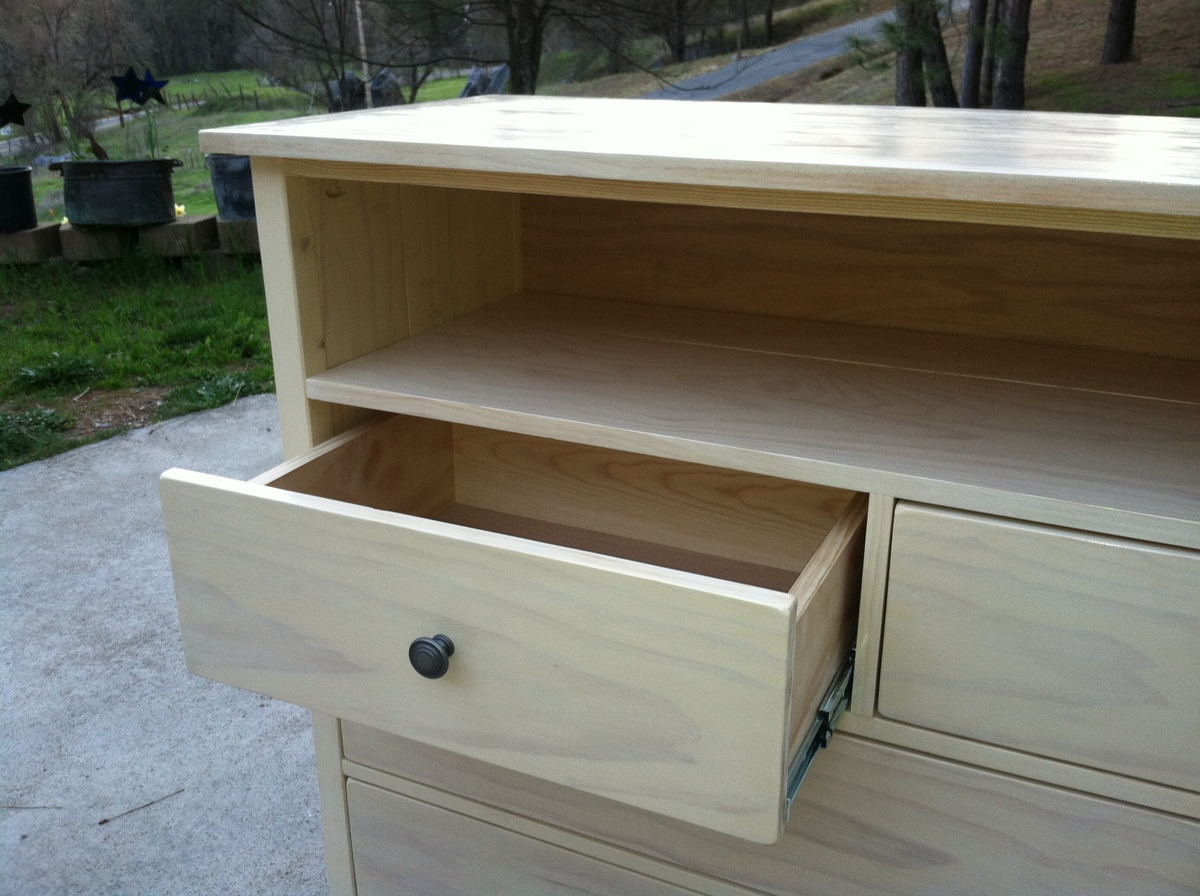
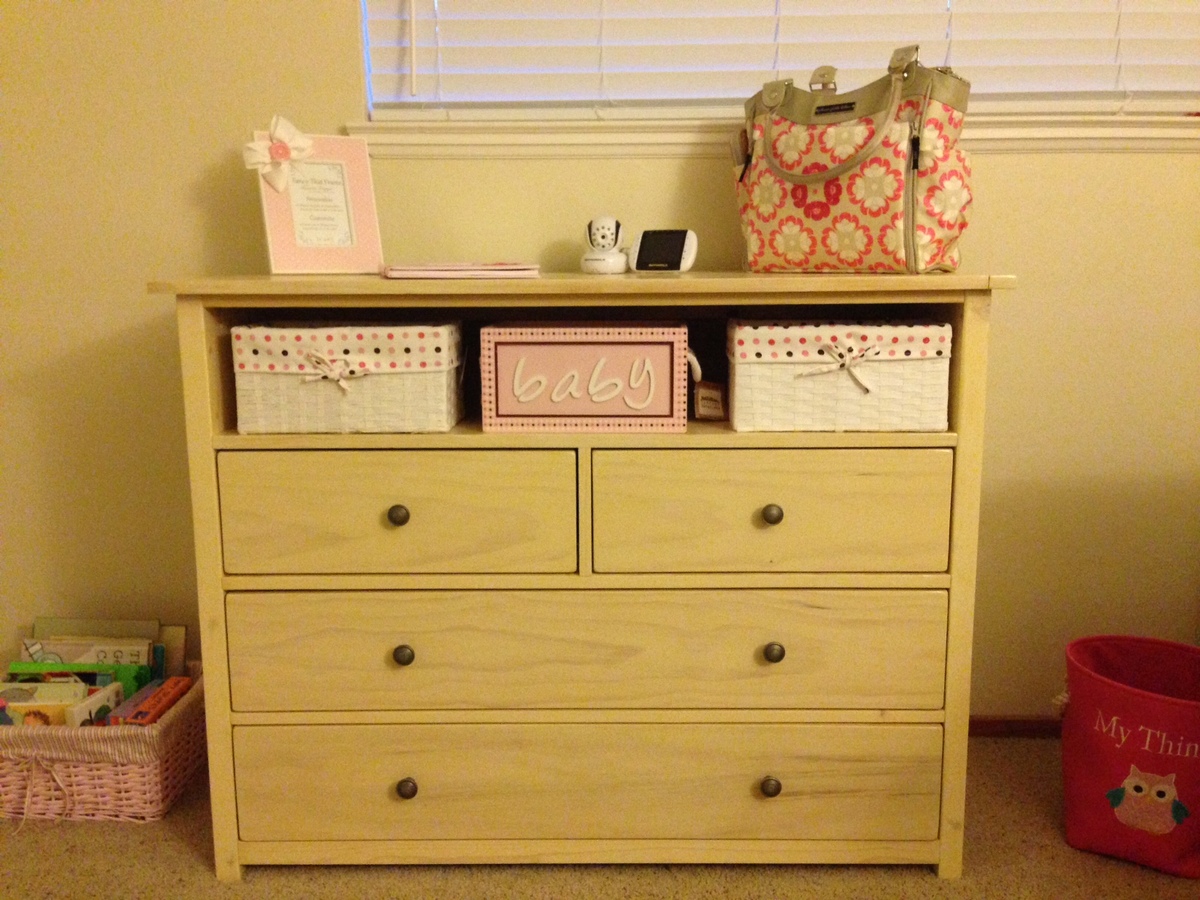
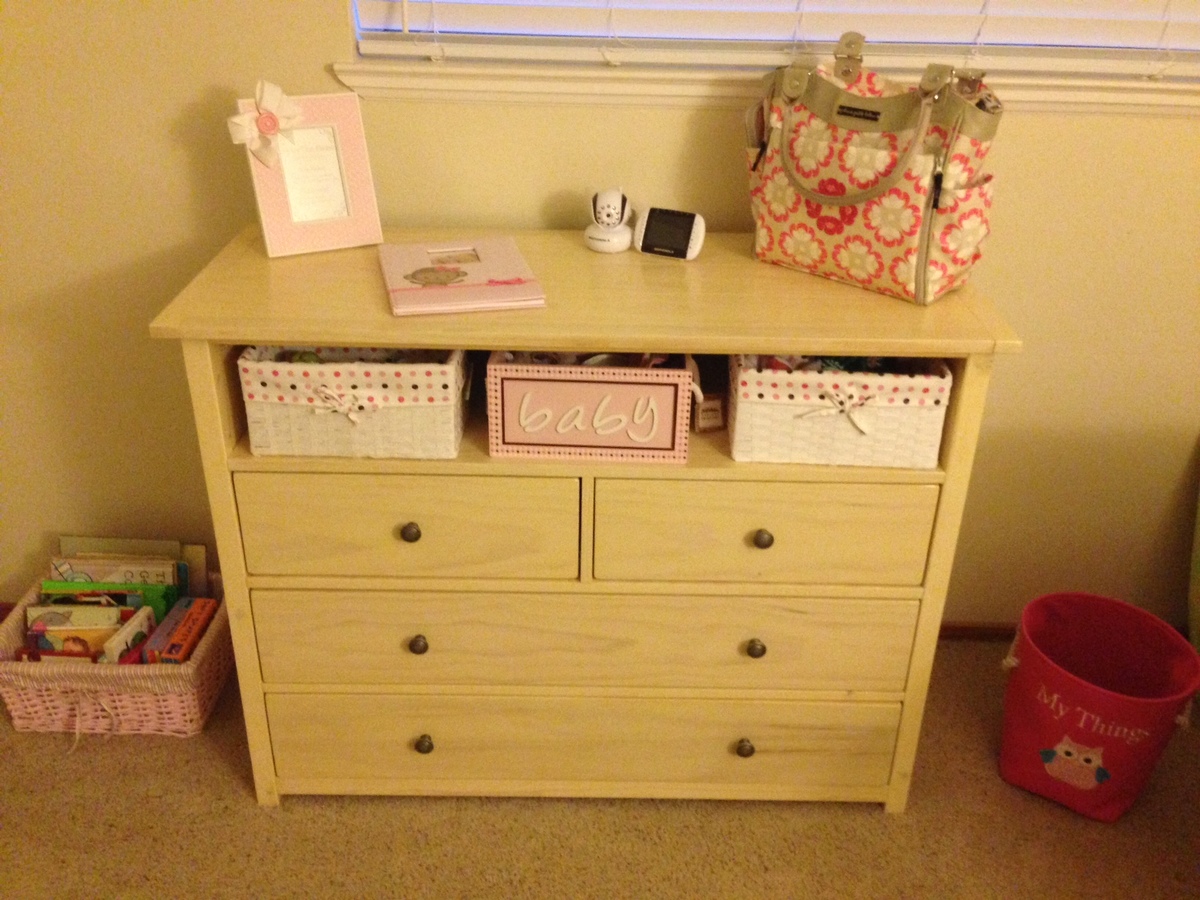
My friend, who is expecting a baby, asked me to build a changing table for her. She provided me with a couple of things on her wish-list. 1. to have a big enough top to change a baby (of course) 2. a cubby or cubbies for easy access to baby stuff 3. big enough drawers to house all those cute baby clothes. Well, she was given a couple of changing tables and the project just turned into a dresser. In any case, the Patrick Beach Cottage Dresser was a great design to work off of. This was my first build that I made for someone other than myself or my family. Every build becomes my favorite and this one is my newest favorite.

Estimated Cost
$300 (I used a better grade lumber)
Estimated Time Investment
Weekend Project (10-20 Hours)
Finish Used
Two coats Rust-o-leum wood stain - willow (looks like a whitewash)
Four coats Minwax glossy polyurethane
Recommended Skill Level
Intermediate

Comments

mommyof2cuties

Wed, 03/26/2014 - 23:39

Wow! You did a gorgeous job & you're friend is very lucky to have received such a beautiful gift. Initially, when I saw you're photo, I thought it was a media dresser. The cubbies could also be used for TV components (DVD player, cable box, ect.) I can only hope to make such a great piece someday.

Laundry Dresser foling area and hanging shelf

Submitted by sandrabees on Tue, 06/19/2012 - 13:15

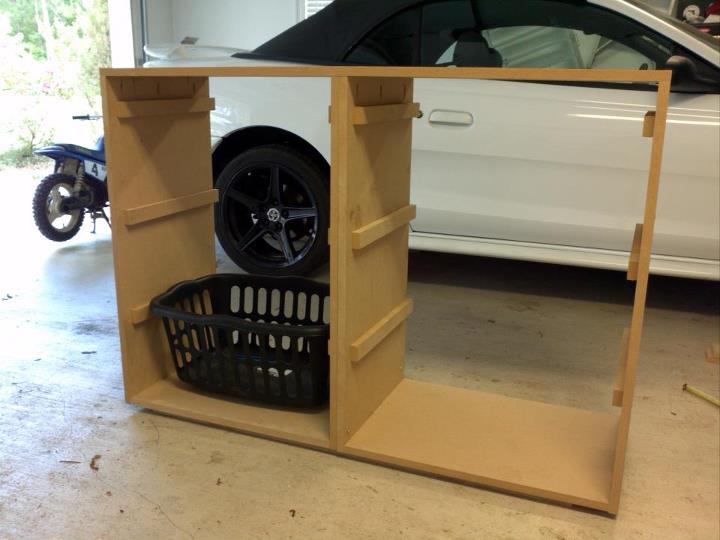
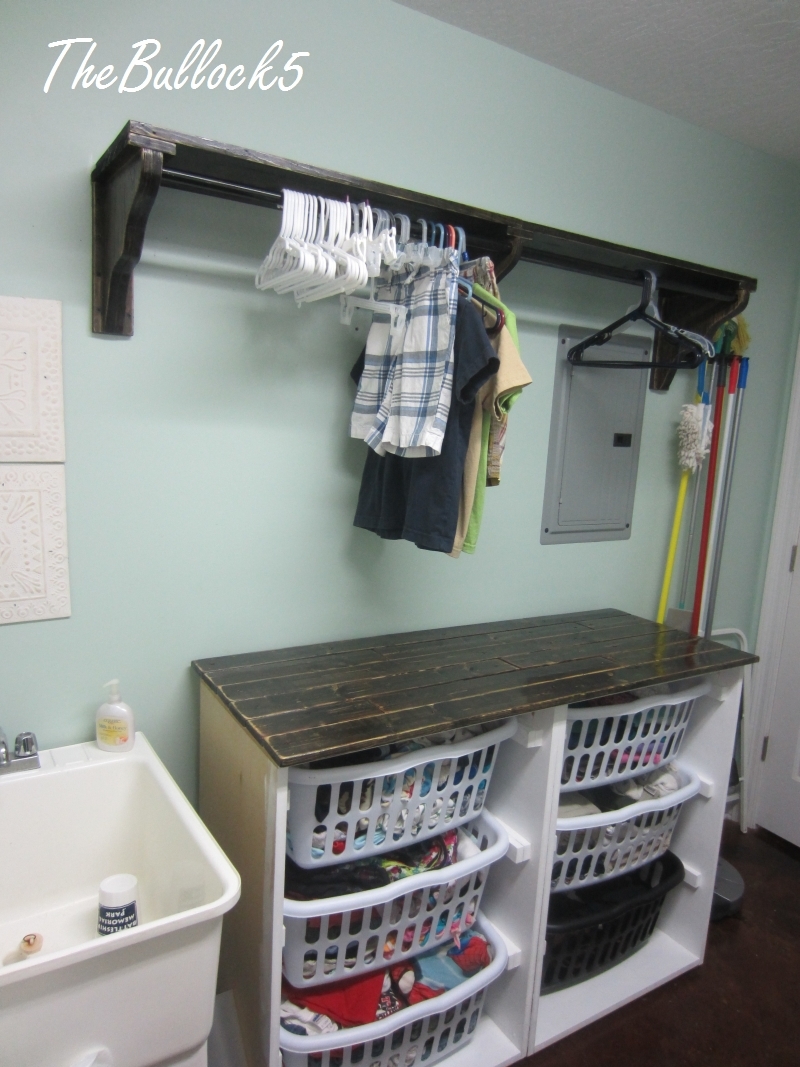
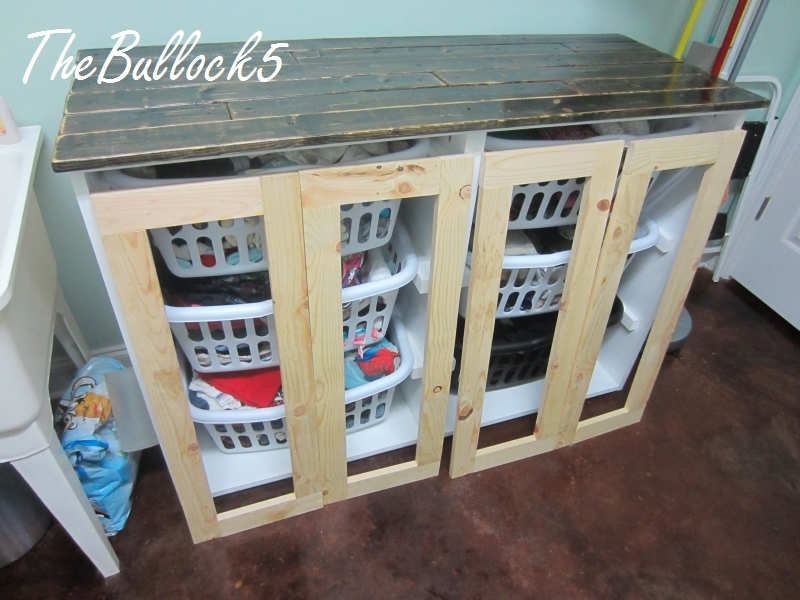
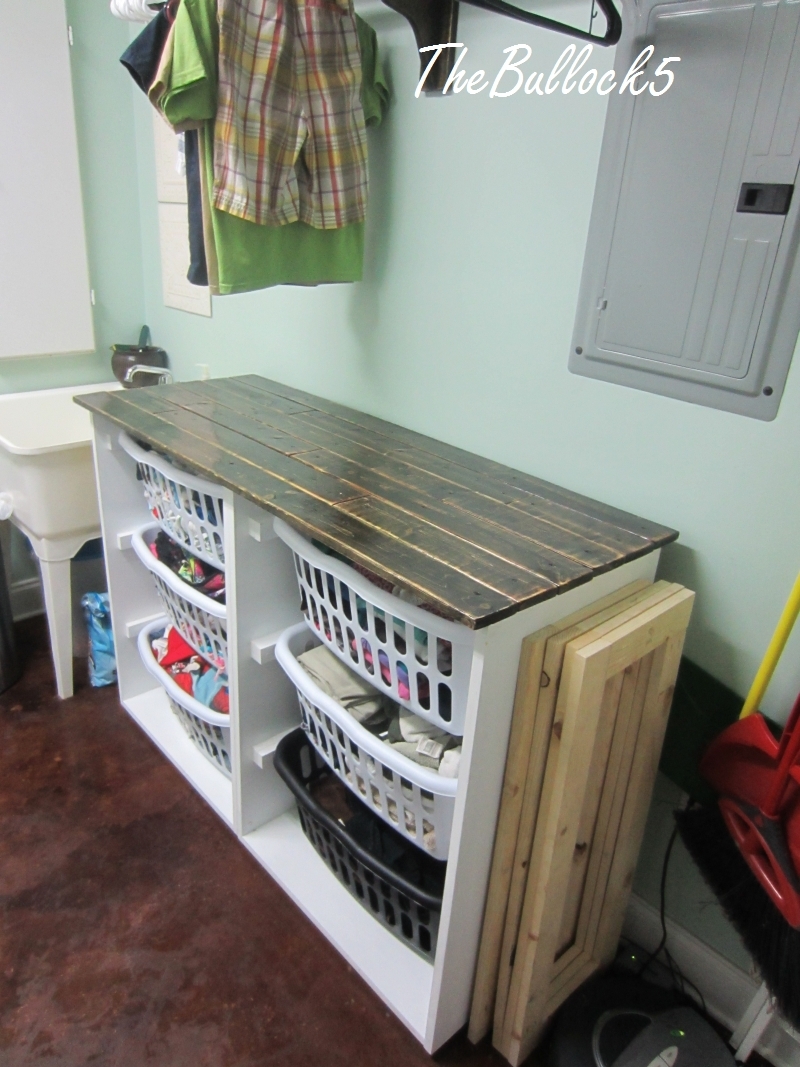
more details on my blog. I built 2 of the laundry dressers. adjusted the placement of my baskets due to restrictions in the overall height of my unit (I have a ironing board cabinet built into 1 wall that I still wanted to be able to open and use :) I used MDF, but it was a bear to work with and next time I would spend the extra $$ on birch. i painte the bottom in a semi gloss. and plan to add the doors (which will have a beadboard backing) they will be painted white with a dark walnut glaze. The top and shelf /brackets are all done in a distressed finish with ebony and mahogany stain mixed then 2 coats of poly very sturdy even filled!

Built from Plan(s)
Estimated Cost
$140
Estimated Time Investment
Weekend Project (10-20 Hours)
Finish Used
white semi gloss paint, (will be glazing with dark walnut as well),
Recommended Skill Level
Beginner

Comments

Sherice

Tue, 07/15/2014 - 20:27

Very cool rendition of the original plans. I like the folding area, awesome job!

thewife

Fri, 06/26/2015 - 00:00

I have been wanting to make the laundry basket dresser but am holding off because we are moving. What color did you us on the walls, I love it.

Adjusted Counter Height Farmhouse Table

Submitted by rahurtado on Mon, 05/04/2020 - 23:26

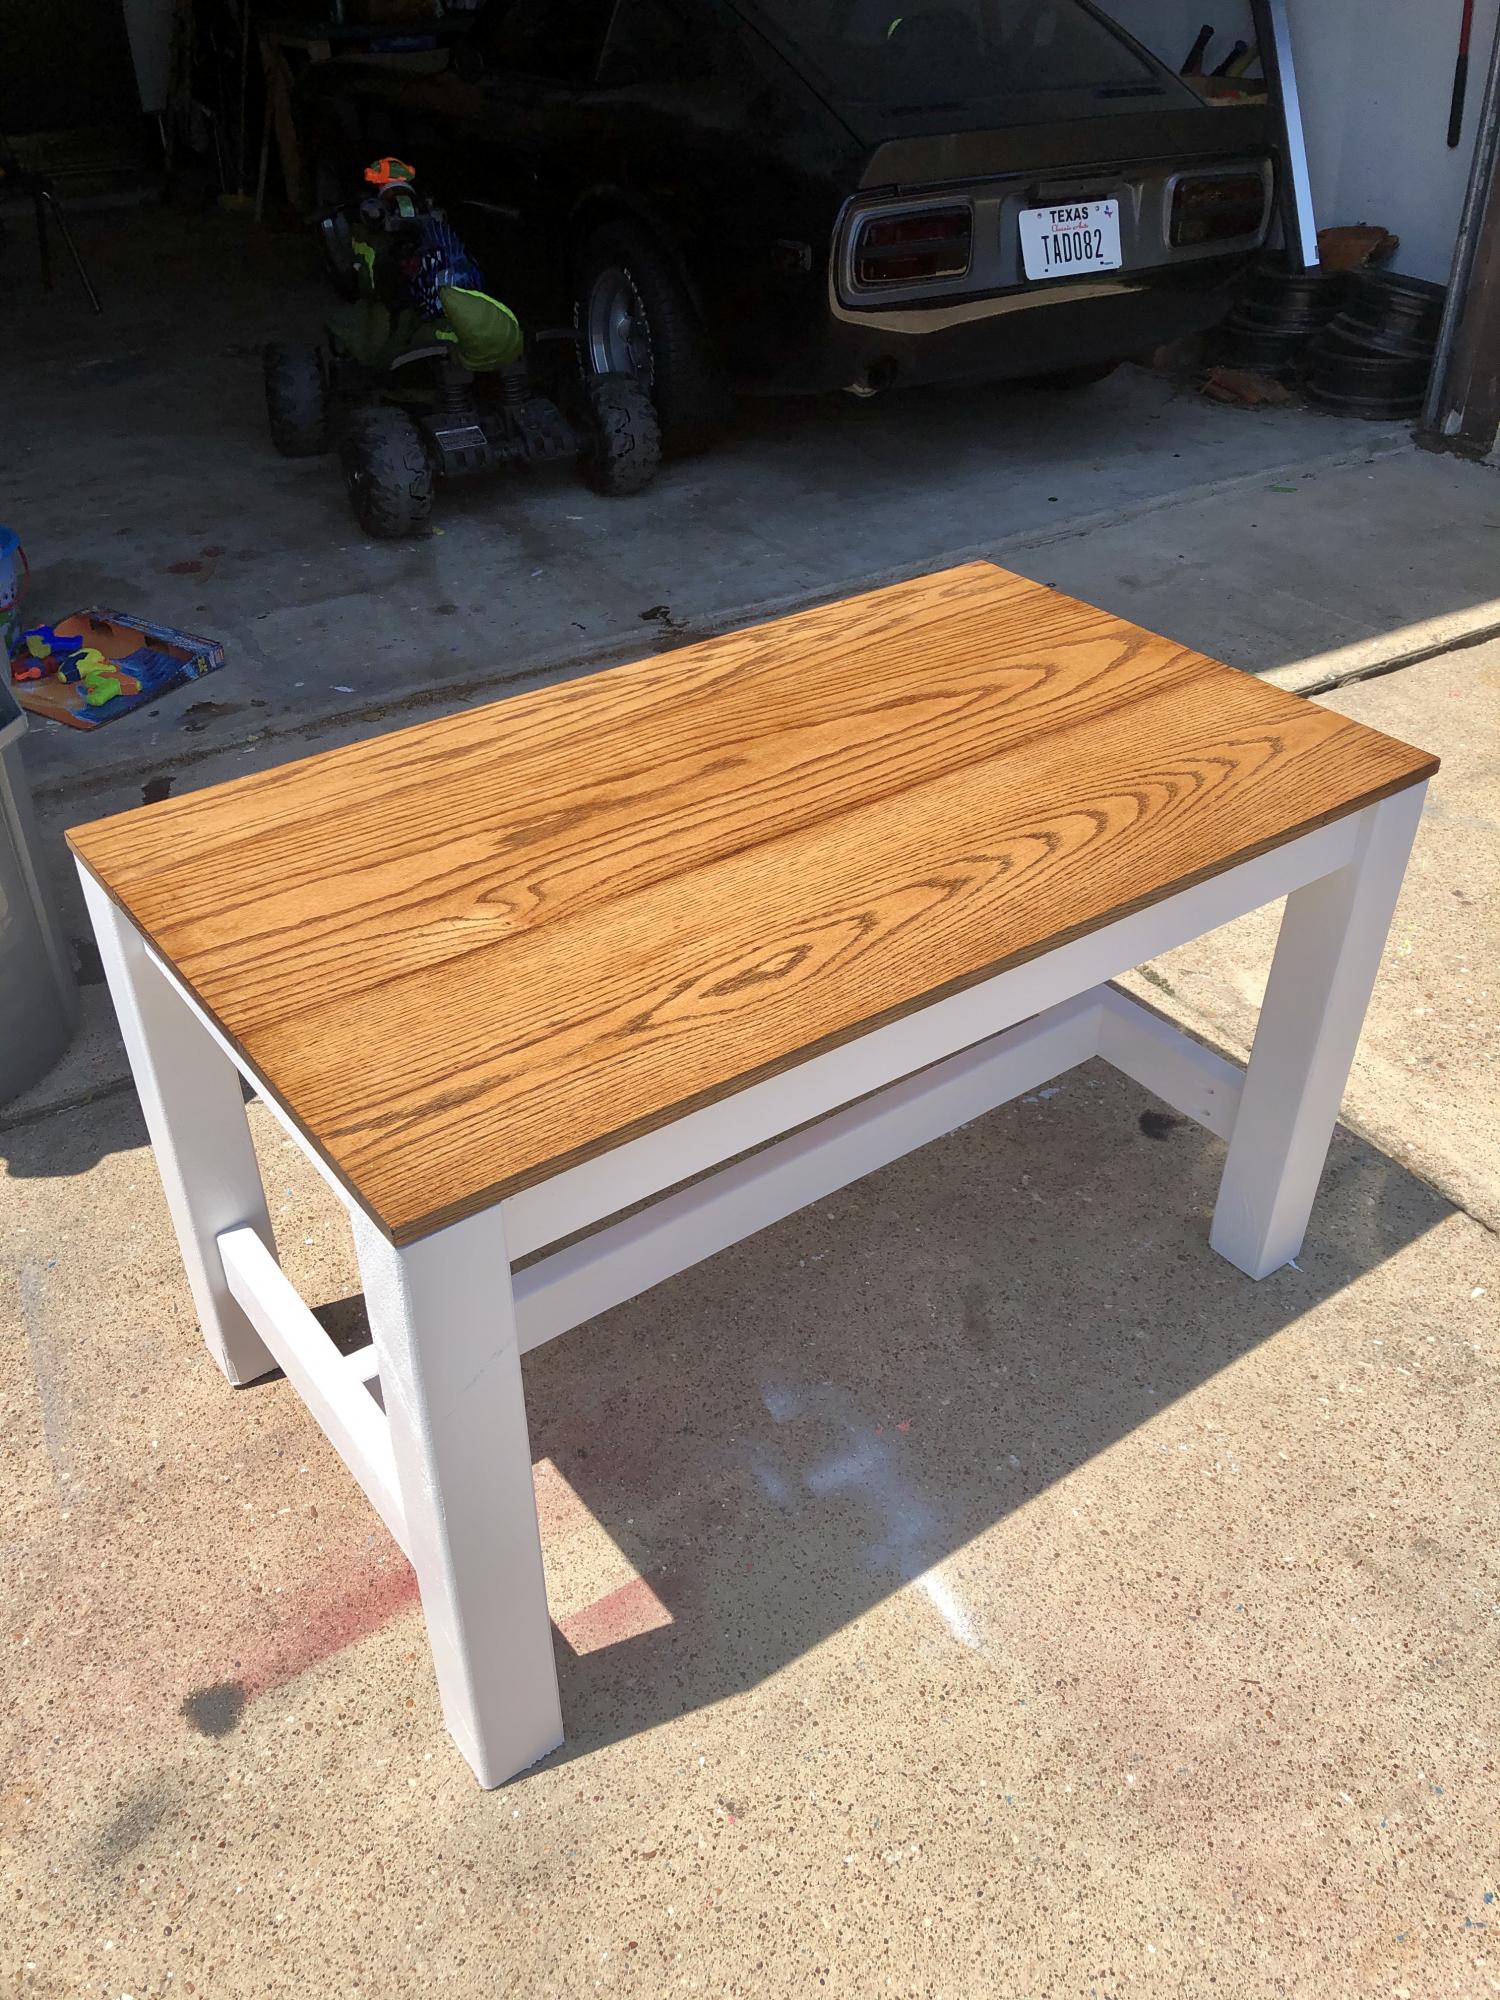
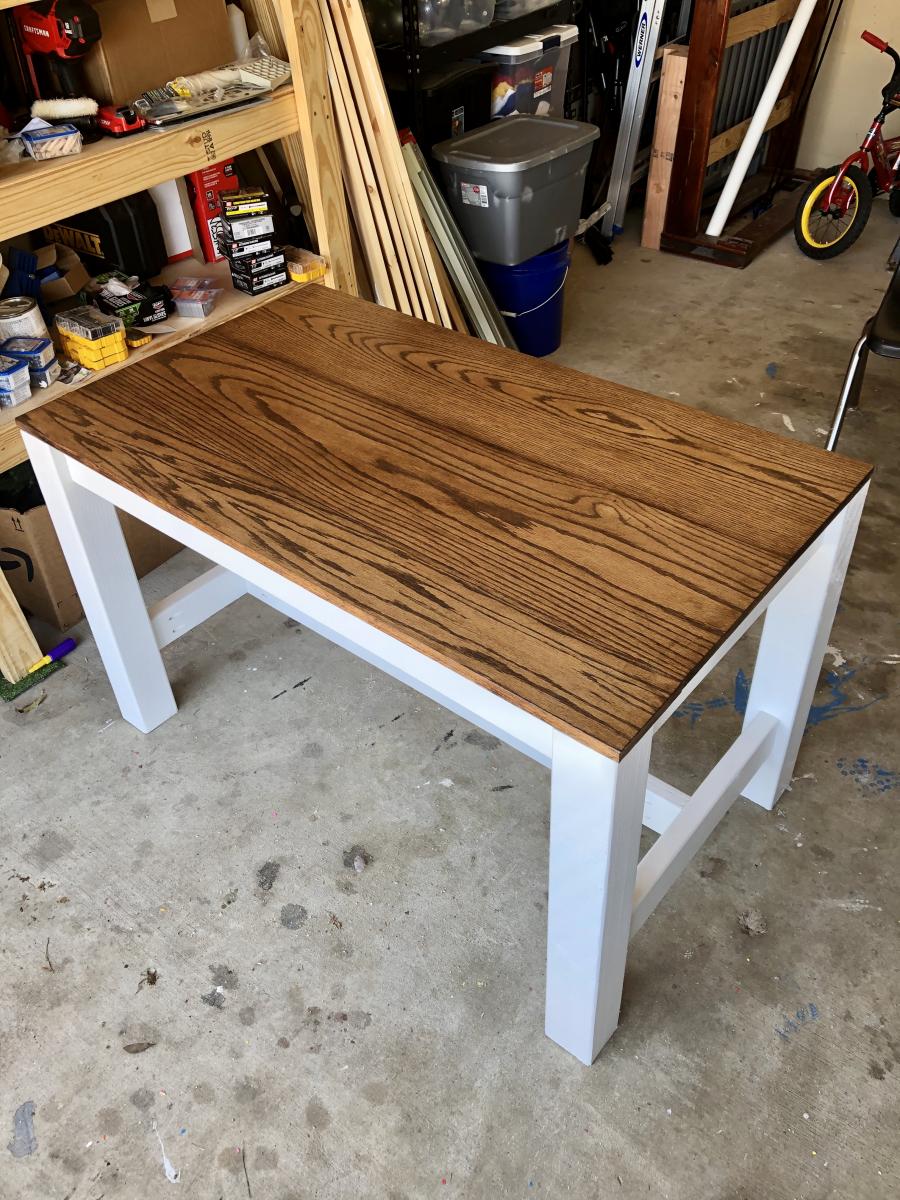
I liked the look of the “counter height table” and adjusted the height to make it a table for an office. I used 4x4s for the legs and oak for the top.
I used a biscuit joiner to join the top, a Dremel tool to carve grooves in the frame so I could attach the top with figure 8 fasteners (allows wood to move as it expands and contracts).

Recommended Skill Level
Intermediate

outdoor dining table

Submitted by jcengel on Thu, 07/05/2012 - 21:27

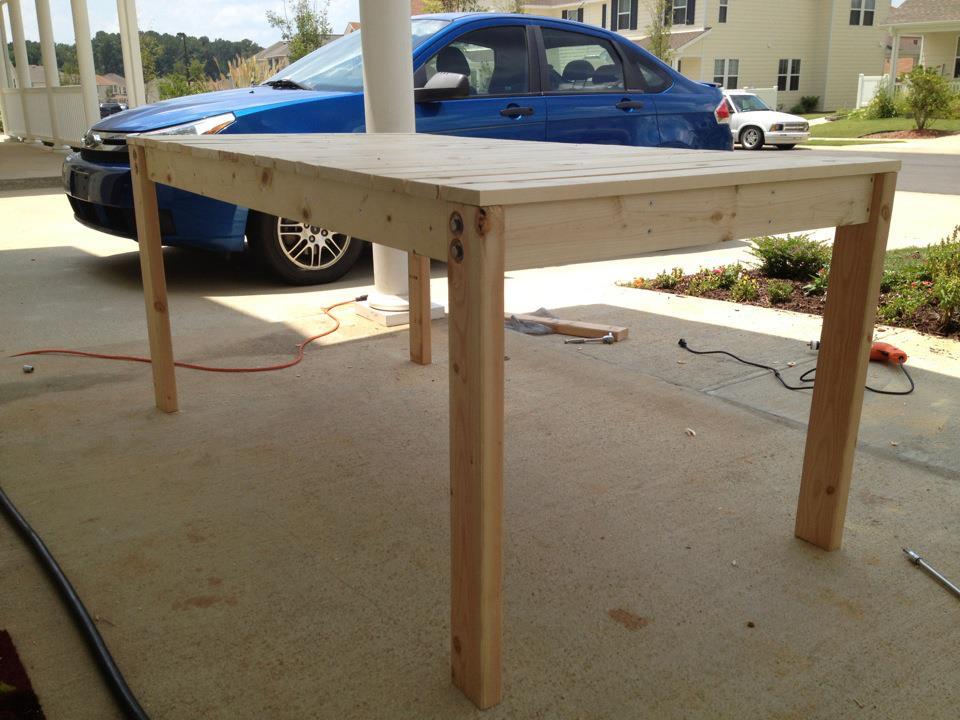
Followed the directions for the simple outdoor dining table. Mine is still unfinished. Plan to paint and primer it white. There were some errors in the plans. Do not screw the top framing together with butt joints and still expect to be able to put the leg bolts through. They will hit each other. It was only a real problem for me on one of the legs but if I had knownthere would be a problem I would have found another way from the start.

Built from Plan(s)
Estimated Time Investment
Weekend Project (10-20 Hours)
Finish Used
paint
Recommended Skill Level
Starter Project

Our modern take on the Modern Outdoor chair

Submitted by Anonymous (not verified) on Sun, 06/07/2020 - 15:59

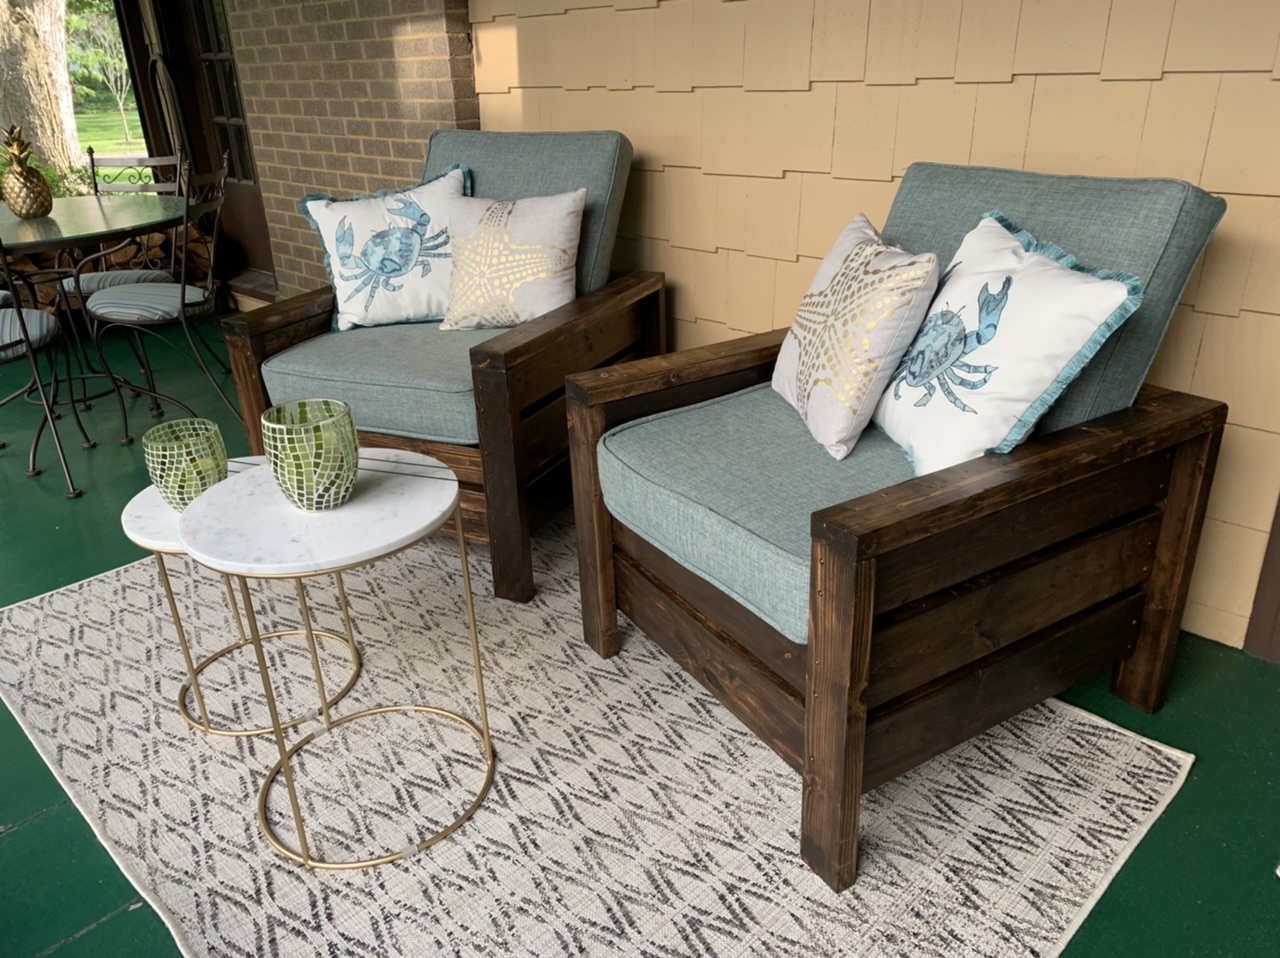
When I told my husband we were going to make patio chairs instead of buy them - he thought I was crazy!

I started looking for chairs during the tail end of the pandemic’s stay-at-home order, but after looking for something that was a nice quality yet reasonably priced, we soon realized the options just weren’t there. In my 20’s, I had made a dining room table when I could really afford anything nice! Man I loved that table! So I decided to google DIY patio chairs and found your site! OH. MY. GOODNESS. I want to make all the things. In addition to these beauties, we’ve also made counter height garden boxes, and are getting ready to start on the Farmhouse Potting Bench. Your videos are great - and make everything look incredibly easy. I stained and polyurethanes before assembly, but in hindsight might have opted to wait until the end! All accessories, including cushions are from at home. Make these chairs! You will love them!!

Estimated Time Investment
Weekend Project (10-20 Hours)
Finish Used
Kona stain with Satin polyurathane finish

I presaged wood with a pre-stain, then did one coat of stain (wipes down so it wasn’t so dark), and two coats of Varnish. I sanded prior to staining, and in between varnishes. We made two chairs at the same time - so stained roughly 50 boards - which was the most time consuming part as the varnish takes the longest. It is helpful to have this on a tall surface for assembly

DIY Garden Box with Trellis

Submitted by JenFarrell on Mon, 06/30/2014 - 07:13

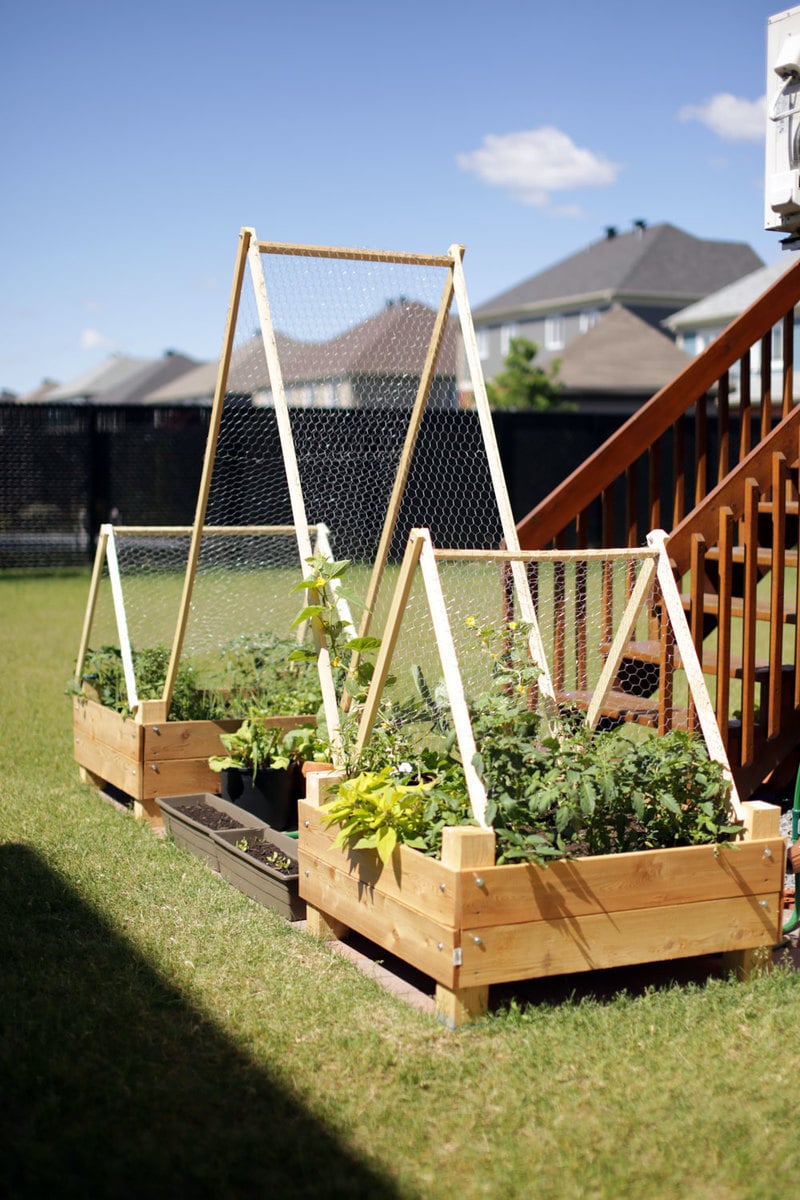
We wanted a small garden to fit on the back patio stones and this plan fit well. We reduced the height because we have 3 small children to "help" water the plants. The trellis was hoping that we could extend the amount of produce we could grow. They're very heavy, sturdy and straightforward to build. Thanks very much!!

Estimated Cost
$120
Estimated Time Investment
Weekend Project (10-20 Hours)
Recommended Skill Level
Beginner

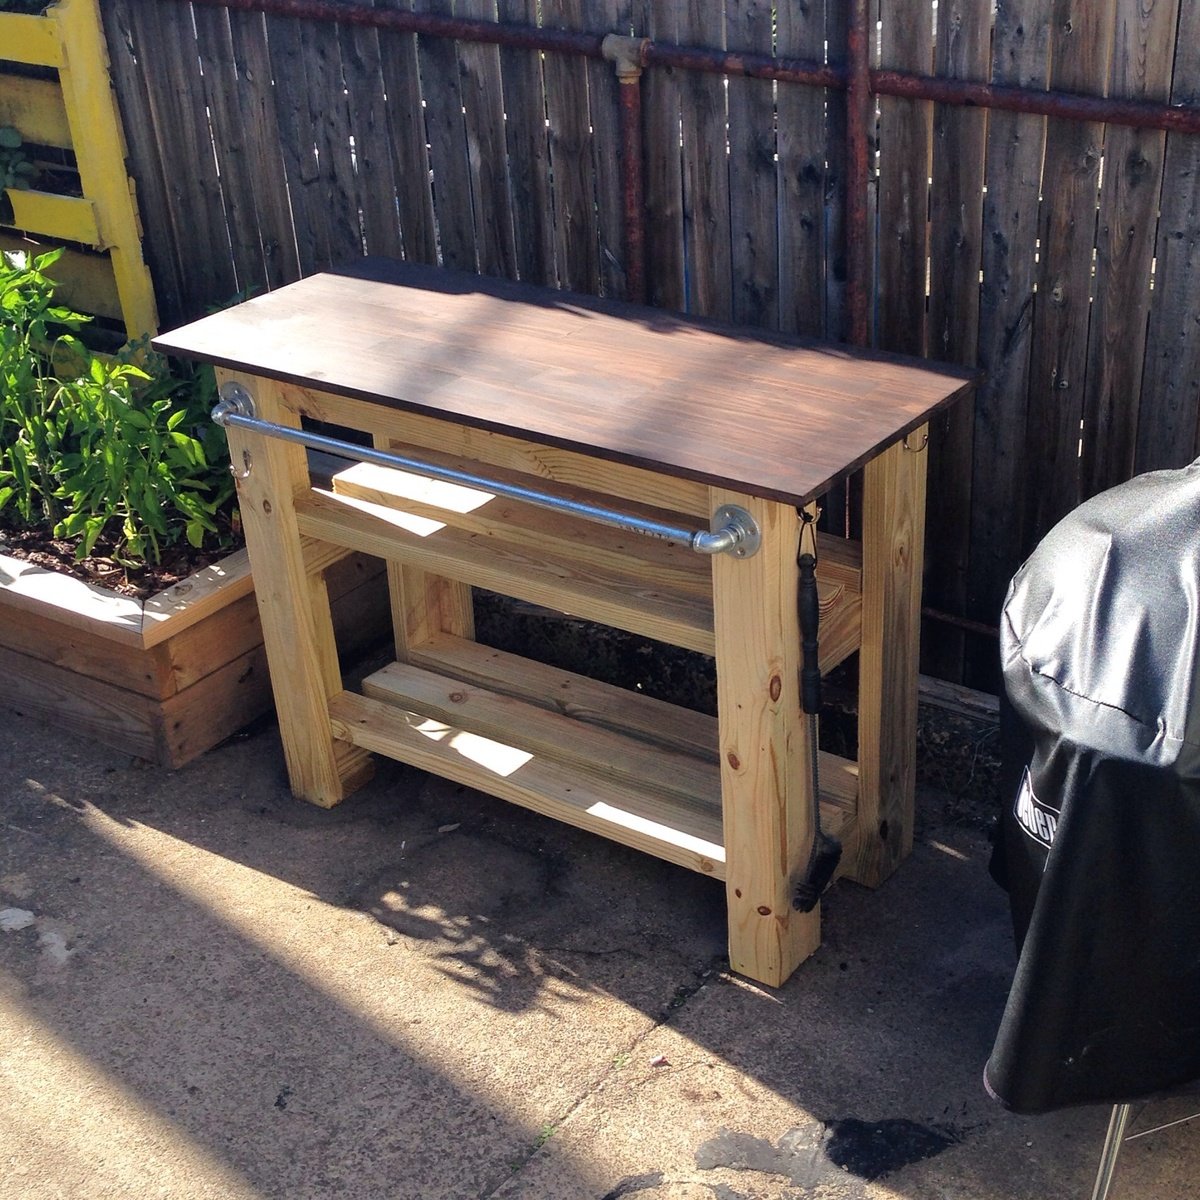
Grill Station

Submitted by JDillen on Sat, 07/05/2014 - 15:32

Grill station

Built from Plan(s)
Estimated Cost
100
Estimated Time Investment
Afternoon Project (3-6 Hours)
Finish Used
Rustoleum Kona
Recommended Skill Level
Beginner

Simple changing table

Submitted by Tbacks on Wed, 11/23/2016 - 03:14

Took the advice from another and made the width 16 1/4.  Fits the changing pad perfectly.  Thank you!!  Made from oak with Espresso stain and 2 coats finishing wax.  

Built from Plan(s)
Estimated Time Investment
Weekend Project (10-20 Hours)
Finish Used
Minwax Espresso and finishing wax
Recommended Skill Level
Beginner

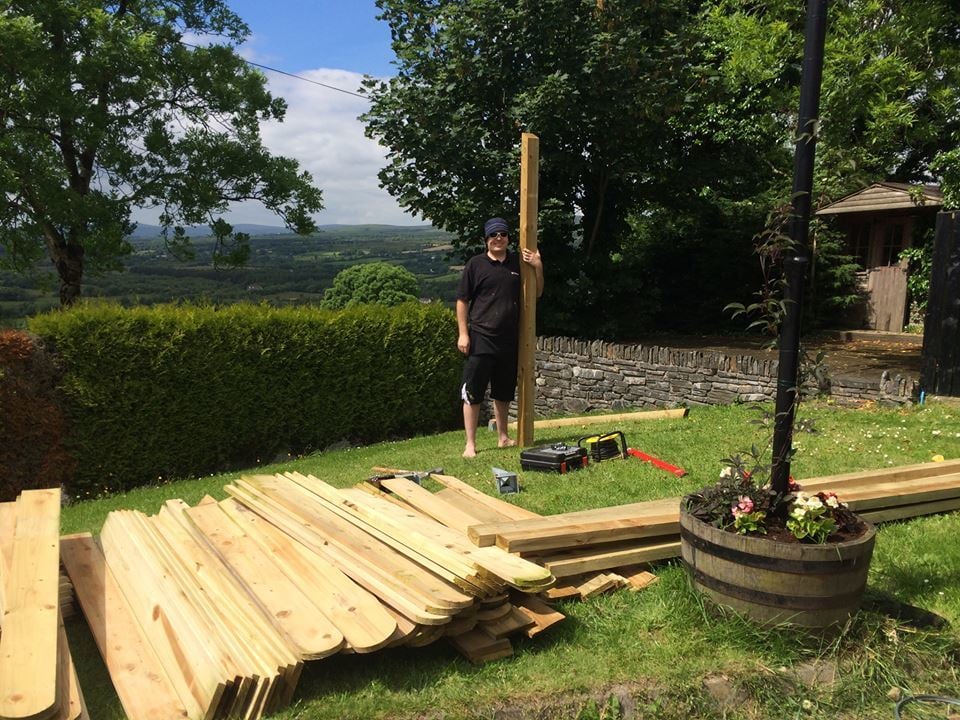
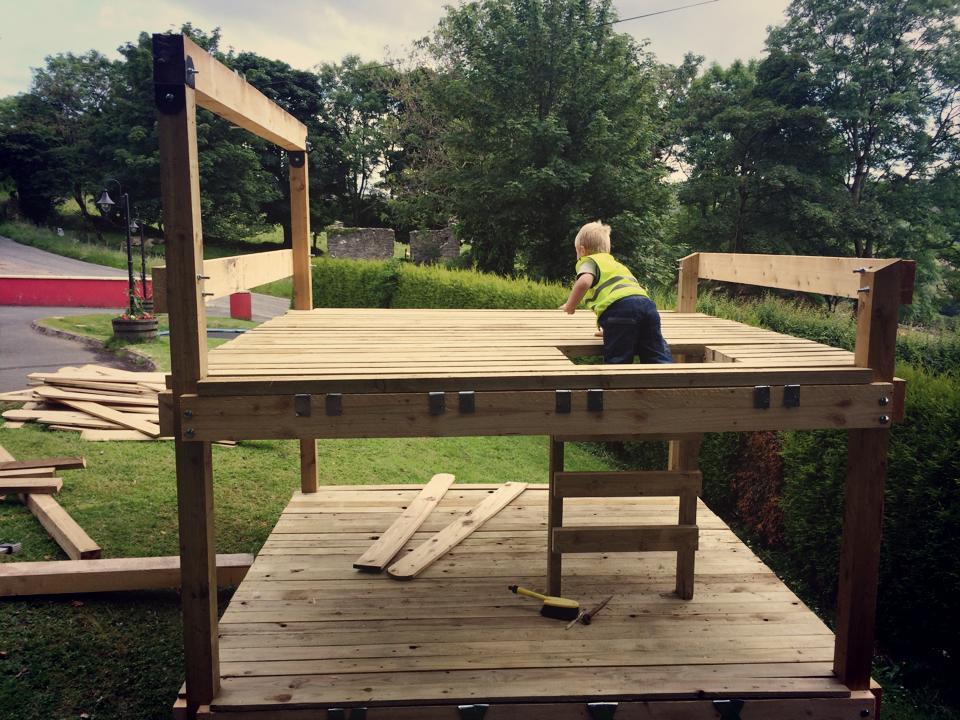
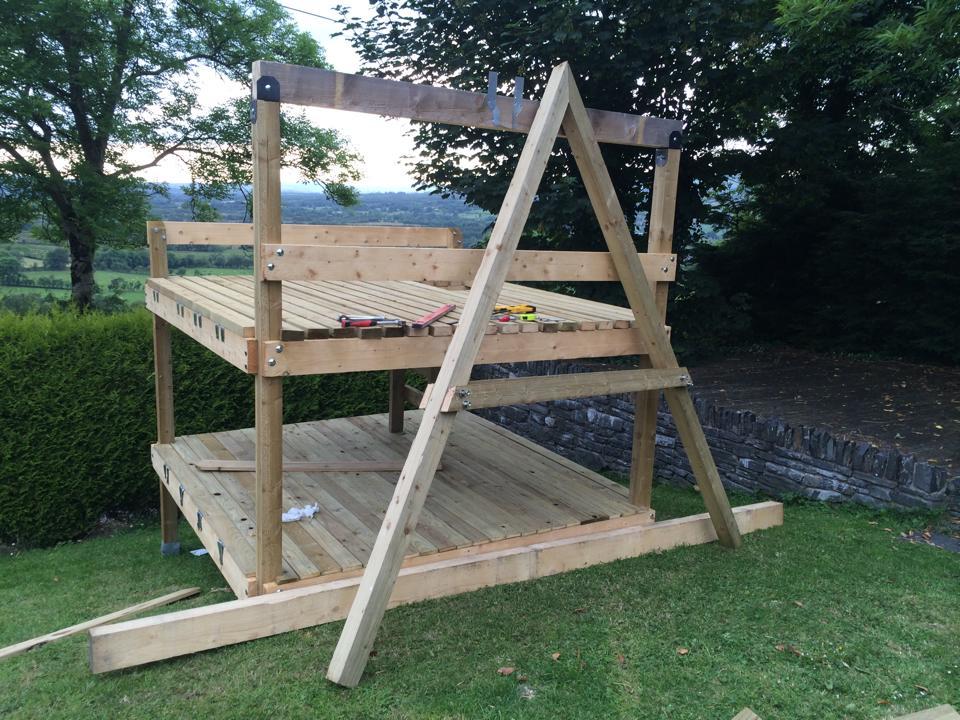
Play Deck and Swing

Submitted by lervy on Wed, 09/03/2014 - 02:23

Play Deck and Swing

Estimated Cost
£700
Estimated Time Investment
Week Long Project (20 Hours or More)
Finish Used
Ronseal Country Oak Fence Stain
Recommended Skill Level
Intermediate

Comments

booksnotbombs

Wed, 09/03/2014 - 07:35

You have a BEAUTIFUL view from your yard! Just curious, where do you live? I assumed somewhere in Europe due to the currency. The play area looks fantastic. What lucky kiddos!

Seasonal And Holiday

My First Project - Lukes Bed

Submitted by dabb03 on Sat, 10/11/2014 - 13:38

I made this bed for my son Luke's for 4th birthday. This project was a first for me and I loved doing it. I modified the stairs as I wasn't crazy about how shallow the steps were and how high the rise was. I have 4 stairs instead of 3 and they stick out about 4 inches from the front of the bed. The bottom step is a small toy box and the top 3 are all drawers. I also added a slide. The slide design was the biggest challenge as I couldn't find a set of plans that I liked. I ended up tracing the shape from an outdoor playset that we have. I then created a template and used a router to cut 1/4" grooves into the left and right hand sides. With help, We slid a 1/8" of wood into the grooves. The wood was from home depot, slick on one side. I think it was a Hardboard tempered panel, but I don't remember for sure. The entire project probably took 60-70 hours. The bed itself was about 30-35. The other time was the stairs with drawers and the slide. A good chunk of the remaining time was spent in planning and figuring out the slide and adjusting the drawers. This being my first project, I spent a lot of time just figuring things out. I had never used a router before. I had never drilled pocket holes before. This project opened my eyes to a whole new world.

Estimated Cost
$650
Estimated Time Investment
Week Long Project (20 Hours or More)
Finish Used
We used stain and "Candy Sticks" The Candy Sticks are giant stickers that photographers use for interesting backgrounds.
Recommended Skill Level
Beginner

Comments

Farmhouse Toddler Bed with Rail

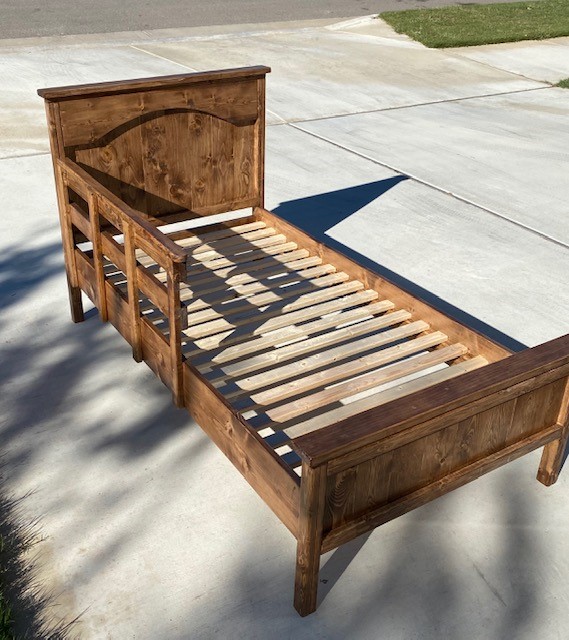
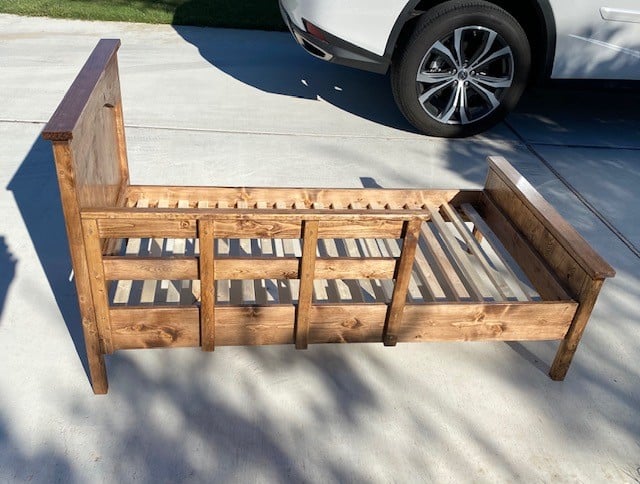
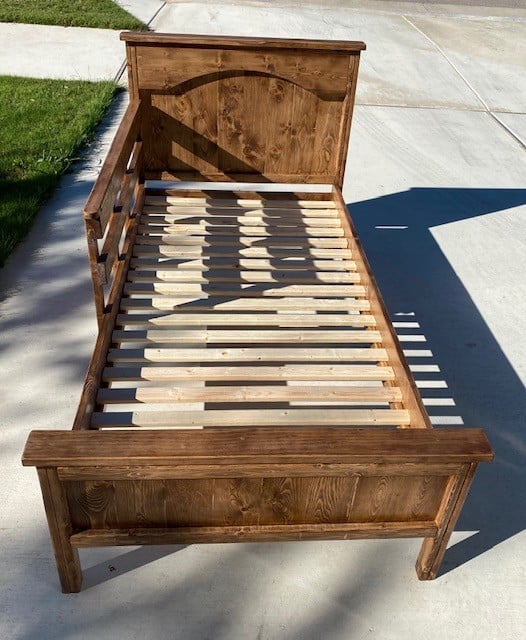
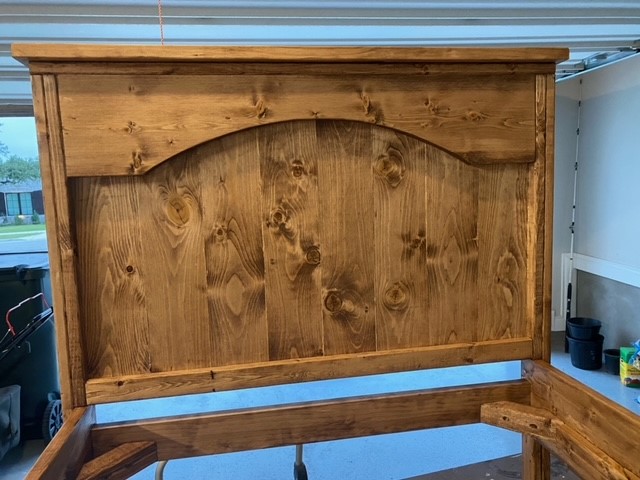
This was my second Toddler bed. This one with a single side rail. I really like this plan. Just remember that Toddler mattresses are not always the same dimensions. Find out the size of the mattress first and adjust your dimensions accordingly. I also stained and clear coated the railing separately so it can be removed as the child gets a little older and still have the bed completely finished without it.

Built from Plan(s)
Estimated Cost
$56
Estimated Time Investment
Weekend Project (10-20 Hours)
Finish Used
English Chestnut Stain with a Satin Poly top coat
Recommended Skill Level
Beginner

Comments

Back